HOLIDAY DONATION DRIVE - SUPPORT MSW - DO YOUR PART TO KEEP THIS GREAT FORUM GOING! (Only 36 donations so far out of 49,000 members - C'mon guys!)
×


townpiper
-
Posts
51 -
Joined
-
Last visited
Content Type
Profiles
Forums
Gallery
Events
Everything posted by townpiper
-
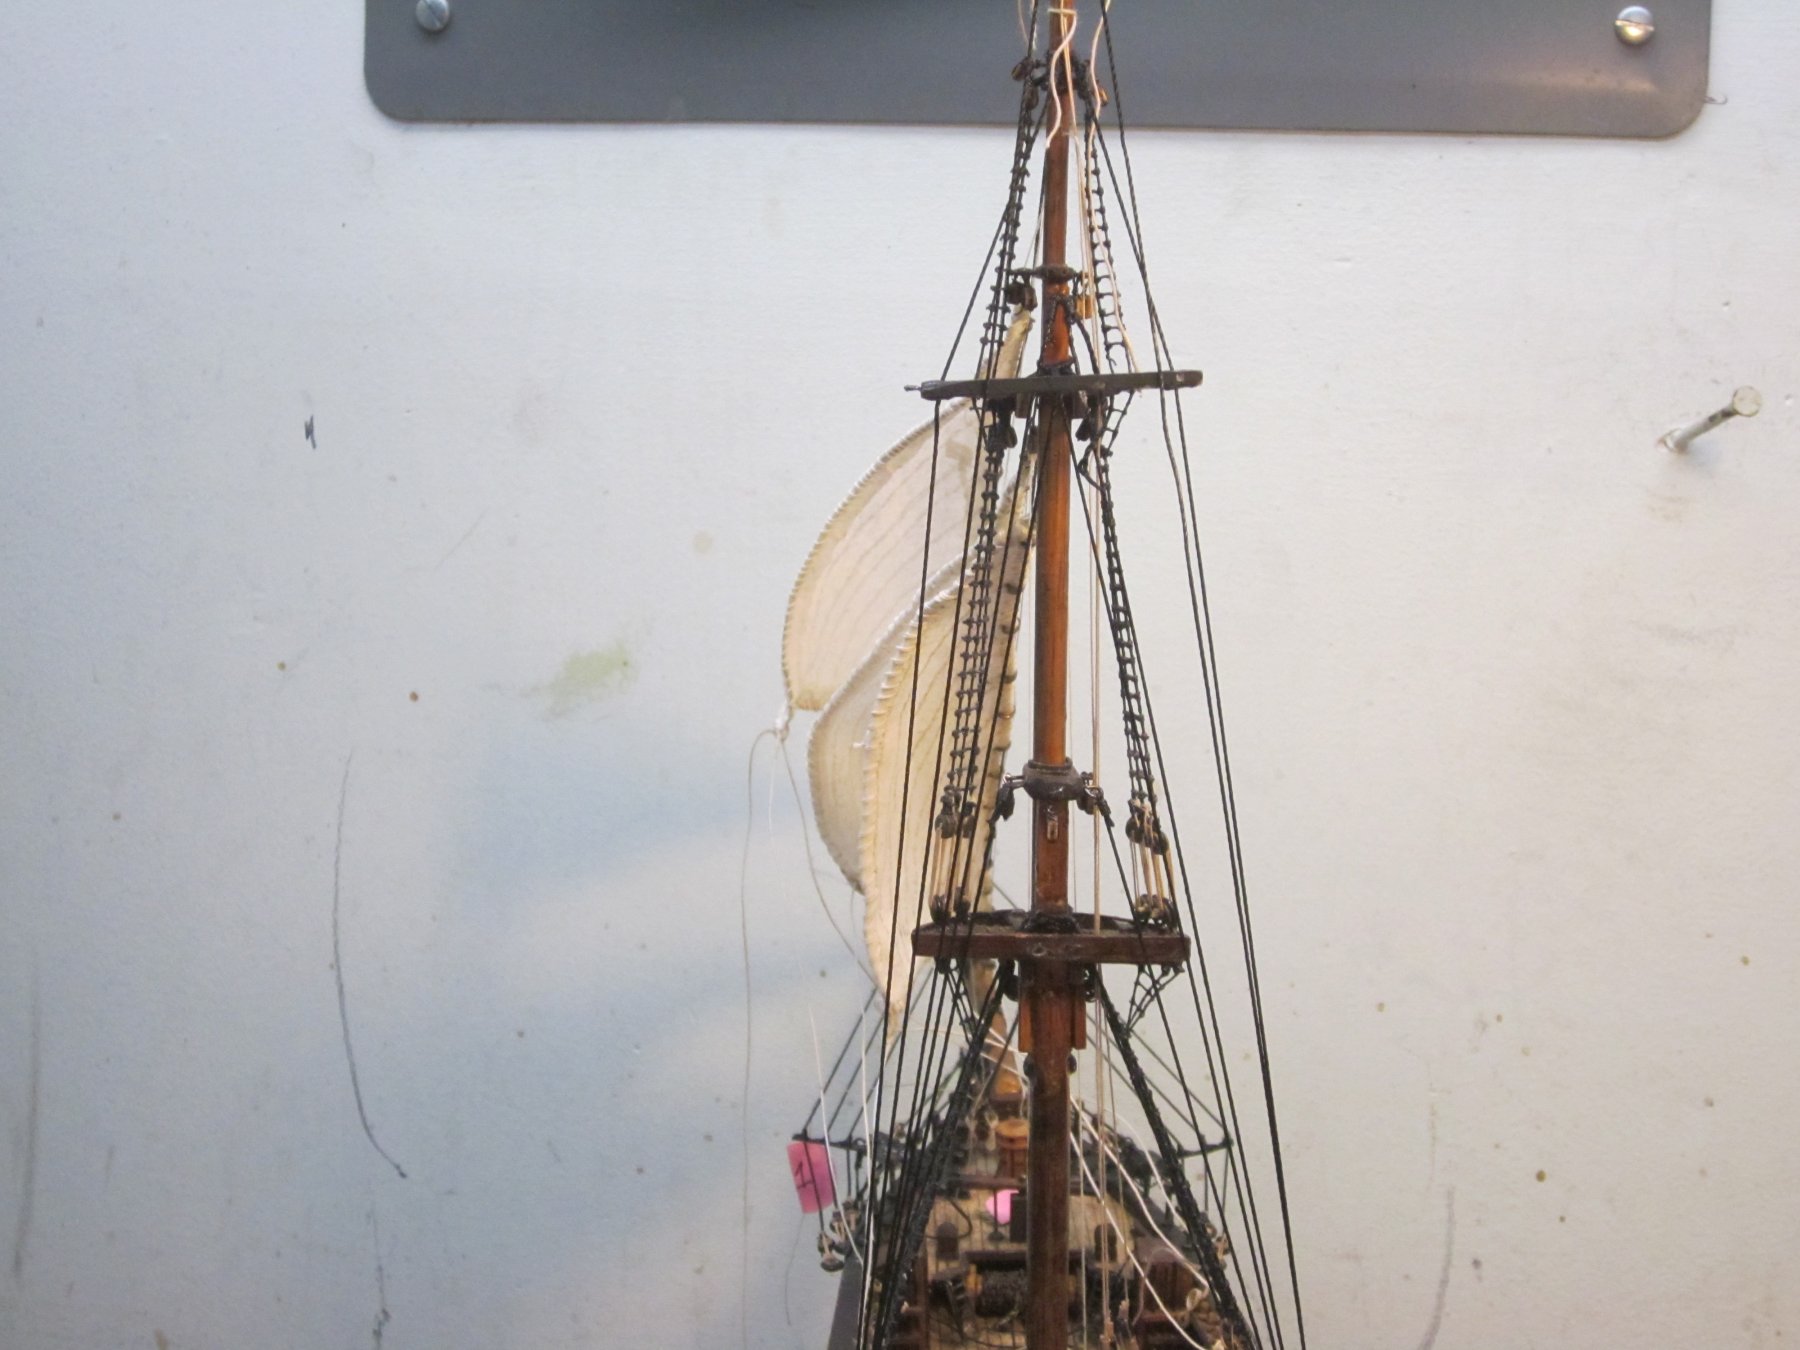
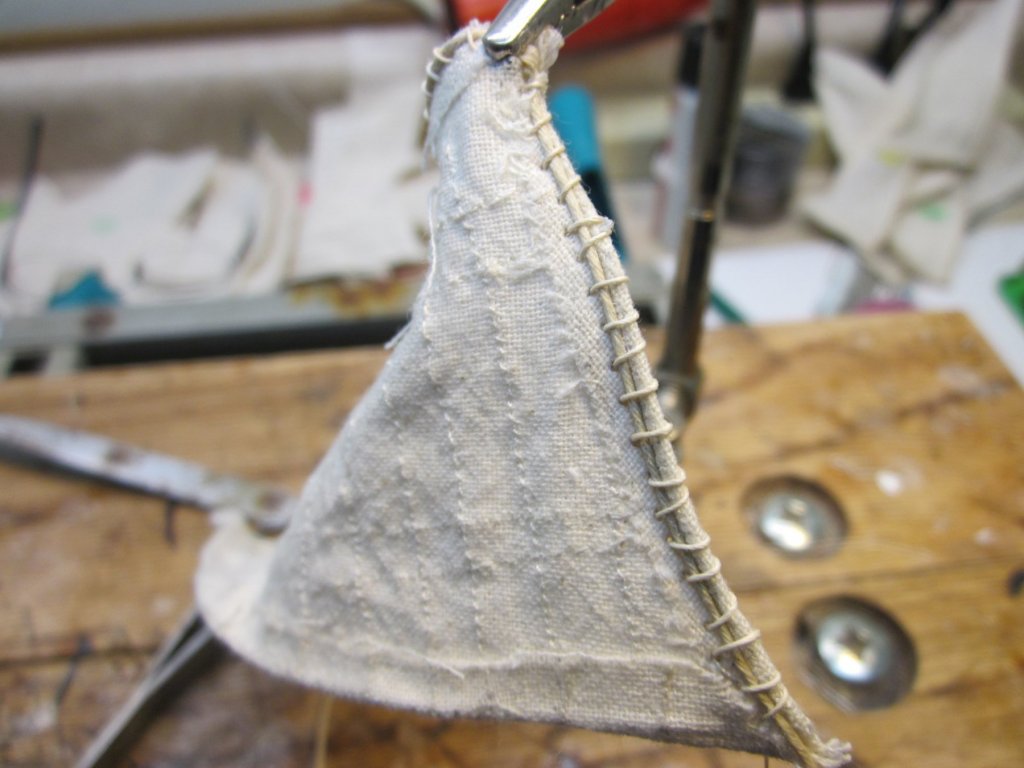
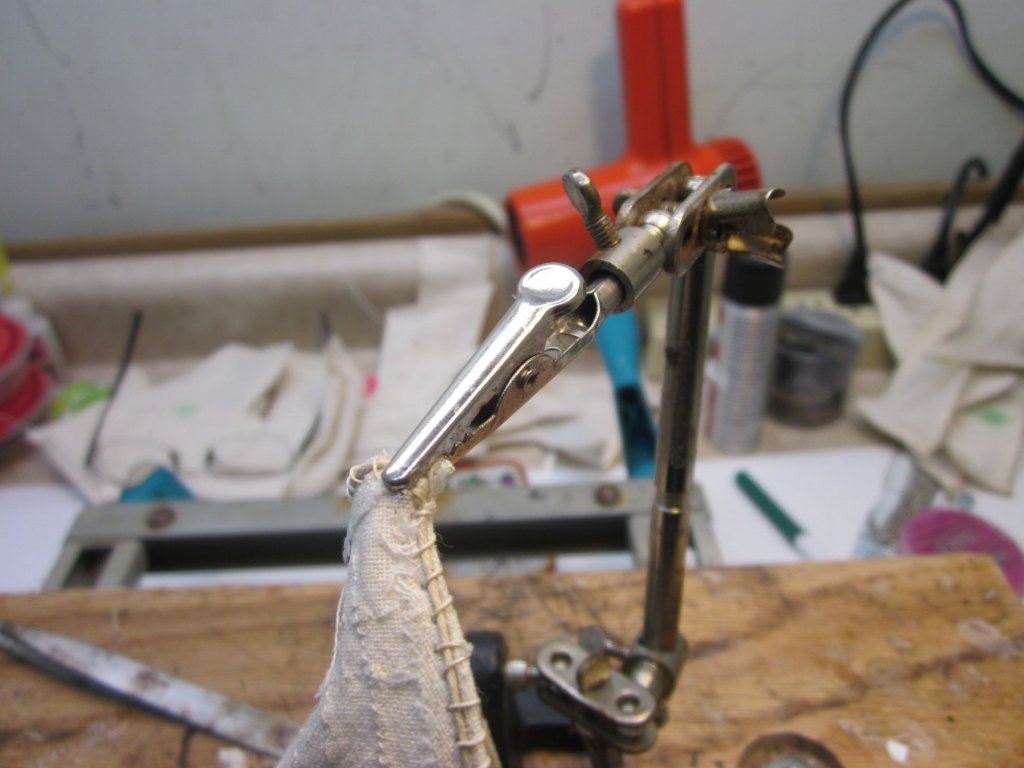
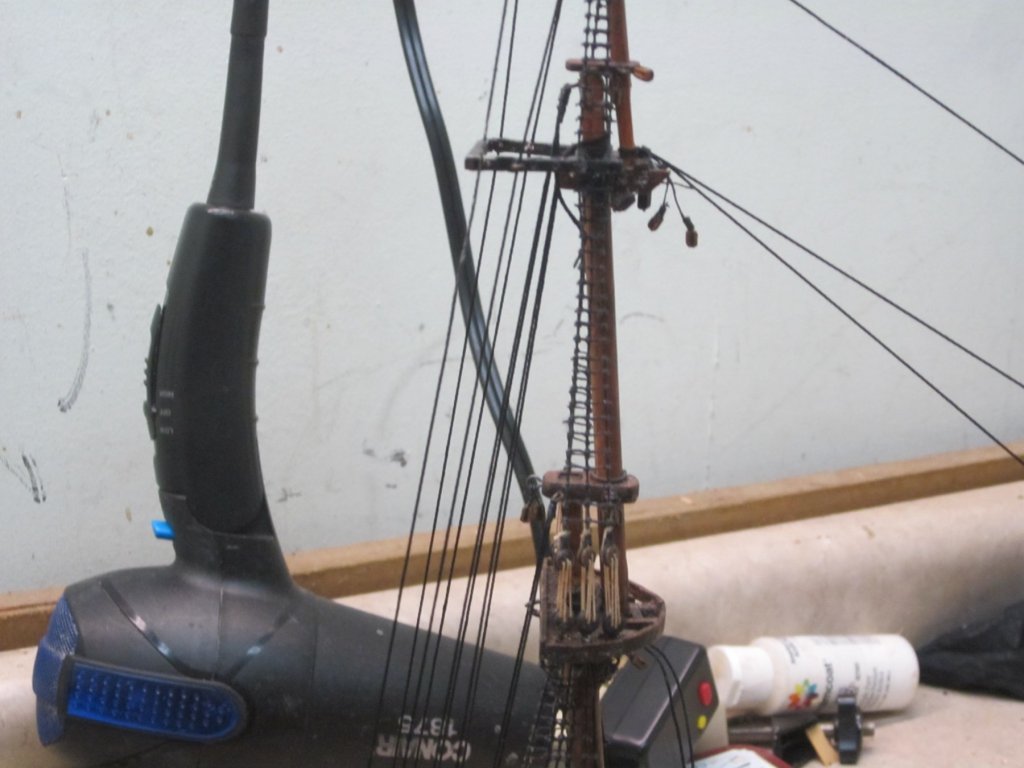
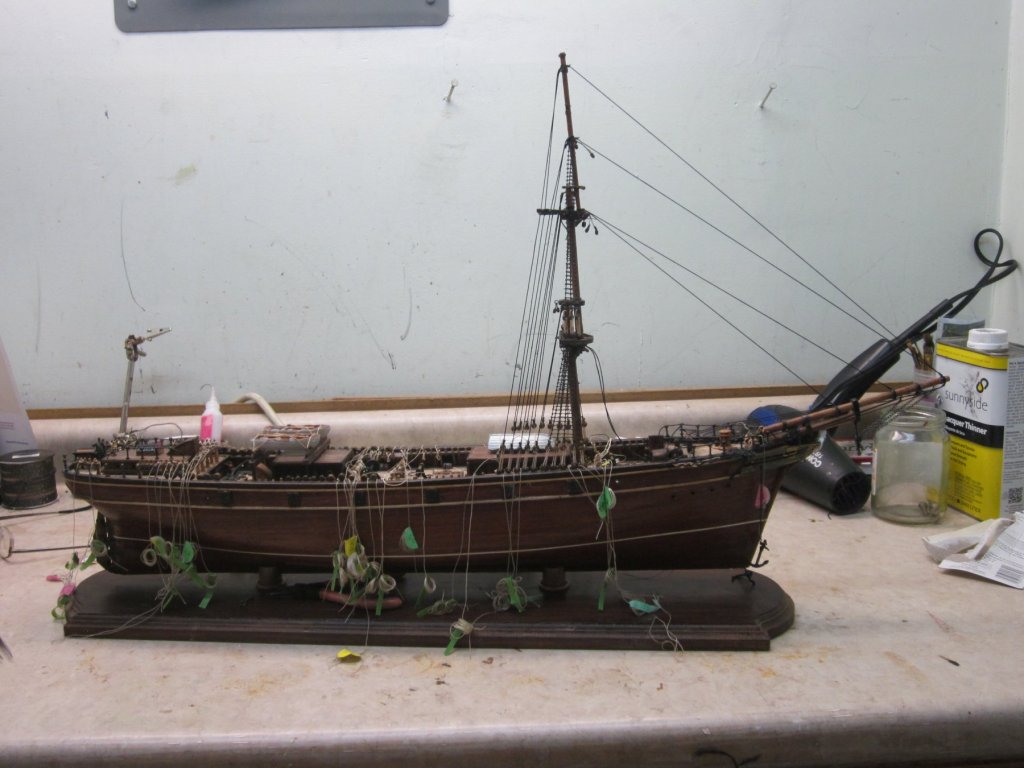
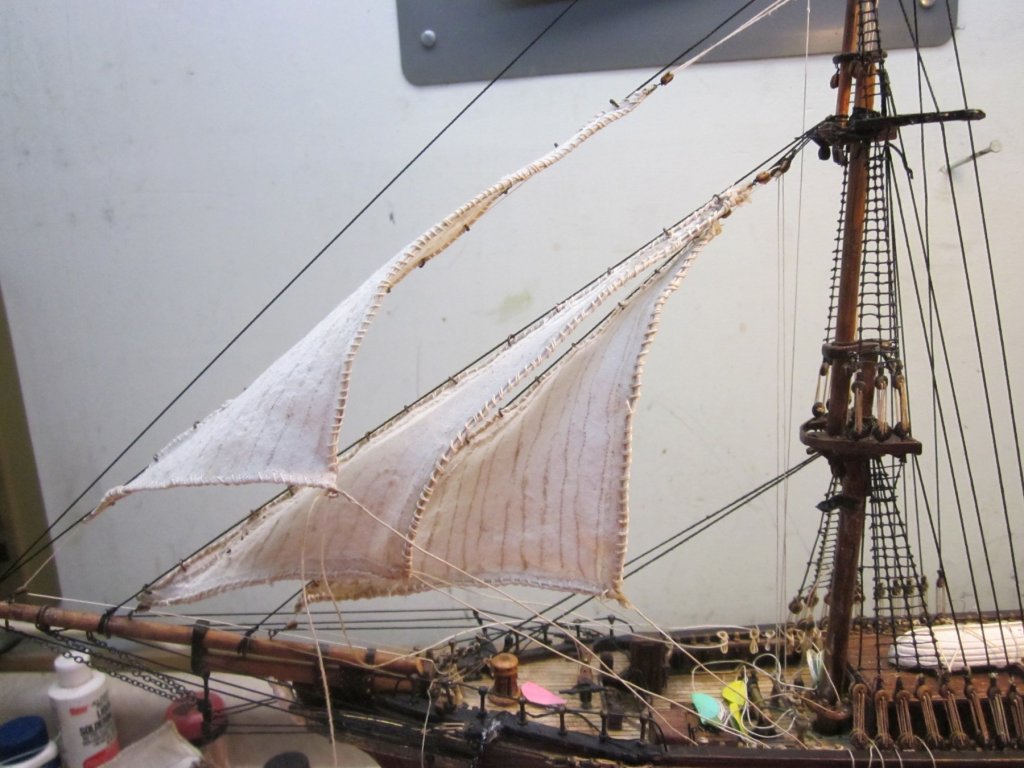
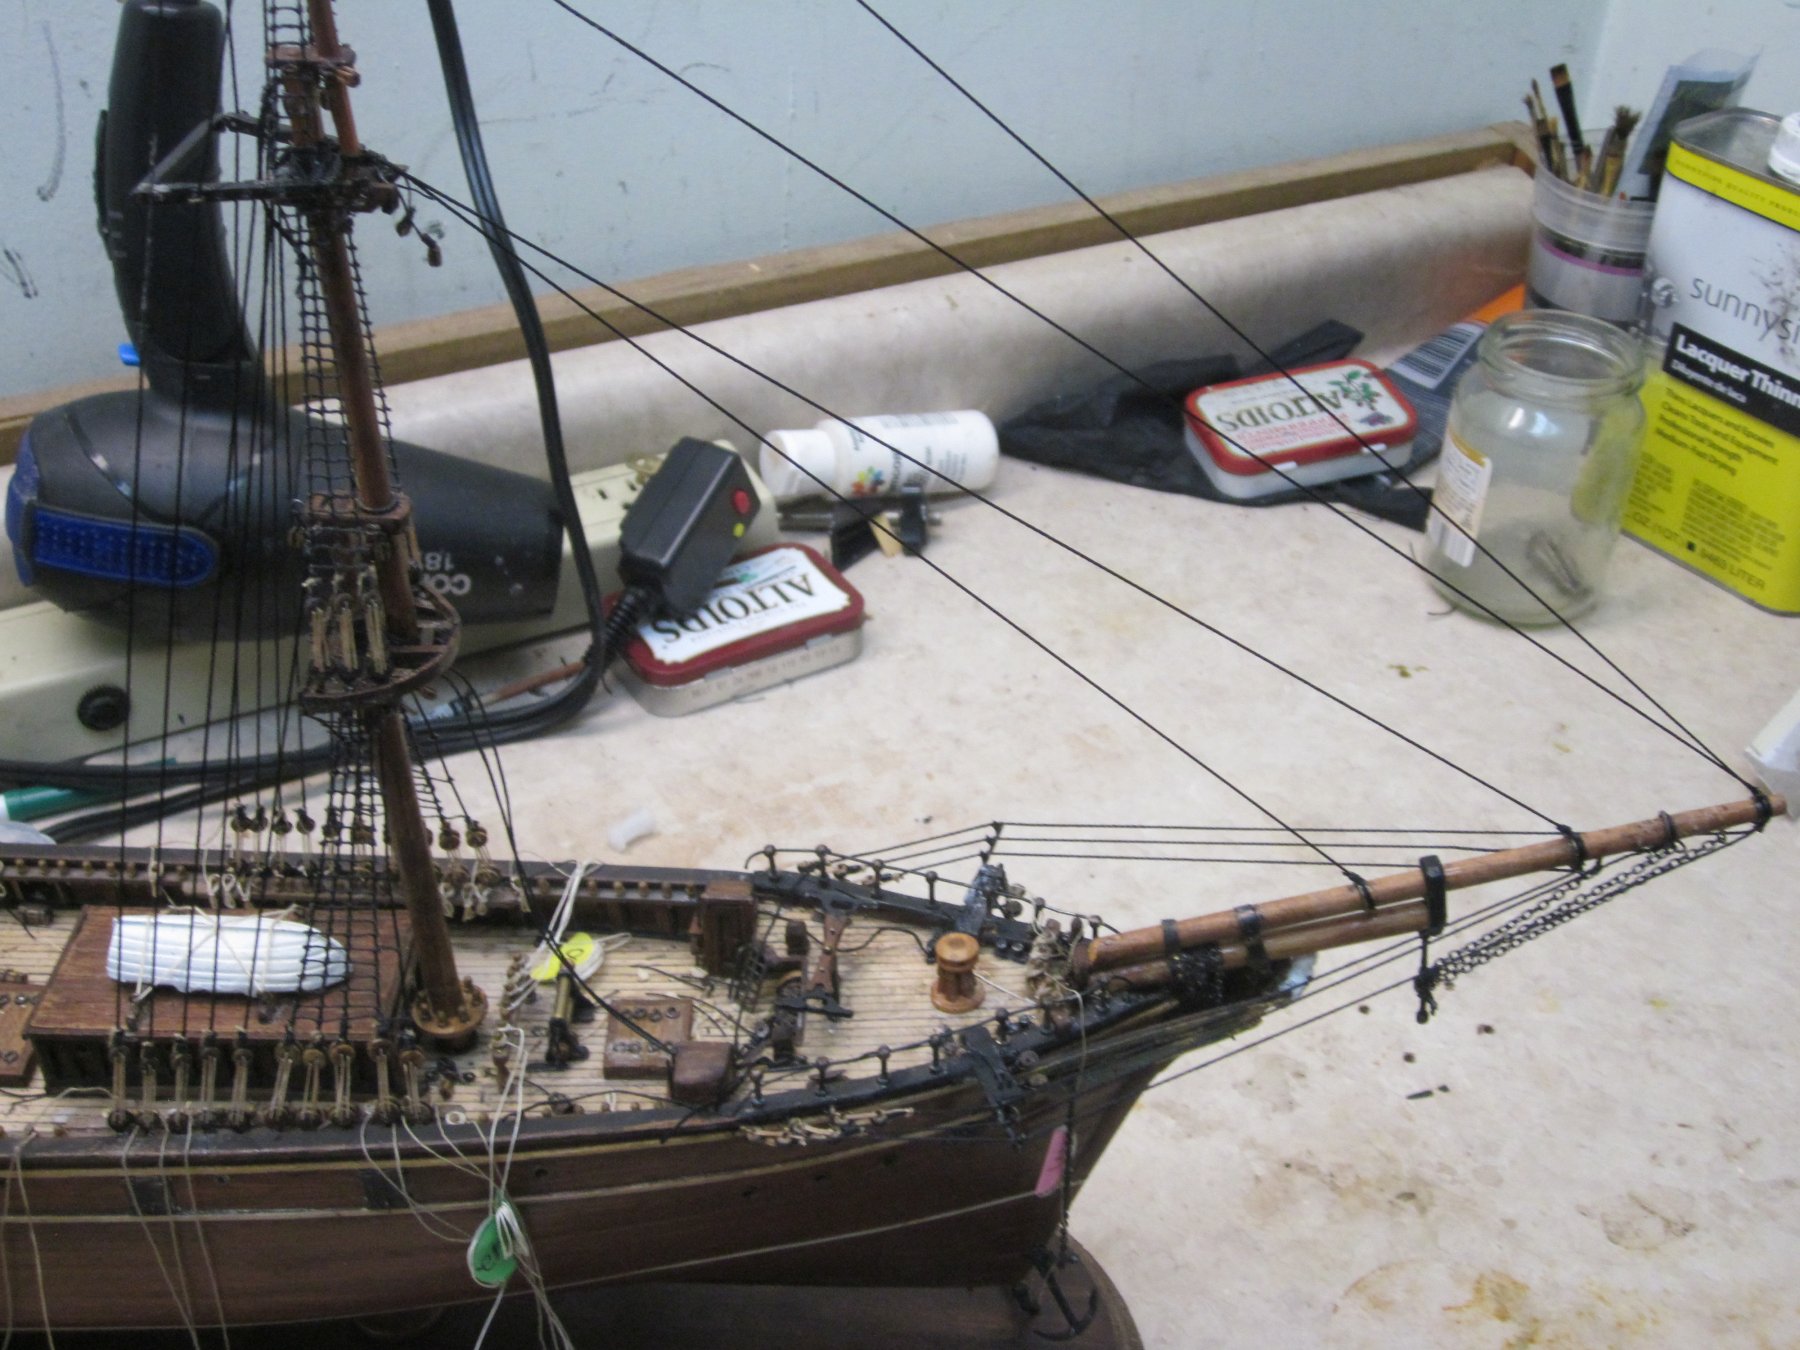
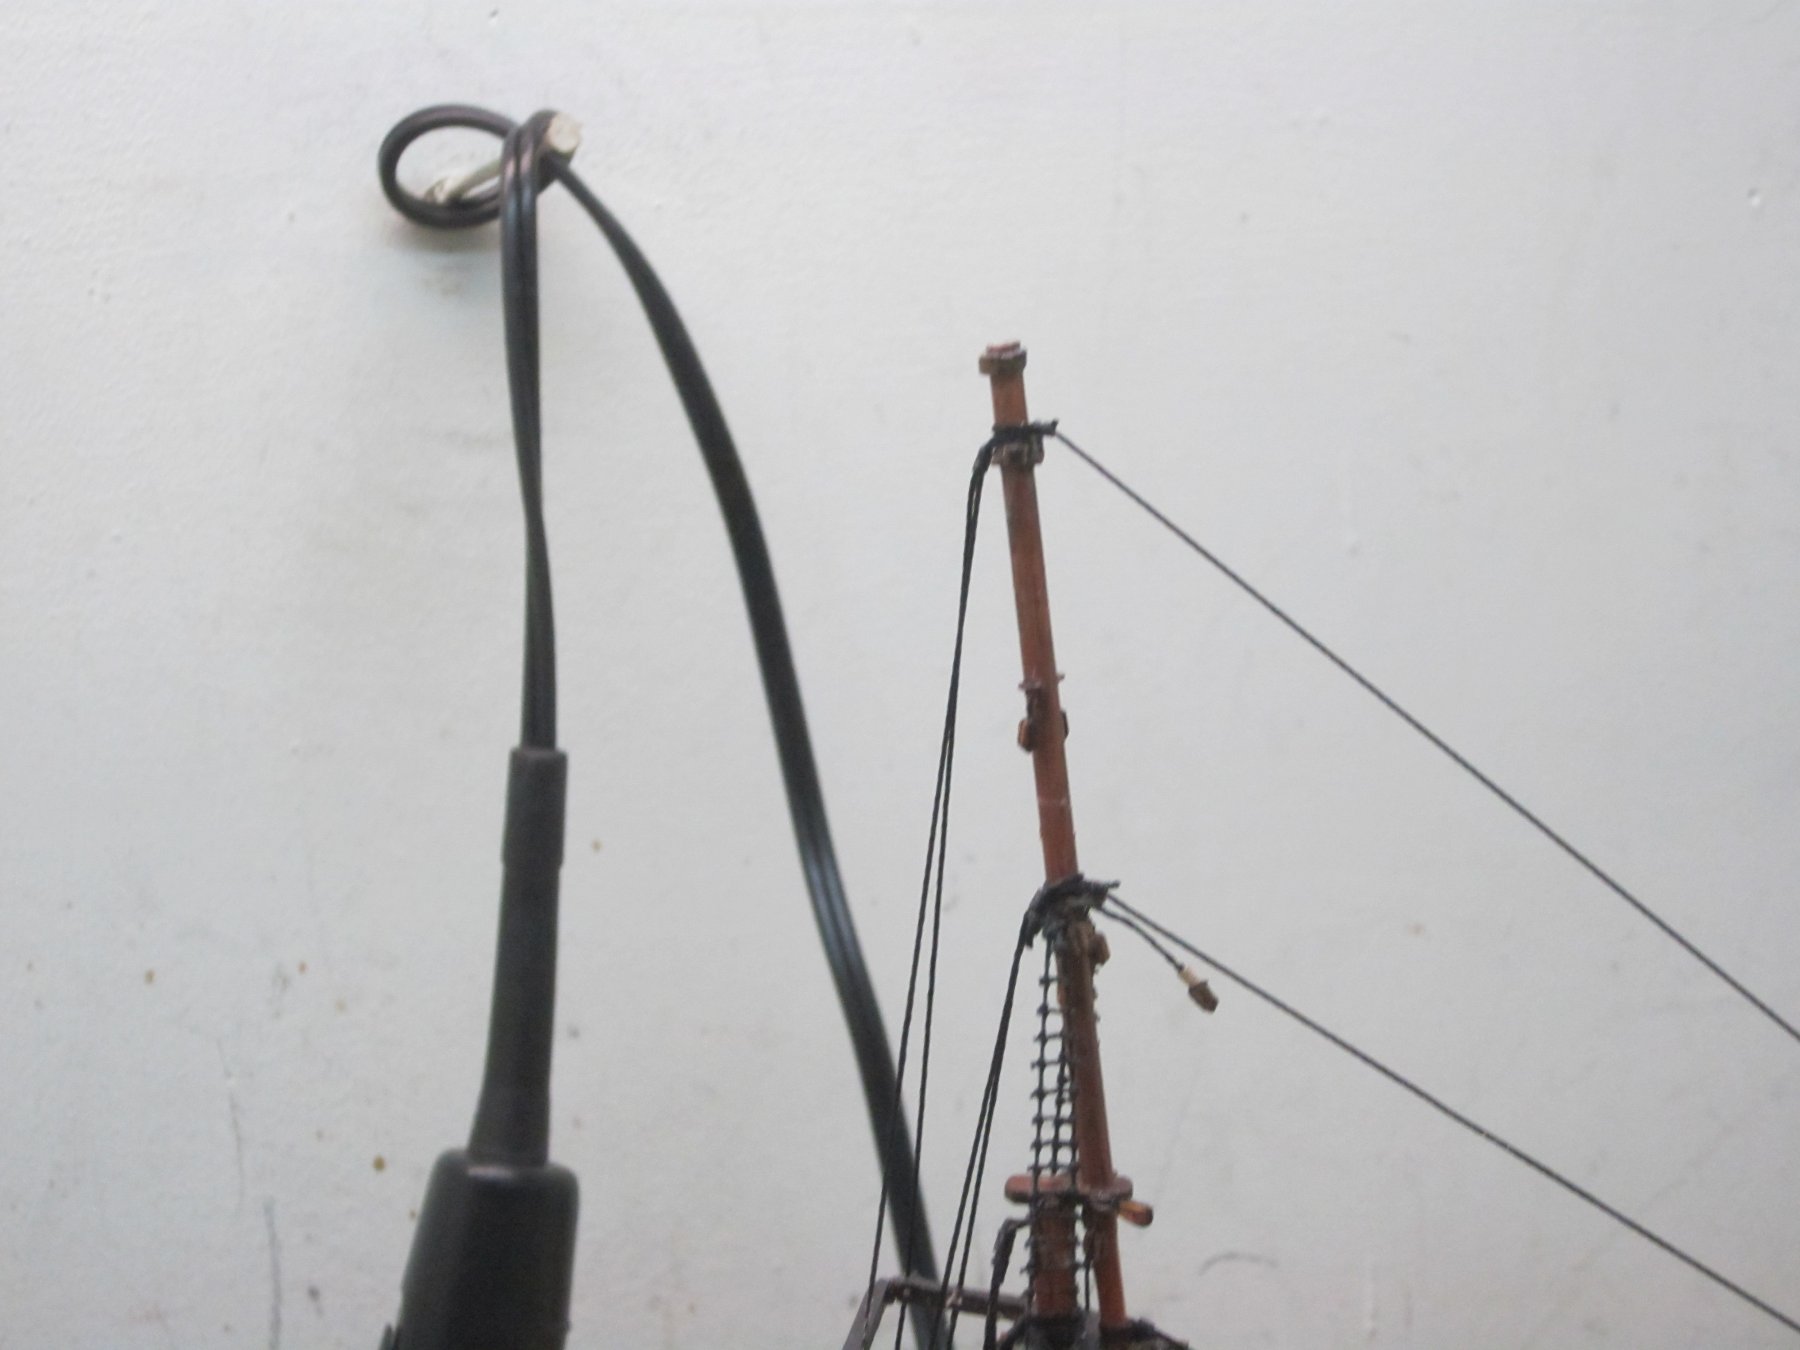
IMG_0190.odg Ahoy Mates--Been some time since my last post. Still going on the Cutty. Quite a PIA trying to find accurate rigging plans for dummies. The plans from the museum-- MEH. Longridge's book is helpful but more drawings and photos would have been better. So...Got the masts and yards assembled, sails stitched and attached Shrouds /.deadeyes done, ratlines on top and tgallant done. Took some liberties with the tops- but the ship is going to my house, not a museum.. Had to redo the bowsprit to allow placement of hearts for forestay. Foremast stepped, w standing rigging ,shrouds, ratlines and backstays in place, Forestays done , bowsprit rigged-- had to take out single blocks I had originally installed for the rigging on favor of hearts . I ran out of pre made ones, so had to use a 1/8 dowel cut to size and drilled in the center- did this by holding the cut blank in a hemostat and drilling. Pre-rigged the double blocks for halyards the mast. Less hassle doing it beforehand and attaching the assembly to the deck ring BEFORE installing the whole assembly (w/ring) the mast foot. Rigged the forestay sails. Had some trouble with breakage of the lower yard metal braces---cheap pot metal , while trying to set up the fore course. So I had to rip it down, and cyano the part back together. Put a small metal rod in the mast and yard as a brace. Next step-installing and rigging the rest.. I find it easier to rig the foremast, then the bowsprit, then staysails before the forecourse, etc. Less stuff to have to crawl over that way...I work then fore to aft. Cheers. Fair winds and following seas to ya.


.thumb.JPG.f4e4087d27abf9d8a541cbf936721ab3.JPG)
.thumb.JPG.c25f8e5e9204fa63855079554fec1f1c.JPG)
.thumb.JPG.7e3af325b1aa6da40da8f8d1494747e9.JPG)
.thumb.JPG.e99a34c9fdbb3beaa186000f859c999f.JPG)
.thumb.JPG.0a6c1d0259d96f90abd4738dad276dda.JPG)
.thumb.JPG.8fec951941cb3d0e1dbed86bf4e83ce5.JPG)
.thumb.JPG.e6ff1cca6833fcffc13007e3aa8d8405.JPG)
.thumb.JPG.c5daf4ecbd338ca33c677d0e22b70a68.JPG)

- 33 replies
-
- 2
-

-
- Cutty Sark
- Constructo
- (and 2 more)
-
Ahoy Mates Anybody have the fittings/ for Model Shipways 1/64 Bluenose Bought a kit minus the laser cut parts and fittings. I can probably manage the wood stuff- but need the fittings. Fair winds and following seas to ya
-
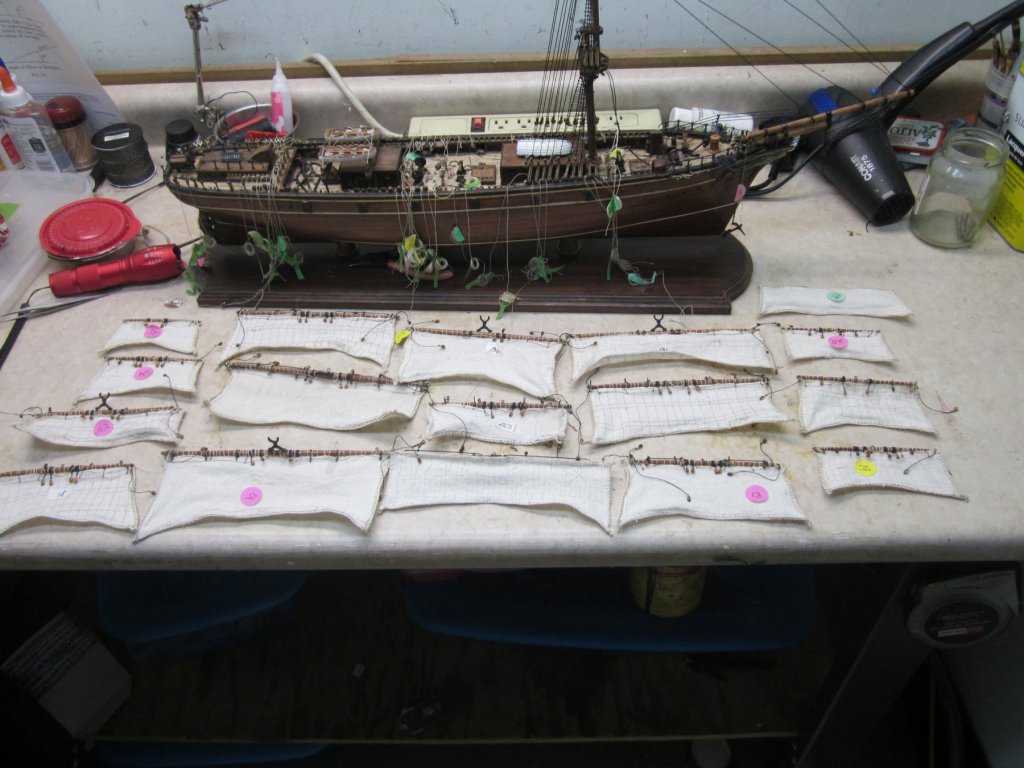
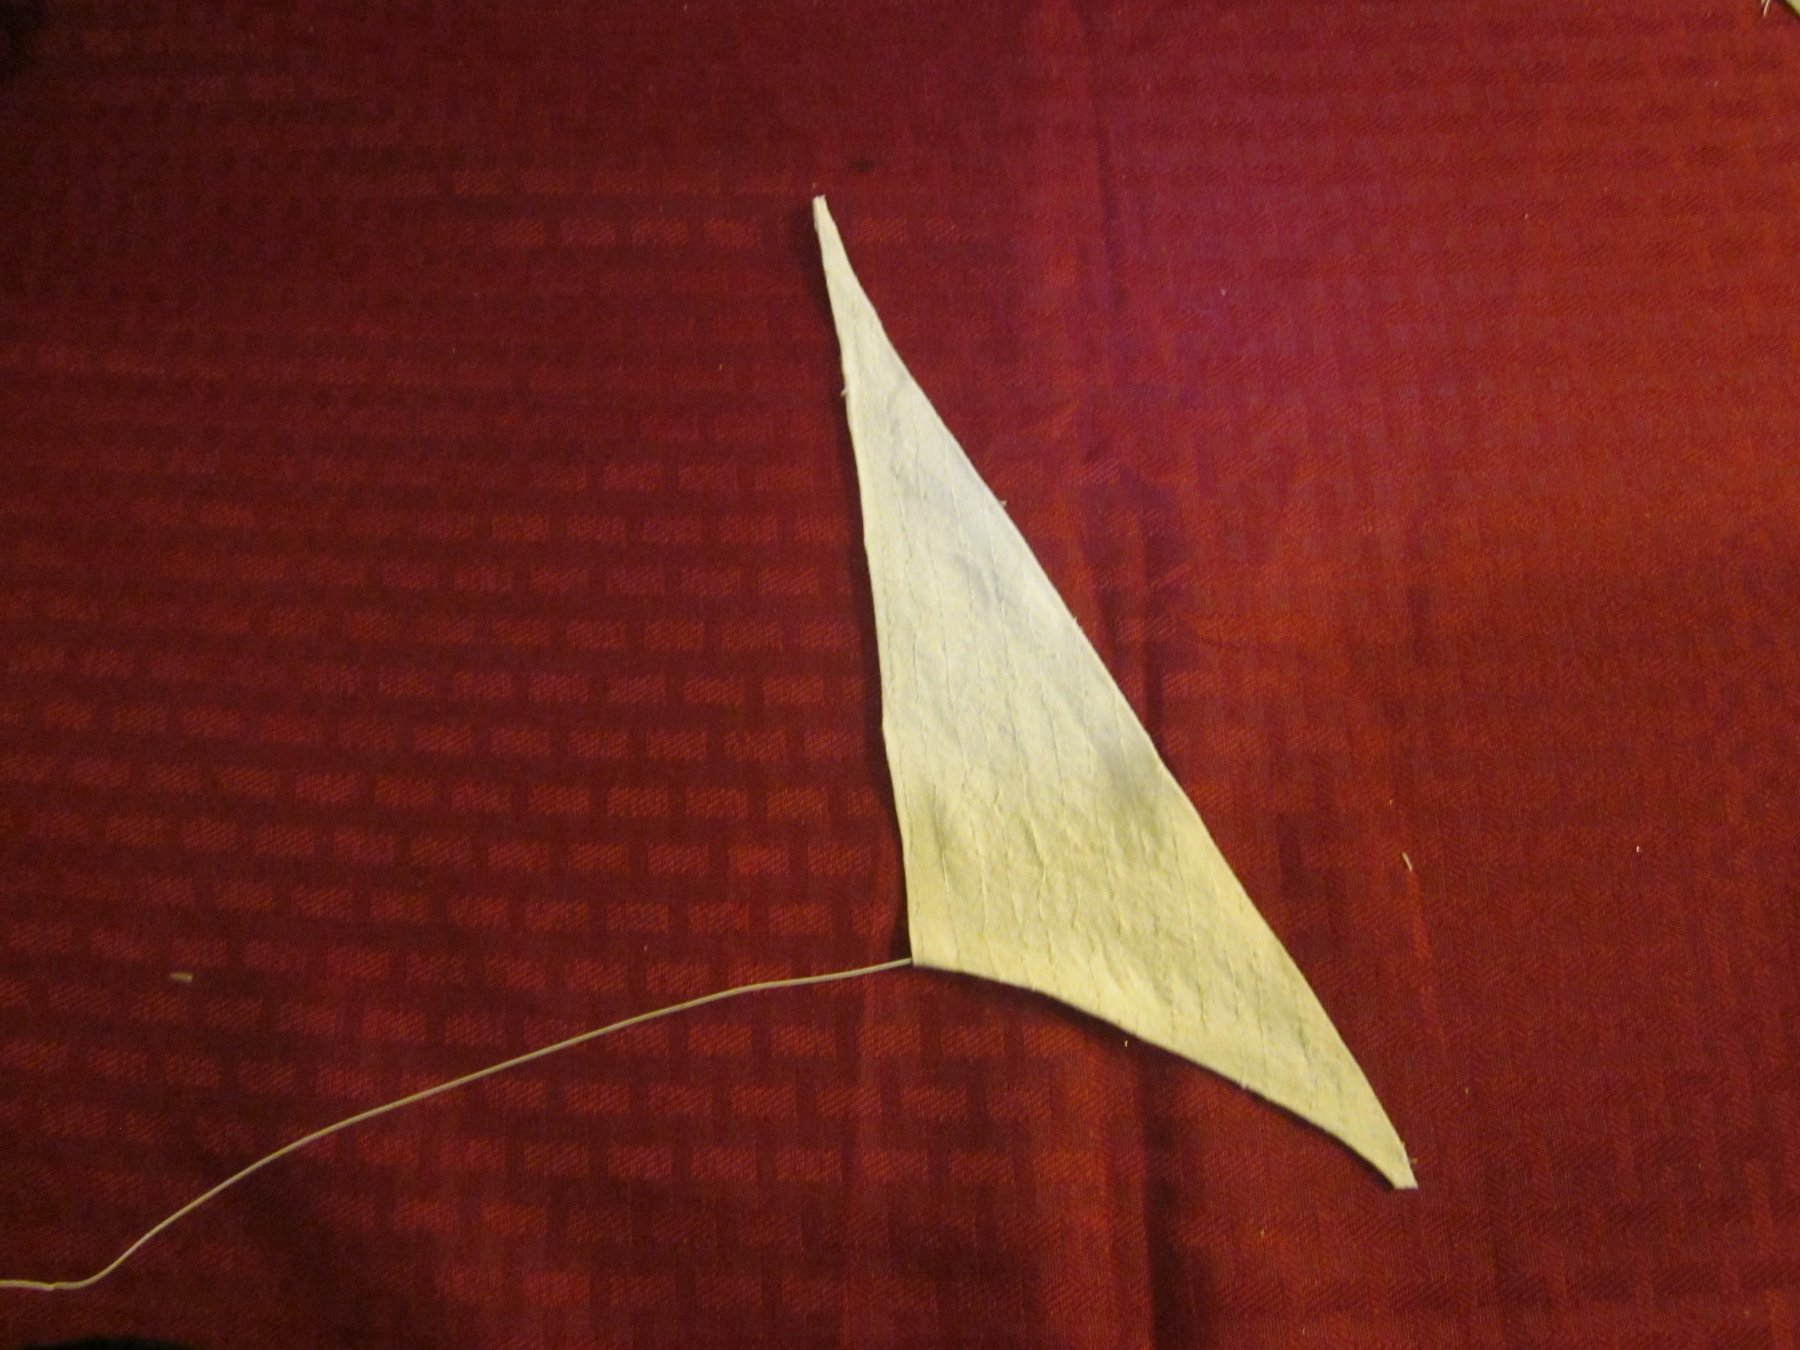
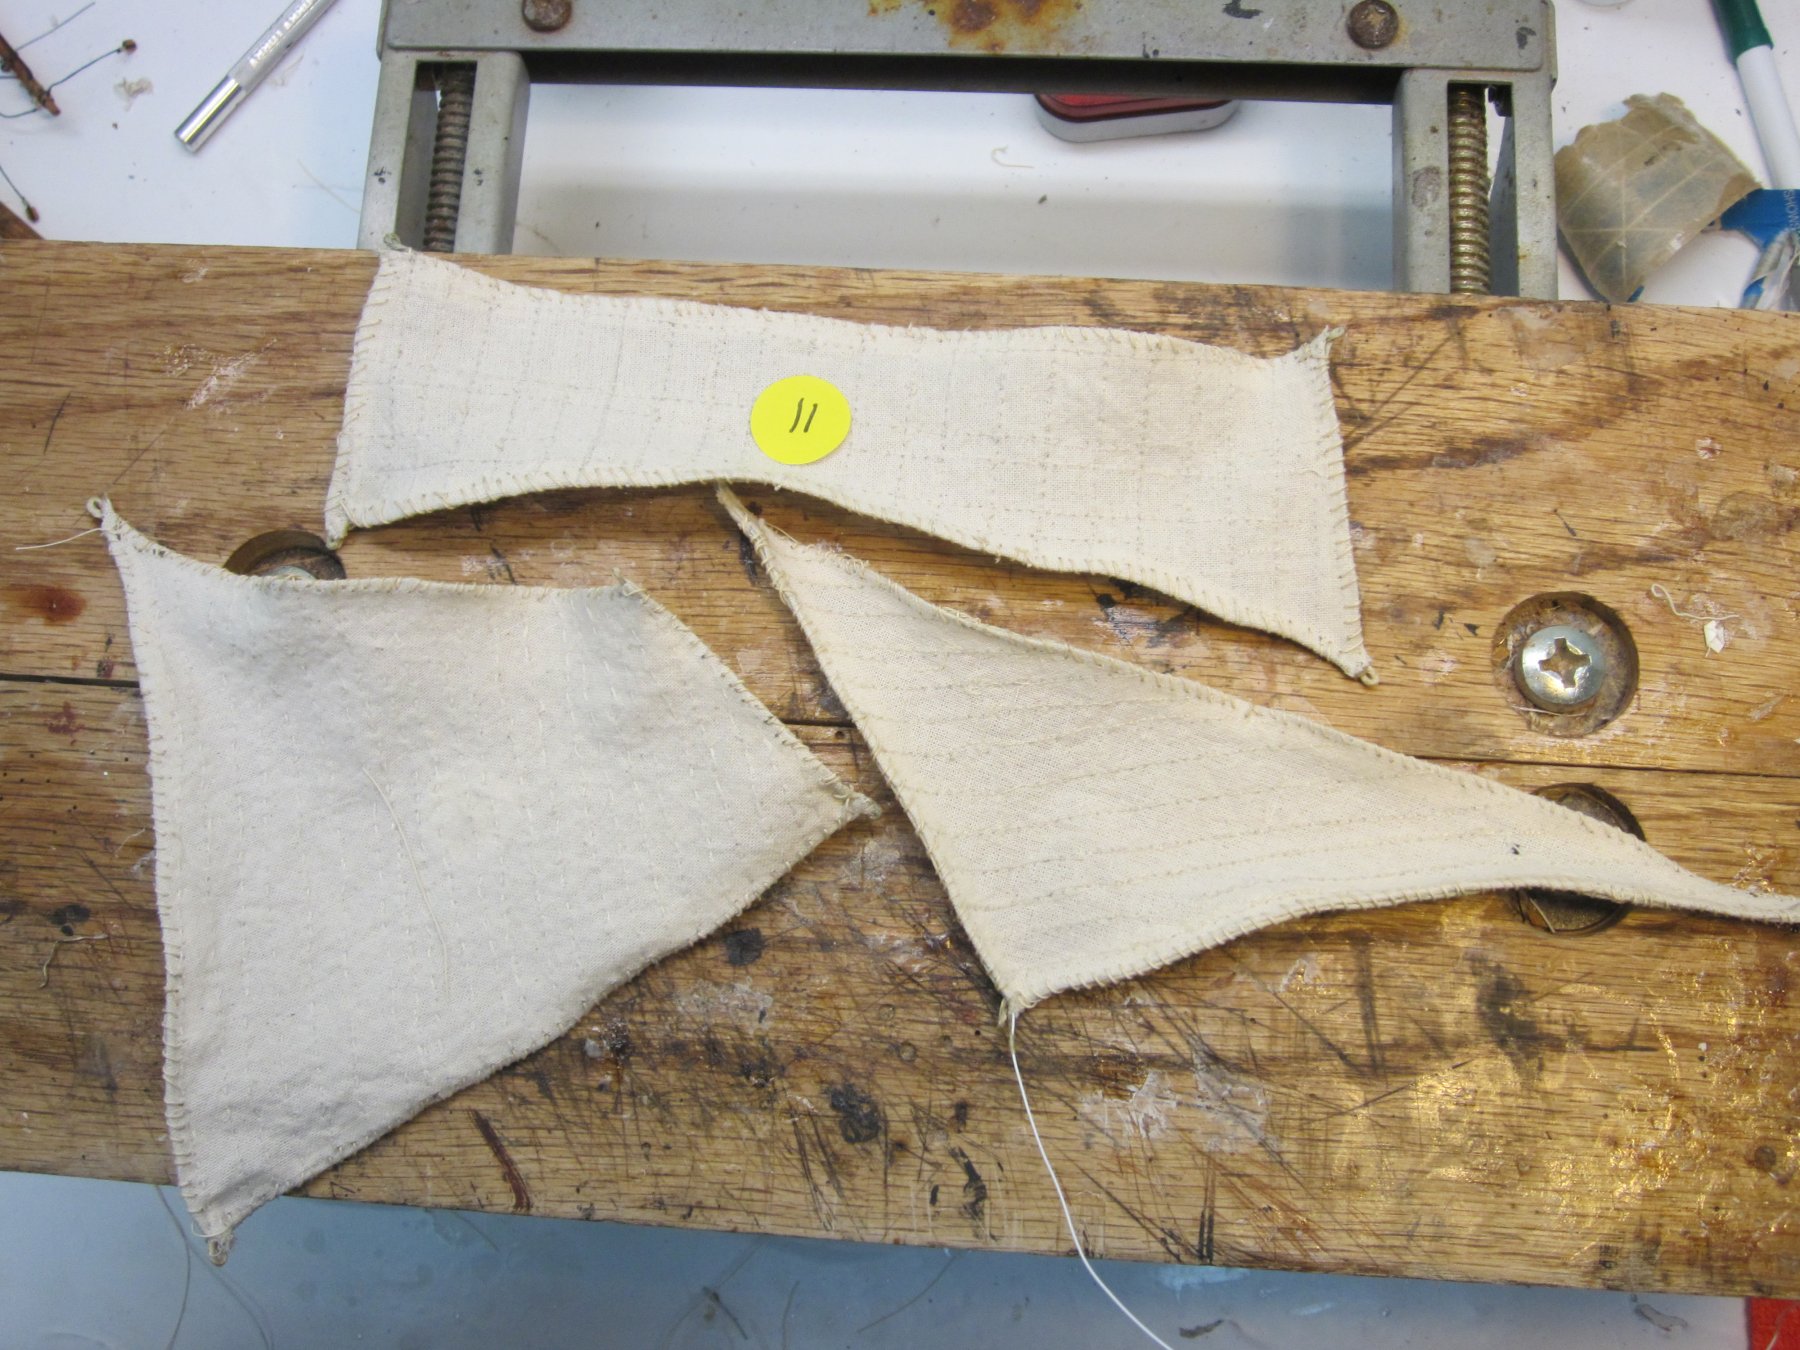
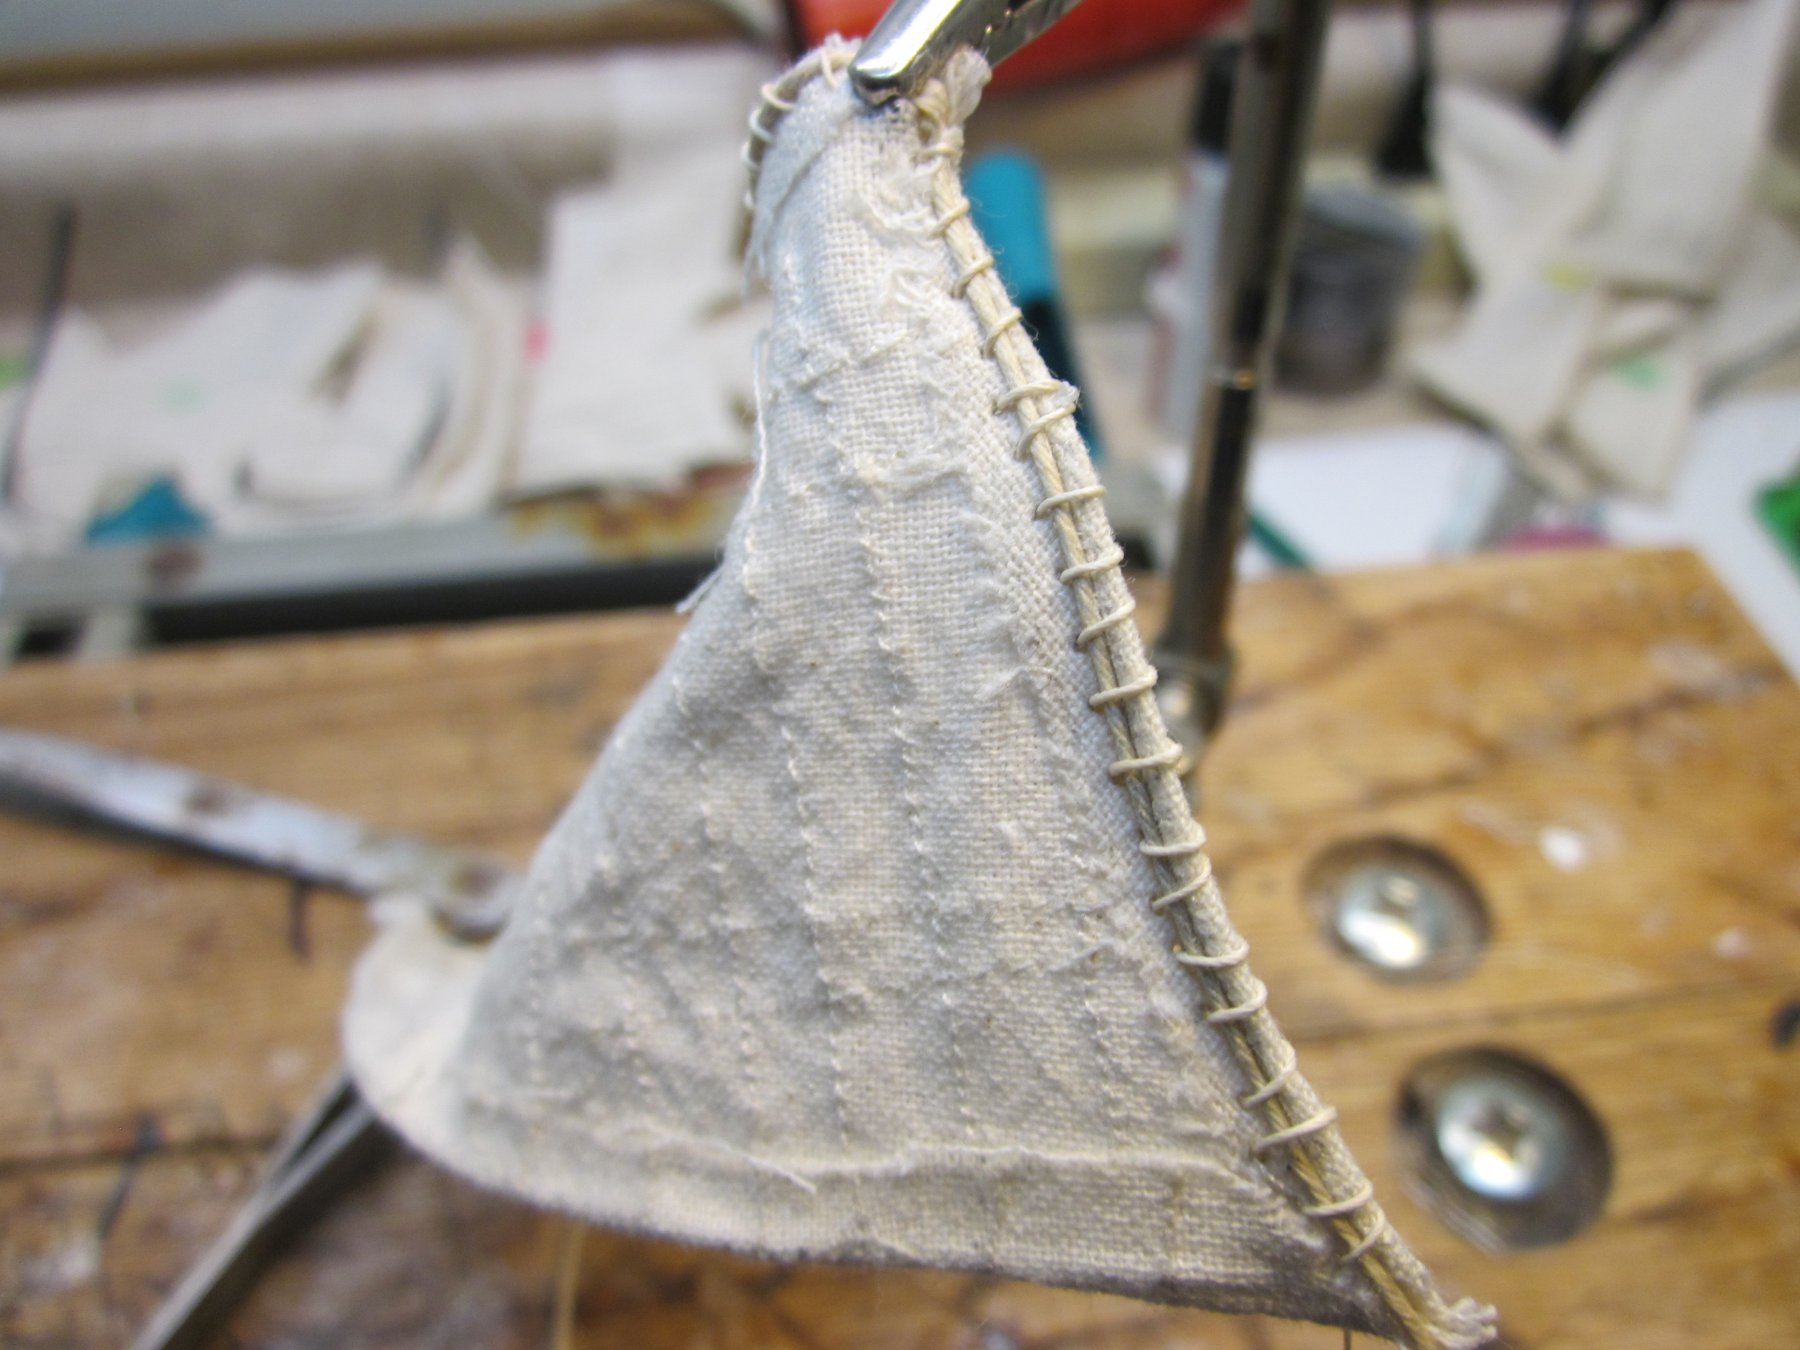
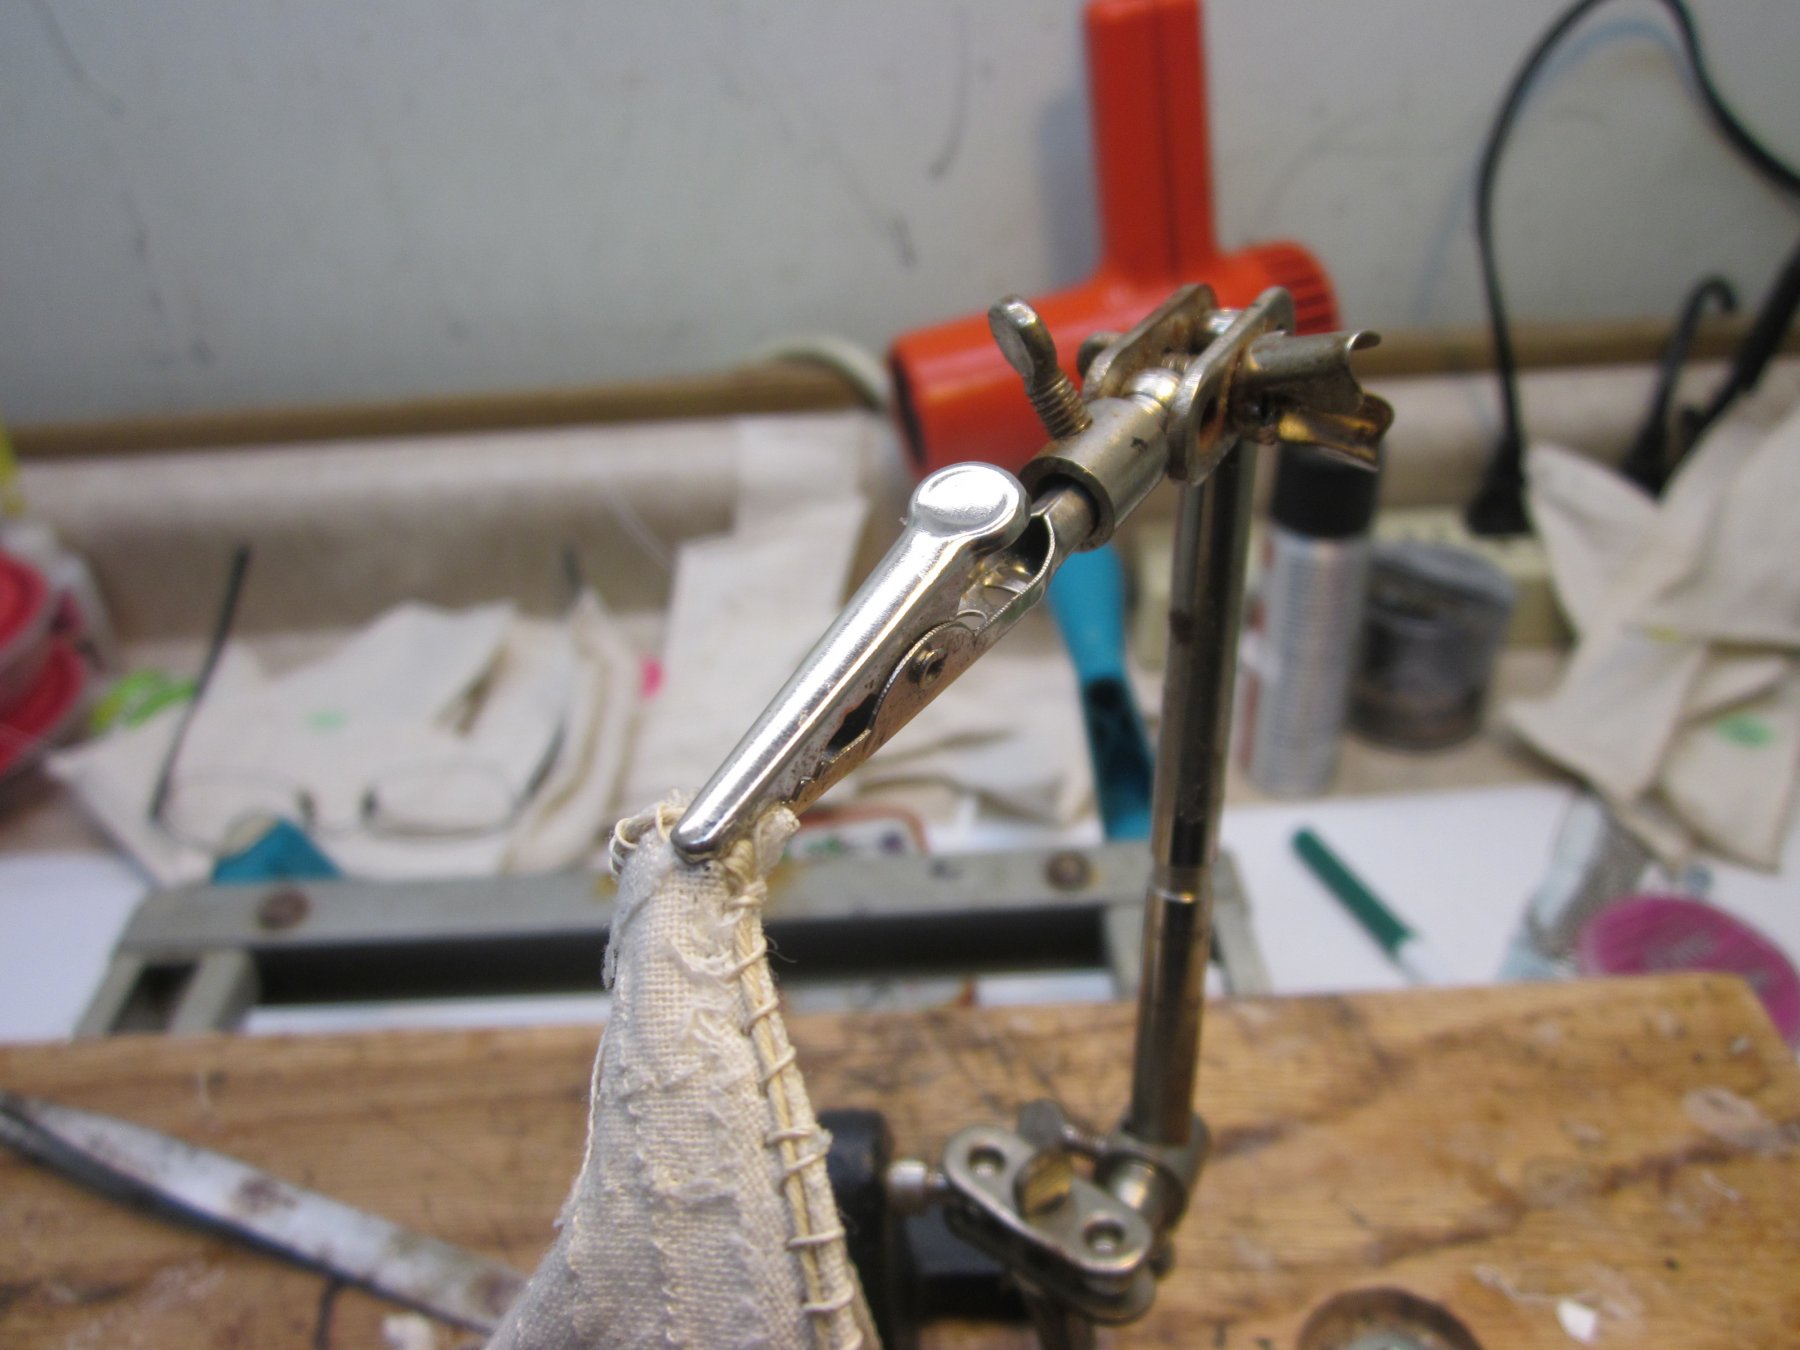
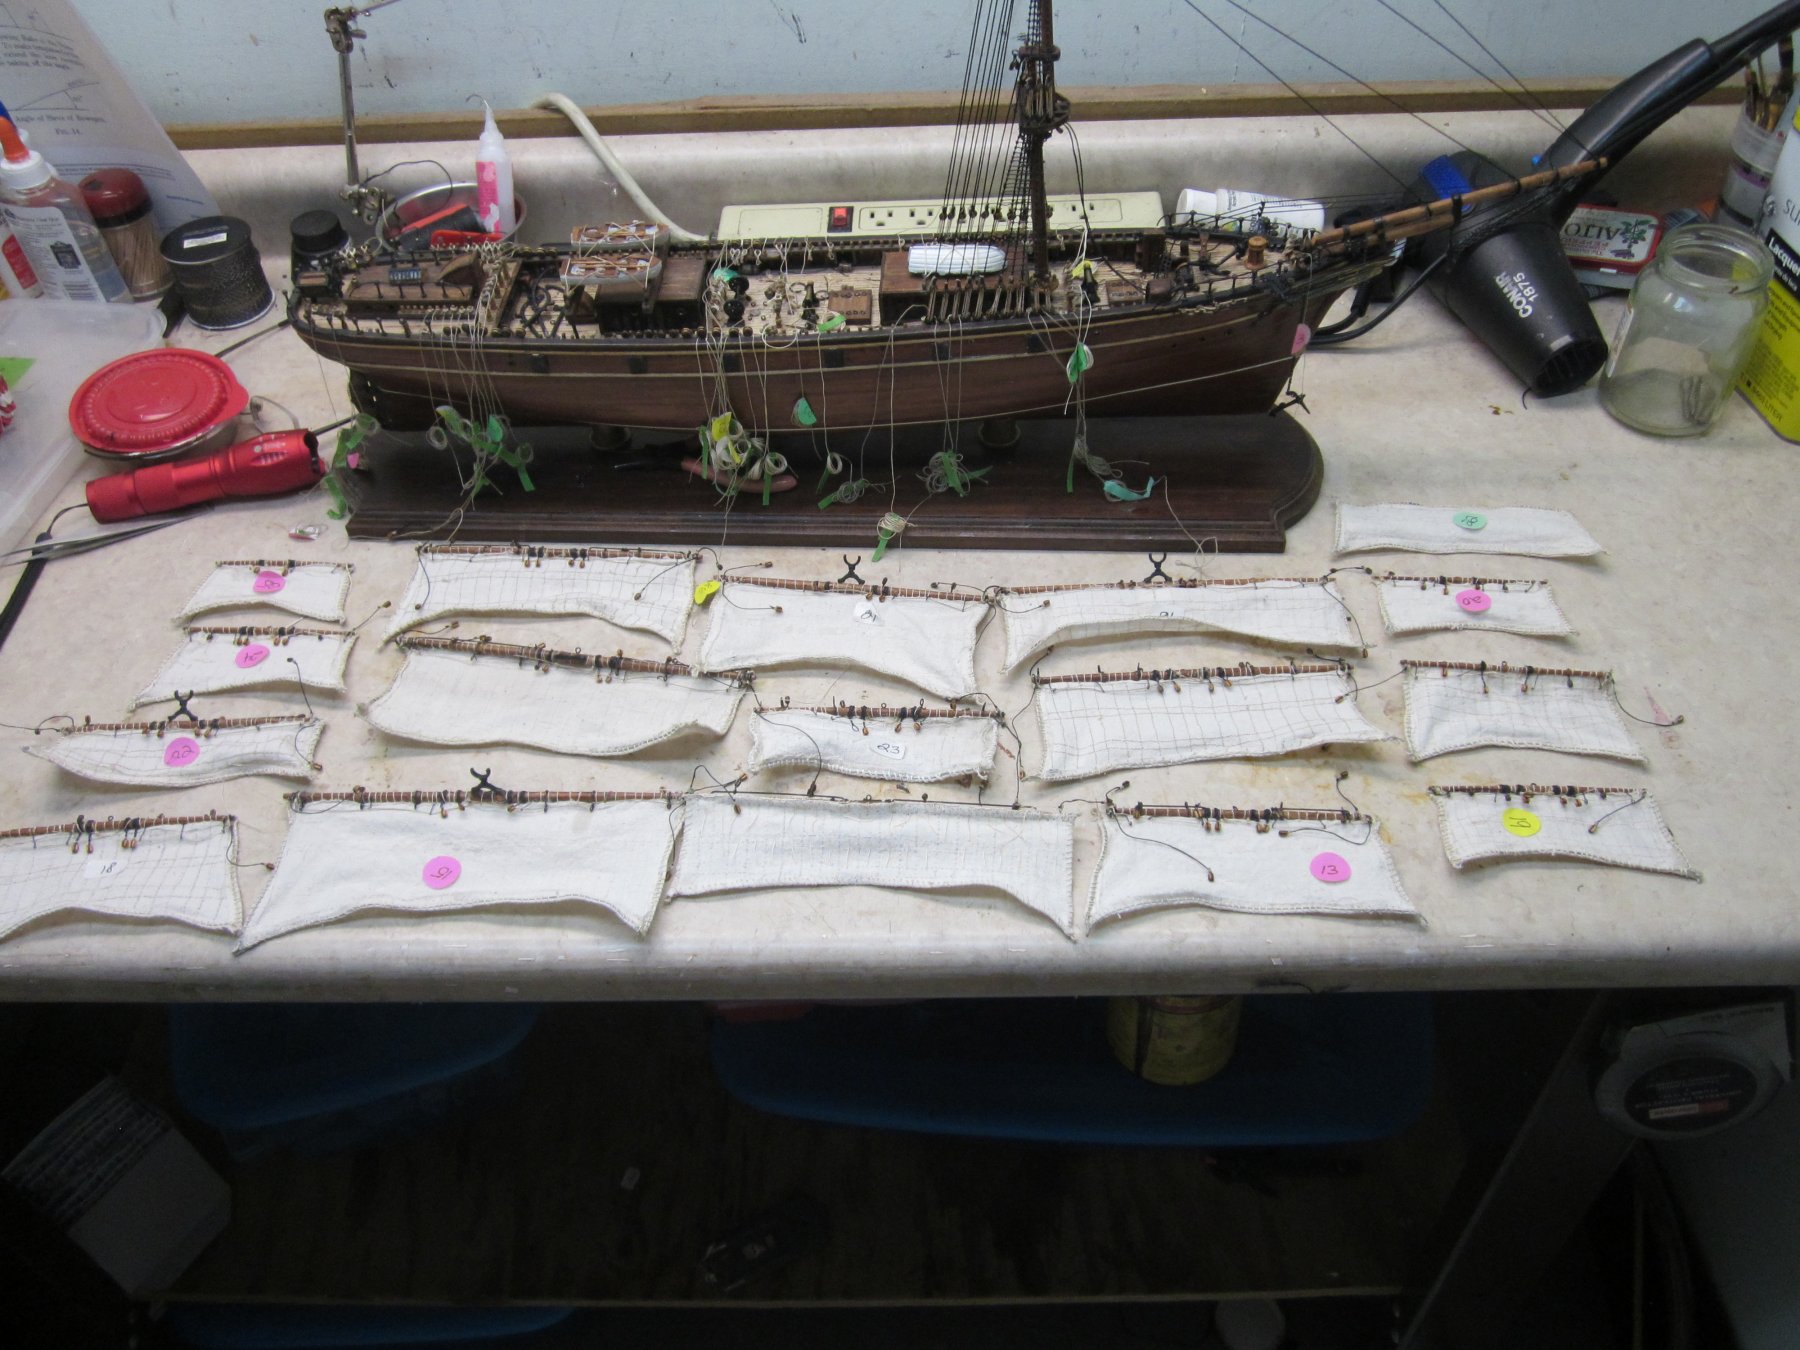
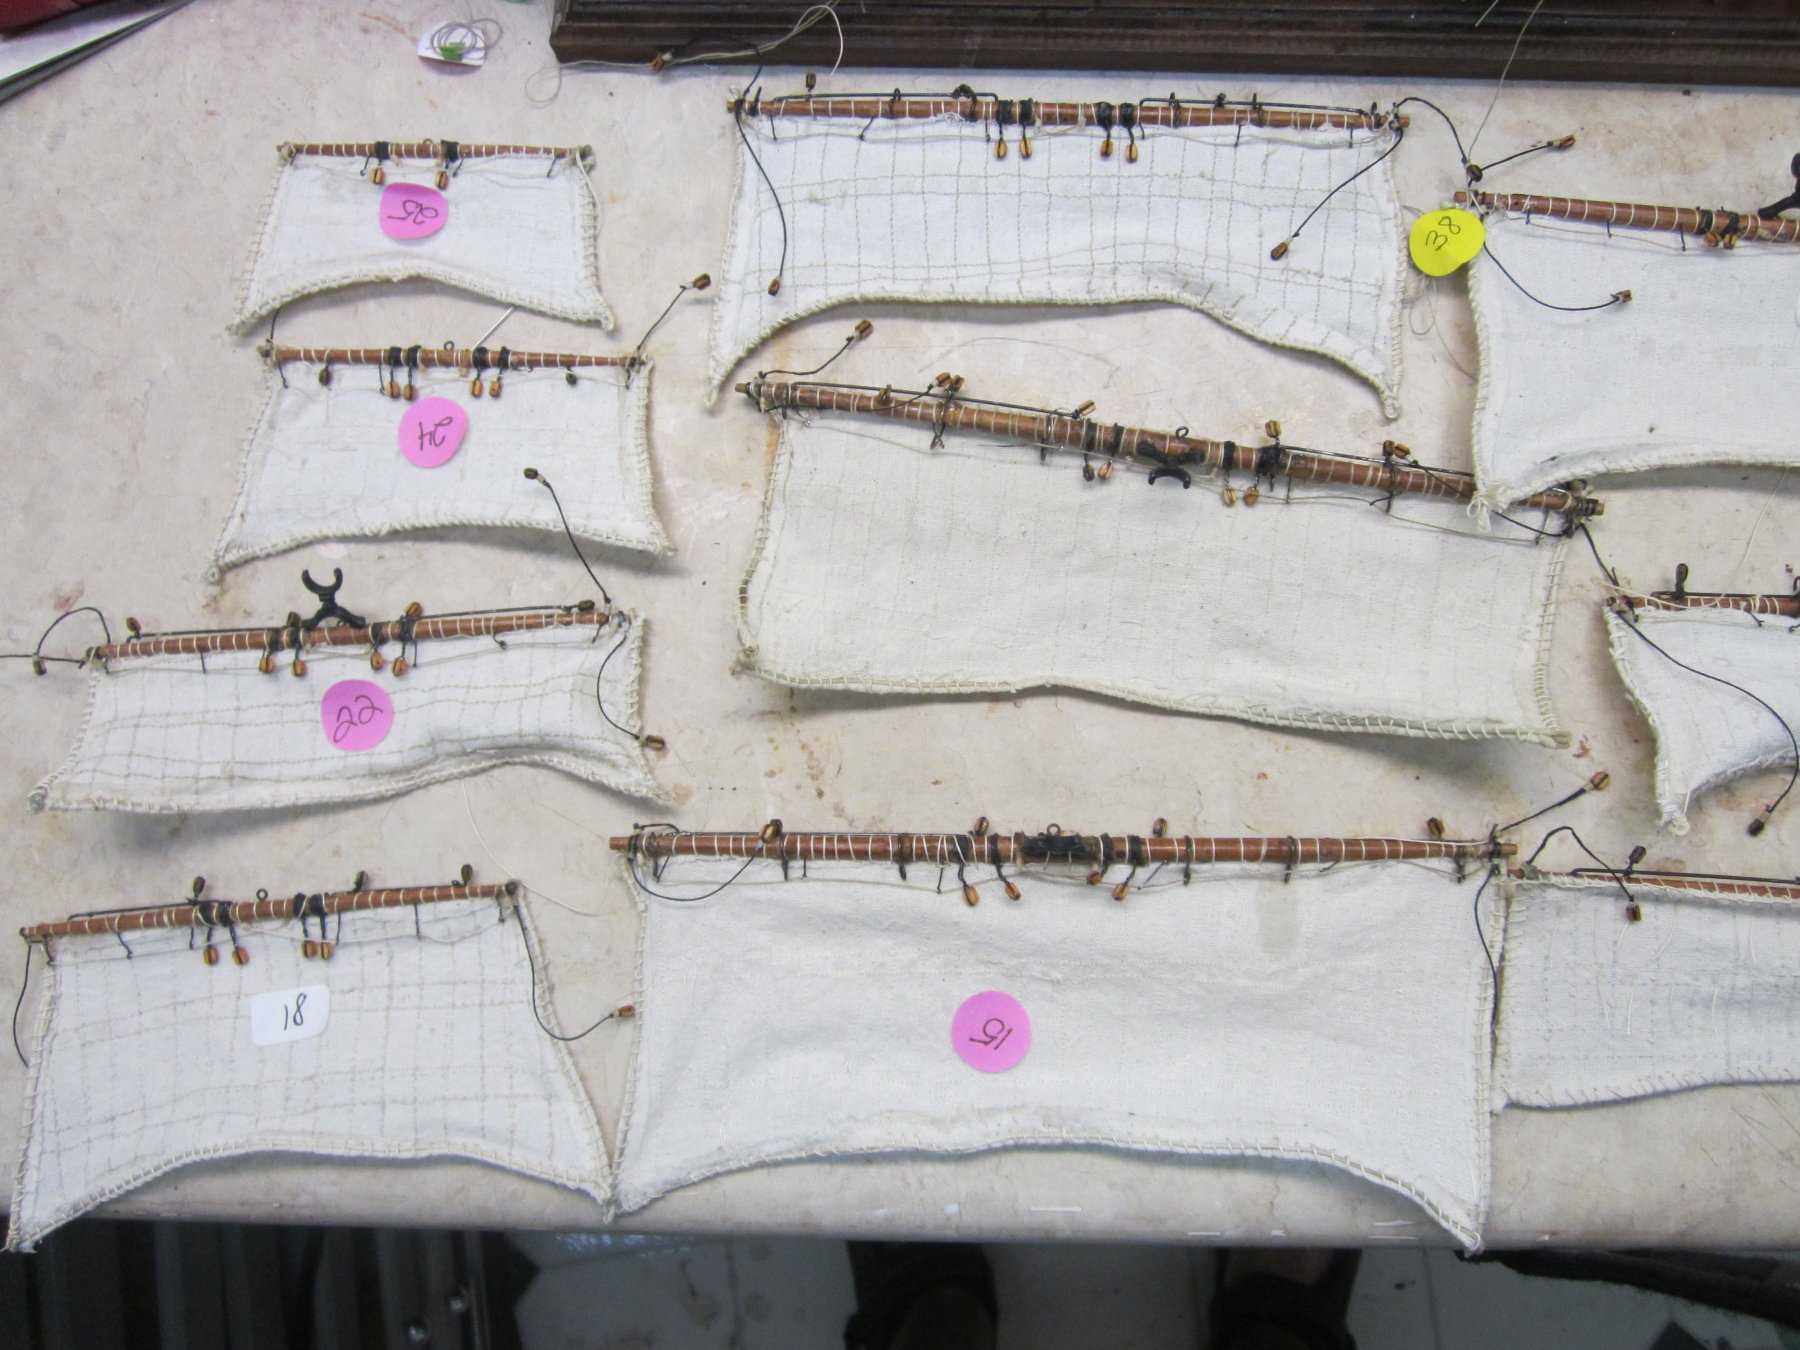
Still at it but it takes time and research. Had a real tough time figuring out block placement on the yards .Longridge's book is helpful, but I personally need a more visual approach, So I bought the plans from the Sark Museum- helpful but I found them a little less detailed than I would have liked. But it gave me a visual--so I was able to make a reasonable guess. I assembled the masts, but I didn't use the authentic Sark design for the tops--art get in the way of authenticity sometimes. For the last month or so it's been sail loft time....had to learn to use my wife's Singer--no small feat, and the Admiral is a great teacher.So a couple weeks cutting and stitching sails. Past 2 weeks attaching bolt ropes. I put 24 ga wire in the sides and bottom hems of each sail for later use in forming "active " sails. Have about 10 sails to go. After I attach reef lines, the net project will be attaching sails to the yards.Staysails will go on when I rig her. Had a bit if a catastrophe-knocked the ship off the stand.. no major damage-had to repair the rails , replace a few stanchions , and fix the bowsprit. But it worked out OK. Trying to figure out how to attach photos in this new format
- 33 replies
-
- 1
-
-
- Cutty Sark
- Constructo
- (and 2 more)
-
Greetings mate, I have the same kit and the same problems with cheap breakable fittings...I used Zap ca with Zap's aerosol accelerant to fix them- you can use baking soda as well- it forms a polymer and strengthens the break. The down side is that the polymer turns white-- you can scrape it off or file it down to shape and then paint it to match. Those things break all the time. There are some pix on my log that may be of some help-more coming soon as I can figure out the rigging setup of the yards- I have Le Pean's book and the museum plans. OK, but I personally like photos....Constructo's plans are OK but some of the rigging plans don't make any sense. Constructo will however send you pix from the kit's latest iteration.... Fair winds and following seas to ya
- 12 replies
-
- 1
-
-
- cutty sark
- constructo
- (and 2 more)
-
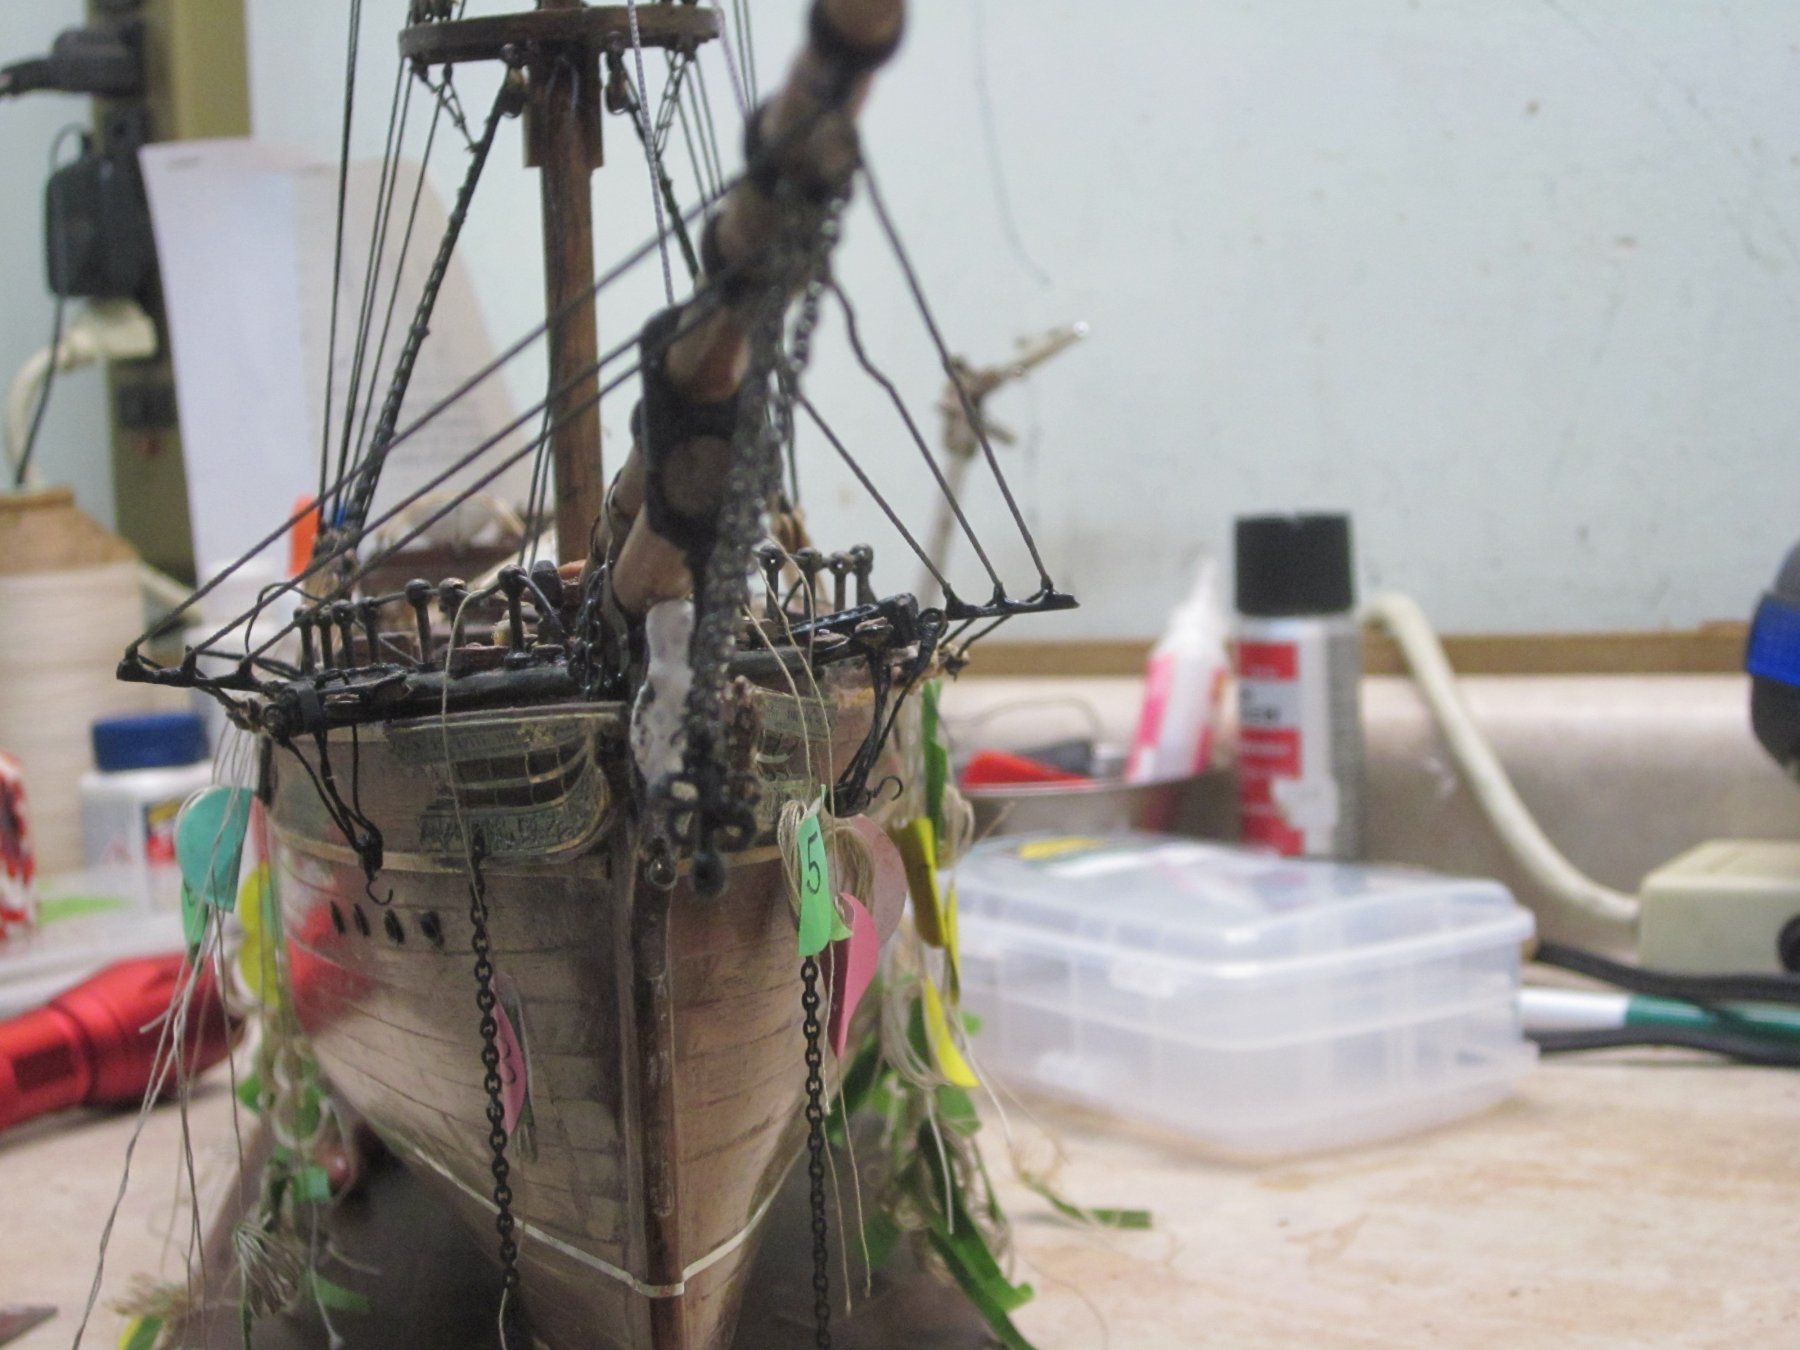
The shipwright is slow but still at it... got the bowsprit on, anchors aweigh (me boys). Started on the top platforms the accuracy bug struck again, and I had to build and plank them .and take them apart several times ....the original plans are, very sketchy and don't work with the future rigging. Ready to start on the masts and spars The original ship's masts and topmast platforms were steel; but hey, this is a wood kit so I guess I'll have to make allowances..I'll post some pix when I can...Fair winds to ya Update: tried to attach pix below; got the bolt ropes sewn on. Next time I may use beige painted wire ON the hem. Surprise! The pix download worked! IMG_0190.odg IMG_0226.odg IMG_0227.odg IMG_0229.odg IMG_0231.odg IMG_0231.odg IMG_0232.odg IMG_0233.odg IMG_0234.odg IMG_0235.odg
-
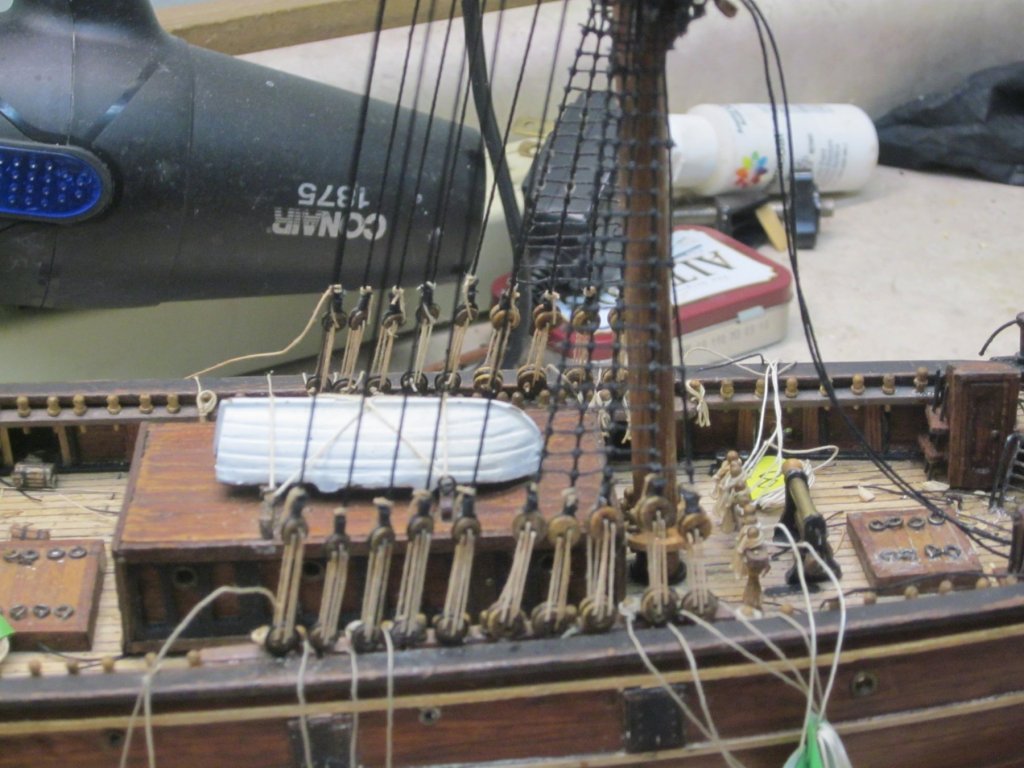
Here are the rest of the pix... Next is to hang hanks of rope on the pins with rigging... I make a jig consisting of 2 small nails spaced 1/4 " apart (for this scale) , wrap several turns and then tie in the middle with a drop of white glue to hold.The accuracy bug bites.... On then to mast assembly. Fair winds to ya


- 33 replies
-
- 2
-
-
- Cutty Sark
- Constructo
- (and 2 more)
-
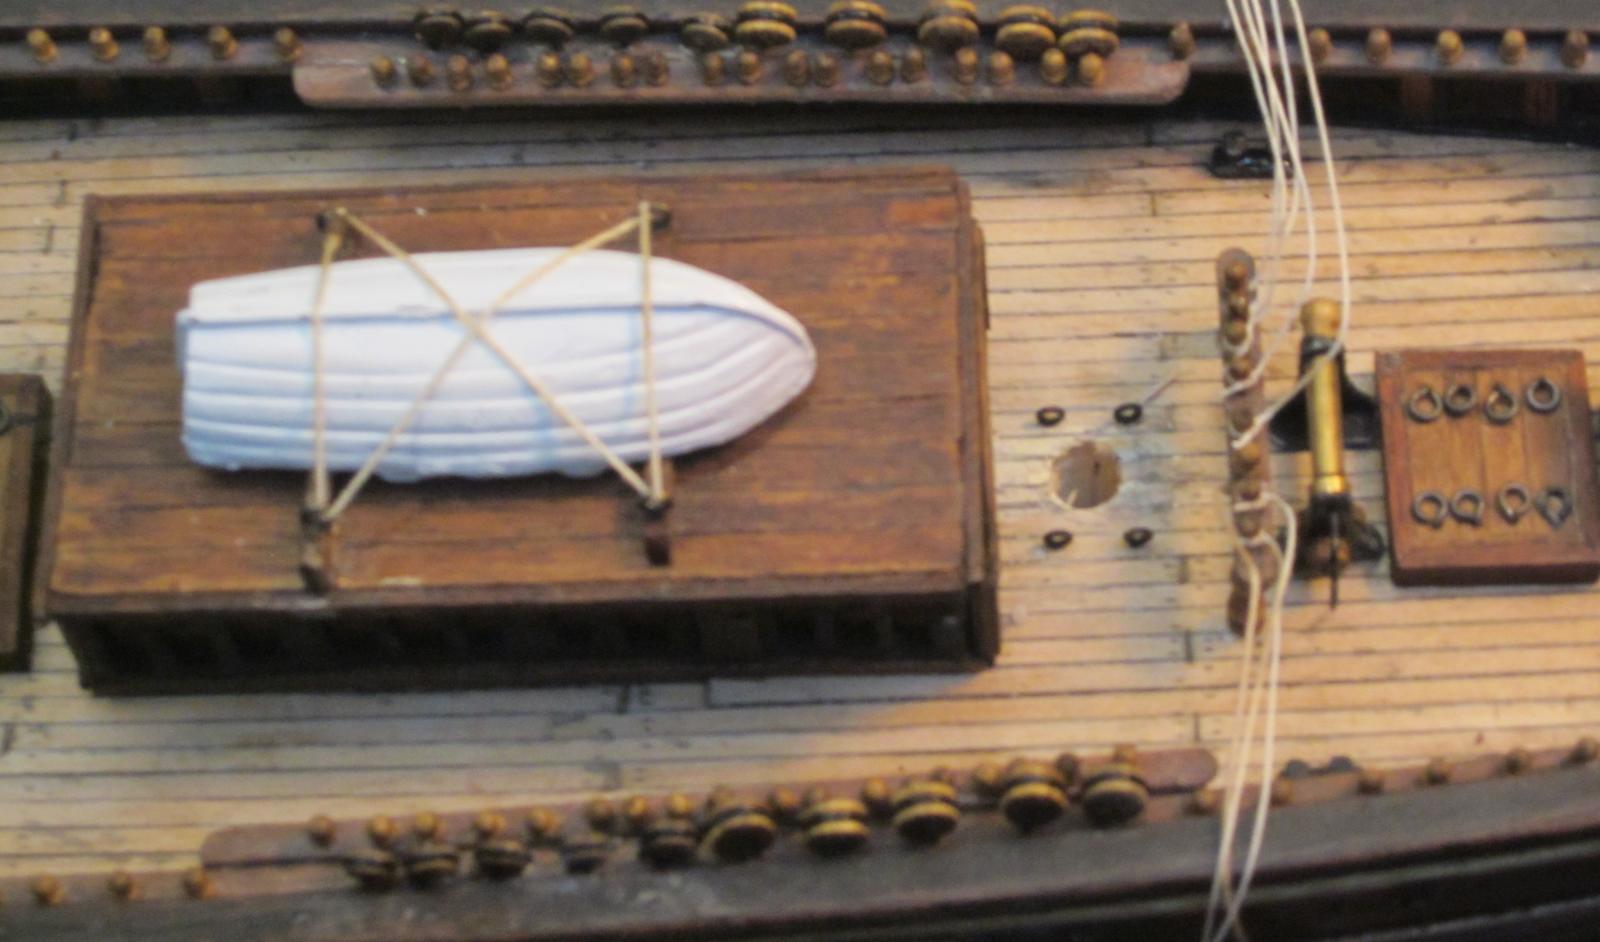
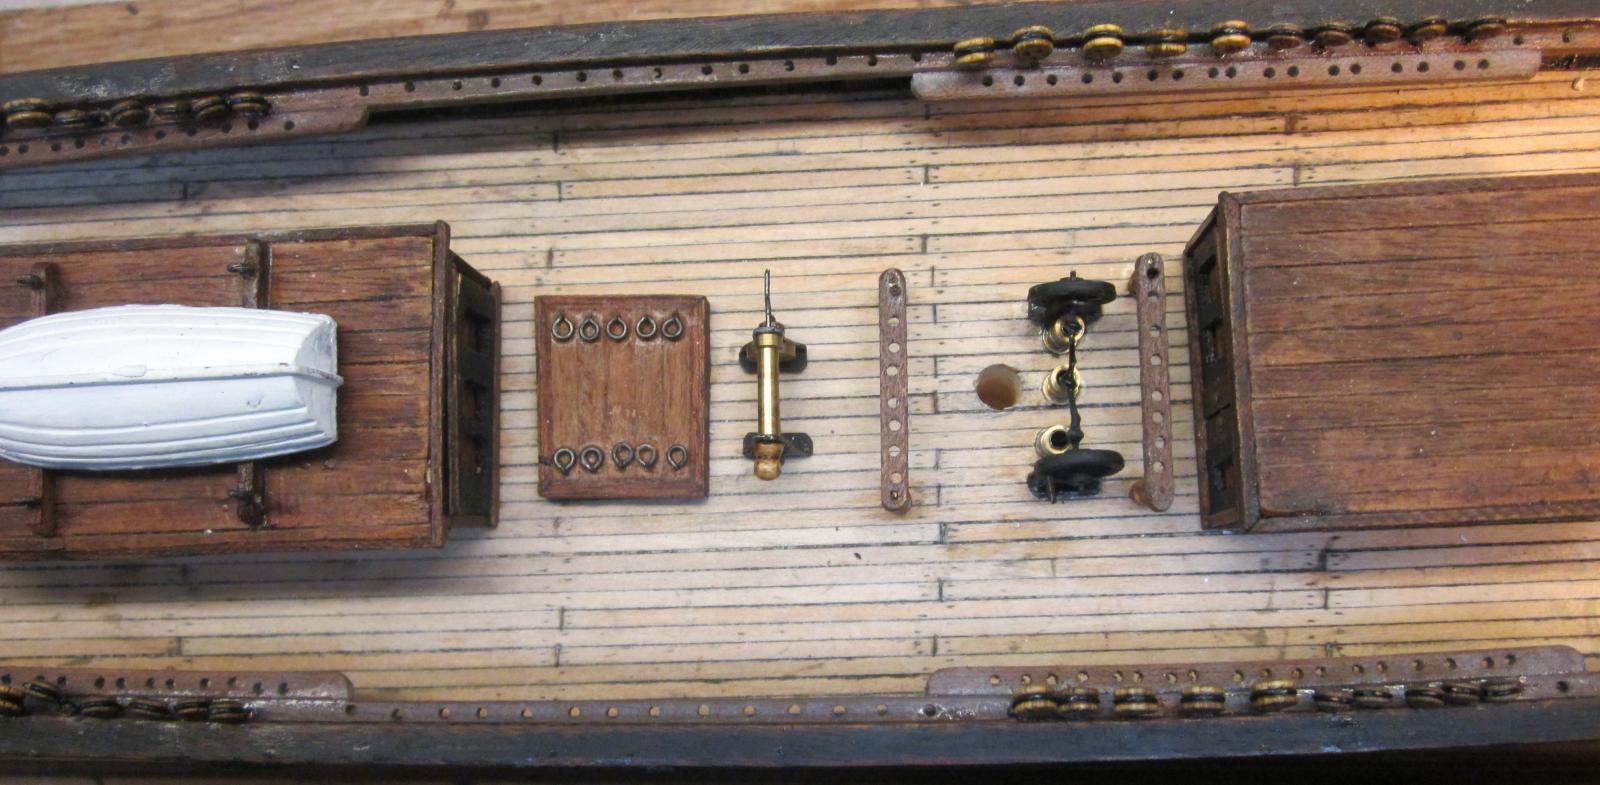
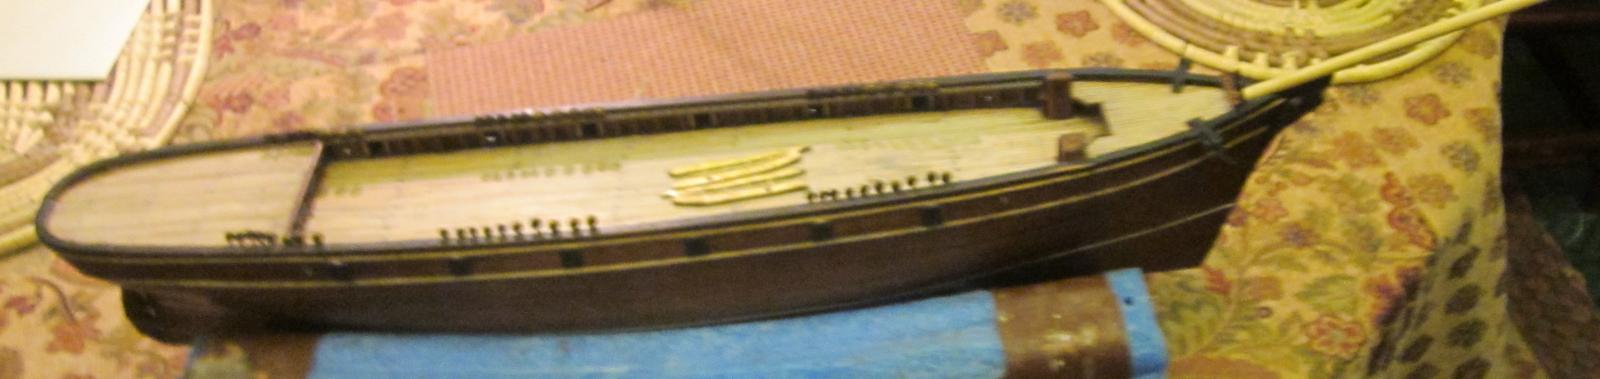
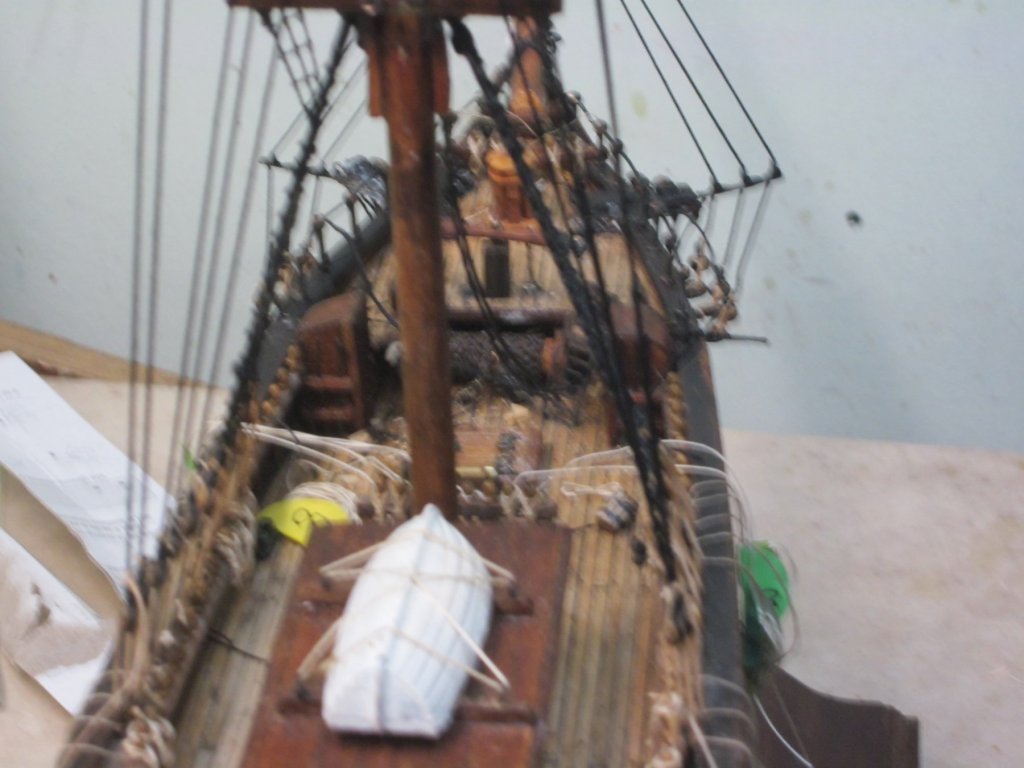
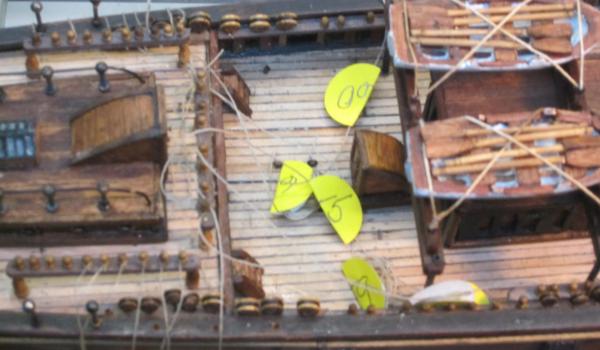
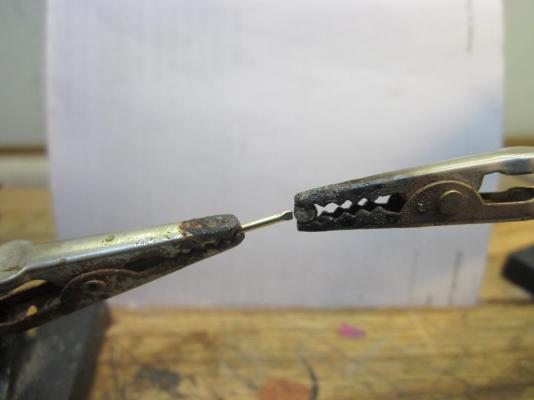
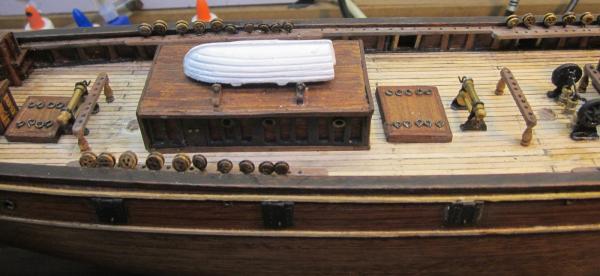
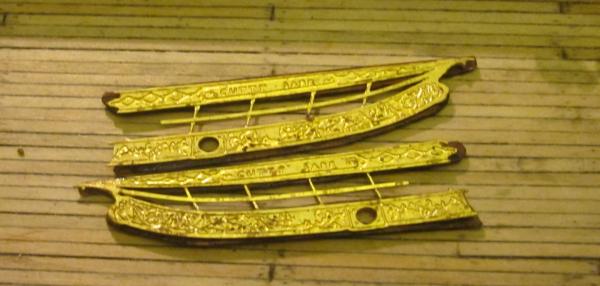
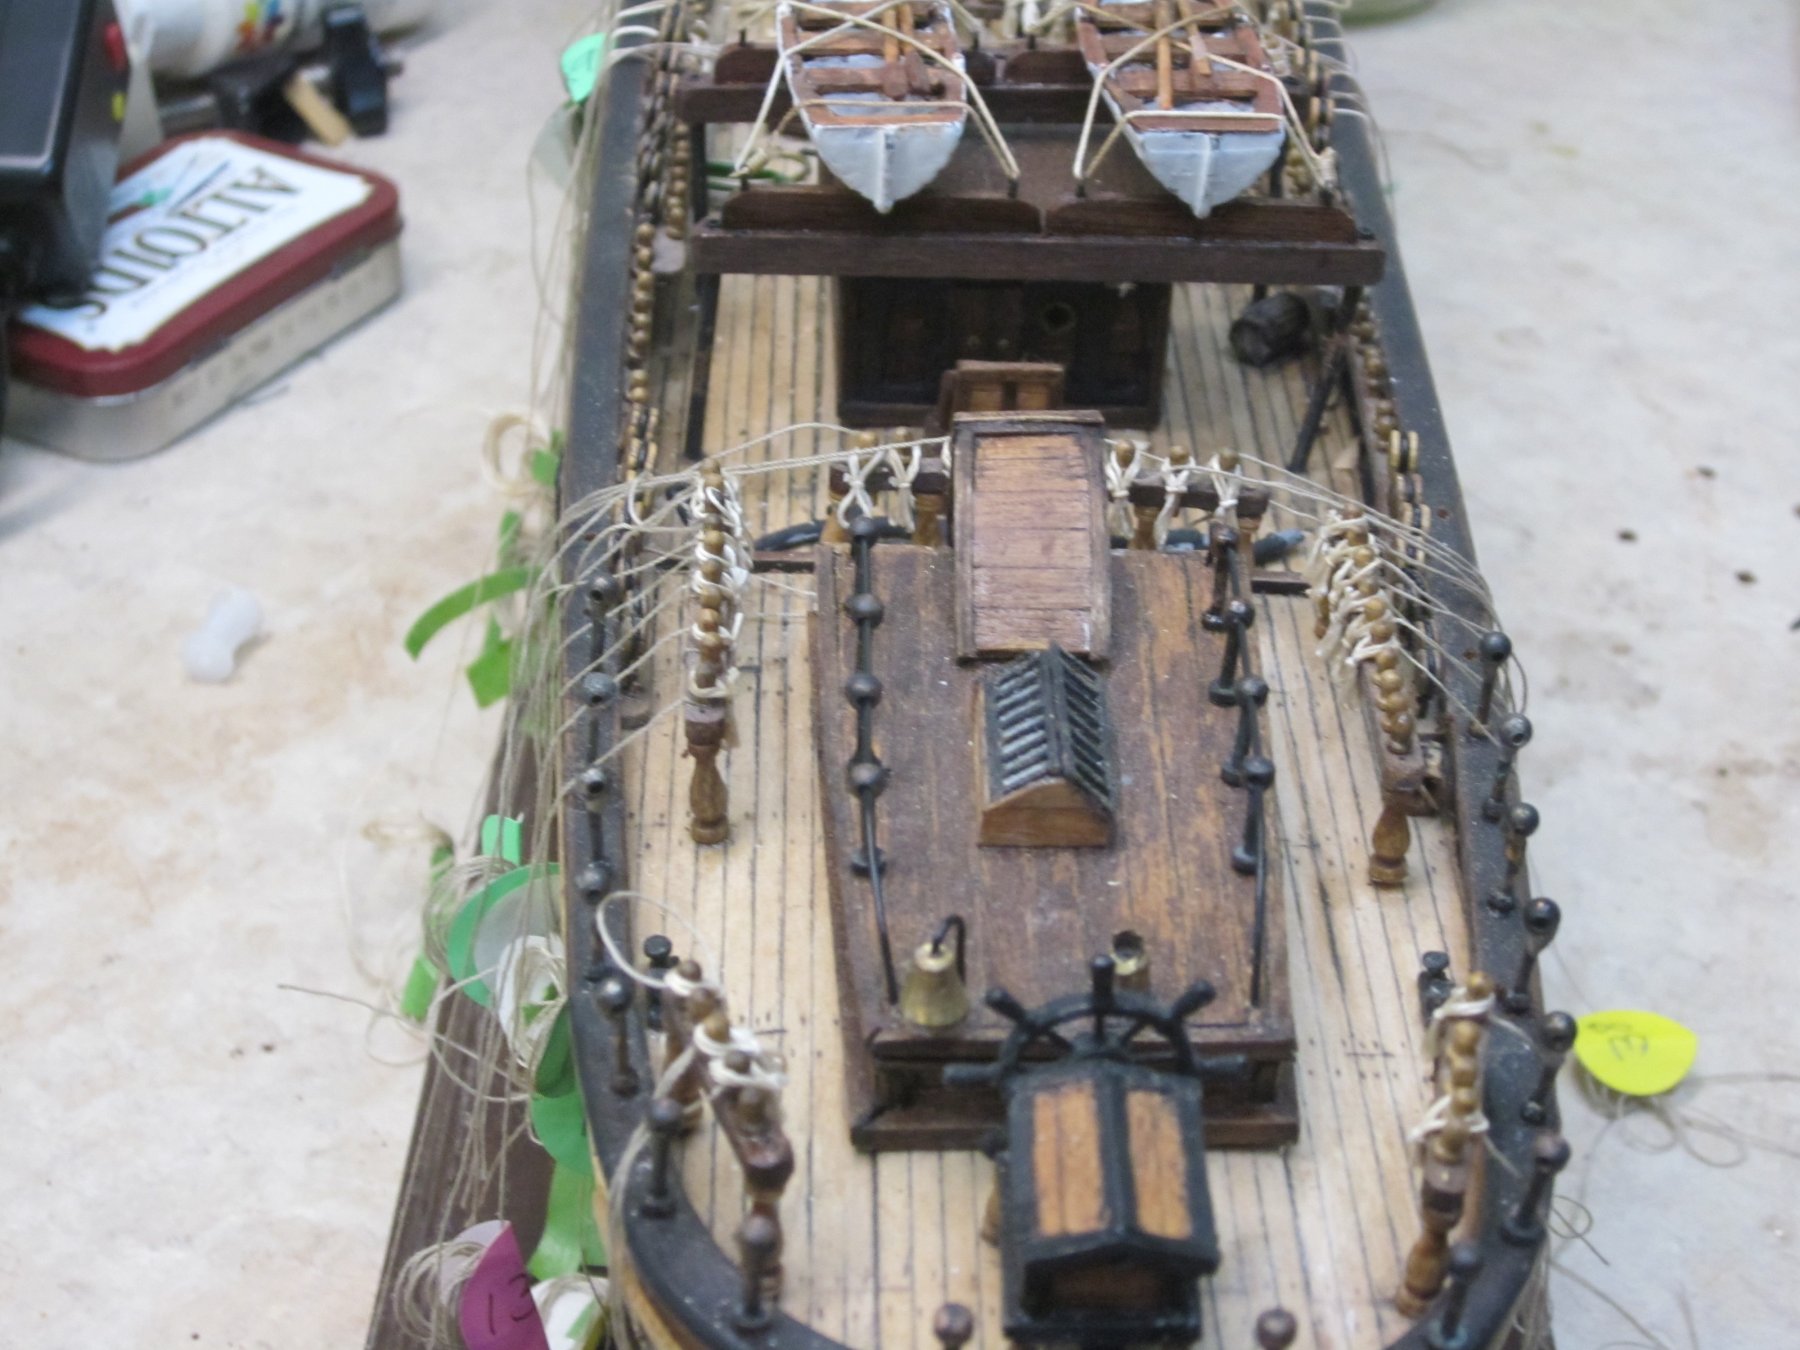
Back at it... installed stanchions fore and aft-had to fashion some from brass wire, a steel bead w/hole in it, and a crimp bead for a base. Constructo did not provide enough and they're too pricey on the aftermarket. There's a photo of the jig I used for soldering. Finished the boats, put some oars in them and placed on the rack aft of mainmast. Put on the figurehead which required some minor adjustment to the bow. Prepositioning the running rigging-really helps later on. Thought I'd be smart (sarc)and label each line, but later found that to be unnecessary as the pins are numbered in the plans. More pics to come- have to edit them for size. Fair Winds to ya


-
Thanks for the encouragement .Nenad
-
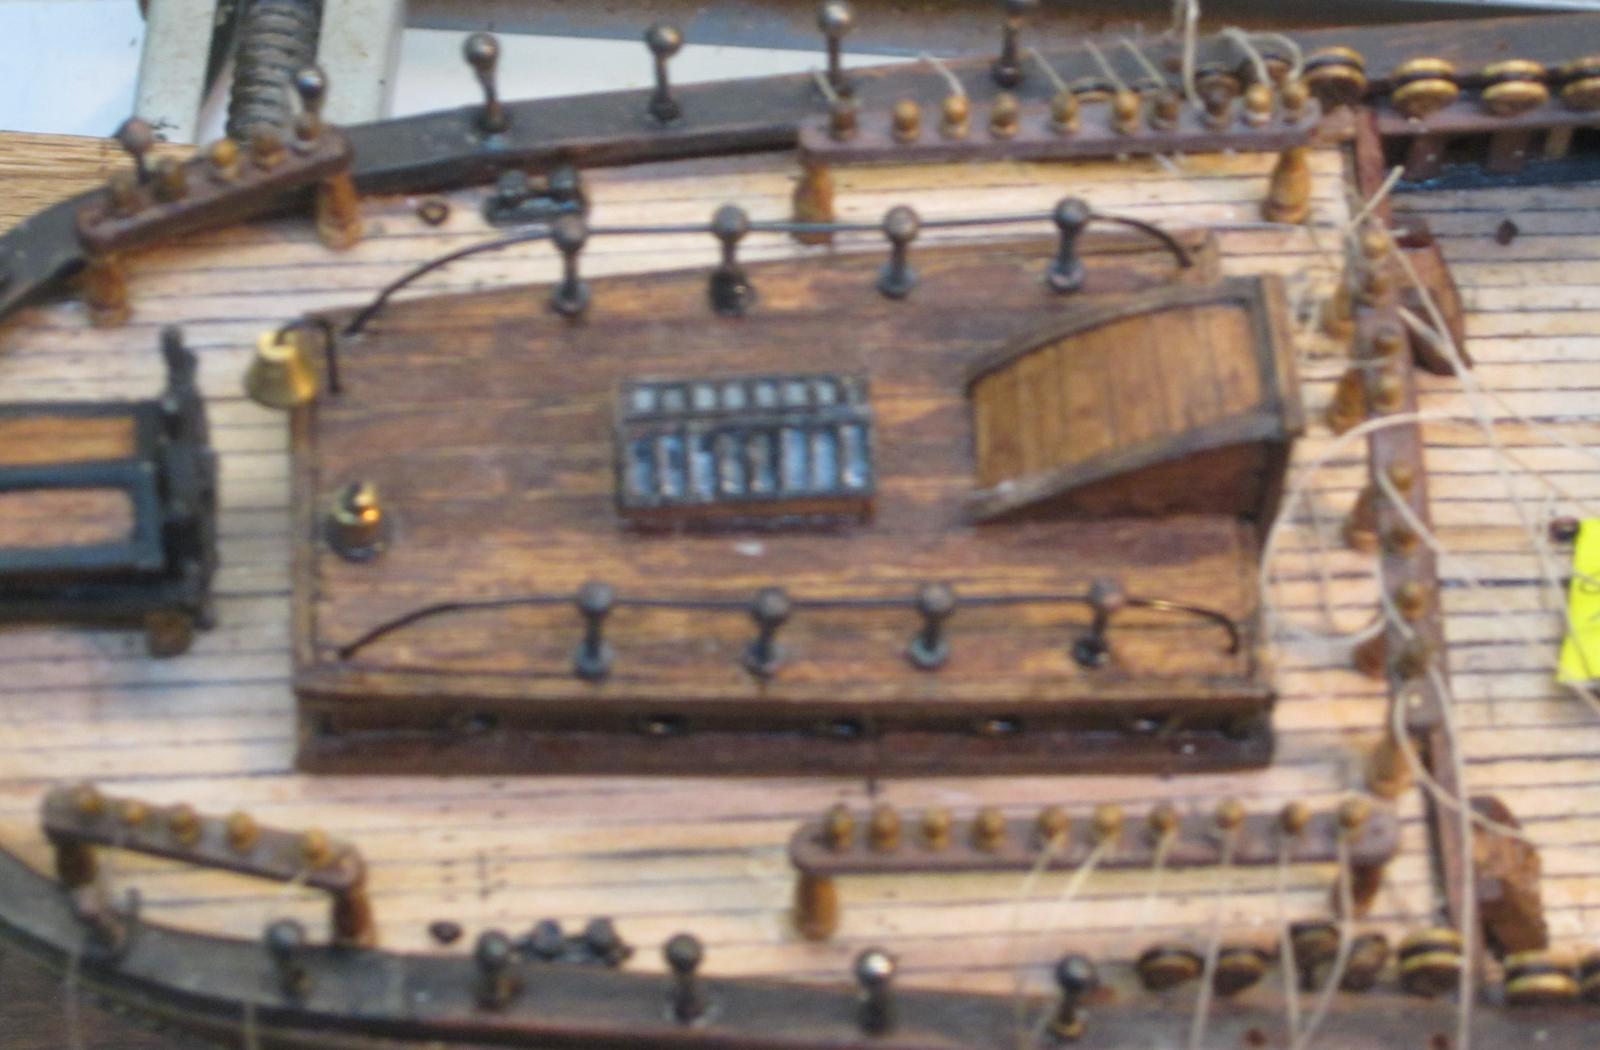
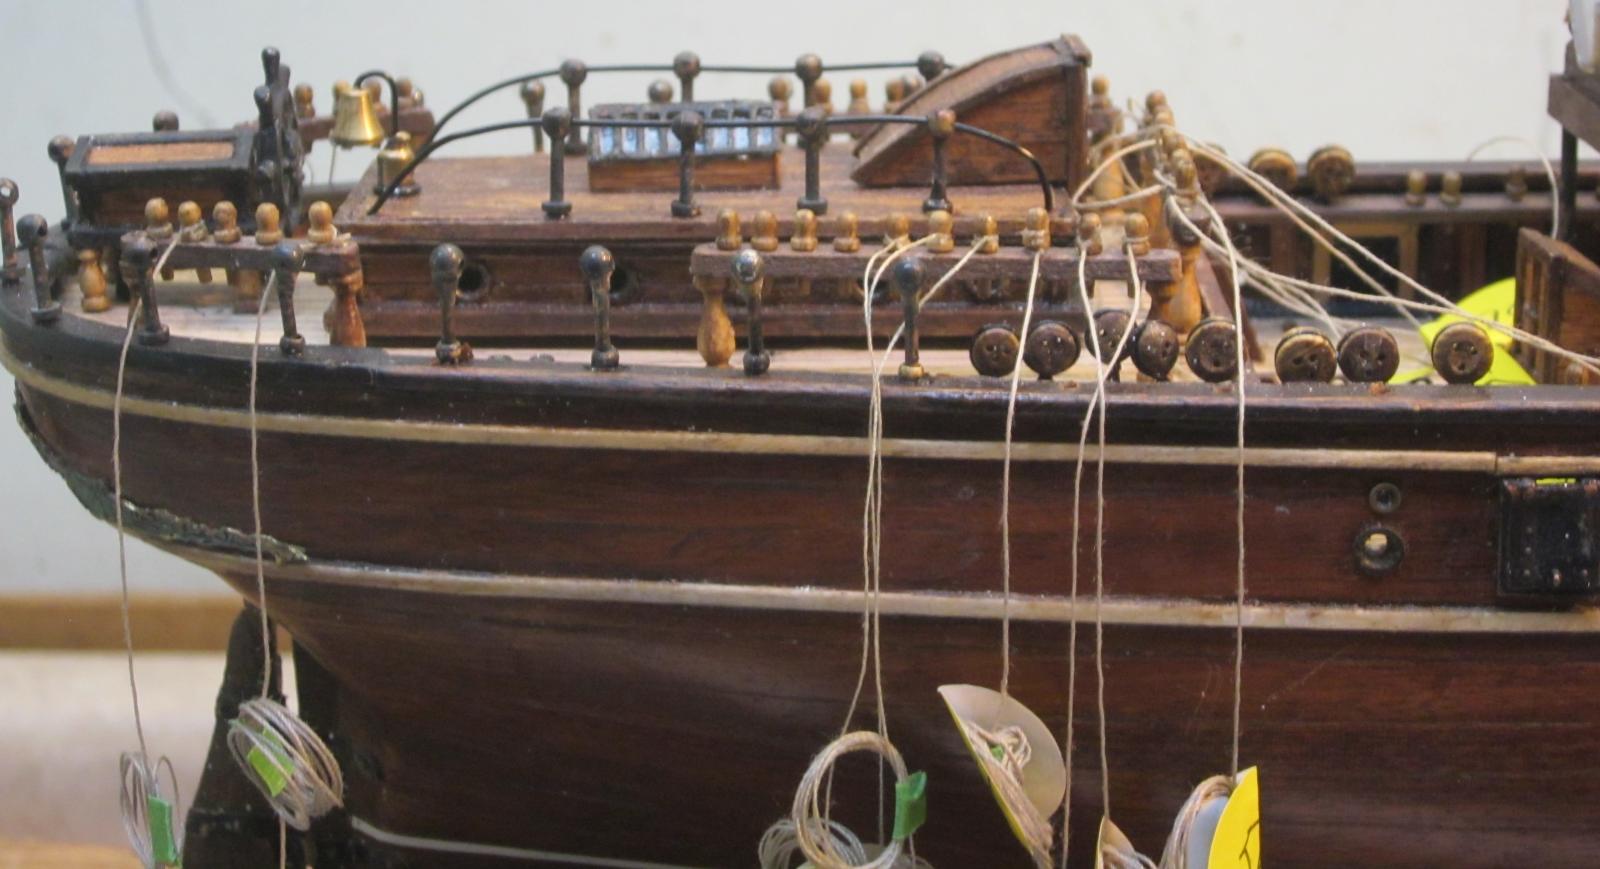
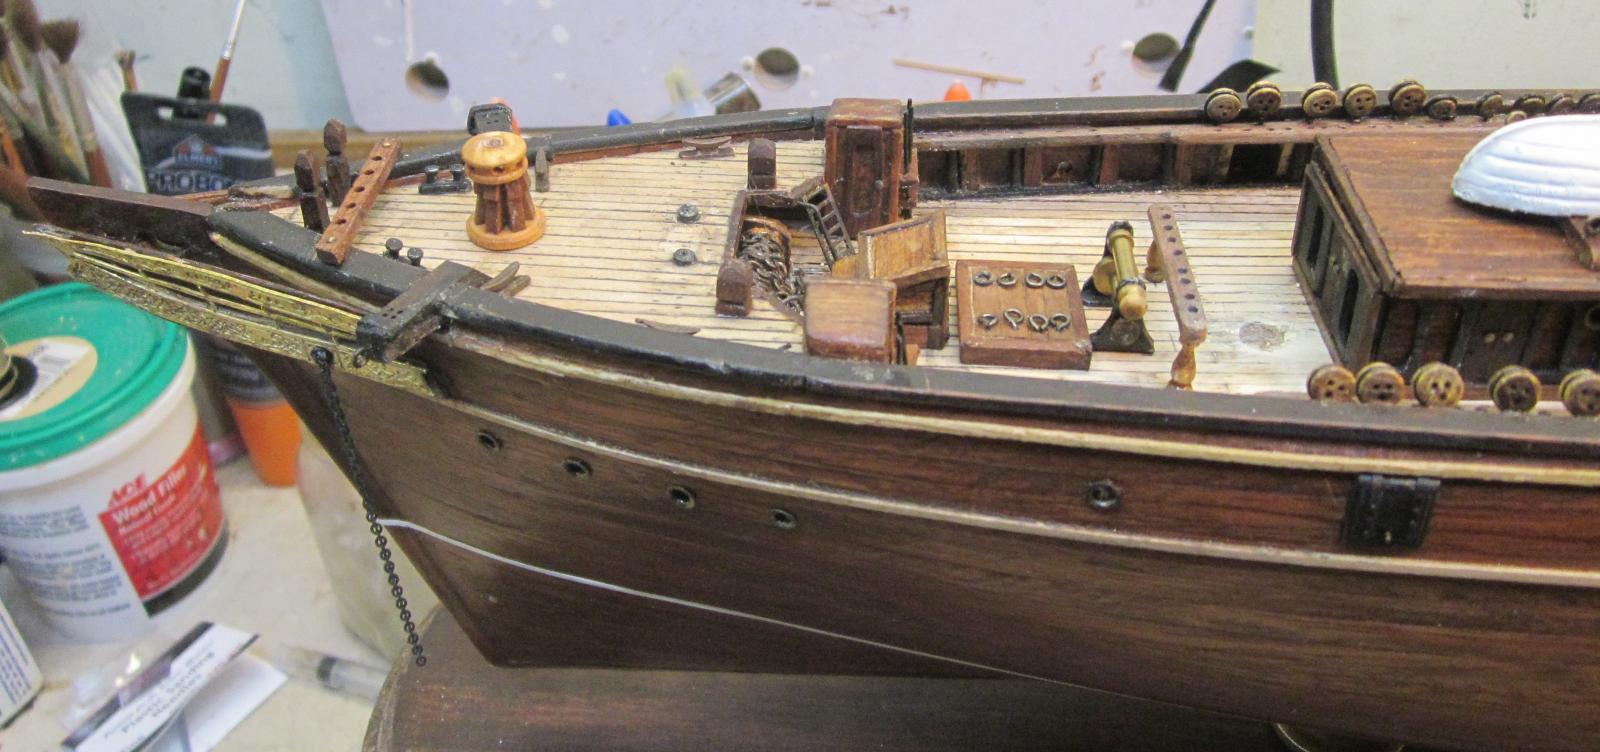
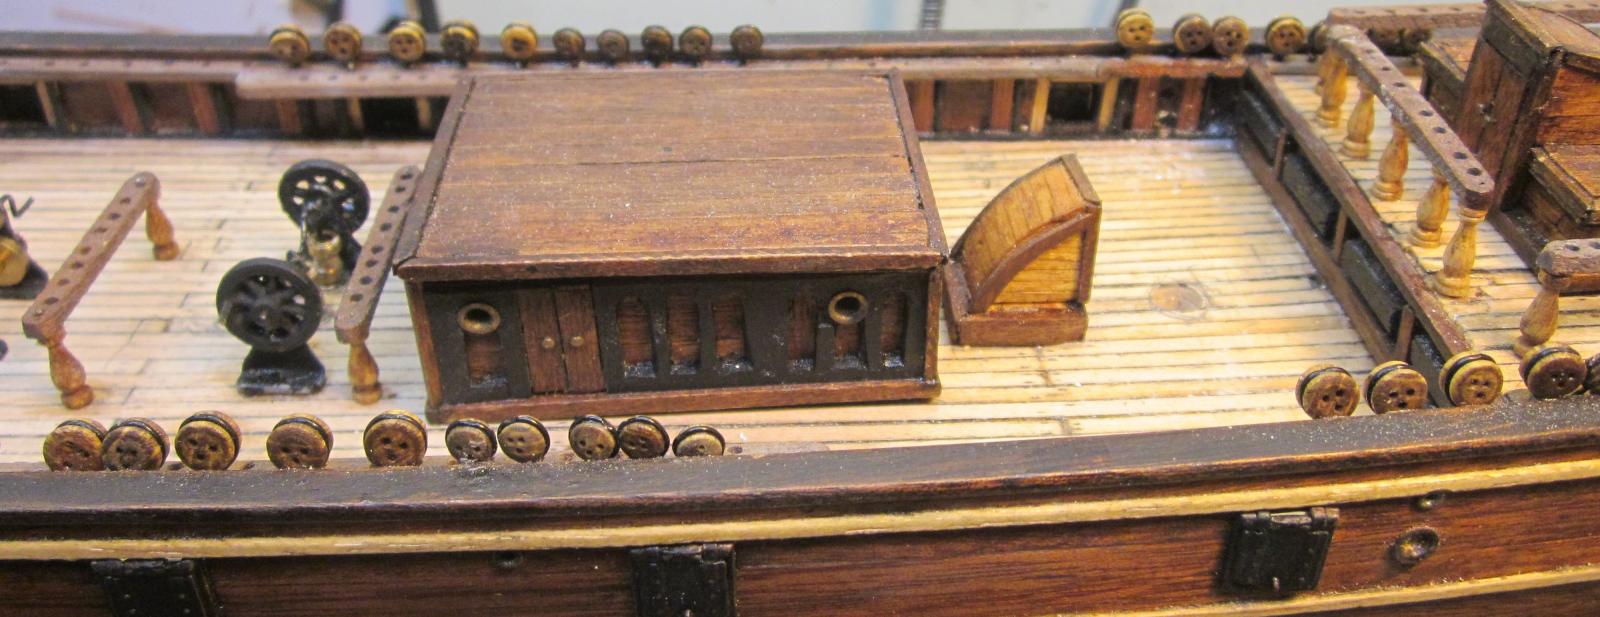
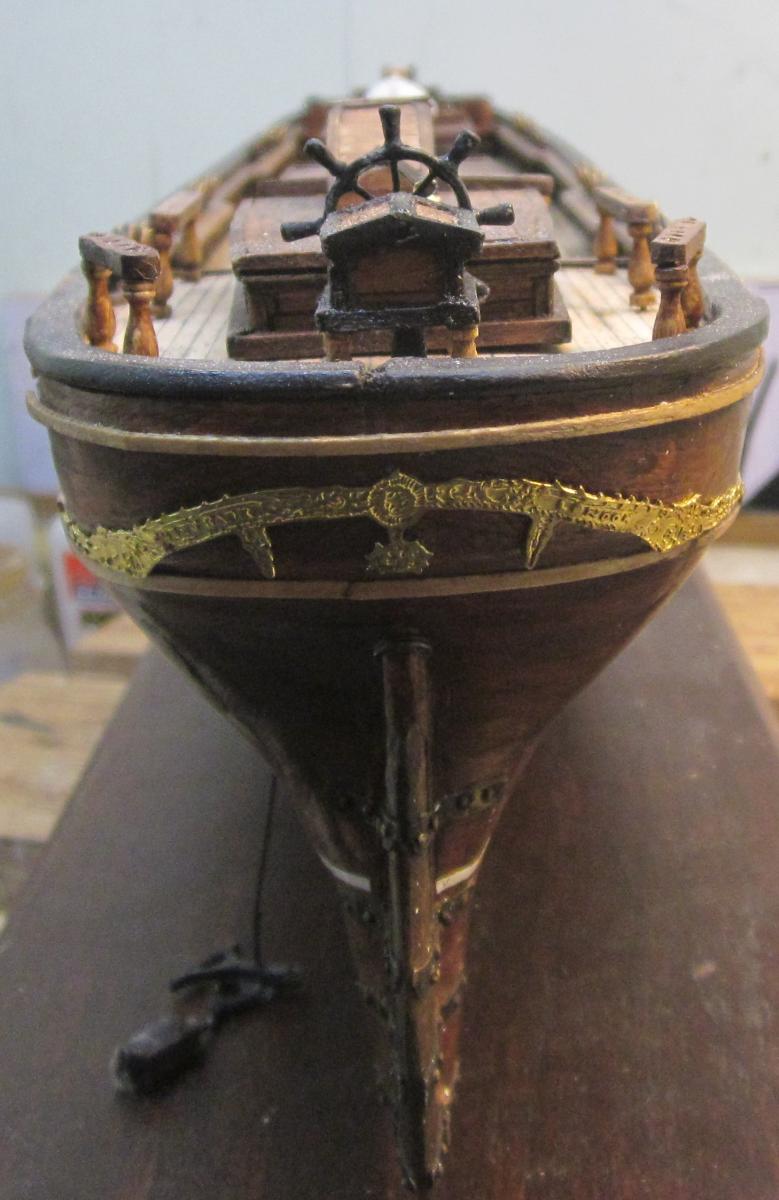
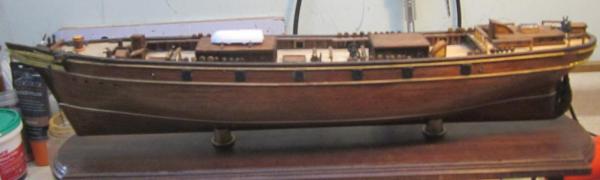
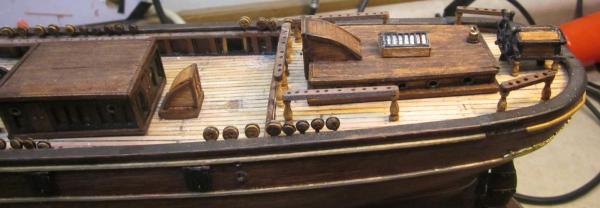
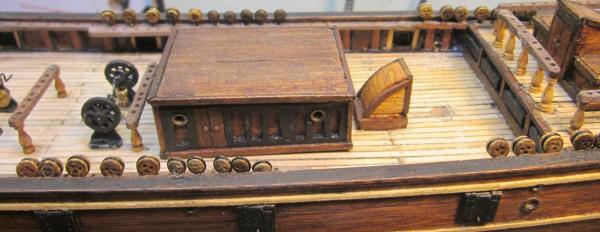
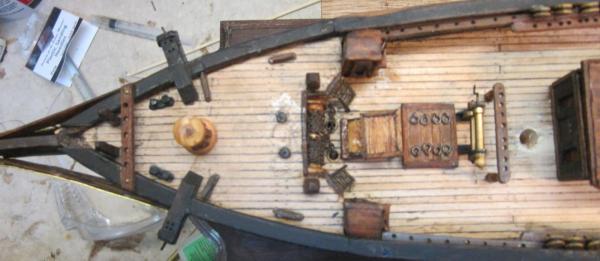
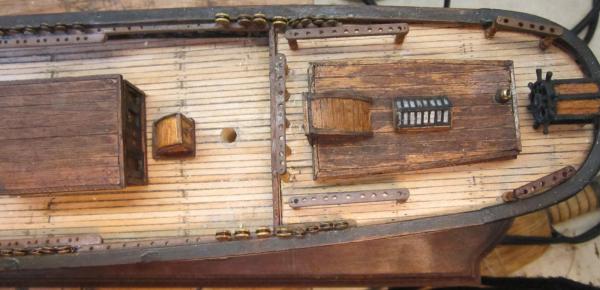
This is the third time I've tried to post this. Installed the deck furniture:cabins, hatches , pumps etc. The cutouts for the cabin sides were a pain and the plans did not help. I 'm using Longridge's "Cutty Sark" (2 vols) for reference. Had to build the booby hatch and rework the wheelhouse as Constructo left the details off. Broke the wheel trying to drill it for a spindle, so used a heart from another kit as a hub and wires for spokes to repair it. Constructo's base was crap, so I bought a base from Hobby Lobby for $3 and used bronze pipe fittings for stands. Noticed some scale errors after everything was installed > Thanks Constructo. My mentor, the late great Hubert Sicard would have ripped everything off and rebuilt, but I'm too lazy . Thought the bow/stern decorations were a bit Disneyesque, but what can you do at the 1/96 scale and make it look good? Hope the photos will help somebody. Fair winds to ya.


- 33 replies
-
- 2
-
-
- Cutty Sark
- Constructo
- (and 2 more)
-
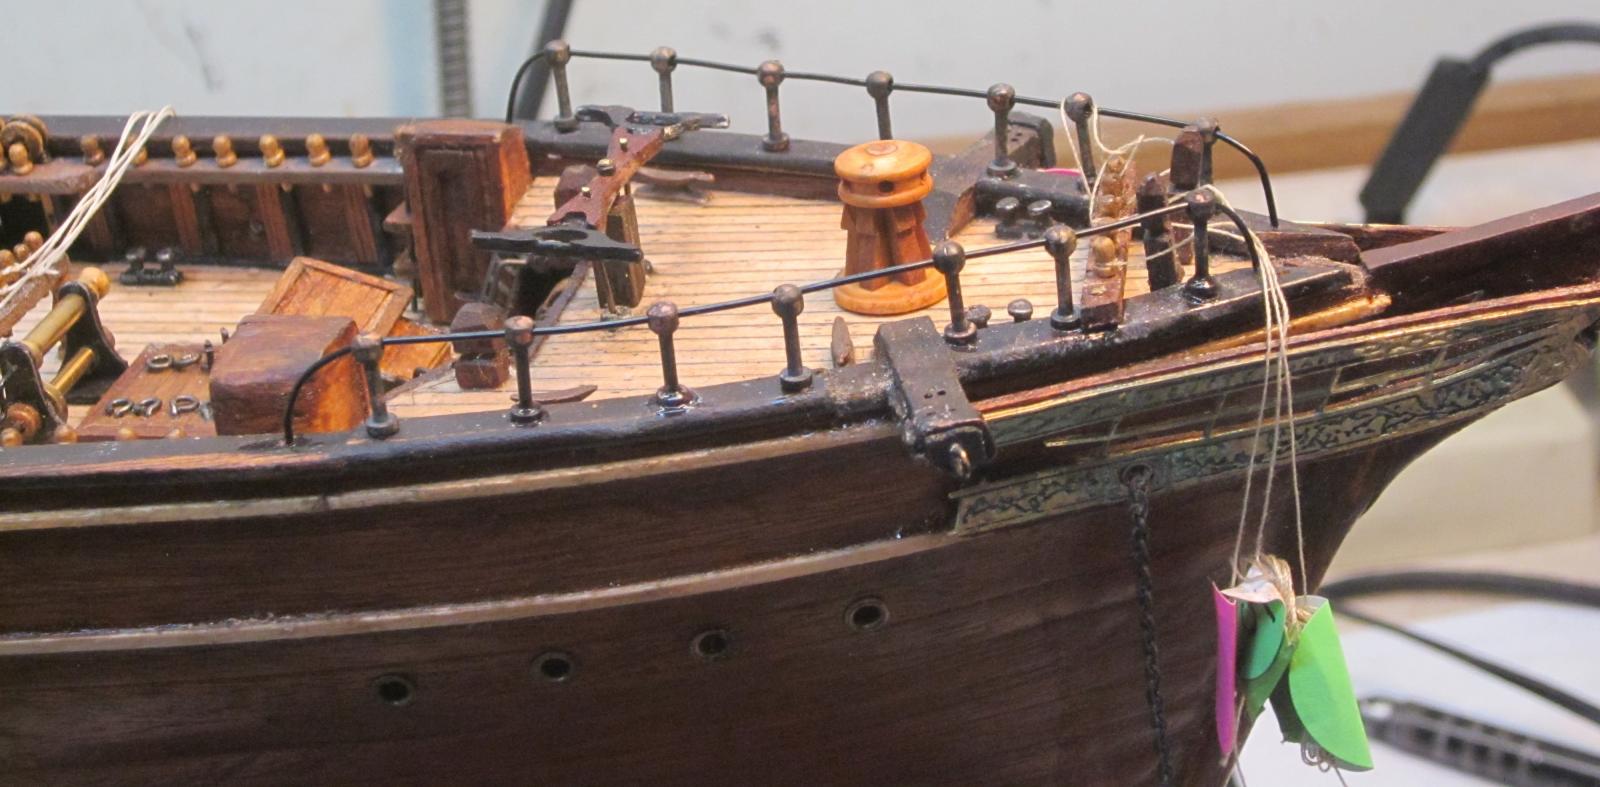
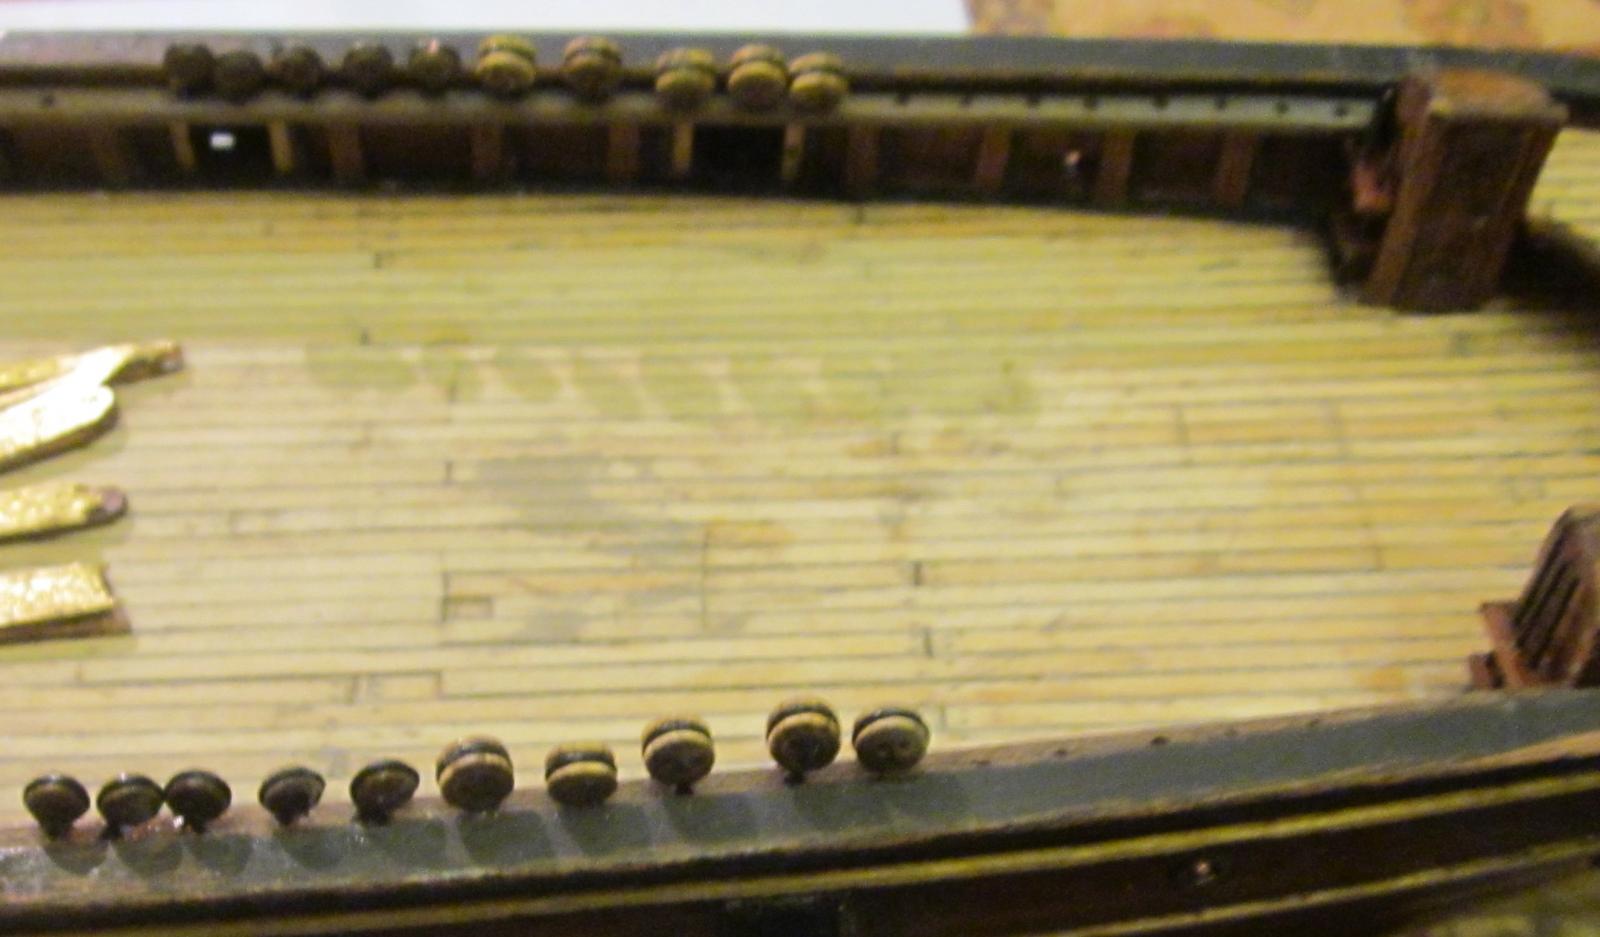
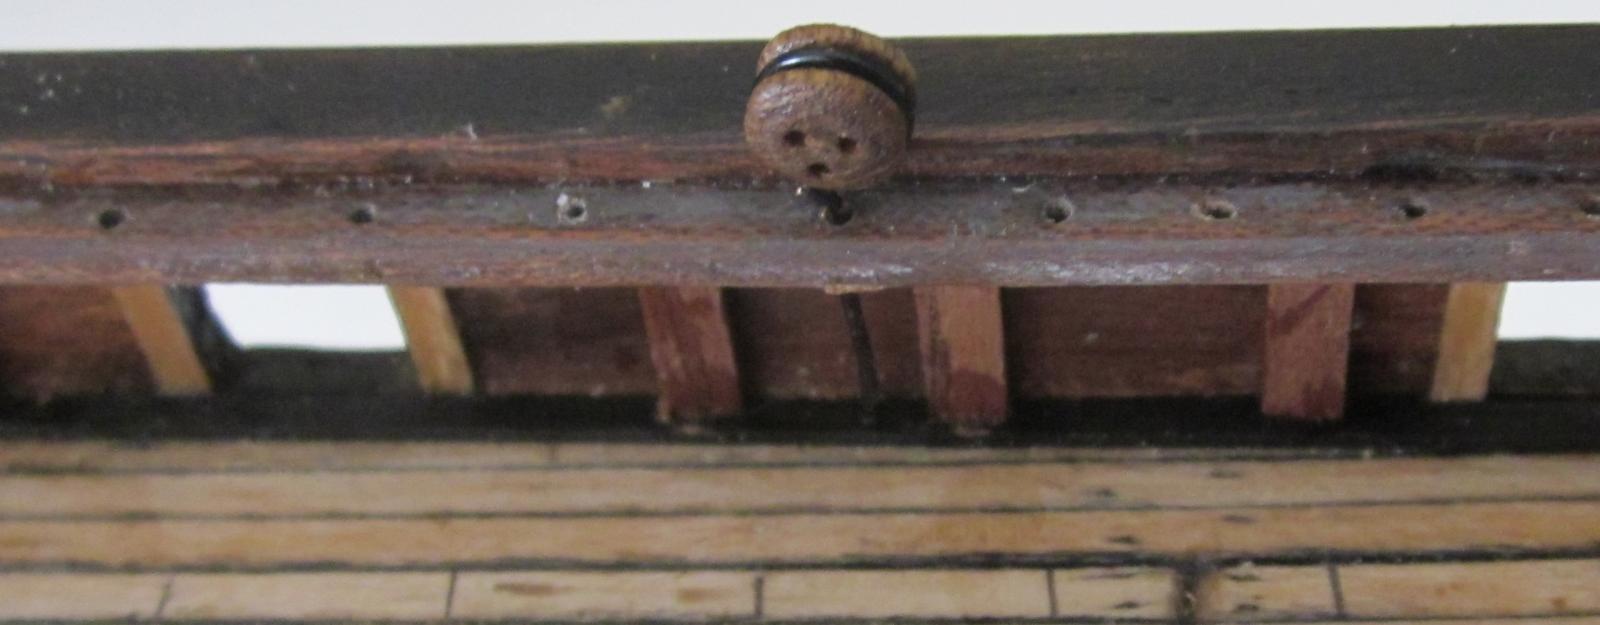
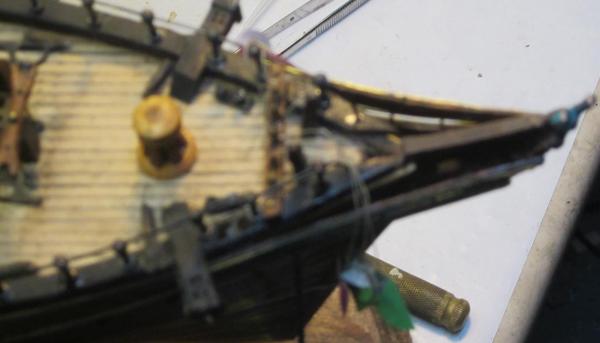
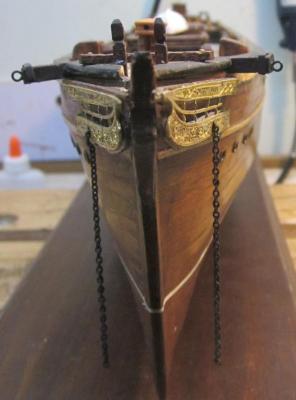
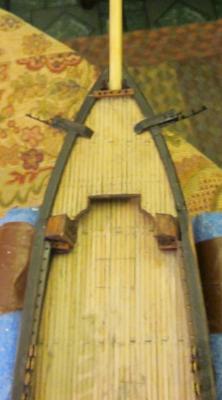
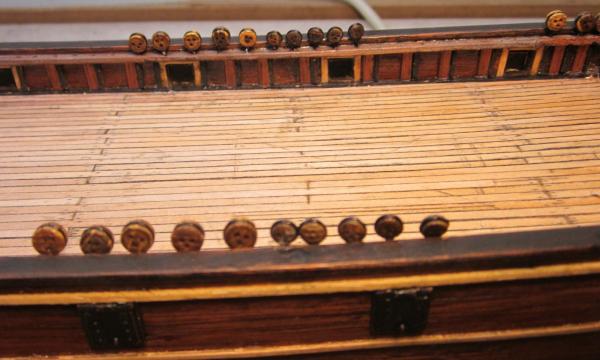
Ok here we go again. Attached bulwark stanchions and metal supports. The real shi p had steel bars angling down from the pinrails and attached to the bulwarks. I tried to get that, but couldn't get the proper angle d/t scale so I used vertical bars. The pin rails need some support in reality. Stropped and installed the deadeyes. Installed the catheads and whiskers- the real ship had 3 cleats evenly spaced on the whiskers, so I soldered 3 rings on each, and then cut the rings down leaving a small ersatz cleat. The Stem and top rail was reshaped to accept the bowsprit at the proper angle; slot cut for gammoning( the kit left that out, but the real ship had chain gammoning abt 6 turns nailed to the stem. Shaped the bowsprit for fit (left it on for the pic) fashioned knightheads and installed them adjacent to bowsprit for lateral support (the kit forgot this as well) Put in the portholes. Installed the bow pin rail, but I think I'll take it off and make another one to fit the external edge of the toprail. Constructo is really good at getting you updated plans if any. My kit was an earlier one 1/93 vs 1/90, they sent me a very helpful download of their current plans with photos etc, Bueno!!!! Here's some pics. Next up: deck buildings, windlass etc. Thanks for all your helpful and encouraging comments, Fair winds, mates


- 33 replies
-
- 1
-
-
- Cutty Sark
- Constructo
- (and 2 more)
-
Cameras don't lie- so it looks like more sanding on the heads and bulwark stanchions. Now to add port covers.
-
Here are the pics I hope Fair winds


-
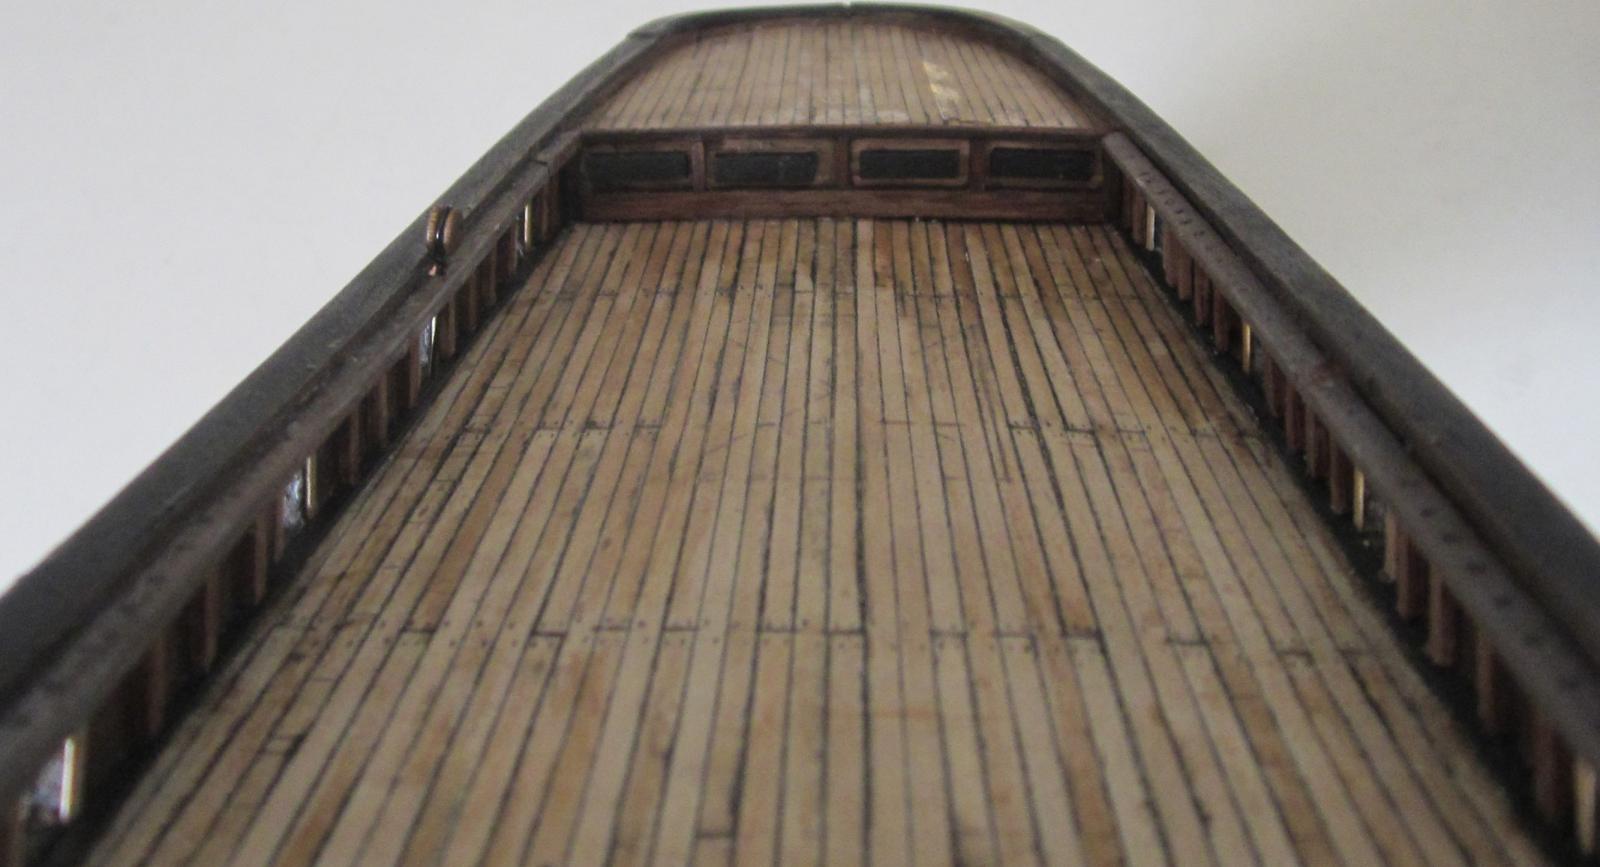
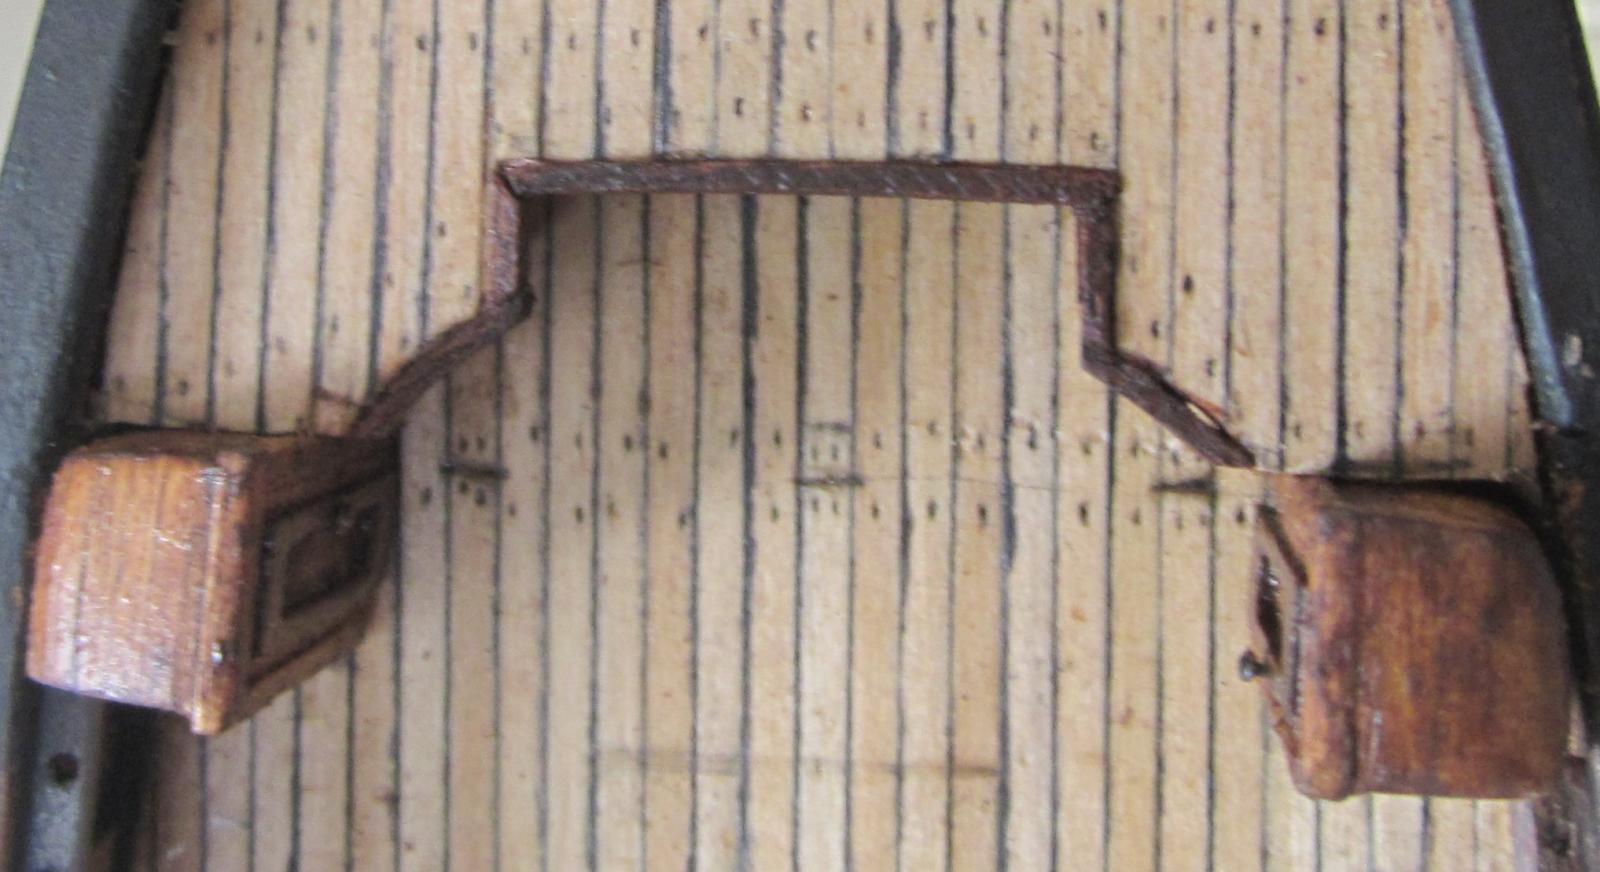
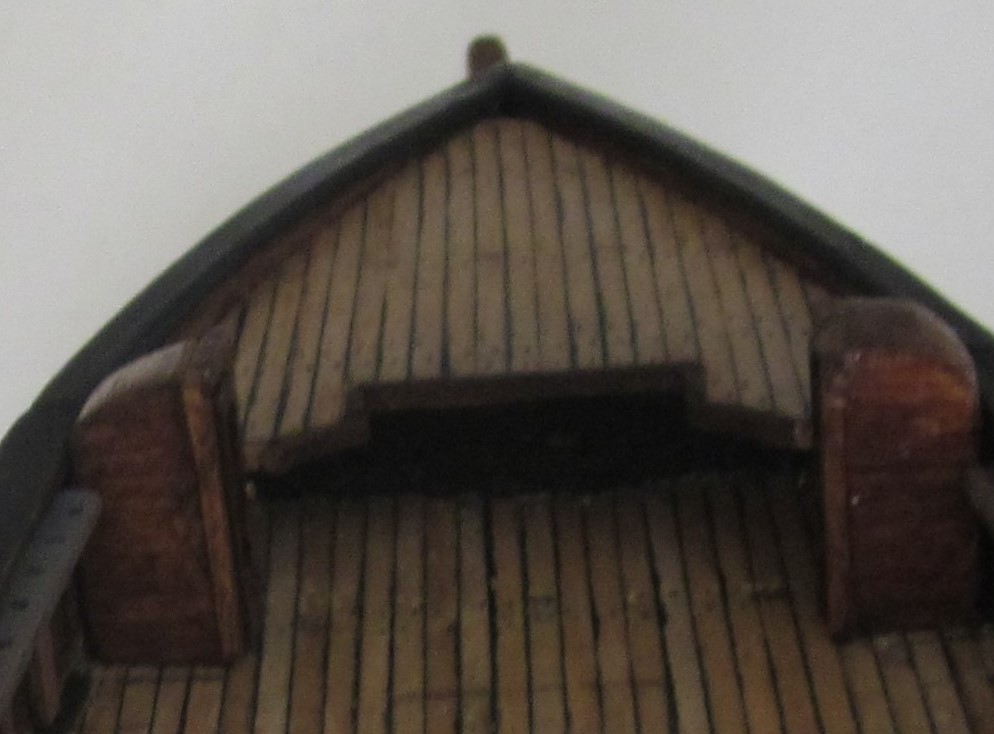
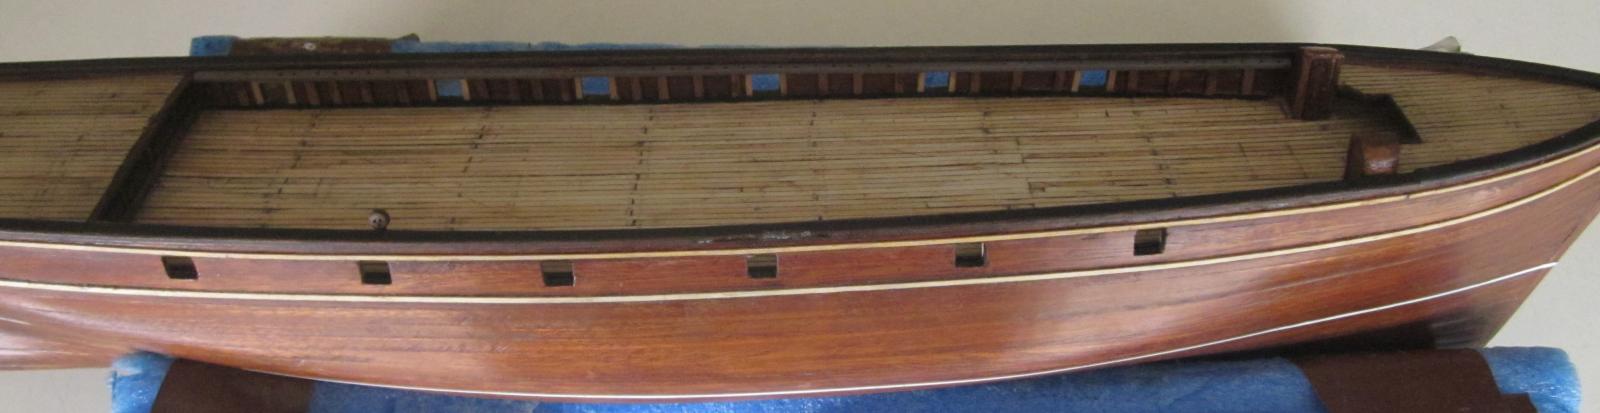
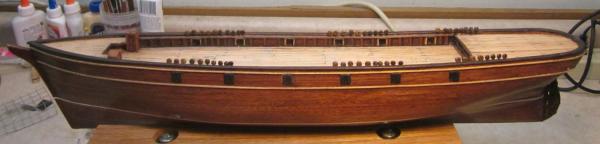
After a literal computer crash (from table to floor-@#$%$ wires)my old machine wouldn't work. Had to buy a new one and have somebody smarter than me retrieve the old data and set the new machine up. Had to learn Win 8 as well. So from last post , I got the bright(?) idea to stain the inner bulwark planking ( Constructo left this out) with white oak stain. It looked terrible, so I tried painting it white..Even worse. So I ripped off the inner planking and stained the bulwarks. as with the rest of the hull. I put basswood strip frames around the drainports-gives it a good contrast and approximates the internal framing on the ship. Used basswood for the wales, and because I really like the wood look, I marked the waterline with 1/16 auto pinstriping tape in.accordance with photos of the real Sark, Hand waxed the hull rather than varnish.... Built and planked the heads, as well as the structure between the main and aft decks (no idea what it is--probably some hatch with horizontal doors IF the plans can be trusted (?) Next, the pinrails which lean on the heads fore and the aft deck. I used wood strips for bulkhead stanchions, though the real ship had iron rods to which were welded rings and hooks. For my meager skill level, the scale was just too small for me to accurately reproduce these. Wood looks good anyhow. Next is to strop the main deck deadheads. Probably use 24 ga wire and extend it thru the pinrail, attaching it to the hull for support. (Constructo didn't think of this).. I'll try to attach some pix but with a new machine it may take several tries. Thanks mates for your kind and helpful comments. Fair winds to ya....
-
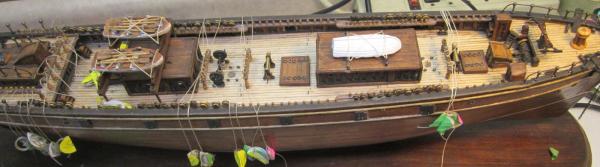
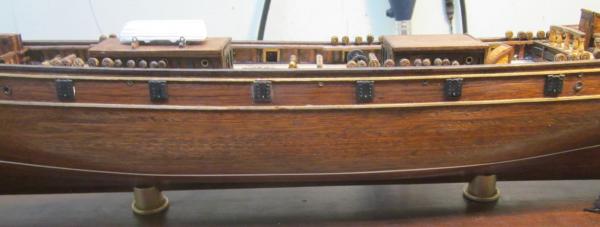
Ok here we go Secondary planking completed using 1mm x4mm sapele planks. To do it again, I'd use .5mm planks, but the 1mm were cheaper and gave a greater sanding leeway. Somewhat harder to bend though. Bulwarks installed and planked. Although I had reshaped the stern prior to planking, it was only after the bulwarks were on that the stern angle was incorrect. So major surgery was indicated. Got out the rasp and hacked away until the shape was right. This left a good sized gap in the stern planking . I cut a.5mm edge all around and placed .5mm planks in the gap, keeping the sweep of the original planking. After some filler , sanding and steel wool, the gap is hardly noticeable( you have to really look for it). So with that completed, i stained the hull with MInwax red oak which left a great shading of the sapele. Filler, Sanding,Stain, Steelo wool repeated several times provide a pretty good finish. I hand waxed it with a good quality carnauba wax instead of varnish. So it has a not so shiny but rich looking finish. Next dilemma was whether or not to copper the bottom. Nenad M sent a diagram(thanks much, brother) and used a balsa mock up of the fore end for practice. Turns out I really like the waxed wood finish, so no coppering. I'll wait until I tackle the Constitution (on the shelf) for that. Put on the rudder and stern post. Again - filler ,sanding, stain, more sanding and steel wool. I used .5mm sapele strips ( to plank the interior of the bulwarks , cut the clearing ports and stained with Minwax white oak. That's it for now , mates. Next is to put on the main rails stanchions wales etc. Fair winds to ya


- 33 replies
-
- 3
-
-
- Cutty Sark
- Constructo
- (and 2 more)
-
Greetings Keith- just completed secondary planking on my Cutty ( constructo 1:90- log in progress on this forum) Was going to leave the sapele wood alone, but I had to do some major surgery ( AFTER the planking of course)on the stern to get the angles right I patched it up pretty well w new . 5mm planks but the patch is still visible... So I'm considering painting it above the waterline and coppering below. Have any photos or other suggestions? The other alternatives are 1 . Live with the visible patch 2. Do a third planking. What do you think? Thanks and fair winds.
-
The reference for wood strips is a bit incorrect: it's tallships_model_builder on Ebay...
-
Note: As always, trying to save myself some trouble leads to more trouble. To do it over, I would probably plank up to the last stern bulkhead and then put the filler block on. Easier to get the true contour.
-
Part Deux - First planking Went well I think. Soaked the strips for the day overnite in a clear plastic tube filled with alcohol...they came out quite flexible and assumed the natural bend of the tube , minimizing the need for steam iron bending. Attached with carpenters glue and temporary nailing, except for atealers which did not end on bulkheads-used cyano there. While I had access to the internal hull, I attached shaped blocks to the bottom at bulkheads 4 and 7--to allow for use of screws for attaching to pedestals when it's finished. With the dynamic shape of a clipper, I probably could have foregone the bow filler blocks.. a habit, I guess. But it works. Now to reshape the stern (Thanks Nenad) block, use filler as caulking all over the hull, and final sand/shape before installing the secondary planking. Had to purchase sapele strips from.http://tallshipbuilder.com . Good selection of exotic woods. The pix are not in ant particular order. Any suggestions will be appreciated. Thanks and fair winds


-
Thanks Nenad. Have to do a bit more shaping of the stern (nebolshaya oshibka) I tried to match the stern lines with a wire shape tracer matched to the plans. Any suggestions will be helpful before I start the secondary planking.
-
Also, had a bent false keel-straightened it by lengthening one of the support blocks around bulkhead #4 on the concave side of the bend (port side). . Still have to add some strips to bulkheads that do not meet the rabbet. The bow filler block will be shaped better after 1st Planking. My other Constructo build was the Bounty 1/50 . It was laser cut and a whole lot easier . The plans on both kits were a bit fanciful in some places , so if the accuracy bug bites, references from the actual ship are needed. Of course, sites like this one are invaluable. BTW Constructo is very good to deal with... they'll send you updated plans etc . Good folks! Fair winds to ya
-
Note: Don't forget about the camber of the deck- I initially planked the wrong side of the fore and after decks, but rescued the operation by brushing the underside with alcohol and using a small steam iron to bend the decks to correct camber.
-
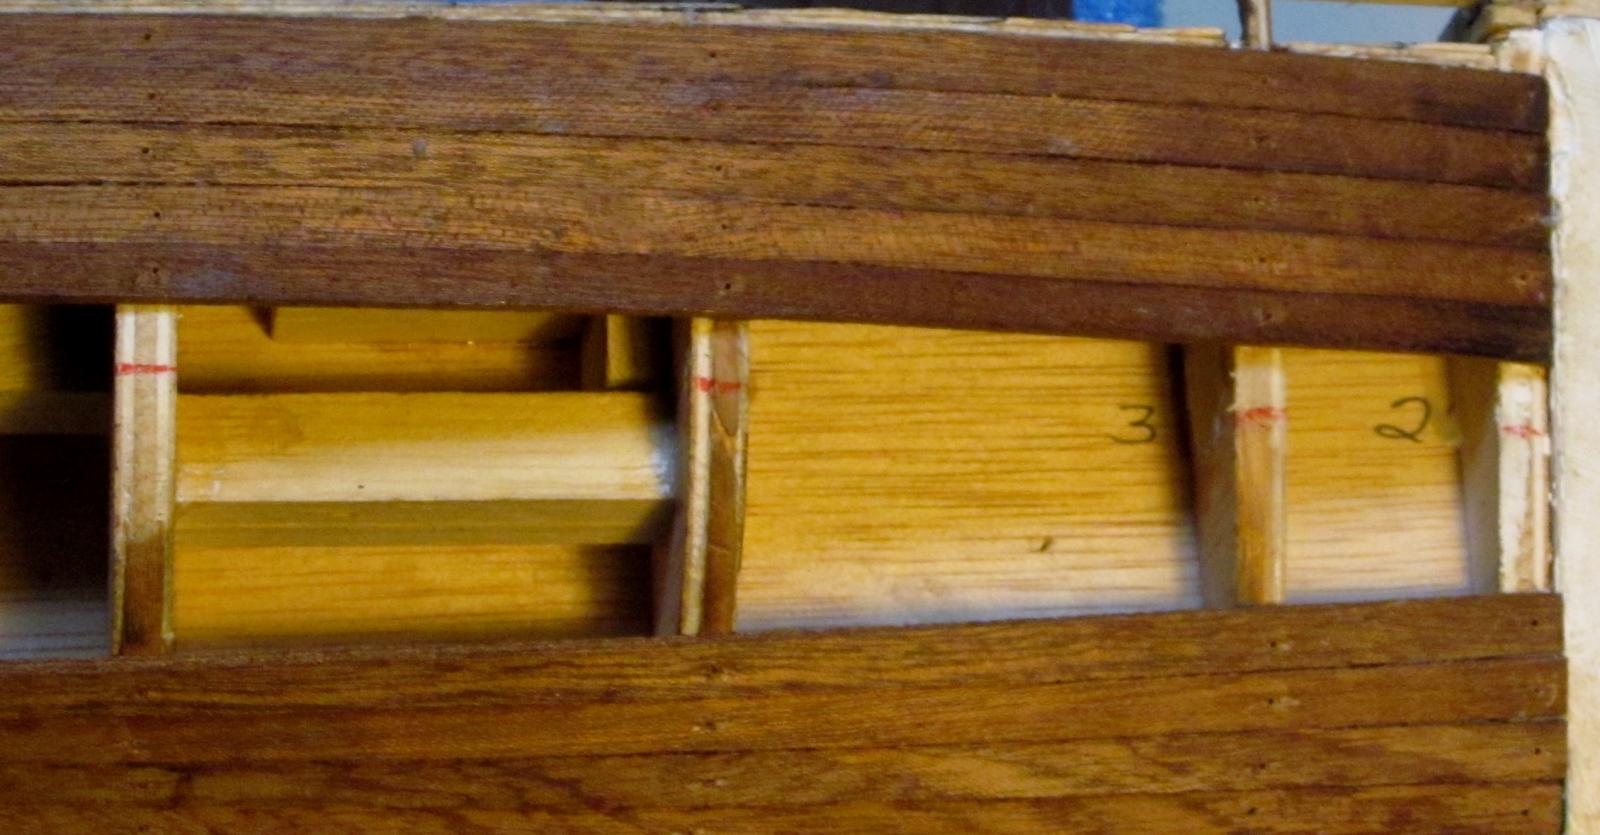
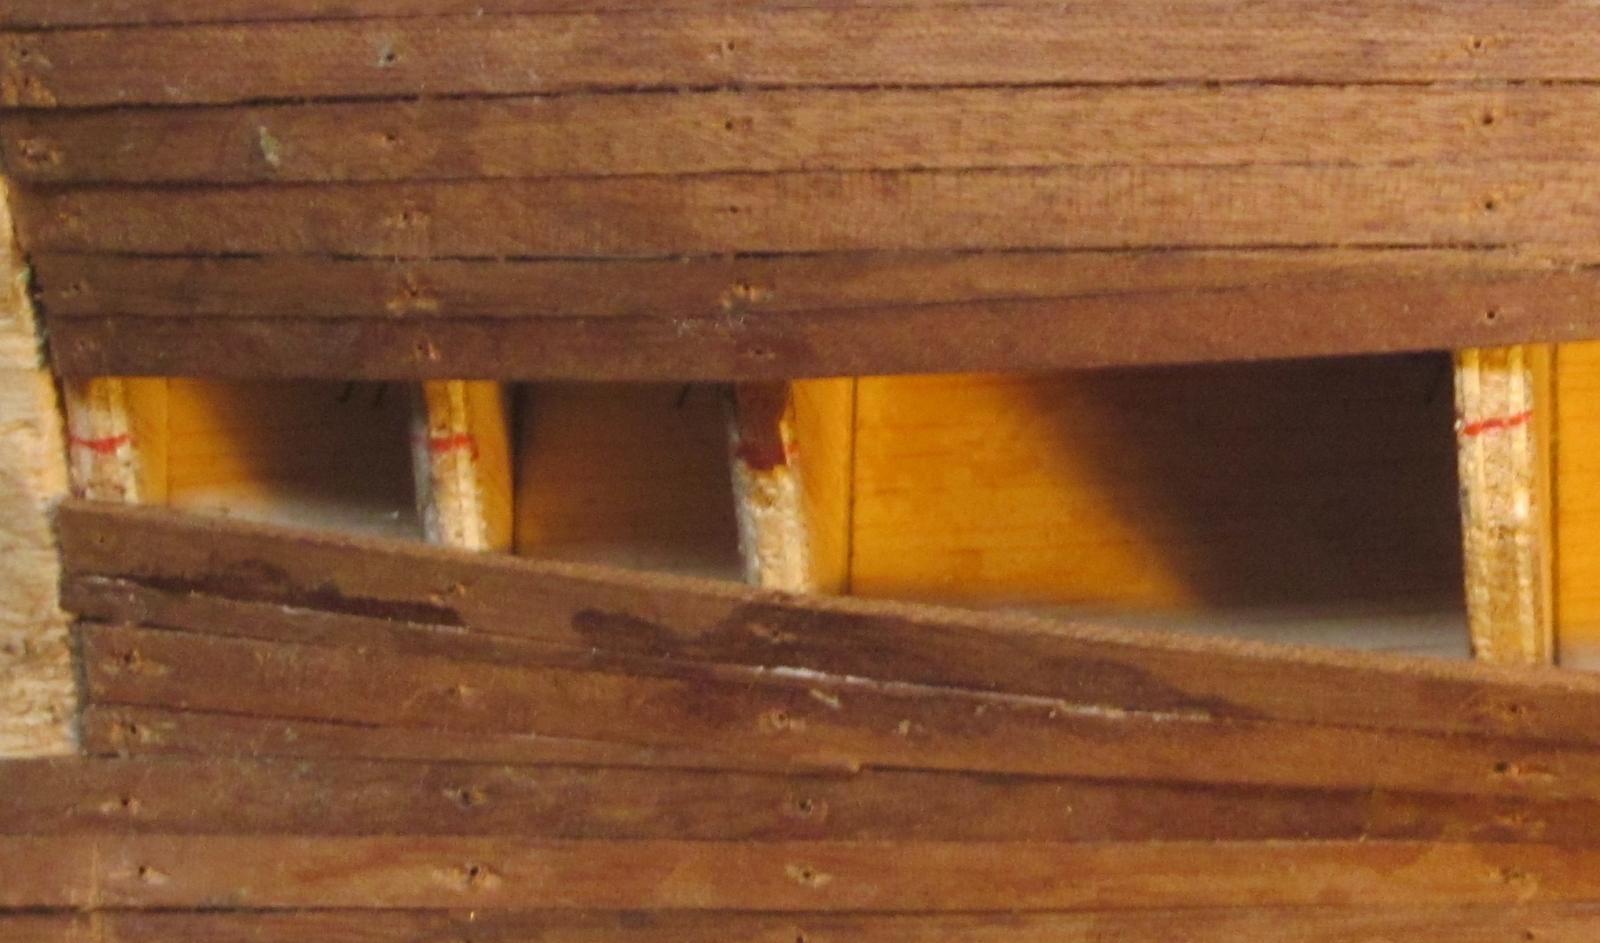
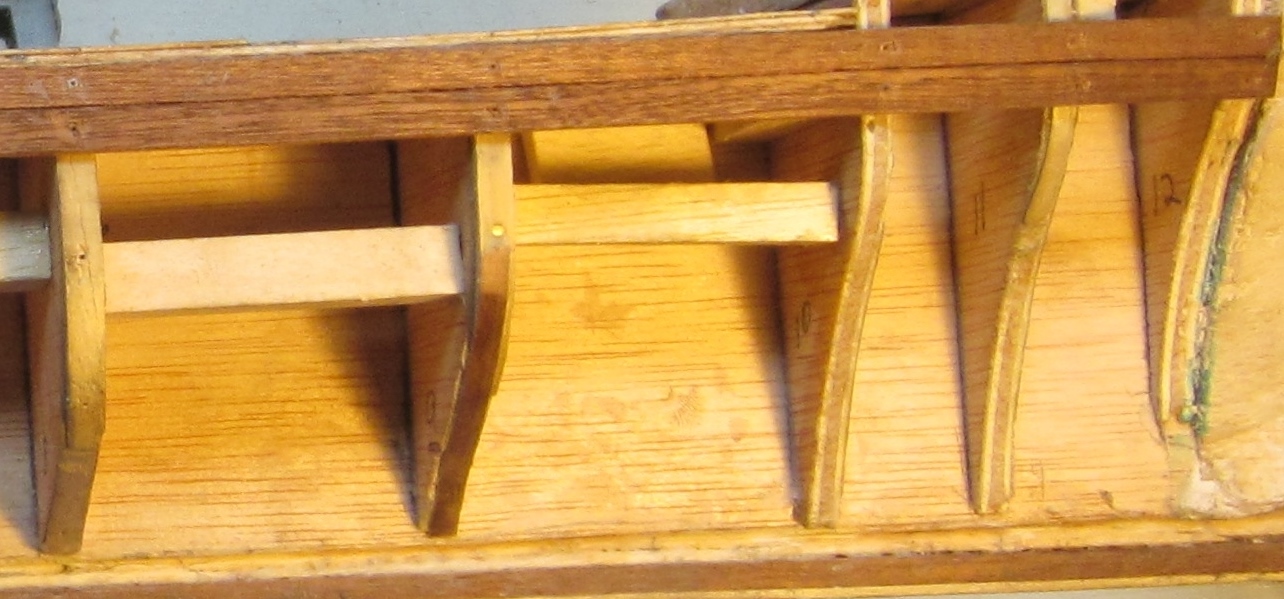
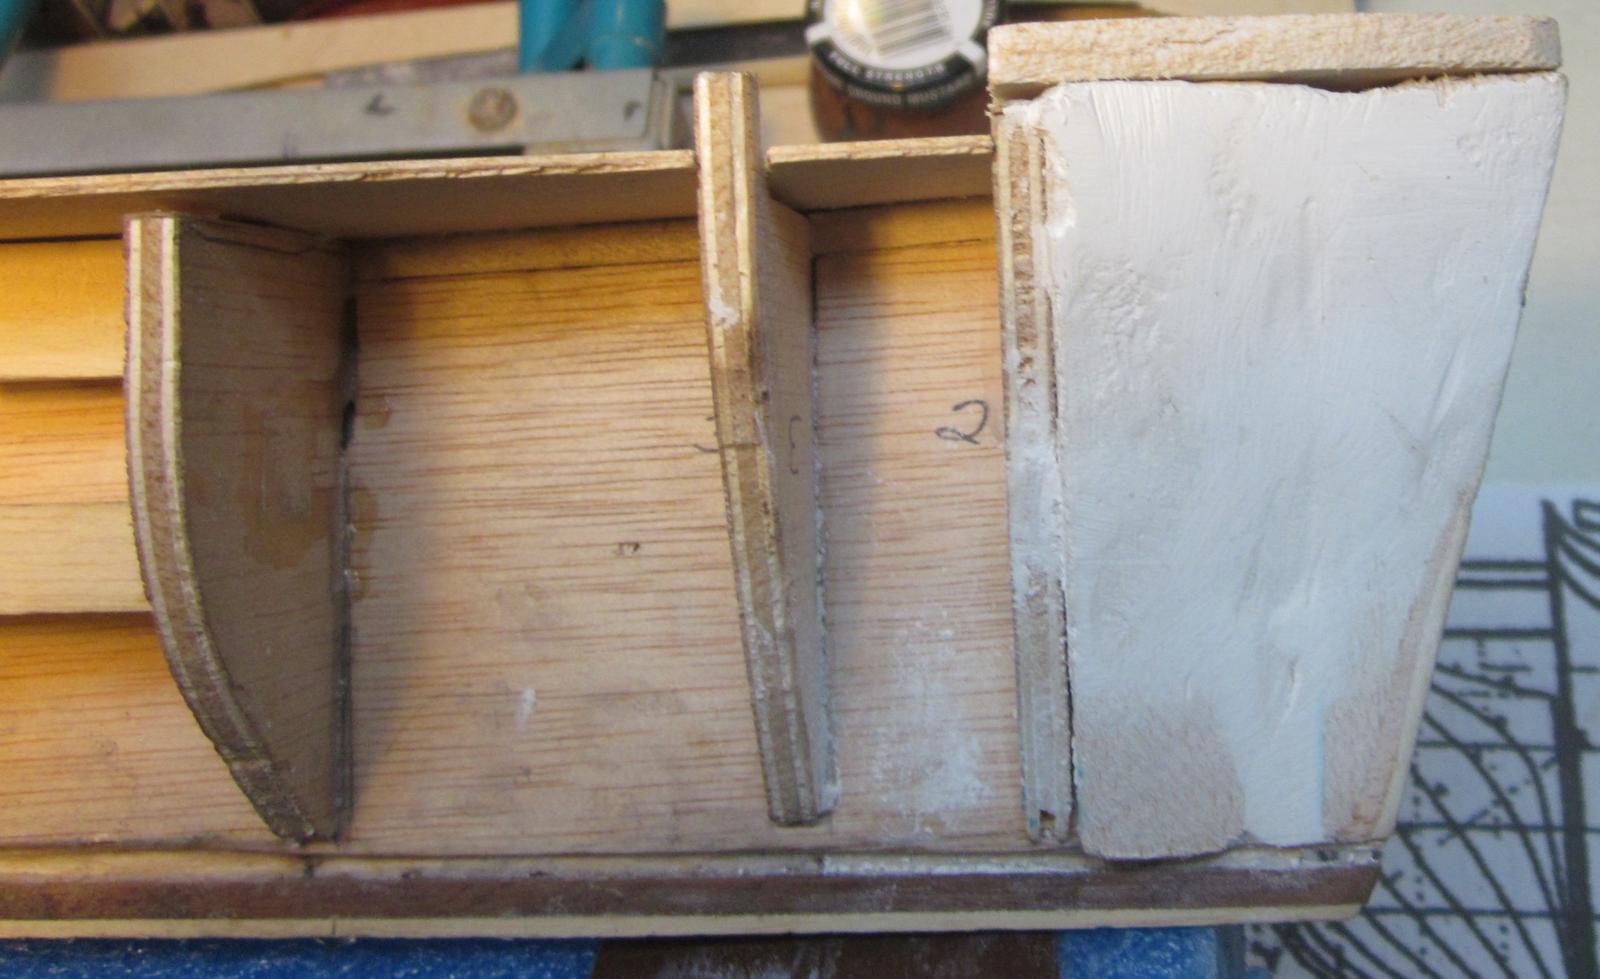
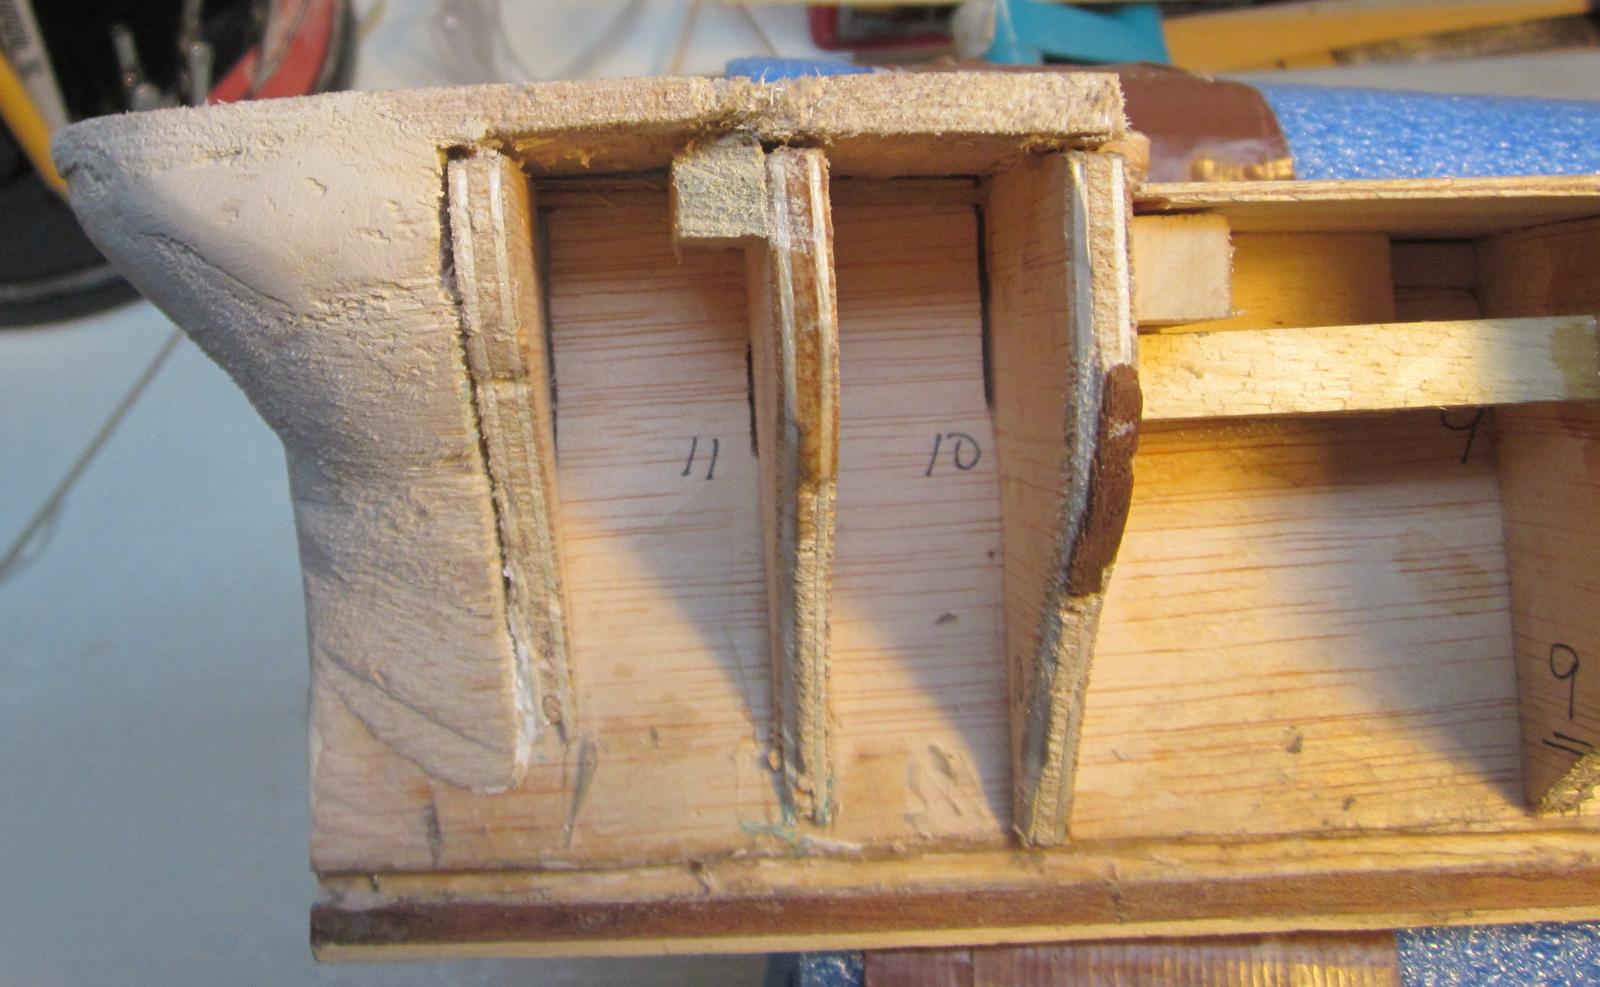
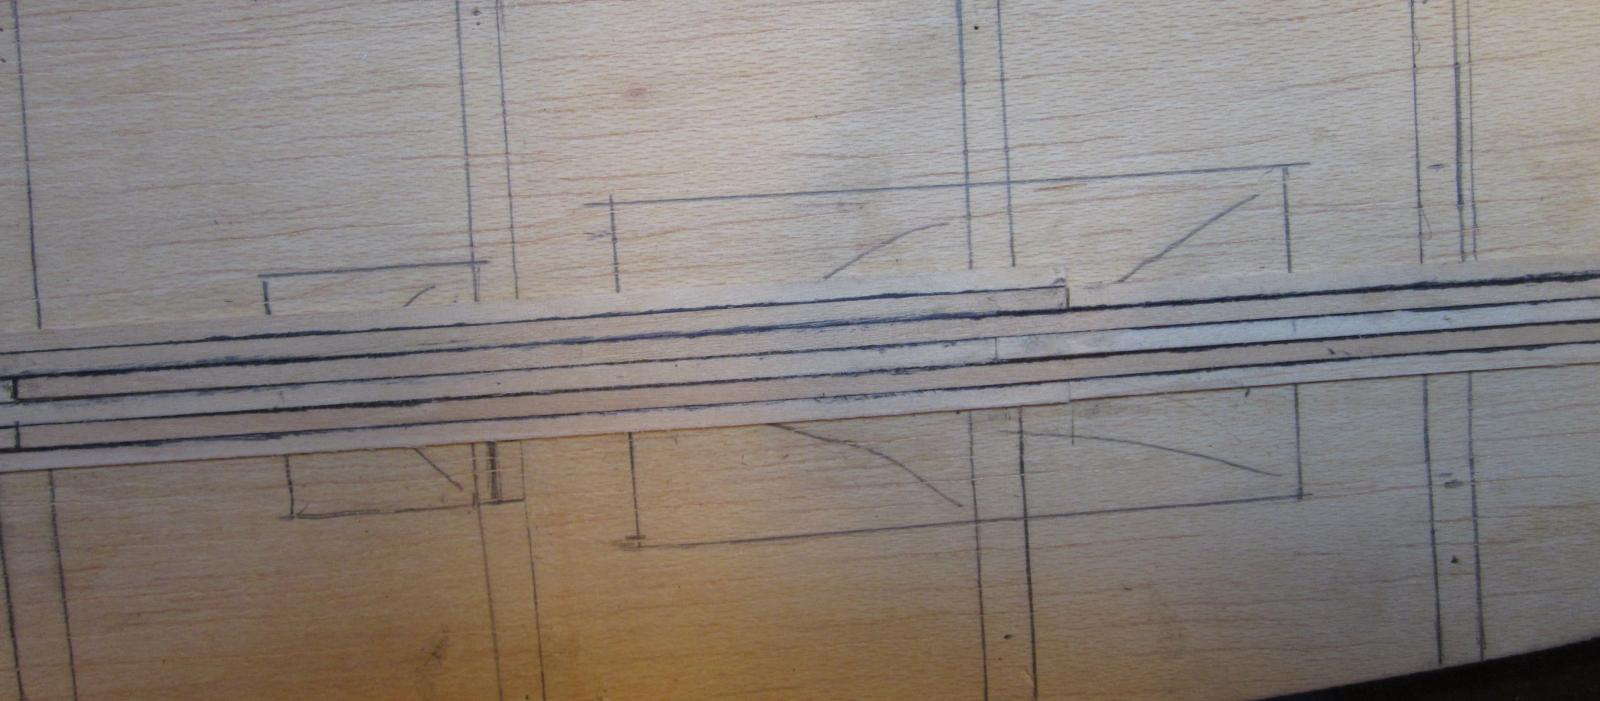
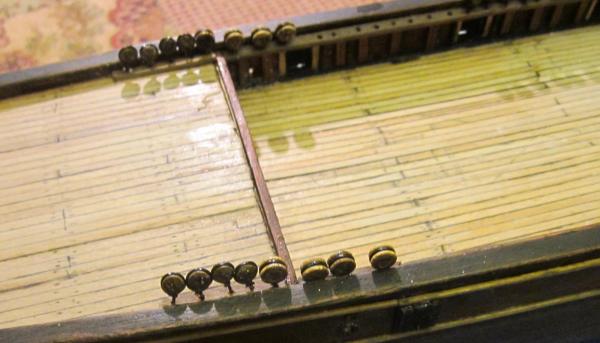
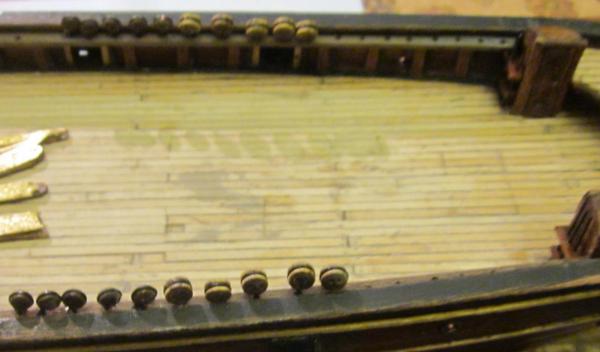
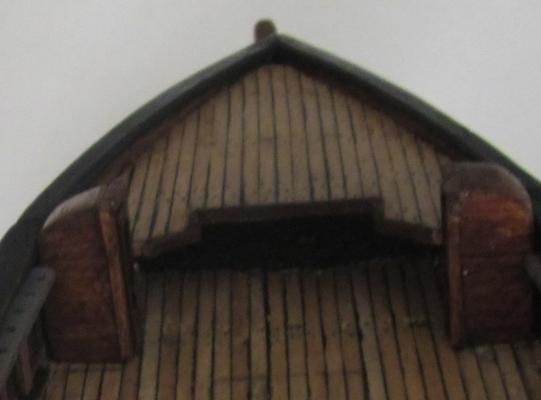
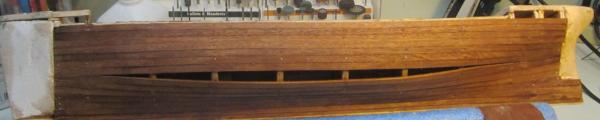
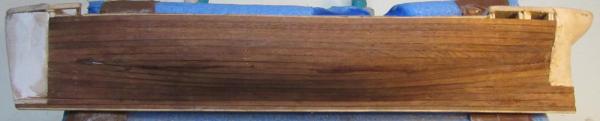
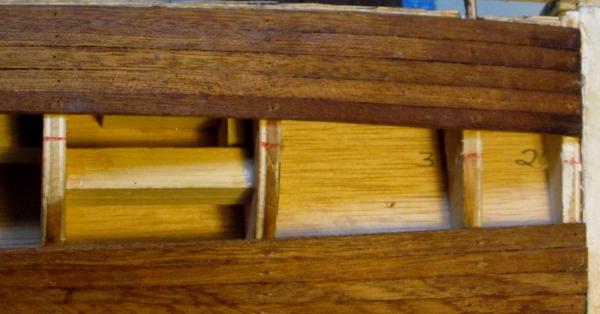
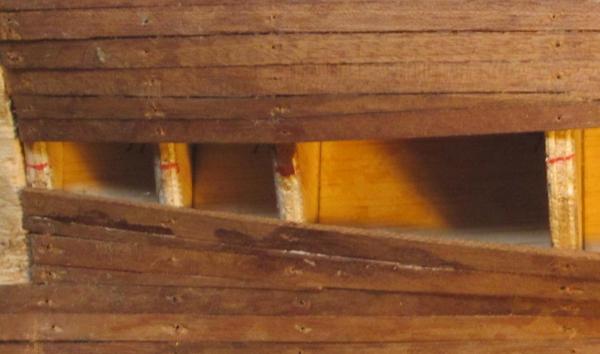
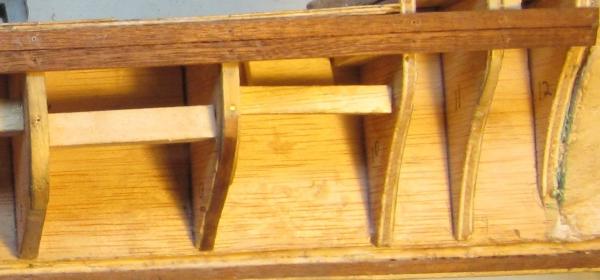
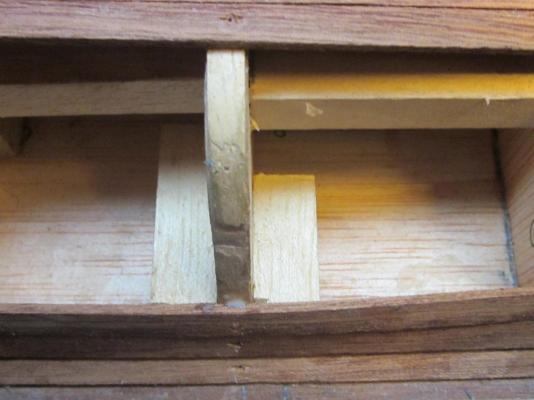
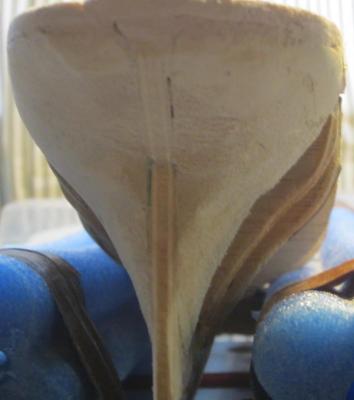
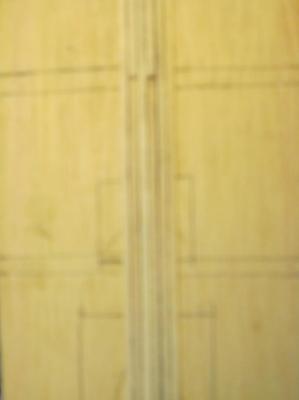
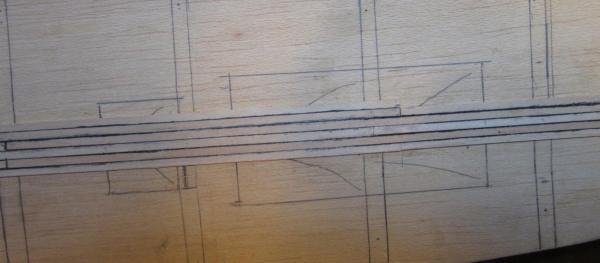
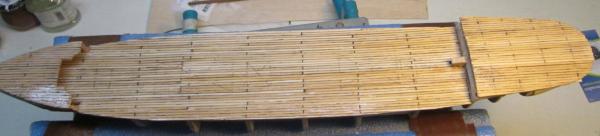
Ahoy Mates Here we go: 1. This is an old Constructo kit-pre -laser cutting, so everything was done with a router, so I had to be real careful cutting the bulkheads. The decks, false keel etc. are in 3ply -used an exacto #11 to cut them. 2. The bulkheads didn't fit the false keel.. had to widen the keel . They extended way below the base of the keel so I had to raise the keel by putting blocks on top to insure the bulkheads were level with the keel , and ended above the base to allow sufficient room to cut the rabbet. (Shown in the pix) . The rabbet was a PIA to cut as the false keel was only 3/16 wide. I could only leave a 1/16 ridge. I thO ink if I had to do this again, I'd add to the BOTTOM of the keel to even things out and get a good level top. Maybe a dado cut before adding the strips would have taken care of the rabbet. I installed the real keel and a cap that Constructo likes to use. Rabbet was cut on the stem , but I haven't installed it yet. Had to add strips where the bulkheads weren't symmetrical. Used balsa for filler blocks fore and aft- to much of a hassle fooling with small bulkheads and then trying to bend planks to fit ( See pix---Had to adjust these to leave an edge to receive the first planking.(used some filler-white was all I had.. it doesn't have to be pretty at this stage , it just has to work ...Oh yeah... raising the false keel with blocks on top made it necessary to raise the fore and after decks as well. Did it with balsa. 3. The deck planking in the kit was way out of scale: on the original ship ( per builders specs from Longridge's books {recommended- but not as detailed as the Mc Kay Anatomy of the Ship series}were 5x3 inches, so in the scale of 1/90 their planks would have been 18 in or so. Had to buy 2mm strips which is the closest I could get from the local shop. The deck planking went on pretty well. caulking was done w w a wide sharpie with the strips held vertically in small clamps. I used a cut down straight exacto blade ( cut to 2mm) run through a black eyebrow pencil to mark the butt ends. Scraped the decks with a razor blade in a holder.. Put on a coat of varnish and steel wooled (OOOO)it when it was dry.Have a new coat of varnish drying now, and after another steel wool rub, I'll mark the treenails with a needle dipped in eyebrow pencil. (I did my last ship my simply marking with a lead pencil...looks OK but I think this is better. Next up: first planking. This is my first build log, so I hope it helps somebody. Fair winds to ya


.JPG.9fb96877f3ba2bbd2b574596582b464d.JPG)
.JPG.627569f8206c5c7ea3c03b50f7840d7a.JPG)
.JPG.8c913cfbd505c039594771c99dab7aa6.JPG)

.JPG.36d29ff1efb9d67f5aac2b9166a04d30.JPG)
.JPG.3e2a4a78b5cb20c4fa129acafe281a34.JPG)
.JPG.92d7ad44df3e481d406ae7f46663238f.JPG)
.JPG.80d978e4261ce60310c0d2efdb0b579a.JPG)
.JPG.b0125940ea59b85313f194695897bdcc.JPG)