


kostas_gr
-
Posts
217 -
Joined
-
Last visited
Content Type
Profiles
Forums
Gallery
Events
Posts posted by kostas_gr
-
-
-
-
-
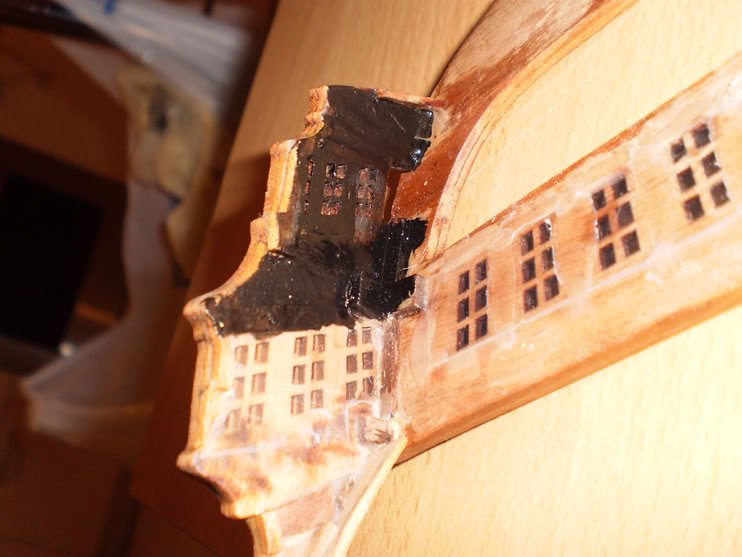
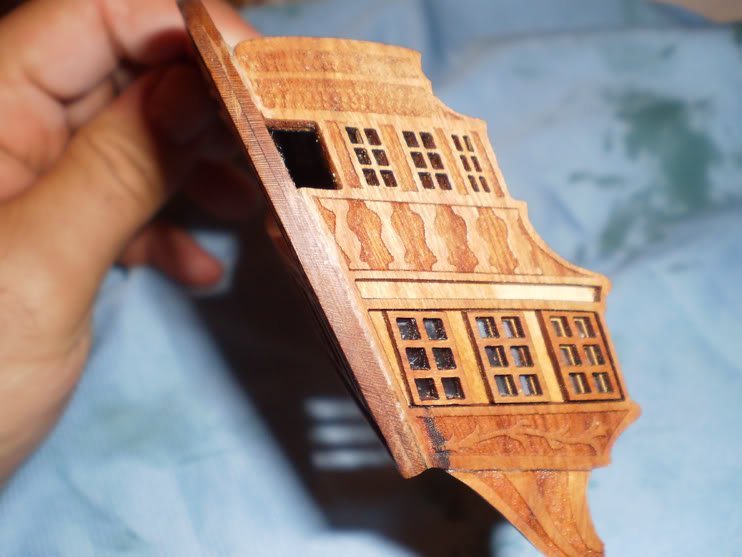
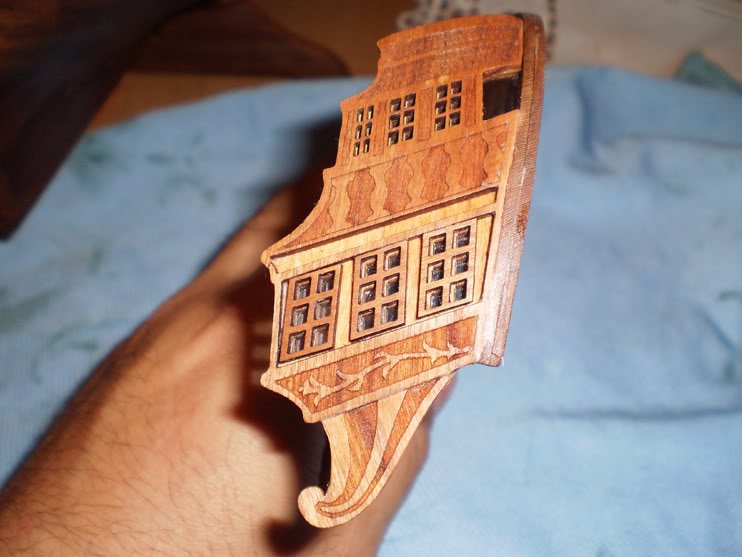
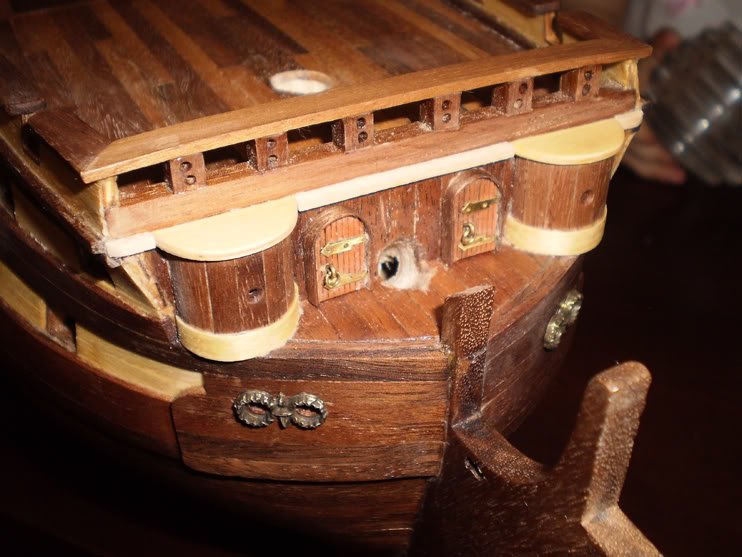
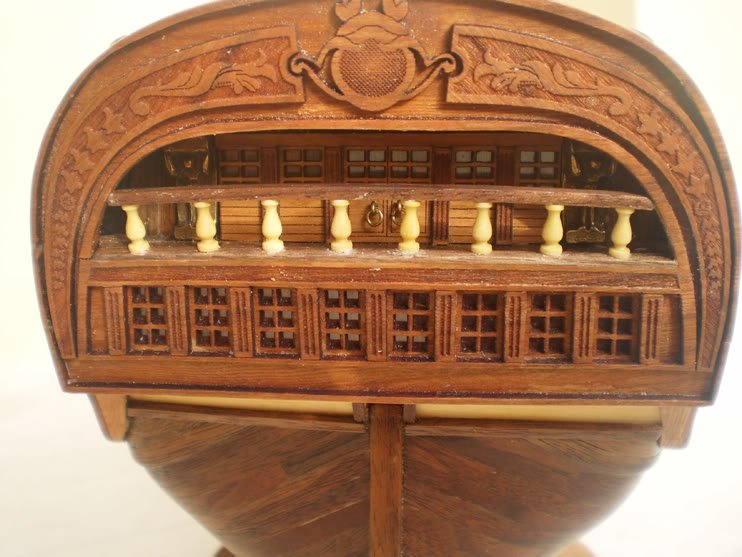
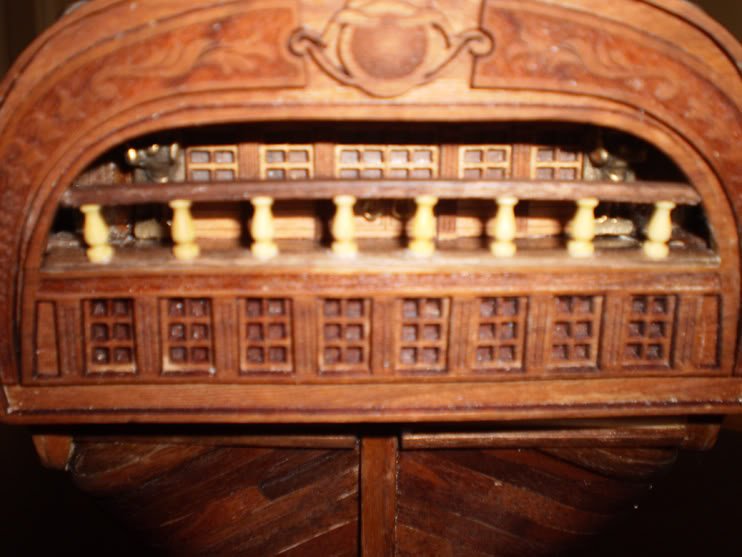
For the stern gallery I used from "double O laser" the laser-curved parts, since I dodnt want to use the metalic ones that artesania provides ( I am not sure if it is still possible to place an order, at double o laser)
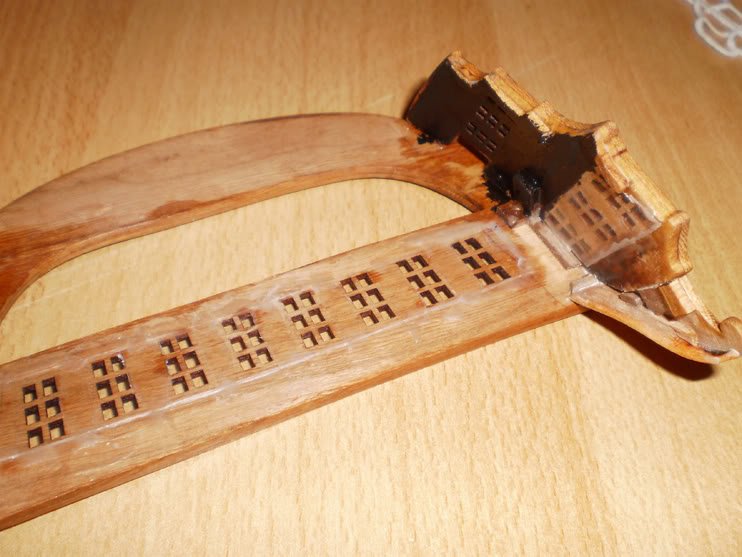
to make windows more realistice I have glued inside clear plastic sheet
also I have painted with black theuper half of the stern (inside) to givr more depth
-
-
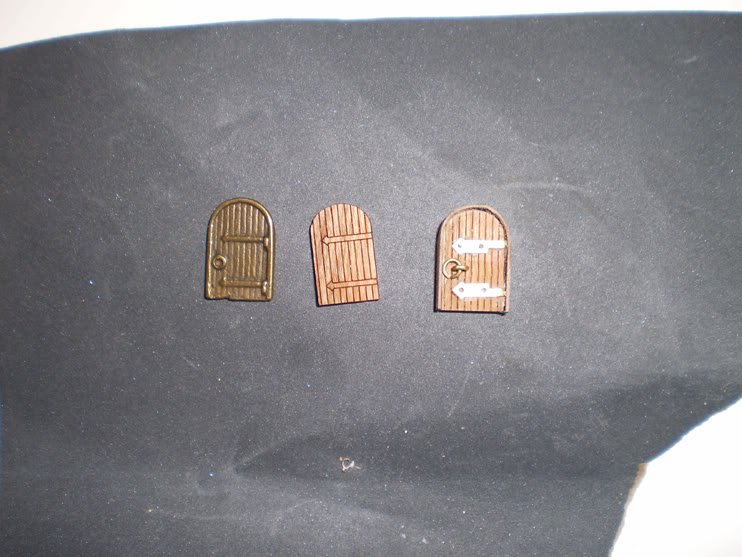
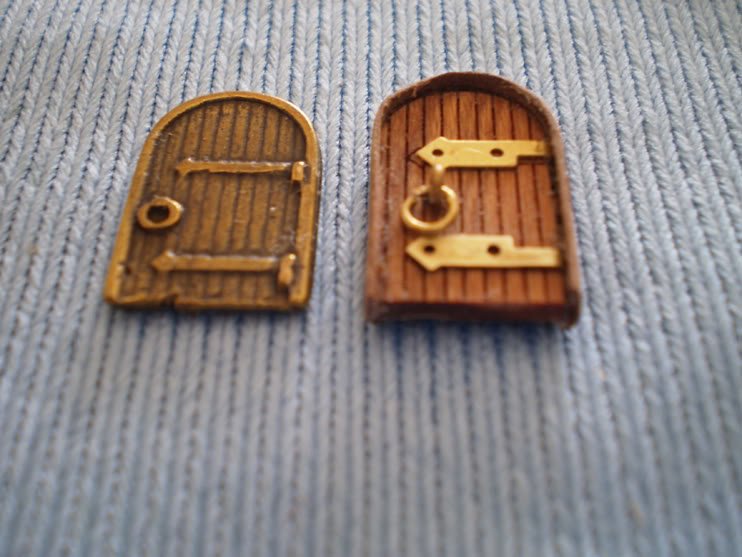
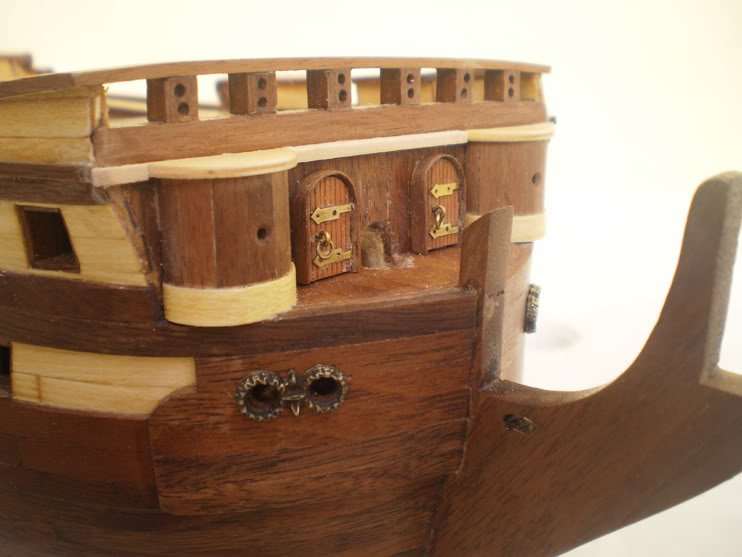
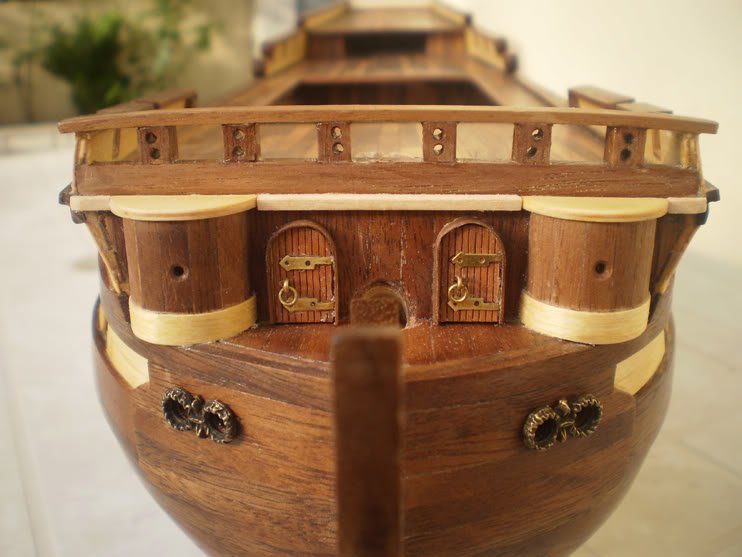
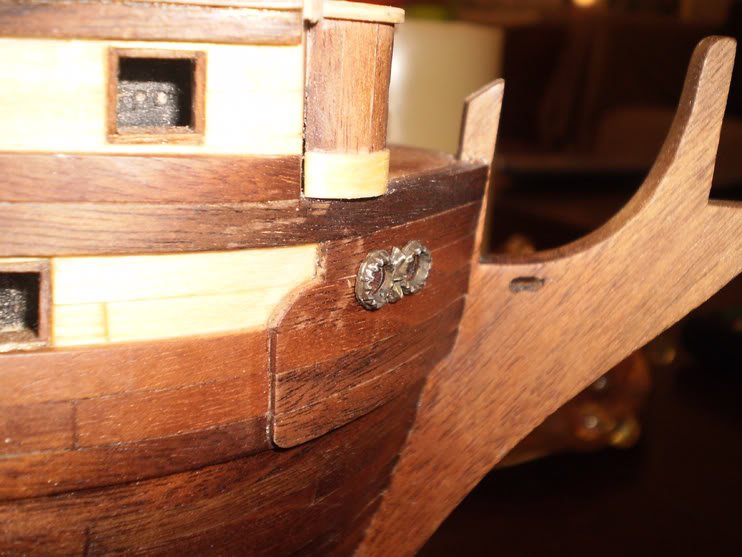
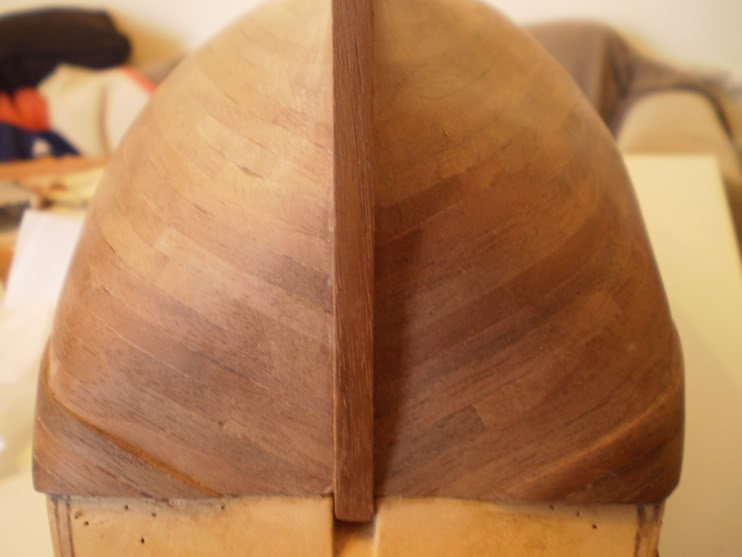
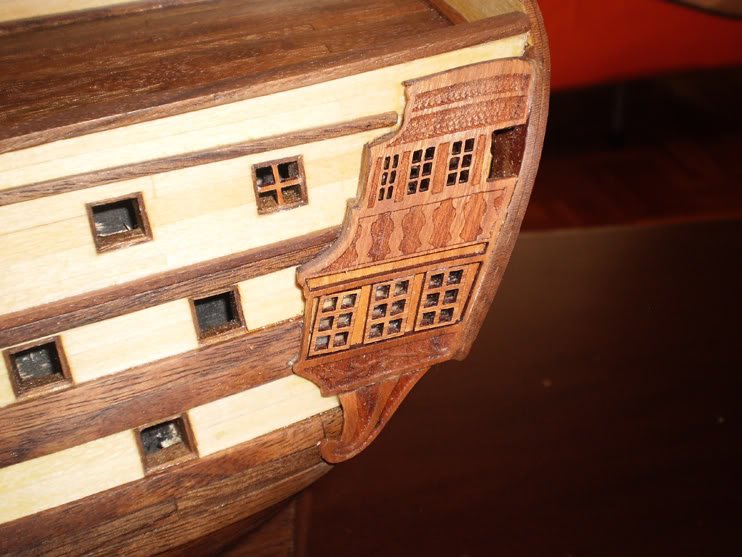
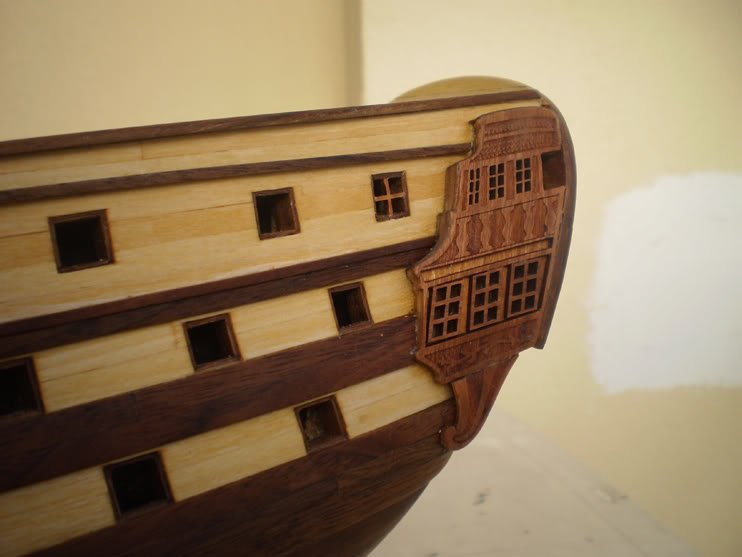
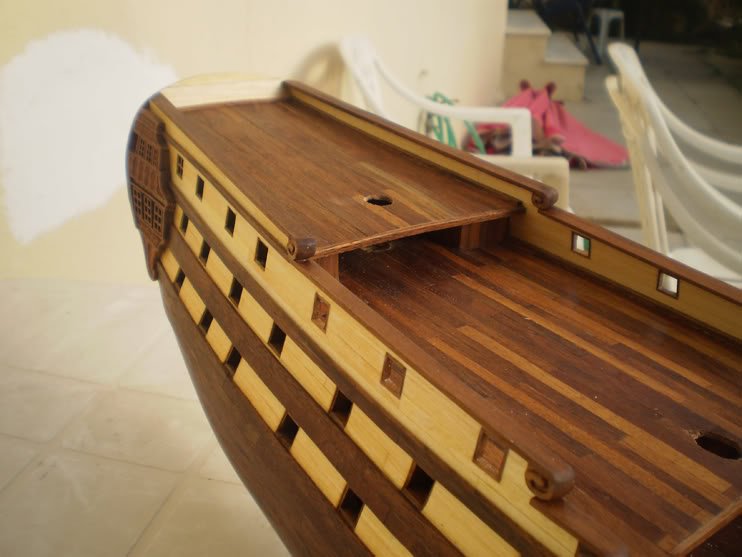
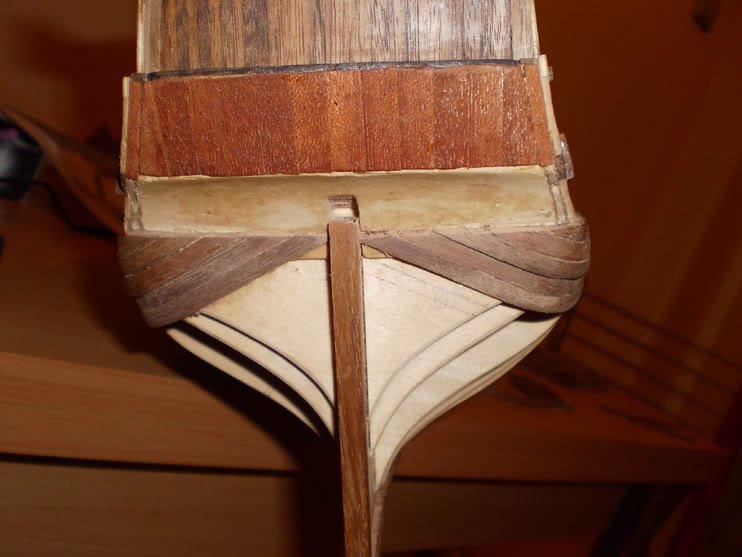
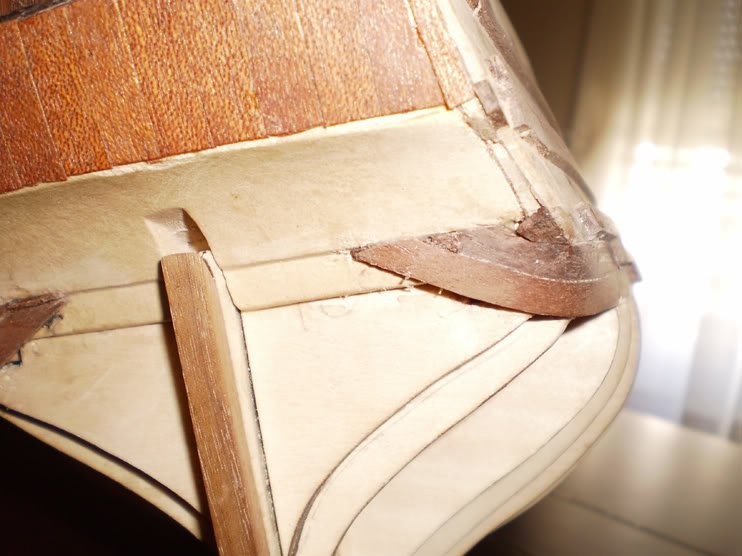
trying to enchance bow doors....that time looked great to me, today after 3 years I know I could have done better.
I believe is not so hard to replace them at this point (I am making sail rigging atm), on the other hand somehow reminds me my tries to get better skills.....
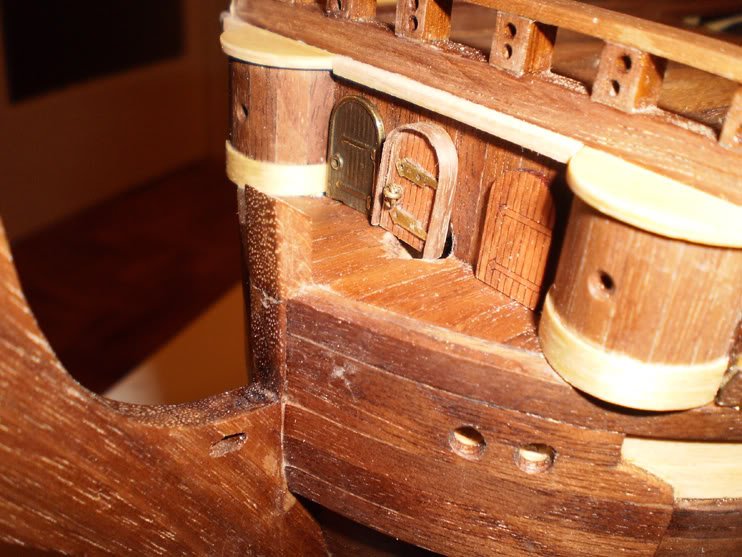
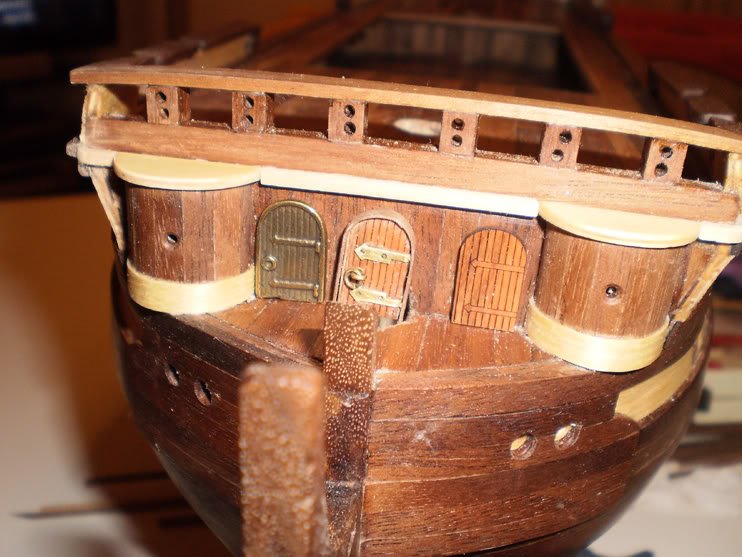
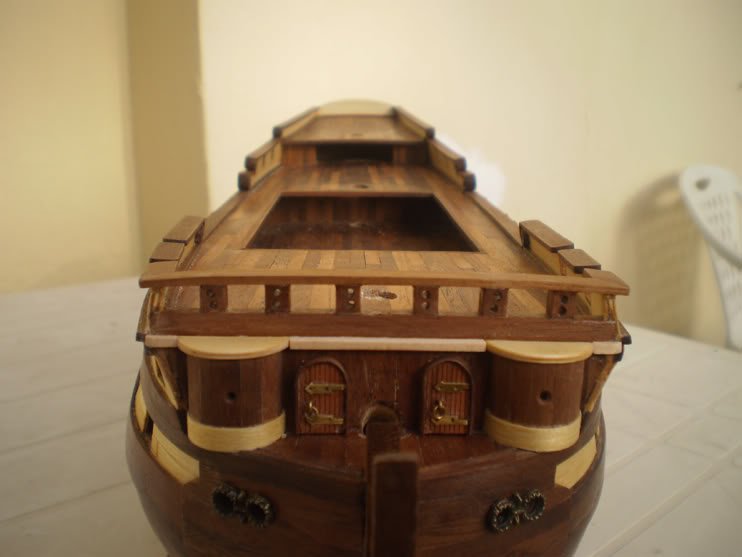
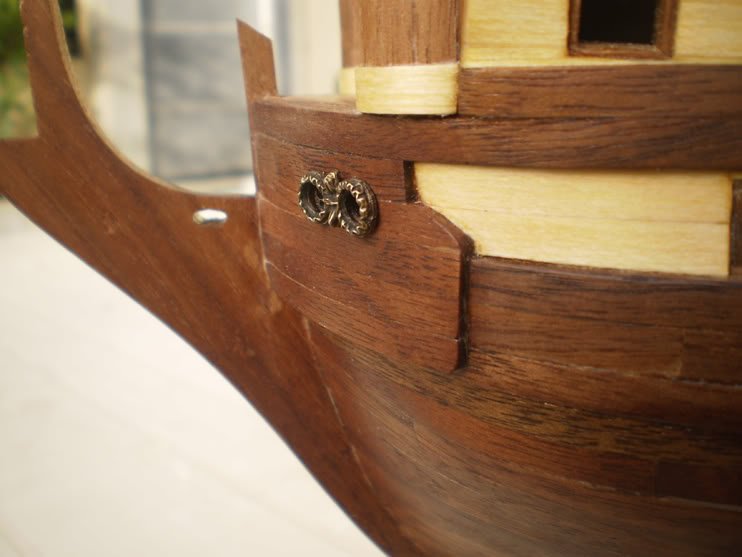
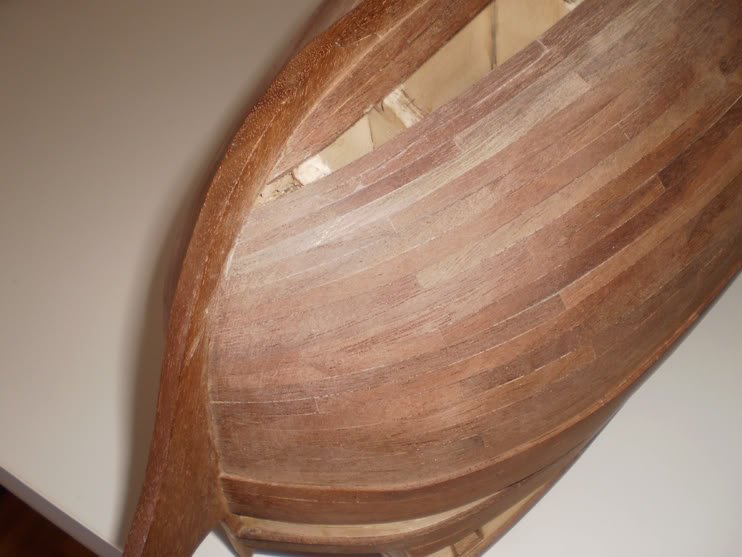
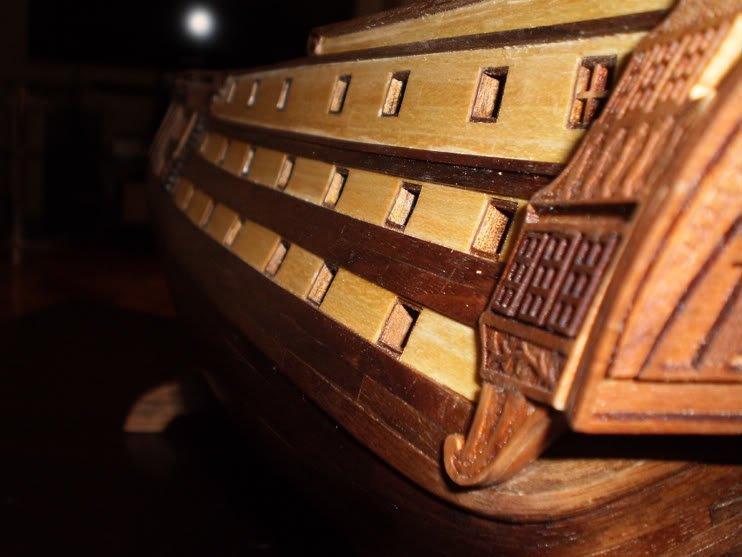
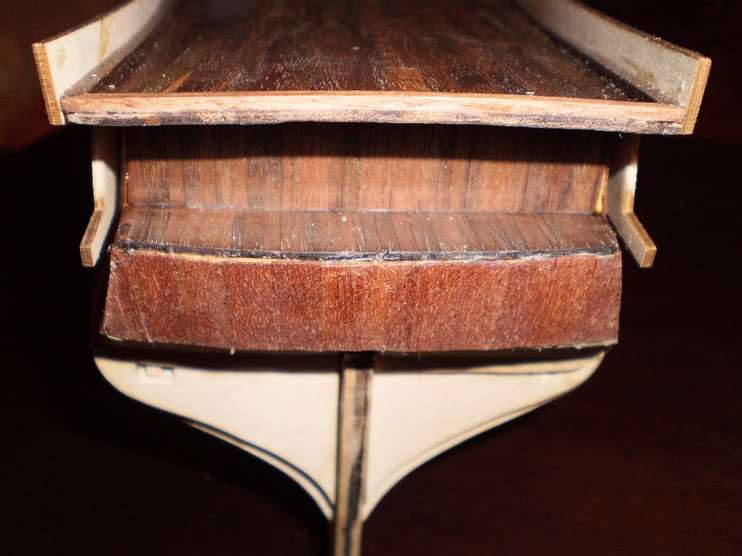
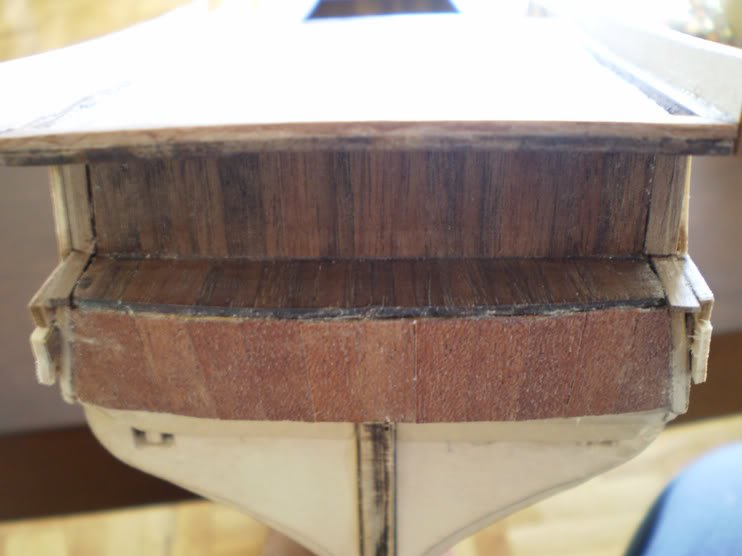
some views for the bow
-
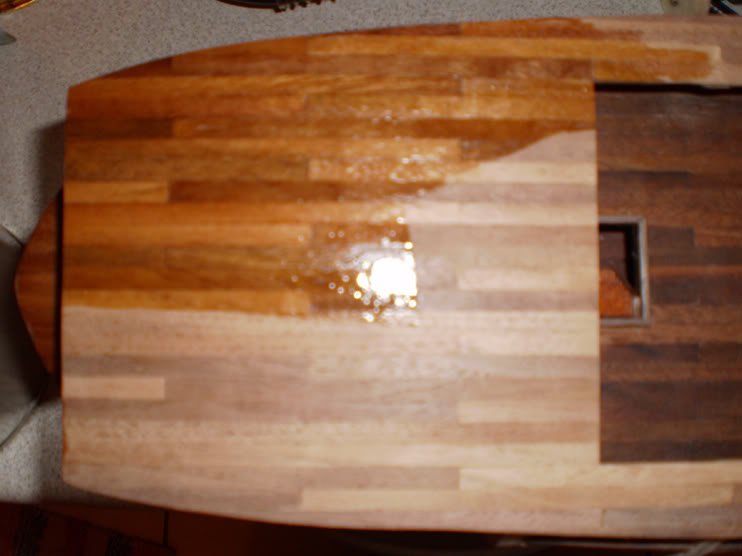
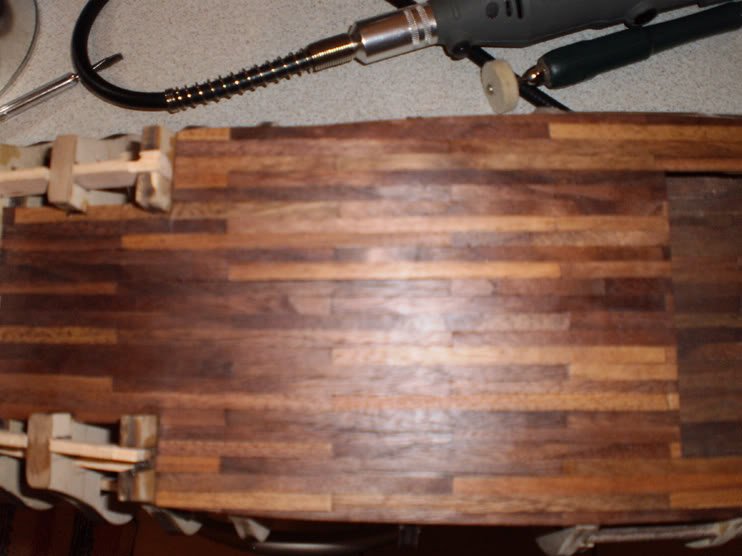
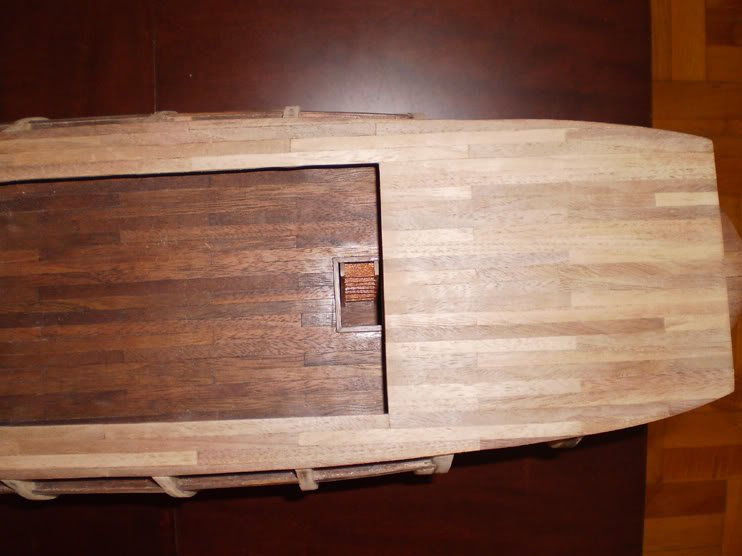
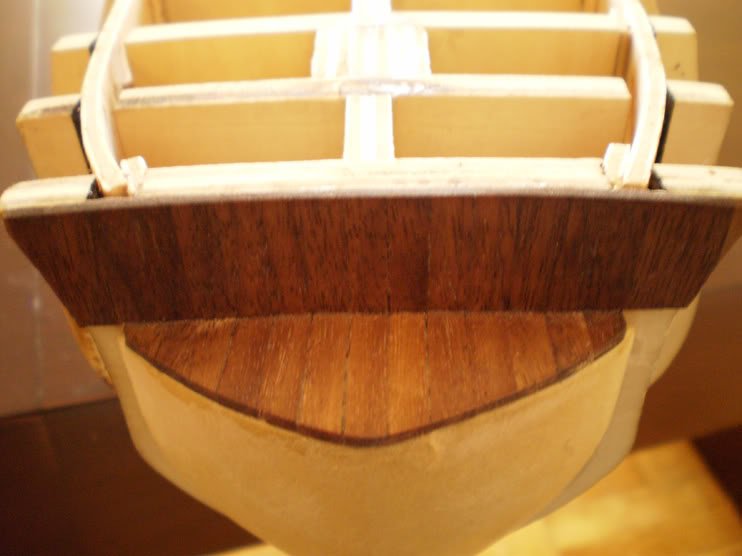
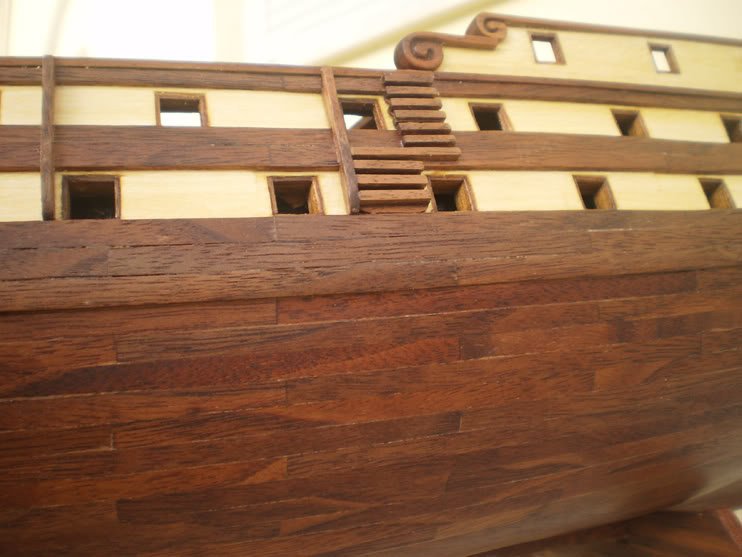
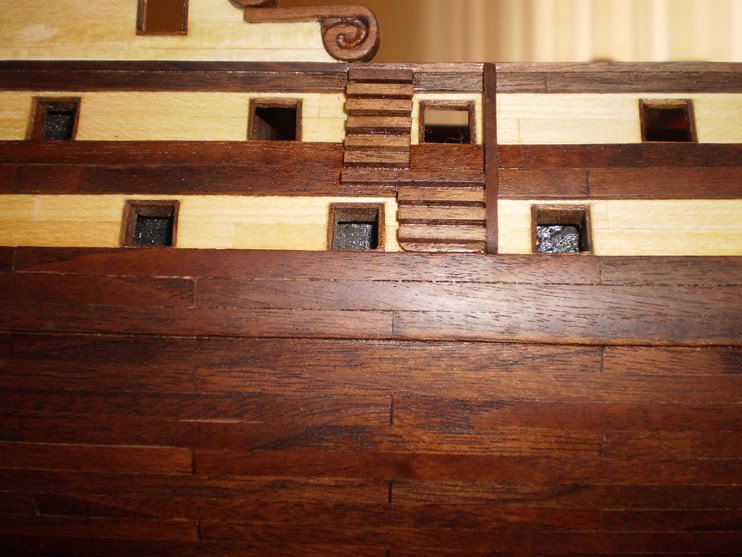
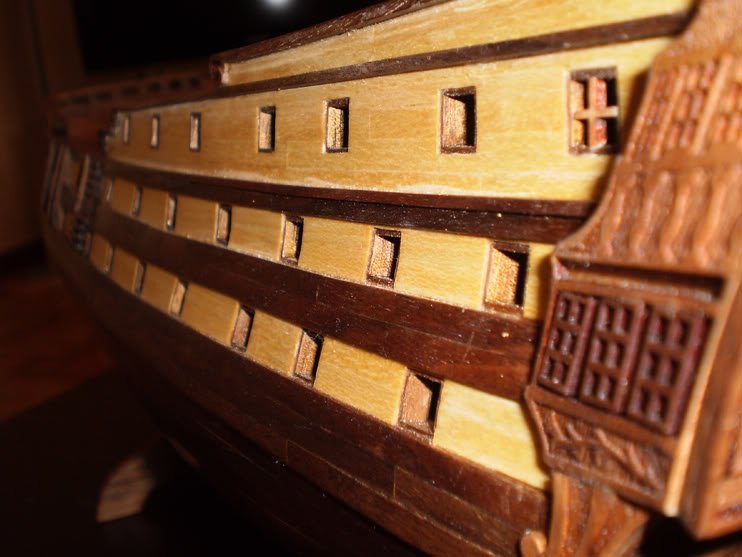
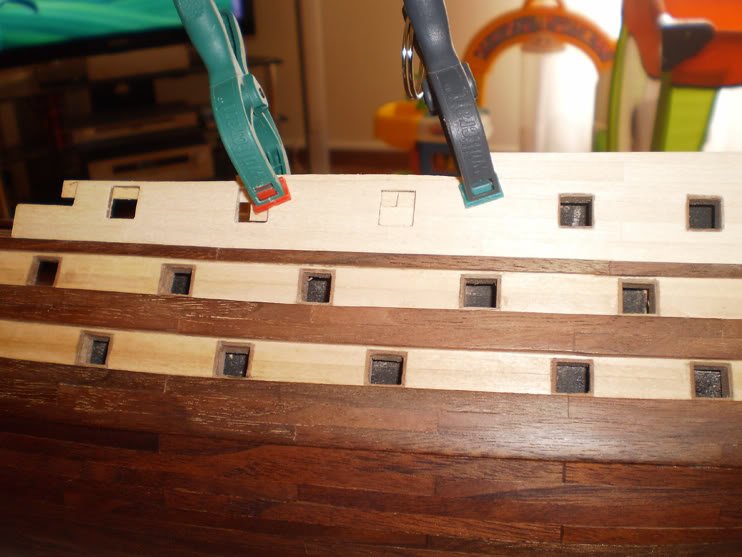
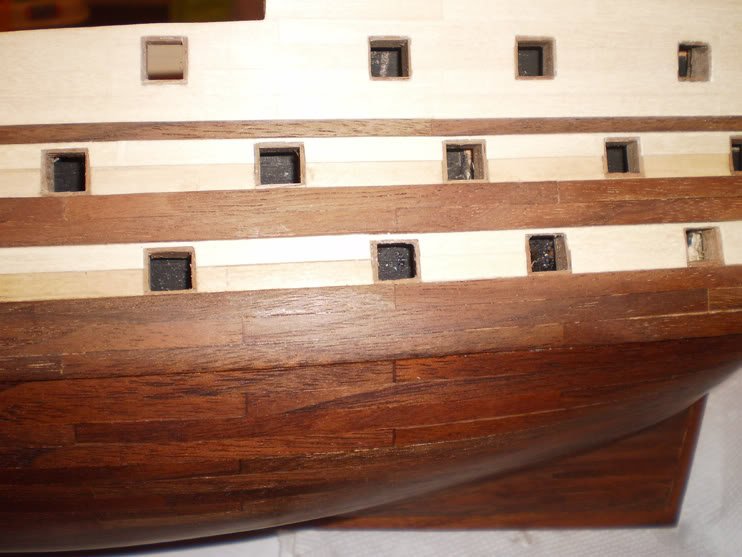
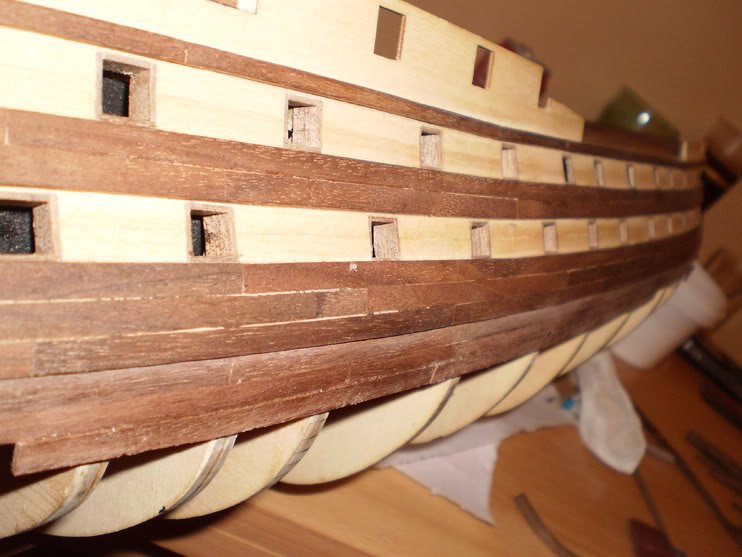
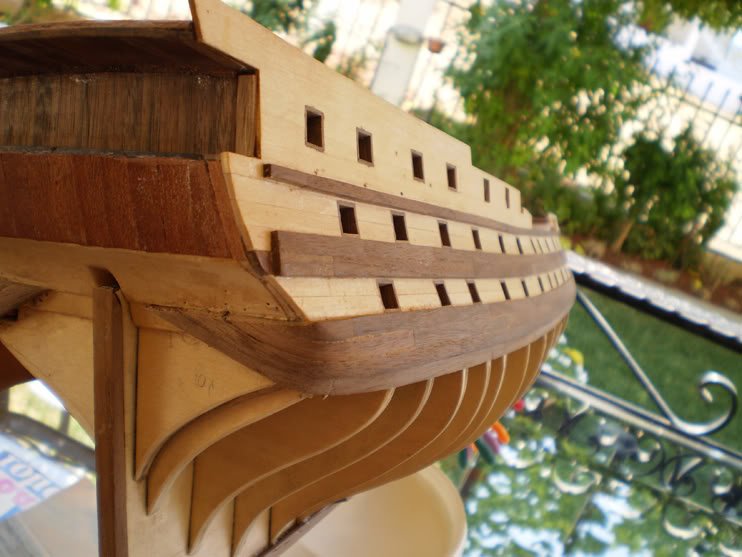
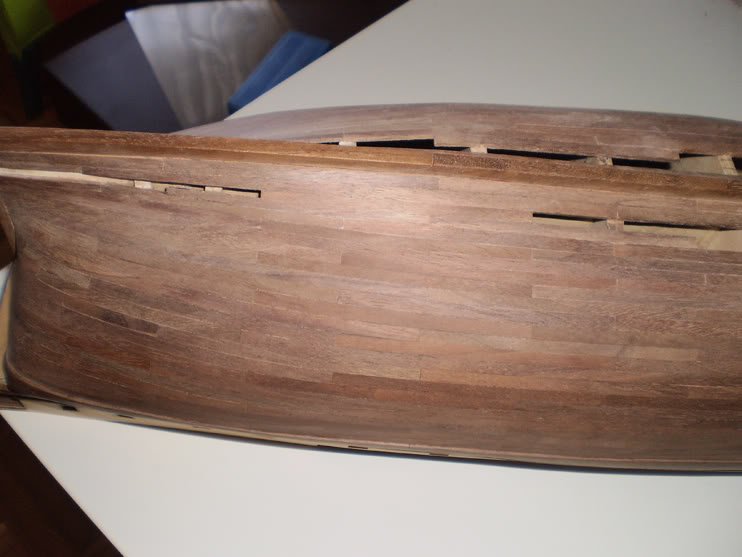
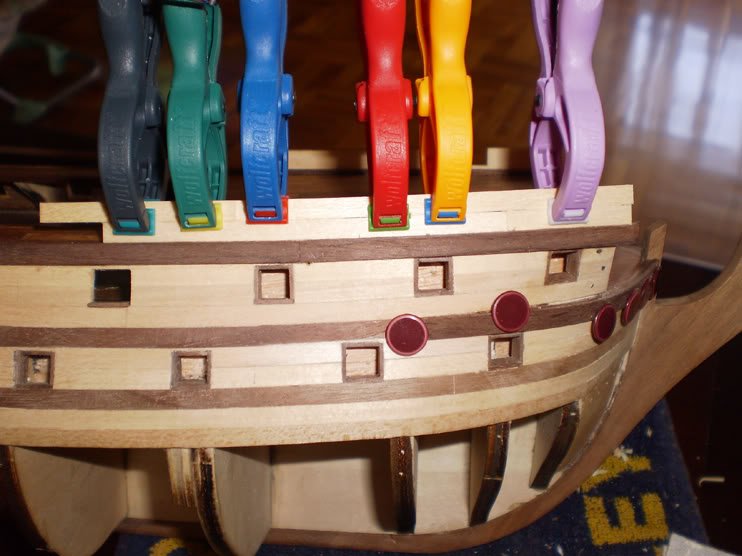
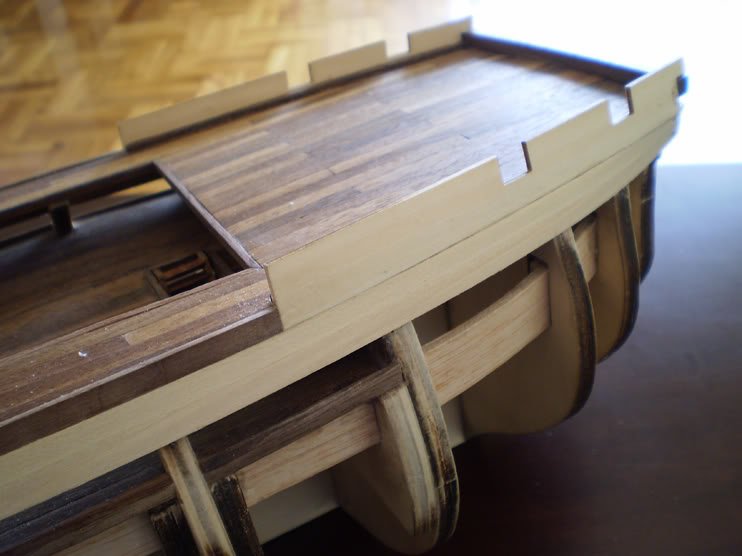
the method of planking I have choosen is from top to bottom with gradient decrease of planks to match hull curves, is the very same that katsumoto (I hope to join this forum too) made for his mepomuceno kit (no stealer planks etc). Once again the lenght of the planks was 10cm.
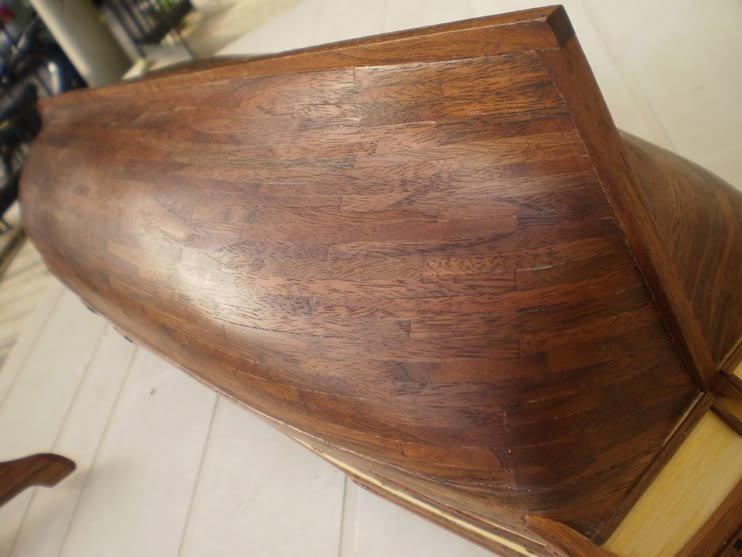
I had to decide if I wanted to nail pins on the hull, but since I havent made treenails for the deck, I put aside the idea for the next kit
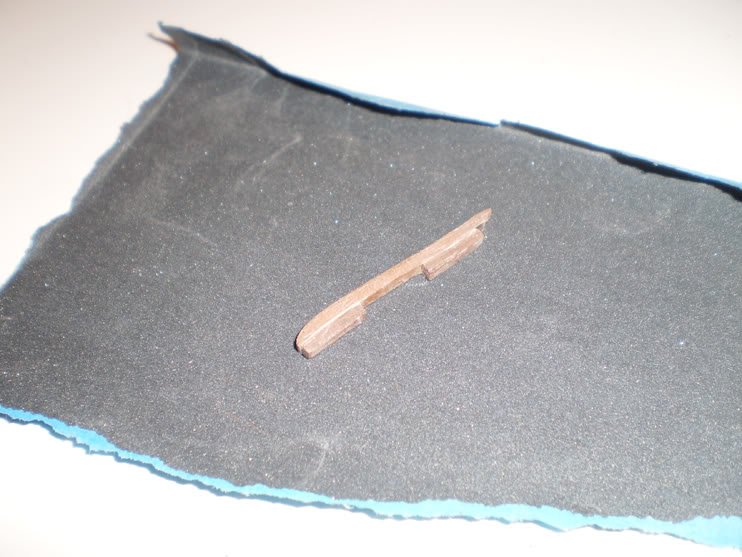
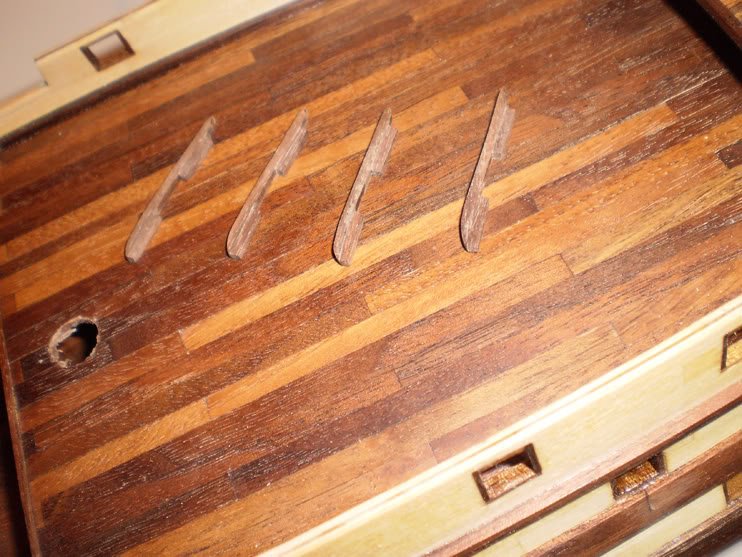
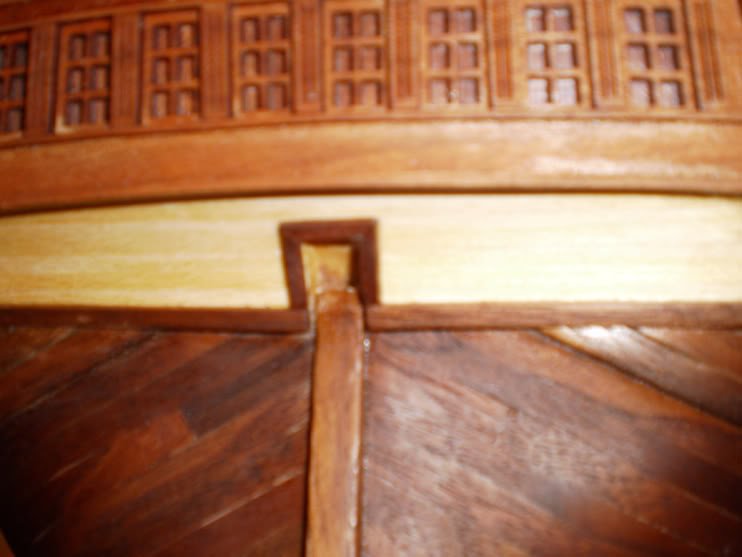
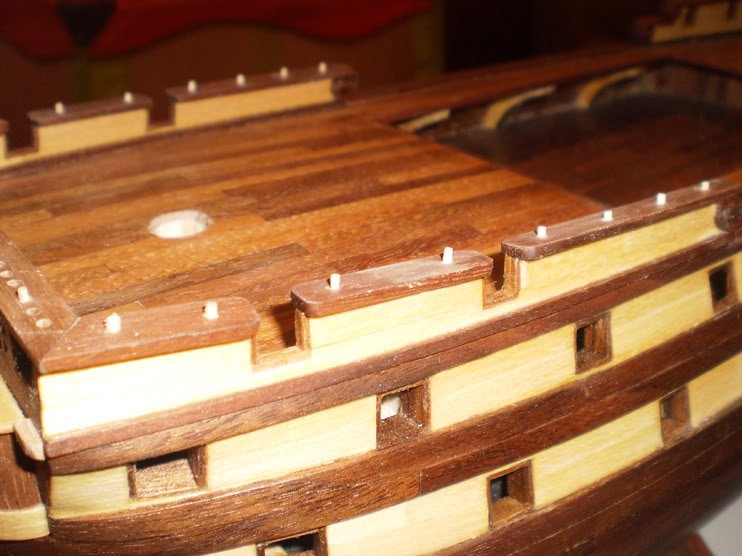
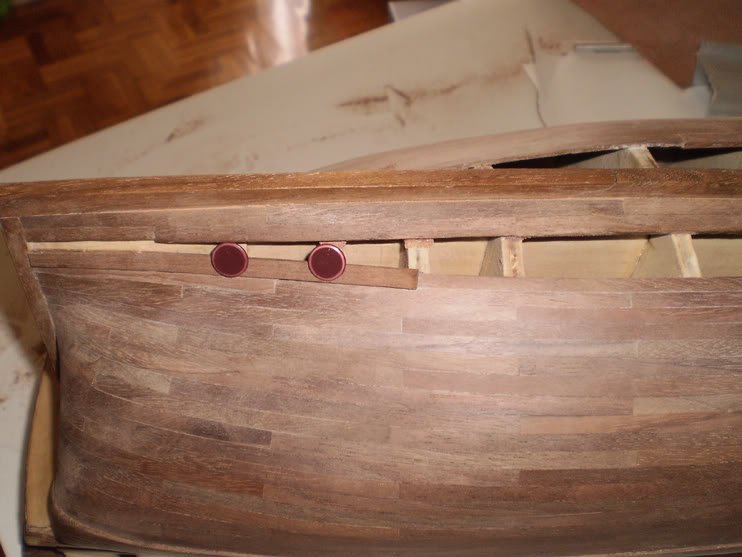
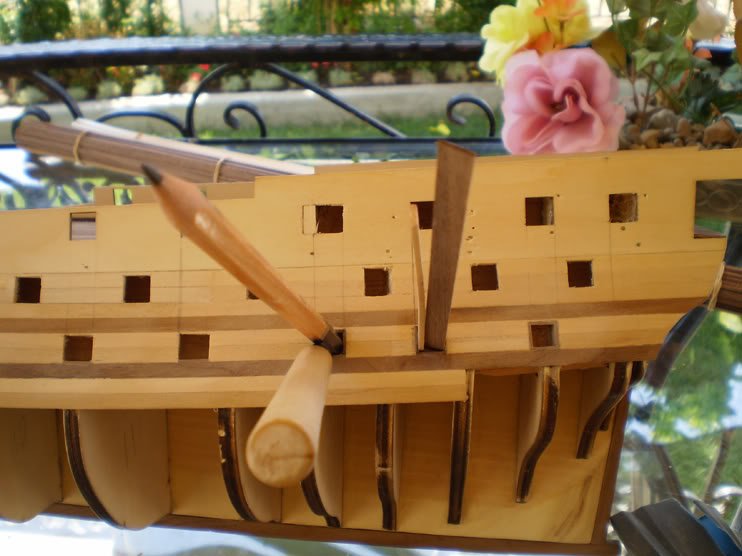
boat sliders, kit instructions suggesting to use brass sticks, I have choosen to make them from wood

-
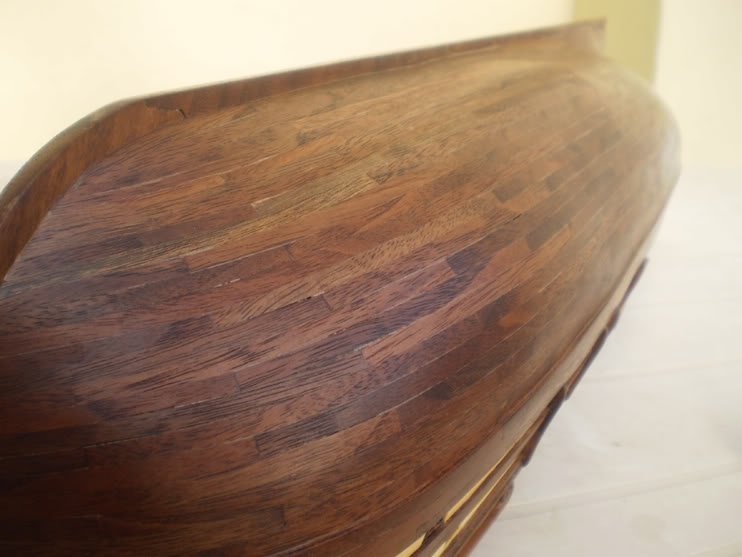
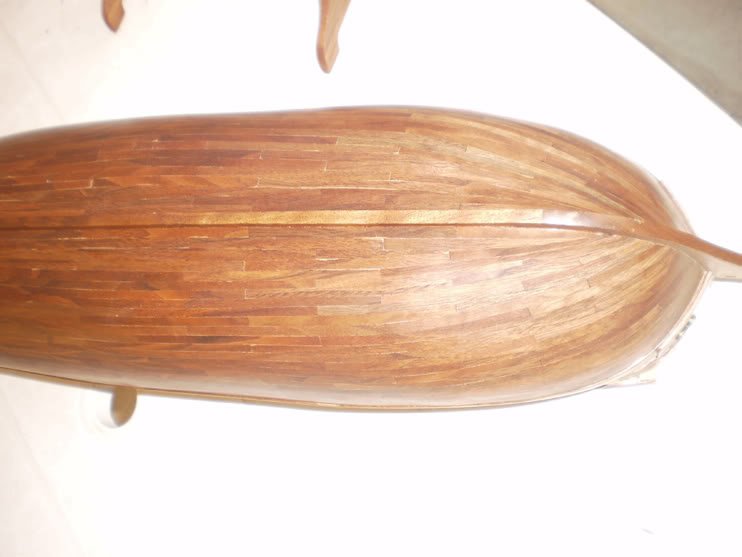
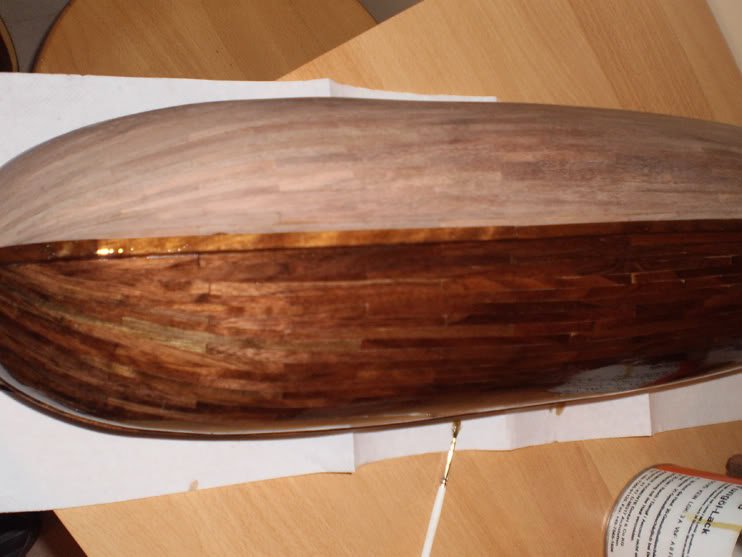
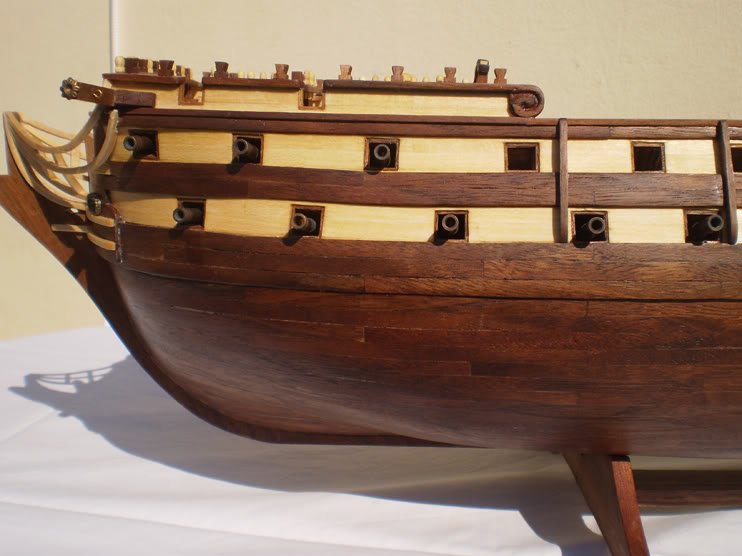
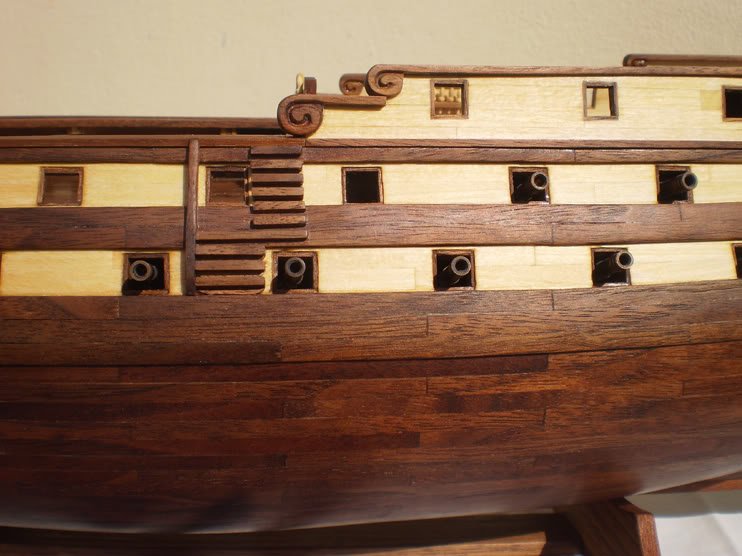
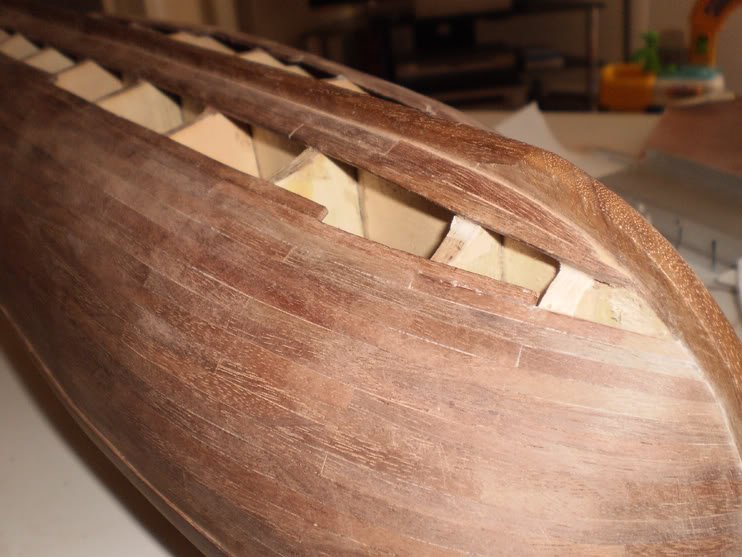
finally last plank.....
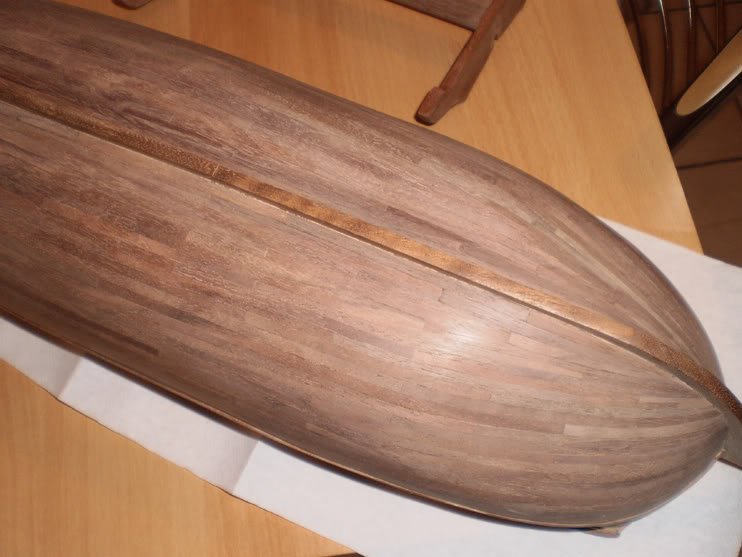
half hull already oiled (with tung oil)
-
-
-
-
-
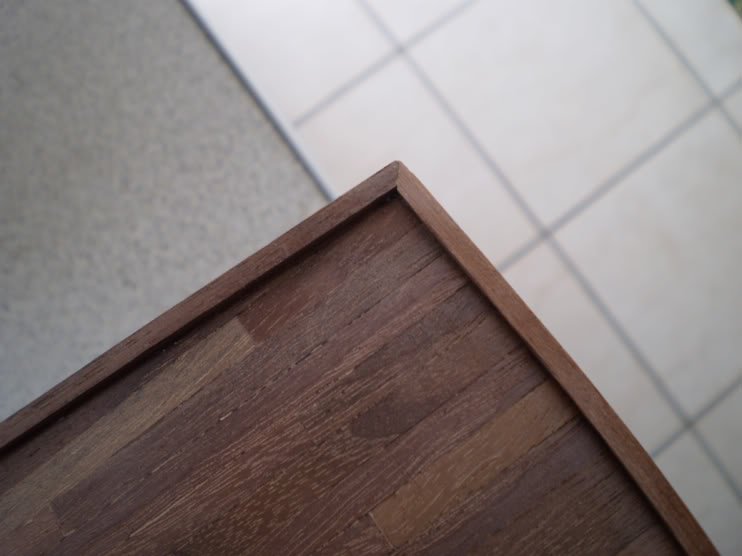
When I was making plastic models, I have used a lot and different types of varnish coats, never liked much the "film" that was made, no matter how thin, or clear, glossy or satin, enamel or water based, it was always a coat, works fine over colored surfaces, but it was a "killer" for metallized colors and probably wood.
So I had to choose between teak oil and tung oil. Teak oil was too thin, looked better than varnish coat, but nothing like tung oil. Tung oil was a bit thick like honey, you apply first layer for 20 mins, you make sure you keep the surface "wet" enough applying more tung oil whenever needed. After the 20 mins you wipe out well (I have used a micro-fiber cloth) and you repeat another layer for 20 more minutes. In both steps you have to make sure that surfuce is not getting dried at any spot, is not that hard becouse tung oil is not getting dried fast (you can use finger to check if surfuce is dry or not), after second step you wipe again as much as you can, and you get a surfuce like satin while the wood (walnut) is becomming darker and more alive. I leaving the surfuce a couple of days till it dries well.
-
I have to mention that the reason I have chosen this kit it, was a very well writen build log I have read long before I join this forum, from katsumoto. Most (if not all) the steps, at least at the begining was according his log.
But after discovering modelshipworld forums, I have spend several months reading and keeping notes and planned next steps.
thank you socrates, nice to see you too m8
arjan I used to build plastic models, jetplanes mostly, I have good skills with airbrushers, doing a lot of modifications, so I was too confident and show no respect for wood,
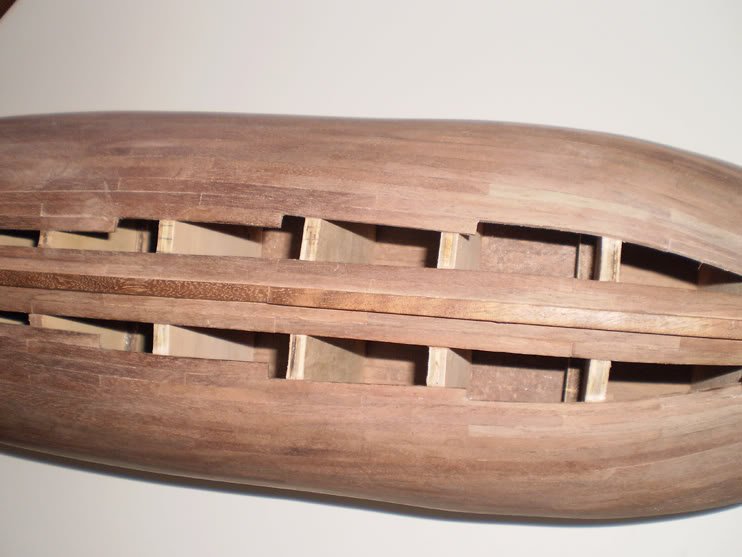
I have trimmed the bulkheads whenever was needed right before I place the planks, it was like 4 years ago, I dont remember well, but I think I had issues to bend the planks, not well soaked and also put too much heat with the soldering iron. At the begining wasnt smooth, and have sand the planks way too much that become paper thin, so thin that at some point after some pressure they collapsed (like bullet holes) and I had to redo them and I think I had to trim bulkheads more
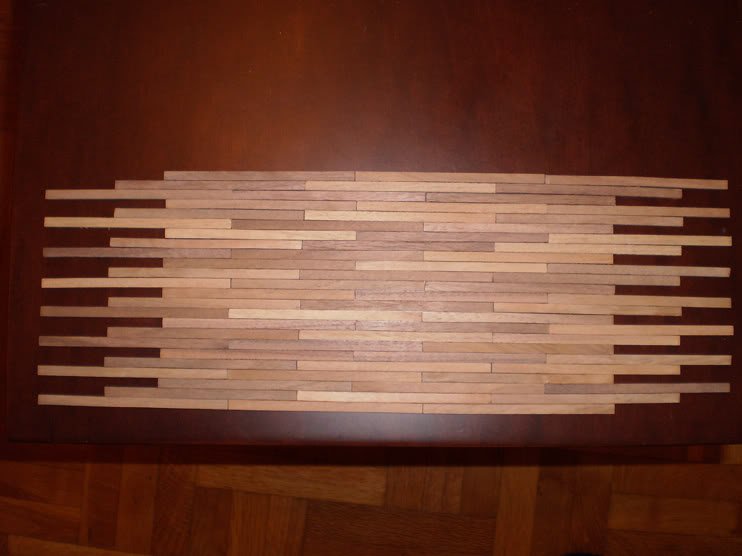
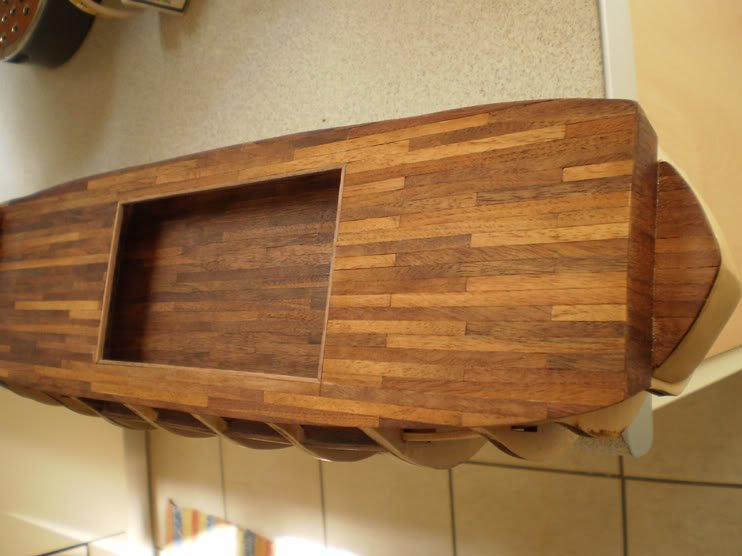
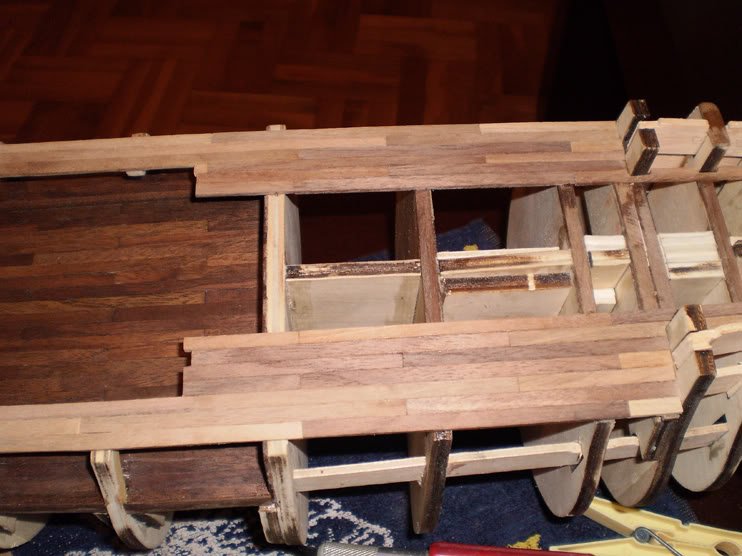
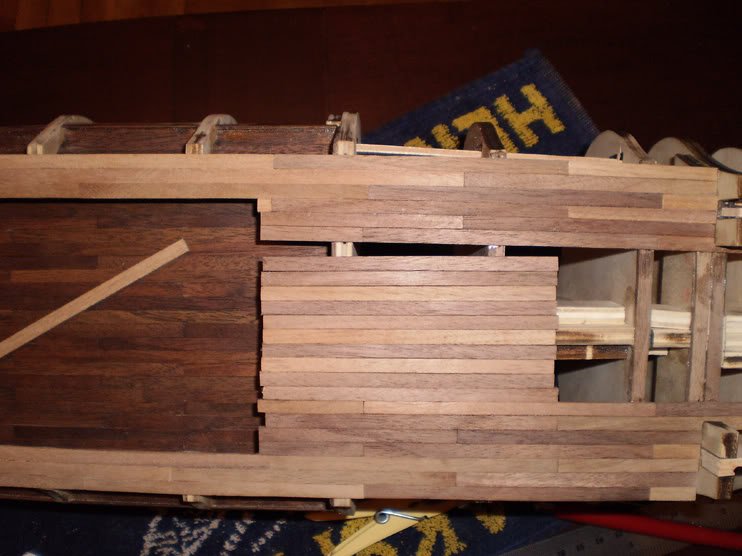
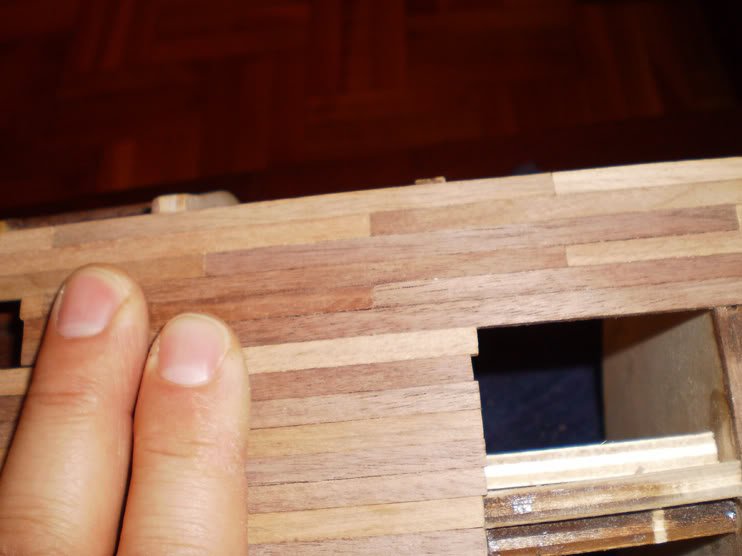
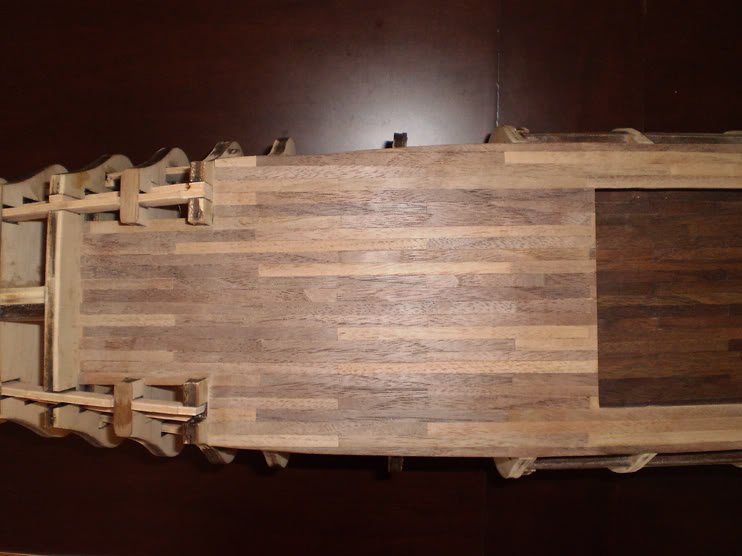
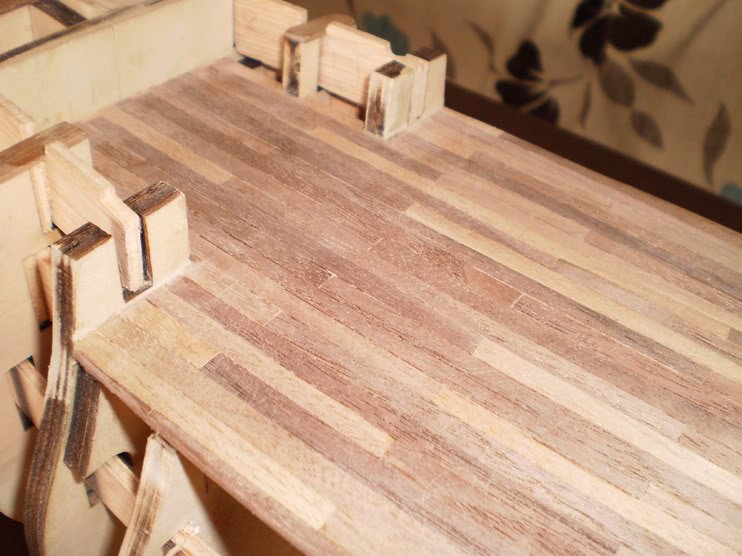
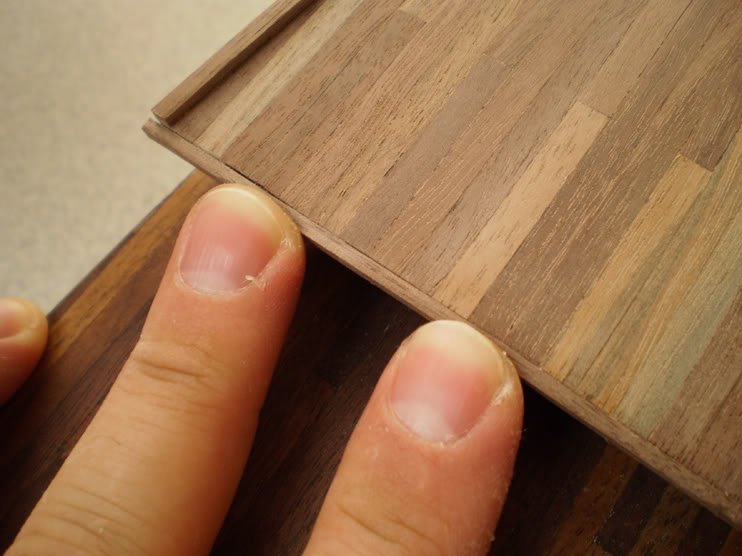
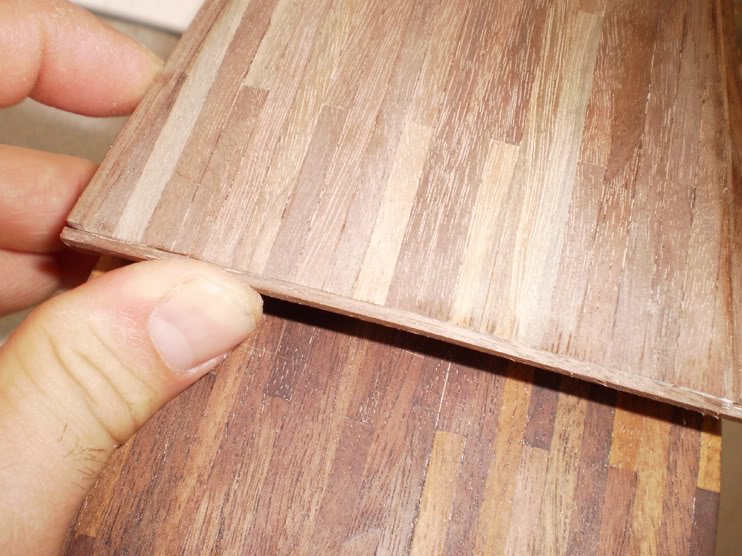
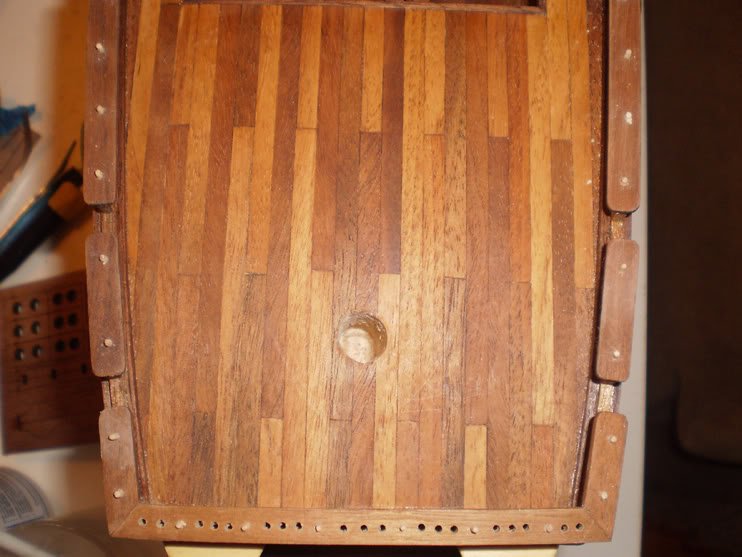
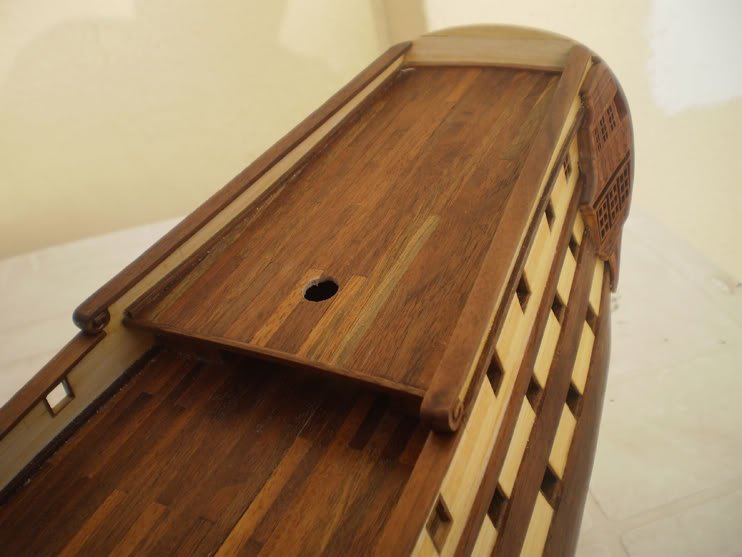
I have chosen the more light colored planks, for the deck planking following the rule of three, becouse it looked better for the 1/90 scale of this ship. I have cut the wood strips about 10cm long (10cm x 90 =9 m), becouse 9 m long was more realistic rather follow kit instructions and use plank with bow-to-stern length
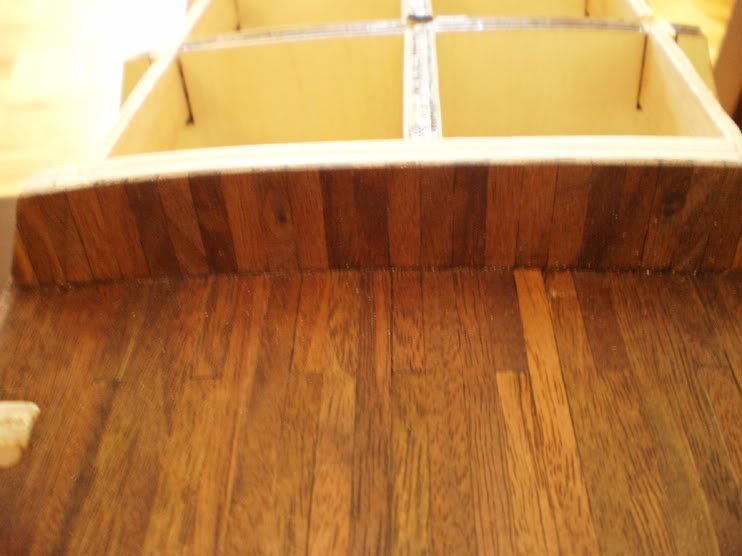
gundeck pkanking not so I good as I was expecting, but since it will be under the deck will not be shown much

-
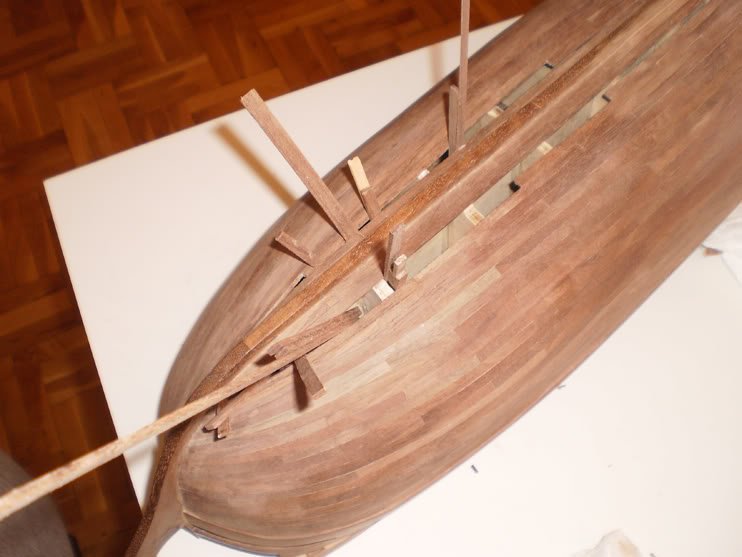
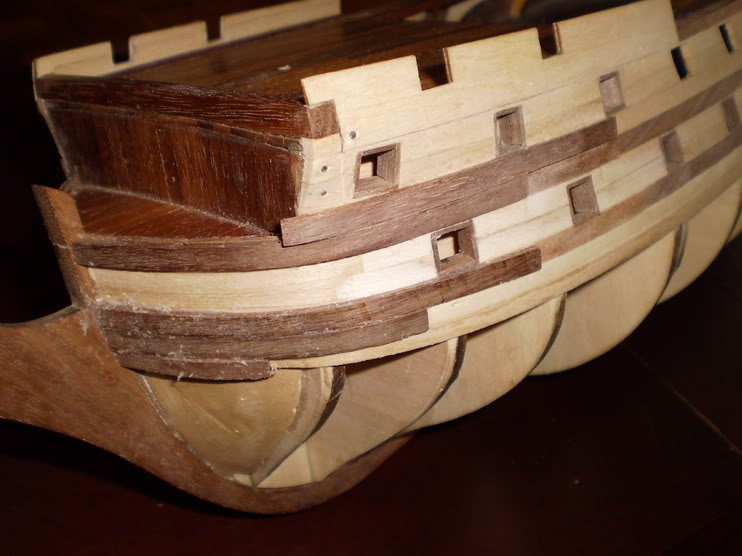
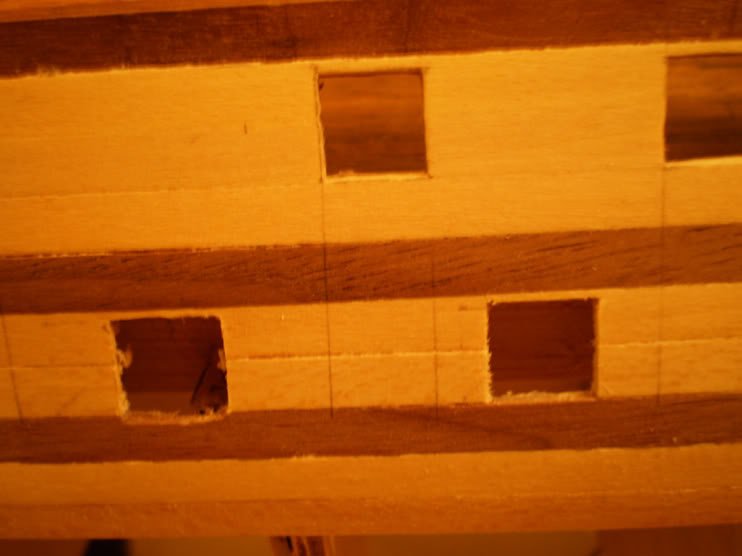
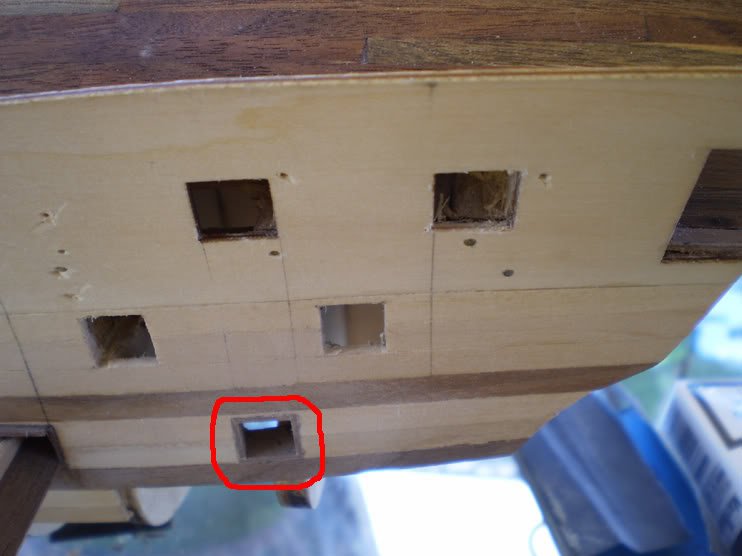
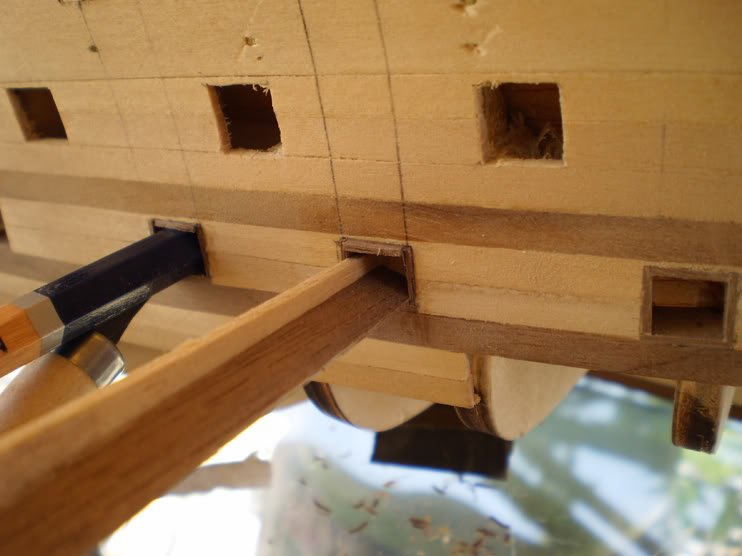
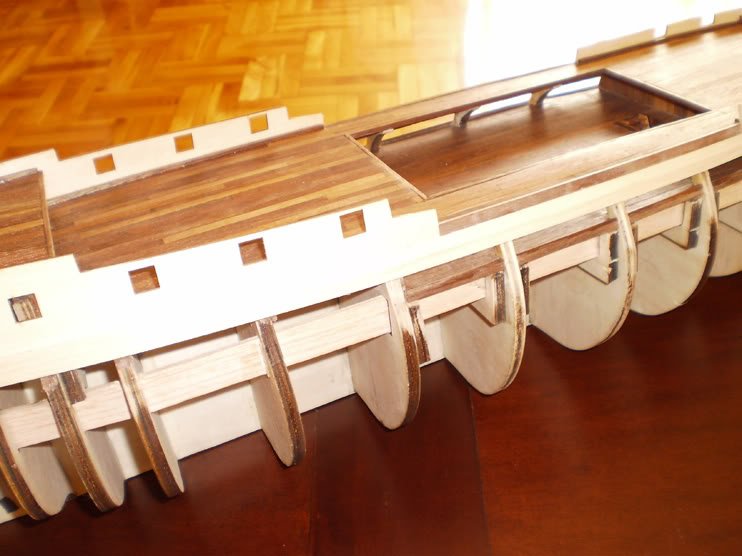
This my very first try to make a wooden ship
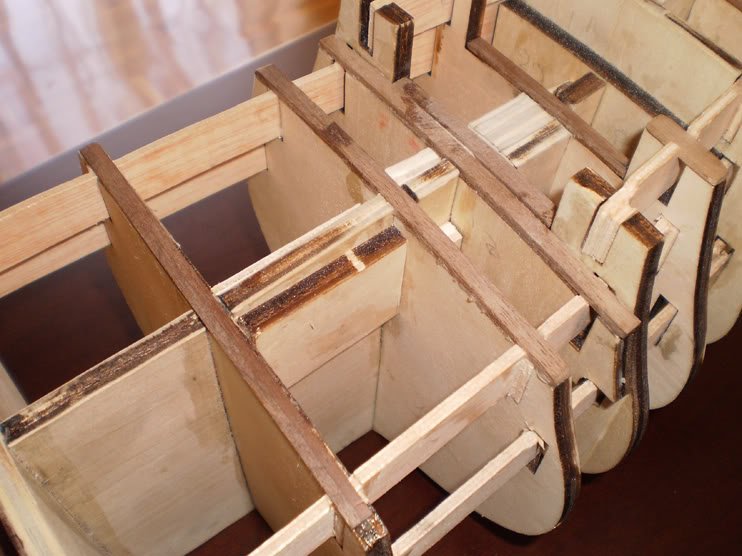
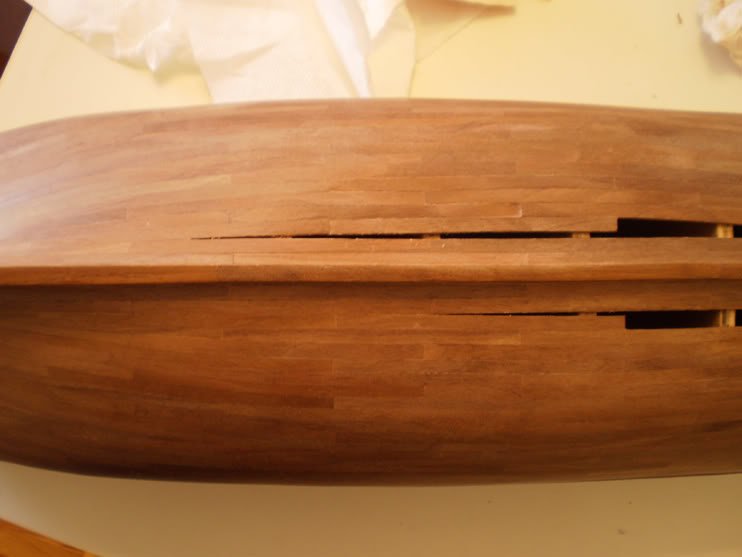
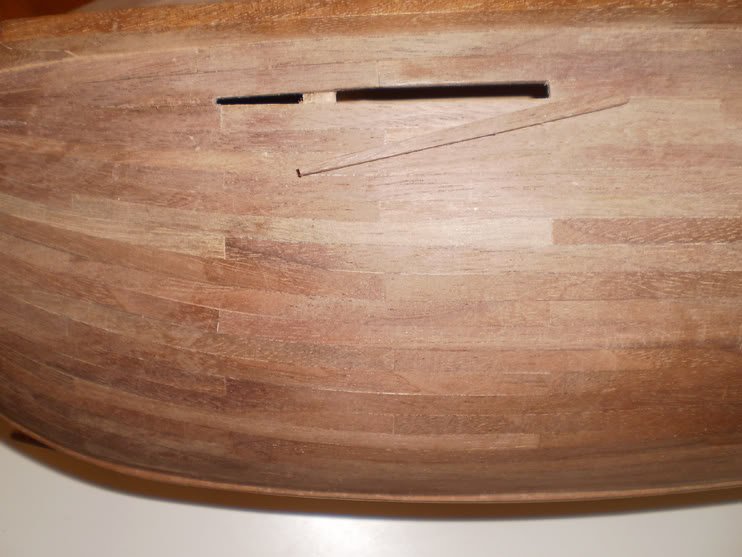
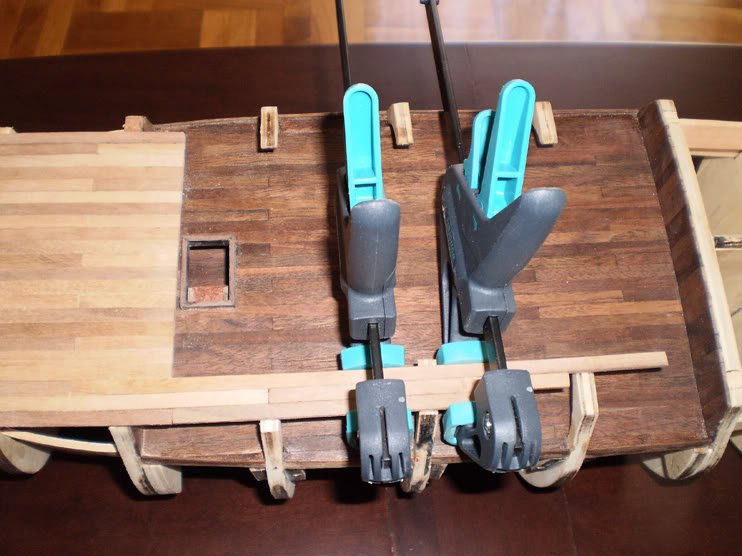
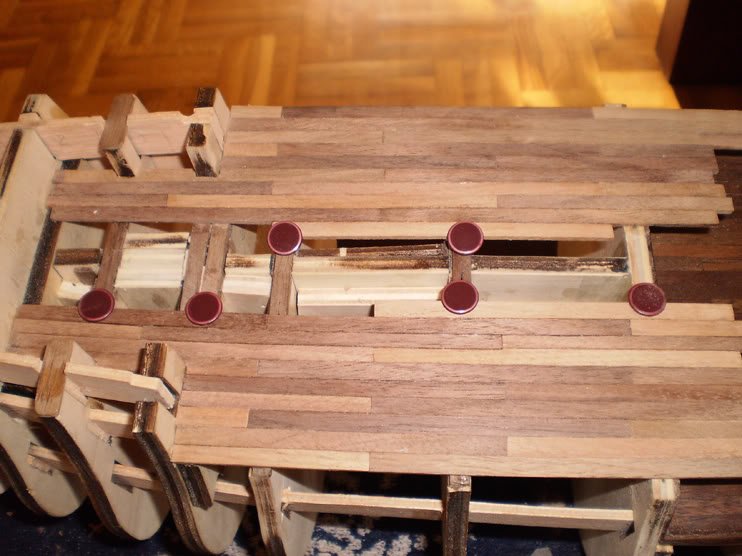
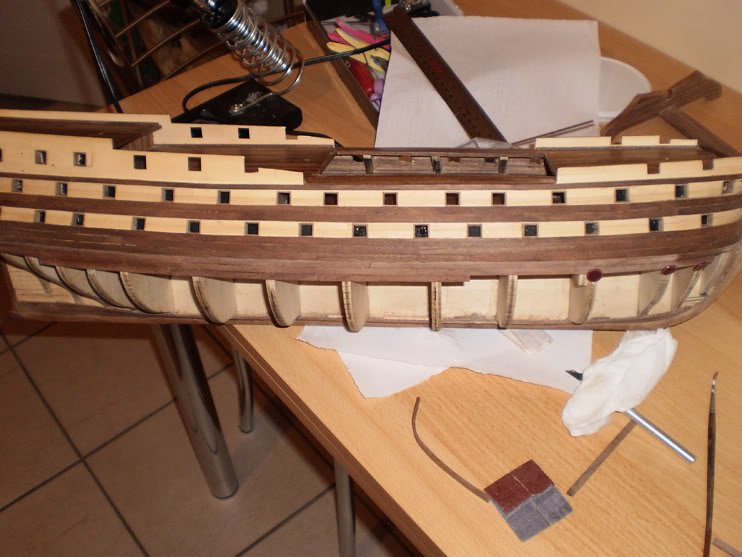
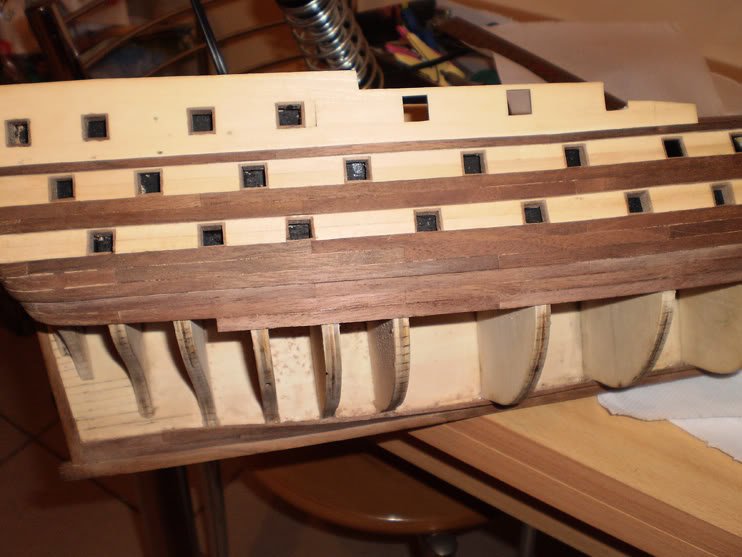
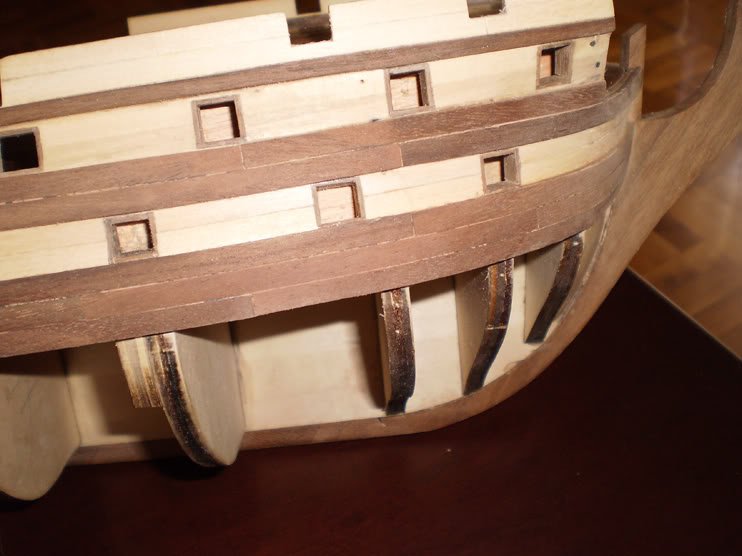
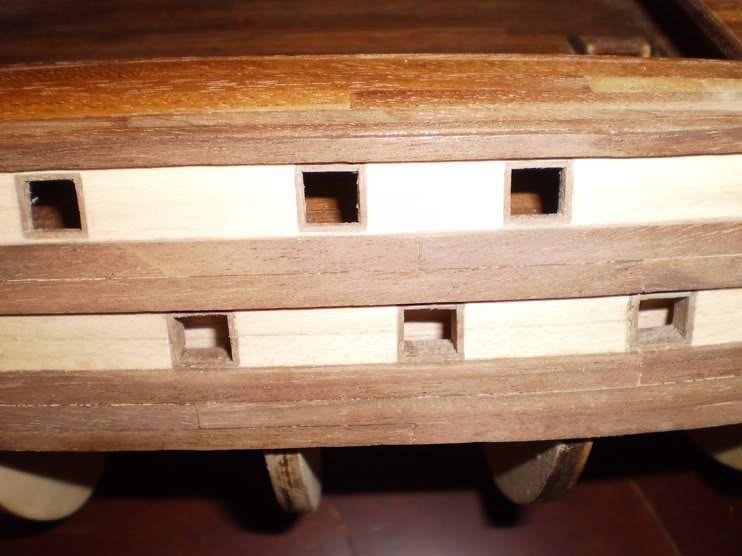
my very first big mistake I have made is that I have slided the wooden strips for the false cannons through beams soaked, becouse I believed it was easier to bend them and pass them through. Next day the whole structure was twisted several degrees closkwise.
Since the damage was done, and that time I wasn familiar neither had the guts to start all over from scratch (since I have the draws I could easily made new beams), I have decided to fill bath with water and let all structure to get soaked well, and sieze it with clamps and let it dry, with the hope that will be turned back to its original position.
The success was up to 90-05%, I wasnt sure If I could make the second try to look better, so I kept it.

Iam not sure if the kit had some flaws, or it was result from the twisting, I had to made some adjustment for teh poop deck


San Juan Nepomuceno by kostas_gr - FINISHED - Artesania Latina - my first build
in - Kit build logs for subjects built from 1751 - 1800
Posted · Edited by kostas_gr
rudder
crates