


kostas_gr
-
Posts
217 -
Joined
-
Last visited
Content Type
Profiles
Forums
Gallery
Events
Posts posted by kostas_gr
-
-
-
-
-
-
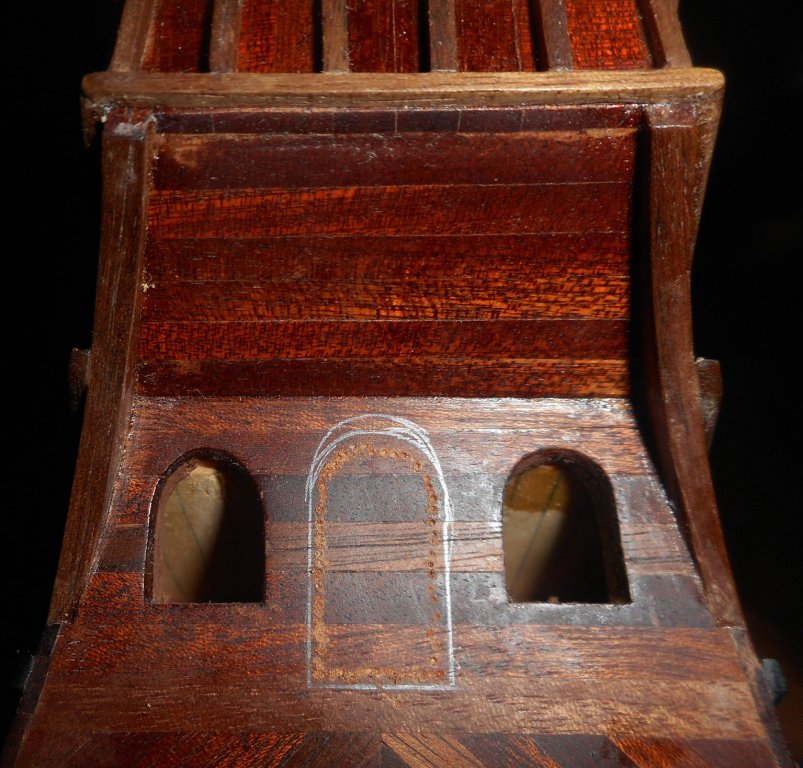
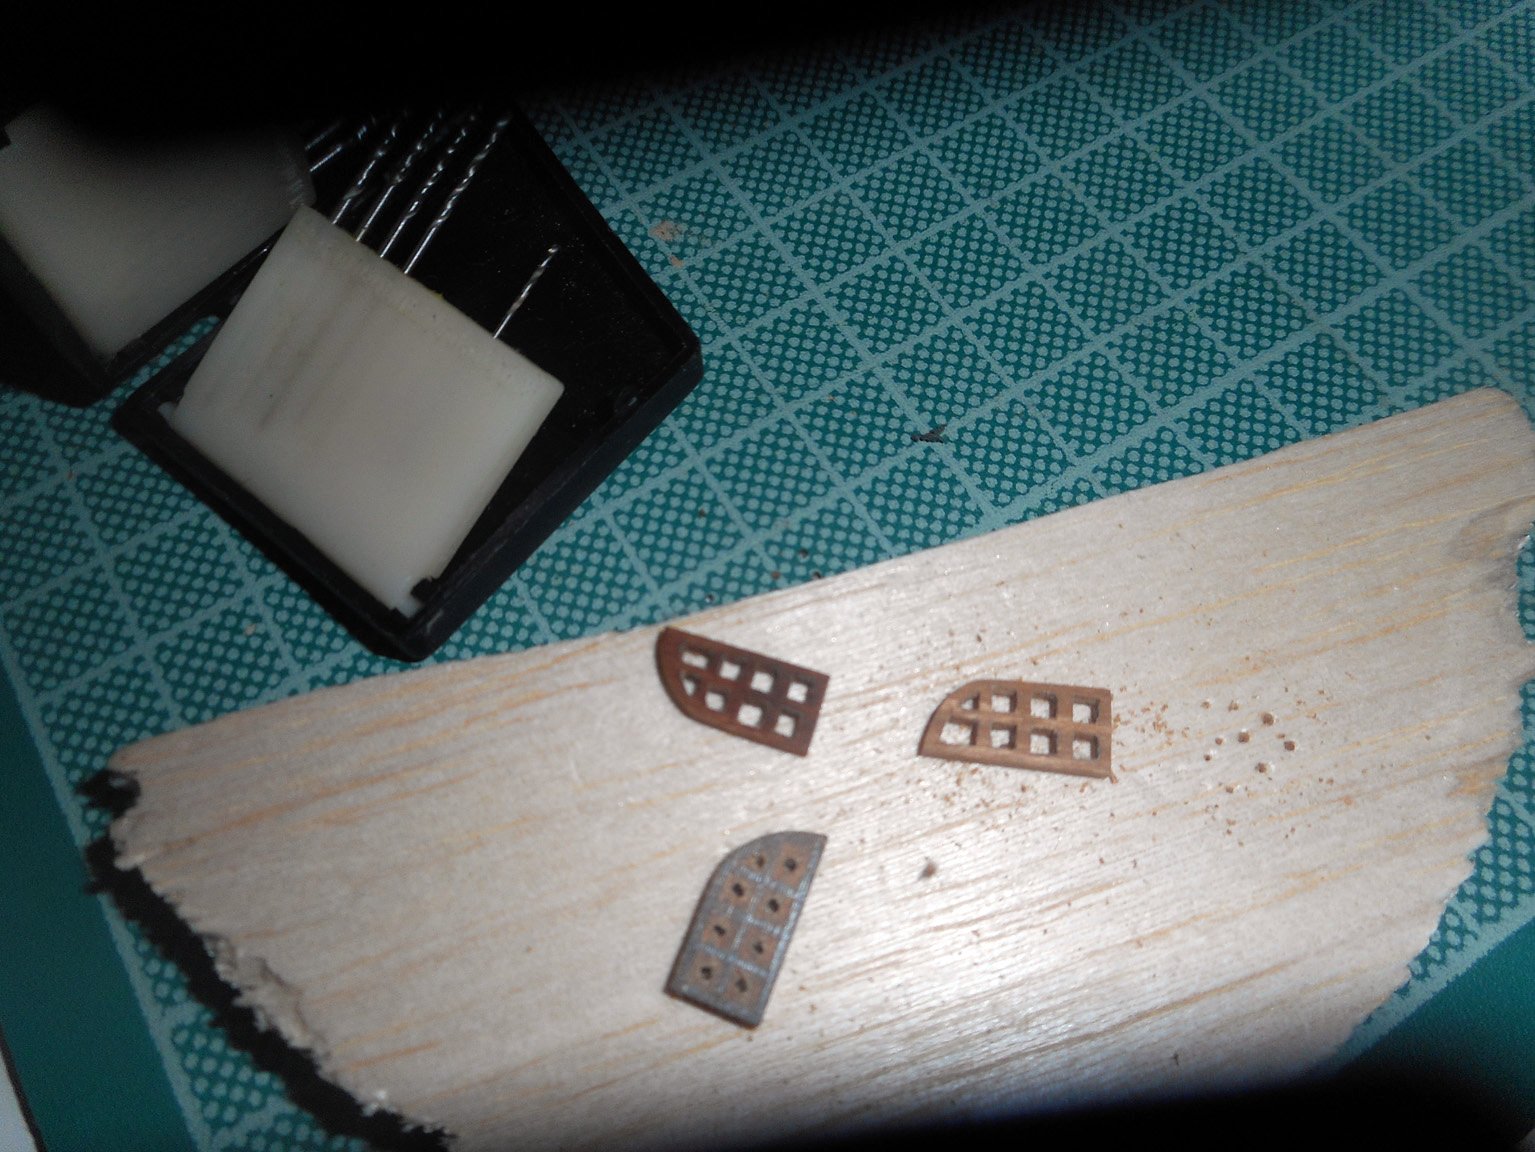
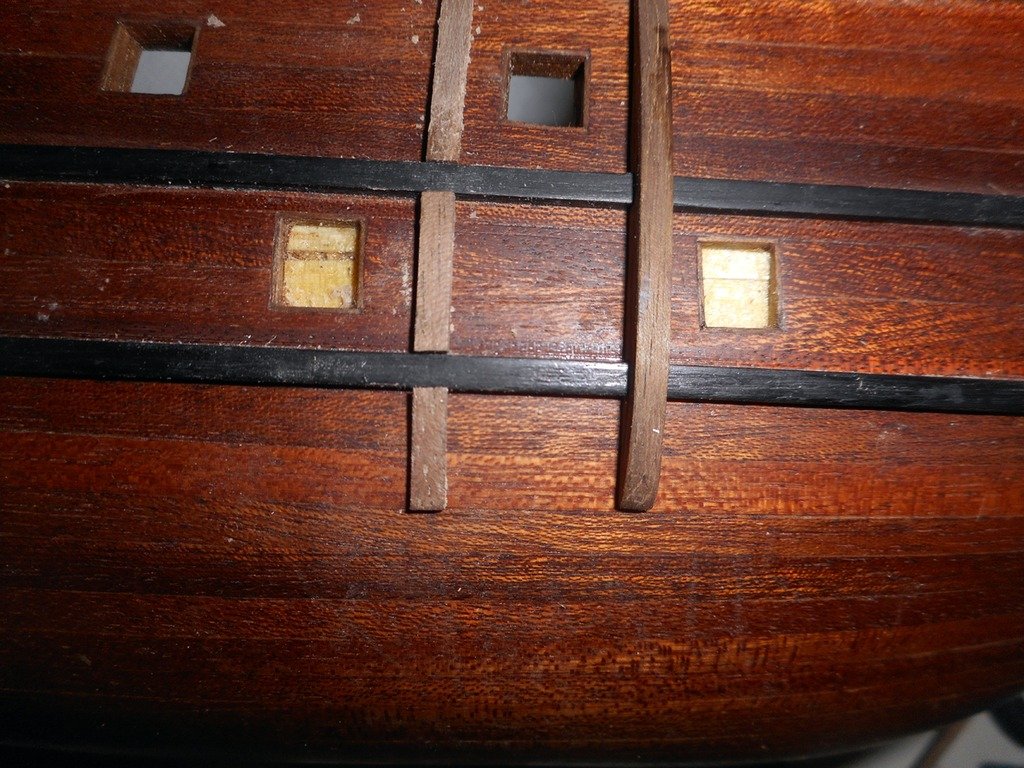
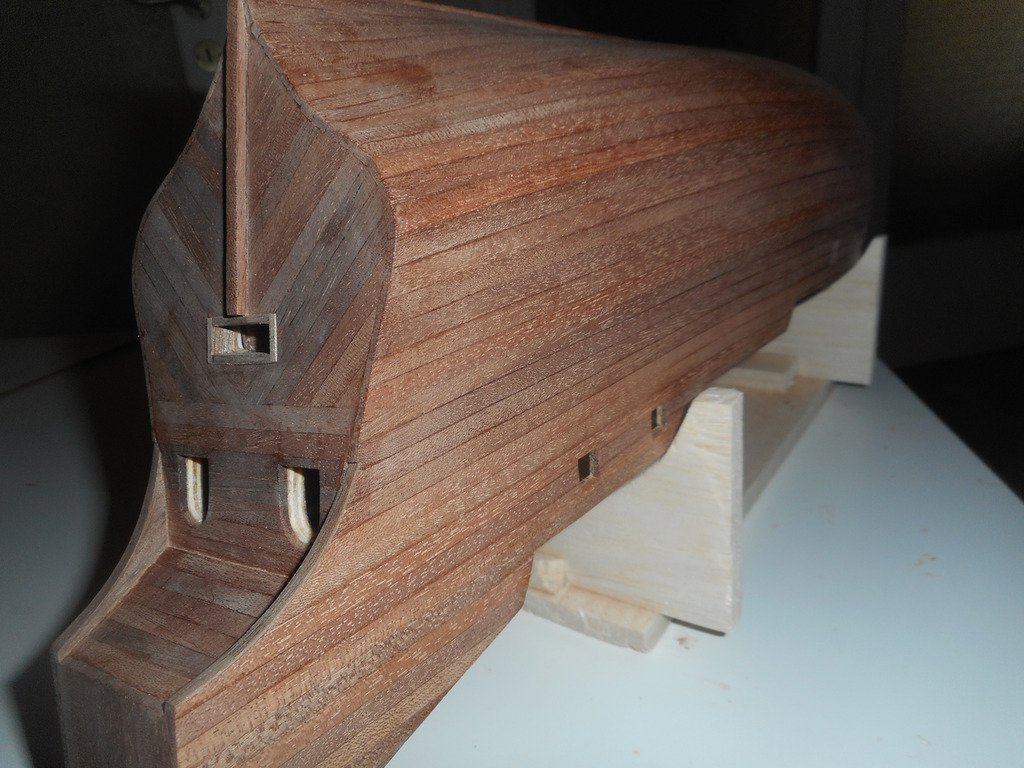
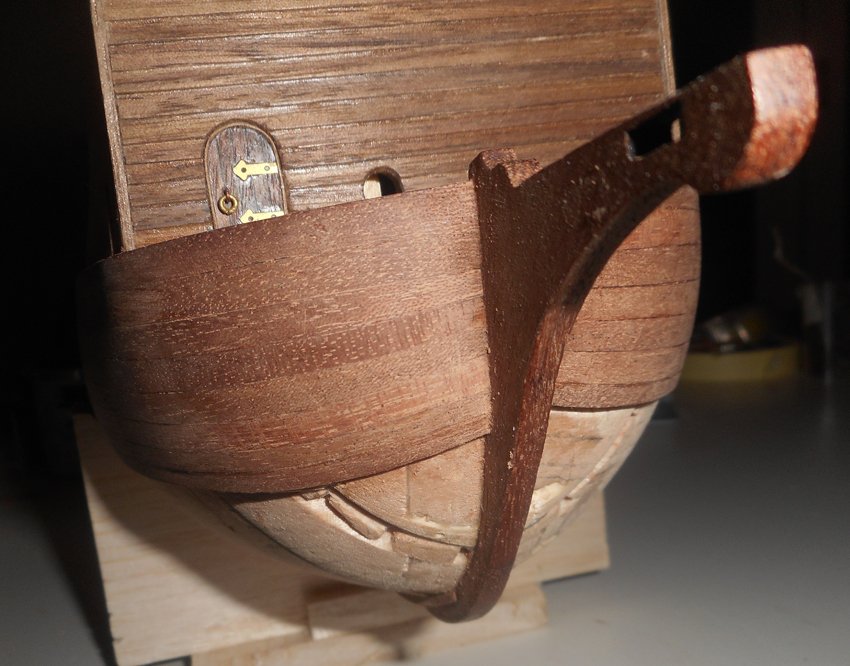
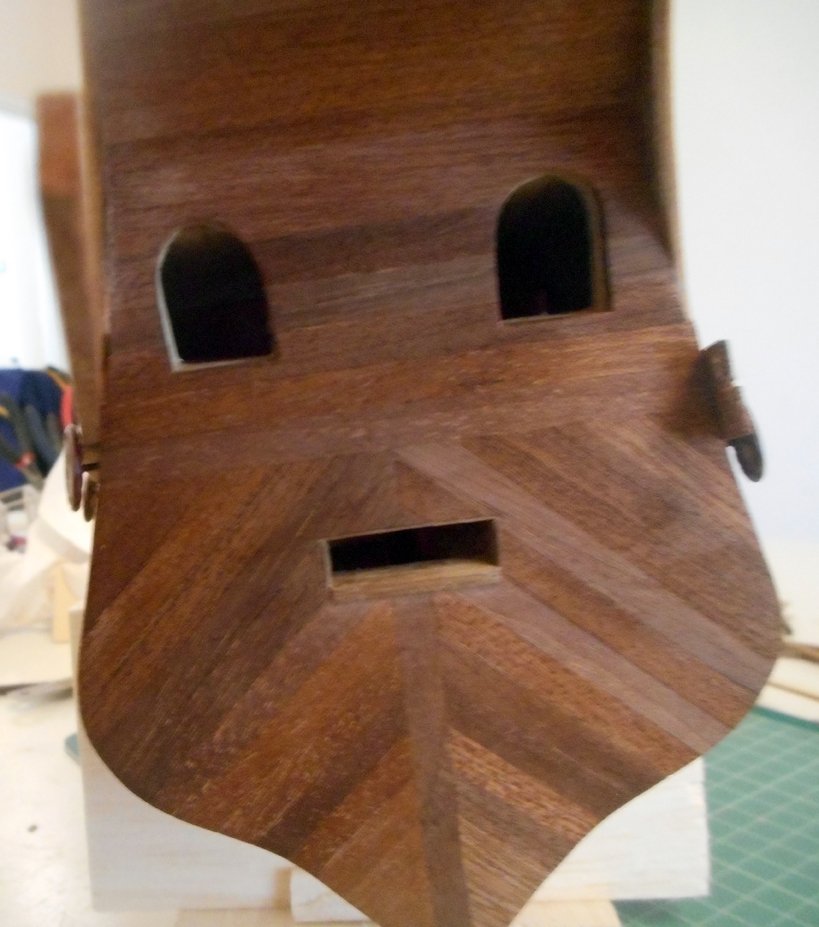
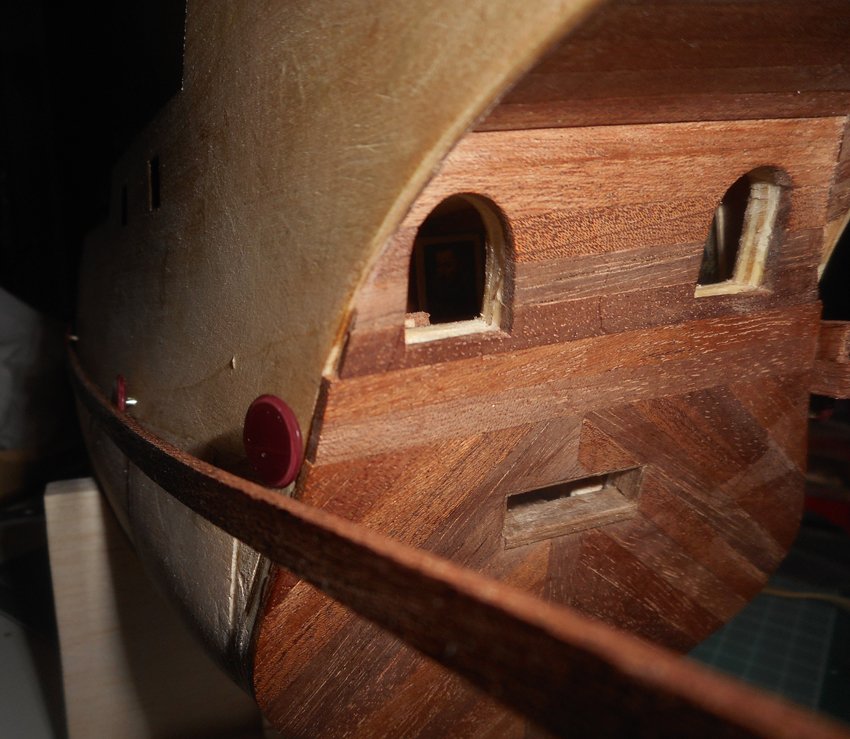
constructing stern windows

stern door
- Jim Rogers, BLACK VIKING and mtbediz
-
 3
3
-
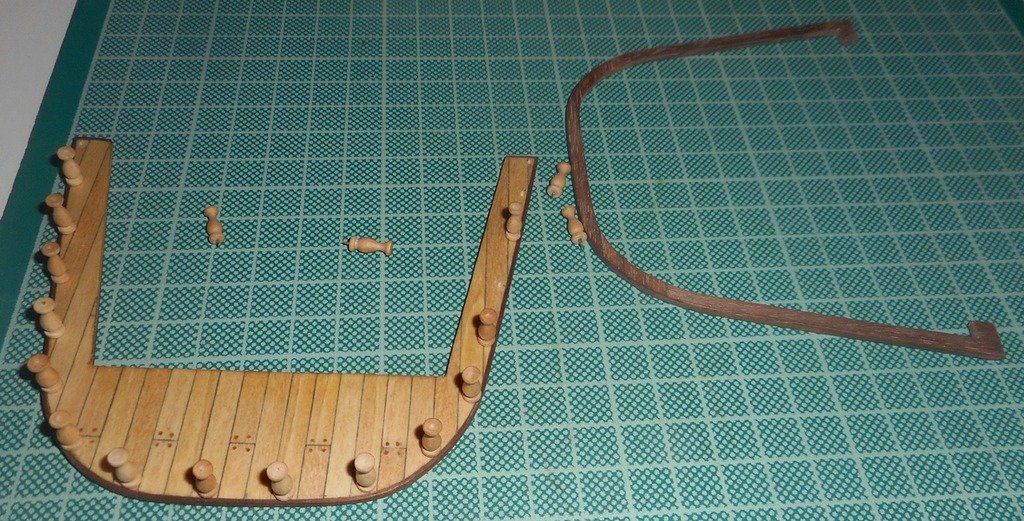
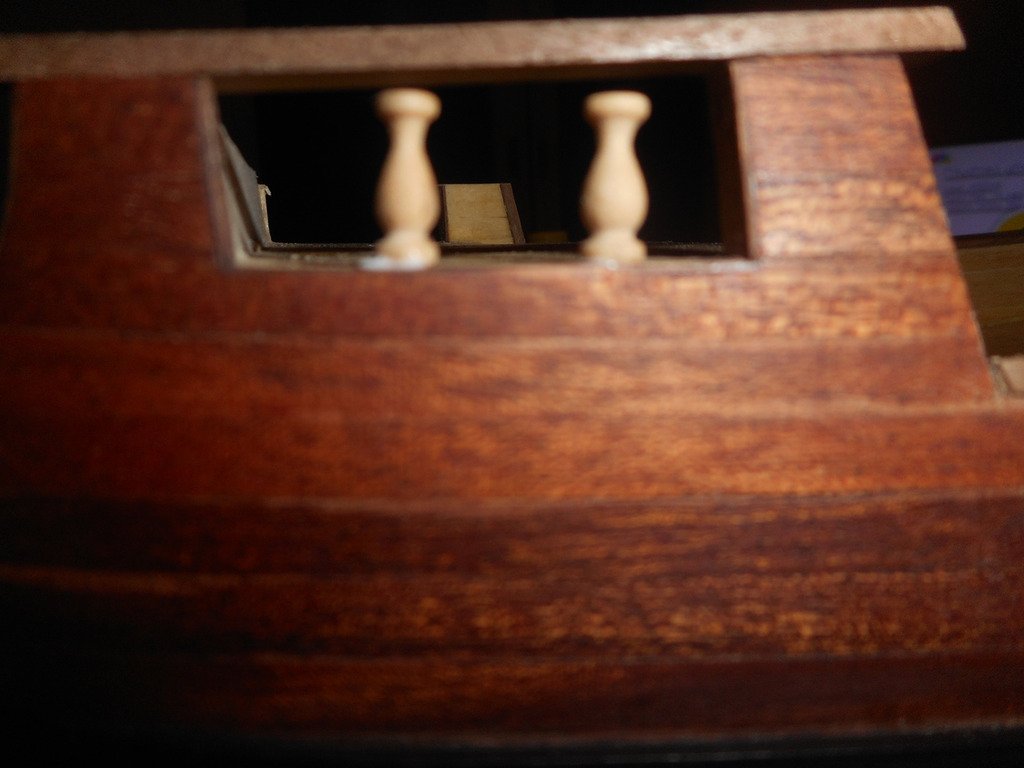
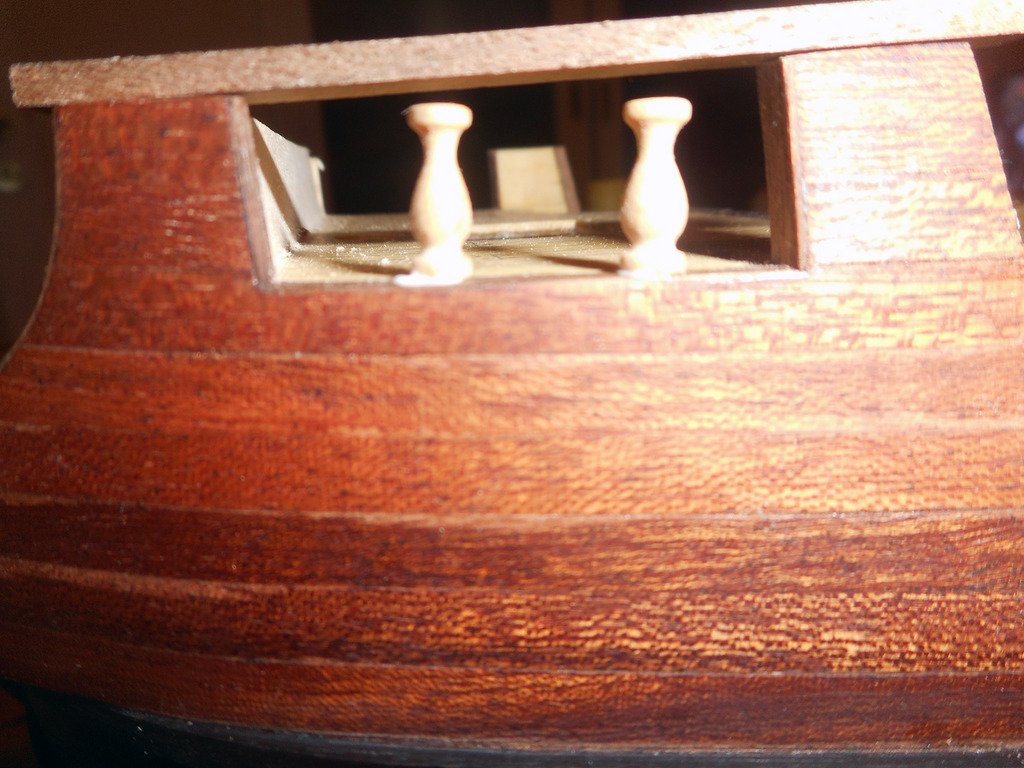
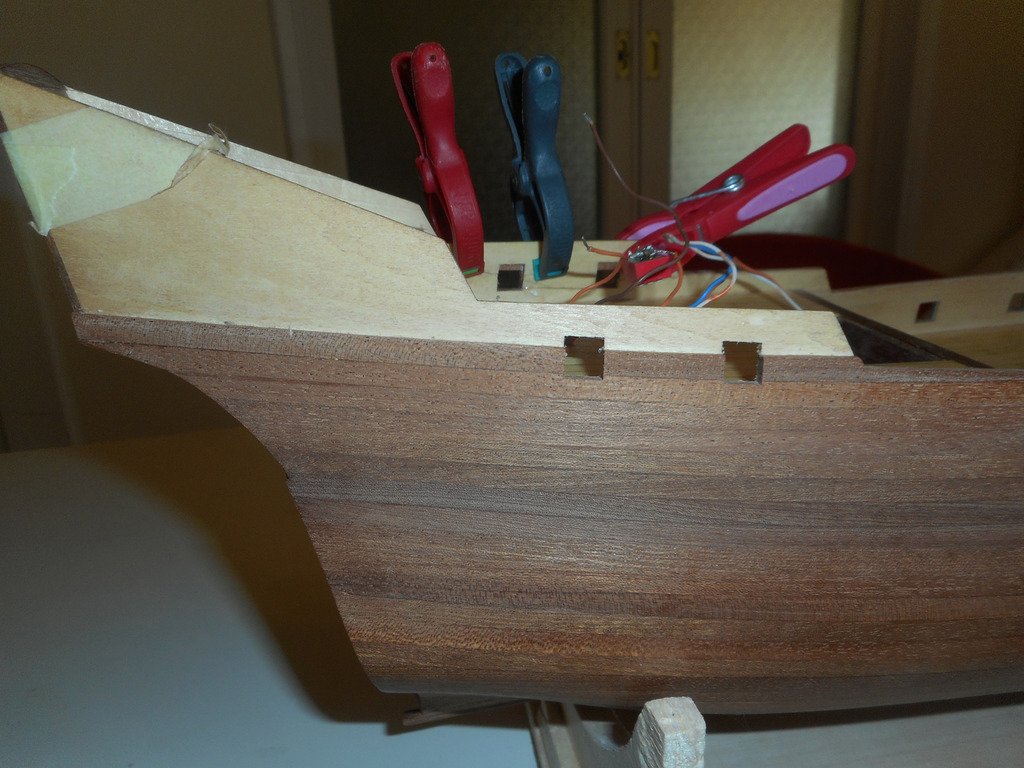
the balusters for the balcony outside captains quarters, in order to make them solid, i have inserted pins inside balusters and pinned them down the deck.

-
-
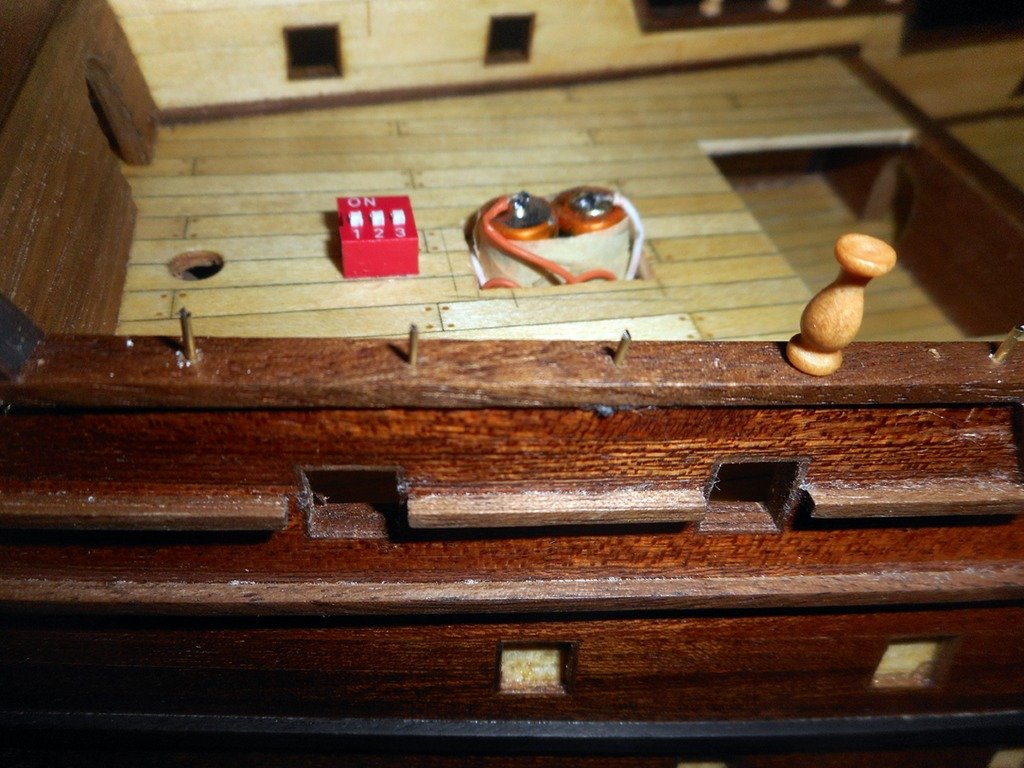
all wires and batteries are in place
-
Not a bad idea, but to be honest I dont like the idea of painting balusters. I think I will keep this for all rails on the decks (I have to install them temporarily to check how it looks)
-
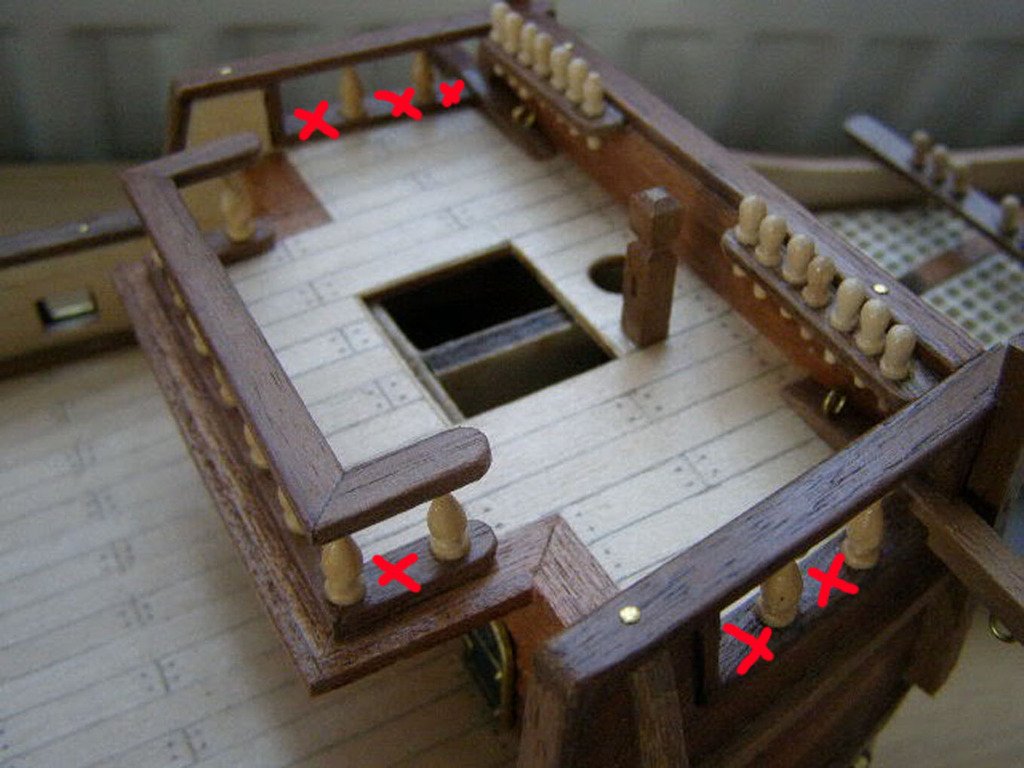
Artesania's instructions indicates that I have to put a plank under rails
i will not use those planks, as shown in the picture (not my build)
I need to trim down the upper hull, to lower it a bit so rails can fit corectly
- BLACK VIKING, slow2cool and mtbediz
-
3
-
-
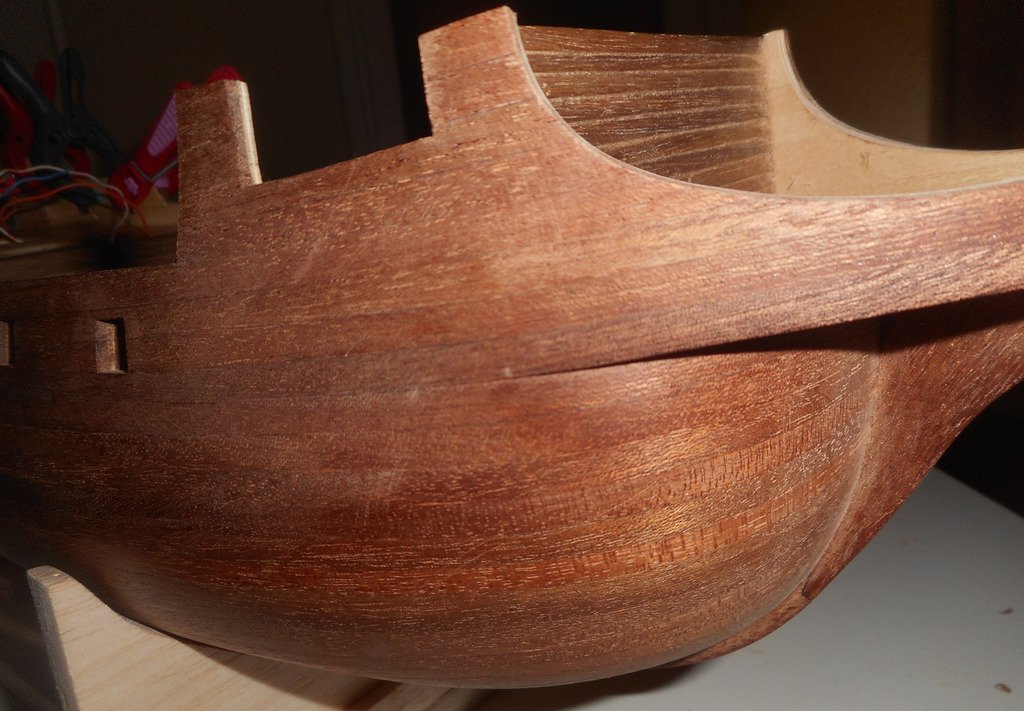
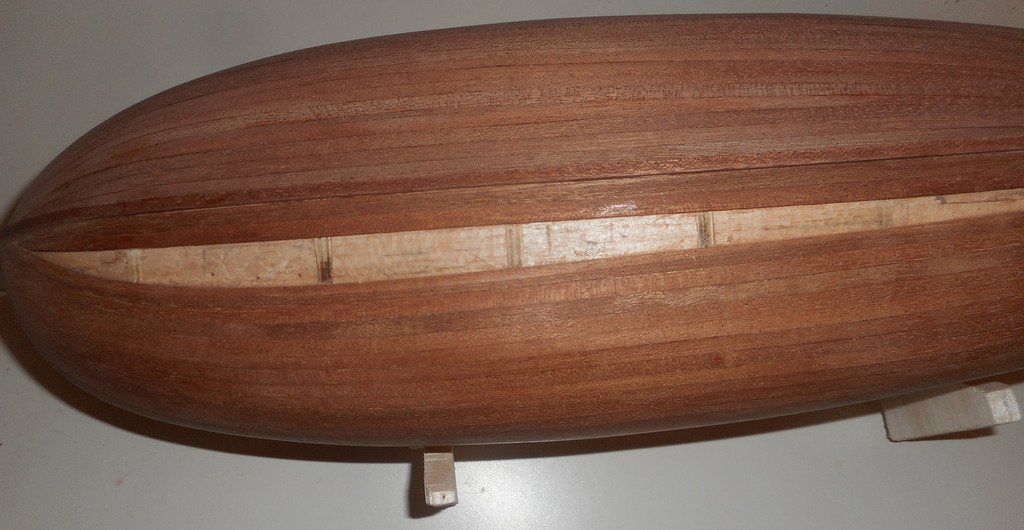
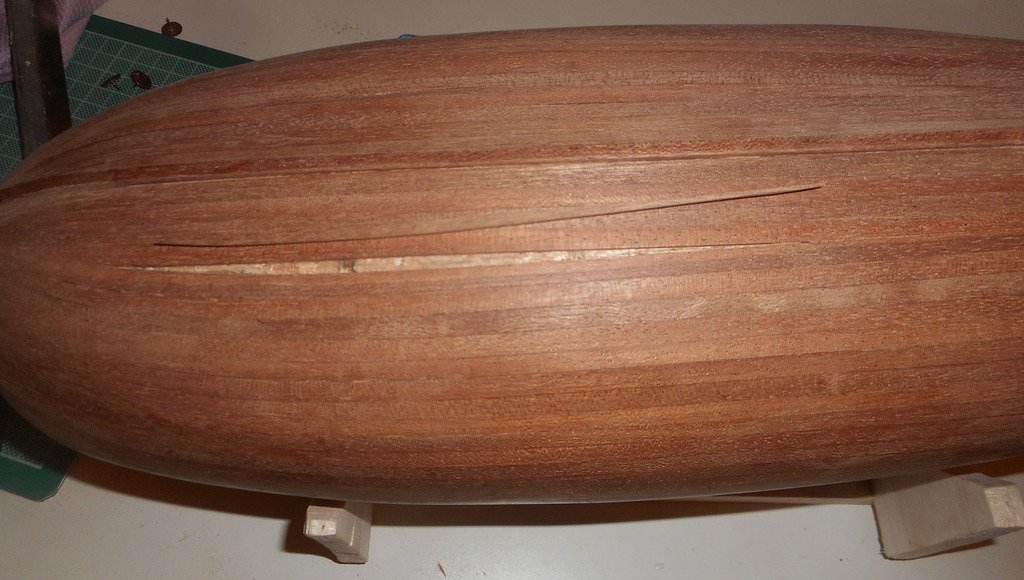
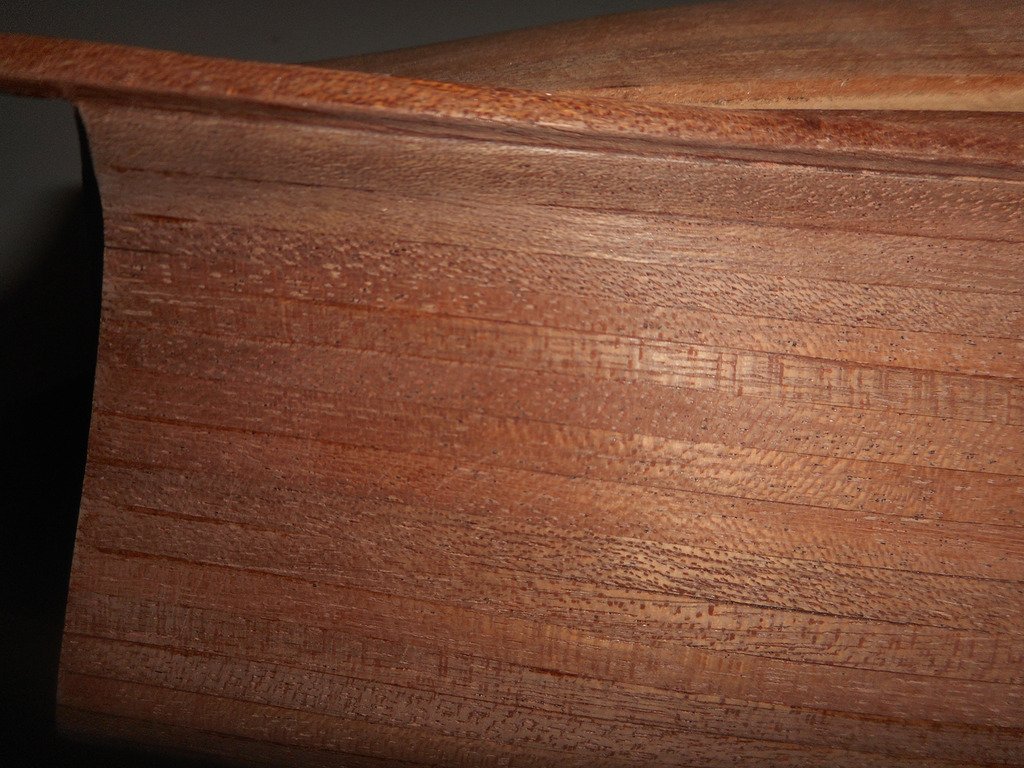
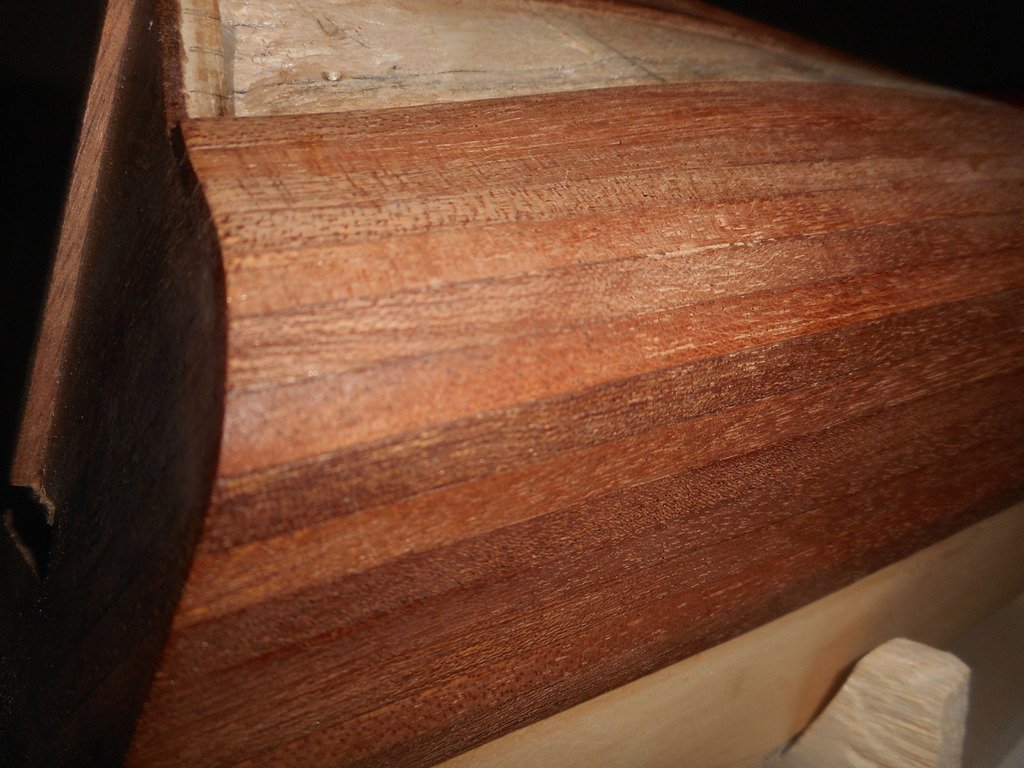
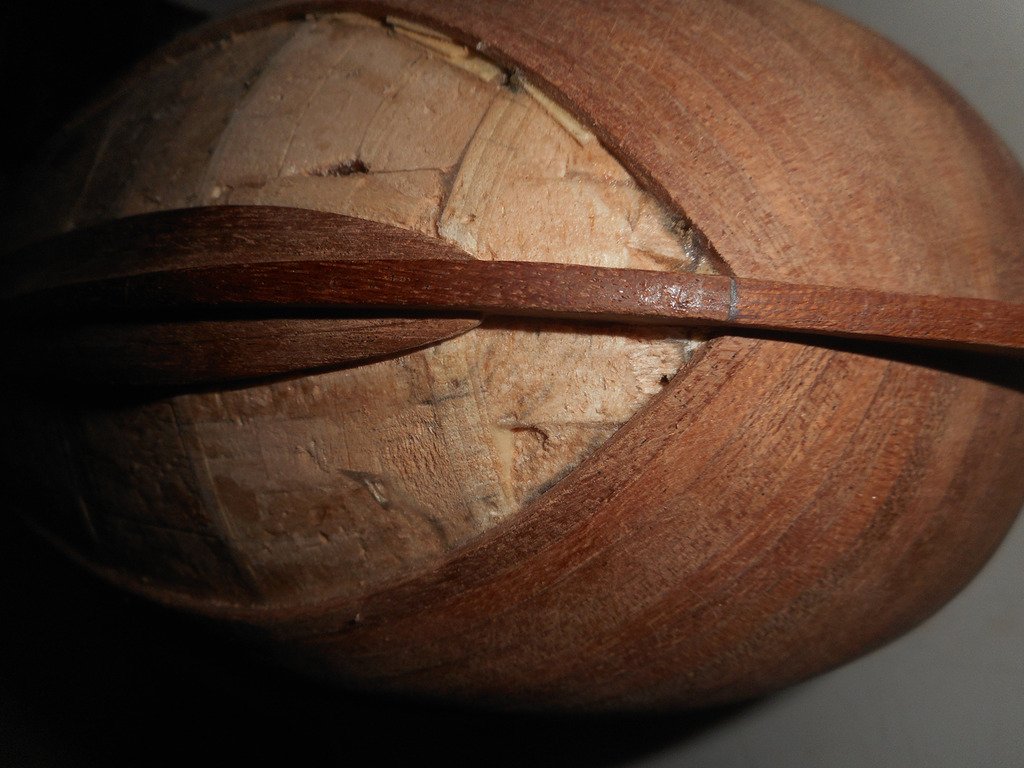
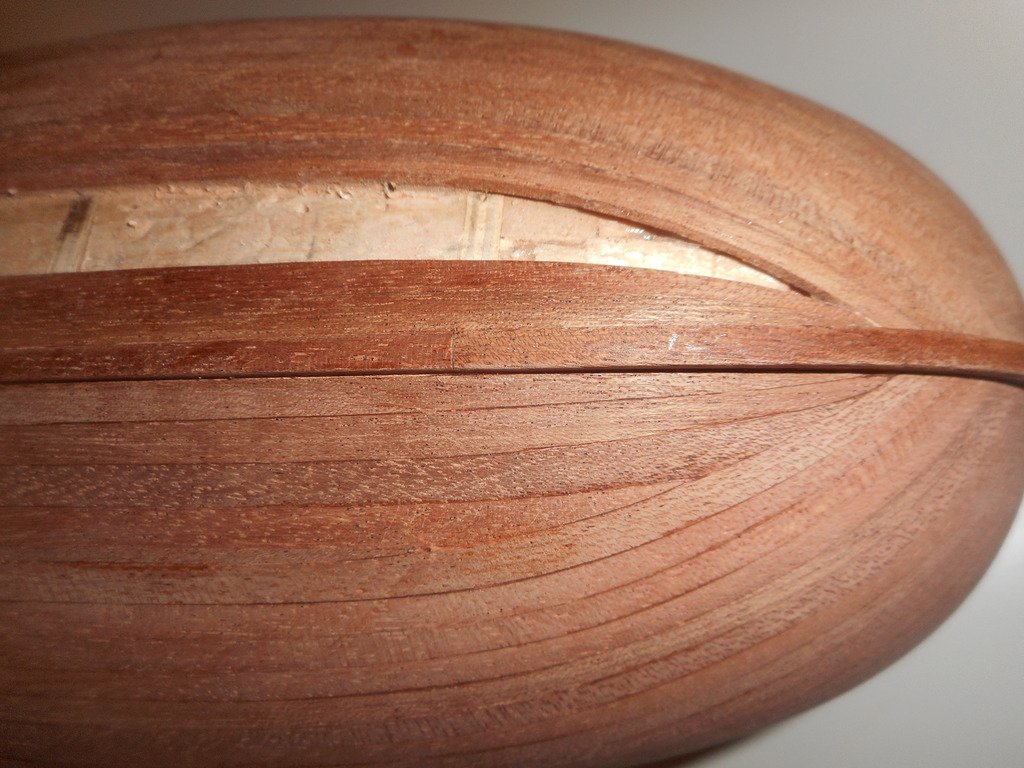
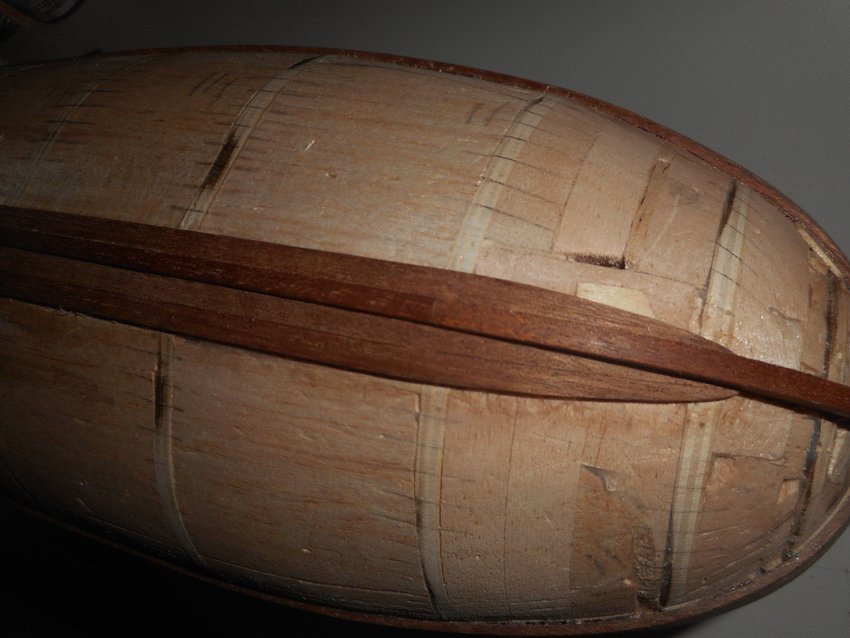
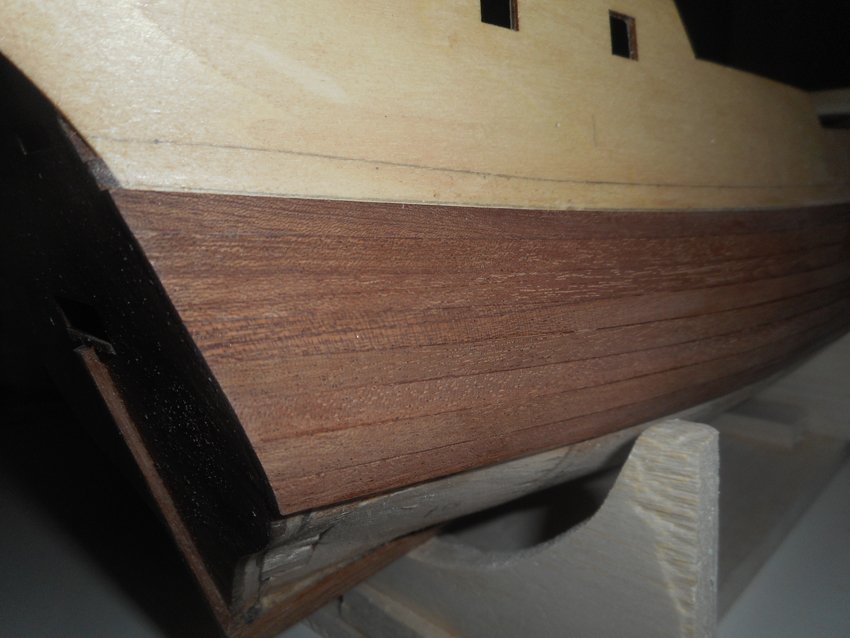
hull is finished
applying tung oil..... during the fisrt coat, wood planks must be "wet" for 20 mins, if we see a spot that is getting dry we need to apply more tung oil. After 20 mins using a soft microfibers clothe we try to wipe out all oil and polish wood planks. we are leaving it out for a couple of hours and we apply a second layer the same way we did before. At all cases we dont let tung oil to dry.
-
-
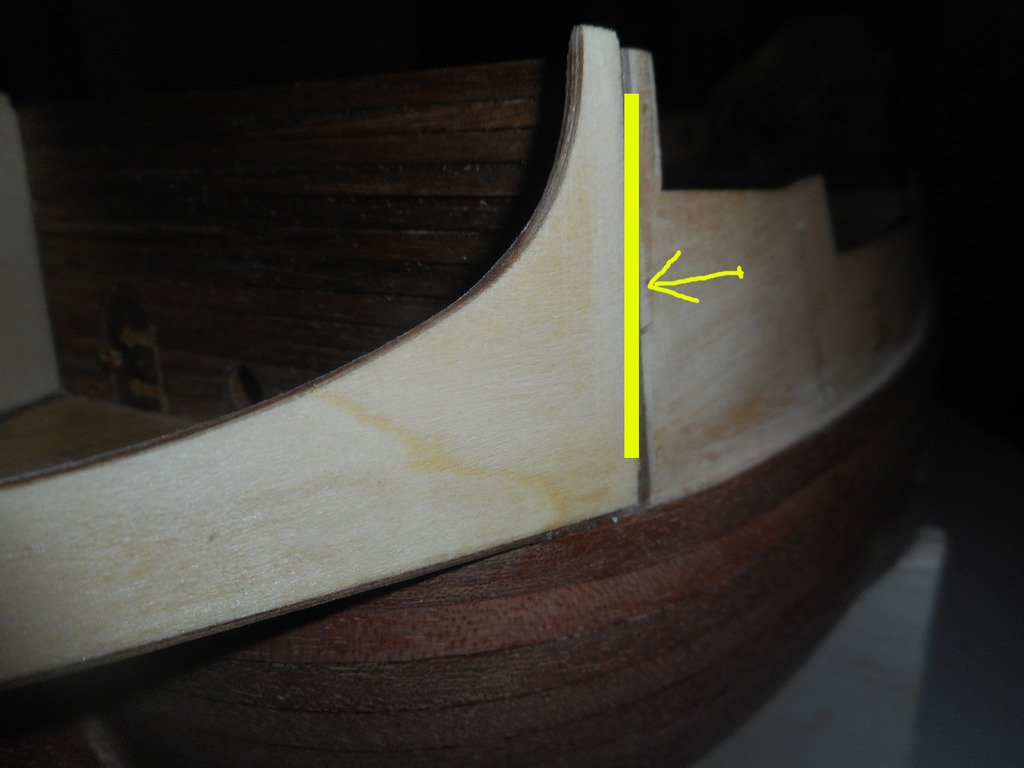
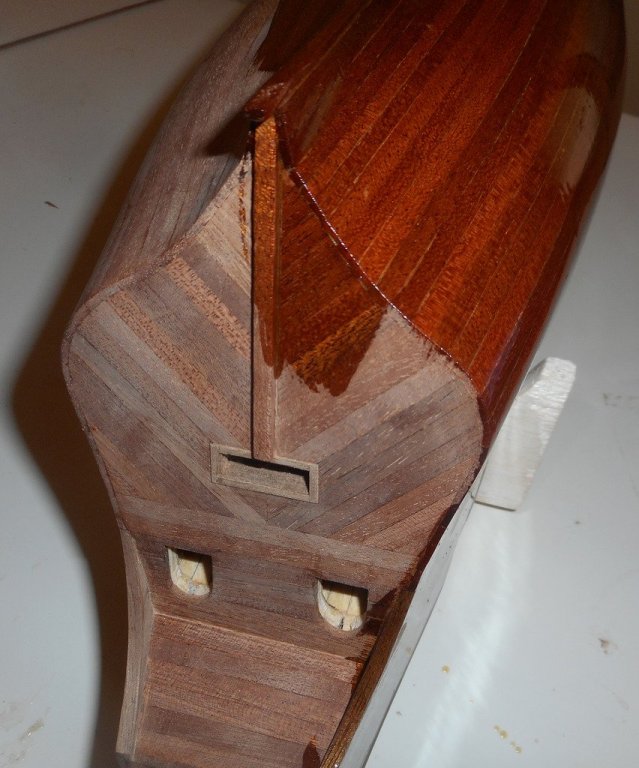
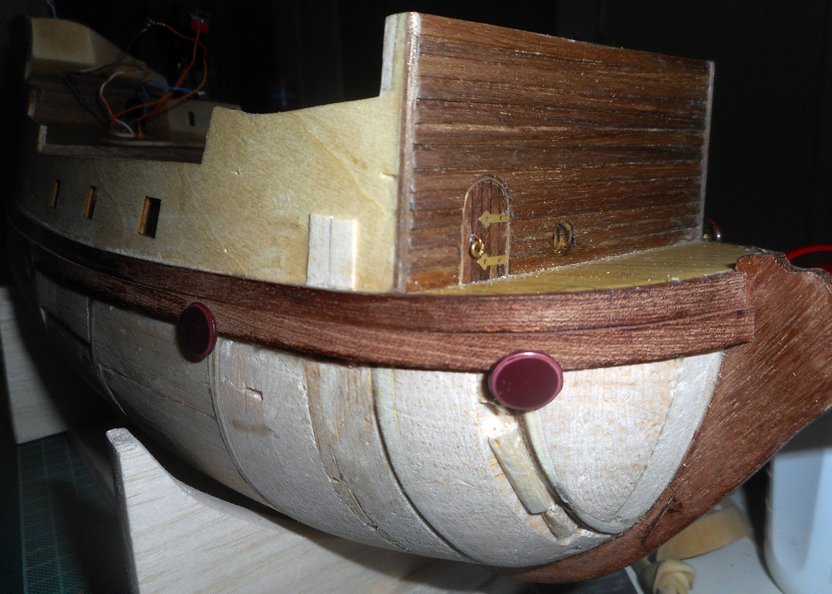
kit's instructions point to assemble uper part of bow separate from hull (yellow line is the border). I have choose to make it part of the ship's hull, more like it was instructed in a previous release of San Francisco
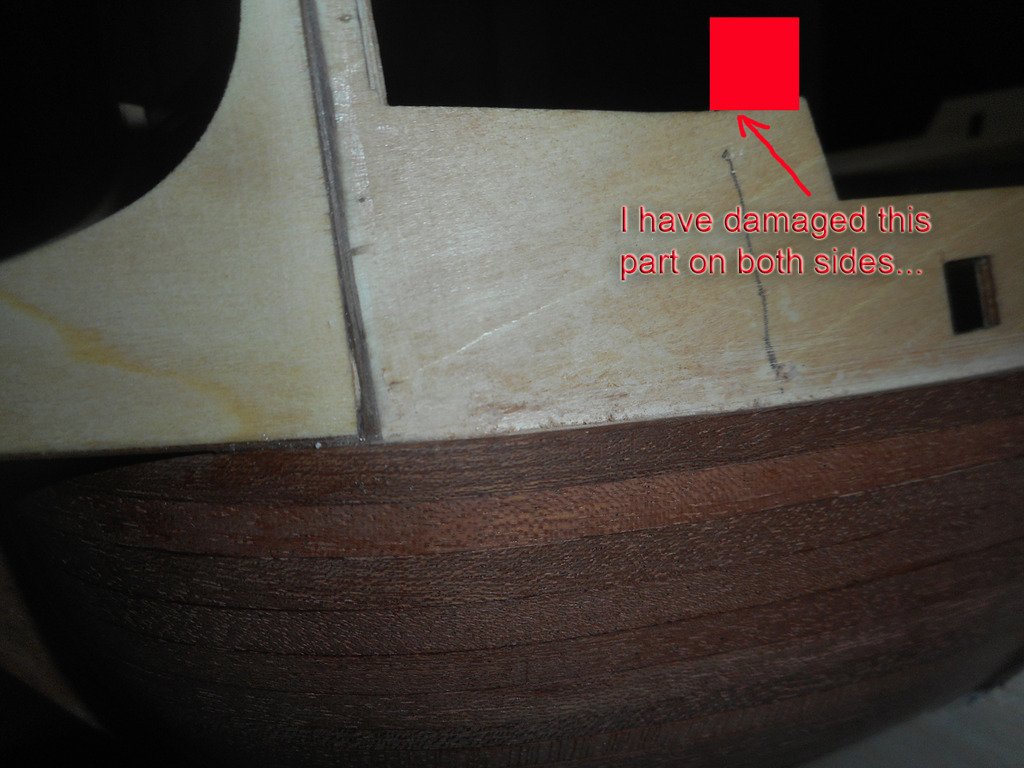
This is a sensitive part of the ship, in many San Fran builds shipmates pointed a "heads on" warning, i have ignored. Not a big deal, but in fact, I have damaged a lot of parts of this thin plywood part....
-
-
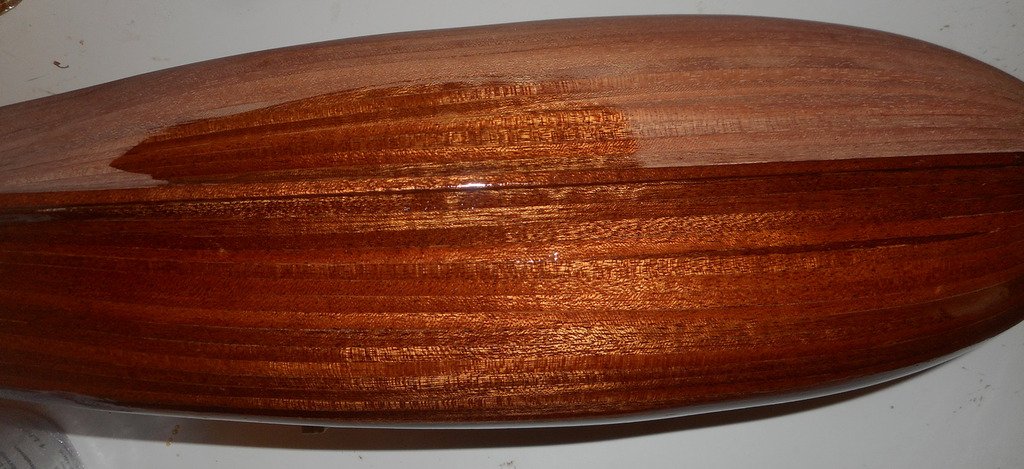
thank you very much don, is going to be natural, I have used tung oil for varnishing.
I will paint the wales black (actually wales are finished, I will post pictures afterwards)
Each time I was placing a plank, I was sanding it in order to check if it was fitted correctly, took me quite a time, I was doing 2 rows (each side) per day.
-
-
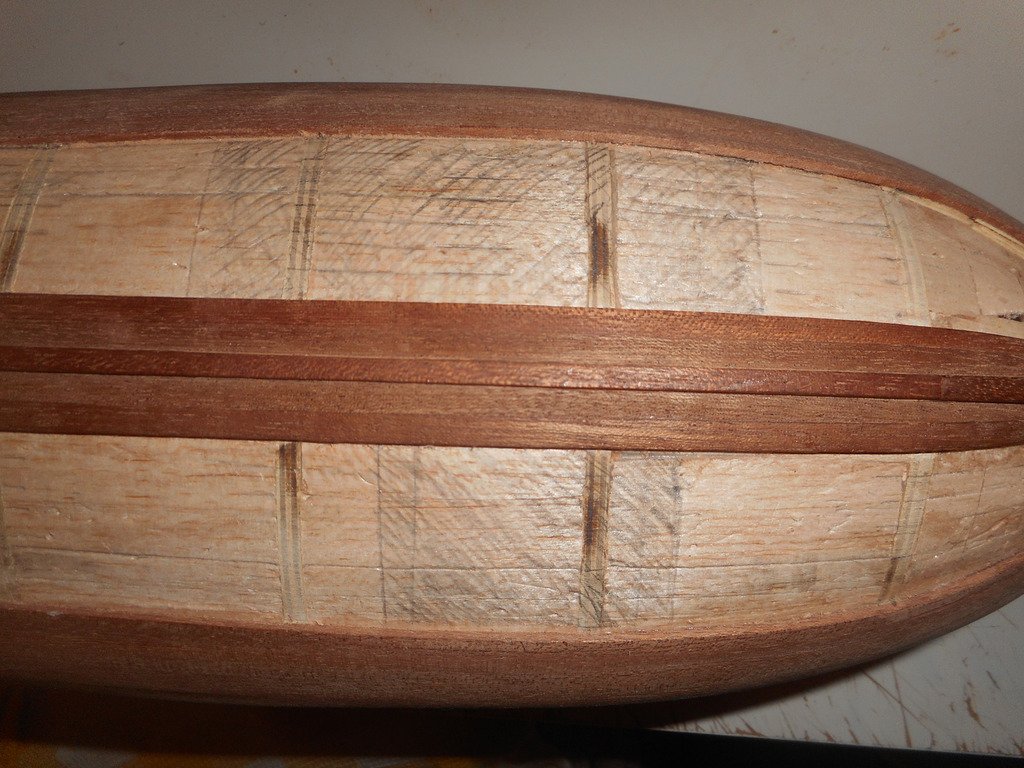
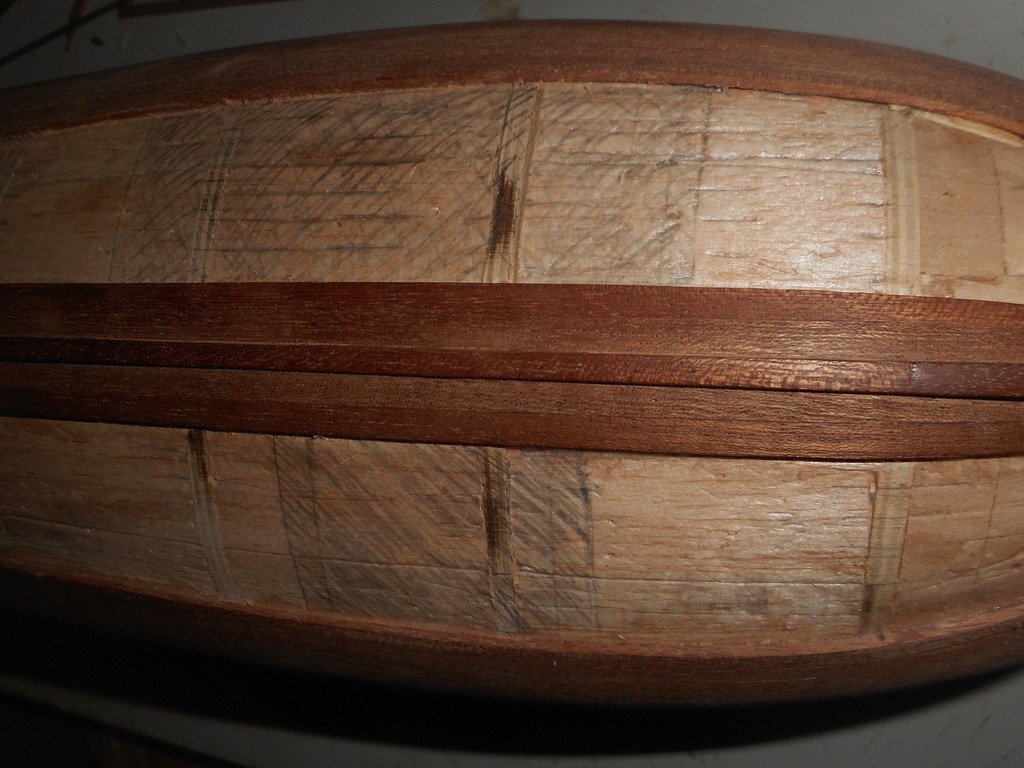
I am using full length planks from stern to bow, trimmering each plank a bit for stern, more trimming as I am reaching bow. As closer as I am getting to garboard, making calculations to figure out and pinpoint the start of sanding. The marked area represents the area that planks need no trimming, there is a difference between left/right, but as I am getting closer toward garboard the painted areas will be even.
-
AL-San juan nepomuceno built
AL- San francisco in progress
Also I got a question
I am thinking to paint ship's wales black, not sure what kind of color should I use, in order to keep wood grain,
thinking to start tests, using enamel colors with high dillution
-
stergios, amazing build log, I am going to use it as reference for my future builds. cheers
-
-
-
-
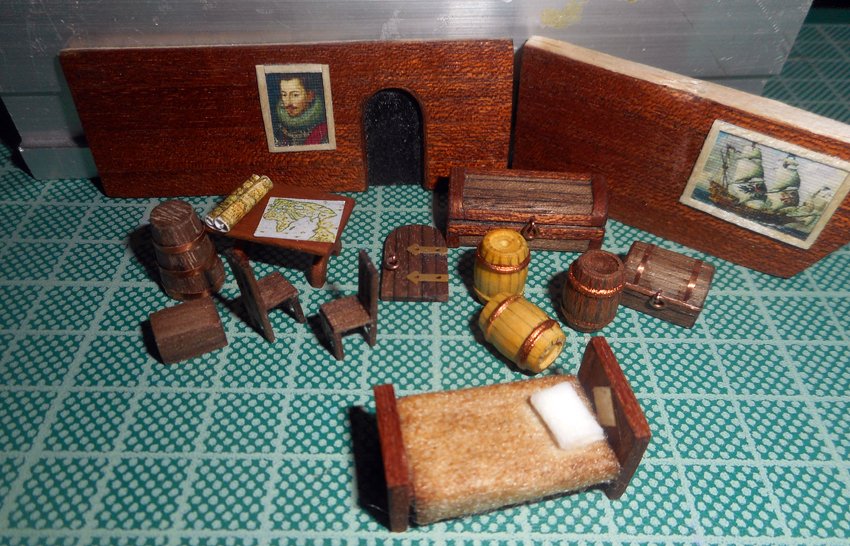
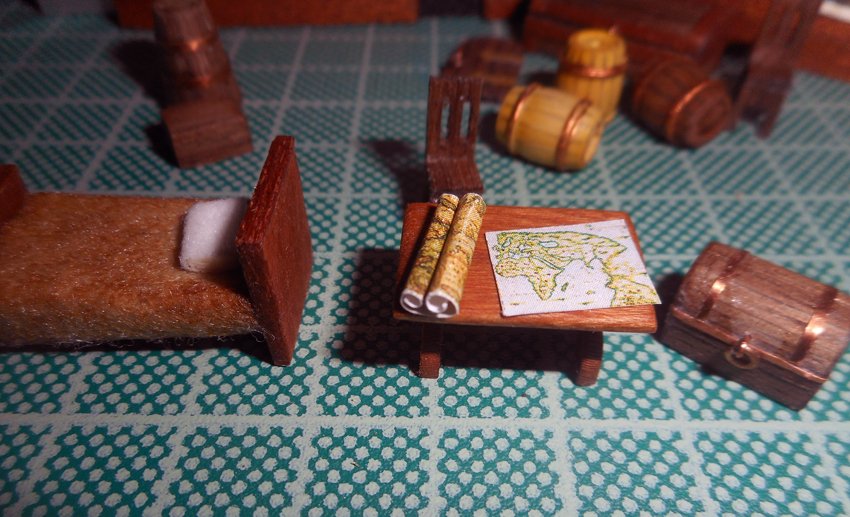
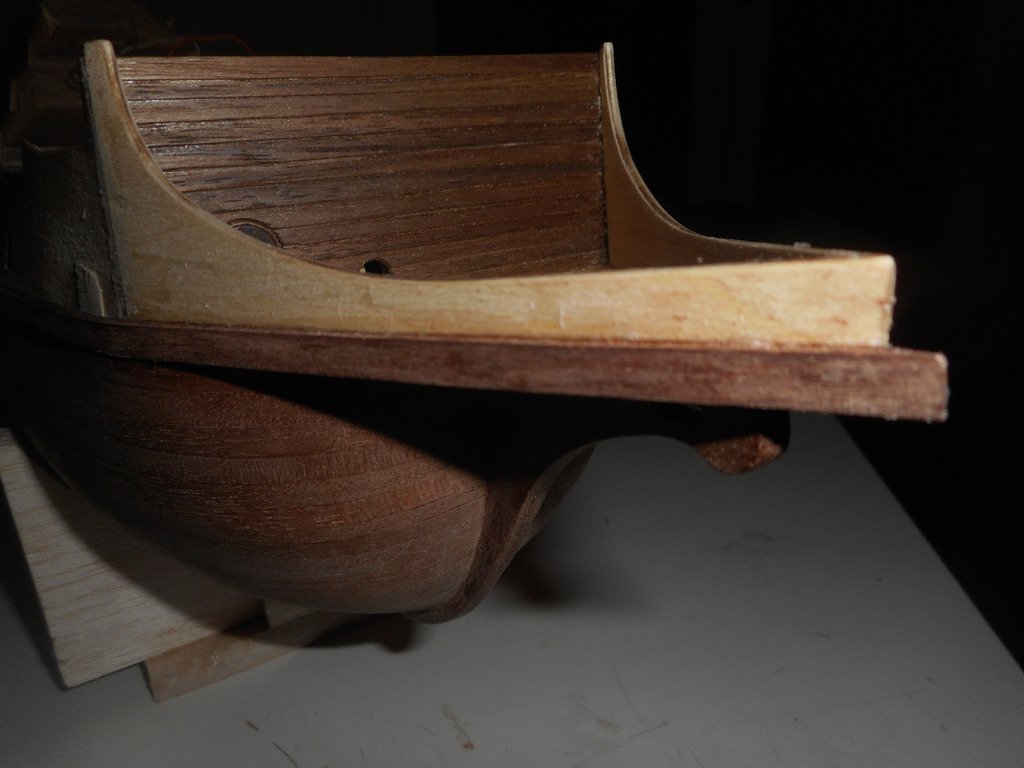
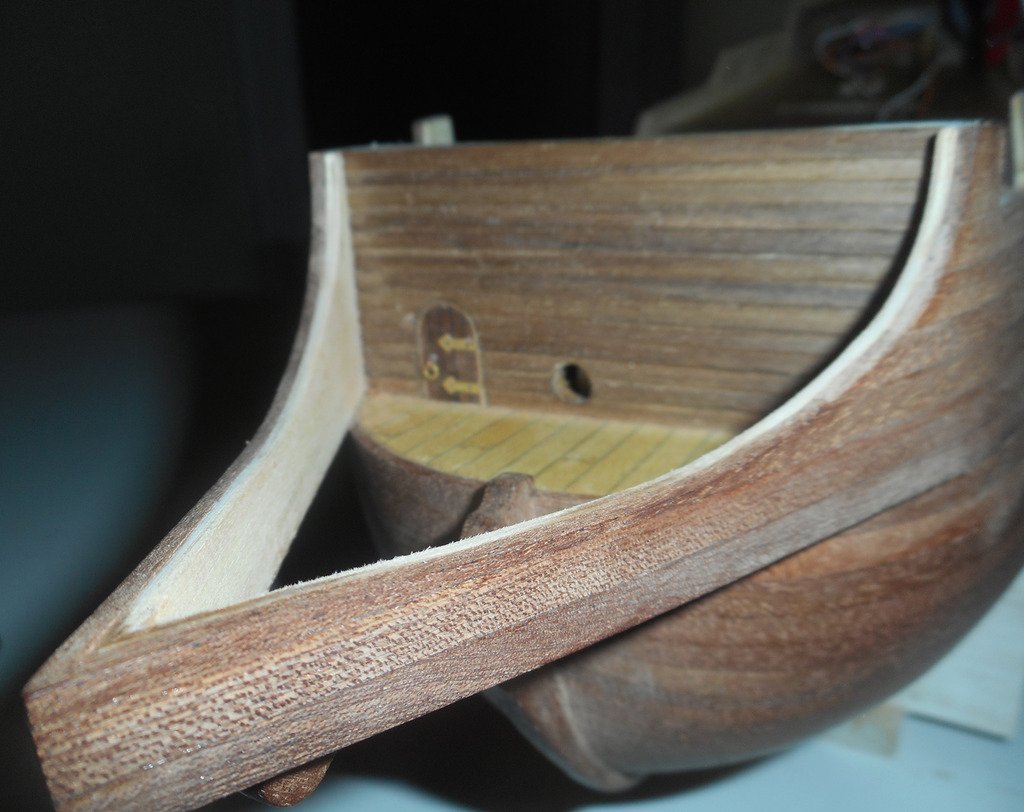
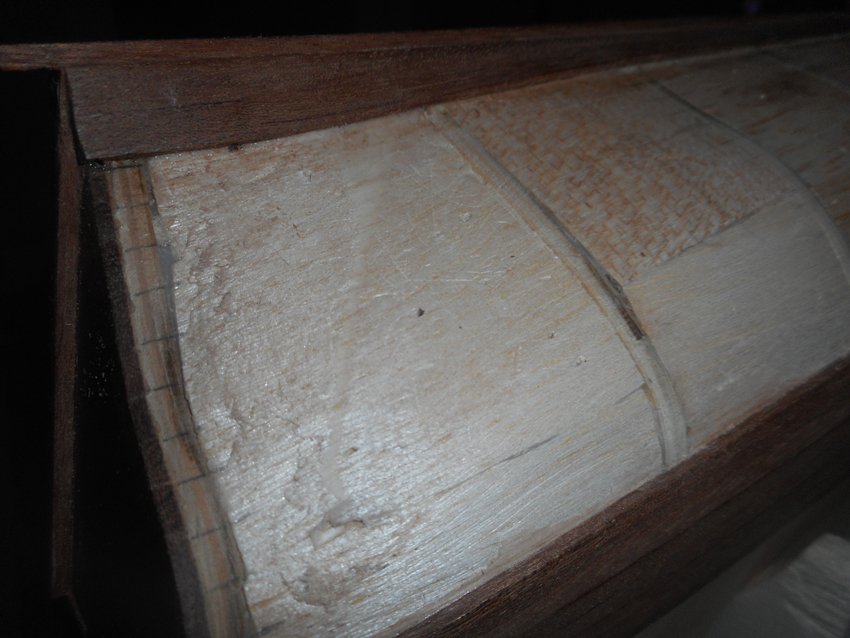
Next step is to make some furnitures for captain's cabin. From the windows I have opened combined with LED lighting you could see inside cabin, not as much as I have planned, not only becouse of the scale, but becouse of the way that stern is designed.
a closer one


San Francisco II by kostas_gr - FINISHED - Artesania Latina - bashed
in - Kit build logs for subjects built from 1501 - 1750
Posted
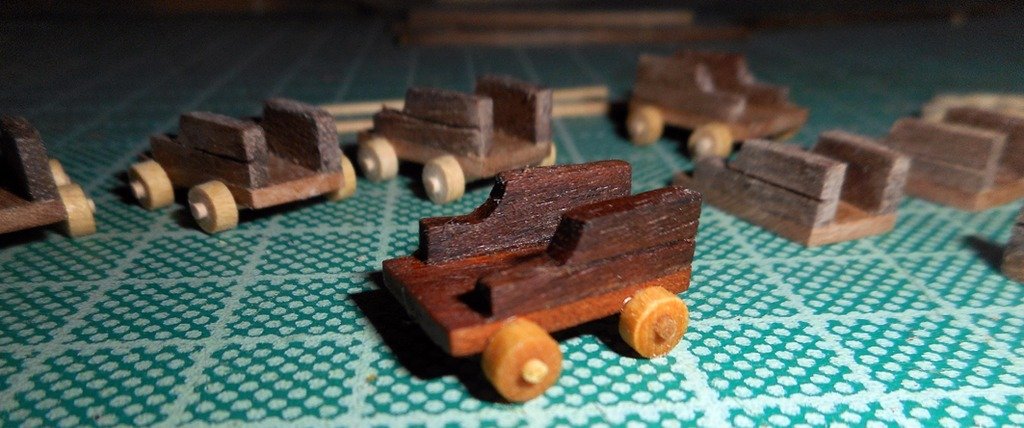
Artesania instructions provides the crate in one piece (like the one on the poop deck), I have decided to split it in two pieces, it looks better
I have done the same with the crate on the main deck, I have split it in 4 sections, and I have left one open to place the ladder. The boat is going to be placed right above, so the details of the main deck (ladder, barrels, led light) will not be seen much.