HOLIDAY DONATION DRIVE - SUPPORT MSW - DO YOUR PART TO KEEP THIS GREAT FORUM GOING! (Only 51 donations so far out of 49,000 members - C'mon guys!)
×
Sizzolo
-
Posts
182 -
Joined
-
Last visited
Content Type
Profiles
Forums
Gallery
Events
Everything posted by Sizzolo
-
 Thanks for all the help everyone.
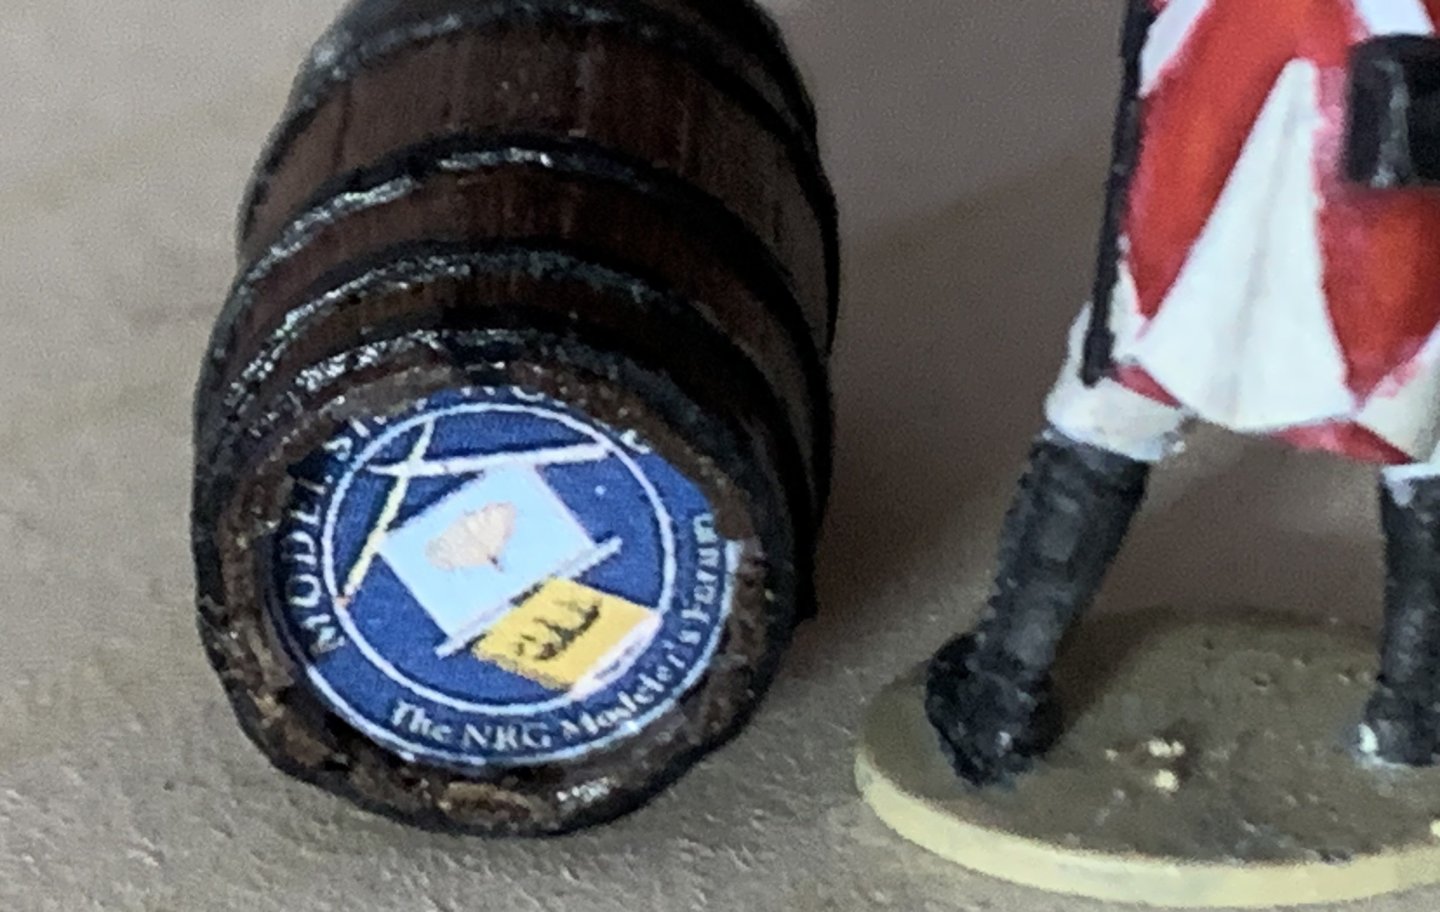


-
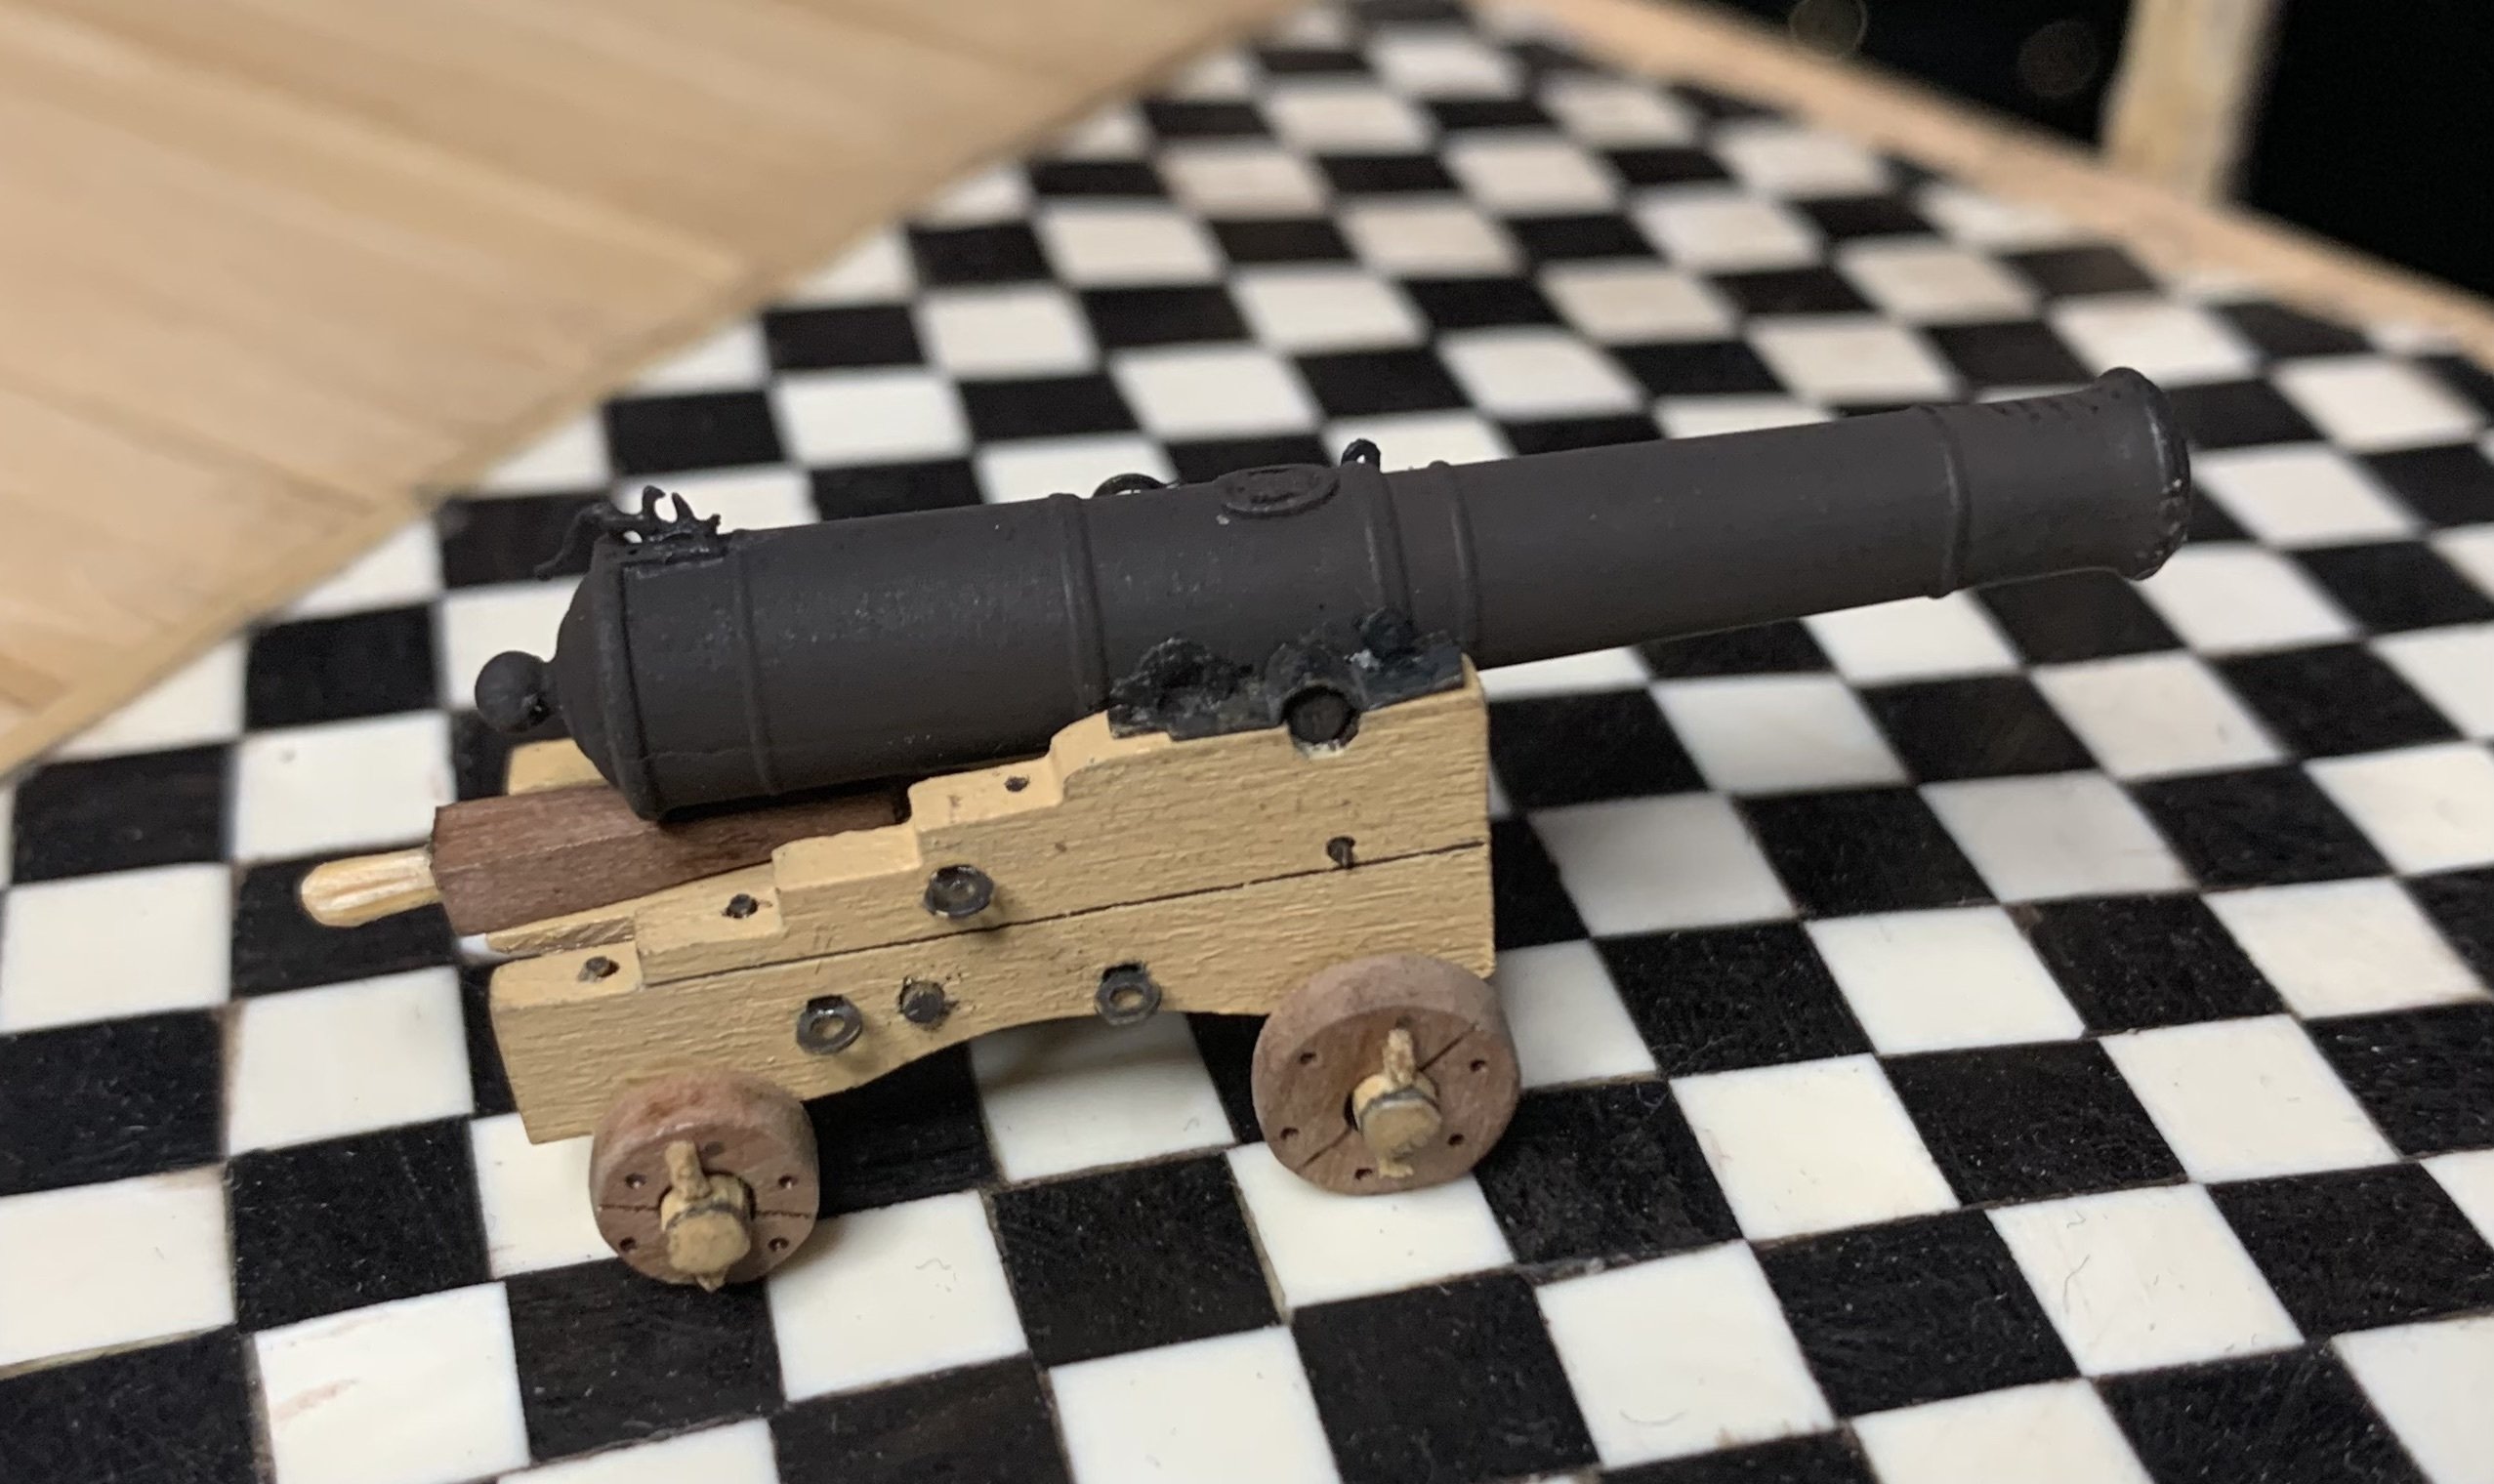
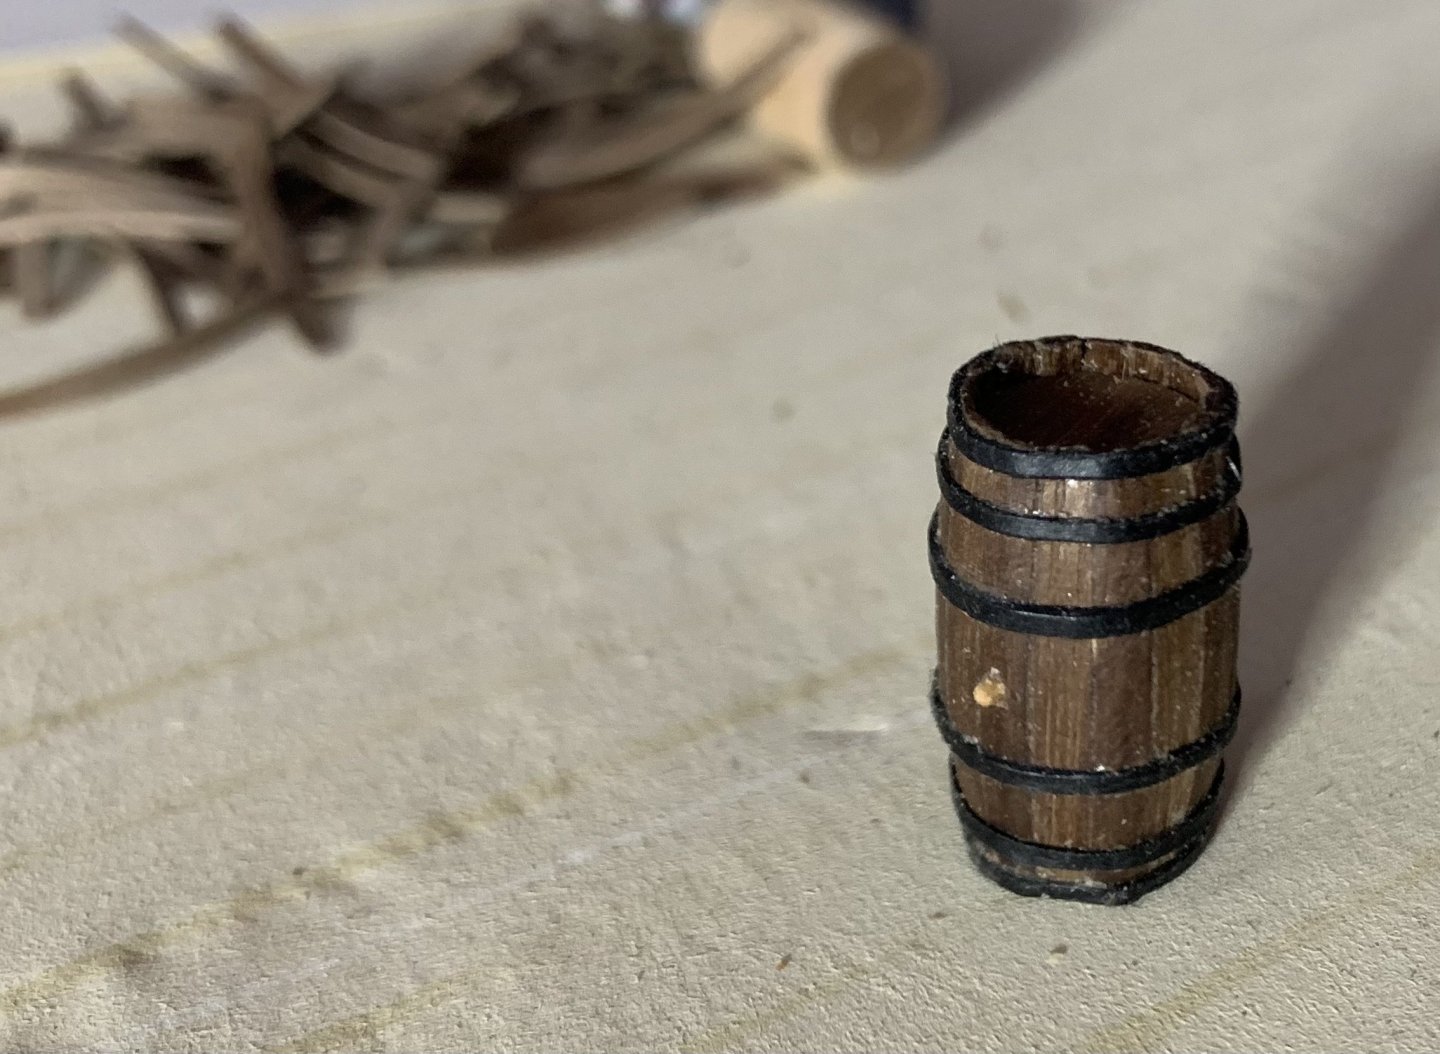
Purely from a physics perspective, vertically stored barrels can ‘fall over’ whereas horizontal will just roll/pivot if there’s room to move. Most importantly though in the design of barrels: they really neatly lock together when on their sides as the narrow ends align with the widest point (middle) of adjacent rows. I’ll try and add a pic later which demonstrates this.
-
Fantastic info everyone! Thank you all v much.
-
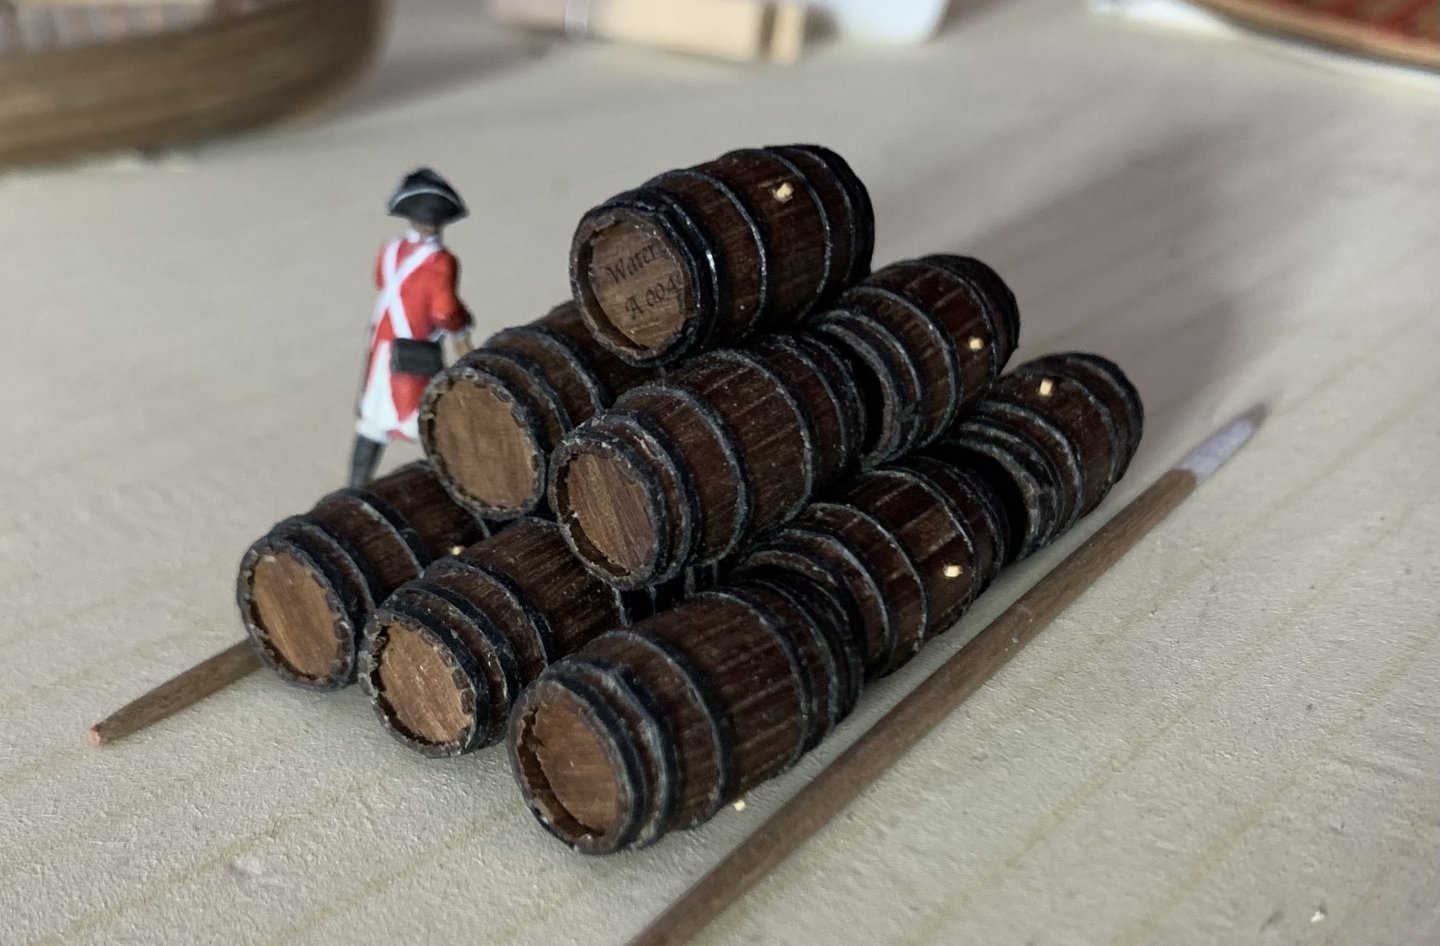
Cheers: I hadn’t thought about branding - makes sense. Maybe some kind of coded branding iron motif. I guess on the ends rather than the sides because unless you continue the pattern around the full circumference there’s a chance the mark would be hidden.
-
Hello all. I’m currently making a few leagers (barrels) and am interested to know if anyone knows how/if barrels were labeled or marked to make it easy to find and pull a required provision? (Exact period;1805, in the belly of an English frigate or higher rated ship). I imagine it’d be frowned upon for sailors to open one and do a sniff test. Equally it could create errors if someone has to refer to a storage chart to select barrels from the correct zone due to potential of things being shifted about when digging around. Perhaps barrels were tagged with chalk or paint mark somewhere that would be visible when in storage? Likely a more permanent marking was common as I’d hate to fill a barrel with 150 gallons of water that was previously storing dried fish! (Or Nelson allegedly!). Wishing you all a reflective and peaceful Remembrance / Veterans Day.
-
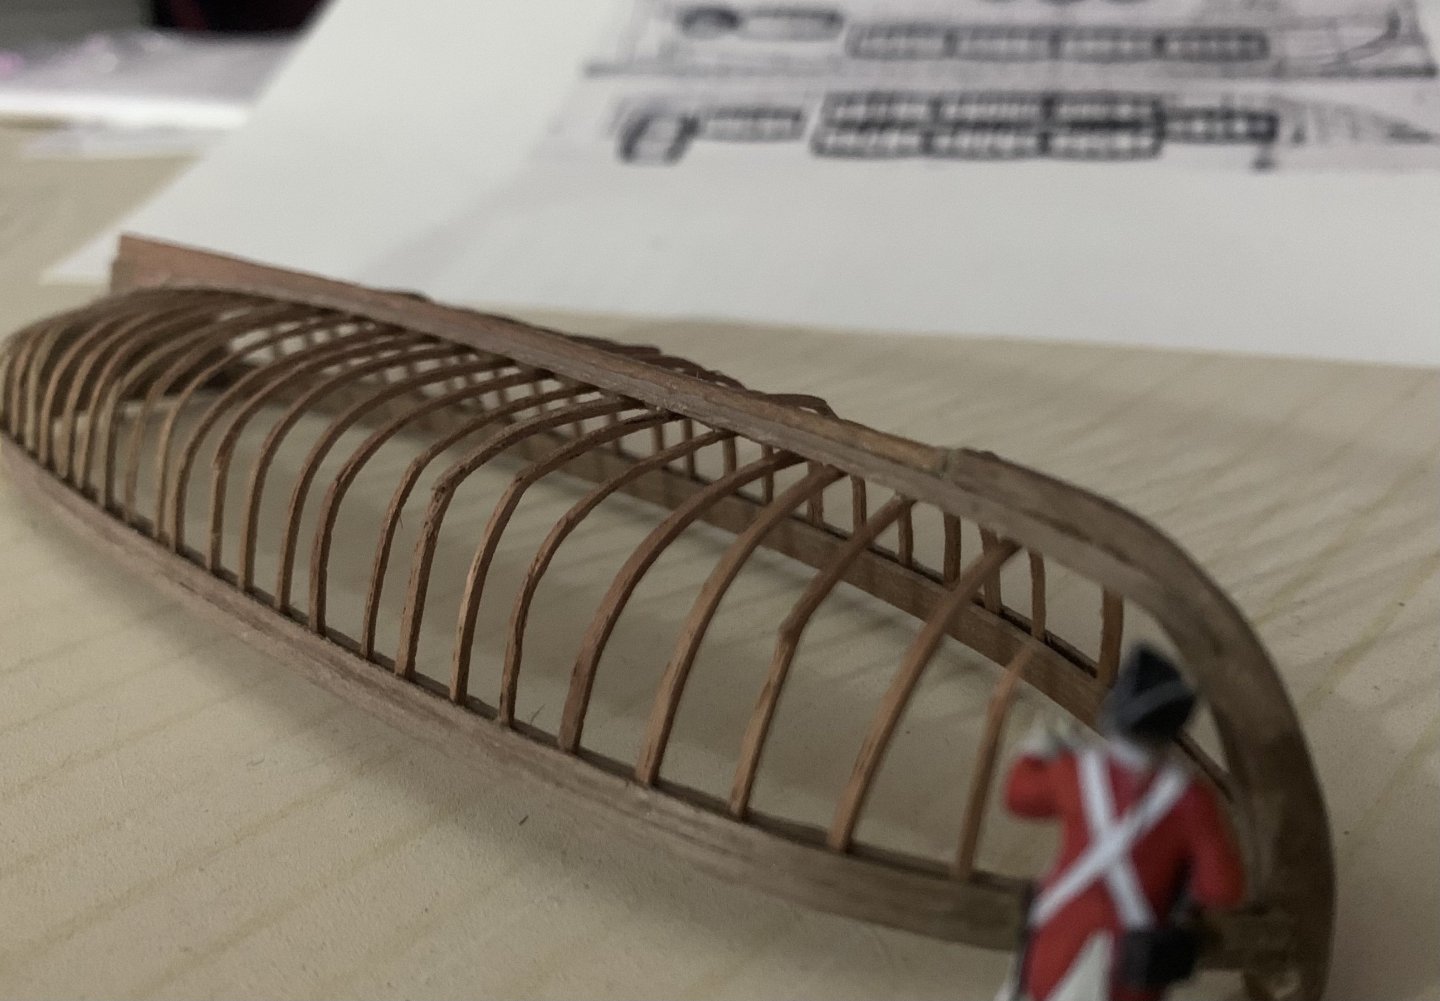
Agents at the port have noticed the captain has ordered the production of yet another launch so that he may more rapidly provide supplies to the ship: (I’ll do a separate build guide for this one but it’s not slowing me down too much - roughly a couple of hrs per day for a week)
-
Just a text update today. Three steps forward, three back. On larboard wales I wanted to more accurately place the trenails. I found an excellent drawing in Boudriot’s 74 gun ship book, volume 1 which shows a trenail and iron bolt placement for the outer hull. After seeing that I realised I’d placed my nails aligned with every longitudinal foot on starboard instead of putting nails in per frame (far more closely spaced). I intend to improve on the larboard side. However, my original method was to drill holes in the wale every 5mm as this should align well with the frames (if there is not the slightest error in measurements!). However, after getting to the third row of ebony top&butt planks, including bent ones at the bow which were an absolute pain in the top&butt, I sat back and looked at it. None of the trenails were really vertically aligning. I wanted to see nice vertical lines of nails which would give the viewer a better understanding of the underlying construction. It was looking a bit crap considering the time it took. So…I ripped off all the larboard wale planks (v easy as they were just superglued.. I’ve no other glue that works well) and started again. This time I first drew the frames in pencil on to the underlying planking so that I could then put a pencil dot where each hole needed to be drilled in each wale plank. I’ve done the top row now and it’s already looking better. I blame myself for trying to use a method I assumed would be quicker!(5mm spacing). Ho hum! When the wales are done I might briefly distract myself with some more picture frames. I want to try gilding some as a practice piece (stern decoration will have gold leaf). I’m also considering making a cello and a violin as a nod to ‘master and commander’. Making the ships’ boats at an early stage has helped me better understand what’s possible wrt tiny details in boxwood.
-
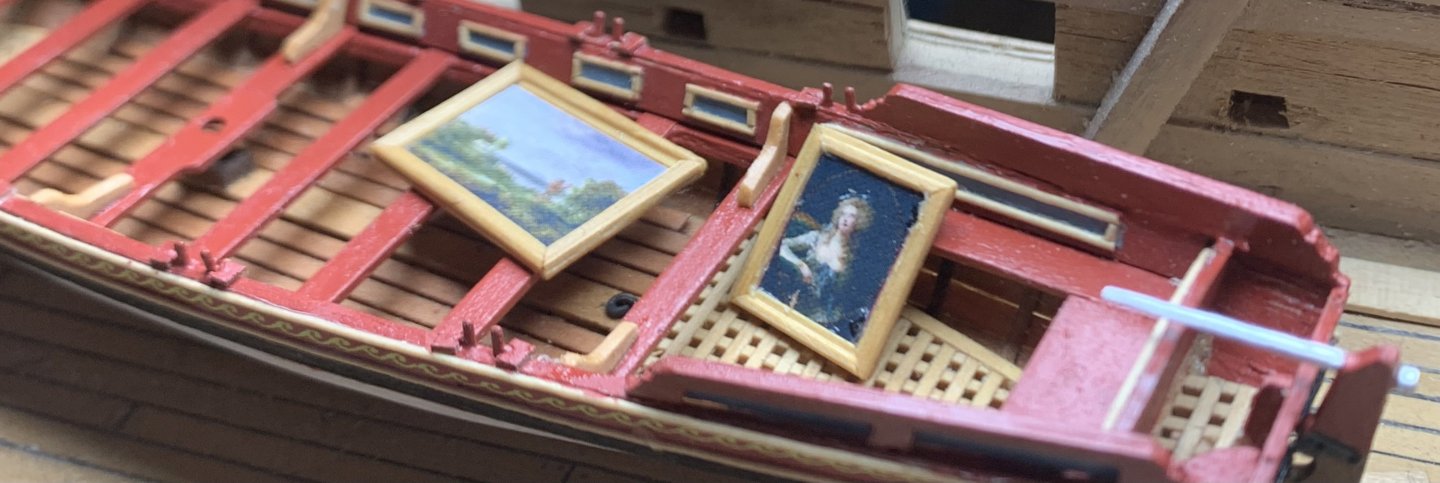
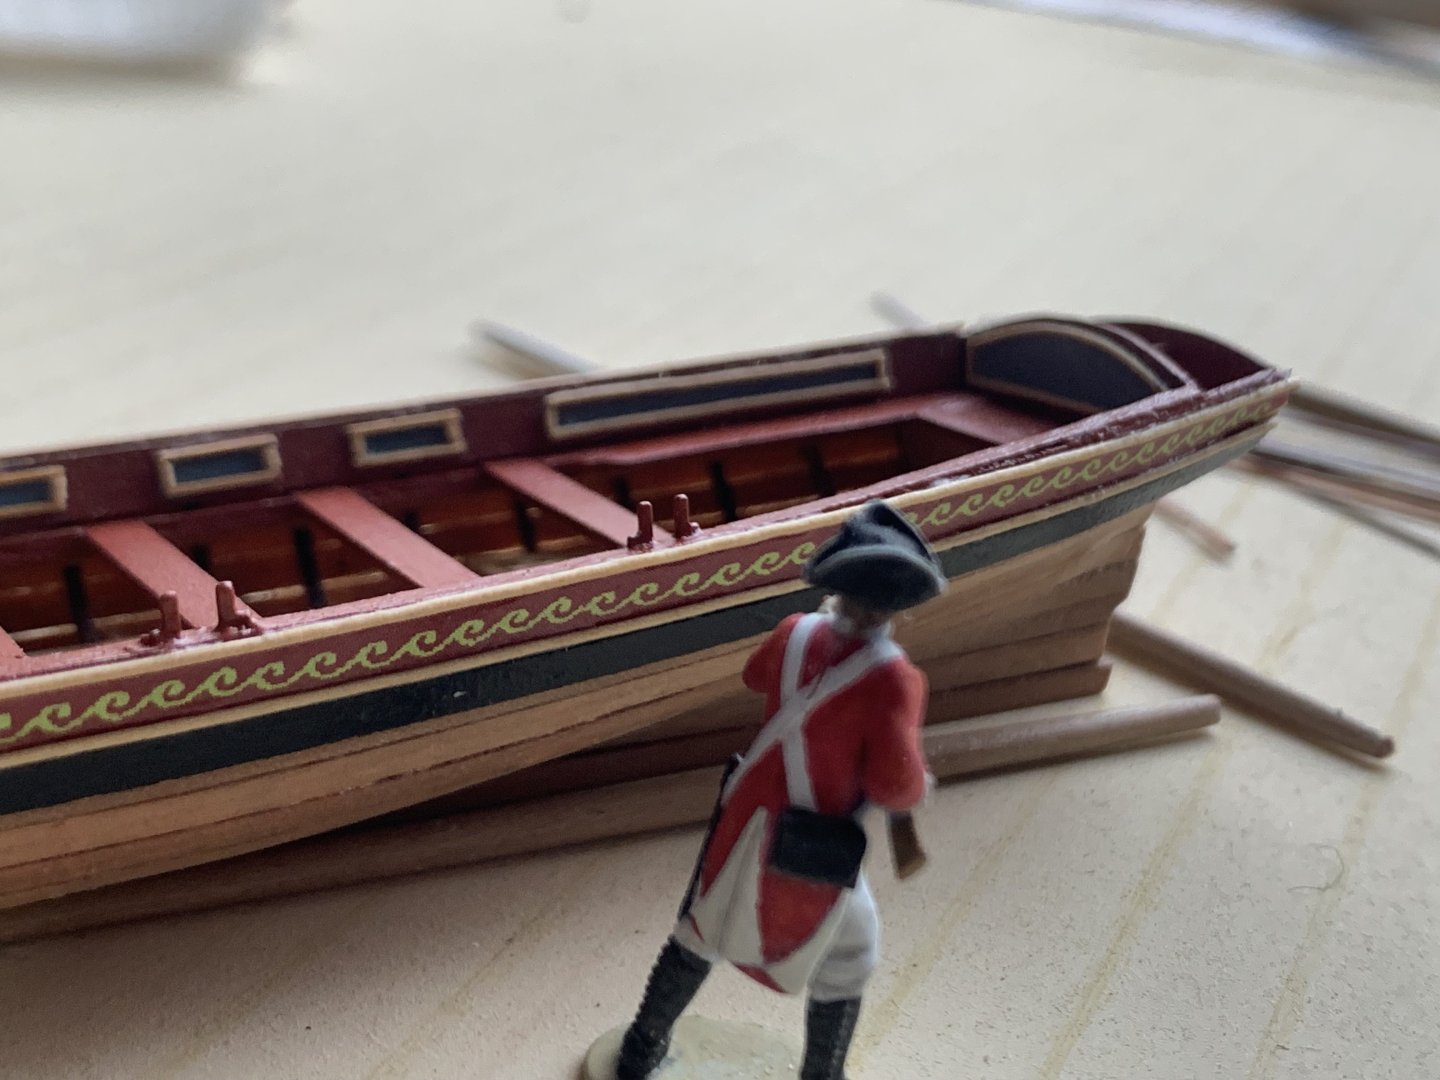
Transporting the captains artwork to his new ship. Definitely continuing with wales next! (little boats are fun though)
-
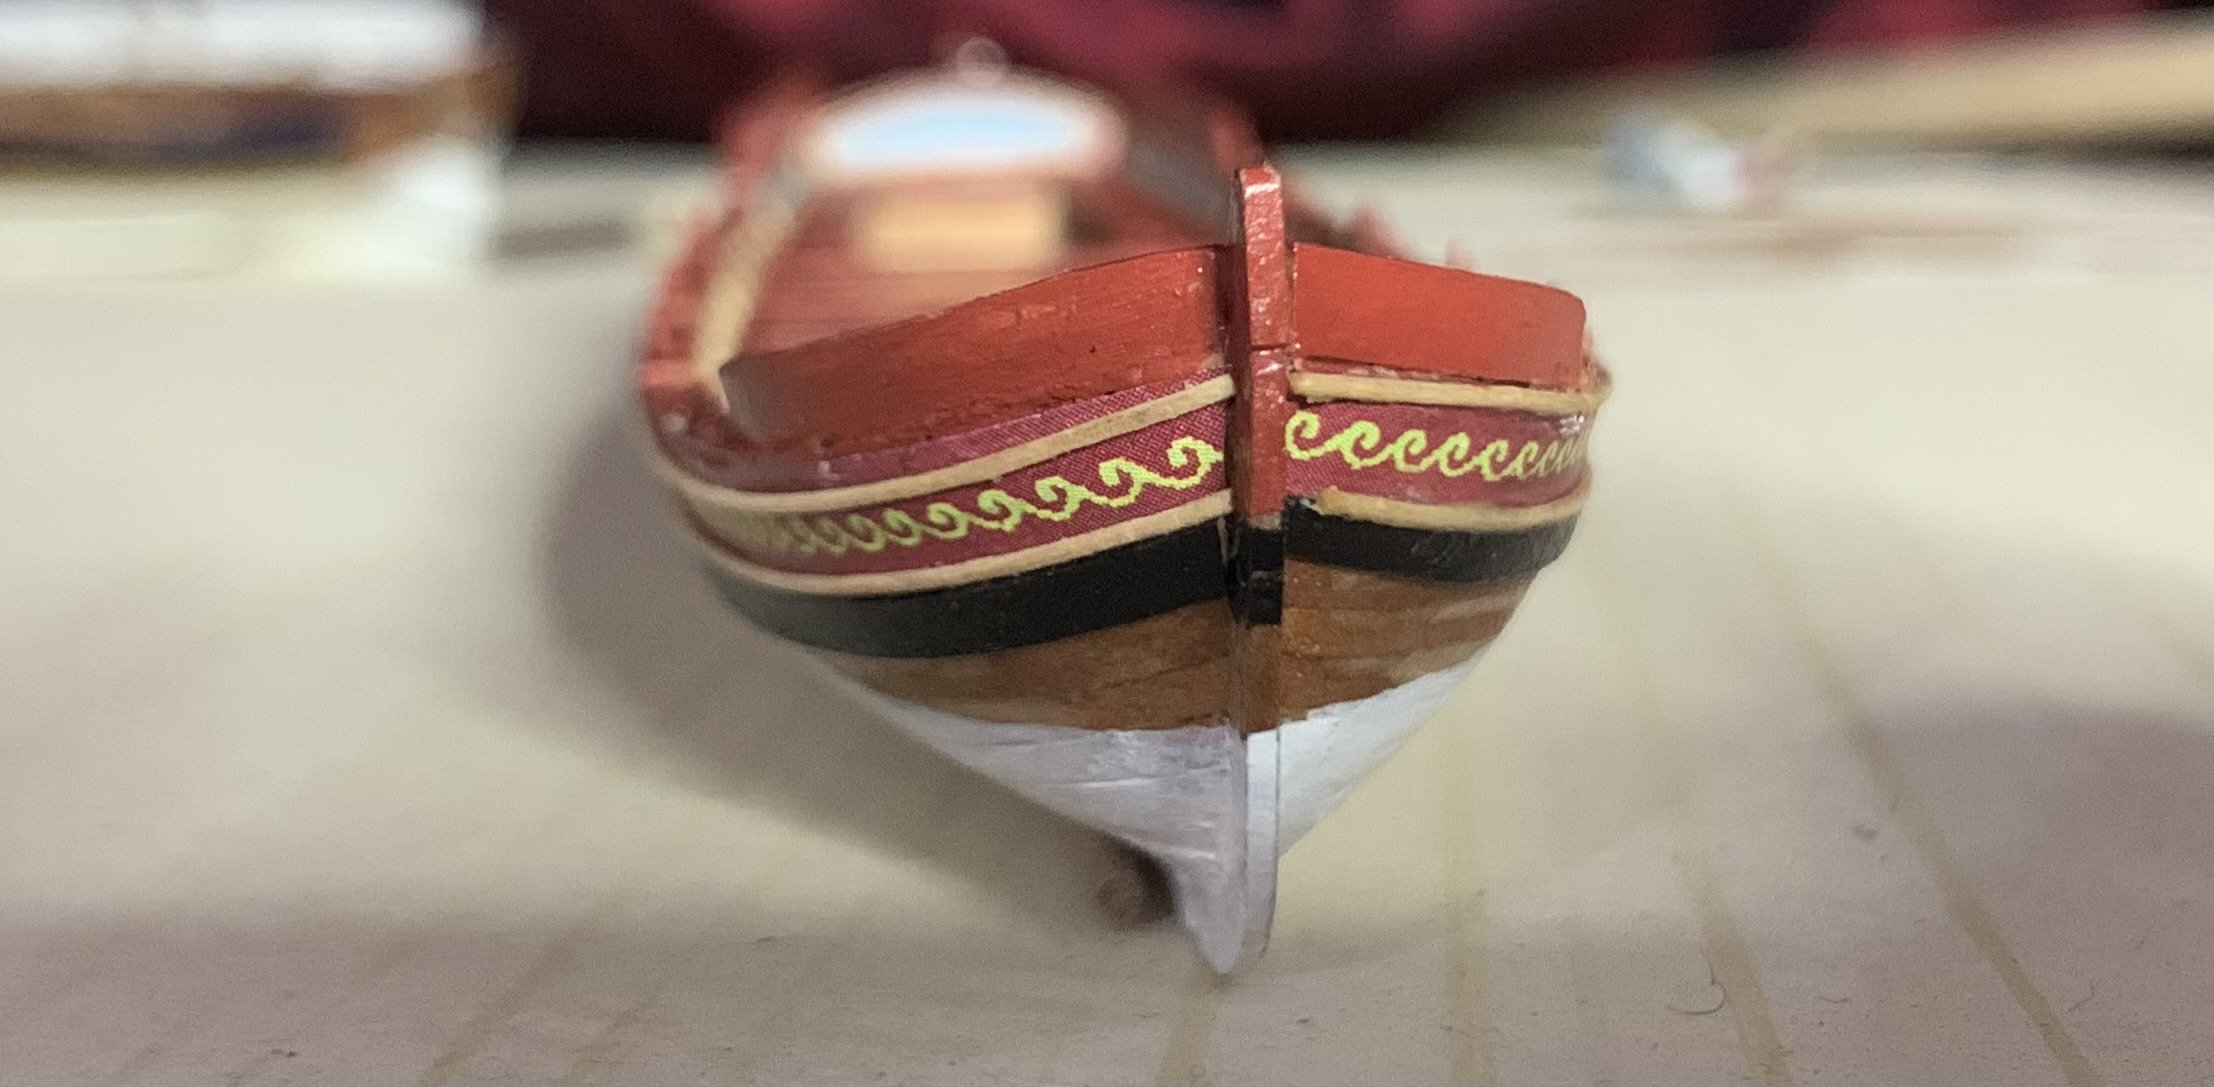
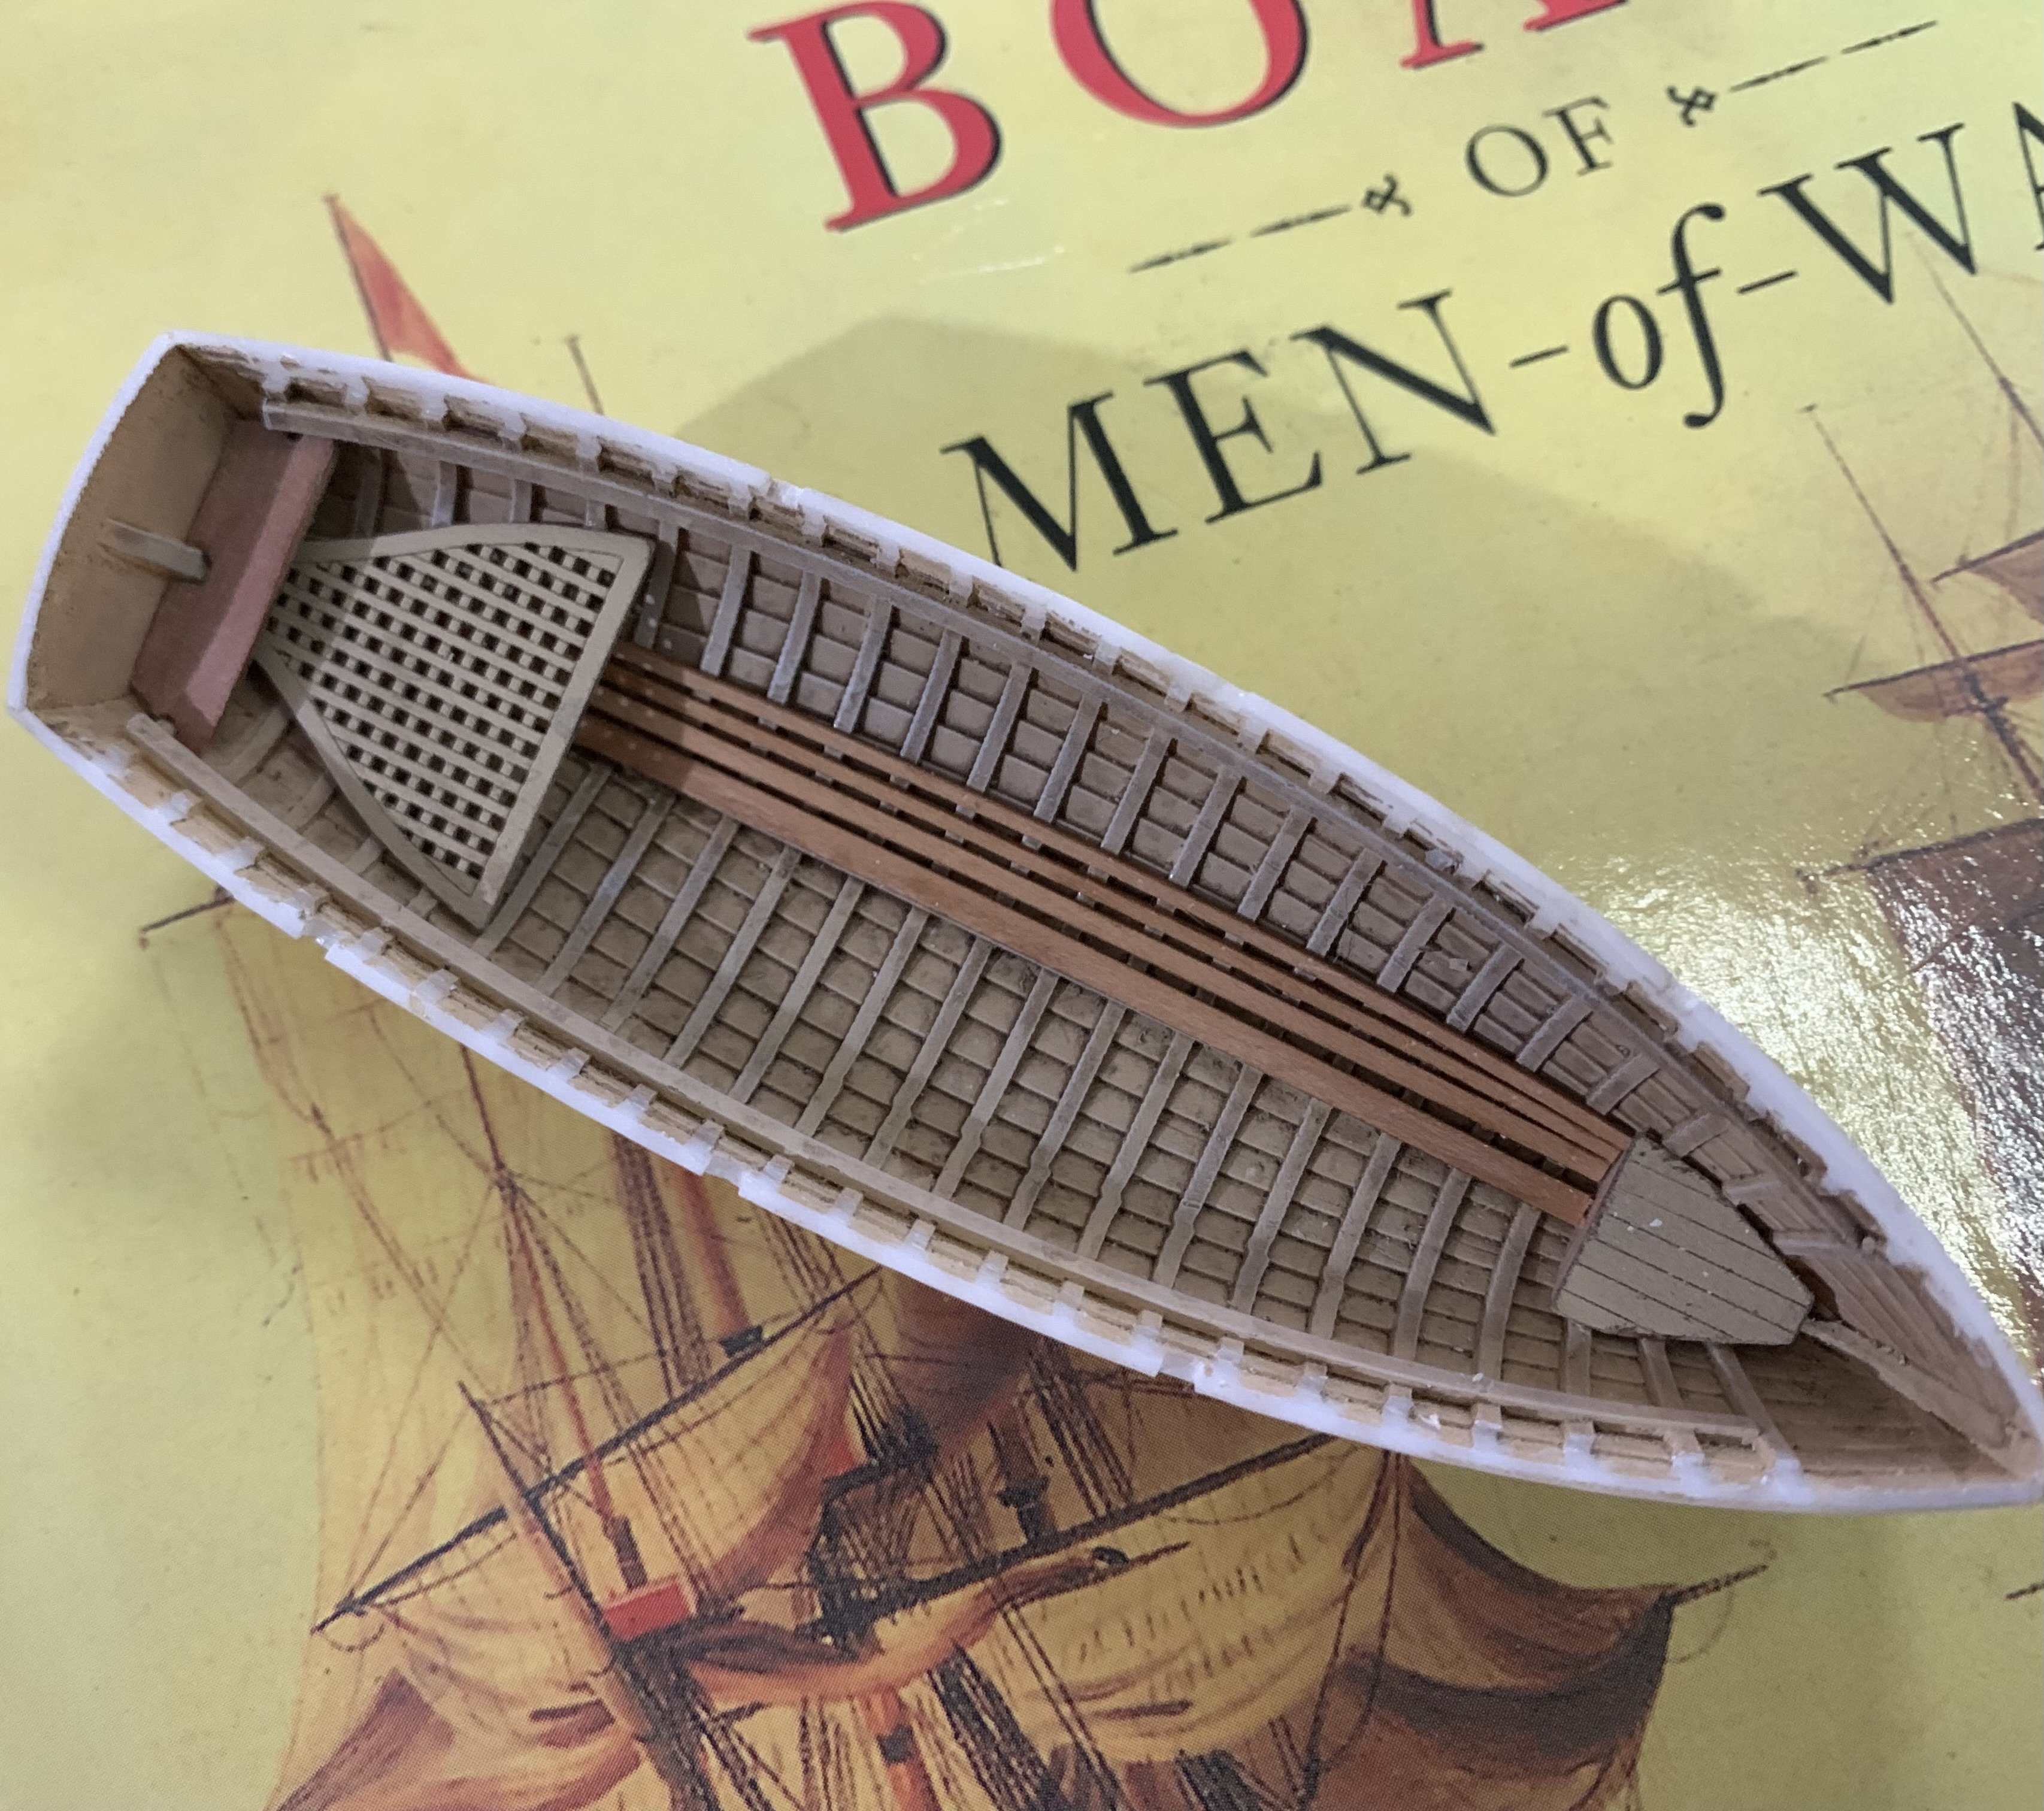
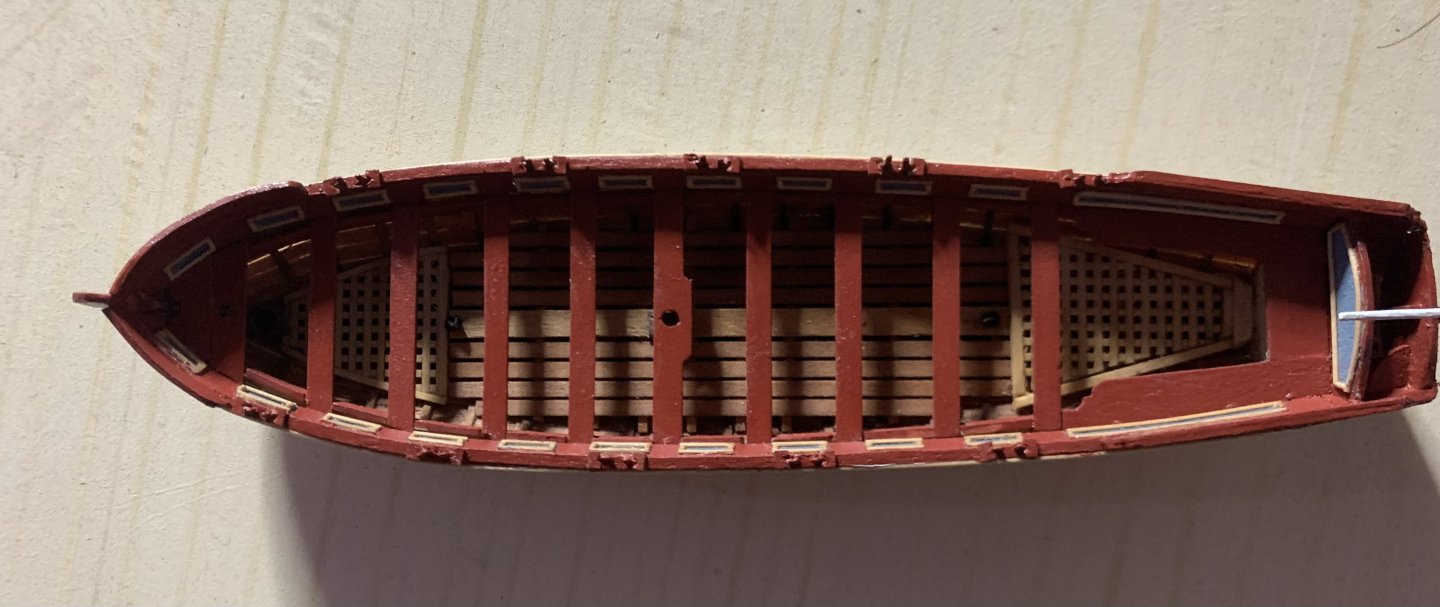
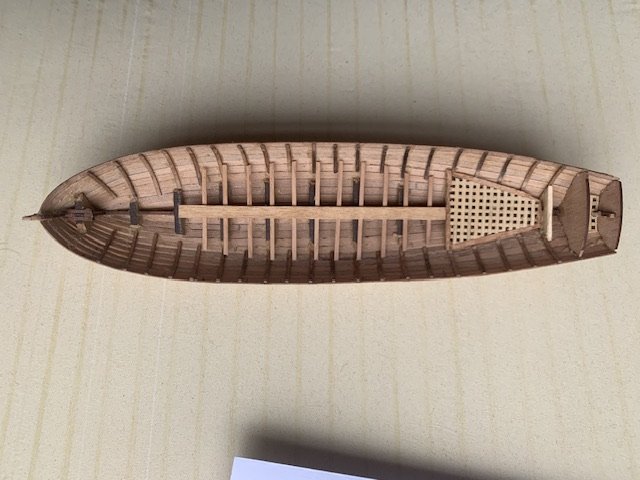
Pinnace hull all done (will do all masts, oars, sails in future). Time to get back to the wales!


-
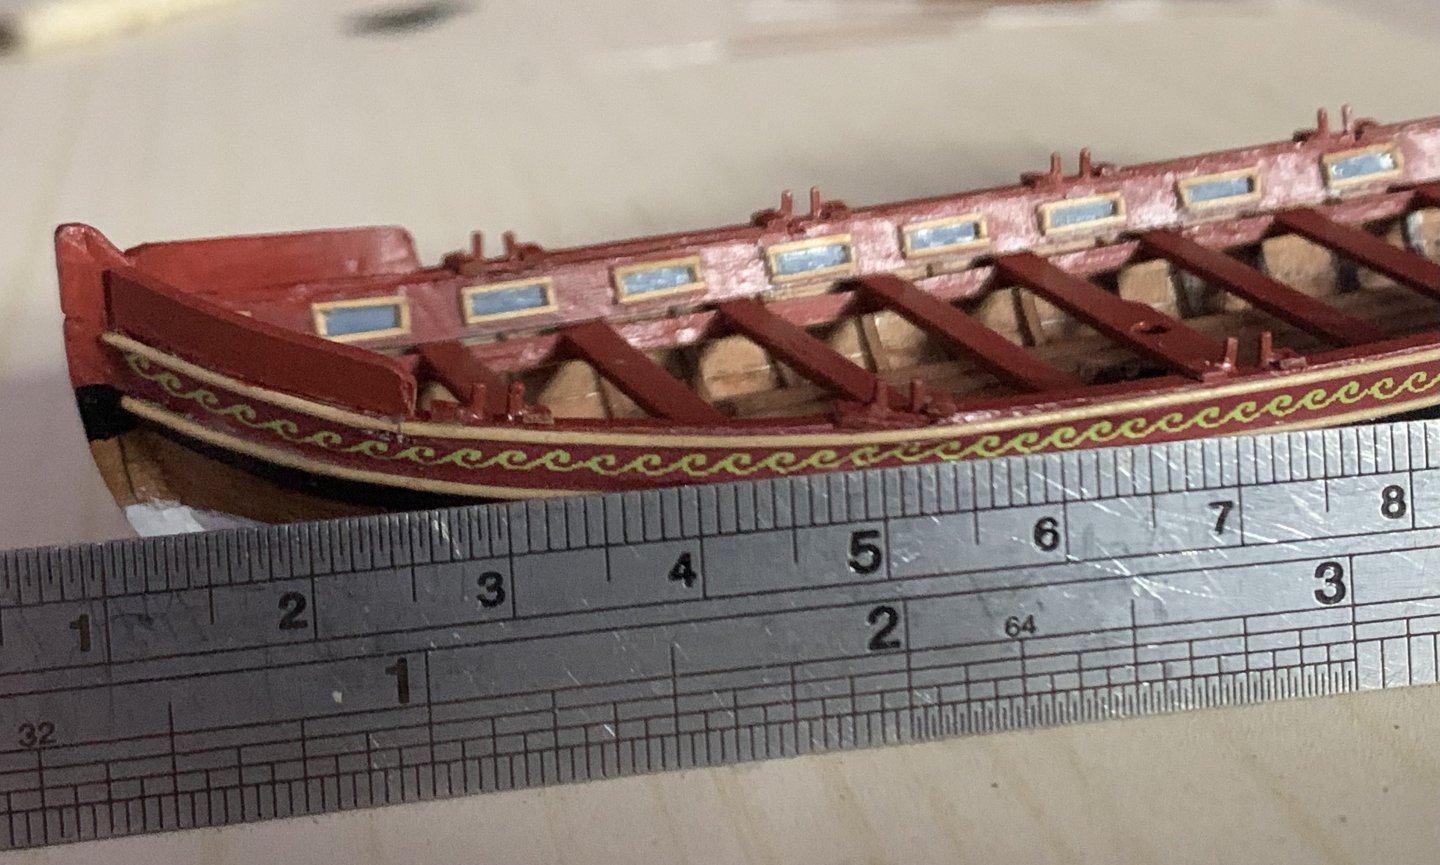
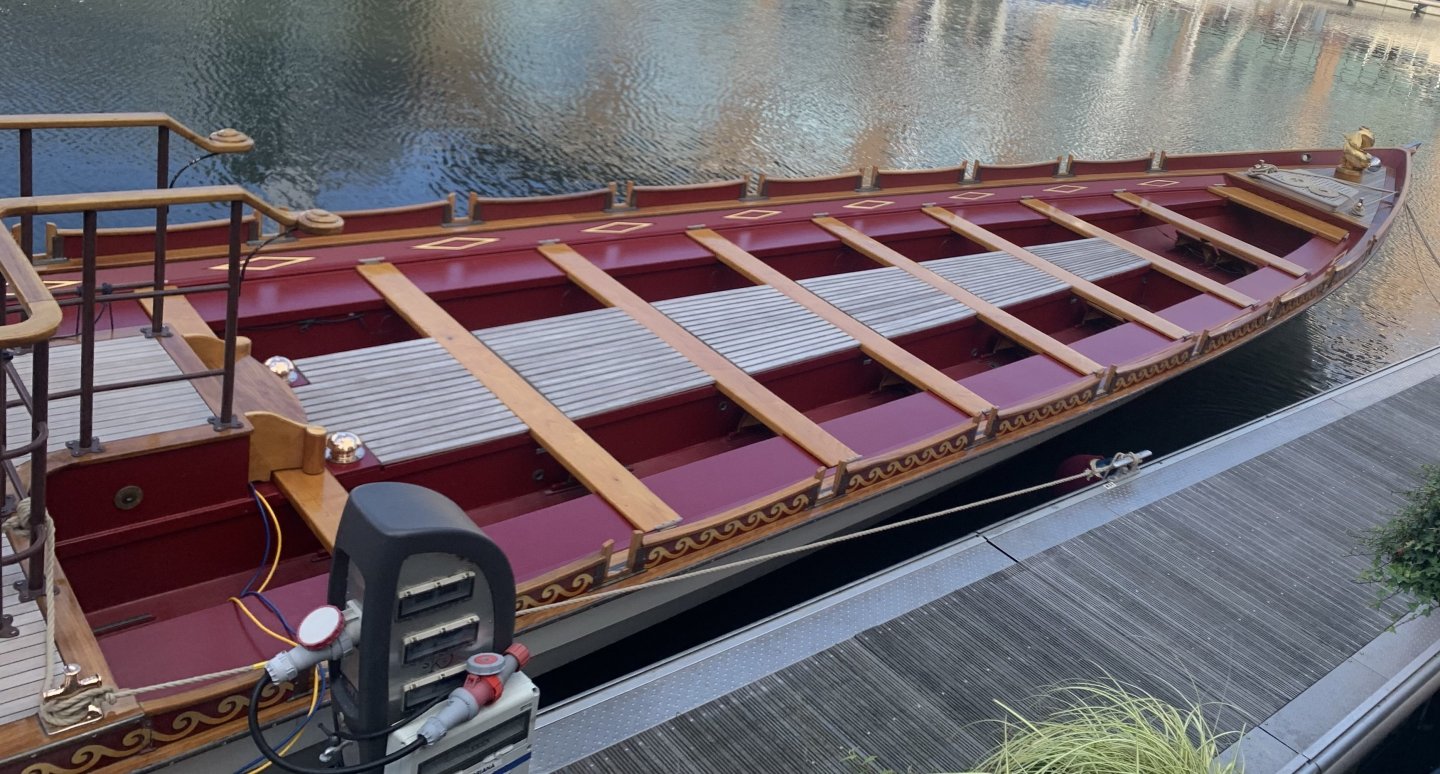
I wanted a fancy design on the sides of the boat and saw the royal barge recently (HM QE II’s commissioned for silver jubilee). The pattern was too intricate to paint so I tried printing my own water transfer decal and it turned out quite well (took a while to colour-match paint vs printer).
-
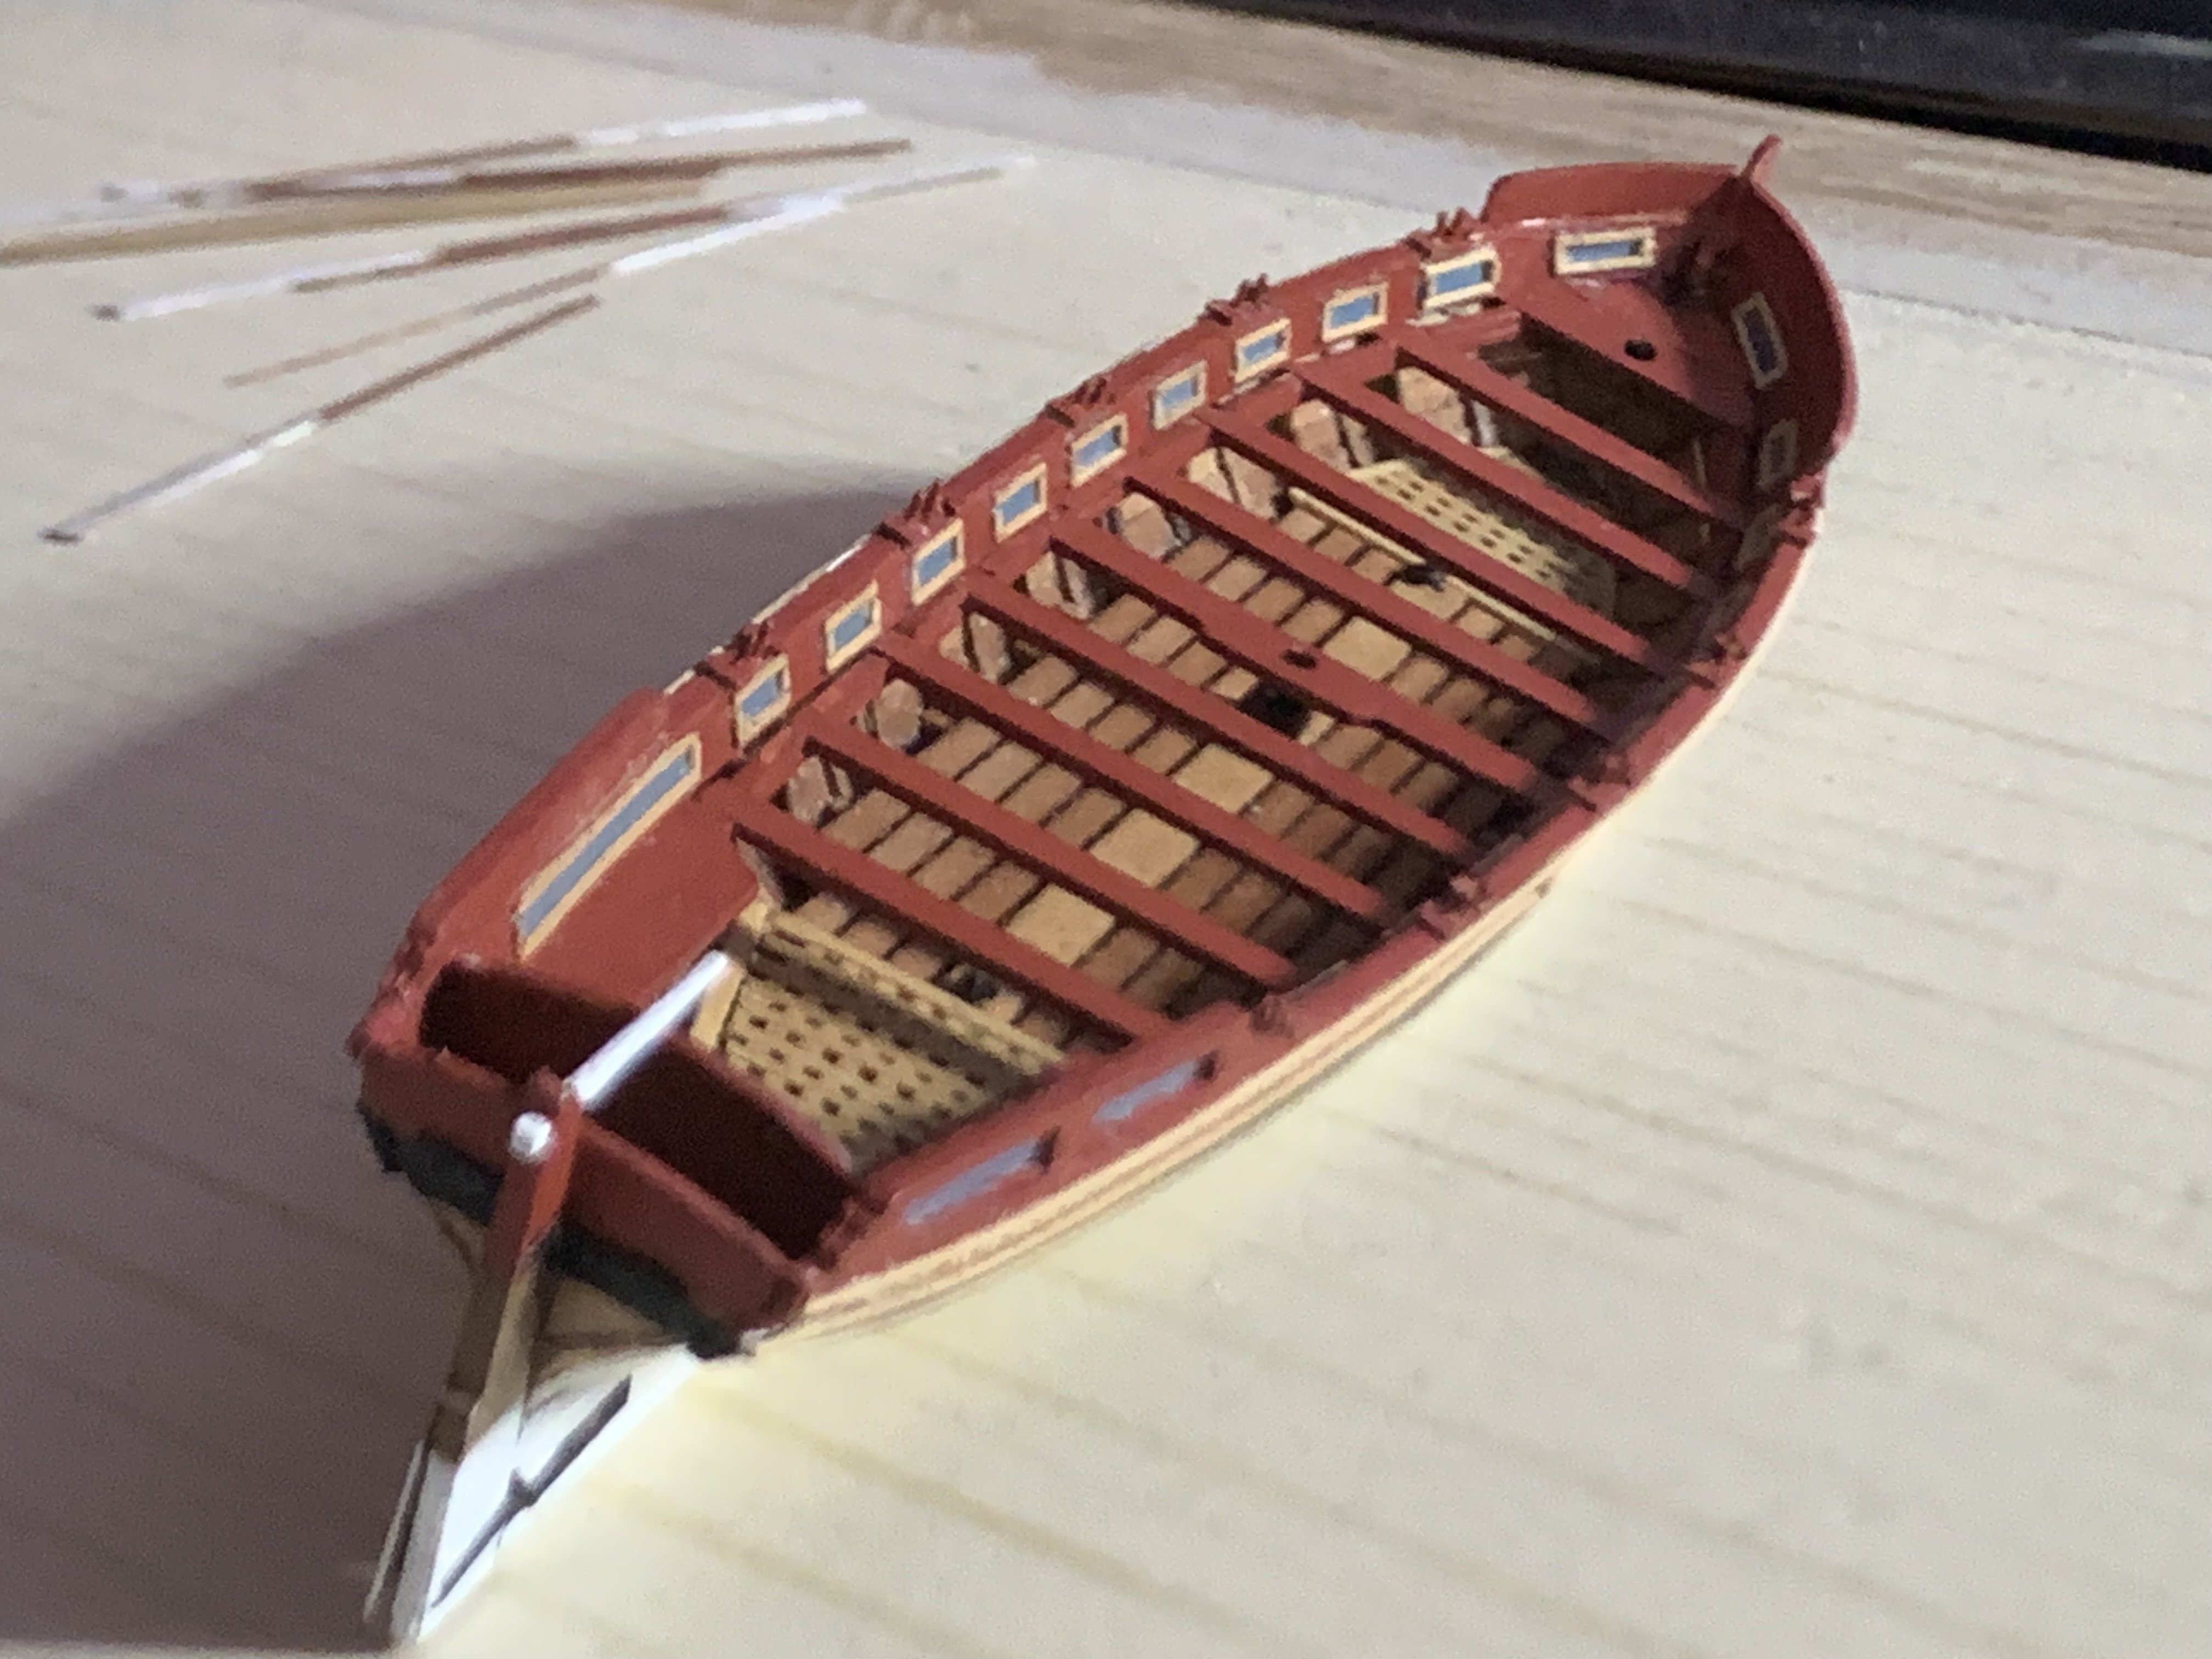
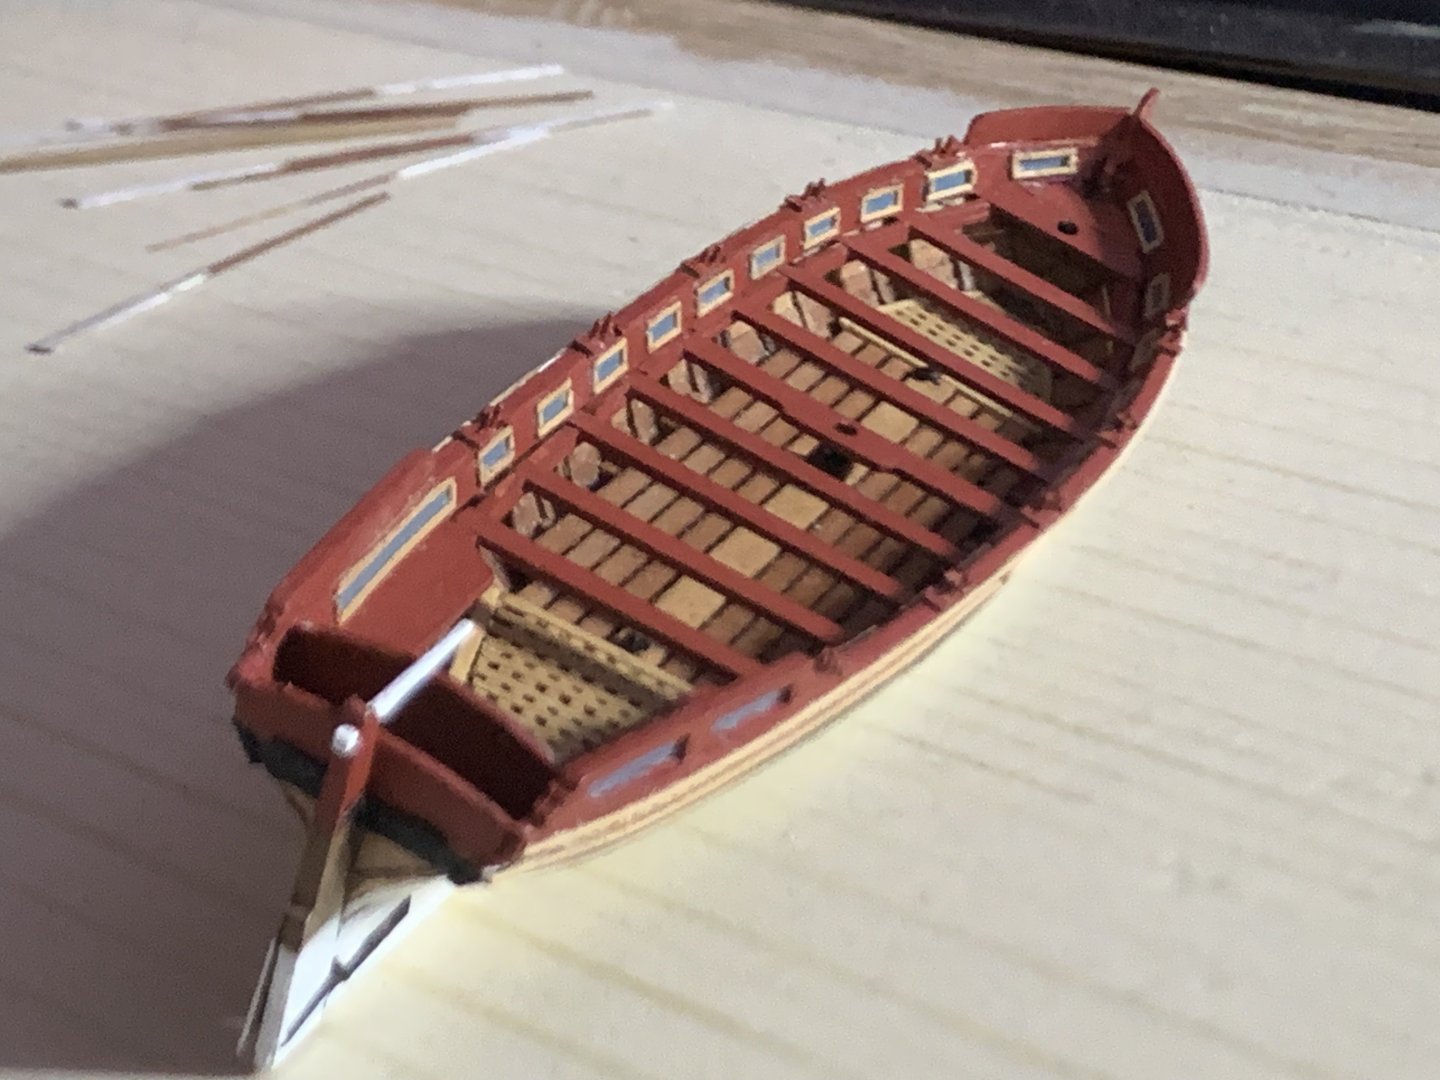
Pinnace progress…


-
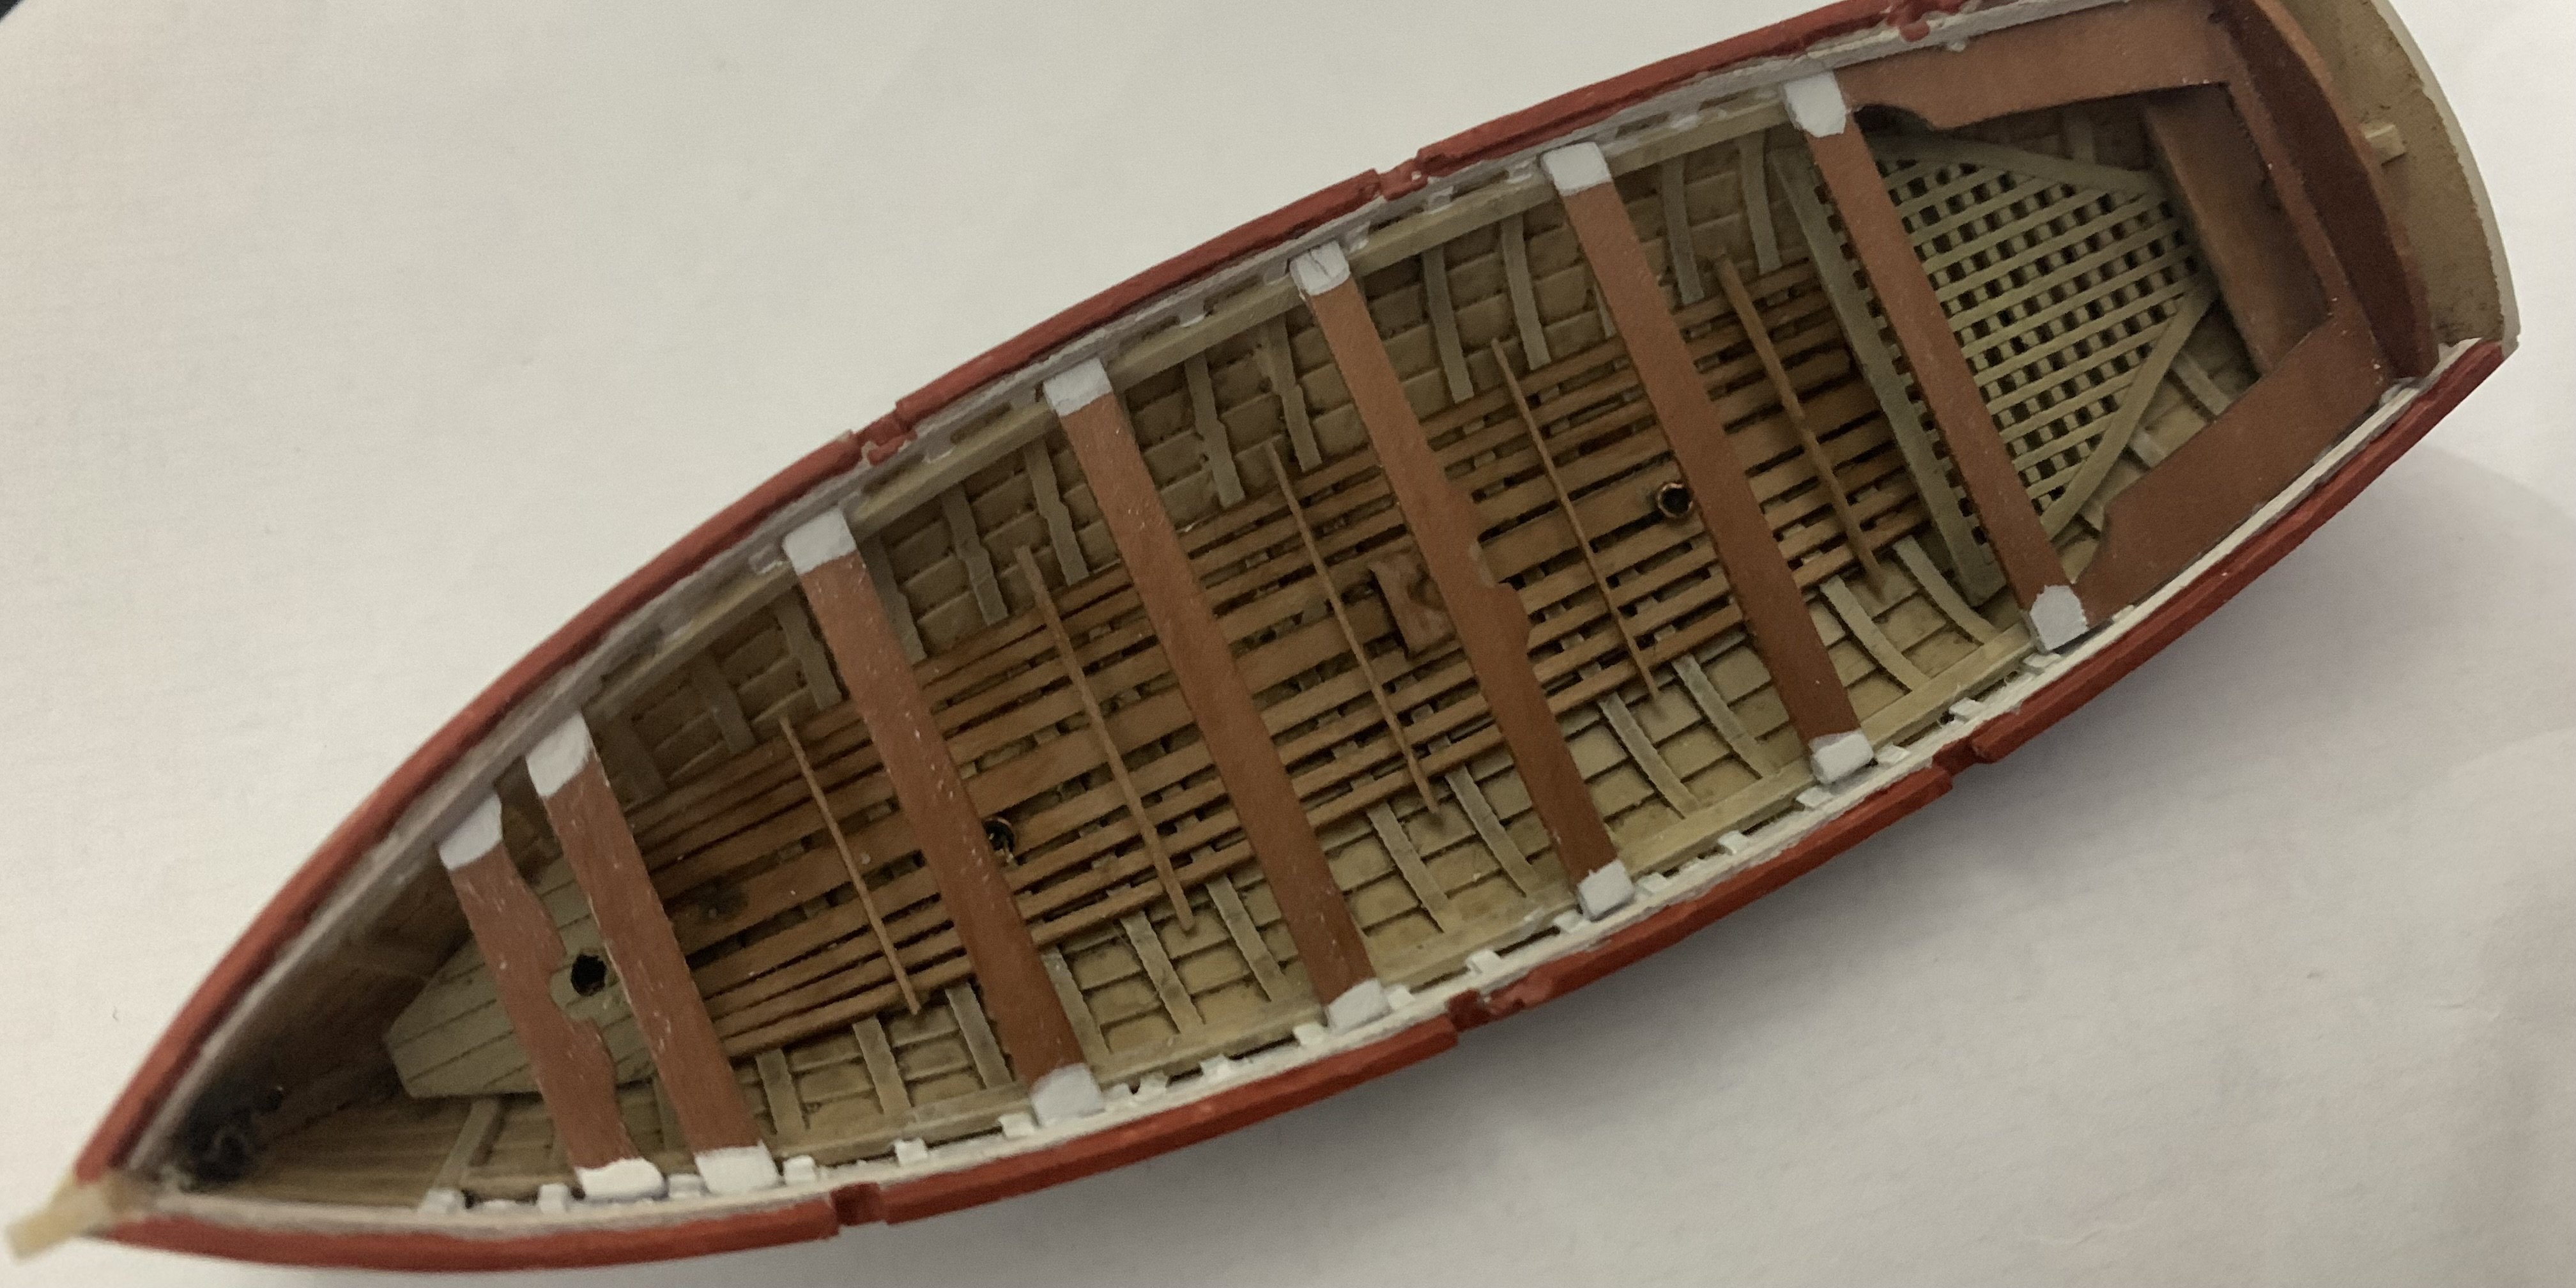
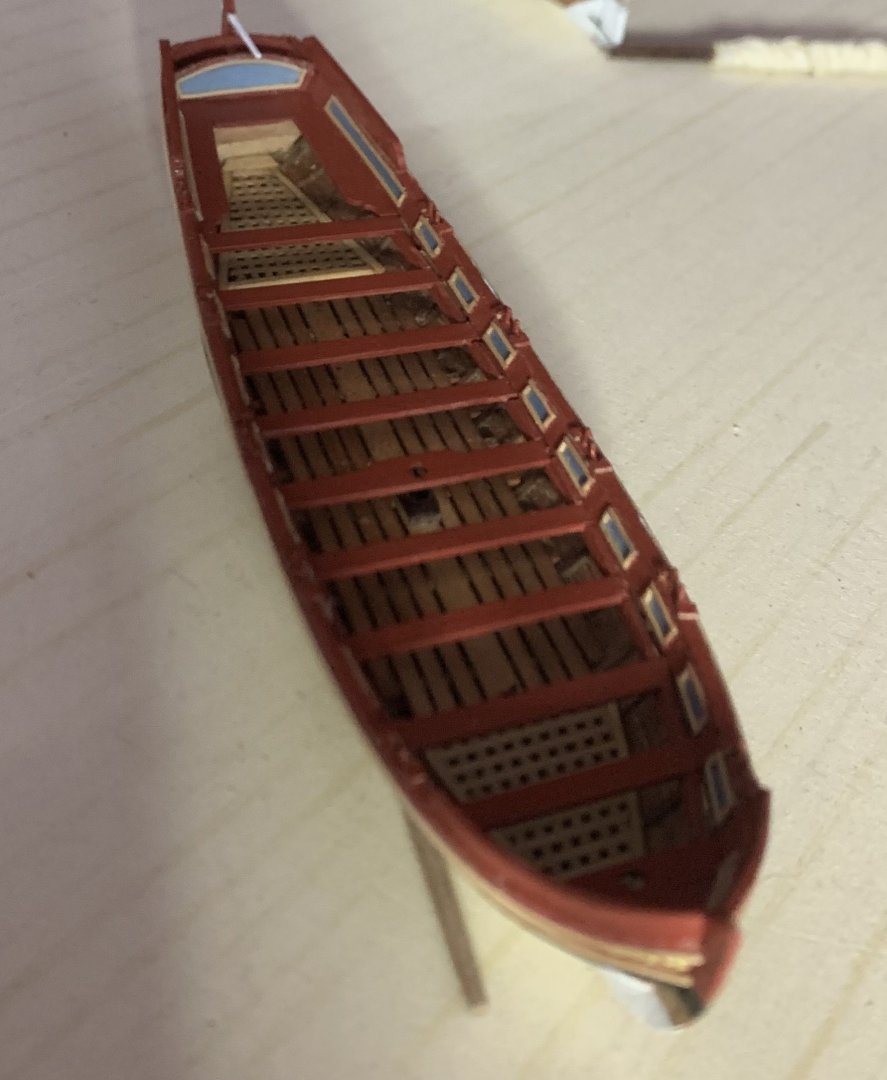
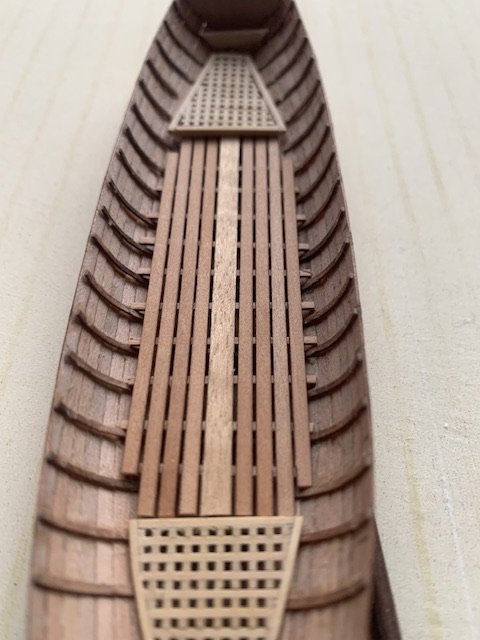
Pinnace floors. As it’s the officers fancy boat it will get some fancy treatment…
-
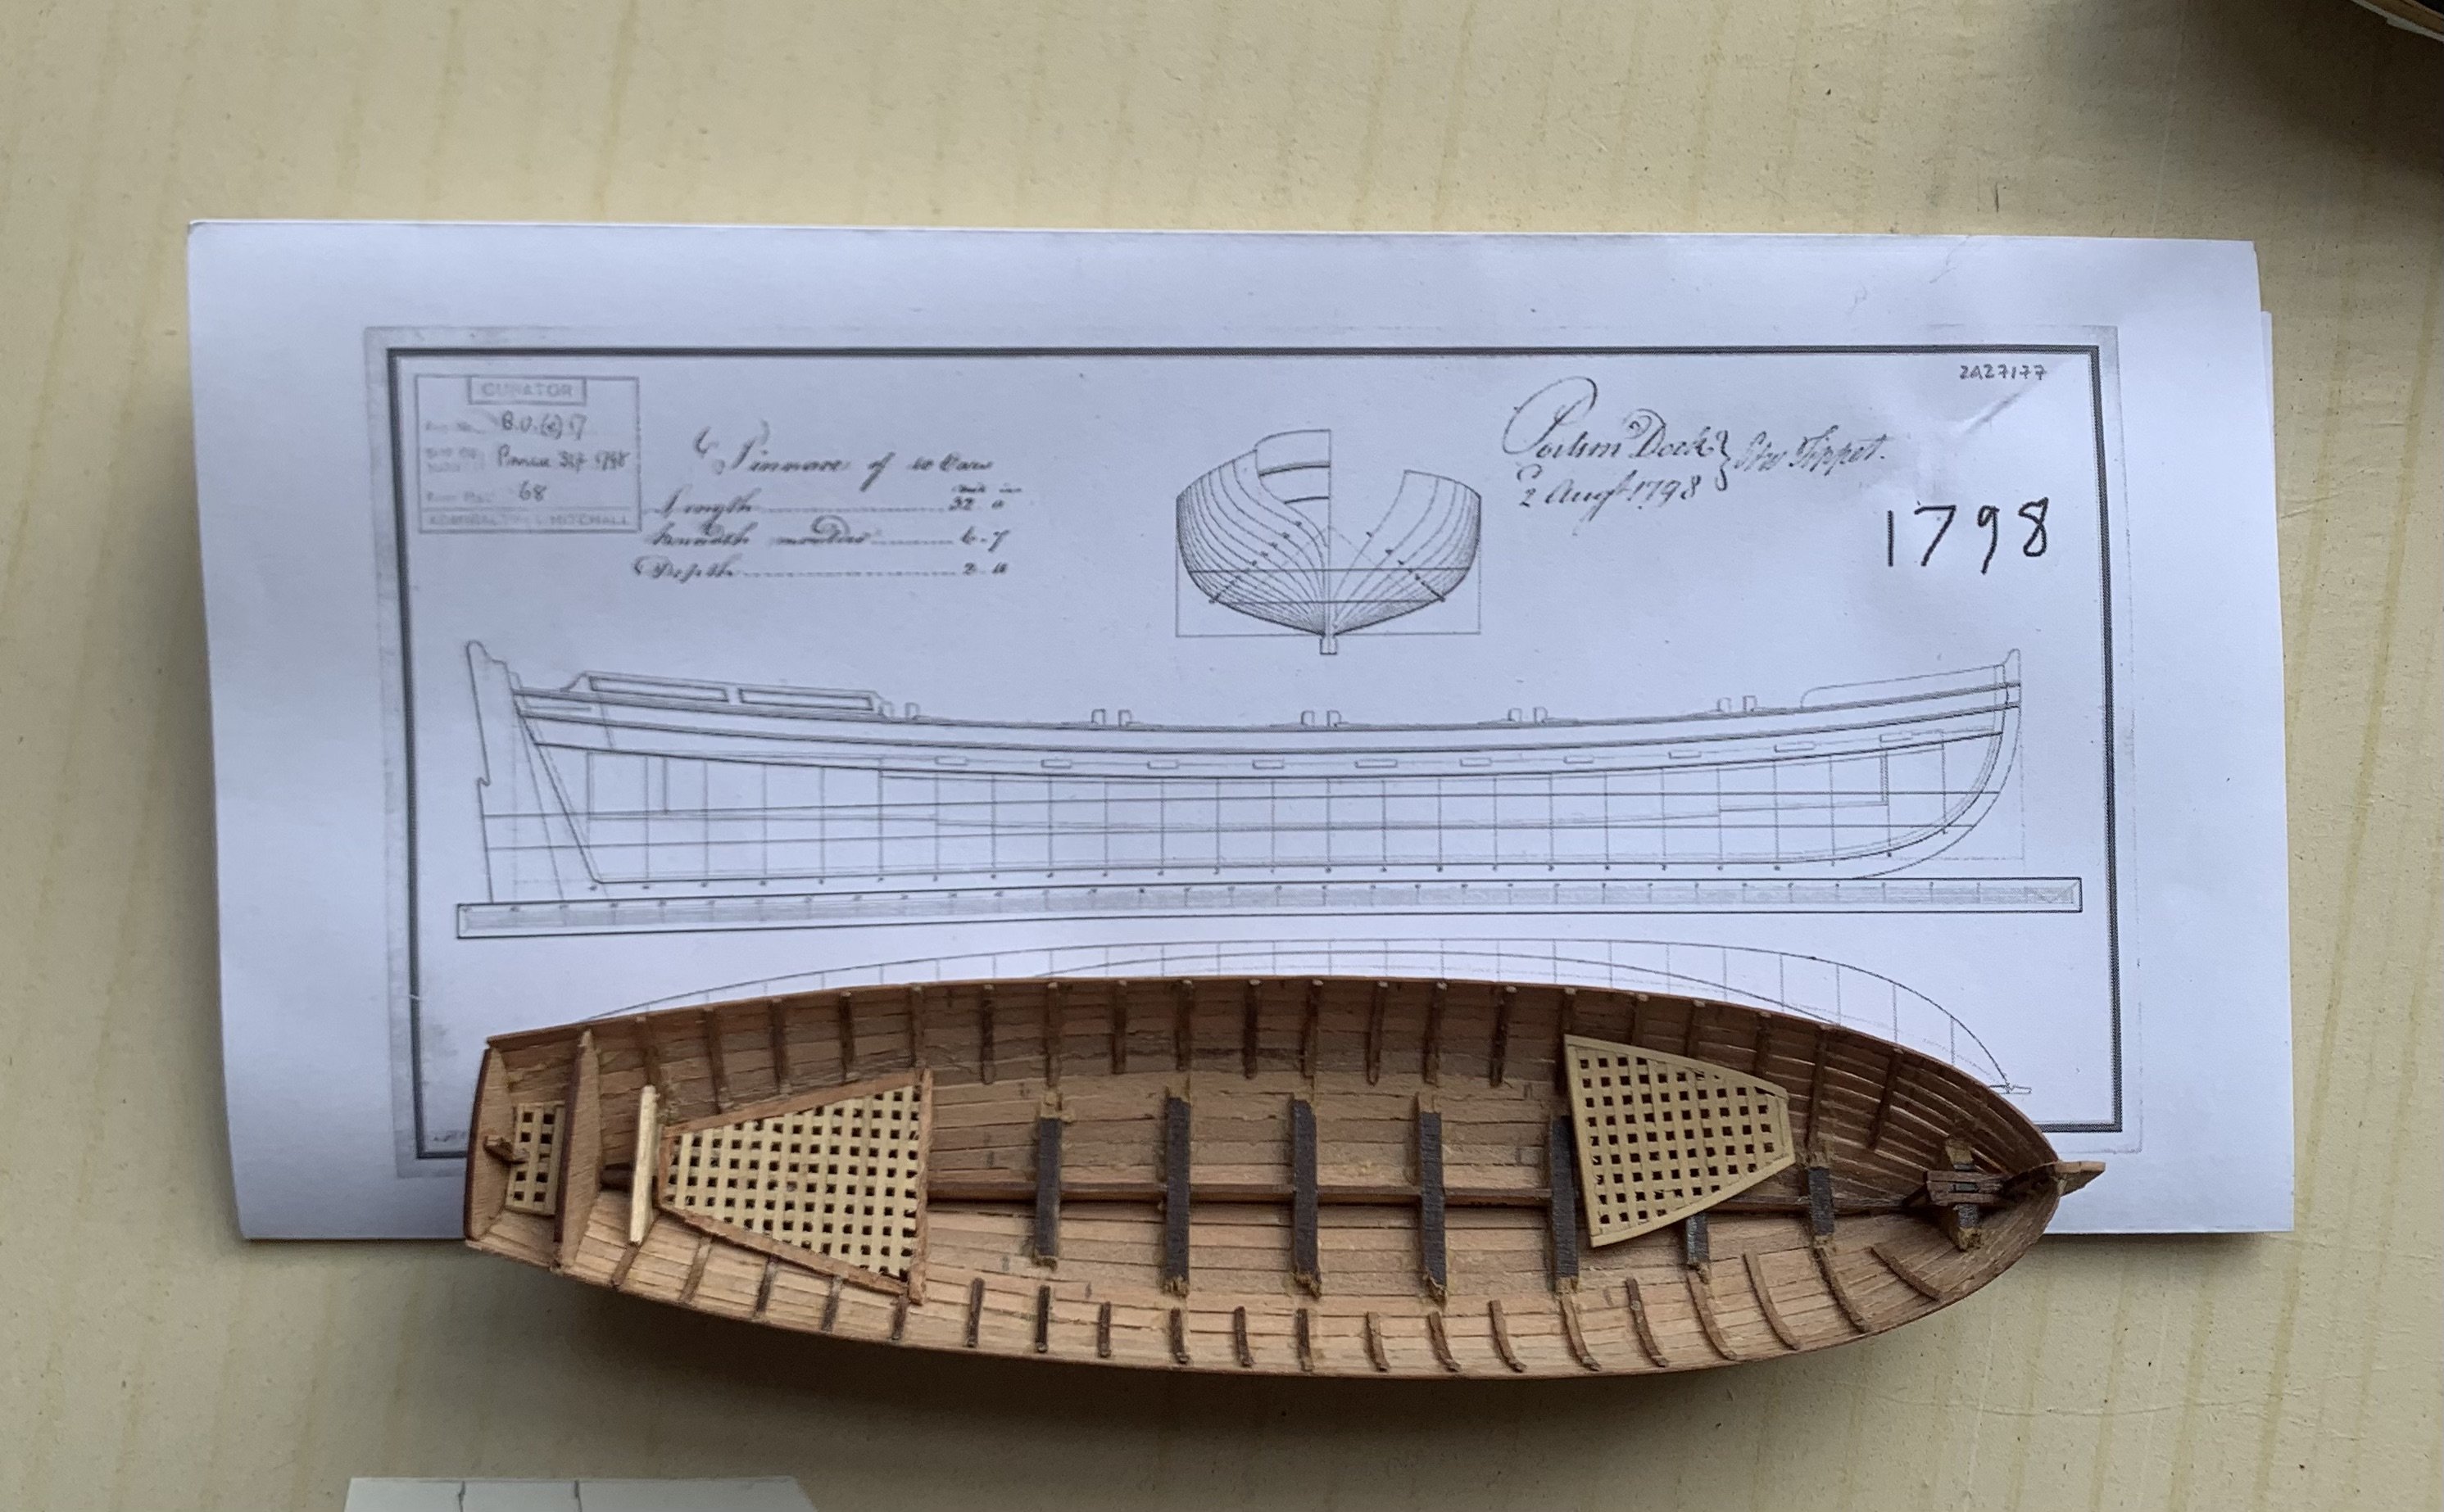
...quick tip: Rapid scratch building pieces and correct alignment is much easyier if you print the original chart in your own scale (mine is 1:64).

-
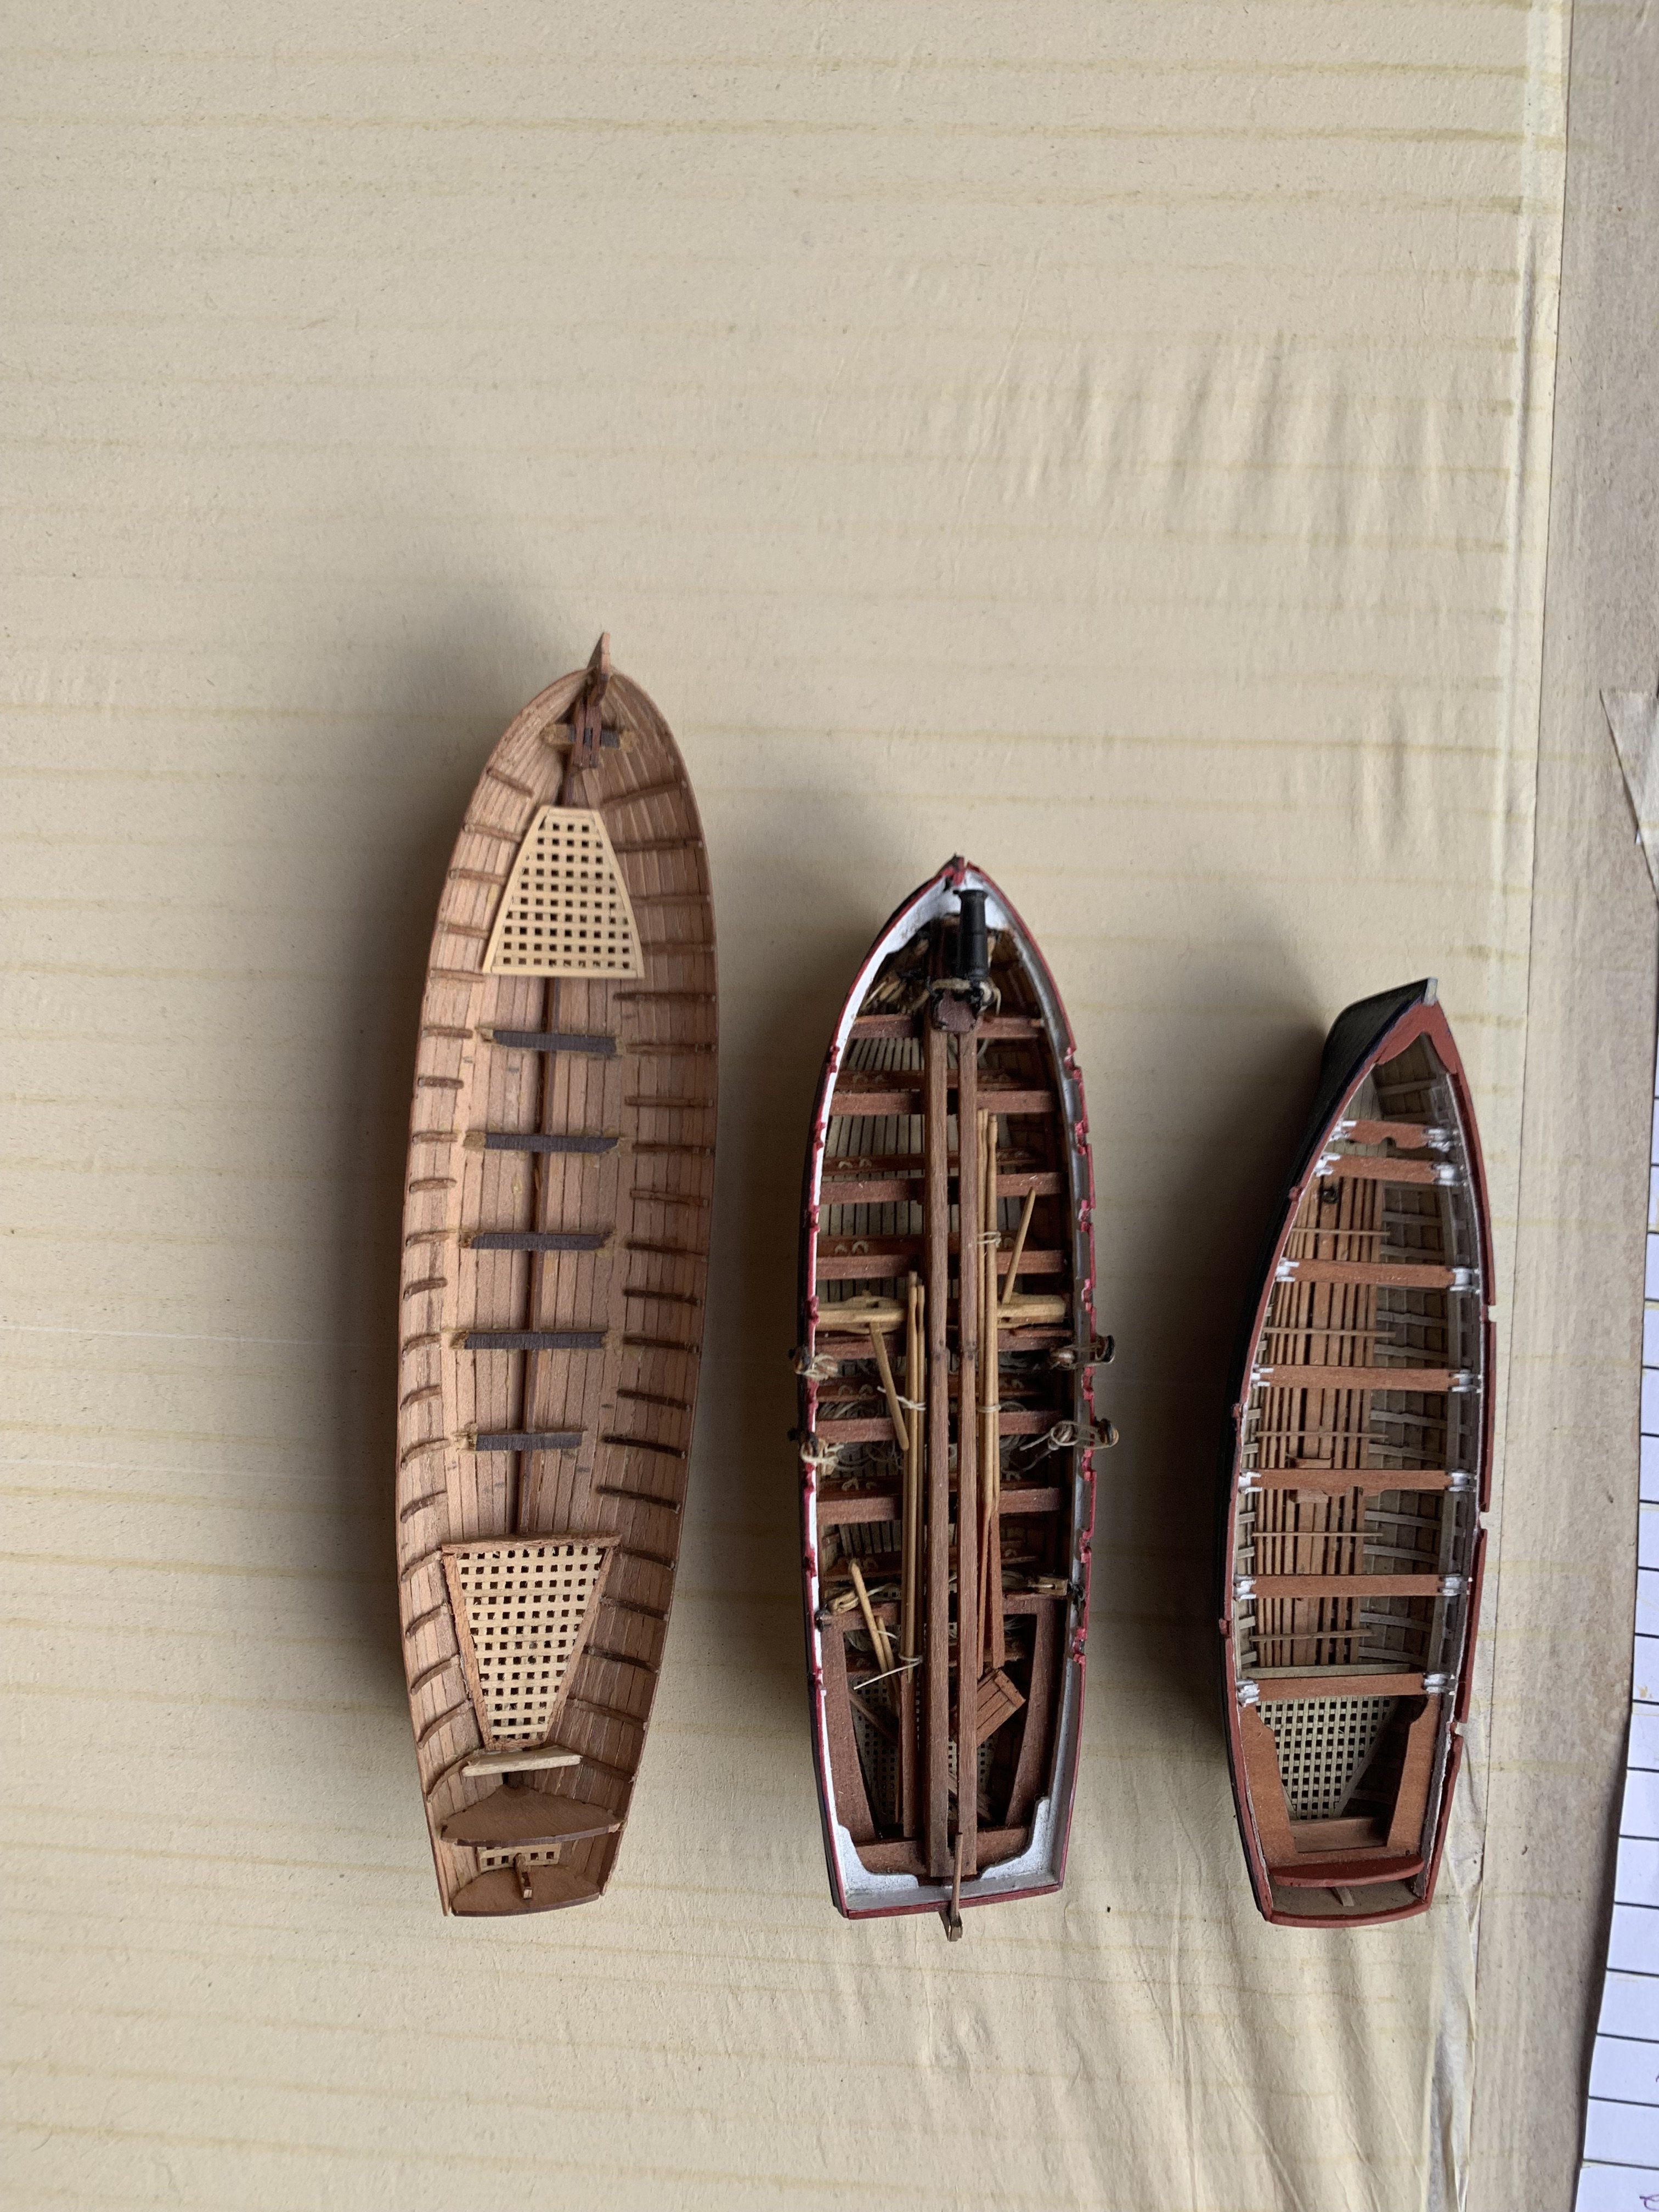
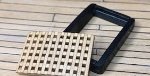
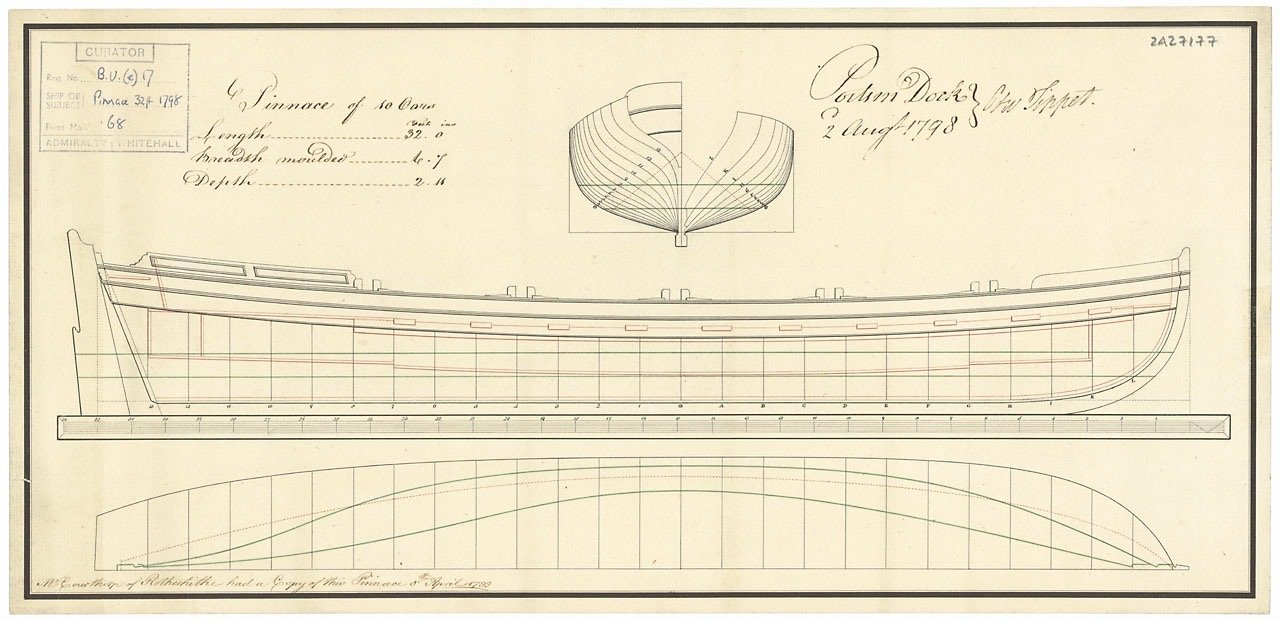
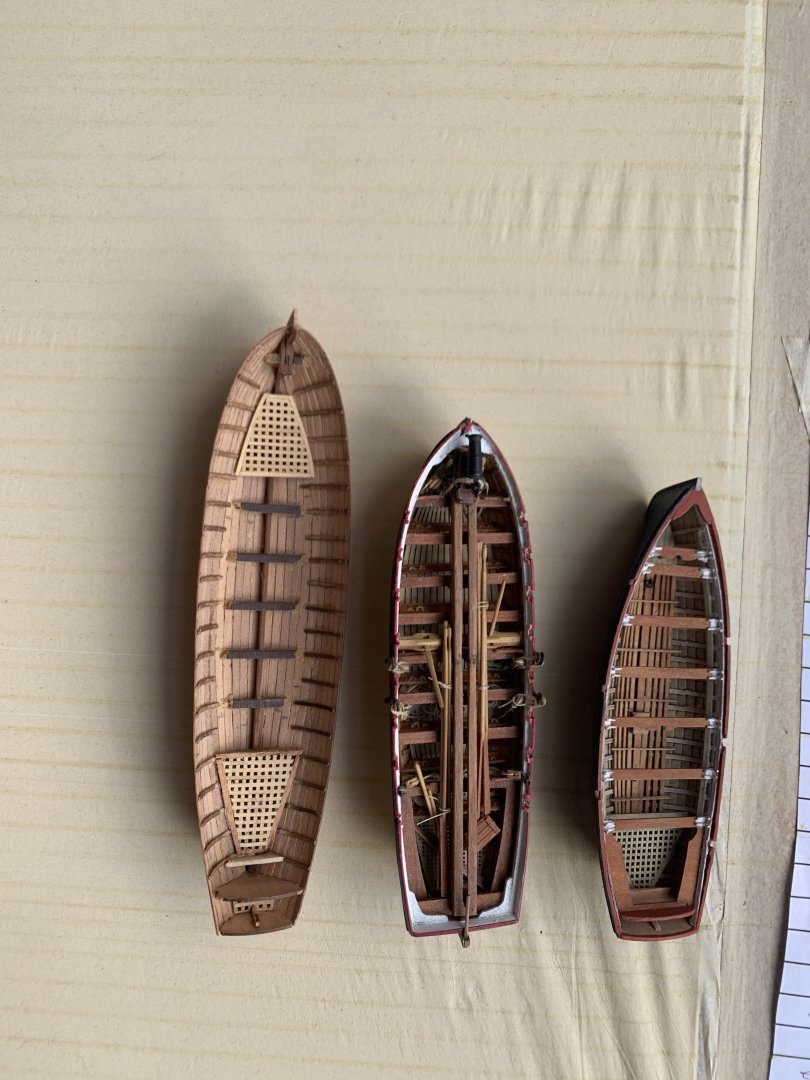
Just a couple of quick pics this weekend as it's been a while since I've updated this blog on progress: I've started work on the pinnace which I'm basing on the following plans from NMM; Again I chose to use the lovely base kit from Vanguard models which I'll be modifying (already have made gratings fore and aft (from left to right, the pinnace, the armed launch and one of the cutters). Under the boats is my first effort at silkspan sails - next version will have much thinner seams. And the wales: I'm using the correct nail pattern on this side and spending a little more time making all the measurements correct. Top and butt is a pain in the b when using ebony!

-
Perfect! Thank you both. Yes, I saw a pinnace model which indeed represented decorated floors so was thinking of doing that on my model.
-
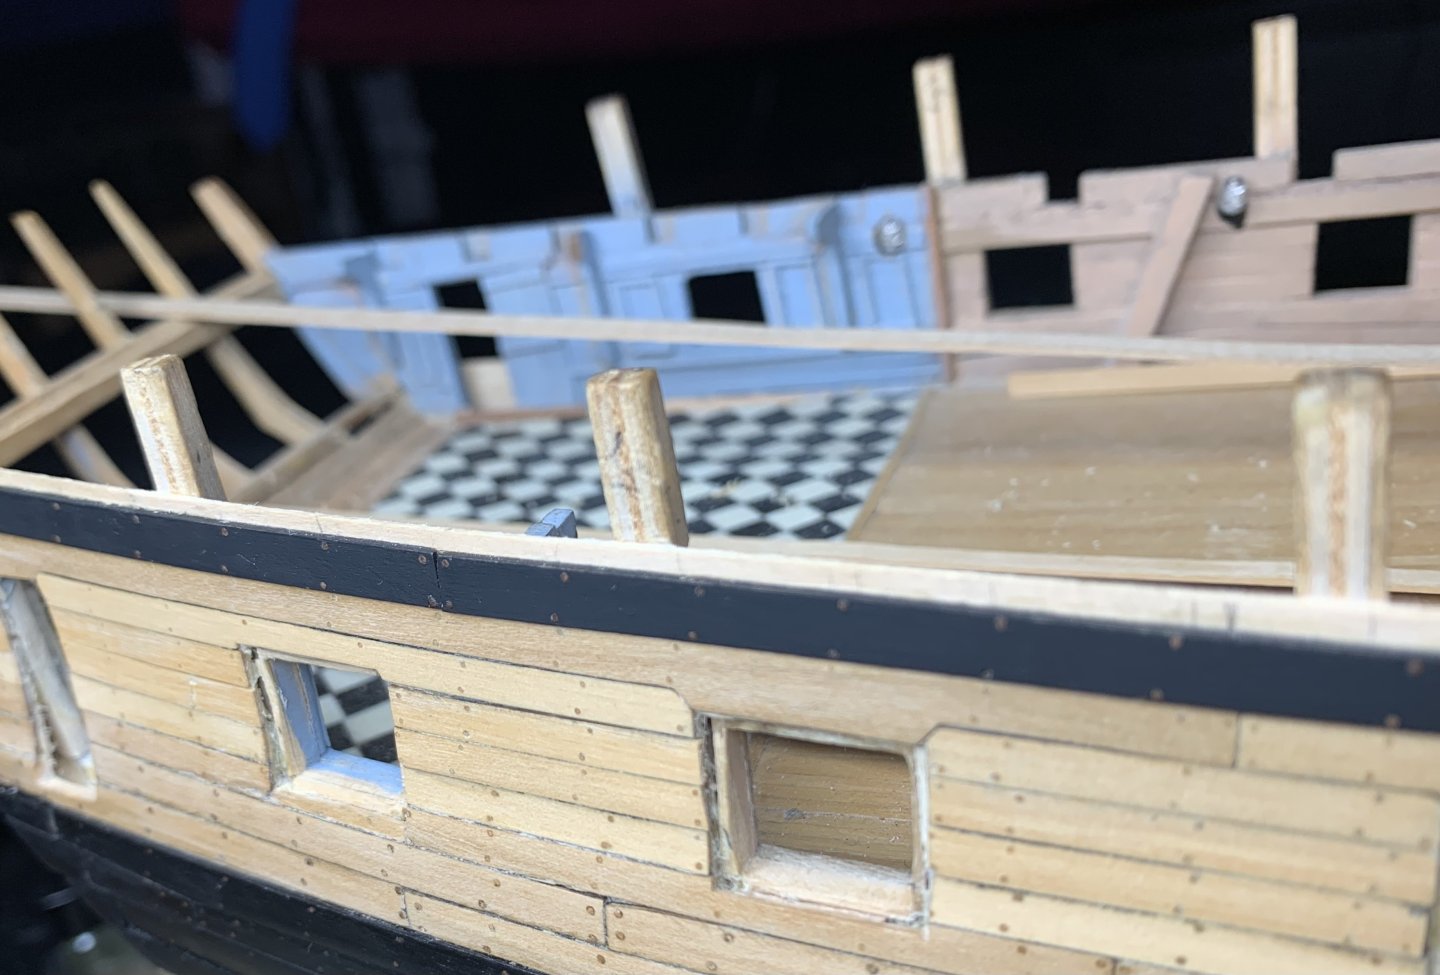
Good evening folks. I'm in the middle of building a decent scale pinnace for a heavy frigate, approx 1805 leveraging vanguard models' foundational kit. I've seen some NMM models displaying elaborate chess-board type deck designs but before I plop one into my boat (I like to create unique models based upon recorded evidence) I don't know how they would have produced a 'kitchen floor' type finish for any permanent decking (including cps qtrs, e.g HMS Victory) in a pinnace. I highly doubt any solid floors on a longboat/pinnace would have used tesseral wooden tiles etc so was some kind of patterned sheet used? Can someone direct me to how 'fancy' non-fabric floors were created? I have yet to discover a source for 'linoleum' in 1805 ish! There is a gap in my intel so I'm sure someone here can help (here being my location of info from the absolute best and most experienced sources). Thanks in advance and apologies for my ignorance! I have reviewed my personal copy of May's Boats but haven't seen the answer yet (not to say it isn't in there somewhere!). I'm totally expecting an 8 word, 1 line answer to fill my int gap!
-
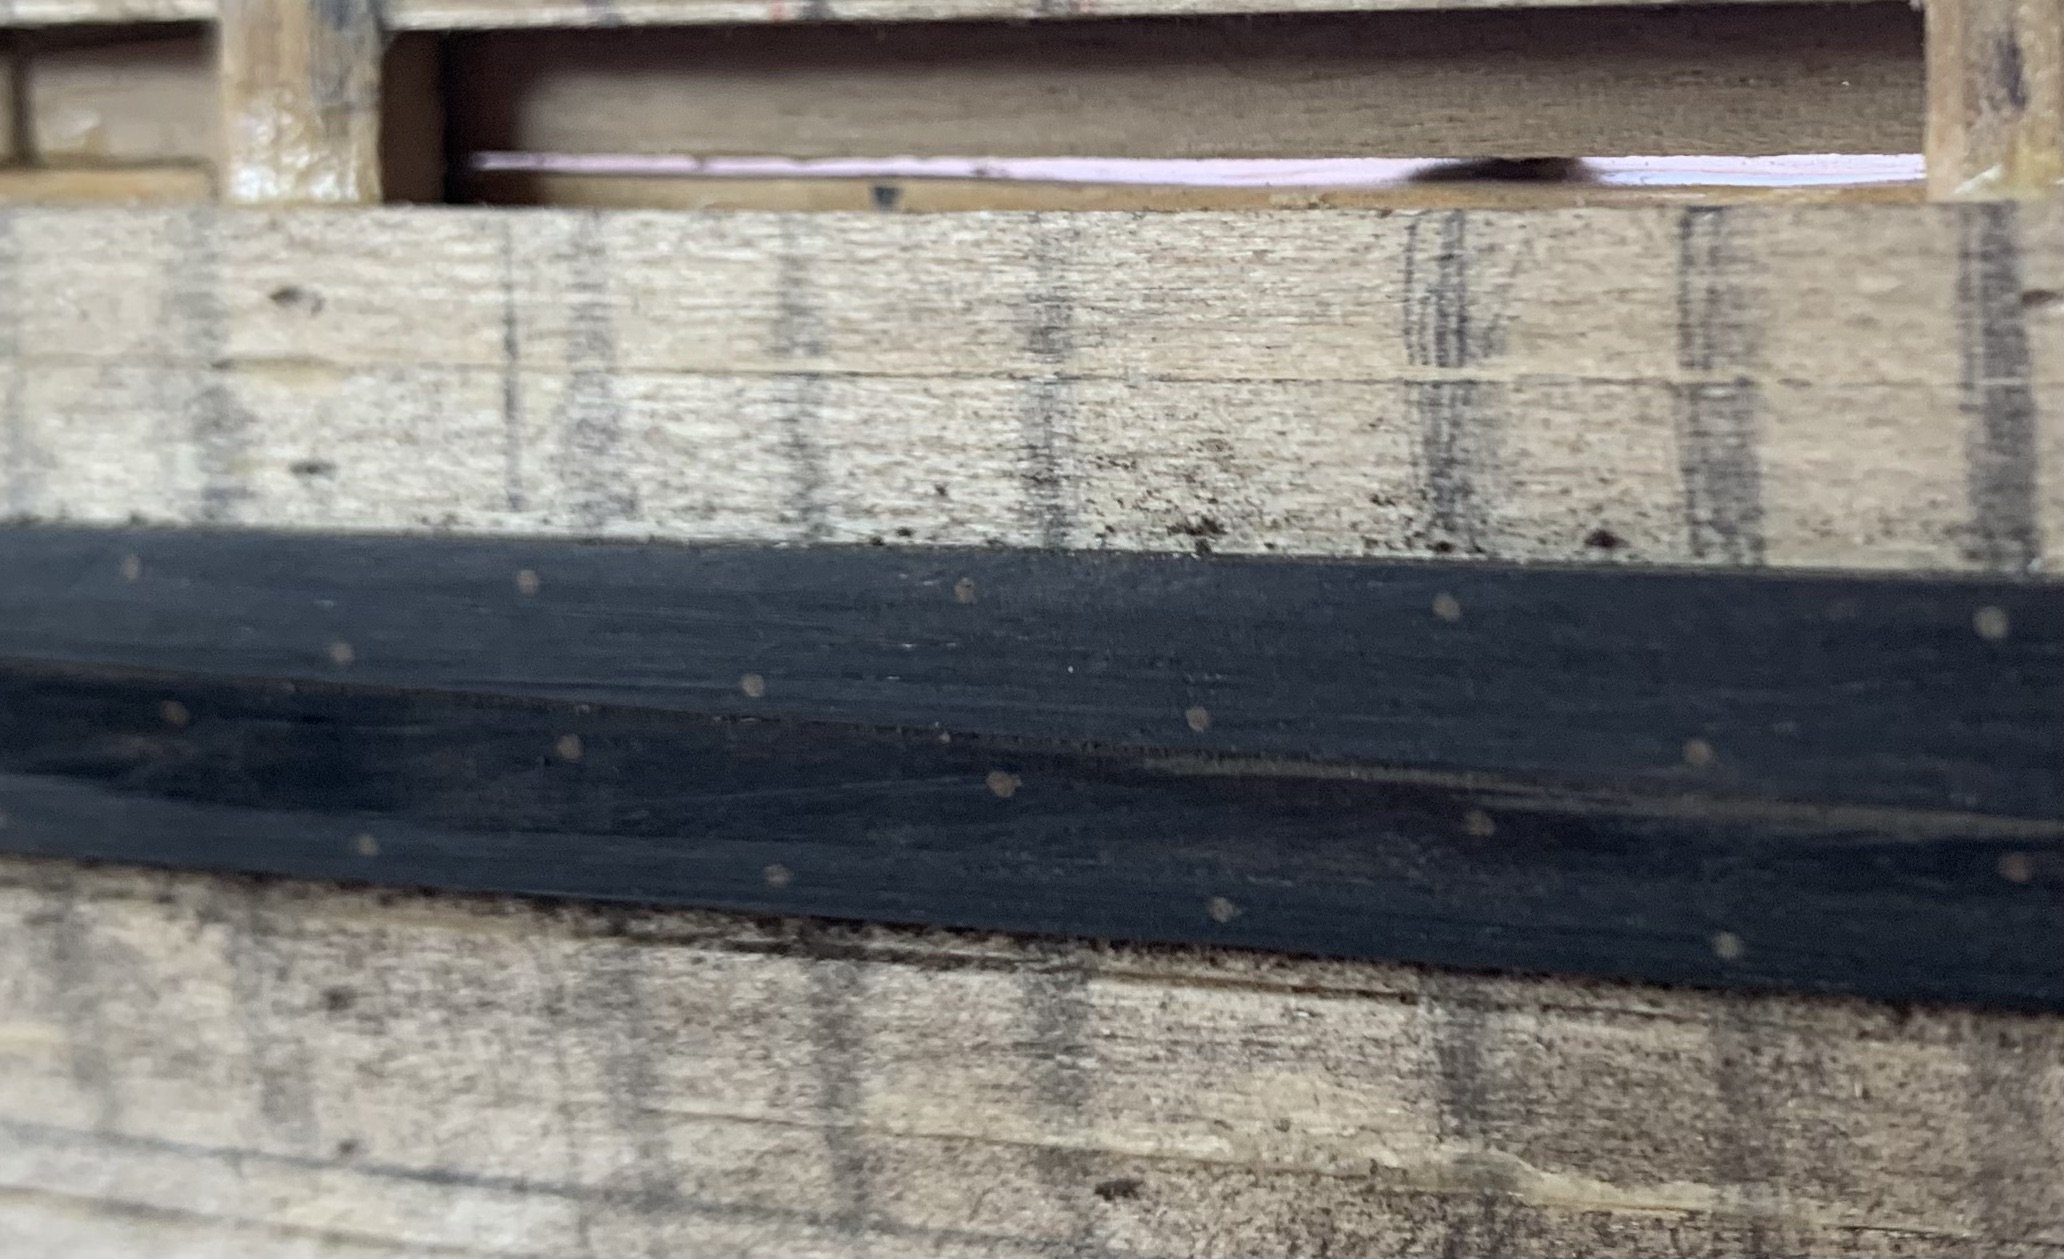
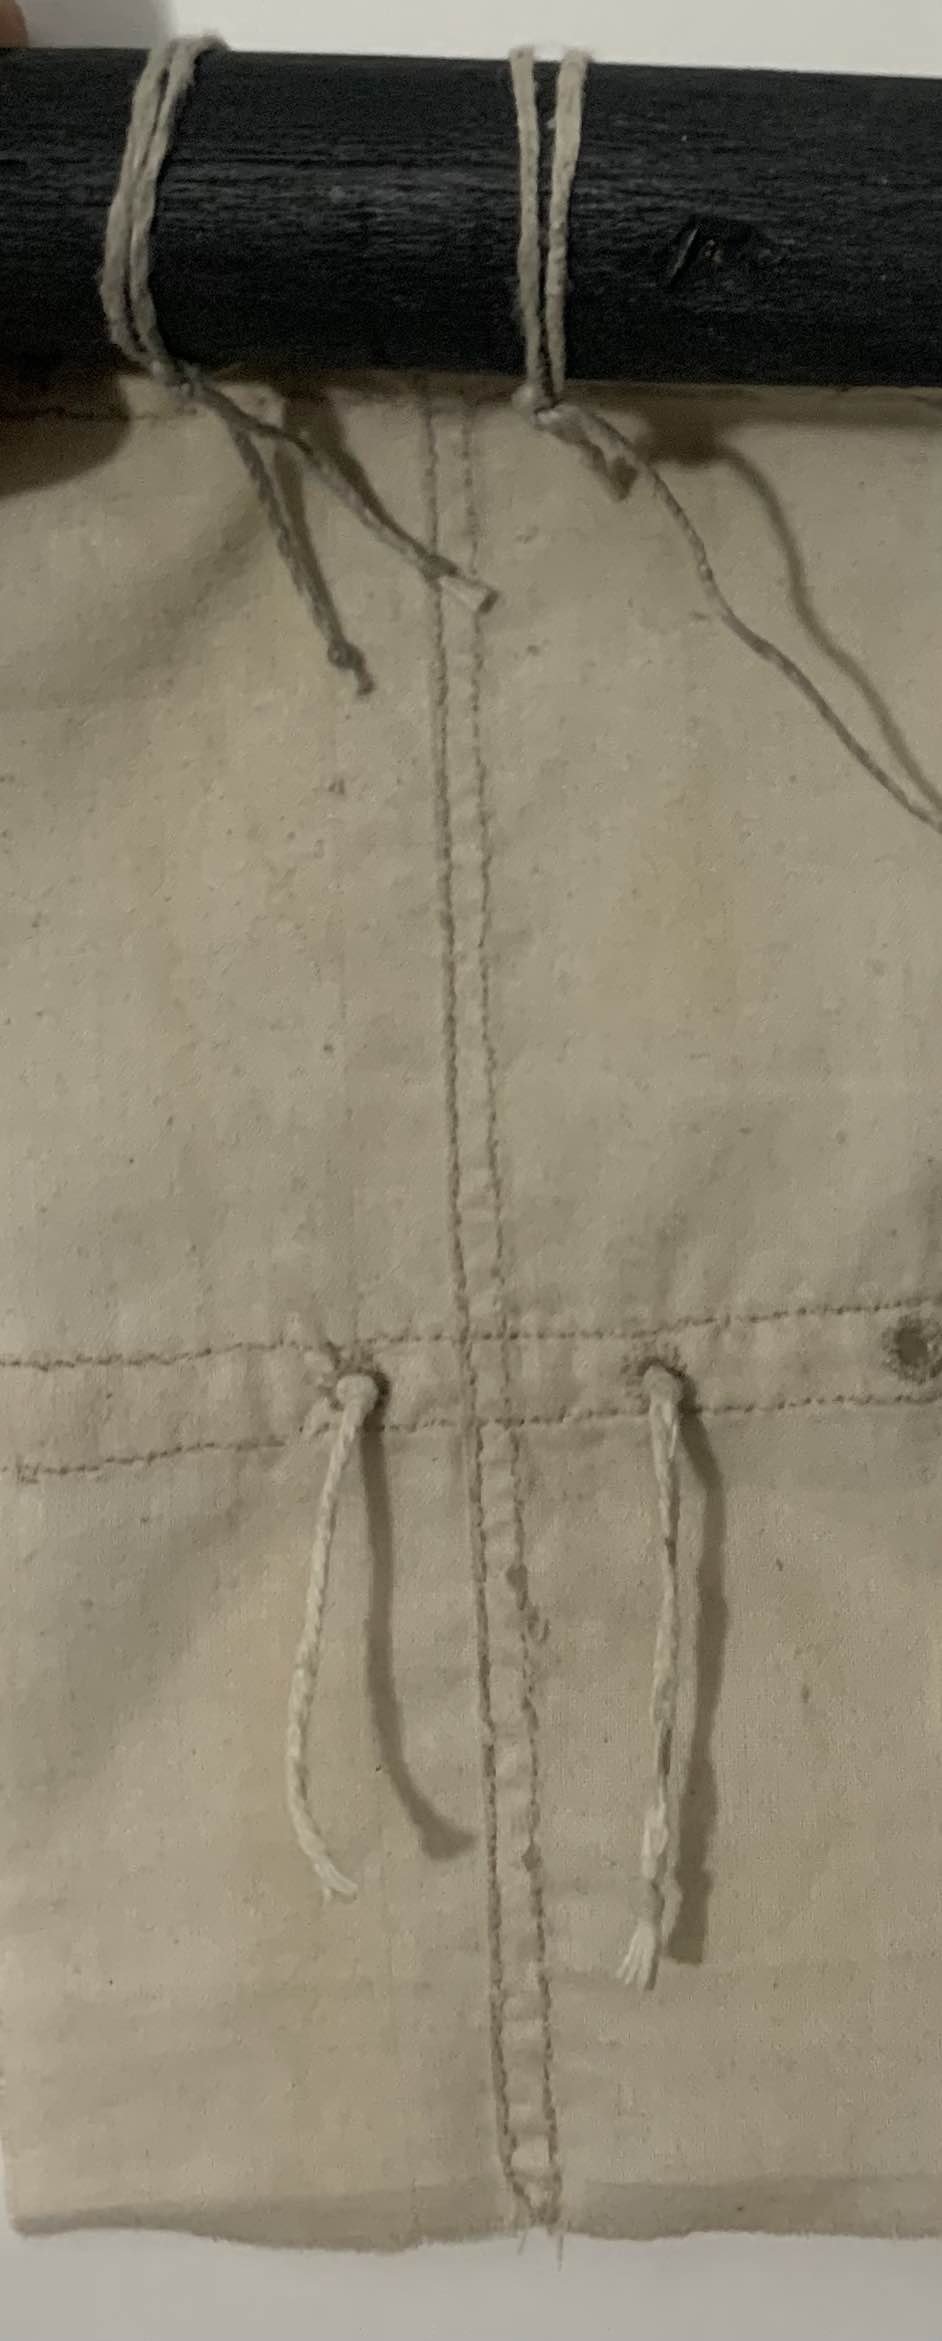
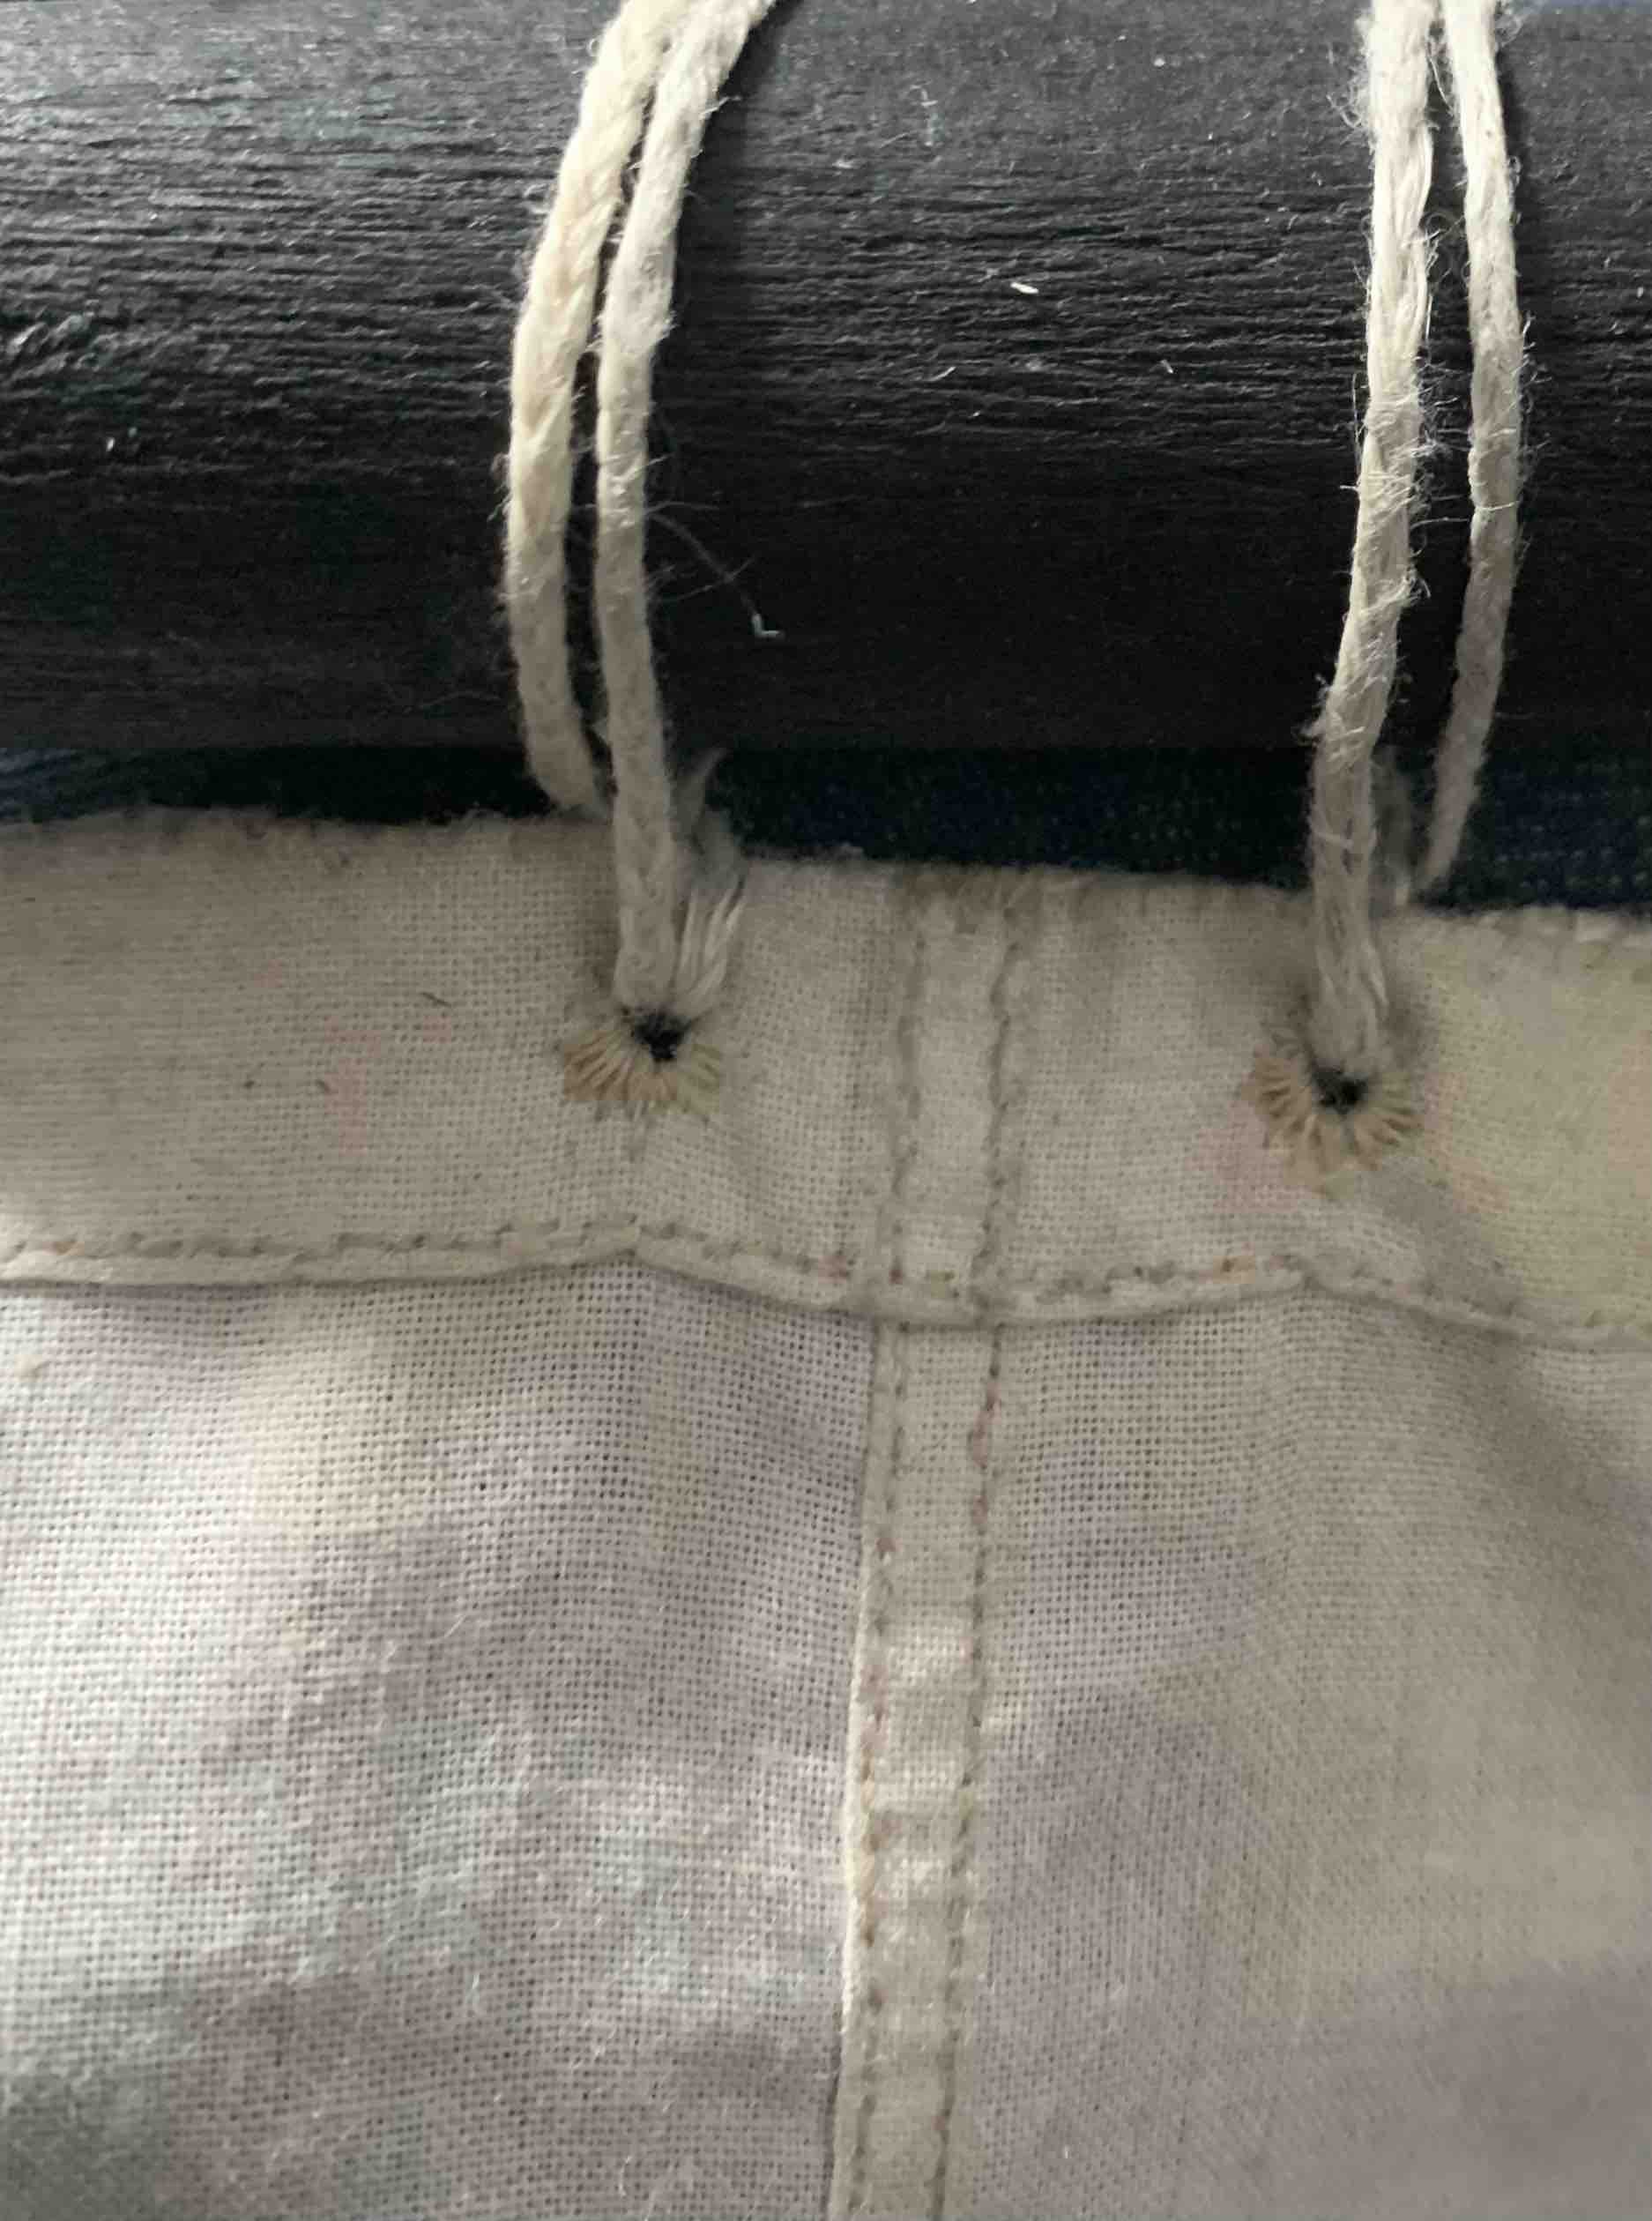
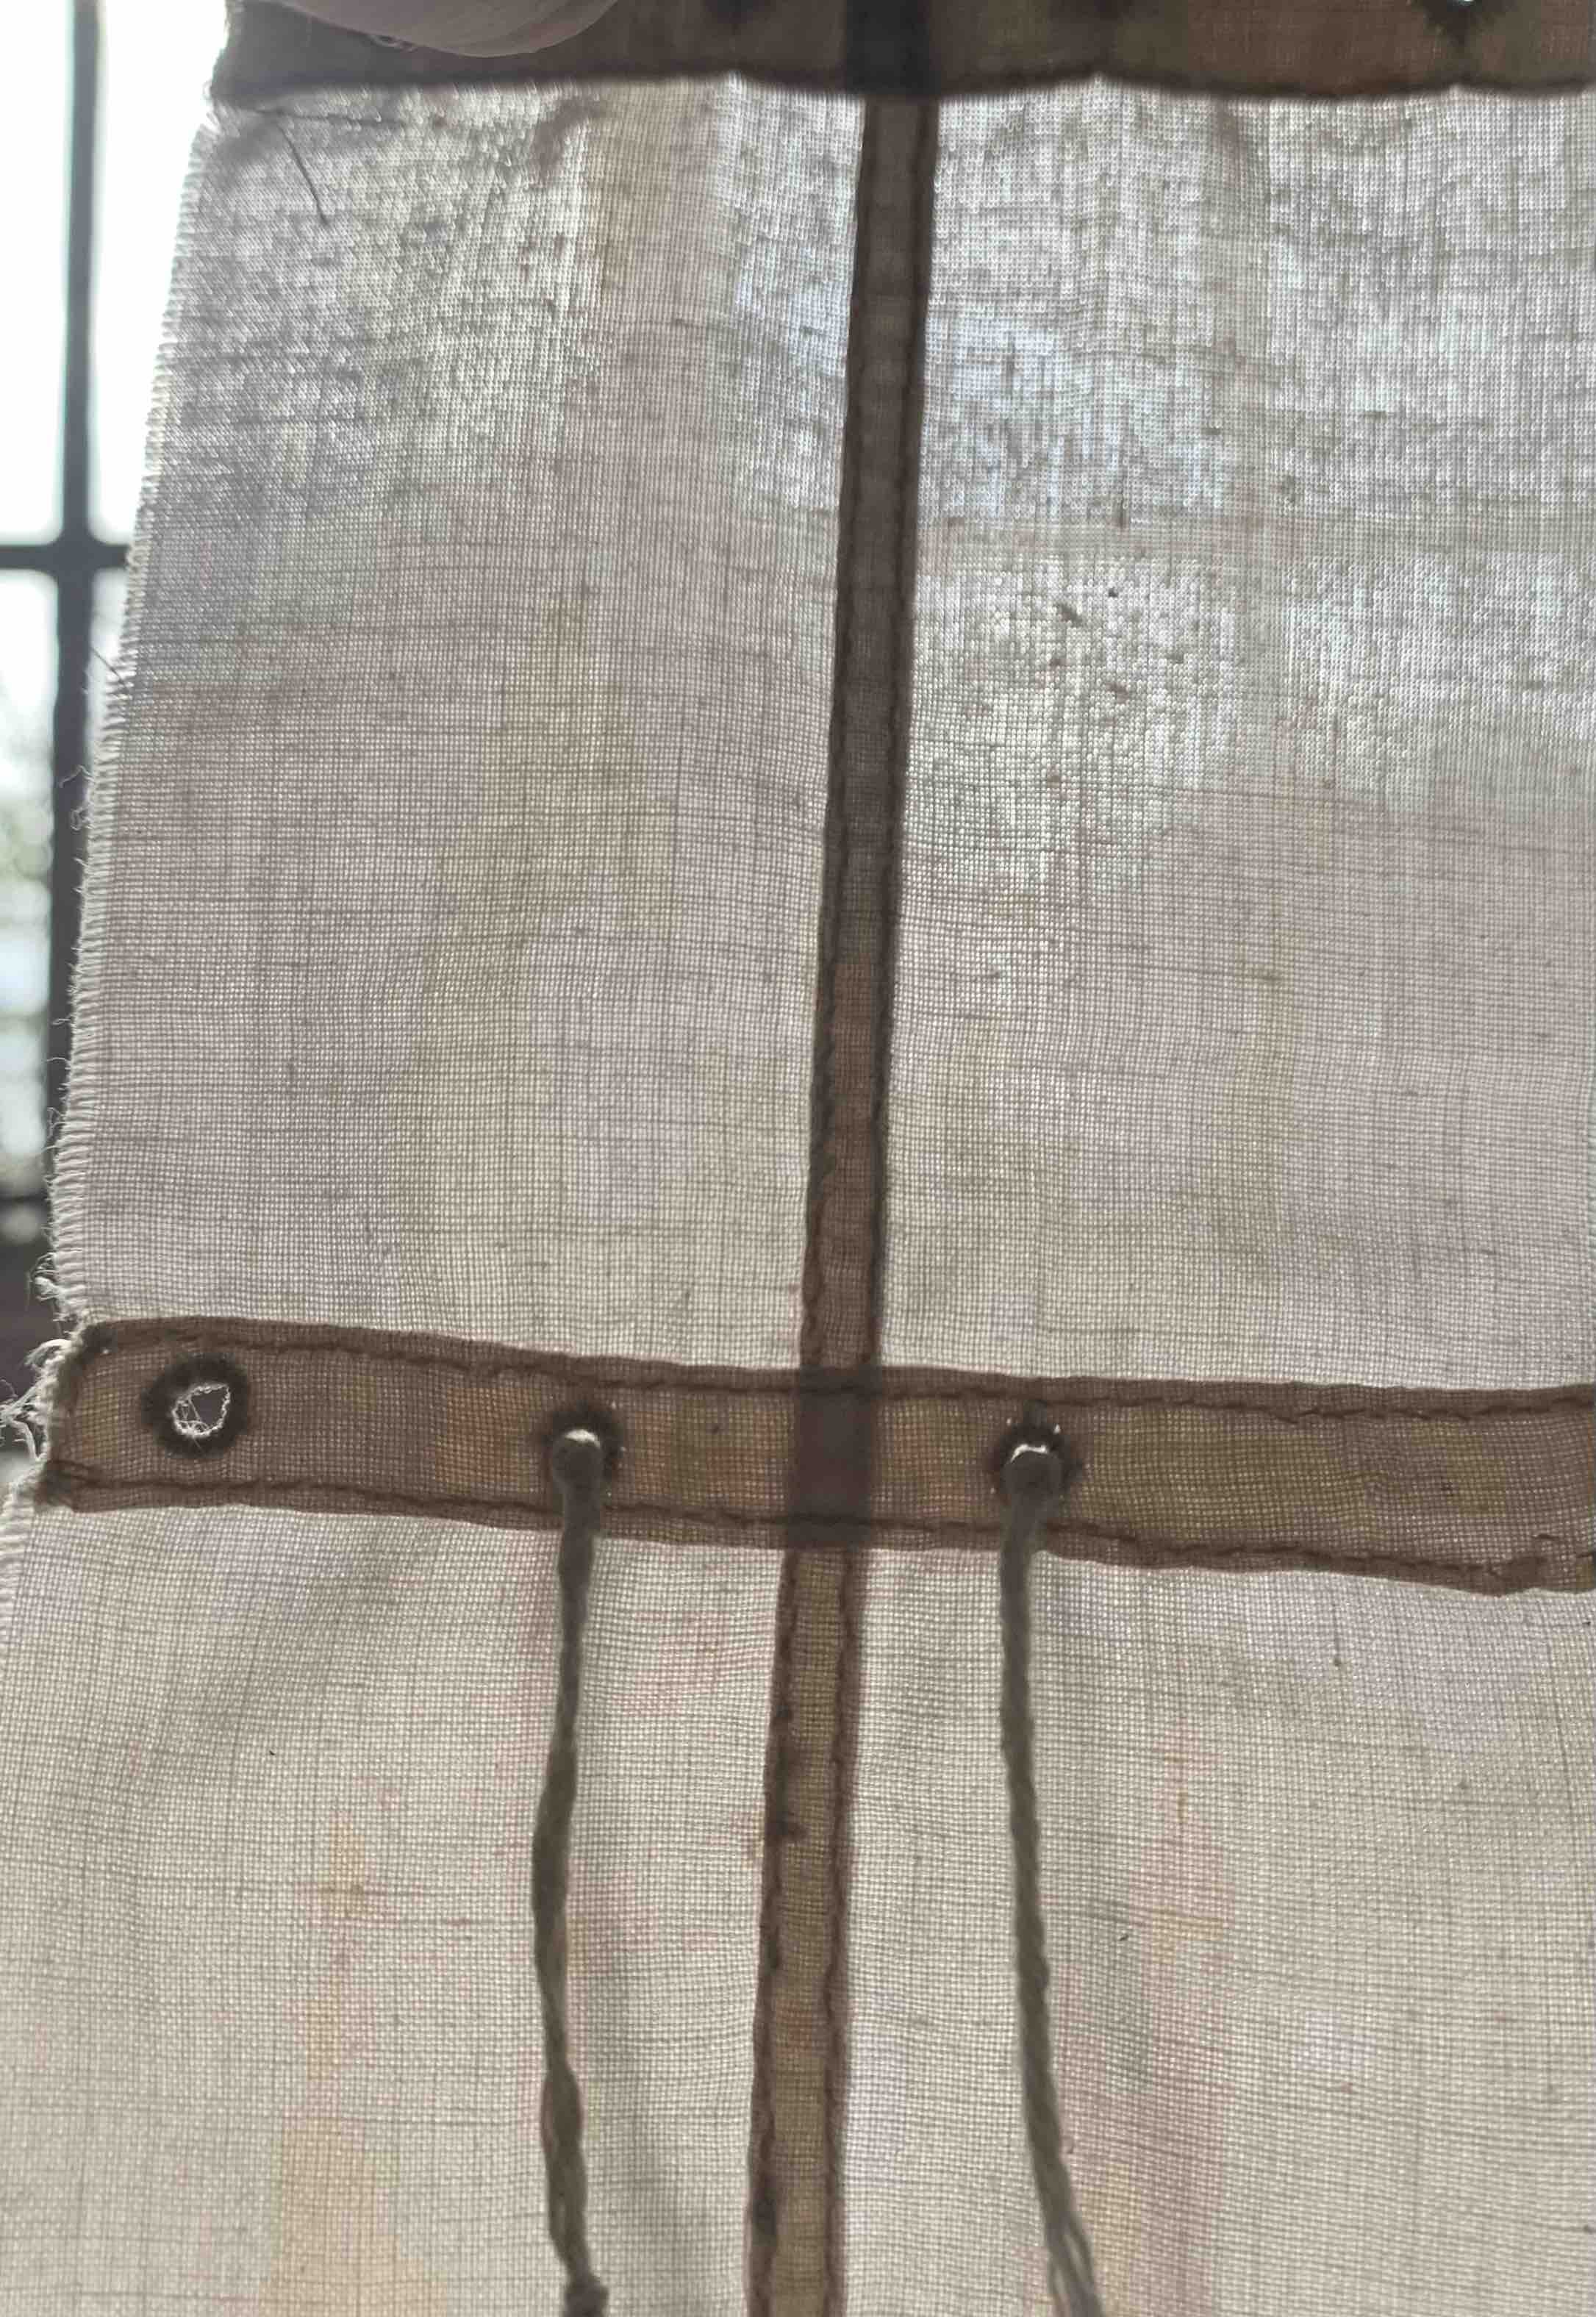
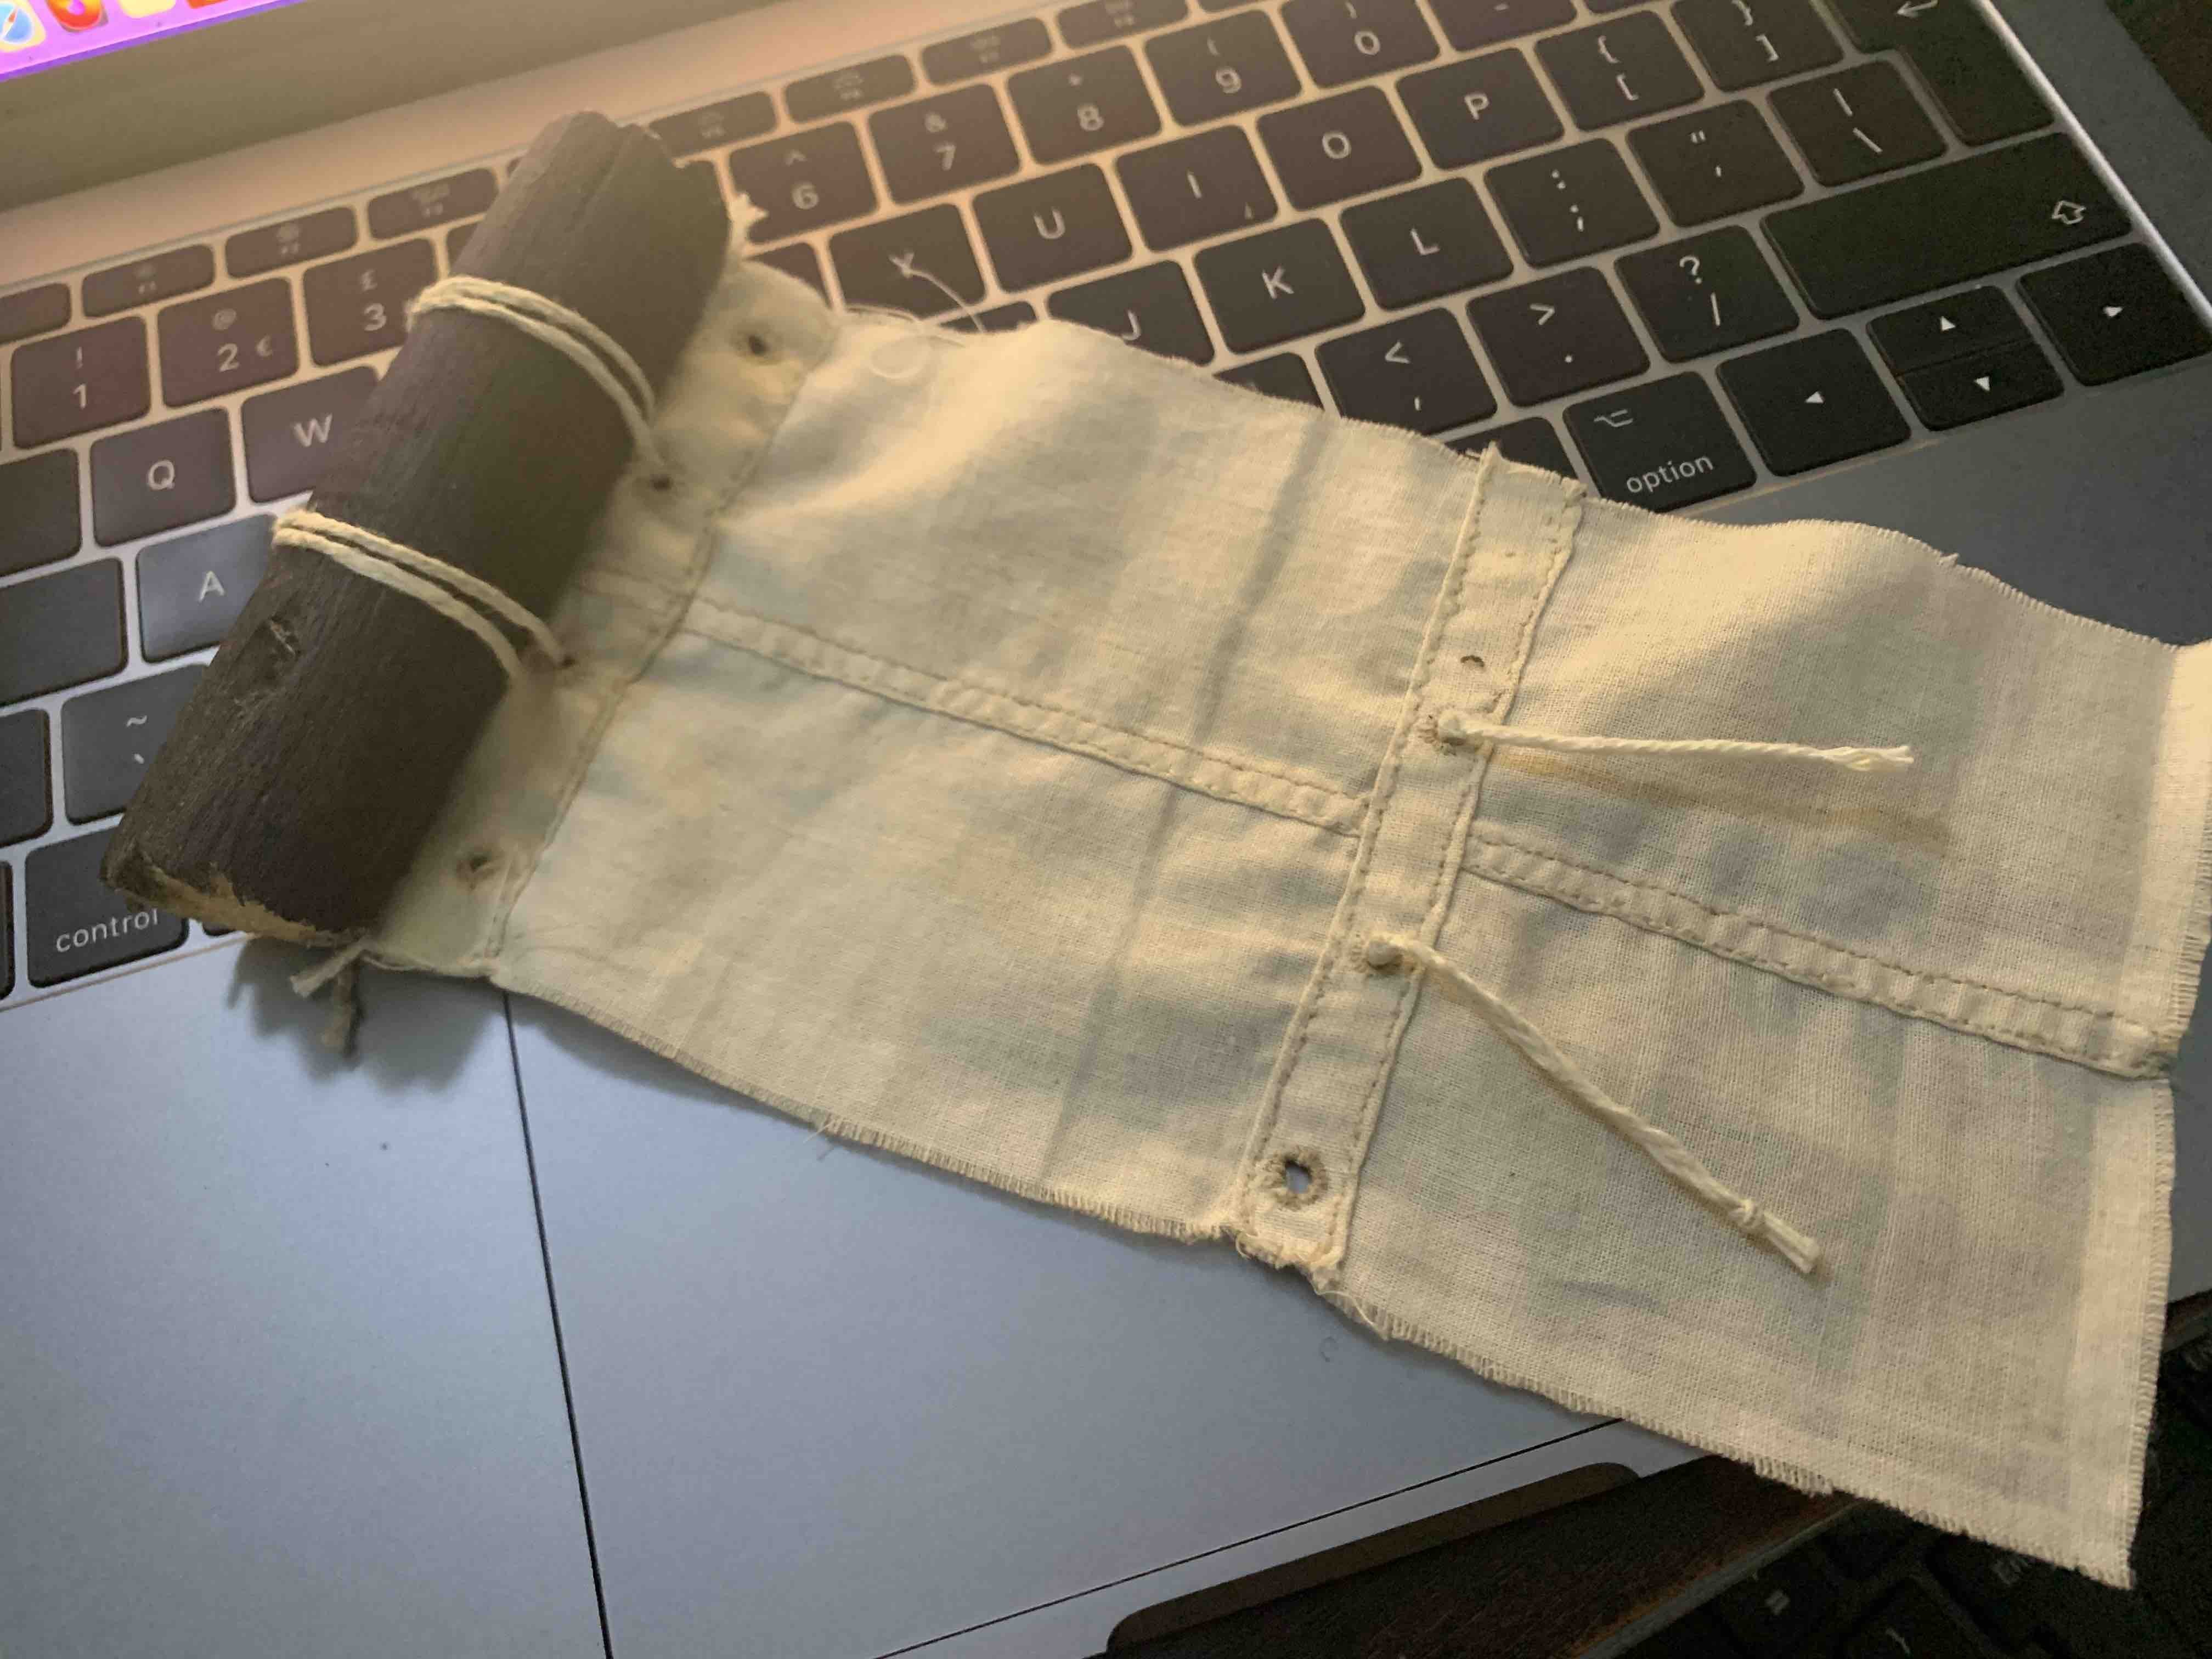
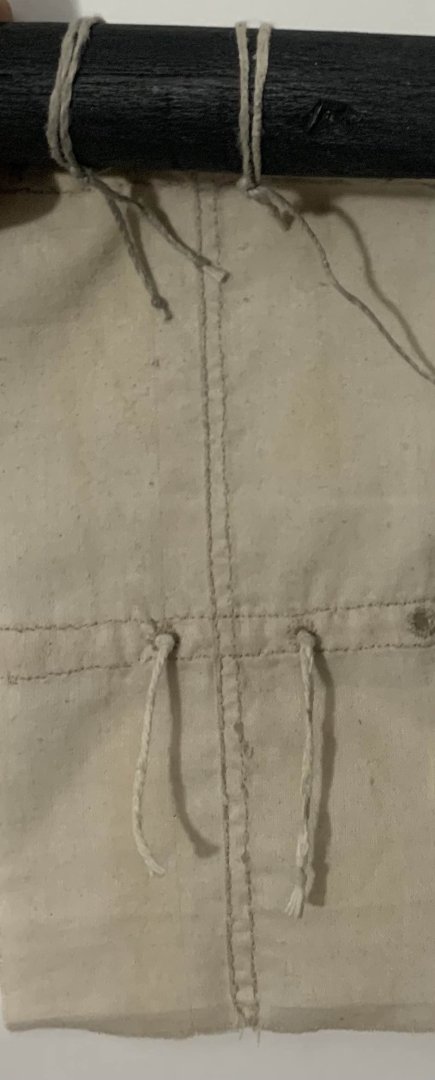
Progress continues on the hull planking but I thought I'd update you on a rabbit hole I went down recently. You'll see earlier advice in this thread about the sail scale and appropriate materials. I decided to do a little study on what 'thin' cloth might be suitable but based upon the cloth weight to-scale instead of focussing on weave density. Sails were made from canvas which were given a number based upon their lbs per bolt. According to Steele, bolts were 24" wide and 38 yards long. Therefore, the following can be said for Canvas sizes of 1,2,3,6 and 7 in their GSM weight (grams per sq meter - a weight given to modern cloth). Now if I look at scales from 1/10 through 1/16 we can see what the GSM equivalent is: I found that a standard mens handkerchief was equivalent to <>96GSM and has a night tight weave. This is equivalent to roughly Canvas number 1 in 1/10 scale which was used for Main Course sails and others. You can therefore imagine how thin the material would need to be in 1/64 scale. I then knocked together a sample two bolts wide in 1/10 scale, using a handkerchief, lightly stained with a tea bag, so that I could see how it looked and reacted to light: This would then help me better appreciate how thin the material would be at 1/64 scale. You can see how the sail is translucent with the light behind it and the seams stand out well. The stitches are approximately 1mm -2mm long. The seam between the bolts is a little too wide as it should be about 4mm wide max (sample shown is around 6mm). This was actually another successful test for me here as I wanted to get an idea on how wide the seam would appear in 1/64 scale. After making the sample (which was quite an enjoyable project on its own, including the fancy roband rigging) I realised what an amazing curtain a well made sail based upon Steele's guide would make in 1/10 scale! I have a window which would fit a Main Topsail and if it was fully rigged it'd be quite nice to raise and lower it authentically! It should be around 1.4m at the top and 2.3 at the bottom. Future project! I have bought some perfect cloth in 80GSM and will need to buy a sewing machine (no way am I hand stitching every stitch to-scale!).


-
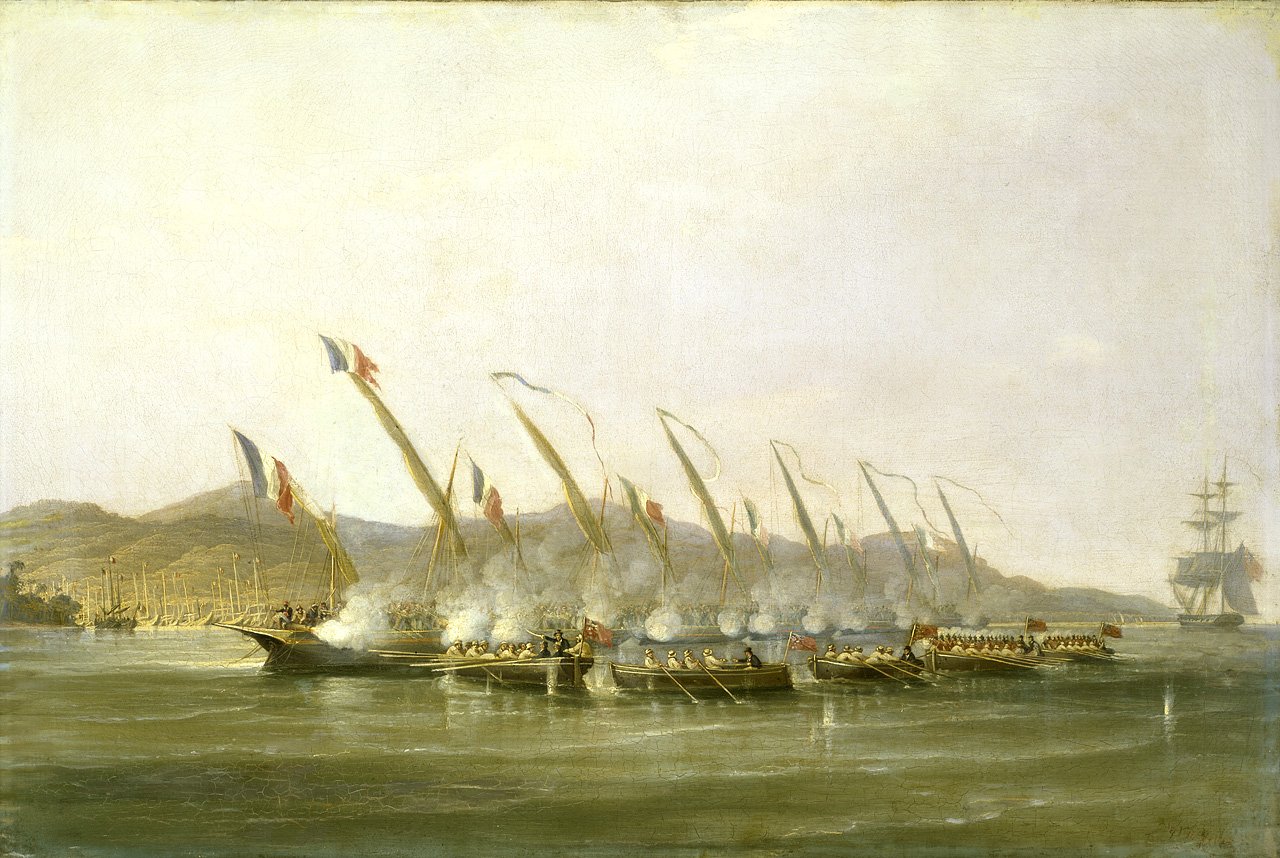
Main structure done. Masts, sails and a boat cover next. I’m not happy with the colours so it will be repainted black. Current colours represent HMS Diana’s original colour scheme but I’m building to early 19th century design and have seen a couple of nice paintings of the period with ship’s boats being black (likely under the hull too). That would more neatly match Diana later scheme when they’re stored in the qtr davits.

-
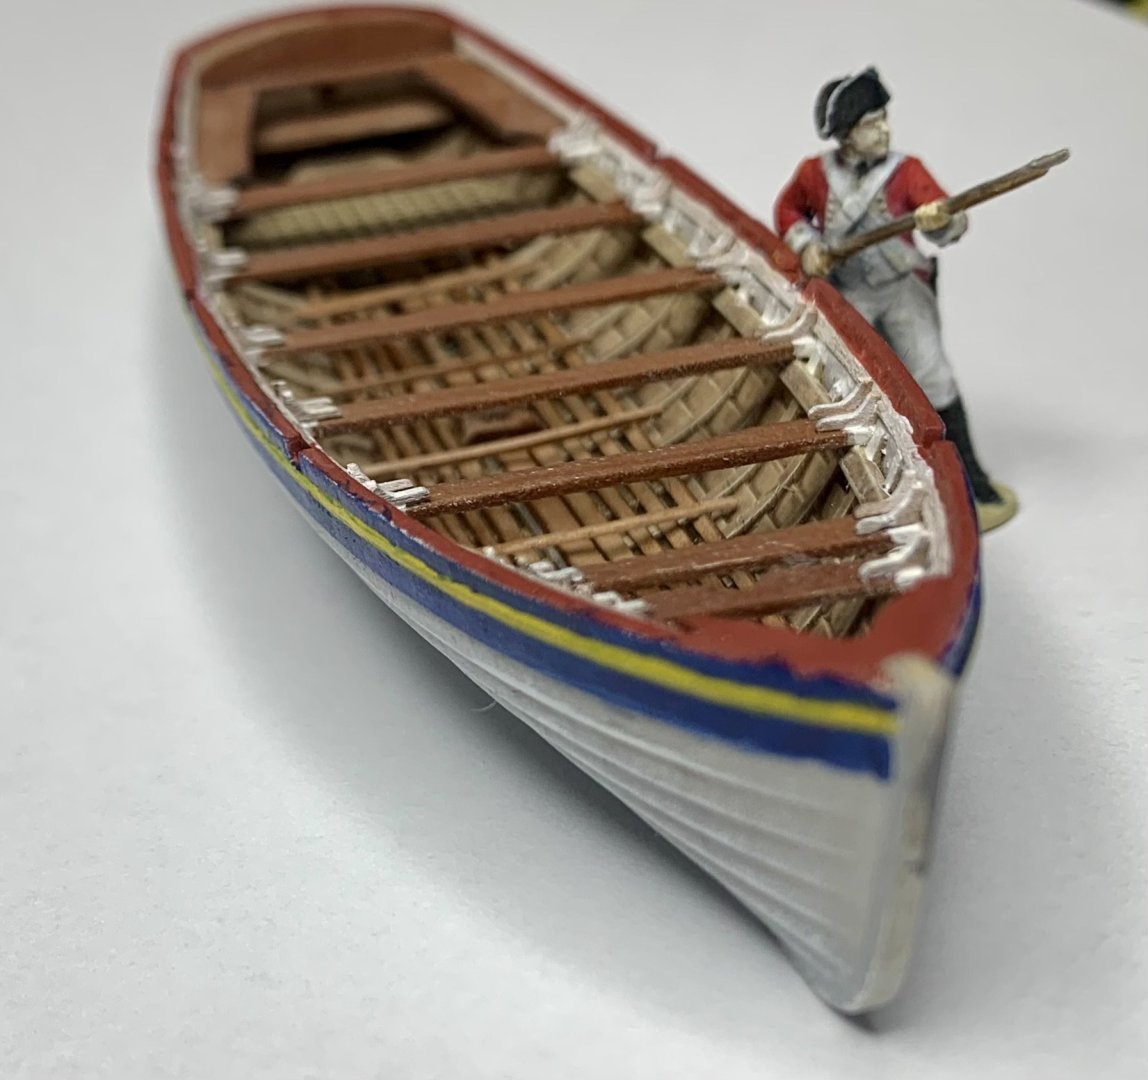
I got tired of doing portside planking so needed a brief distraction - have done a day on one of the ship’s cutters (24’). I’m using one of vanguard models’ old version 3d printed hulls (clinker) and bits from one of their lovely pearwood cutter kits. I’ve studied quite a few paintings, books and photos of the boats at Chatham dockyard and am settled now on how to paint her.

-
Incredible work and extremely inspiring. I hope you’re enjoying the feeling of completion and find a nice spot to display her.
- 488 replies
-
- 3
-

-
- Indefatigable
- Vanguard Models
- (and 1 more)
-
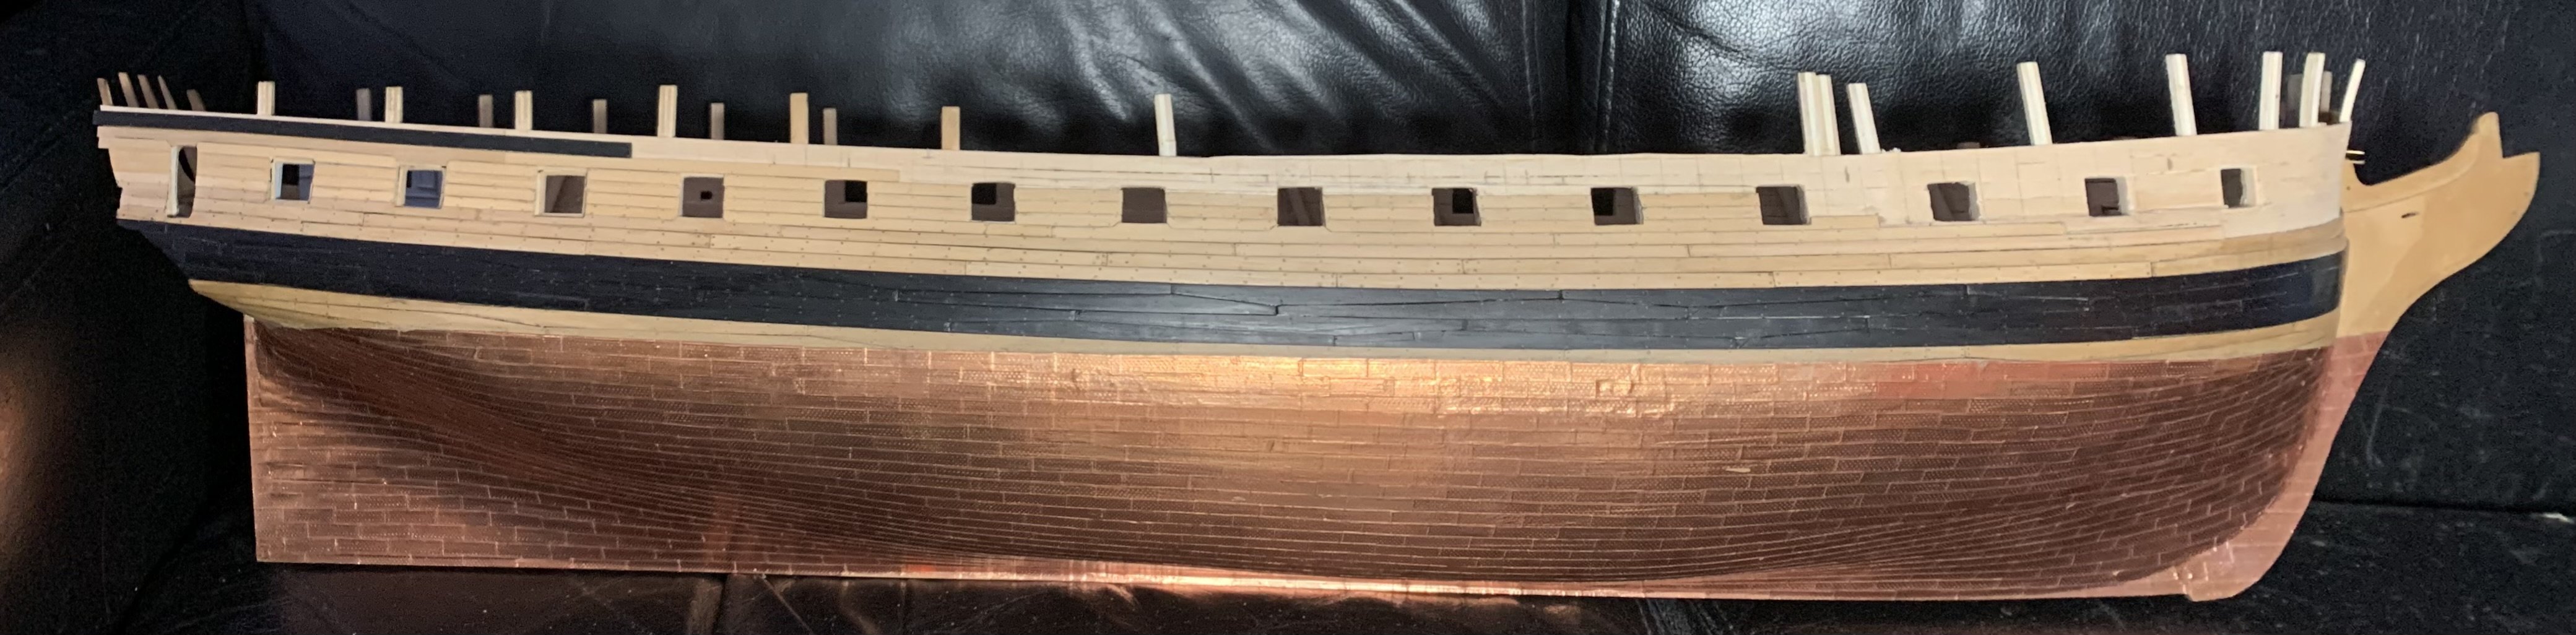
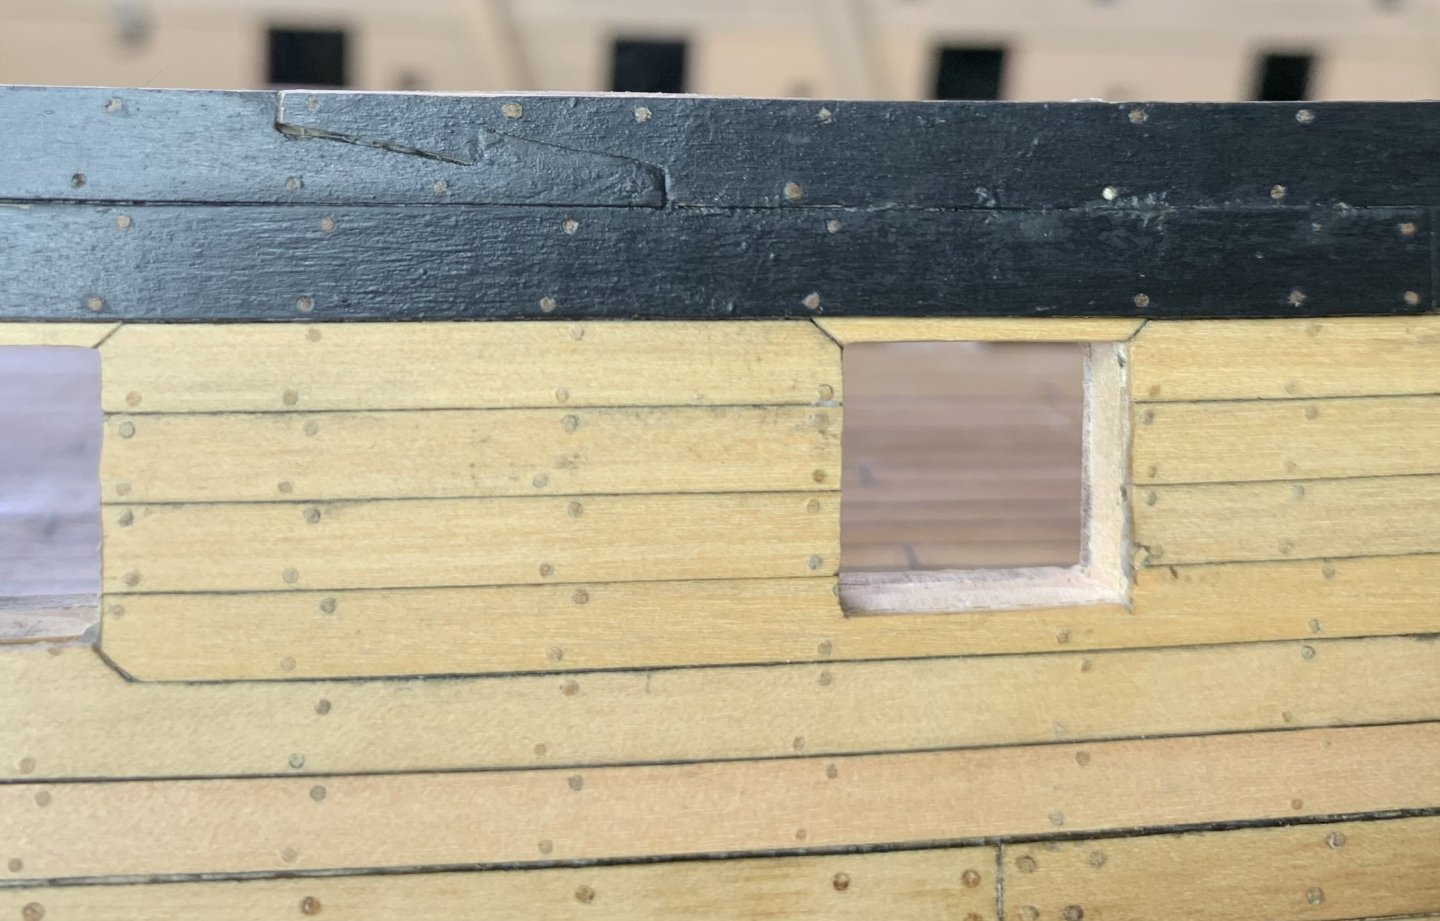
Upper painted strakes almost complete on starboard side. Likely there’ll be a long pause now while I repeat the last few months of work on the port side (but better, having learned from small errors on stbd). I’m sooo looking forward to the end of the plank trenails!
-
Sorry - It’s been a while since my last update! I’ve been busy with work but recently continued planking above the wales on starboard side so that one side is complete before I move to Port. This way I can make all my mistakes and skill improvements on just one side. This is supposed to be my progression/learning project after all. lessons on the upper planking: boxwood comes in many colours - ideally select wood of consistent colour as you move along the hull or it can end up looking patchy as if some planks were replaced over the years. As you might spot in the picture - I’m trying to stay true to the thickness of the planks which are stated in the original outboard planking plan. Plank finish - oil and/or wax. I should have realised this earlier but oil makes the trenails quite dark against the plank, whereas wax is less ‘darkening’ and has a more natural look when comparing to hms victory etc. Ebony vs painted boxwood: I think the benefits of working with boxwood outweighs the colour aspects of ebony. Ideally I’d stick to ebony for the upper bulwarks but it’s horrible to work with (chips, is oily, doesn’t bend consistently, requires superglue but can still break off easily). You can see my upper blank planks above the gun ports look quite good - they’re painted boxwood with walnut trenails inserted after the paint process. (You’ll also spot a few errors in trenail placement on other planks and dark trenails/ planks - all of which I hope to learn from on Port side). For those that didn’t read earlier in this blog; each plank has holes drilled for every trenail and the wood trenails are then individually inserted and are to-scale (roughly 0.6mm). I’m expecting once all these bloody planks are out the way progress will accelerate rapidly!
-
Hi Jason! Many thanks for your remarks and I’m glad you’re finding the blog interesting! I’m still doing the Port side and my RL jobs have had to take a priority too unfortunately. Hopefully some new progress pics in a few weeks. Anyway, wrt the coppering - I started a post on it a while back and it seems it’s not quite clear cut. Have a read here - interesting discoveries!