HOLIDAY DONATION DRIVE - SUPPORT MSW - DO YOUR PART TO KEEP THIS GREAT FORUM GOING! (Only 64 donations so far out of 49,000 members - C'mon guys!)
×


gsprings
-
Posts
67 -
Joined
-
Last visited
Content Type
Profiles
Forums
Gallery
Events
Everything posted by gsprings
-
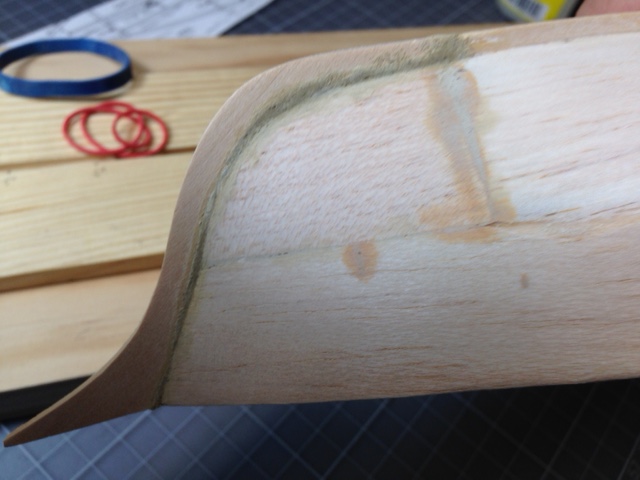
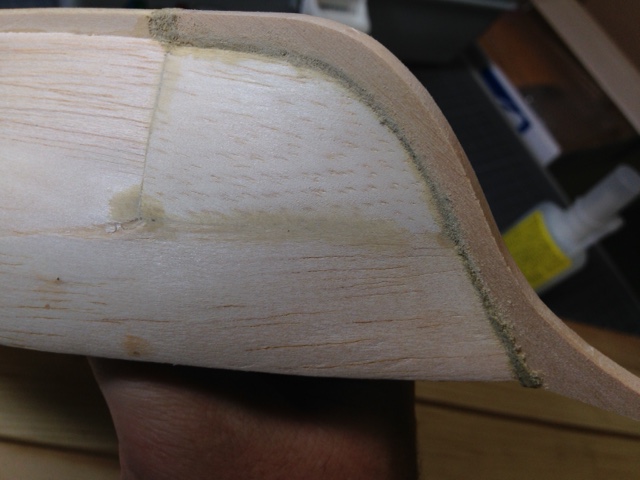
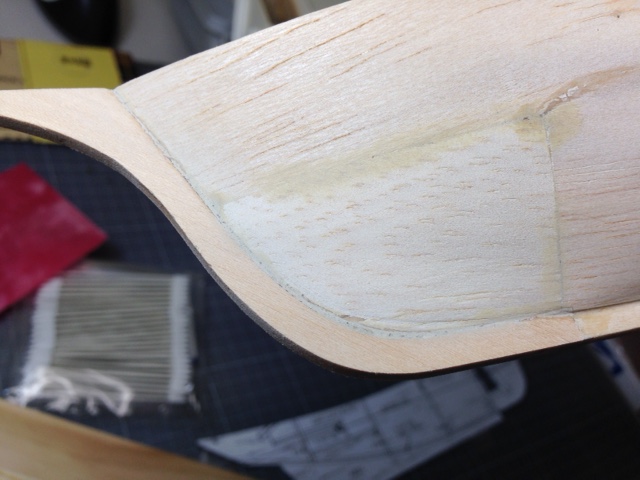
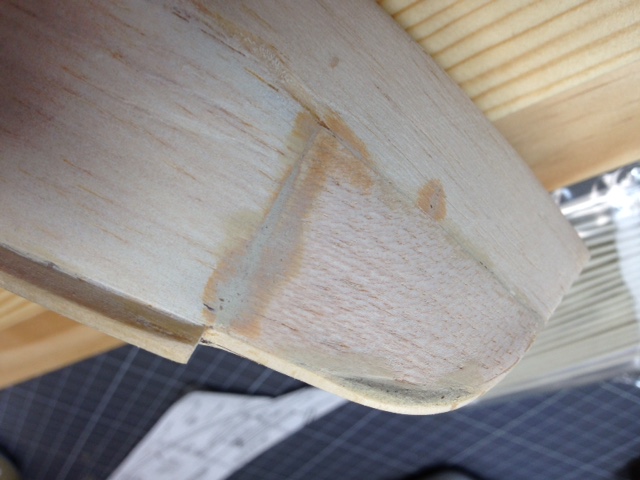
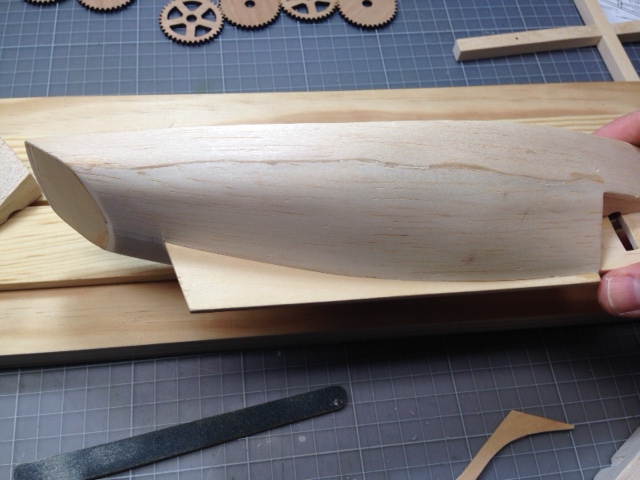
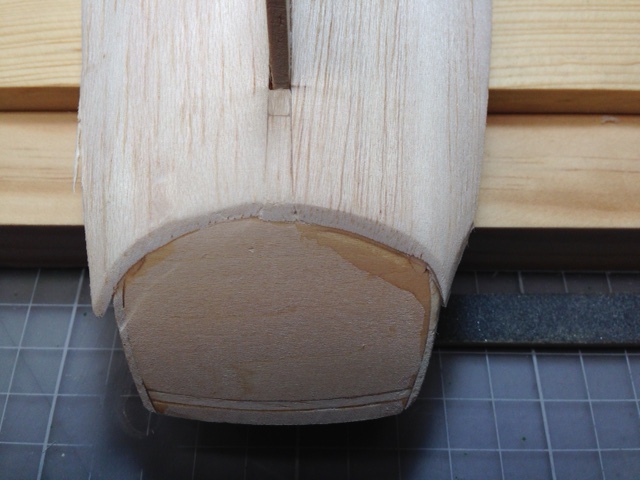
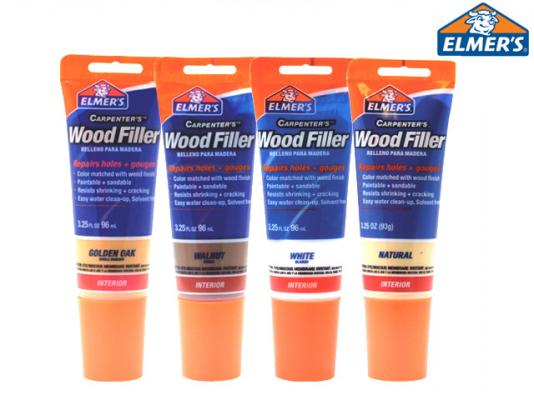
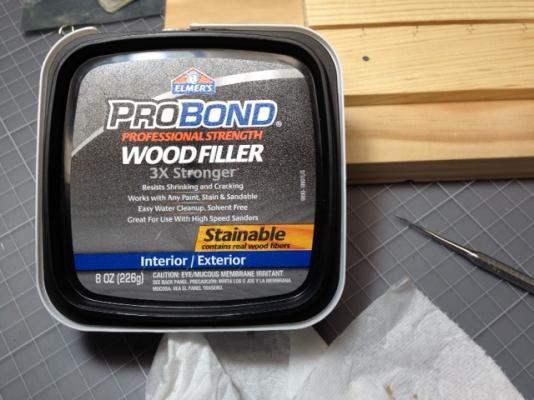
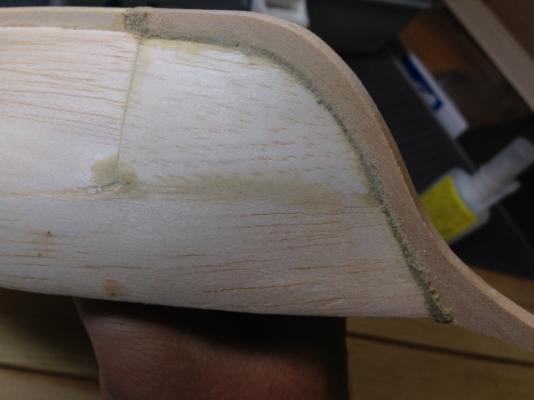
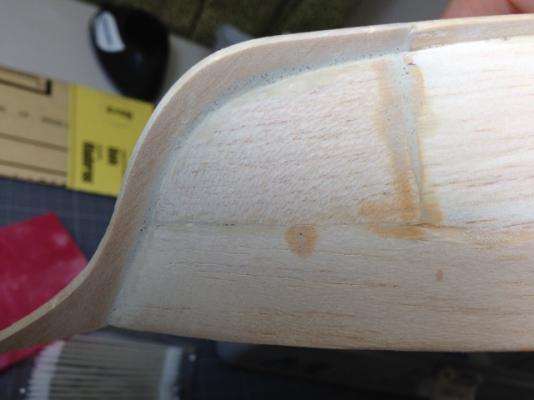
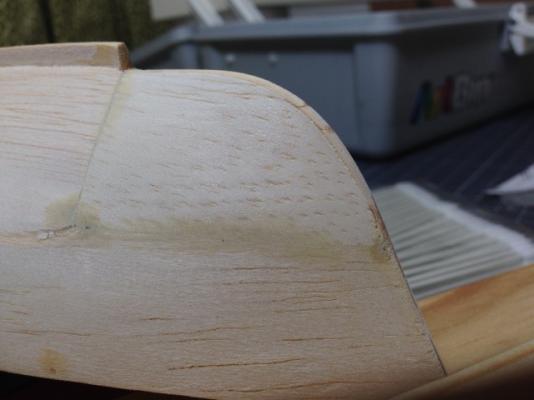
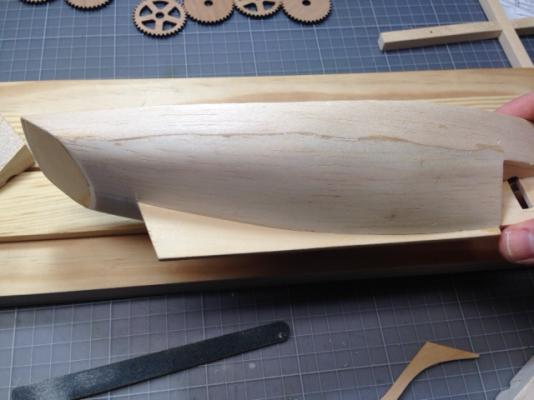
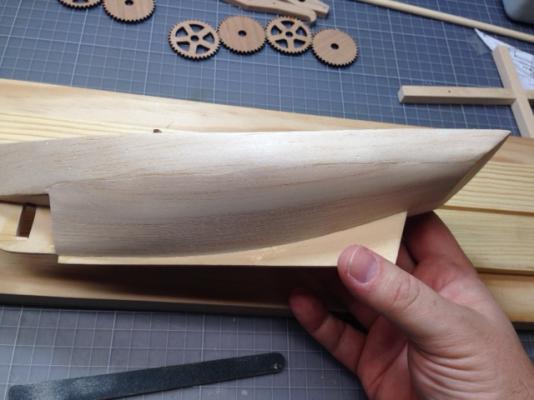
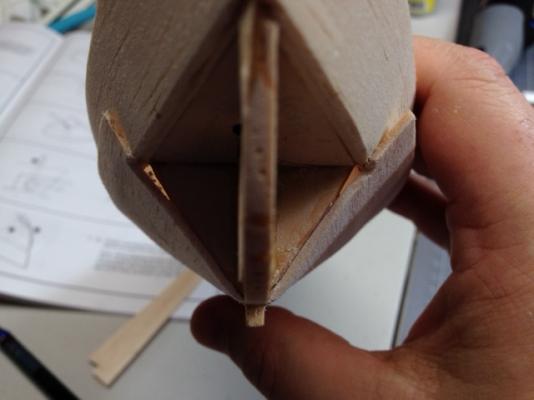
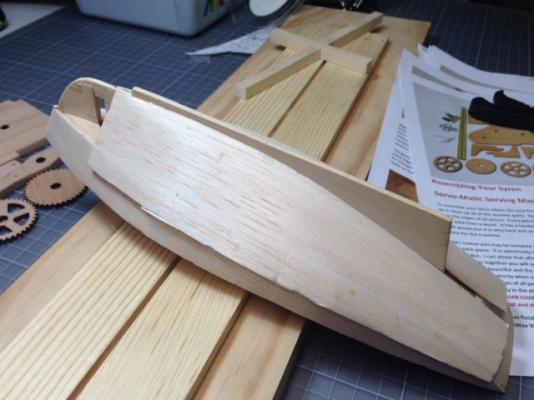
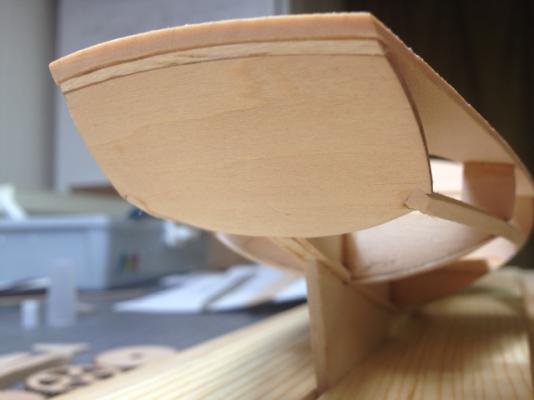
 After a bit of work this weekend, I feel safe in saying that carving and installing the bow blocks will NOT be my favorite part of this build. So first I got them carved, but gaps remained in the two sides that fit with the hull. So I used filler to take care of the gaps. I experimented with a couple types of Elmer's wood filler. One dried a bit orangy (tube) and the other a bit more pale green (square container). I ended up liking the consistency of the green stuff better. Seemed easier to apply, spread and smooth. I then attached the cutwater, which exposed the extent to which my sanding of the blocks had damaged the square of the keel. Filler was going to be needed to reconstruct, as best I could, the areas where the hull meets the cutwater (most of the damage was on the other side, as seen in the first picture above, not the side pictured below): So I applied filler and smoothed the starboard side: Then the port side: I'm pretty happy with how it turned out. My guess is that the carved bow blocks aren't a 100% match for the exact compound curves required, but they are close enough, to my eye. Getting ready to apply poly to the exterior (thanks for the suggestion, Popeye) and paint. I also think that I'll paint white the interior of the well (the sides and around the decking) so that I don't have to look at that balsa wood anymore. As always, thoughts and suggestions welcomed!
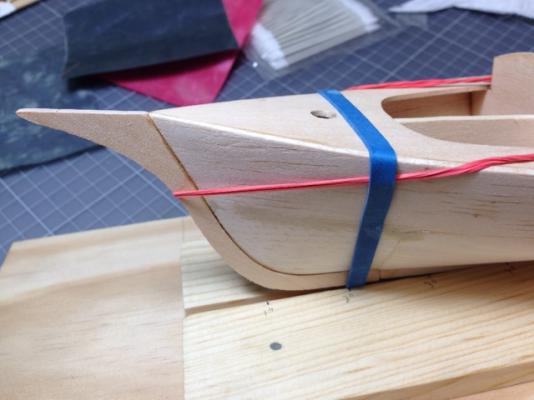


- 52 replies
-
- 5
-

-
- muscongus bay lobster smack
- Midwest Products
- (and 2 more)
-
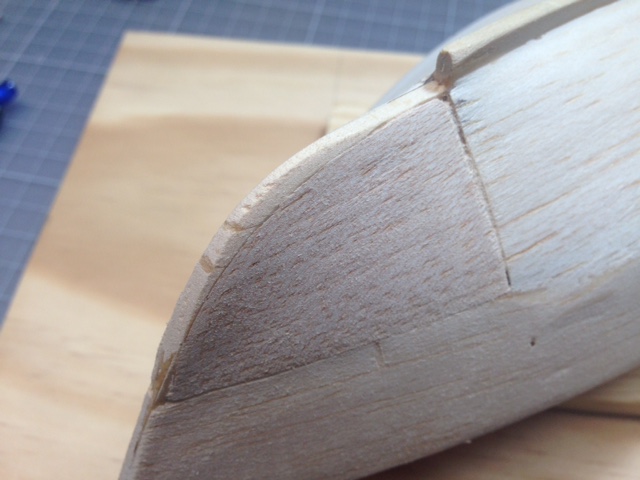
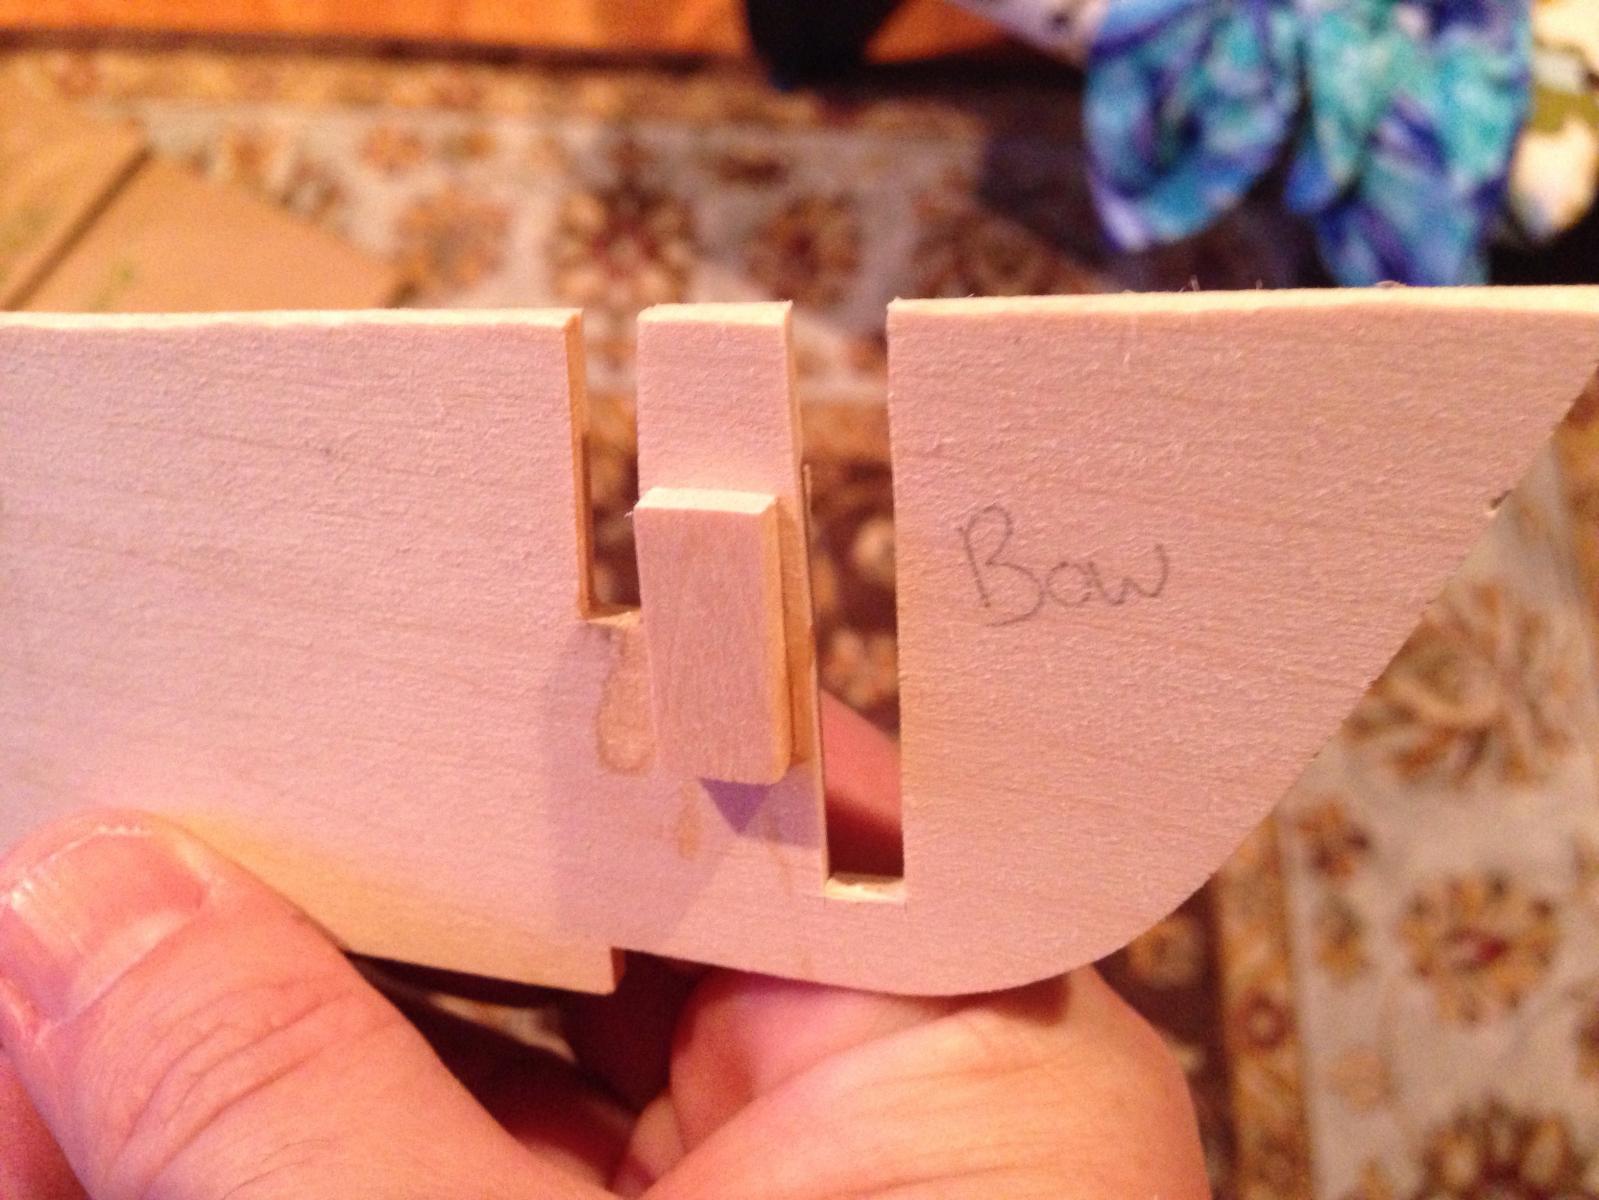
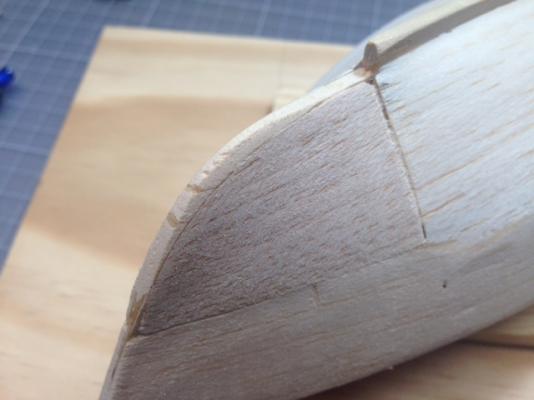
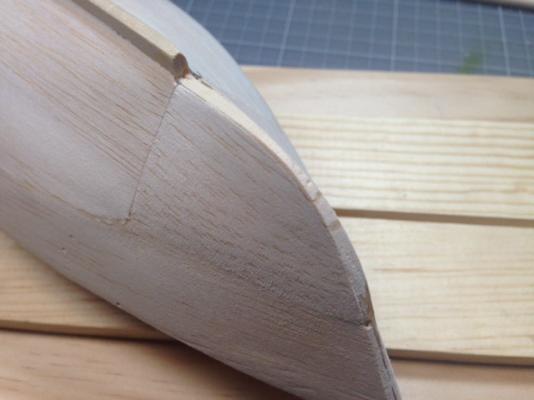
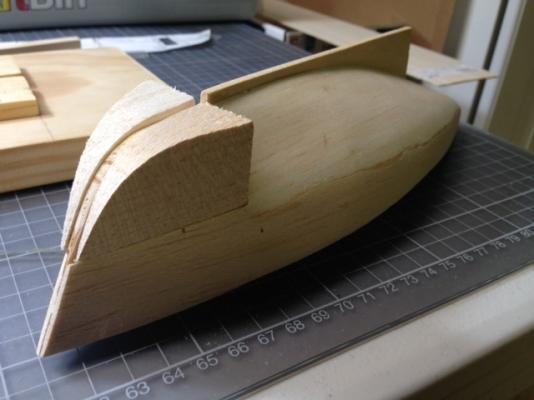
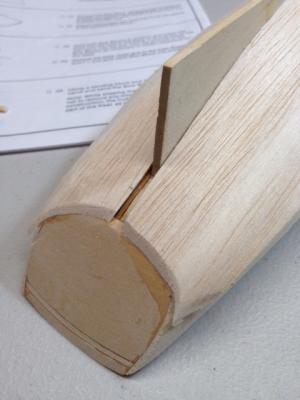
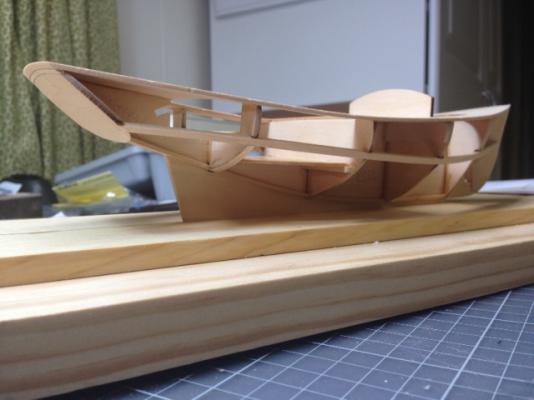
I was pretty clear on the need to put the balsa blocks in the lower bow positions. What wasn't (and still isn't) clear was how the bottom balsa plank could mate to the first bulkhead if it needed to overlap the top balsa plank. You can get a good look at the gap that is created by this "overlap" in the first pic in my above post. I probably should have shimmed the bulkhead, but didn't. In the meantime, I completed the process of fairing the two balsa planks on each side of the boat. Was happy not to have had any major problems with the side planks, either in the original positioning (didn't have to soak them) and in the fairing process. I've placed the balsa blocks and have begun carving. I'm taking it pretty slow to make sure not to take too much material off the block. I'm still searching for the right combination of compound curved to make the blocks look seamless. In any event, I am going to have to use filler on two sides of each block to complete the fit with the planks.
- 52 replies
-
- 4
-
-
- muscongus bay lobster smack
- Midwest Products
- (and 2 more)
-
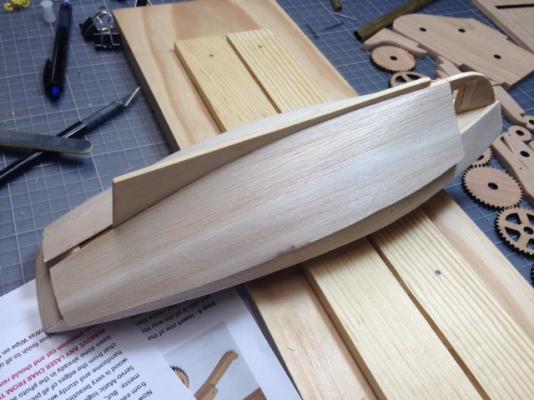
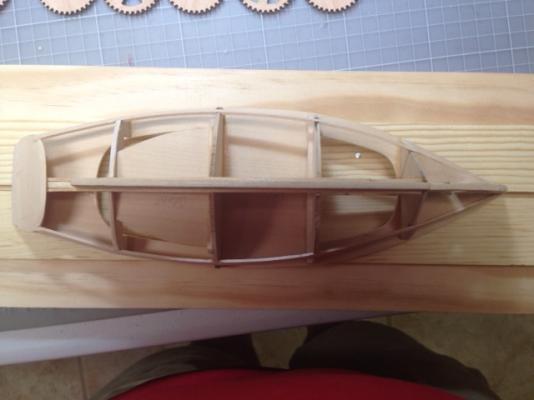
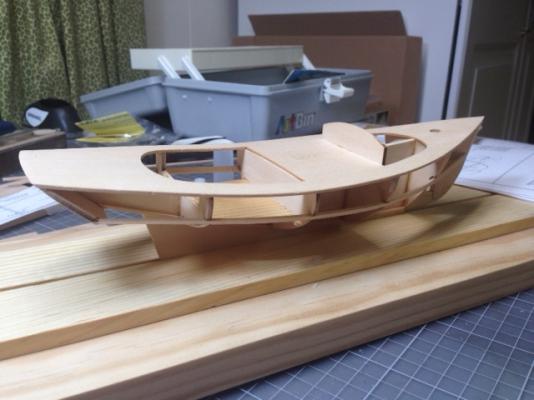
More progress. Not sure what to do with the gaps on both sides of the first bulkhead. Seems to me to be an unavoidable result of the way that the kit instructions have the builder fair the two side planks together. Will post again once I have the fairing complete.

- 52 replies
-
- 4
-
-
- muscongus bay lobster smack
- Midwest Products
- (and 2 more)
-
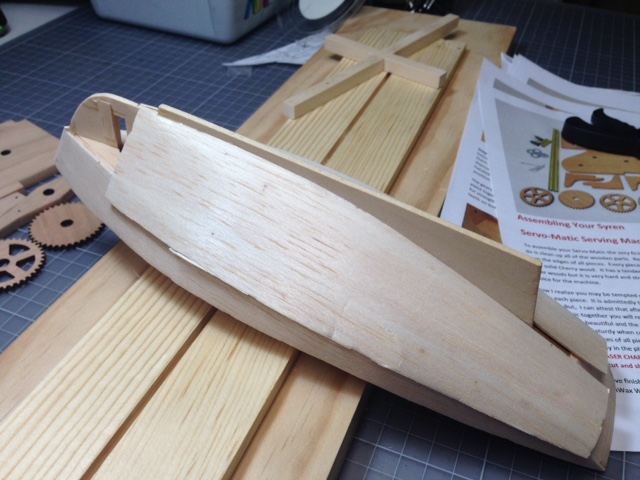
Transom fixed and making progress! On to the side planking ... (And yes, that's Chuck's Serv-o-Matic in the background, sanded and ready to polycoat.)
- 52 replies
-
- 5
-
-
- muscongus bay lobster smack
- Midwest Products
- (and 2 more)
-
Hmmmm ... I put the transom on upside down, didn't I?
-
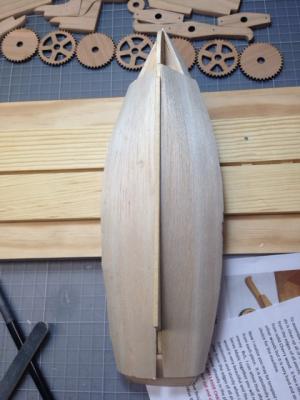
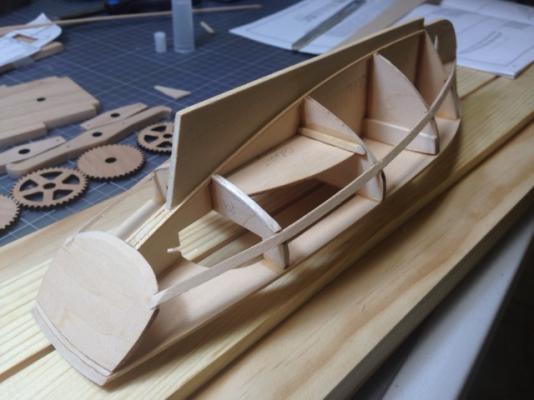
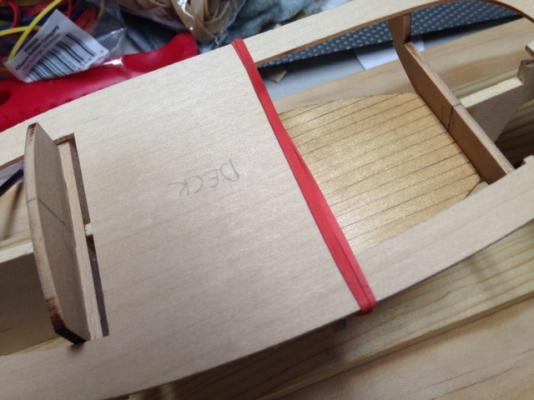
Some more progress, though it's been slow going thanks to college visits with the daughter, who's headed into her senior year in high school. Used a pencil to make fake planks in the steering well and applied some poly. I'm pretty happy with how it came out. Looks accurate to scale to my eye. I'm in the process of dryfitting the deck before gluing, and I'm running into a problem. Or a question at least. If you look at the photo below, you can see the when aligned at the bow, the stern end of the deck hangs way over the transom. Much more material than it looks like I need. Did anyone else have this problem? If not, any hypotheses as to why it's happening to me? (Okay, I just noticed that the deck had shifted back on the bulkheads before I took the photo. The problem with it being too long is still there, it's just not as bad as the picture makes it look.) I see, in perusing the old build logs, that it looks like Casey (cdogg) had the same issue.
- 52 replies
-
- 2
-
-
- muscongus bay lobster smack
- Midwest Products
- (and 2 more)
-
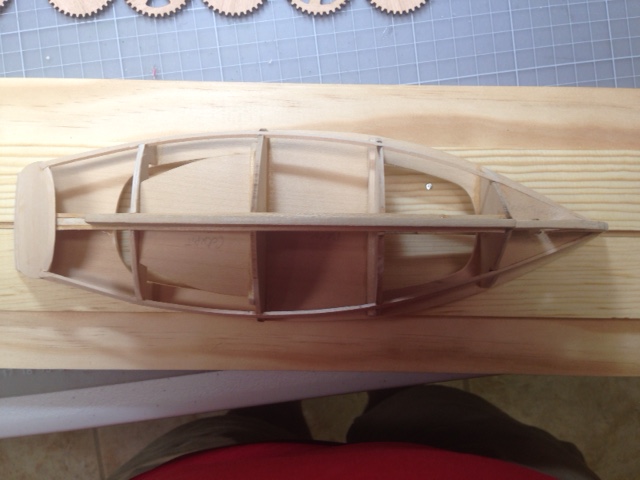
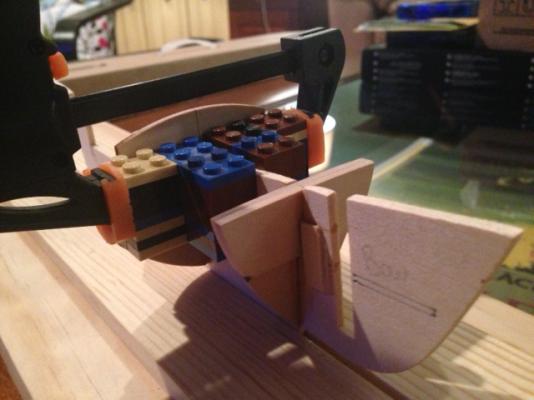
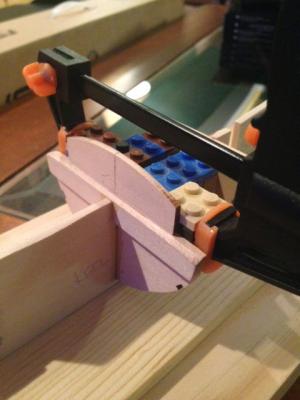
So, a bit more progress today. Got the keel sanded down last night to meet the tops of the bulkheads. Haven't bought any angle plates yet to square the bulkheads while gluing, so I made use of the stepson's Legos to put an idea in practice that I saw here on MSW. Worked like a charm! On to the cockpit floor. Thinking maybe I need to line it (for fake planking) and stain it before gluing it in. Any counsel here?
- 52 replies
-
- 2
-
-
- muscongus bay lobster smack
- Midwest Products
- (and 2 more)
-
Thanks, Mario. I think I'm inclined, like you suggest, to take material down from the top of the keel. Especially since it looks like the slot depth for the bulkheads brings the bottom of the bulkheads to the appropriate distance from the bottom of the keel according to the plans. BTW, I've had your build log permanently open in my browser for the past 3 weeks!
- 52 replies
-
- 1
-
-
- muscongus bay lobster smack
- Midwest Products
- (and 2 more)
-
Yves, Great suggestion. I have read through about 10 other build logs and not encountered anyone else who either had the issue or commented on the issue. Interestingly, you can see the same issue in a photo on Piet's build (your link). Unfortunately for me, he kitbashed the problem away but cutting away major sections of the keel. -- Greg
-
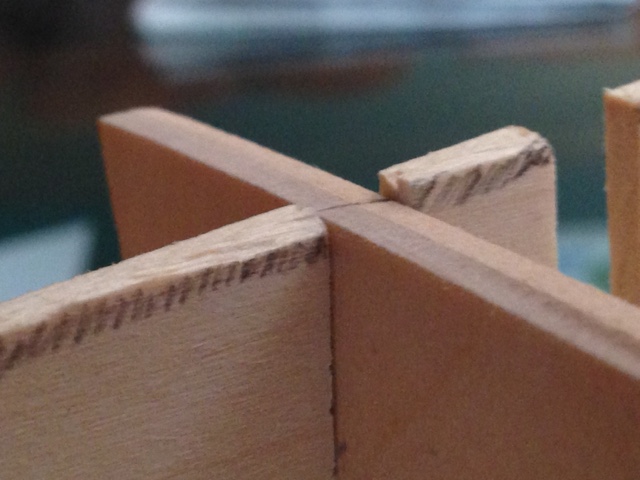
Dee Dee, I'm not sure, but the discrepancy doesn't seem related to the deck camber. When I slide the bulkheads into place at the bottom of their slots, you can see that the keel piece is a good 3 mm above when the deck would lay across the tops of the bulkheads (which appear to have the correct camber built into their shape at the top). So I'm not sure which I should trust: the depth of the slots (which would require me to sand down the top of the keel to make it even with tops of the bulkheads) or the height of the keel (which would require me to shim up the bottom of the slots to bring the bulkheads up to be even with the keel). Or maybe I'm just not getting it. Which is probably the most likely scenario. -- Greg


-
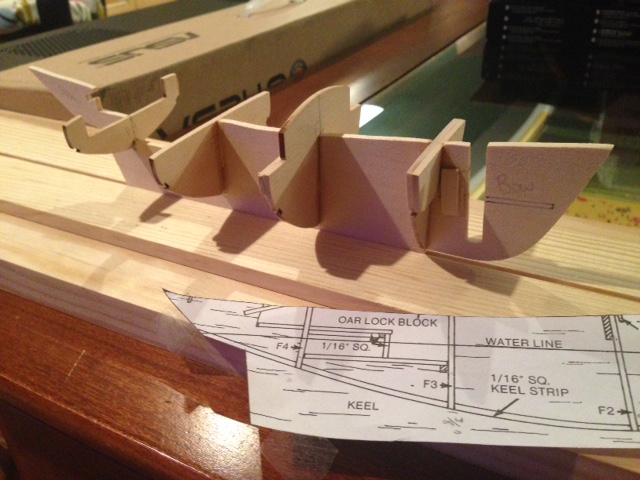
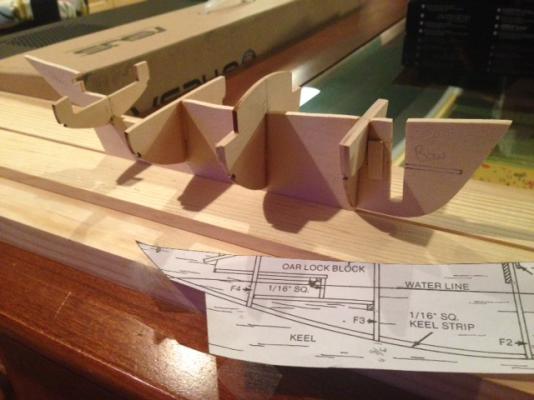
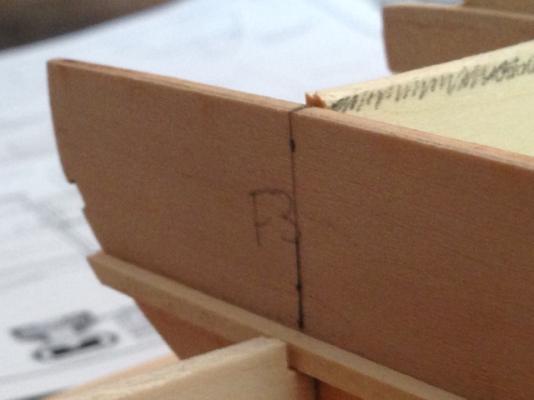
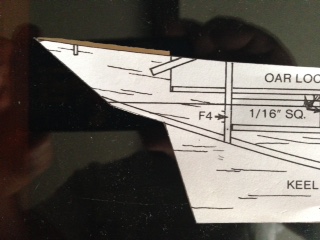
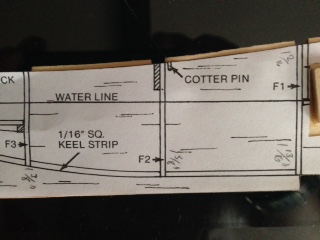
So I decided to run a copy of the plans to check the size of the keel. After aligning the keel piece to the plans at the bottom, I discovered that the piece is almost 3mm too tall across almost the entire length. (Not sure it shows up on the attached photos.) Did anyone else come across this problem? Should I sand down now, before bulkheads, or after?
-
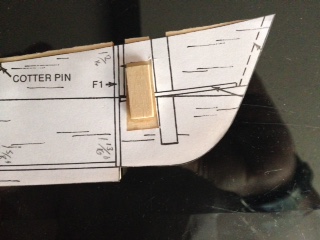
And here's the completed fix to the keel:

- 52 replies
-
- 2
-
-
- muscongus bay lobster smack
- Midwest Products
- (and 2 more)
-
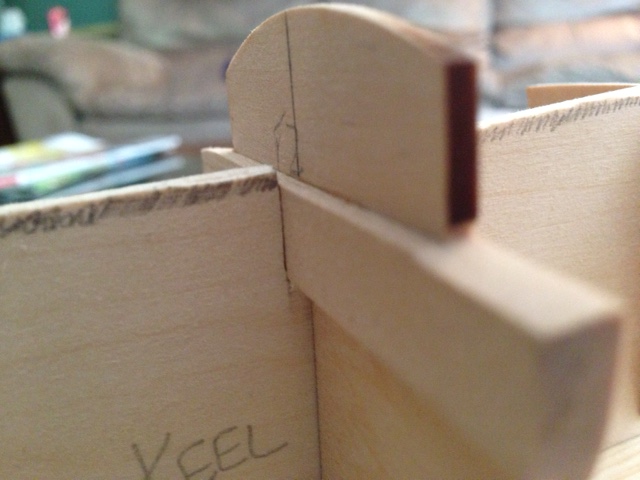
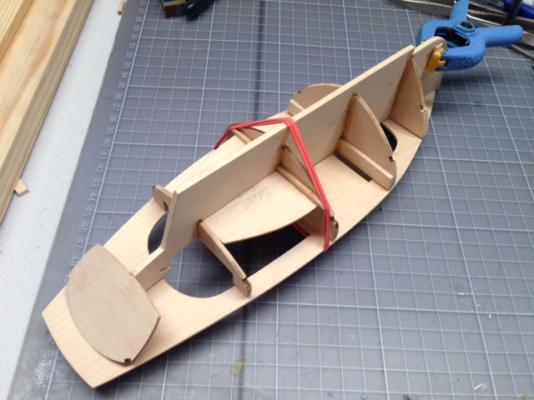
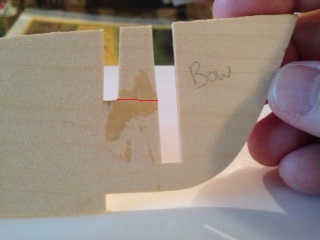
So, here's the break, shown in red. I've already used CA glue to reattach the part of the keel that broke off. (You can see where the CA glue stained the wood.) I am thinking that I will support the glued joint with wood braces (cut from scrap keel board) glued to each side of the keel, as it's clear to me that the break will reoccur the minute there is any stress from inserting the bulkhead. I have cut some card stock to the appropriate size to show where I will be placing them. Any thoughts are welcome!

-
Well, that didn't take long. I was test fitting a bulkhead into a keel slot. The bulkhead was a bit wide for the slot, so as I tried to ease it into place, part of the keel broke off. (I'll post a picture this weekend.) My best thought re: a fix is to glue the broken piece back into place, then glue a reinforcing strip of wood (using scraps from the original keel board) on each side of the broken piece to reinforce its connection to the keel and supply the strength necessary to support the neighboring bulkhead. The keel will be wide at this point, but I don't think it will cause any problems with later construction. Maybe once I post a picture some of you will tell me otherwise.
-
If I wanted to switch out the limited number of blocks on this kit with some high quality replacements from Chuck at Syren, what size would I be looking at (2 mm, 2.5 mm, 3 mm, 4 mm , 5 mm)? Maybe some new rope, too? If so, what size (.20 mm, .30 mm, .45 mm, .63 mm, .89 mm, etc.)?
-
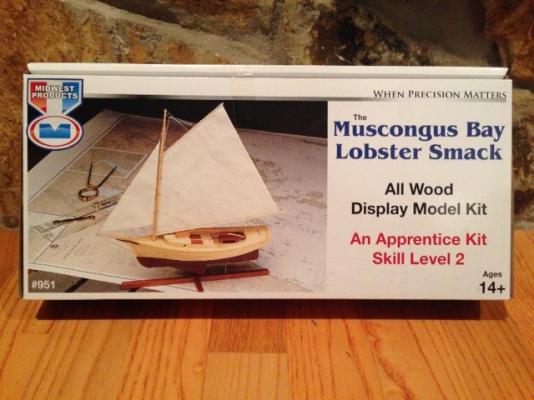
Just getting started on my first wood BOAT (not ship, yet) model. Picked what I hope will be a relatively easy build (emphasis on the "relatively"), but am definitely counting on the community here to help me through my inevitable screw-ups. Progress likely to be slow given work and family commitments, but I hope to see it through!
- 52 replies
-
- 5
-
-
- muscongus bay lobster smack
- Midwest Products
- (and 2 more)