-
Posts
63 -
Joined
-
Last visited
Content Type
Profiles
Forums
Gallery
Events
Everything posted by captainkangaroo
-
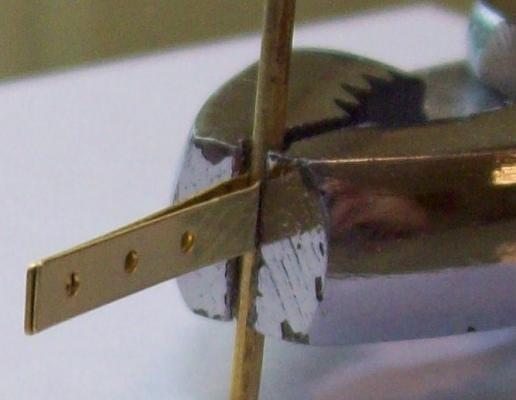
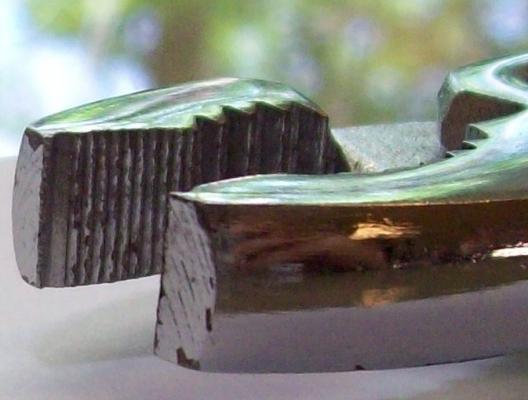
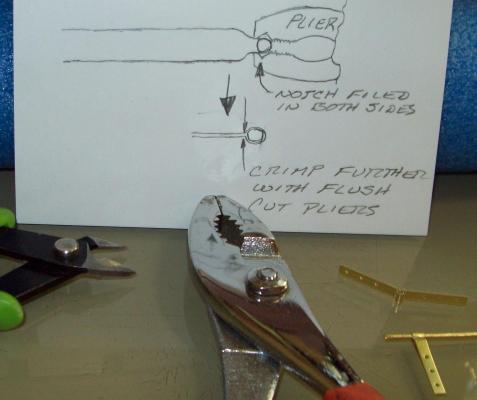
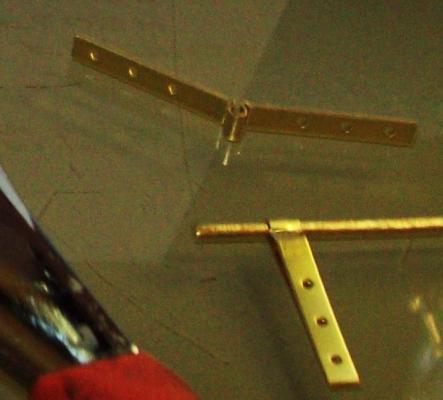
I saw some posts about the crazy hinges so I took a look. It didn't make sense to me either so I looked up pintle and gudgeon rudder mounting on older sailing ships. I never saw even one with notches cut in the rudder and to me that was the biggest part of the problem. I also saw that the picture of the rudder in the instructions was different than my actual rudder. I am going to cut the tabs formed by the notching so it is one continuous surface and mount the hinges in the standard pintle/gudgeon manner. The pictures show how I formed the hinges. I like to make or modify my own tools whenever possible.
-
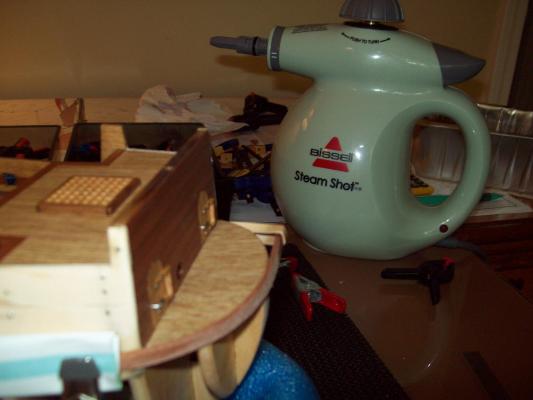
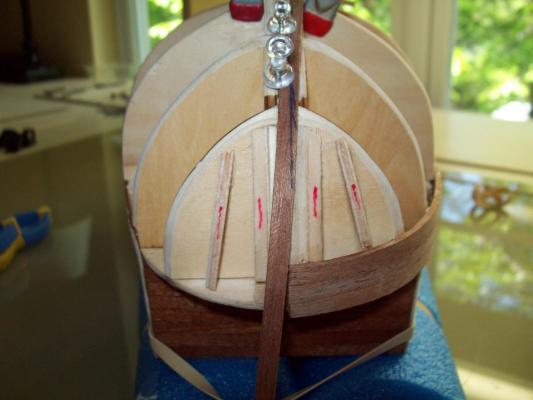
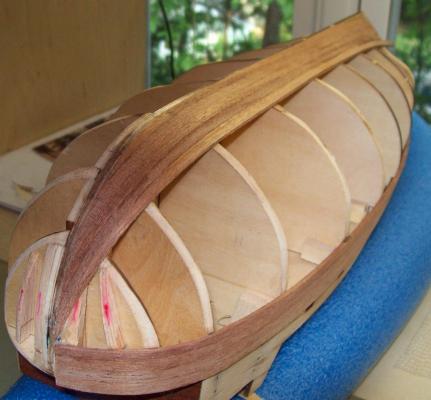
Like most fears in life my fear of planking was unwarranted. The Bissell Steamer worked like a charm. It puts out some really concentrated hot steam. I didn't do any soaking, it bends the planks like butter and the plank dries quickly so it can be glued in place sooner. I didn't get the Balsa so I added supports shown with a red mark which worked well. I did not start spiling planks soon enough. I already had 3 in place at the top and bottom before I started to spile. It took awhile to soak in all the information and I didn't get DesertWolf's warning soon enough. I looked up the definition of spiling and there was none but I finally got it anyway and I think my hull will look good enough for a first time.
-
Hello Wayne, Where did you find the rigging sketches above? These are easier for me to understand then pictures so if there is more please let me know where to get them. Thanks, Jim
- 773 replies
-
- san francisco ii
- artesania latina
-
(and 1 more)
Tagged with:
-
Hello DesertWolf, I'm new here and have just begun planking the hull of my SF II. You did an AMAZING job planking your hull-it is a thing of beauty! It's even more amazing that this is your first build. I am going to follow in your foot steps and I will be happy if mine just comes close to yours. I'll be following your build closely and look forward to seeing more.
-
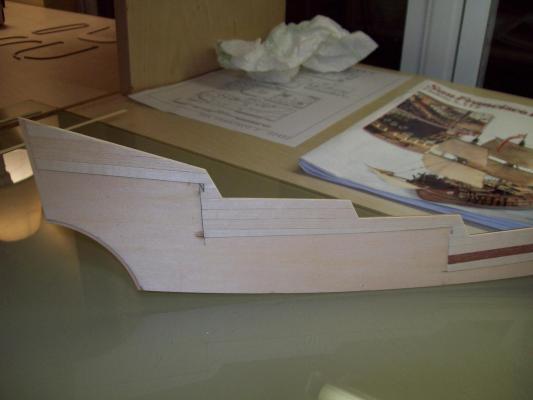
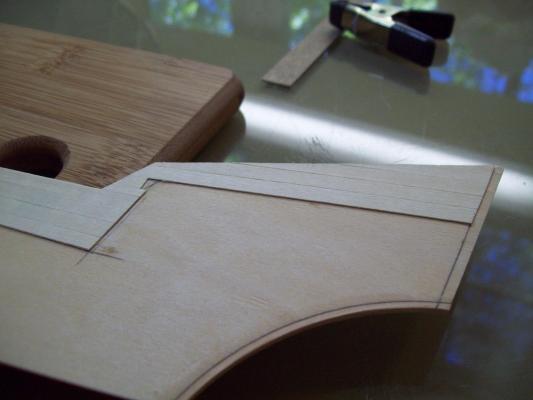
I started planking. I soaked some planks and while waiting for them I clamped a dry plank to the hull to see how I wanted the first one positioned and to see if I had the right clamps. I clamped it on, based on the instructions, at the bottom of the bulwark. My Bissell steamer (http://www.walmart.com/ip/Bissell-Homecare-Steam-Shot-Steamer-39N71/14320774#rr) was on and ready so I started playing with using it to bend the dry plank around the bow. After going across the area to bend with the steamer for about 20 seconds the plank was bending easily so I continued to steam it and bend it more and more until it completely wrapped around the bow. It went very well so I think the steamer is going to make a big difference and I may not do any soaking. The plank dries faster also. I know they won't all go so well but I have a better feeling about the process now. I'm thinking about using the pins I used on the bulwarks instead of clamping. That way I can apply numerous planks at one sitting. I'm not a real patient guy and I don't want the planking to take any longer than necessary.
-
Thanks Randy. I was thinking that if I split one I could possibly glue it and clamp it with Elmers craft glue which based on my tests is very strong when clamped and remains flexible enough to still use in an area with a lesser bend. Guess I'll find out soon enough. Any body know how to size a picture to fit on my profile? I tried just downloading a picture of myself but it was to large. I kind of enjoy seeing the face of someone I'm communicating with.
-
Thanks for the replies and compliments. Planking is next - e gad! Need input, never planked a ship before (well, one riverboat but nothing like this.) First of all because I can't find any decent size balsa blocks locally at HL or Michaels I am considering doing without or I could order online, I'm cheap and I didn't want to pay shipping for just the balsa. How important is it? I see that AL put theirs together without. I've read everything I could find on planking and some of it seemed so complicated. My plan now is to use a steamer http://www.walmart.com/ip/Bissell-Homecare-Steam-Shot-Steamer-39N71/14320774#rr. I plan on soaking the planks for about 15 minutes and then clamping a plank onto the hull at one end (the straightest area) and then use the steamer to bend it to the curve, then trim it as needed and clamp it in place. When dry I will glue it in place. Please feel free to critique this and tell me if you think I'm headed in the wrong or right direction. Thanks to all.
-
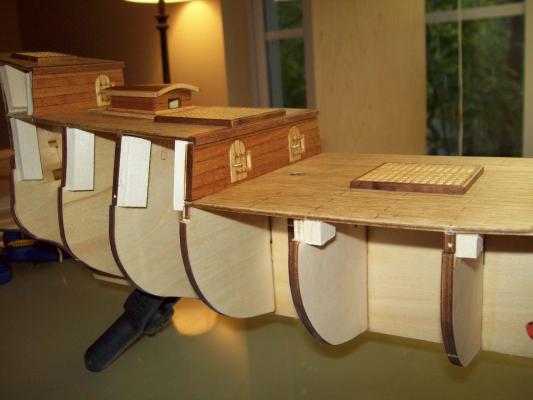
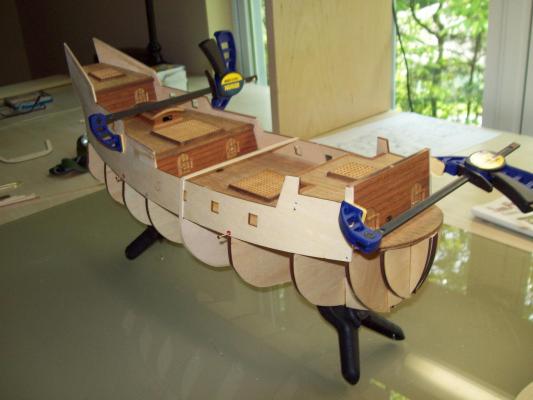
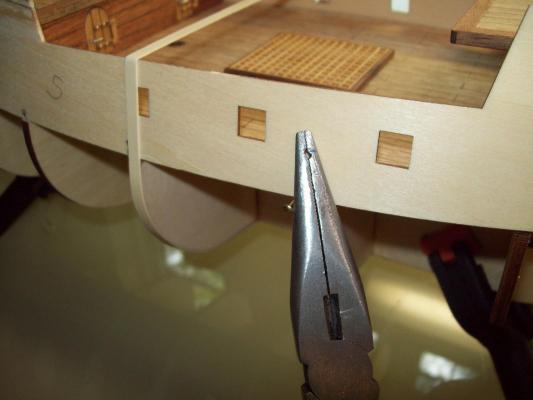
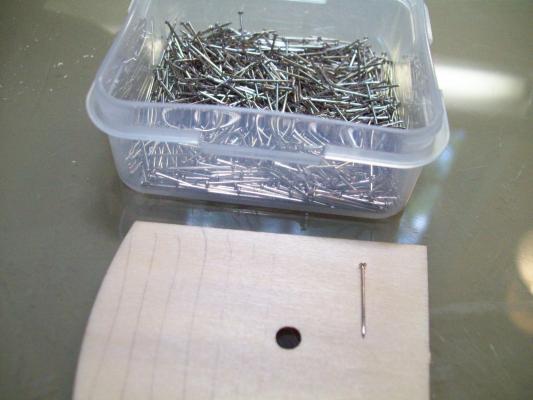
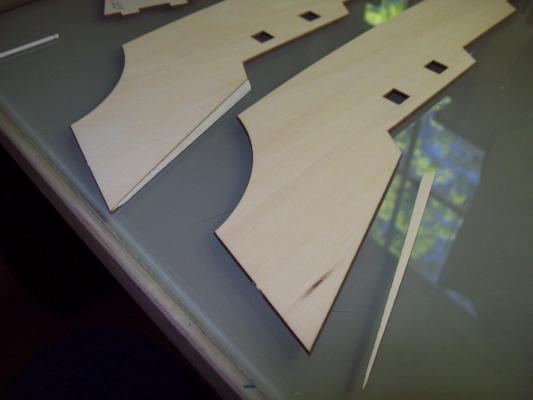
I finished all the doors and installed them. I then sprayed the whole assembly with 10 coats of clear flat sealer. I added support posts to the overhang on the forward deck. I decided to put the inside planks on the bulwarks before installing the the bulwarks. I temporarily installed the bulwarks using pins and carefully marked the outline of the decks and walls, then I installed two large pins as dowels so that when I removed them to do the planking they would reinstall in exactly the same place. When I finished the interior planking I applied 10 clear coats and later installed the bulwarks using glue and short straight pins which had very small heads so I could sink them and leave them in for added strength. I modified my needle nose pliers by filing two notches, one that you can see in the picture and one centered and perpendicular to it from the notch you see to the end of the nose. This allowed me to place the pins securely in the pliers with the notch you see as clearance for the pin head and the shaft of the pin in the other notch. The pins pushed in easily and I used a fine nail sink to set them. Now I will proceed to sanding and planking. I didn't order balsa online. How critical is the balsa? If I don't use it will I screw things up or is it more of a convenience? I noticed they didn't include it in the instructions. If you think I would be making a big mistake please say so. I can put the planking on hold and do other things while I wait for the balsa.
-
Thanks for the replies. The ammonia didn't fly. I am short some of the 'bowling pins' for the hand rail and don't think I have enough usable grating strips for the bow. I clearly see what you are saying about how brittle the mahogany is. The stuff I have seems extremely dry and brittle and I wonder if it is doable. I think the root of the problem is how dry the wood is and that will very with how long it's been around. I tried to get blocks of balsa locally but nothing-just strips. I don't want to pay shipping on a small block of balsa ordered online. I was thinking I could add more bulkheads instead. Now I'm thinking of buying thinner planking strips (2mm) possibly of some other type of wood and if I do that I will order balsa also. Could get expensive. Also thinking about this as a possibility with the existing planking: http://www.amazon.com/Clearmax-Lightweight-Pressurized-Cleaner-Sanitizer/dp/B000OP3ABM/ref=cm_cr_pr_product_top
-
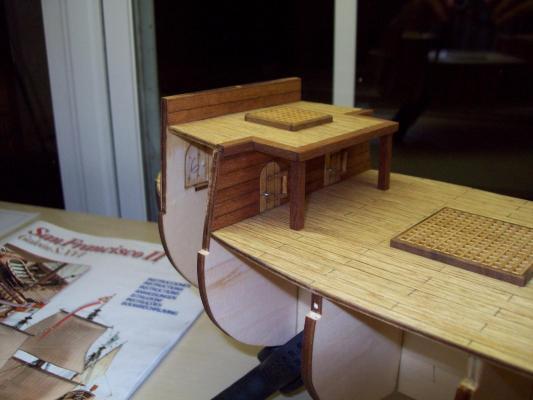
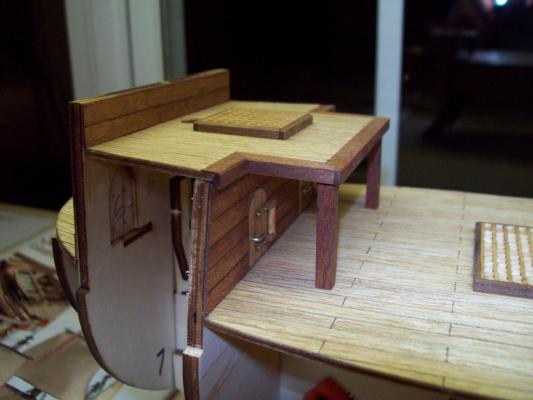
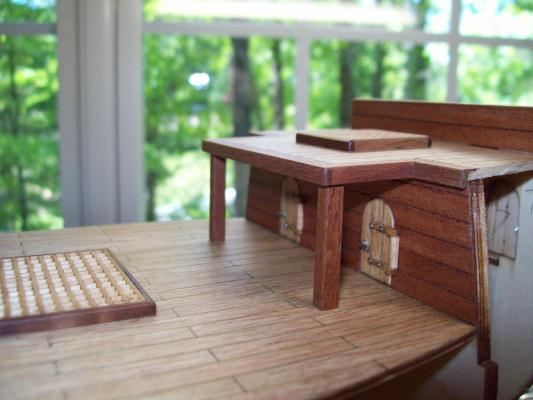
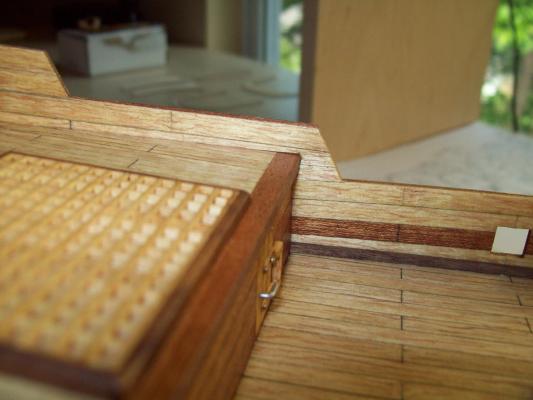
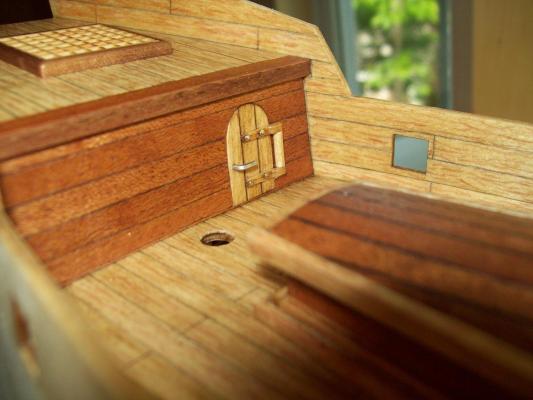
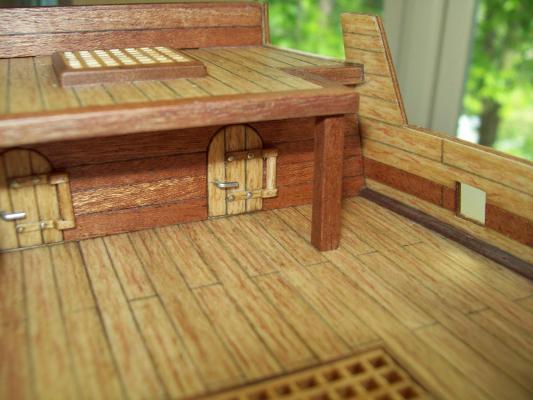
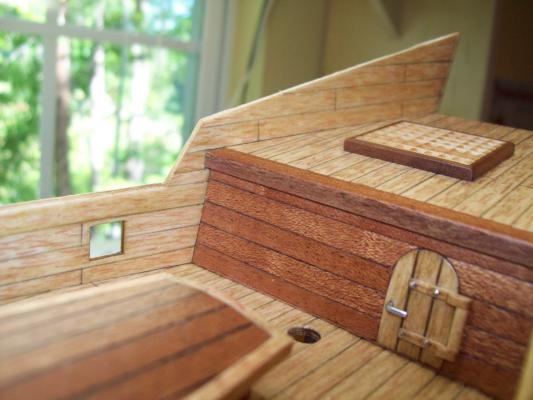
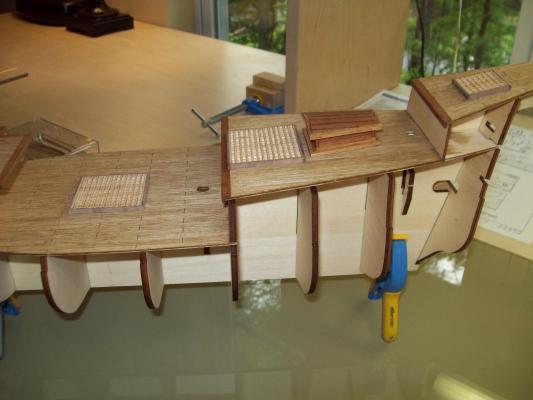
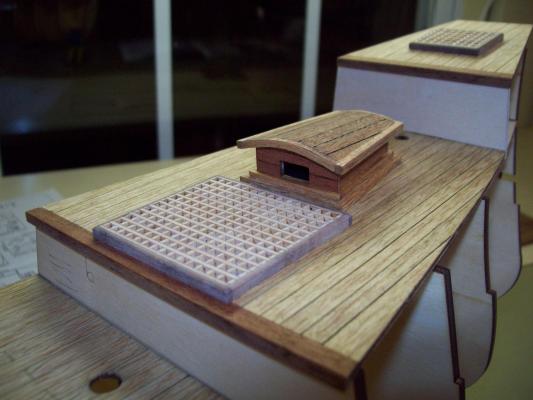
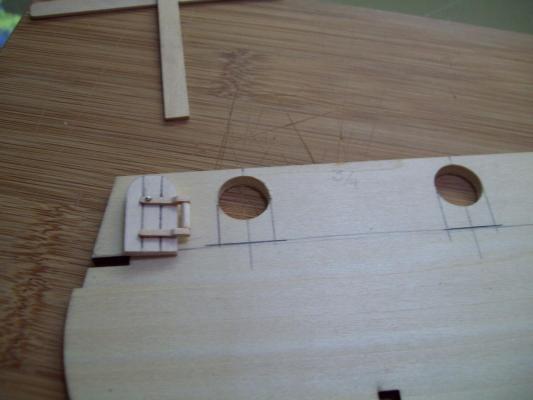
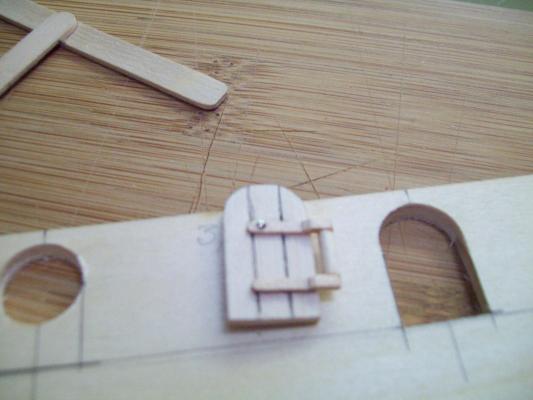
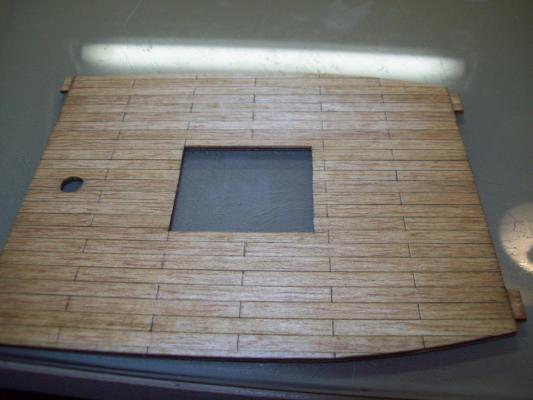
I finished planking all the decks and built and installed the grates and helmsman's cabin. The grating planks were very poorly cut and I had to sort thru all of them to find some that lined up. I built the helmsman's deck up a little for line of sight over the grate. Decks and bulkheads not glued yet. It struck me that the doors going into/under the aft deck look really small beside the ladders. I think I know why this is but regardless I decided to build my own doors and make them more in proportion with the ladders. Didn't care for the metal doors supplied the doors and possibly the hinges to, would have been wood. The door you see in the picture is a prototype. I made the hinges out of wood also and they may or may not reflect what was done back then. I made the wall at the aft deck taller to accomodate 13/16" tall doors and had to add a sliver of material to the bulwarks to compensate. I also added a second door at the bowsprit. Is there a way to contact AL? I tried email with no response. I was shorted some parts and some were damaged. When I built my last ship OcCre was very responsive and sent me anything I wanted. Has anbody tried soaking planks in ammonia before bending? The furniture companies use anhydrous ammonia-not the same as household ammonia but I may give it a try. I'm uncomfortable with the upcoming hull planking event since I've never done it before. My only other wood model was a river boat and of course had very little hull to plank-but even it was a little painful.
-
The only history I could find on a shipped named San Francisco is as follows: SAN FRANCISCO JAVIER Nuestra Señora del Rosario San Francisco Javier y San Antonio de Padua, also called San Francisco de Asis or simply San Francisco, was built in England with a cargo capacity of 264 2/3 tons. Her owner was Don Cristóbal de Urquijo, who also owned another ship in the 1733 fleet, San Ignacio. Both ships were wrecked and Urquijo, sailing onboard San Ignacio, was drowned. Sailing at the rear of the fleet, San Francisco wrecked near Almiranta off Cayo de Vibora (Long Key). Although grounded in shallow water, documents indicate that her people were saved. Salvage divers recovered most of her registered silver, but other general cargo such as indigo and cochineal was lost. Today the wreck of San Francisco is one of the most beautiful of the 1733s, due to its location in shallow water and the undisturbed nature of the ballast mound and its attending tropical ecosystem. The ballast mound is largely intact and is in nine feet of water on a sand bottom, with only six feet of water at the top of the ballast. The reef habitat supports species such as lobsters, triggerfish, tangs, surgeonfish, wrasses, grunts, damselfish, jellyfish, blennies, scorpionfish, groupers, sergeant-majors, hermit crabs, moray eels, conchs, and fire coral. A few sections of timbers are exposed, including part of the keelson. Because San Francisco is in shallow water, even novice snorkelers can enjoy the myriad of sea life that thrives on this large wrecksite. Location: 24° 49.185'N 80° 45.425'W
-
In response to using a colored pencil. I get the point pretty sharp but not pinpoint sharp and then with very light pressure I let the pencil 'skip' along in the direction of the grain starting from each end and working toward the other end. If your hands shake a little like mine it actually helps because wood grain is never straight. Experiment with some spare planks and go easy as you can always add more until it looks the way you want-make sure the stain is dry. You can do it without staining to.
-
A little about me. I built car models when I was a teenager and did them in great detail. Back then (I'm 62) we had a couple of hobby stores that put on model contests which made it more fun. After I retired (I worked as a mechanical designer/drafter) I busied myself with volunteer work but needed something more and started thinking about modeling again-ships this time-much more interesting. Built a few plastic models and really got into it. Then I built my first wooden model (Spirit of Missippi which is posted on the gallery) and really fell in love. During most of my adult life my hobby was woodworking which helps with the wood ships. The only problem with the wood ship kits is that they are soooo expensive. While I'm working on SF II I will be designing a scratch build-seems like a very big undertaking. I'm single and live in a small town just outside of Atlanta (Gainesville). Well now that your comatose with bordem I'll sign off.
-
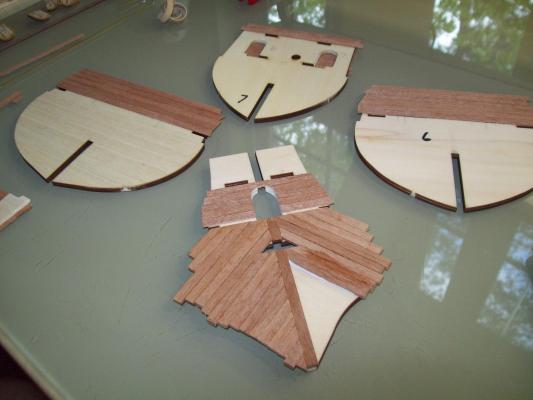
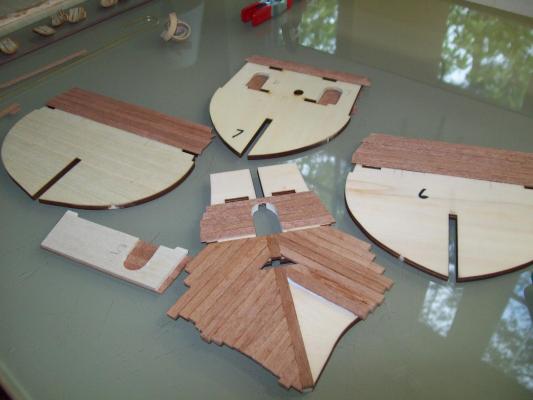
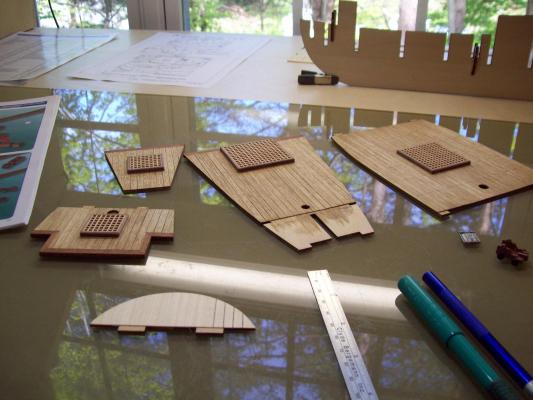
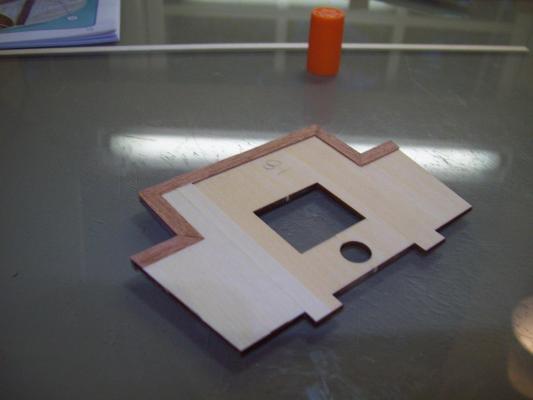
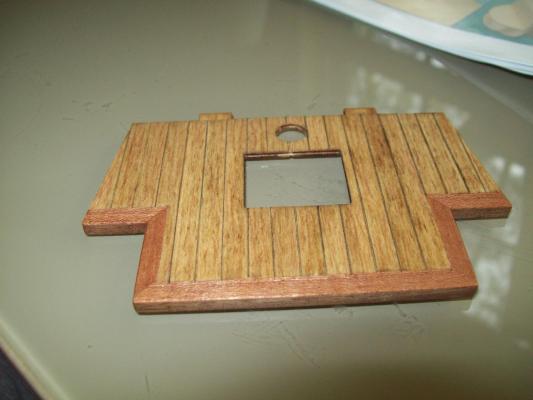
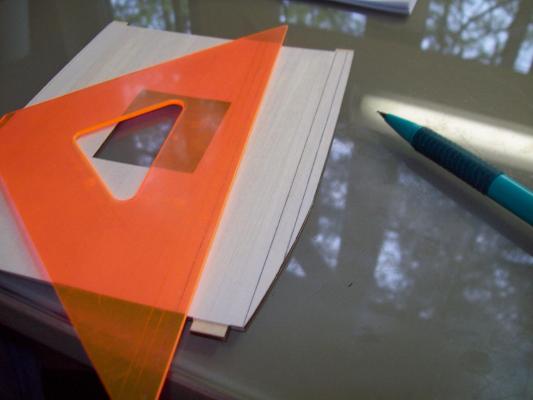
Here we go, yet another San Francisco II build log. I'm lazy so I'm always looking for an easier way to do things which sometimes means that I don't follow the directions to the letter. I do this with great caution as I know it can be problematic if I don't pay attention. I decided to plank the decks prior to the false keel/frame assembly. I plank them and then score the edges with a pencil, stain them and because they are basswood I accent the planks with a colored pencil. When they are all done I will spray them with a clear flat finish to seal them so they won't dry out over time.
About us
Modelshipworld - Advancing Ship Modeling through Research
SSL Secured
Your security is important for us so this Website is SSL-Secured
NRG Mailing Address
Nautical Research Guild
237 South Lincoln Street
Westmont IL, 60559-1917
Model Ship World ® and the MSW logo are Registered Trademarks, and belong to the Nautical Research Guild (United States Patent and Trademark Office: No. 6,929,264 & No. 6,929,274, registered Dec. 20, 2022)
Helpful Links
About the NRG
If you enjoy building ship models that are historically accurate as well as beautiful, then The Nautical Research Guild (NRG) is just right for you.
The Guild is a non-profit educational organization whose mission is to “Advance Ship Modeling Through Research”. We provide support to our members in their efforts to raise the quality of their model ships.
The Nautical Research Guild has published our world-renowned quarterly magazine, The Nautical Research Journal, since 1955. The pages of the Journal are full of articles by accomplished ship modelers who show you how they create those exquisite details on their models, and by maritime historians who show you the correct details to build. The Journal is available in both print and digital editions. Go to the NRG web site (www.thenrg.org) to download a complimentary digital copy of the Journal. The NRG also publishes plan sets, books and compilations of back issues of the Journal and the former Ships in Scale and Model Ship Builder magazines.


