HOLIDAY DONATION DRIVE - SUPPORT MSW - DO YOUR PART TO KEEP THIS GREAT FORUM GOING!
×


Submarineman
-
Posts
46 -
Joined
-
Last visited
Content Type
Profiles
Forums
Gallery
Events
Everything posted by Submarineman
-
Paul, shoulder arm remains in physio land - still don’t have full movement but my dream is to get back to full functionality, although little improvement in 3 years but forever hopeful
-
Hey Paul, thanks for the kind comments, yes I've had a lot of time to prepare for the build, what with house moves, illness and partial disability I feel I am ready to commit. Have followed your build for the full five years during my ups and downs and am totally impressed with the standard of workmanship, in actual fact your ethos of adding items that are not supplied with the kit set my mind to doing some elements of scratch build in certain areas - such as the Stern Gallery and LED / fibre optic lighting. But as I have mentioned in this build log, this decision has led to thinking ten moves ahead to ensure the fibre optics are aligned and identify where I want the lighting to maximum effect. This is why I am focussing on the Stern area, at the same time cutting treenails and decking. I am am just about to make a bending jig so that I can curve the stern, plan is to soak in hot water and place into the homemade jig / press - hopefully it won't fall apart - main concern is the Titebond glue losing adhesion during the soaking process. It's going to be a long journey but one I am looking forward too.
-
Second attempt, nearly there - just need to realign a couple of the widow frames and then start on Windows and stern decorations
- 30 replies
-
- 1
-

-
- victory
- constructo
- (and 1 more)
-
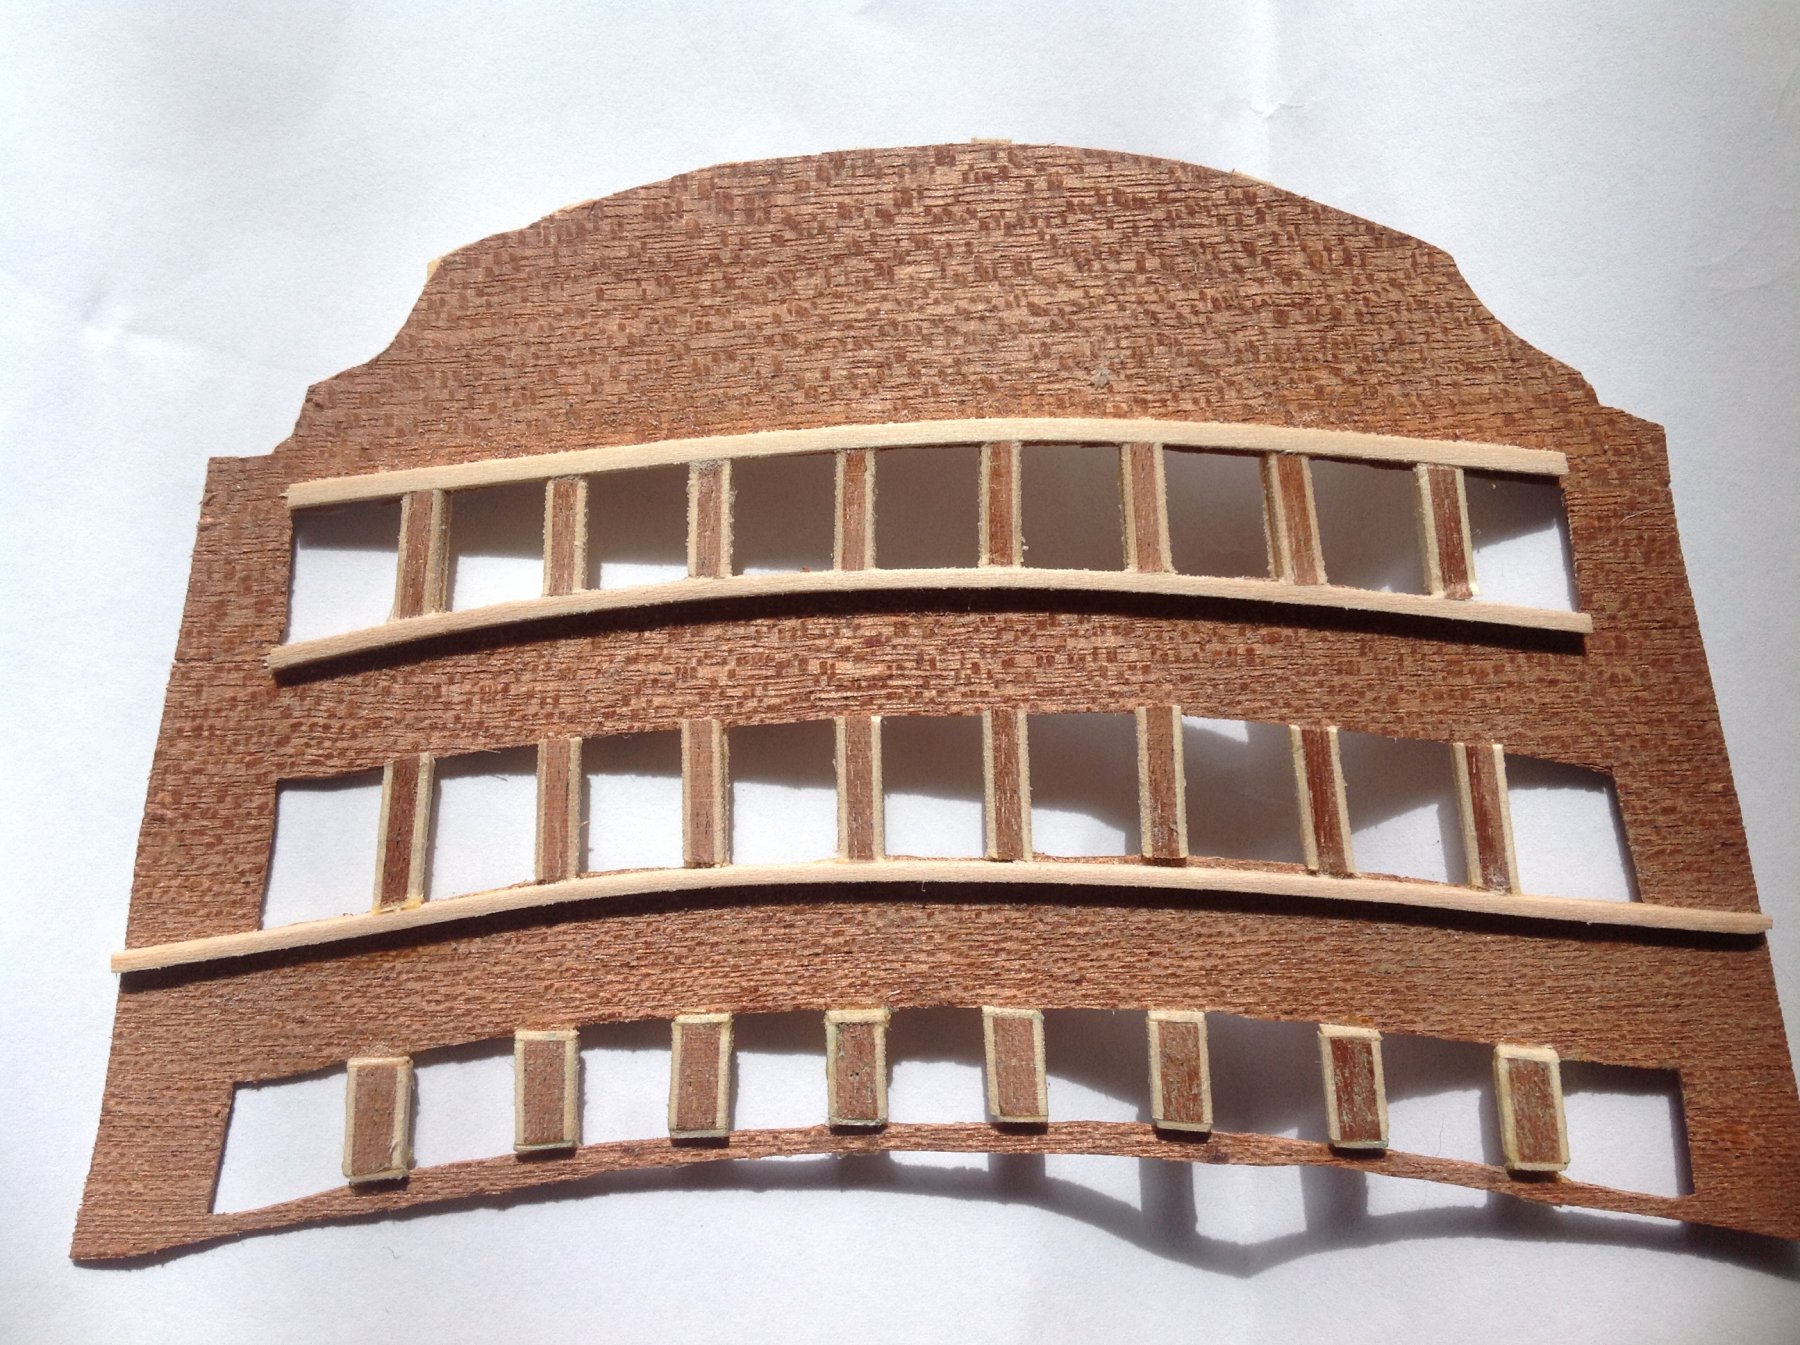
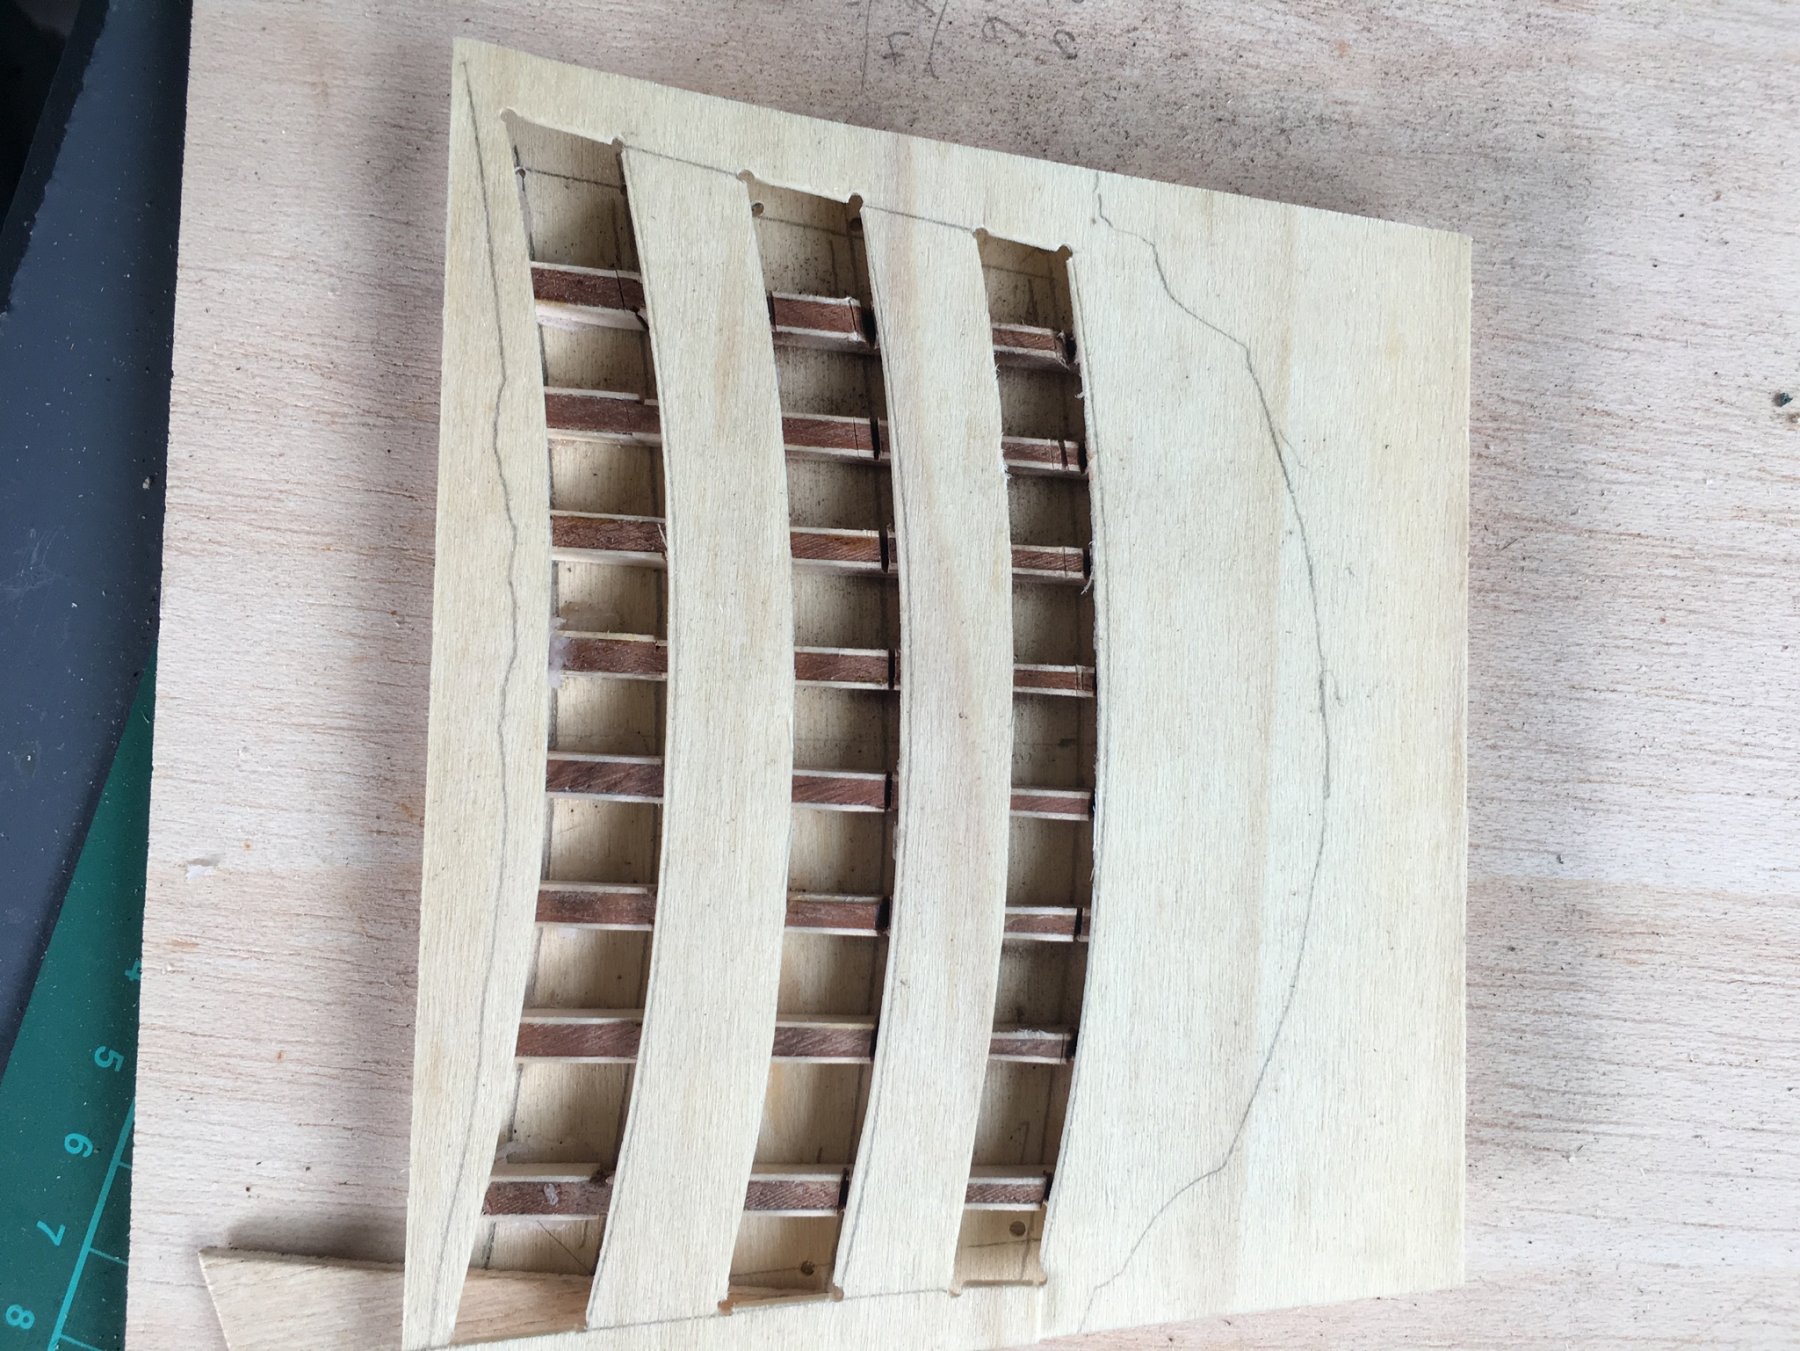
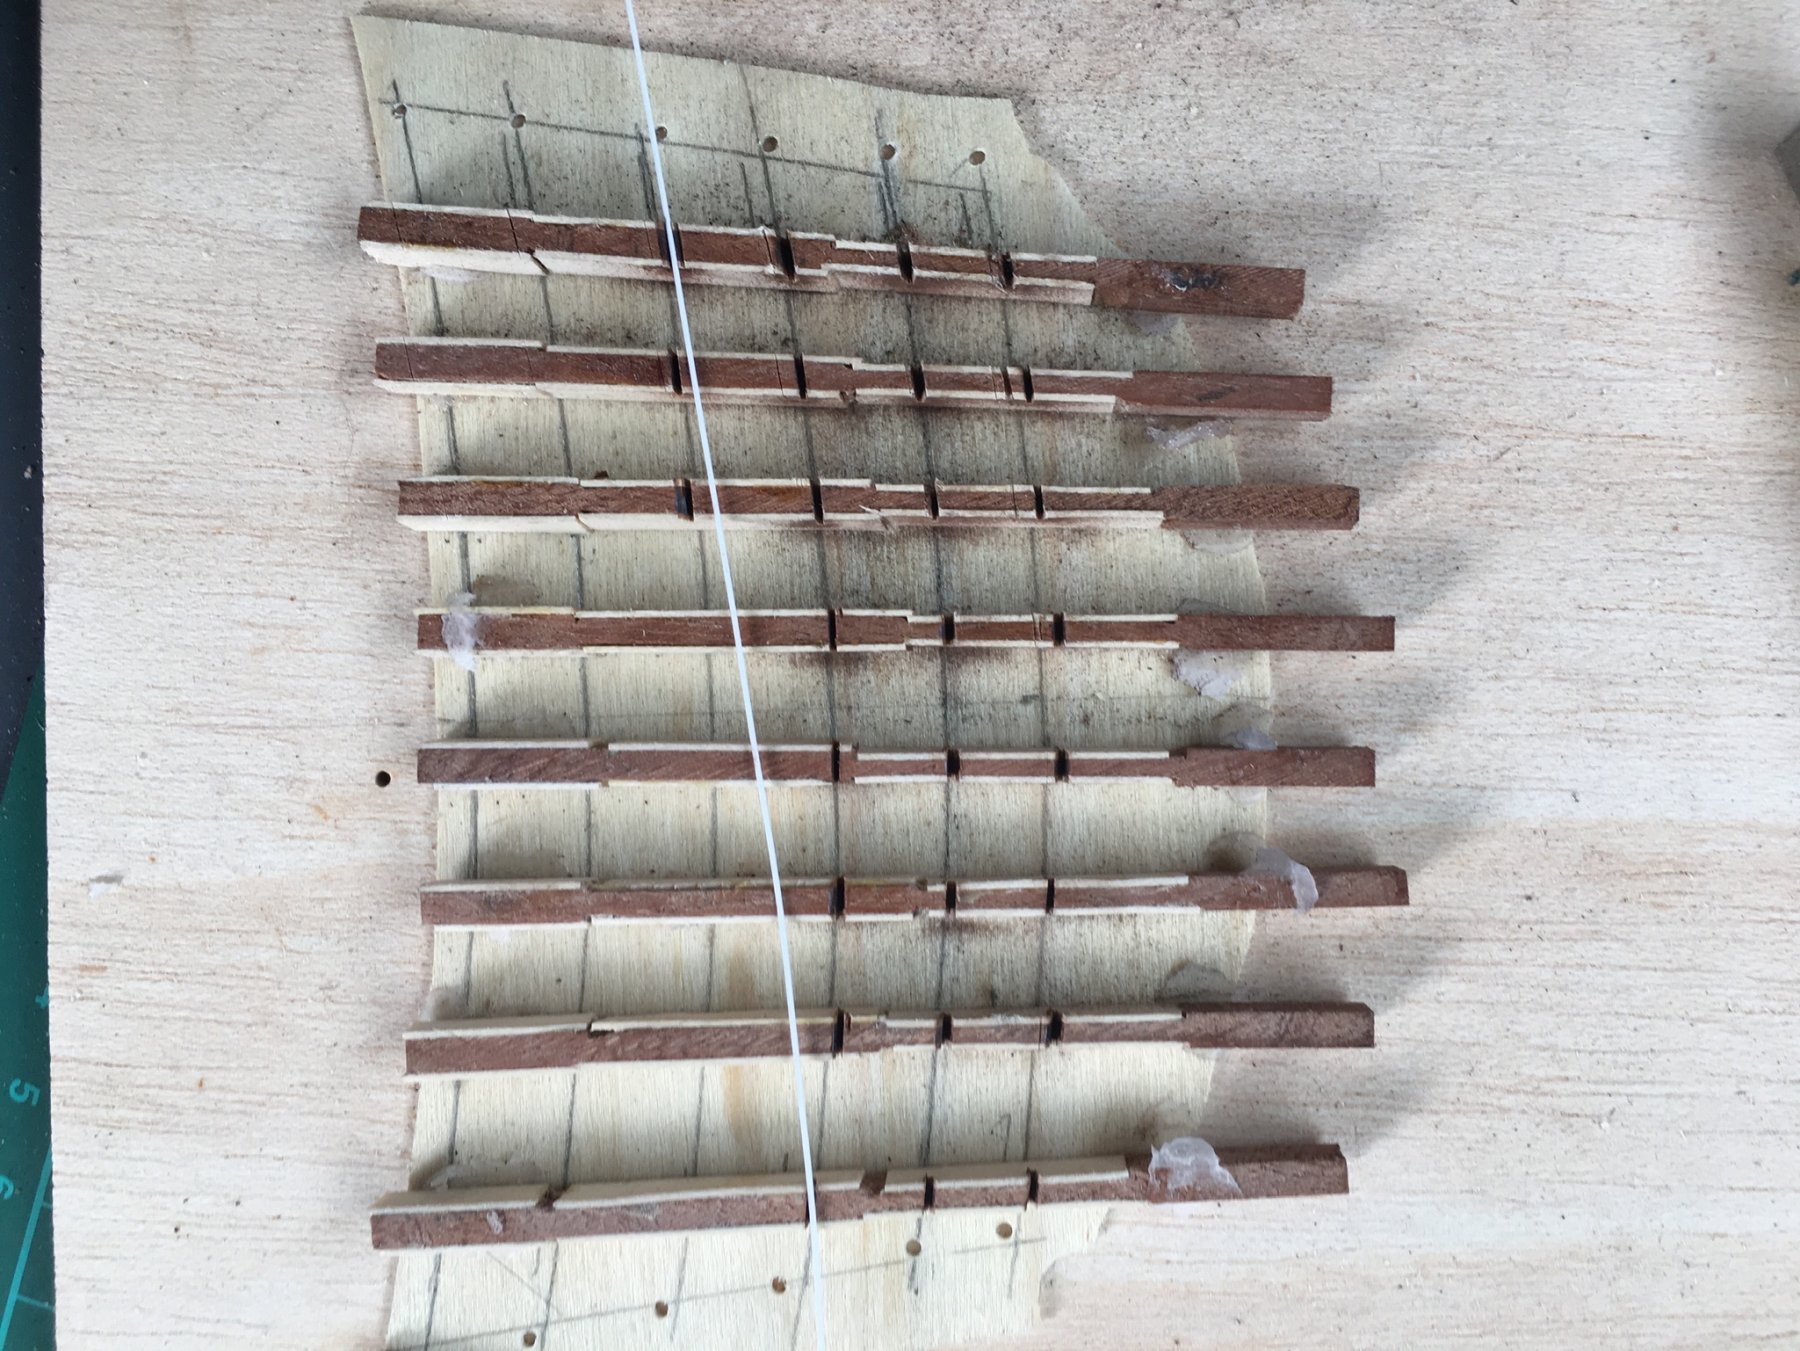
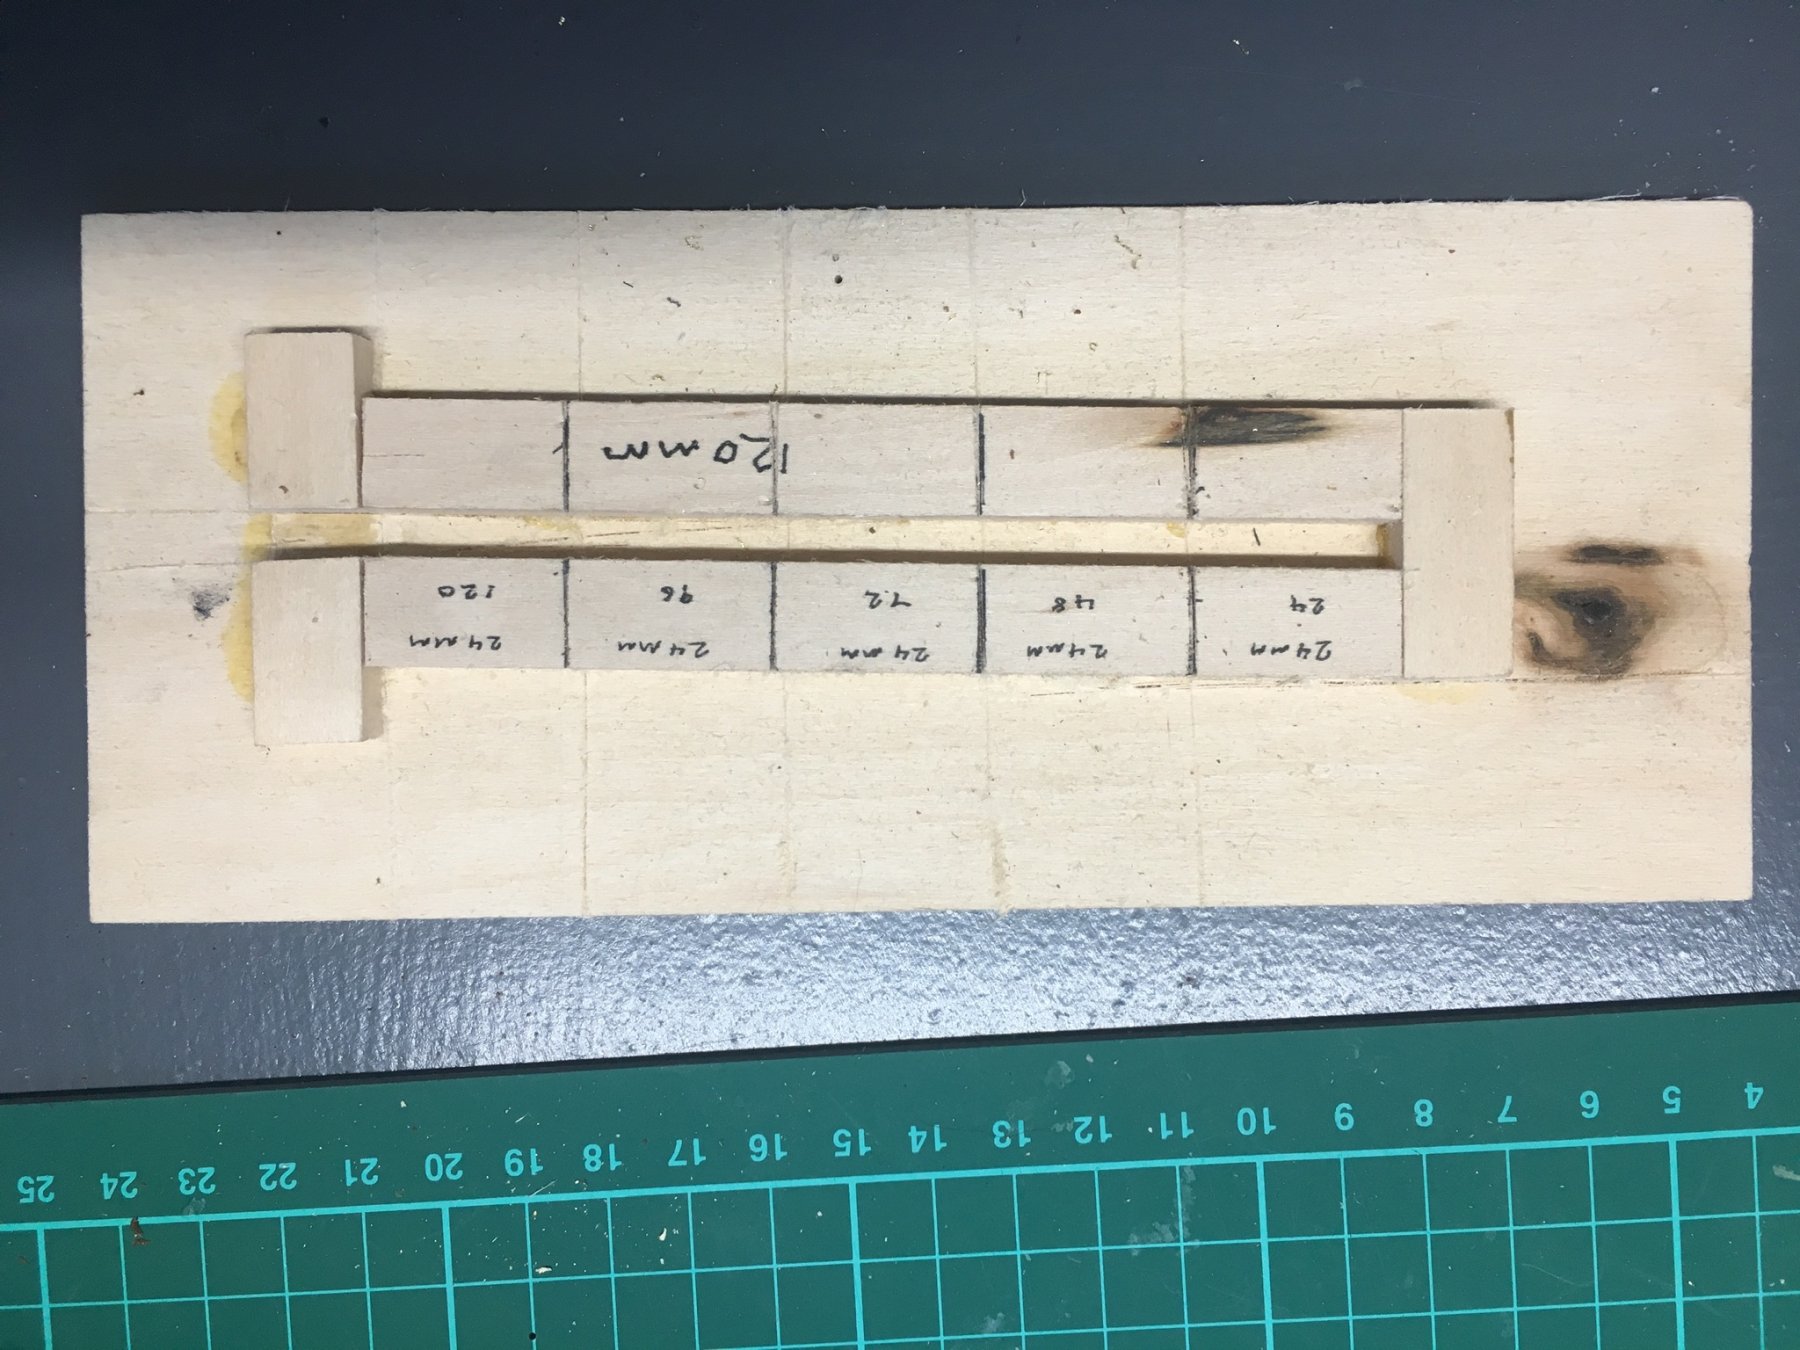
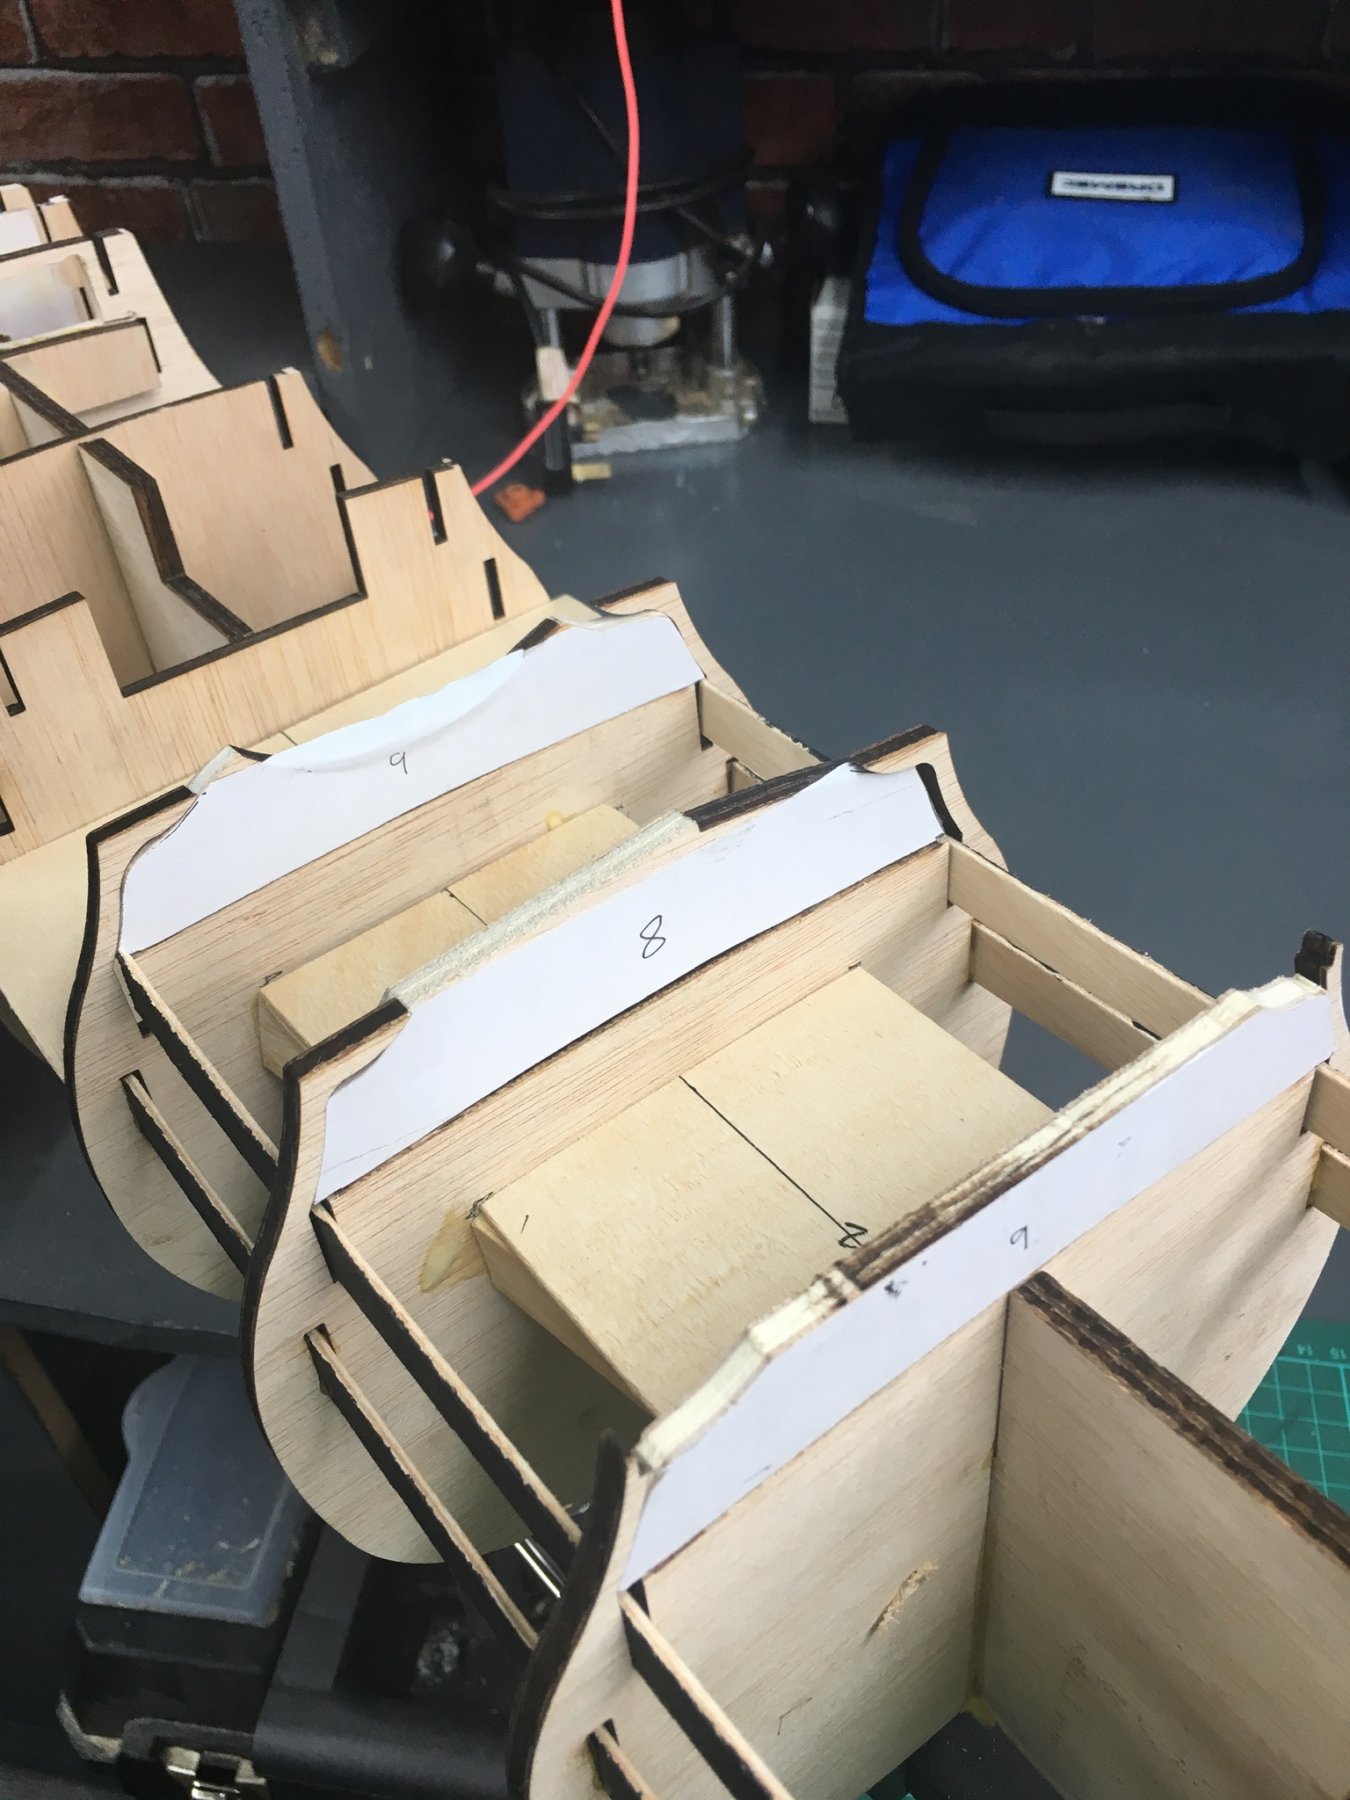
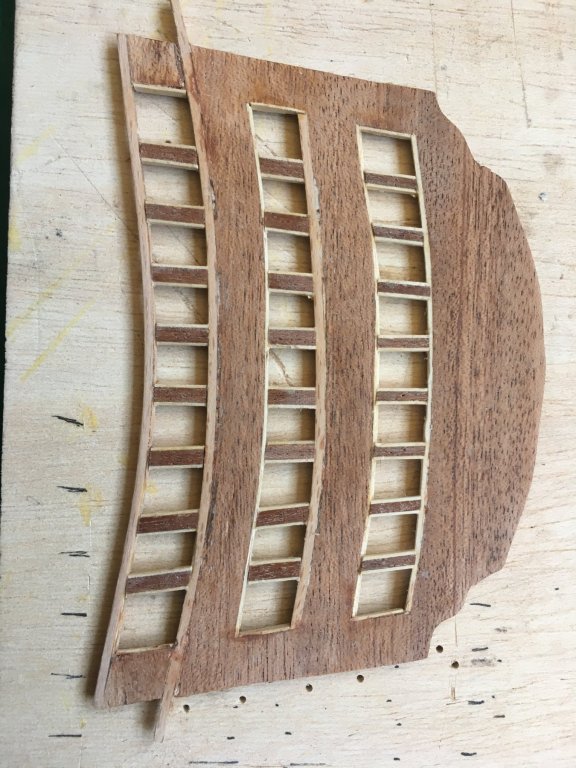
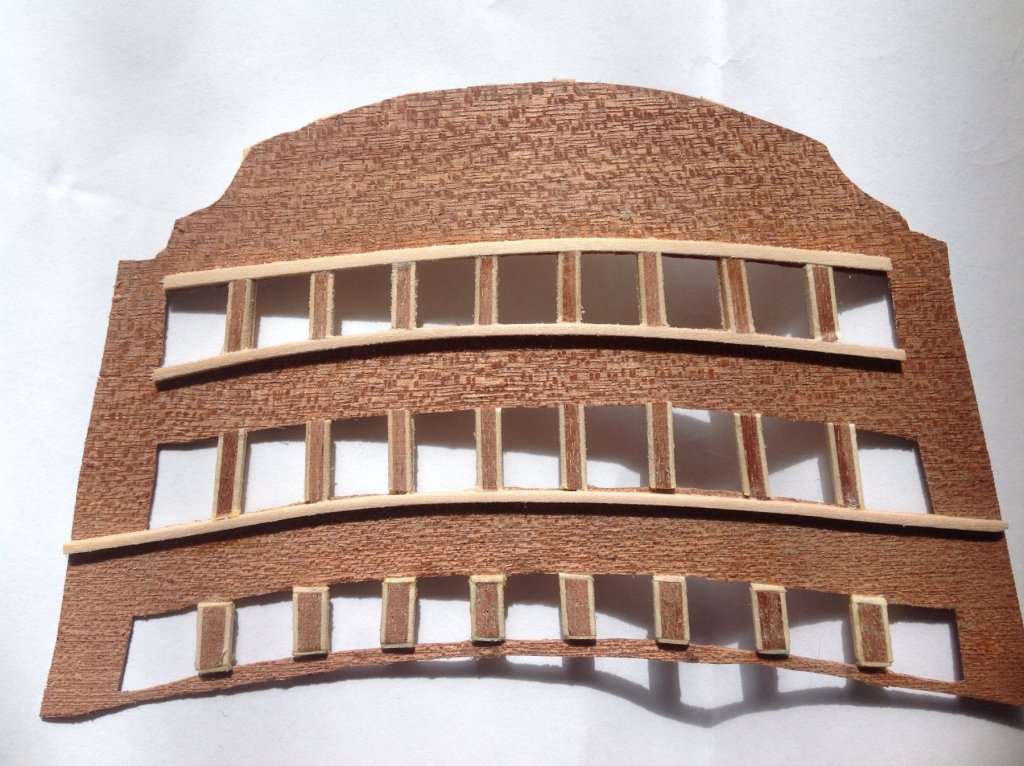
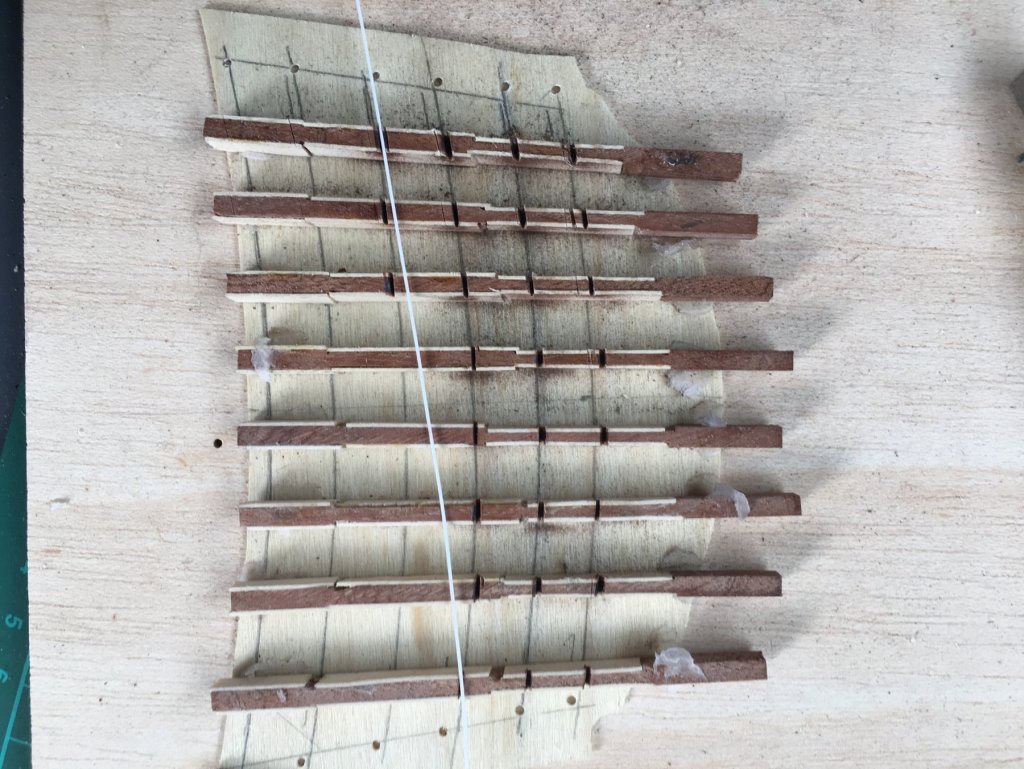
Update, laborious process of treenails continues, to break the monotony I have started the preps for the scratch build of the stern gallery as I do not like the kits method. Started by gradually narrowing the 8 uprights (they get thinner at the top of the gallery), then applying laminate pear wood, the next step will be to route out the areas that sit behind the actual stern decorations - best laid plans At the first attempt the stern gallery has not come out as I would have expected, so it's a matter of starting again - I am sure that this will not be the first time
-
Nothing like a challenge, just need to be methodical. Thanks
-
Hi Antony, Thanks for the comments, yes I was a submariner for 26 years on both Diesel and Nuclear RN submarines, actually served on HMS Victory on Buffers party in the late 70's. My decision to include LED Lighting came about when thinking how best to improve the crap Constructo Stern Gallery, but with decisions like this comes lots of forward planning and thought process - a great deal of chicken before the egg; This is the most challenging aspect of the lighting to tell you the truth, tha actual lighting is very simple - couple of LED's lighting some 1mm fibre optic cable - just drill 1mm holes to place the fibre optic. But as mentioned - thinking ahead is why I am focussing on the stern gallery scratch build so that the lanterns, captains, admirals quarters and lower gun decks are lit. One step forward ten steps back. reference materials - so many, I'll list them later in this build log, what I do find useful is the Excel spreadsheet with all the part numbers and descriptions (see one of the earlier posts).
- 30 replies
-
- 1
-
-
- victory
- constructo
- (and 1 more)
-
Update, laborious process of treenails continues, to break the monotony I have started the preps for the scratch build of the stern gallery as I do not like the kits method. Started by gradually narrowing the 8 uprights (they get thinner at the top of the gallery), then applying laminate pear wood, the next step will be to route out the areas that sit behind the actual stern decorations - best laid plans

- 30 replies
-
- 2
-
-
- victory
- constructo
- (and 1 more)
-
Thanks Paul, you're a star. Whilst routing my fibre optic lighting, I am jumping ahead a little before planking and designing how I will construct the stern gallery - thinking of scratch building this as I don't like the Constructo look, need to do this as I also want to encorporte the stern lighting before everything is sealed up. will post some photos on build log when I've resolved how to go about it.
-
Paul, when you suggest adding to the depth of the cannon board, which side of the boards would you add to, inboard / outboard - want to include on my Vic before I add the Fibre optic lights. Thanks in advance
-
Still need to drill a few more holes for treenails - but you get the general idea?
- 30 replies
-
- 1
-
-
- victory
- constructo
- (and 1 more)
-
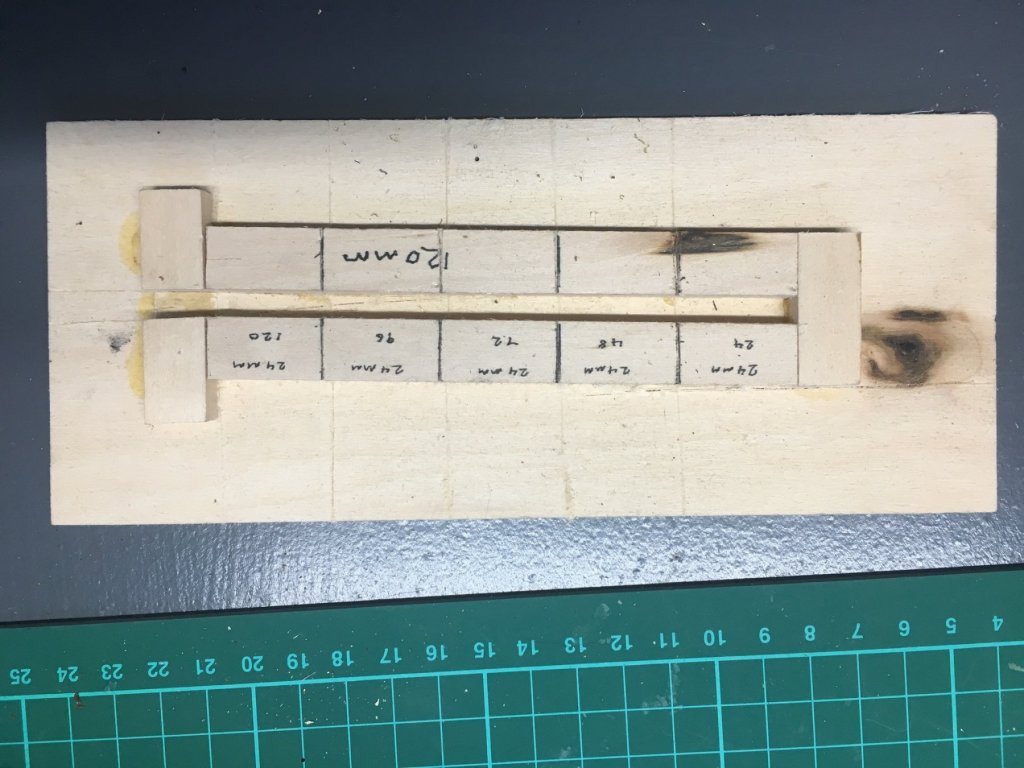
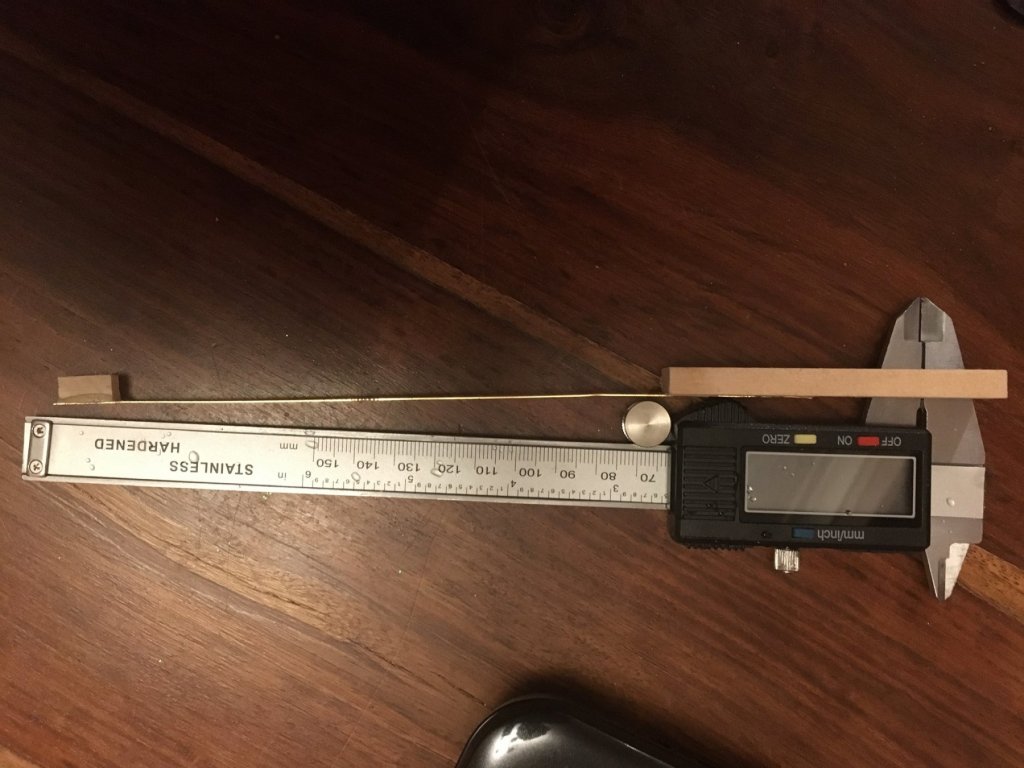
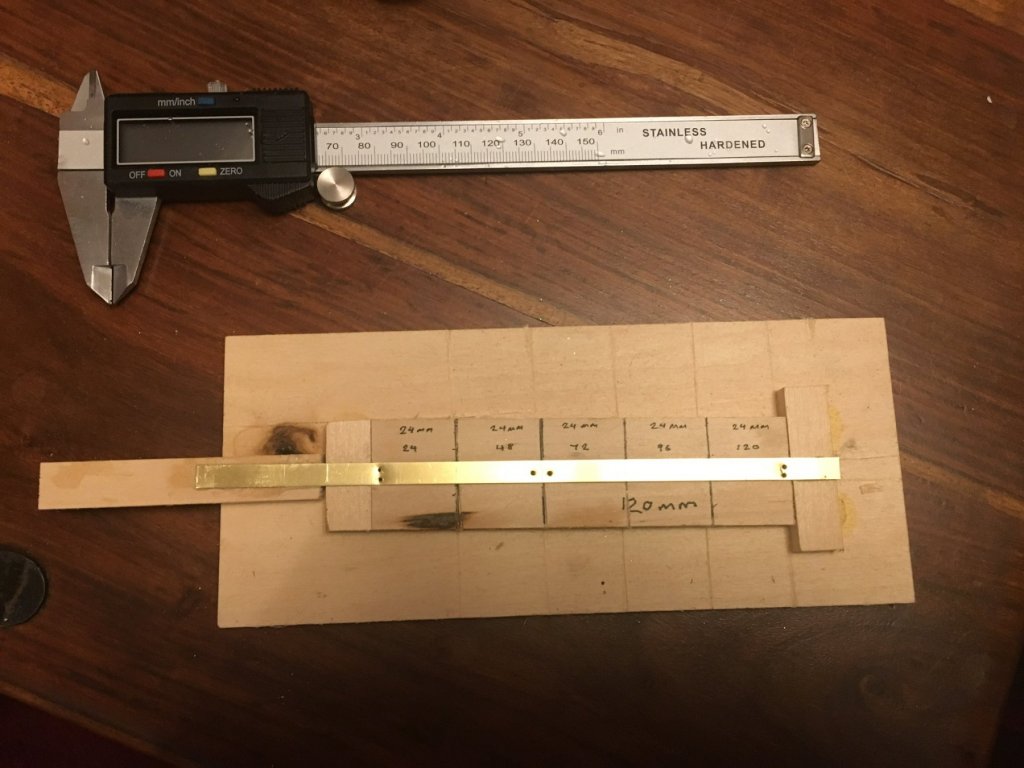
Now the deck planking jig has been tested, the additional jig to drill the treenails (trunalls) has been made to fit - simple brass strip 5mm wide with locator pieces glued so that I can get consistent results - so the tedious process of cut, drill and caulk until all are needed. Luckily, I can practice on the lower decks which won't really be visible to hone in my skills.
- 30 replies
-
- 1
-
-
- victory
- constructo
- (and 1 more)
-
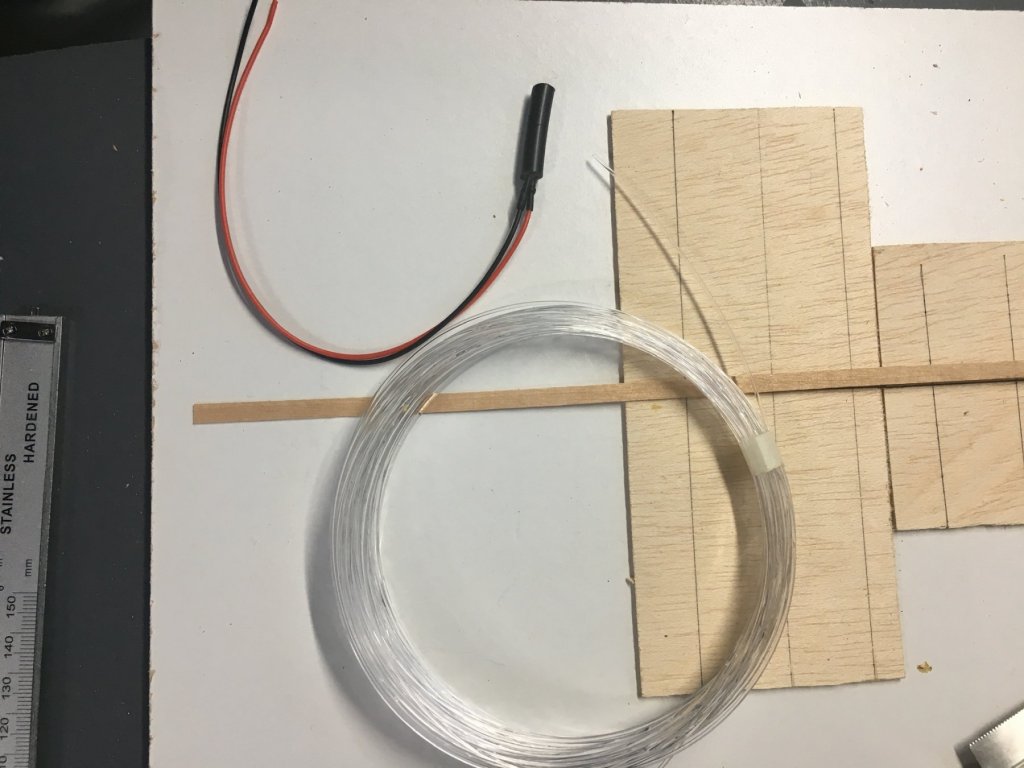
Fibre Optic preps next on the agenda - I have opted for battery power instead of mains as I have no idea if the completed model will sit near any power sockets - just cannot think that far ahead!
- 30 replies
-
- 1
-
-
- victory
- constructo
- (and 1 more)
-
Planking jig made
-
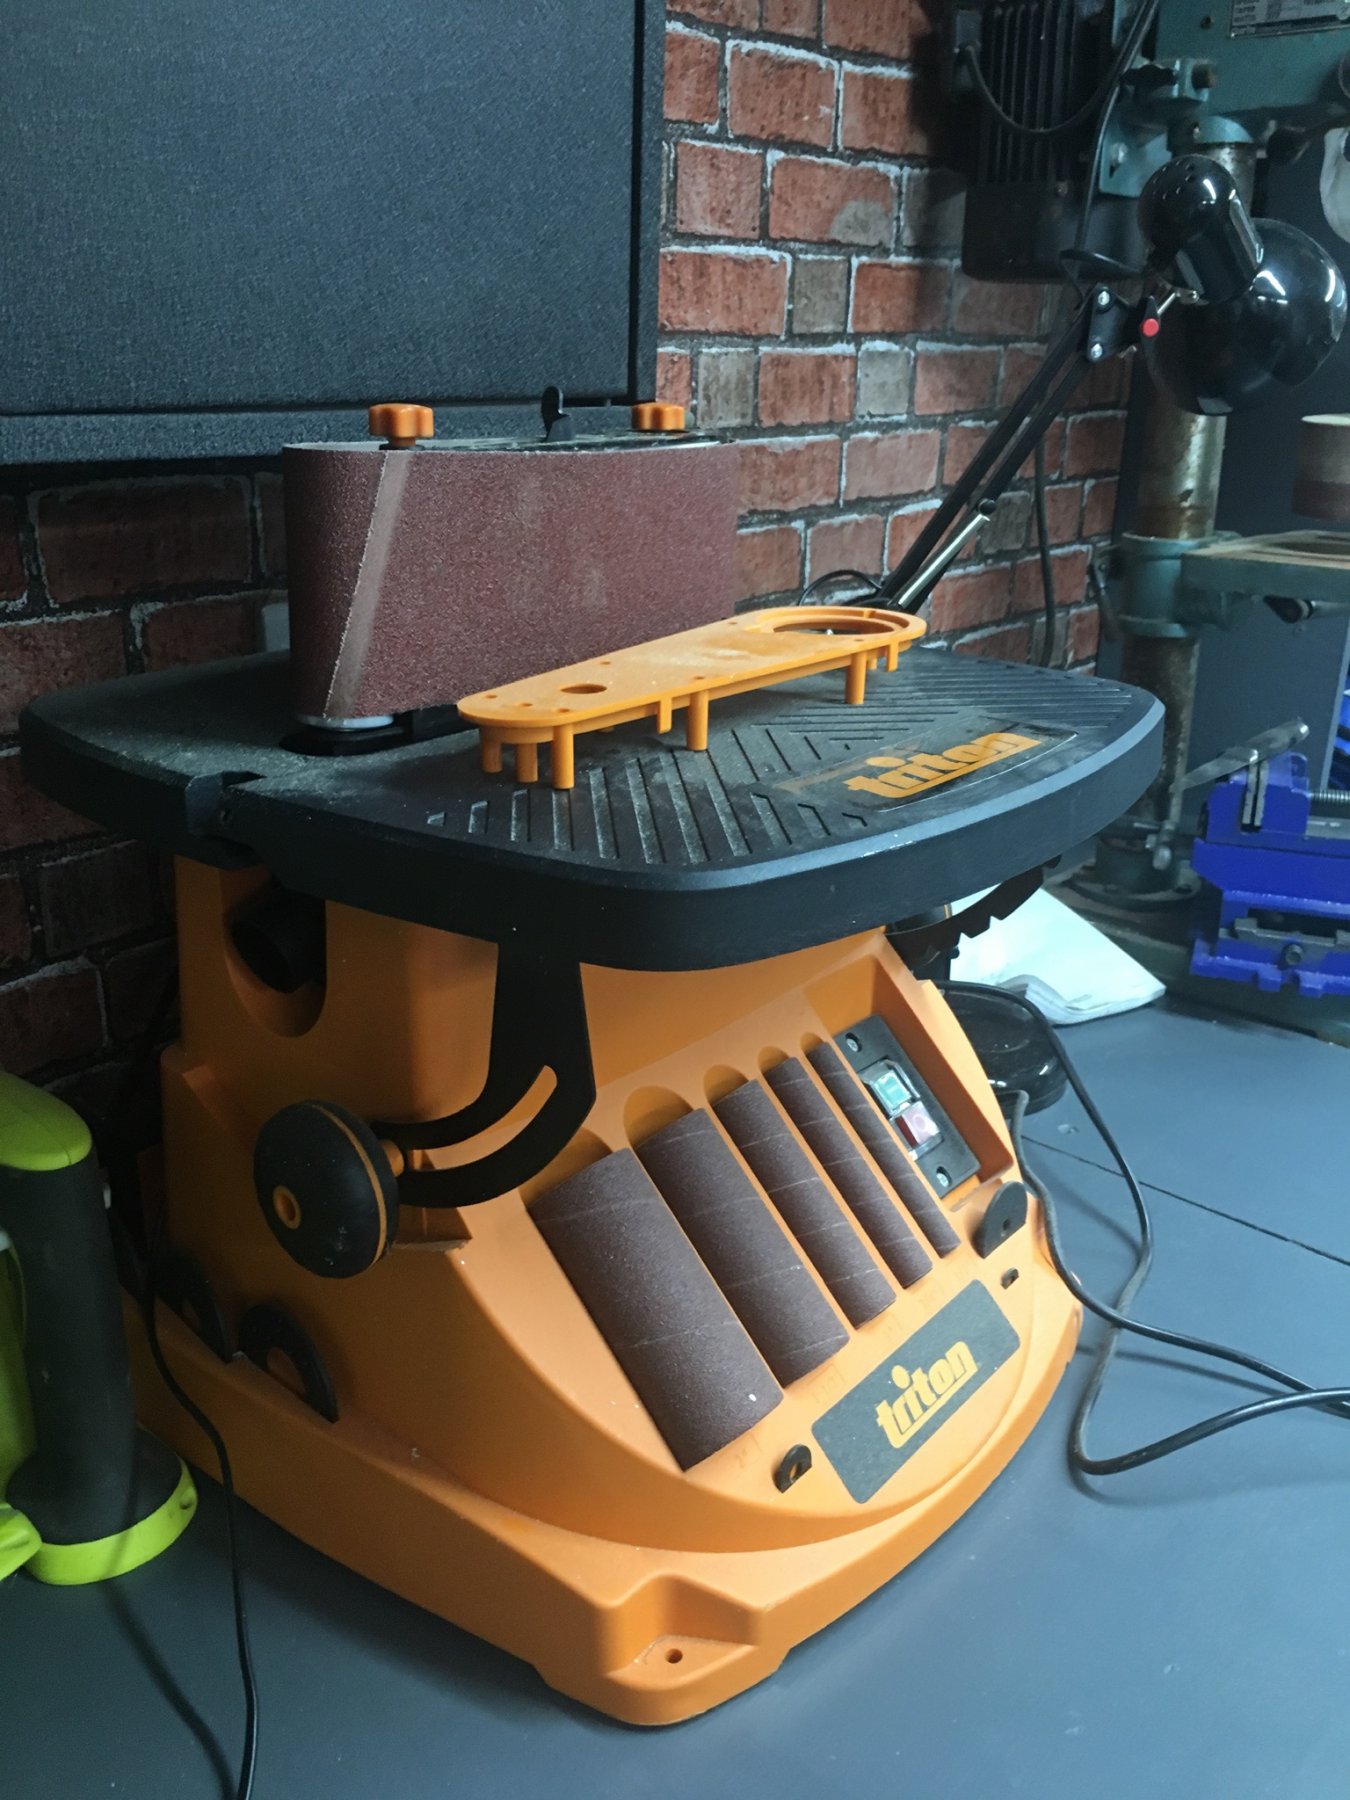
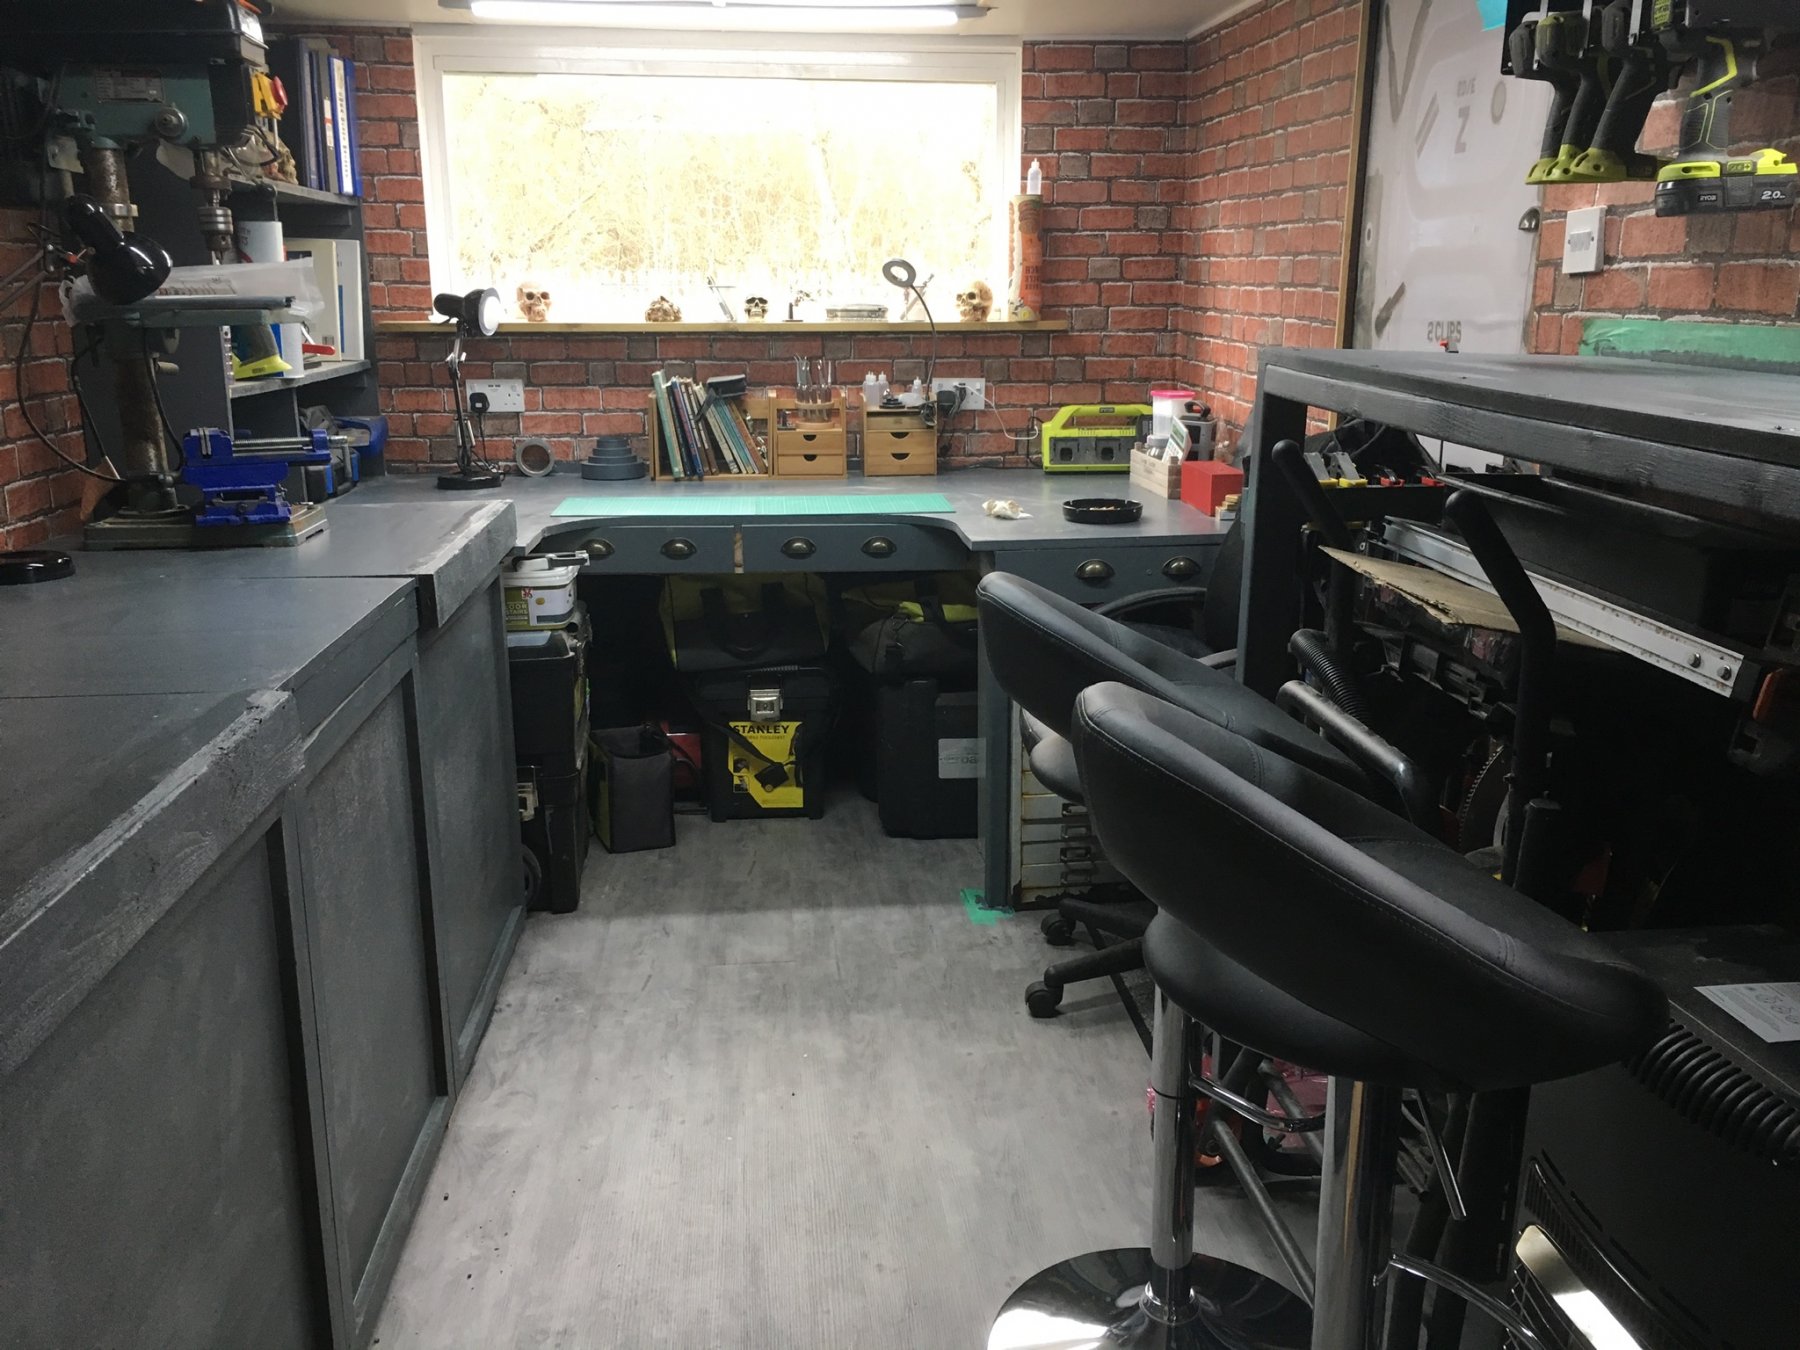
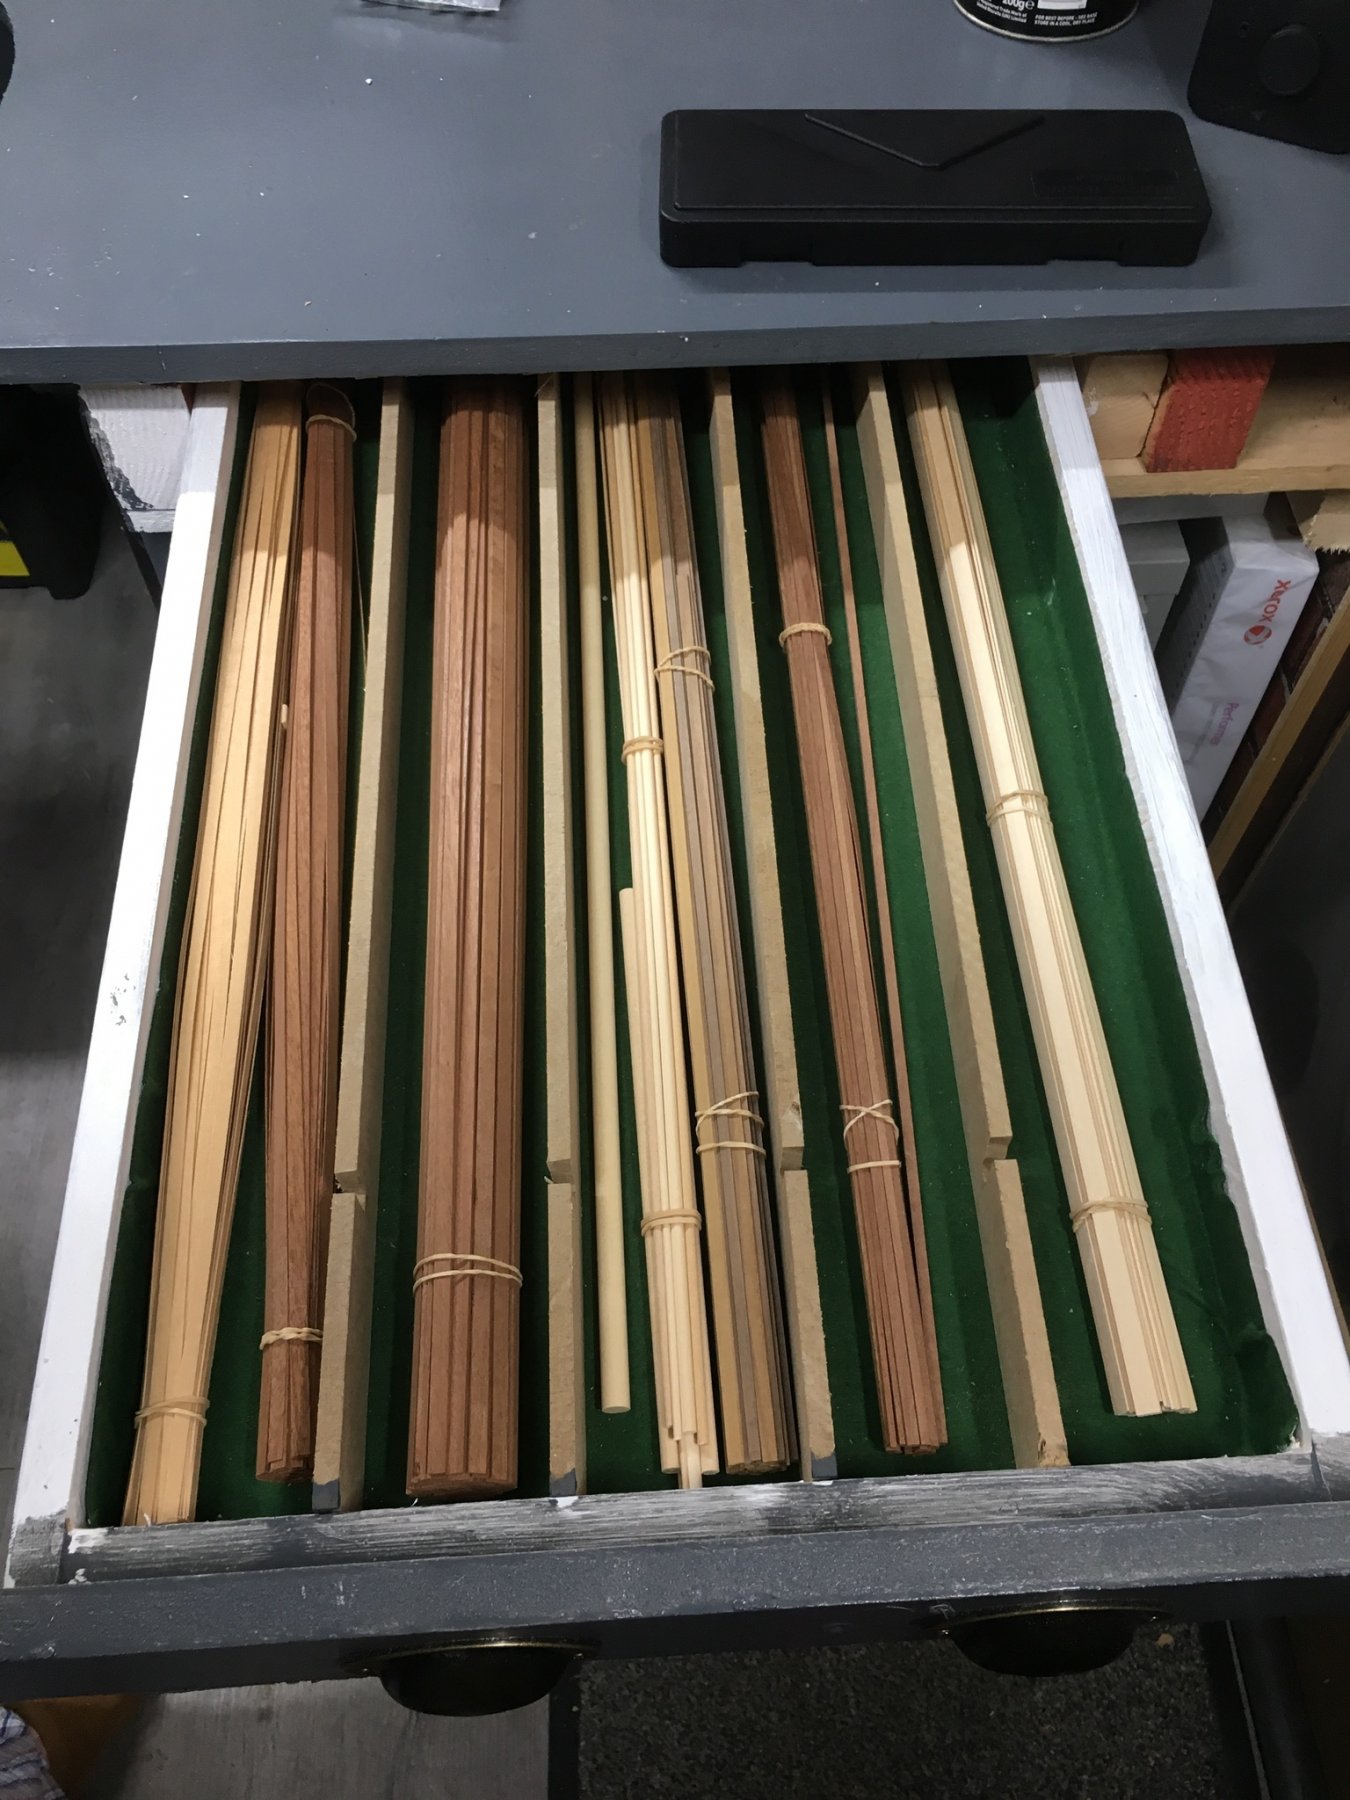
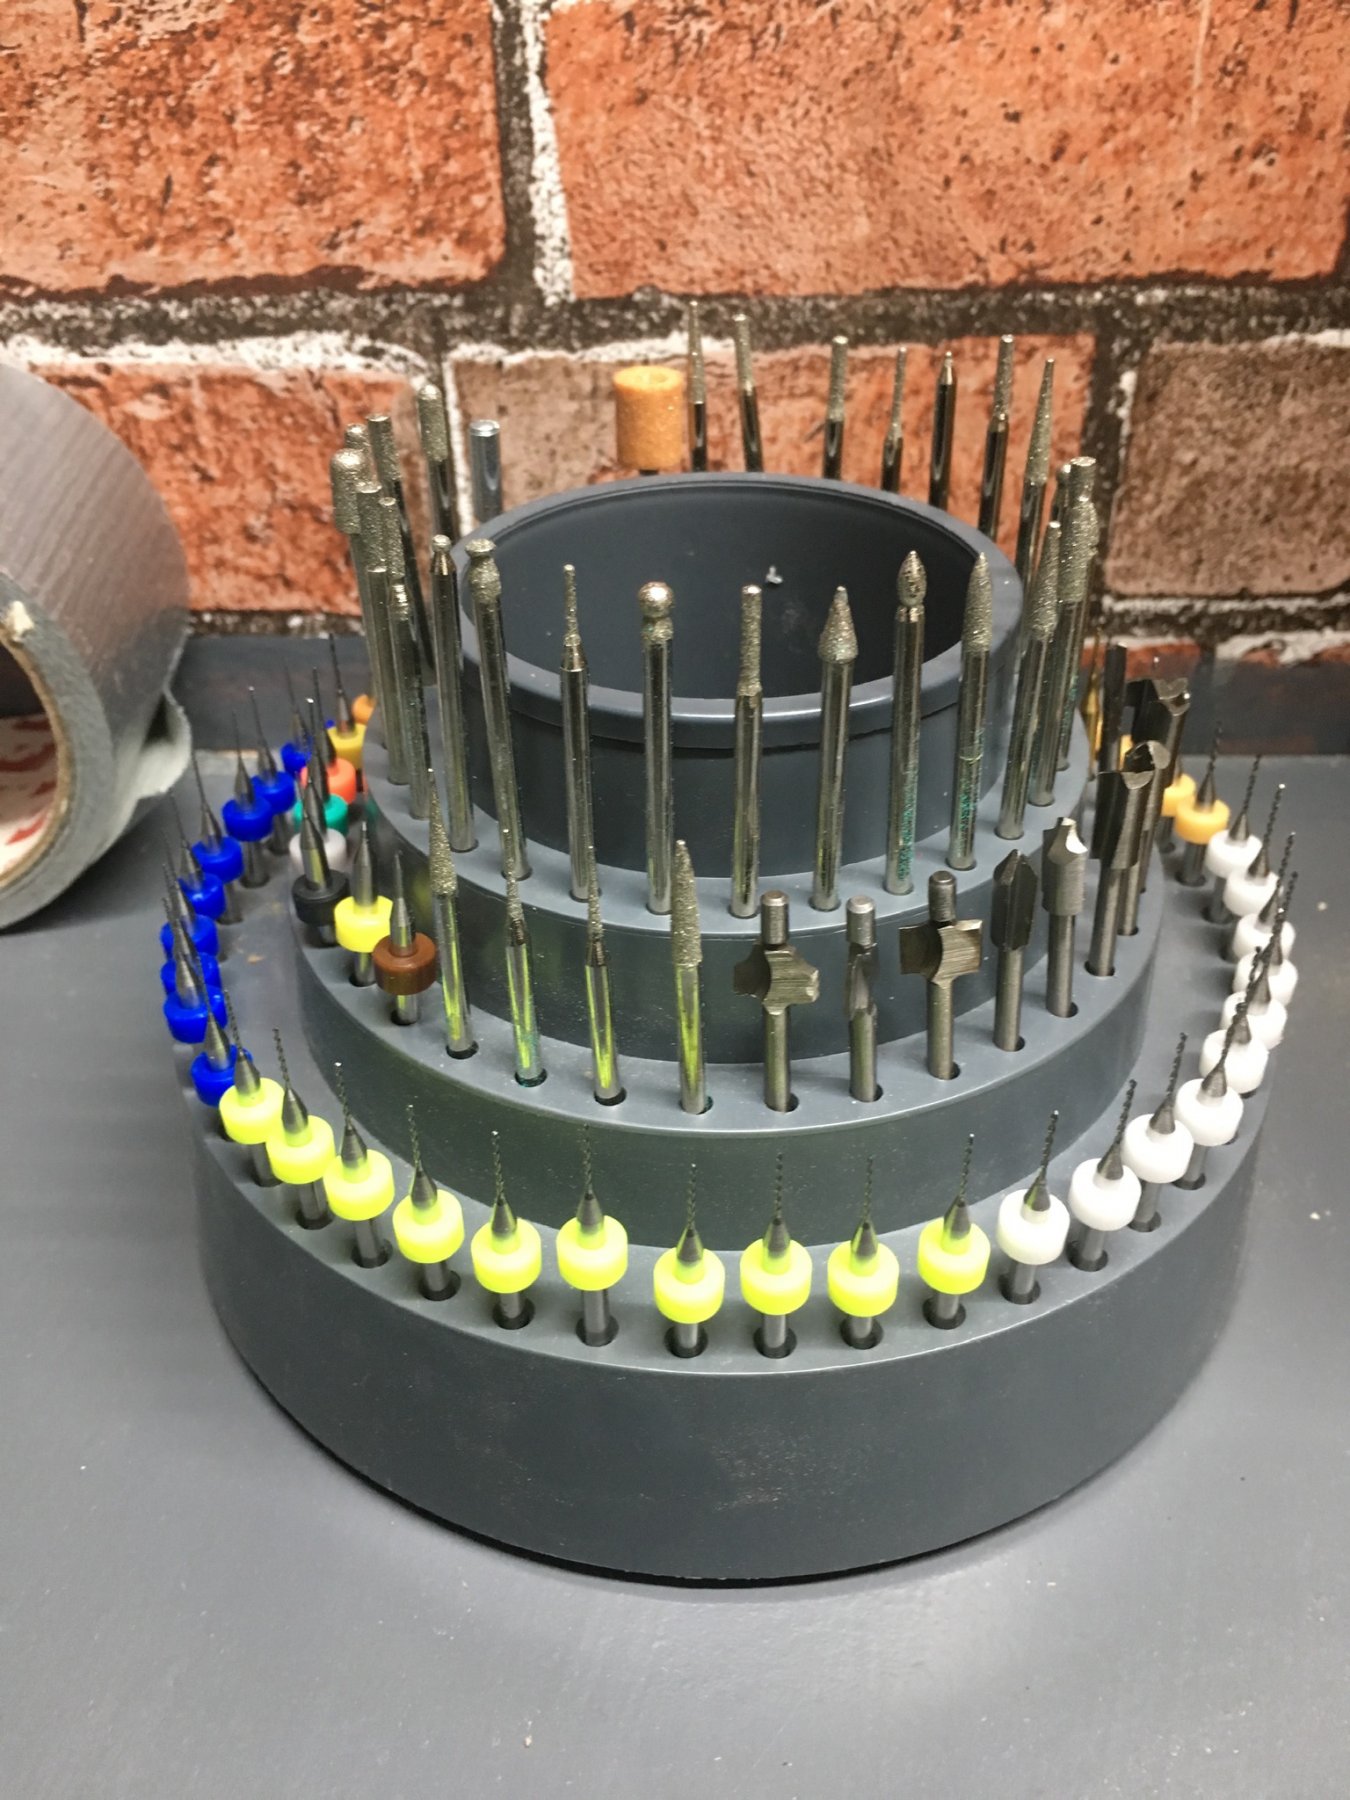
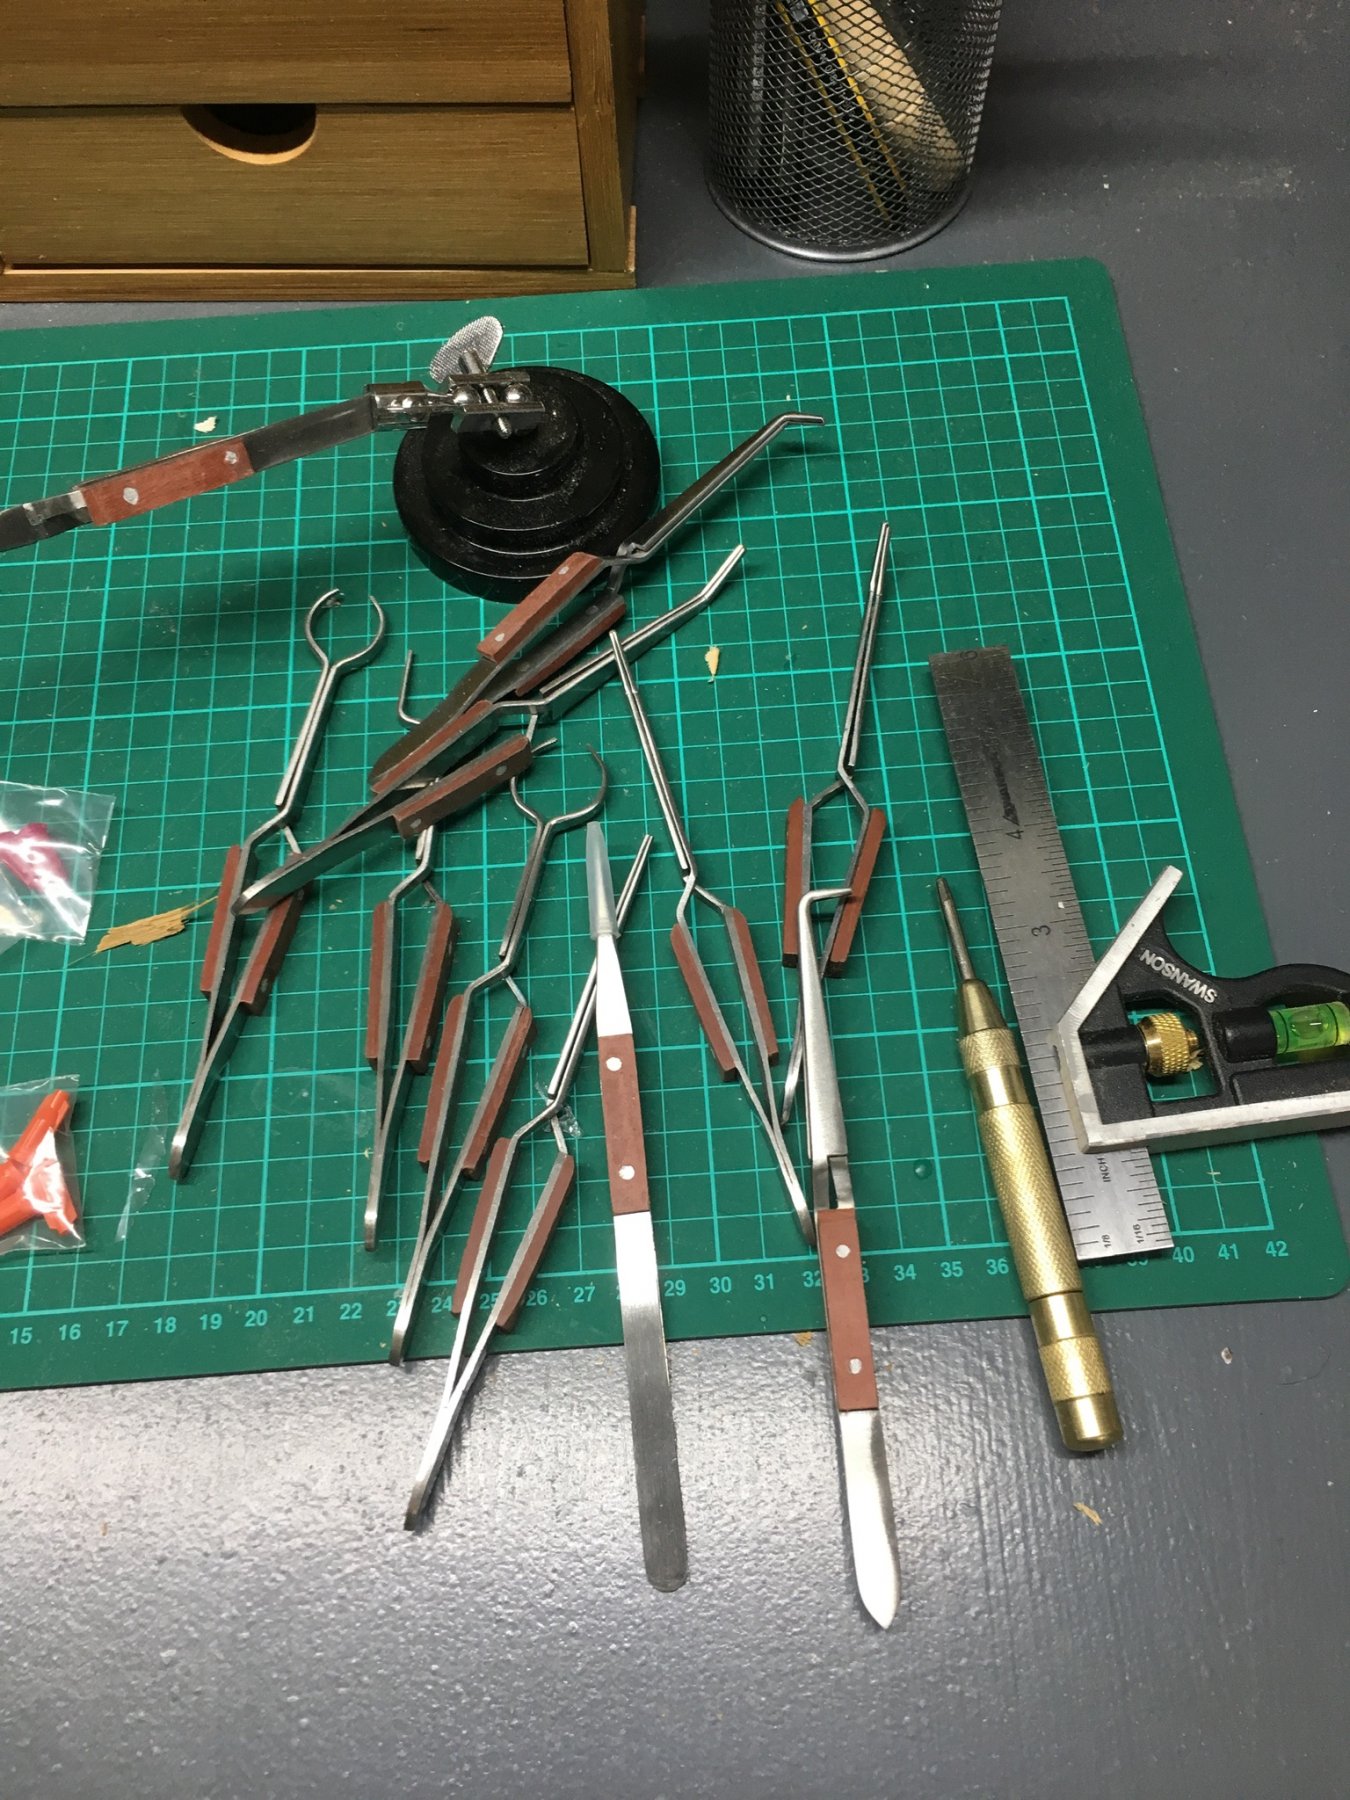
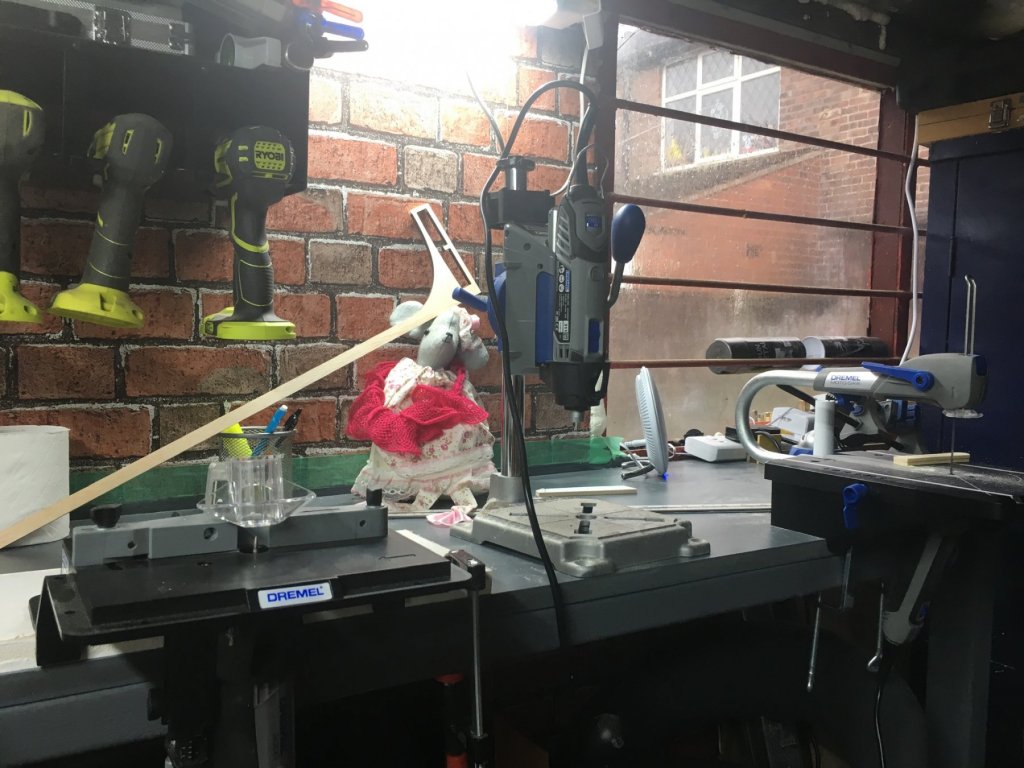
Some of the workshop bits and bats that may help me way or another? god bless Dremel

-
Thanks for the comments, very much appreciated. Had a great deal of down time to read forums, plan ahead and micro manage what I wanted to do - had the kit for nearly 4 years, and lots of stops and starts. Just got my teeth into it only to find out that I am having more surgery on my shoulder on 15th March, but this shouldn't limit my progress. Don't want to rush it, just build methodically and learn from others. Thanks
-
Constructo!!!!! The planking in the kit leaves a lot to be desired???? look at the warp!

-
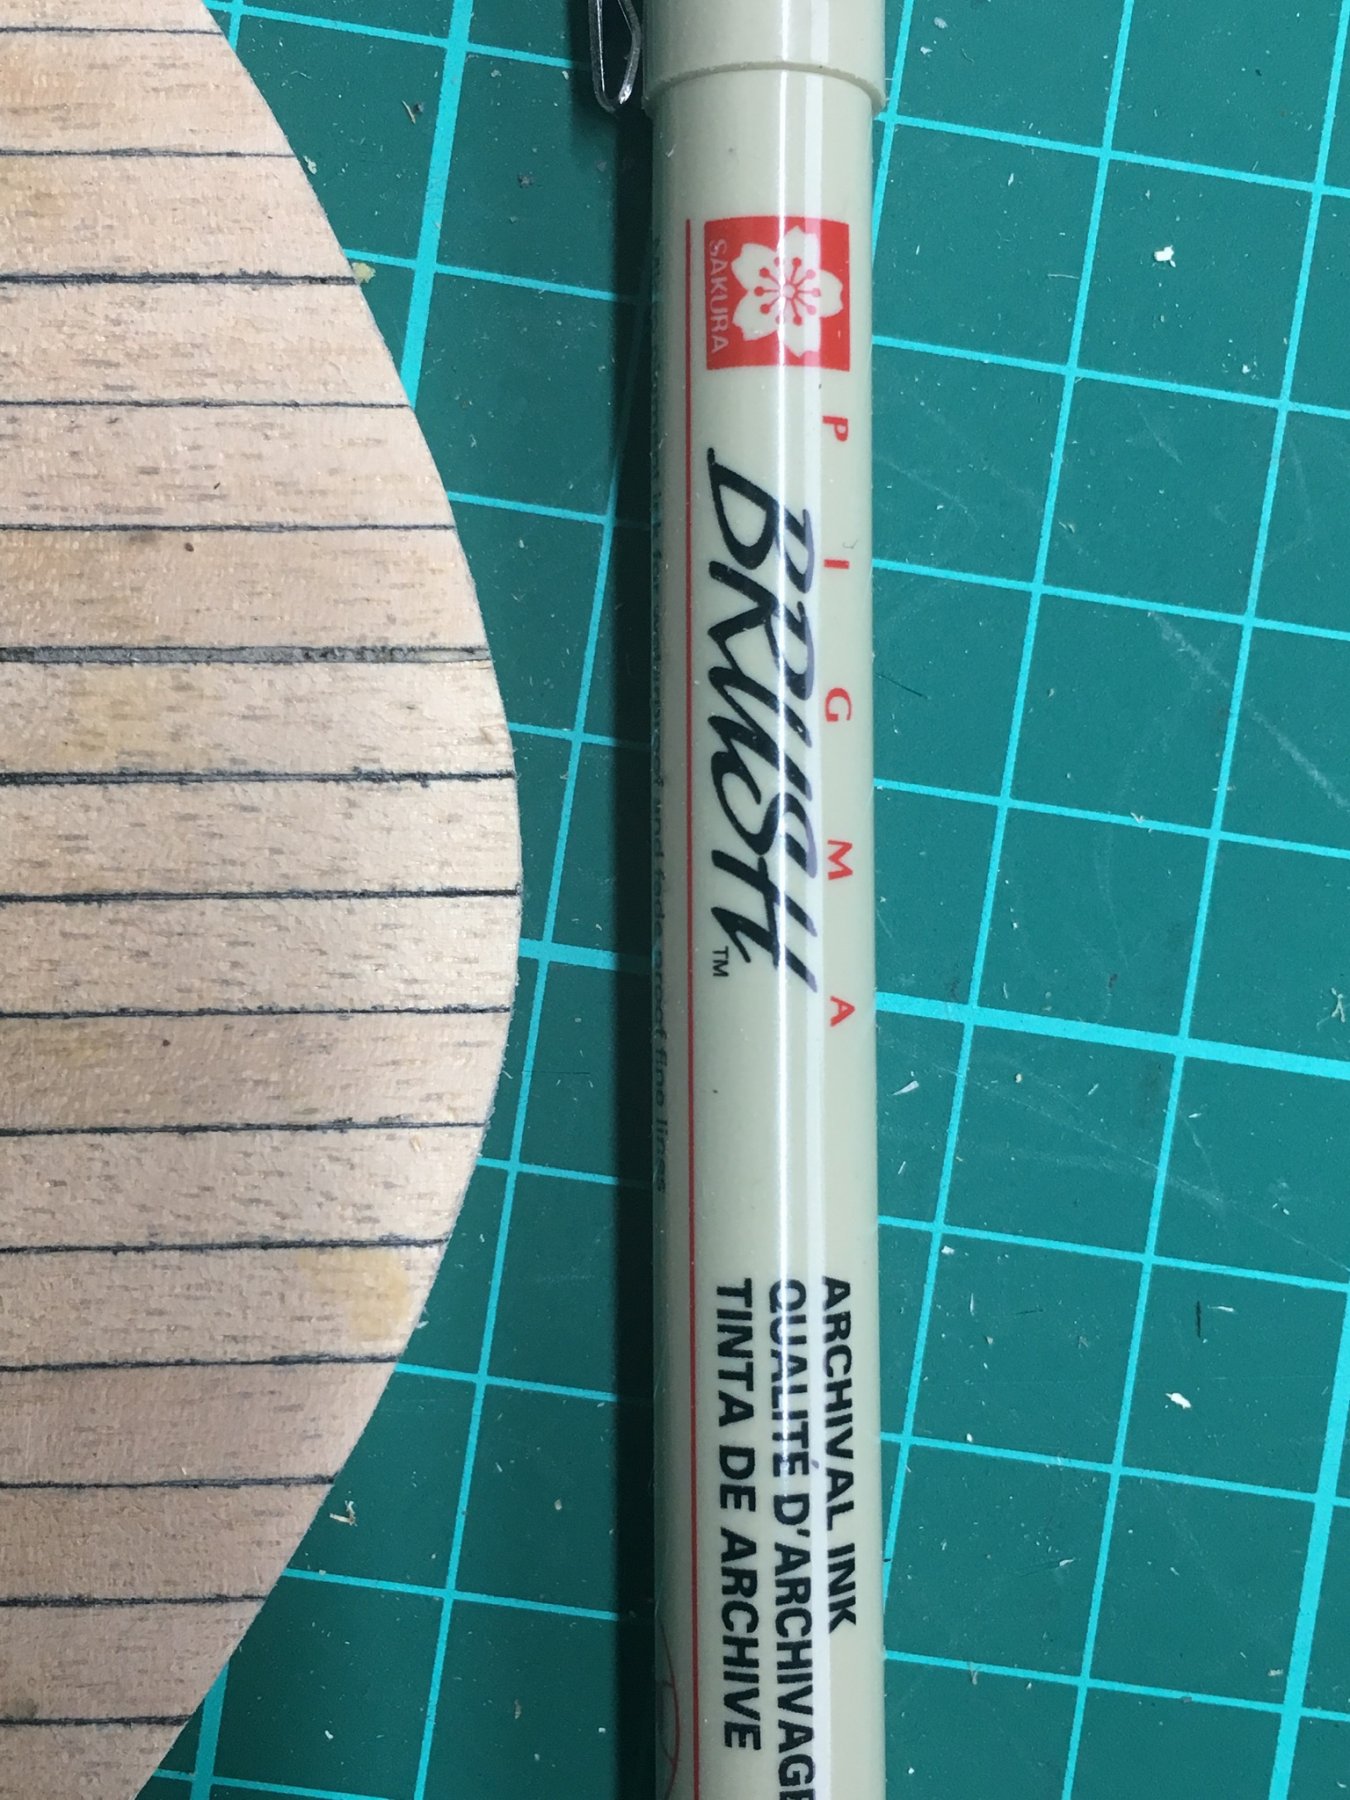
Trial and error caulking, eventually decided on using the method of Archival ink brush that does not leach too far:

-
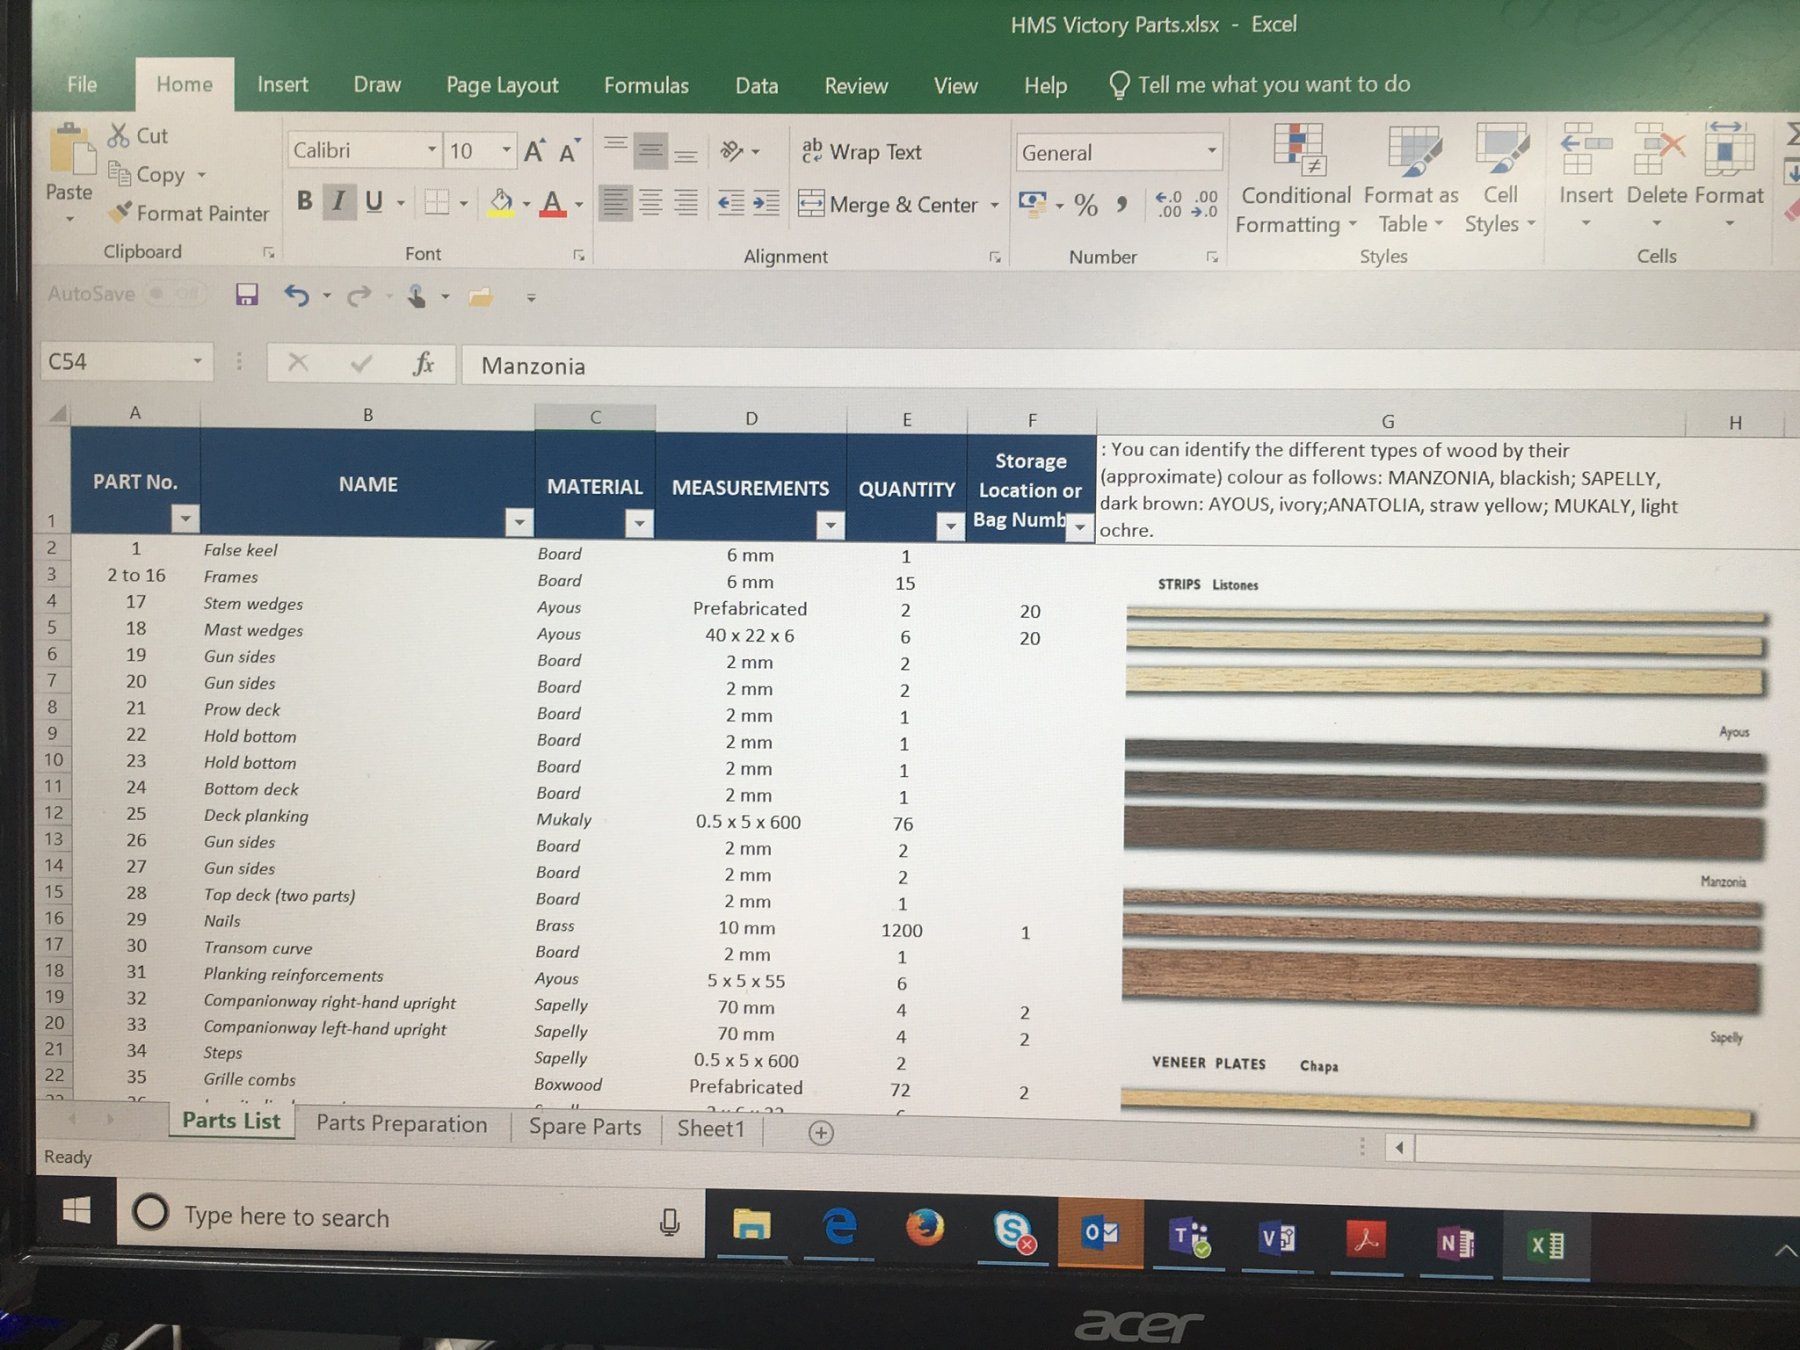
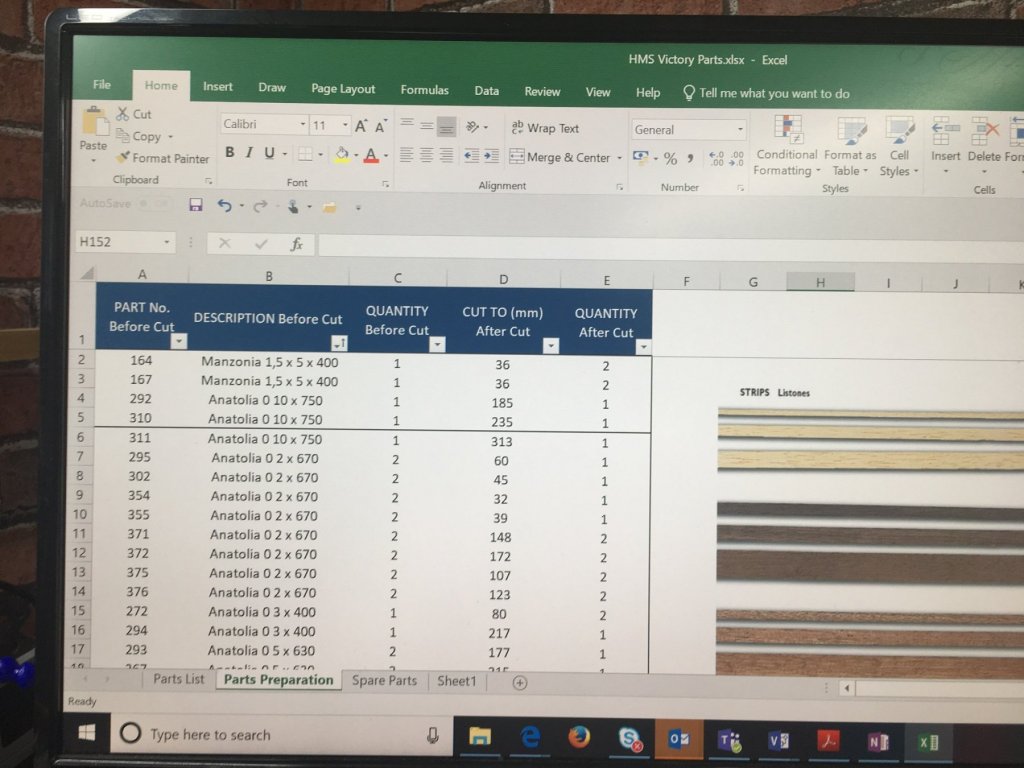
During my time of immobility I completed the Excel document of parts so they are easy to find, screenshots below:

- 30 replies
-
- 1
-
-
- victory
- constructo
- (and 1 more)
-
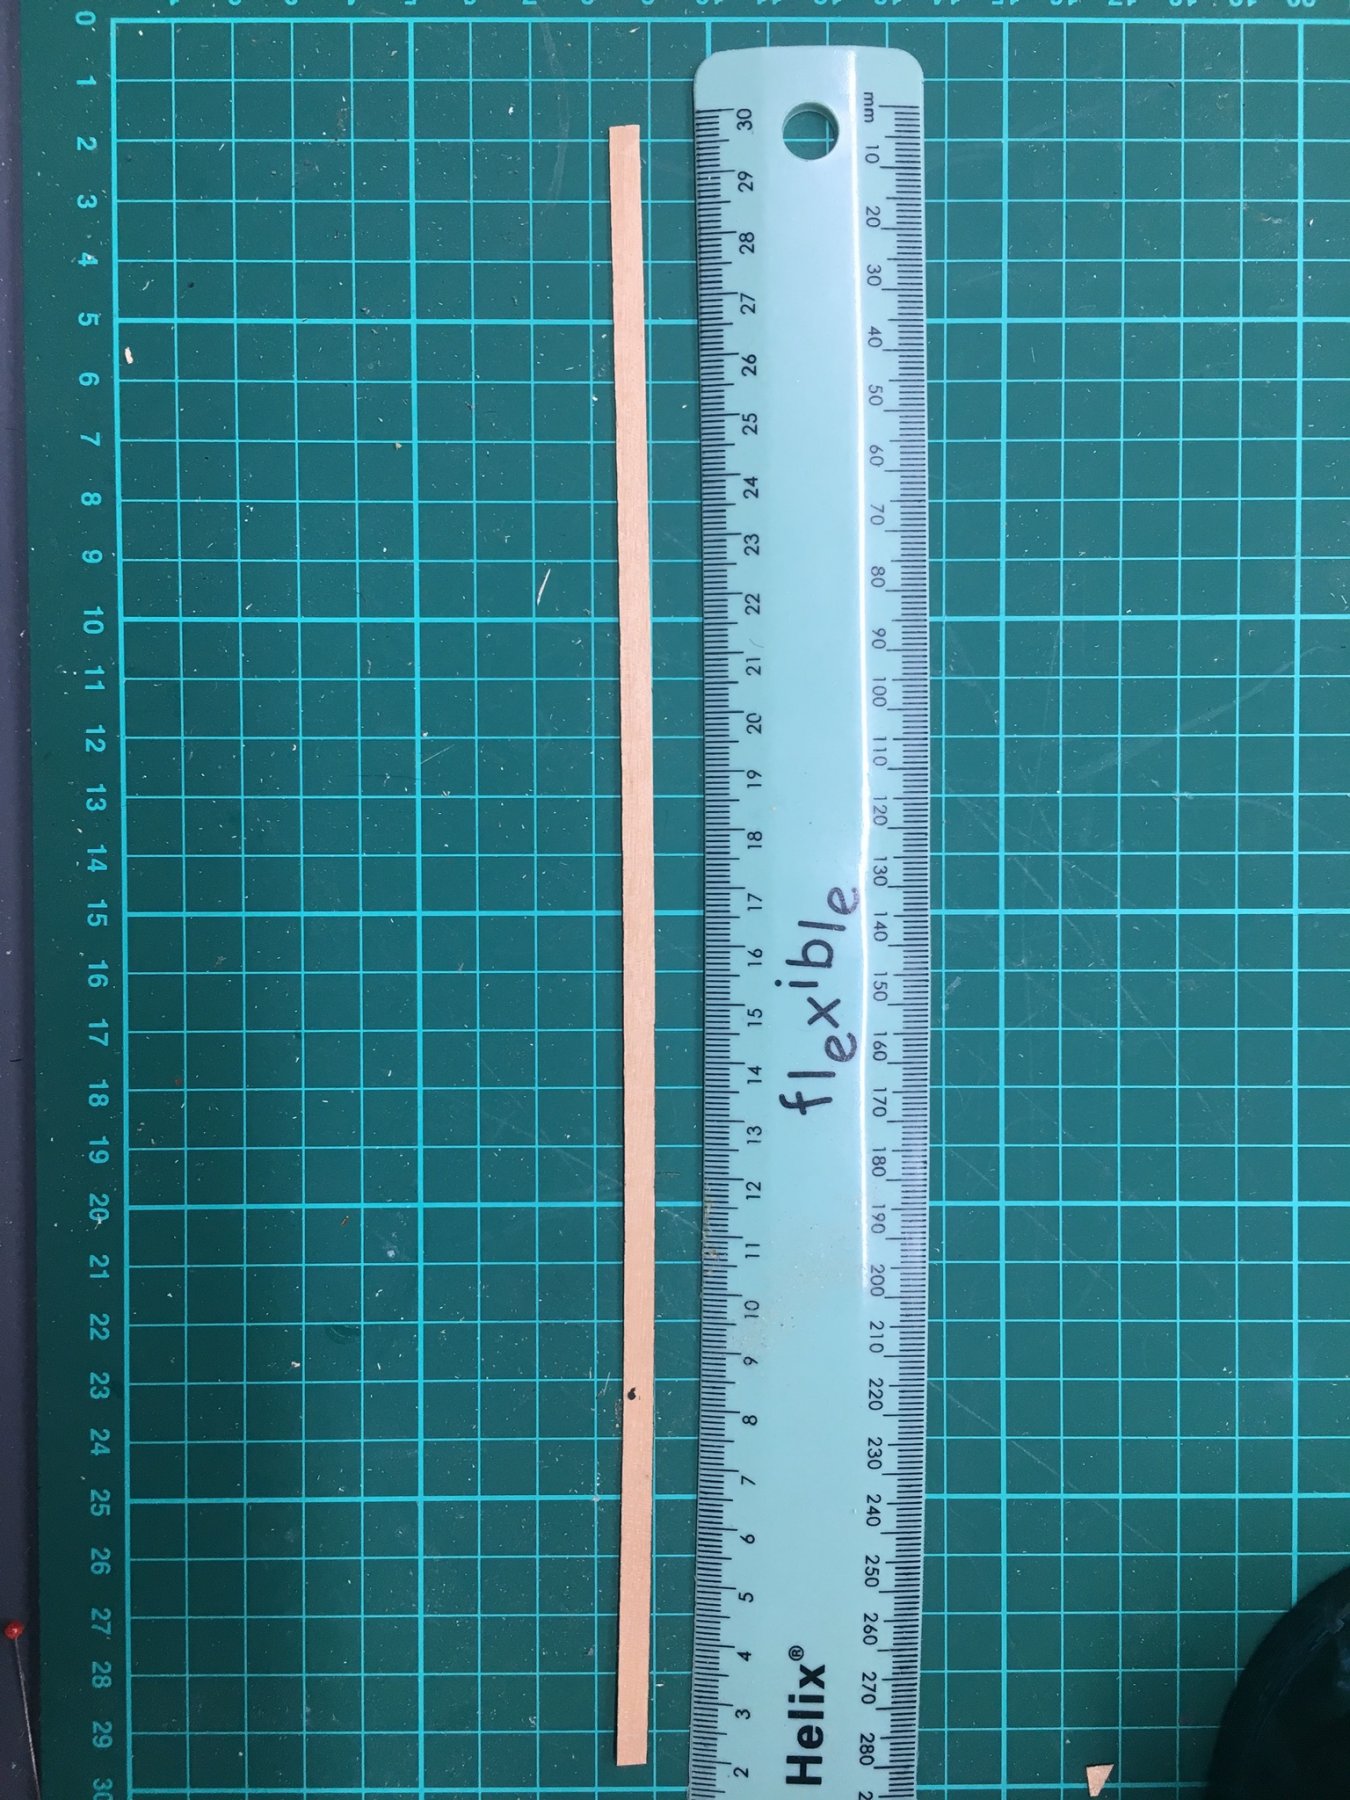
Have heard nightmares about fragile pieces breaking off inadvertently, so learning lessons from others on this forum. Have cut temporary fillets to hopefully prevent this happening during build - will have adjust when decking is laid.

-
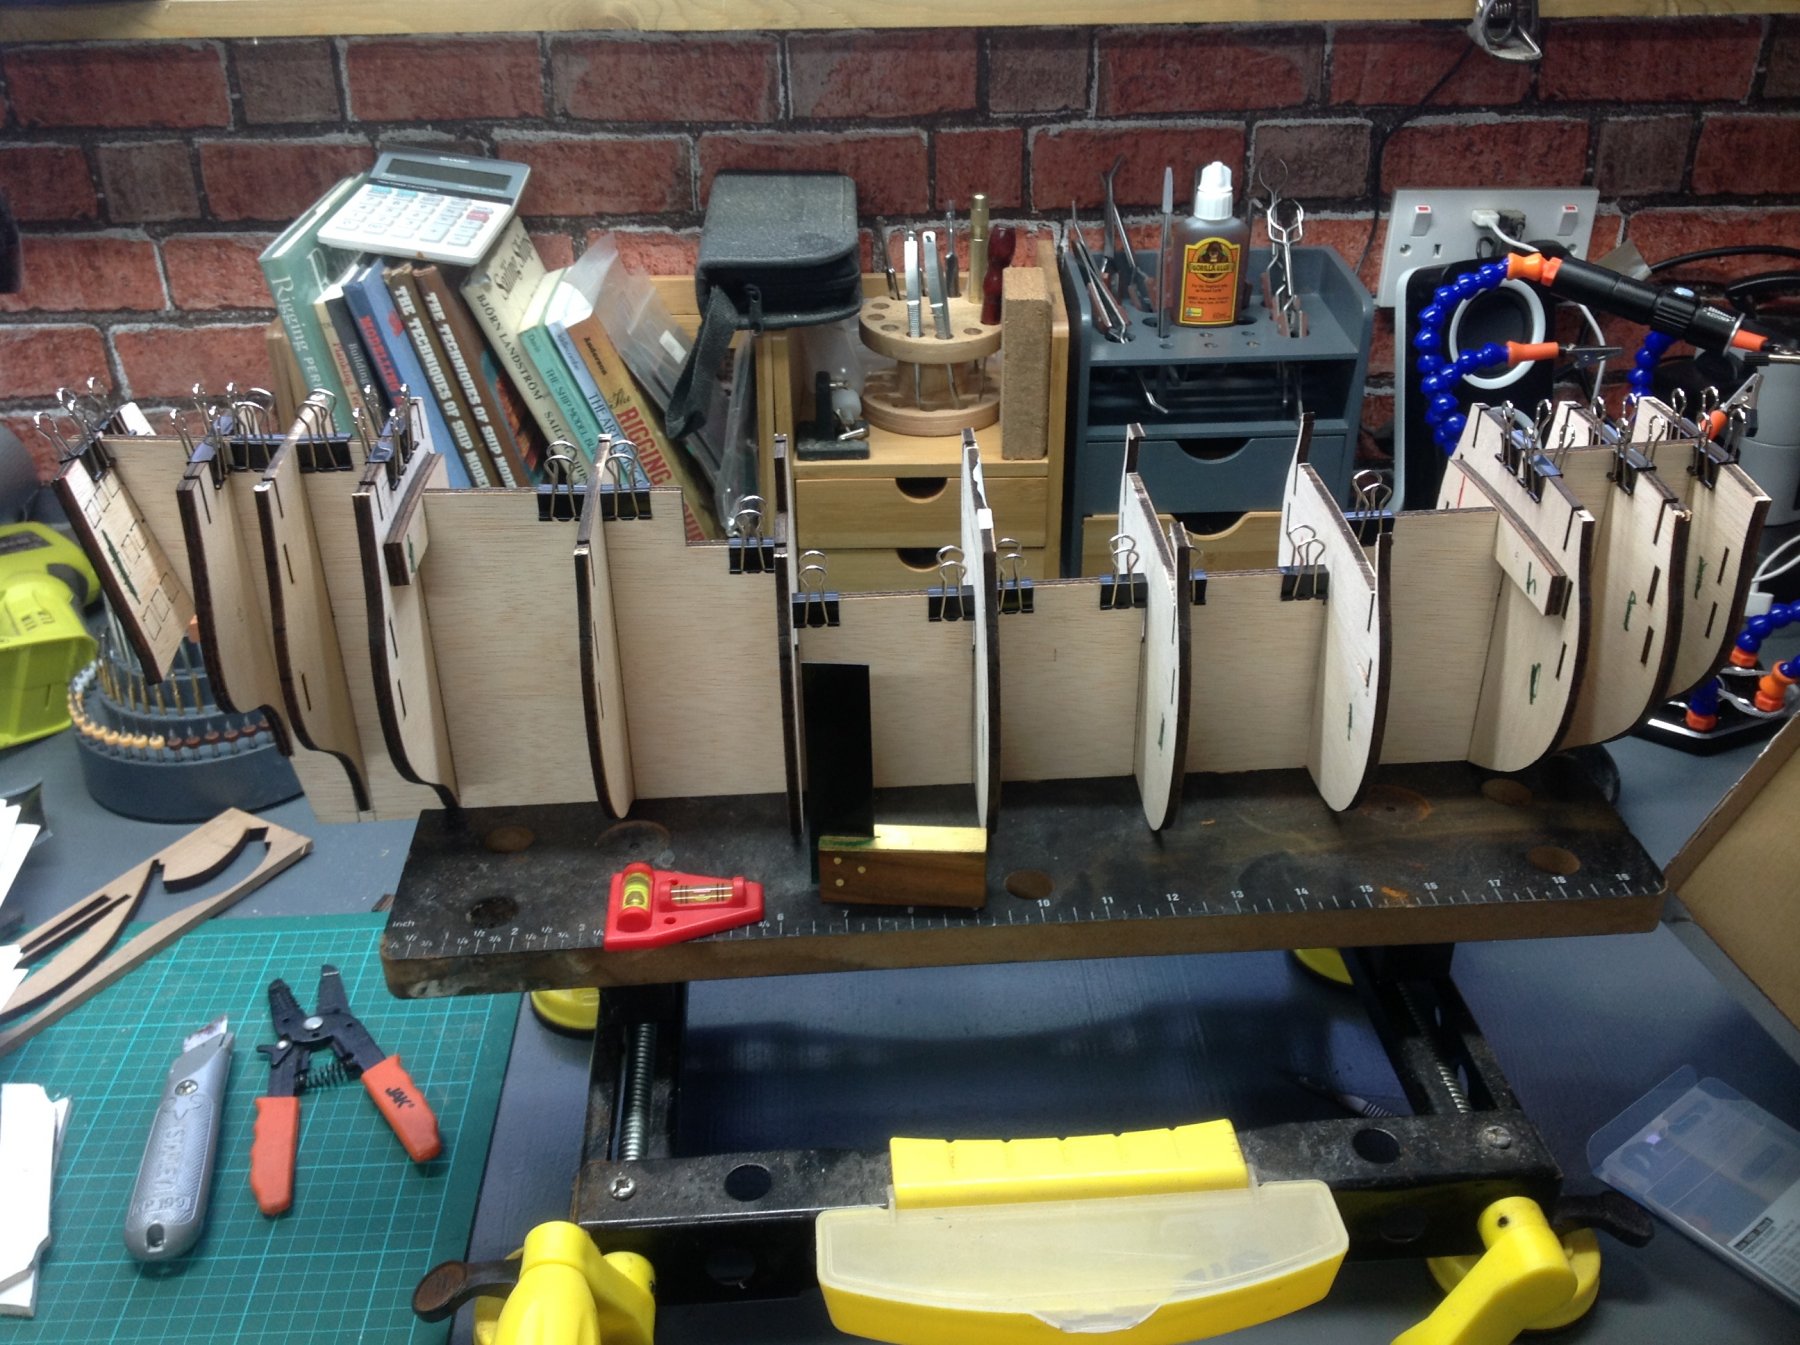
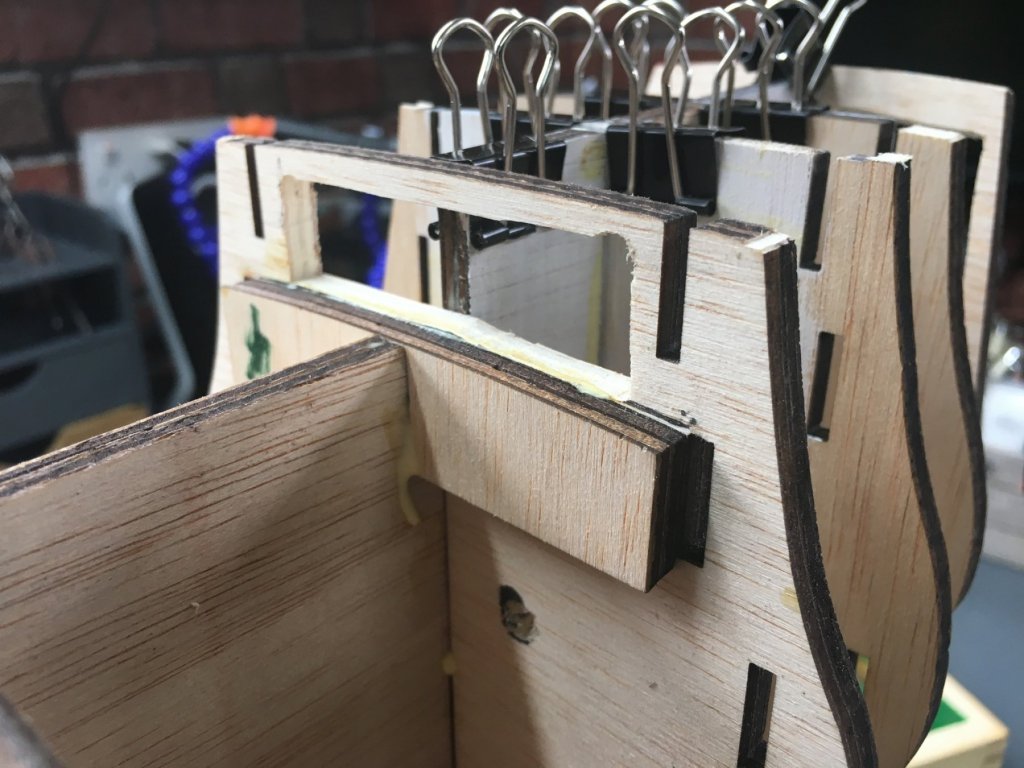
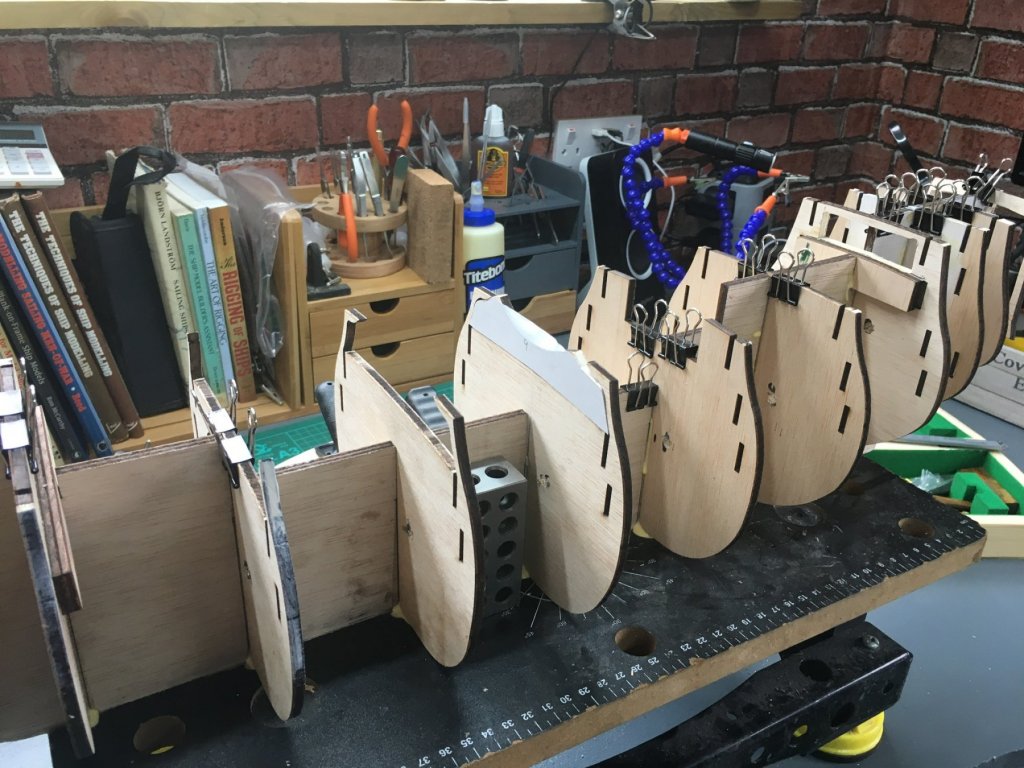
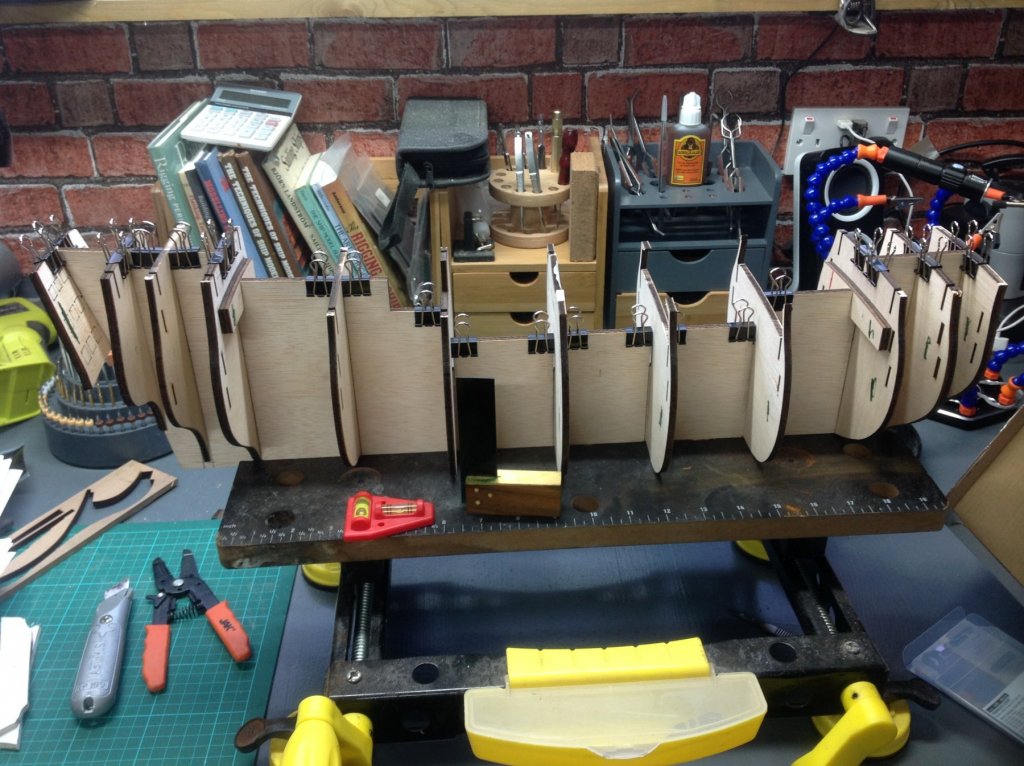
A little progress: bearding line sanded down on the keel. bulkheads opened up for lighting (To be laid) bulkheads fixed (God bless 1,2,3 Engineering Blocks - so easy)

-
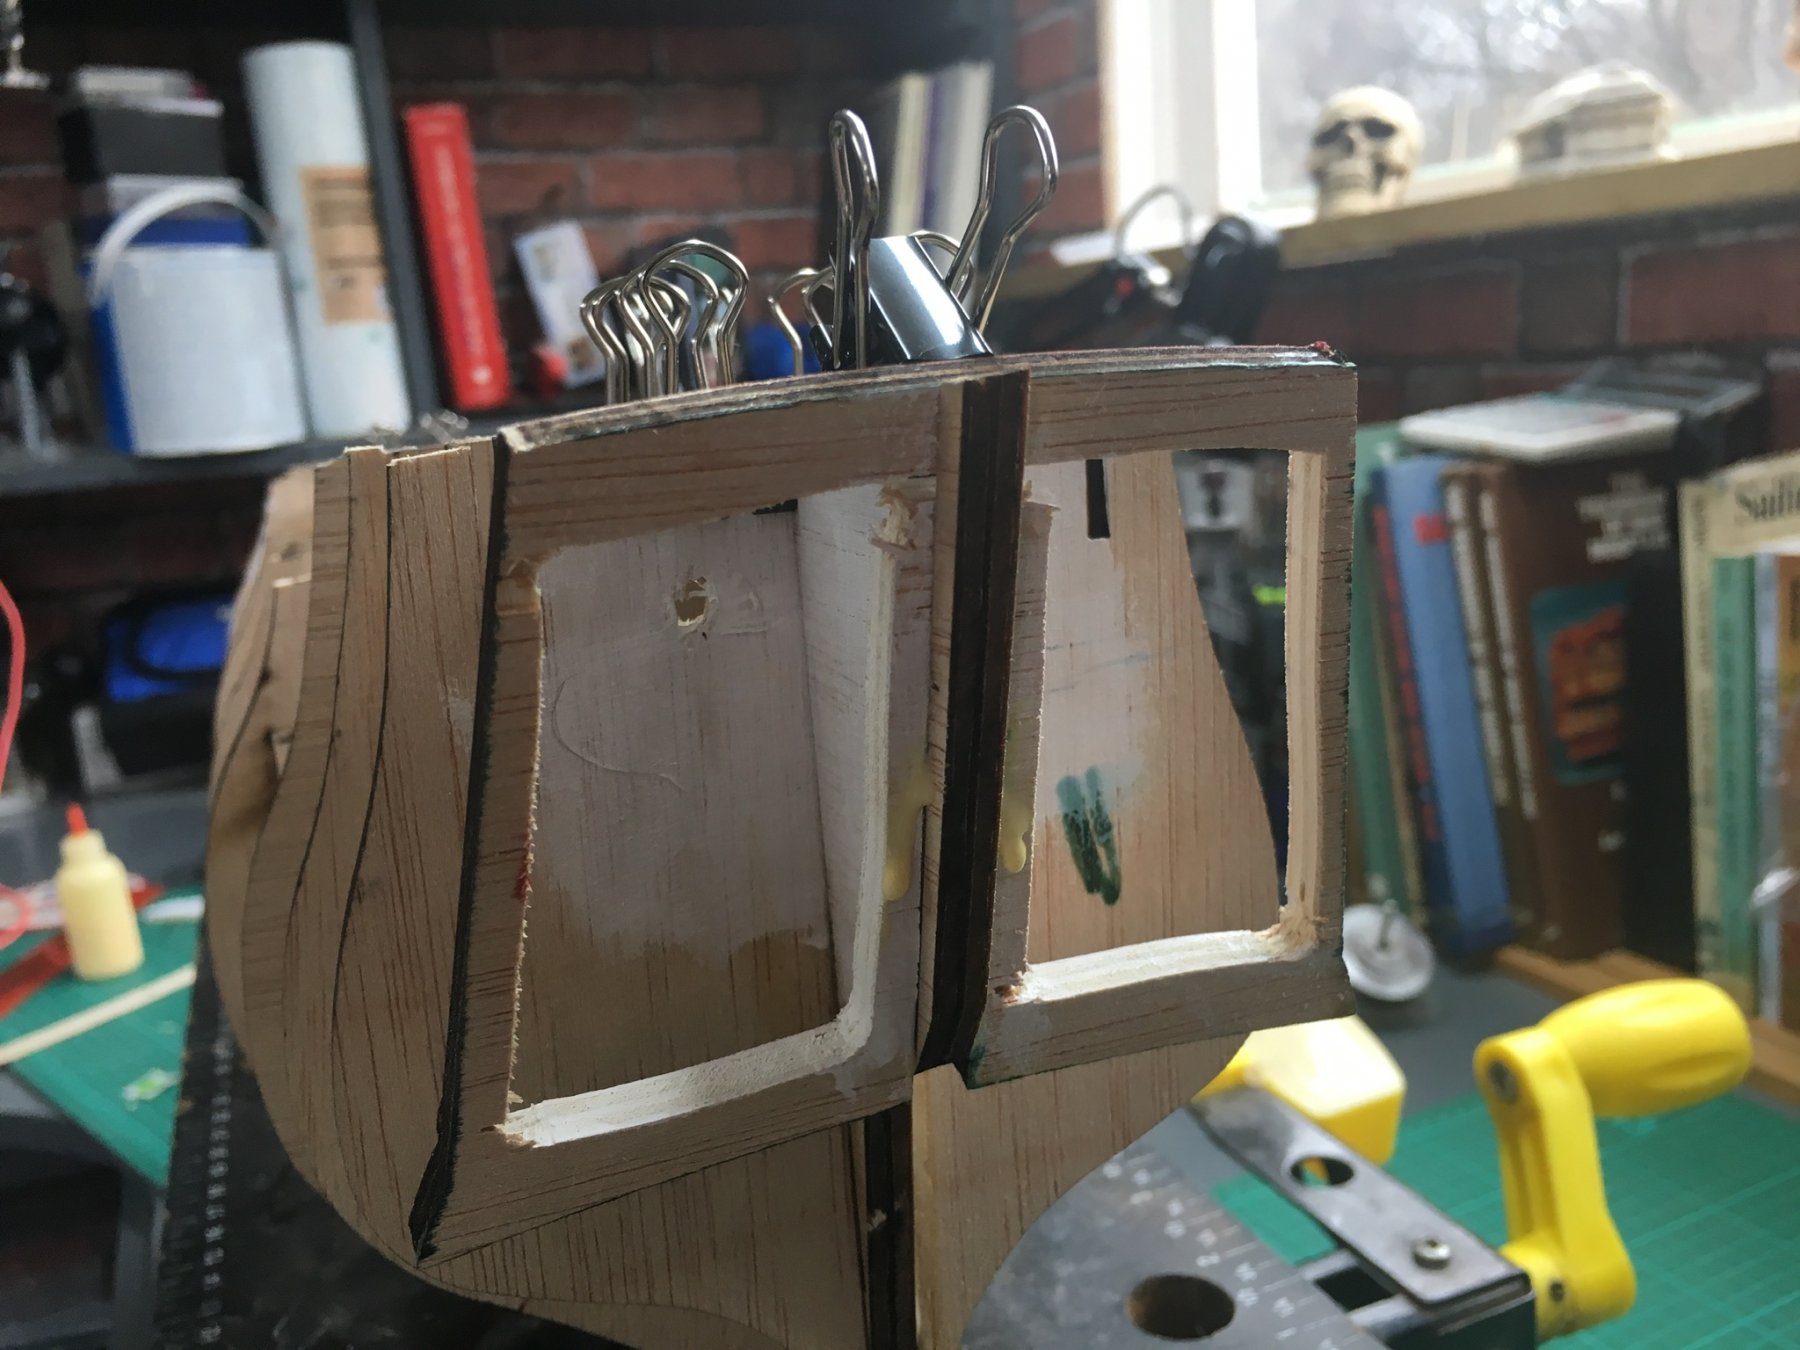
Whilst thinking about where on the Vic I want to have lighting (Fibre Optic) I have realised that I will have to open up some of the bulkheads, especially at the gallery area! Then thinking ahead once again the question in my head was how do I want both the weather deck and gallery to look like when complete? I absolutely hate the Constructo kit with the stick on brass accents and decorations - so they are a no go, so the question is what to do? Resolution is more work than I had planned and go off track and carve the decorative gallery, starting with laminating the vertical stern window post and build out the gallery, then focus on the Balustrades with my trusty Dremel. All this And I have only physically started the dry fit of keel and bulkheads - am I over thinking this? Has anyone had this dilemma before really starting? Is this going to be a constant - thinking 20 steps ahead and seemingly not moving forward?
- 30 replies
-
- 3
-
-
- victory
- constructo
- (and 1 more)
-
Dry fitting the bulkheads before drilling holes for fibre Optic light routing, got to be a little methodical here as it'll probably be the only chance to get it right. Observations that some of the pre-cut bulkheads are not symmetrical and a little loose, I've set myself two years to build so no rush (Especially when I have had the kit for over four years).
- 30 replies
-
- 2
-
-
- victory
- constructo
- (and 1 more)
-
It never rains but it pours, since I started this topic I was just about to start the model Victory - then wham lost all feeling in my left arm, surgery, physiotherapy and a lot of pain and learning to cope have taken its toll. Luckily I am now back to where I feel I can carry on, so expect a lot more posts in the coming weeks.
- 30 replies
-
- 2
-
-
- victory
- constructo
- (and 1 more)
-
I Hey Paul, hope is all well, have been away for a while due to serious illness, lost feeling in left arm so modelling and most other things went out the window for the past two years, getting feeling back now and am looking forward to replicating your Constructo journey - may I say, I am in awe of your efforts, especially when it's your first. I came across a website with some interesting details regarding the Vic, some I have never seen before:. https://www.militaryfactory.com/ships/detail.asp?ship_id=HMS-Victory#specs hopefully you should see some of my build posts coming through in a couple of weeks - raring to go