Stubby
-
Posts
61 -
Joined
-
Last visited
Content Type
Profiles
Forums
Gallery
Events
Everything posted by Stubby
-
 Mark, Thanks for the reply. You give some good advice - as do many in this forum! I do have an update - and pictures... but for the life of me, I can't figure out how to upload the picture. I don't know what's so hard - I've done it before... but this is clearly NOT an intuitive process. Stubby
 -
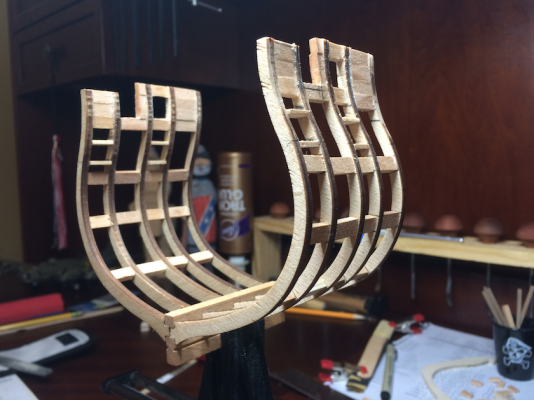
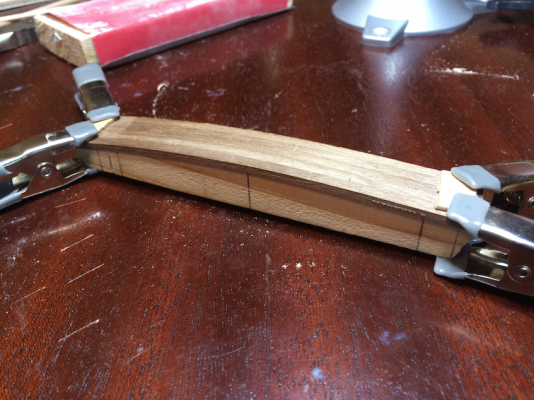
I have determined that one can never have too many projects going at once, so while I am contemplating how to proceed with the 18th Century Longboat, I will work on my Constitution Cross Section. I am finding that this hobby is a continual learning experience.... and I take full advantage of that by doing most things twice. I put together the framing for the cross section, but I find that the directions are a bit difficult to follow. After I finished the first step, I was not satisfied with the appearance - so I took it apart and did it again. As many others noted in their logs, the kit doesn't have the correct number of spacers. I made some extras out of scrap planking from other projects; they don't match exactly, but they will be planked up and won't show when complete, so it's okay. The lower gun ports were a nightmare - many others noted this in their build logs too. I saw that Tuffarts had created a spacer for the ports to ensure correct and uniform sizing. I thought that was a great idea and did the same (the second time). They look much better, but I still think they are a little off. I may be taking them off and putting them back on with the planking as an additional way to line them up. I also made a form for the deck beams, and it seems to be working well. I'm not very good at forming with pins, and the result is often jagged. Now to install the deck beams and start planking.
- 11 replies
-
- 3
-

-
- constitution
- mamoli
- (and 1 more)
-
Danny, I looked at the pics of your longboat in a bottle. Awesome! I look forward to reading through that log too, although I think it will be a while before I attempt anything like that! Stubby
-
Just coming back to the forum after some busy time away. Thanks for the recommendations! I did dabble with the spacers as Max suggested, but the spacing is carried, so I will have to make individually customized spacers for pretty much each frame, and I haven't committed the time for that yet. I will certainly look at the practicum suggested by Danny. I'm always happy to learn from smart and experienced people.
-
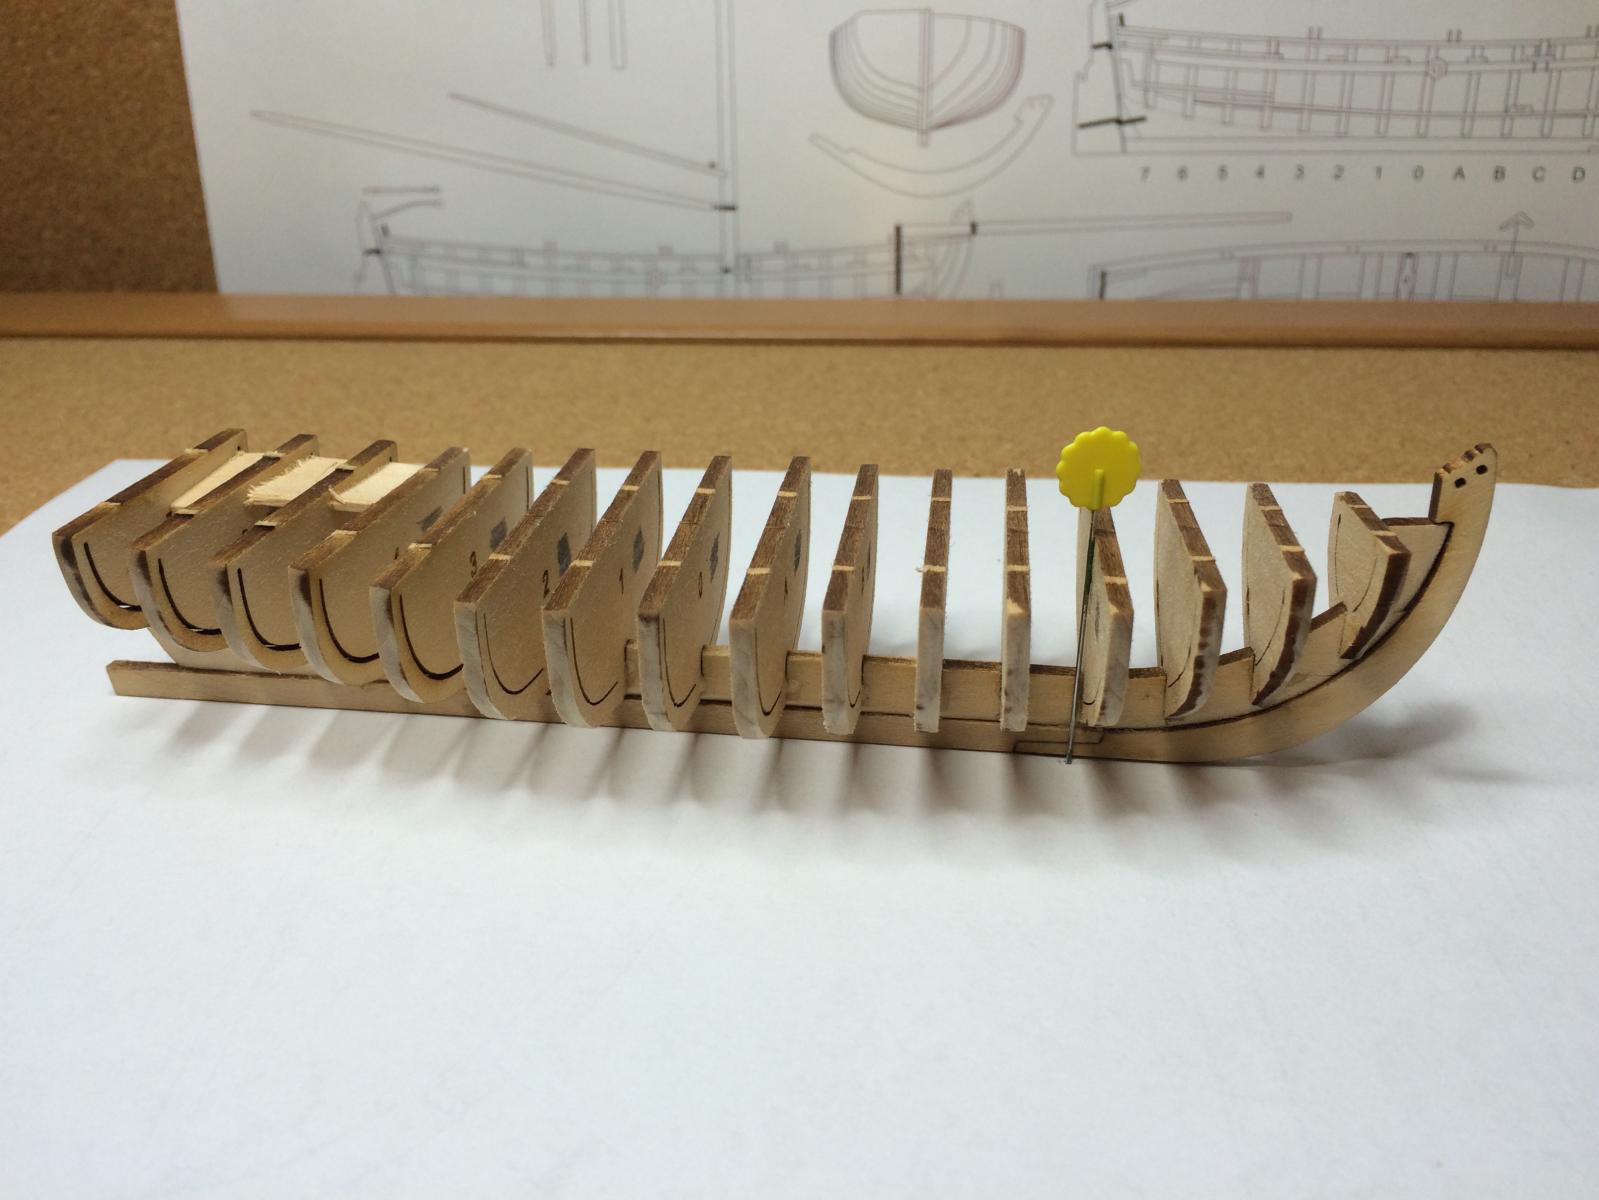
All right.... So in the words of every novice ever.... "this is tougher than it looks." I've read through some of the others that have worked on or completed this model - some truly extraordinary work! In so doing I've learned some things that will help me out immensely. There are a couple of things that I was thinking as I look at my work thus far; I did have to enlarge the laser cut slots in the false keel and the bulkheads in order to achieve a fit. I tried to keep everything centered, but that is a difficult proposition even on a large model; on this small and fragile model even more so. I think if I were to start again I would only file one side of the slot, and use the other untouched side to align the bulkheads. That would preserve the spacing and keep it square. I used the fair-a-frame to keep alignment, but was less successful than I would like - maybe I didn't give enough time for the glue to dry before moving to the next frame, but the bulkheads are not terribly square. Because it is a small and delicate model, the bulkheads do move even when glued to the false fame - which is why many are using a false deck to provide stability before fairing the hull. I will certainly do this, but I am contemplating how to ensure the bulkheads are square before securing a false deck. I'm thinking of taking a break and working on a different model while I contemplate....


-
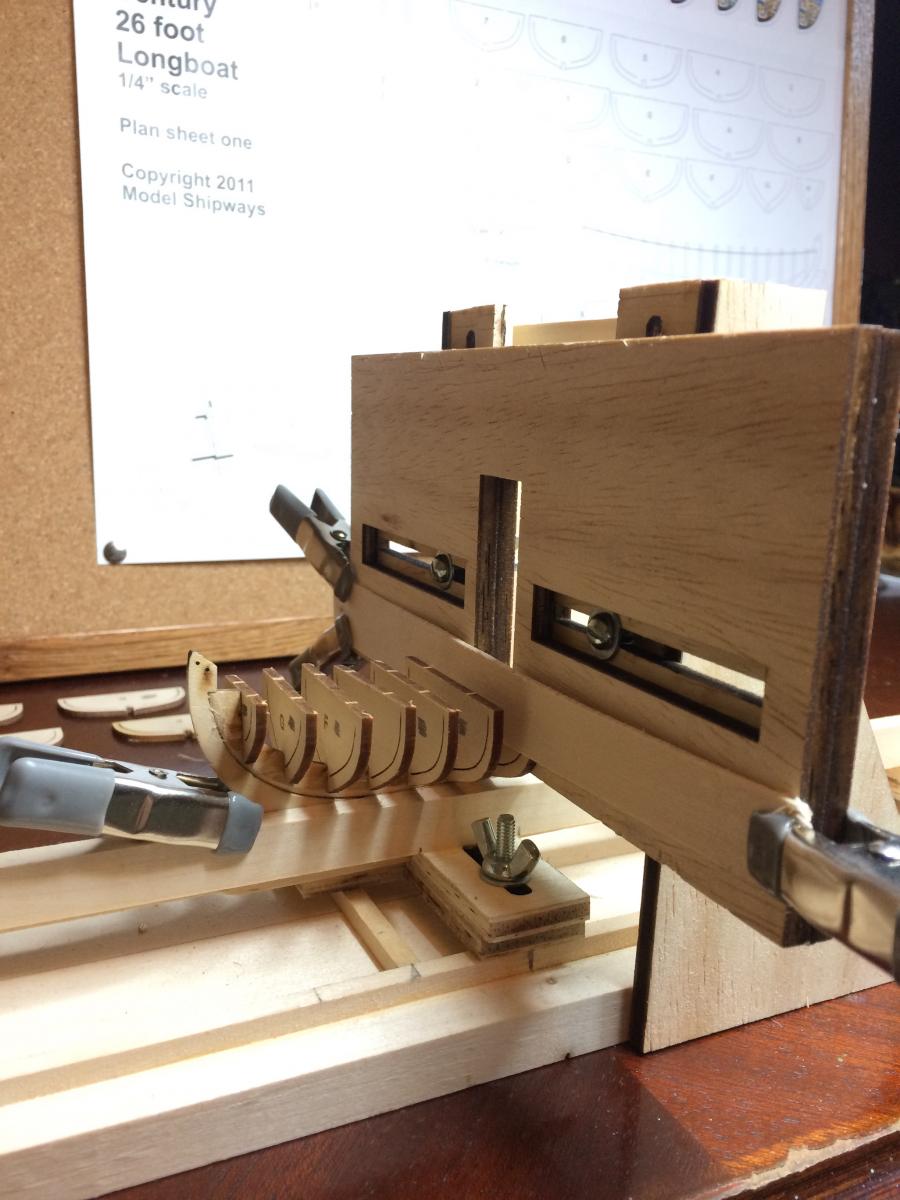
So okay.... day two. My only real goal today was to glue the bulkheads to the false keel. I started by dry fitting the bulkheads to check for fit.... and promptly broke the first one. Seriously, I'm not usually Magilla Gorilla, but I've been a wrecking ball so far to this model. Luckily it was just a small corner at the false keel; it will glue back no problem and won't even be noticeable. I did have to file almost every bulkhead and every notch in the false keel in order to get it all to fit. That's not a problem, but something to be aware of. To make sure the bulkheads were square to the false keel, I used Model Expo's "Fair-a-frame". The little longboat looks ridiculous in the huge contraption, but it works as advertised! So the other mistake that I made today was that I glued bulkhead "H" to the bow post - forgetting that the middle of the bulkhead will be removed later. I'm not too worried about that either; it wasn't a lot of glue I can sand out any residual, and it will barely be visible (if at all) under the cap rail. Okay, enough damage for one day!
-
So I've taken advantage of the Model Expo sale to purchase a model of the U.S. Brig Syren, and am anxiously awaiting its arrival. While I wait I thought I would pull this little longboat out of the closet and work up to the far more intricate model. So, I don't have the time that I would like, but kicked off this build by glueing the keel into a single piece, shaping the bearding line and glueing it to the false keel. The directions stated that the pieces were "delicate" and to handle with care - they weren't kidding! I broke the false keel three times working on the bearding line (I broke the same place twice). Luckily it glued back together nicely, and now glued to the keel it is a bit stronger. So that's it. A small beginning, but a beginning nonetheless.