HOLIDAY DONATION DRIVE - SUPPORT MSW - DO YOUR PART TO KEEP THIS GREAT FORUM GOING! (Only 72 donations so far out of 49,000 members - Can we at least get 100? C'mon guys!)
×


Grendel
-
Posts
33 -
Joined
-
Last visited
Content Type
Profiles
Forums
Gallery
Events
Everything posted by Grendel
-
 Hi Boyd, I hope you are able to pick up your build again. This build log has been a major influence in me deciding to take on this same kit. Your detail work and kit bashing is phenomenal. Truly impressive. I am attempting a little bashing of my own, but it is nowhere near your standard. Pop over and have a look at my log if you get a chance . All the best, Paul.
 -
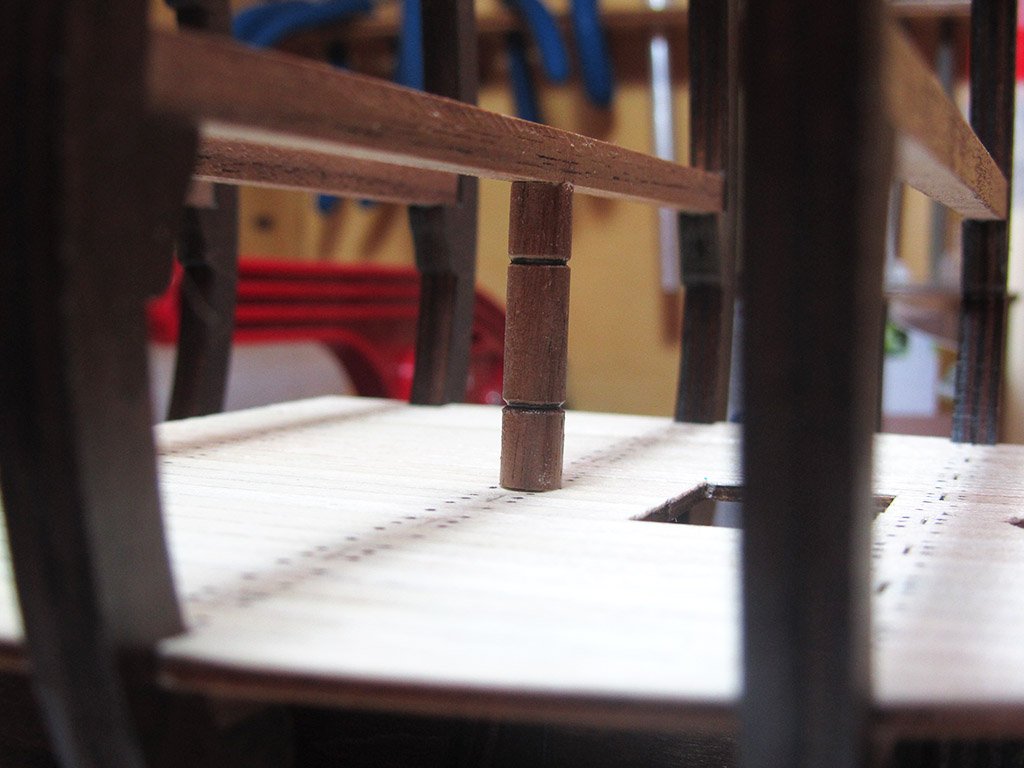
On now to the bilge pump room. Using the supplied 0.5 x 5mm strips I clamped each strip in my Proxxon vice and edged each plank with a soft pencil on both sides before gluing them in place. It adds some time to the planking but I think it's well worth the extra effort. I like the way it gives the planks definition. Once planked I applied 3 coats of satin varnish. The assembled bilge pump room in place. As you can just see in the next photo, the walls protrude slightly over the height of the middle deck planks, so some sanding will be required to bring them level.


-
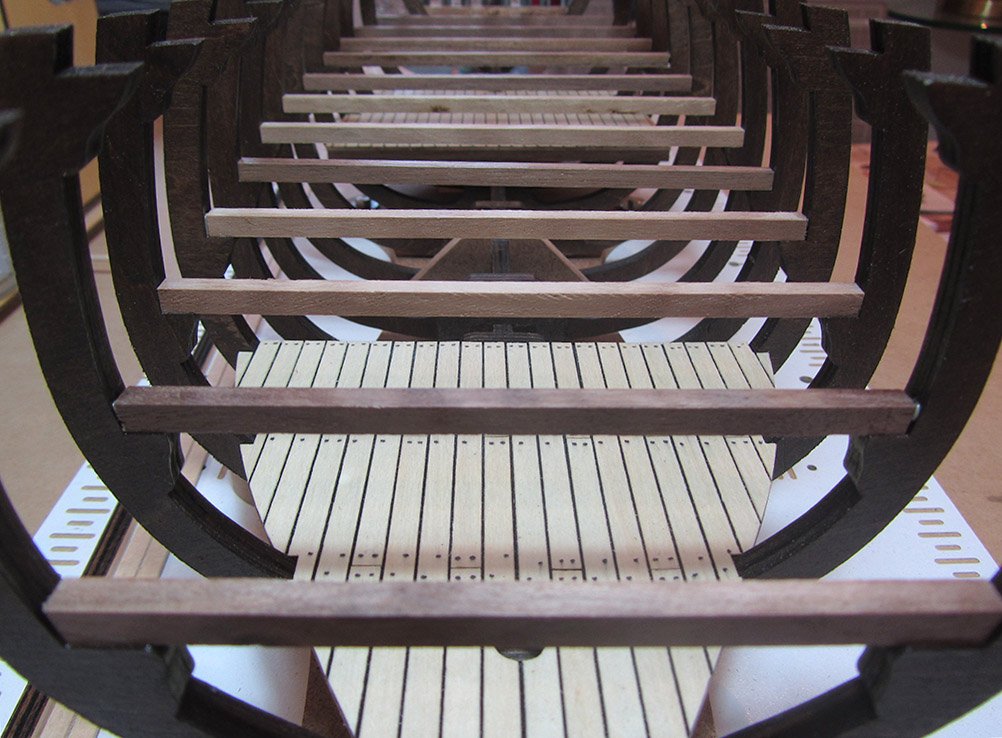
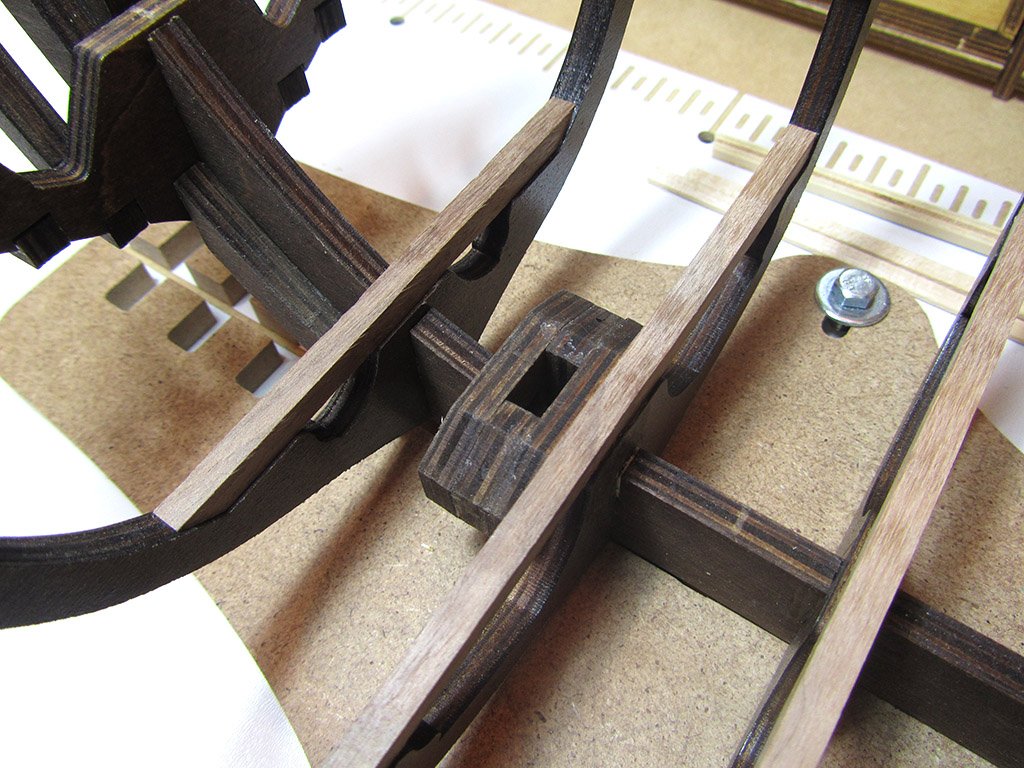
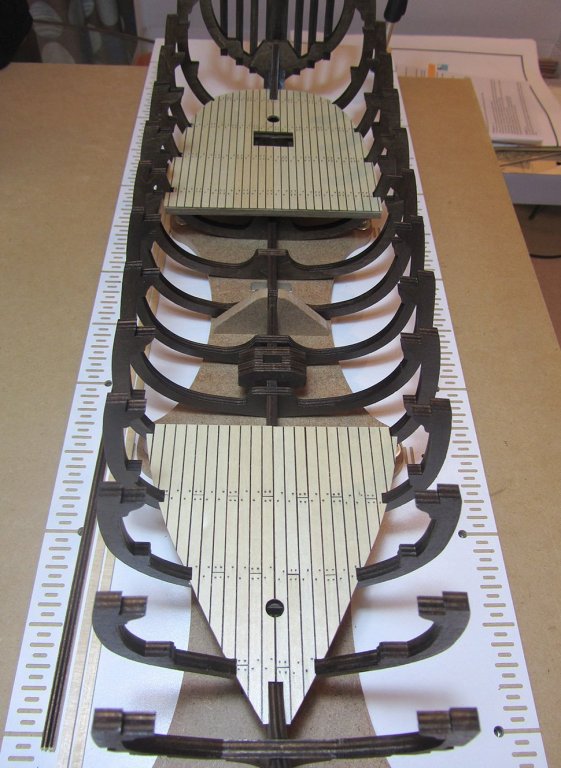
The next stage was to install the middle deck support beams And the support chock
-
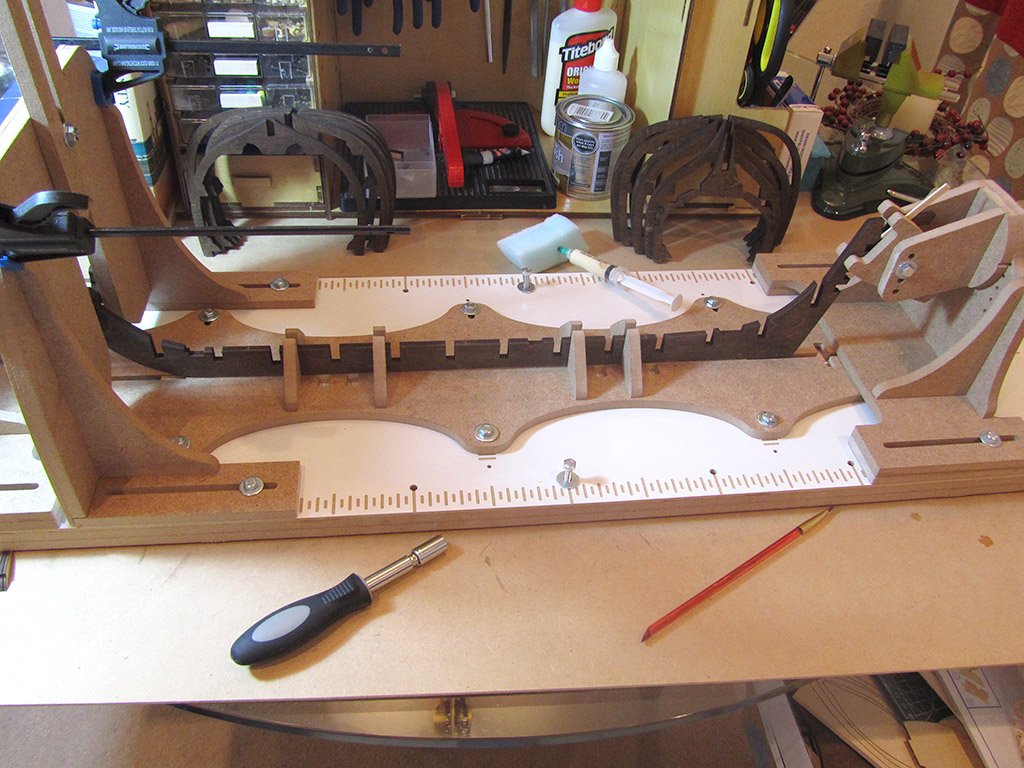
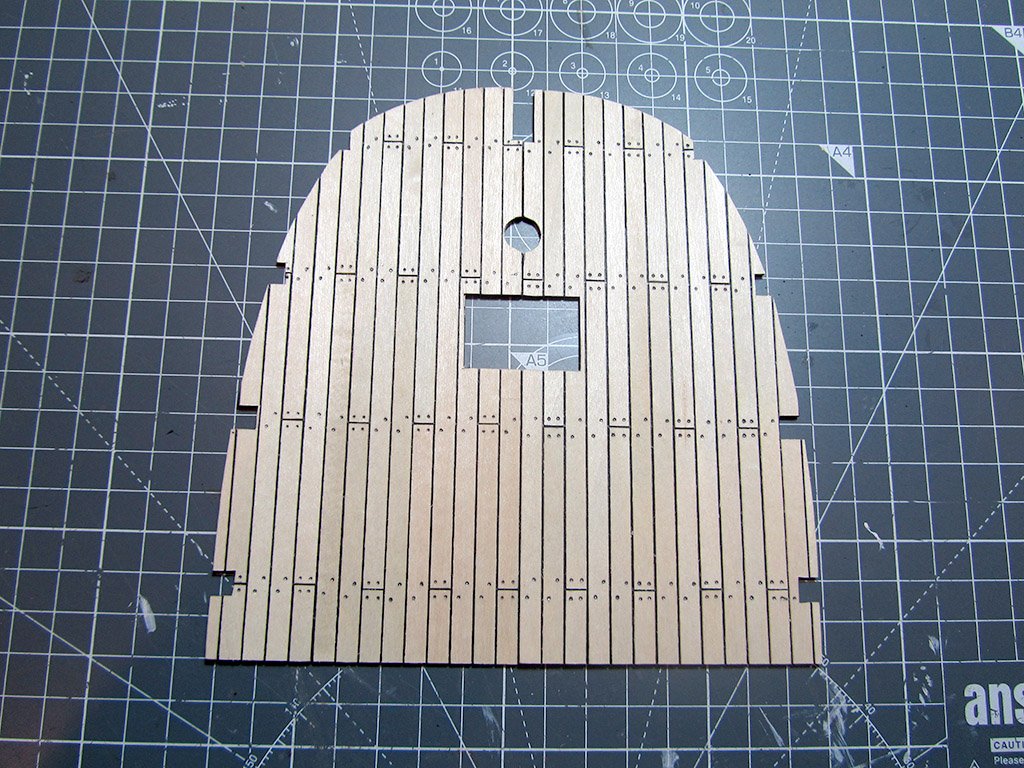
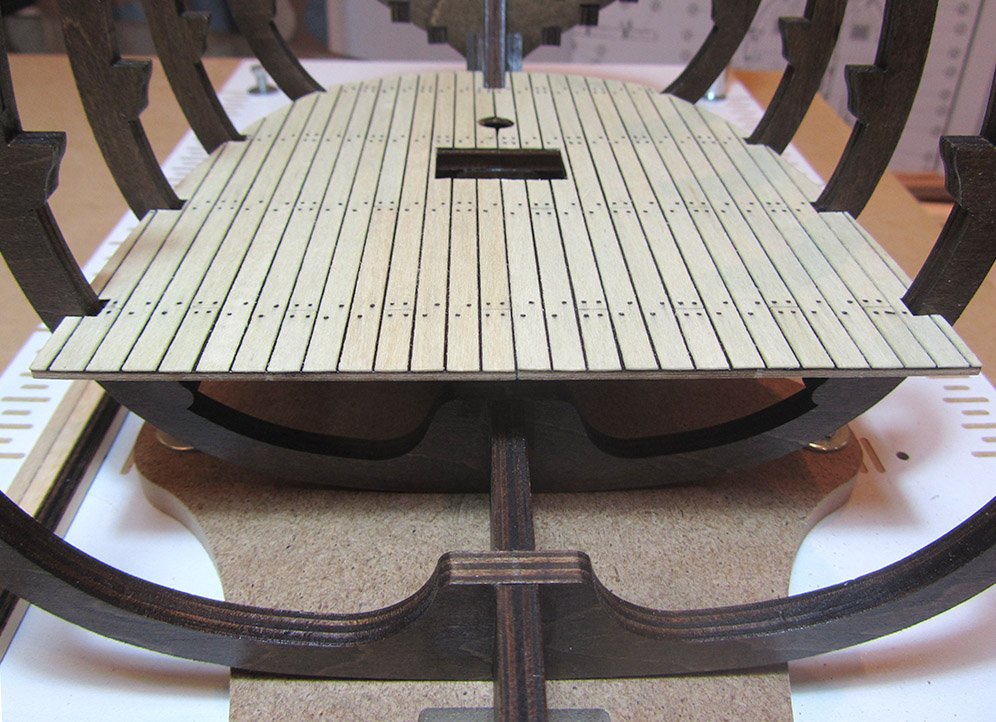
With all frames in place, checked and double checked for squareness, I installed the lower deck support beams I painted the lower decks black prior to planking them to give a nice contrast between the planks. I spaced the planks 0.5mm apart and simulated the nails with a soft pencil prior to varnishing with a satin varnish. In hindsight I wish I had only nailed at the plank ends but it's not a big enough deal to warrant redoing the work. Next I glued the lower decks in place. They fitted very easily with only a minor amount of filing and sanding needed.
-
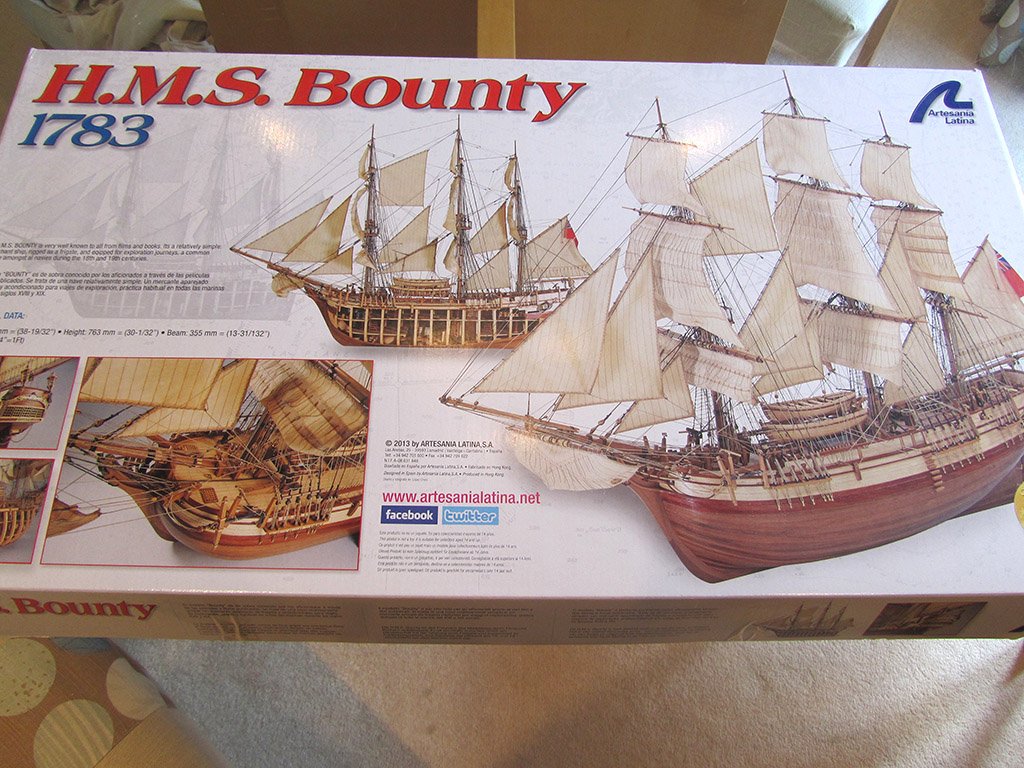
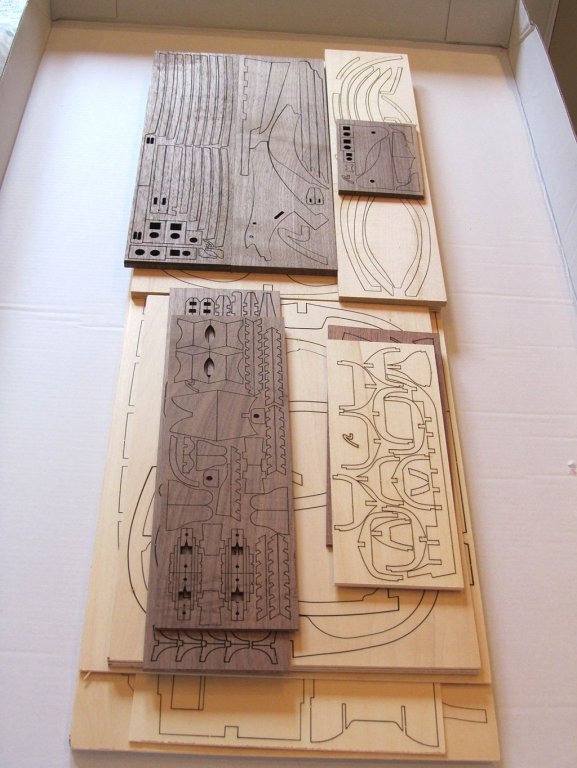
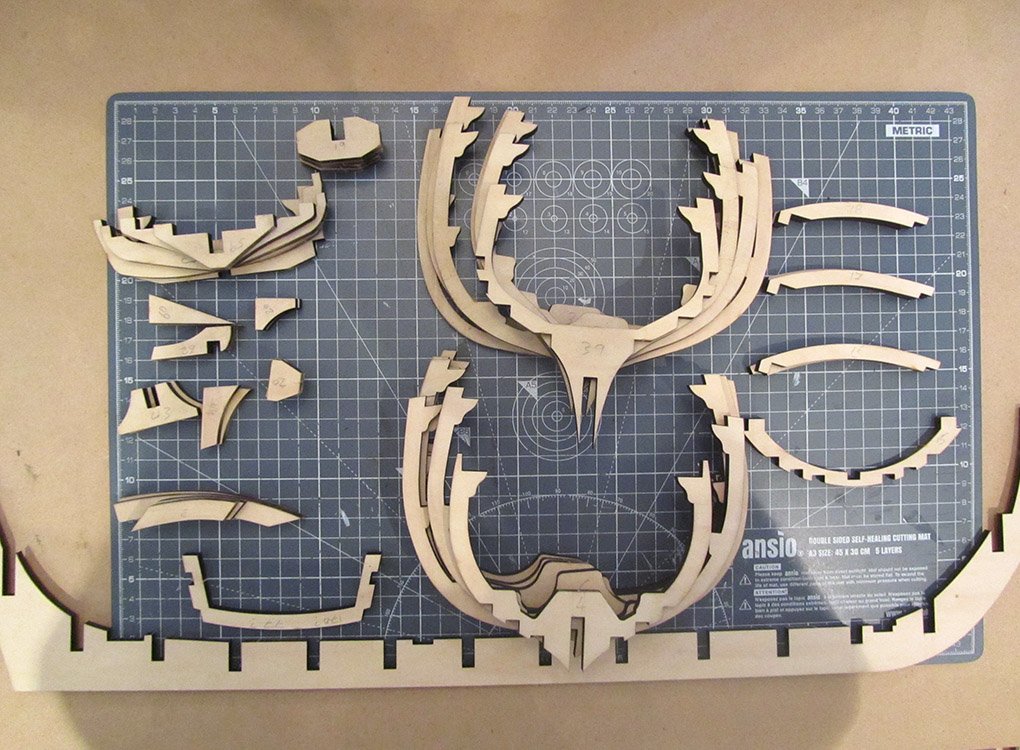
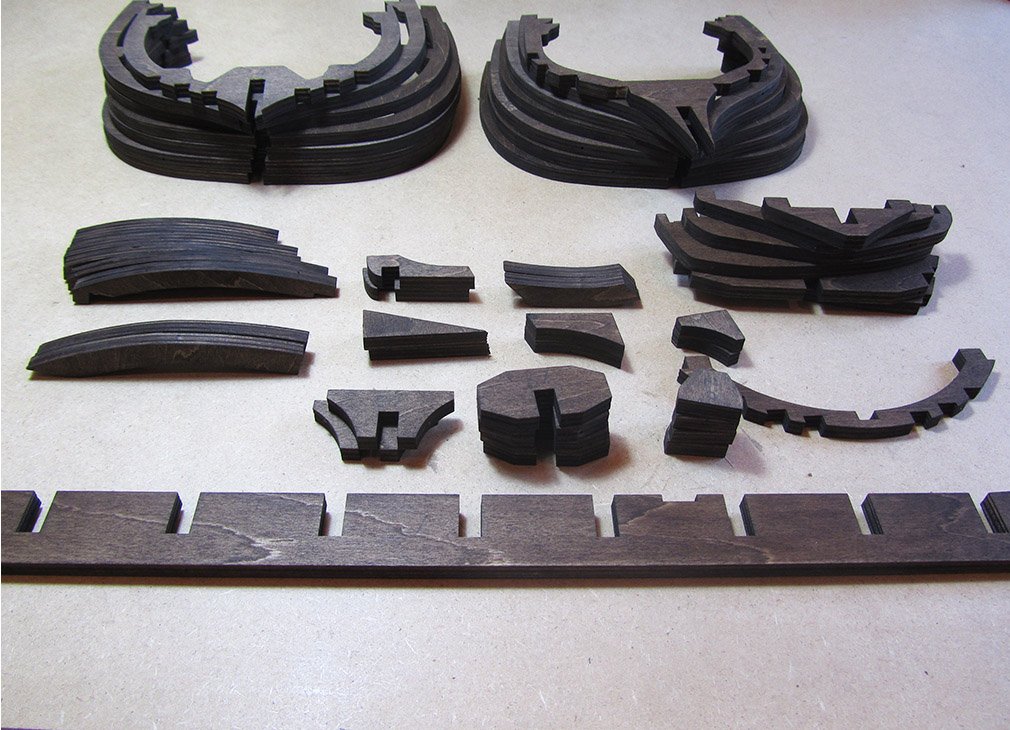
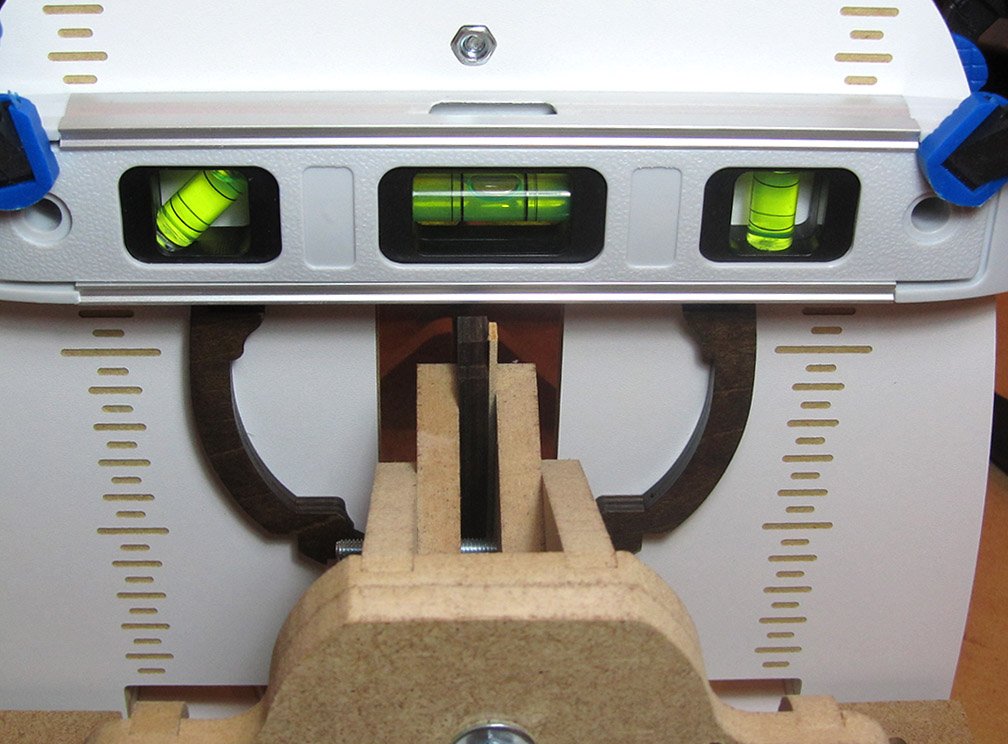
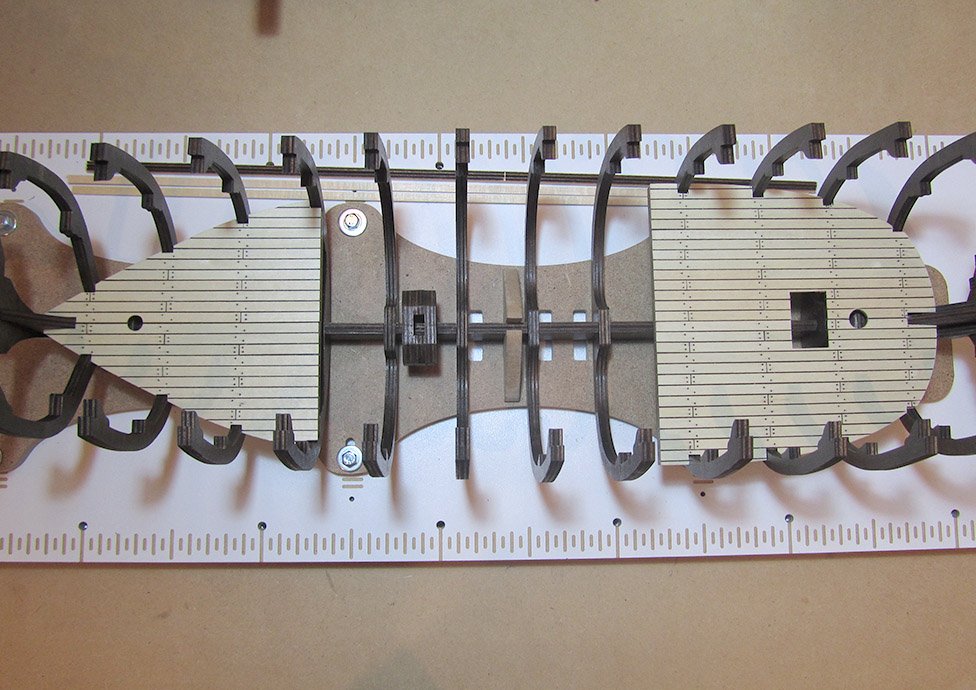
Hi All, This will be my build log of the Bounty by Artesania Latina. It’s my first build log and I’m looking forward to sharing my journey with you. A little about me – I’m Paul and I live in Reading in the UK. This will be my third build, previously having built the HMS Endeavour Bark (not completed) and the King of the Mississippi, both by Artesania Latina. I enjoy being challenged which is why I’ve chosen to take on the Bounty as my next build. I appreciate that this is a complicated model to say the least. I’m not even sure my skills are up to it, especially when it comes to single planking the hull, but we shall see. To be quite honest, I don’t think I’d have taken this on without the help of some of the amazing builds on here as a reference point. Reading the build logs has given me a degree of confidence that help will be there when I come across problems. Special thanks to thomaslambo, Capt. Fisher, Captain Al, cobra1951 (I still can’t believe your Bounty got crushed!), bryanc, rcmdrvr and all the other Bounty builders on here whose amazing builds have been my inspiration to take this on. I’m looking forward to getting input and feedback from you all. I actually started the build over Christmas and have been working on it for a few hours almost every weekend since, so I’ve already made some progress. I’ve been taking photos of every stage, but only now have I got round to starting this log. So I’ll be uploading some photos to bring things up to date. So, here we go…… The kit contents: Making a start, I separated and numbered the parts the parts for the main frame. Then I stained all the parts with a Ronseal Walnut wood stain. It took 4 coats to get the colour I was after. A bit later in the build I'm going to veneer the exposed frames to hide the ply board appearance. Realising the importance of getting the frames absolutely level and parallel on this build, I did quite a bit of research into building slips. I went for the Hobbyzone slip in the end and have found it to be a brilliant piece of kit. I'd highly recommend it to anyone considering using one. So I set about leveling the frames and gluing them in place using Titebond.