


Jackson7
-
Posts
56 -
Joined
-
Last visited
Content Type
Profiles
Forums
Gallery
Events
Posts posted by Jackson7
-
-
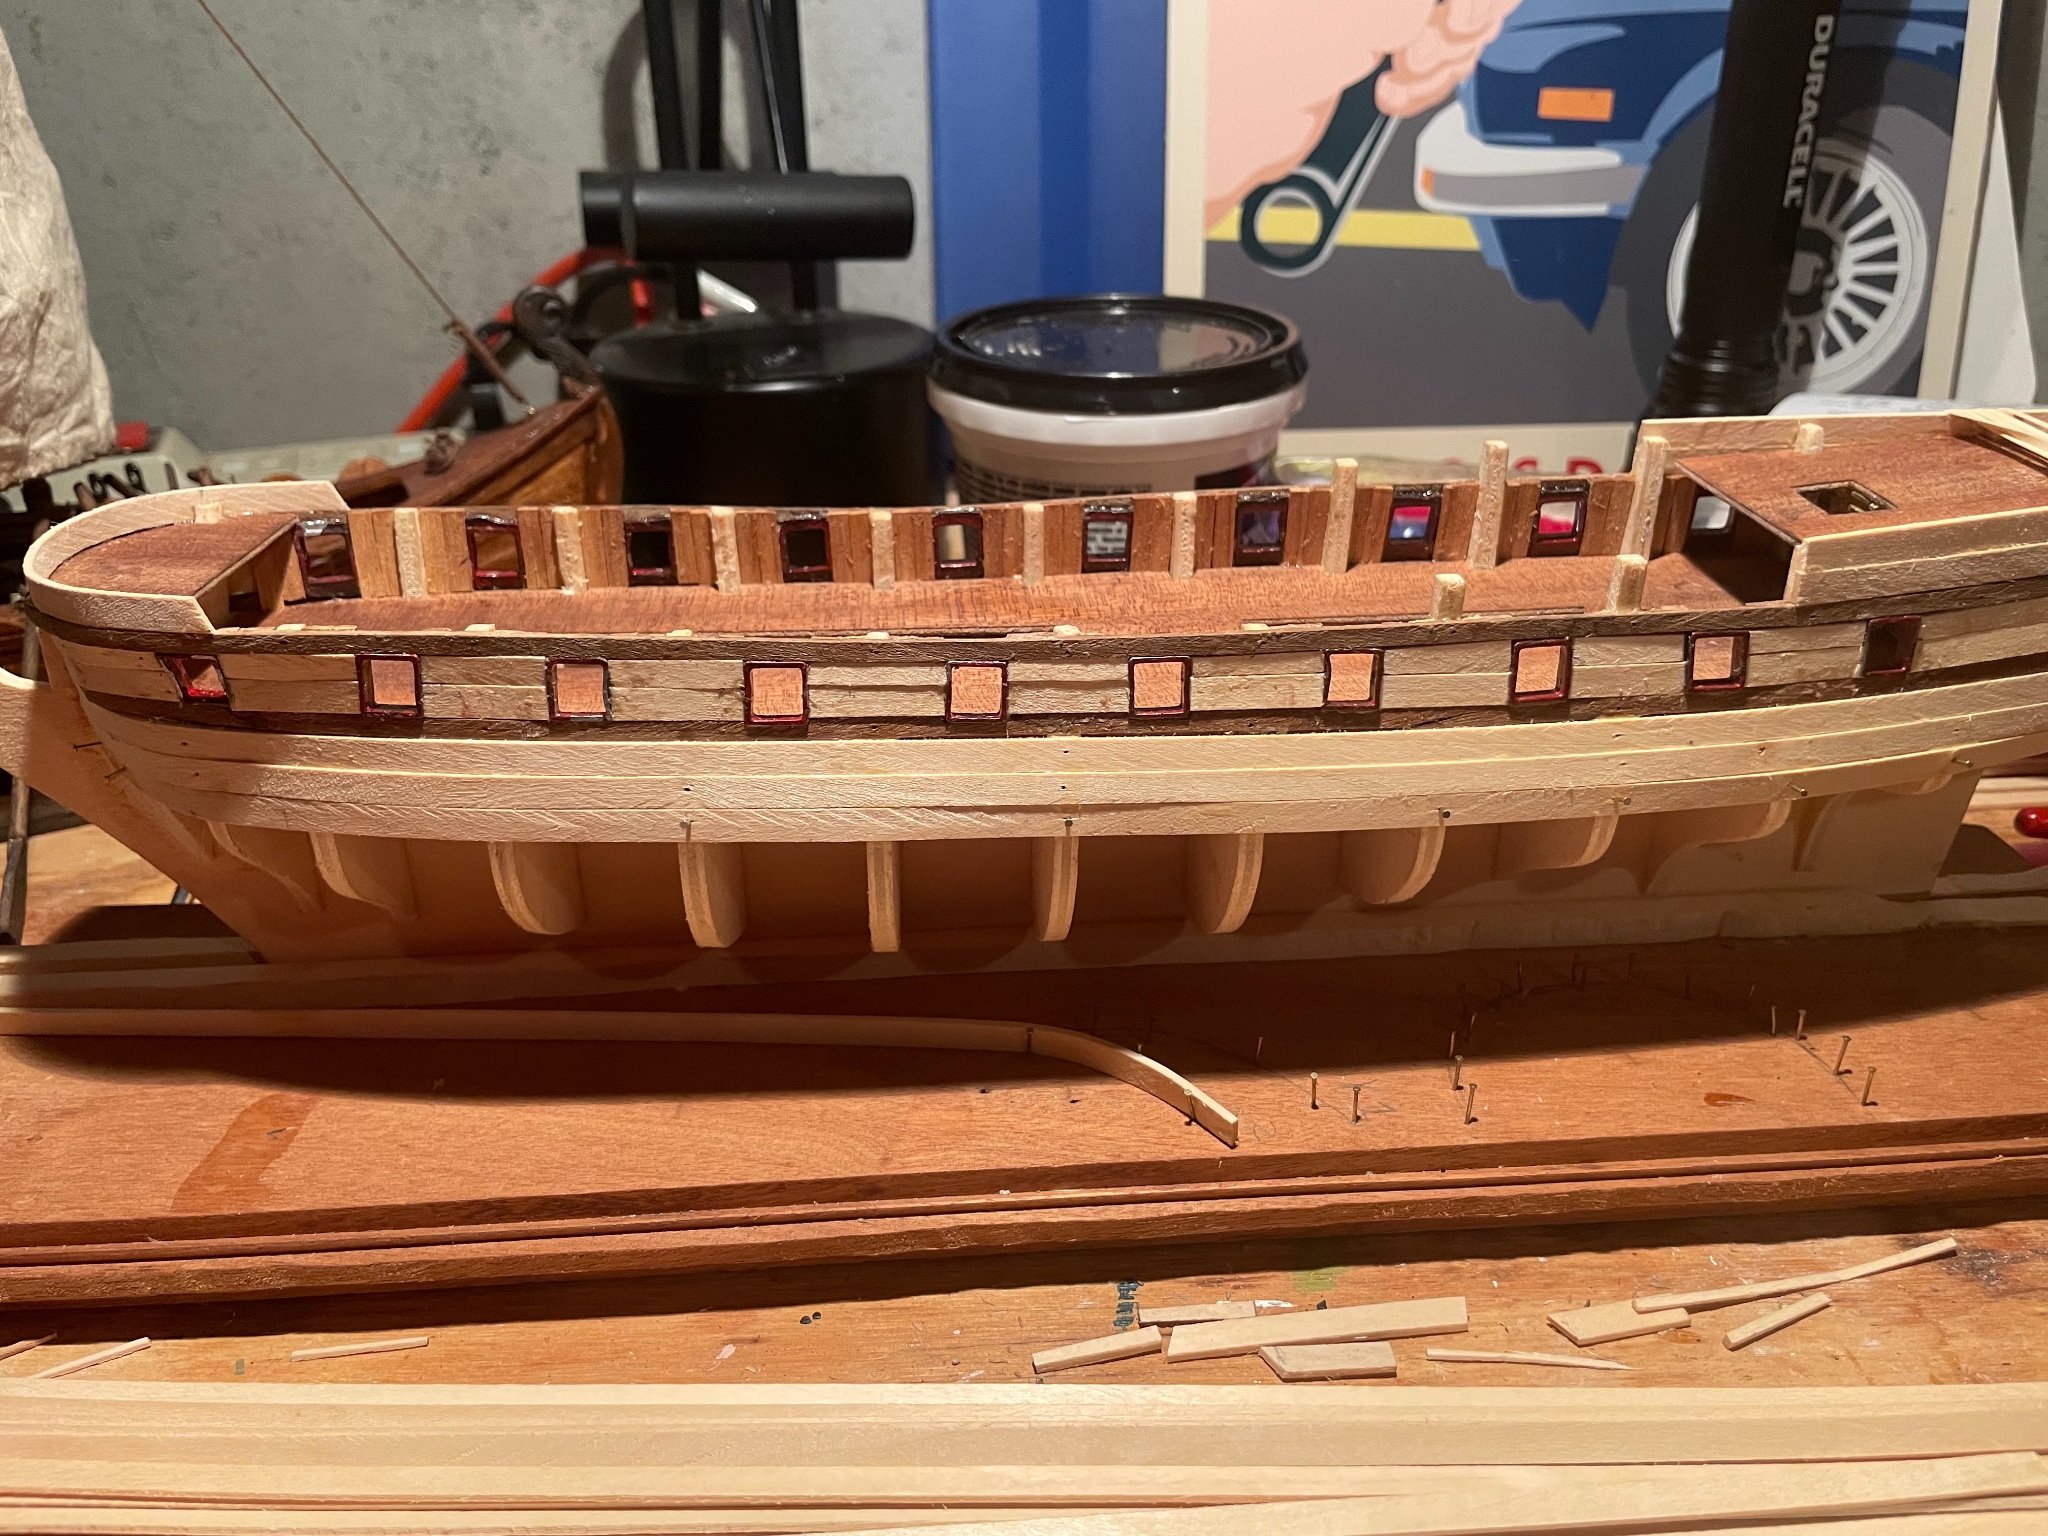
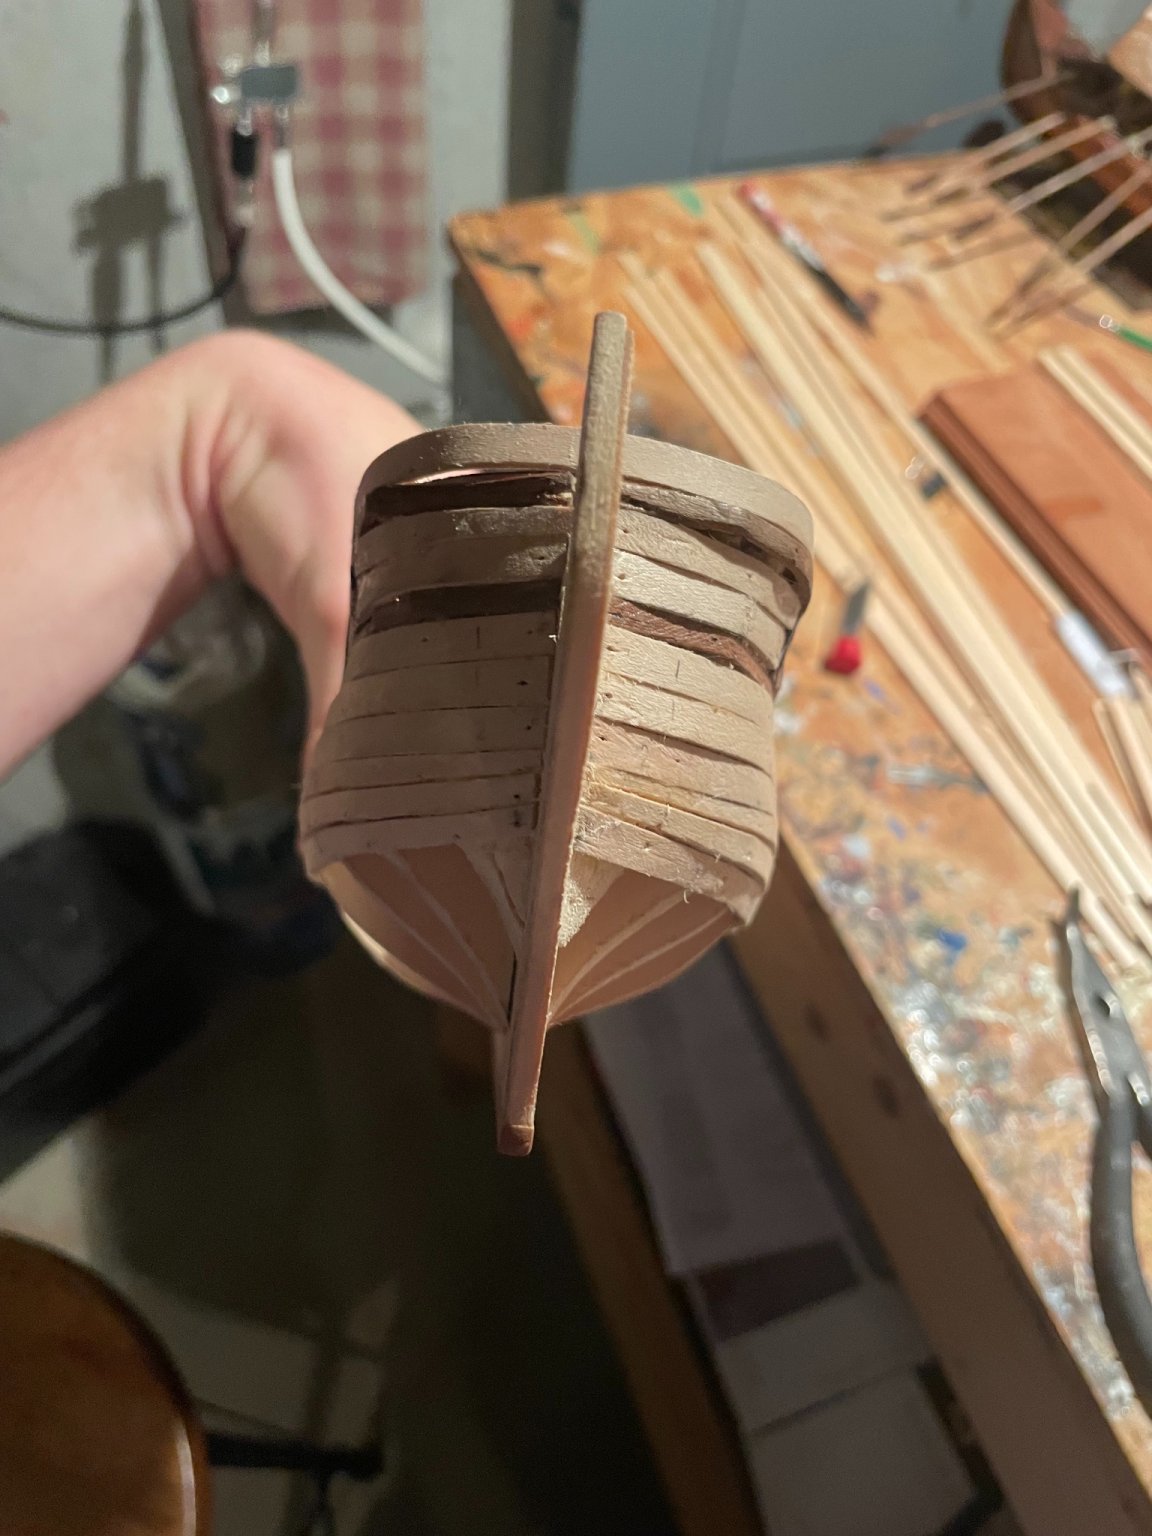
 Here's the first few planks of the first layer. I stuck them to the hull with a boil-bend-dry method to get the curve. After applying glue, I nail them in to hold them in place. When the glue dries, I pull the nails out. Since this picture, I've graduated to boiling them and curving them directly to the hull with nails, then gluing them later. If there are any better methods, I'd be glad to get advice on them.


-
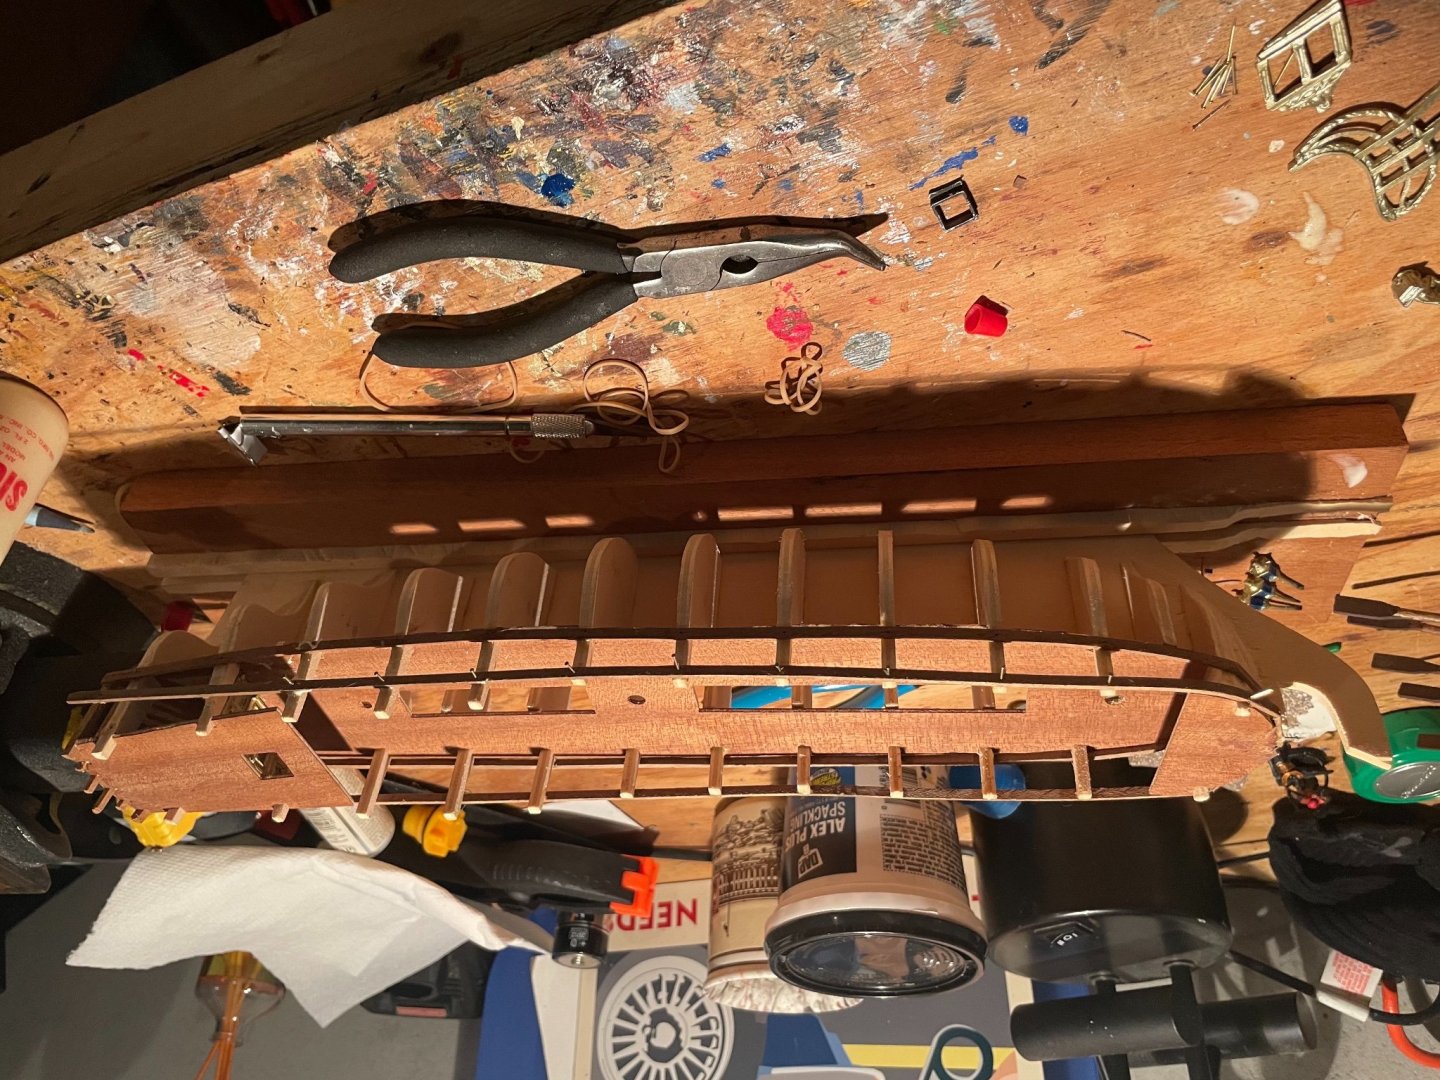
As can be seen, I haven't gotten the frames down to a science. Although they're sanded so planks can smoothly glide up the hull, they're not expanded to form a smooth contour. Note the cracks and incorrect bend on the first few pieces of wood. It comes back to haunt me later. I think the keel piece is straight, but I can't swear to it.
-
Hello everyone,
A little background. I got this HMS Greyhound from my parents when I was in high school. At the time, I knew little what I was doing and less how long it would take.
It didn't help to learn that whoever designed the kit seemed to be a few cannons short of a broadside when it came to plan drawing.
Daunted by these difficulties, I did only the first few steps in putting together the hull, sanding it, and placing the first planks before I paused the project. Then I forgot about it for eight years.
When I got back to it, my skills were about the same but my patience and will to persevere were far higher. I offer my thanks to the people who answered my questions on this site back then. My apologies for forgetting about y'all for about a decade.
The bad news is that High School Me had made a few mistakes. Well, many mistakes. Mistakes that involved glue and delicate wood and couldn't be fixed.
But with the right amount of planking, sanding, and perseverance, they could hopefully be hidden. Thus began my covert Corel corrections.
To begin, here's the earliest set of photos I can find of the model. The upside down one resists all editing.


- ccoyle and GrandpaPhil
-
 2
2
-
Thanks so much. I have to agree with everyone that the building plans are very vague. Good luck on your build. I can't wait to see it get started.
-
Hey, I'm an amateur model ship builder working on this model, and I've been wondering whether part 18 should be cut from another plank, or if it is a separate individual part. Could you clarify this for me?


HMS GREYHOUND by Jackson7 - Corel - Collaboration With My Past Self
in - Kit build logs for subjects built from 1501 - 1750
Posted
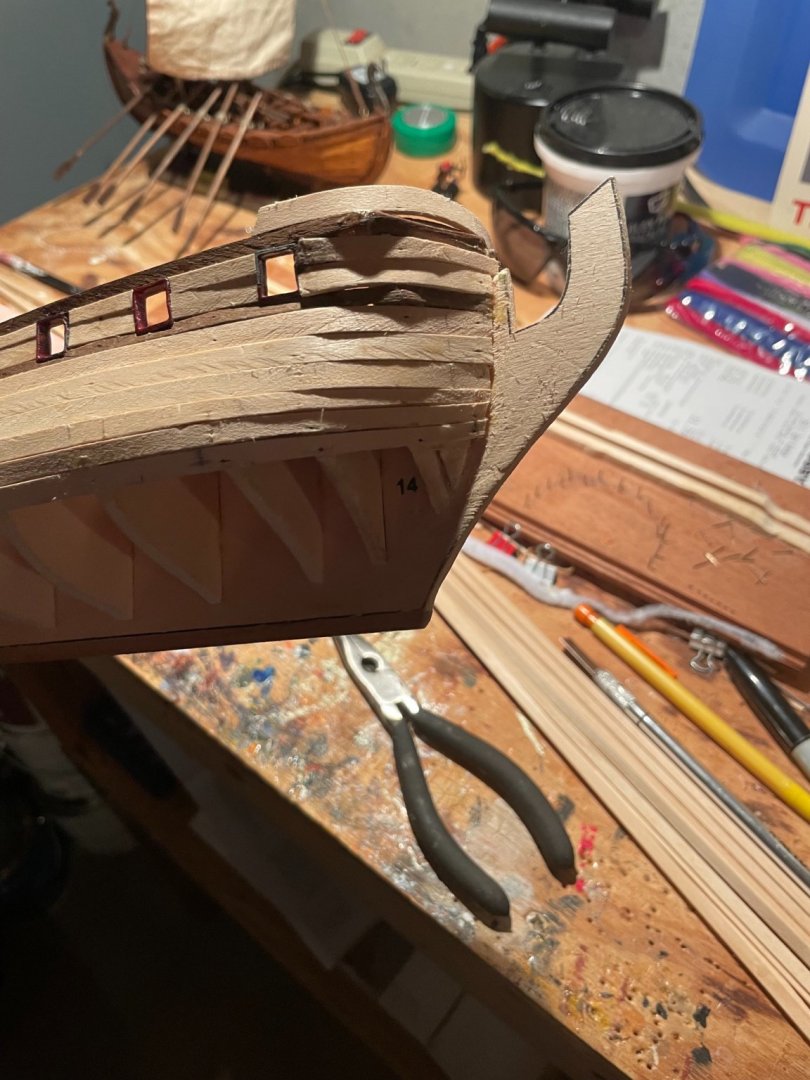
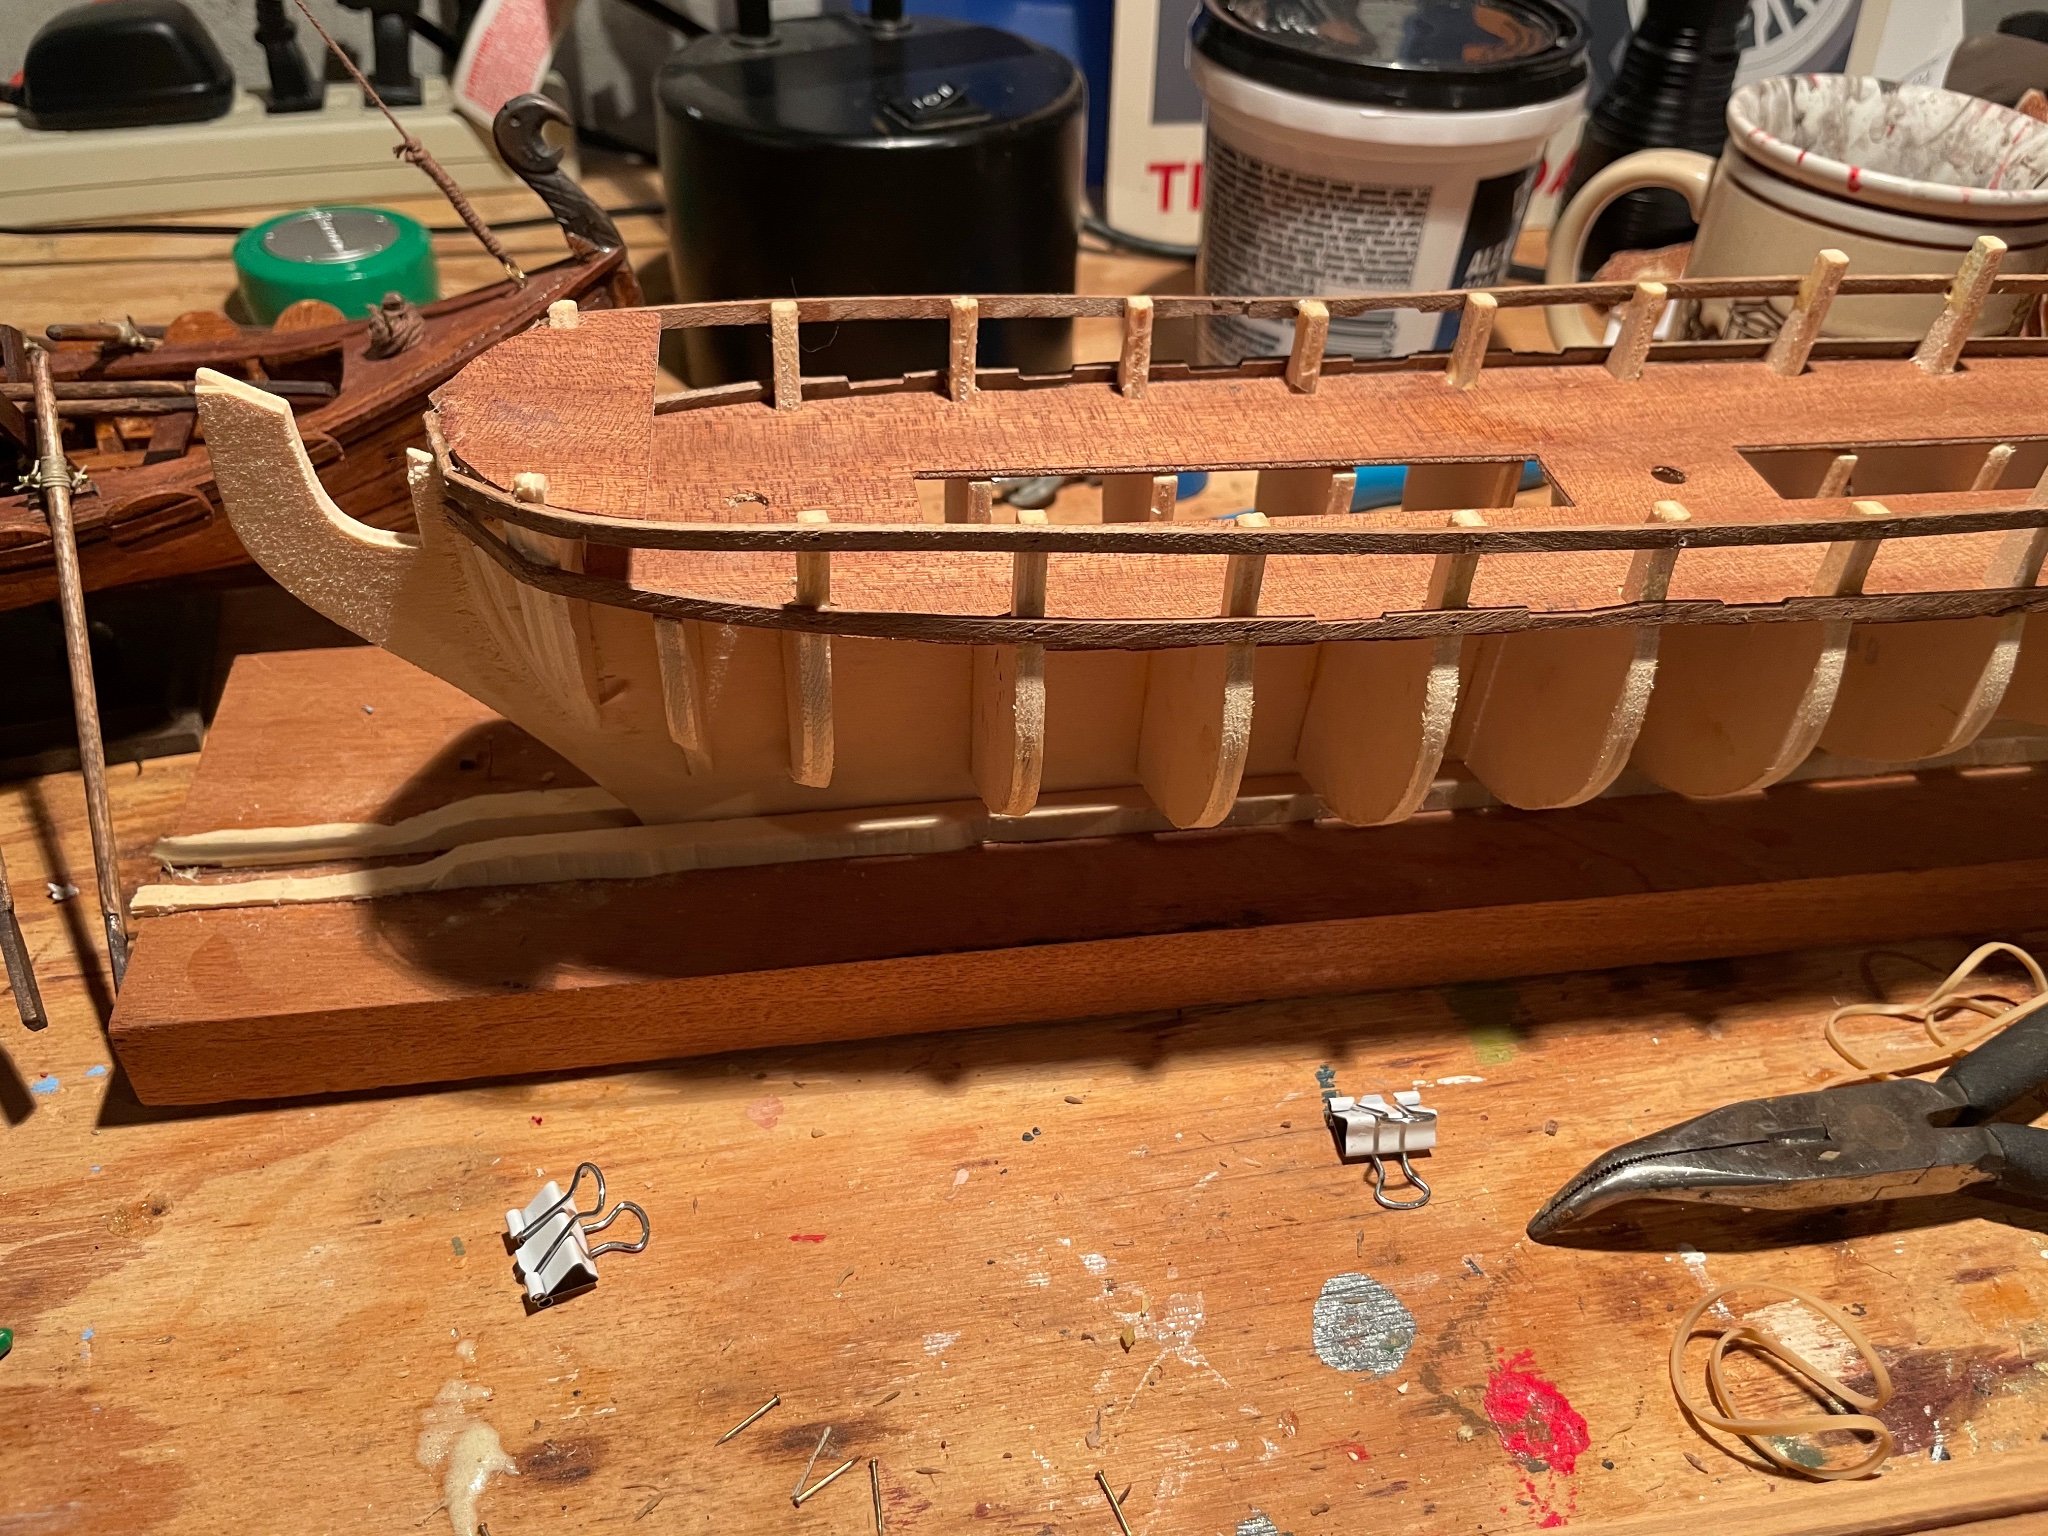
Note the general clunkiness of the hull area. This resulted from a lack of sufficient sanding to the ribs and a lack of good plank bending technique. As usual, I blame High School Me.