
MORE HANDBOOKS ARE ON THEIR WAY! We will let you know when they get here.
×


mandolinut
-
Posts
125 -
Joined
-
Last visited
Content Type
Profiles
Forums
Gallery
Events
Everything posted by mandolinut
-
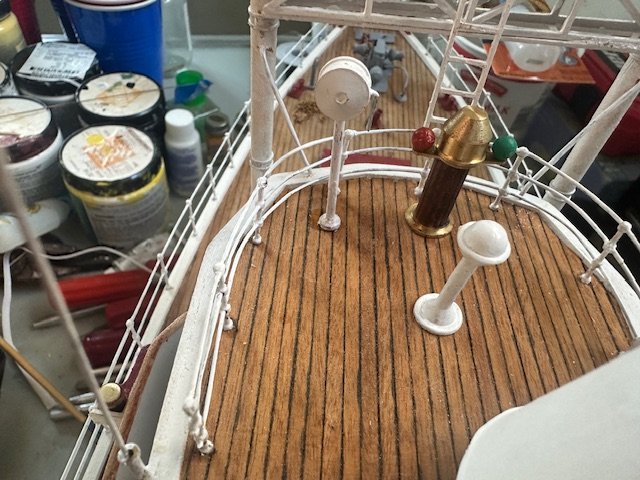
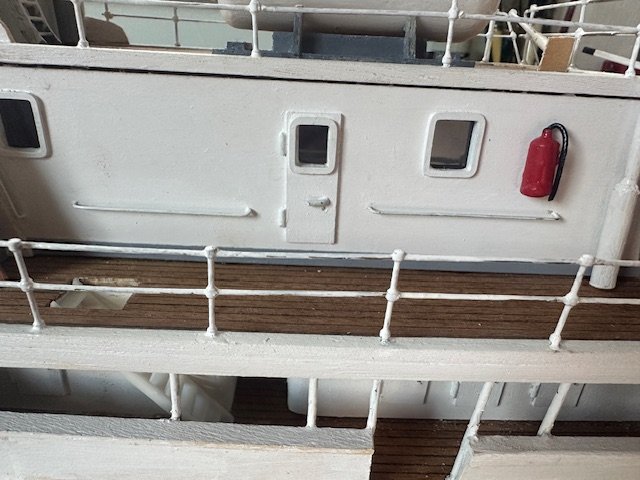
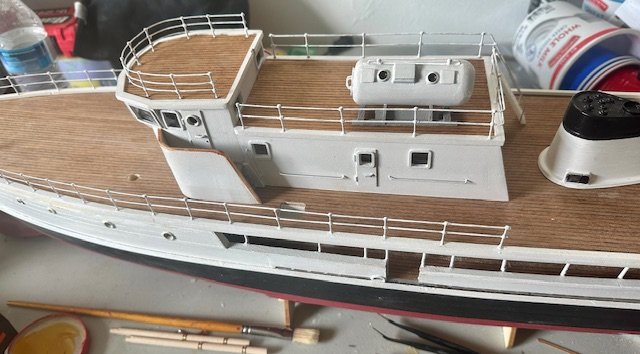
A few more small details today. Attached the spotlight, binnacle and compass above the pilot house and a wall mounted fire extinguisher. Also supports from the wheelhouse to the two masts.
-
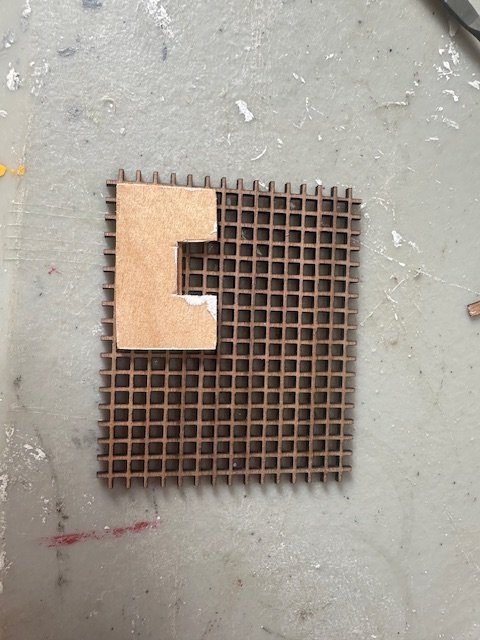
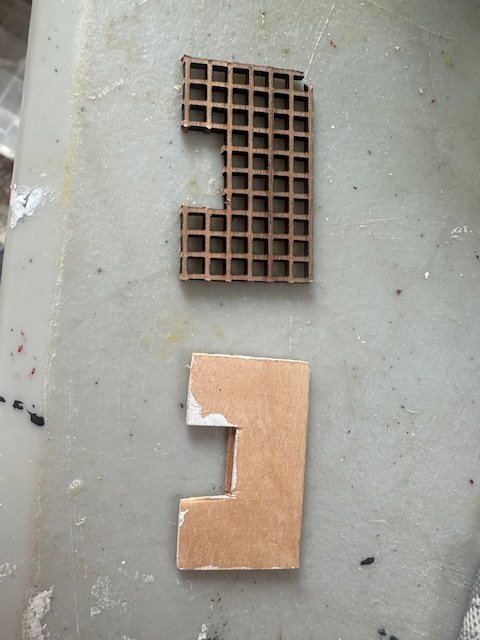
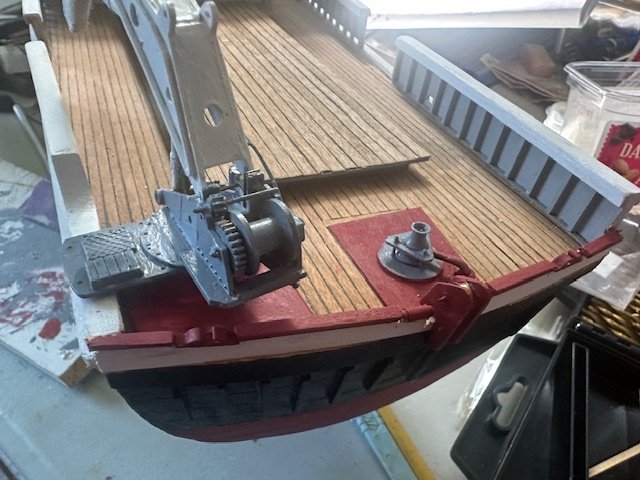
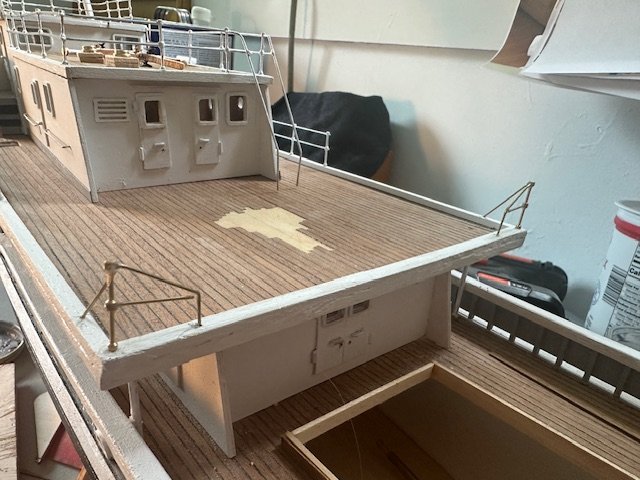
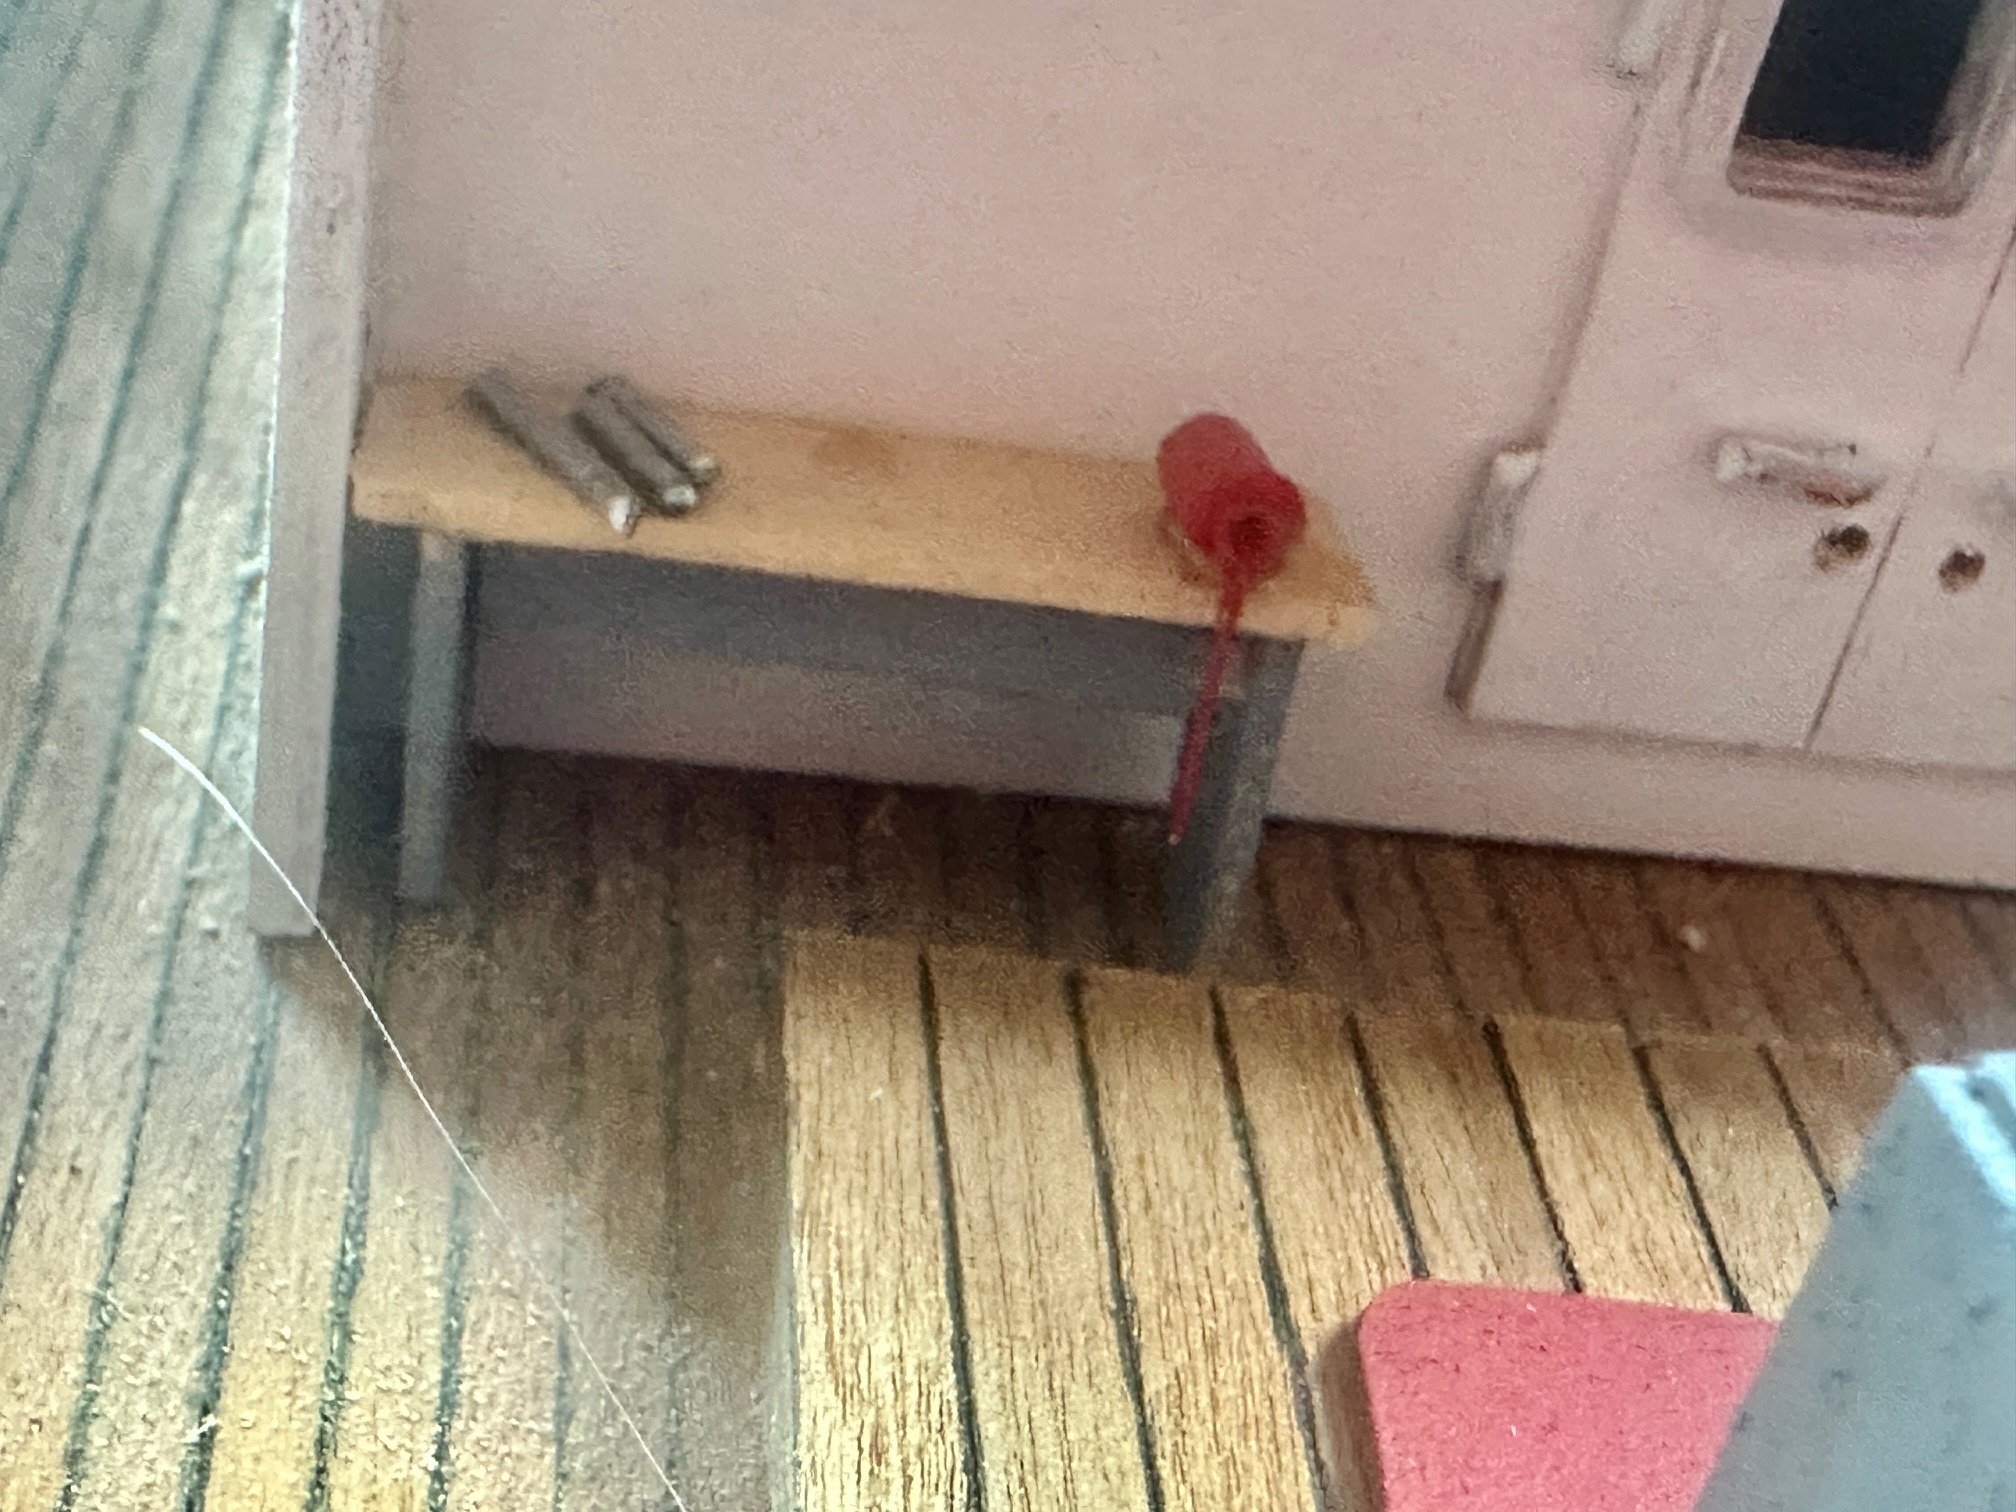
I worked on my workbench a bit more today. Added a drawer front and some "tools" on top and painted the base gray. I received my Model Shipways grate and cut it out to match the solid laser cut dive platform. Mounted to the stern of the ship along with the ladder, support chains and handrails. Happy with the overall look of the grate. So many small details on this addicting build. Loving the process.


-
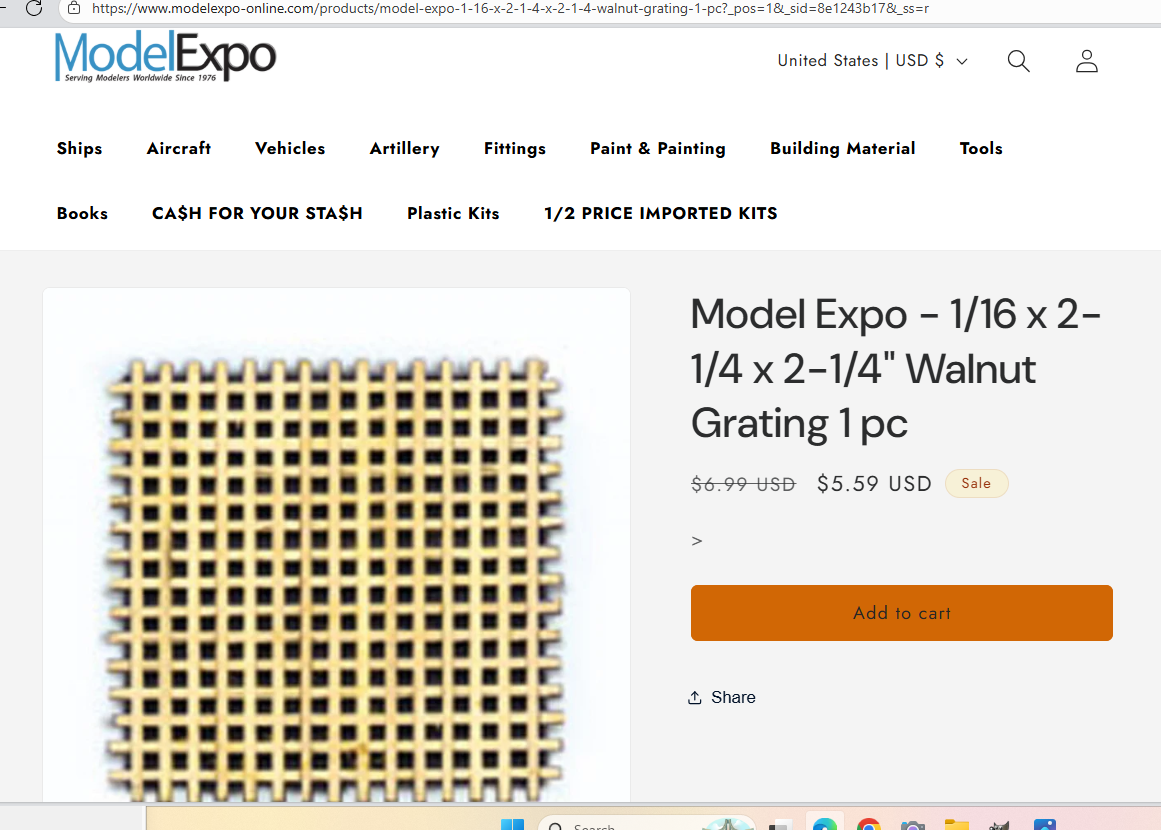
Thankyou Alan. You are absolutely right regarding the large amount of deck features and ornamentations on this model. It seems like there is no limit to be creative and add to the numerous deck projects already supplied with the Billing kit. For example, I saw in old photos of Calypso where there was a work bench behind the lower deck cabin on the port side. I came up with this today and added a vice. I also began working on the dive platform. The part supplied by Billing is a solid piece of laser cut wood. I see that other Calypso builders have planked over this. As a lifetime diver, this would be problematic as the wave action would lift and lower the solid platform in rough seas. Dive platforms are almost always grated to allow water to rise up and through and then immediately drain off. Calypso was no exception. I ordered this grate today from Model Expo. which I will shape to match the original Calypso grate that had an opening for the divers access ladder to pass through. Once again, one more little detail to look at.


-
Thankyou Don. I am taking my time and really enjoying the build of this special ship.
-
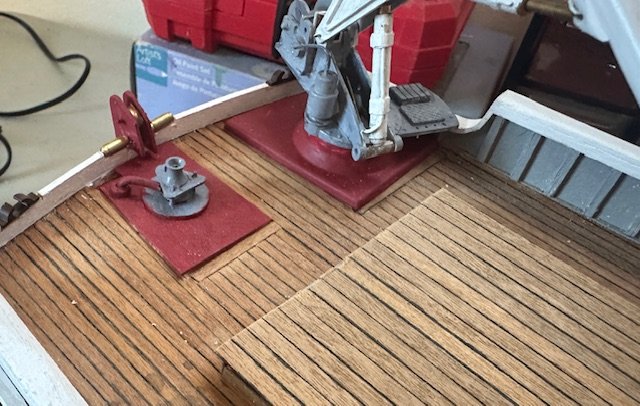
Working on the binnacle and other fixture and spotlight which will go above the wheelhouse. More deck jewelry. Once again, the pins below the port and starboard magnetic balls would not fit into the predrilled holes. No problem to redrill. I added a grab handle for the spotlight to add a bit more detail. I will stain the sides of the binnacle to look like mahogany and leave the base and top natural brass. Also attached the bollards and fairleads to the deck. As I was leaving, the Sun shined brightly through the window for a nice photo op.


-
I worked today on the bollards. Some nice deck candy. There are eight total. Should have been easy but then it would not be memorable The pins on the brass vertical pieces would not fit through the predrilled holes in the brass base plates. Used my vise to hold the bases and redrilled them. First problem solved. The next problem is the brass pins are too long to allow me to have a flush mounting surface to glue to the deck. I will grind off these nubs with my grindstone and then reluctantly paint them for mounting to the deck.


-
The planking will stabilize the transom. Keep up the good work.
- 21 replies
-
- 2
-

-
- Dory
- Lowell Grand Banks Dory
- (and 4 more)
-
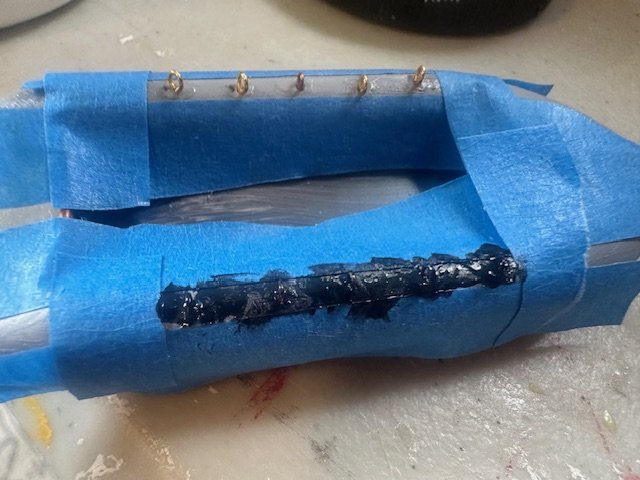
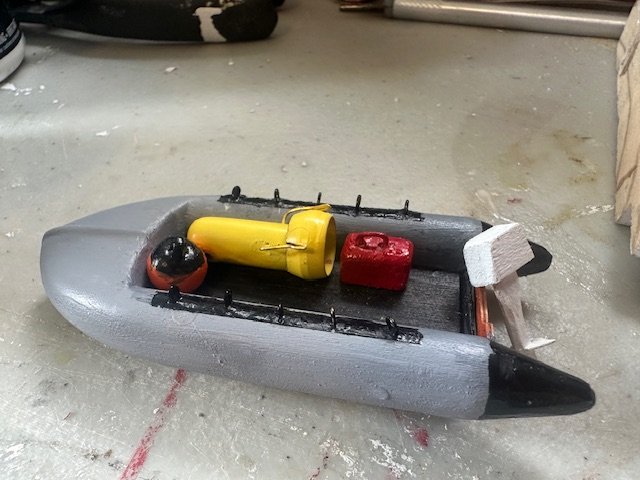
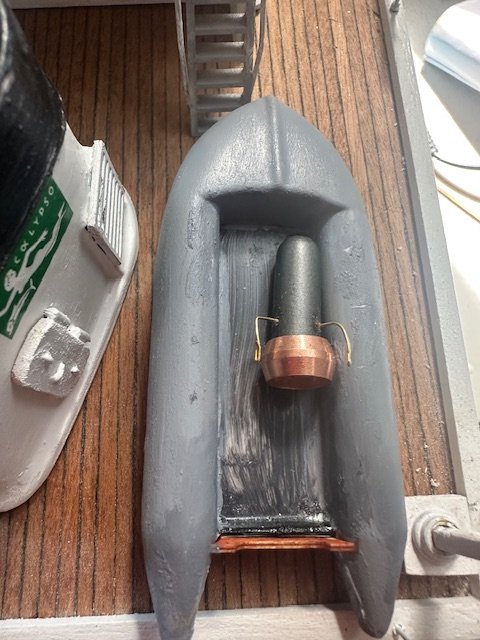
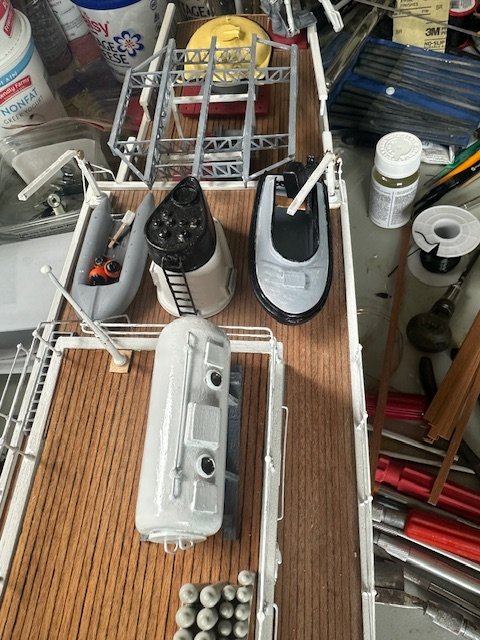
I had a little more time to spend on the dinghy today by adding 5 small wire eyebolts to each side. Then taped off to paint the border on top and the two stern extensions black. The grab lines on each side will eventually pass through these eyebolts as in the original photo. Also painted the underwater scooter yellow.

-
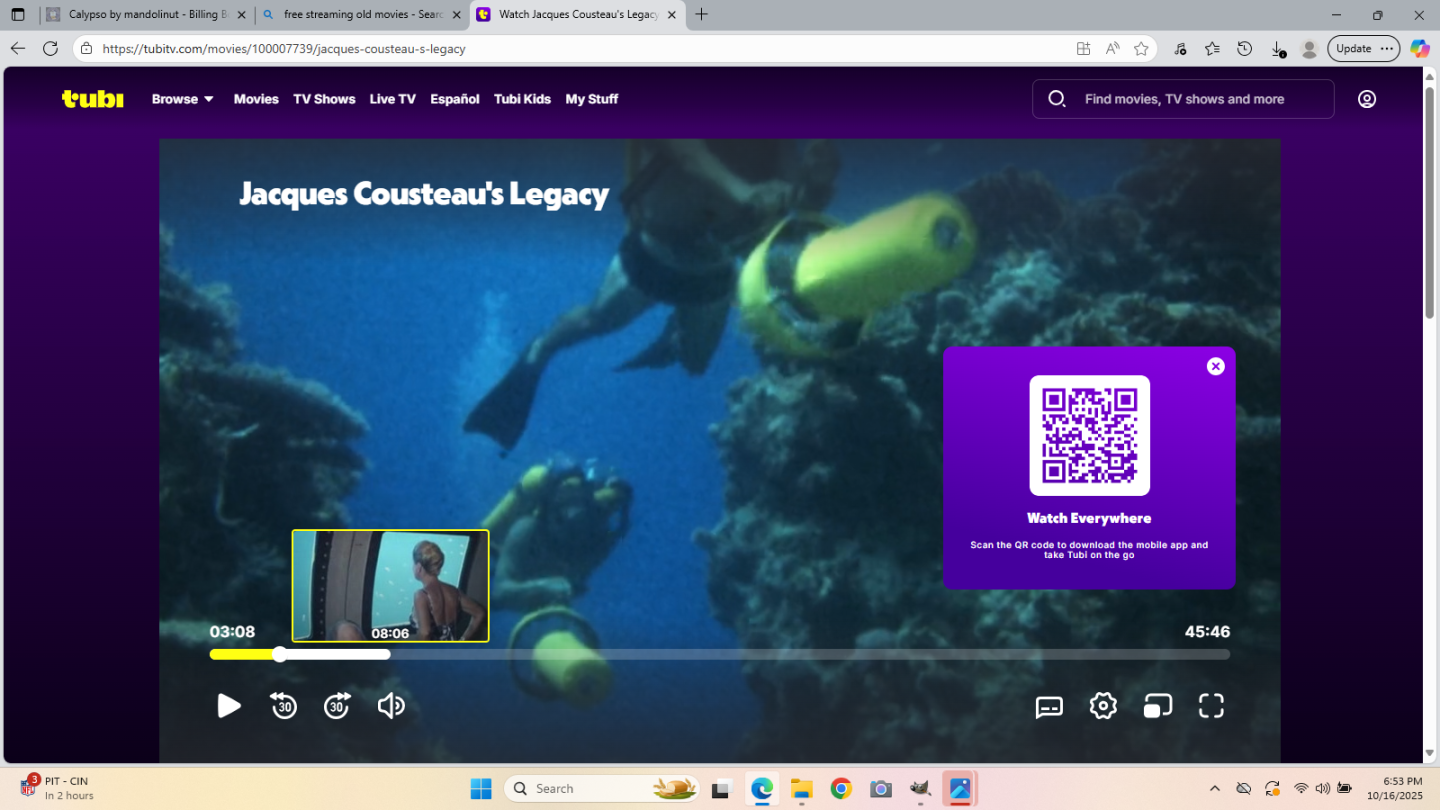
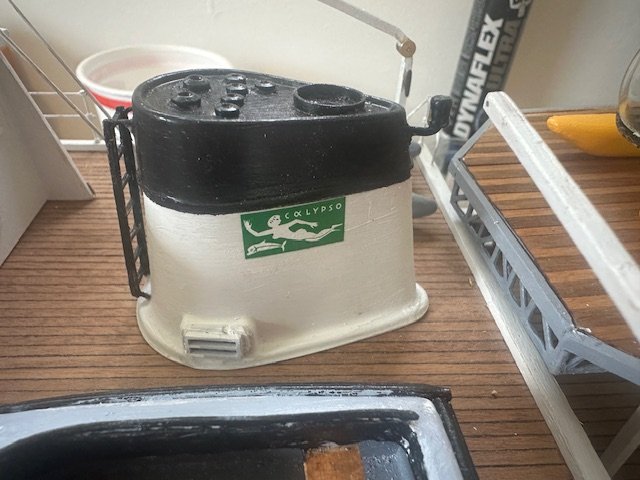
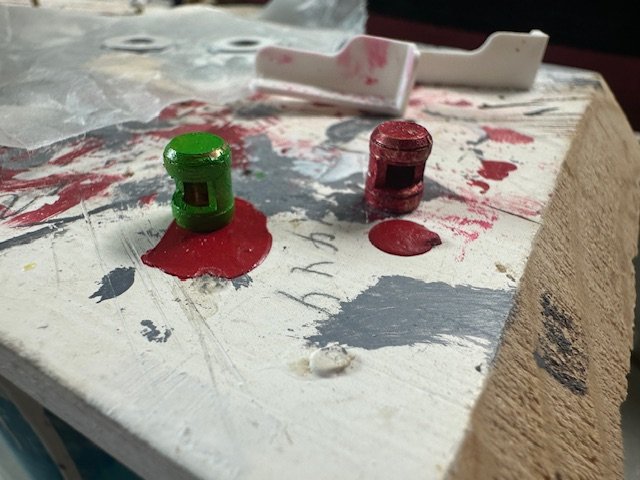
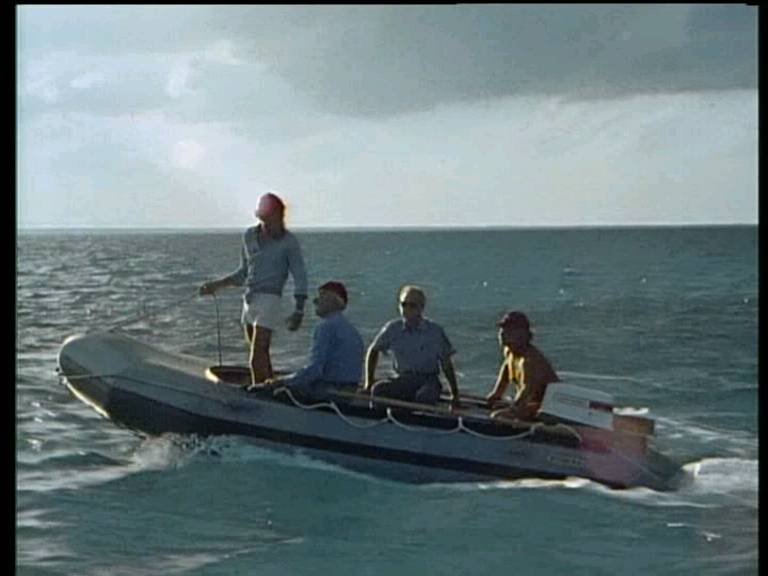
I did a little more work on the transom today. Added and painted a rail cap and painted the rollers and deck hardware. Feeling good about the progress. Just for fun and inspired by the old Cousteau TV series, decided to build an underwater scooter. Cousteau's documentaries were the first time most of us had ever seen such a thing and they looked to be fun and practical. I used and old plumbing compression grommet, some wire and the cut off end of an art paintbrush for the build. Yet to be painted. The scooter will end up living in the Avon dinghy along with a dive flag and dive tanks and floats and a gas tank for the outboard. Here is a screen shot from a Cousteau video.
-
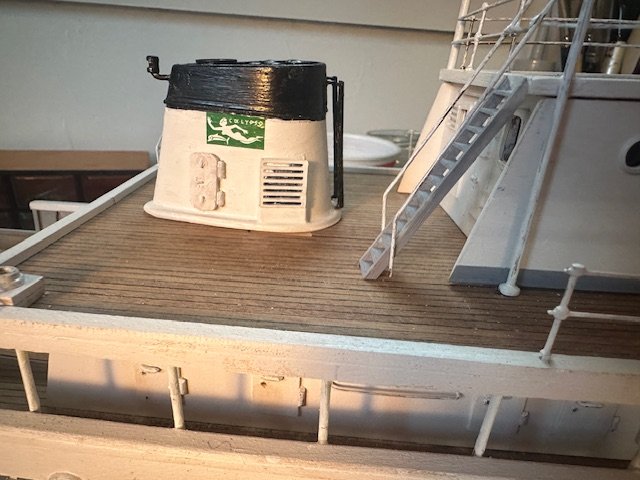
Here are two photos showing what I ran into on the starboard side of the chimney regarding the door. I had created a door showing where there was no room for the Calypso decal. I created a new smaller rounded door based on photos. First chimney door: New Chimney door with room for decal. Also glued stairs being careful to keep stairway parallel with handrails. Worked some on the transom detail rollers and chalks.
-
Thanks so much Jimbo for the nice words. This has been more than just another ship model to build, it has been a joyful journey.
-
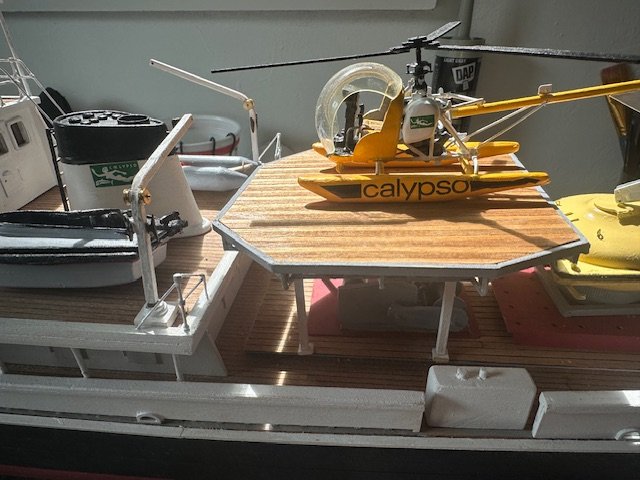
A few more projects completed. Finally glued the upper cabins and pilot house to the deck. Also glued the two larger masts in front of the pilot house. This allowed me to add the two communication towers aft of the upper deck. Then added decals to the smoke chimney and found out my starboard decal would not fit due to my door height being too tall, so removed the door and filled and sanded smooth. Then added decal to let me know new door height and position. (port side shown) Lastly, planked the helicopter landing platform. I did not have enough mahogany strips to plank it all the same so dug into my lumber yard and found similar strips that were a bit lighter. I like the way it turned out, sort of a teak and holly look. Added siding to protect the thin delicate planking and give it a more solid look. As Mark Twain said, "Don't let the truth get in the way of a good story"
-
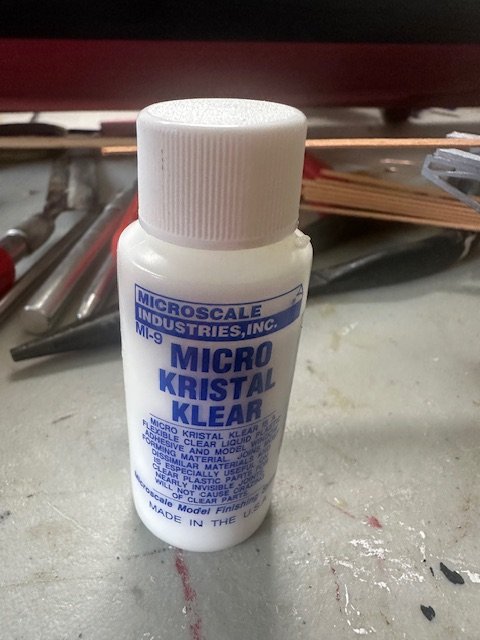
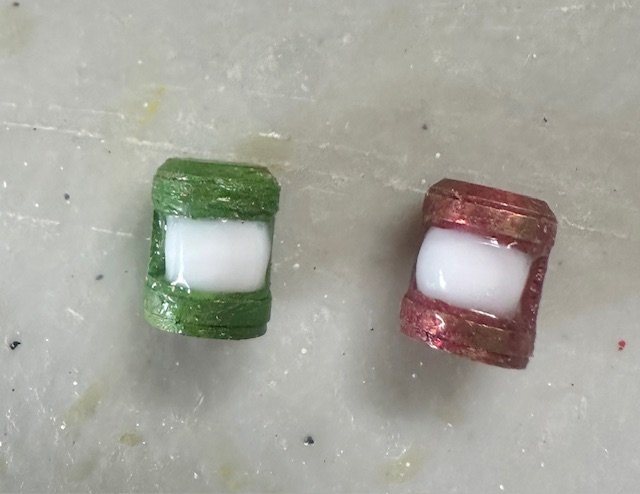
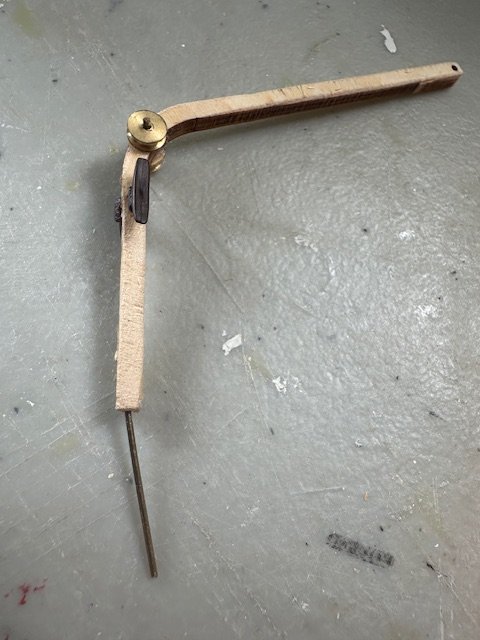
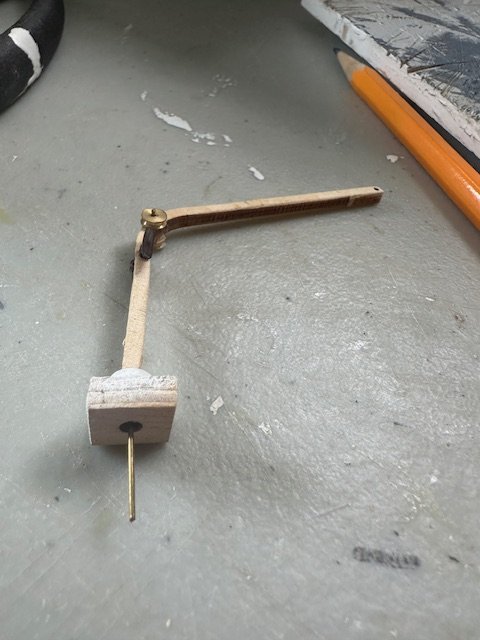
I have been away for a bit visiting family and friends. Nice to get back today to my Calypso. Mounted the bases for the upper davits and drilled holes through the deck so the davit can swing on its small brass wire rod. I used the same Micro Krystal Klear I used on the port holes to create a lens for the port and starboard running lights. It will dry glass like clear. I then added the forward mast / boom / bow light by dry fitting it.
-
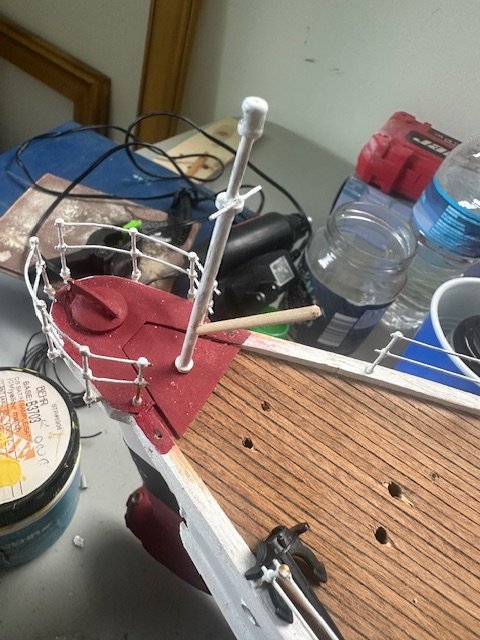
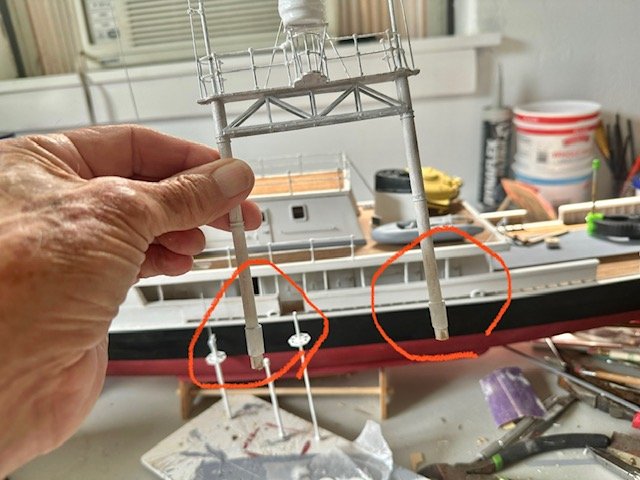
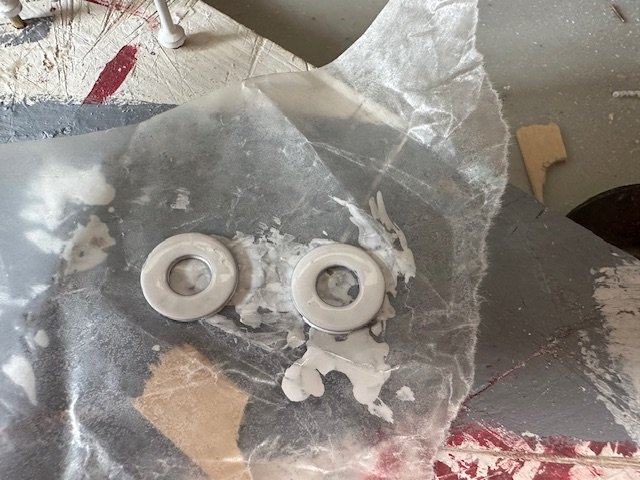
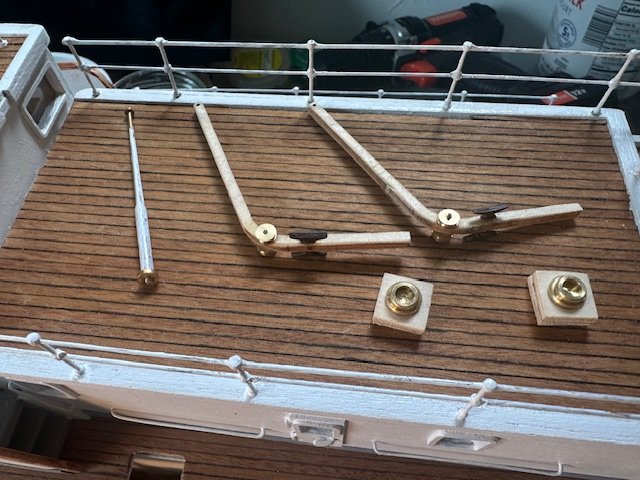
I decided I wanted the upper davits to be able to pivot (as they do) so I could decide later to put them in any position I wanted. I drilled a small hole through the brass base plate and another hole at the bottom of the lift and inserted a small brass rod. should work out well. Then built up the base of the two masts as it appears in old photos to represent a pipe within a pipe for more strength. I used painter tape. There are two washers painted that this will insert to before going into the deck holes. Also painted the running lights and assembled the communication antennas. Really enjoying this journey.

-
I believe I will work on the Avon next based on this old photo.
-
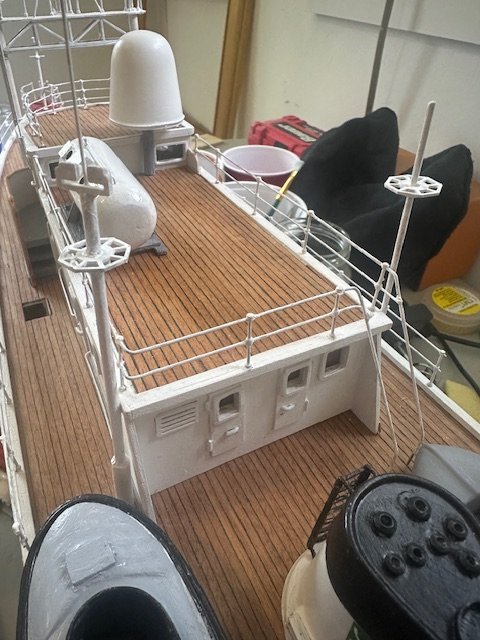
Today, I believe I finally finished installing the last of the safety rails. Time for a cold one. These are the two aft pairs of corner safety rails for the upper cabin top. There will be a flexible line connecting these to the other forward safety rails. Also began the two upper cabin top davits and the flagstaff.
-
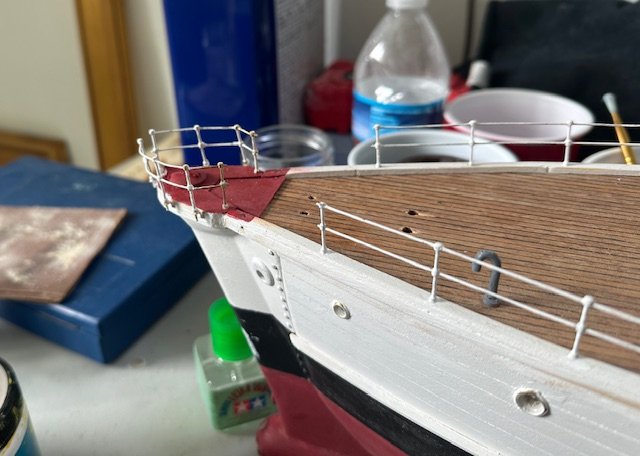
I went through many digital photos of Calypso and could not find any with the radar type included with the Billing kit. It was easy enough to remove the old one and replace it with a carved wood Decca type radar as seen in all of the photos. Thanks again to those of you that pointed this out! There are so many details and visual candy on this ship it is easy to miss one of the details. Installed the bow rails today and painted the double mast assembly. Here is before and after regarding the radar. BEFORE AFTER
-
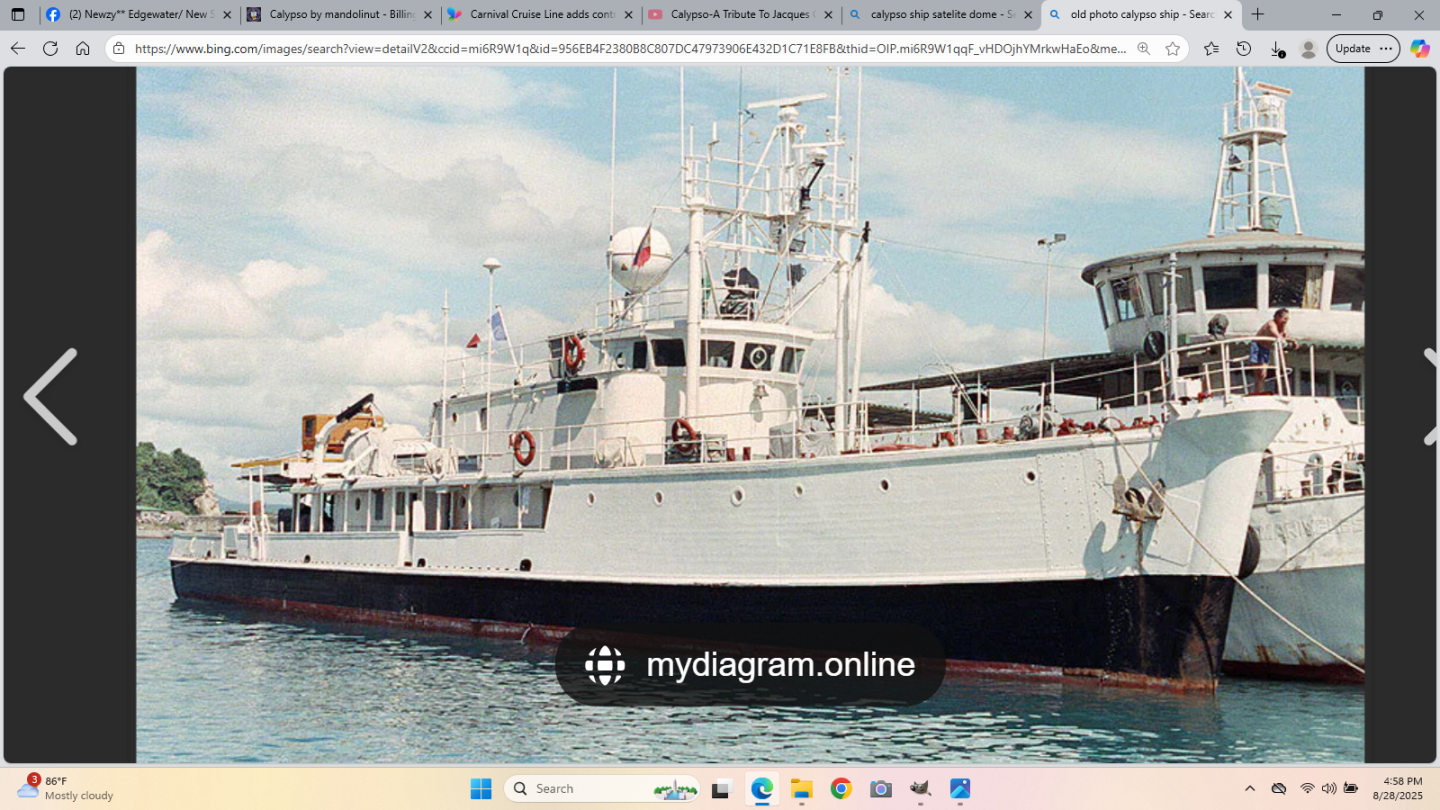
And then there is this. An early photo of Calypso with satellite communication that is round like a golf ball and Decca radar. I guess we have to choose what era we want to represent.
-
Thanks for the radar information, Nirvana. Good eye. I will check my photos and see if Calypso had the type of radar at one time that is included in the kit. If not, I will change it out.
-
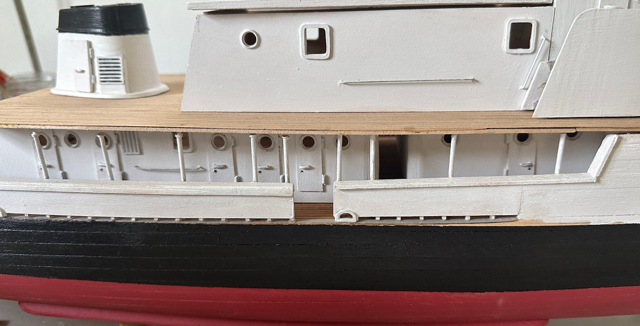
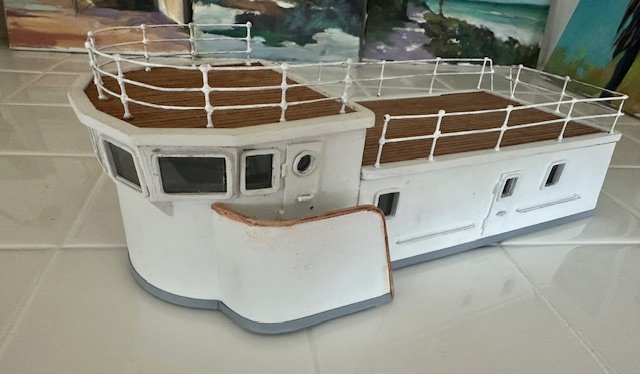
Thanks for those wonderful photos Veszett. They will join my collection of Calypso photos. I will be adding "the big egg" satellite dome later. Interesting to see the narrower thinner radar. I spent a little time today painting some thin veneer strips from my lumberyard gray (grey) to use to mold around the base of the upper cabins and wheelhouse as seen in Calypso photos.
.thumb.png.f6910eea2bbeb88957b8beb7602dff18.png)
-
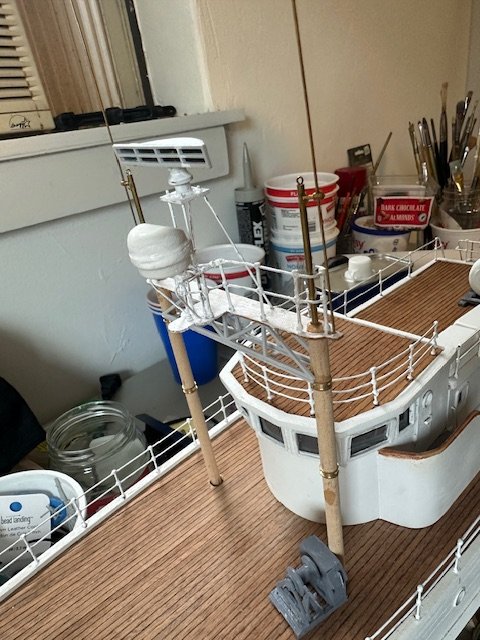
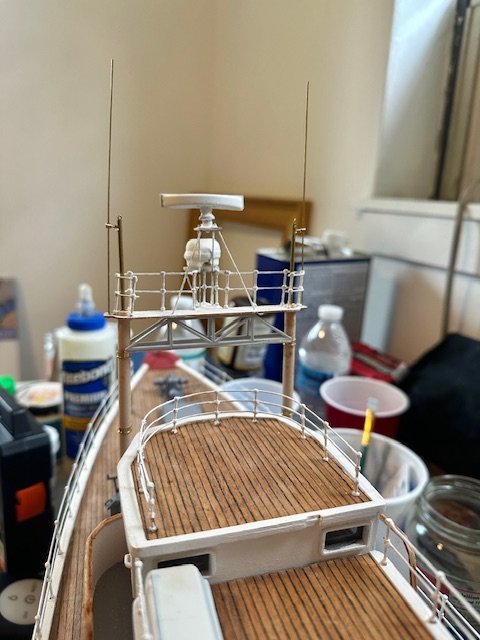
Today I connected the two masts to the observation platform and added the satellite and radar features. Also added the outer antennas. This is a special build for me.
-
Thanks Robert. My purpose for this build log was to help others building Calypso navigate through the build. When I first opened this kit in December, I was overwhelmed with the lack of printed instructions.
-
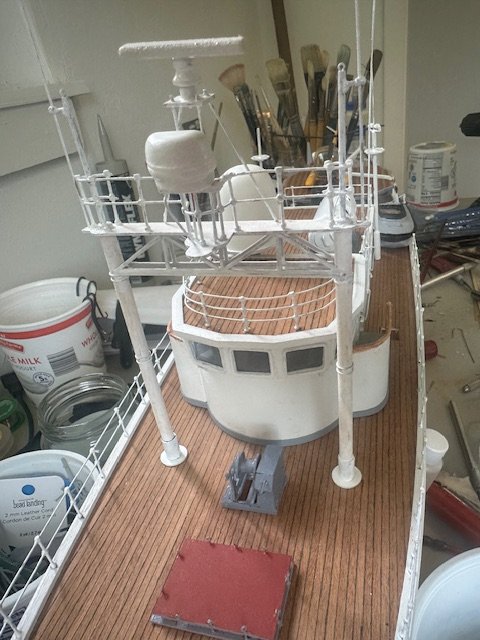
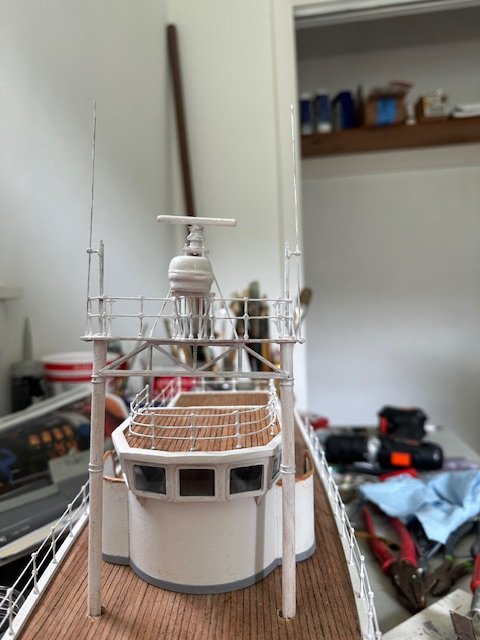
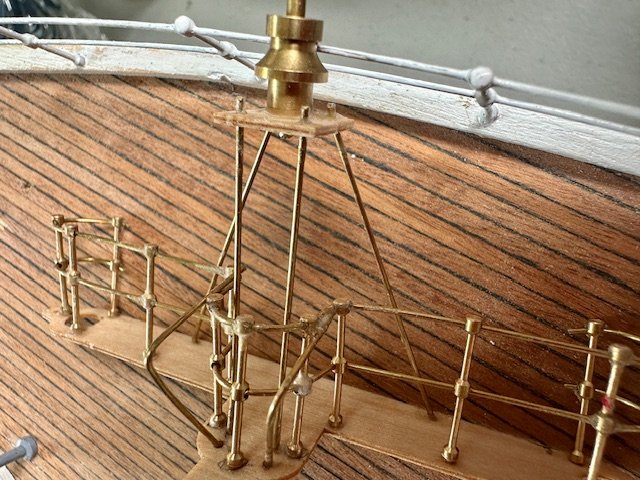
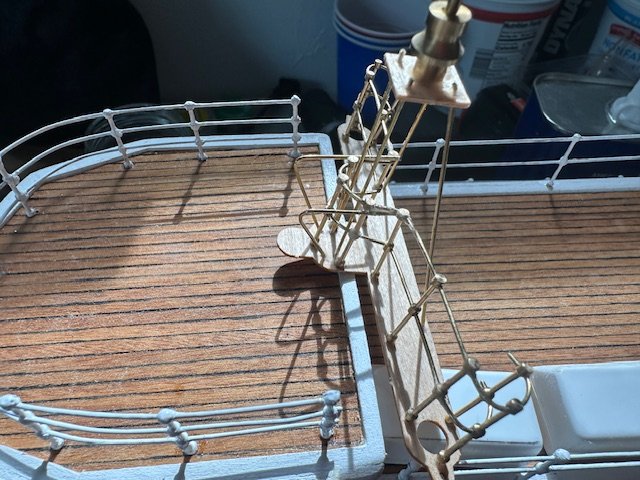
To begin with, thanks to you that are following this thread. We may never meet, but I feel some level of support as I plow ahead on Calypso. Today, worked on more detail of the observation platform above the masts. There is a four-legged taller radar platform and some forward supports for another satellite communication. Happy with the progress. There is a lot of detail in this small section. More antennas and wind indicators etc. to come. This structure will be atop the two forward masts.
-
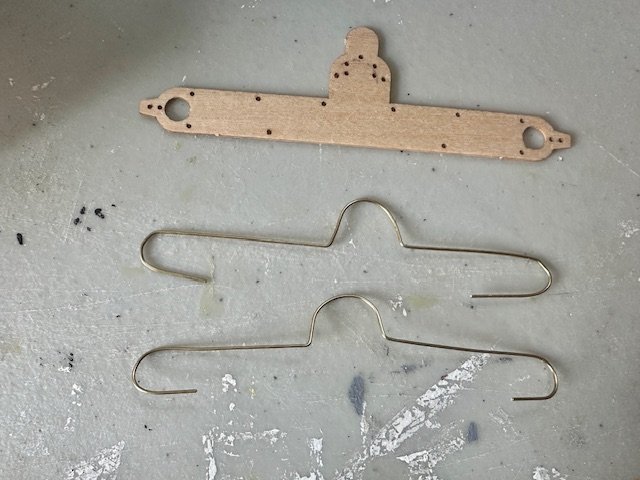
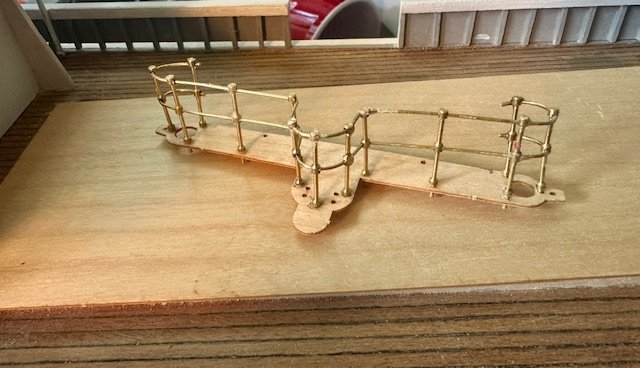
Thanks Nirvana. As you point out, 'Taint a hobby if you gotta hurry. I put some white enamel on the railings previously installed which makes the safety rails fit in with the ship. Since I was in the railing mood, I began the safety rails for the upper mast observation platform. It was a bit challenging to make two identical matching wire shapes. I ended up using a pencil to form the outer curves and a larger ball point pen to form the two forward curves. Then slid all of the rails in place onto the two wires and began gluing down the bases. Finally straightened the post vertical and added a dab of Ca glue to all of the joints.
-
Thanks Alan. If I had not had the ladder temporarily in place and guessed the angle, I would have been way off and as you said, it would look very wrong. I appreciate you following my build.


.png.772ce54224fb0b030829b37099395f54.png)