SaSi
-
Posts
28 -
Joined
-
Last visited
Content Type
Profiles
Forums
Gallery
Events
Everything posted by SaSi
-
The website's domain was registered by someone in New Jersey. It reminds me of some photography e-shops that did scams and bait and switch practices. Better stay away.
-
Bending Trim planks.
SaSi replied to Ed Meyer's topic in Building, Framing, Planking and plating a ships hull and deck
With fragile and hard pieces of wood, I've found it easier to soak it - as you did - and then press form it at a smaller extend than the desired, let it dry and rest, then re-soak it and repeat with a steeper angle than the first, until I reached the desired curvature. That was with walnut and cherry pieces of solid wood as well as rosewood, walnut, cherry and oak veneer. Veneer is harder to bend along the grain as it is very brittle and breaks. But this method allowed me to achieve rather small diameter rings. -
Problems Planking the Swift
SaSi replied to mike0879's topic in Building, Framing, Planking and plating a ships hull and deck
Let me start by making clear I'm no expert. But perhaps that helps me better appreciate your confusion. You must never try to bend the planks in more than one axis. You can bend them like to cover a cylinder, you can rotate them across the axis - like the plank that becomes the gardboard, but you must not try to bend them in both directions. What I see in these pictures is the bending of the plank to follow the bow curve as well as a rotation to try to follow the vertical curve of the bow. The thin strip can't do that - perhaps it can if it gets steam soaked but it would not be right anyhow. Once the planks reach the bow curve, they need to get tapered to the point that the front end is about half the width of the original plank. You must not try to fit the planks at full width as they curve and reach the bow end. Took me a while to realize how to do it, I now know how but that doesn't mean that my first build started like that or that I completely followed the good practice. One question. I see you are planking with really thin strips. As far as I've seen some builds and kits, they either come to be single planked - with the final wood that is rather thicker, or to be double planked, where the first layer of strips are softer and thicker, like 1,5mm, and the second layer is thin veneer strips (0,6mm). What is the planking structure of your build? And a suggestion: I see you have filled the gap between the foremost bulkheads. I would suggest you fill the next one as it has a significant curvature. It will help a lot. Of course, other, experienced builders may correct me if I'm wrong. -
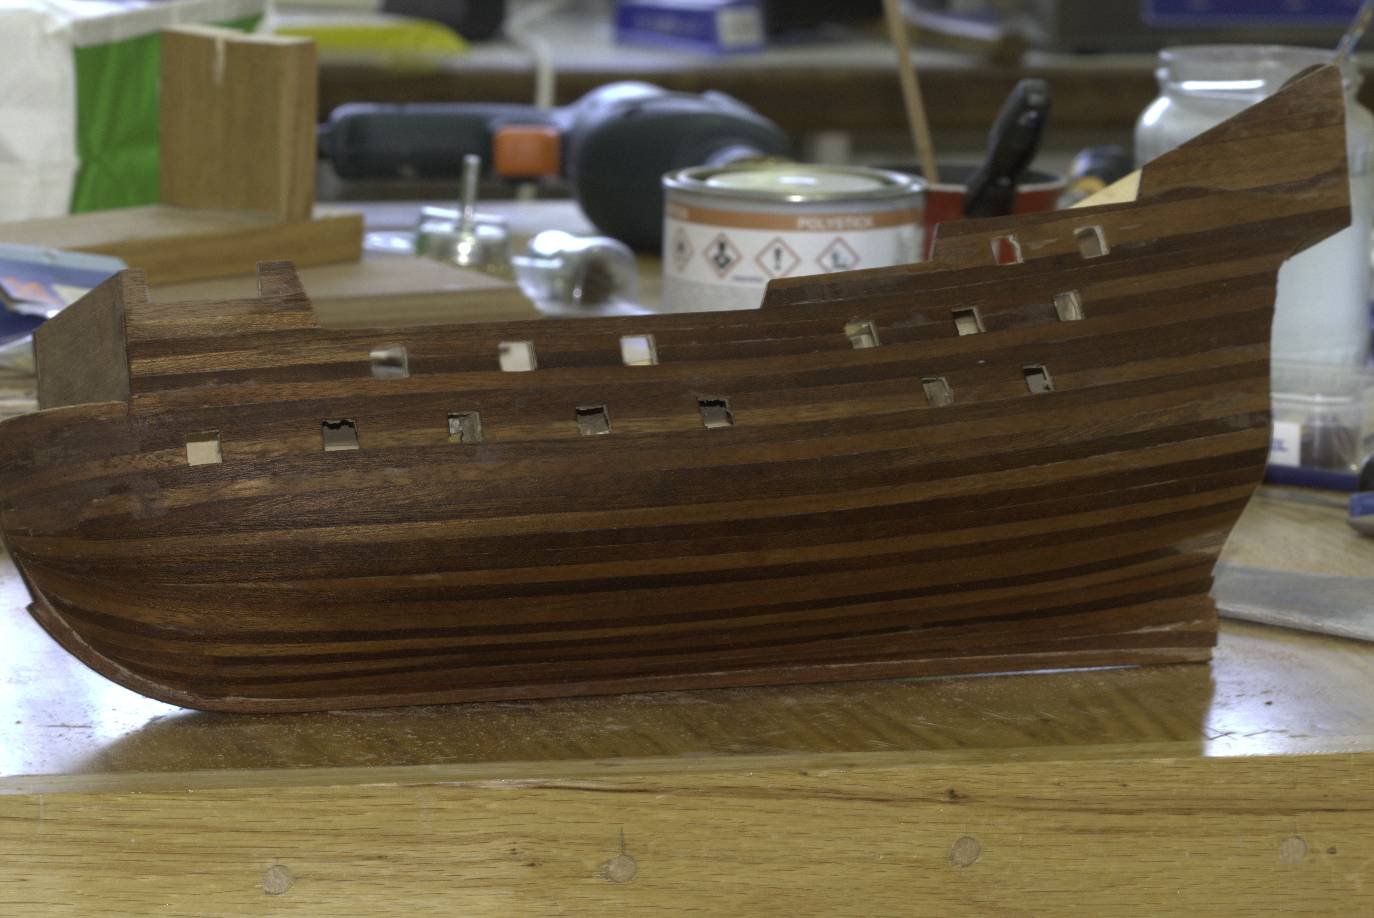
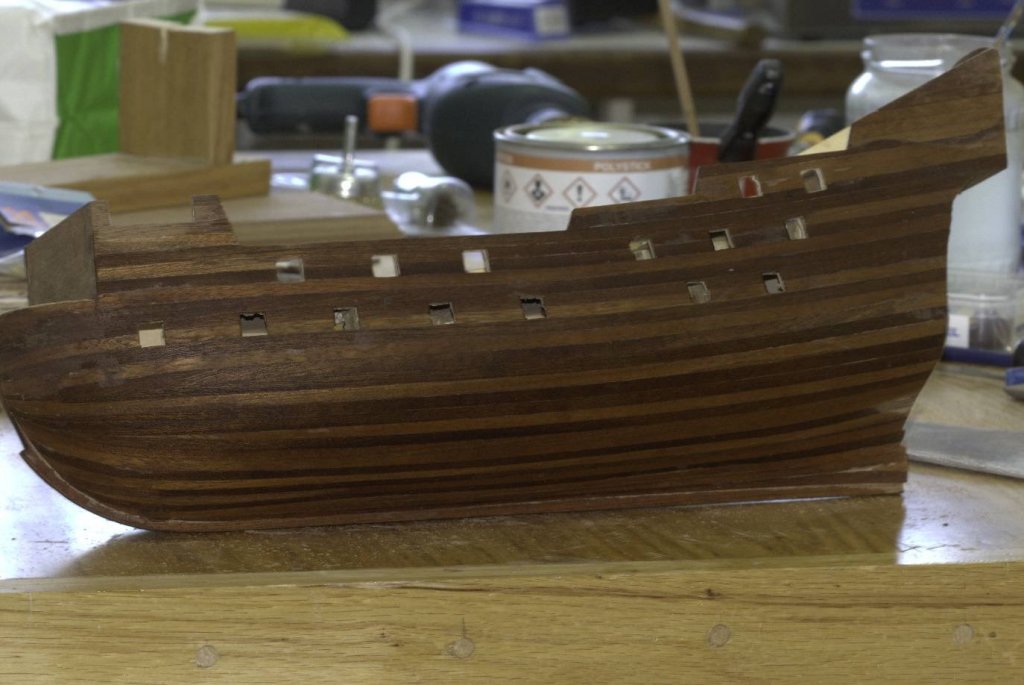
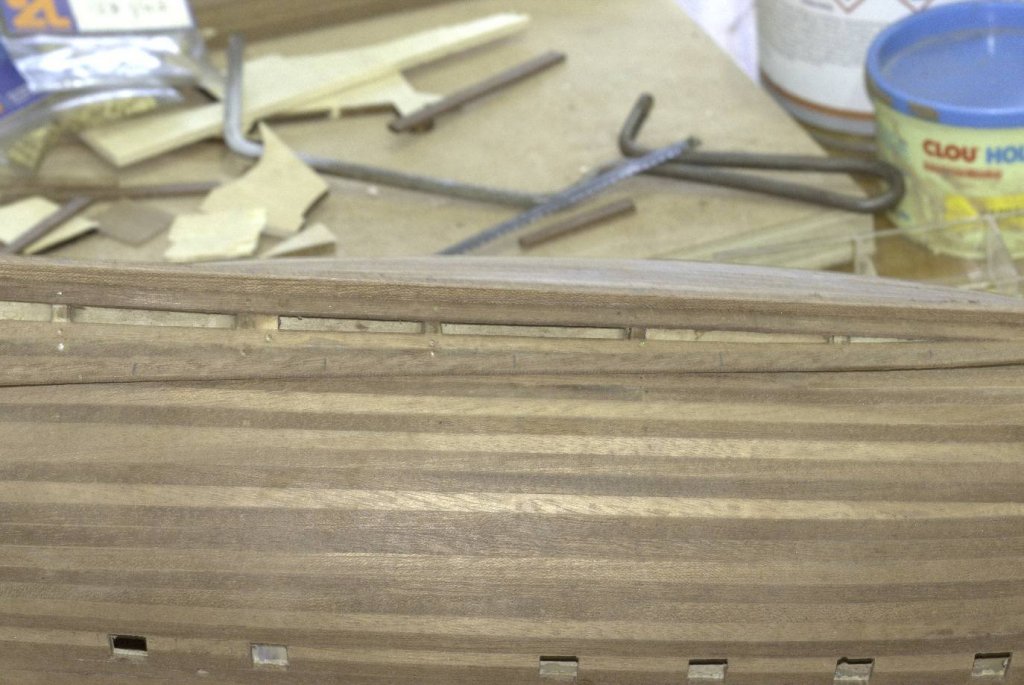
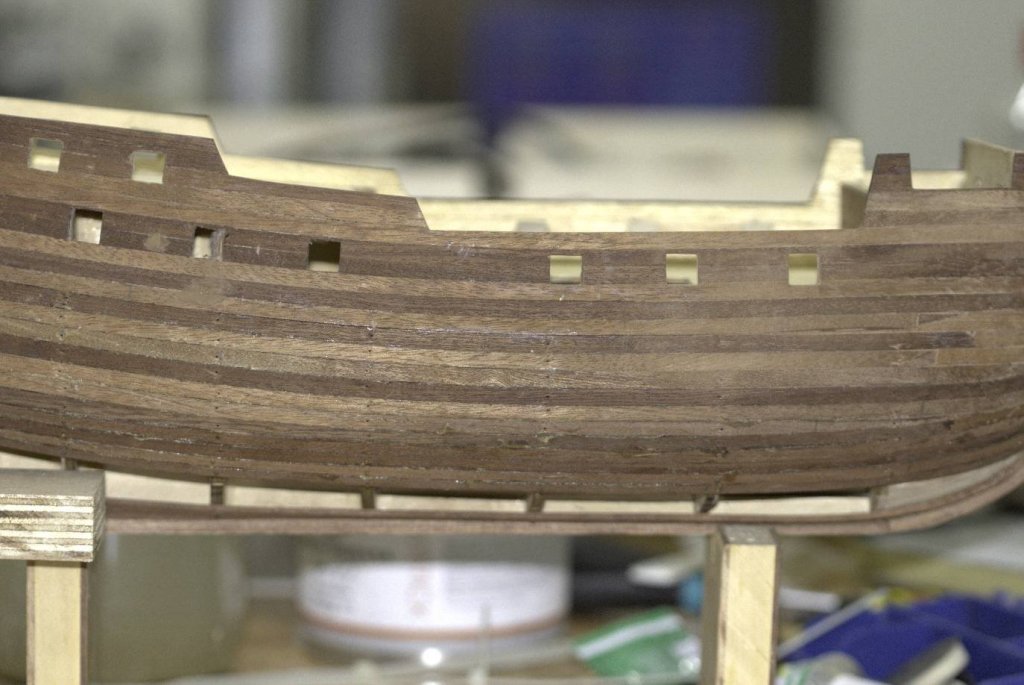
Here we are on October 21st having completed planking the hull, having made the rest of the gun ports and having applied a first coat of mat varnish. I also used the sanding dust - which I kept in a bag - to fill up the nail holes and other mistakes I had made. Mixing the dust with some varnish makes for a nice filler that matches the wood well. The hull is far from finished in it's current state. Some more sanding is needed. I am aiming for a smooth surface with no more than 0.1mm irregularities. Scaling up 0.1mm by 90 gives 9mm which would be plenty much and unacceptable for a real ship - I think.
-
Here is the last plank before being mounted. It was tapered from bulkhead to bulkhead until it made a good dry fit. Of course I now know I should have planked from the keel up and the wale down to meed at the bend of the hull. It might have been easier to fit the tapered plank there. But, OTOH, down there that plank isn't really visible. What do you think? BTW, while planking down the hull I started filing and sanding from the deck down. It was a slow and rather tedious process but it was fun. I applied little force to the files so as to avoid scratches and after a while I switched to a small sanding block with 80 grit paper.
-
Here is a view of how things look at the bow. I should have tapered each plank in the same way and made them look symmetrical. But I accept this as good enough for the first build, hoping that after sanding down things will look better.
-
Here we are almost done with the hull. Once I got the hang of it I could do two planks a day, even on working days. The picture shows there will be some space for a stealer in the back.
-
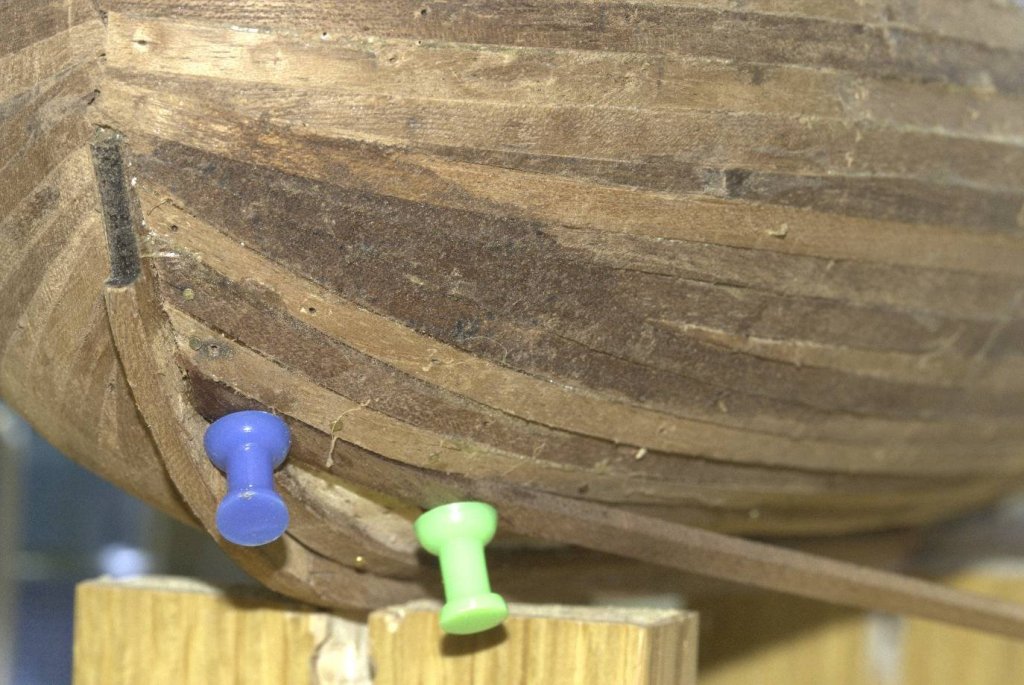
Going down to the keel - I had already glued the gardboard in place - here we have a bended plank that was dry (actually wet) fitted in place and kept there with pins. That's a good idea I picked up but it was rendered difficult by the fact that the bulkheads gave in and split at times. One thing I would do (next time) would be to glue extra "ribs" to the bulkheads to thicken them and make them stronger. That would also allow to plank the hull with staggered "scale correct" planks. As it is in the original kit, the bulkheads are so thin you cannot mate two planks on a bulkhead. One of the reasons I chose to plank the hull with fullsized sticks. I should also point out that after the first few planks I switched from white PVA glue to contact glue. Applying a layer to the new plank, the edge of the last plank and the bulkheads gave a much better fix after waiting for 5 minutes for the glue to cure a bit. The planks would stay in place much easier and it was less of a strain to the bulkheads and the pins.
-
Here we have that missing - broken - plank replaced. And here we are at the stern bulkhead. Below the waterline - wherever that is - it was becoming difficult to nail and glue the planks to the stern bulkhead. The planks came at an angle and would only touch the edge of the stern. Not a promising joint, even if I kept the nails, which I had decided not to. So I glued 3 pieces of 0.6mm planks there, let them dry and then sanded them at an angle to create a full face surface for the planks to sit. Worked out well.

-
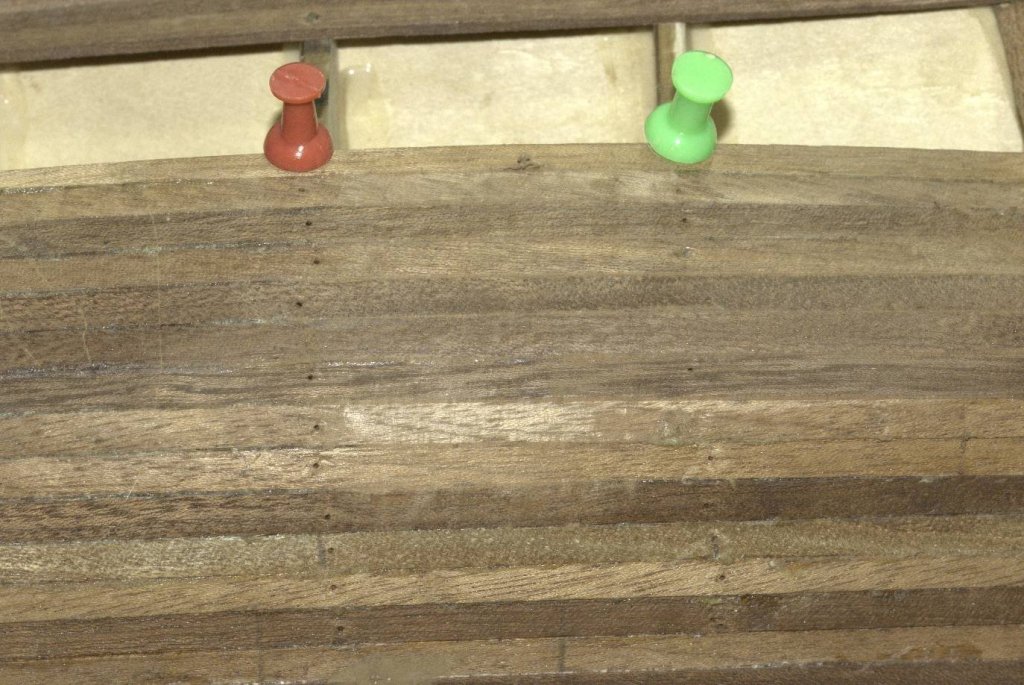
Here is some more progress in planking from October 10th. By the time I reached this point I had read up planking techniques and started tapering the planks as they reached the bow. One think I wanted to show in this picture is the fact that the planks are being laterally bent as they reach the stern. Probably not the right thing to do but as I mounted the first first planks in the wale and followed the instructions, that plank had to be bent in that way. From there on I just followed the flow. What do you think about this pattern?
-
Hi! thanks, interesting point. I will keep that in mind.
-
Here we are on September 29th. I'm keeping track of dates thanks to the information in the pictures. Planking has progressed a bit. Notice the second plank from the bottom to the left of the picture. This is a mistake. That plank should have been tapered, like the corresponding plank to the port side. Same for the plank it touches from below. These are mistakes that I have to live with. I was also a bit worried about the looks of the planks. Even though I beveled the planks I mounted - from the top going down to the keel - you can see gaps between them. You can also see some cracks caused by the nails. I should have used a mini drill to pre-drill before putting in nails.

-
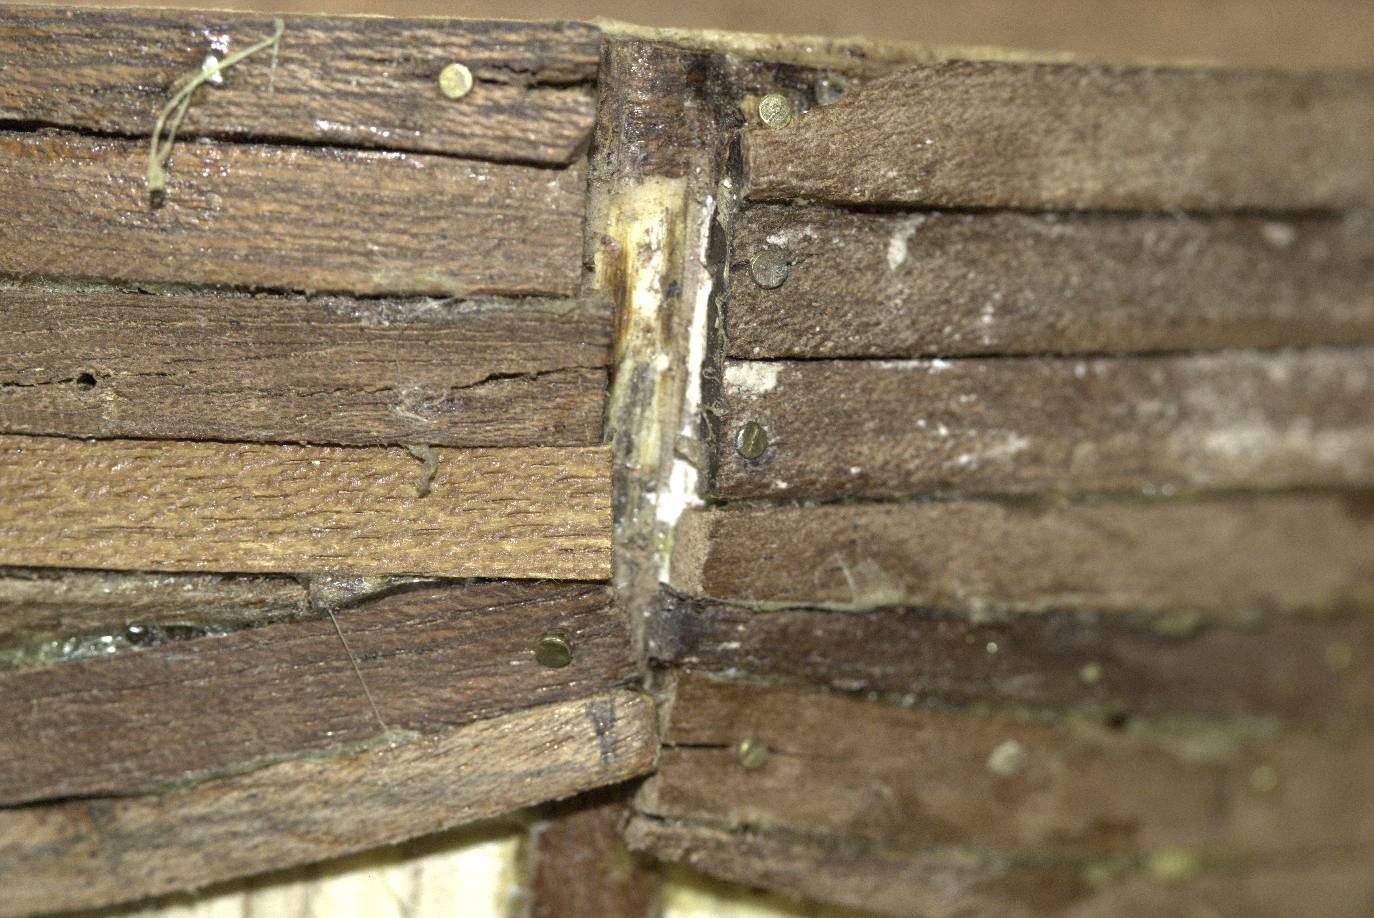
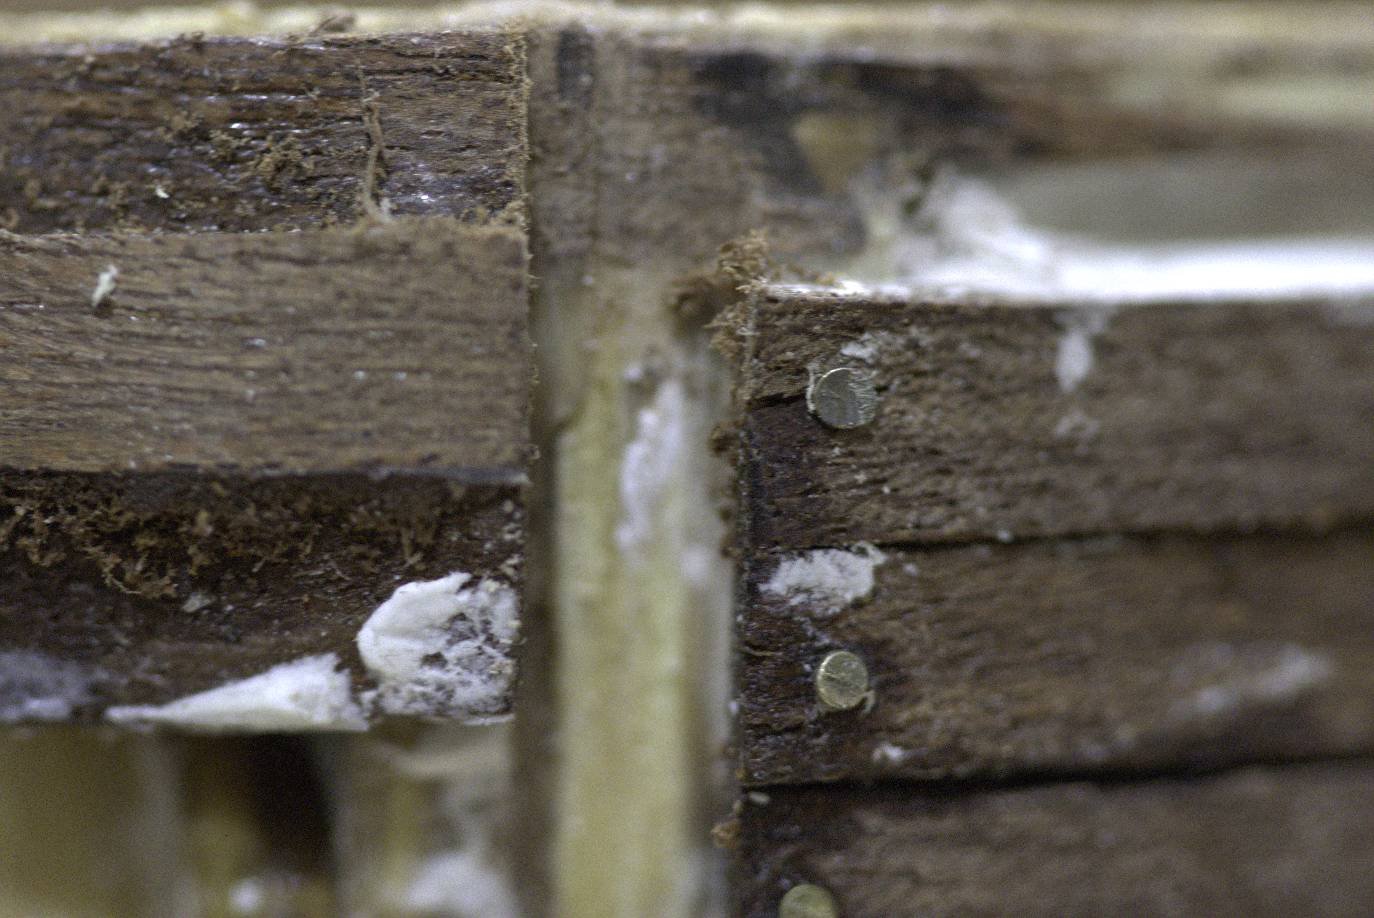
Here is a close up shot of the bow with the planks trimmed correctly. I used a dremmel with a sanding disk to gently clean the edges. The nails holding the planks can be seen also. These are the nails supplied with the kit. They have a huge head - totally out of proportion to the scale. I nailed one on a piece of scrap and tried to sand the head down with a file. It was very hard to do so eventually decided to use them to hold the planks until the glue set and then remove them. Removal wasn't hard - I just used a sharp blade to lift them.

-
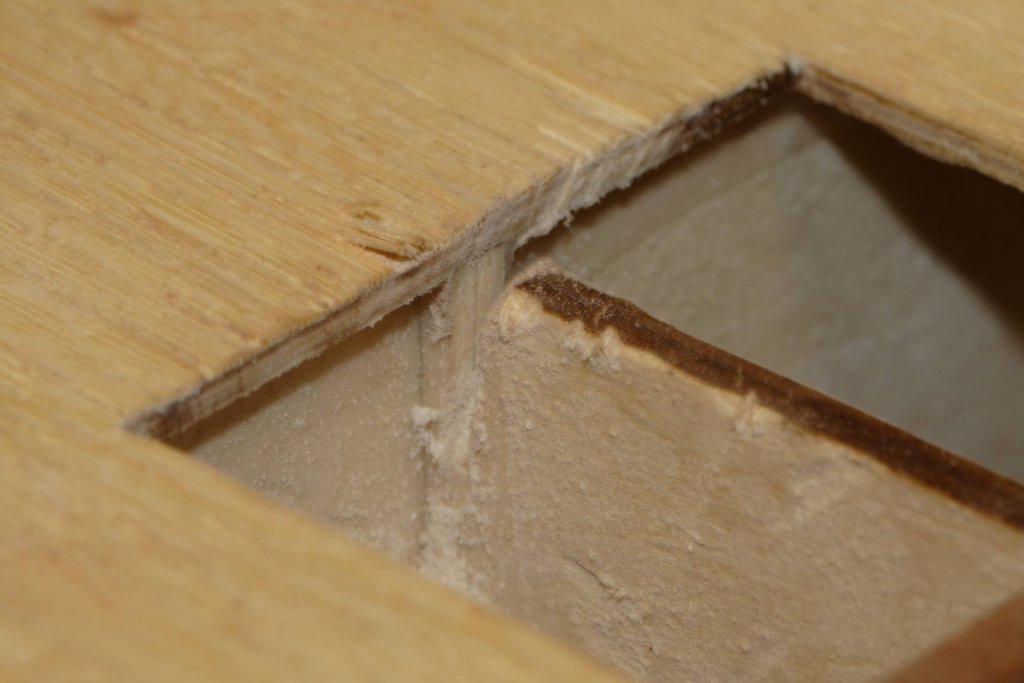
Here we have some pieces of scrap wood fitted between the bulkheads.
-
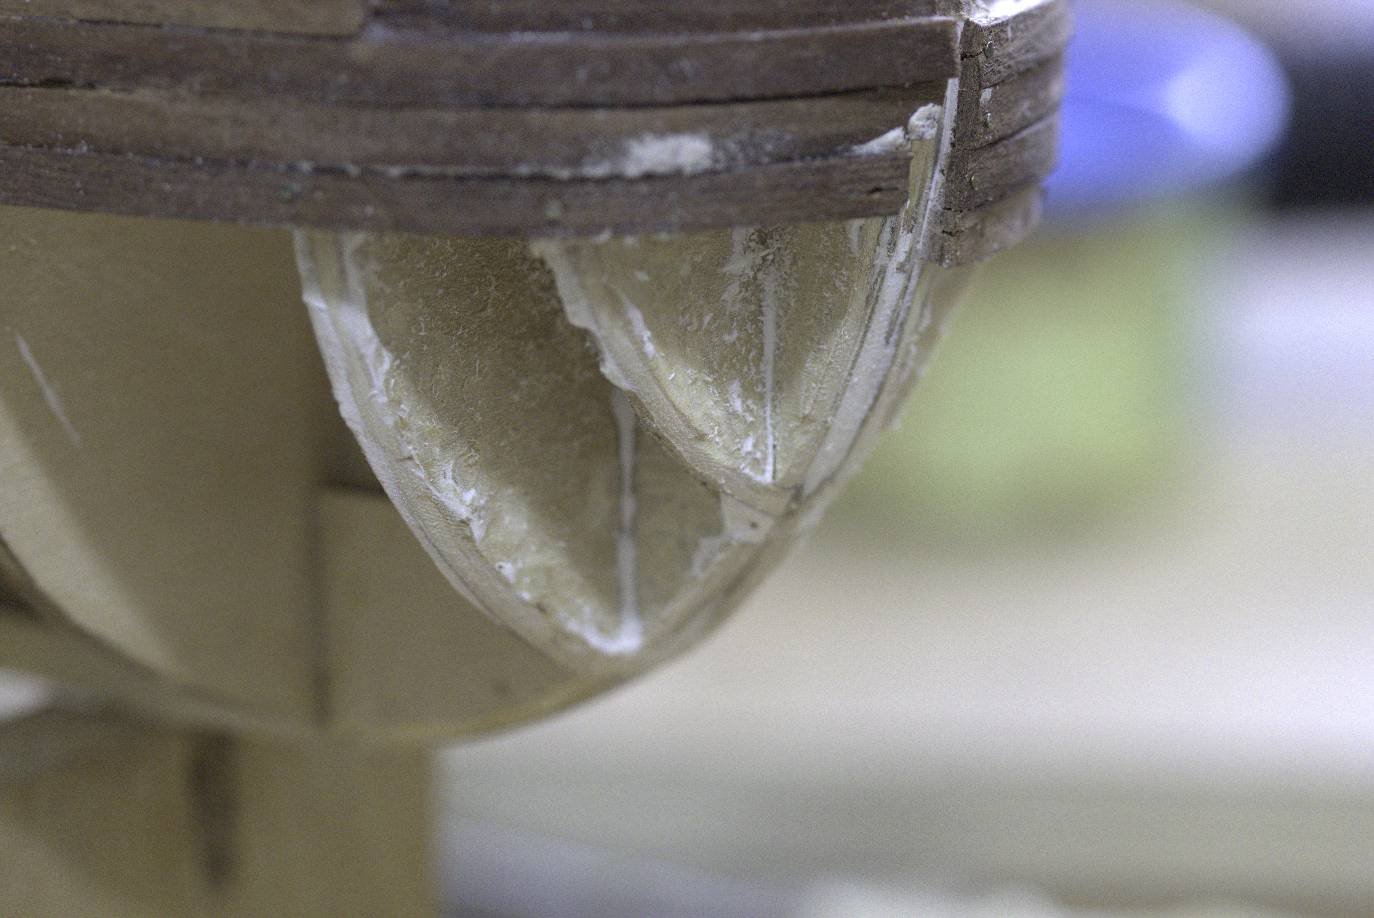
Here is the bow with the bulkheads cleaned up from the putty mess ready to be filled with wood fillets. And a picture of the stern, after trimming the planks and fitting a curved and sanded piece of plank over the top to fix the look of it.

-
Here is a picture from the stern planked with thin (0.6mm) planks. Put in place to set. Trimming and planking done only when glue is fully set. Best to do it on the next day.

-
The last picture in the post above is there by mistake. Uploaded it again and couldn't find a way to remove it. Edit: Found the way to remove the extra picture. Pressing the semi-transparent bin over the picture. Nice!
-
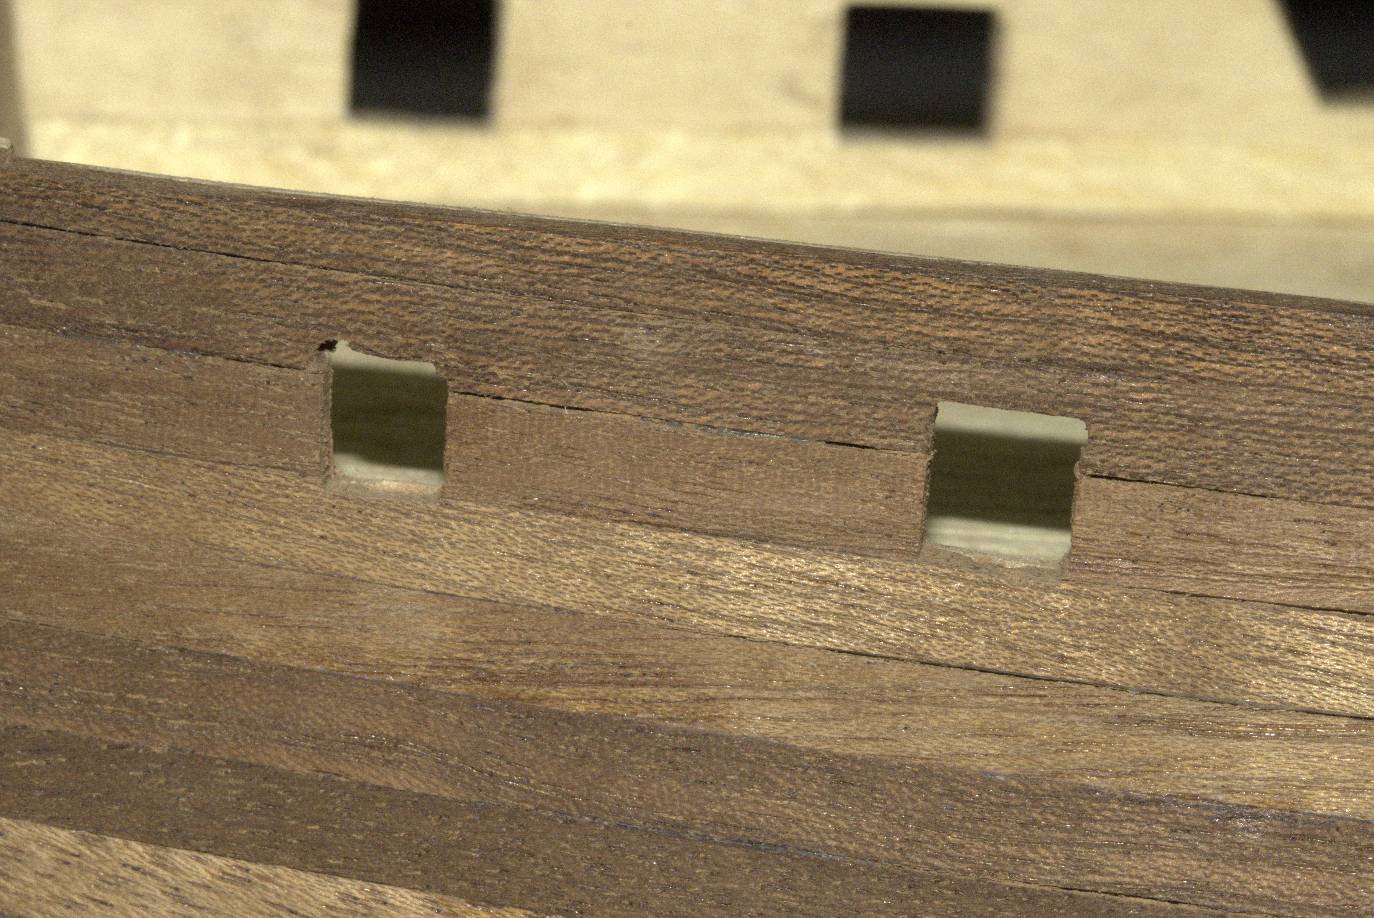
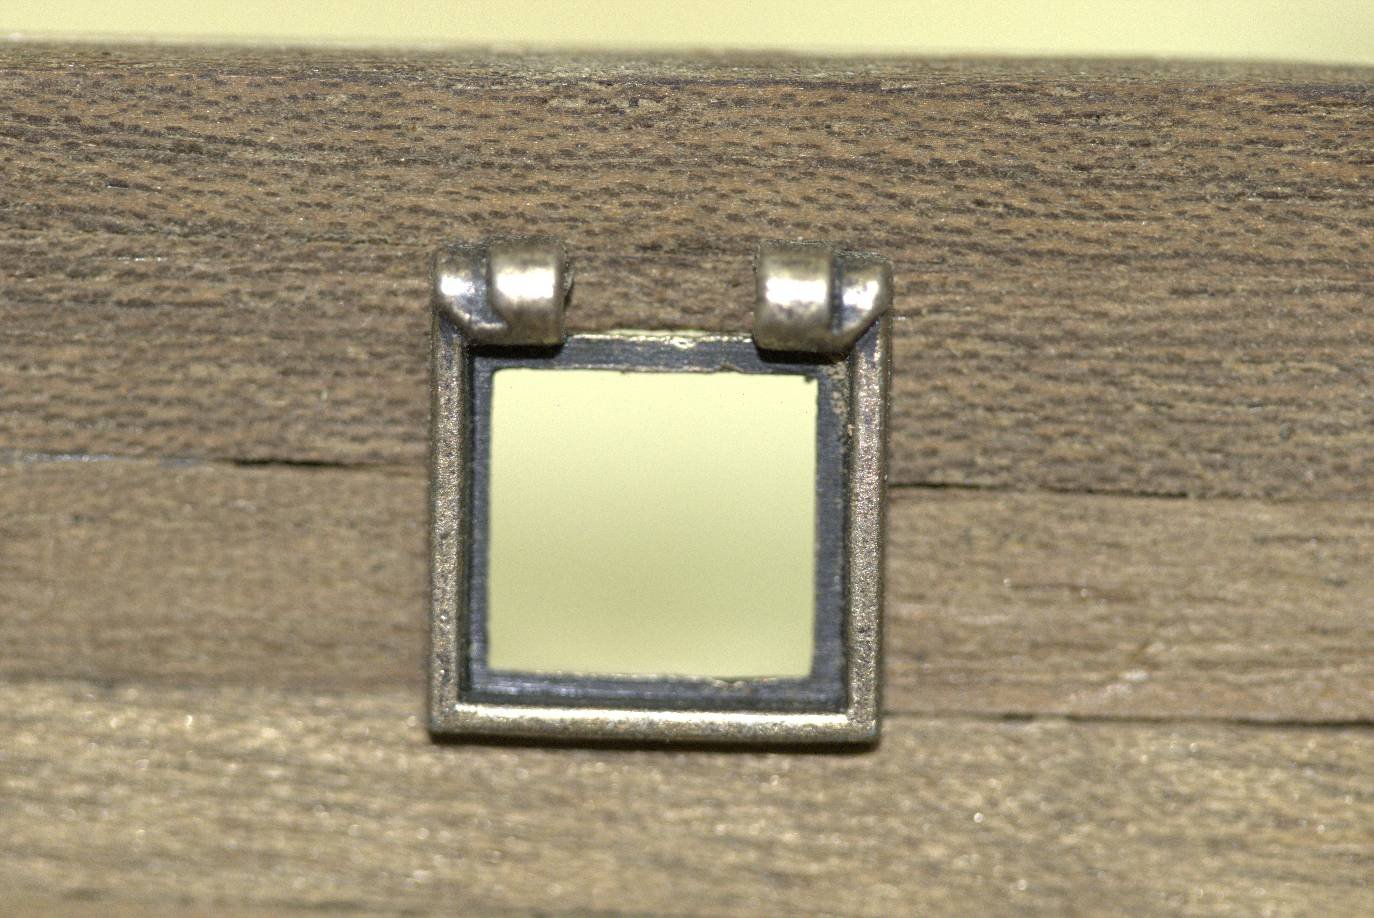
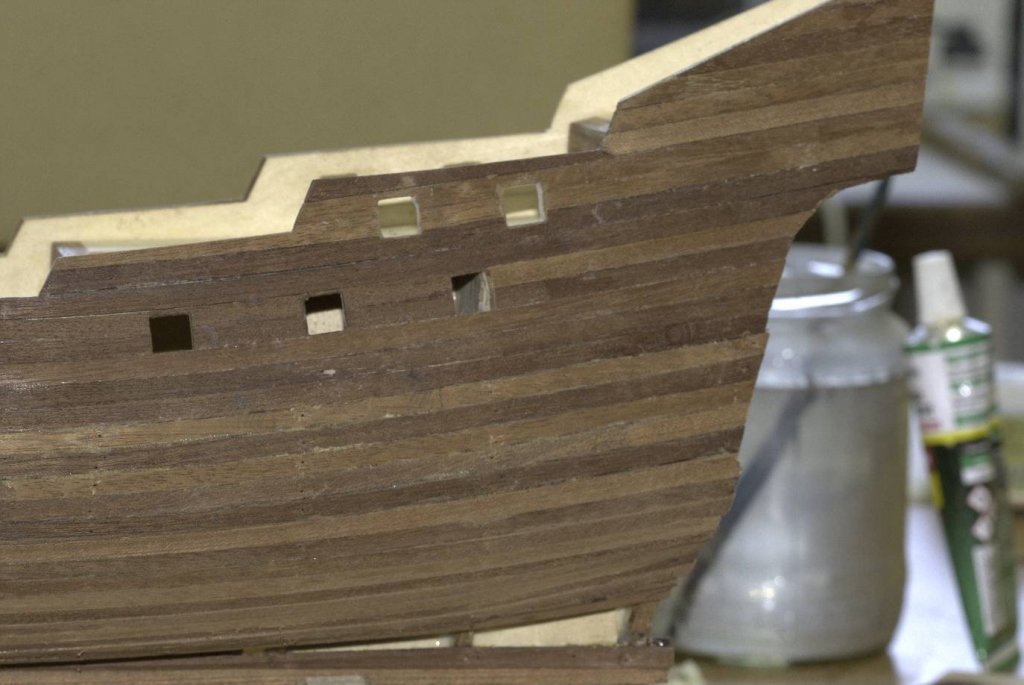
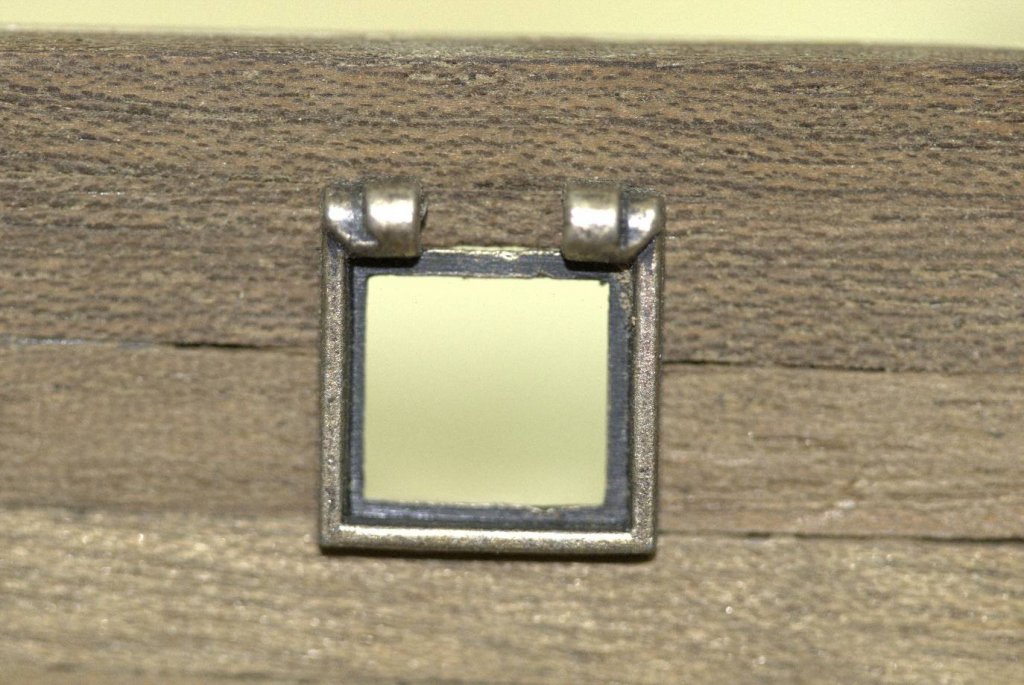
Here are some two of the canon ports being enlarged from the original size I cut them 10 years ago. And here is the same canon port when completed with the frame mounted. Looks great but it's wrong. These are the topmost canon ports and these are supposed to take the empty frames - the ones without covers. Well, these are a mm smaller than the hinged frames so these ports were cut larger than they should. Something more to think about along the way. Lesson learnt: Check the kit contents and identify the various parts before assuming anything.

-
BTW, if you noticed a change in hue in the color of the wood of the model, I noticed that too. The color shows correctly on my monitors when I view the pictures through different picture viewing software. It's only when I upload the pictures to the site that the color changes. I changed my camera between 2007 and today so it may have to do with camera color profiles messing up with the site's settings. Any insight from anyone on that?
-
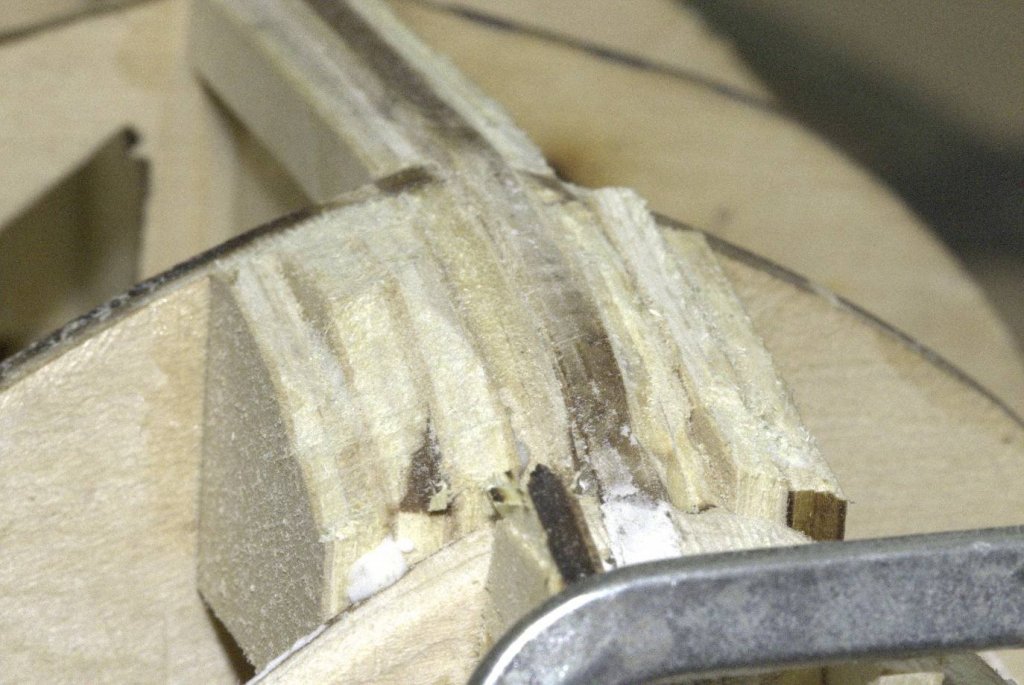
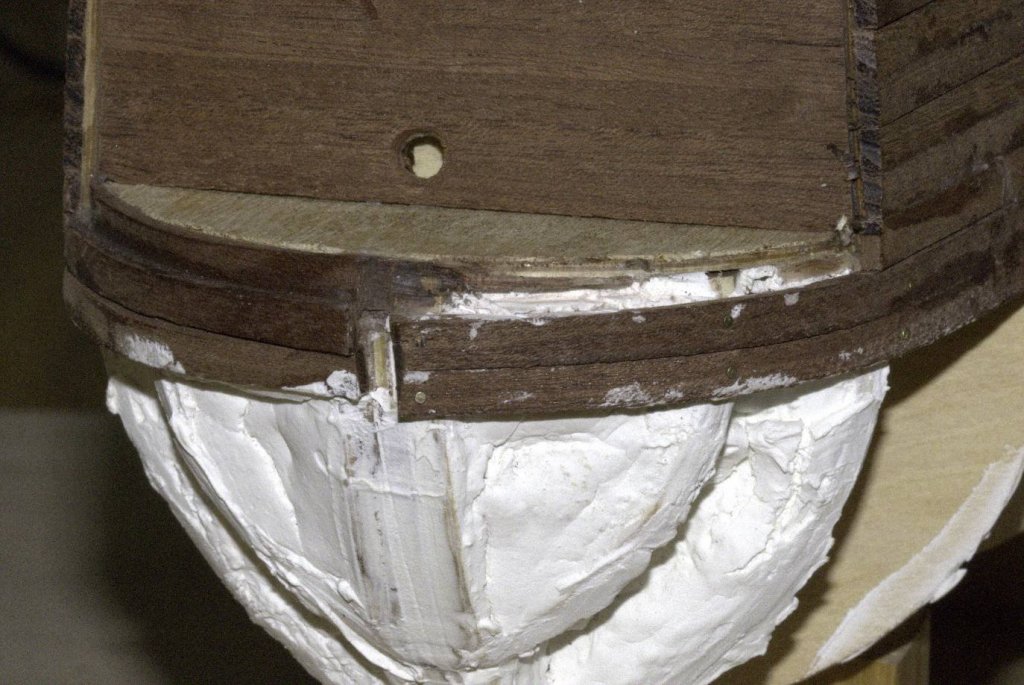
And here's the royal mess I made to the bow. I read somewhere back in summer that this part should be filled with filler to aid in planking. Now, I may have misread but it wasn't clear if it meant filler putty or filler pieces of wood. I used wood putty. Made a mess around, took ages to set - never set fully - and was soft as clay. Spent a couple of hours a few days later to clean that up. So, lesson learnt: Fill up the bow bulkheads with good quality plywood or even hardwood. Balsa is totally useless and birch plywood is soft and pins / nails don't stick during planking. I mainly used the scrap plywood from the bulkheads in the kit. It was difficult to cut and sand but made for a great substrate for planking. More of this in next pictures. BTW you can see in this picture that the original mess of the overcurved planks is sorted out. These were cut and new planks were put to the port side. Unfortunatelly the topmost plank had to be sacrificed. Something to fix.
-
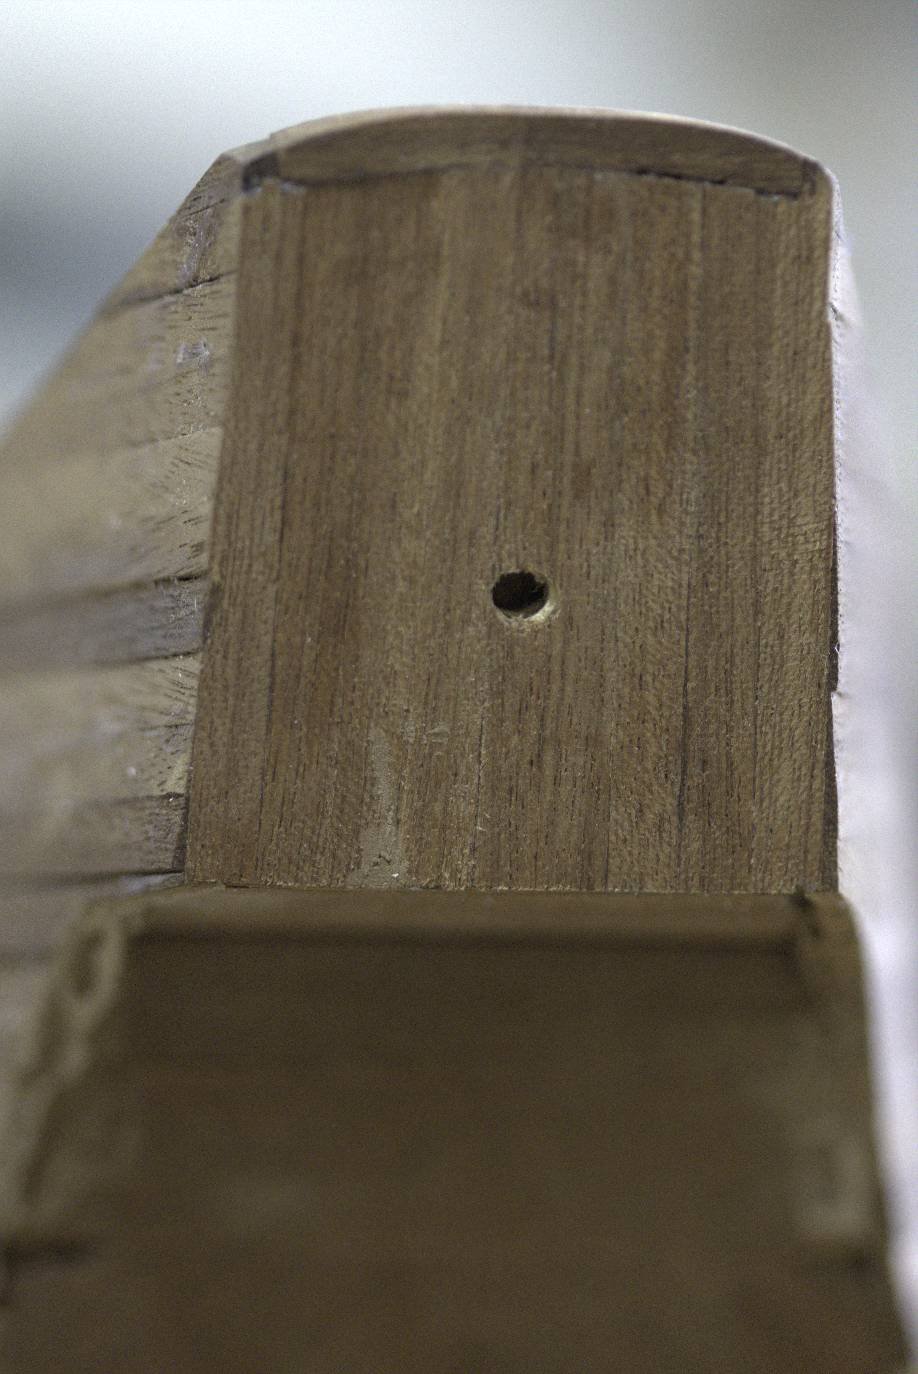
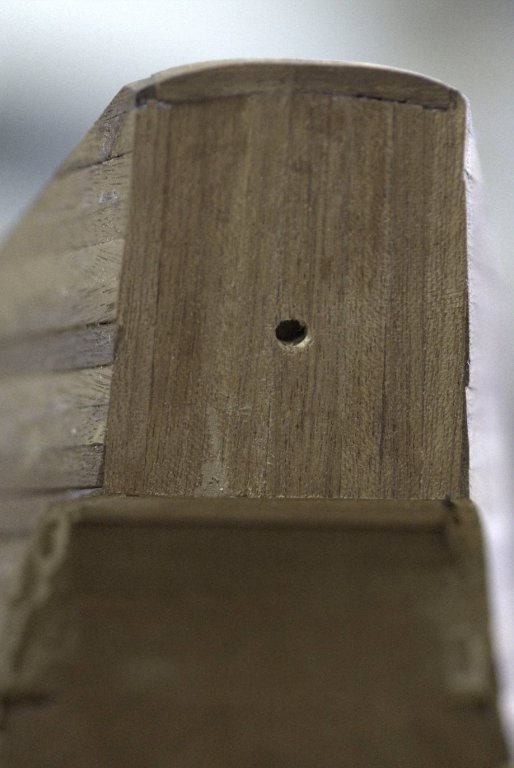
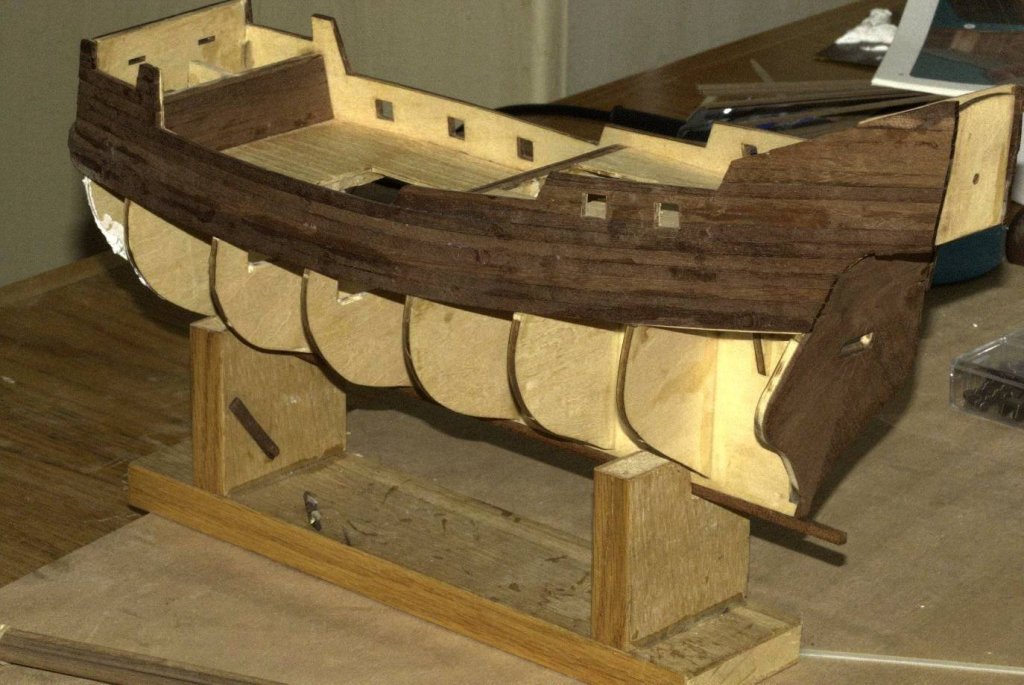
Fast Forward ten and a half years to August 2017 and here is the build as it came out of the closet - more or less. What you see in the front most bulkhead to the left of the picture is another big mess I made by following the wrong suggestions. You see here the hull structure sitting on a holder contraption. Didn't help much as it had to have some play for the keel to fit through while the backbone frame was a mm or so thinner. Another detail that had me stumped was the edge of the stern. The bulwarks seem to grow higher than the back part. Something that took me some effort to fix. I don't think this is my mistake though. I've seen other builds in progress in the meantime and they show the same problem back there.
-
Hi Derek, thanks for the link. I have been reading these threads since last summer. I have been progressing and fixing things and documenting them along the way. I will be posting the progress done so far in the next few days and keep updating as things progress. Just a spoiler: Hull planking is complete and it does look decent. A few things I learned along the way will help on the second build.
-
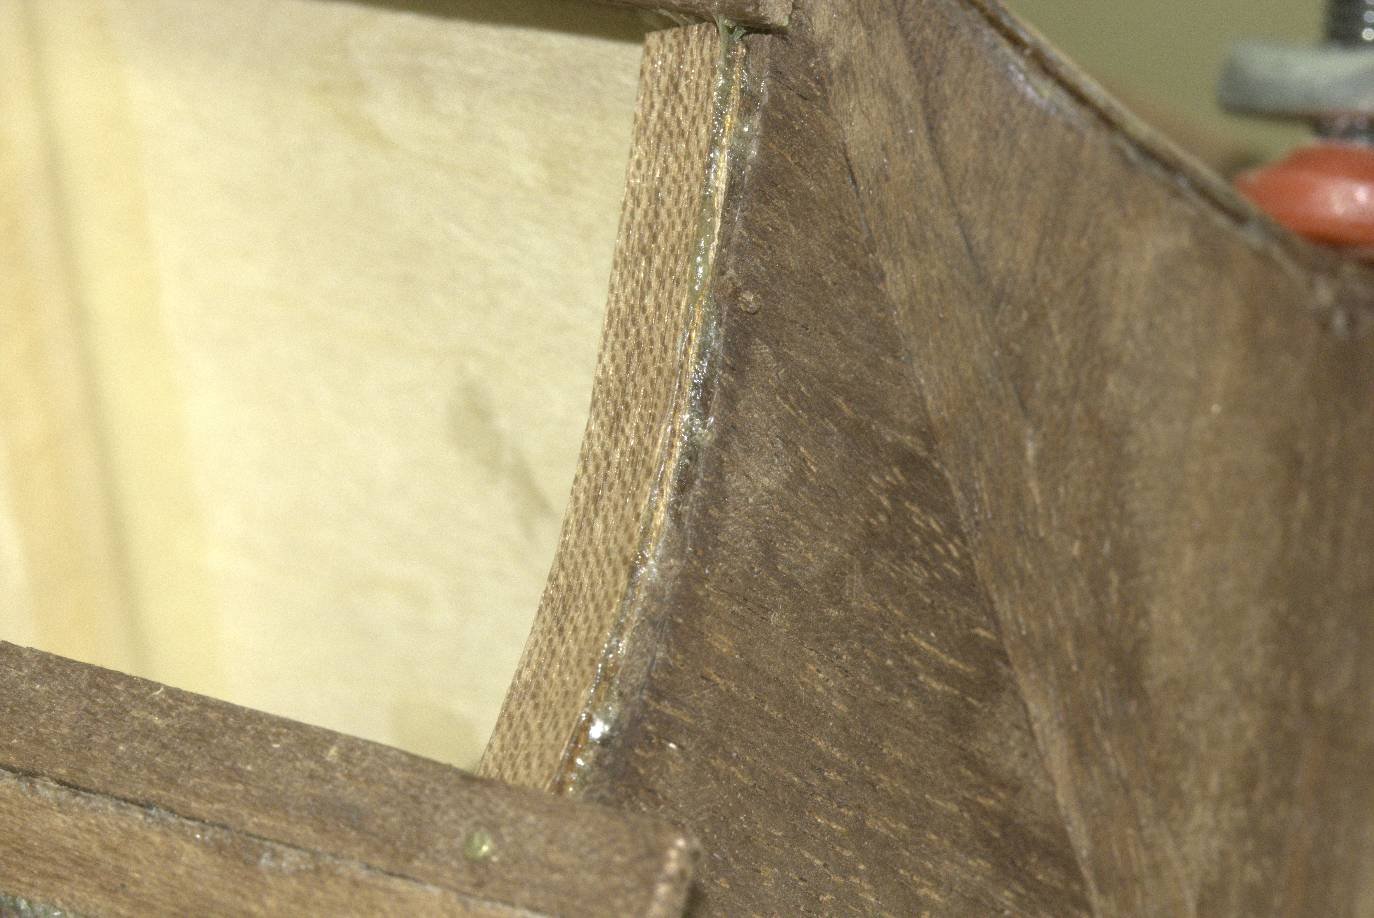
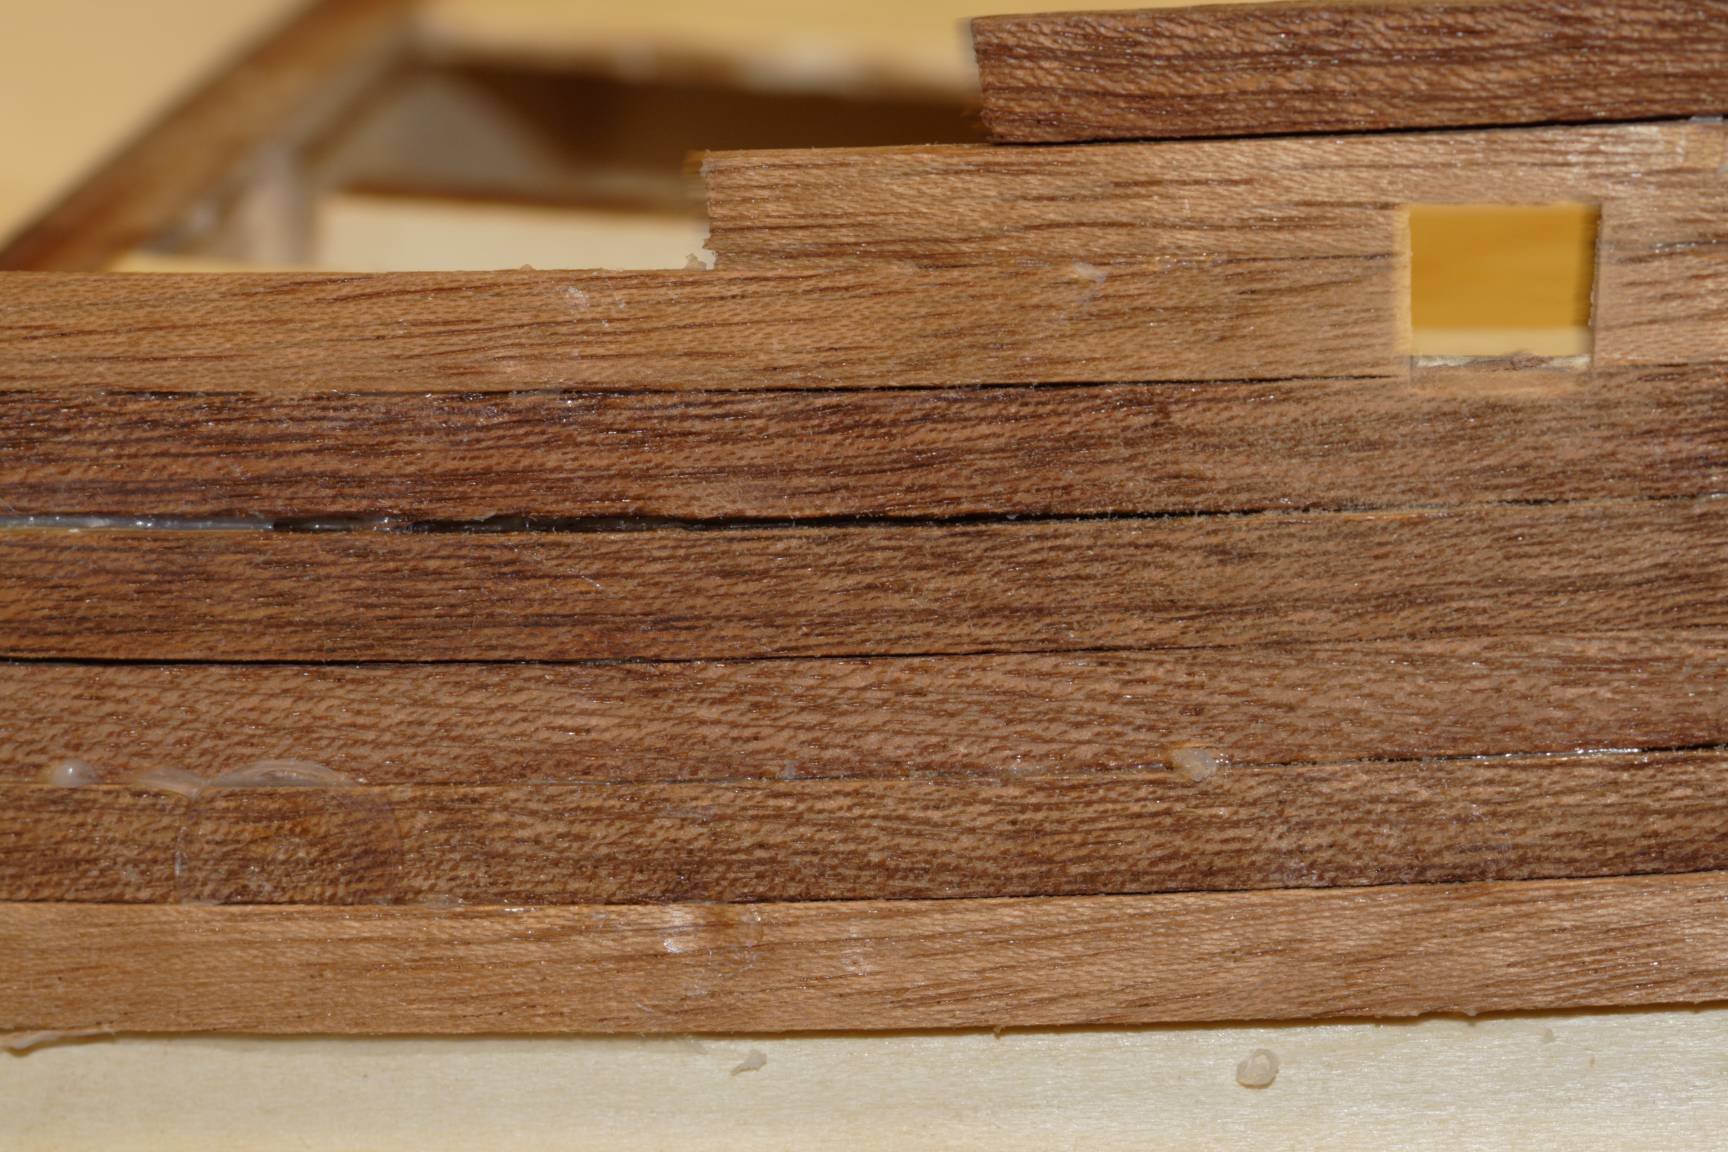
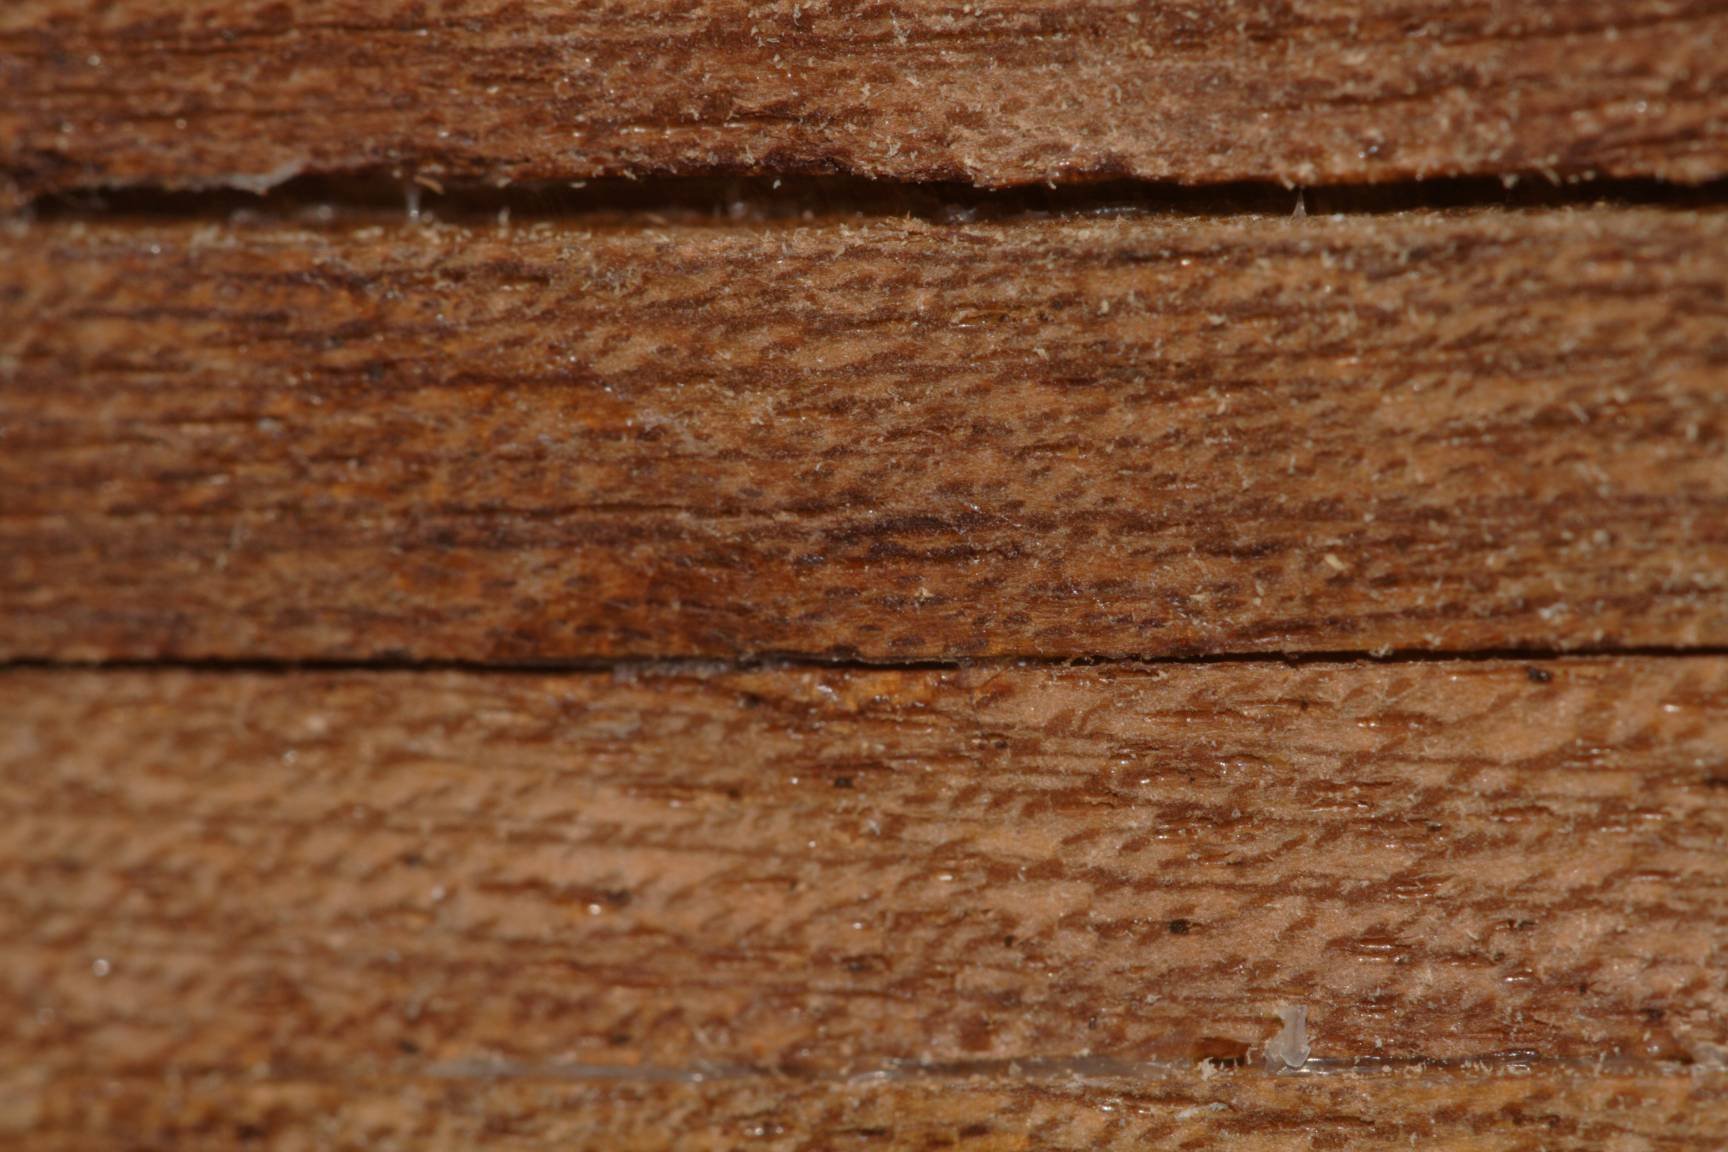
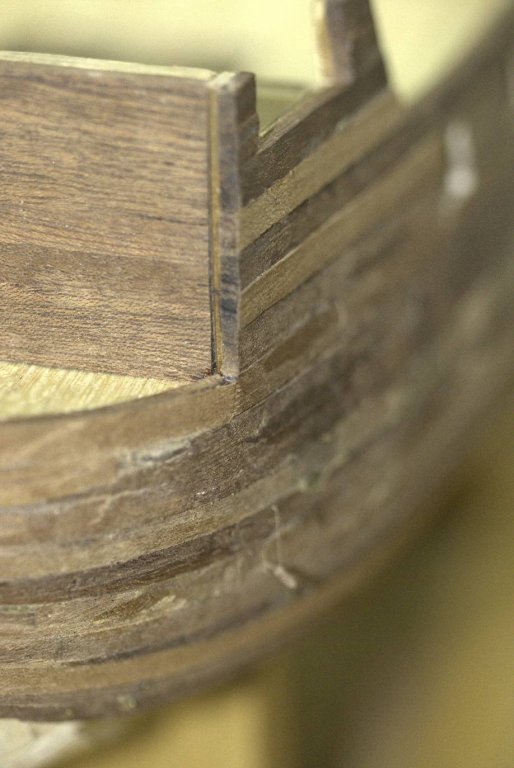
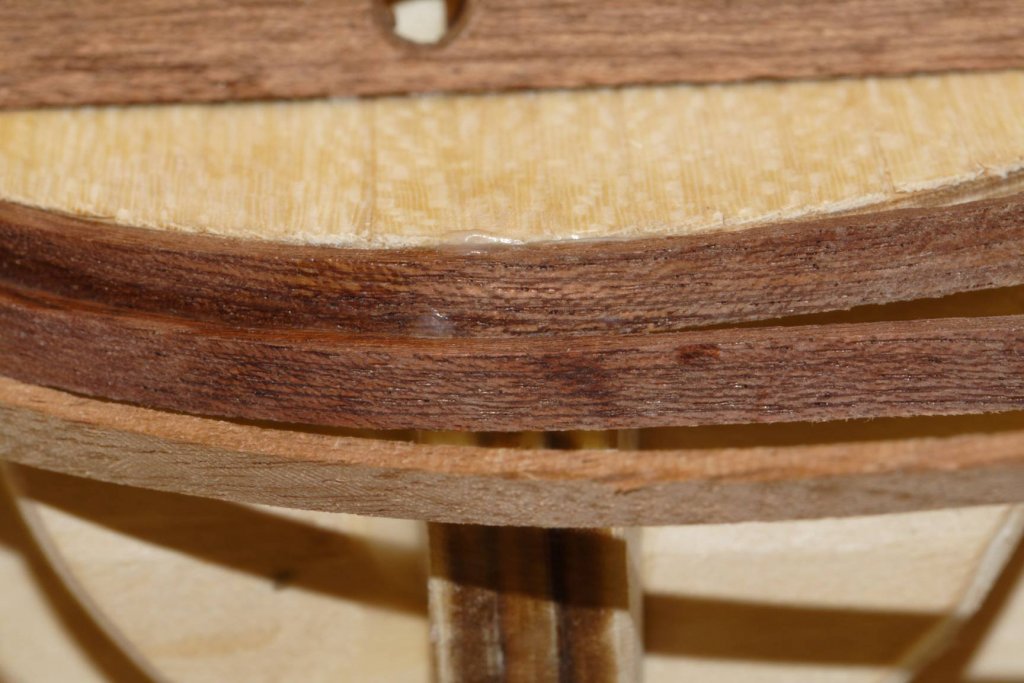
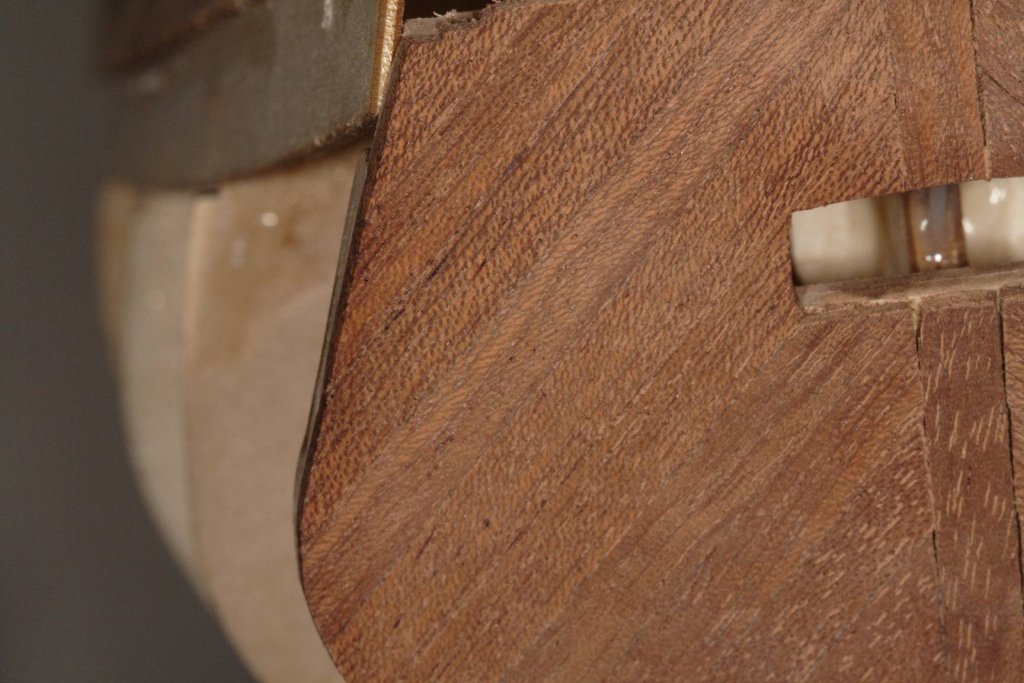
In the next few pictures some details are shown, but it's mostly me trying out my new (back then) 100mm macro lens. Here we are in the stern, showing a rather decent job of planking. I mainly want to point out here that the sticks provided in the kit for hull planking, although documented as mahogany, are actually several different color variations. I remember I considered using the dark ones for the above waterline part of the hull and the rest for the keel but later decided to interleave them and show the curvature of the hull - from stem to stern. Here is another picture of the stem, showing the big mess I did to it. Planking at the bow isn't bad - for a first timer. Or so I think. That was the part of the build I was proud of when done. But what I want to show is the part of the false bulwark (thin plywood supplied in the kit) that is showing to not make a good fit. It is half showing in the top of the picture. Along with some badly trimmed planks that will cause issues when the captain's terrace will be mounted there.


-
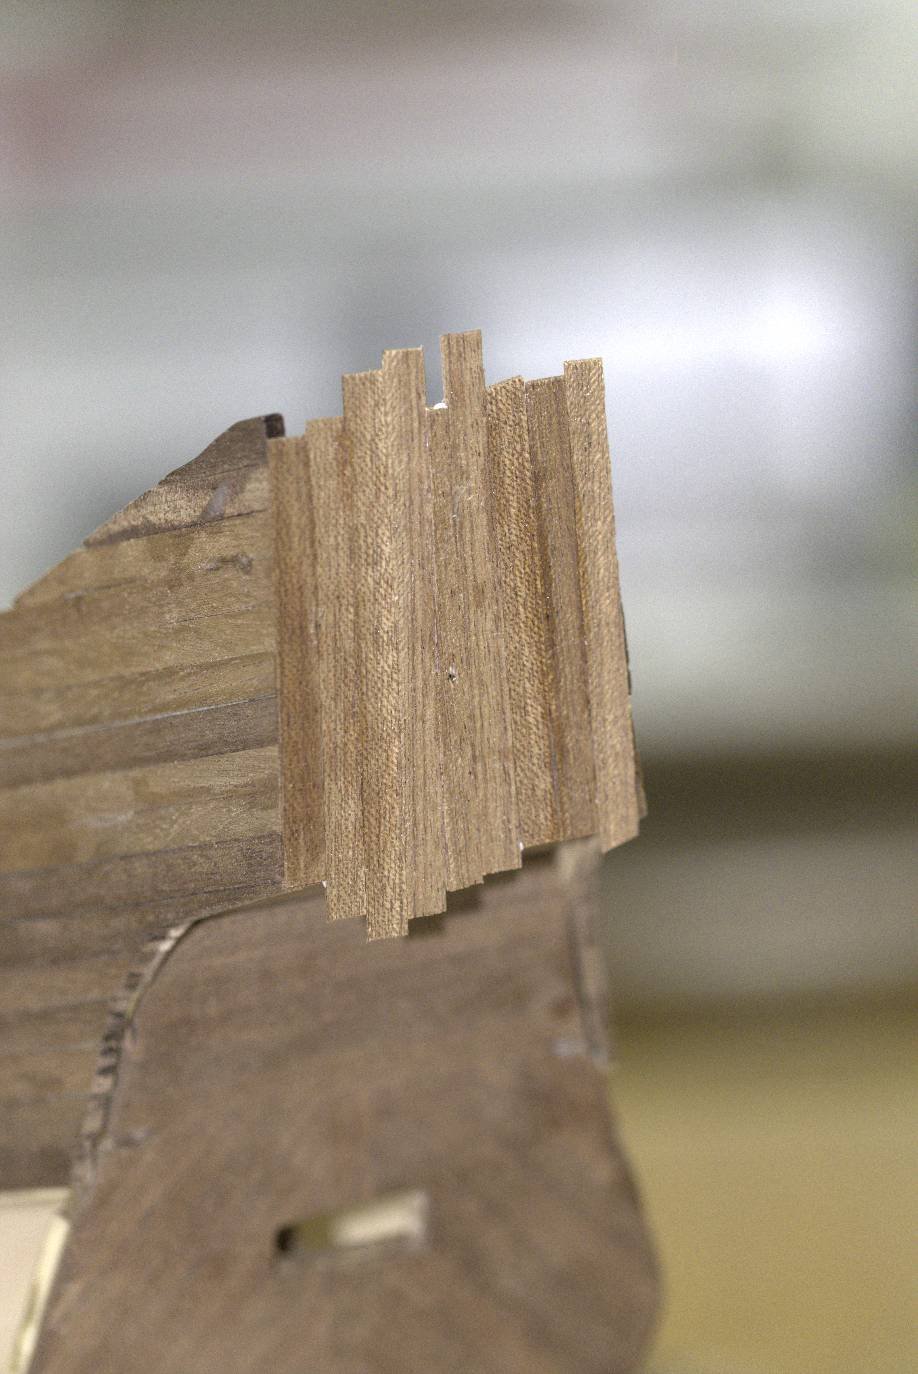
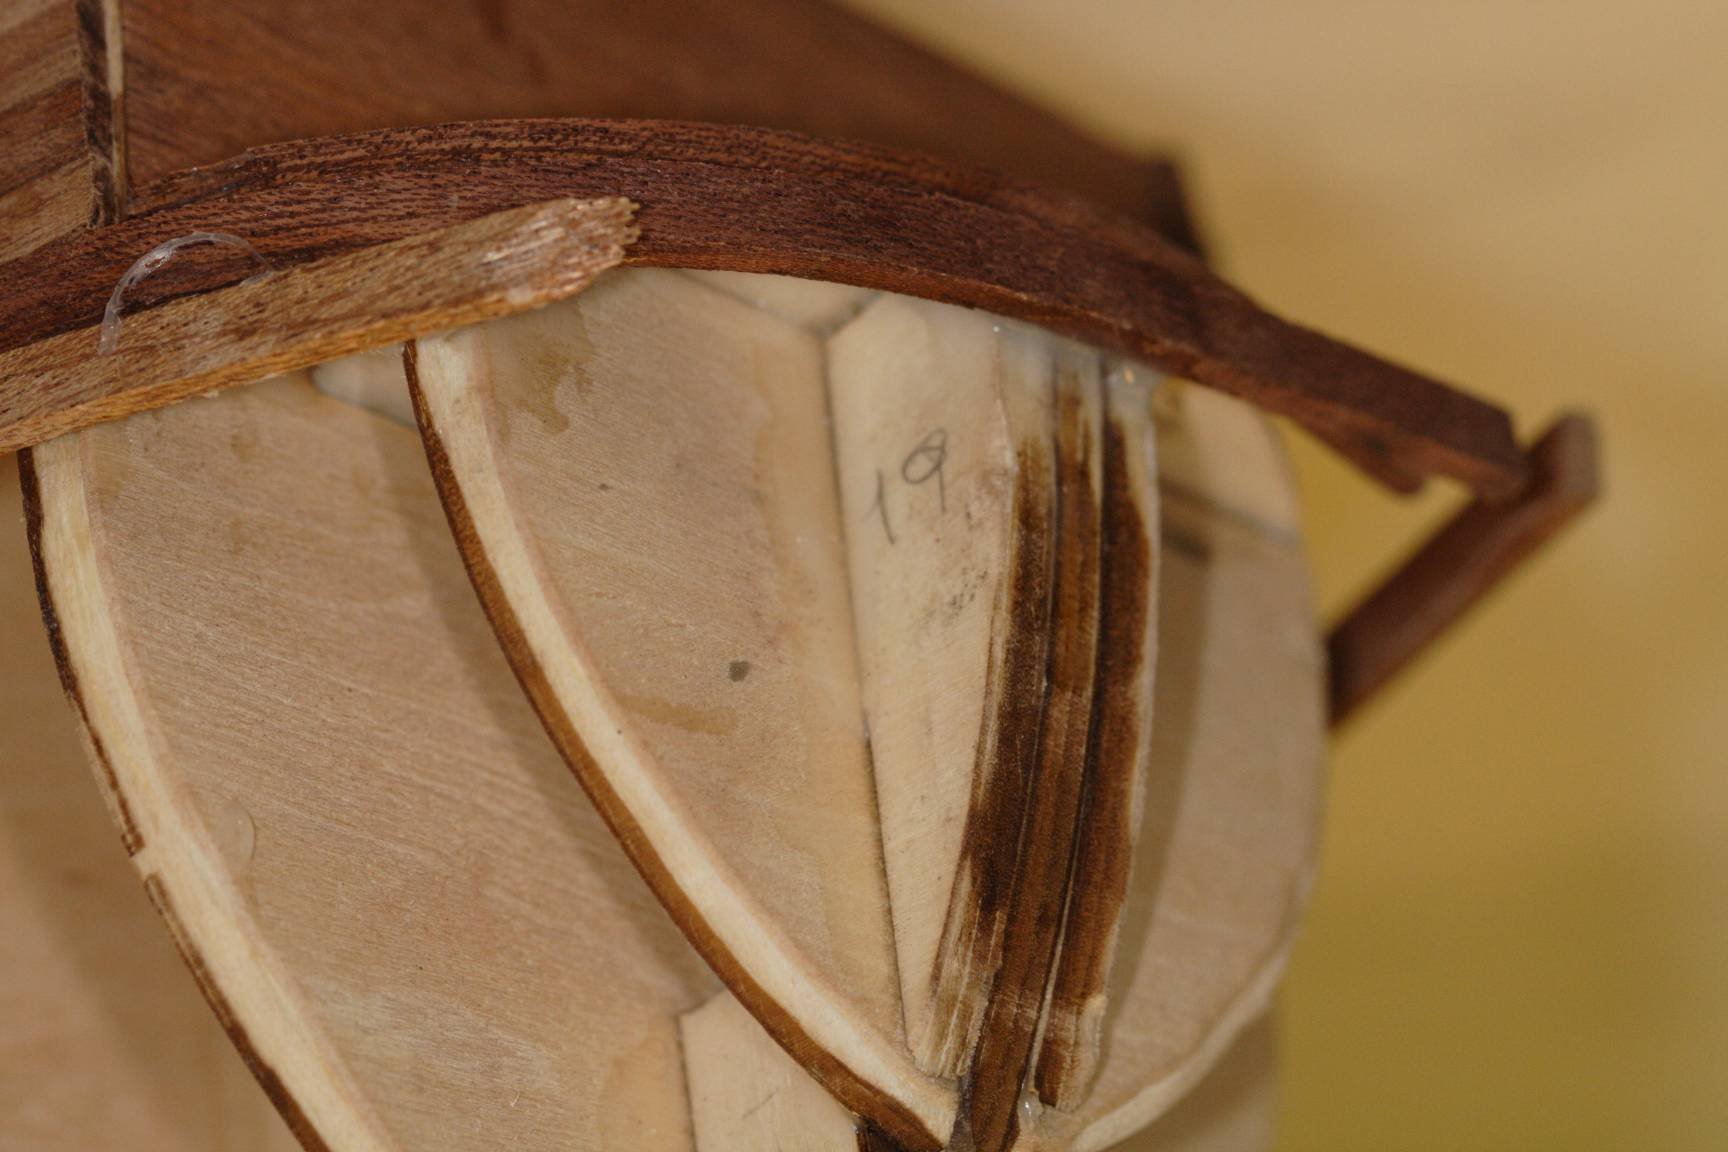
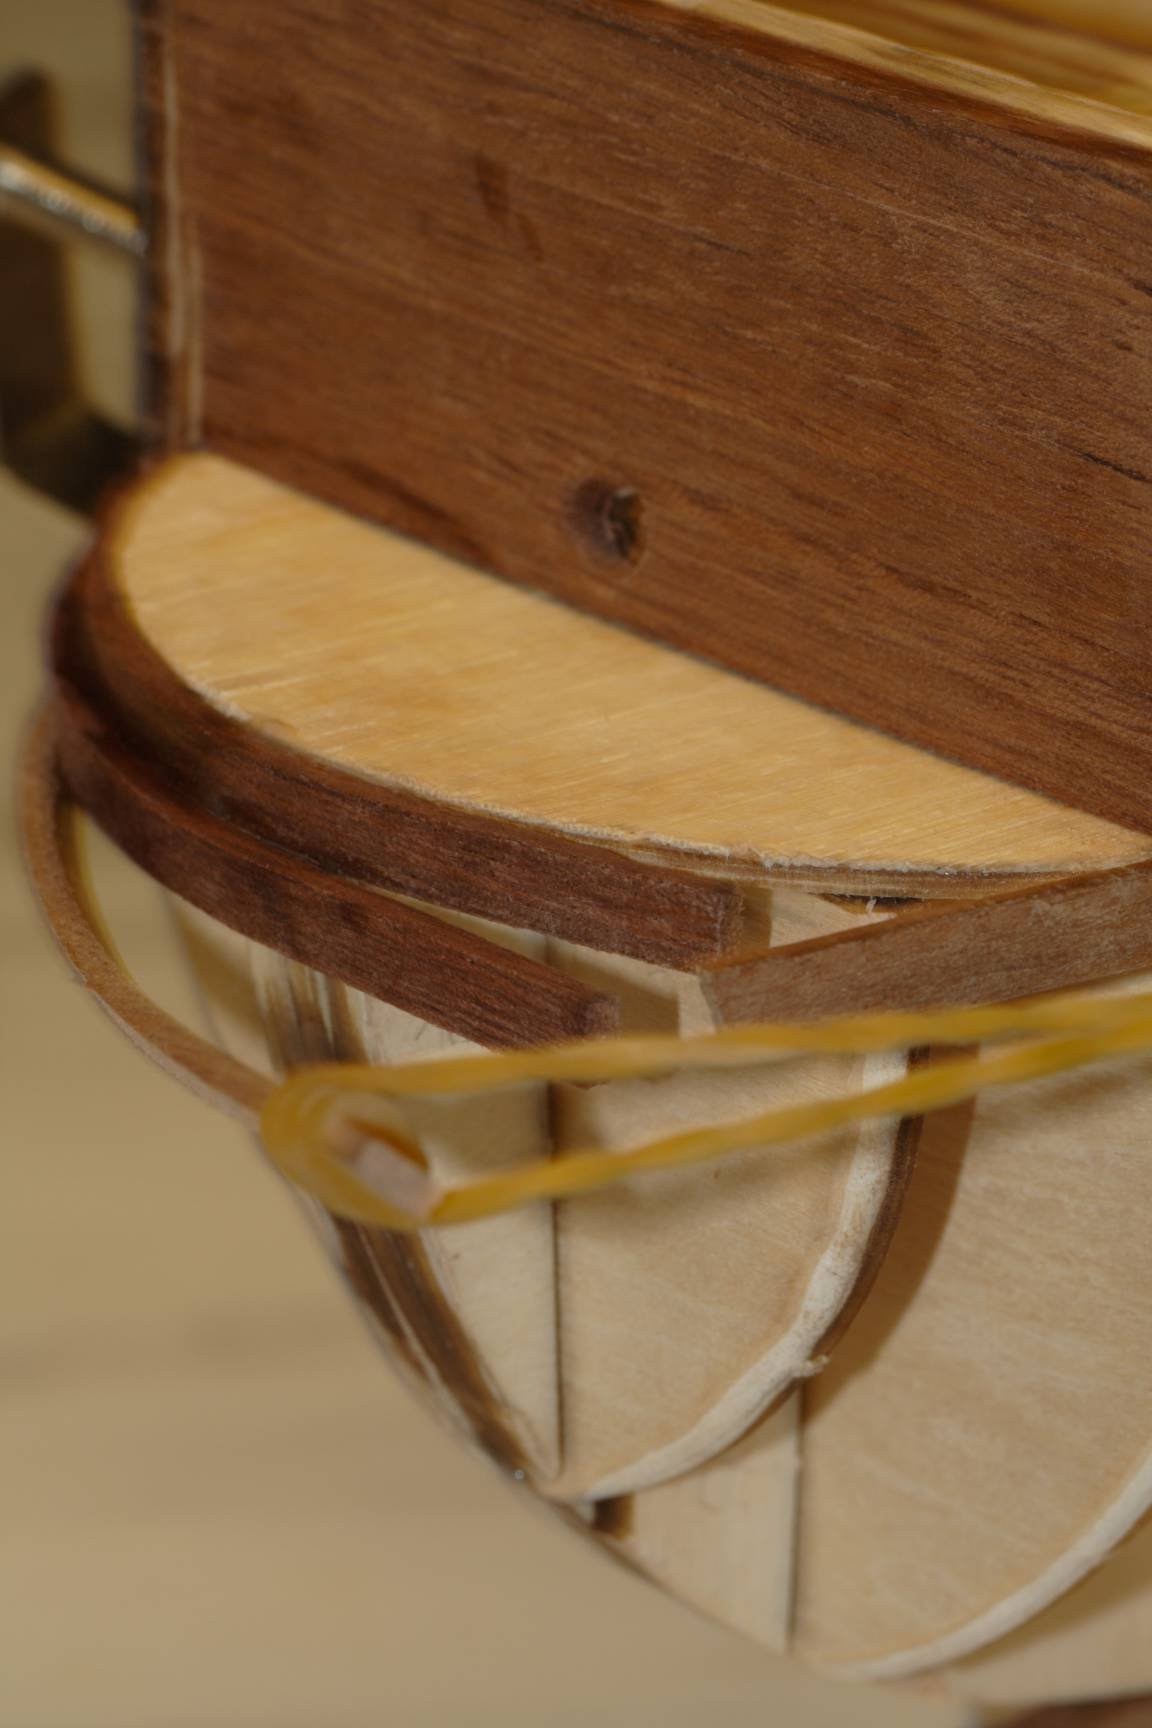
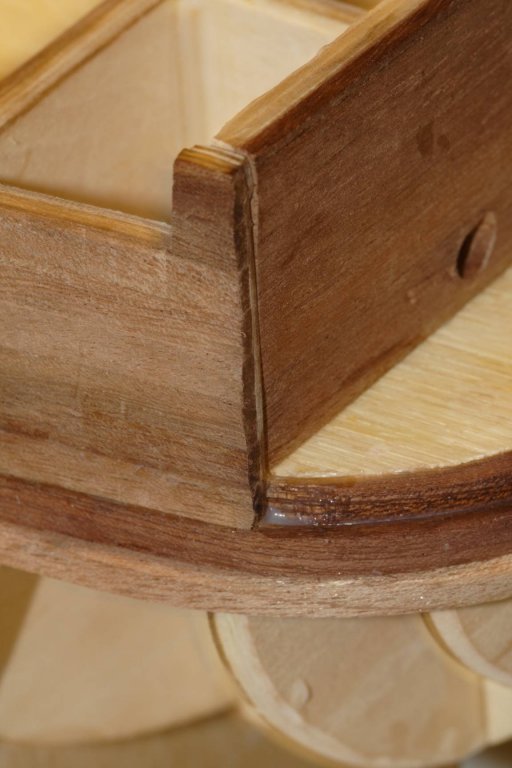
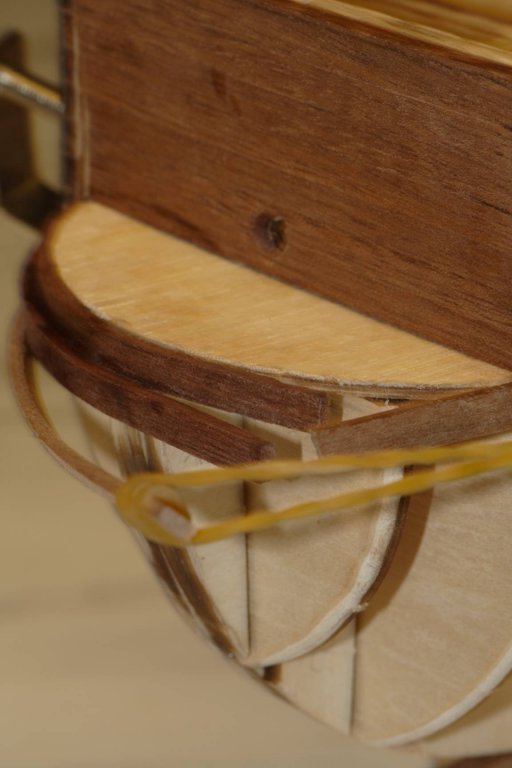
And here starts the interesting part. Please be gentle but be truthful. What do you think I was thinking when I did this? I was looking at this picture and I was trying to figure out myself. And failed. The picture shows several mistakes and omissions. Both turning the plank all the way to the port side - which was hard and took some effort only to cause several problems, as well as the second plank showing a step out from the top plank covering the stem. Something was wrong in the bulkheads and caused that step to the starboard side only. Can't remember what. And, of course, since it was not mentioned in the instructions, I didn't fill the first two bulkhead sections with wood. Only learned about why this should be done 10 years later. Well better late than never. And, of course, here we have the third plank with a rubber band trying to keep it in place but bending it in a way it should not have been bent. Needless to say, the second and third planks you see here were carefully removed to be able to continue with the hull.
-
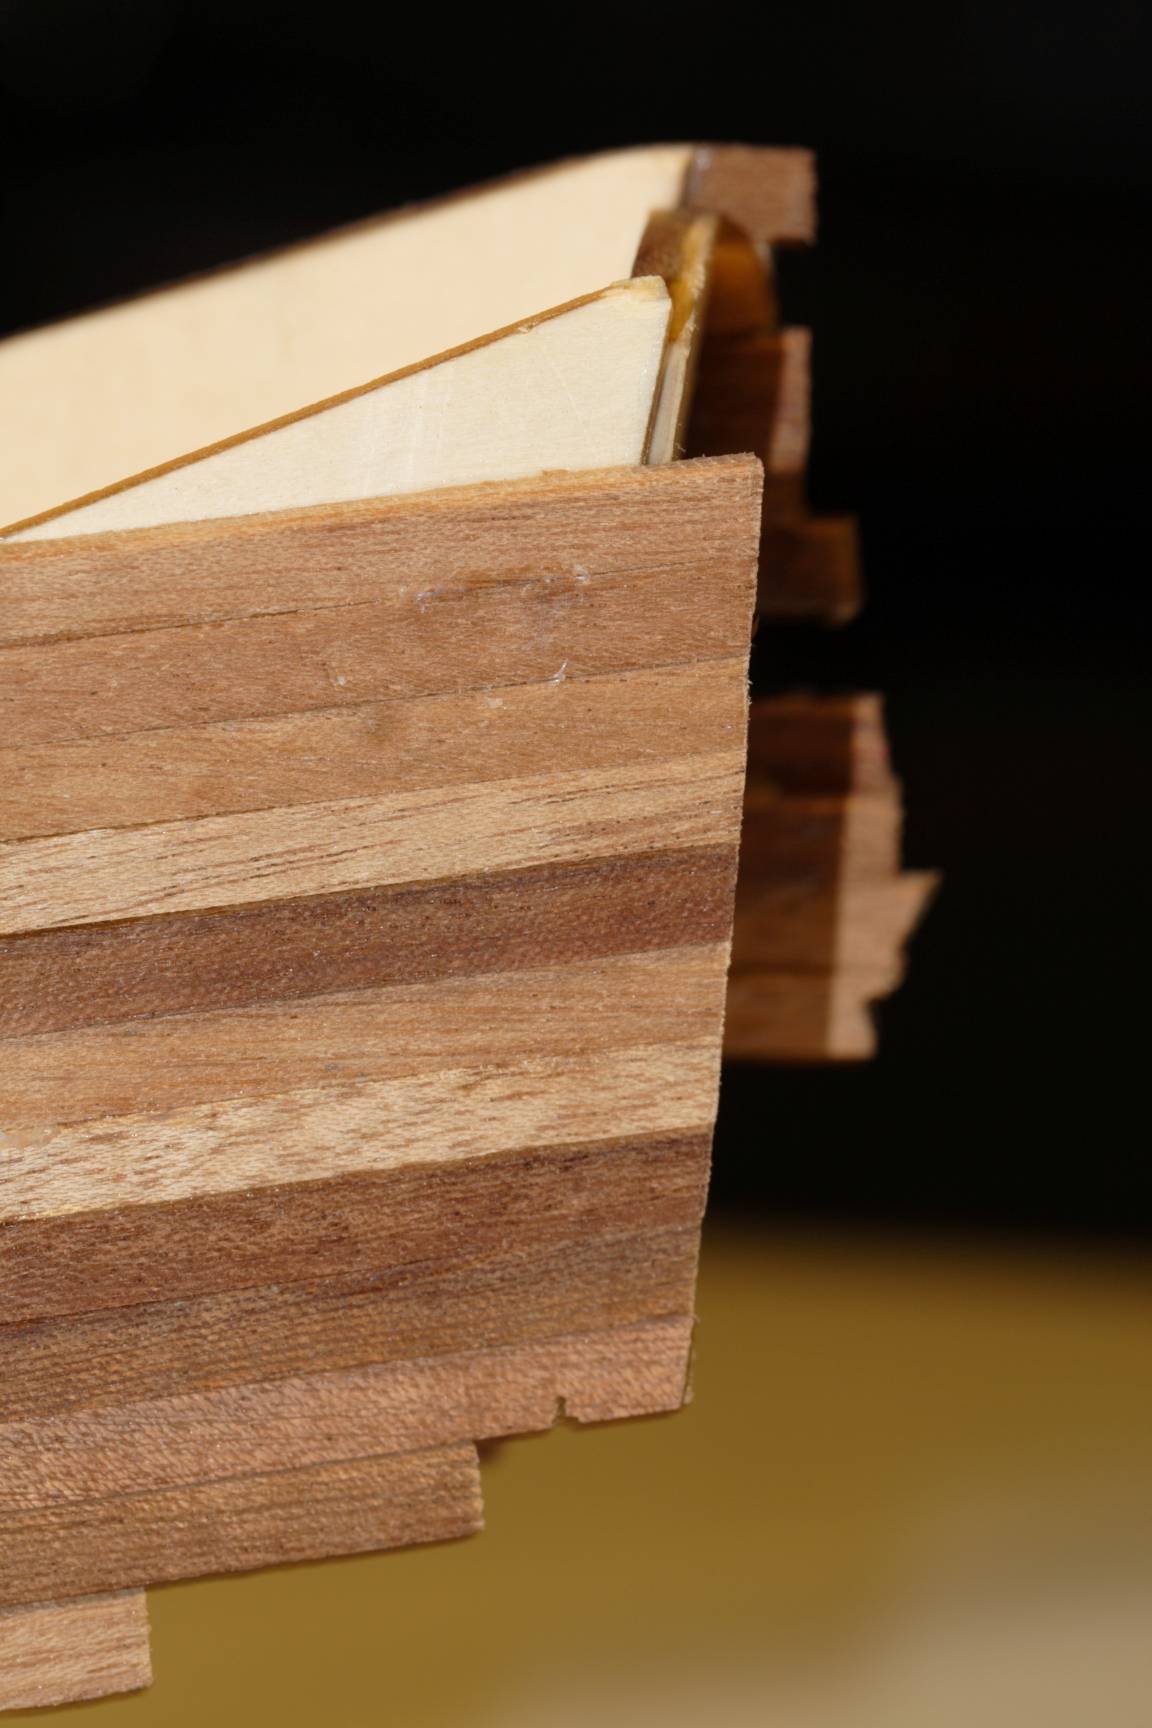
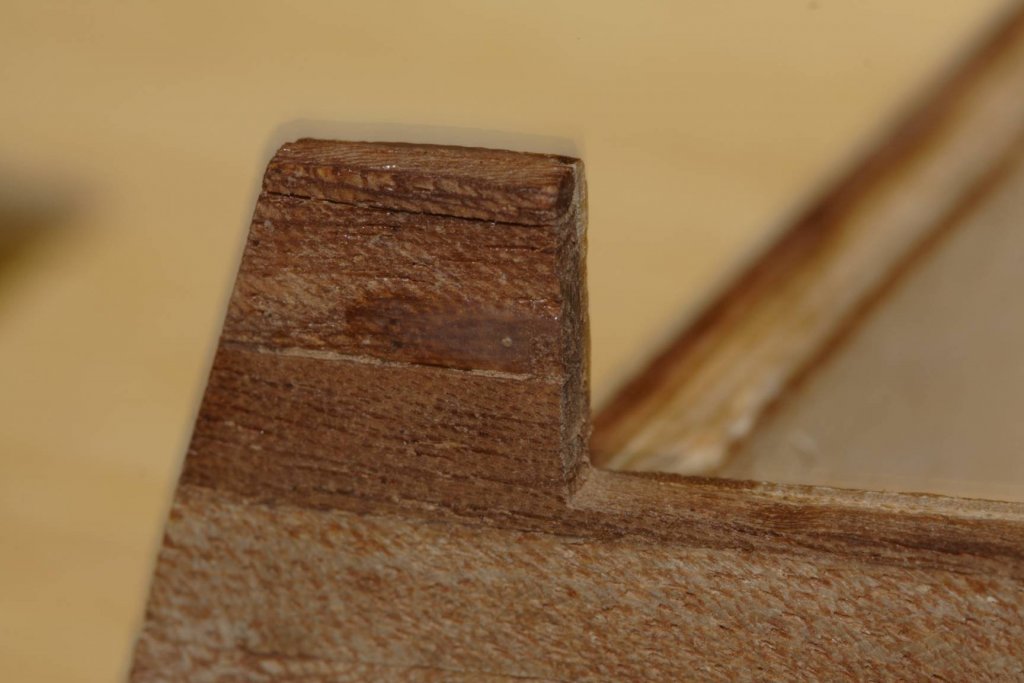
Here is another detail showing the trimming in progress for the deck planking. Unfortunately I didn't take any overall pictures of the ship nor did I think of taking pictures of the fitting of the bulkheads on the false keel. I am not sure what I was trying to picture here. Probably me having a hard time sanding the edges without lifting the veneer thick planks.