Zack Soderquist
-
Posts
81 -
Joined
-
Last visited
Content Type
Profiles
Forums
Gallery
Events
Everything posted by Zack Soderquist
-
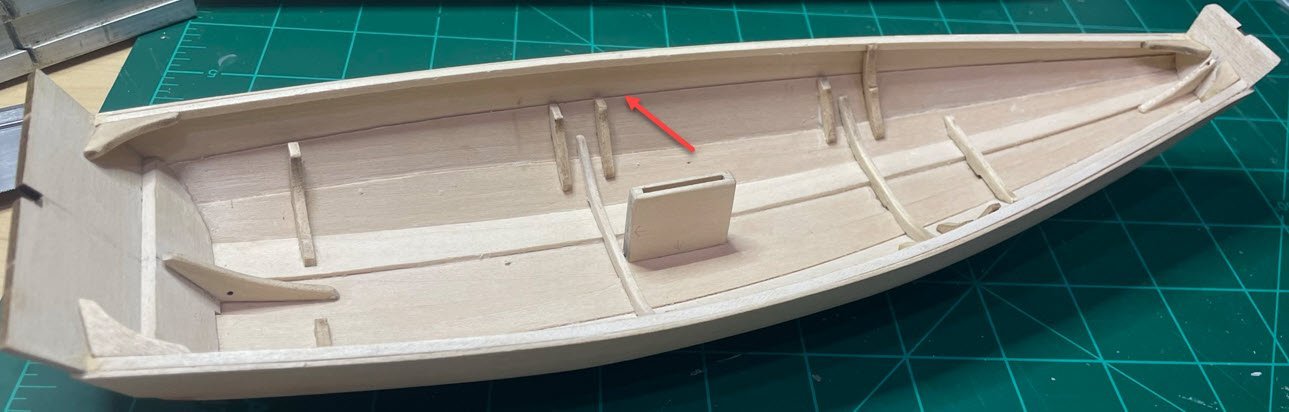
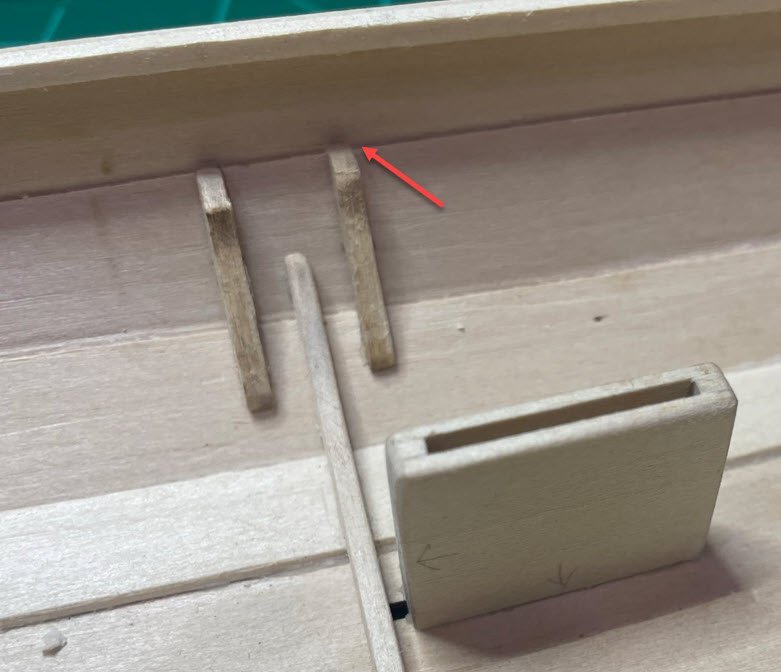
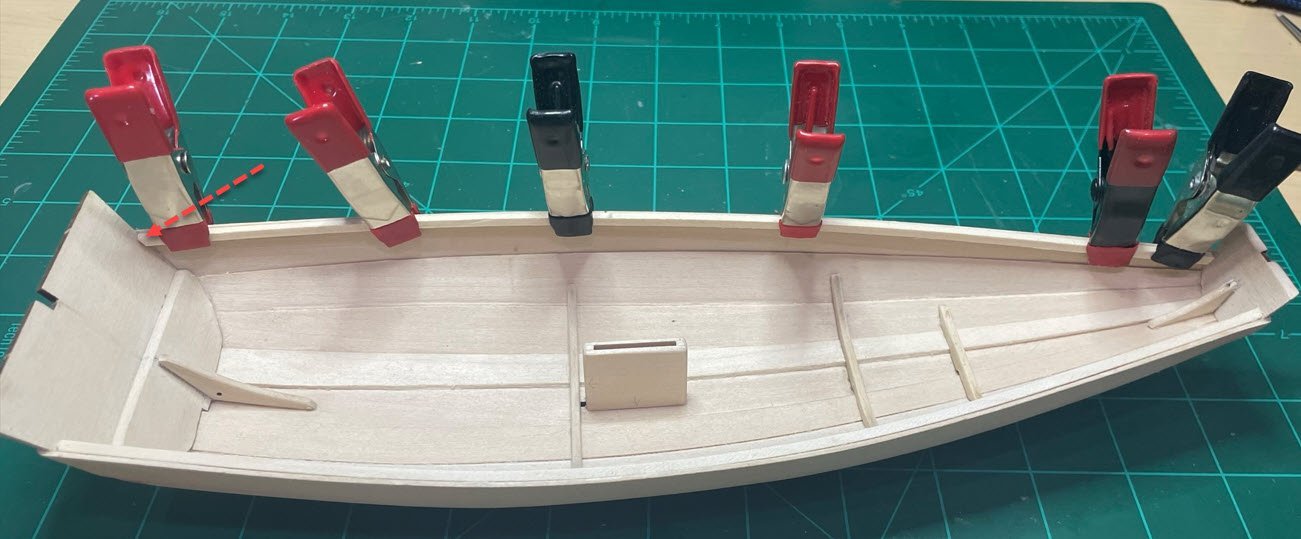
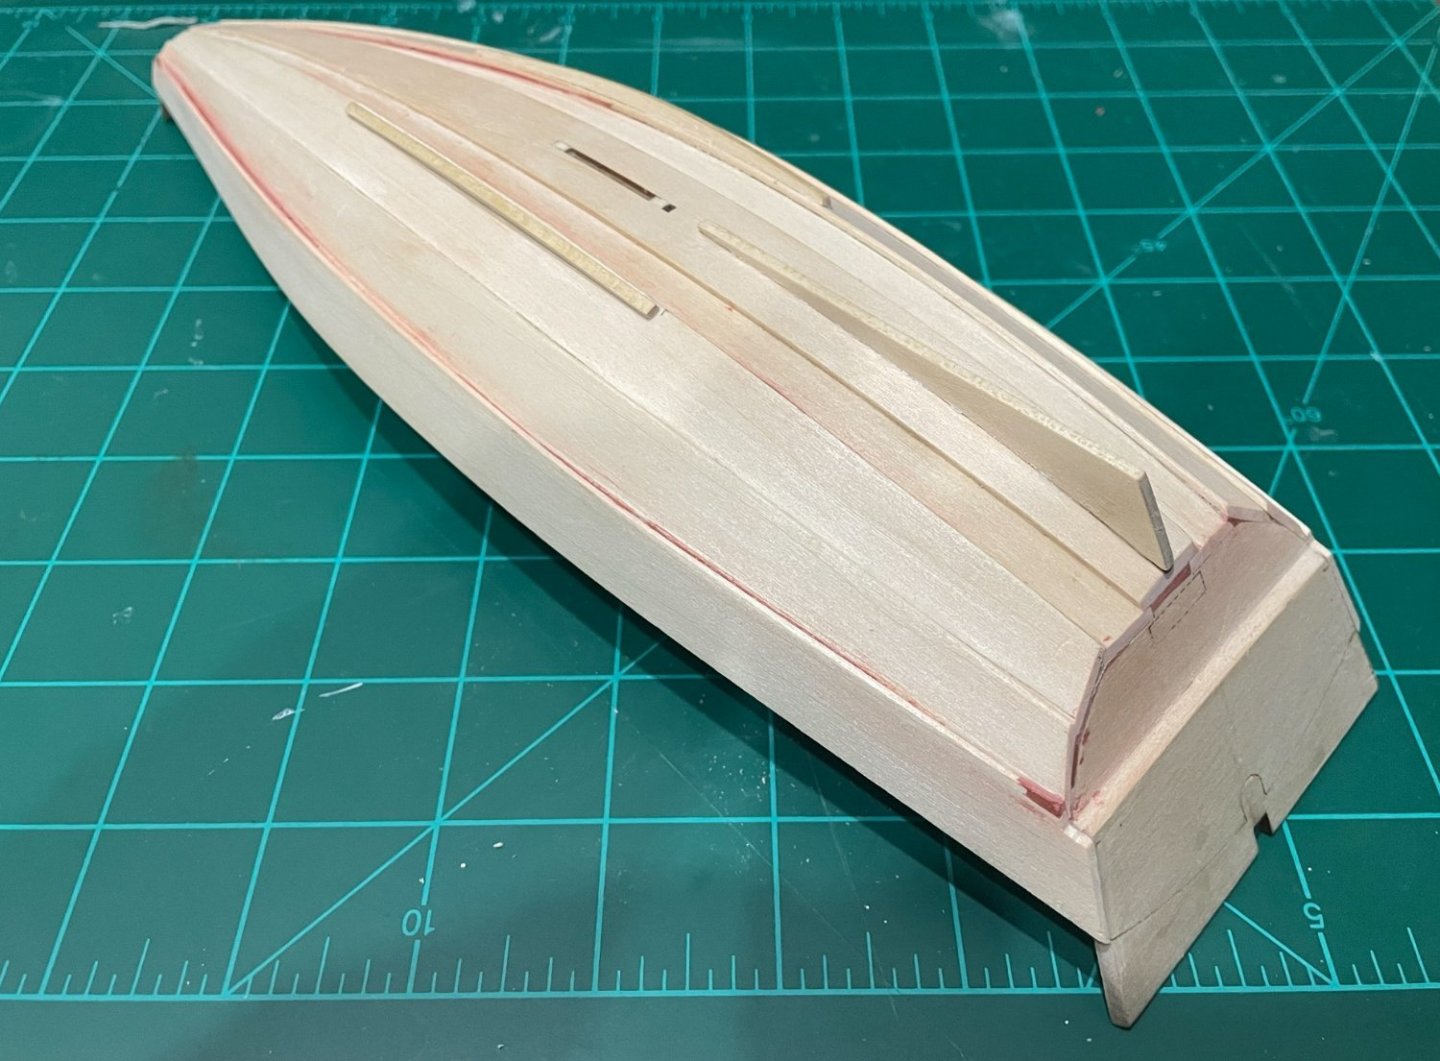
 Step 18 continued. After following the instructions, but failing to look closely at the pictures in the instructions, I mounted almost all of the seat and thwart frames too low. Before redoing this, I took the midship seat and prepped it like I was going to install it per the instructions and noticed that the thwart frames were clearly way too low. The instructions don't really say where to line them up so I used the seam of the top to planks as my guide and reattached them.
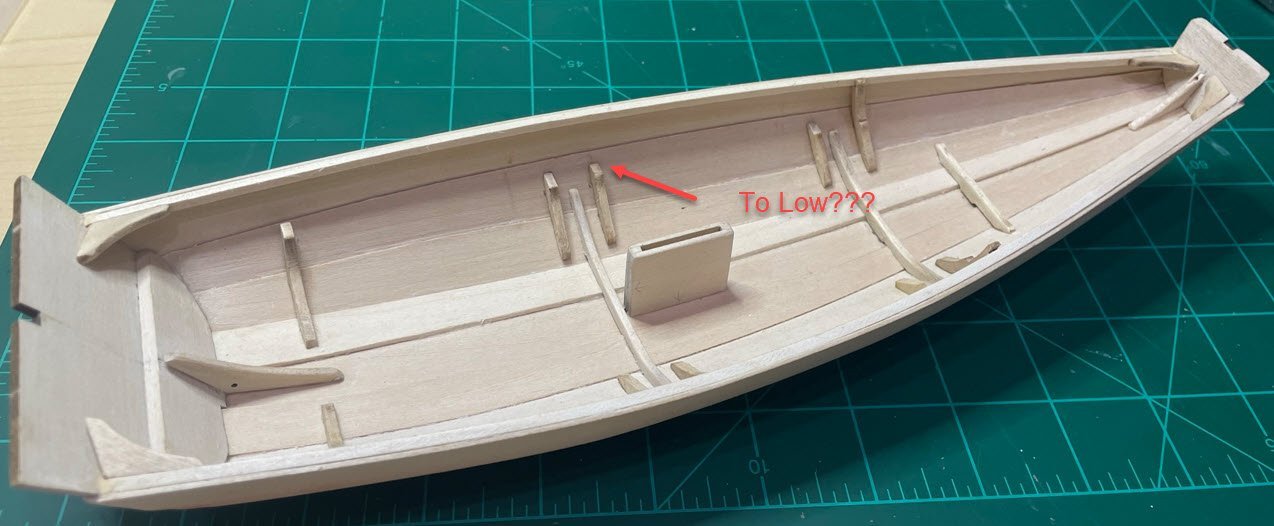
-
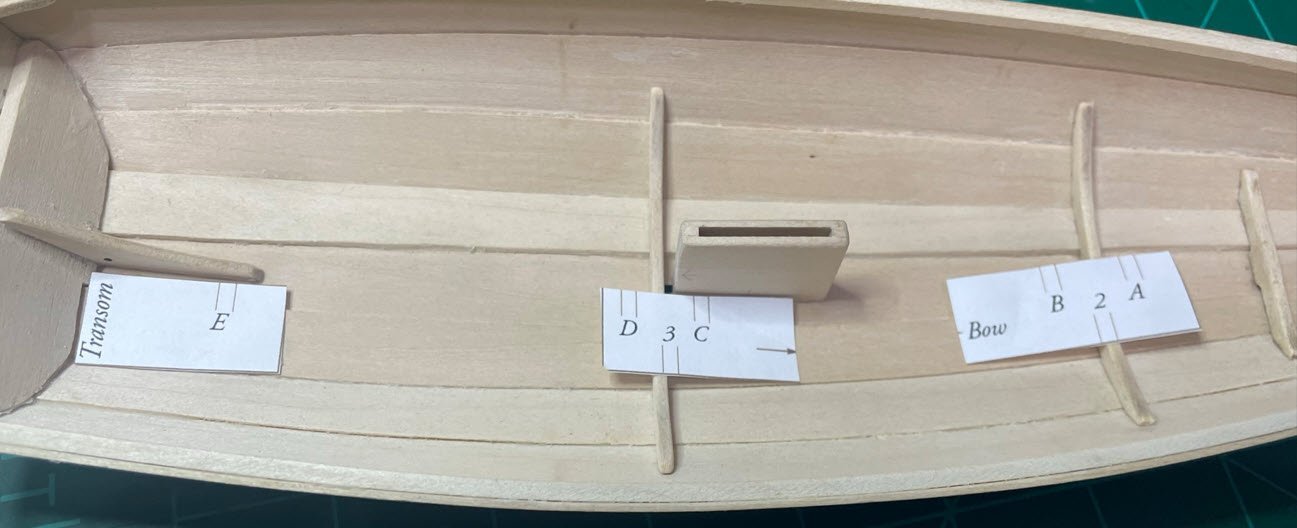
Step 18 gave me a little trouble but I worked through it. First problem. I didn't understand at first how to use the tick strips from page 4. When trying to use them like I used the tick strip for the bottom frames nothing lined up like the photo in the instructions. Then I realized the offset 2 and 3 indicate how to line up on the bottom frames and that I need to cut the tick strip into 3 pieces.
-
Step 16 & 17 - Stern Quarter Knees & Bow Quarter Knees These steps are pretty straight forward.
-
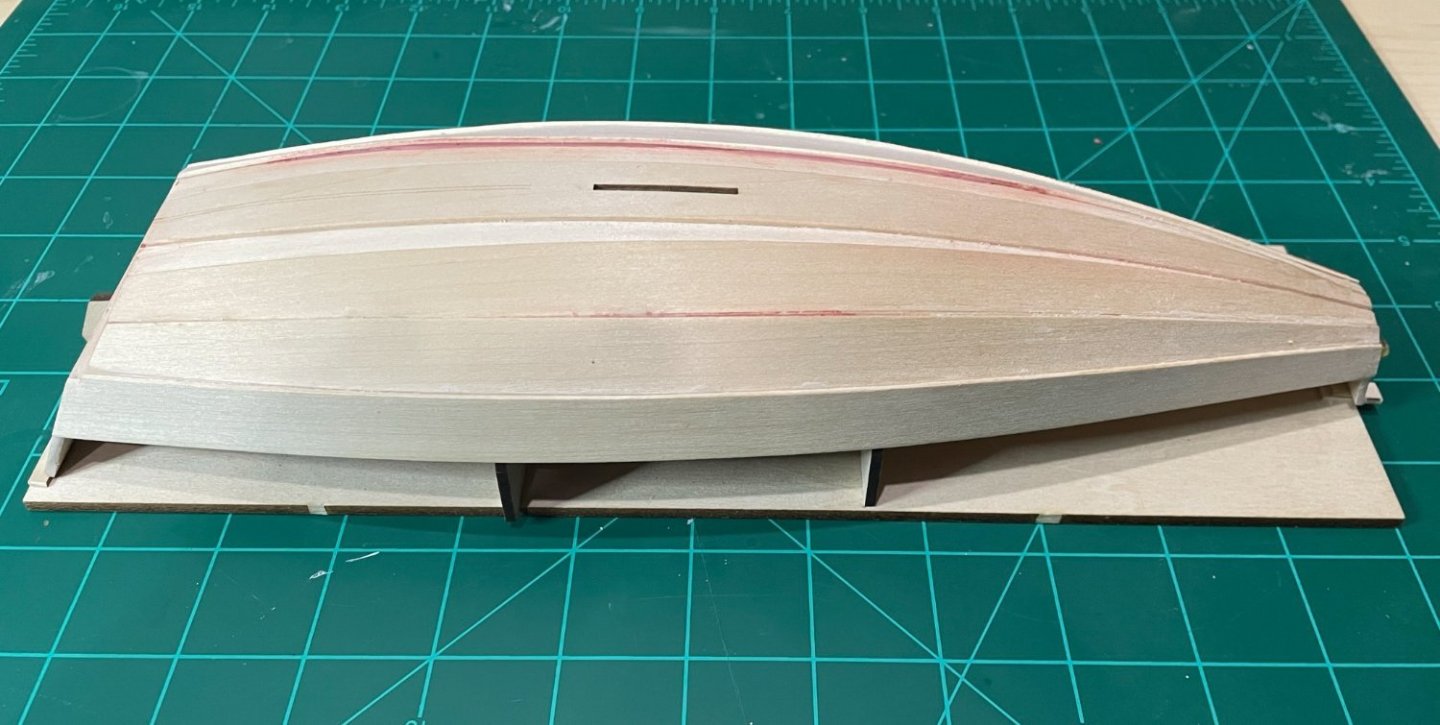
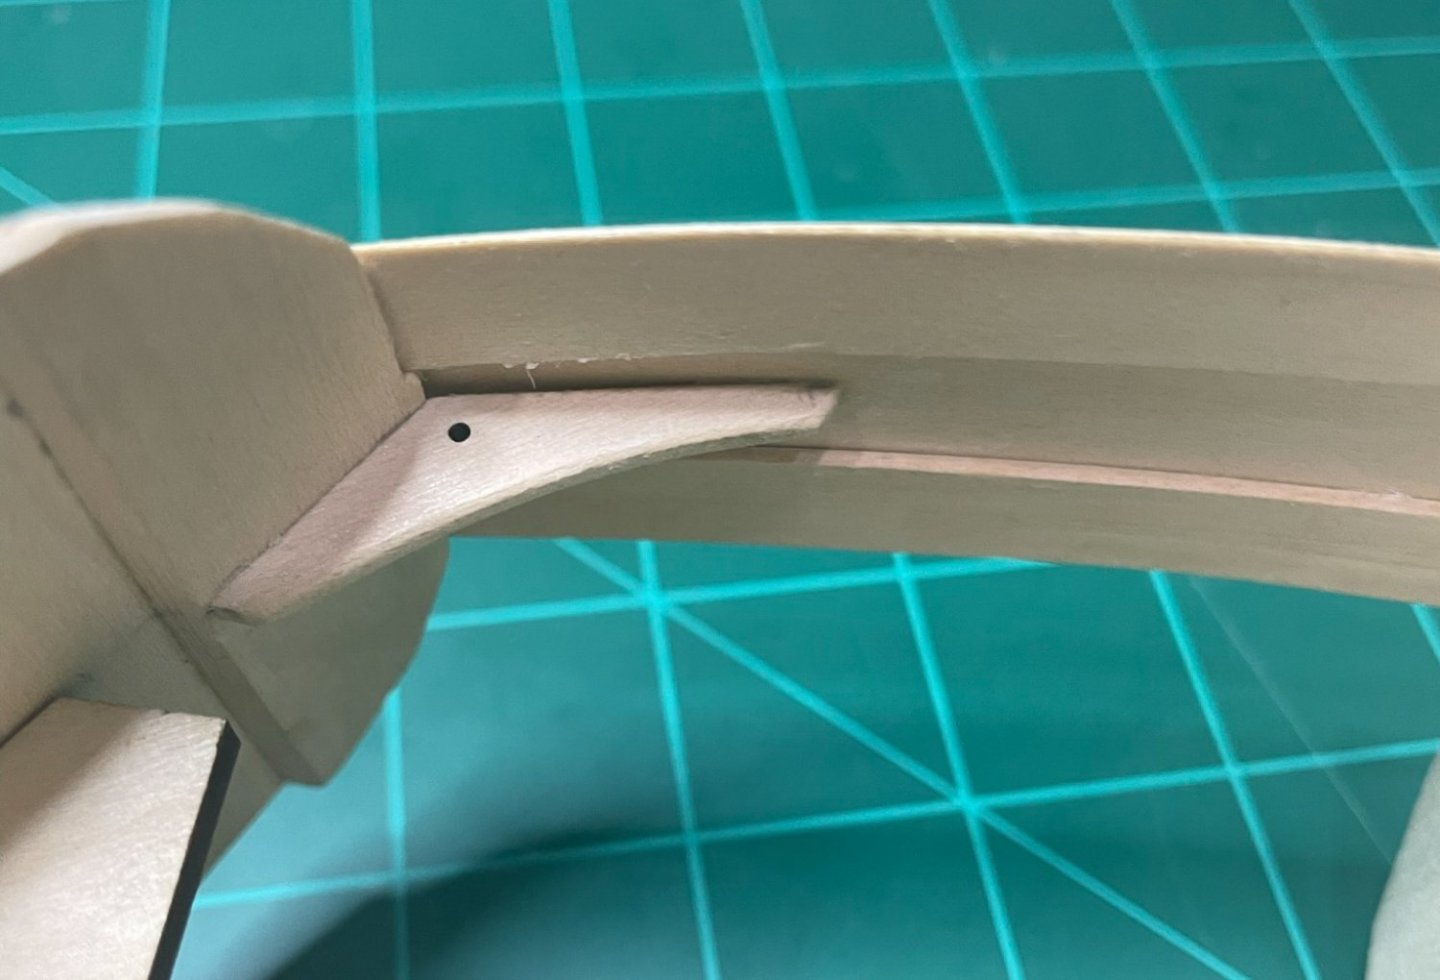
Step 15 Inwales. Got out my trusty plank bender and wetted the inwales and went to work bending the inwales. I found by putting a light pencil mark on the inwale and top of the top plank, it made it easier to line up as I was carefully bending and dry fitting. First one went in pretty well. Took a lot of back and forth with the sanding stick to get it to slide in at the bow. Second one I thought I'd cut the inwale a little closer to avoid some sanding but ending up cutting a little too much and now have a gap. Note to self - stop taking short cuts. I will use a little Natural colored wood filler to clean up gaps between the bow and inwale.

-
Step 15 Inwales. Got out my trusty plank bender and wetted the inwales and went to work bending the inwales. I found by putting a light pencil mark on the inwale and top of the top plank, it made it easier to line up as I was carefully bending and dry fitting. First one went in pretty well. Took a lot of back and forth with the sanding stick to get it to slide in at the bow. Second one I thought I'd cut the inwale a little closer to avoid some sanding but ending up cutting a little too much and now have a gap. Note to self - stop taking short cuts. I will use a little Natural colored wood filler to clean up gaps between the bow and inwale.
-
Finished up step 14 bottom frames. Be sure to set the print size to 100% for page 4.. otherwise fit to page which is my default may not print it out precisely. Couple other notes. After marking with the tick strip, I measured from bottom frame one and added marks higher up so it was easier to line up square. Also, after the first frame marks I realized the pencil marks were kind of dark and hard to get at to erase or sand after gluing in the first frame. So for the other frames I marked them then slightly sanded them so the marks were just barely visible prior to installing the frames. I'll be painting this hull so this step was probably not necessary but if I was staining it, then it would be important.

-
Step Second 13 - The dagger board case. Pretty straight forward. Also started step 14 and added bottom frame 1.

-
Wow, has it been that long since I worked on this? I am still at the same spot I left off at. But I will restart this project. Restarting at second step 13? The dagger board case.
-
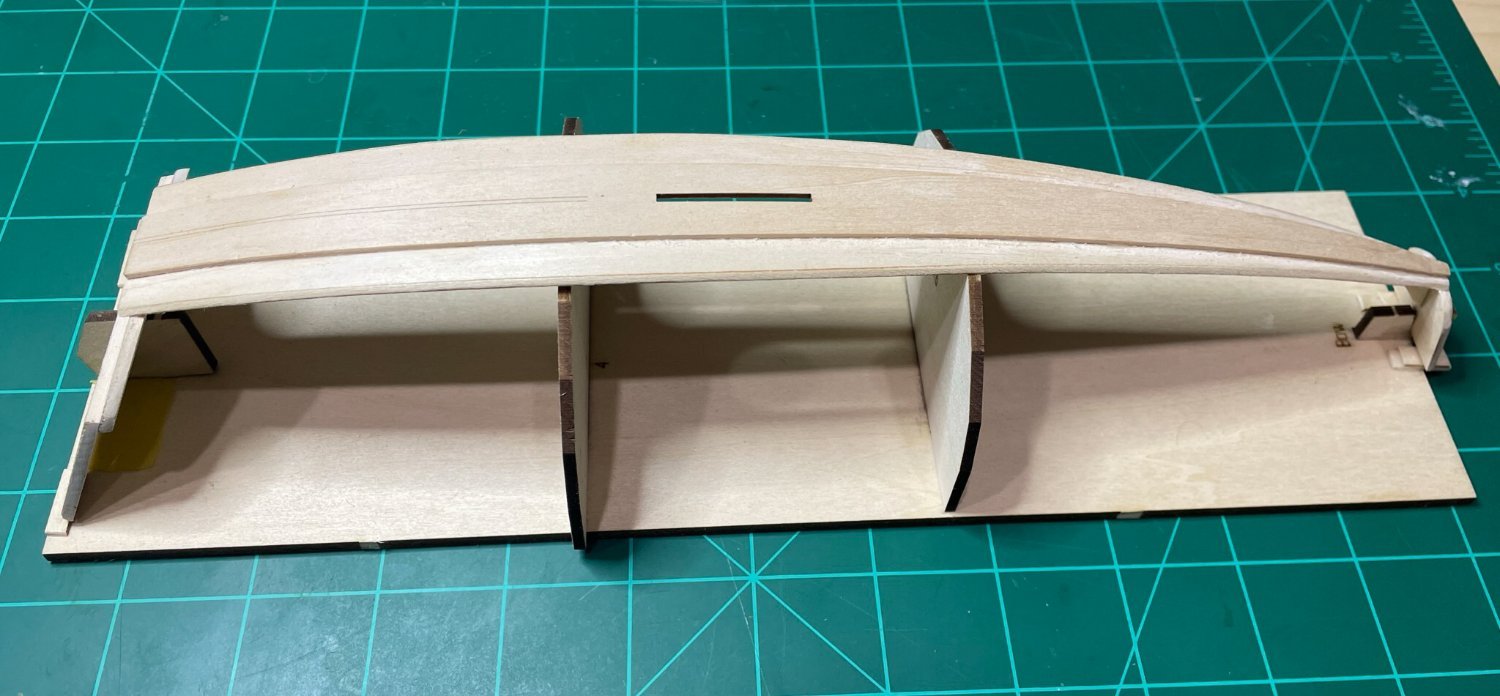
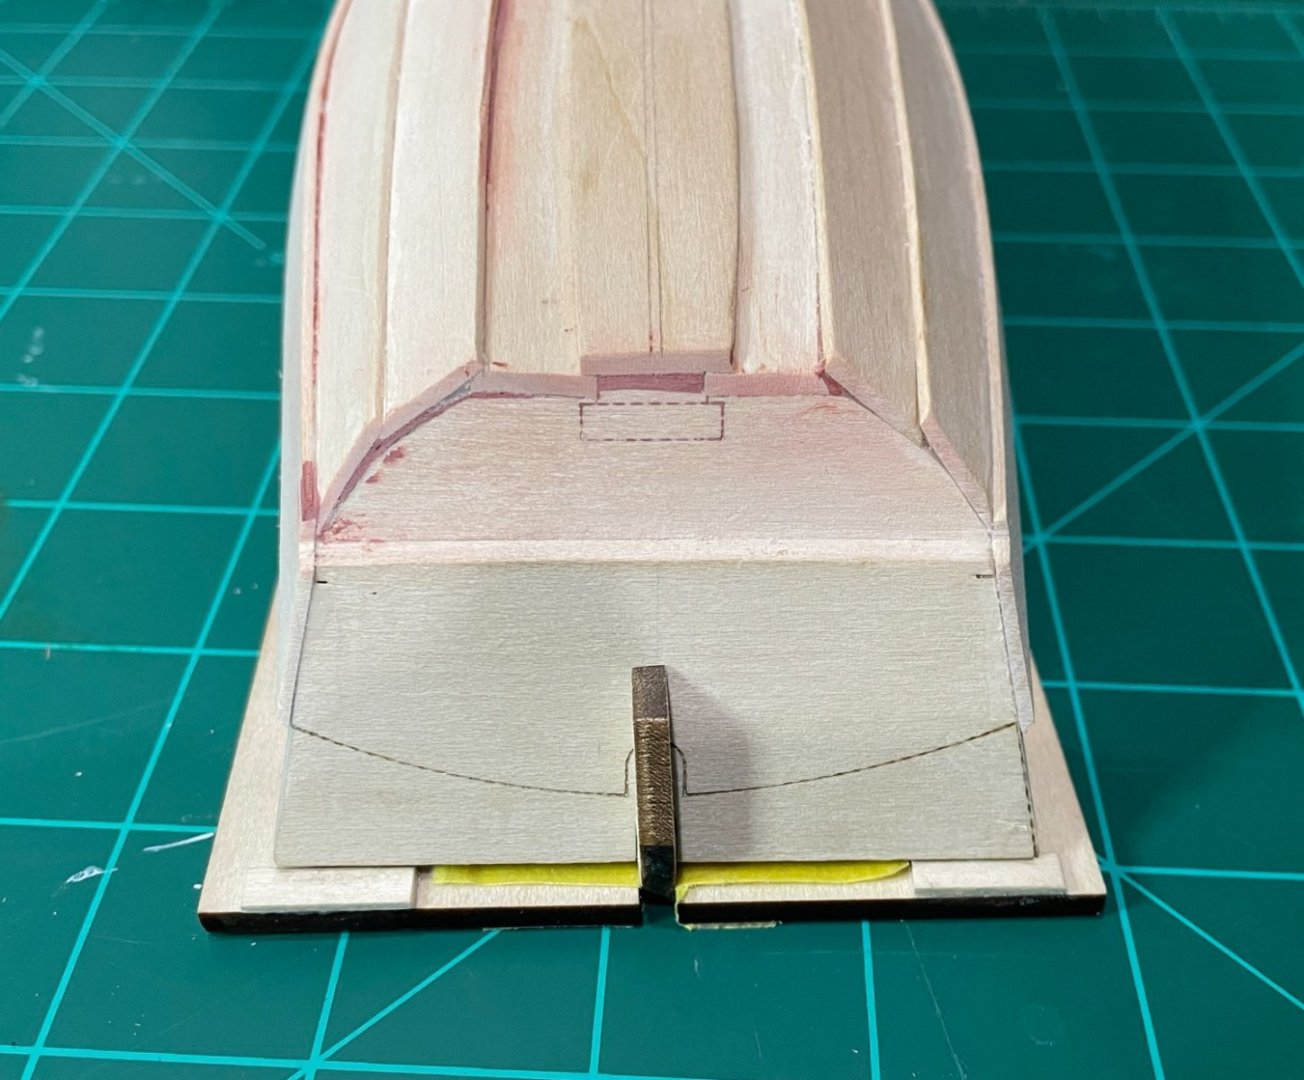
Completed Step 12 & 13 with the Skep and Bilge Keels. Also you can see the notching of the sheer planks at the rear transom better in this photo.
-
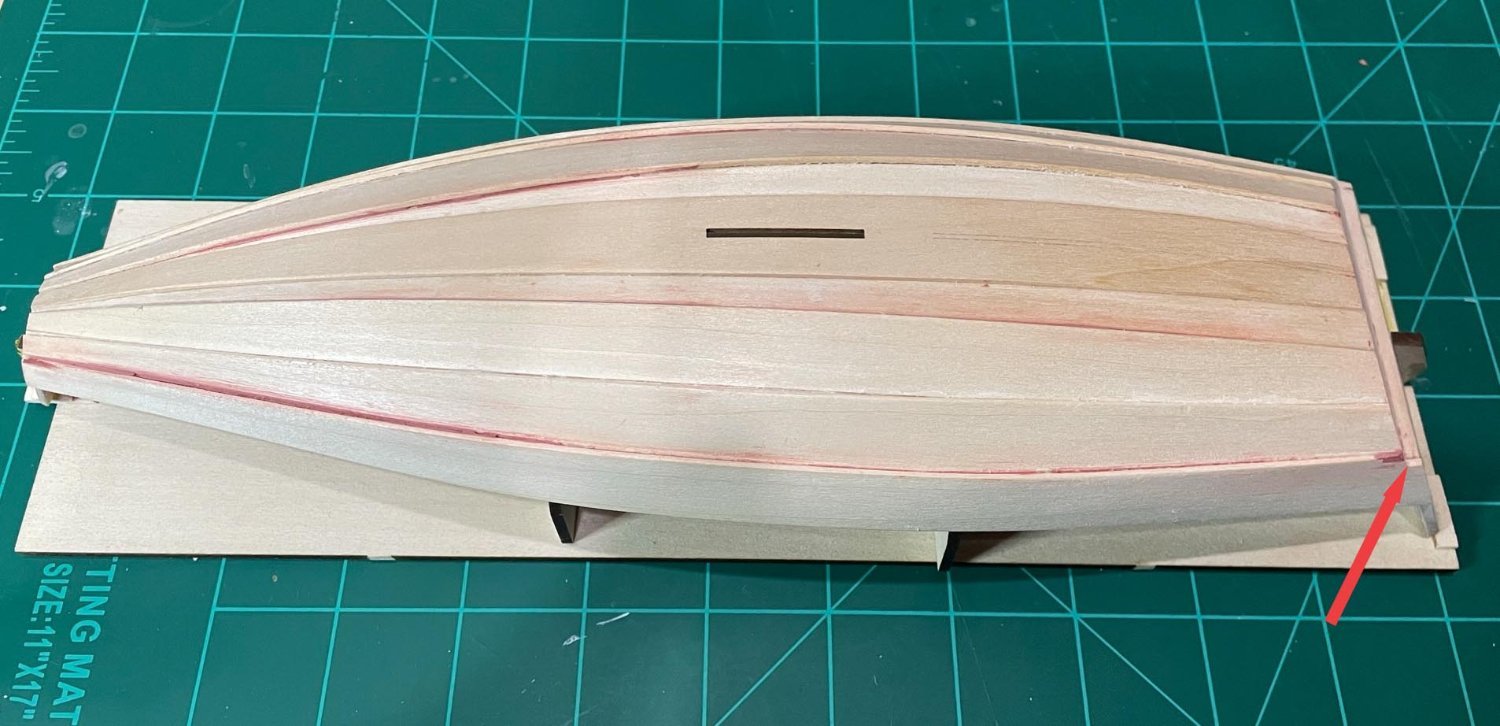
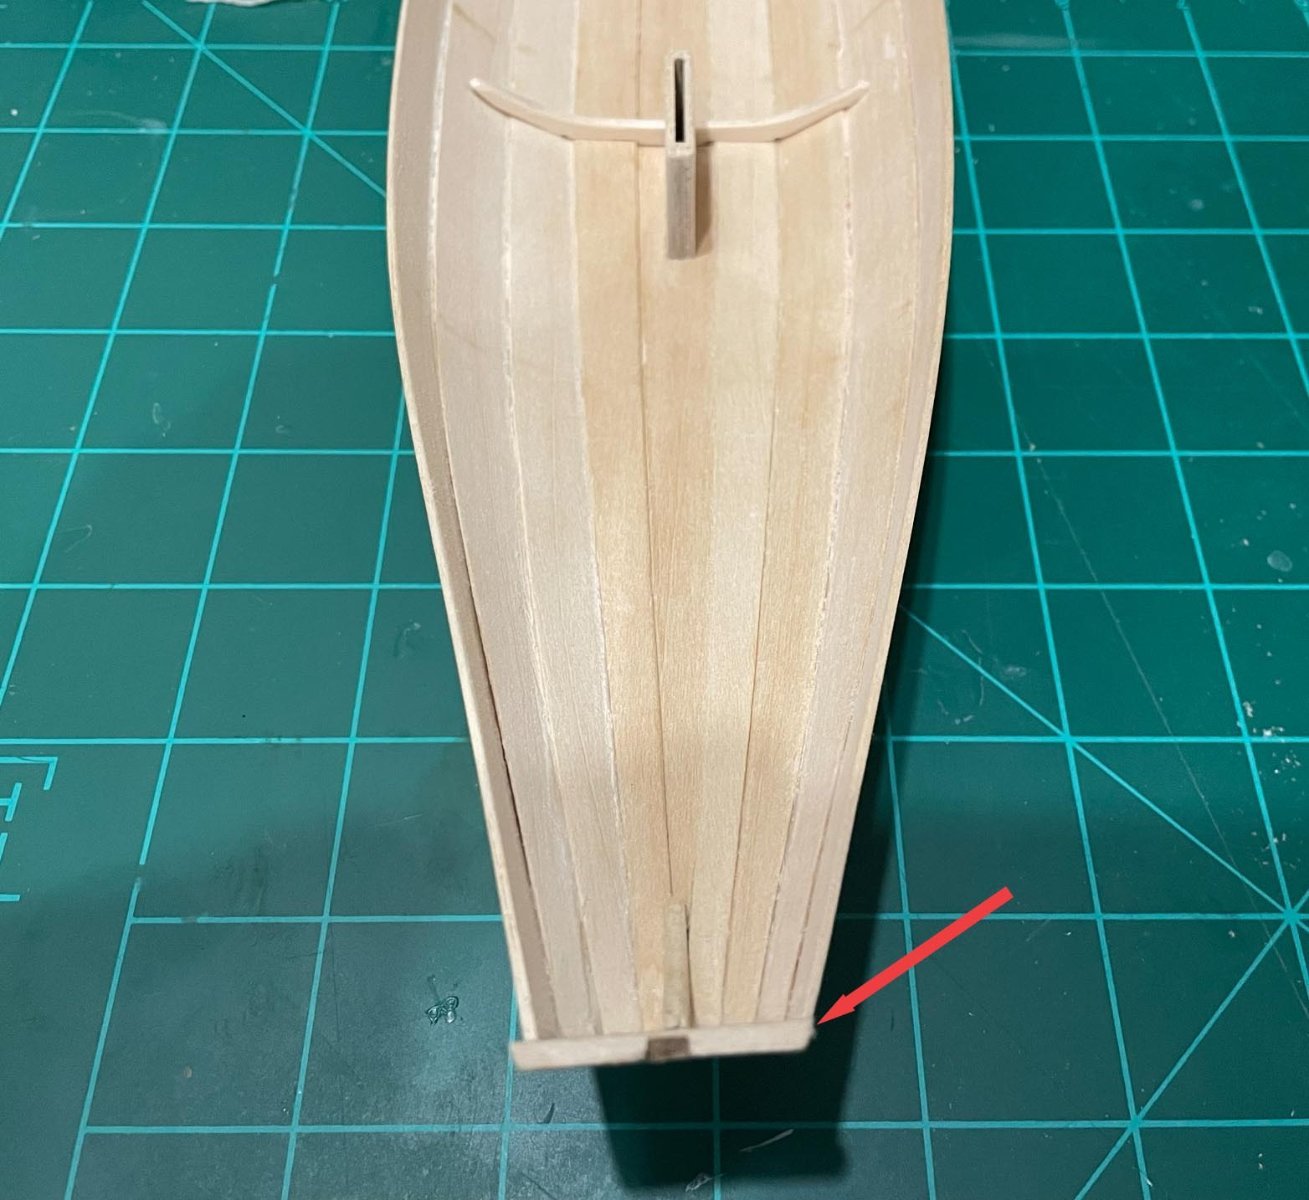
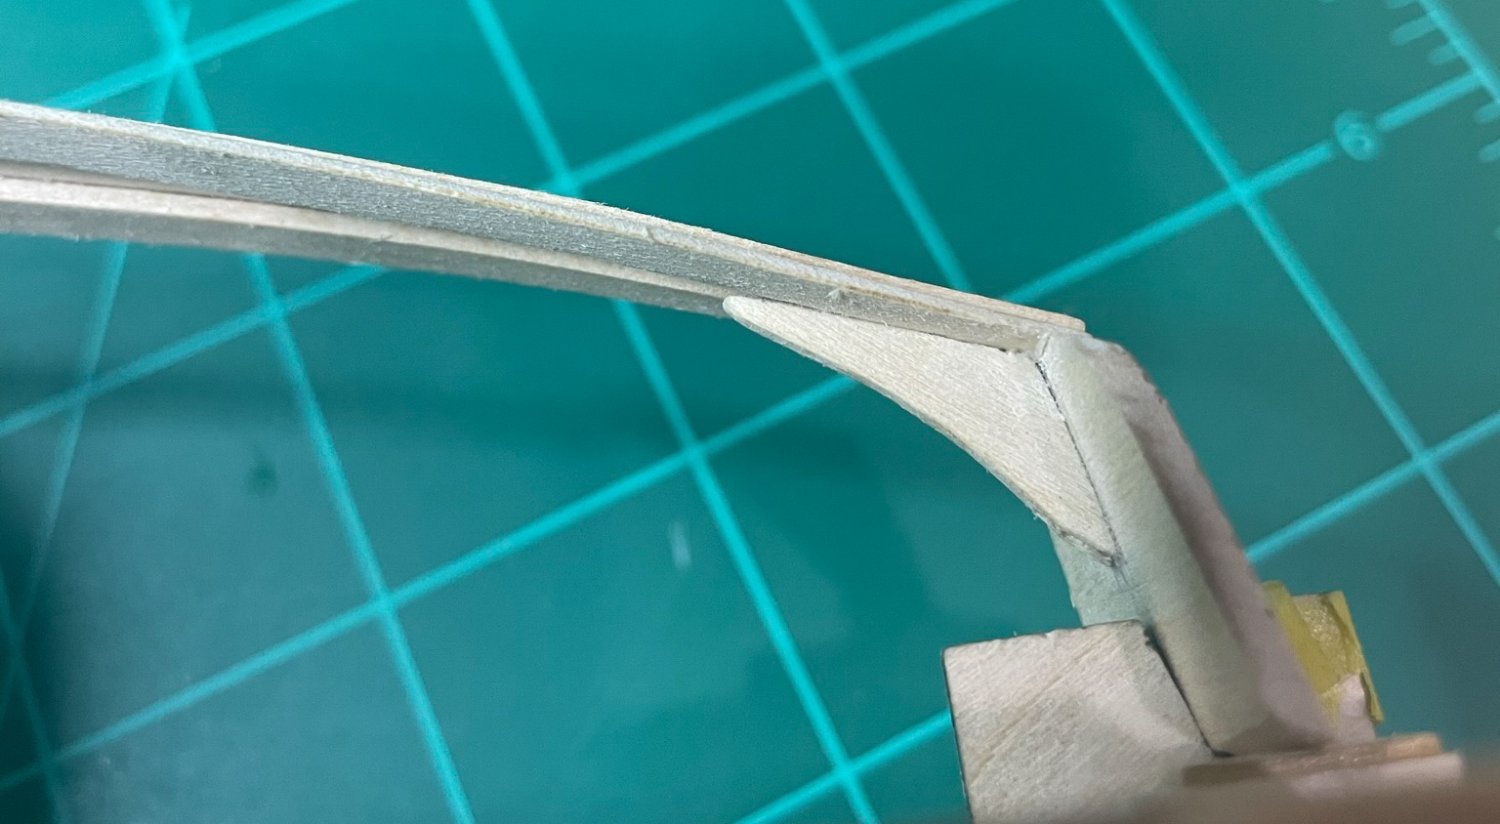
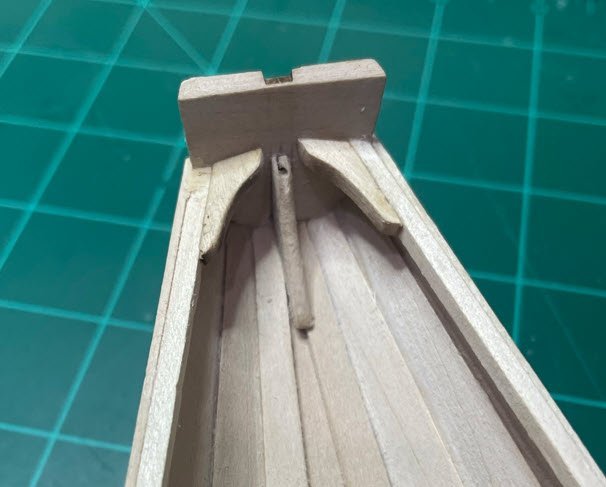
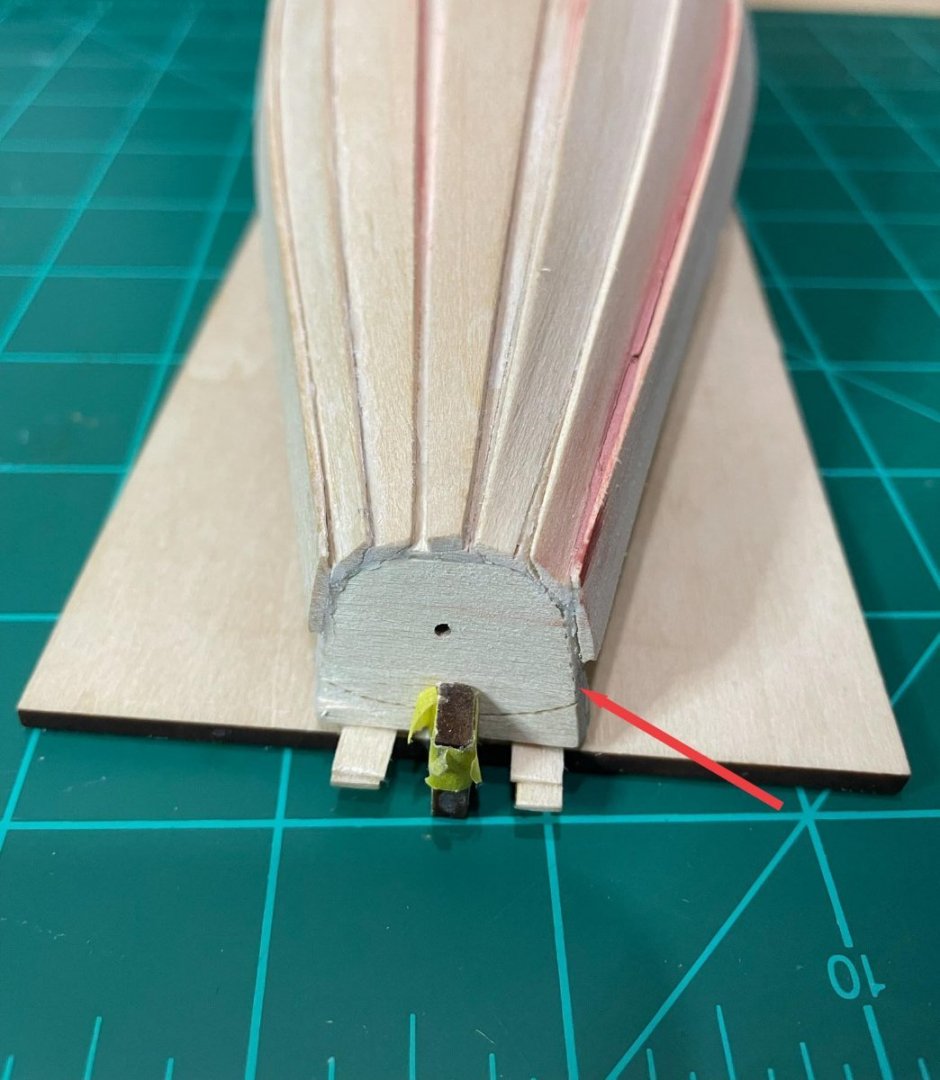
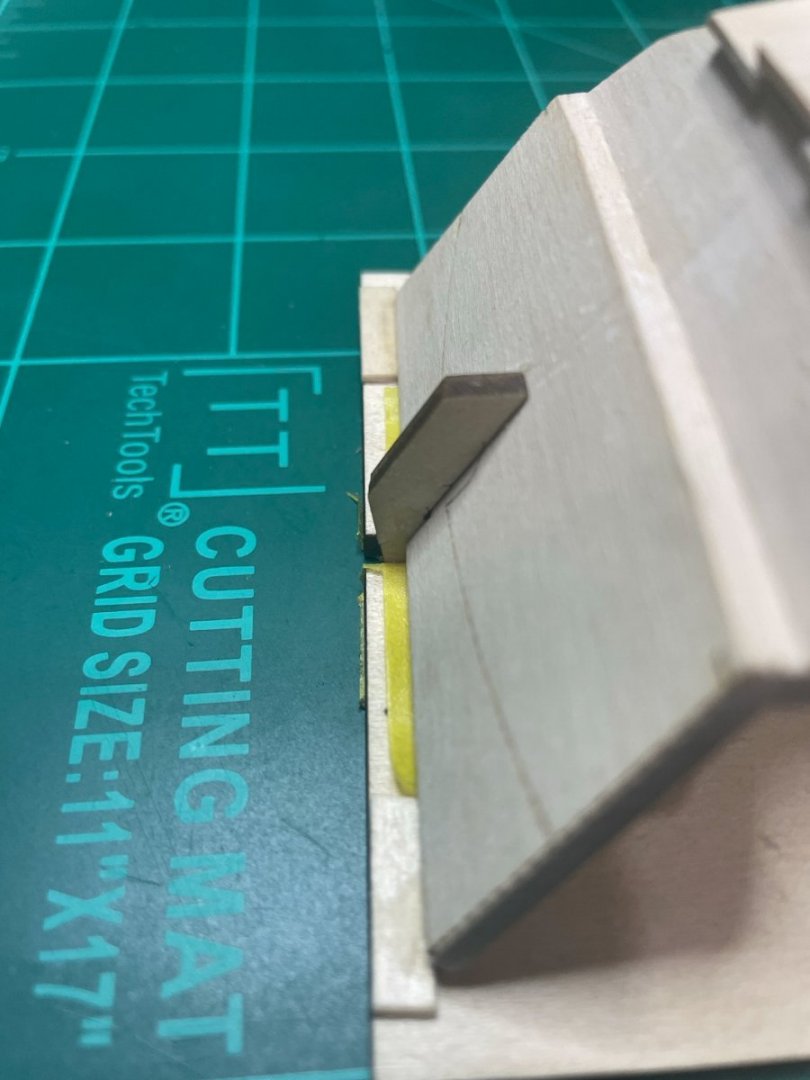
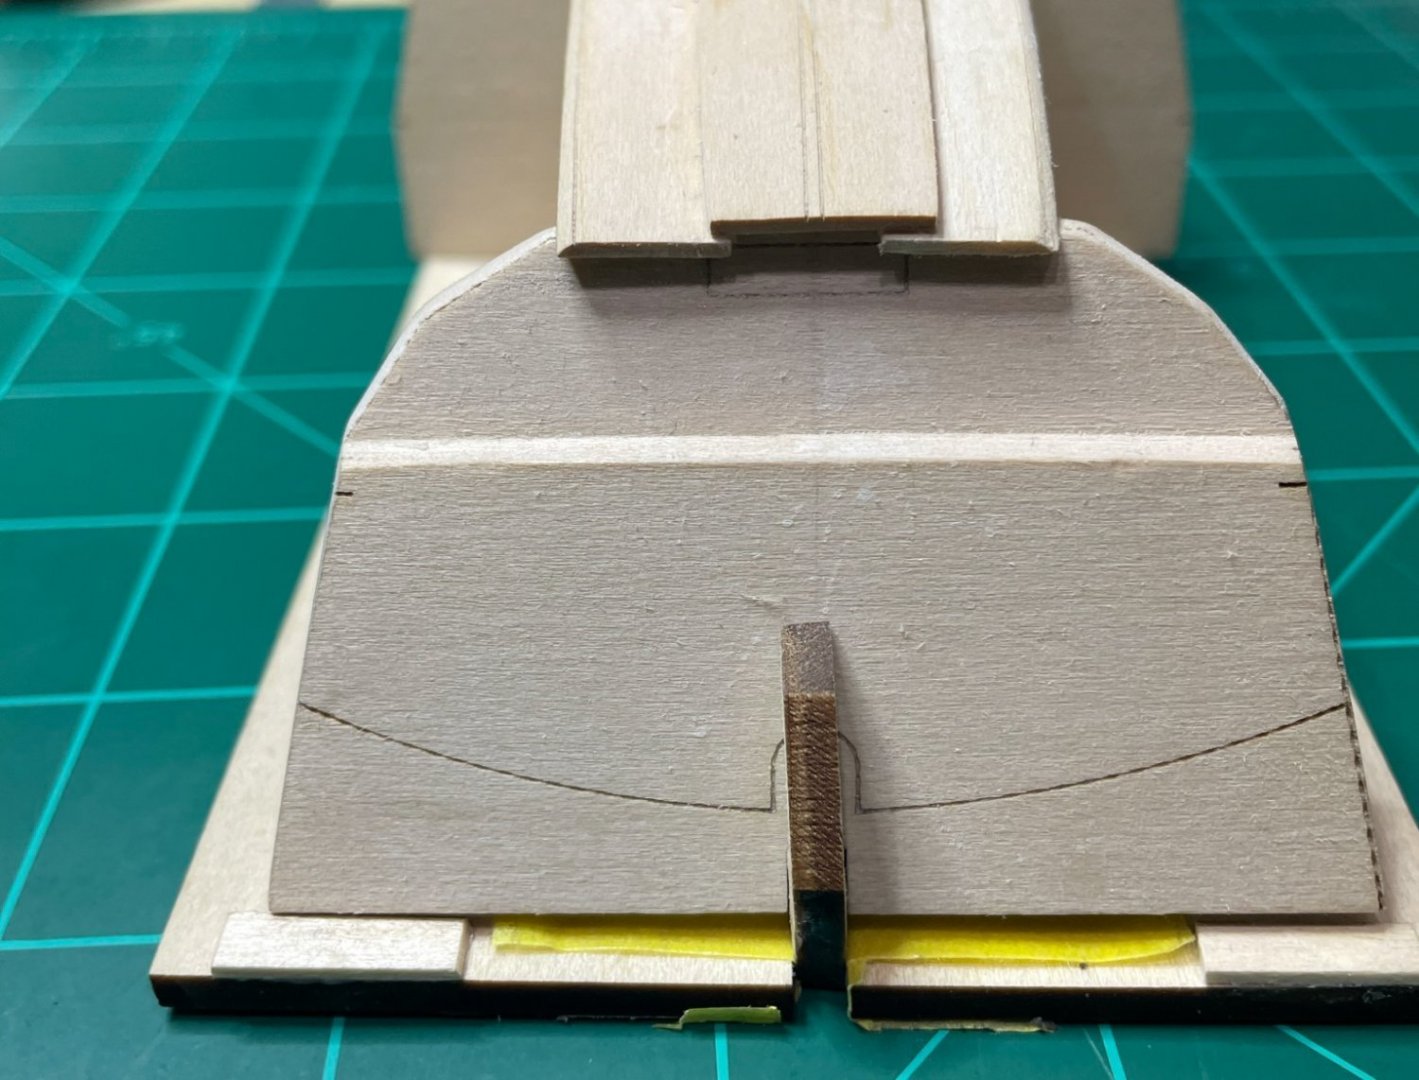
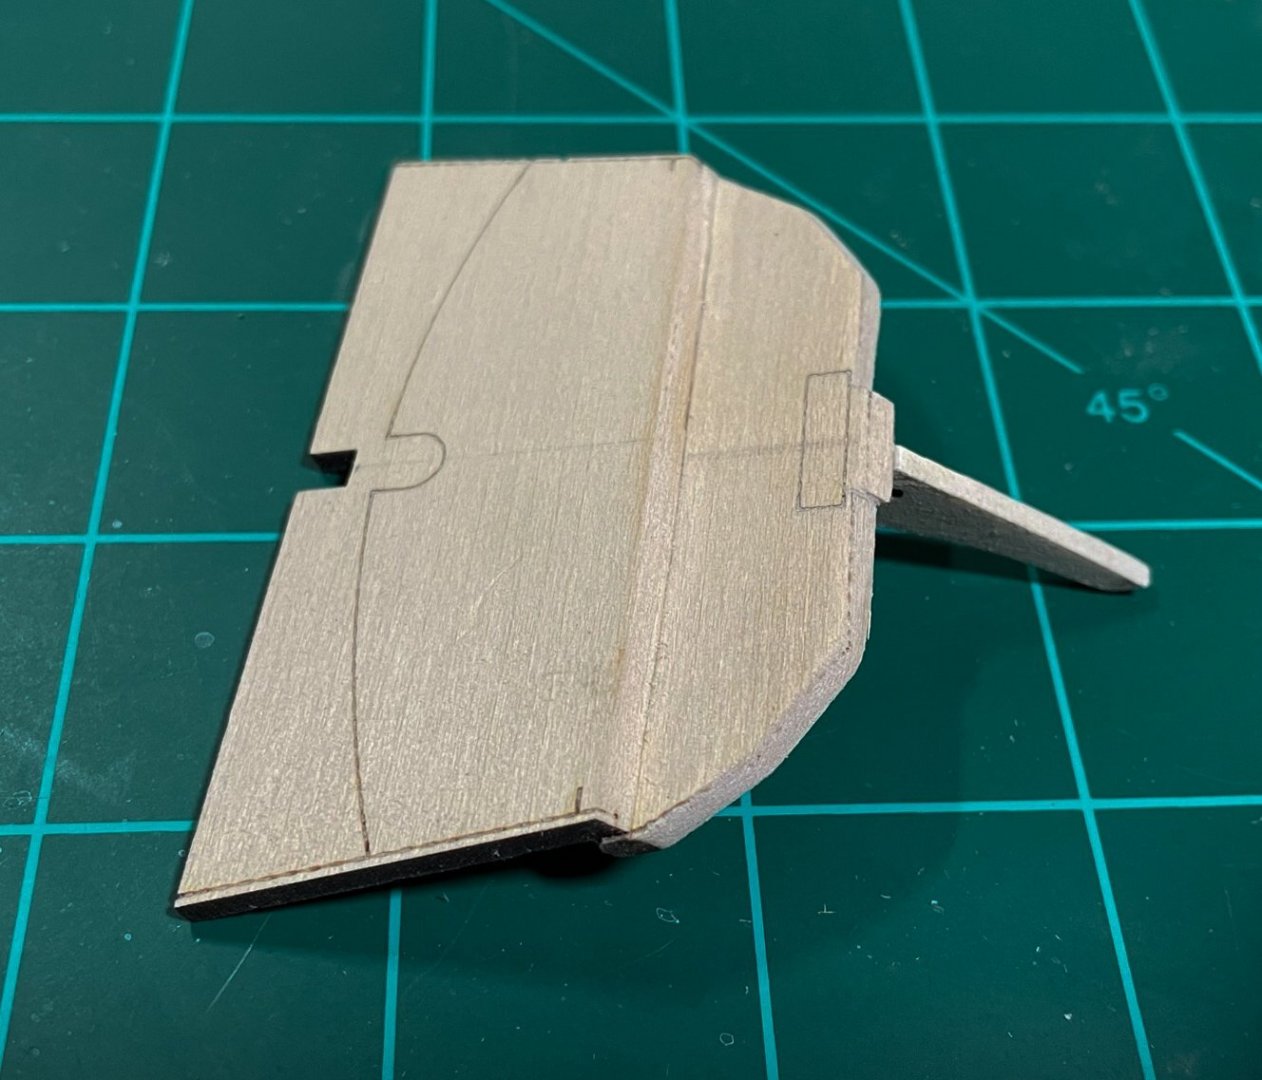
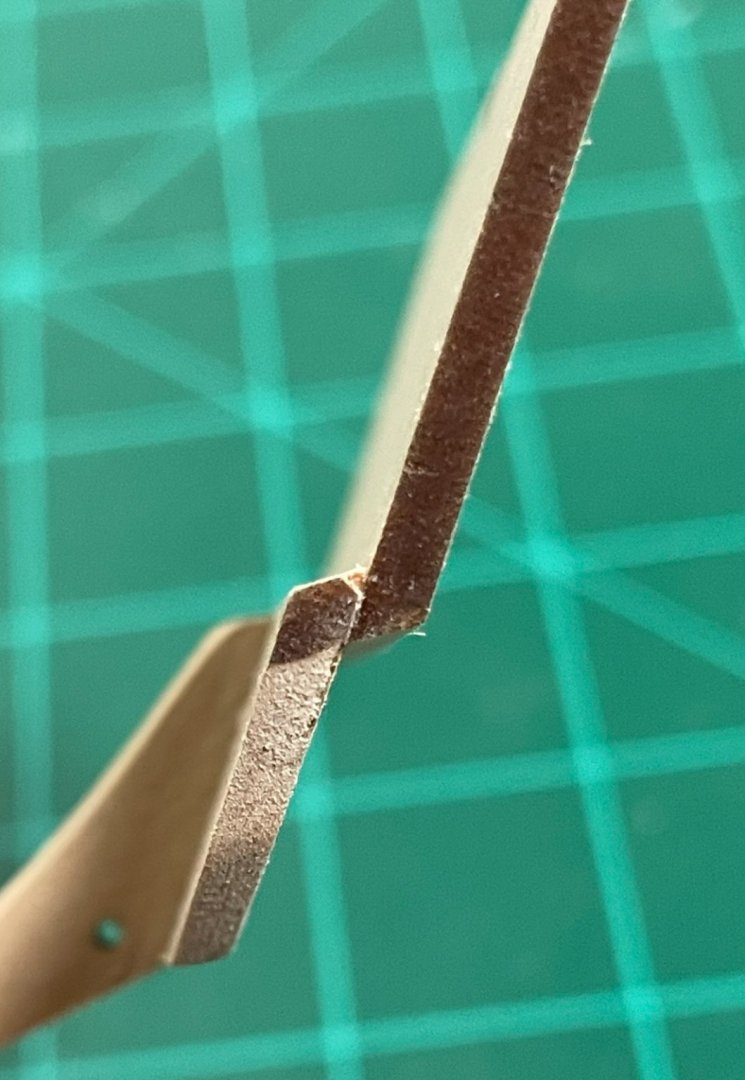
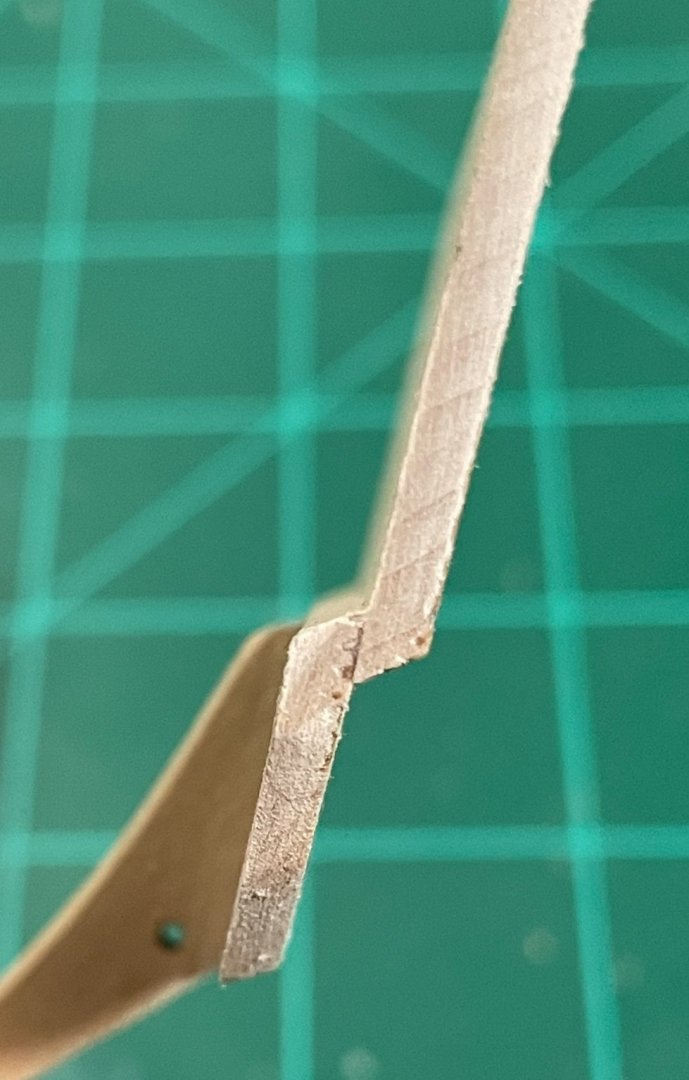
Planking now completed. Ran into a few things that I will highlight. First, I had some gaps in my planking that I used some Bondo Filler to fill (rust red) I got the sheer planks to hit the mark on the transom. But there was an overlap of the sheer plank where the upper and lower transom meet. I notched these out so it looks right. I broke off a tiny corner of the sheer plank on one side so used Bondo filler to fill it back in. Here you can see the notch and the Bondo fix. Although I hit the mark on the rear, I came way short of the mark on the bow transom. Final thing I noticed after finishing the planking is that my bow transom is not square. Not sure what to do about it, if anything. Should I just leave the bow transom the way it is? Or go through the process of trying to unglue it and reposition it? Wondering if it might end up being one of those thing that only I would notice on the completed model. Thoughts?


-
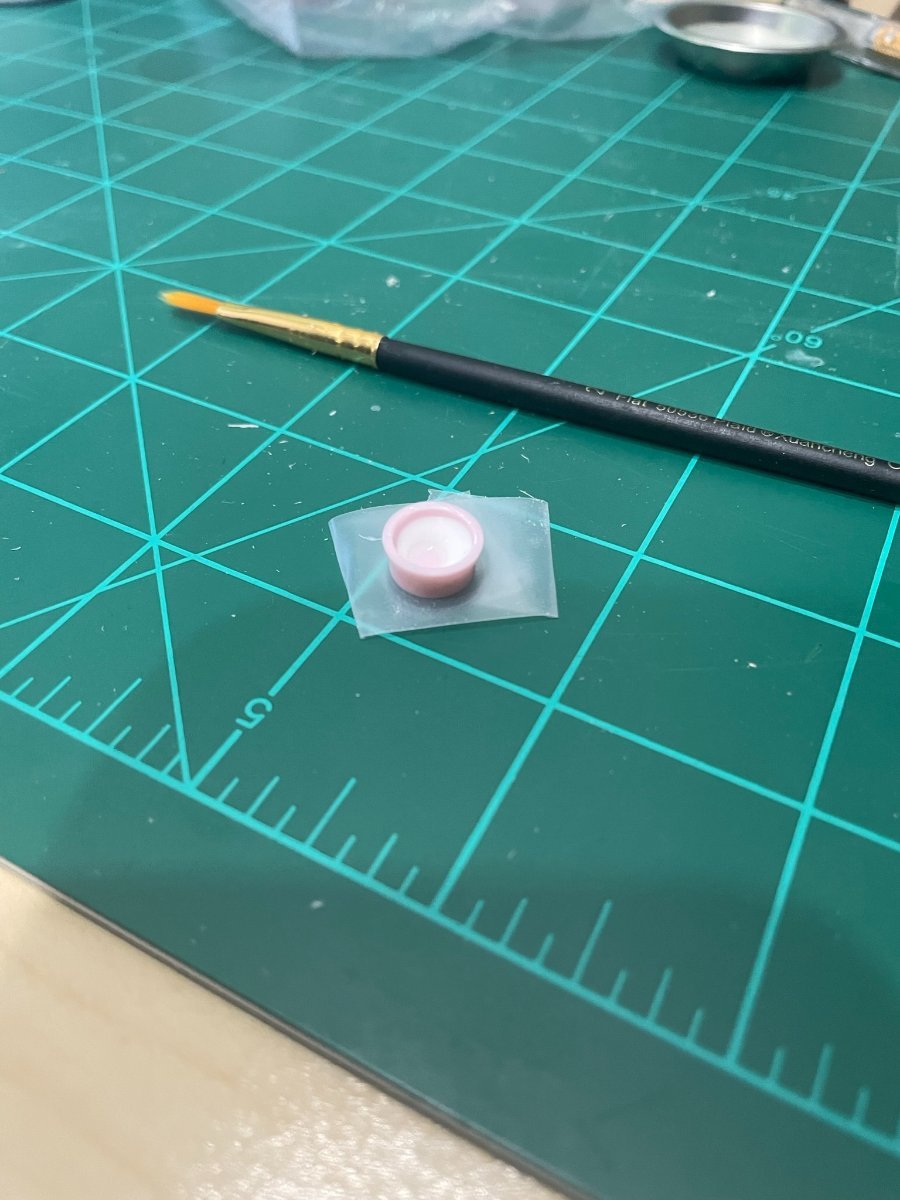
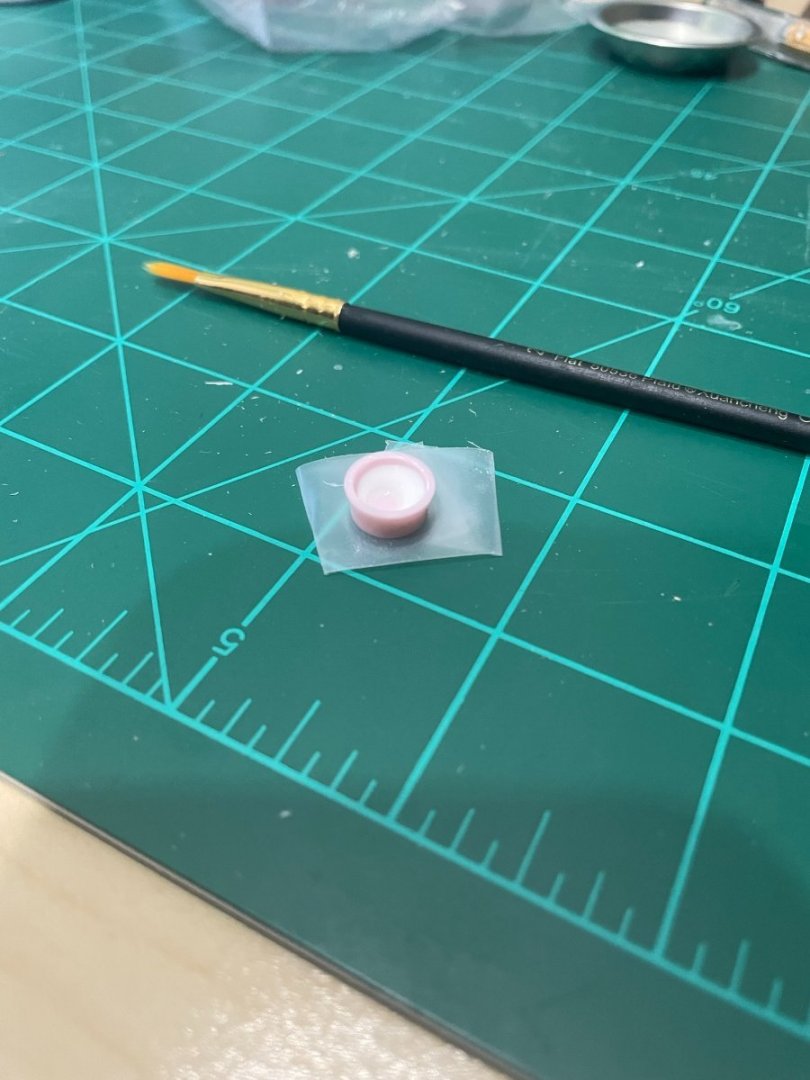
I found something that I felt made gluing easier. I ordered these Mini Glue Cups for eyelashes. https://www.amazon.com/gp/product/B08PNVBZ8N/ref=ppx_yo_dt_b_search_asin_title?ie=UTF8&psc=1 Although pink, they are very useful. Glue doesn't dry out quite as quick and they are very cheap so cleanup is just to toss it. I did find I needed to use a small piece of tap to stick it to my cutting matt as it is very light and the viscosity of the glue causes it to want stick to the brush when loading it with glue.
-
Ok, I made a decision about the keel plank. Instead of ungluing the plank and the transom knee, I decided to sand down the port side of the keel plank trying to keep a nice smooth curve to it. I didn't want to take it too far, but this did help make it less of an eye sore.
-
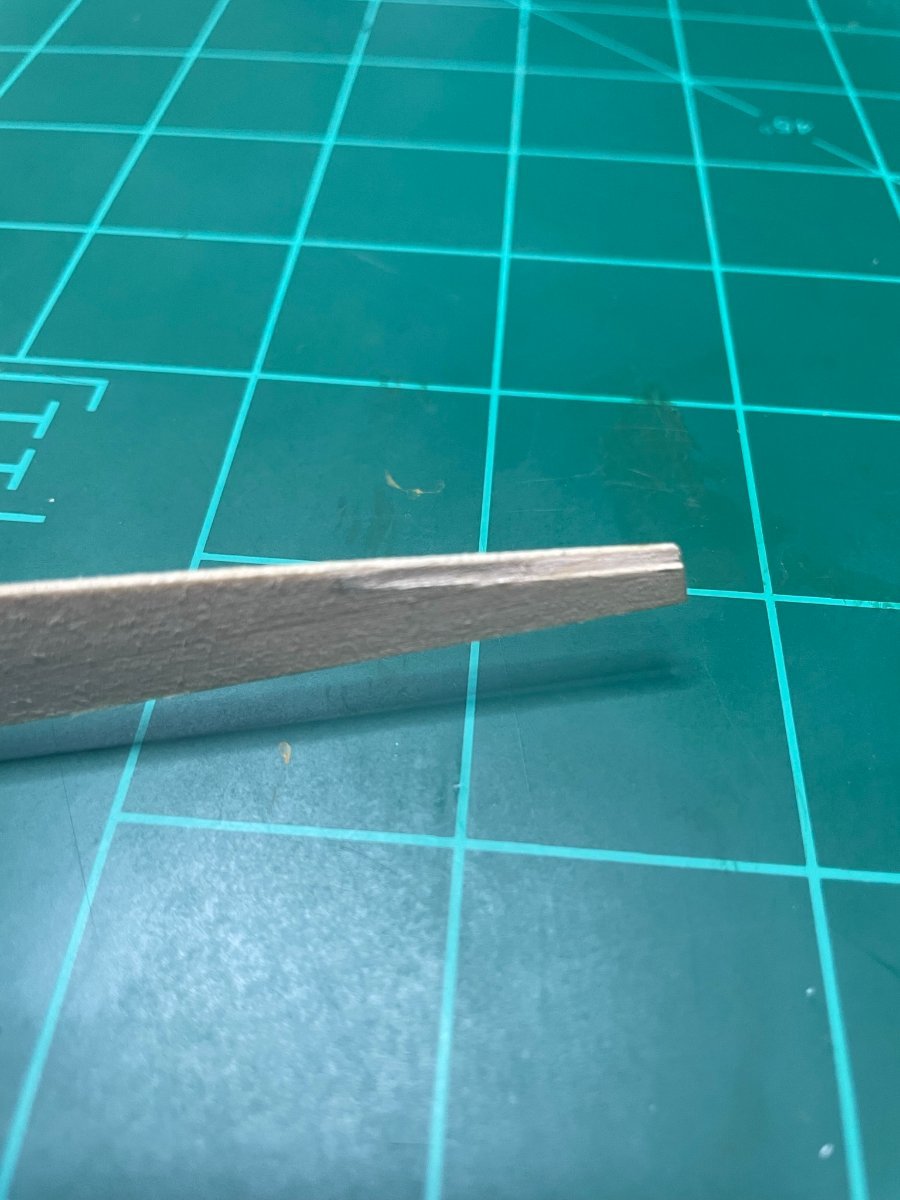
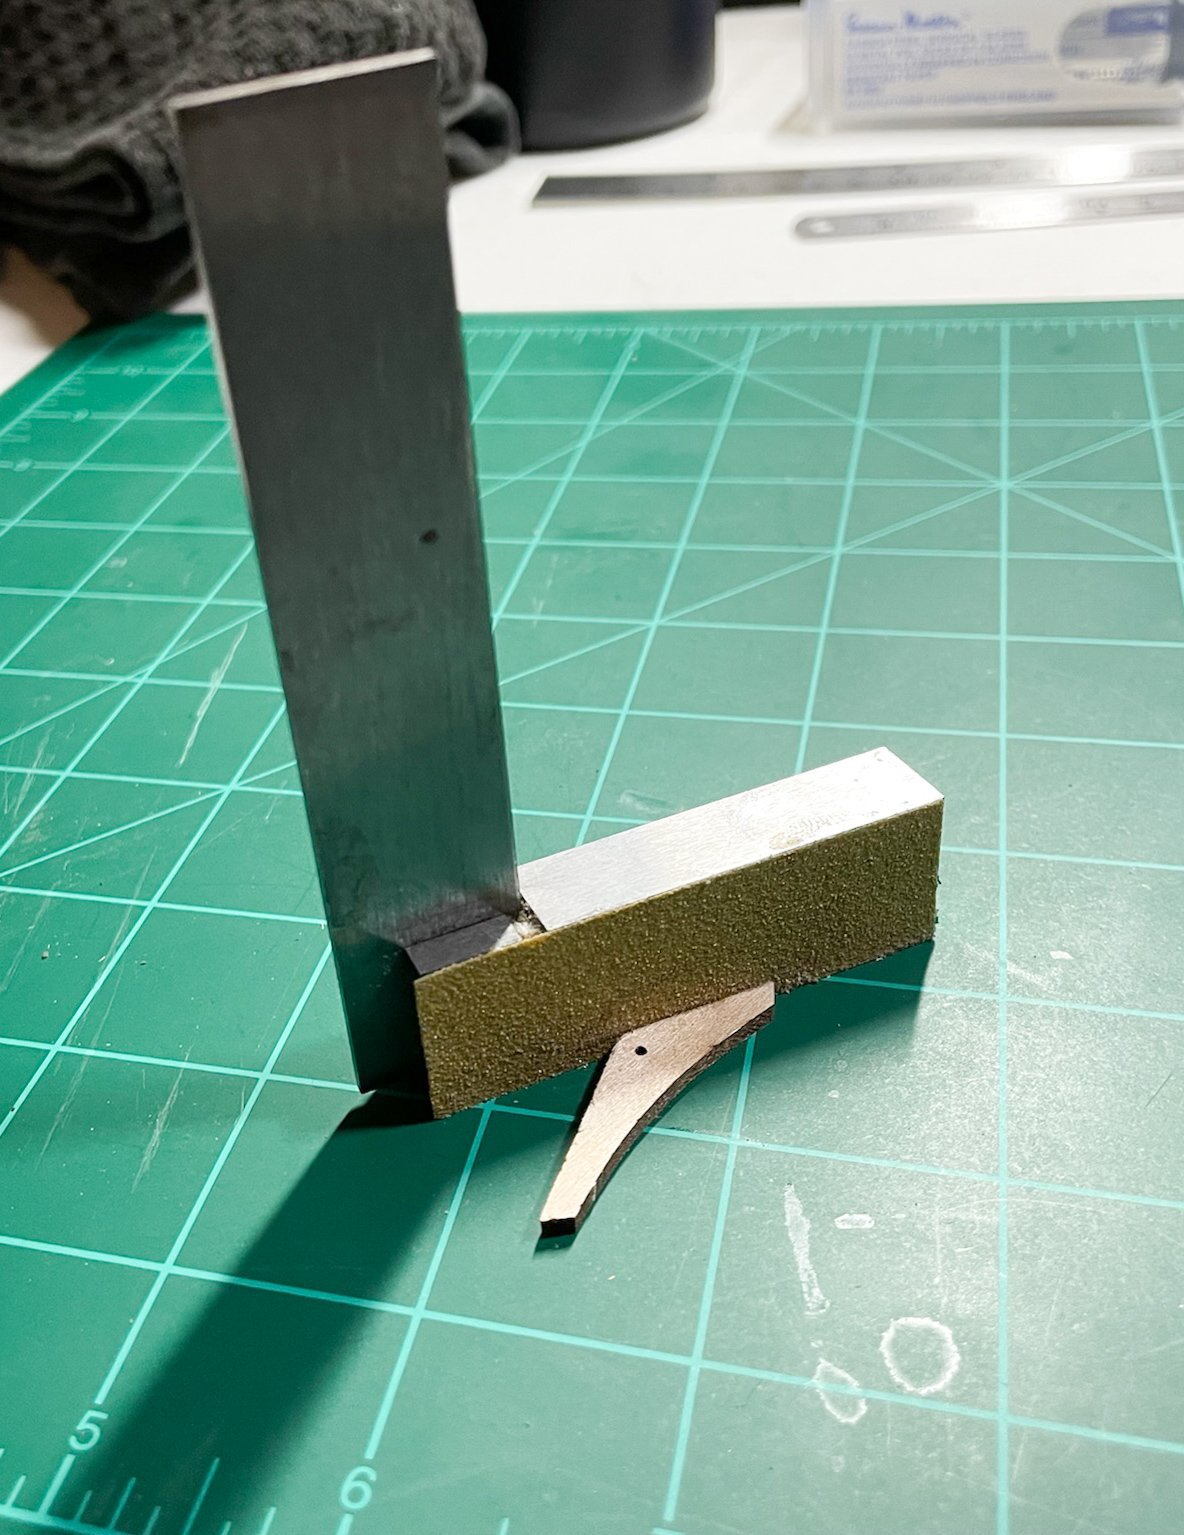
While I am still contemplating what if anything I should do with that keep plank. I have moved on and added the bevel and the rabbets to the garboard planks. Came out pretty well. Did a practice rabbet on a piece of scrap. Instructions recommended using a chisel to shape the rabbet. I opted for using my scalpel and scraping it in, then cleaned it up with a standing stick.

-
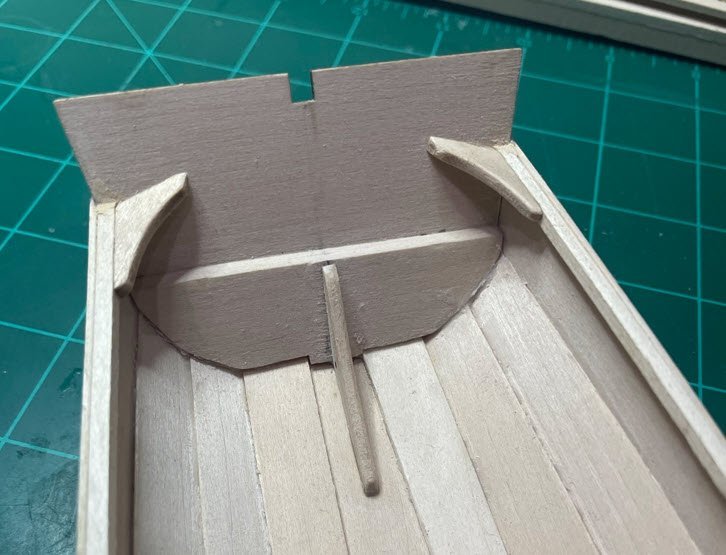
I followed DanB's advice and glued and clamp both transom knees so they look correct. However, this sucked in the transoms so i had to adjust the stern transom support in about 1/16" to accommodate the slight change. I did this by increasing the notch in the support with a scalpel.

-
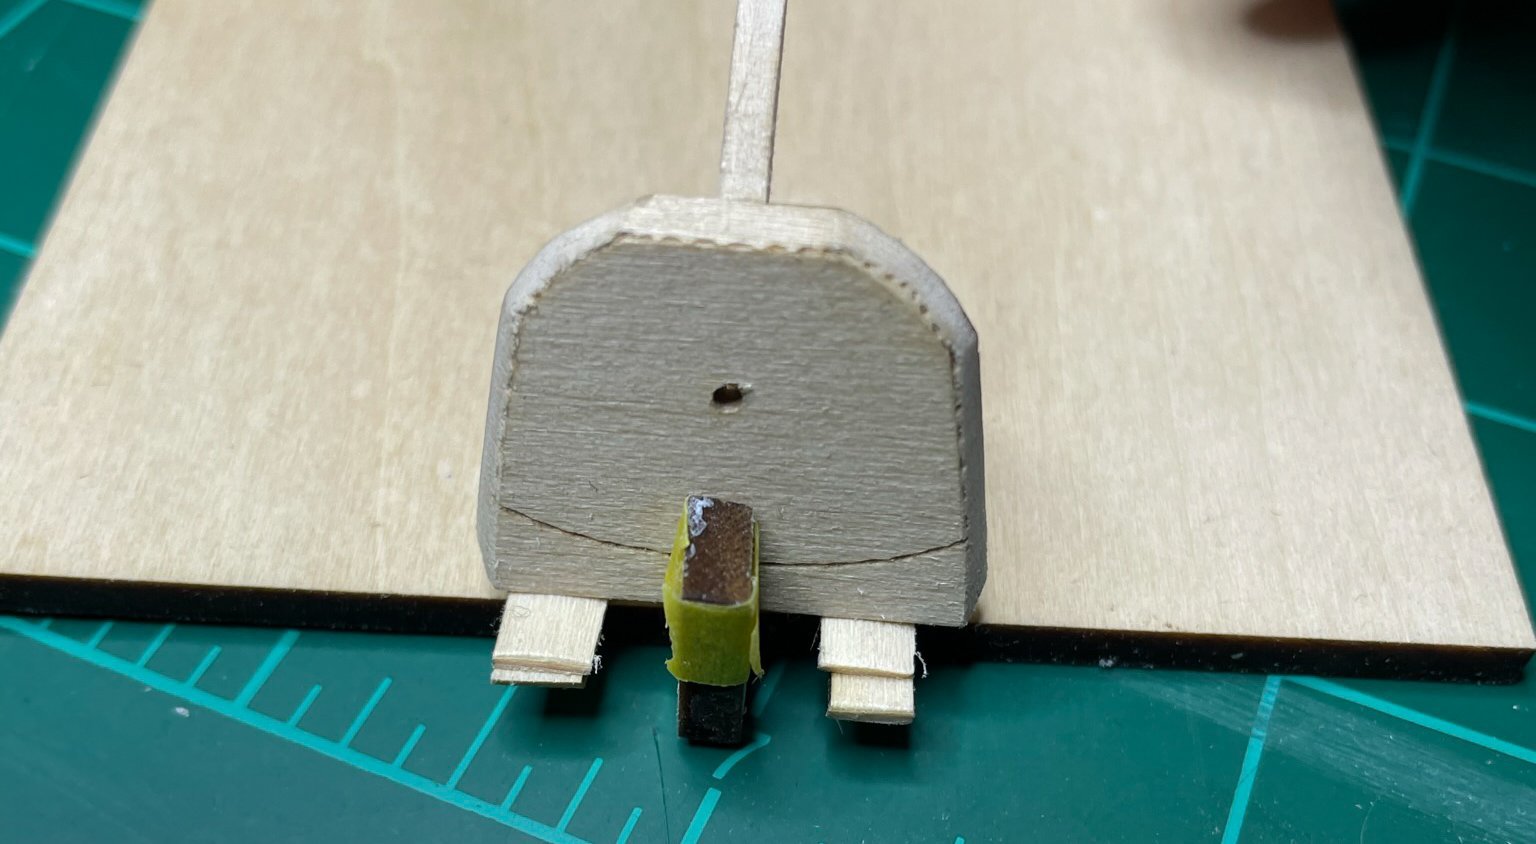
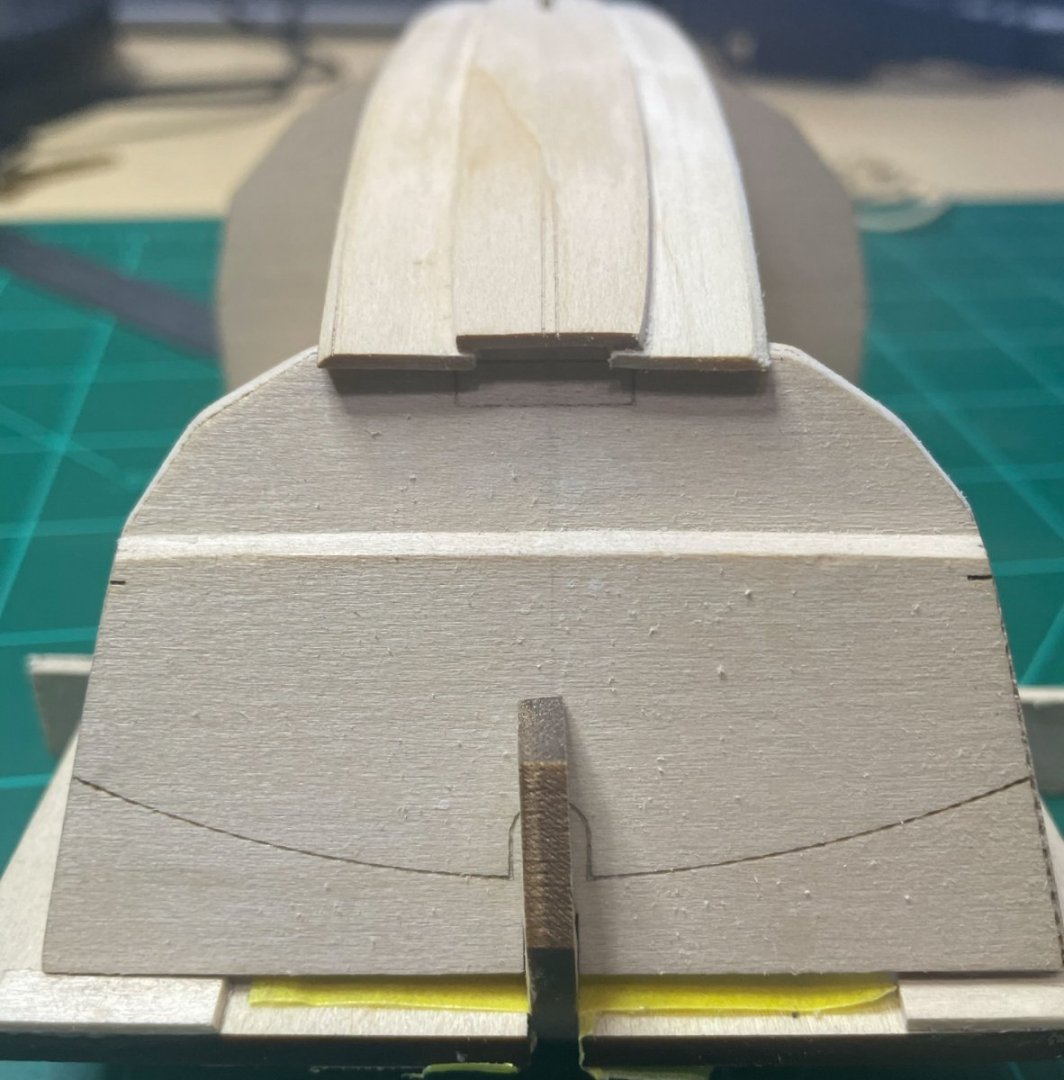
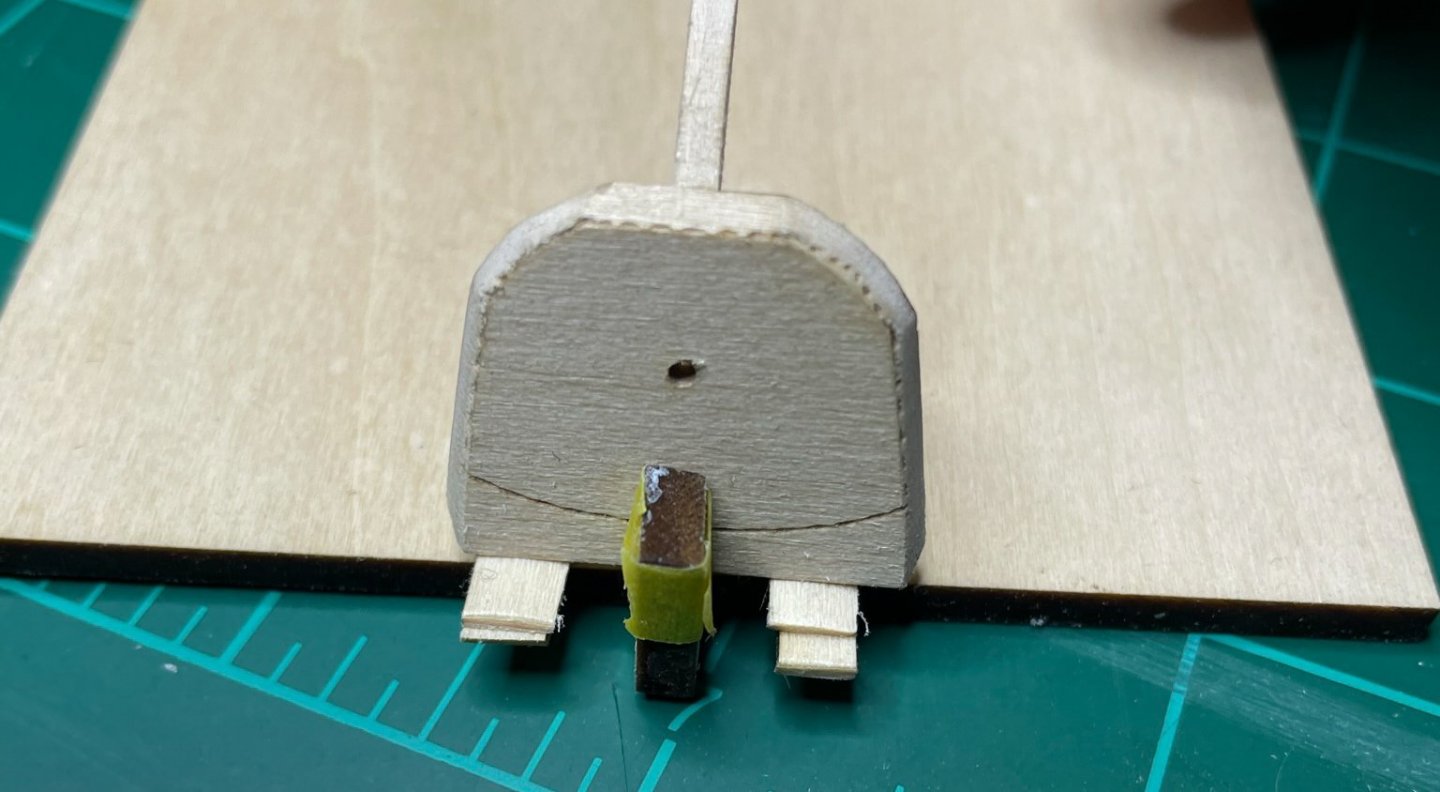
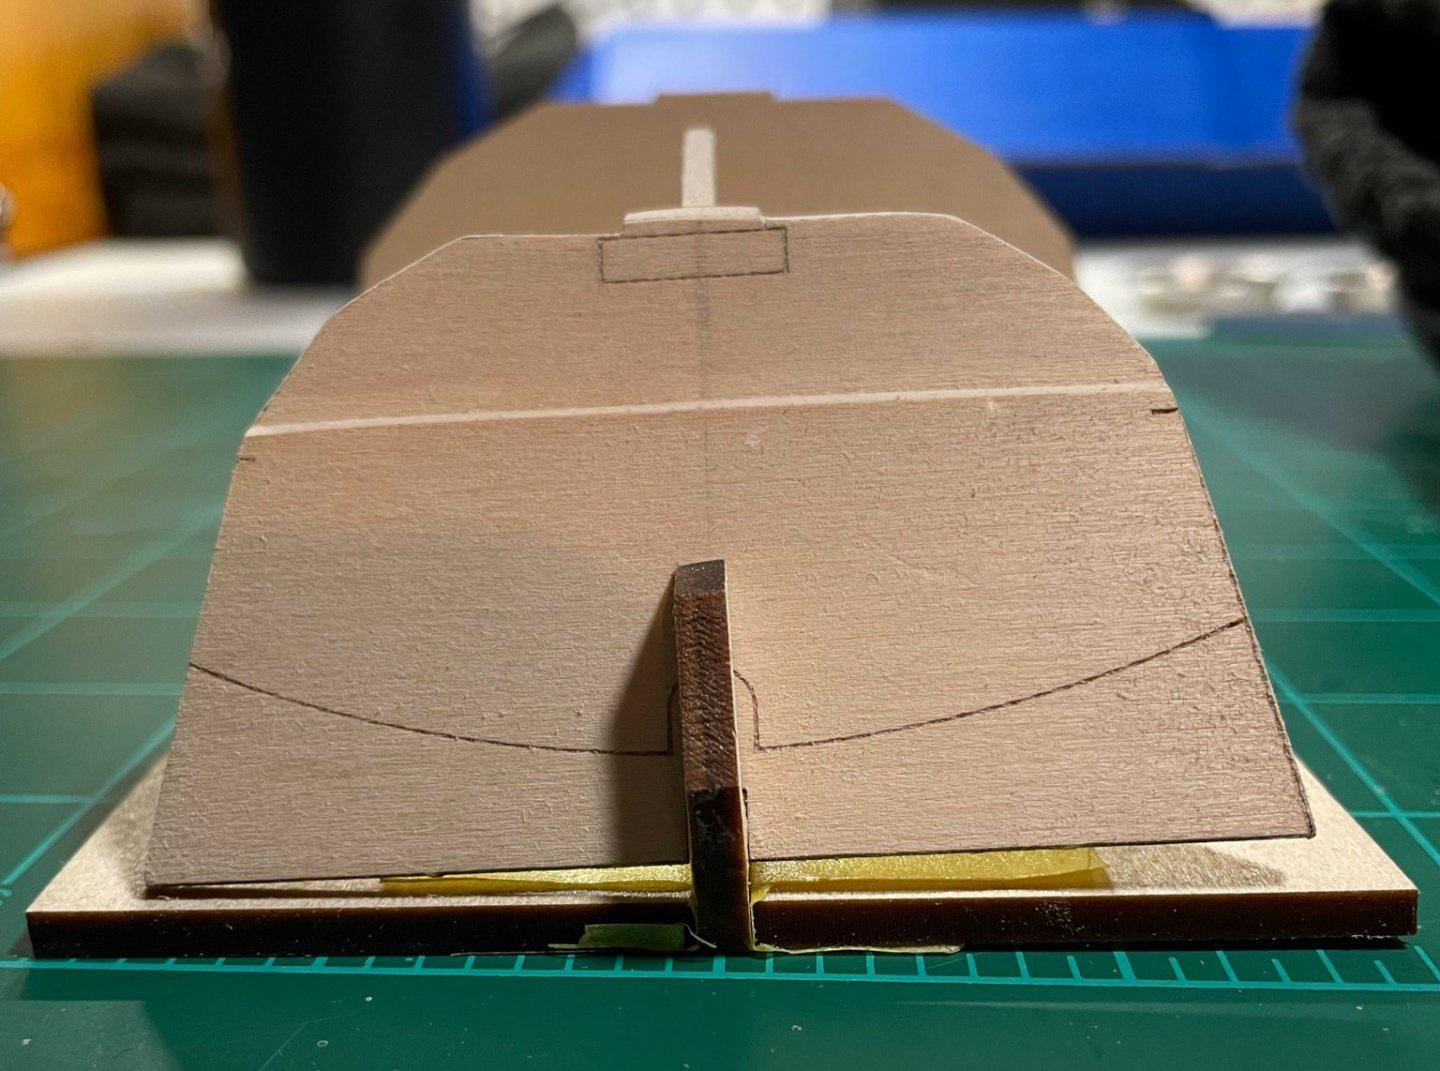
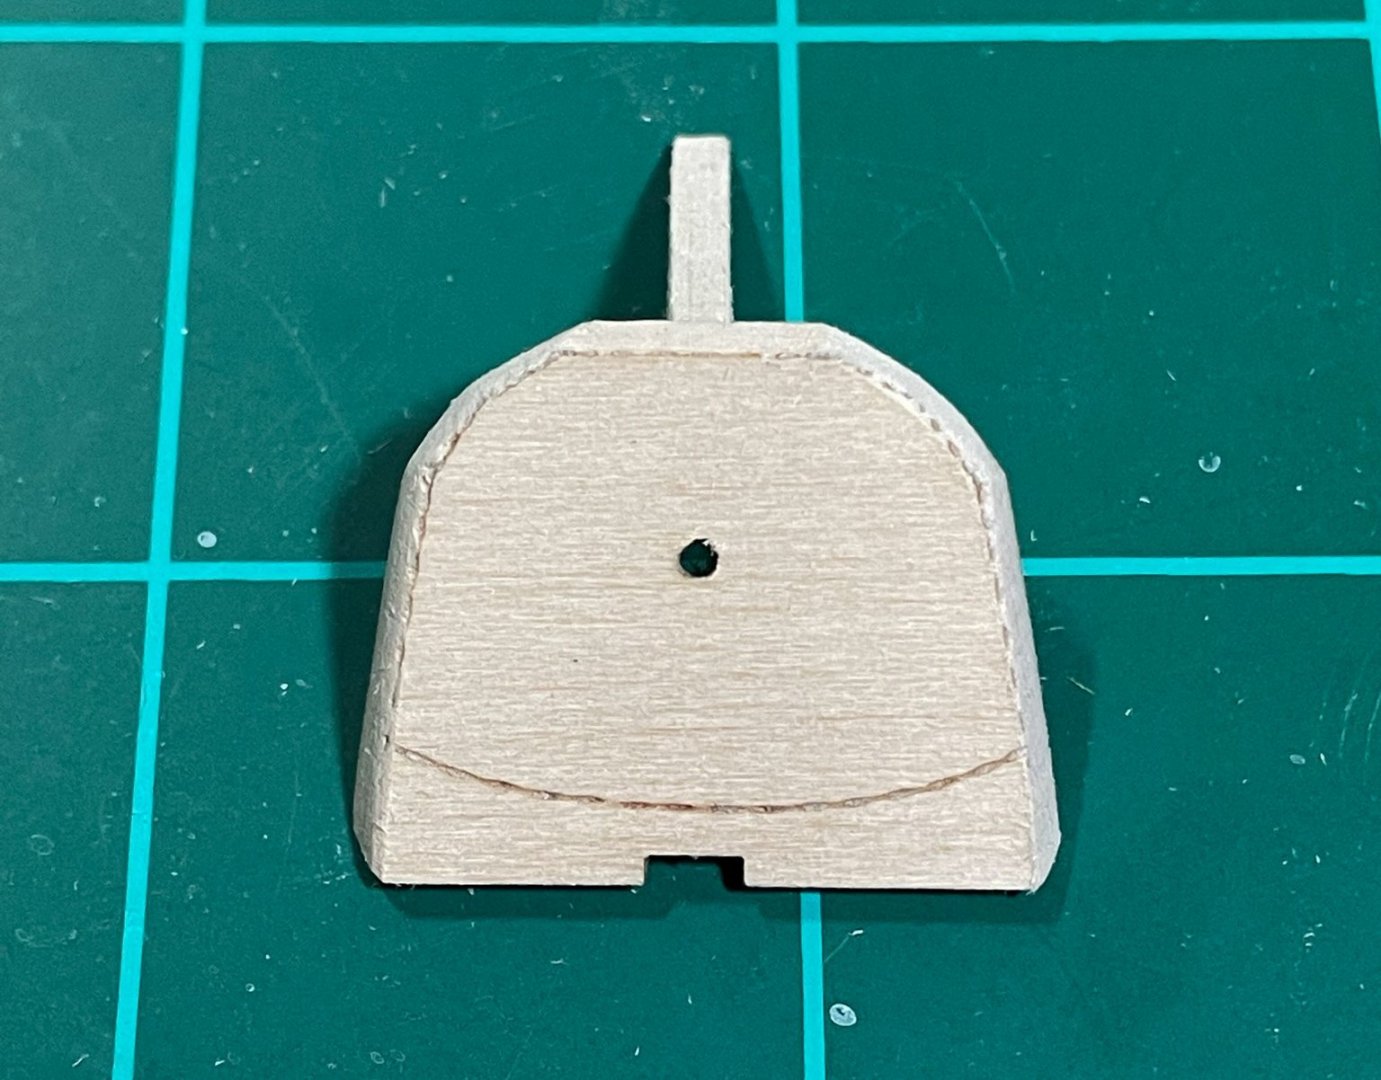
I have attached the bottom planks and the keel plank. However, not happy with the placement of the port side bottom plank or keel plank.. Not sure if the bottom plank needs to move out a bit or if the keel plank needs readjusting. The bottom planks see equal distances on when measuring the laser engraved marks on the lower transom. The laser engraved marks on the keel plank is lined up with the center line I drew on the transom. The transom holder is slightly off of 90 degrees so it appears the centerline is incorrect in the photo but I double checked it and it's true. I measured the distance from the keel laser engraved lines to the edge of the keel plank and it seems the port side (right side in photo) is about 1 mm longer than the starboard side. I'm wondering if it will truly matter in the final build. I could use wood filler and score a new line for the starboard plank at the rear to make it appear even. Thoughts?

-
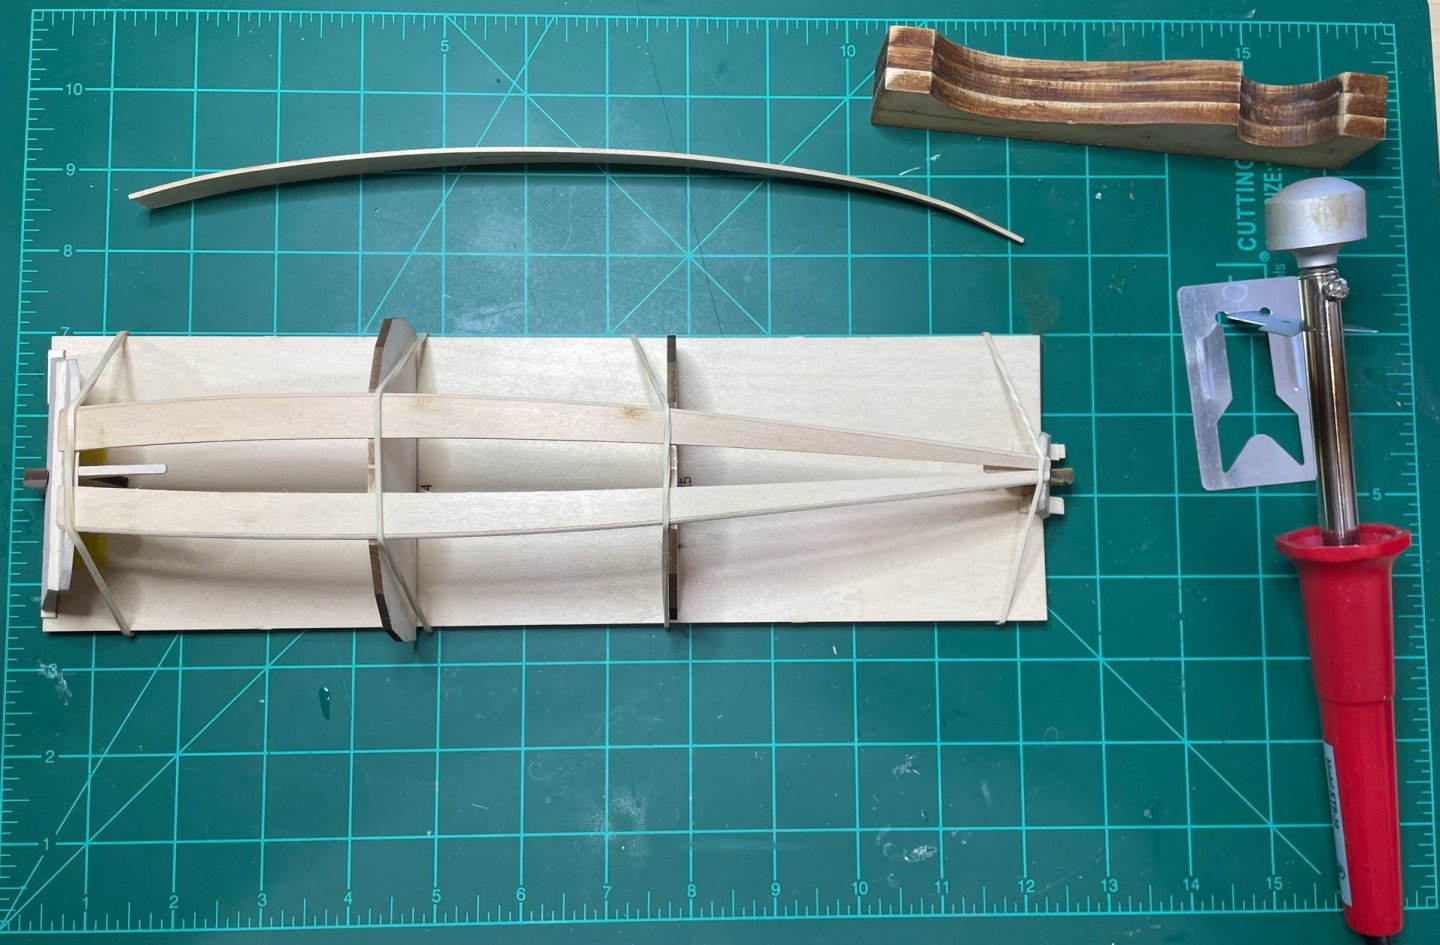
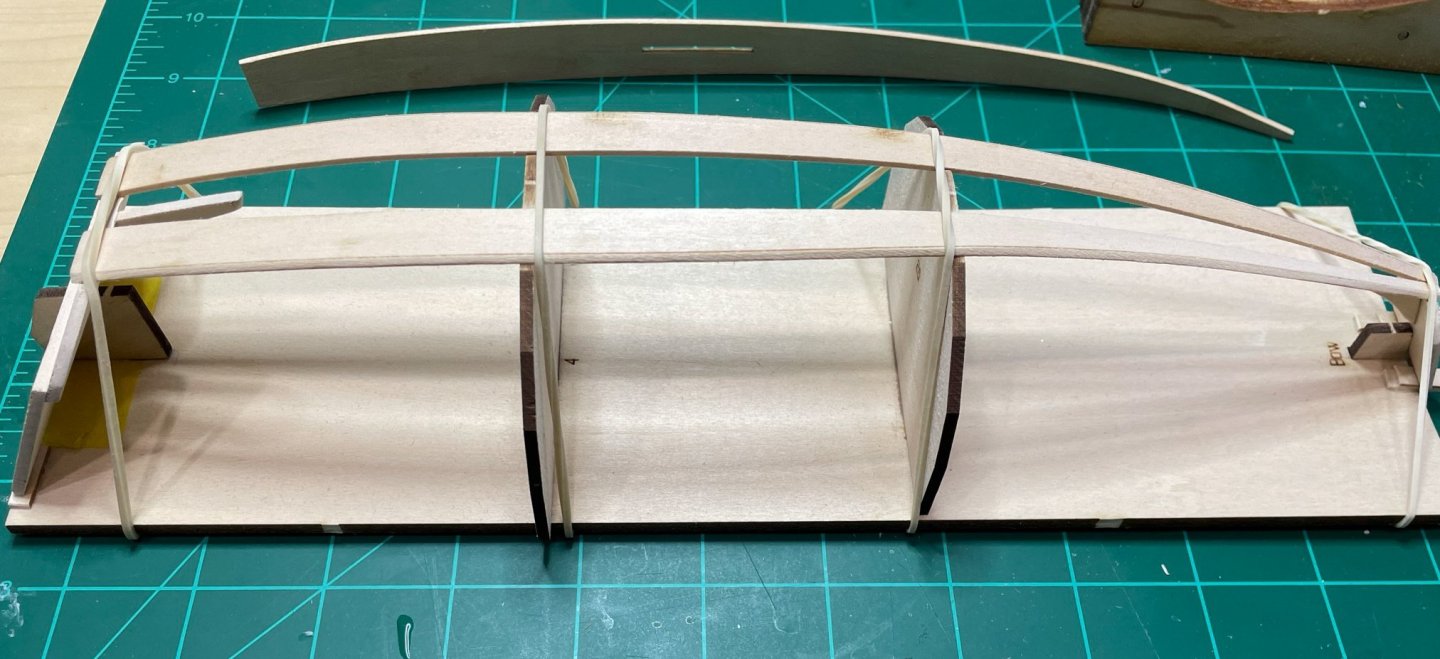
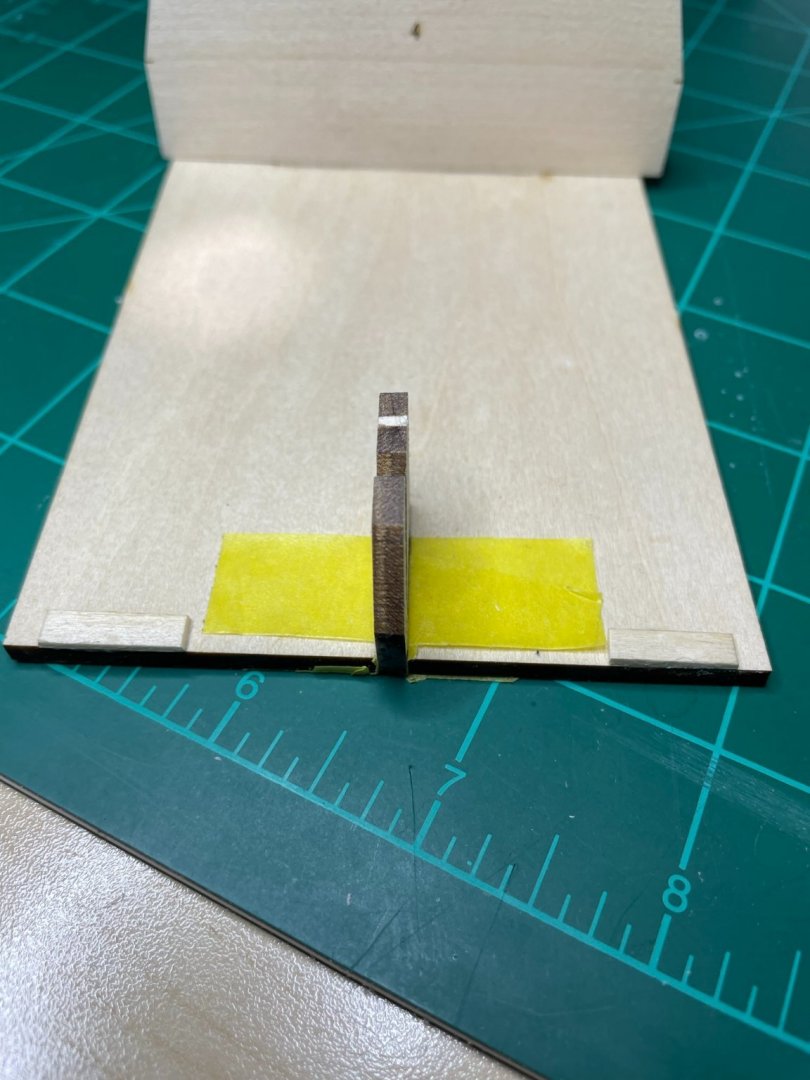
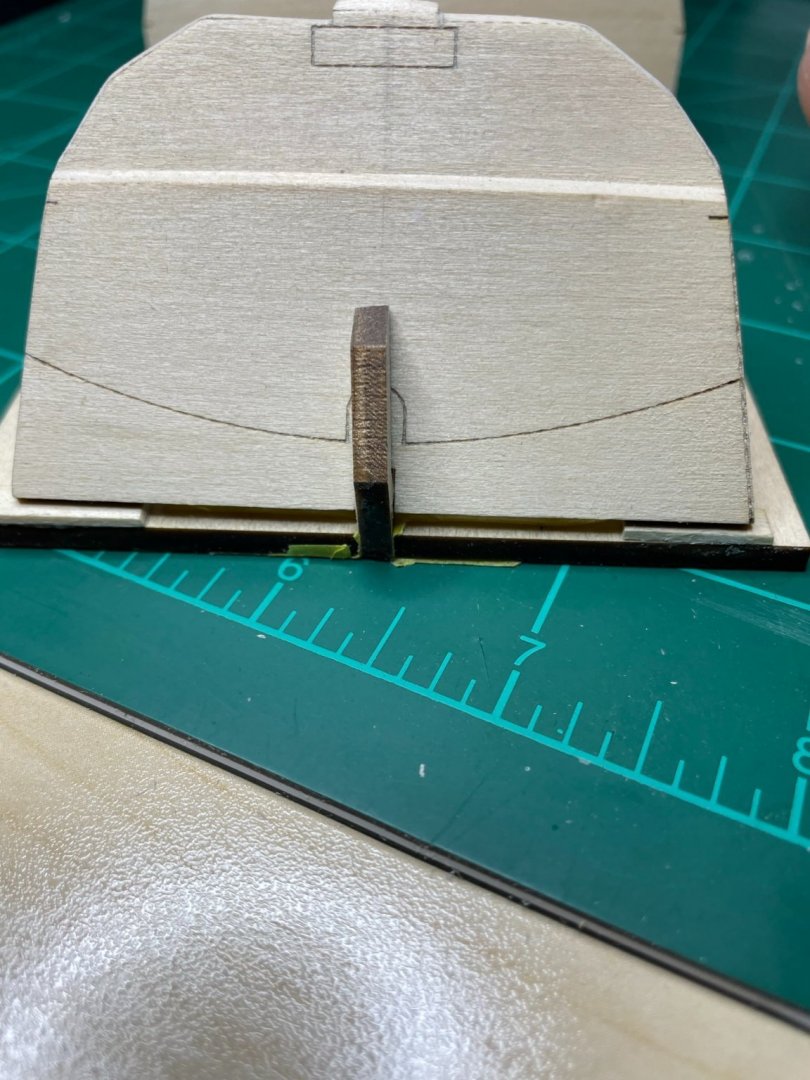
Time to start planking. First I cleaned up the char on the keel plank. I used my Model Shipways Electric Plank Bender (https://modelexpo-online.com/Model-Shipways-Electric-Plank-Bender_p_635.html) to bend the keel plank. I have previously tried using this tool and did not have good success so I read some posts in Model Ship World about using electric plank benders and realized that I had tried doing it with a dry plank. So this time, I took a small baking sheet and added some hot water. I soaked the keel plank for a few seconds and wiped off the excess water from the plank. I then used the bender form and the plank bender. The large curve on the form is too extreme so I used light pressure and only bent it slightly as I rolled the bender. I only did an inch or two at a time and dry fitted the plank to the building board to monitor my progress. Wetting the plank made a huge difference. Satisfied with the keel plank I moved onto the bottom planks. Added the bevels and cleaned the char then proceeded to bend them with the plank bender using the same process. One of them I over bent so I flipped it over on the bender form and used slight pressure with the plank bender to reduce the bend. After I finished bending both bottom planks and comparing their curves I realized I introduced a slight twist one of the planks. I I dry fit both bottom planks to the building board and used rubber bands to hold it in place. I will let this dry for a few hours or overnight and hopefully the twist should relax as they finish to dry. NOTE: The instructions do not say which way to bend the keel plank as one side has some laser etched lines. I noticed on other build logs that they bent the keel with the lines on the inside of the boat. But I think these lines are for lining up the skeg in step 12, so I bent the board with the laser etched lines on the outside of the bend. Eyeballing the keep plank I think there will be a gap between the keel plank and the stern transom as well as a gap between the keel plank and the stern transom knee. The plank/transom gap should be easy enough to fix with wood filler. Not sure what to do with the plank/knee gap. I could try wood filler or a scarp piece of 3/32" to fill the gap. Or I could ignore it as it will likely not be visible on the completed model after the rear thwarts are installed. I'll have to ponder my options once I have the bottom planks glued in.
-
I repeated the process at the bow and added some 3/32" scrap. However, I had to add a second piece due to the fact that I beveled the top edge of the bow transom. I test fitted the spare bow transom without the bevel and the 3/32" scrap would have been a perfect fit similar to the stern. The second piece on the bow transom support I had to sand down to get a perfect fit.
-
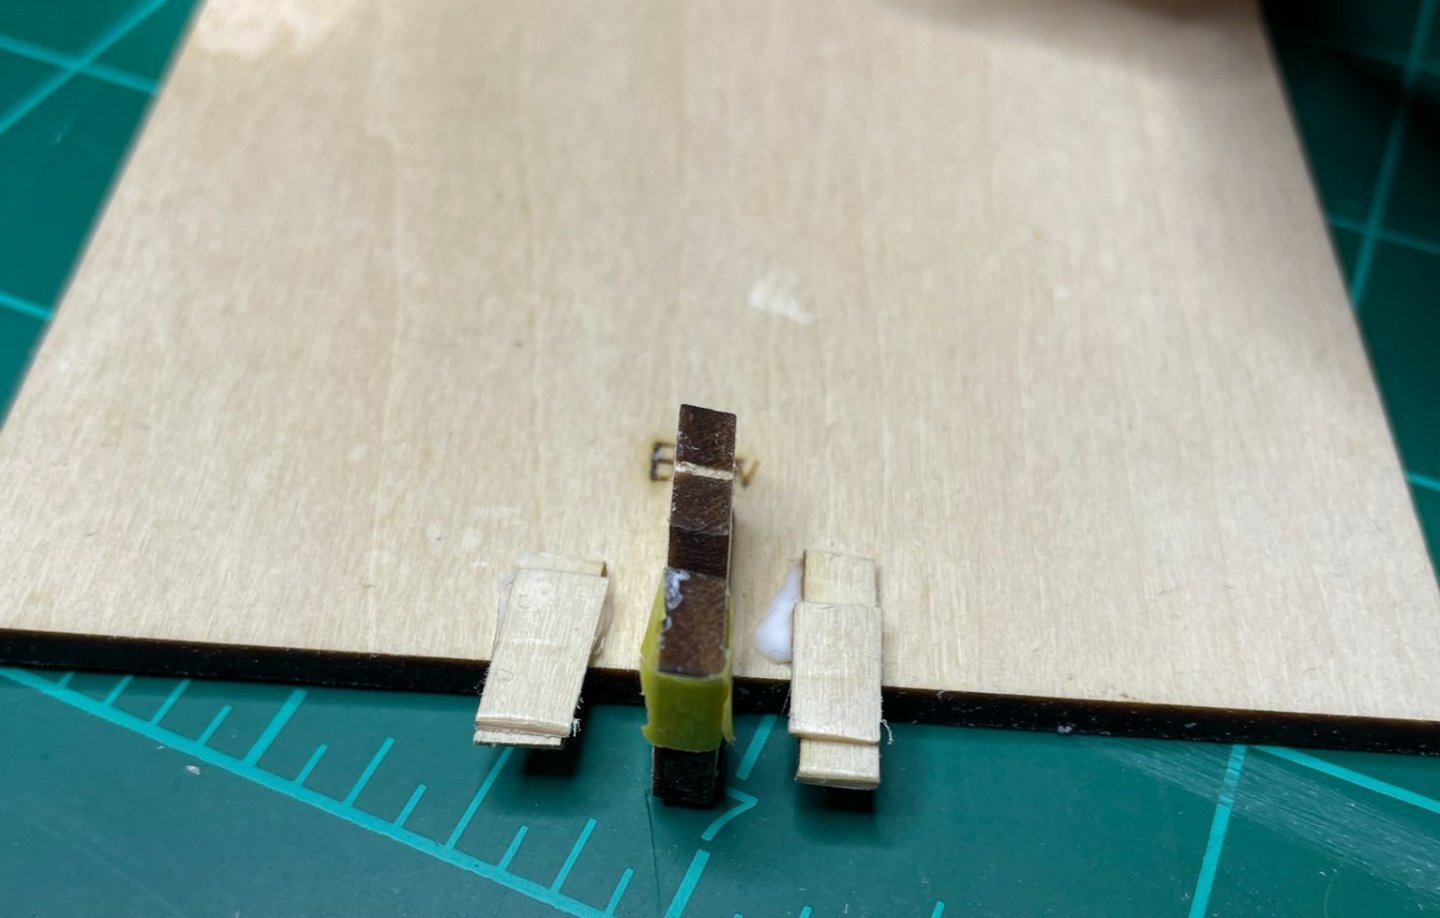
Taking Ryland's advice, I took some of the part tree from the 3/32" plank sheets and glued to the baseboard. Ended up being a perfect fit for the spacing at the stern.
-
I was thinking it should be flush too but noticed the bow transom is also above the baseboard by about 1/4 inch. I will have to find someway to get it parallel and aligned correctly.
-
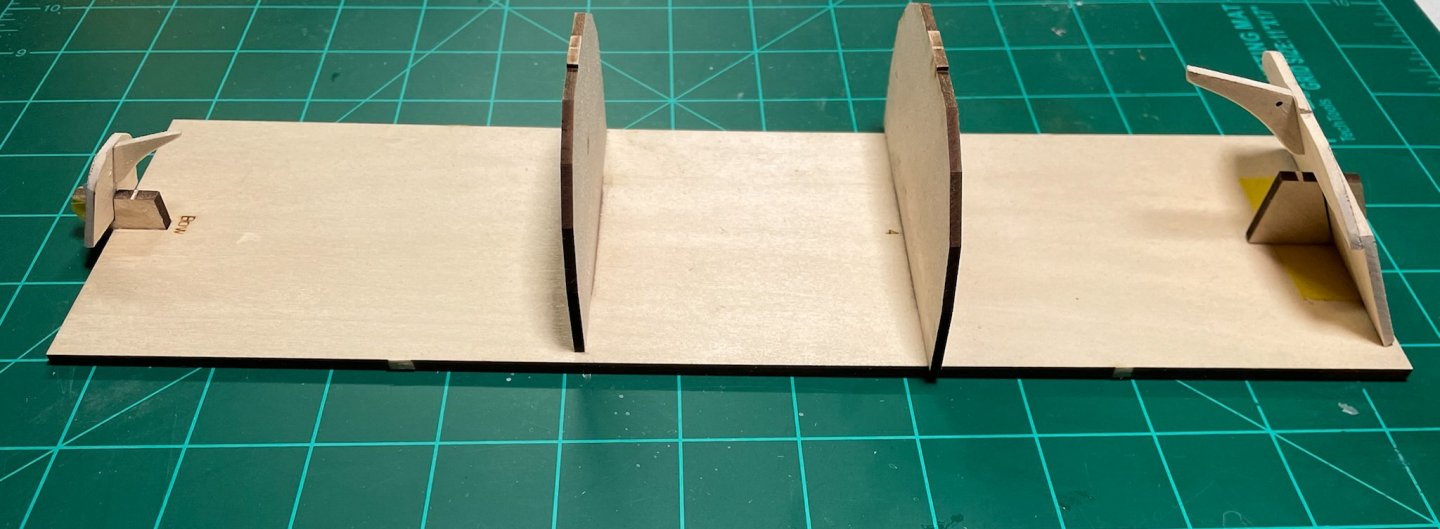
Step 5 Building Board. I had to use a file to clean up the slot for the two molds to fit. Make sure these molds are flush with the building board. The stern transom supporter was very loose in the slot so I added some painters tape to snug it up. I had to do this also to the slot that holds the bow transom. Like others, I broke a piece on the stern transom supporter but repaired it with CA glue and all is good. A couple other things, the instructions say no need to remove the char on the molds but I did take a light sanding to the nubs where the molds were attached to the tree so there is no impact of those during planking. Also, when the molds are flush with the building board, the molds extend beyond the bottom of the building board so I sanded them down level. After all was done, I noticed the stern transom doesn't sit level in the supporter so I will have to keep this in mind and adjust when I start planking. That's it for today. I will be on a business trip for the next week but will be on a long stay-cation for Christmas so looking forward to lots of time on the Pram.
-
Step 1 - 4 (Bow and Stern Transoms) Complete.
-
Step 4 On the part where is says to use a razor saw to make angled cuts was hard to make out. So after zooming in on the online PDF, I realized what they want you to do is to create cuts at the same angle as the bevel you will put on it. This gives you a nice clean edge on the notch. Also, it says to bevel all edges except the outer most. Then realized it is so you can bevel the outer edge of both upper and lowers together.
-
Step 3 Straight forward enough. However when drilling the #55 hole through the transom knee a little splintering happened. If doing it again, I might have put some masking tape on the backside (on the knee) or started with a smaller bit. I'll see how obvious it is later and add some wood filler if I feel it's noticeable.

-
The instruction for step 2 were a little confusing. I misunderstood on the first paragraph of page 8 and beveled the edge of the bow transom. There is another bow transom in the kit but I know it will eventually get cut off so I just went with it. I was also confused about how you're supposed to turn the transom so that the bevel marks are facing away from you but the image shows the opposite. After reviewing the plans for the pram and looking at it closely, I realized that the photo was correct and proceeded.
-
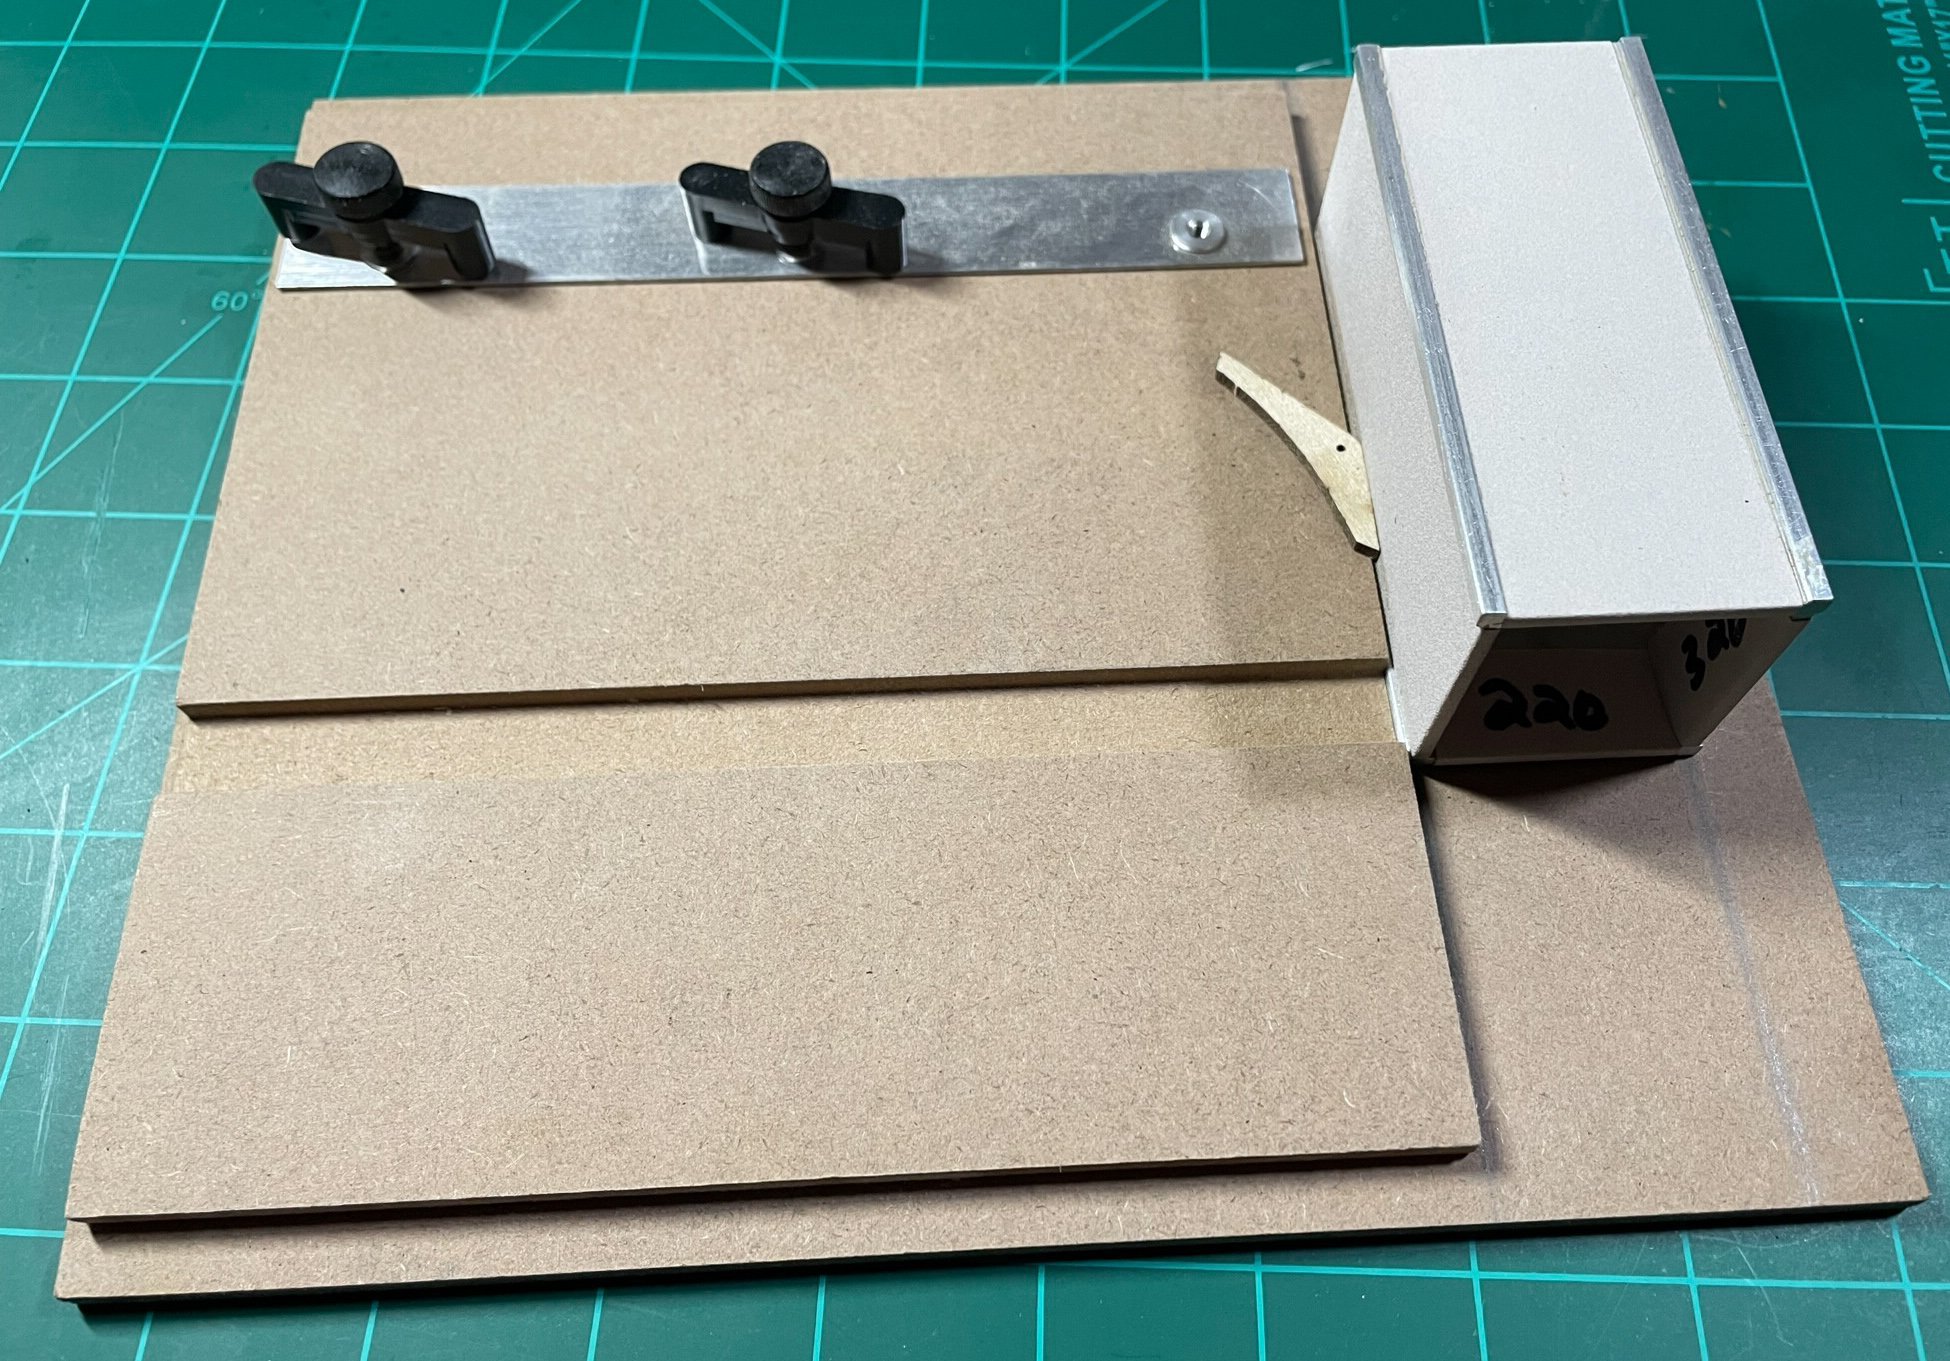
On to the build. Step 1 is pretty straight forward. Remove the char, keep the edge straight. Instruction recommend using a set square to help with this. I thought I'd try using rubber cement to add a piece of sandpaper to the set square. This however did not work very well. So I pulled out my Sand-It from MicroMark that I purchased for the 18th Century Longboat build. https://www.micromark.com/Sand-It?gclid=CjwKCAiAtdGNBhAmEiwAWxGcUipEc9eXAmECR2RgDjJczoF0_eh6jYF80BKRO4qAEeyQbXio-2BY8xoCUmIQAvD_BwE Worked much better.