HOLIDAY DONATION DRIVE - SUPPORT MSW - DO YOUR PART TO KEEP THIS GREAT FORUM GOING! (Only 13 donations so far - C'mon guys!)
×


henryjames
-
Posts
44 -
Joined
-
Last visited
Content Type
Profiles
Forums
Gallery
Events
Everything posted by henryjames
-
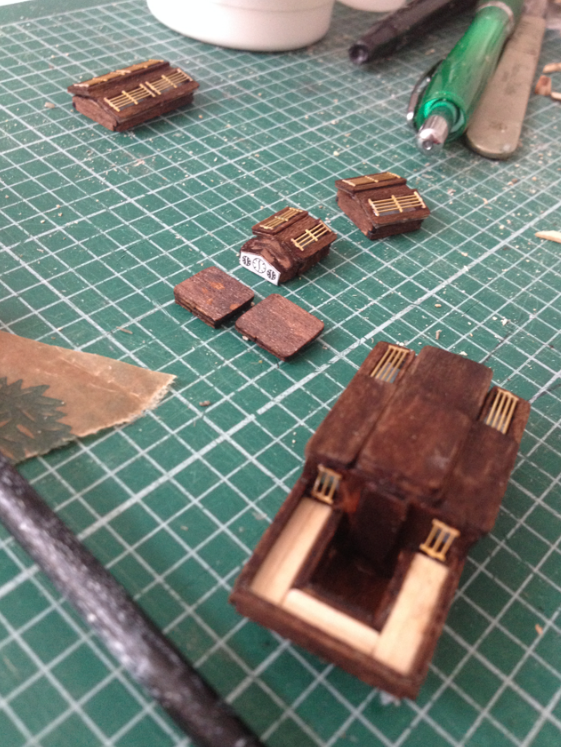
 I didn;t have the right primer and paint, so made the deck furniture too:
 -
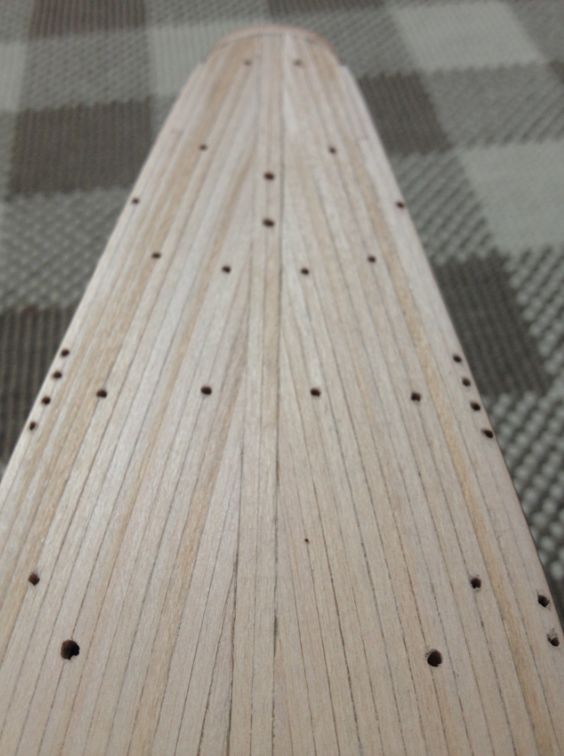
I also predrilled all hole with deck furniture as advised in teh instructions, hence the holes!
- 54 replies
-
- 1
-

-
- americas cup
- endeavour
- (and 3 more)
-
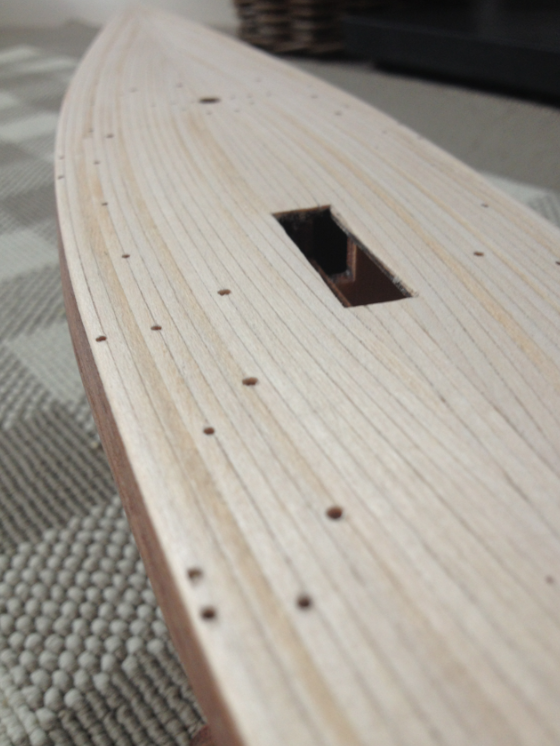
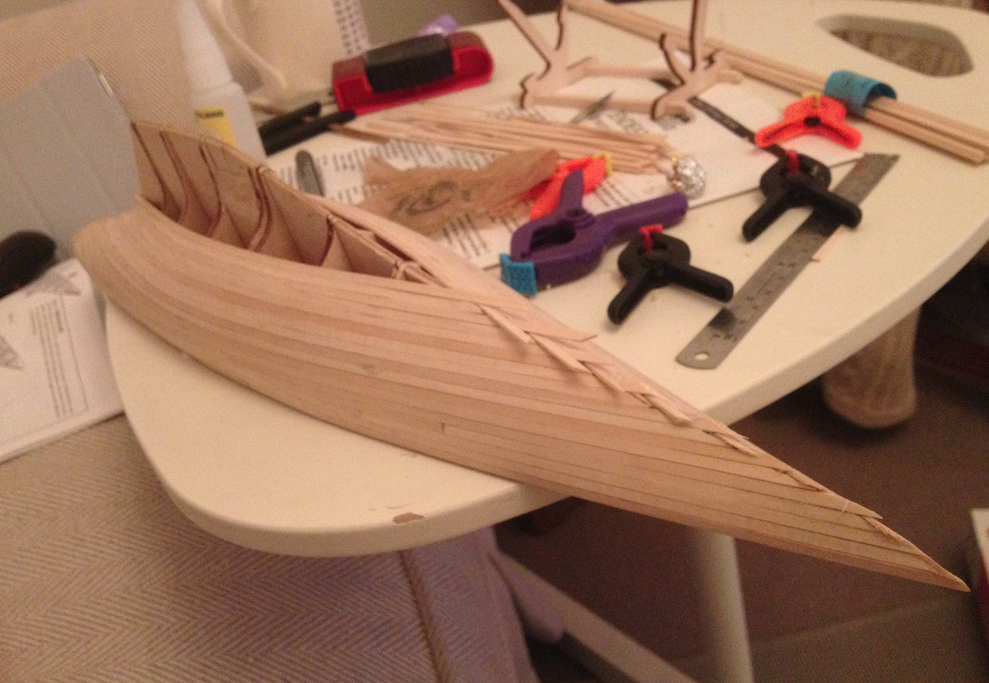
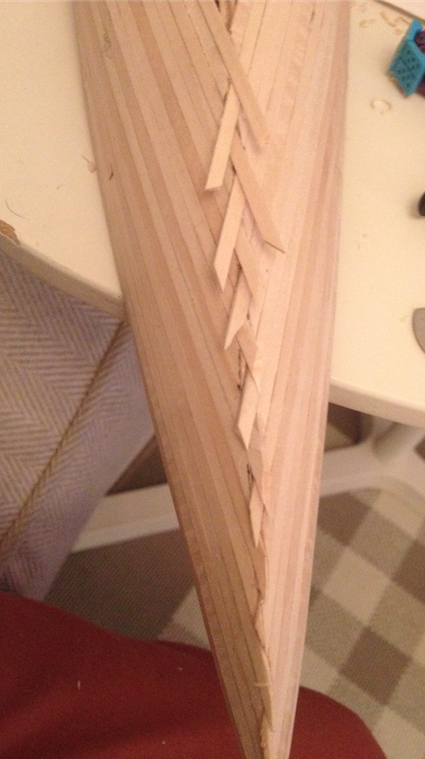
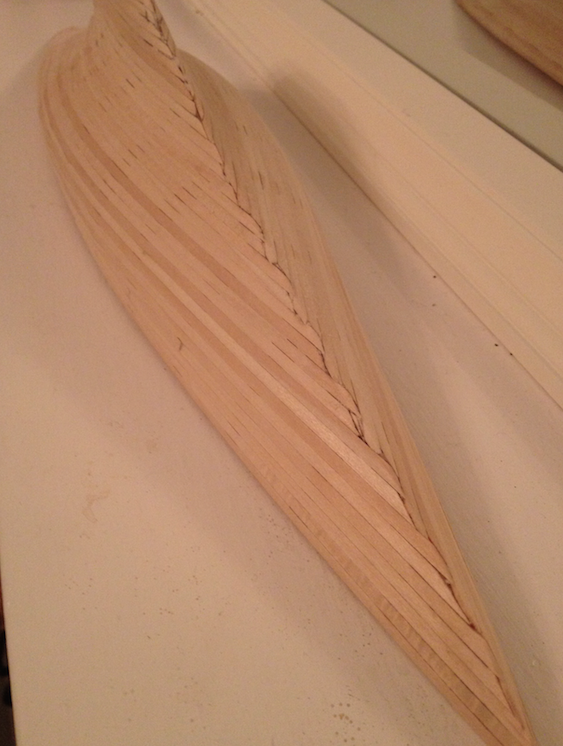
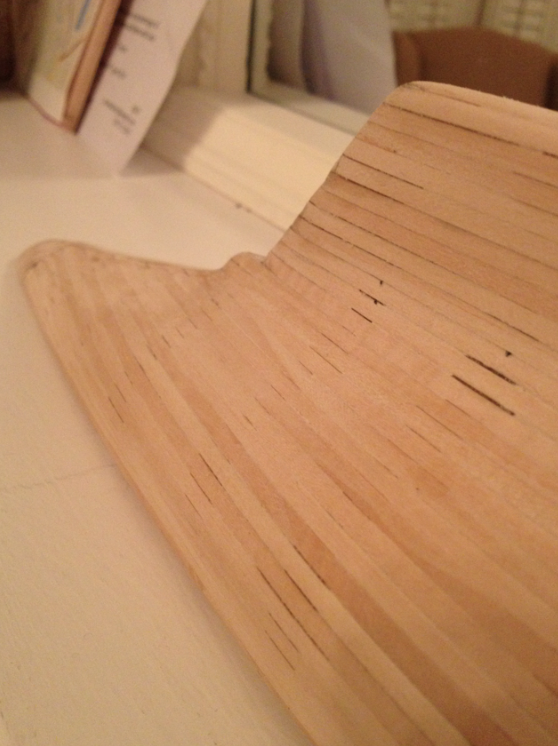
following this, was planking the deck, unlike LMDAVE I went old scholl and kept it all one colour, quite tricky to do actually and super time consuming, as each plank neede individually holding, pretty much by hand using the aliphatic to make sure there were no unsightly gaps. Pleased with the result, and even better, no need for wood filler!
-
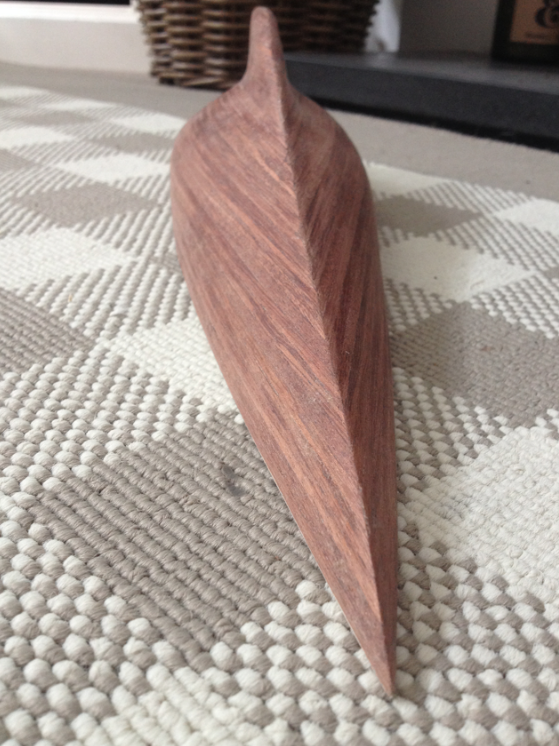
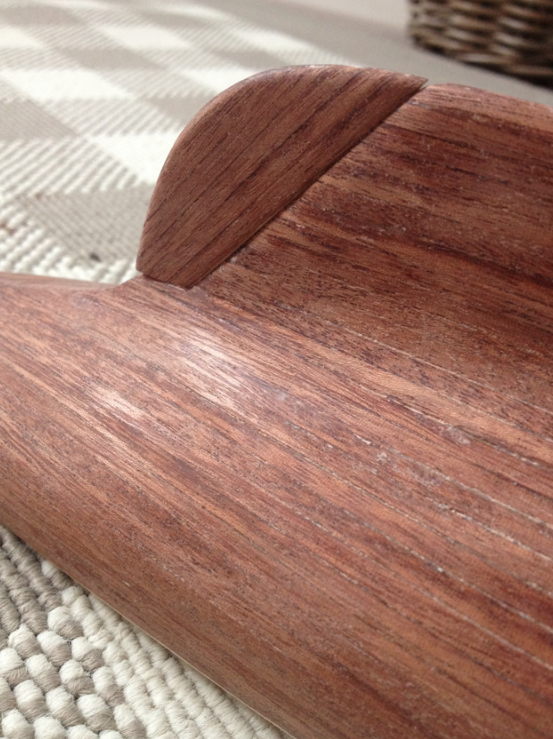
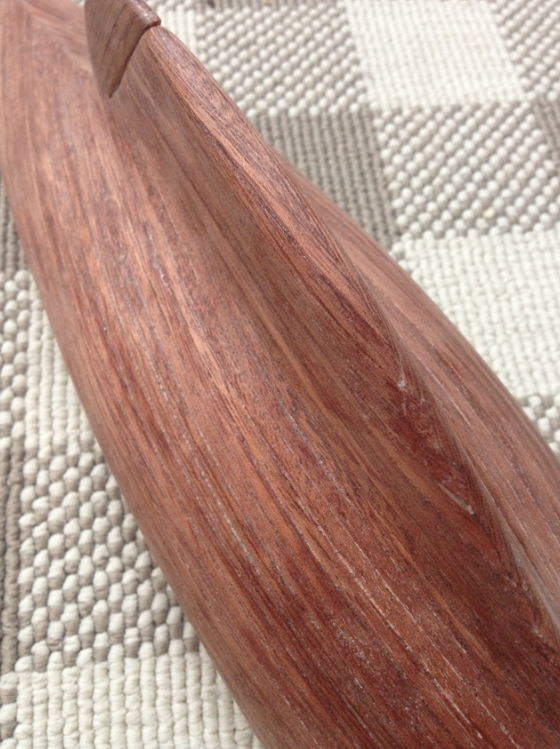
Then came the second planking, all went well, but that walnut at 0.5mm is very fragile,
-
Right, so like buses you wait for a post and two come along. teh build went on hold for a while as it was summer, etc, but now its full steam ahead, finished teh first planking, then jumped straight onto the second
-
sorted the paint through cornwall model shop planking here we come, am planning on using a med viscosity CA glue, as using wood glue and nails seems like a real pain and likely woudl take ages, I have found a good thread here: http://shipmodeling.net/photopost/showgallery.php?cat=668&ppuser= about using CA glue for planking then just squirting in some wood glue into the cavity before sealing up the plank. I plan on starting at the deck line and working my way down, luckily the curvature of the hull isn;t too crazy so bending shoudl be straightforward ish any tips before I dive in!?
-
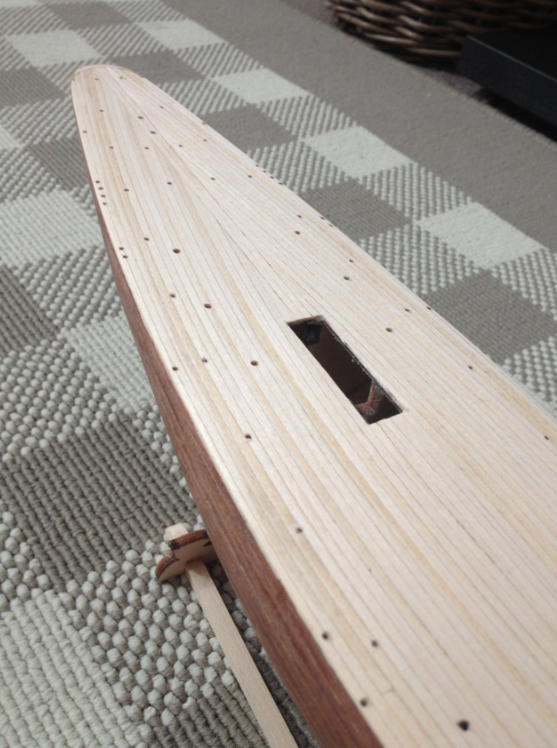
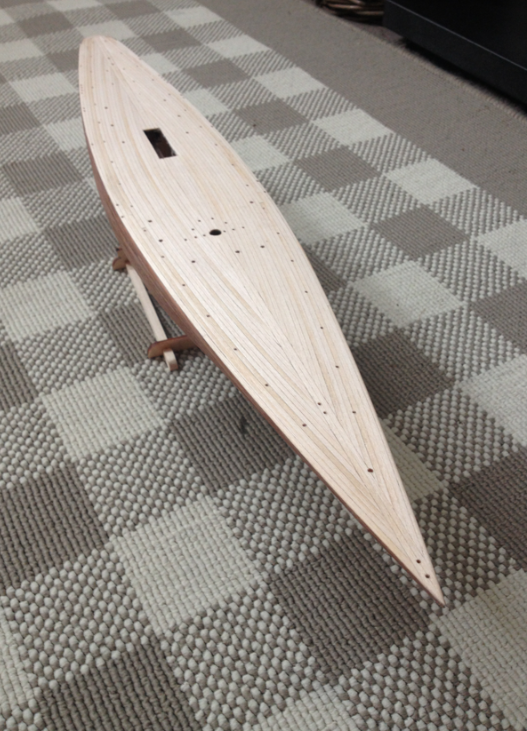
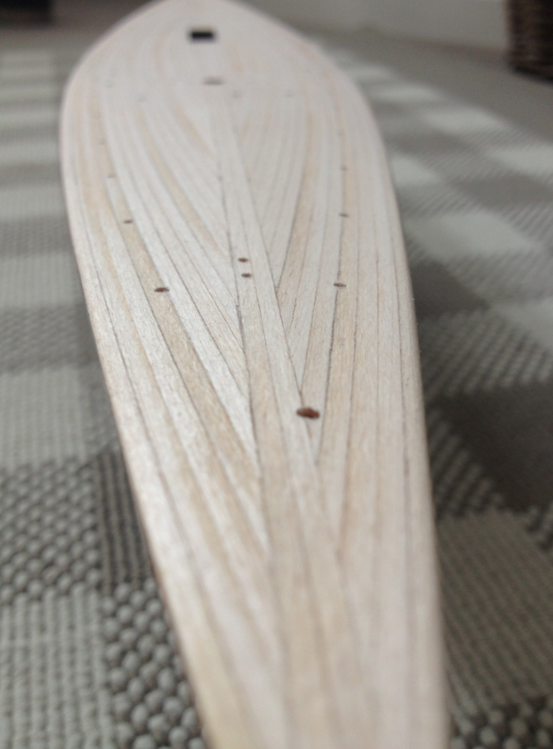
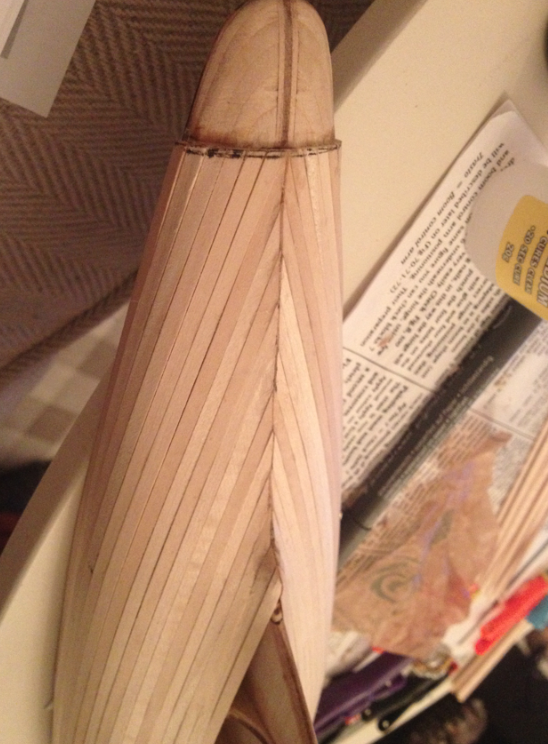
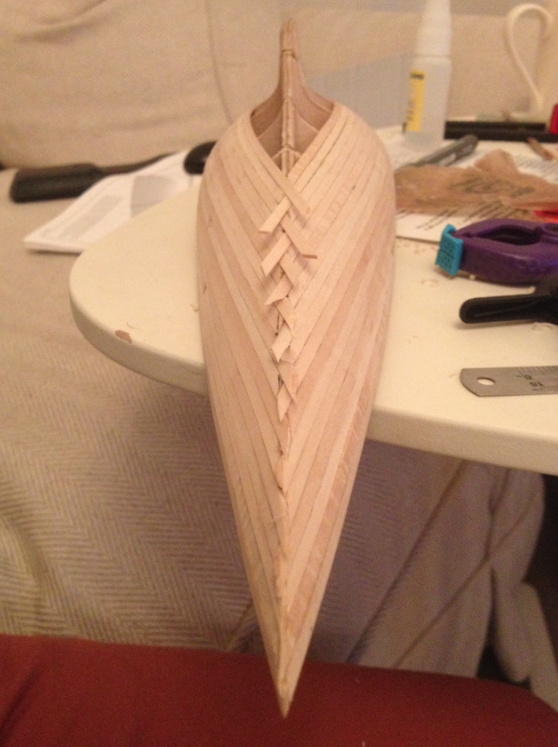
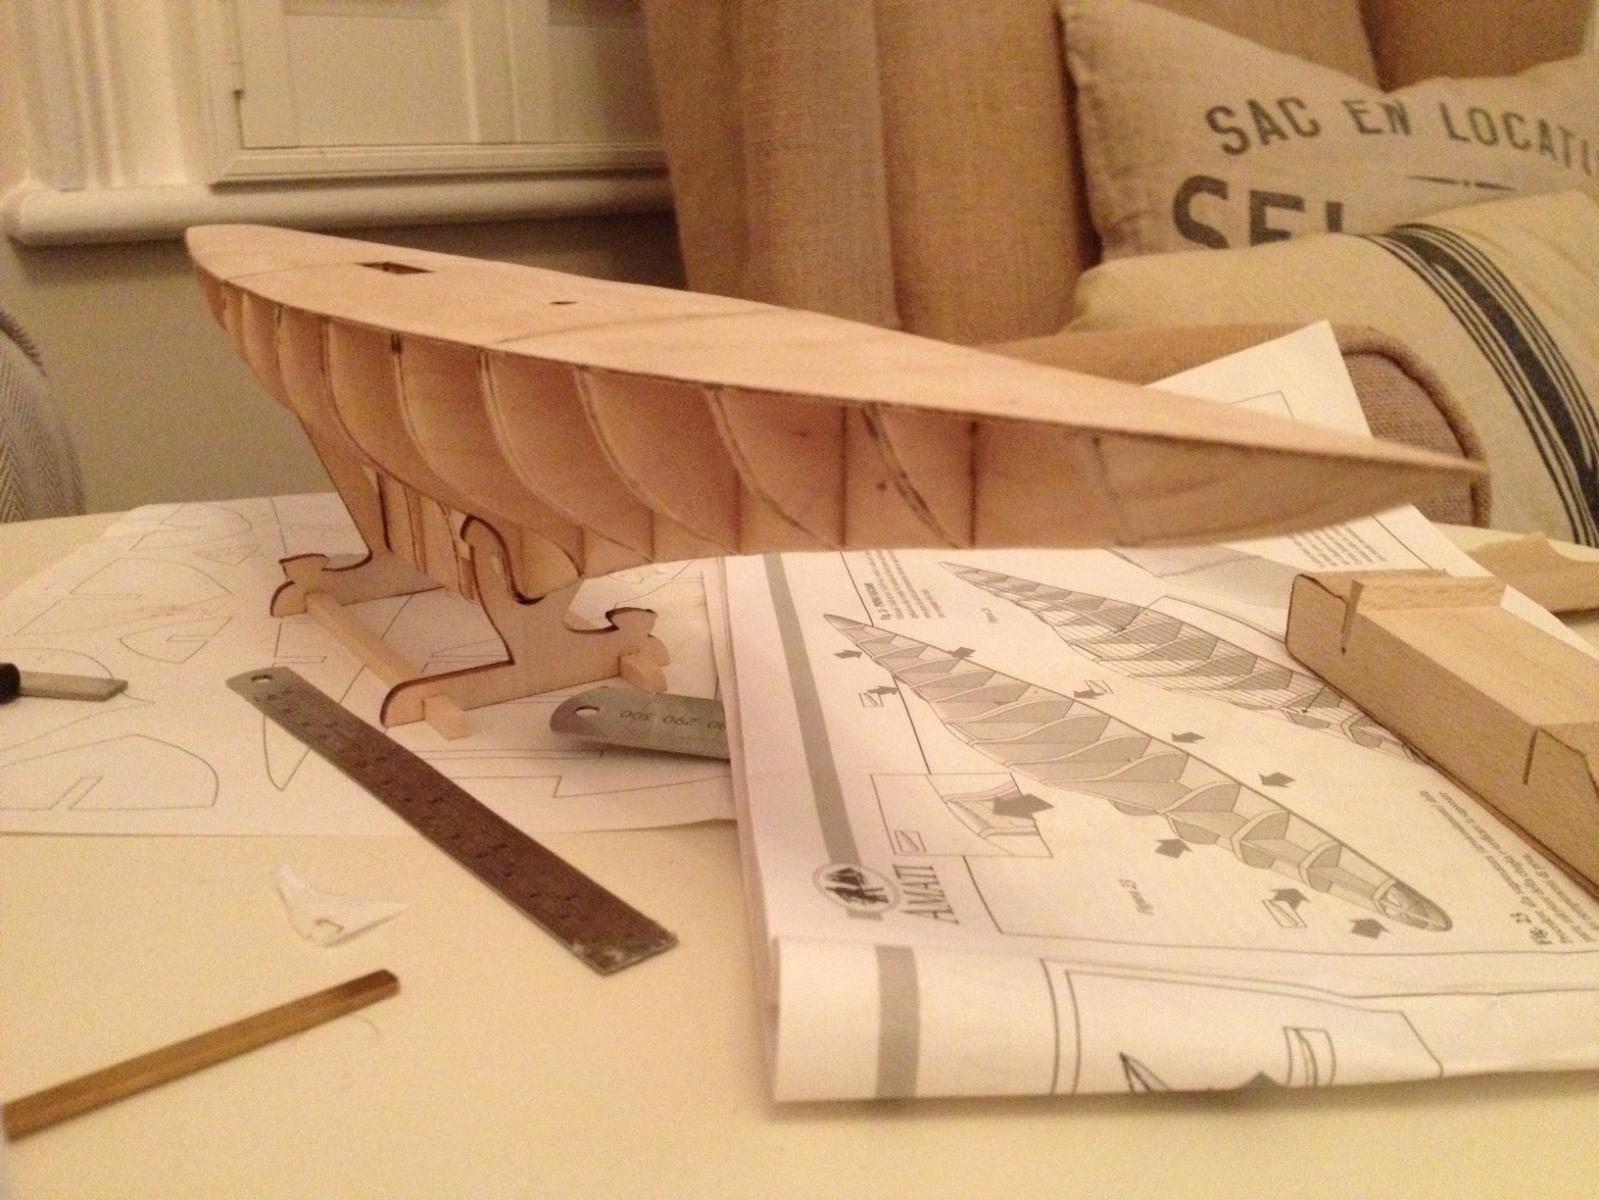
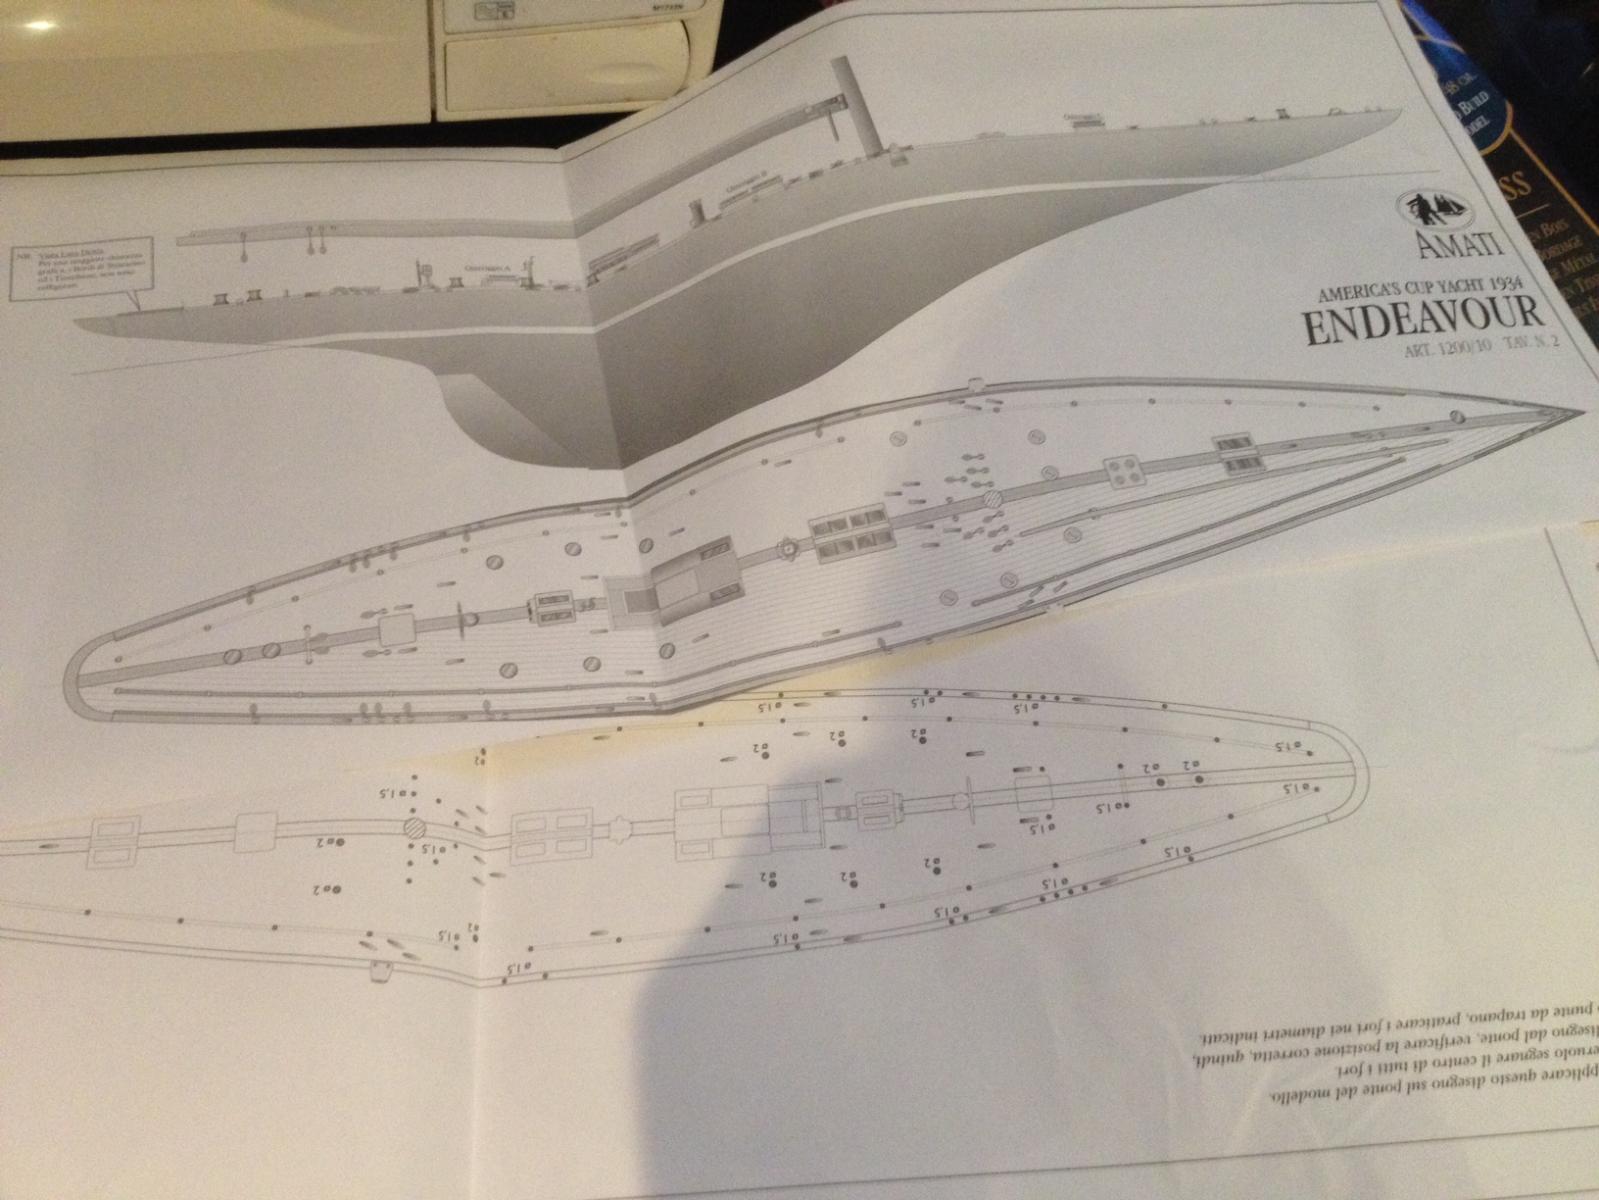
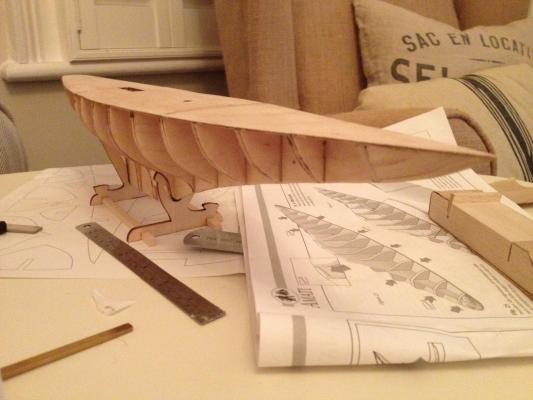
well, arn't we all very chatty... Here's my next photo batch, you can see the sanded bow and stern blocks and all the spacers are now sanded at an angle to ensure planking bonds well. The faux deck is glued on, and the provided stand has been constructed, up next planking! I won't bother uploading many more posts as it seems very few people are following this one, unless I'm proved otherwise

- 54 replies
-
- 5
-
-
- americas cup
- endeavour
- (and 3 more)
-
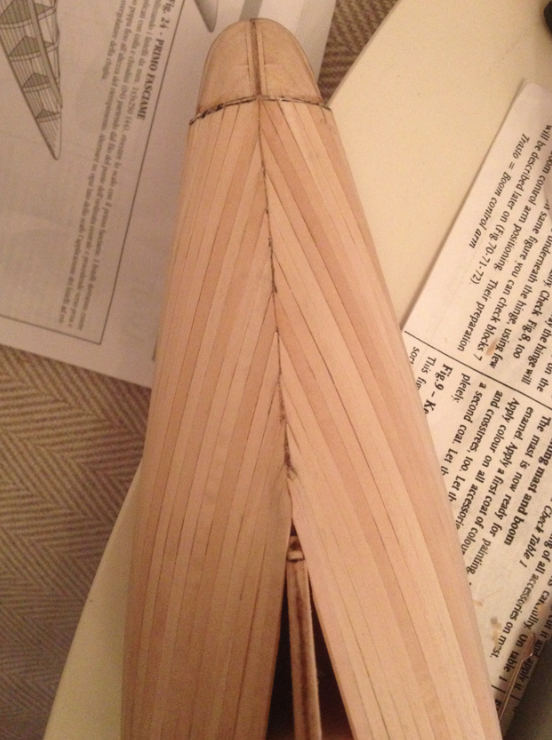
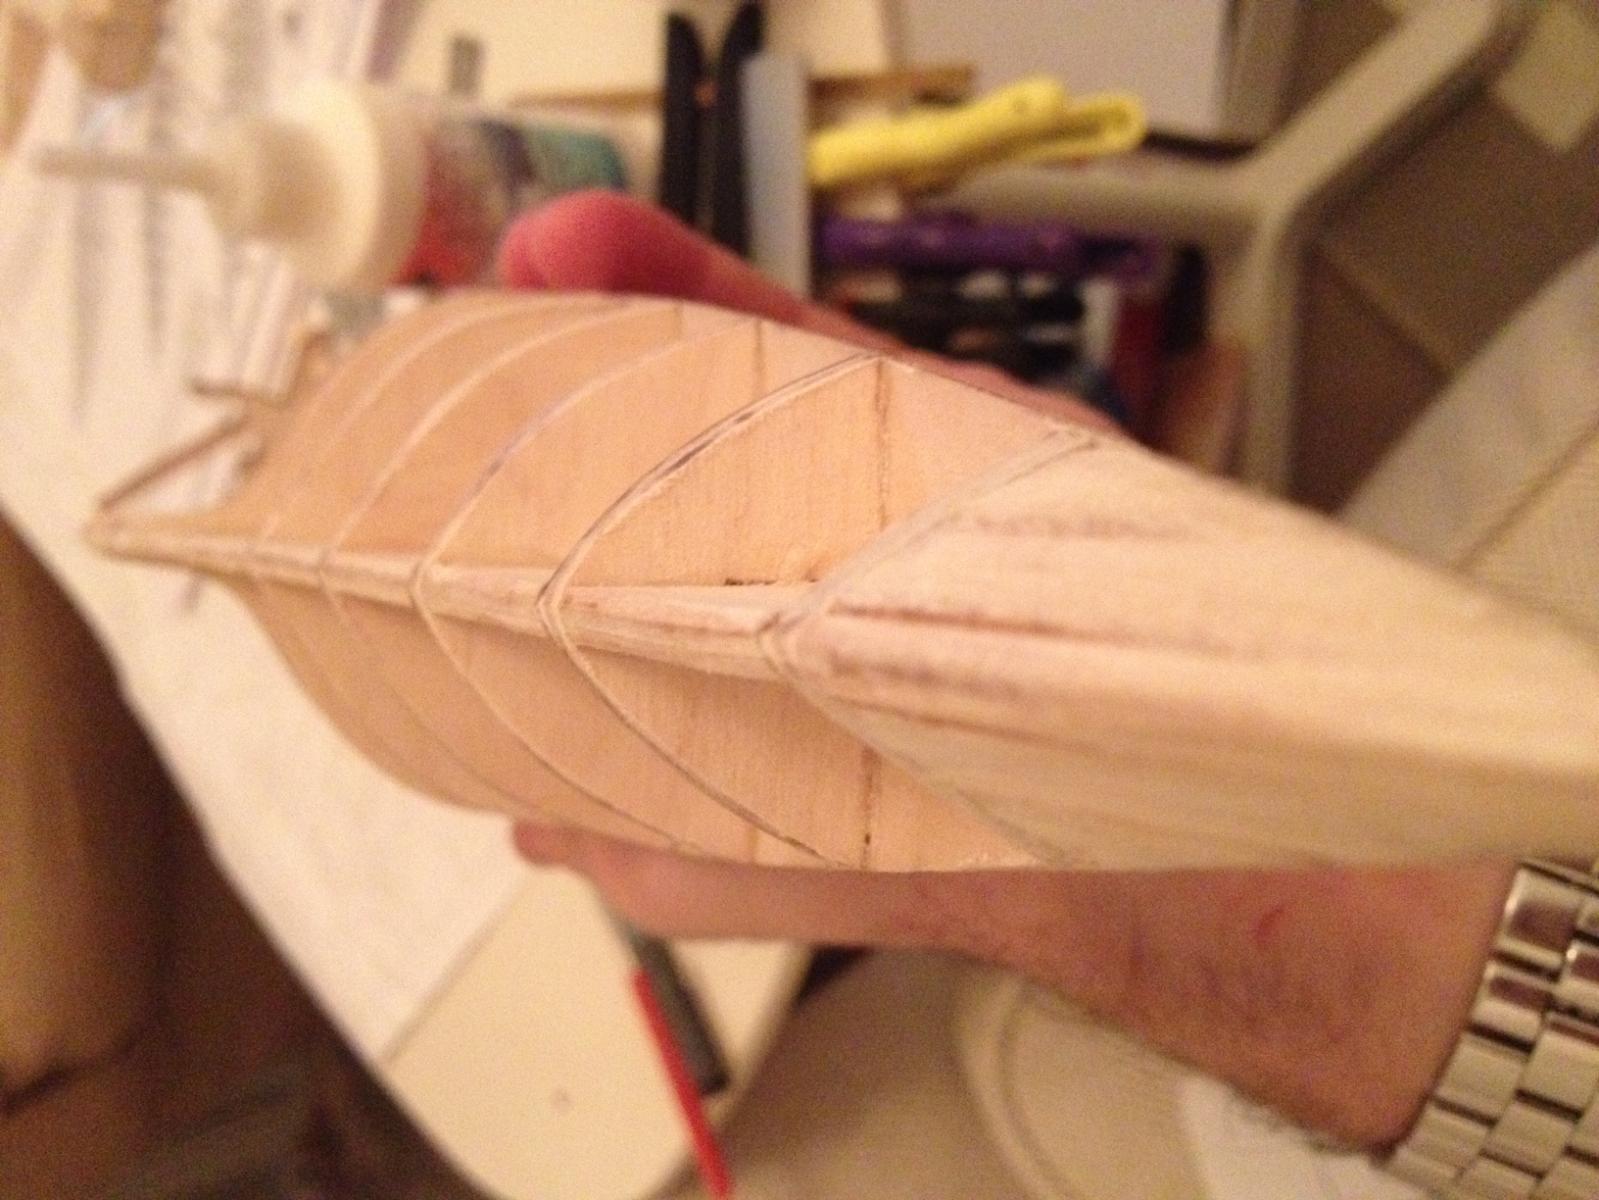
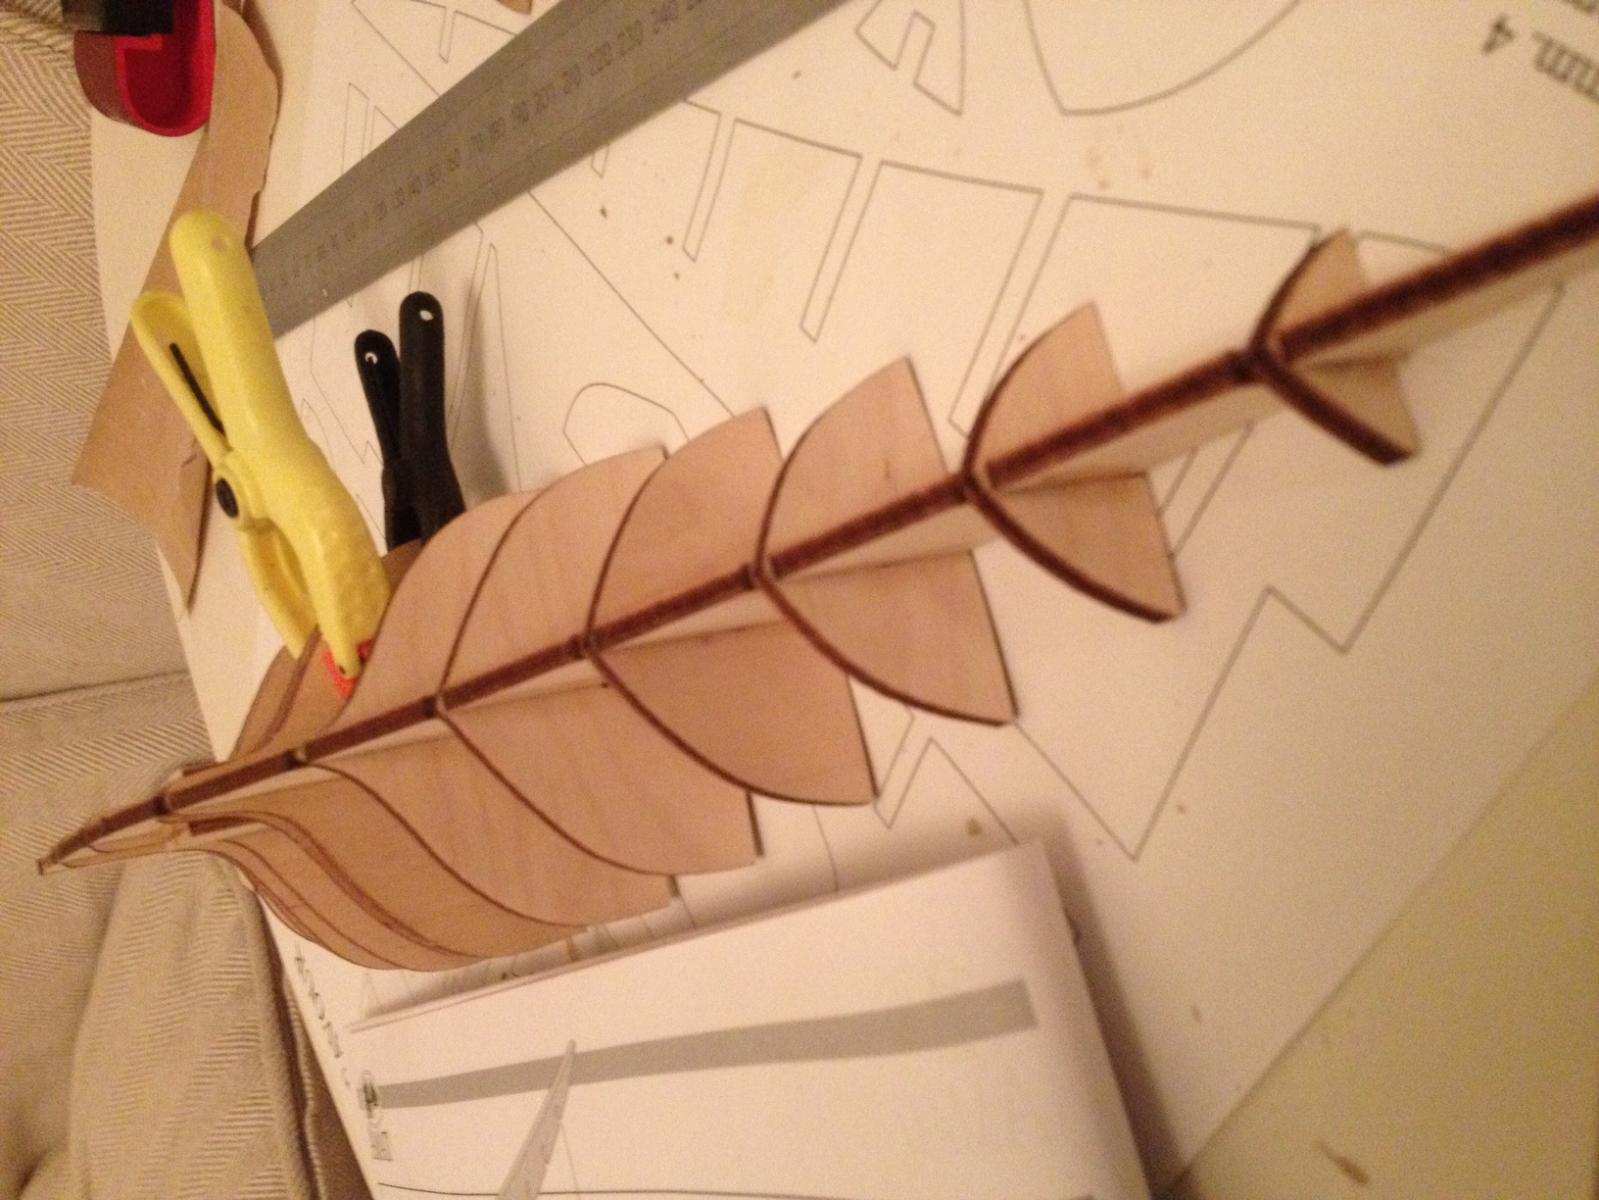
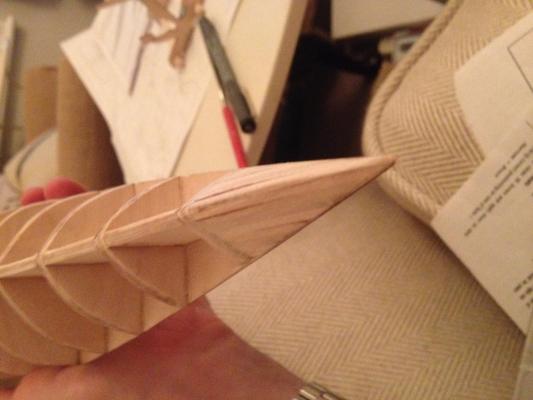
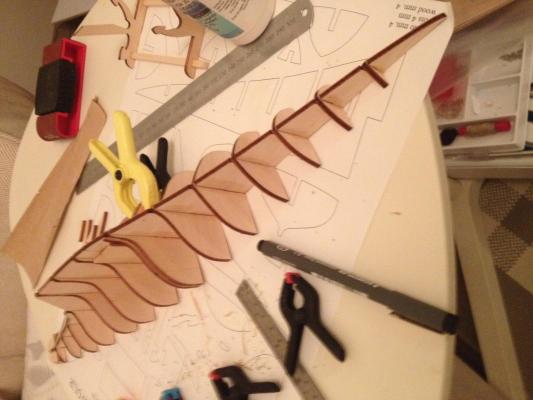
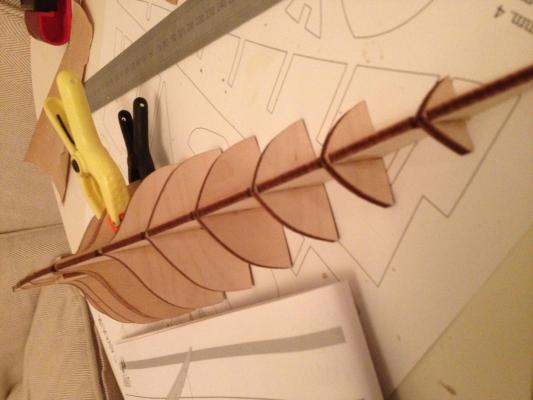
Update number 2, boom done, mast done, The kit comes with a rather handy ship mount which is pretty useful onto the hull, central hull line support glued ensuring its super straight (apologies the name escapes me!) horizontal spacers now all glued in, the curvature of the hull is quite extreem in some places, so planking looks like it will be quite a task! next step is to sort the bow and stern blocks, and sand them like crazy! I have to paint the mast and boom with 'matt white enamel' paint, does anyone have any recomendations on where to get this from? In addition anyone any clue what colour to paint the top half of teh hull (I'm jumpng the gun here but thought I'd get a jump start! also the provided sails are printed on, does anyone have any thoughts on these (is it better to buy new blank linen/cloth and make new ones?)

- 54 replies
-
- 3
-
-
- americas cup
- endeavour
- (and 3 more)
-
at last, figured out how to work this infernal upload tool!


- 54 replies
-
- 1
-
-
- americas cup
- endeavour
- (and 3 more)
-
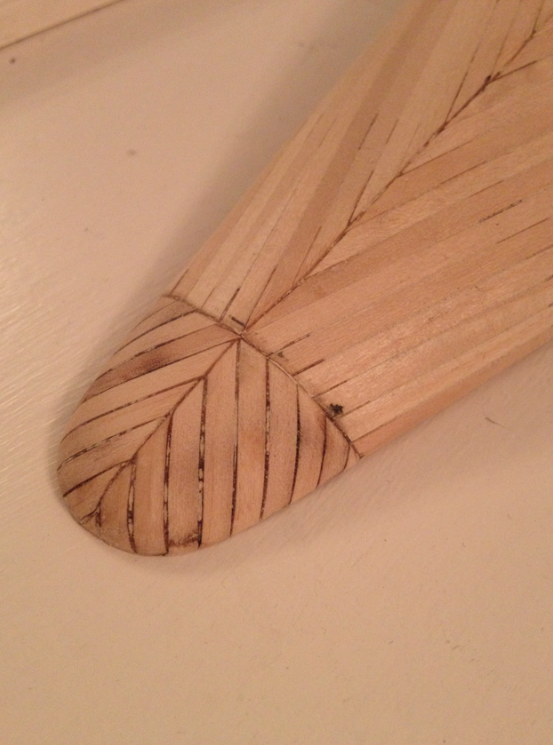
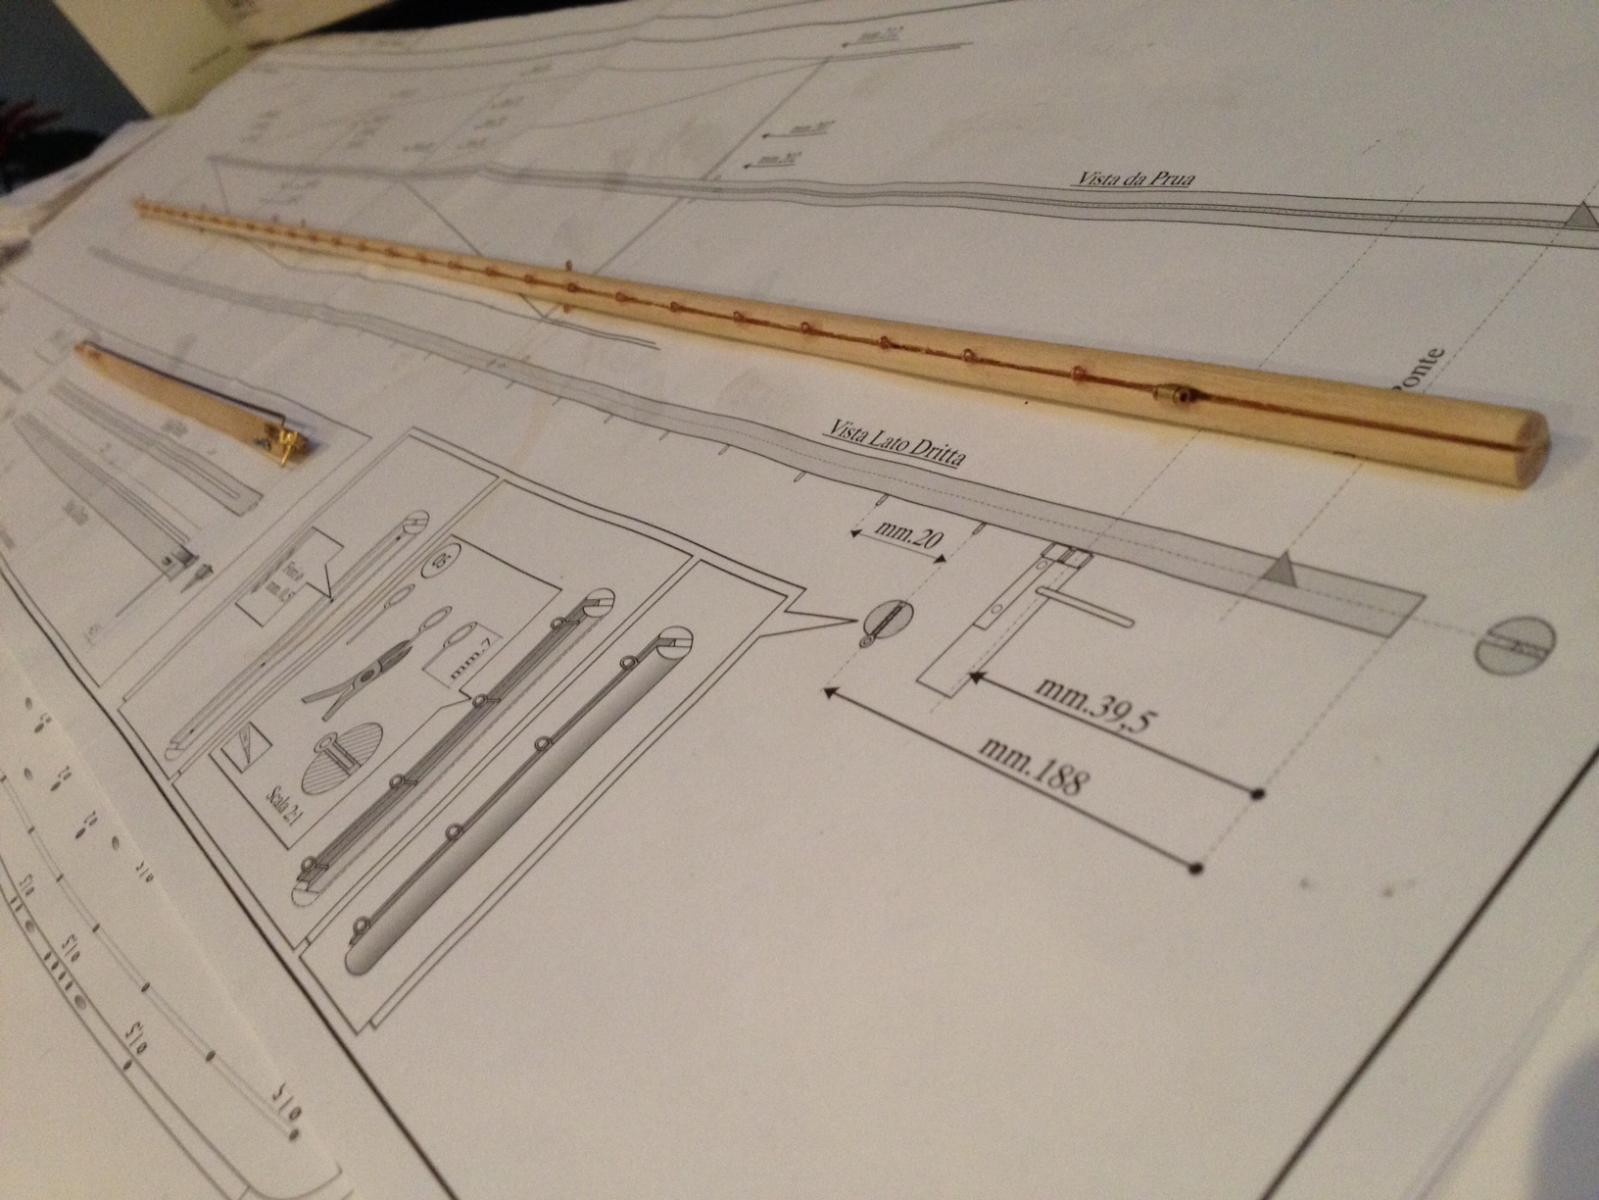
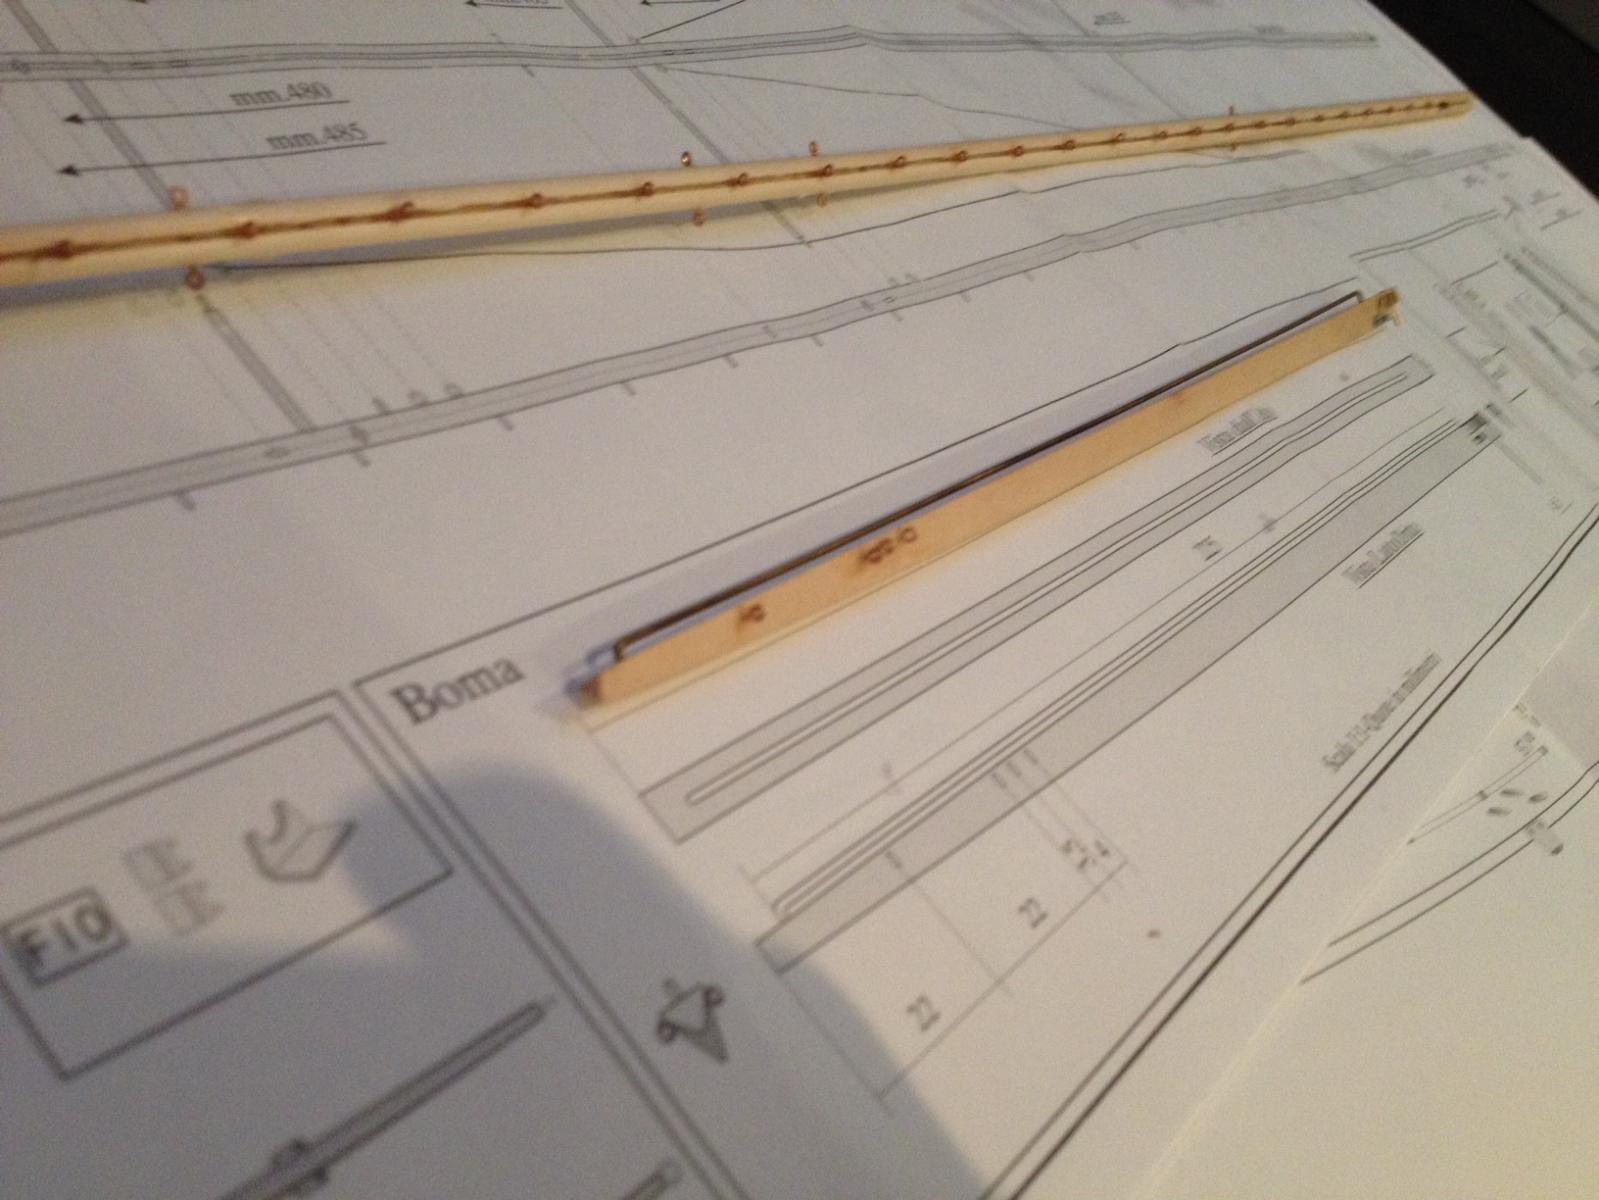
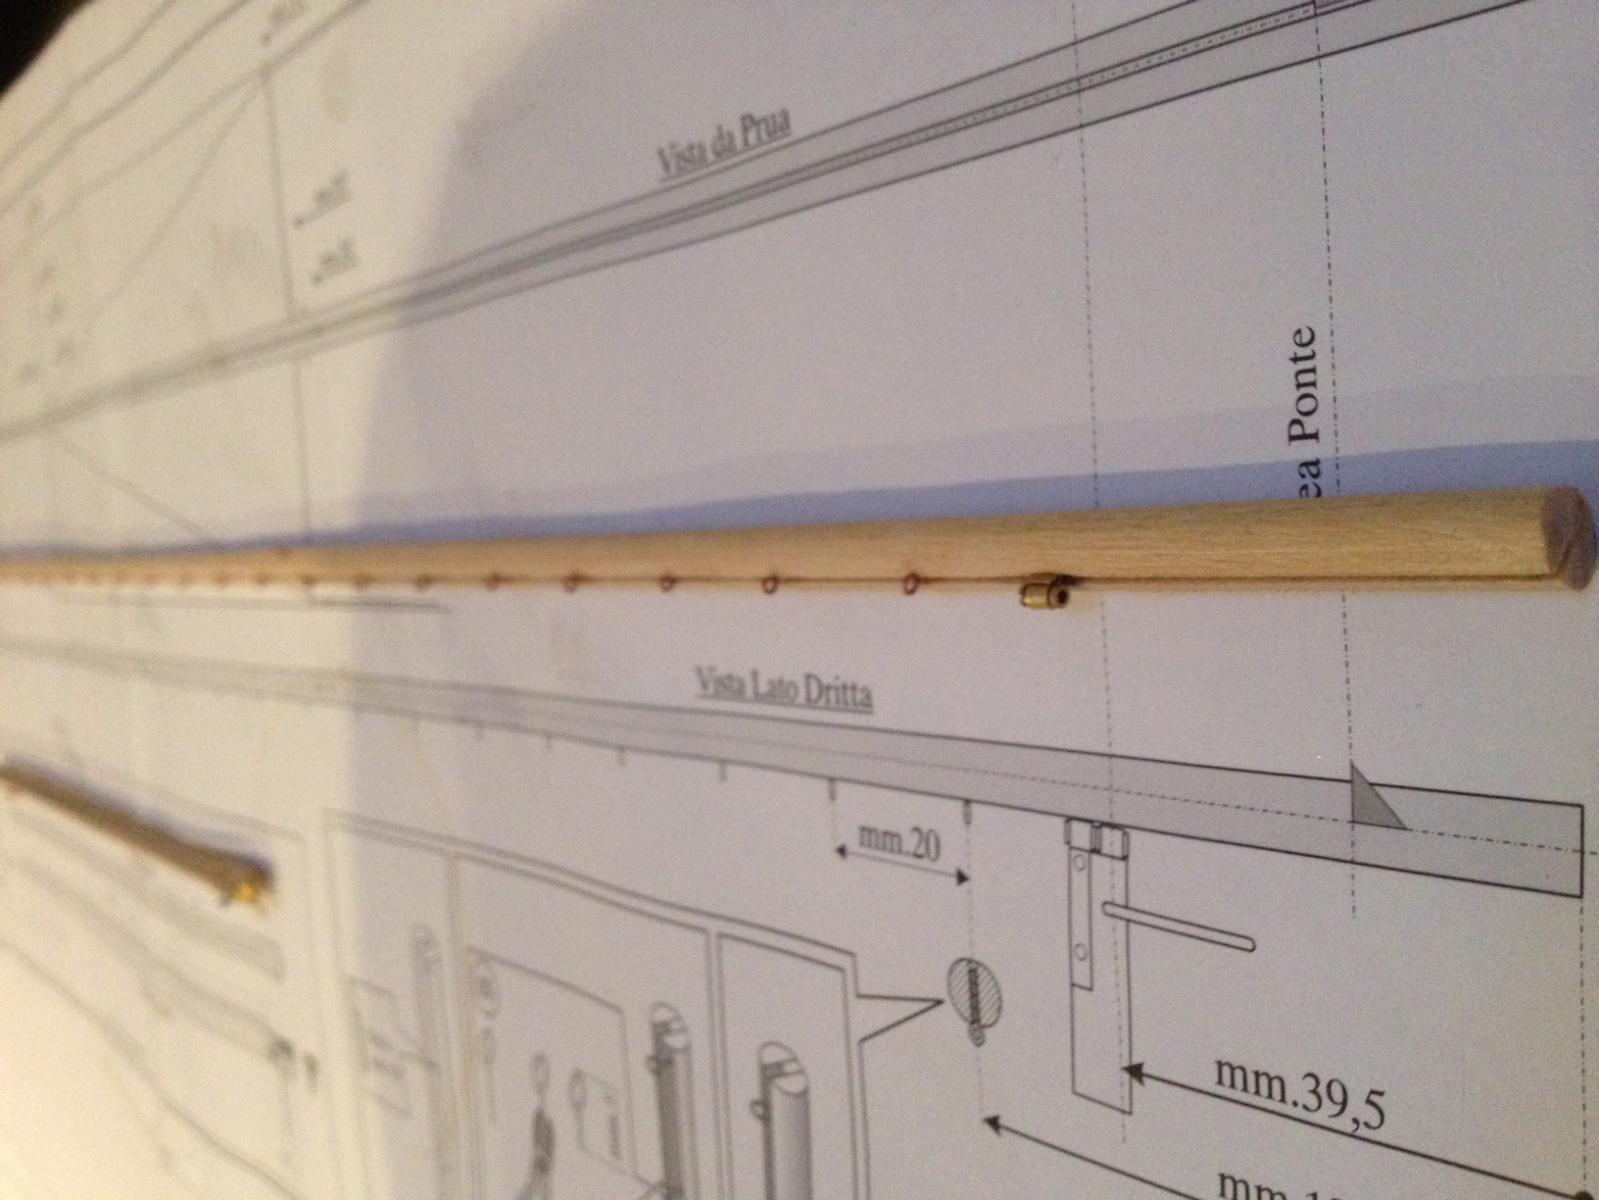
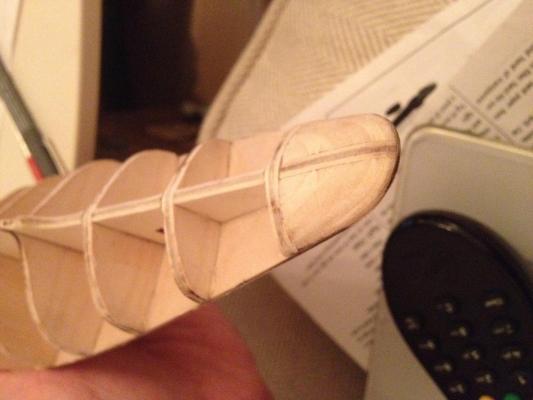
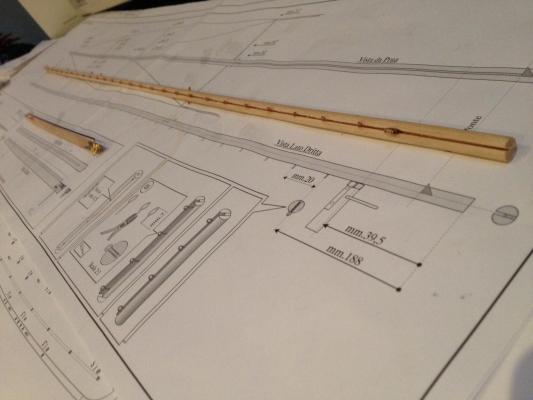
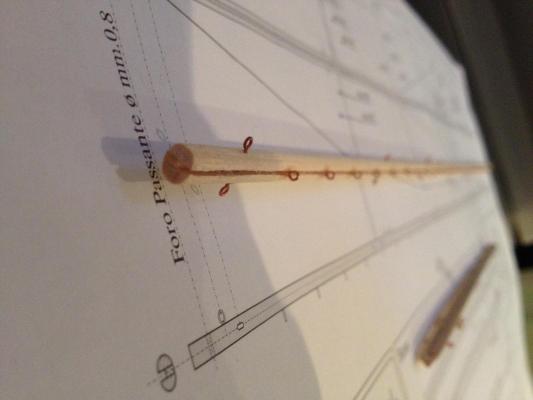
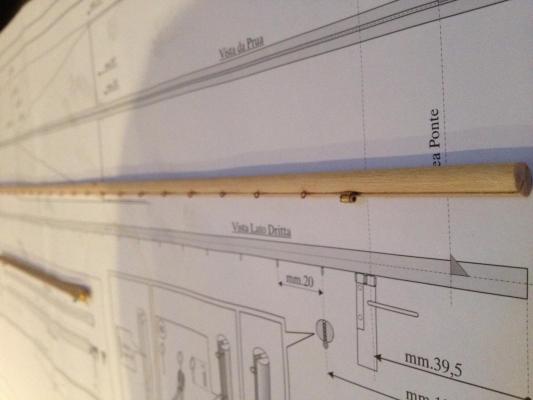
there we go pics at last! the boom is now complete, tapered and with all metalwork and the mast is too, tapered and covered in a metal! next up is painting, apparently I need a matt white enamel for both and tips on where to get this paint? I'm guessing I want a spray not to brush? after this its onto teh good stuff the actual hull!
-
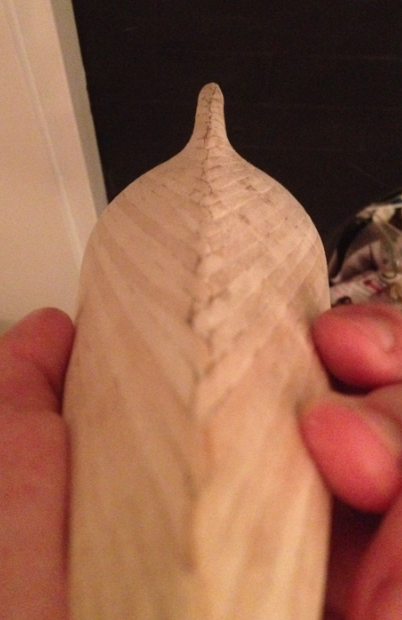
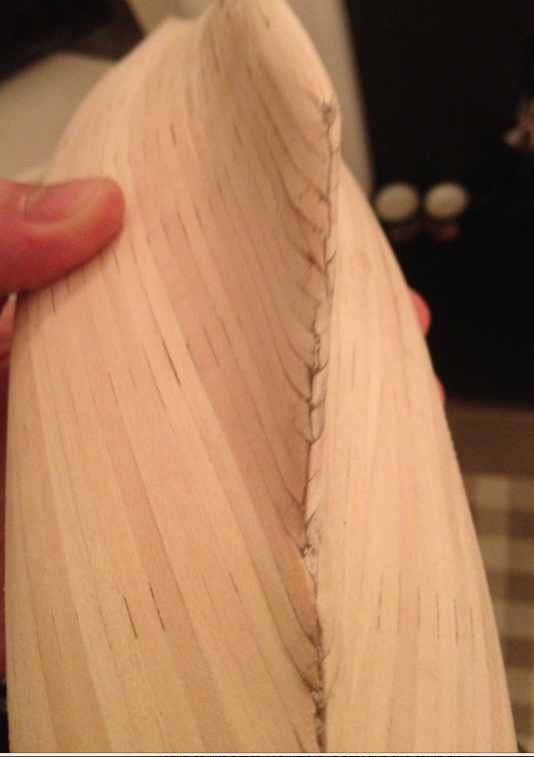
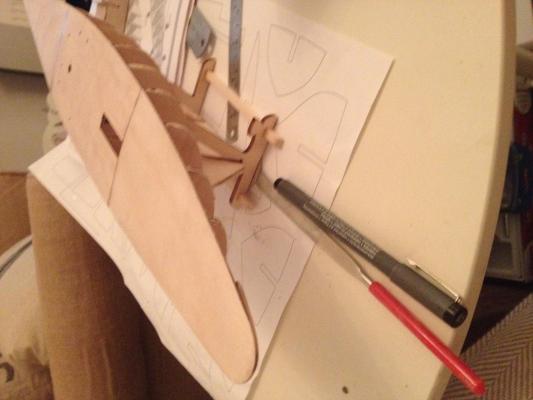
Apologies land lubbers, I have been tardy on my picture uploads, I will upload some tonight. I have now sanded and shaped the boom and attached the various metal gear that is attached in addition to constructing the main boom pivot. After this was making the mast, its pretty long and constructed of various semi circle dowel lengths and has a 1mm slot running the full length. The mast is also not circular its in fact a squashed circle making sanding quite a task, to create a smooth tapered length. however I'm super pleased with the results and its surprising strong, yet flexible. SO far so good, no issues to report yet, instructions are very detailed and as this is my first build fairly straightforward to follow!
- 54 replies
-
- 1
-
-
- americas cup
- endeavour
- (and 3 more)
-
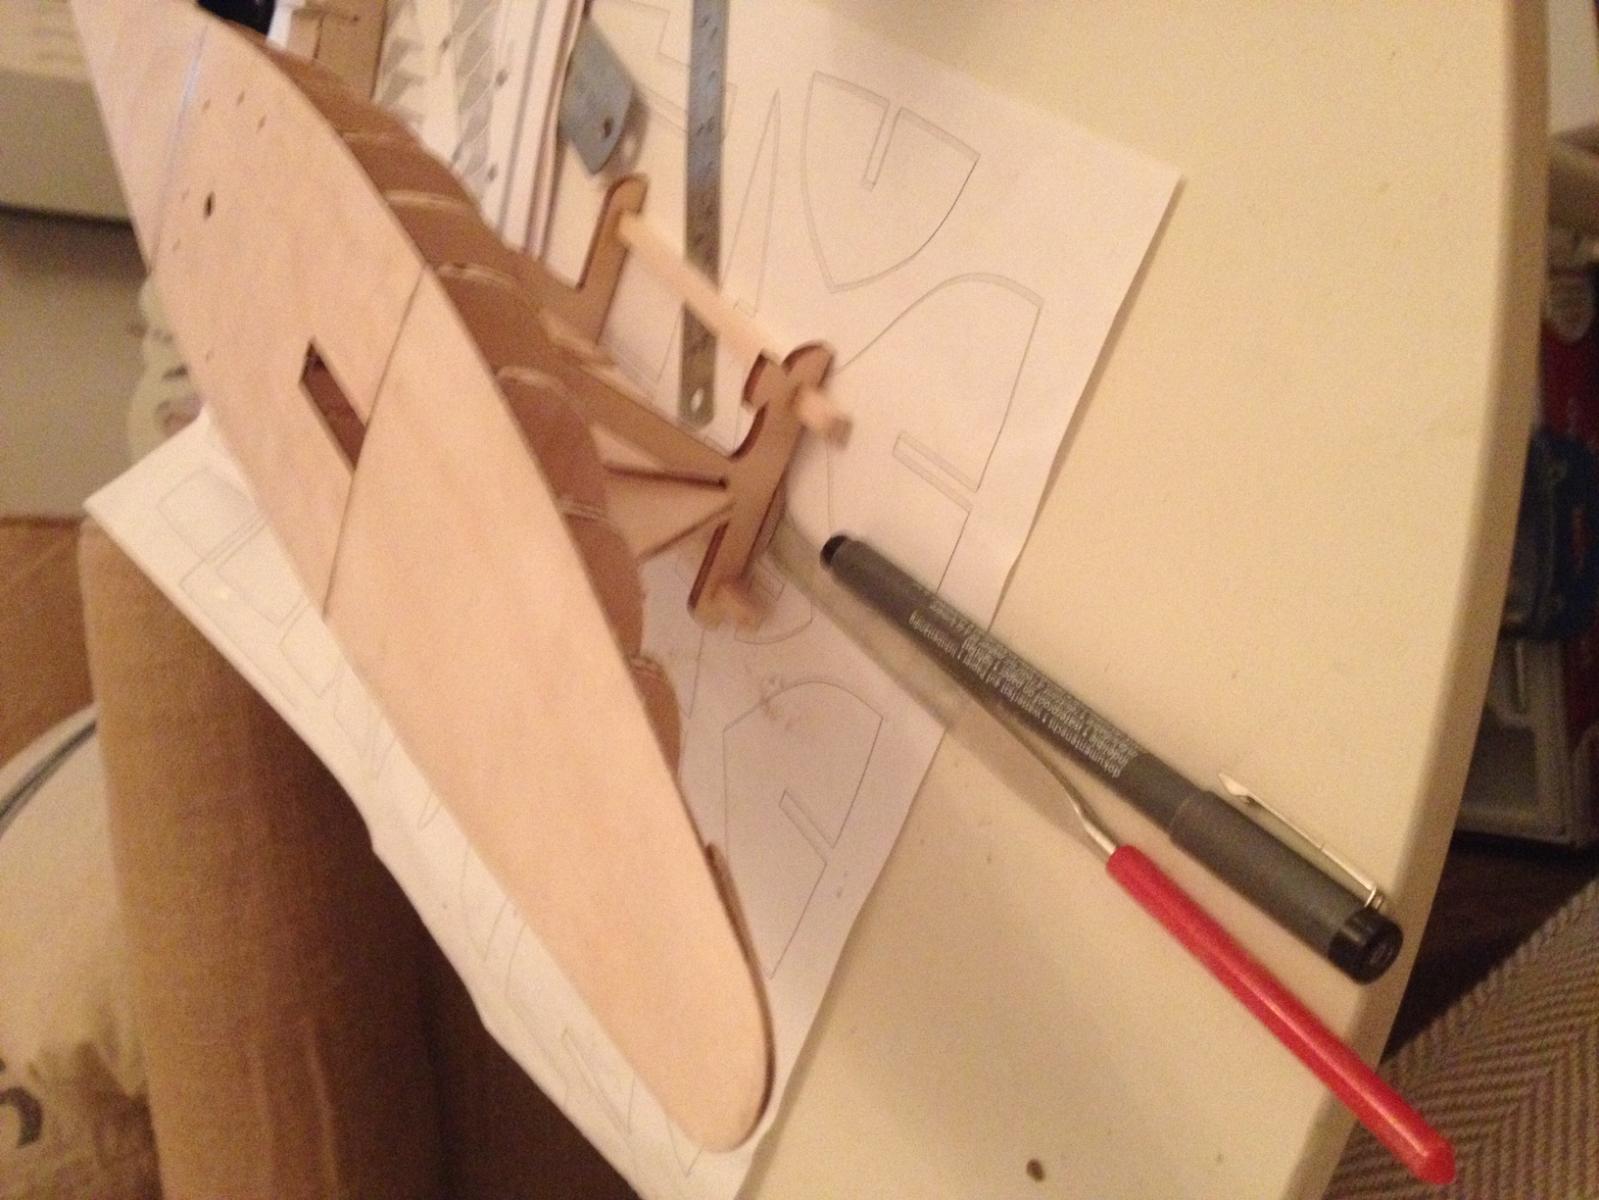
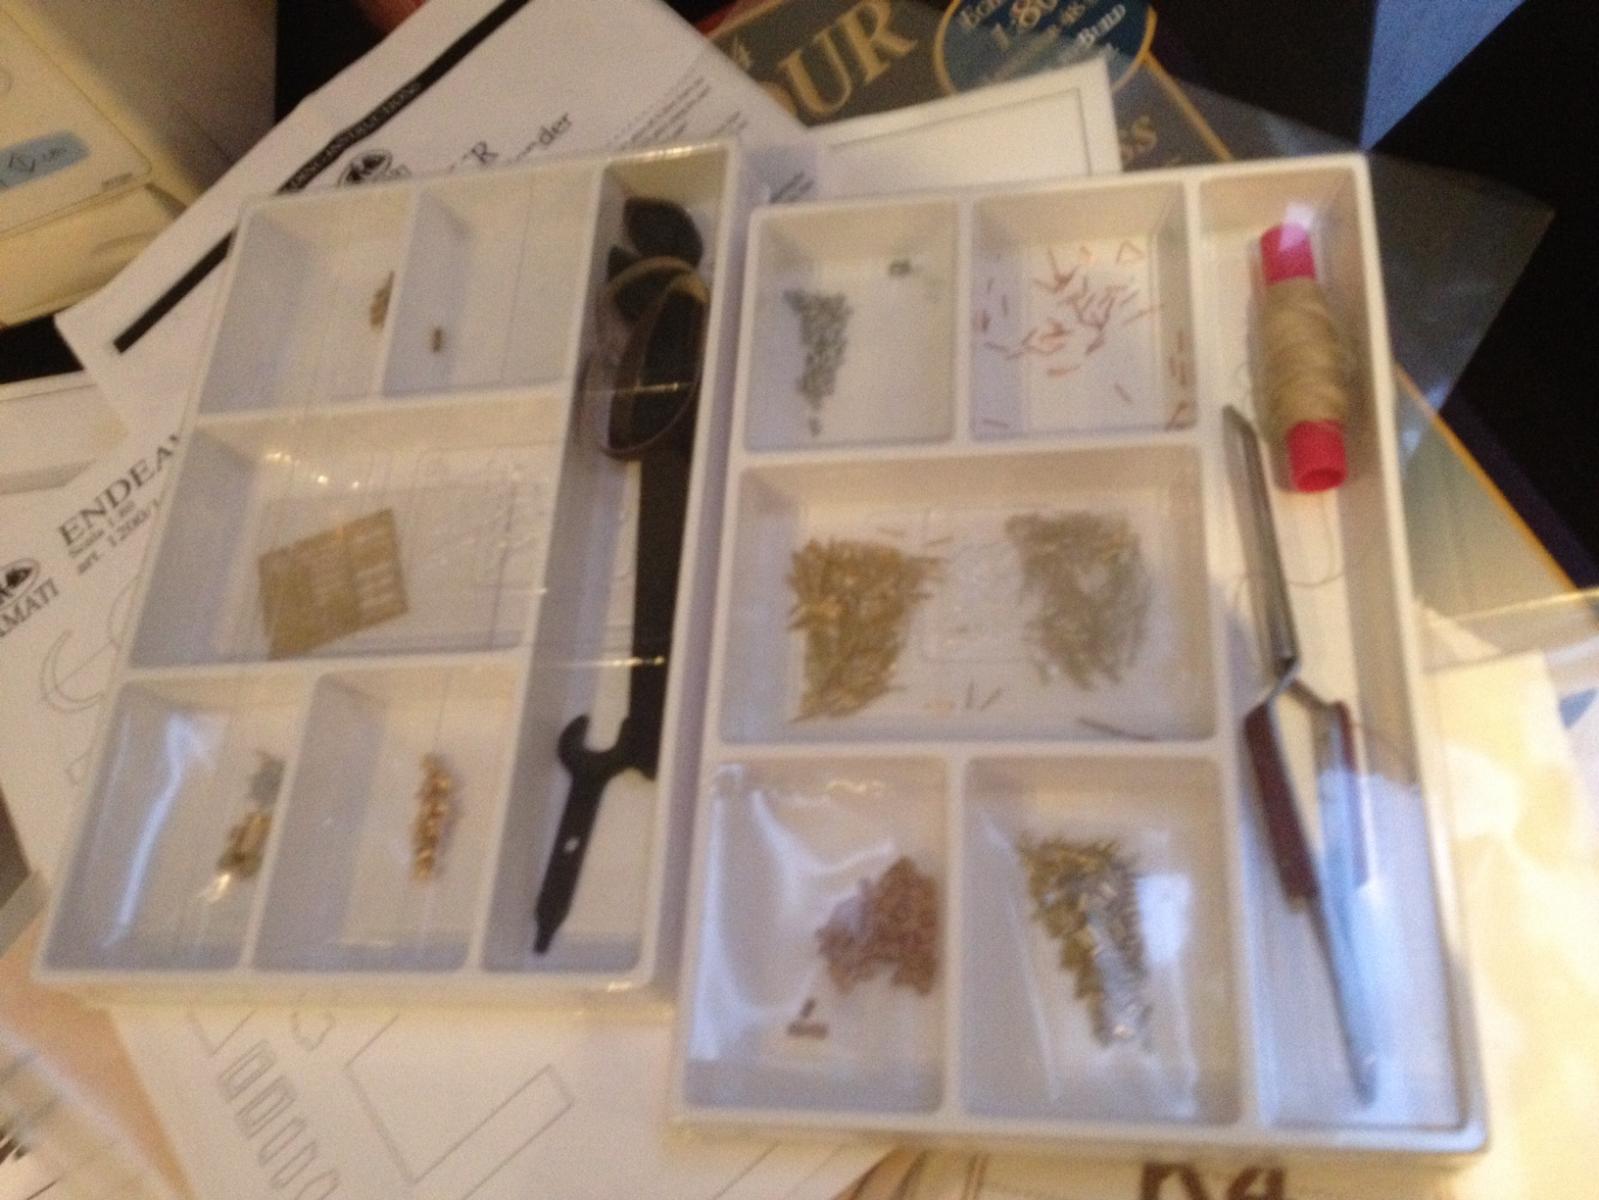
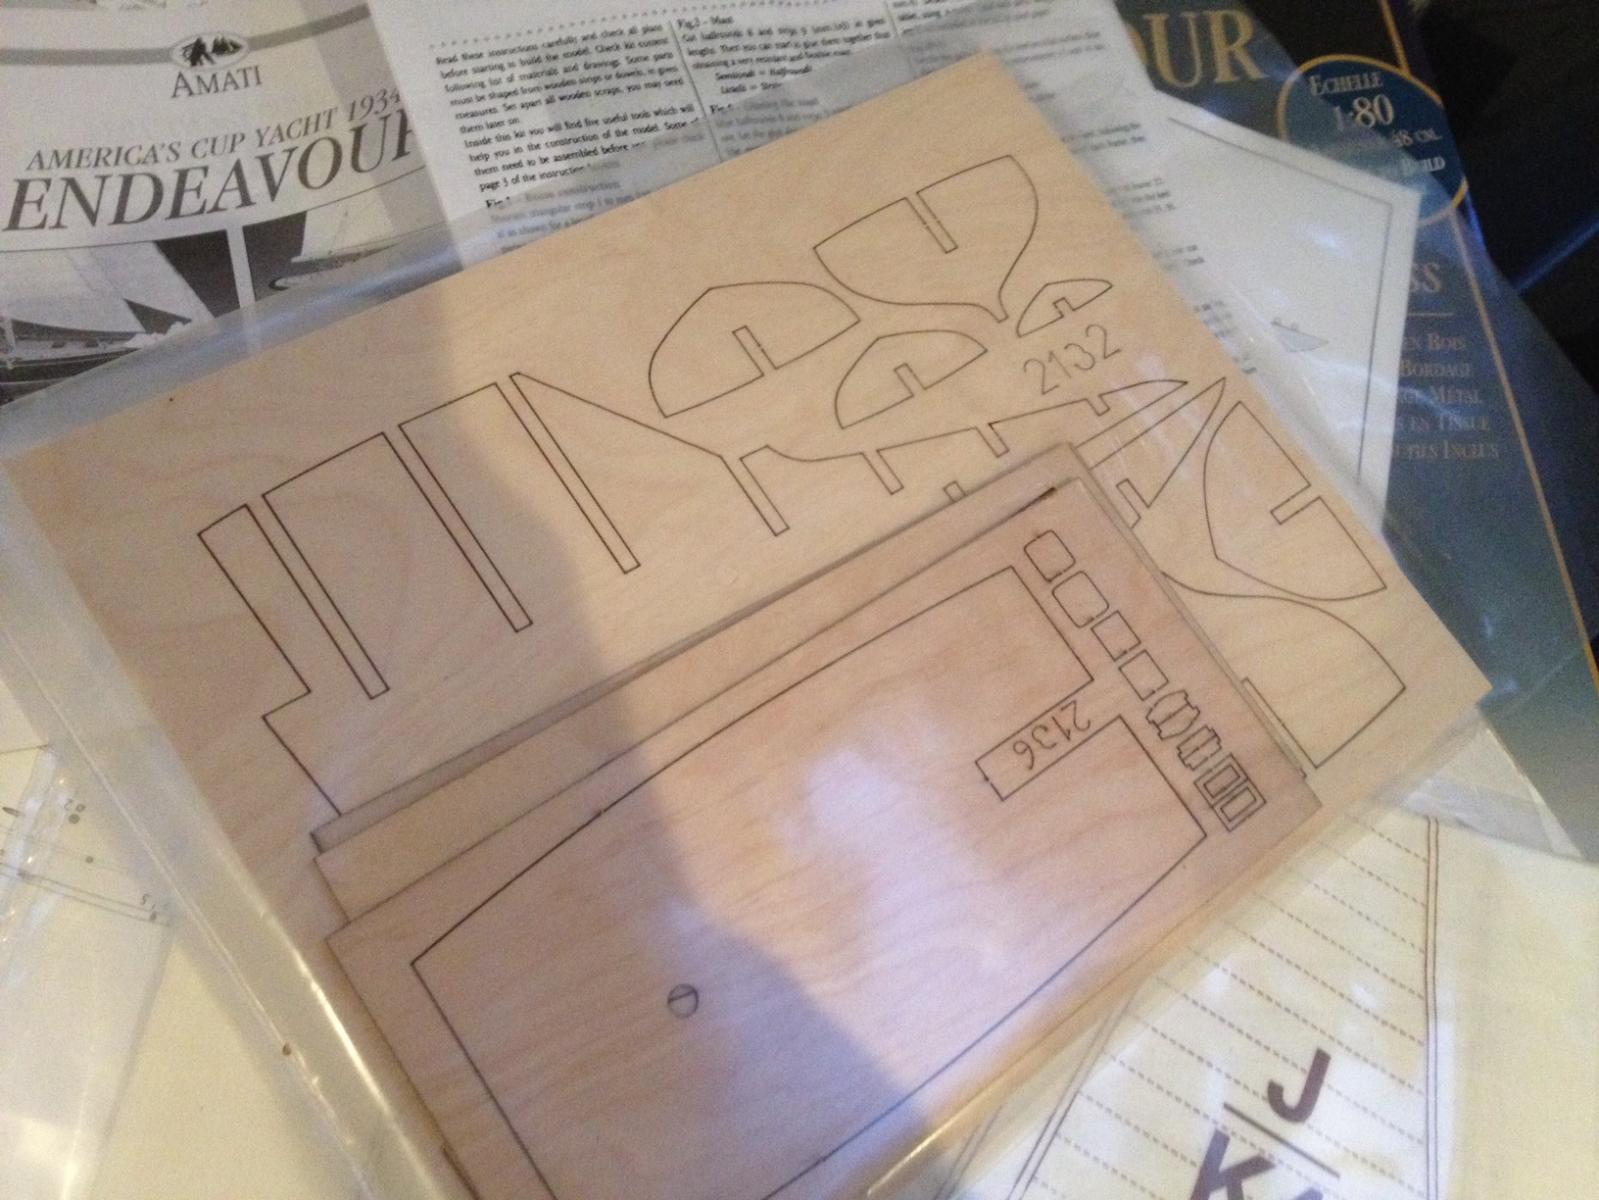
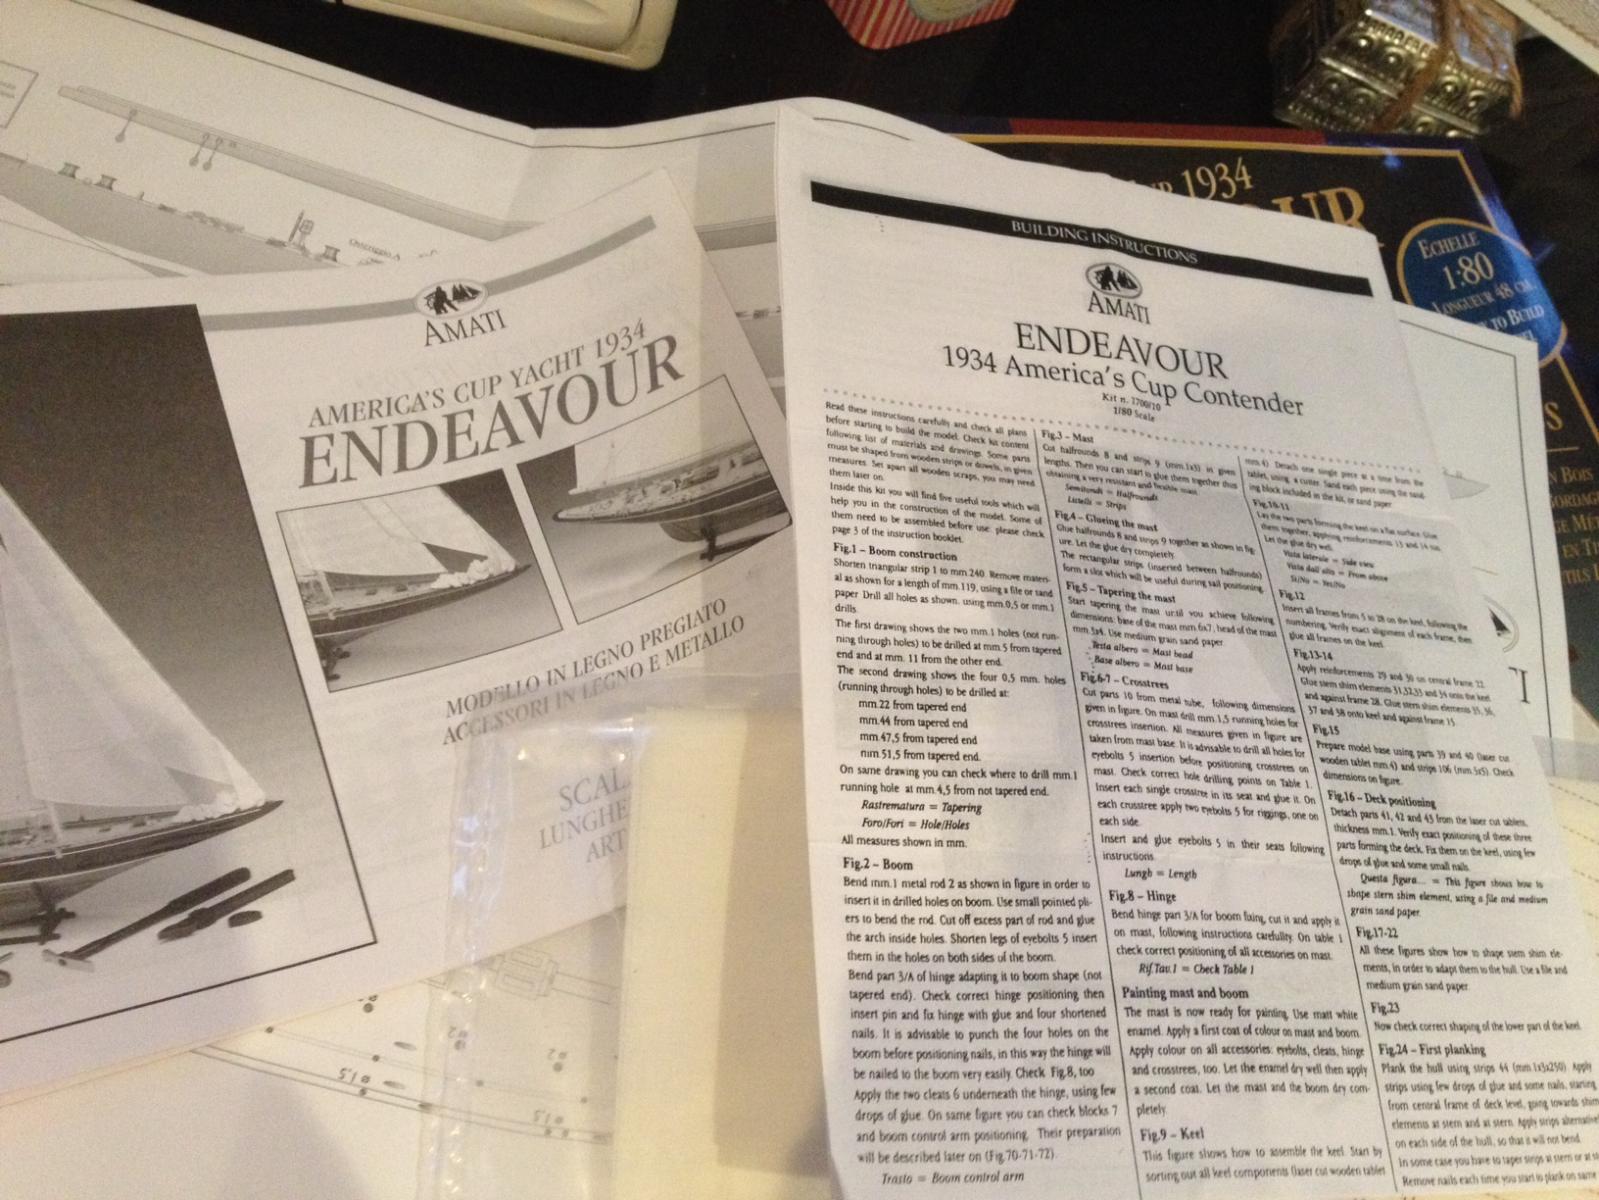
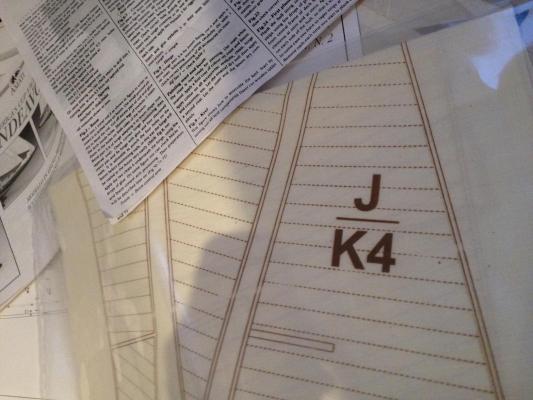
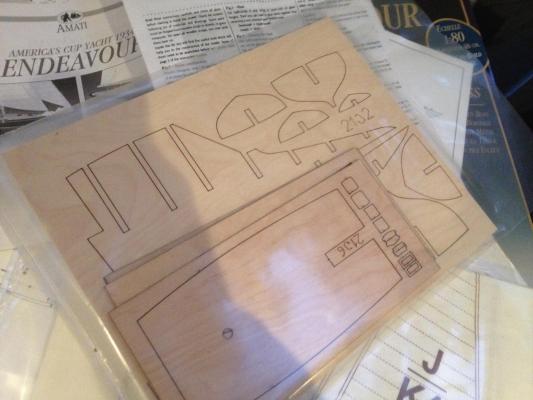
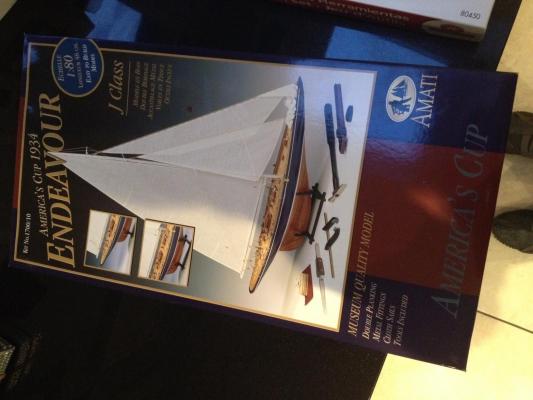
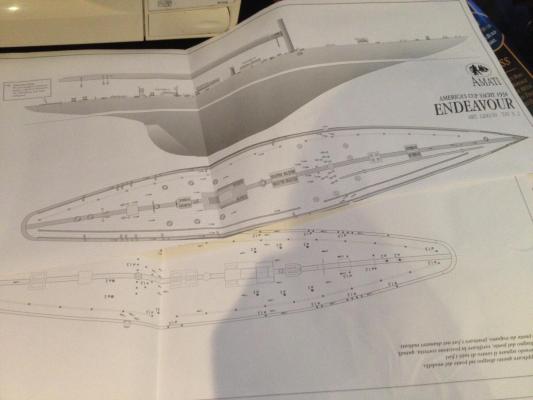
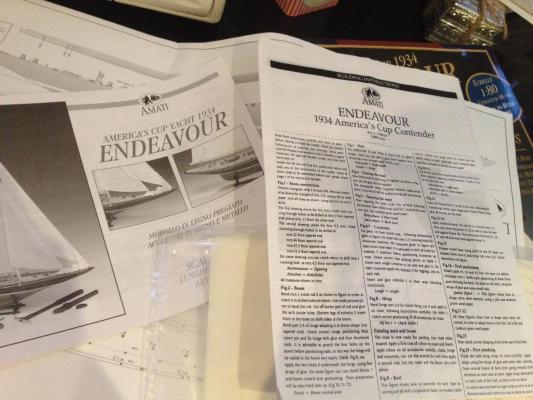
And so my first ever build and build log, (pics to follow shortly!) Open opening the box, it's surprising how flat pack evrything is! although teh quality looks great, ot sof very small metal components and the wood look decent quality. Instructions are in Italian, which for a moment threw me, untill I found the corresponding English translation sheet. In fact instructions are great, lots of diagrams and lots of step by step instructions. The kit comes with a hammer, sanding block, vice, tweezers, and a detailed sanding pen tool, and I have to say teh quality is surprisingly good. For a first timer like me, this is superb. One thing that has struck me is the cloth sail material provided. It has stitch lines printed on, which, though useful, I think will look a bit rubbish on the model. Is this normal, or is it normal to just use this fabric as a guide and go out and buy some other blank linen type fabric? I'm jumping teh gun here as the sails are pretty much one of the last steps but thought I'd ask! First task is sanding and shaping the boom.....
-
gulp, about to start the 1:80 verison of this little / not so little beauty, will sort a build log asap!
-
ANy one have any experience of this? It appears as if the kit comes with the hull completely done for you? Can anyone with a bit more experience confirm this: http://www.amatimodel.com/index.php?option=com_content&task=view&id=109&Itemid=6 Amati claim its a best-seller so woudl expect some-one here to have made it!!