HOLIDAY DONATION DRIVE - SUPPORT MSW - DO YOUR PART TO KEEP THIS GREAT FORUM GOING! (Only 24 donations so far out of 49,000 members - C'mon guys!)
×


Jake Groby
-
Posts
39 -
Joined
-
Last visited
Content Type
Profiles
Forums
Gallery
Events
Everything posted by Jake Groby
-
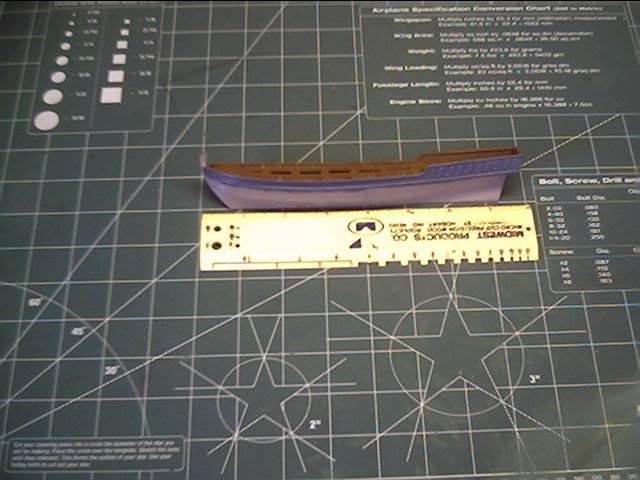
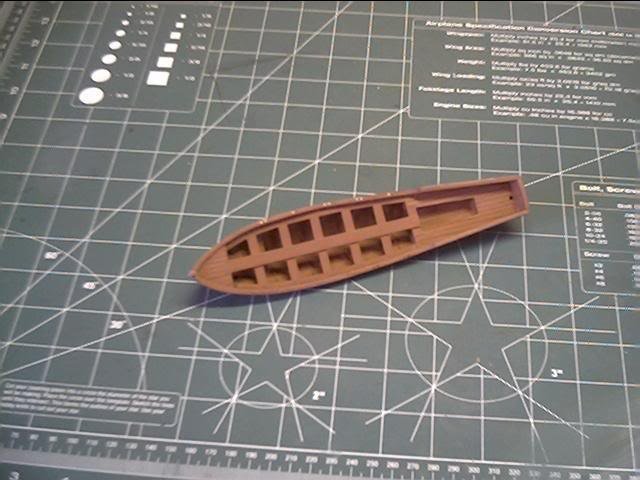
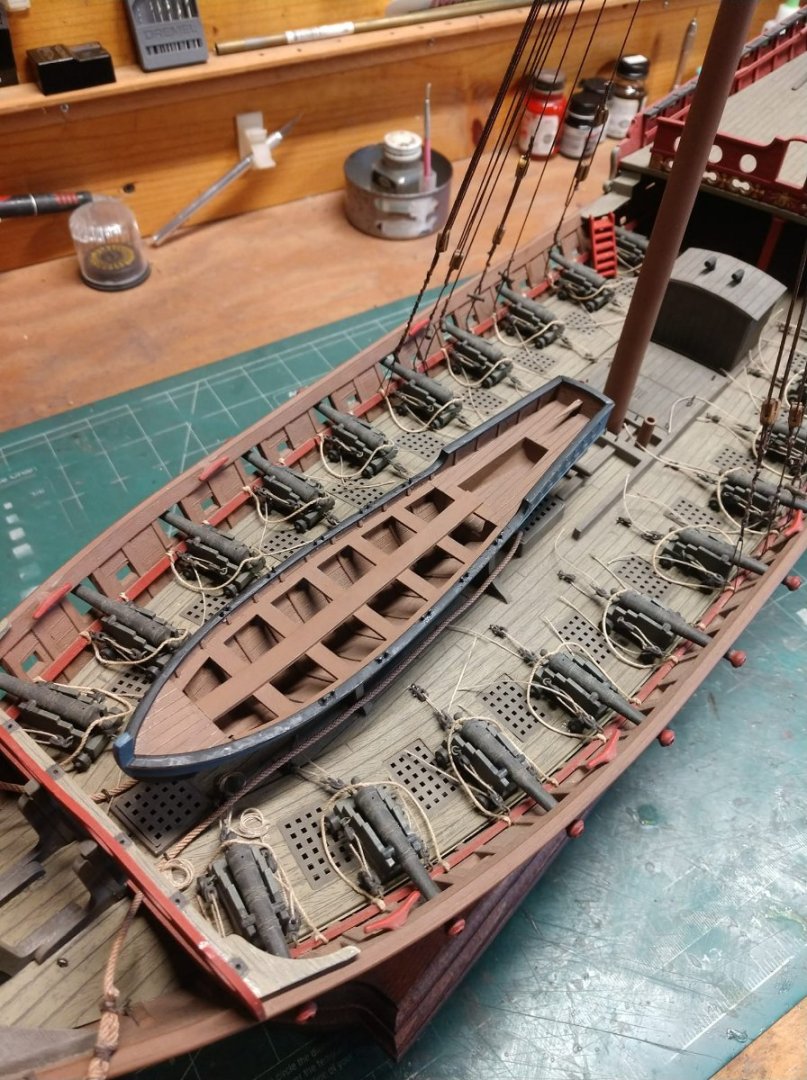
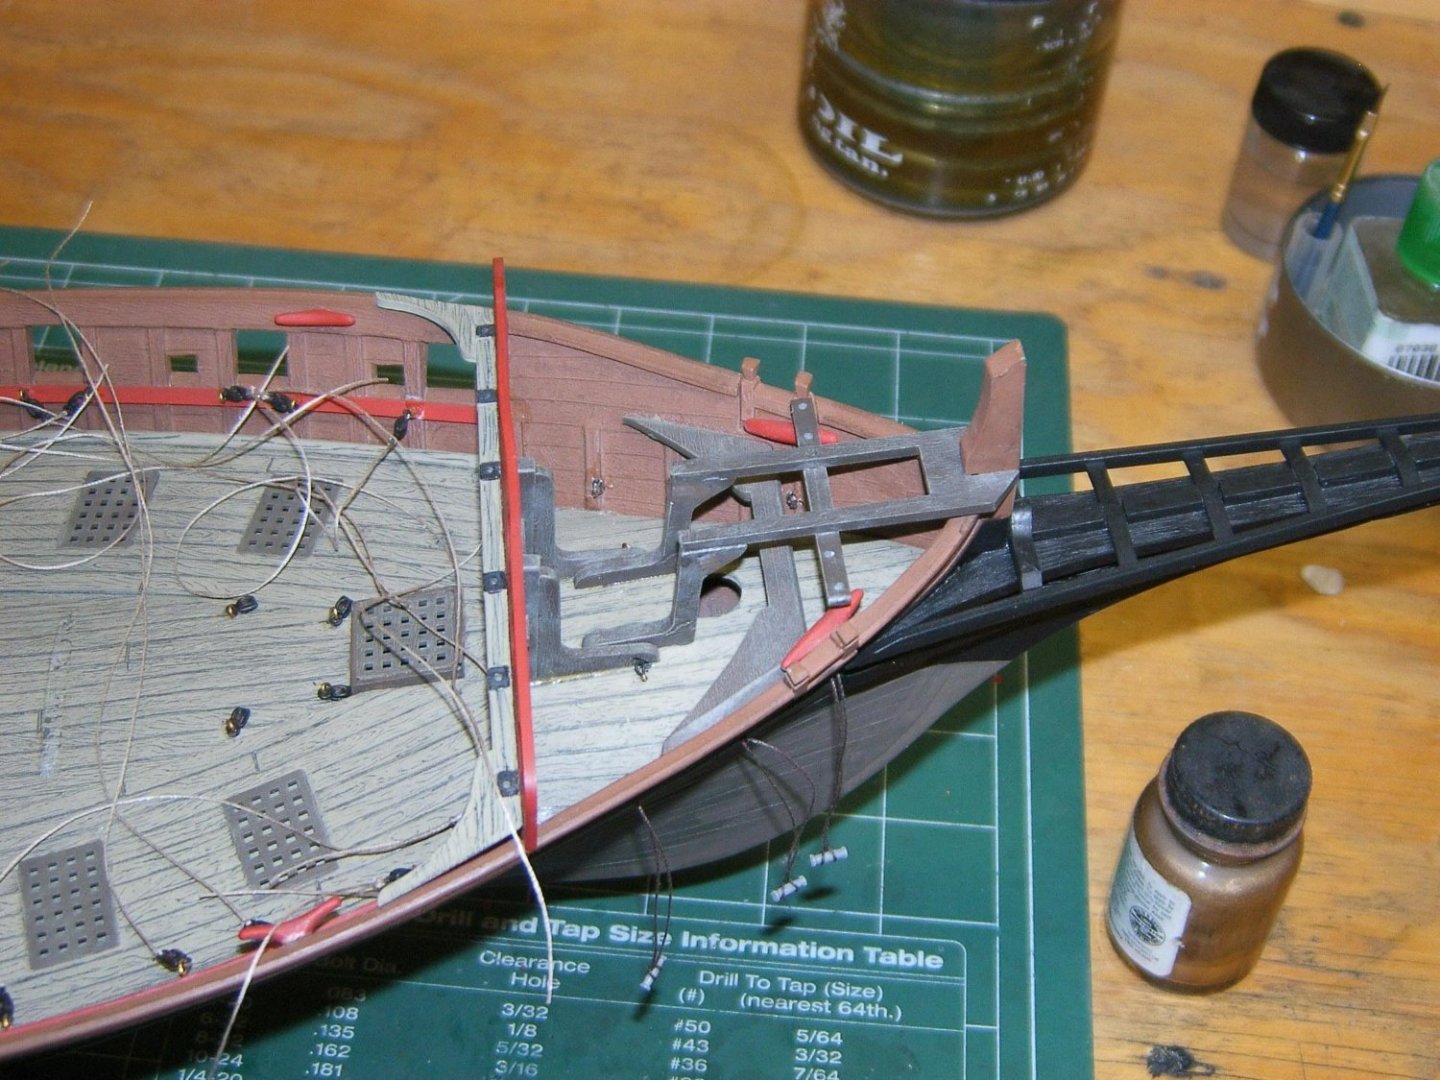
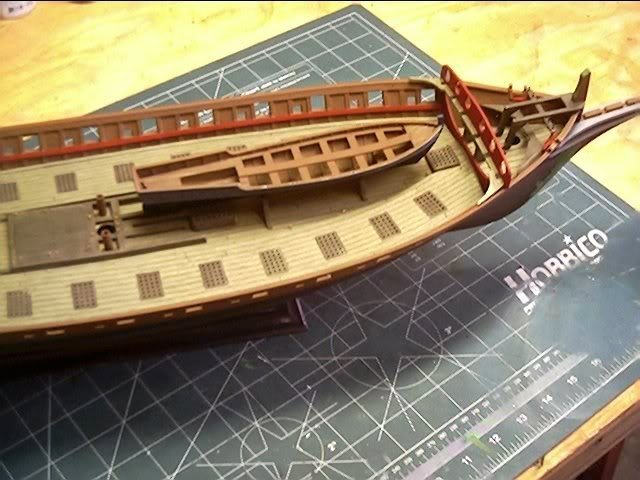
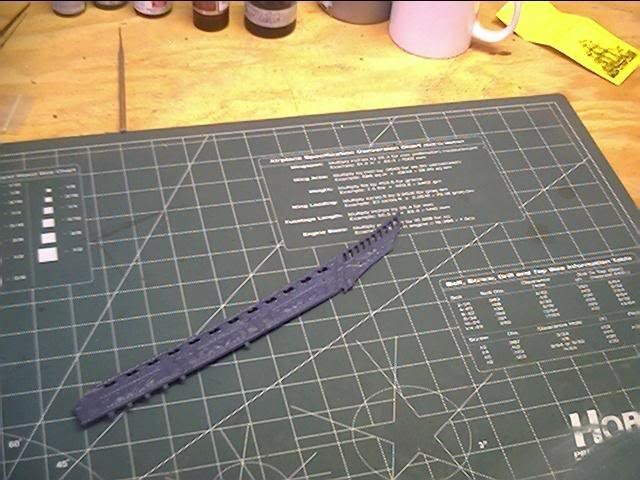
The ships boat was a project in itself and the plastic pintals were broken off, I drilled new ones from brass wire and went for the look. The boat itself is 6" long.


-
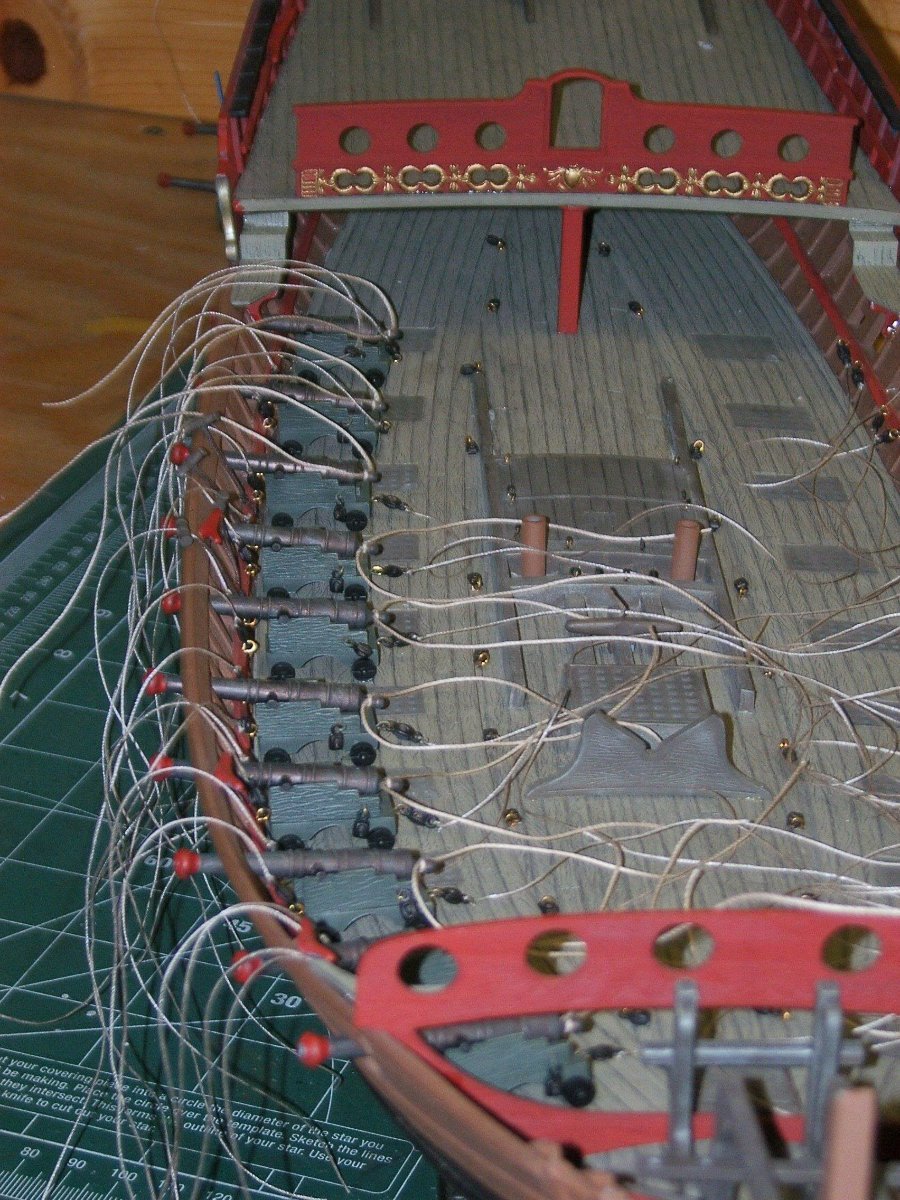
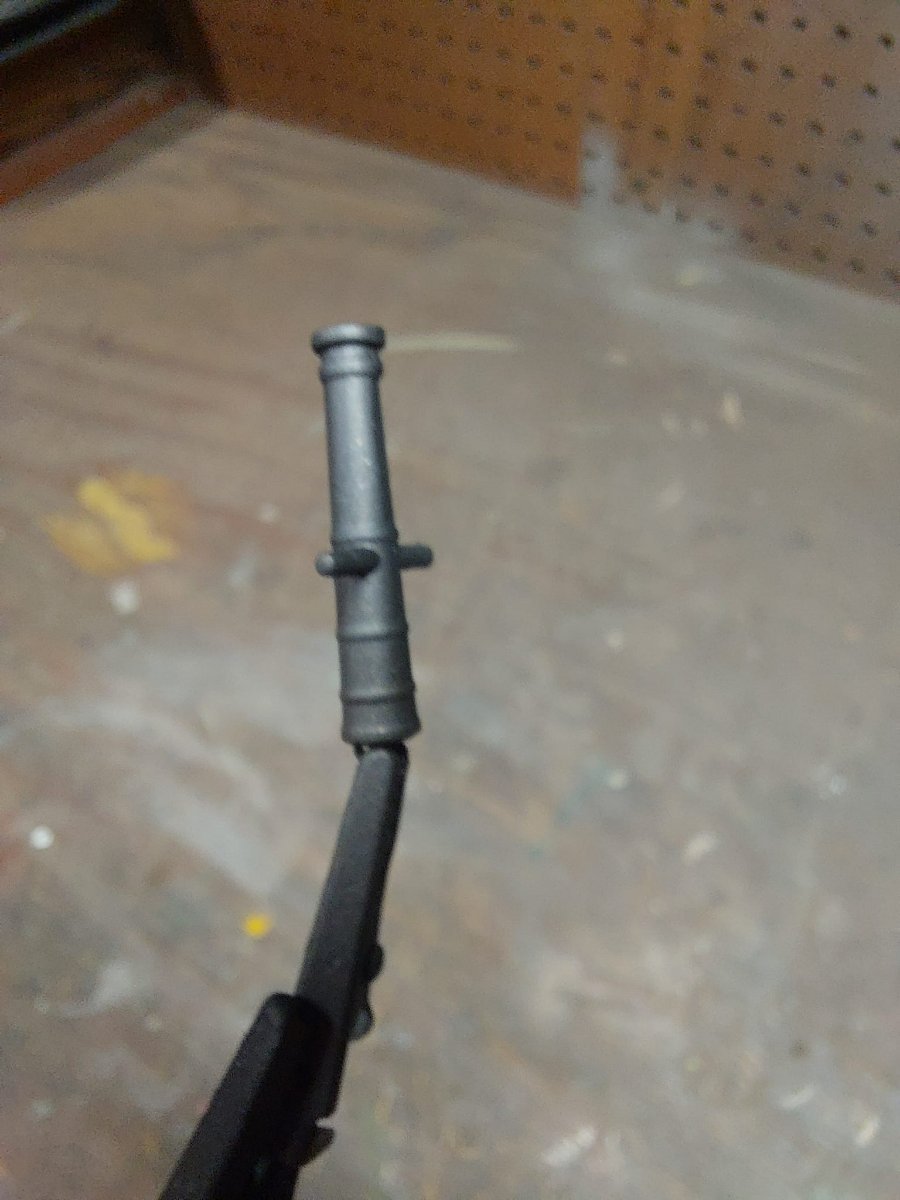
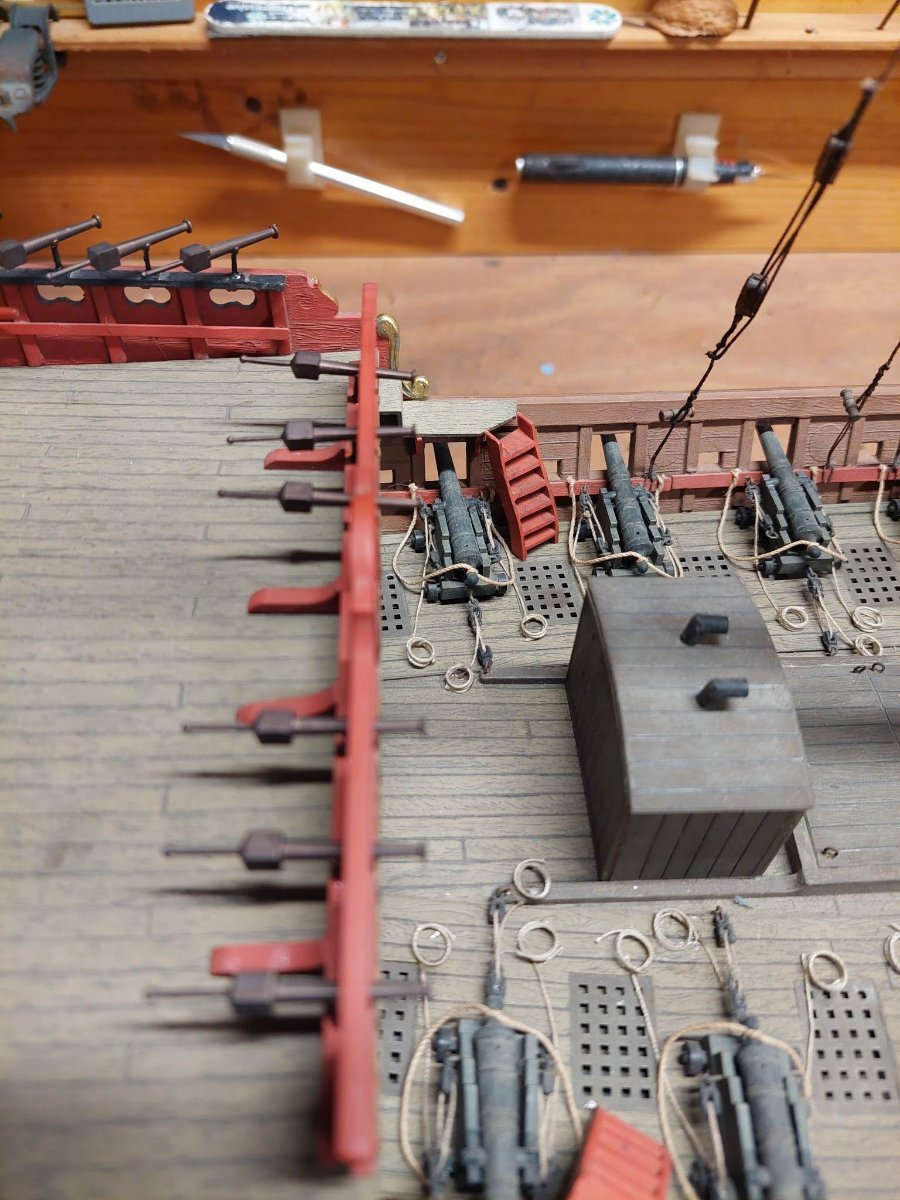
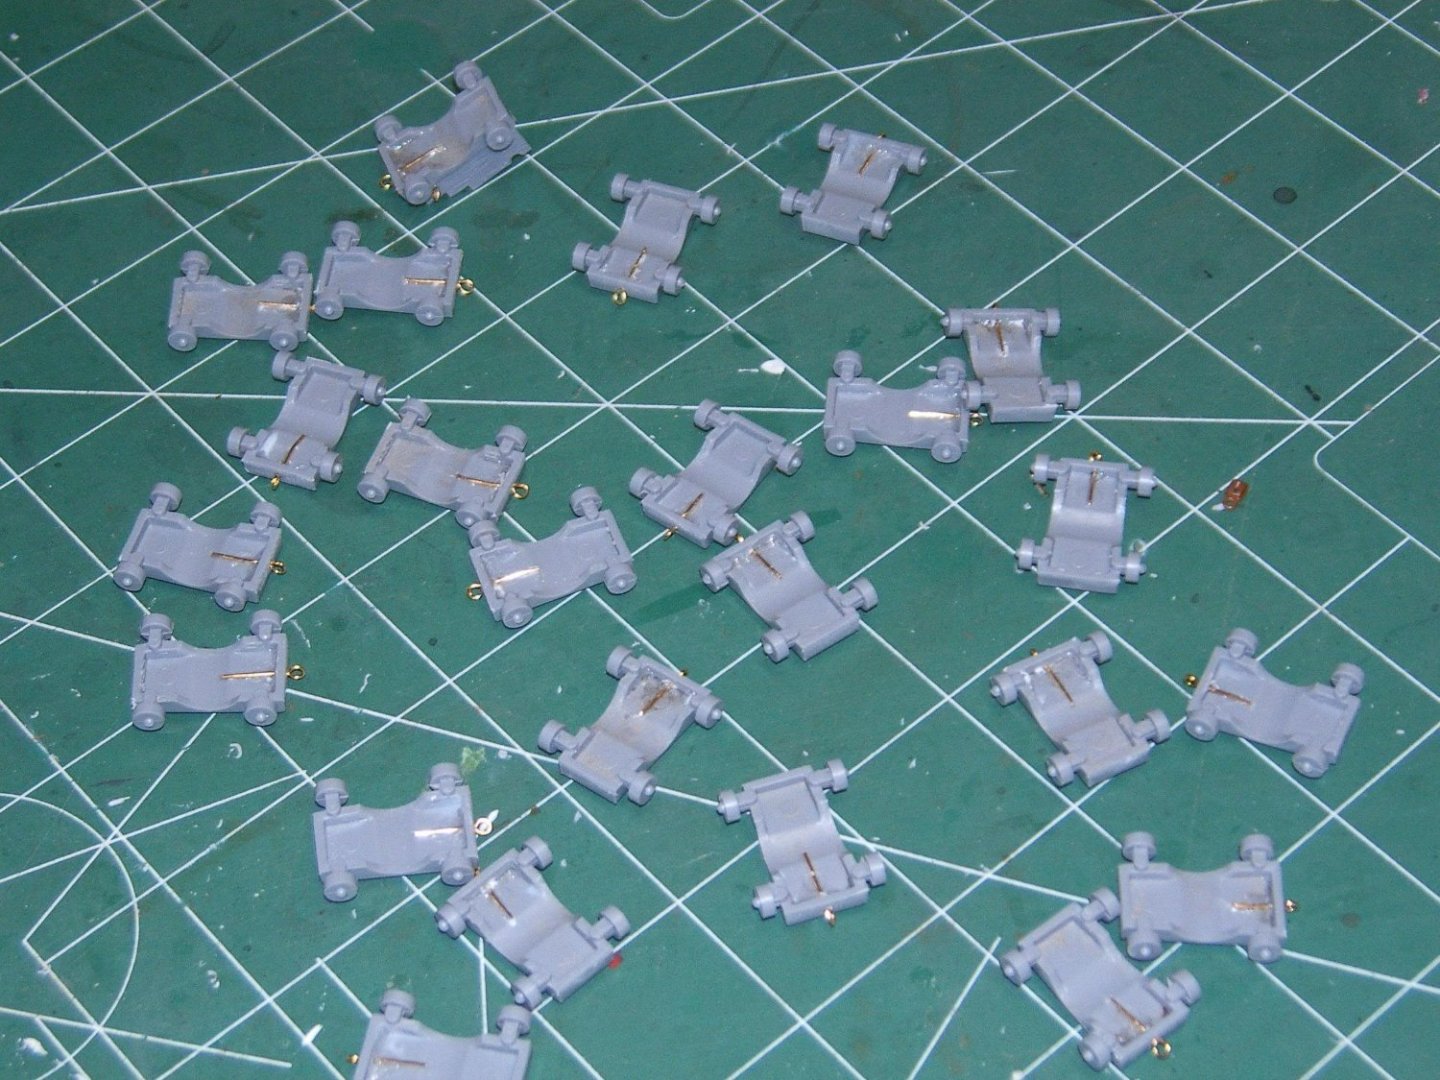
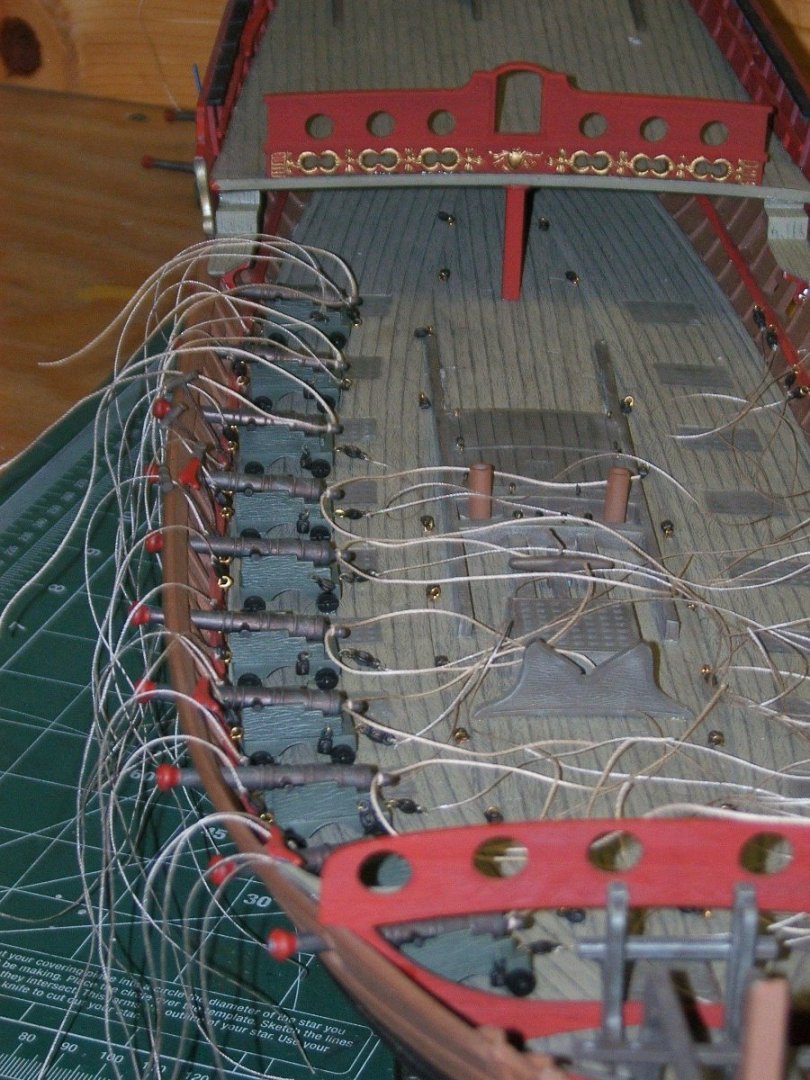
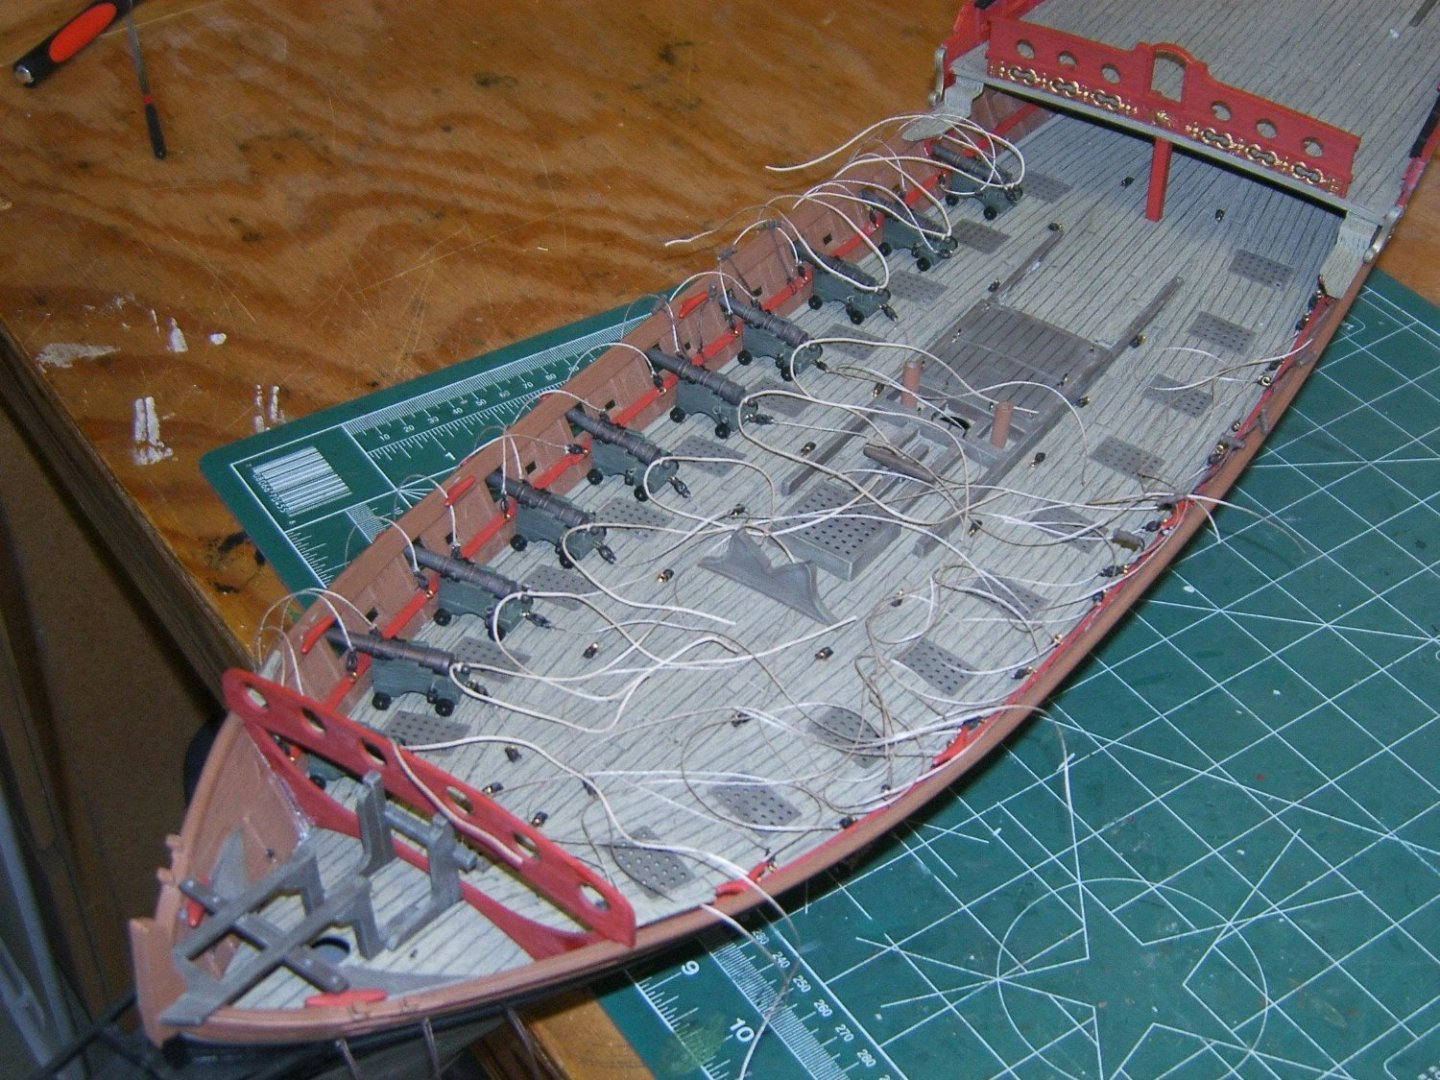
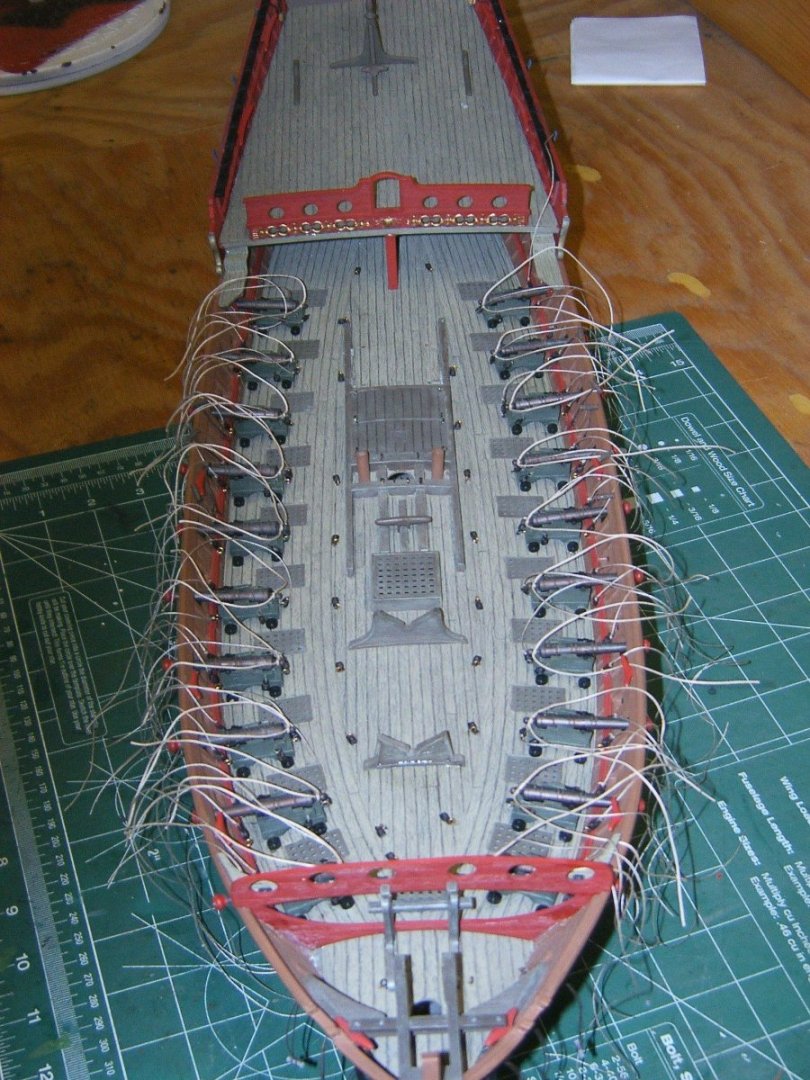
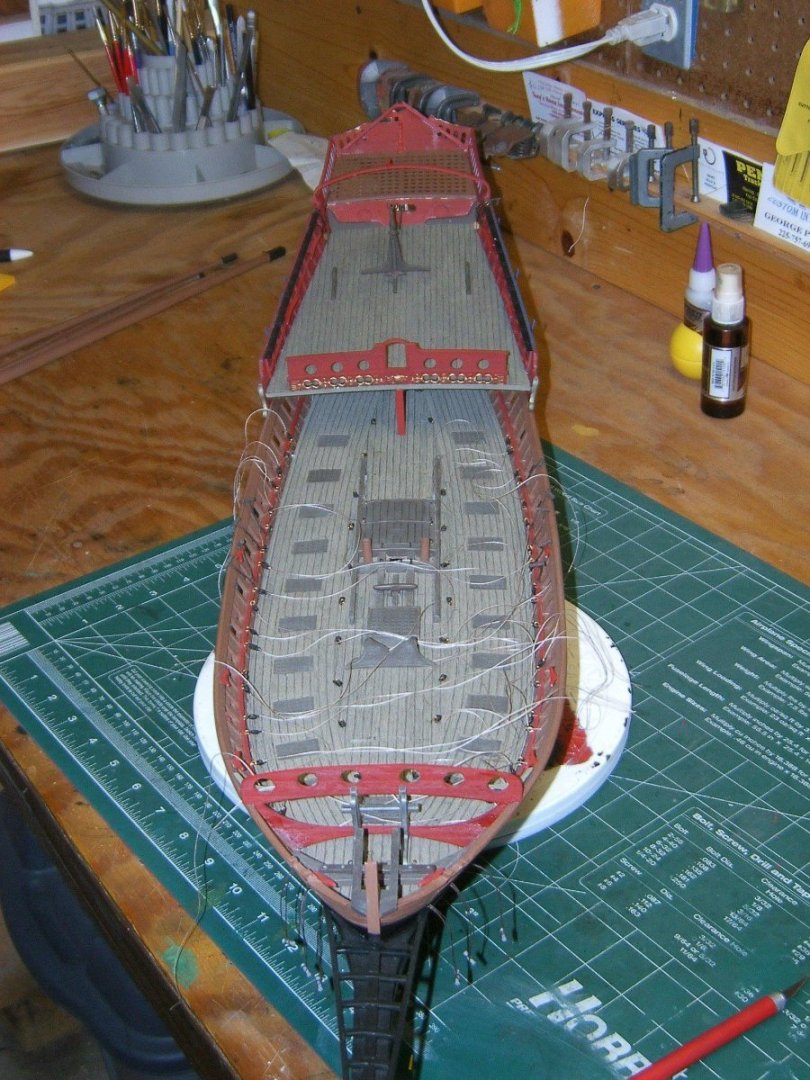
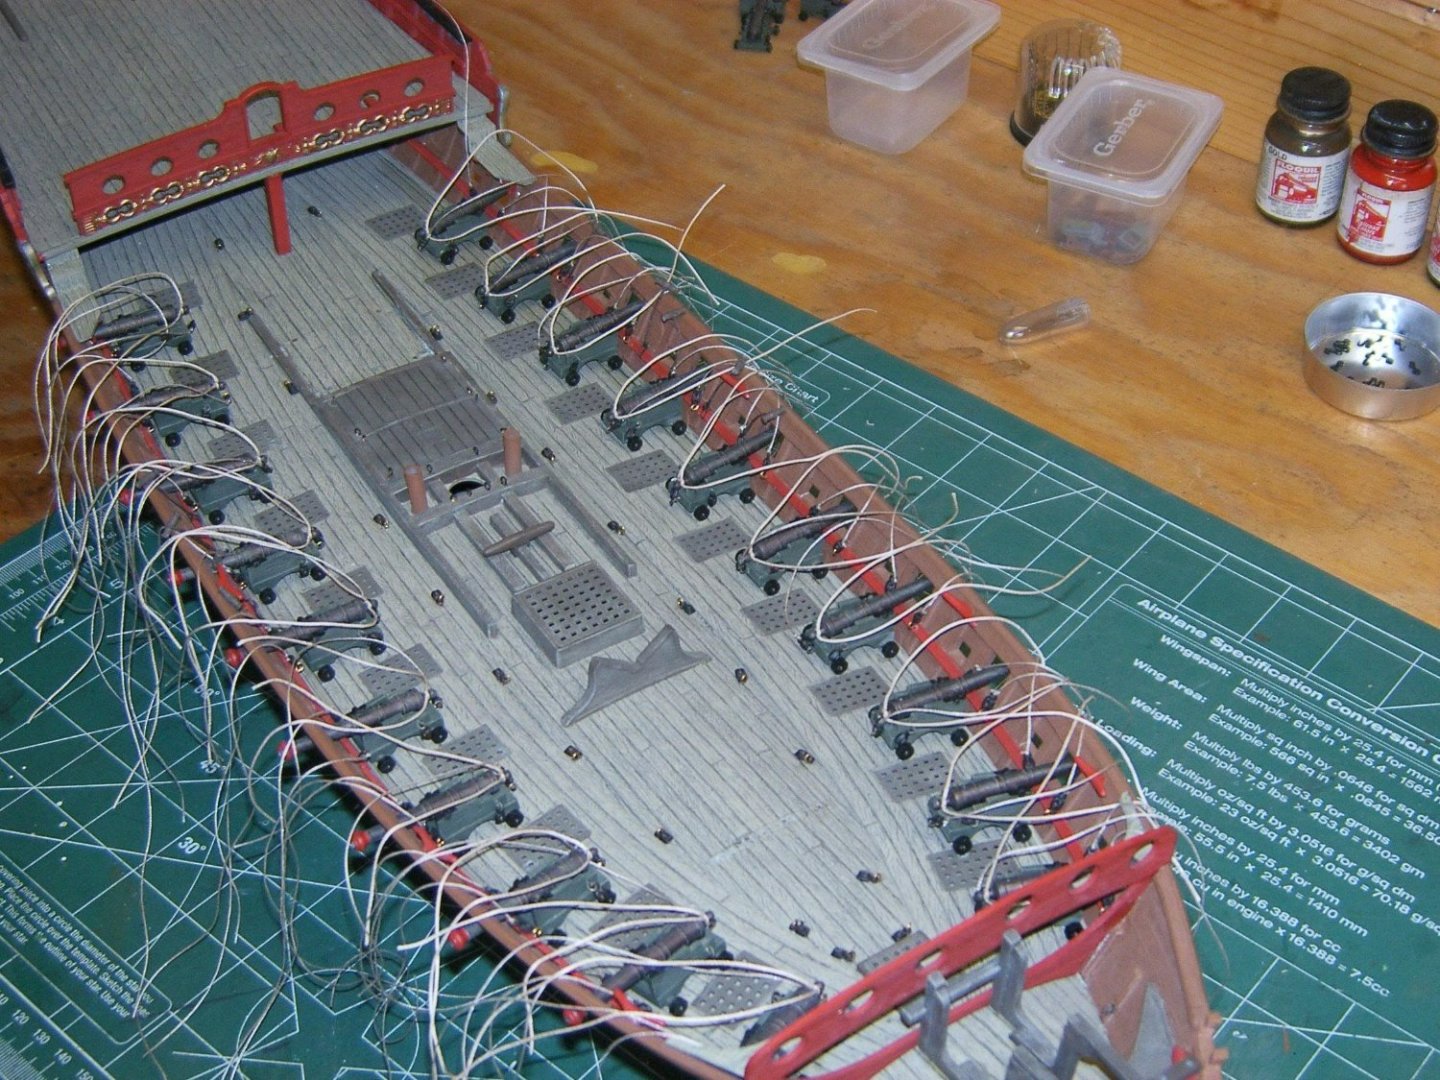
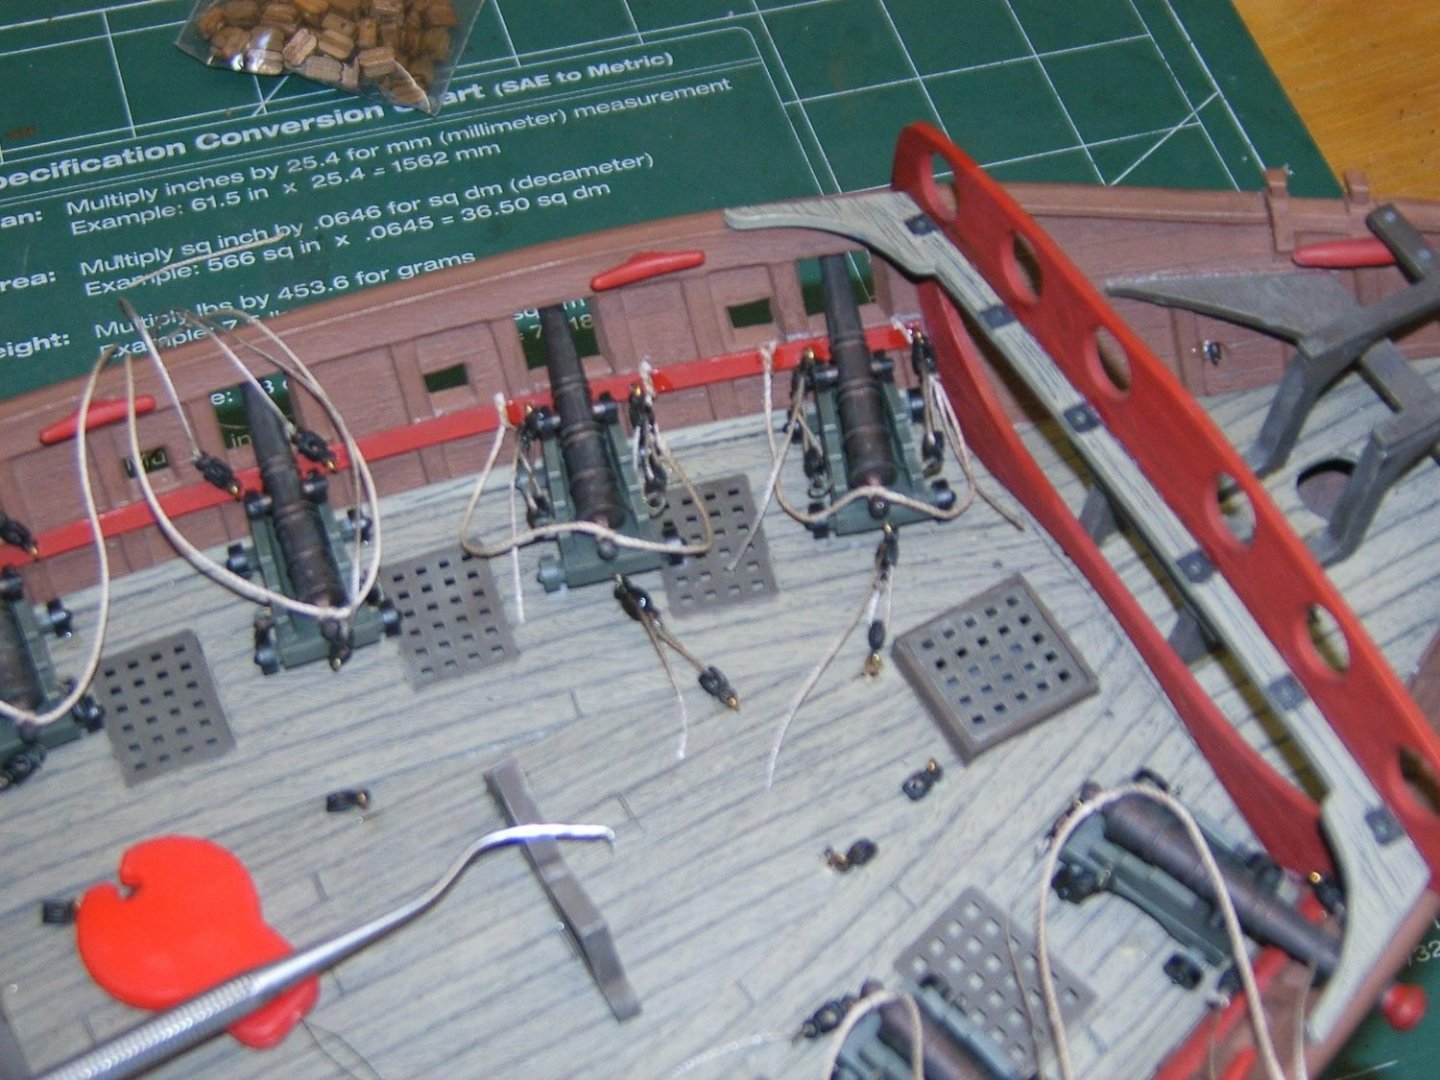
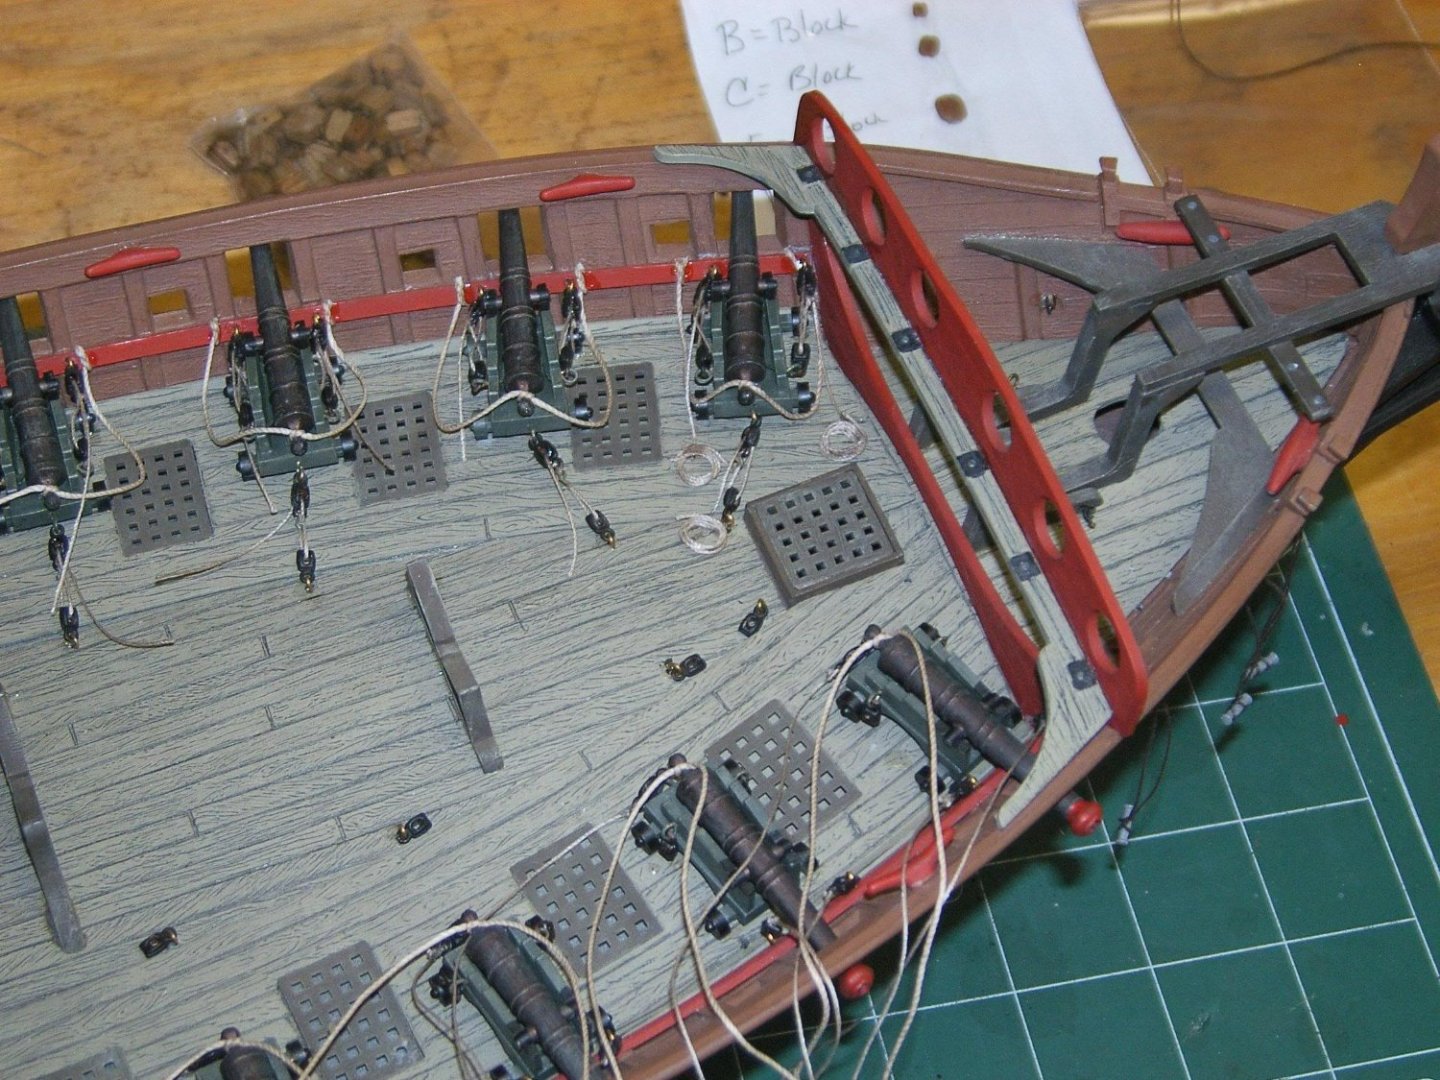
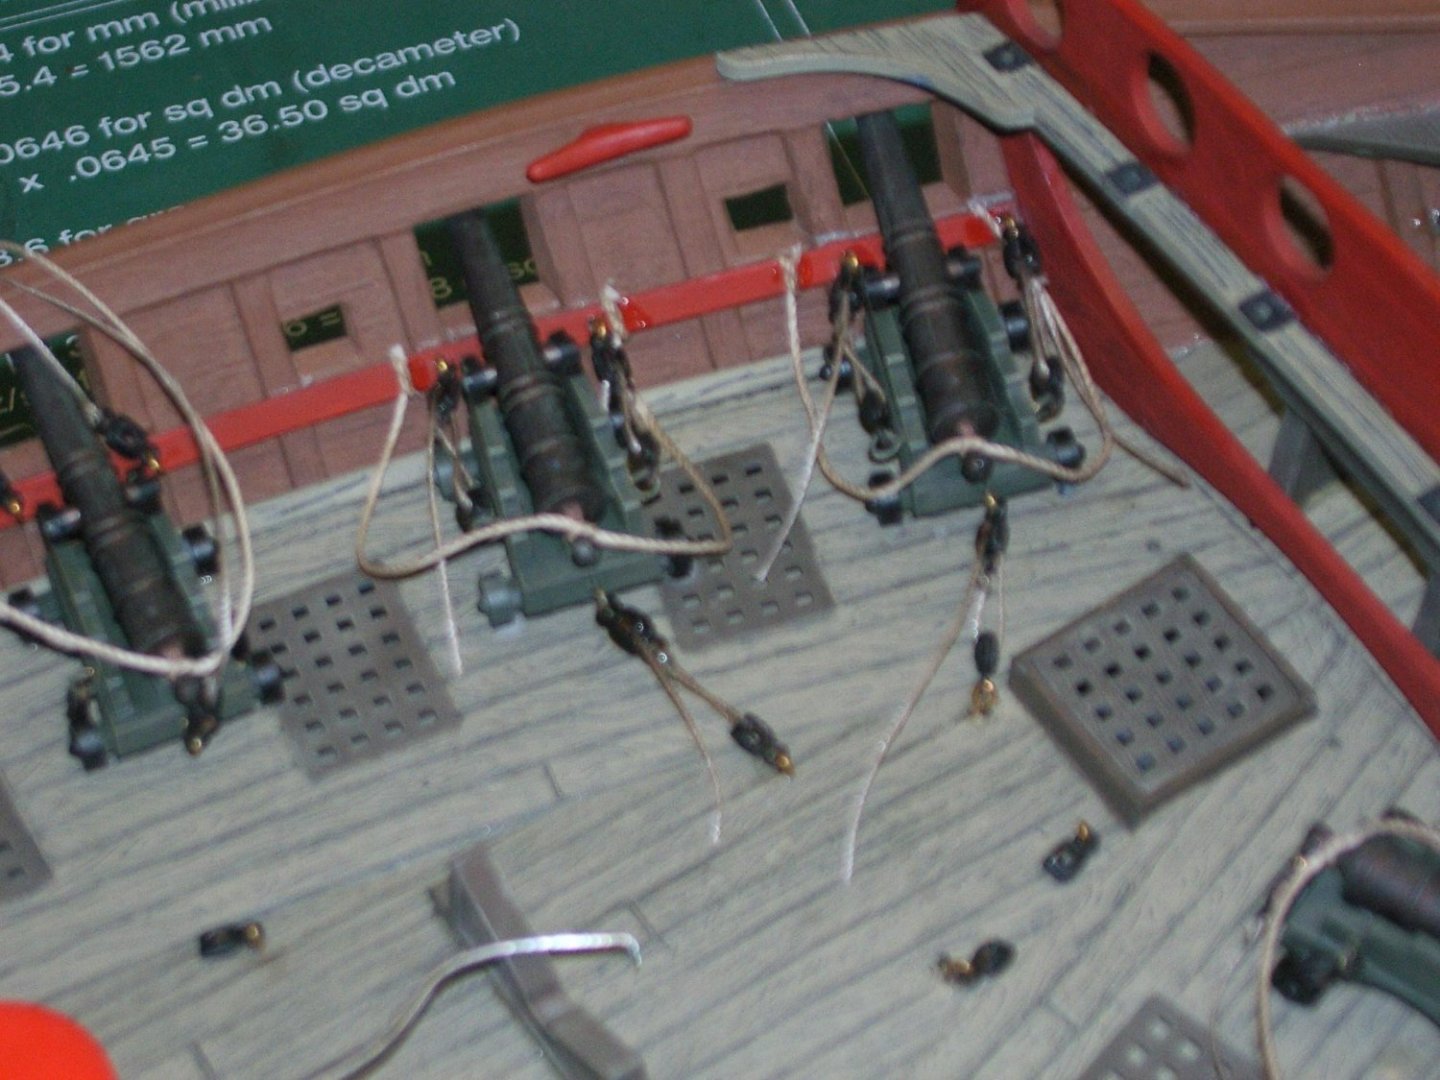
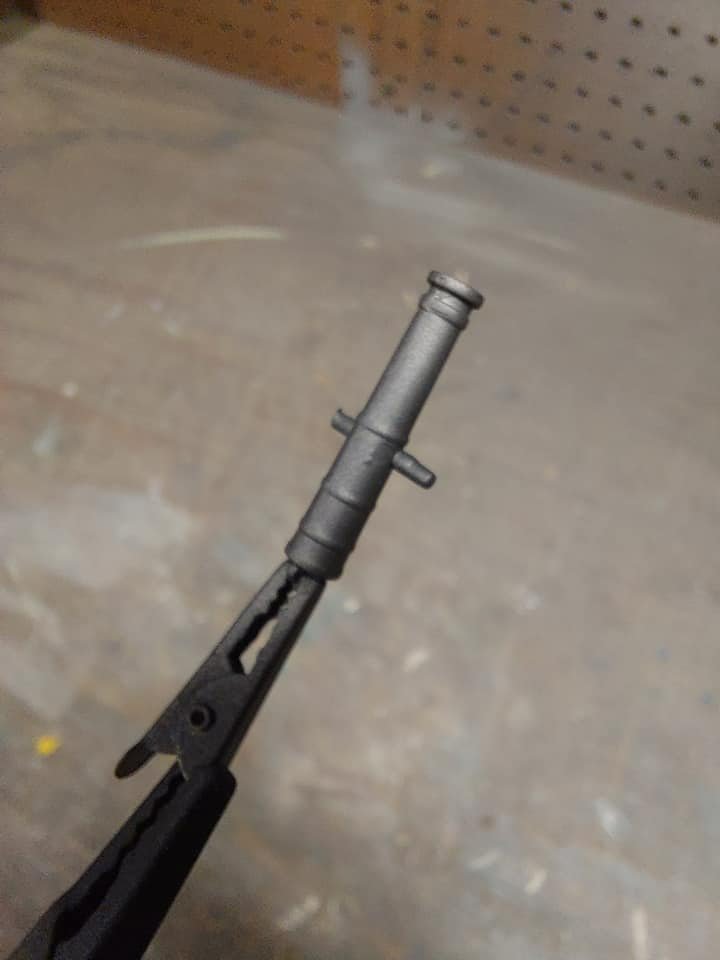
Cannon builds, the guns were large enough to drill out the touch holes. and I was able to fully rig them.


-
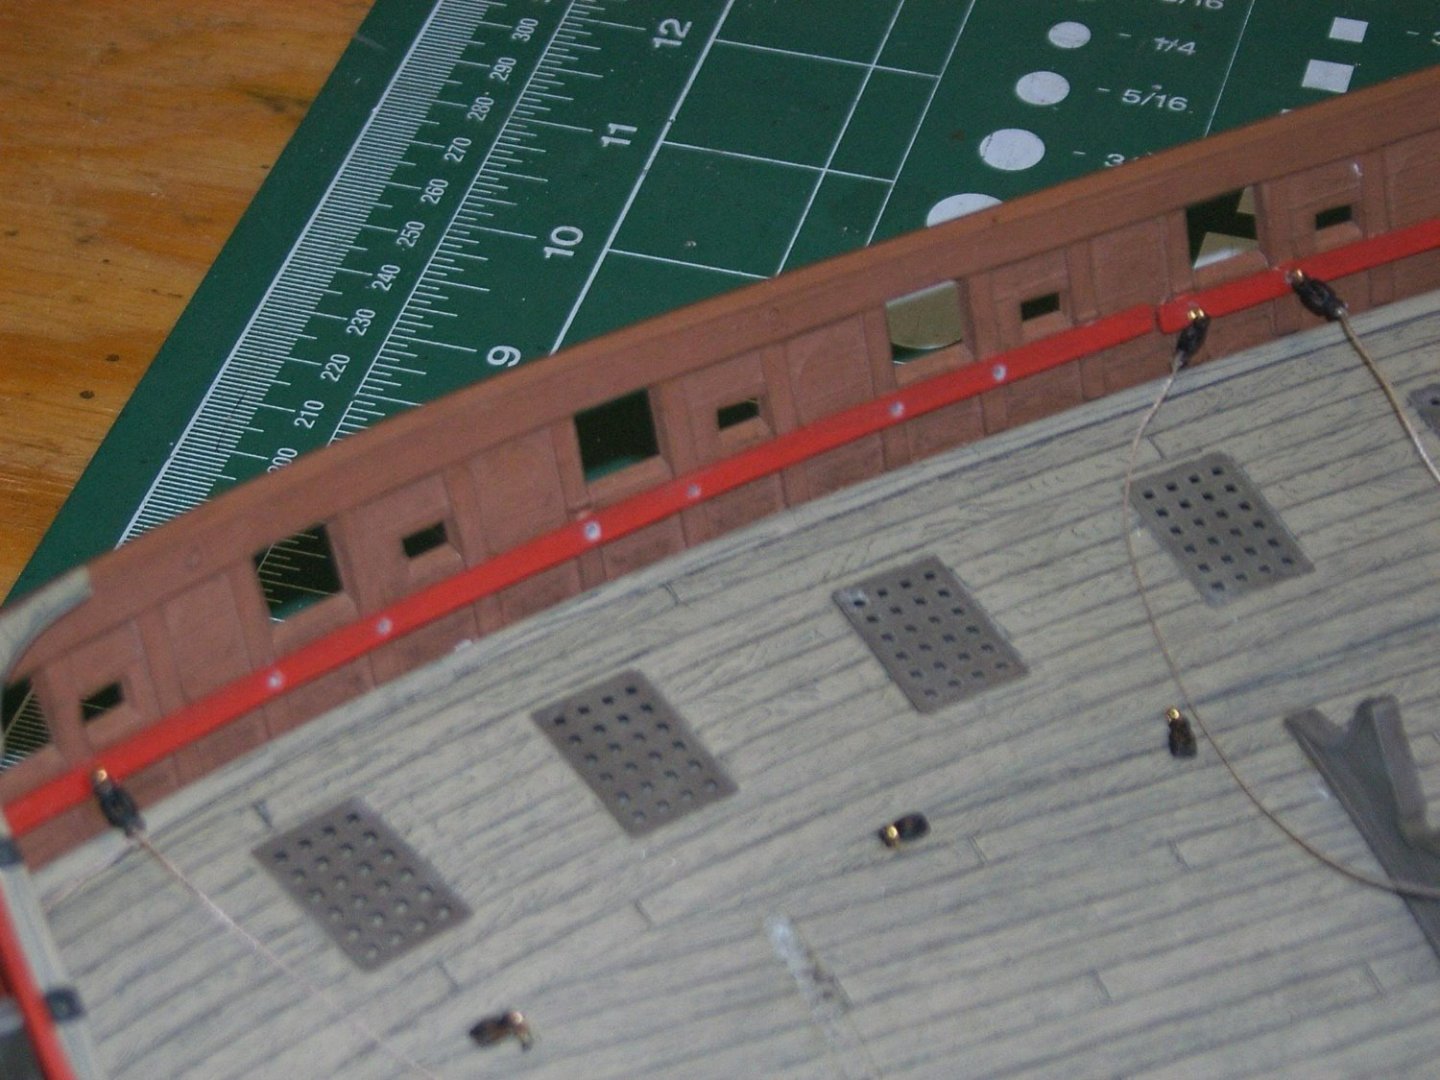
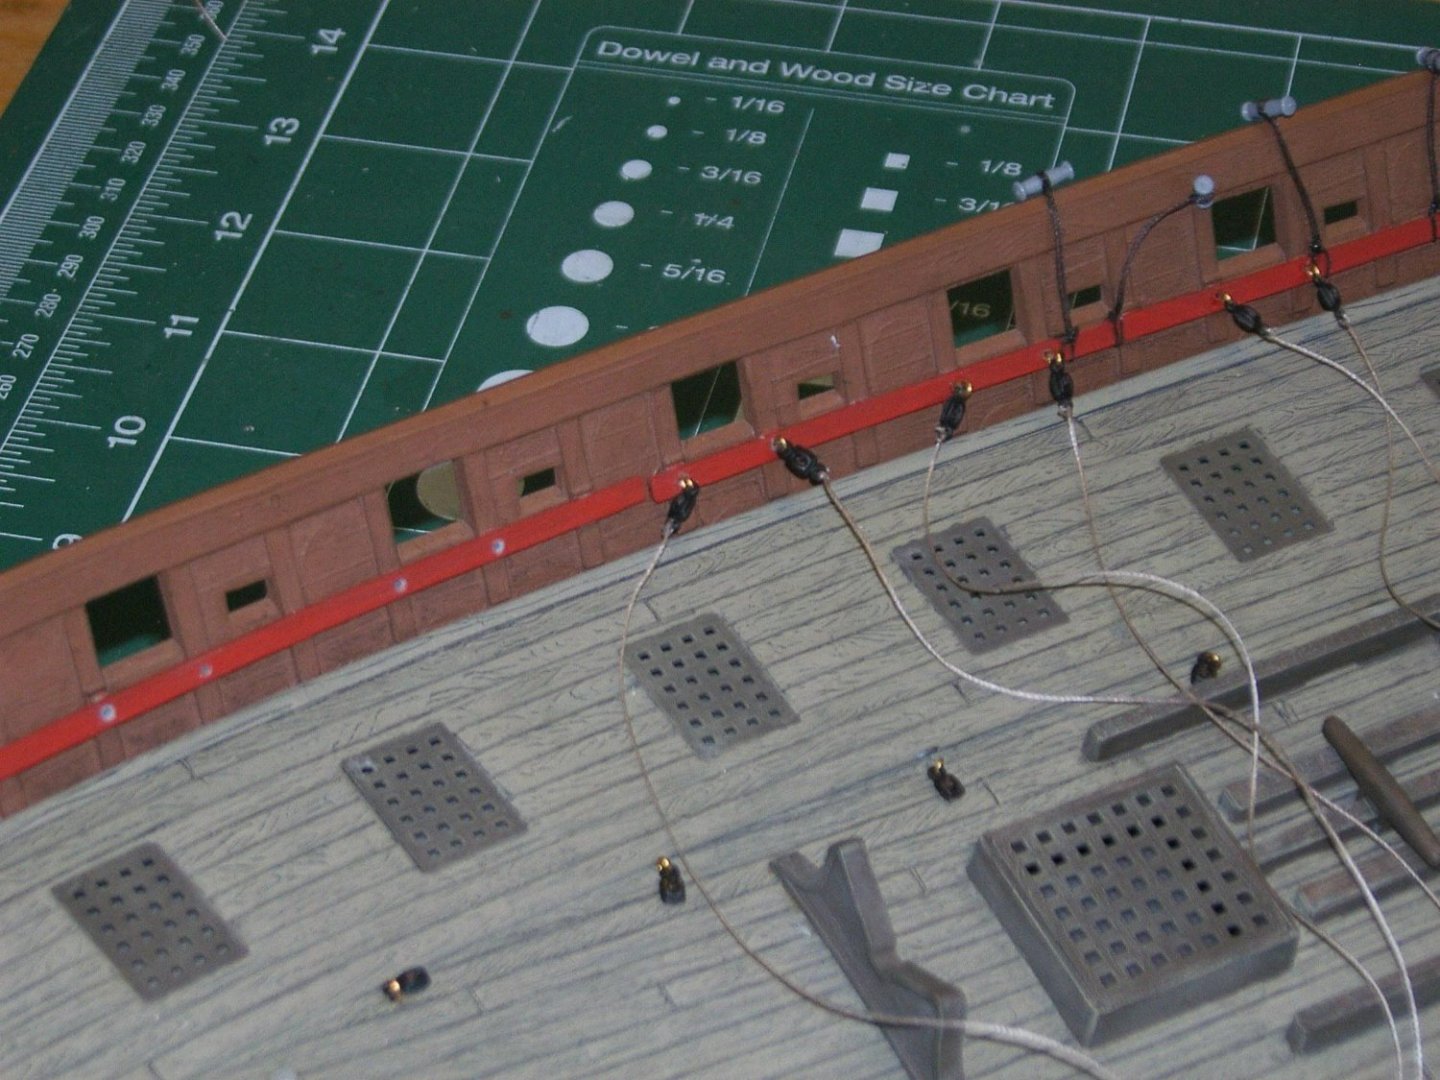
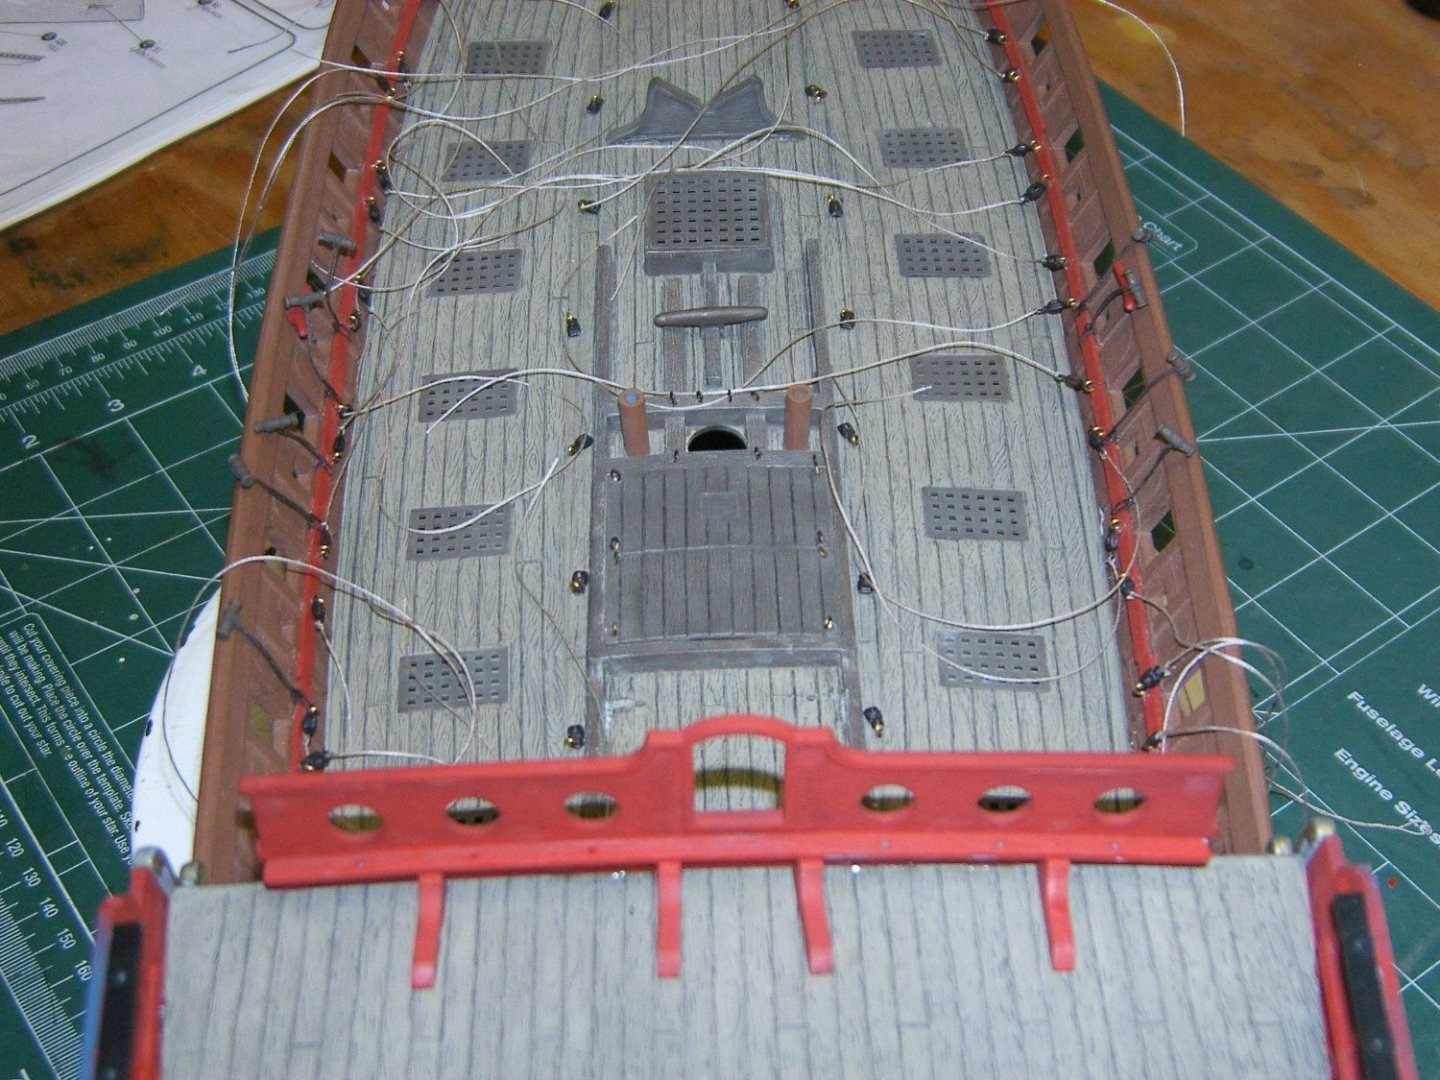
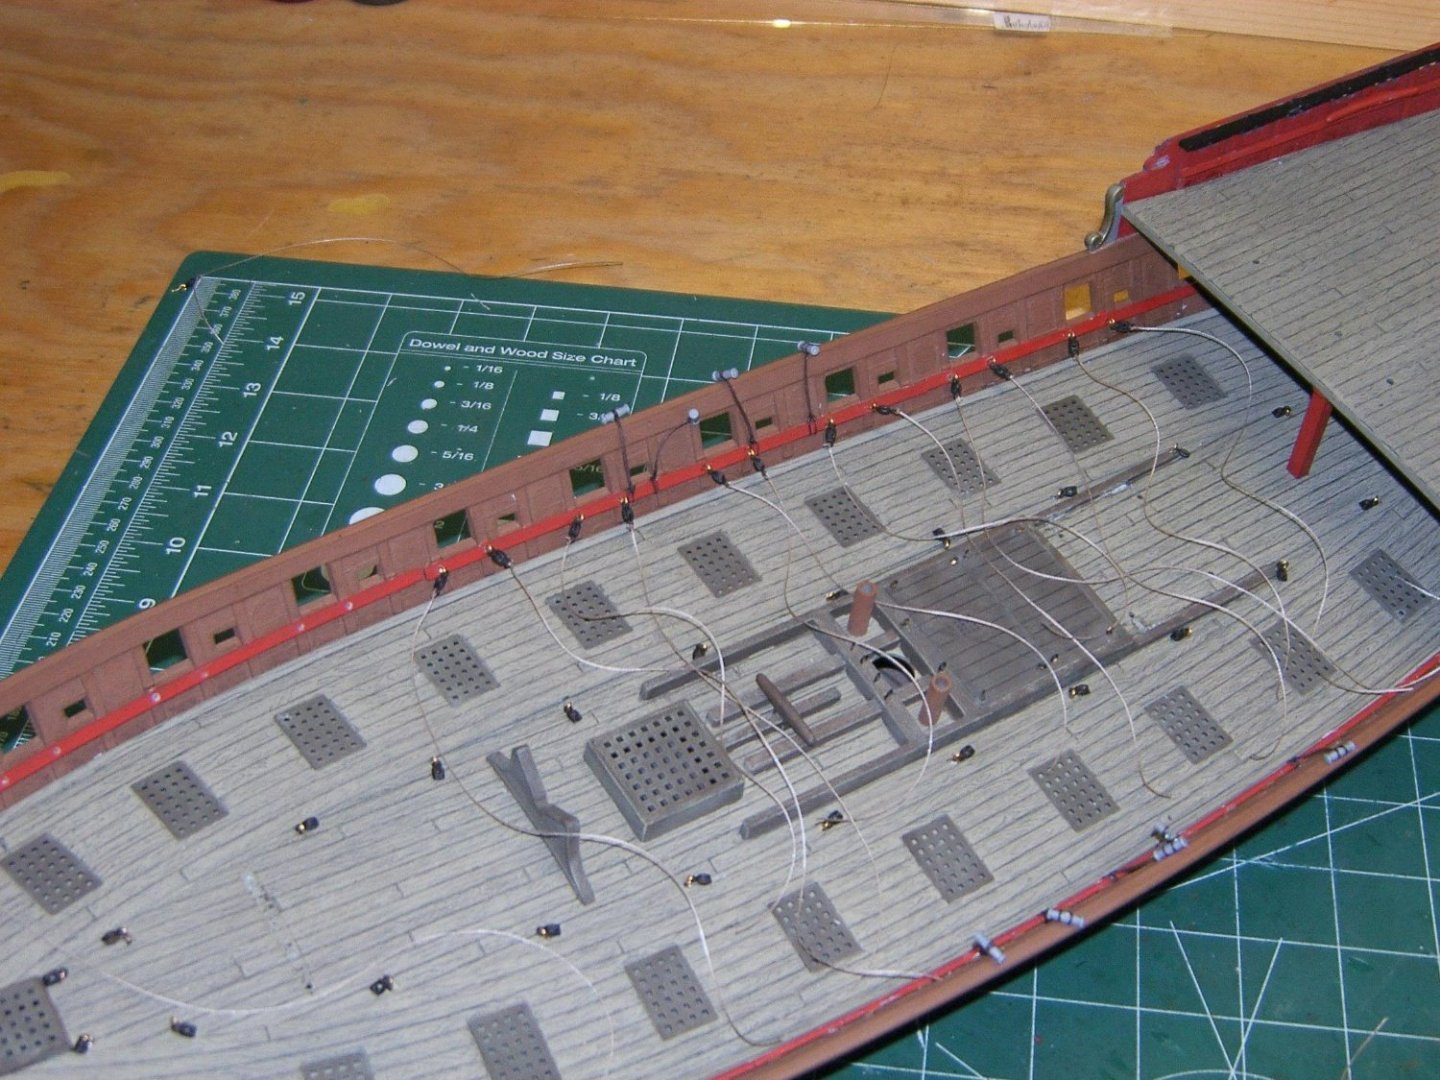
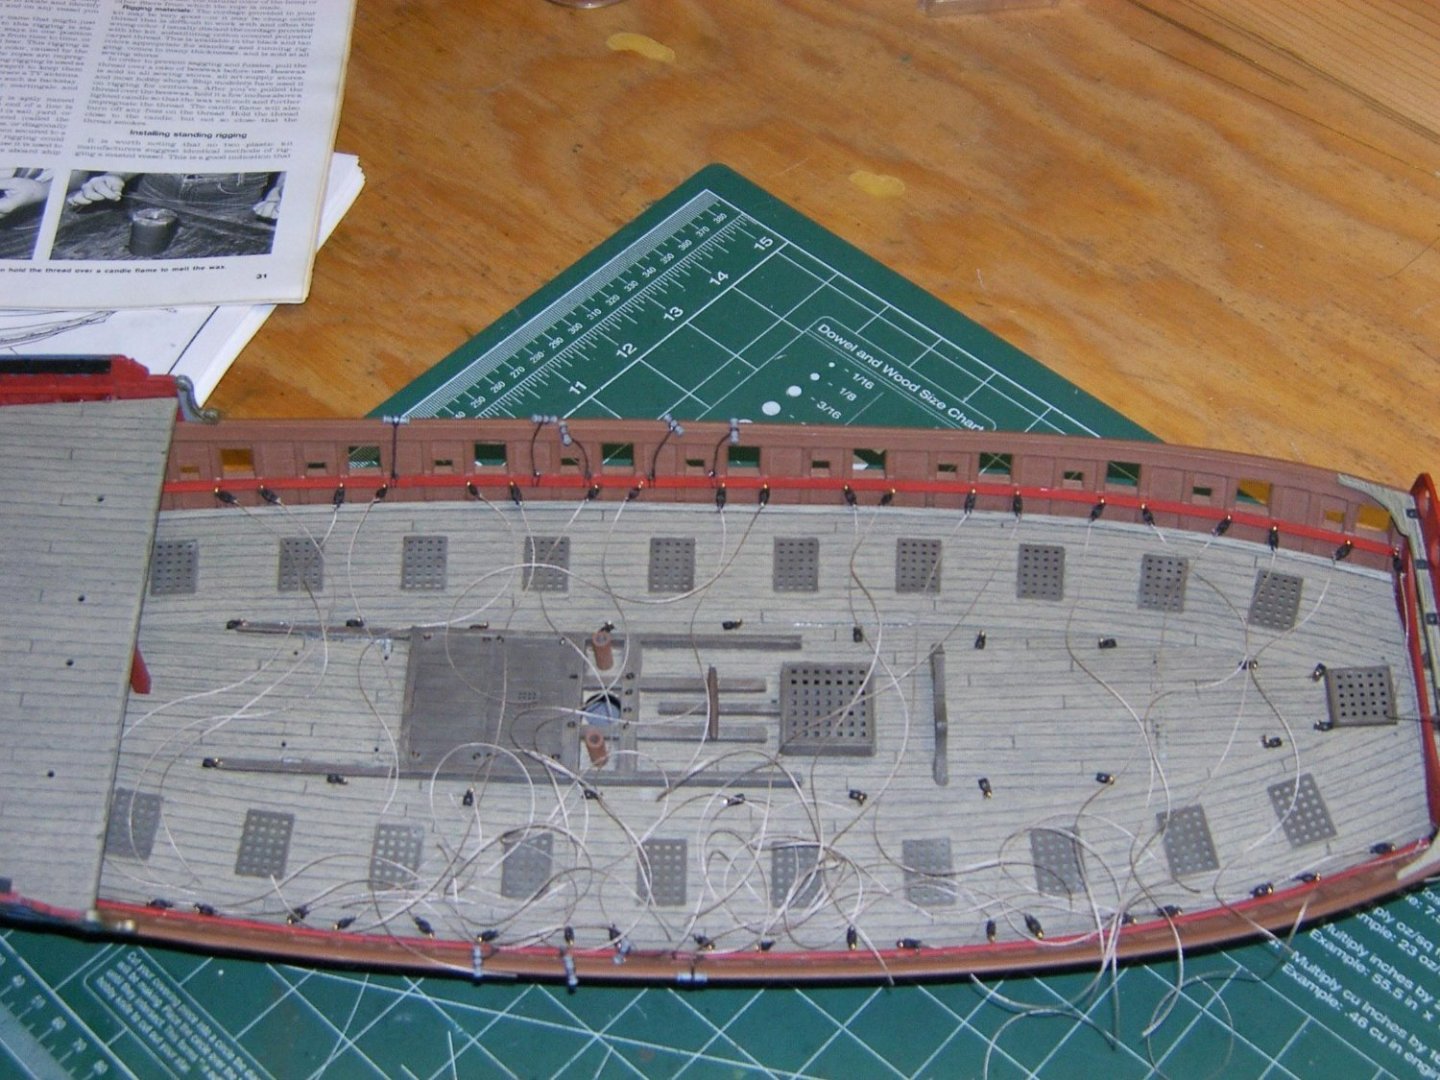
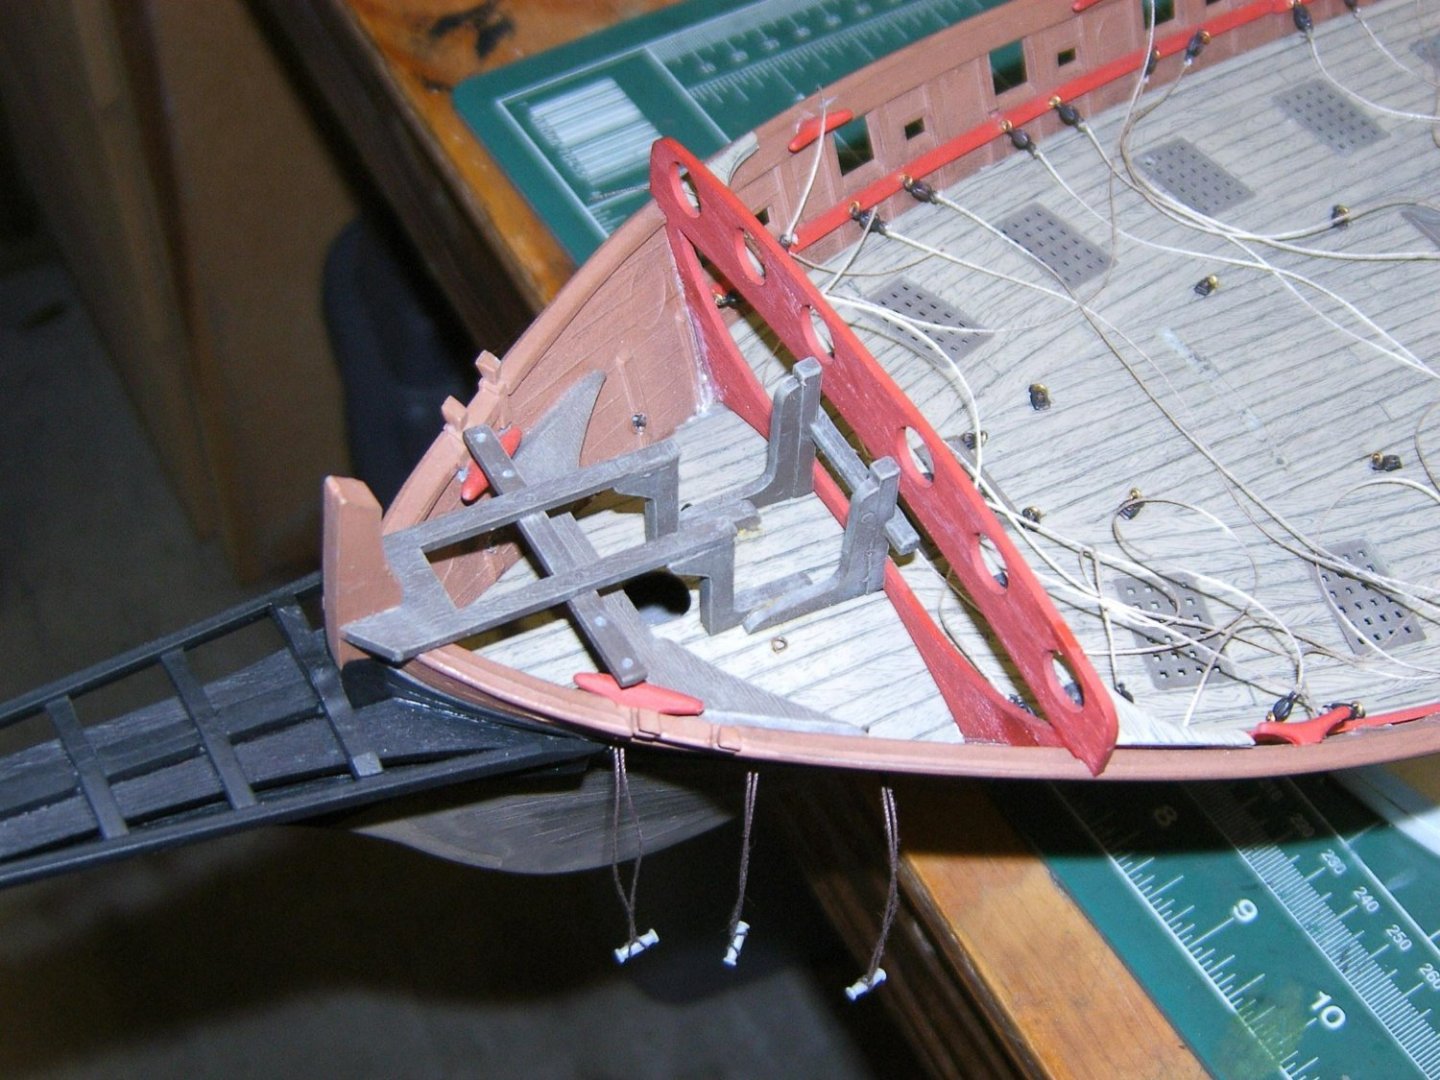
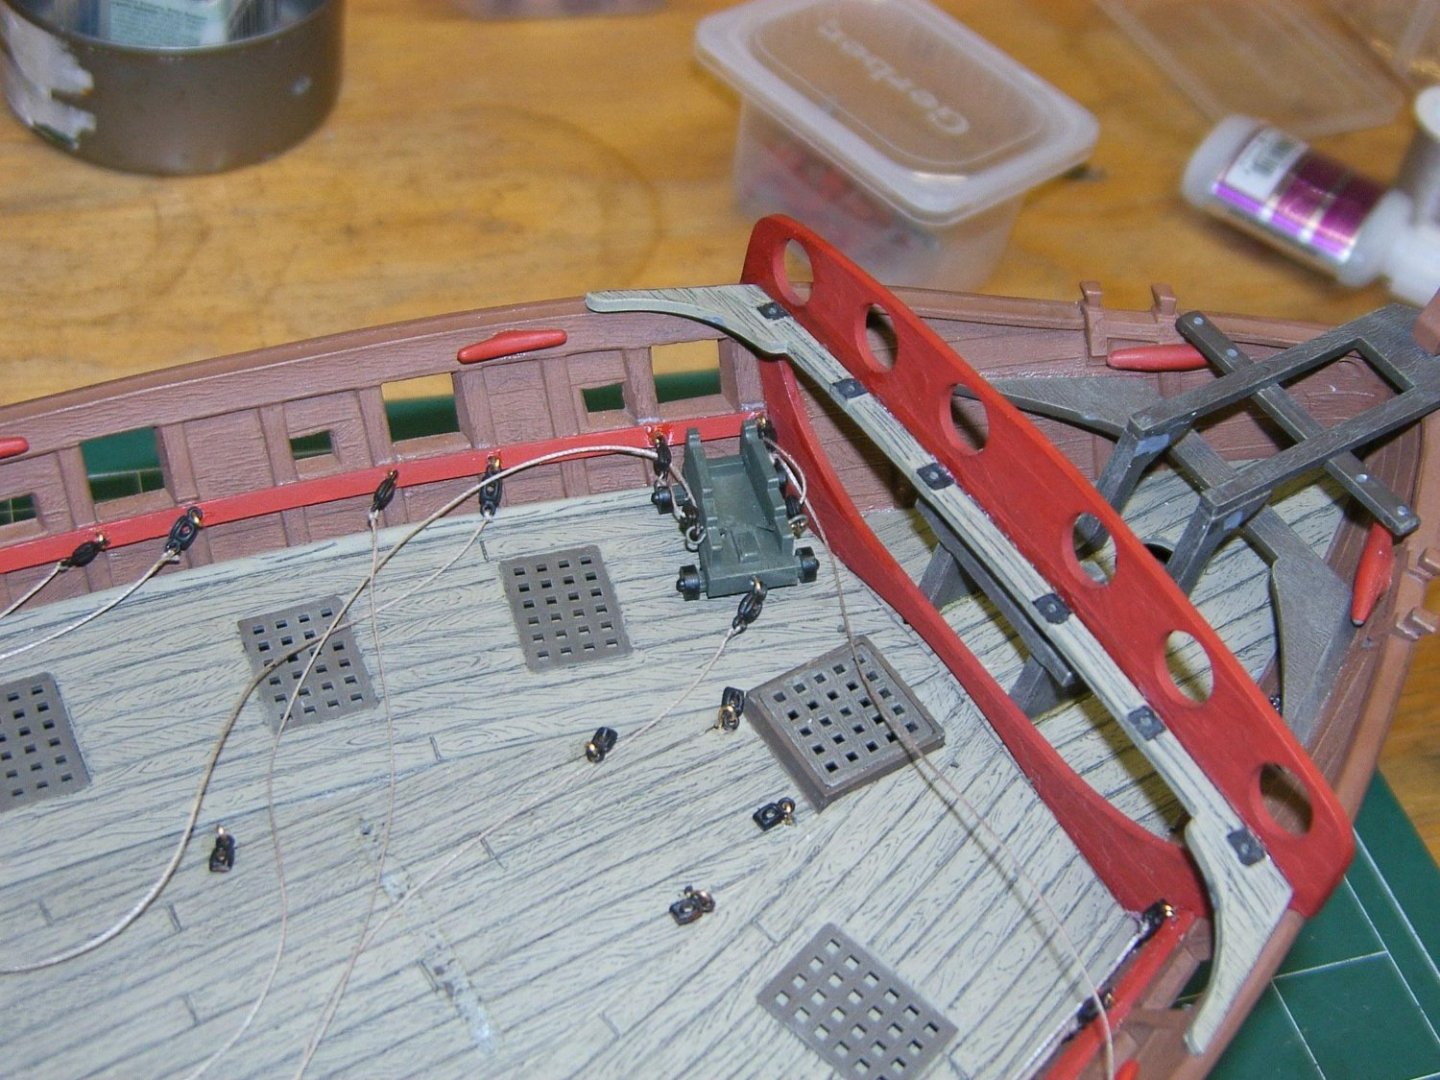
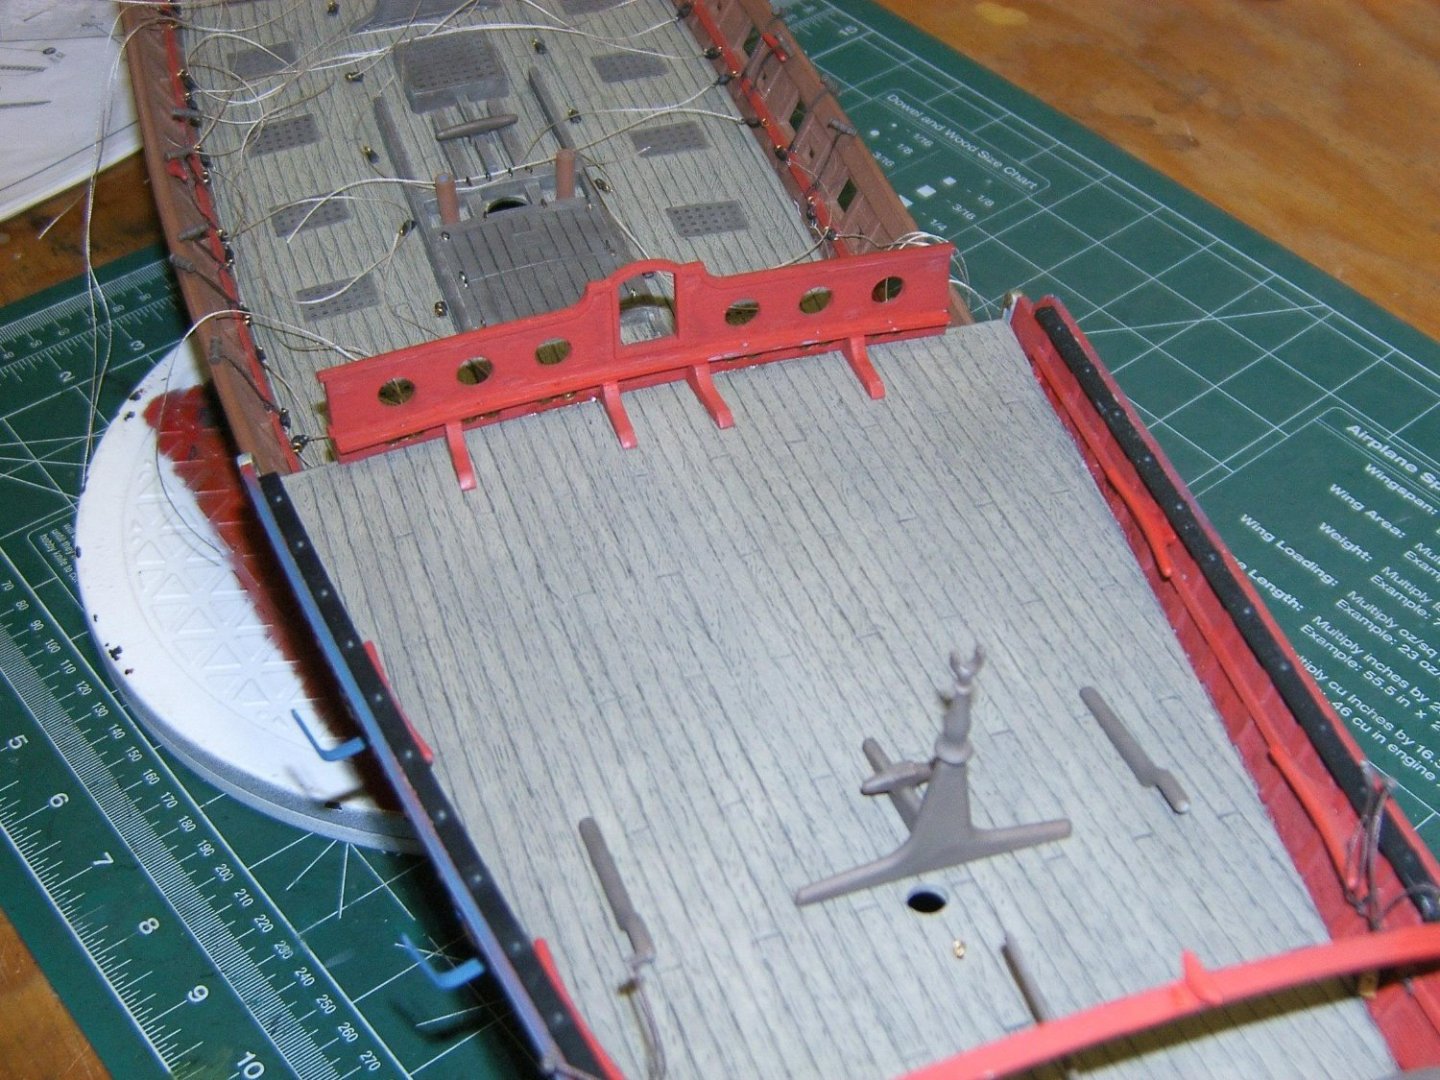
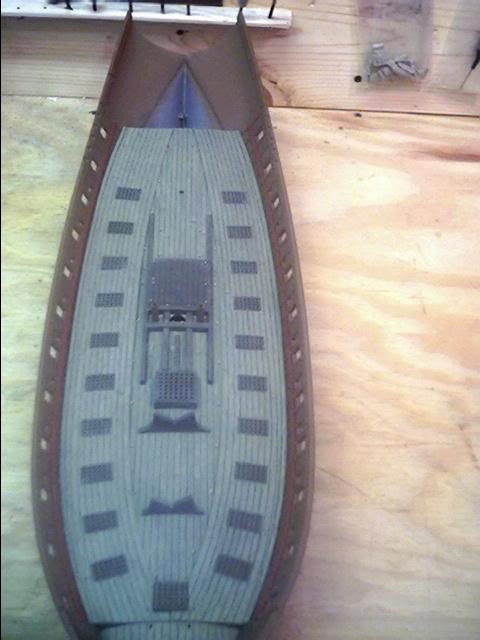
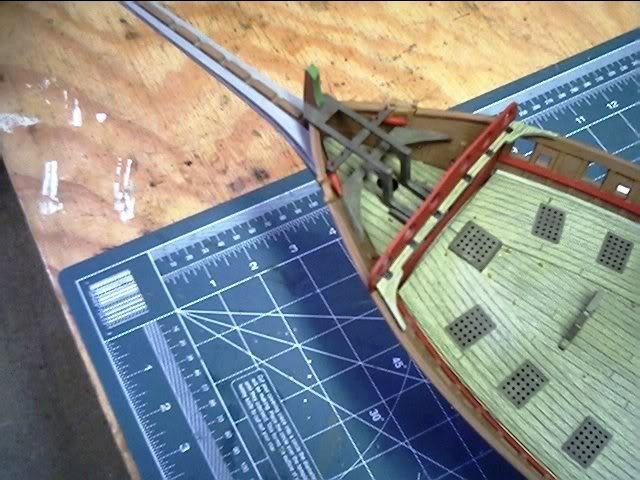
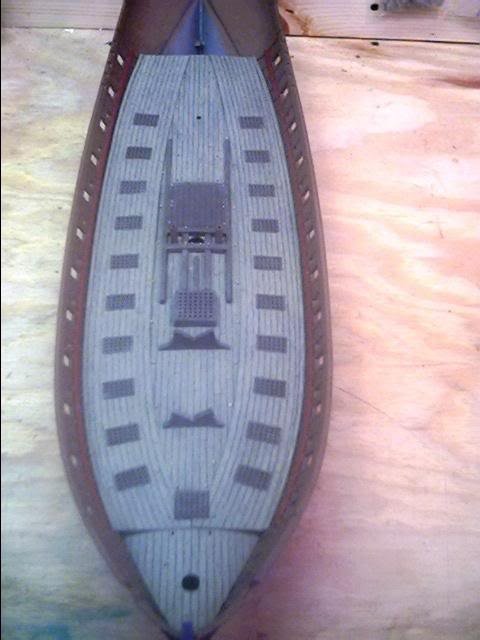
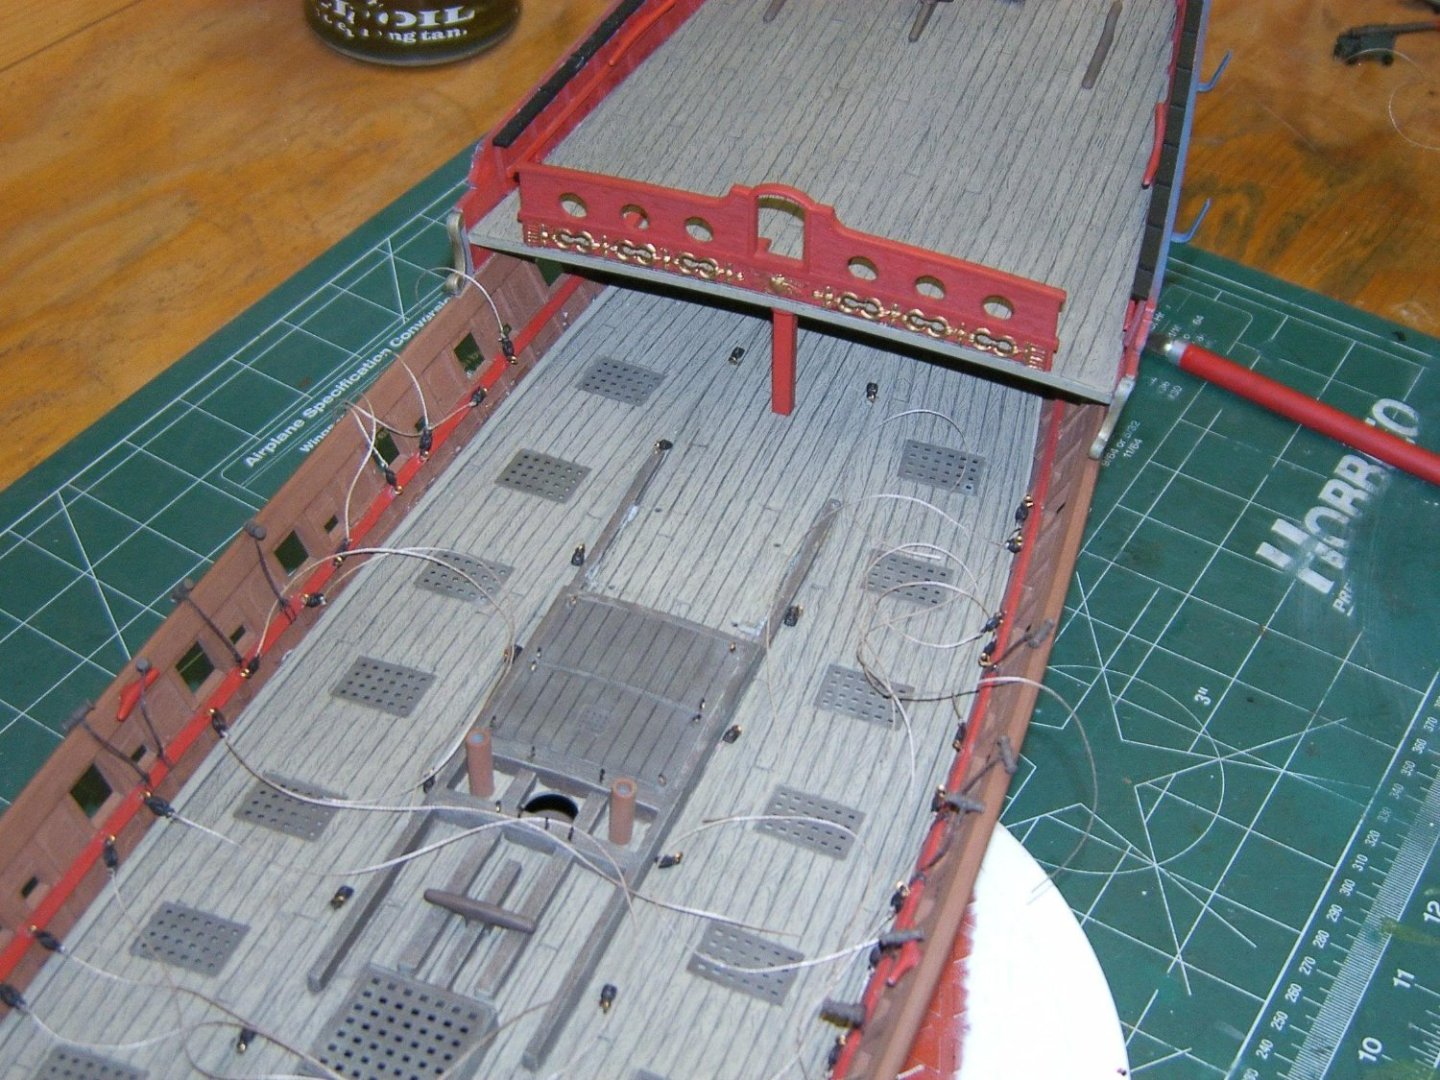
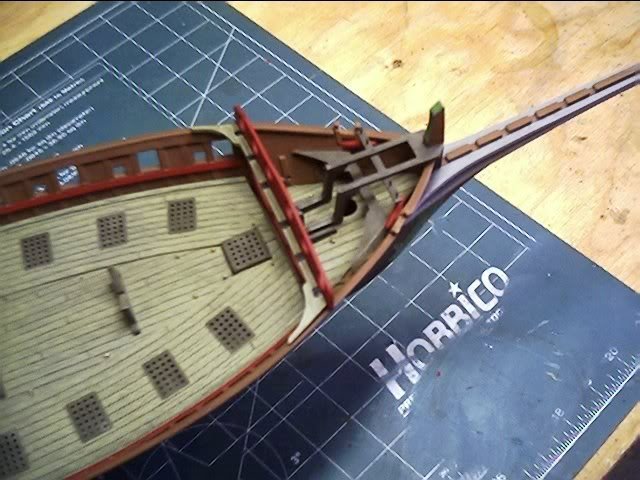
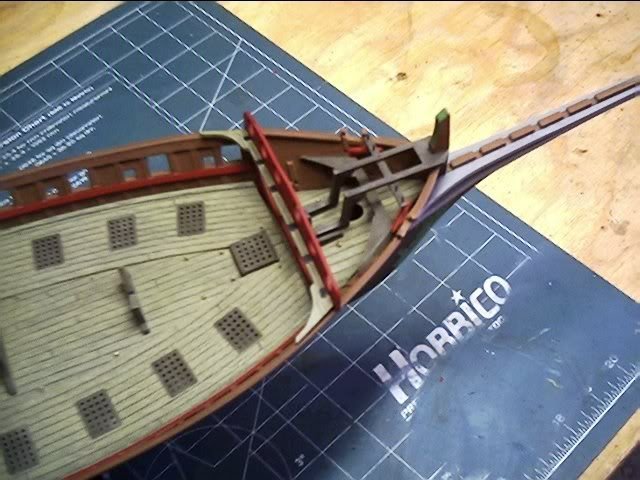
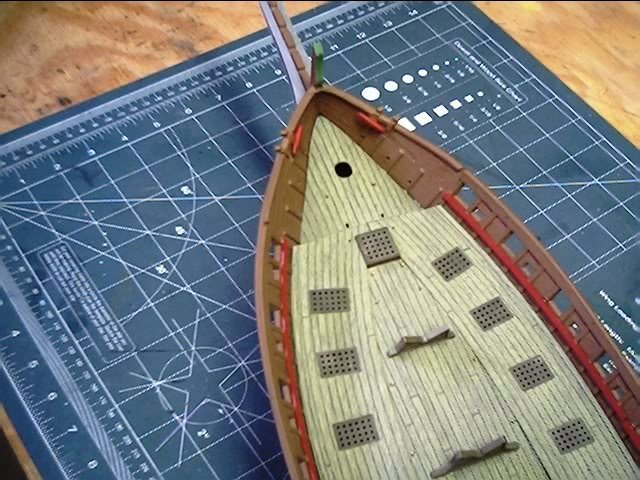
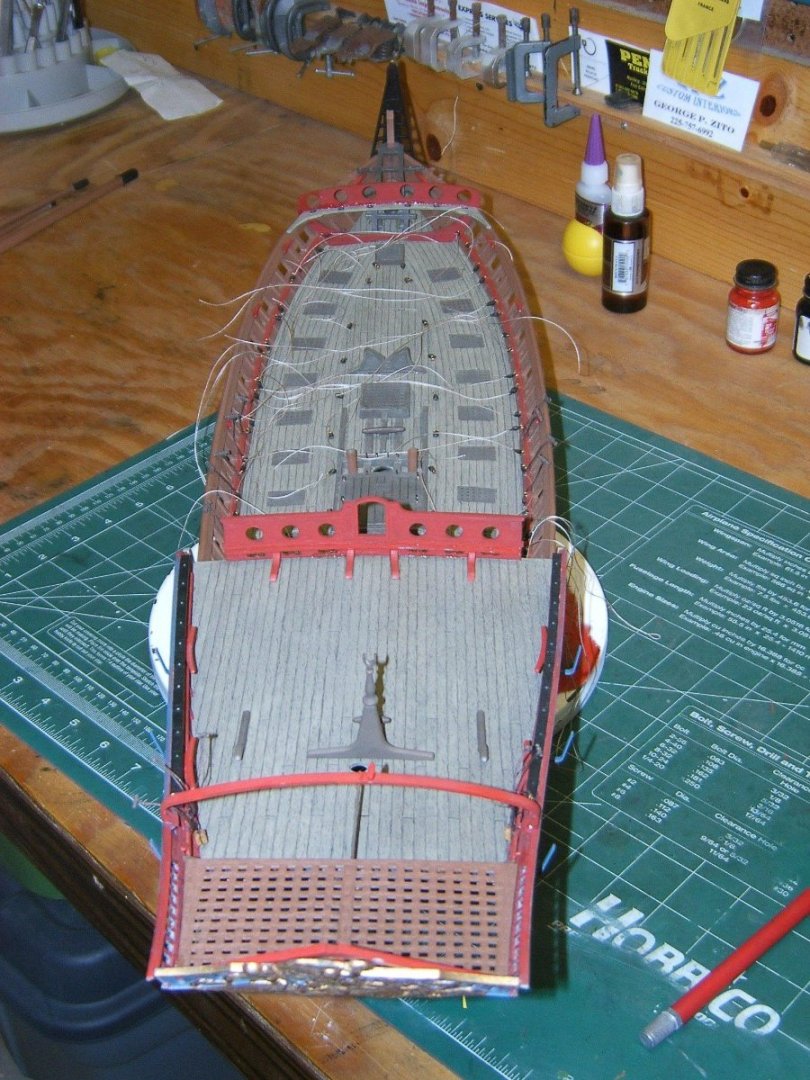
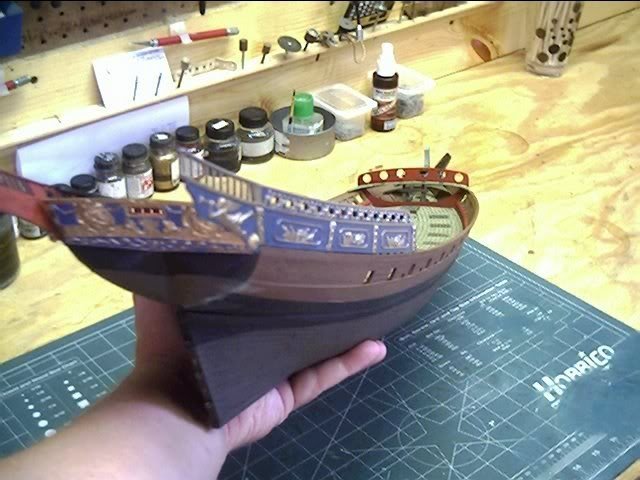
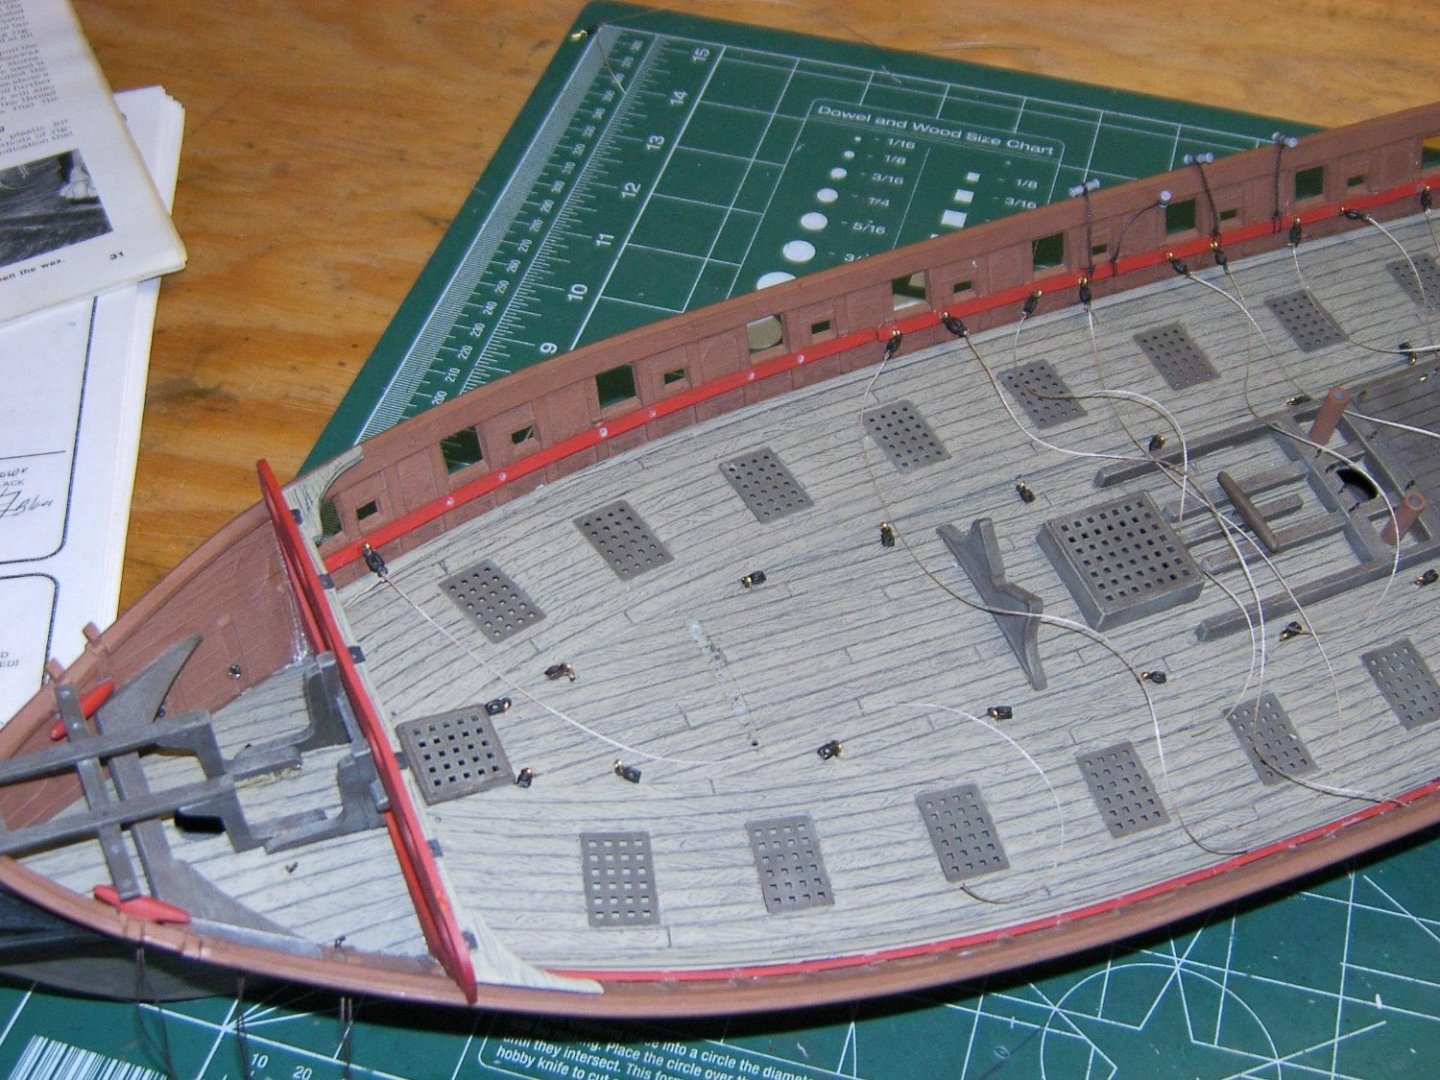
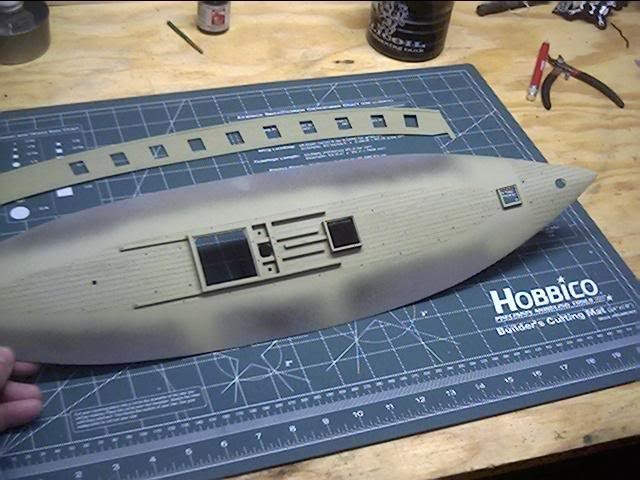
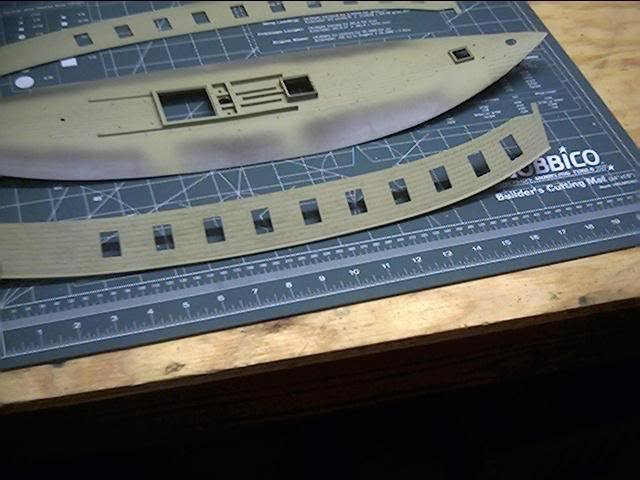
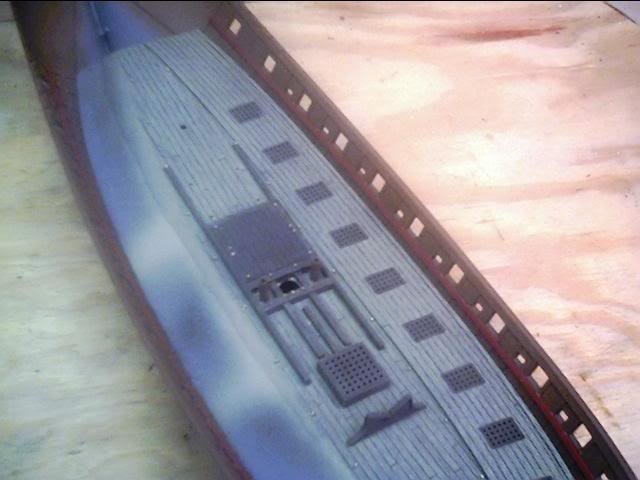
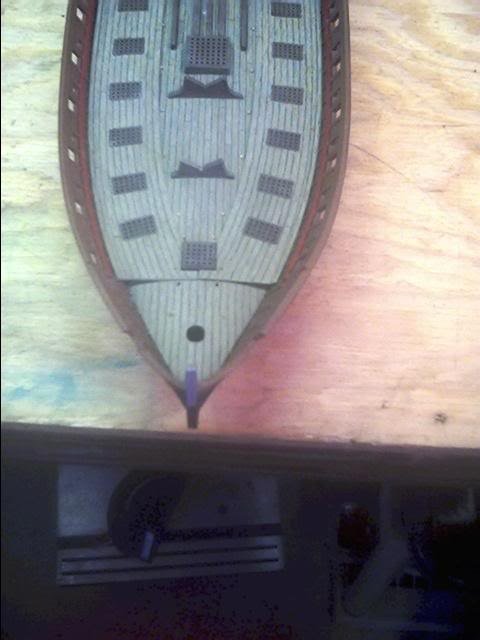
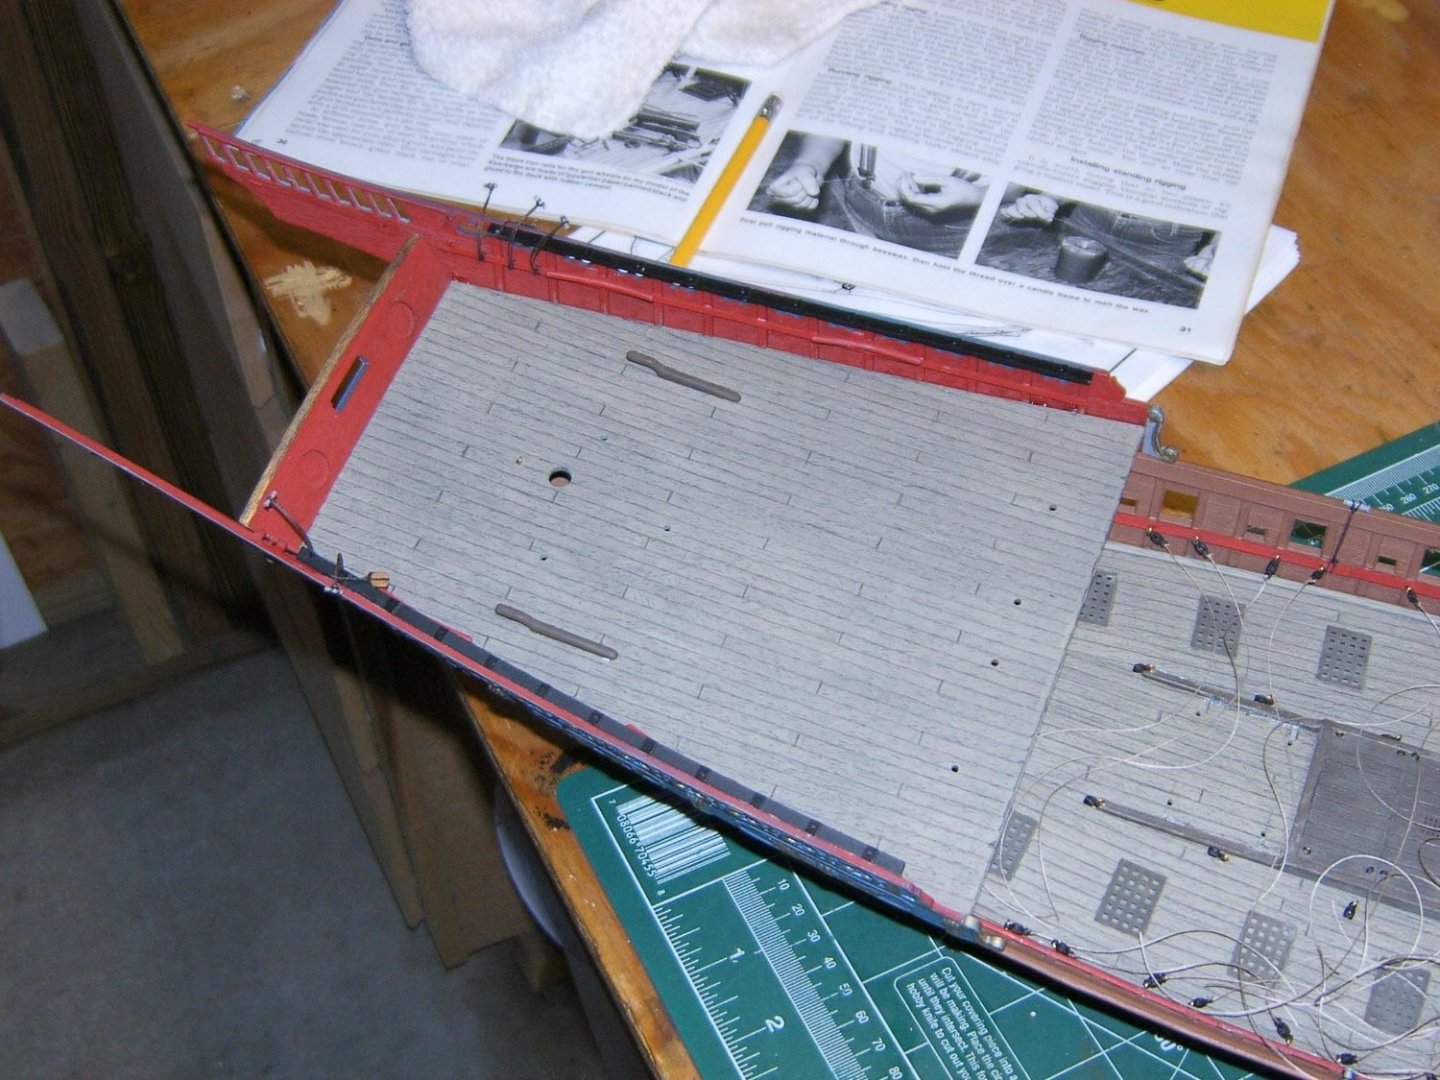
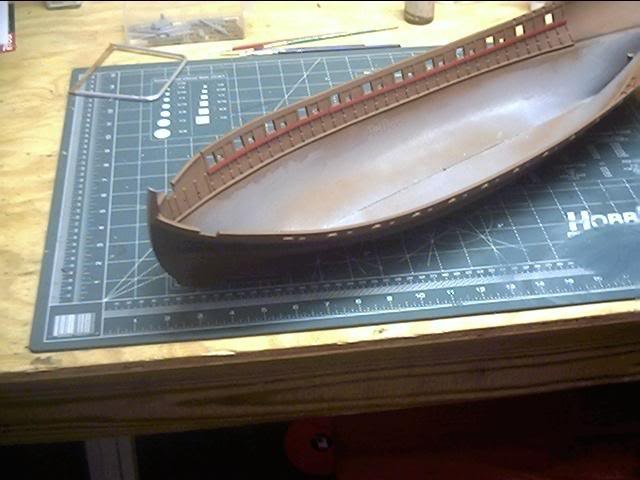
These pics show various hull and decking detail after assembly


-
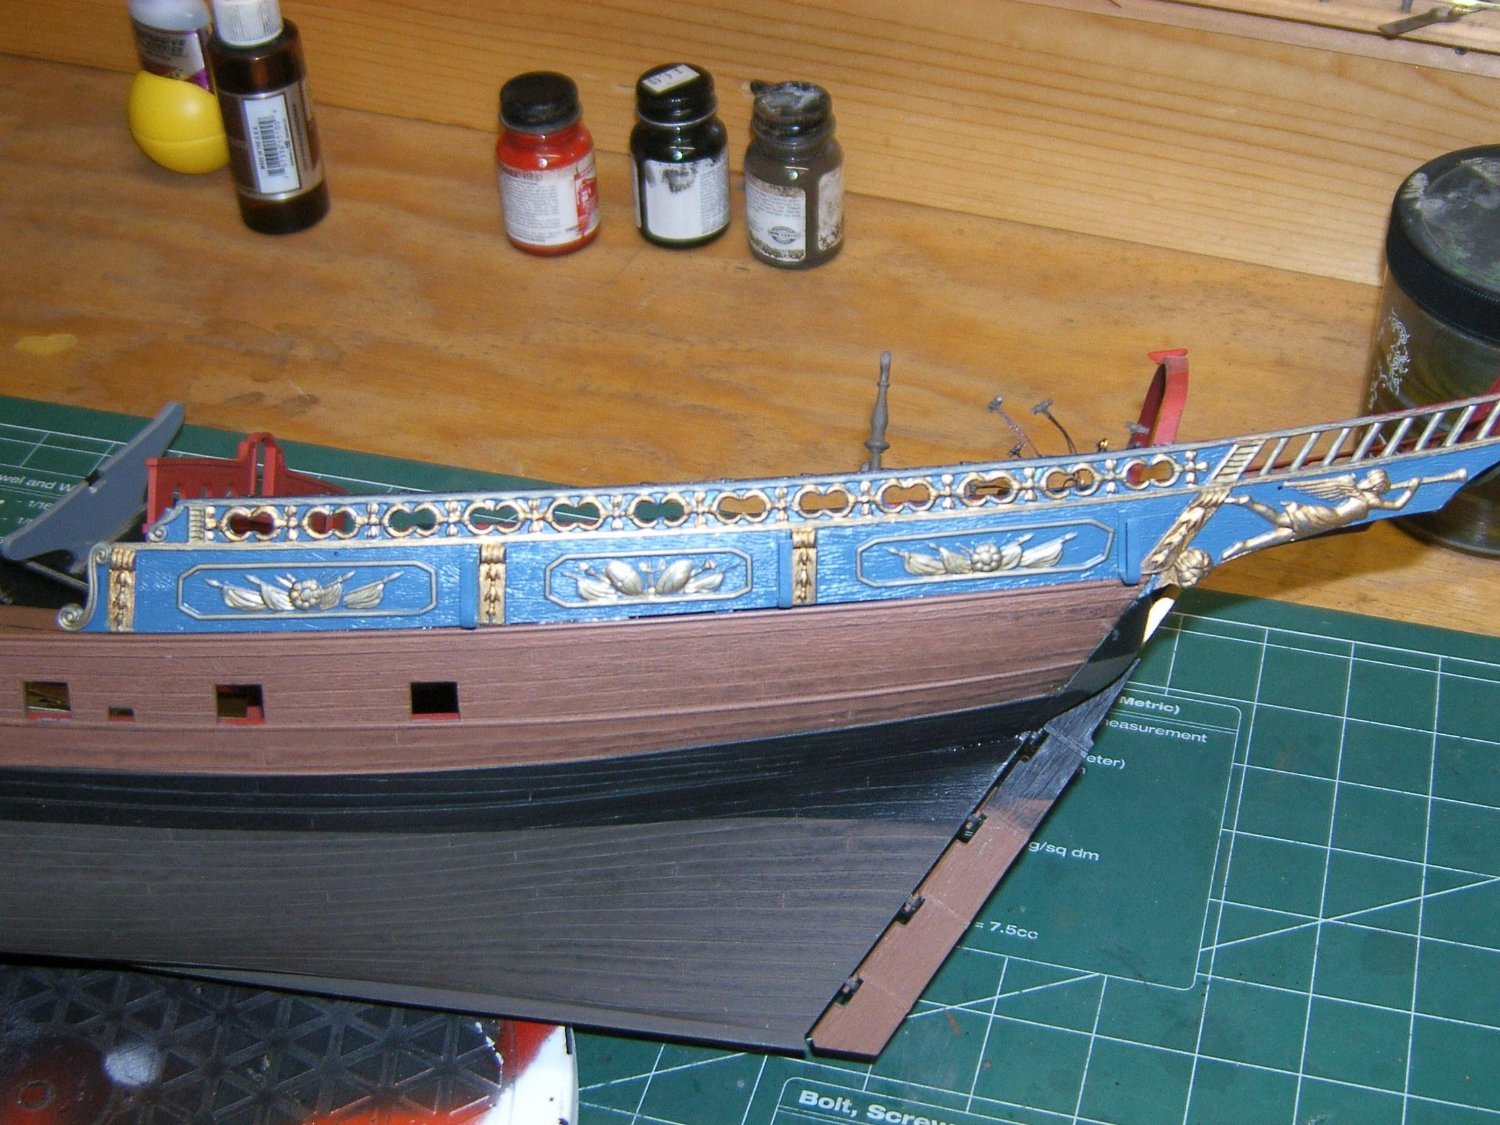
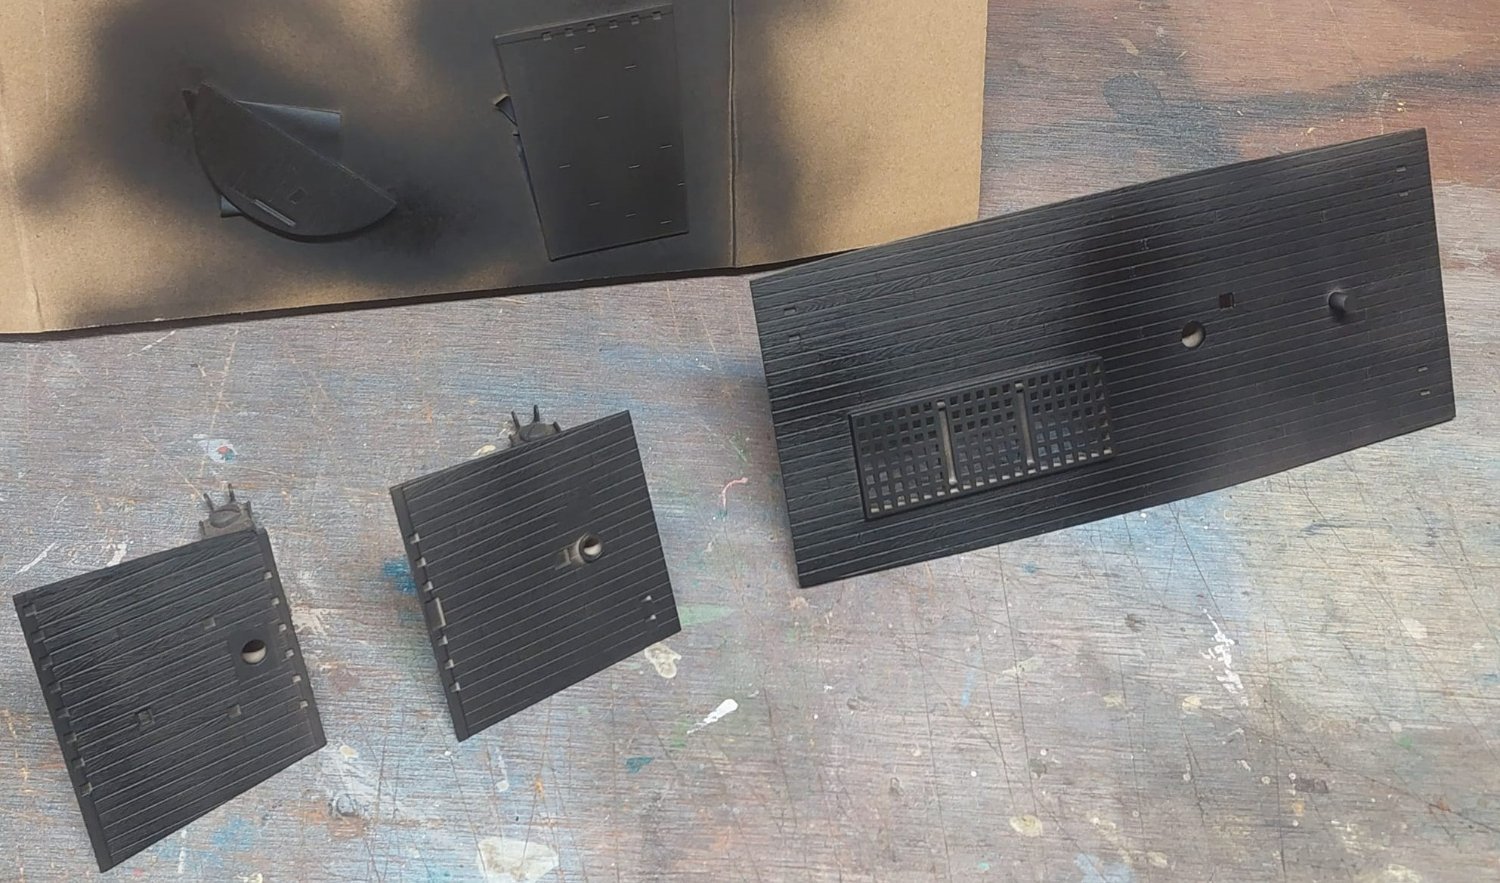
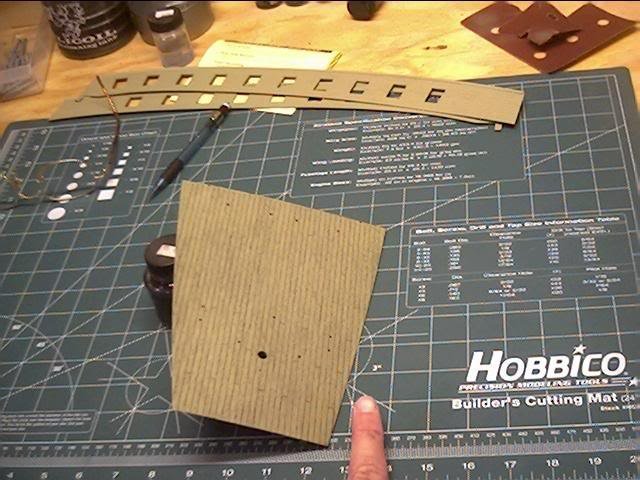
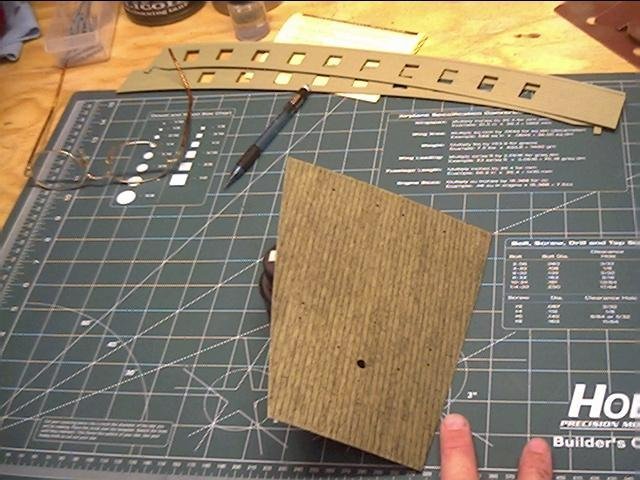
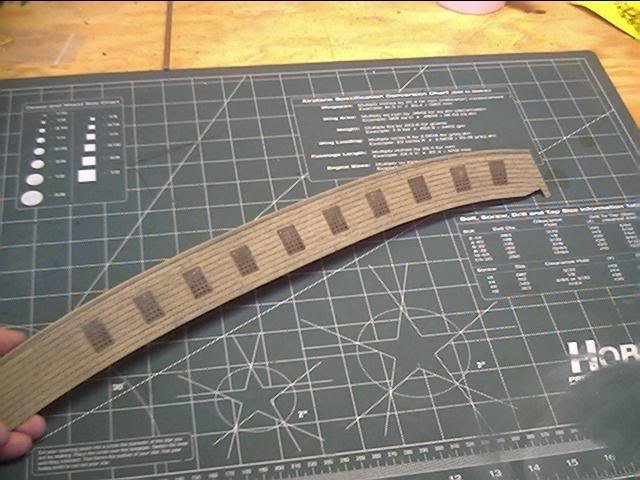
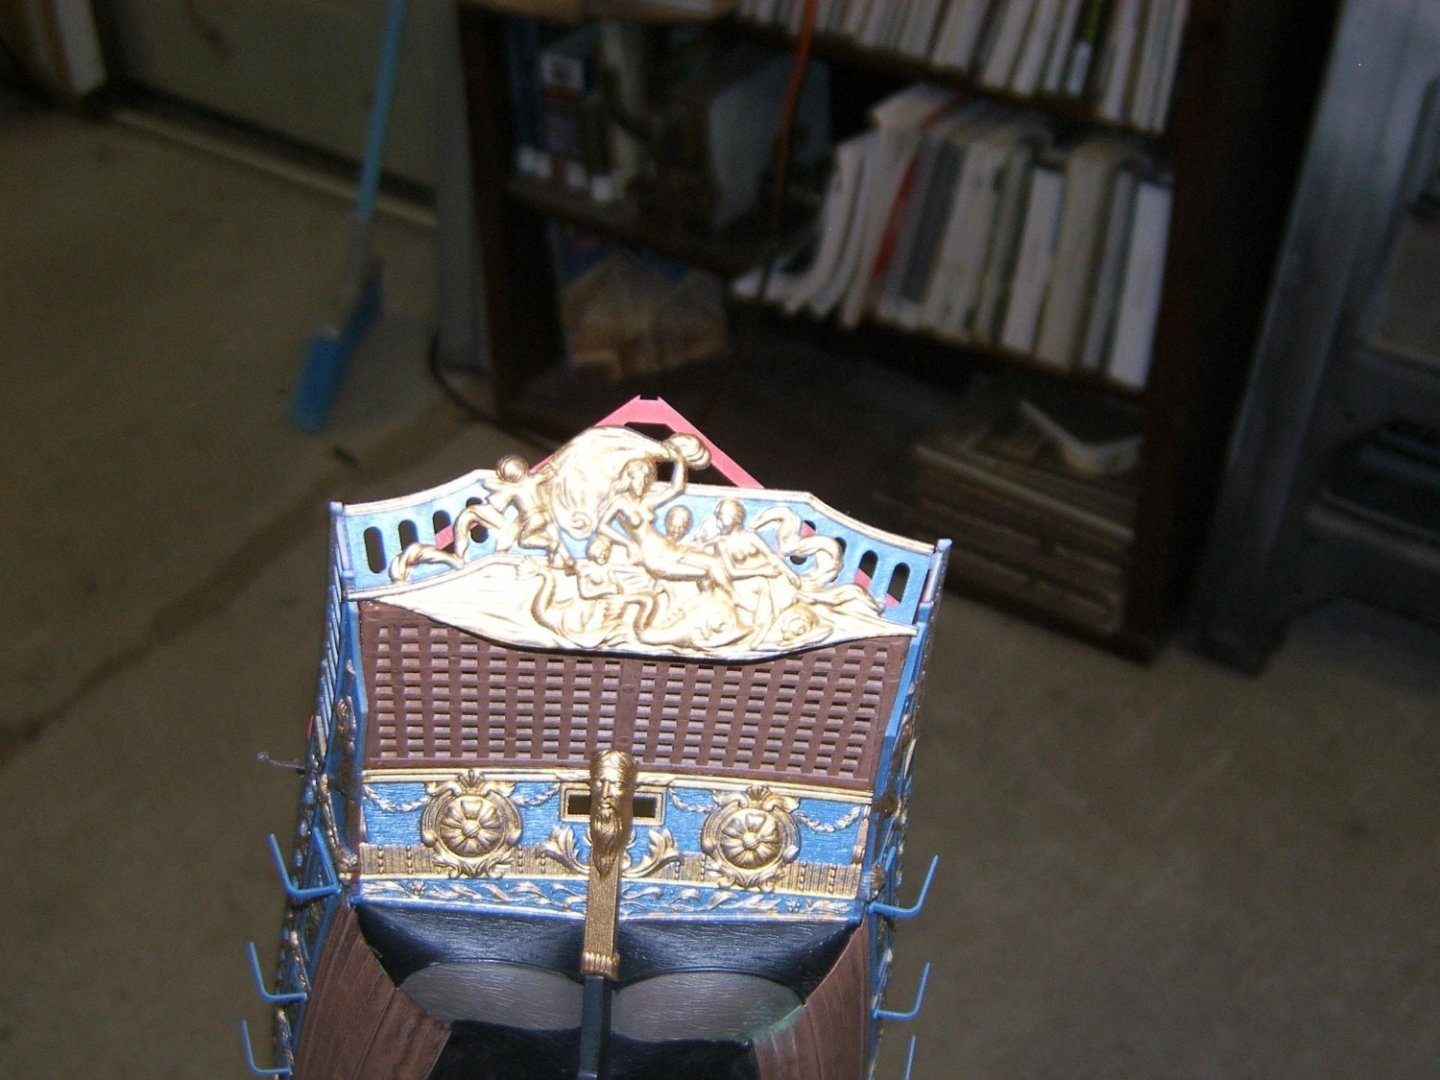
These pics are the decking detail. The painting technic I used is from an old Kalmbach booklet entitled "How to Build Plastic Ship Model", long out of print and unfortunately never to be reprinted due to a suit. Decks get a coat of Testors Flat Black, lets dry 48 hours and then topcoat with your desired tan/sand/ etc. I used Armor Sand, because it finishes light enough to still detail with a mechanical pencil and a dark water wash.


-
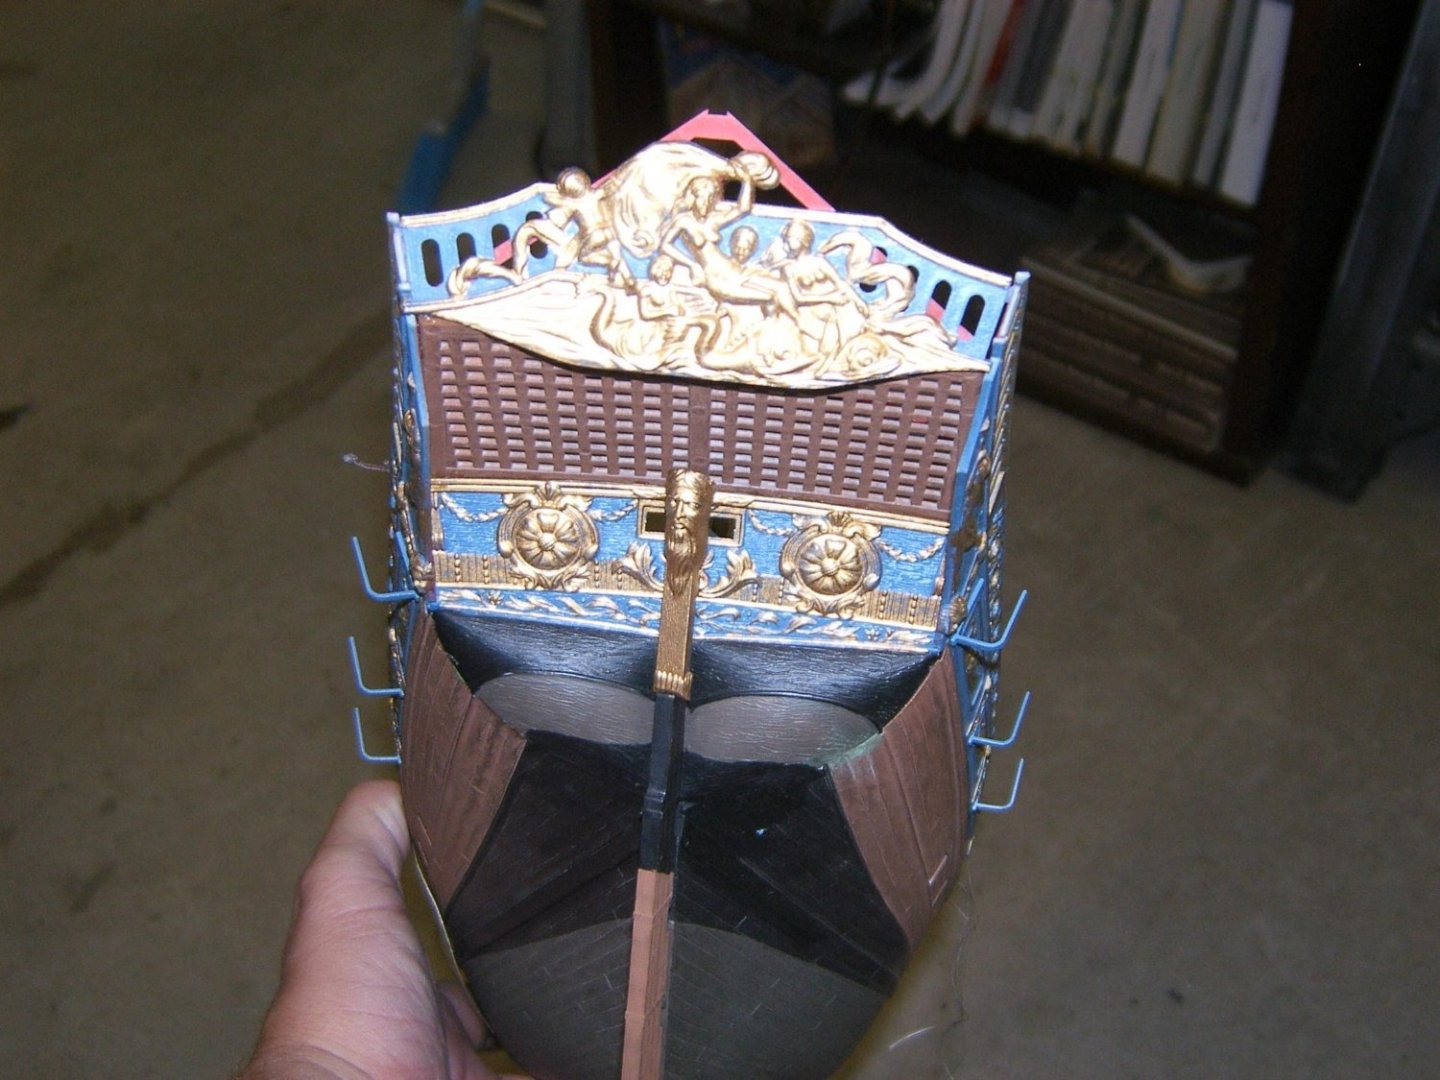
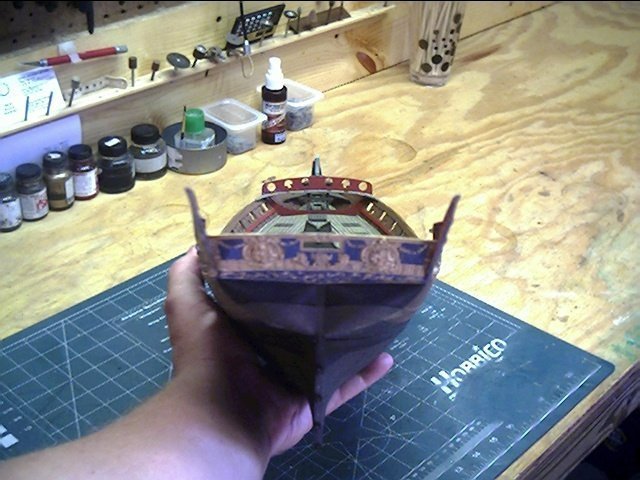
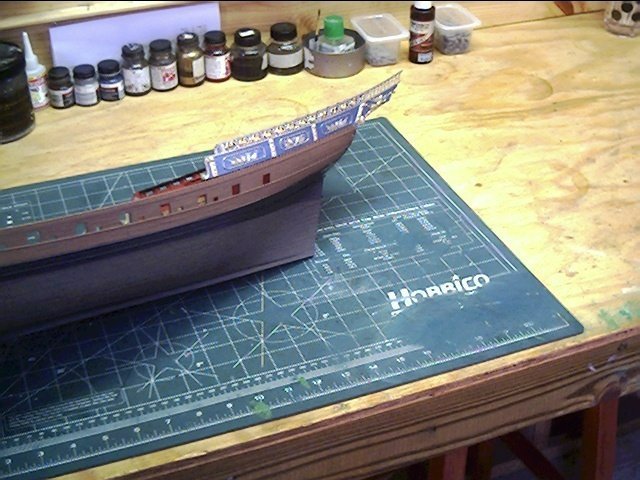
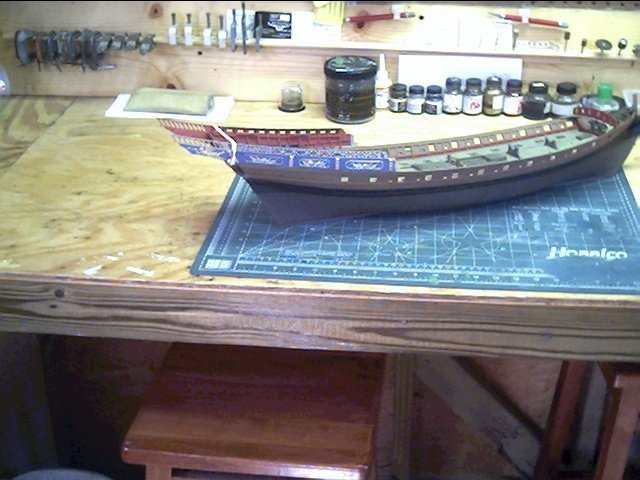
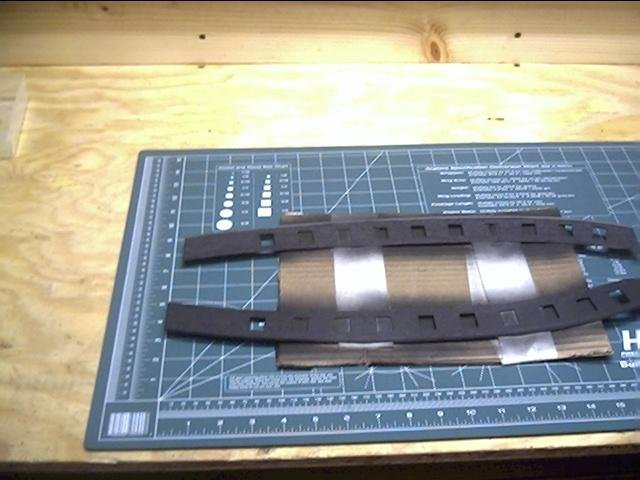
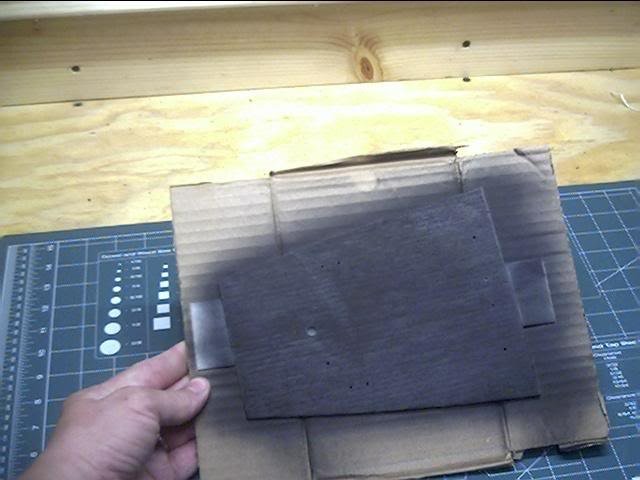
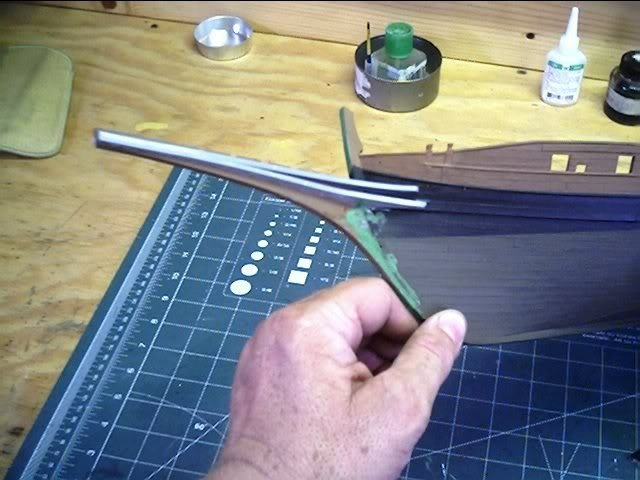
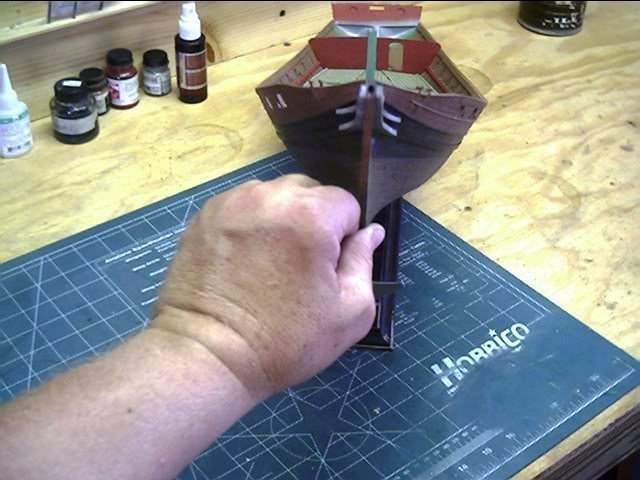
These pics show various hull prep and painting stages.


-
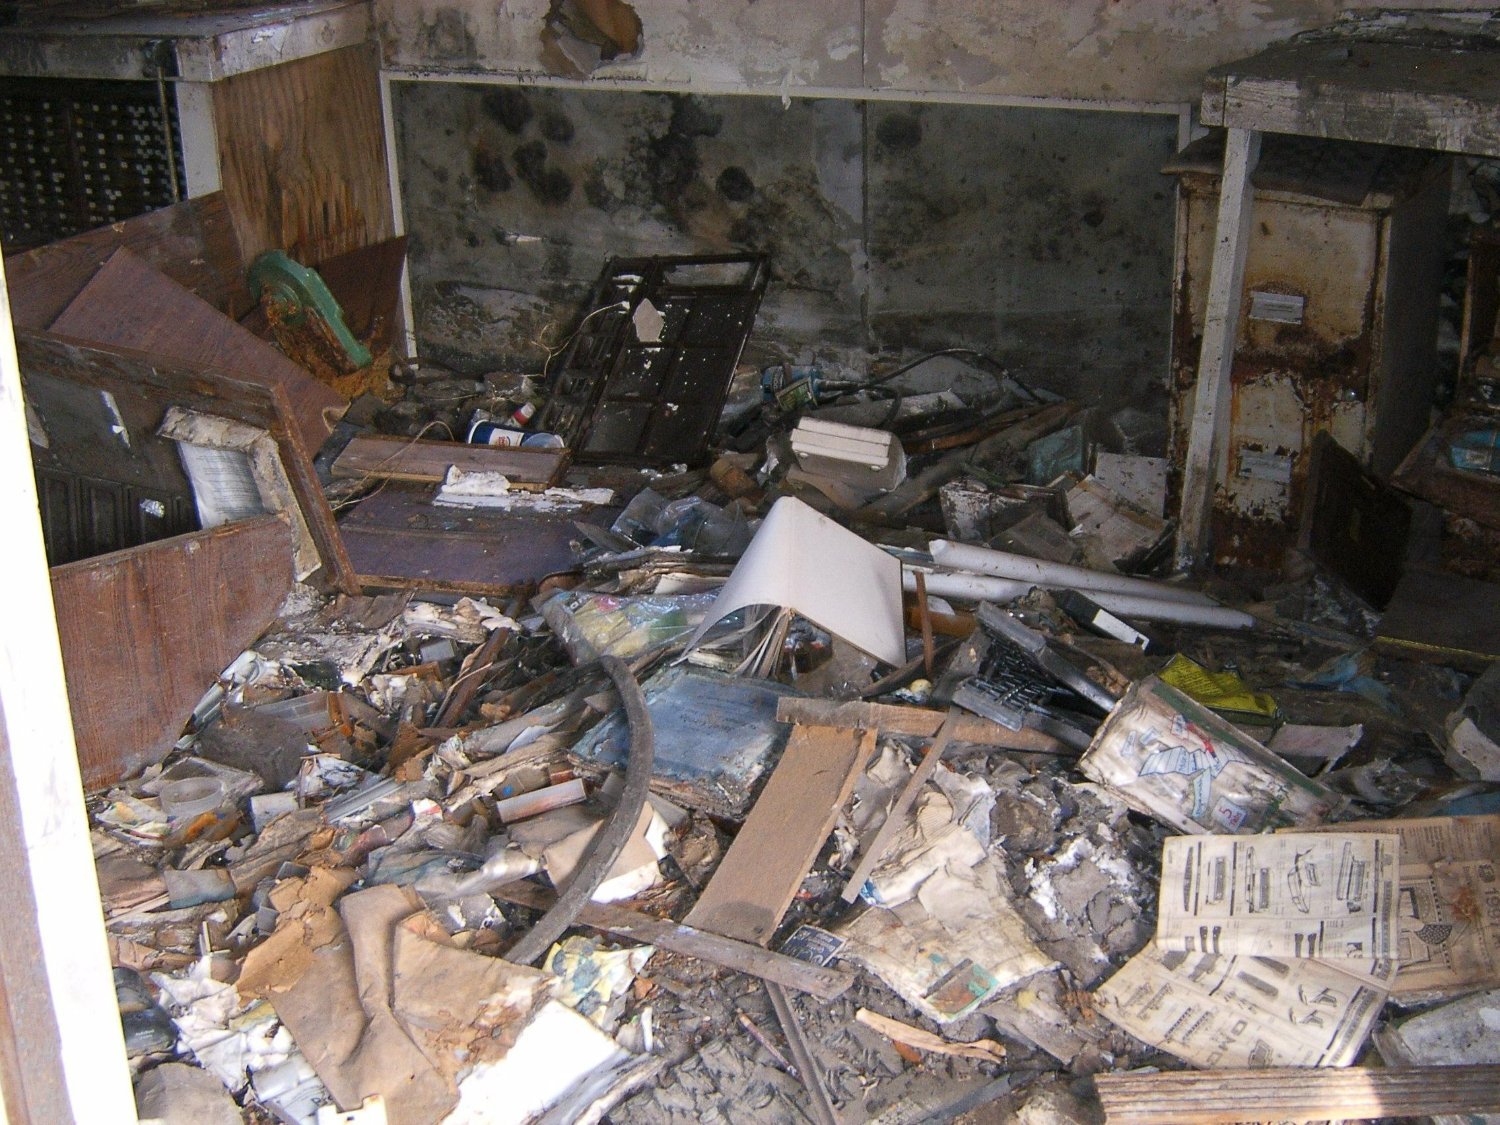
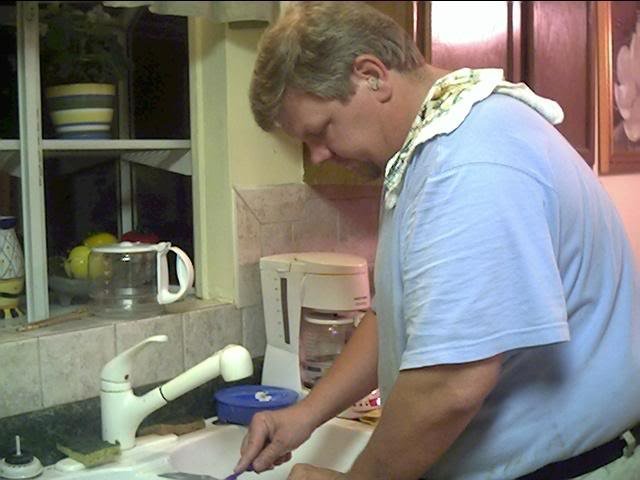
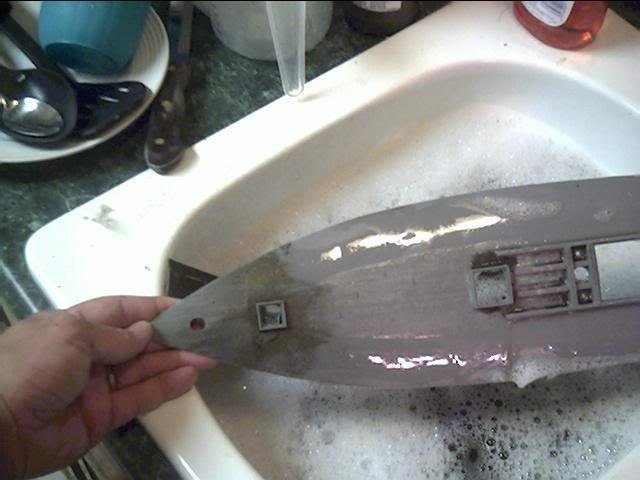
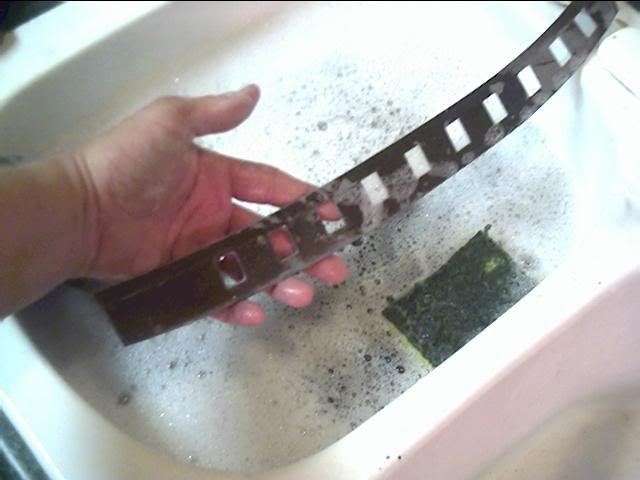
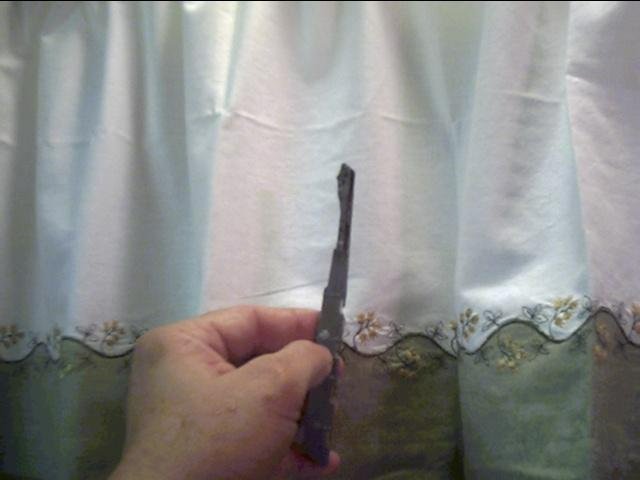
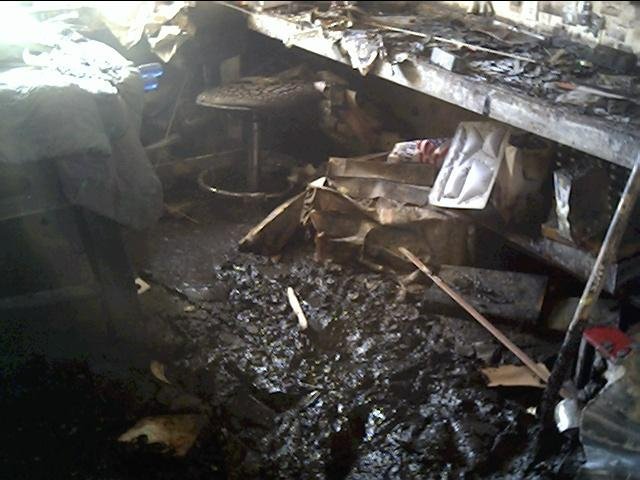
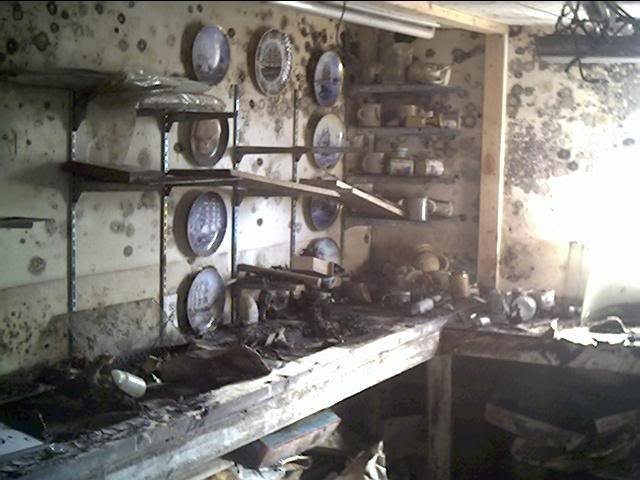
These pics are in the new house, and I decided the only way to properly warm it up was with a ship model. I'm washing off the dried Katrina Mud. The new workshop was a blessing.
-
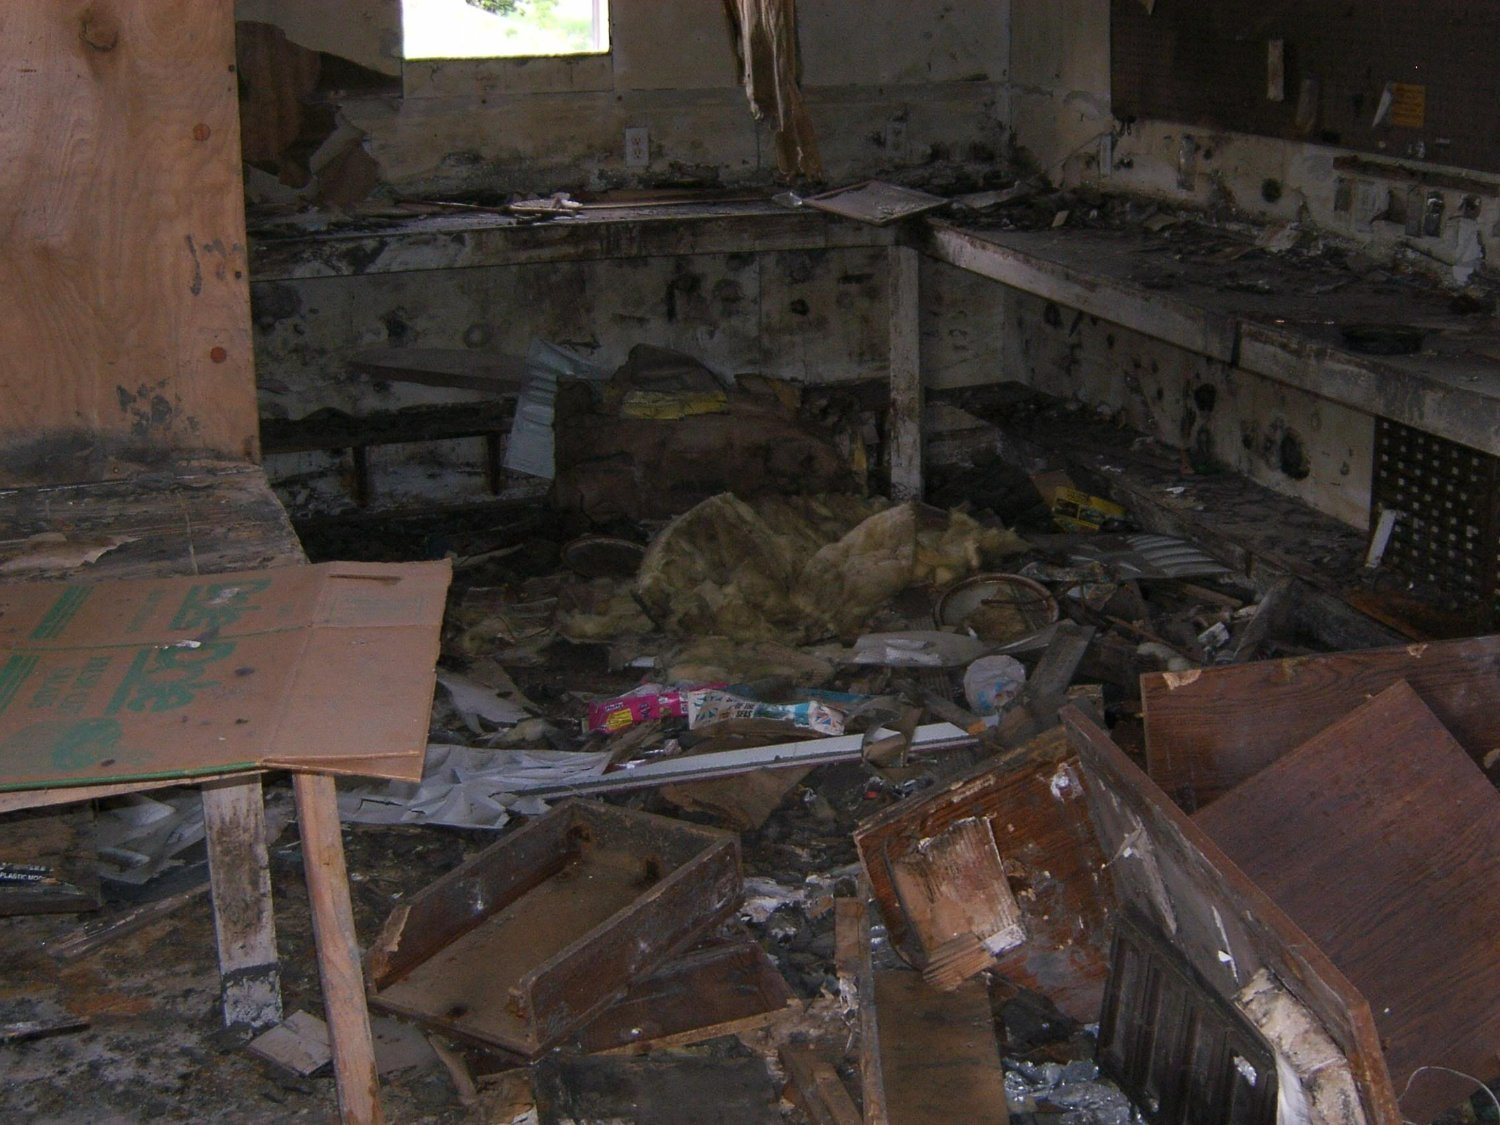
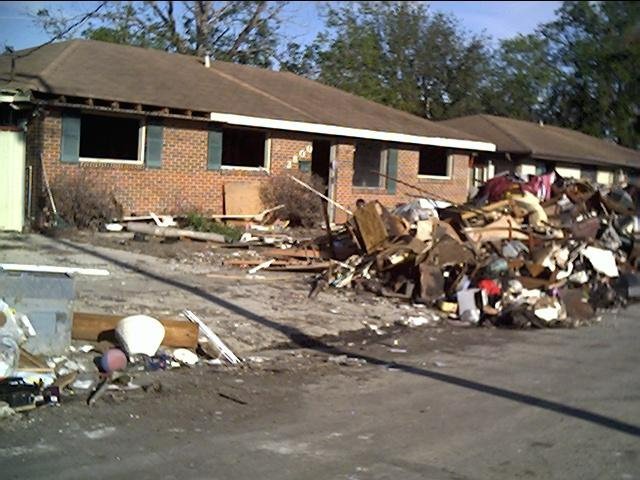
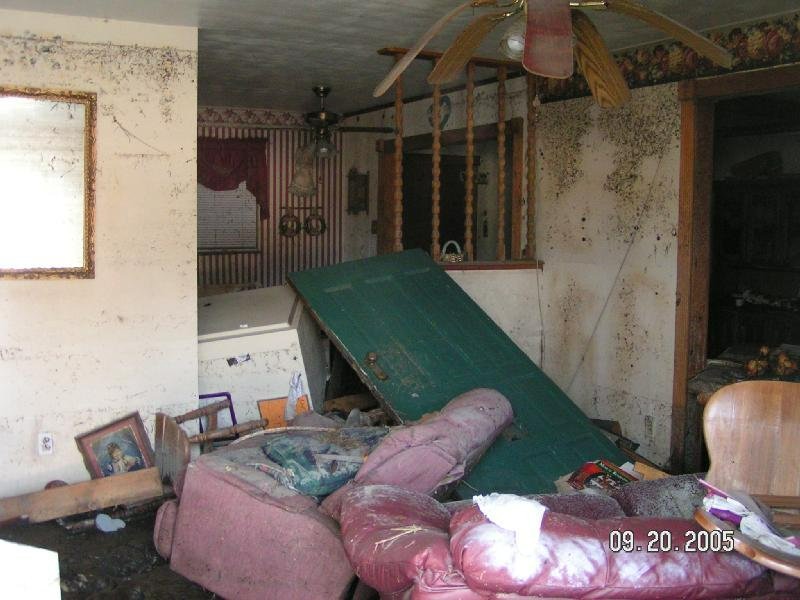
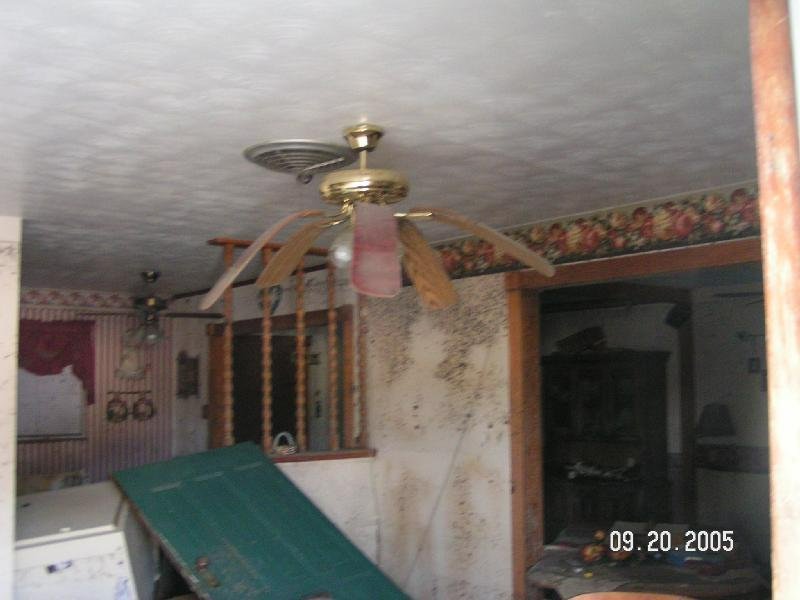
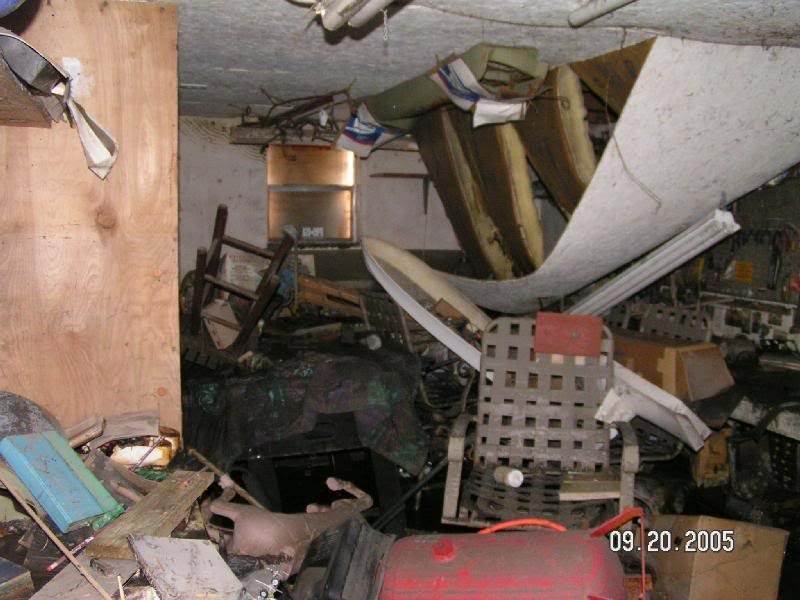
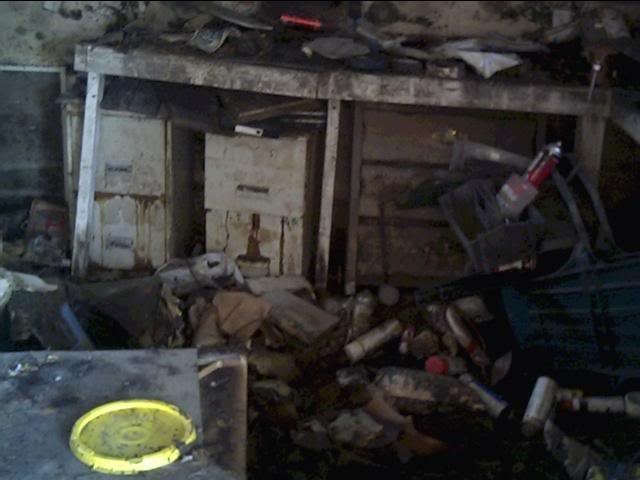
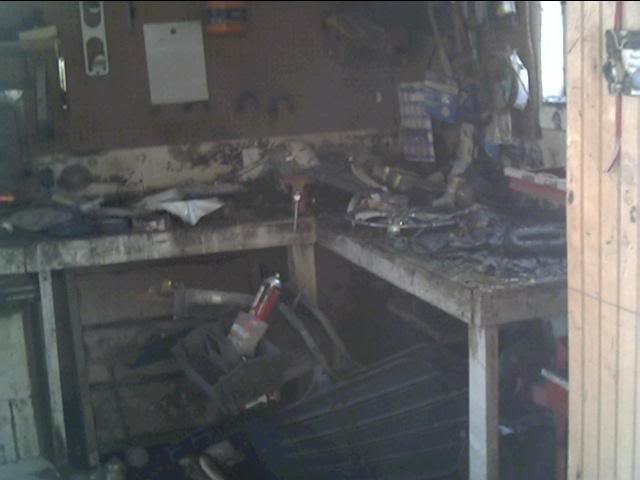
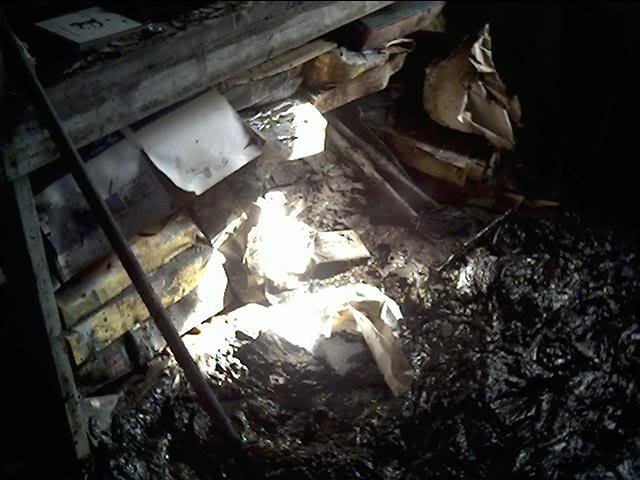
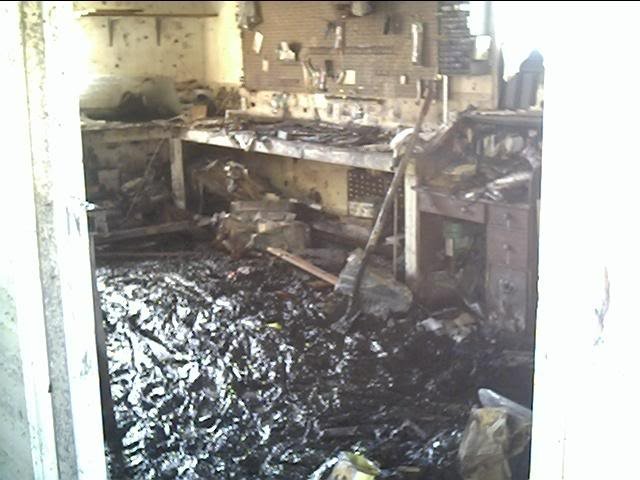
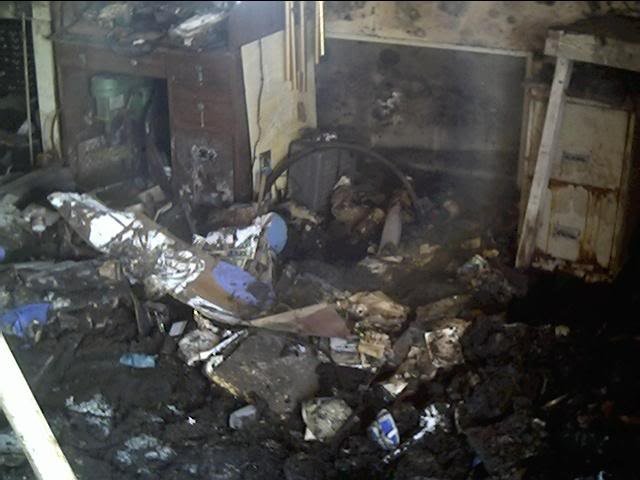
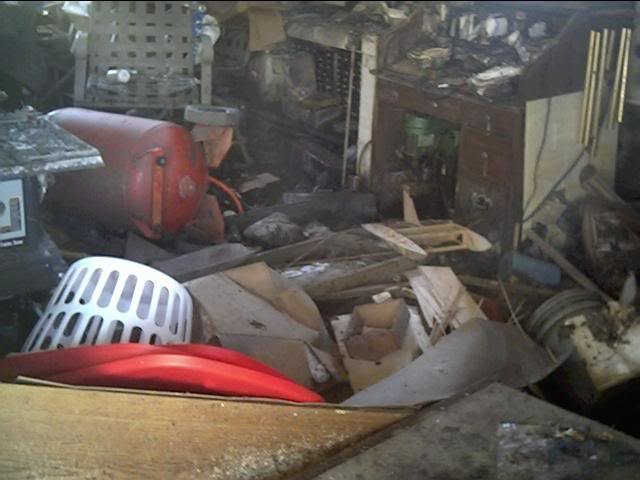
This set of build pictures took place over 15 years. I originally started the build back in 2006 and it kept getting shoved aside for other customer models. I'd get some free time and take her off the shelf, do a little work, stick her back on the shelf. I broke out the pictures by album: Hull, Deck, Cannons, etc. The model was completed this past spring, and she took a first place in the regional IPMS contest. The model was donated at a Silent Auction for Safe Harbor Battered Womens Clinic this past fall. As some of you may know, I lived in South Louisiana in Chalmette and was hit by Katrina, Although, I have over 800 pics of the damage from our old city, I'll post just a few of my home and old Model shop. Although I was above sea-level you can still see the water reach 7'5" on the wall, the workshop went completely underwater. I dug through the mud and salvaged as many model kits as possible, the Heller Chebec being one. I lost many fully rigged ships and many other models as well. 22ft of muddy water washed into our Parish (County to the rest of you). These are the pictures of the house after gutting and model workshop which I had custom built 16x10. After the storm we moved North by 30 miles to Lacombe, LA. into a new home, where I rebuilt a 10x20 model shop.


-
Following, I too have this beauty and hope to build her one day.
-
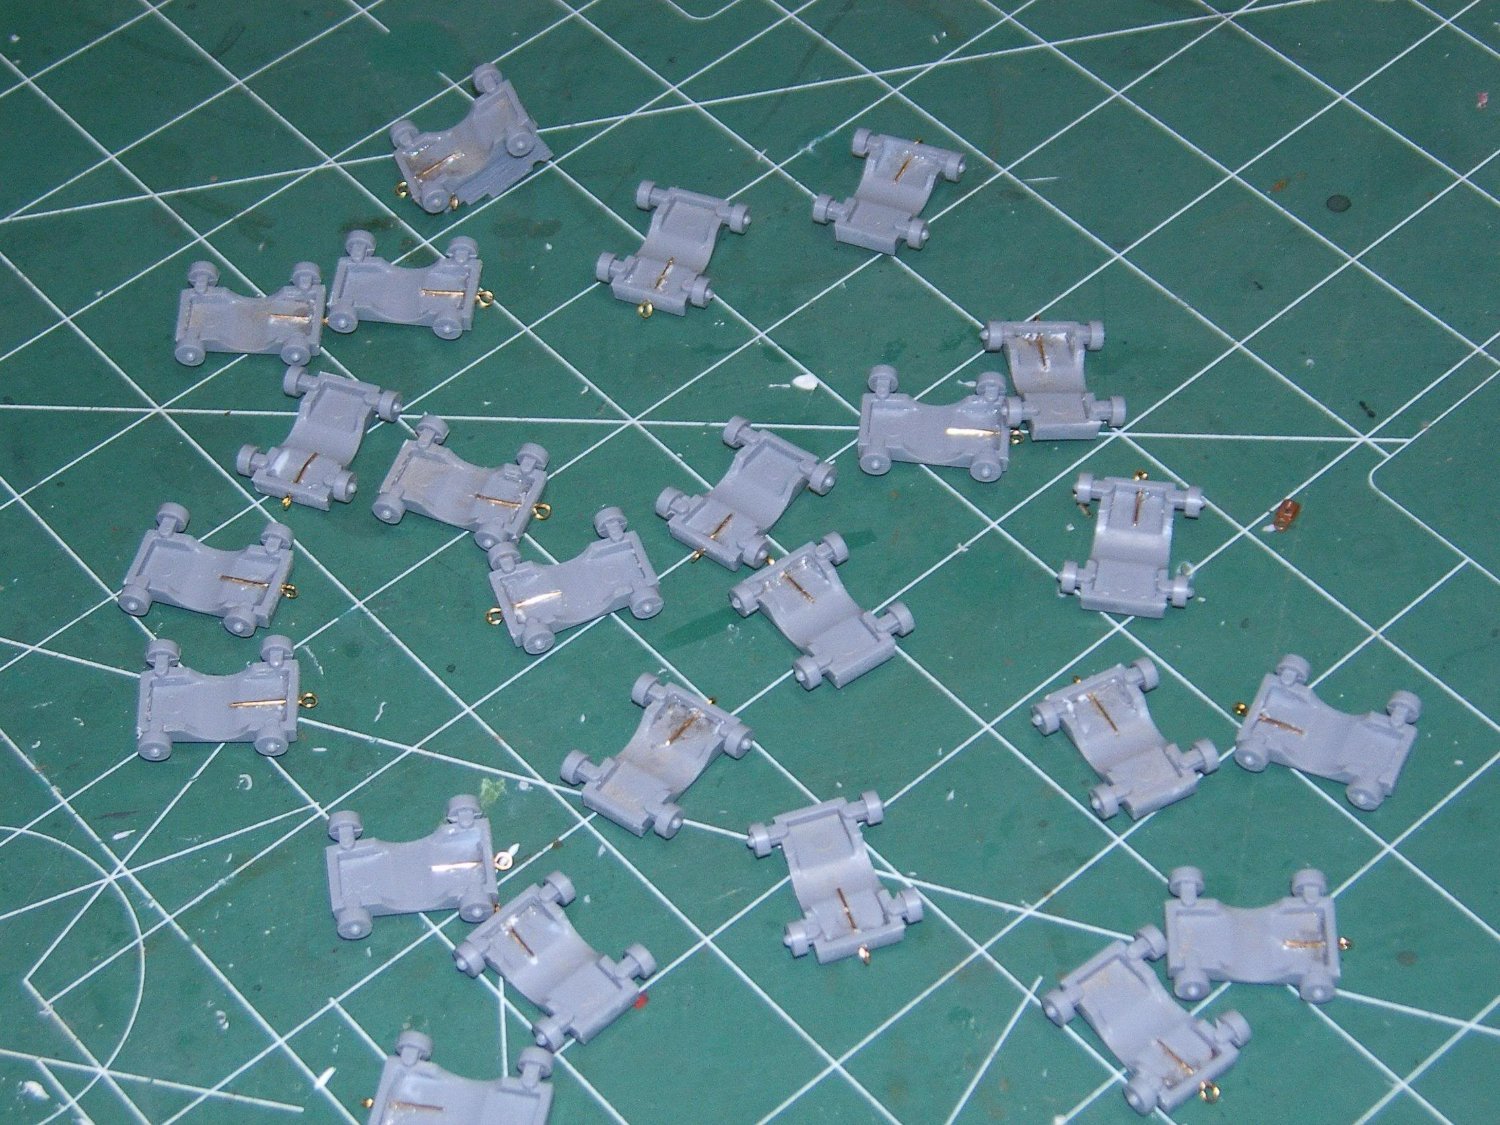
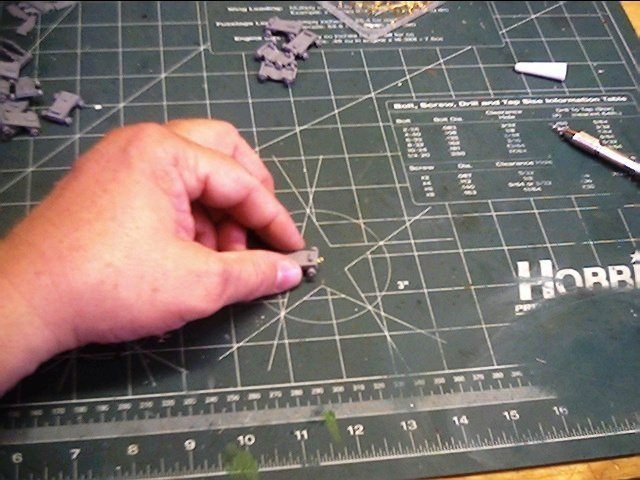
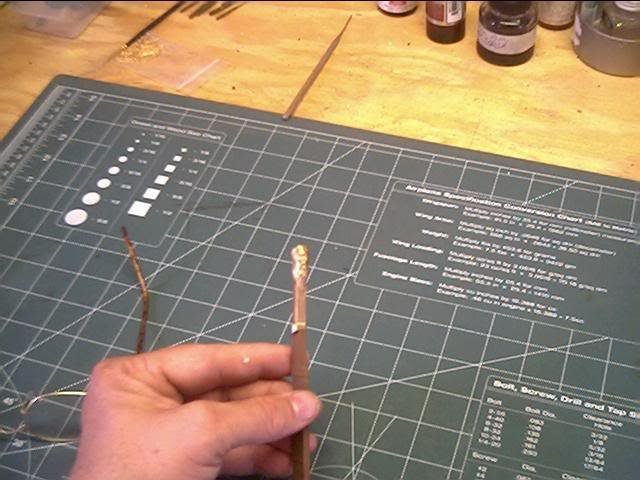
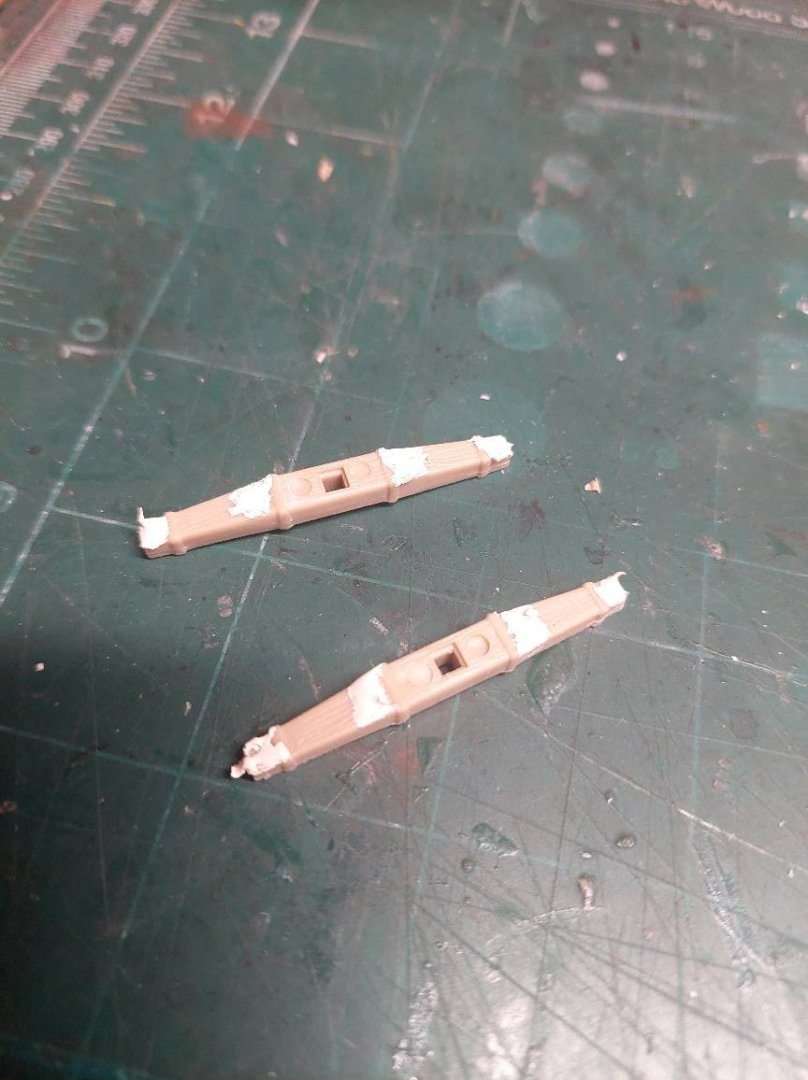
I bronzed the cannons and worked on the anchor stocks a bit tonight. Still have some work to do on the stocks, more holes to fill. Base coat of flay black then top coated with a 50/50 mix of Testors Metallizer "Titanium and Burn Iron". No one makes a decent shade of dark bronze. The stocks will get a coast of flat black with a topcoat of dark wood and some destressing. Even though you prob. won't see the pin/punch holes, there is no reason not to fill them. Aside from that, I managed to cut my thumb with a new #11 blade, don't you hate that when it happens.....

-
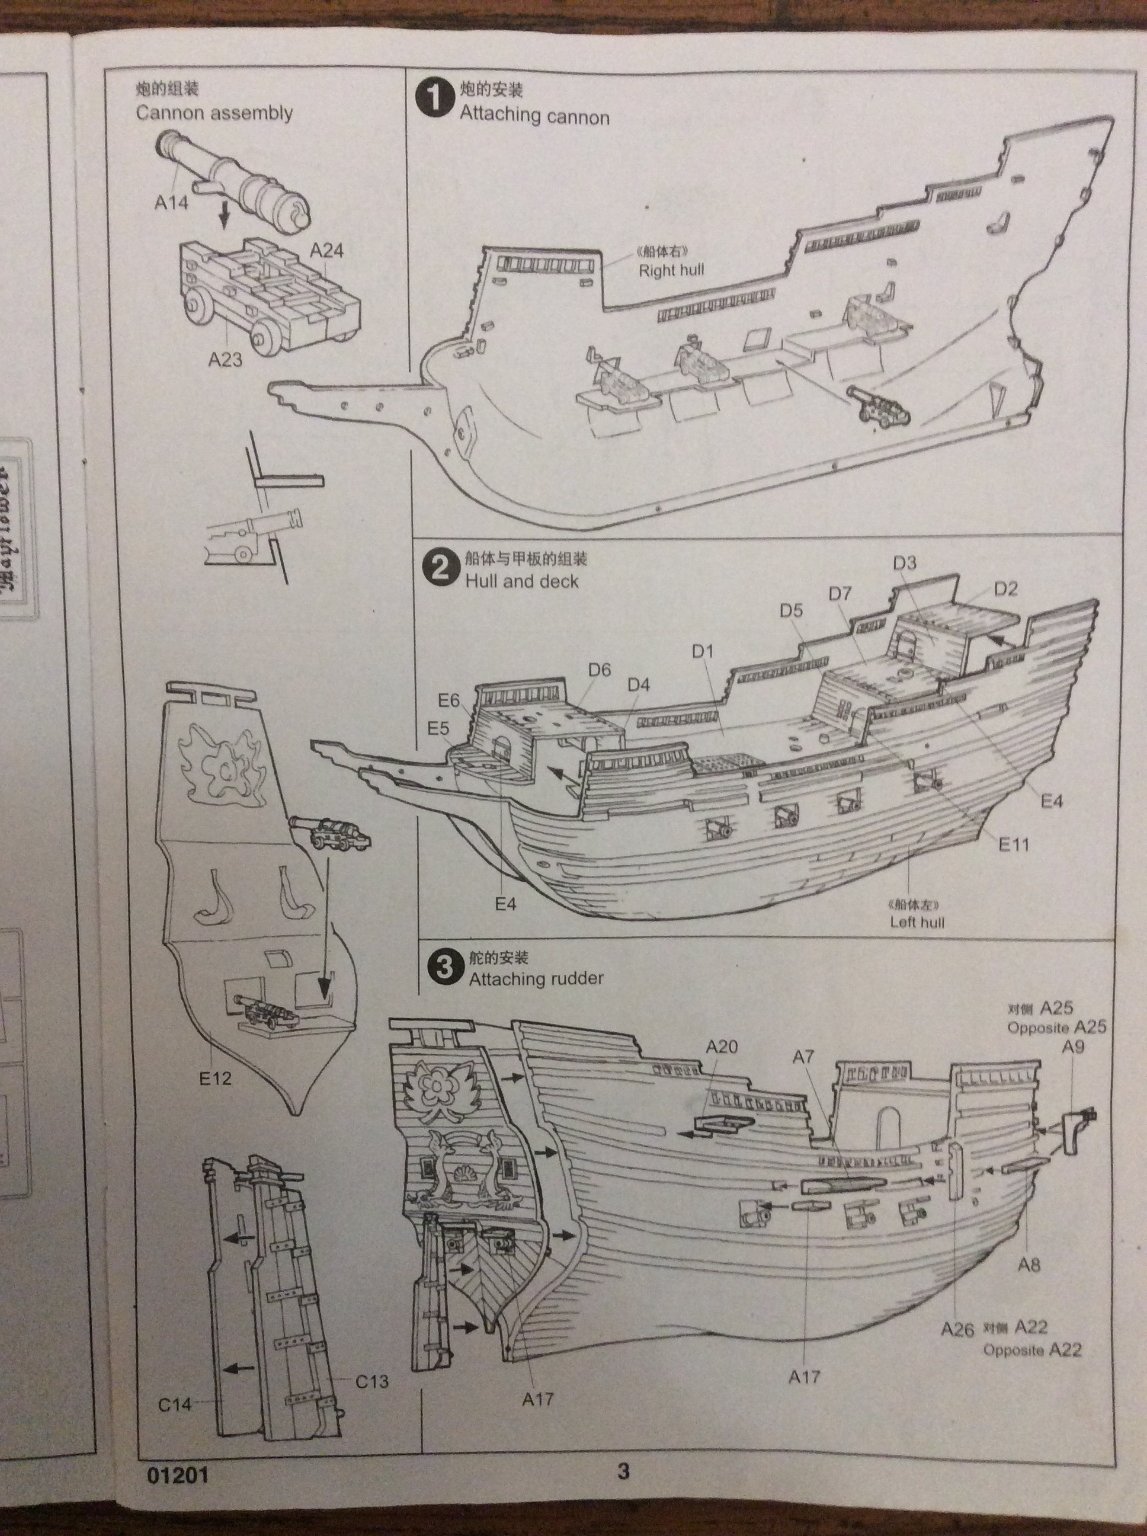
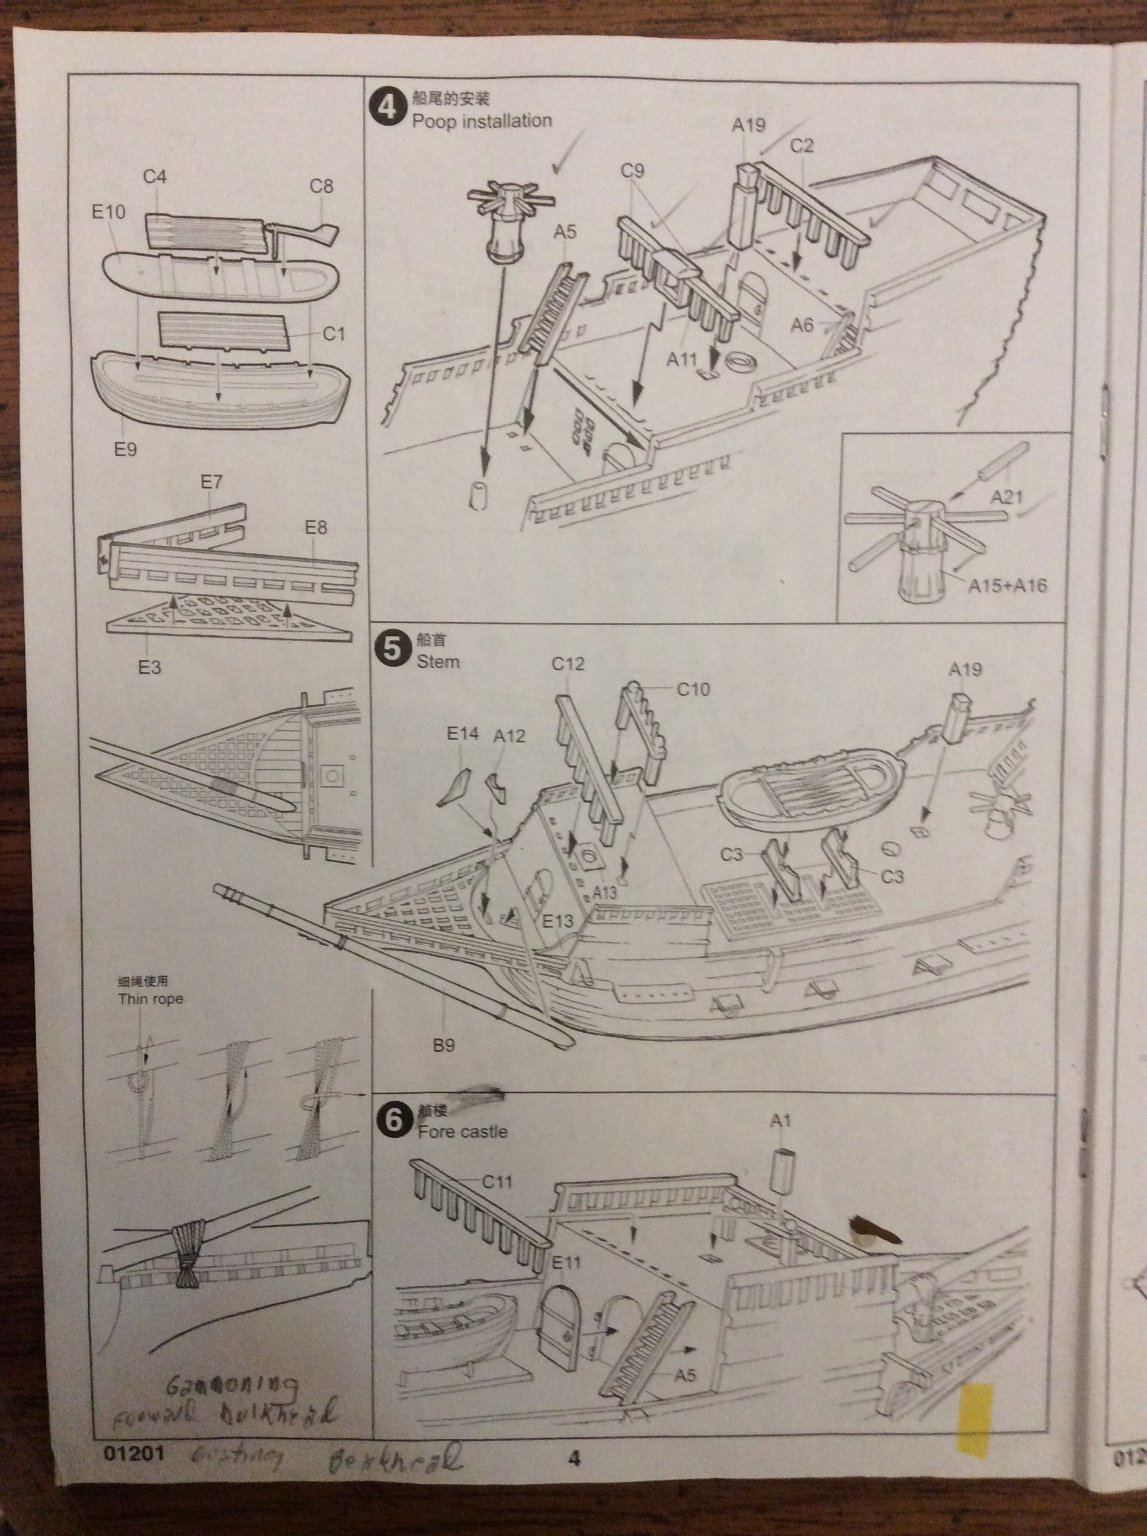
I'm going to try and do a build log as I go, I set up this post vs. piggyback off Bill97's excellent Build. I just placed an order from True North Paints (enamel like Model Masters) , once I get those in I'll be able to pick up the pace a bit. Since I'm doing this for a client, I'll need to work as directed, one side will have the cannons extended and one side will have the ports closed (they can turn it when they like). I'm going to strip the paint off the stern and probably remove the fish and redo the wood grain detail (client is undecided as of now and understands there is no information either way on the matter). I'll also need to figure out if I'm going to use the stern gun ports. I've ordered the Parrell rollers needed for the yards, I'm researching the correct blocks needed, the small ones in the kit are strange. My reference is the "Rigging and Masting of 16th. century ships. The deck detail technic I used came from "How to Build Plastic Ship Models" by Kalmbach. Base coat flat black, let dry 24 hrs. then topcoat in your choice of tan/browns, I perfect Testors Armor Sand due to being light enough to detail the caulking on the planks and still give a dark water wash. I've also pre-prepped the deadeyes and other various parts in a basecoat of flat black.


-
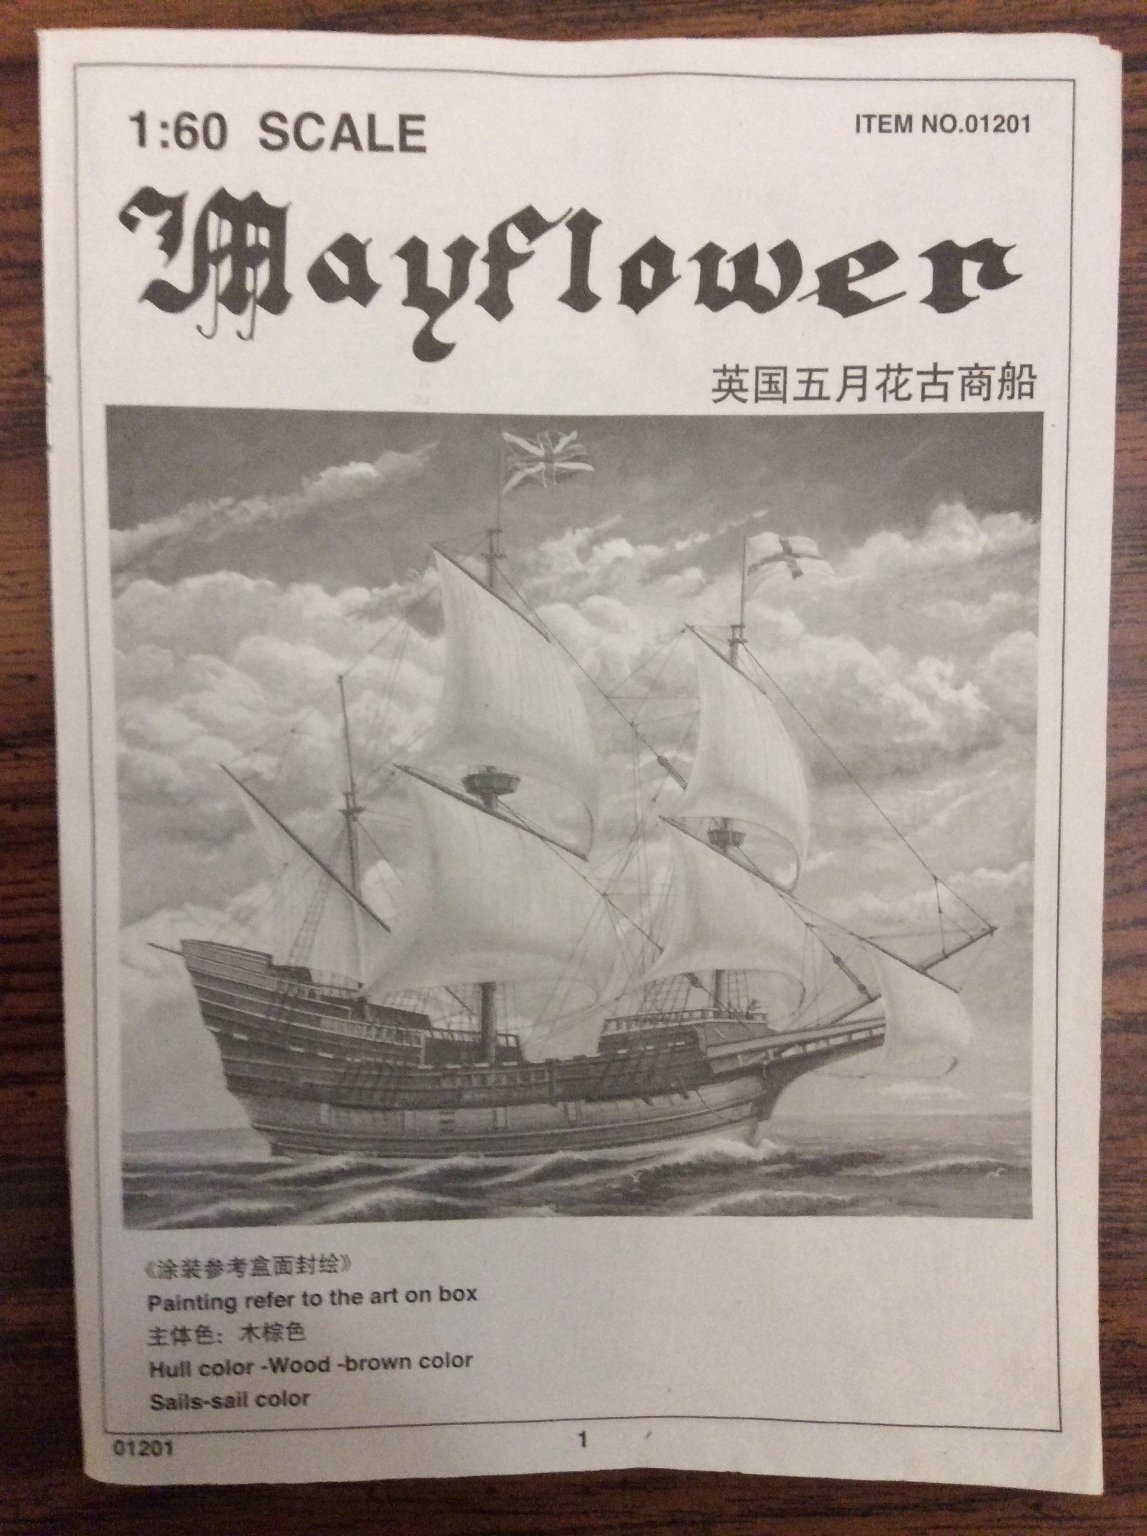
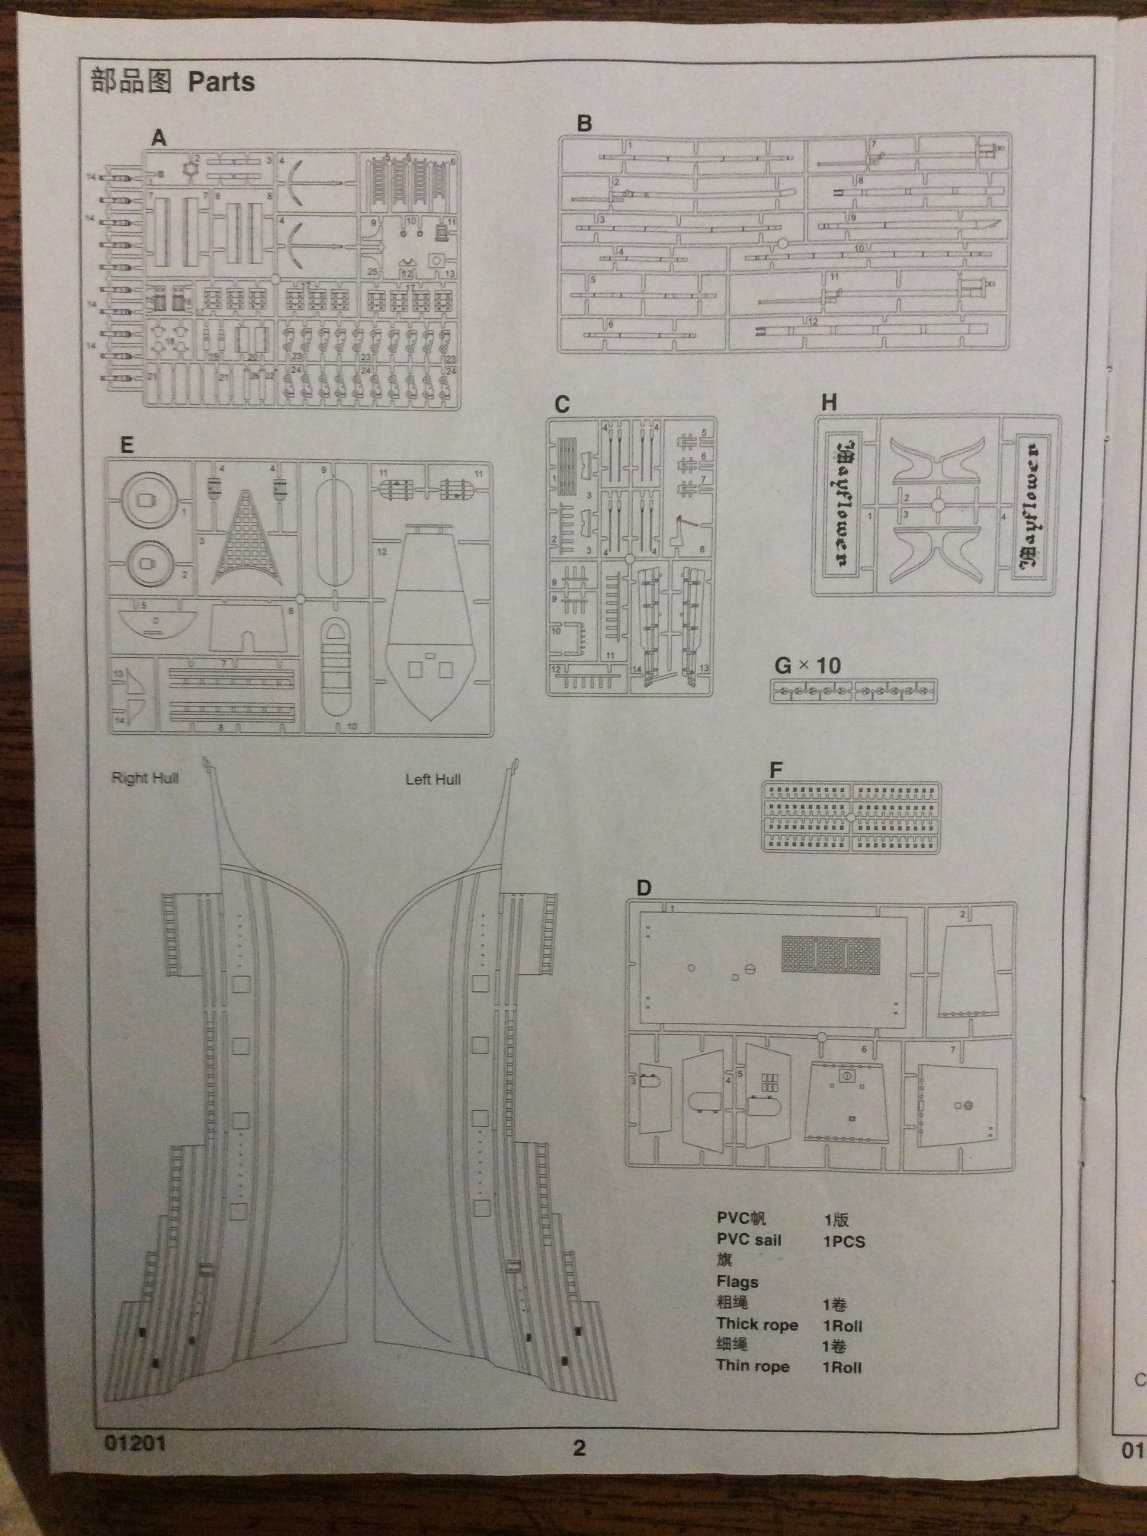
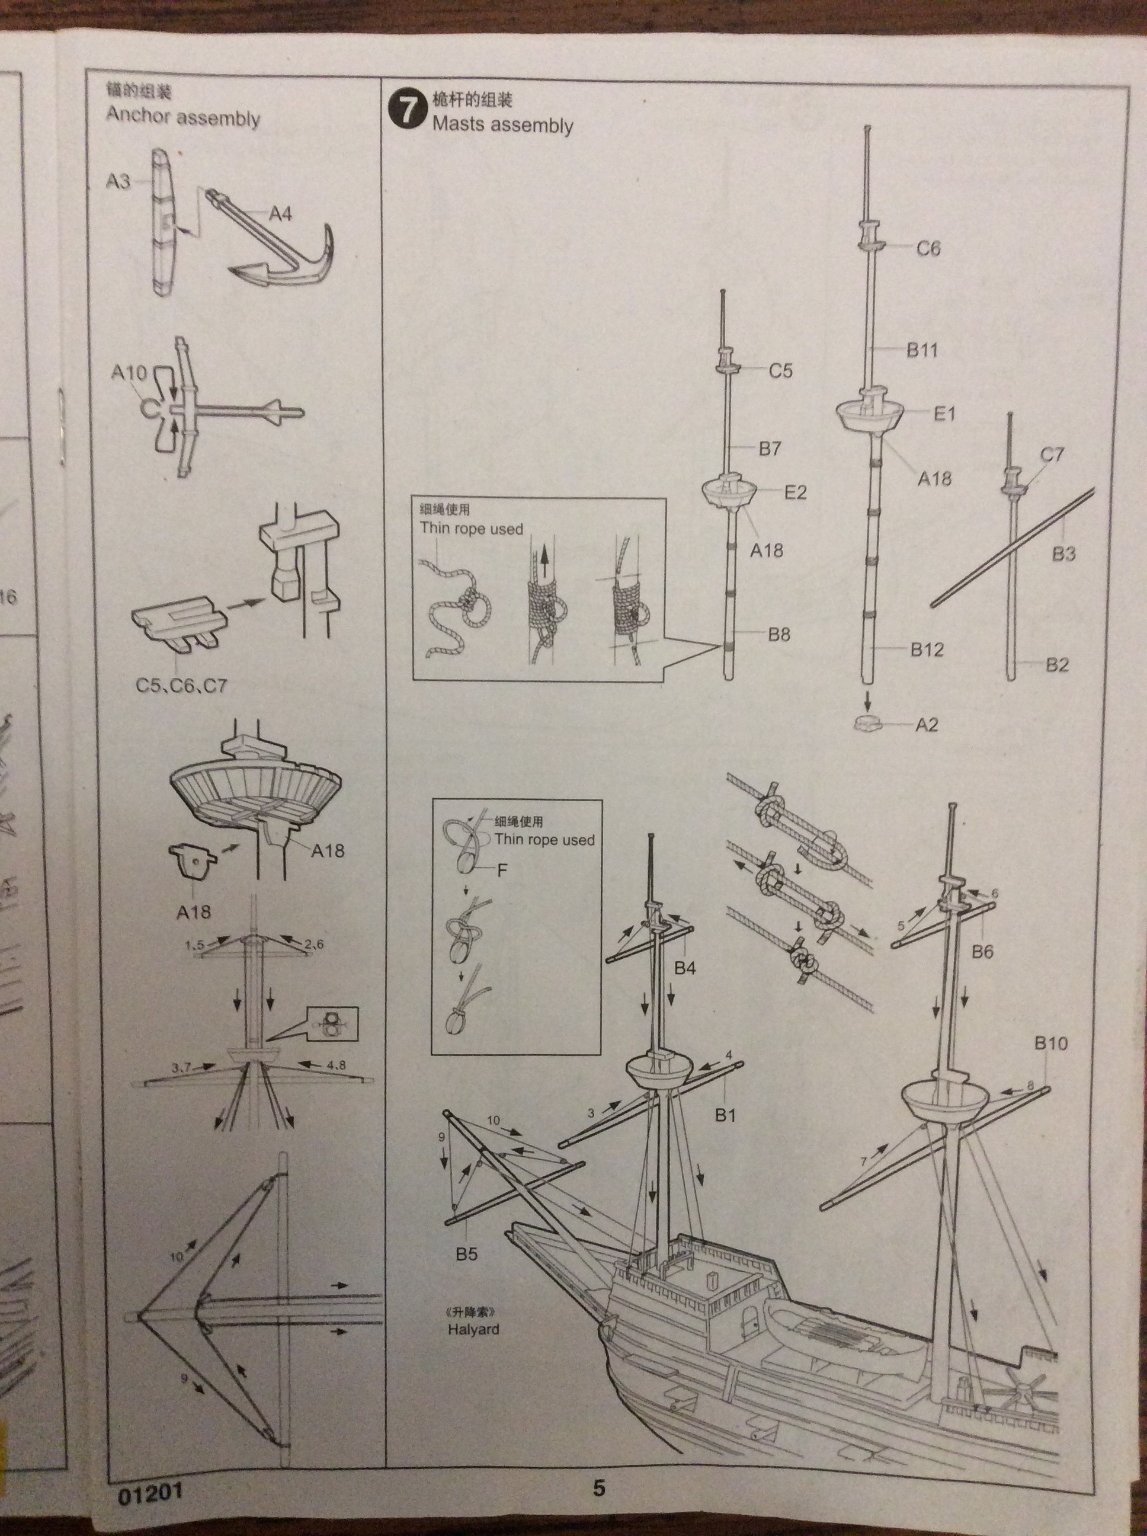
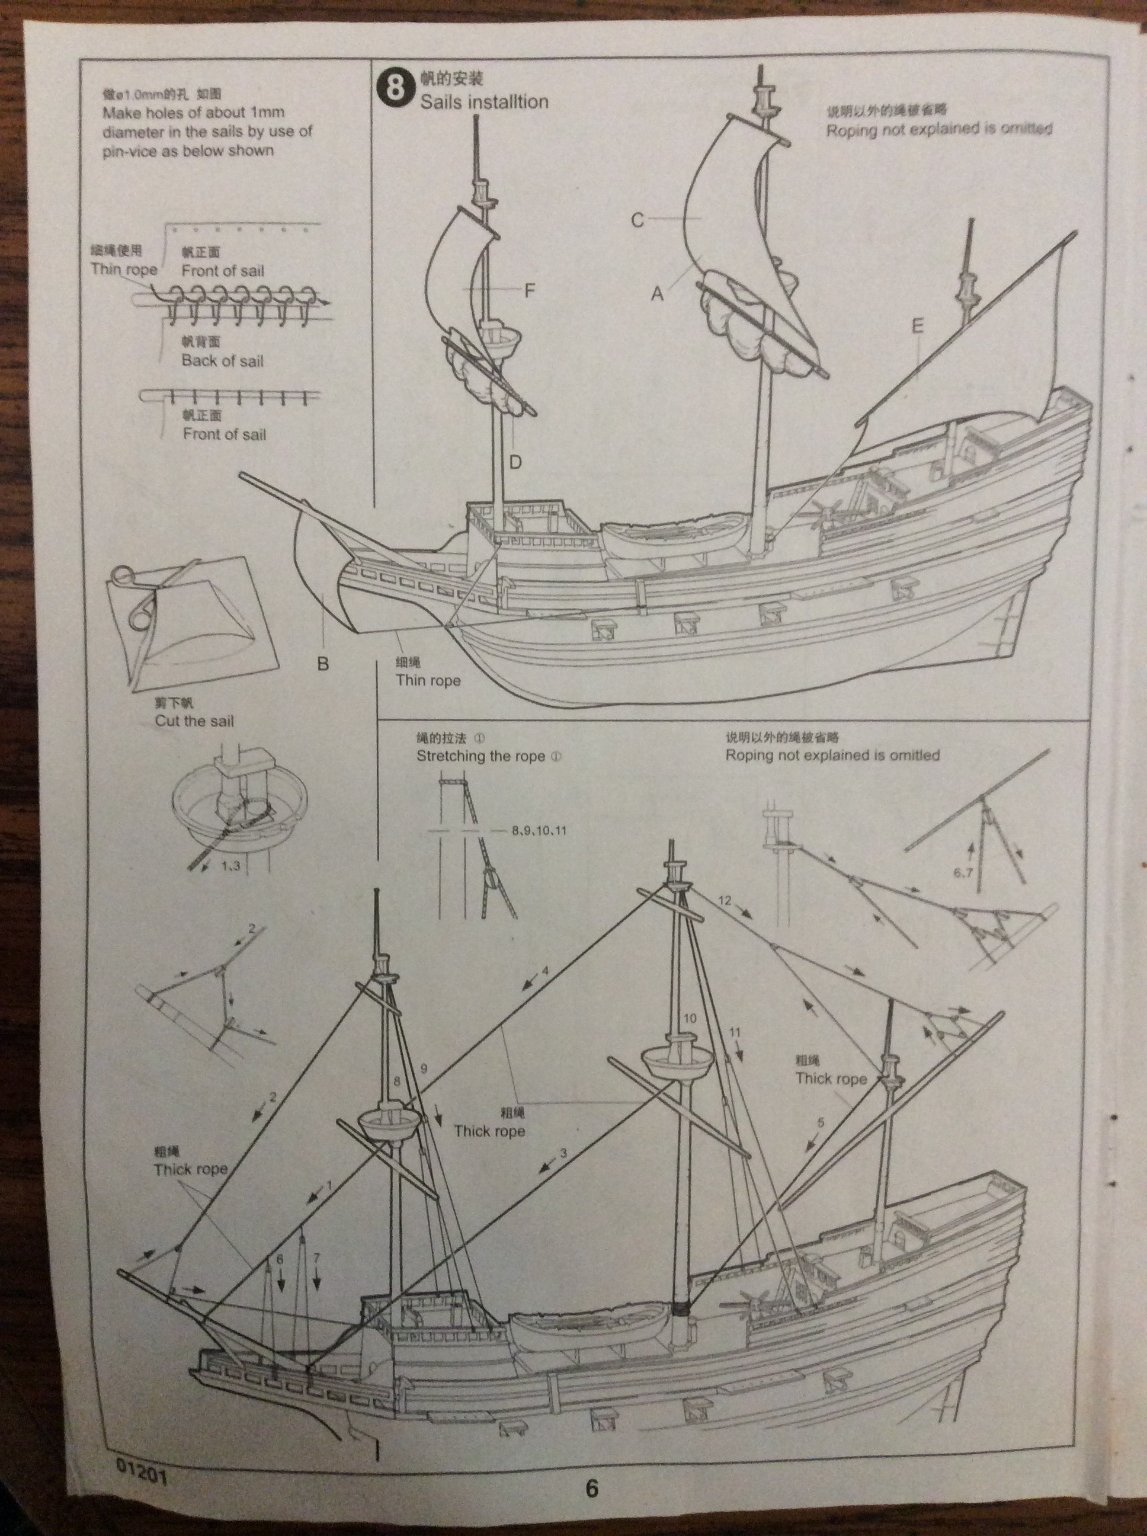
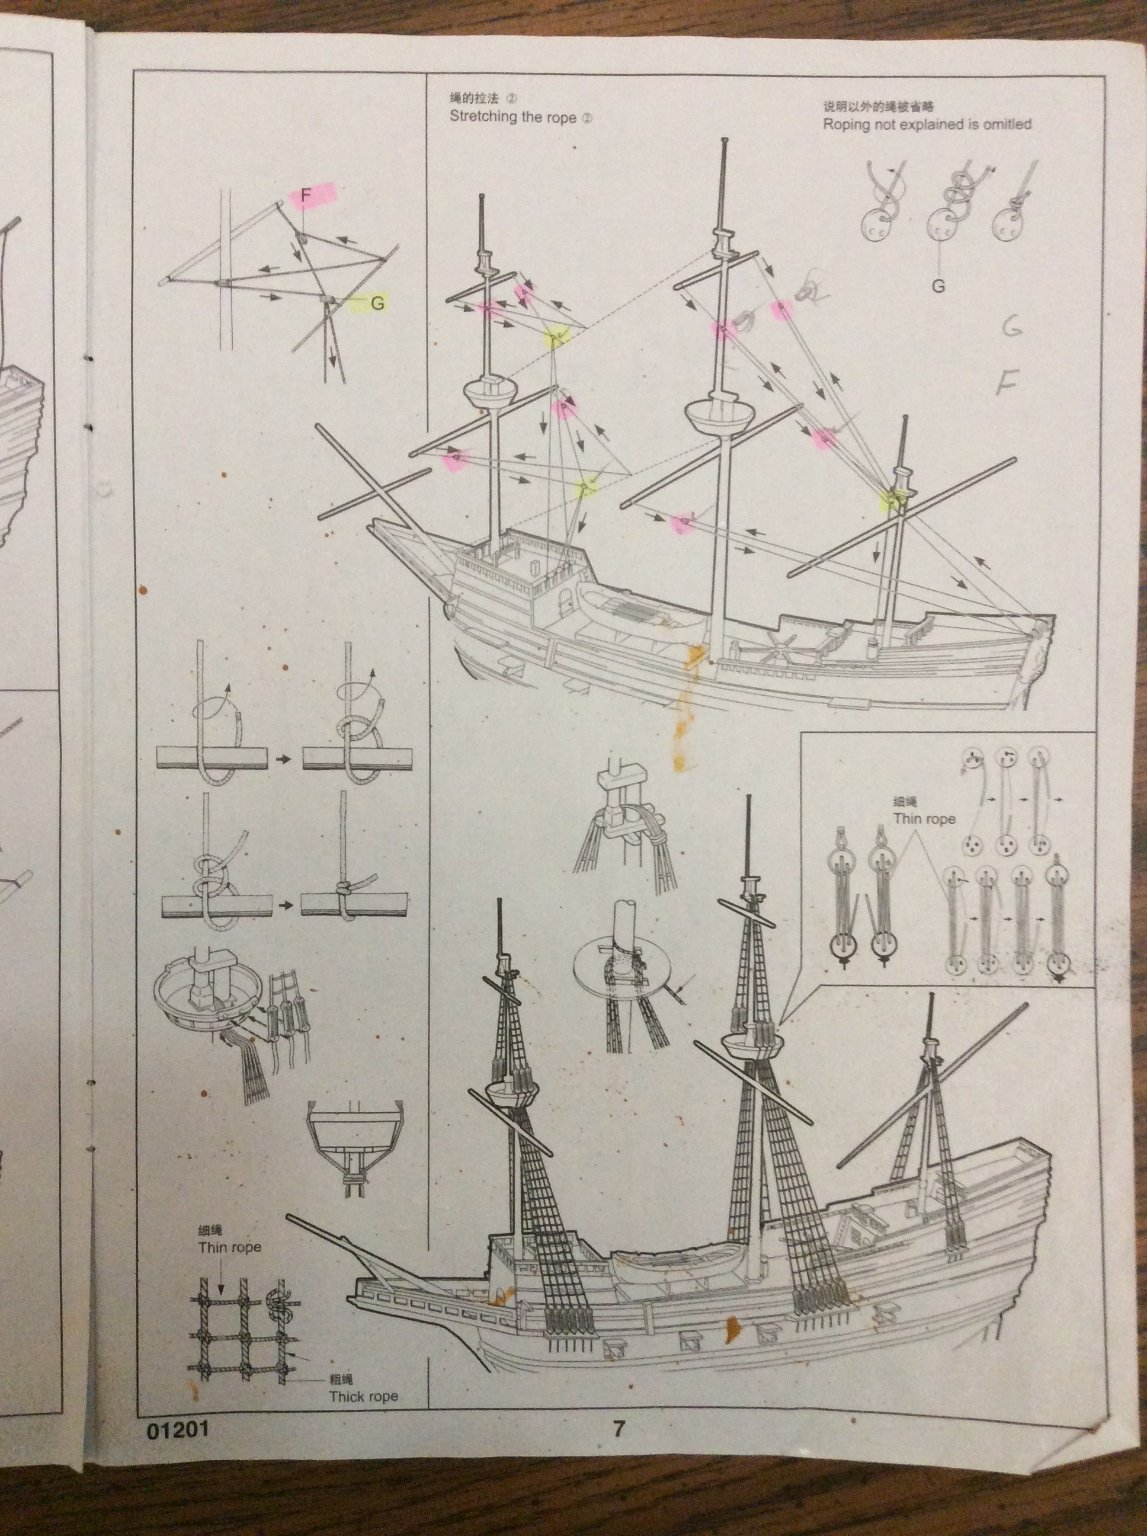
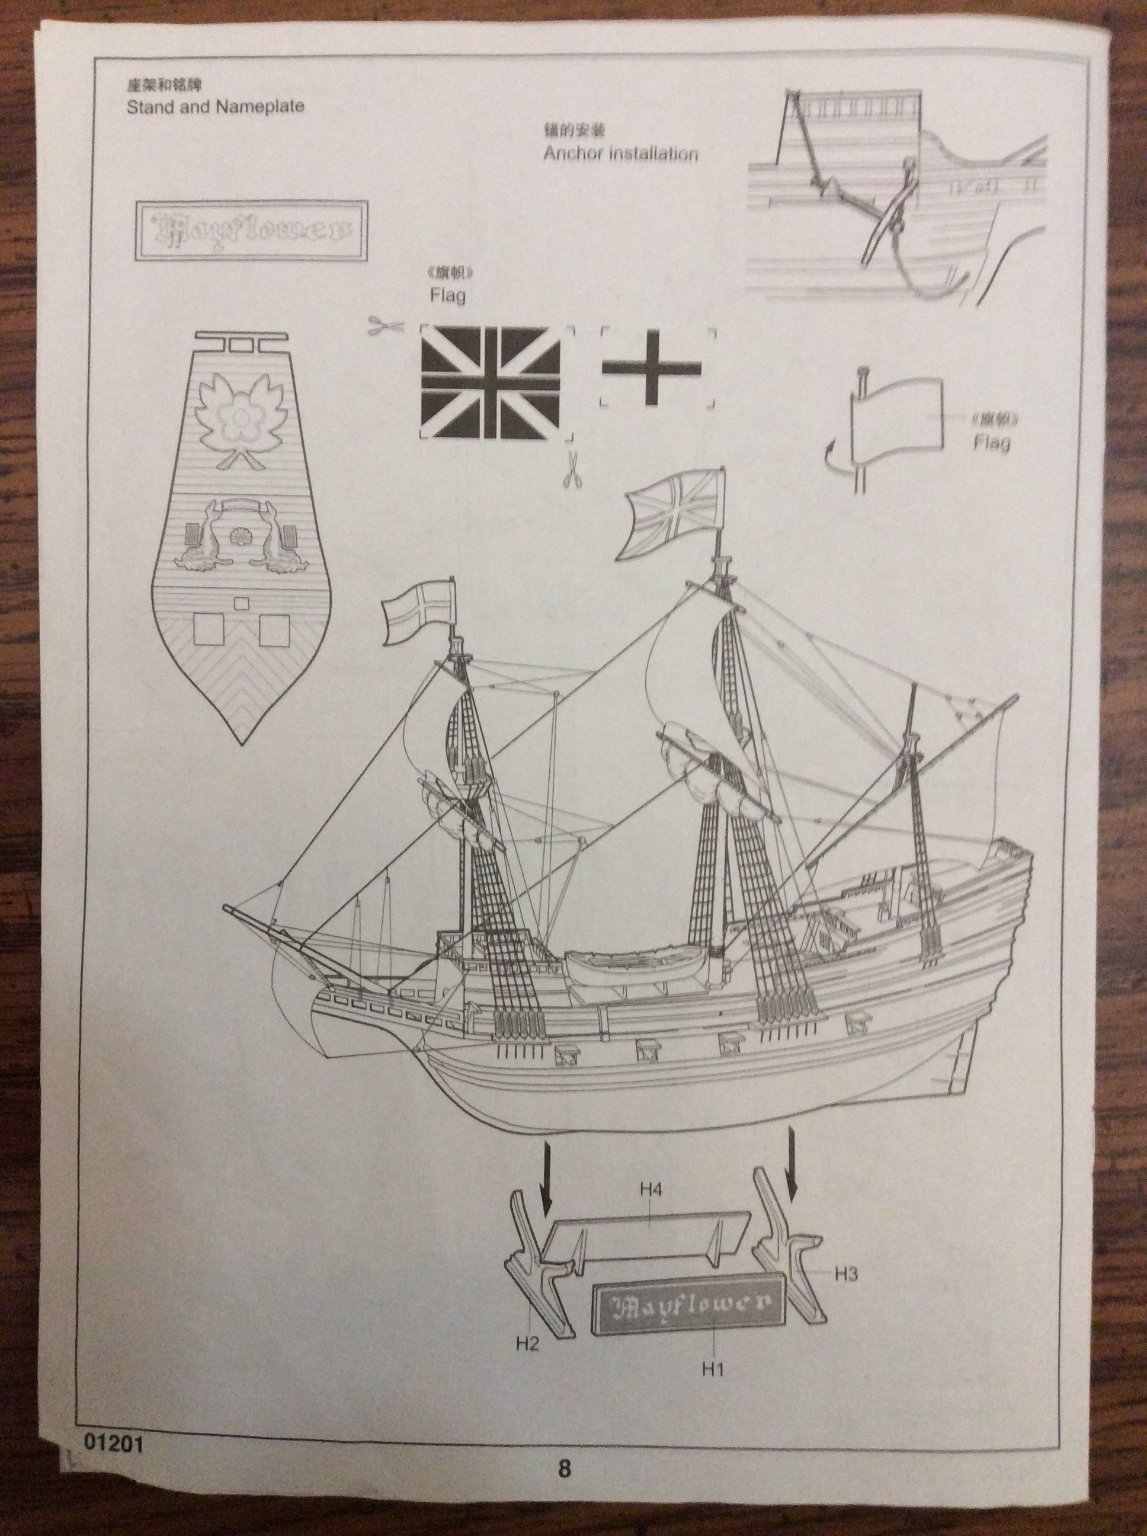
Bill, I'm about to start a Trumpter 1/60th. Mayflower and I have a question on the stern decoration, can you message me.
thanks
jake Groby
-
HI Bill, I'm in need o fa copy of the instruction of the Trumpter Mayflower, would you still have the booklet? I'd gladly pay for the postage. Thanks
Jake