woodartist
-
Posts
119 -
Joined
-
Last visited
Content Type
Profiles
Forums
Gallery
Events
Status Updates posted by woodartist
-
Is that a proxon mill setting on your bench? I have thought about getting one. I really like the Byrnes variable speed sander I got and was hoping to get their table saw. If they stay in business I will get one and get rid of my big one and get more room in the garage. I keep my bandsaw and other major tools in my garage to cut down on the amount of dust in my work area. I roll my bandsand and table saw onto the driveway to do any work and roll them back when I have finished. You have a nice set up!!
-

It is indeed. For me it's indispensable for shaping the planks. One feature I wish the table on the mill had was a feed drive. turning that crank for long planks by hand gets very old very quickly.
I looked at the upscale version, but the table on that didn't seem mechanized either. Note also the use of two vises to hold longer planks. Take a look at Mustafa's build log, he makes great use of the Proxon mill.
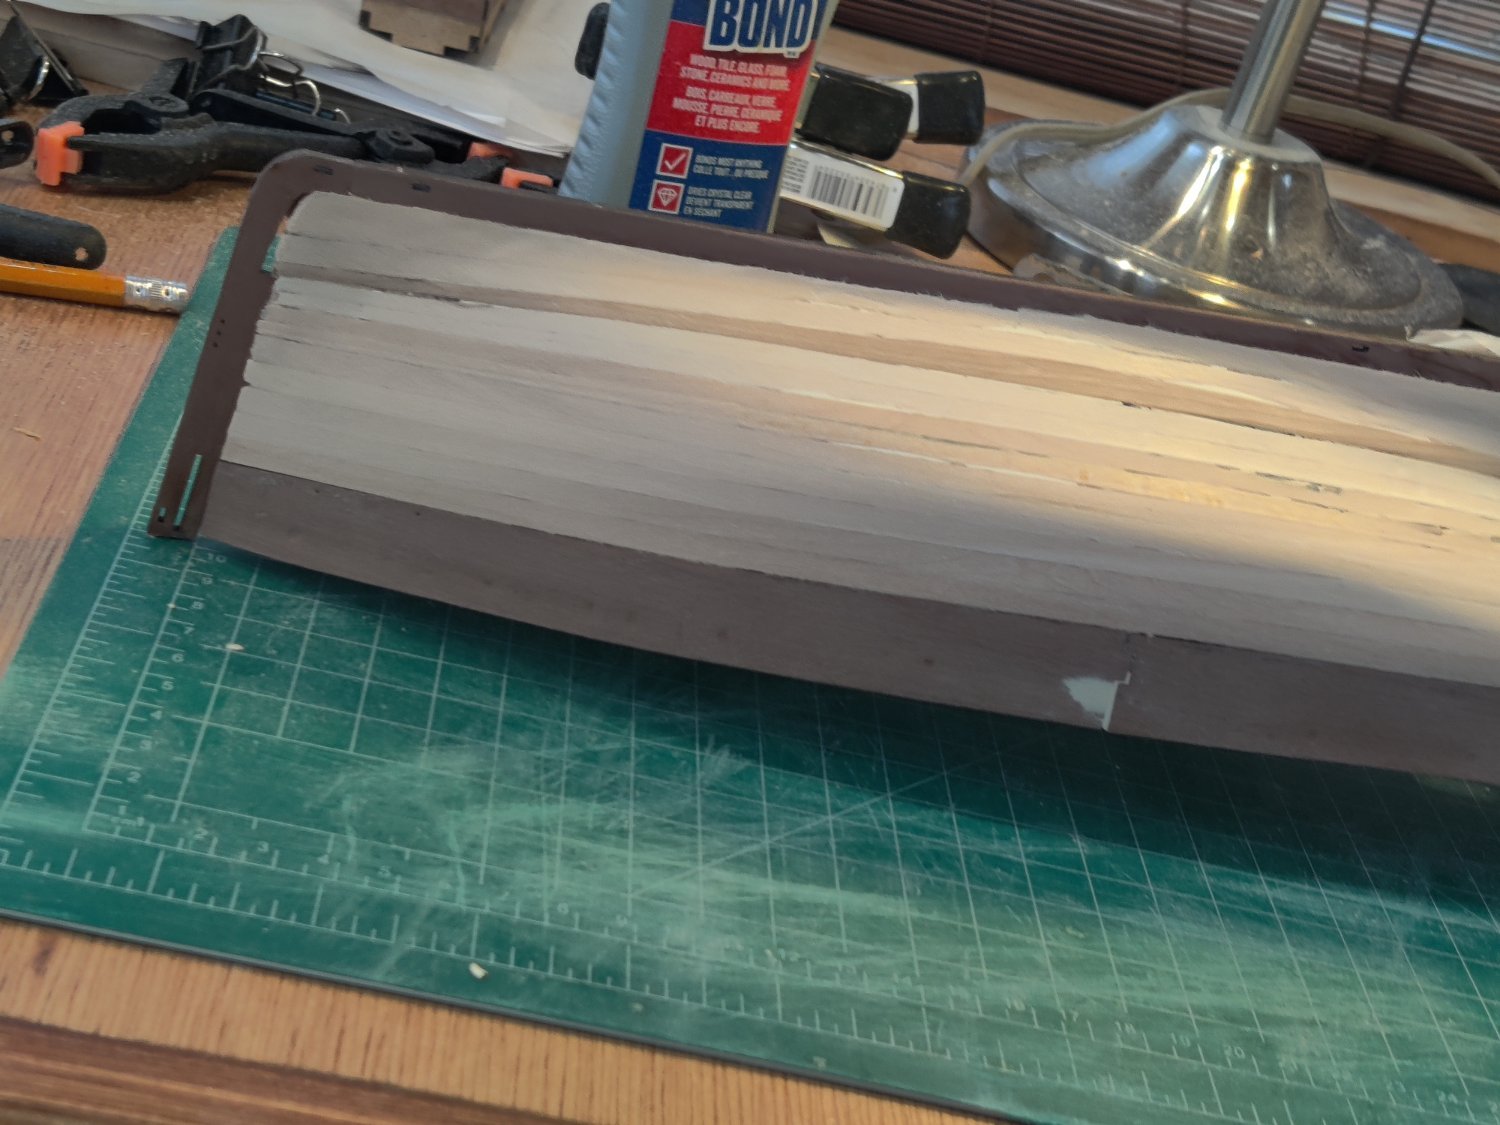
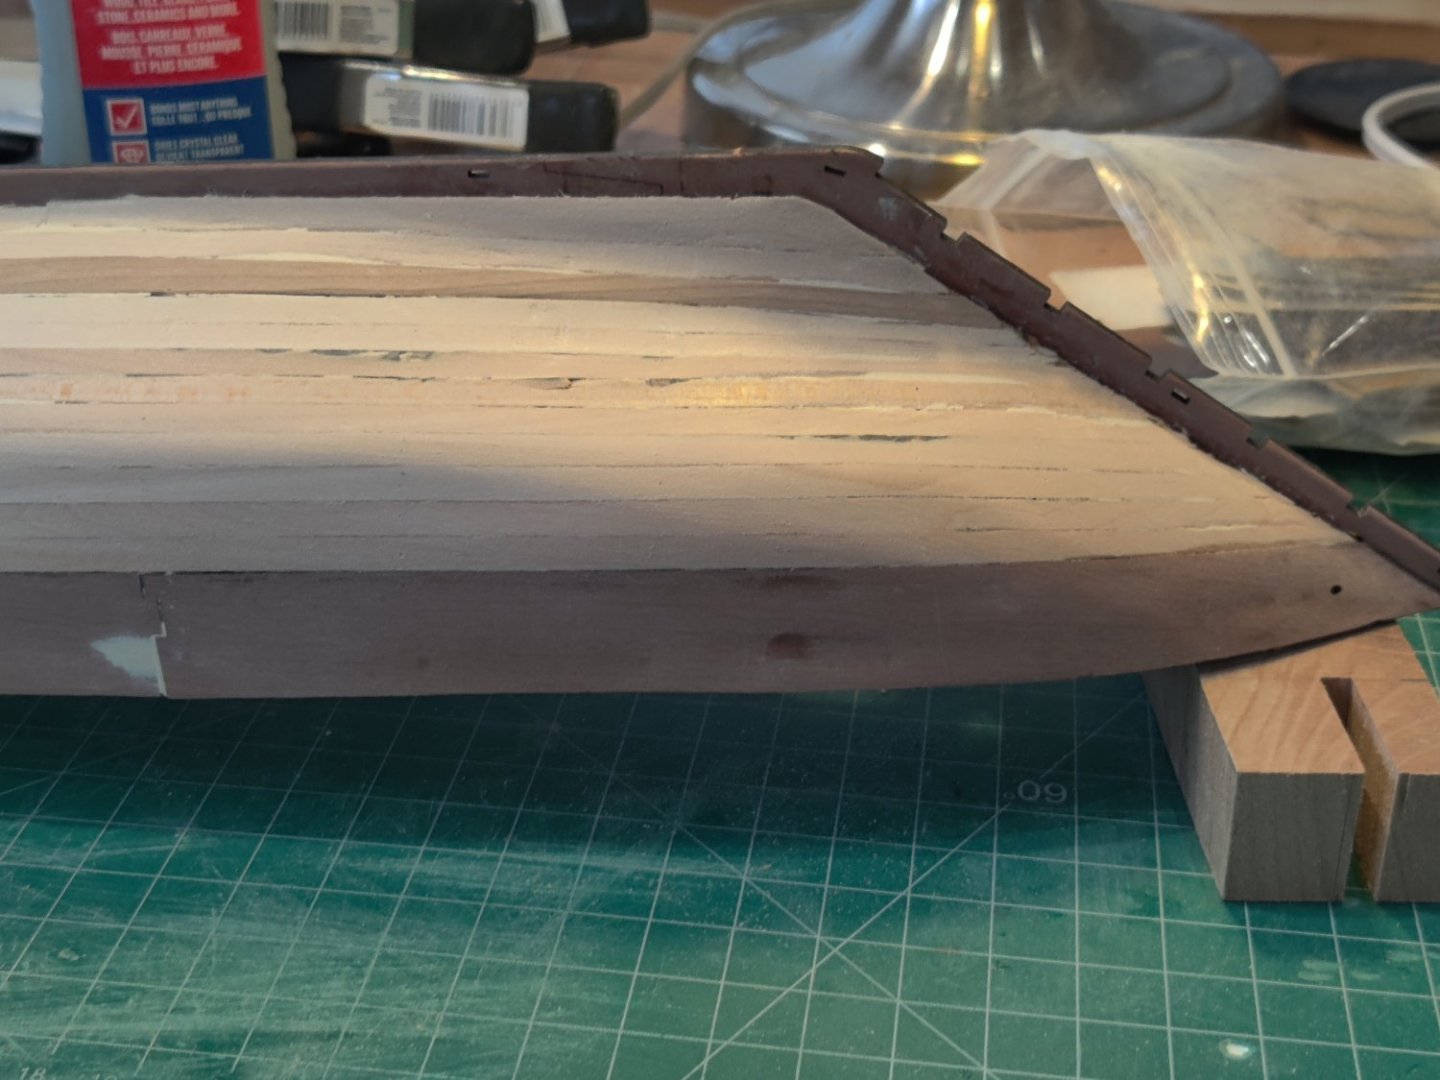
One tool I wish I had in a smaller size is a thickness drum sander. I could be making my own stock instead of struggling with the lousy material in that kit. Those 1/8" (3.15 mm) planks vary as much as 10% in width.
When we moved into the house we're in now, my plan was to move my woodworking gear from the basement of the old house to the new one. We opted to take our time with the move, so did not sell the old one immediately. As we were moving things out of the first into the second, I notices sawdust EVERYWHERE - despite having two dust collectors and the basement not being on the house's HV/AC vent system. That led me to the search for a small unit elsewhere, and I am glad I found the place I'm in now. I don't care (that much) about dust there, and if I want ventilation, I open the garage door in back and the man door in the front. Plus it gets me out of the house.
-
-
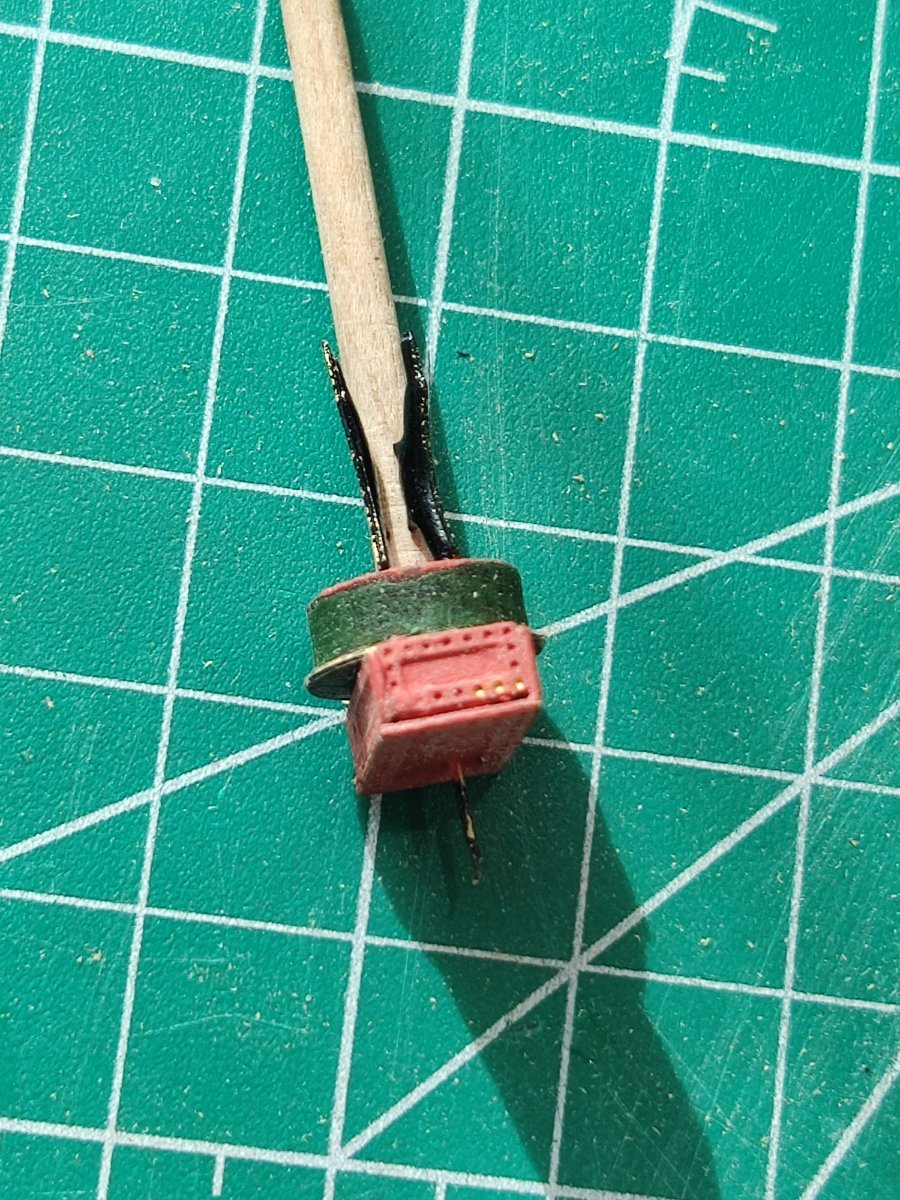
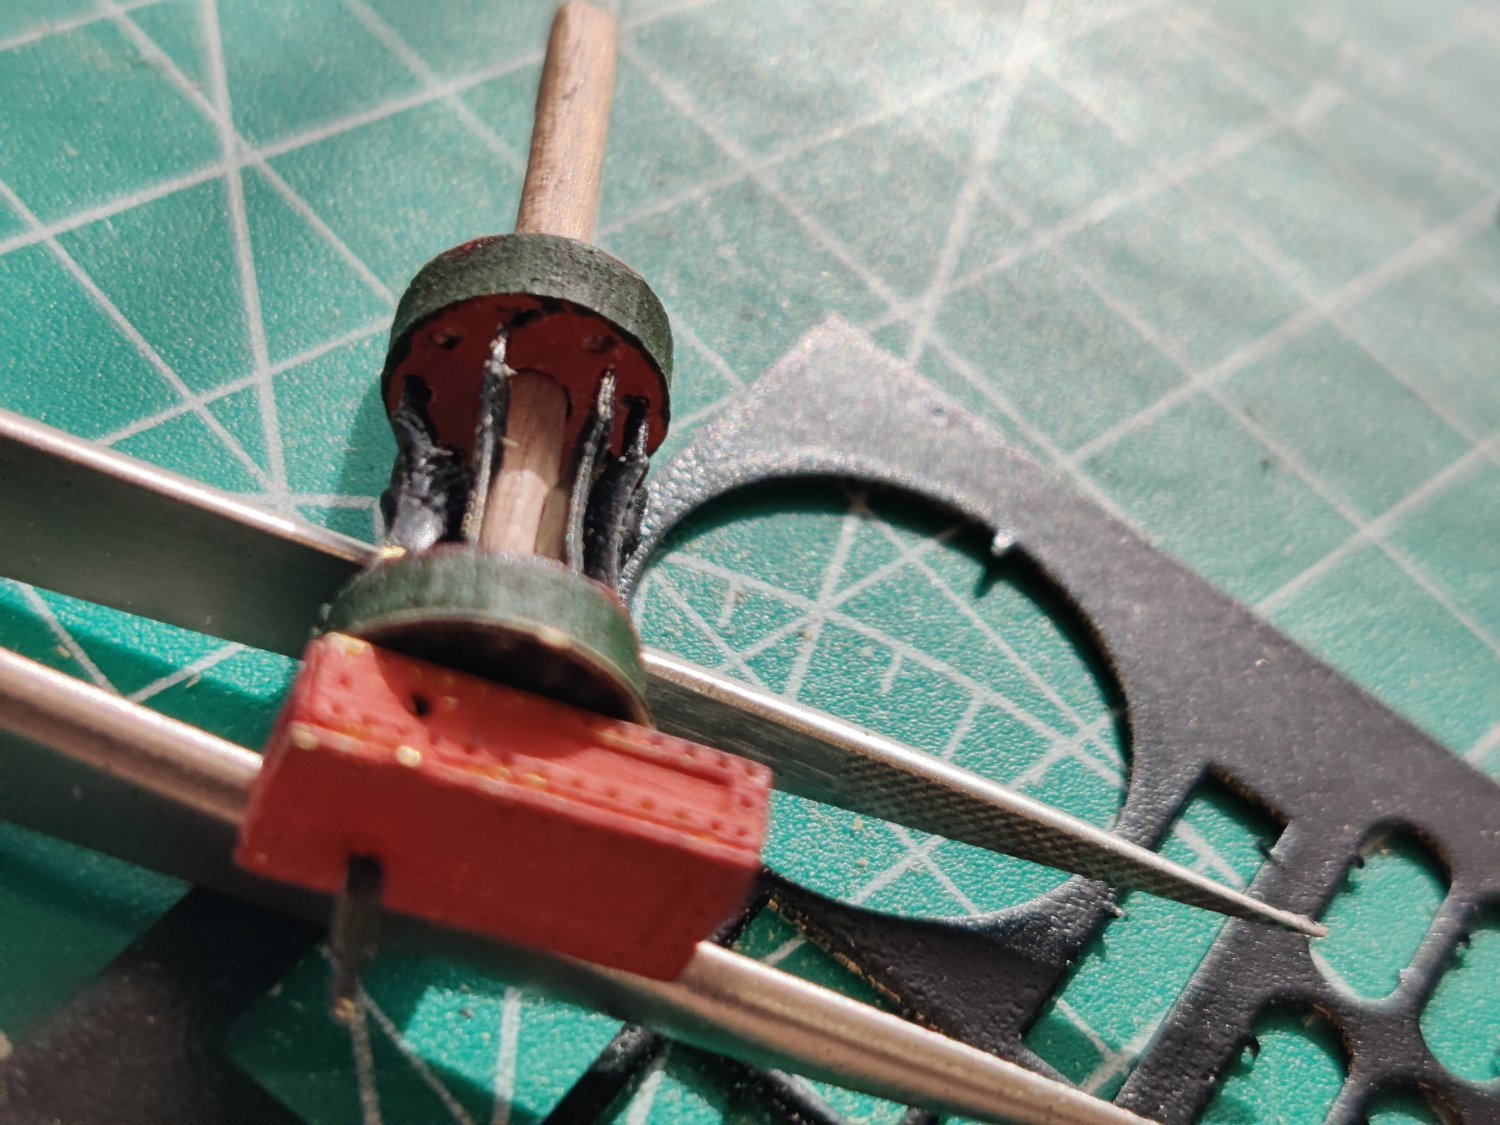
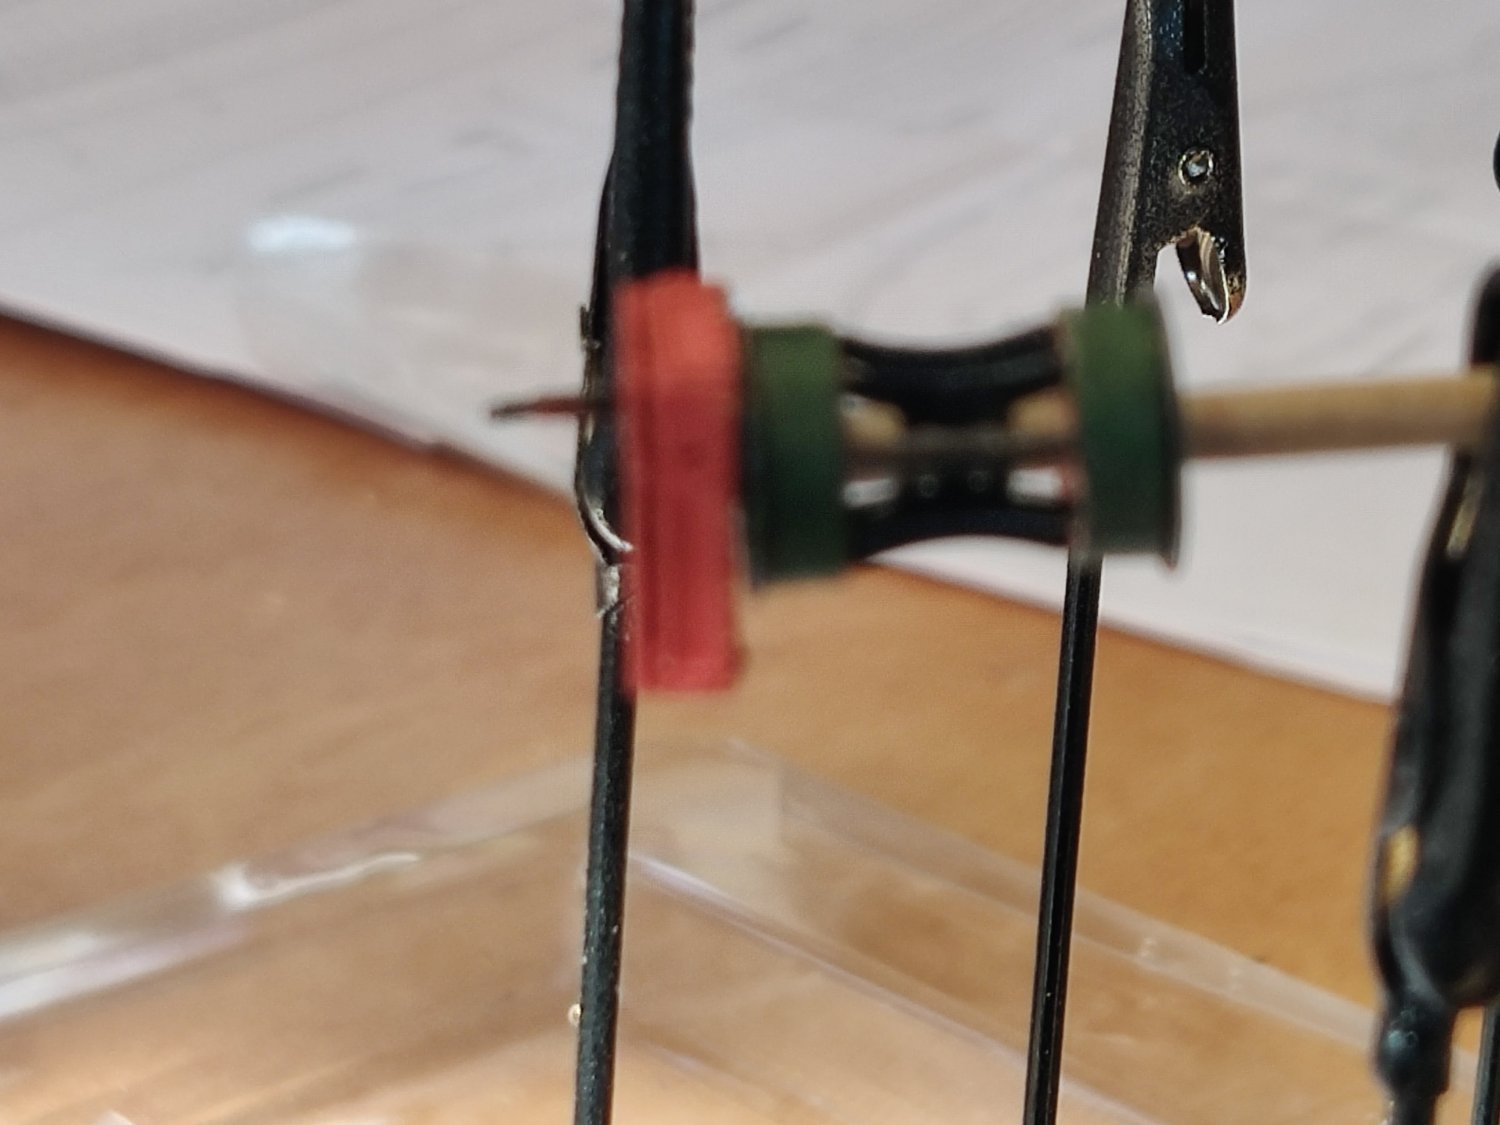
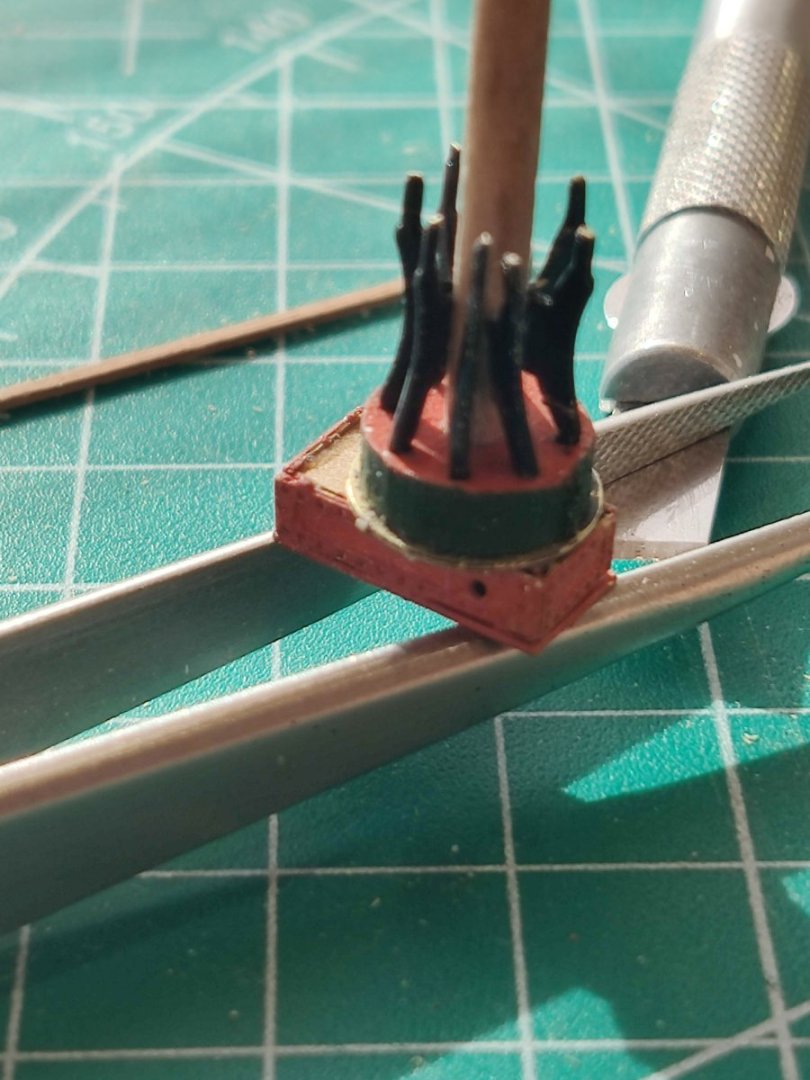
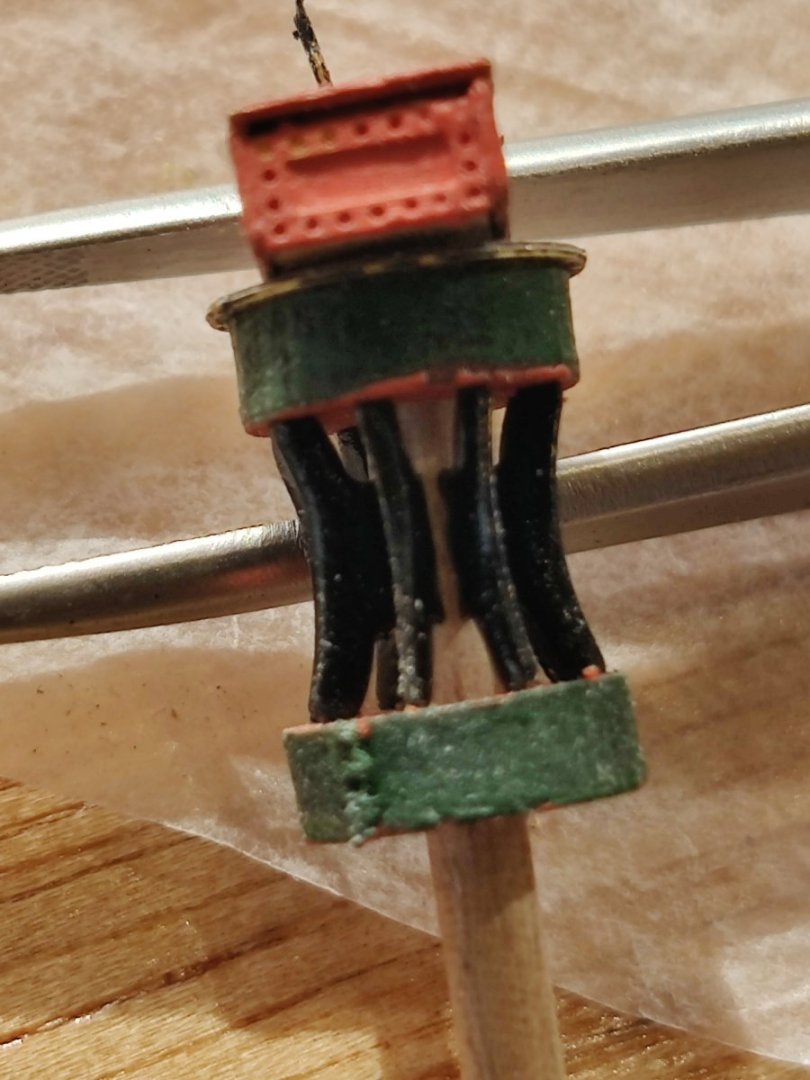
Working on the steam powered winch, it is wise to paint the component pieces before starting assembly, and just do touch up painting after assembly. Be sure to sand the dowel before cutting it to the 40mm length, it is much easier to sand then cut to length. Add the brass components that are not to be painted until after the assembly, including the post which is inserted into the orange top piece. It is helpful to have the winch sit flat when inserting the 8 center pieces that are painted black. You will also likely need to re-drill the eight holes for the center pieces after painting.


-
Some tips for novice builders on Lady Isabelle that I learned the hard way: 1.The brass plate that goes on the bow, if you are going to paint it black, wait until it is installed with glue to
paint, drilling the holes for the pins and the hammering of the pins ruins the paint, also the pins are too long at the top of the bow, you need to cut about 1/8" off the pins and it will fine. 2. Go thru all the instructions and identify which brass parts will need to be painted black. It is much easier to spray paint them when they are still connected to the brass plate card. Remove those brass parts that you do not want painted black while they are attached to the brass card before you paint the remainder of the parts. 3.Put the string thru the back of the stern steering box before you assemble the box. 4. Before you paint the bow, put pins in the three holes that will hold the little brass plate. the holes are so small that they disappear when painted. Also if you have sanded the bow the pins may be too long and will stick out the other side and will nee to be trimmed. 5. Before you start putting the 50+ rib pieces on, cover the two large openings on the main deck. I dropped one off the tweezers and it fell into the space and became attached somewhere on the inner hull so I had to make one from the edge of the wood pair card piece. I am sure that there will be more tips I learn the hard way before I am finished.
-
Thanks for the suggestion on using Gorilla Super Glue Gel. I got some and it is so much easier to use, using the squeeze handles give a measured amount of gel.
-
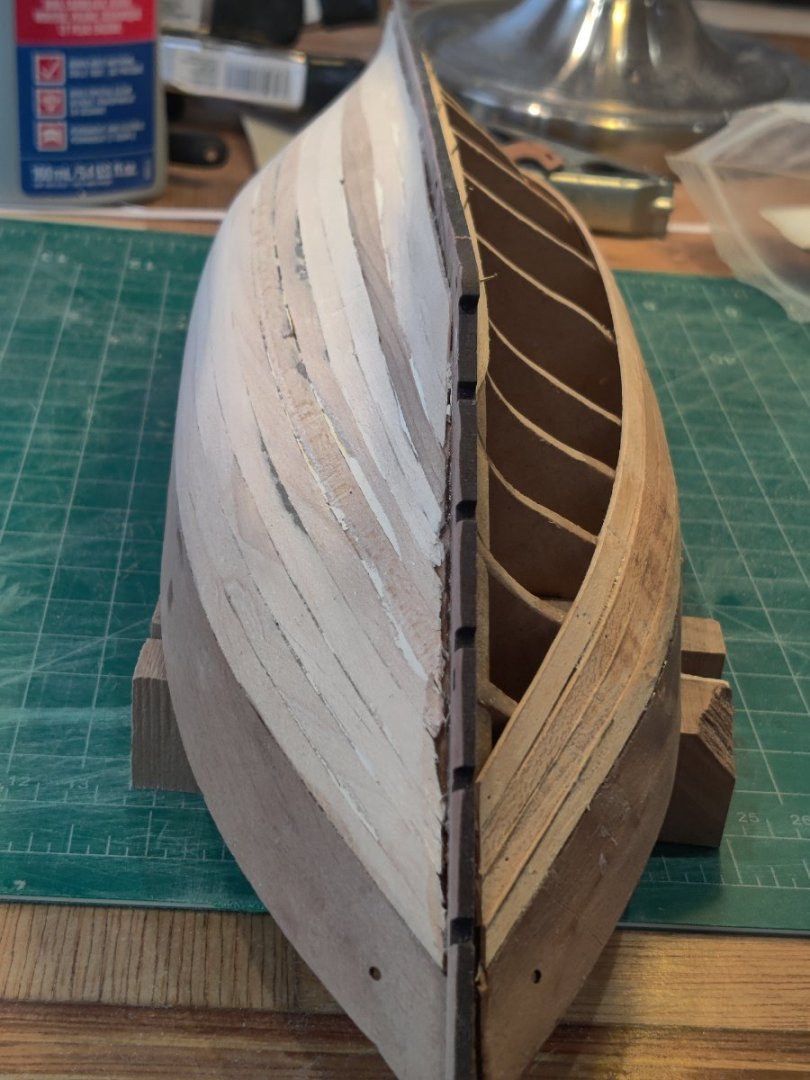
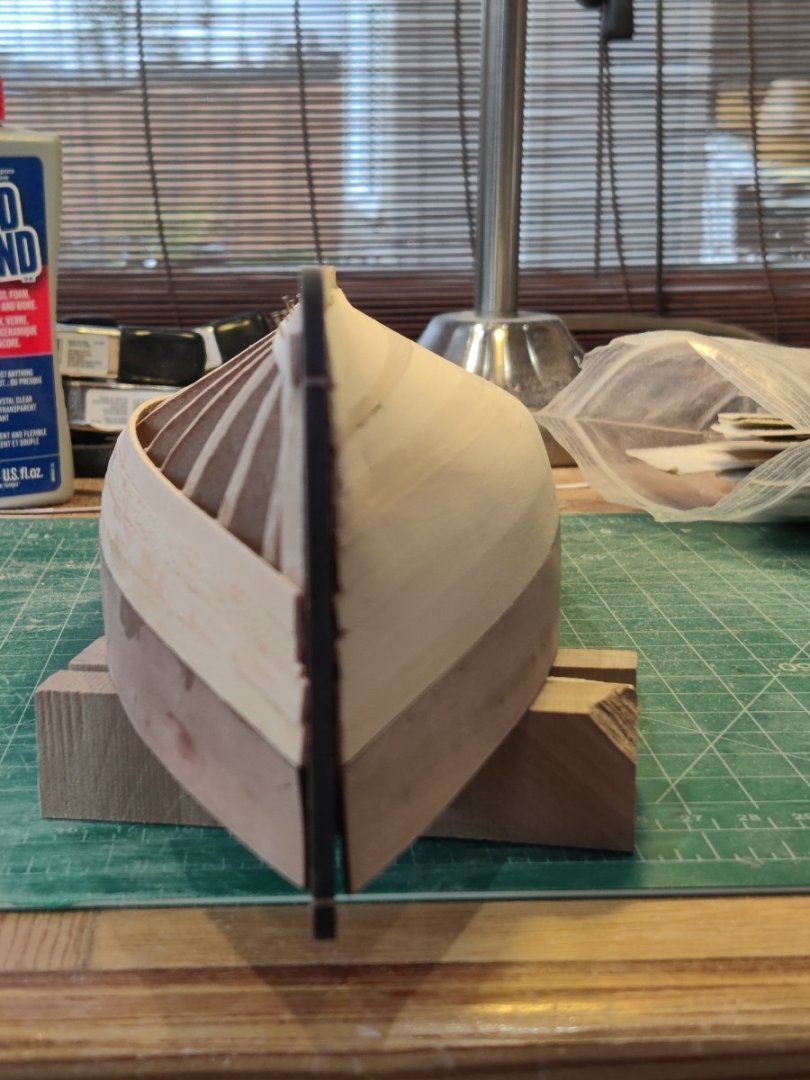
Second Hull planking is going well so far, the pear wood is really pretty, I am really conflicted about painting over such beautiful wood. I know the instructions are to paint it red below the waterline but I would really hate yo cover this beautiful wood with red paint.

-
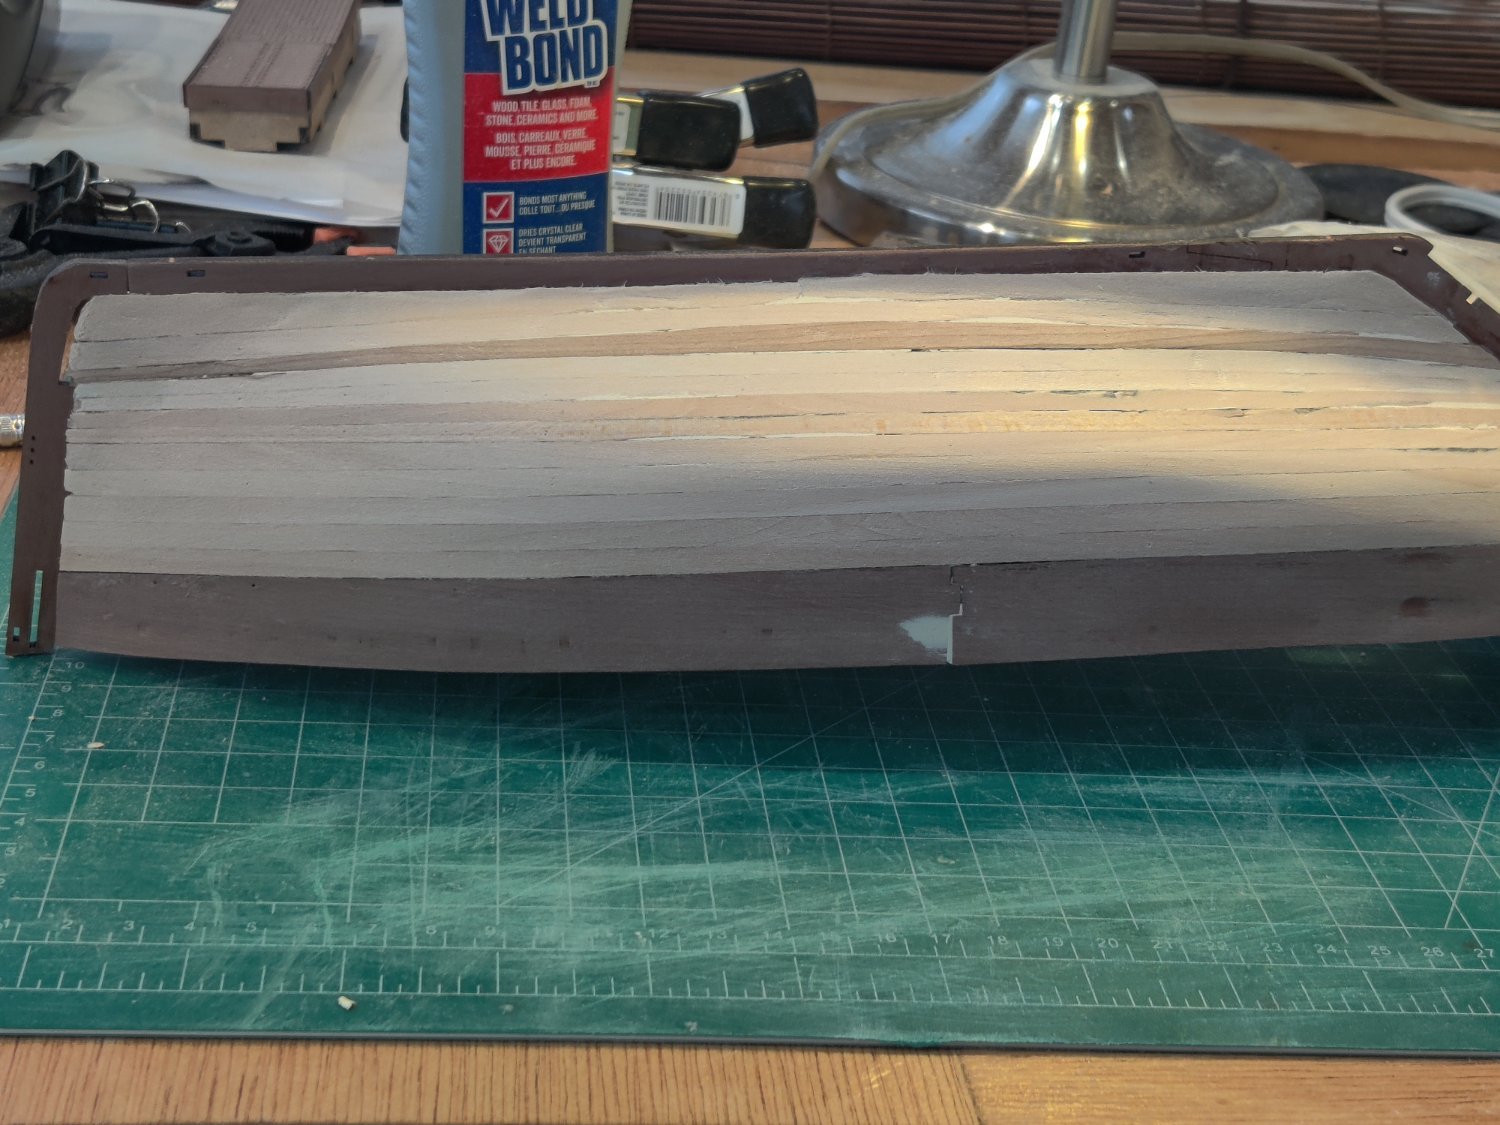
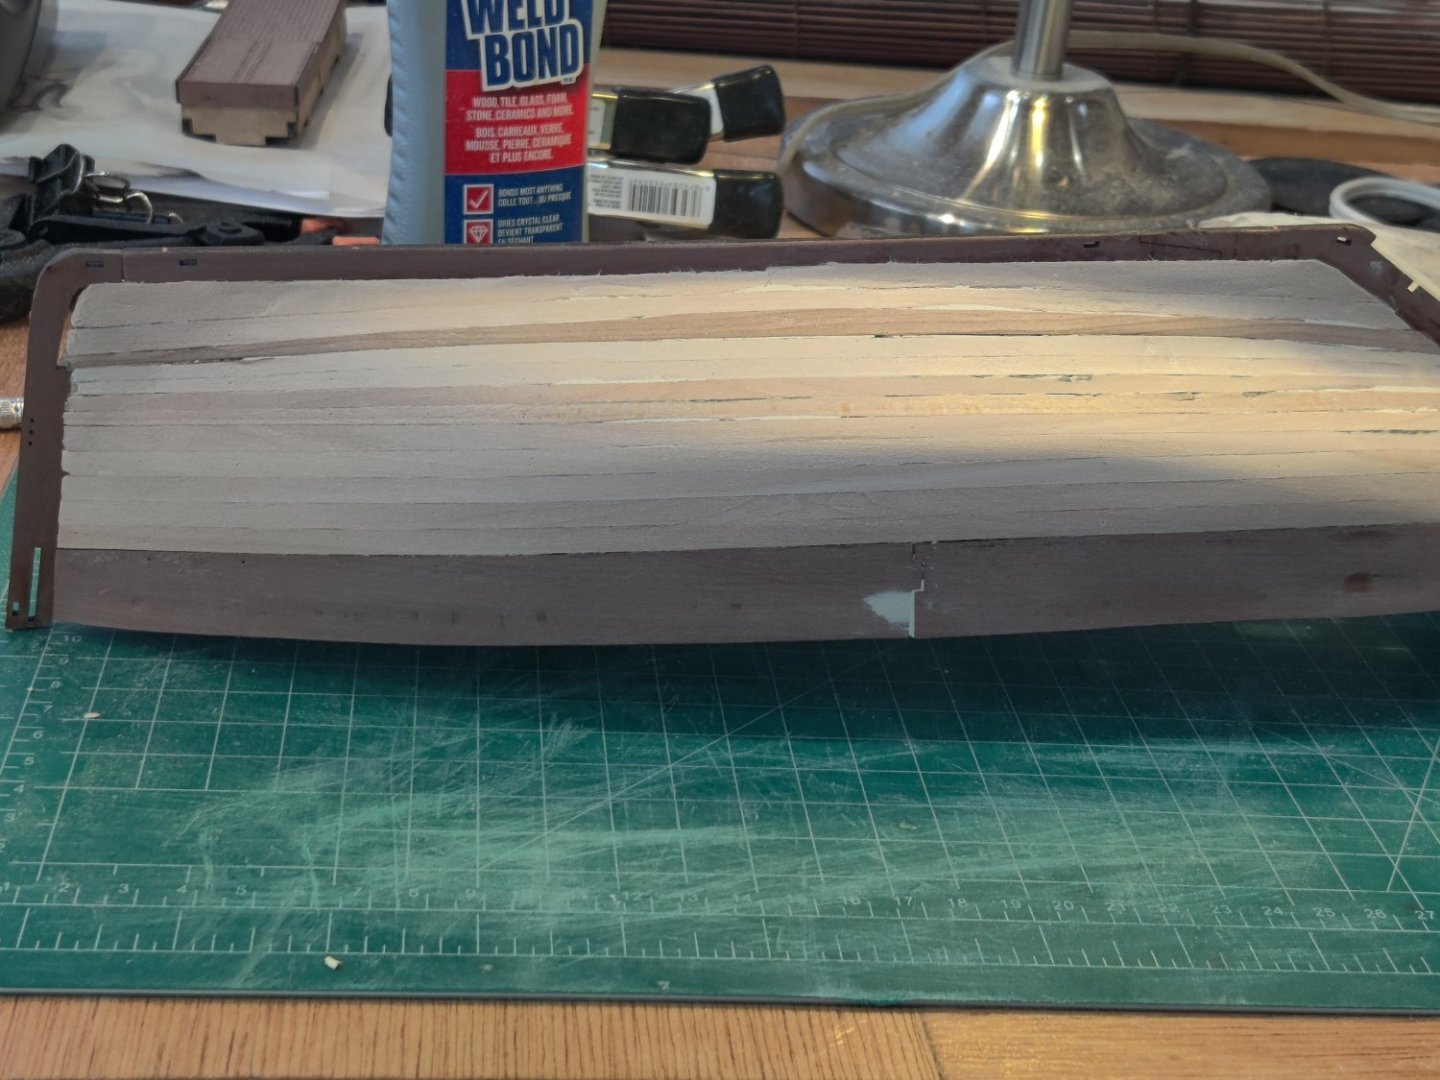
The one side of Zulu now has the first layer of planking completed and I spent the last few hours getting it sanded. I put some wood filler in the gaps before sanding. when you look at the pictures below from the side it looks like there is a swale. However, when you view from either end you do not get that impression. I think it is the color change in the wood that created that impression, not sure. It feels really smooth if touched so I am a little conflicted. Thoughts or suggestions are appreciated.

-
When you were installing your waterways, after you had beveled the inside edge to meet the planking, did you have to clamp in the waterway as you cut the bevel for the side that backed up to the bulkhead? Did you do any wetting of the waterway before you forced it next to the bulkhead?
Thanks for your build log it has been of great assistance on this journey.
- Show previous comments 1 more
-
-
I did something similar. I traced the curves onto a piece of scrap plywood. Then where you used pins, I used dowels protruding to a smidge below the height of the waterway. I soaked the waterways about an hour, set them between the dowels, and used a steam iron to set the shape. I saw that technique somewhere at the website but can't remember where.
Like me, you followed Bob Hunt's direction on the waterways. I think they're too flat and the bevel isn't steep enough. If you look at pictured of the waterways on the Constitution, and/or consult the plans, you'll see that they should be a smidge taller and less deep. Not being a stickler for absolute fidelity to the original, I have no problem with keeping them as they are - just pointing it out in case you feel differently.
I noticed you got the sanding tools I mentioned in my log. They're great, aren't they?
Lastly, hard to tell in the photograph above, but did you not bevel the waterway at the stern? I think the angle where it will mate with the section going across the stern should be about 45 degrees. No?
-
-
Before I make a fatal mistake, I need to better understand the relationship between the Bearding line and the rabbit. Am I correct that the Bearding line is the merge point between the Keel and the lowest plank on the hull? Is the goal to reduce the thickness of the keel at the bearding line by the thickness of a plank so that the last plank's bottom edge is flush with the keel?
Is the rabbit the rounding of the bottom edge of the keel, so that there are no sharp edges? To do that would you find and mark the bottom center line and then gently round each side of the keel to the center line?
Also, I am still concerned about the difference between bulkhead from the pattern plans as referenced in my last post.
-

A picture is worth a thousand words:


The line of the inboard plank corner is also called the "back rabbet" line.
Here's a fairly decent tutorial on cutting rabbets: Cutting a Rabbet Line - The Suburban Ship Modeler
The shape of a backbone rabbet is a rolling bevel, created by the use of a "fit stick" the thickness of the planking stock. The above article explains its use. Basically, it's an exercise in cutting notches at each frame end and then connecting them all in a graceful curve.
-
-
-
Is the build log for your original Winnie, available? I think I saw portions of it and it was built with boxwood, but now I can not find it. I wanted to compare it with the current build log on the Group Project to see what may be different.
Thanks
-
Thanks for the primer!! I will need to digest it with several readings. There is a lot of content. The glossary was a big help, iI would have bee lost without it.
-
Chuck
I signed up/paid to get plans for Winnie. Considering building the Winnie. Read a lot of the build logs. Confused by the scale postings on build logs. Some list 1/4 others list 1:48. Are these the same build or is there truly 2 different scales? Without completely reading every page of build logs have there been any issues with the cherry? I read one log where the builder started in cherry but later started over again in boxwood. Thanks
-