


Alec Hosterman
-
Posts
9 -
Joined
-
Last visited
Content Type
Profiles
Forums
Gallery
Events
Posts posted by Alec Hosterman
-
-
On 9/6/2019 at 2:07 PM, Matt D said:
Hi Alec. I don't know if you can do anything about it, but if you look at post #80 in my Virginia build log, you'll see that the foremast is pitched too far back. It's on page 3 of the log and you can link to it from my signature below. That caused me to have to shorten the gaff on that mast. I think some other builders have had the same problem, which leads me to believe it's an error in the false keel. You might want to push your masts in and lay the model on the plan as I show in my picture to see where you are there. You can still get to the false keel if you need to file a little away and fill it in on the other side. It might be easier to fix now than it would be down the road.
Many thanks for the tip! I've added a note to my instructions to check out your post again when I get to that point.
-
10 hours ago, Matt D said:
Hi Alec. I used Testors enamel on the canon and the gaff cheeks with just a little trouble: CA stripped a little bit of paint off of the gaff cheeks. In the end, it was so little that I didn’t bother touching it up for fear of making a bigger mess.
I was wondering how the glue would interact with it. Good to hear it's only a bit of stripping and not a lot. Thanks!
-
15 hours ago, Wallace said:
Alec, those pieces can be a bit of a pain to paint and fit. They were cast unevenly and no ammount of filing would make them sit flat on the deck. I first tried simple acrylic paints after cleaning with rubbing alcohol and priming but if I knocked it or handled them roughly the paint simply flaked off. I ended up making them out of wood, apart from the carronade. That was filed and sanded and, once painted (with Tamiya paints actually) I put a coat of varnish over it to seal it. I hope this answers your question sir.
Yes, that does - thank you! My guess is this will inevitably sit on a shelf in my office so I don't think they'll be handled (much). Going to try the Tamiya paints and see how that turns out.
-
On 8/30/2019 at 8:07 PM, Wallace said:
Welcome aboard Alec. I finished this kit some time ago and there are a few others here who got through it too (Nikbud and Sardonic Meow have done a great job on theirs). Should you need any pointers sir just yell, we are all happy to help. I shall pull up a rope coil and follow along on this one if you don't mind.
Actually Wallace, I think I have a question. I noticed the metal pieces are painted bronze or black. What paint brand is best to use? Any preference? From my model kit days, I used to use Testors or Tamiya. Are these good to use or is there one better for these pieces?
-
I decided to take the plunge to see if I could put together a wooden model ship kit. Apparently it's in my genes. My great grandfather once acquired blueprints from the Library of Congress to build a scale version of the Sovereign of the Seas. I'm definitely not reaching that high yet. Alas, I'm also not one to start with something simple. Nope. I like to know I'll get a challenge or two and expand my selection of colorful metaphors when confused. I went with the Artesania Latina Virginia 1819 kit. I really enjoy the look of it and thought it might reside in my office at work.
So here she is thus far. I'm taking my time and enjoying figuring out how something is done. For instance, I looked at different ways to approach the deck planks. I opted to avoid going with the long deck planks. Rather, I went with 10mm sections and at first tried to alternate placement to give it a more realistic look but somehow I lost my place. Thus, it's a wee bit off. That's okay. I figured this is the ship I'm going to learn on so there will be more mistakes. In the end I'll look at it like I look at my woodworking projects: "complete with flaws and awl."
Now I'm reading about soaking wood planks and other options for planking the hull. Think I'm going to soak a plank, bend it into place while damp, and clamp it into place letting it stay like that overnight. The next day I'll unclamp it, glue it, and tack it down. It'll be slower but from what I'm seeing on other posts that seems to be a good method. We'll see.
Many thanks for looking!
- GrandpaPhil, Matt D, J11 and 1 other
-
 4
4
-
-
On 8/17/2019 at 10:55 PM, mtaylor said:
In the Kit Area is a topic with quick find indexes. I'll paste a copy of my search and just scroll down to Virginia. There's lots of logs for this ship.
Many thanks for the reference PDF. It will come in handy!
-
Hello all.
I thought I would try my hand at building a wooden ship, so after some research I picked up the Virginia 1819 ship from Artesania Latina. The directions are a bit lacking, so I'm hoping someone can help validate what I'm thinking. As such, here's my dumb question of the day: Are the paper-thin strips (the thinnest strips that come with the kit) the #16 "Deck, bulwark and upper stern lining strakes" that is listed in the manual? I'm pretty sure they are the ones for lining the deck but just want to be sure before I go on since they didn't label them per se.
I'm sure there will be more questions as time goes on but this is my first.
")
Many thanks!


Virginia 1819 by Alec Hosterman - Artesania Latina - First Build
in - Kit build logs for subjects built from 1801 - 1850
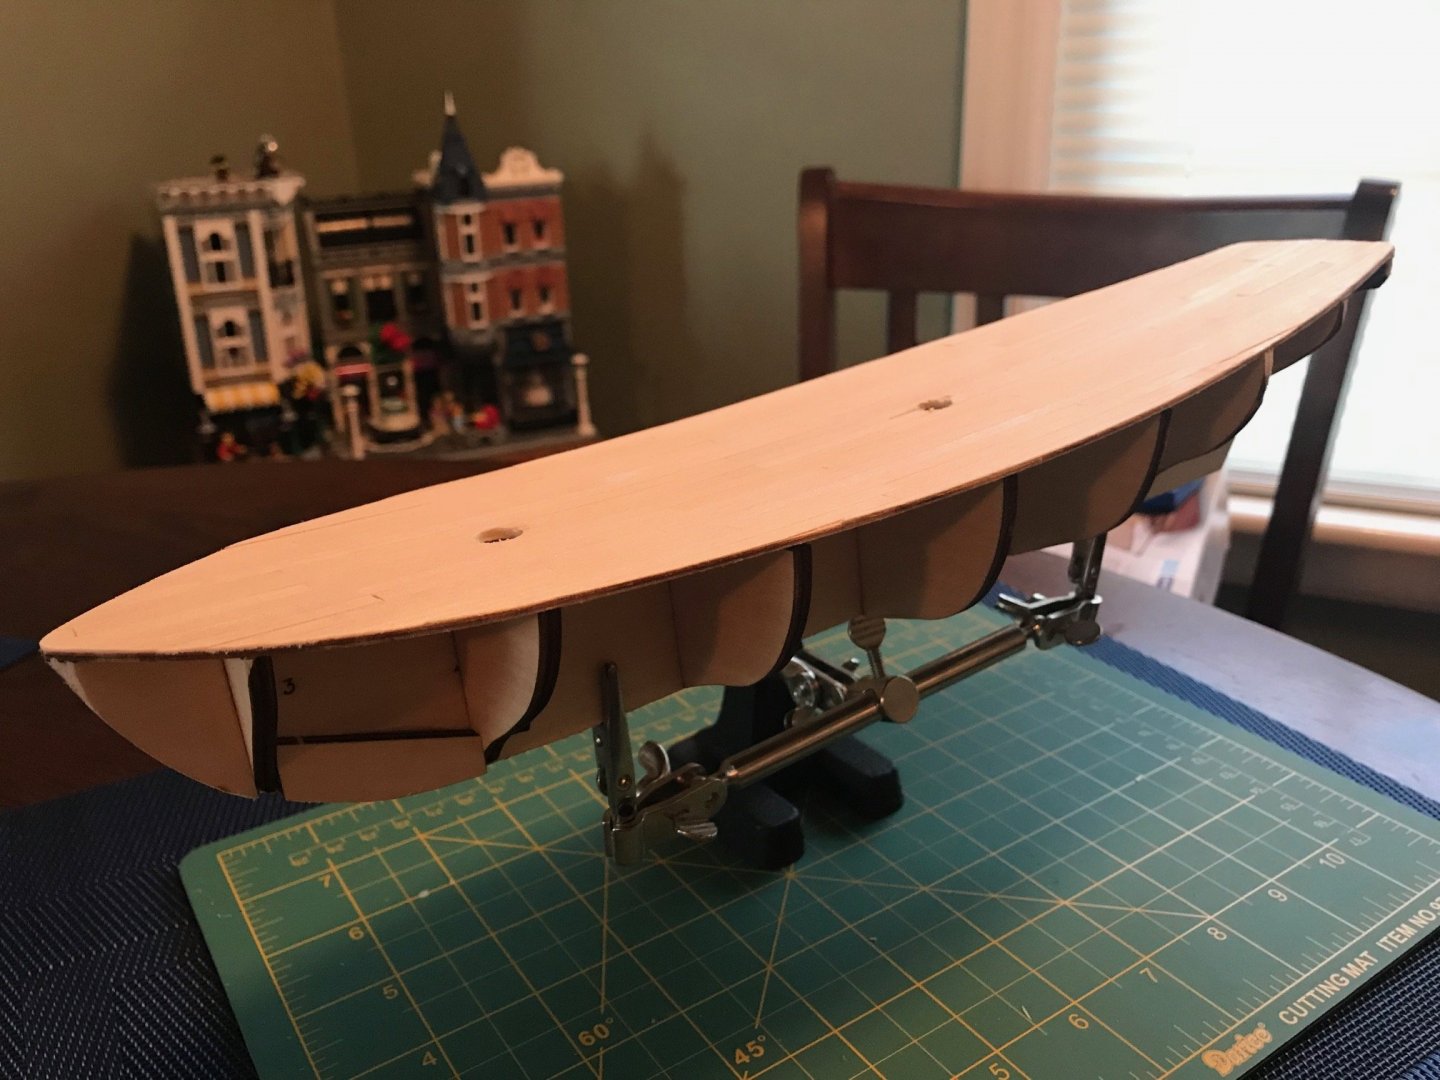
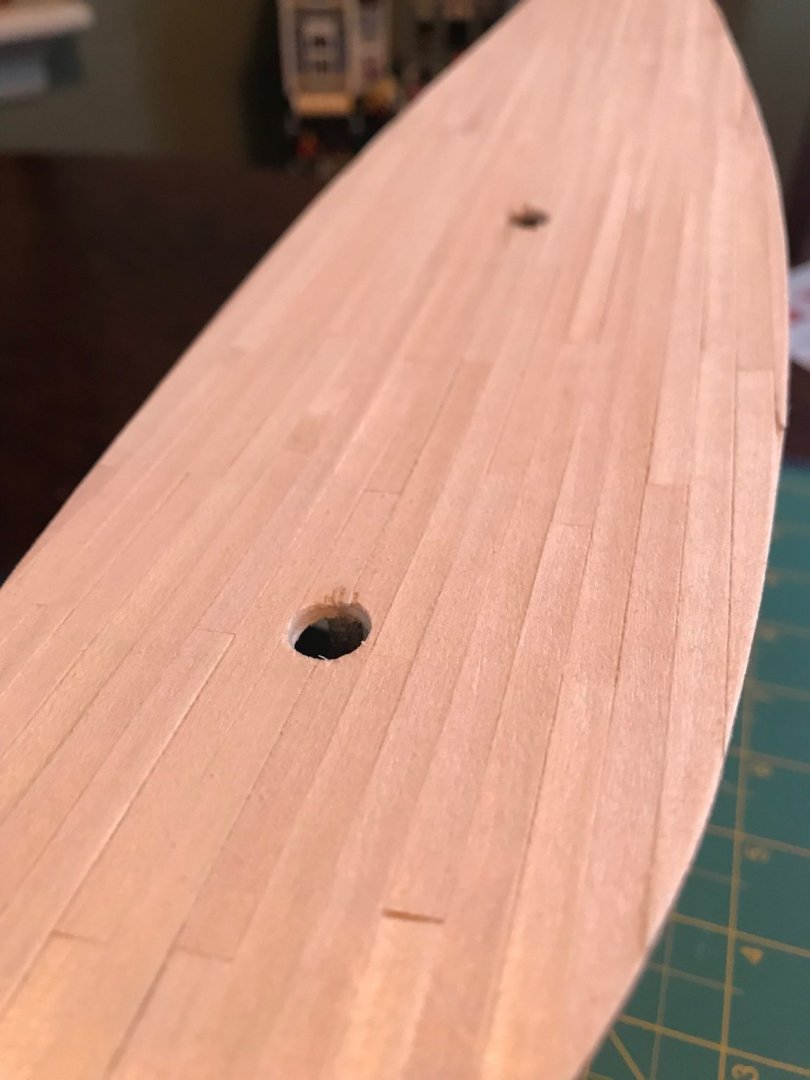
Posted
Just a quick update. Been busy teaching since the semester started last week, so I haven't had much time to work on the kit. However I (finally) started putting on the hull a few days ago. The first two rows are attached while the third is drying. I soak them for about 30 minutes then put them into place, letting them dry overnight. It's been a fairly good process but I did break two planks on the other side because I didn't curve them enough so when I went to pin them in they broke. Not a biggie - I'll just use them on the bottom where I need shorter strips.
In the meantime I worked and completed the hatch. After putting it together I found myself picking up some really fine-nosed tweezers!
Sometimes I think I should pick up an easier kit to learn on and set this one aside for the time being. But then I realize I'd make those same mistakes with that one so I'm continuing with the Virginia. However I think my second kit will be something that has more detailed instructions!