HOLIDAY DONATION DRIVE - SUPPORT MSW - DO YOUR PART TO KEEP THIS GREAT FORUM GOING! (Only 24 donations so far out of 49,000 members - C'mon guys!)
×

CommodoreErie
-
Posts
86 -
Joined
-
Last visited
Content Type
Profiles
Forums
Gallery
Events
Everything posted by CommodoreErie
-
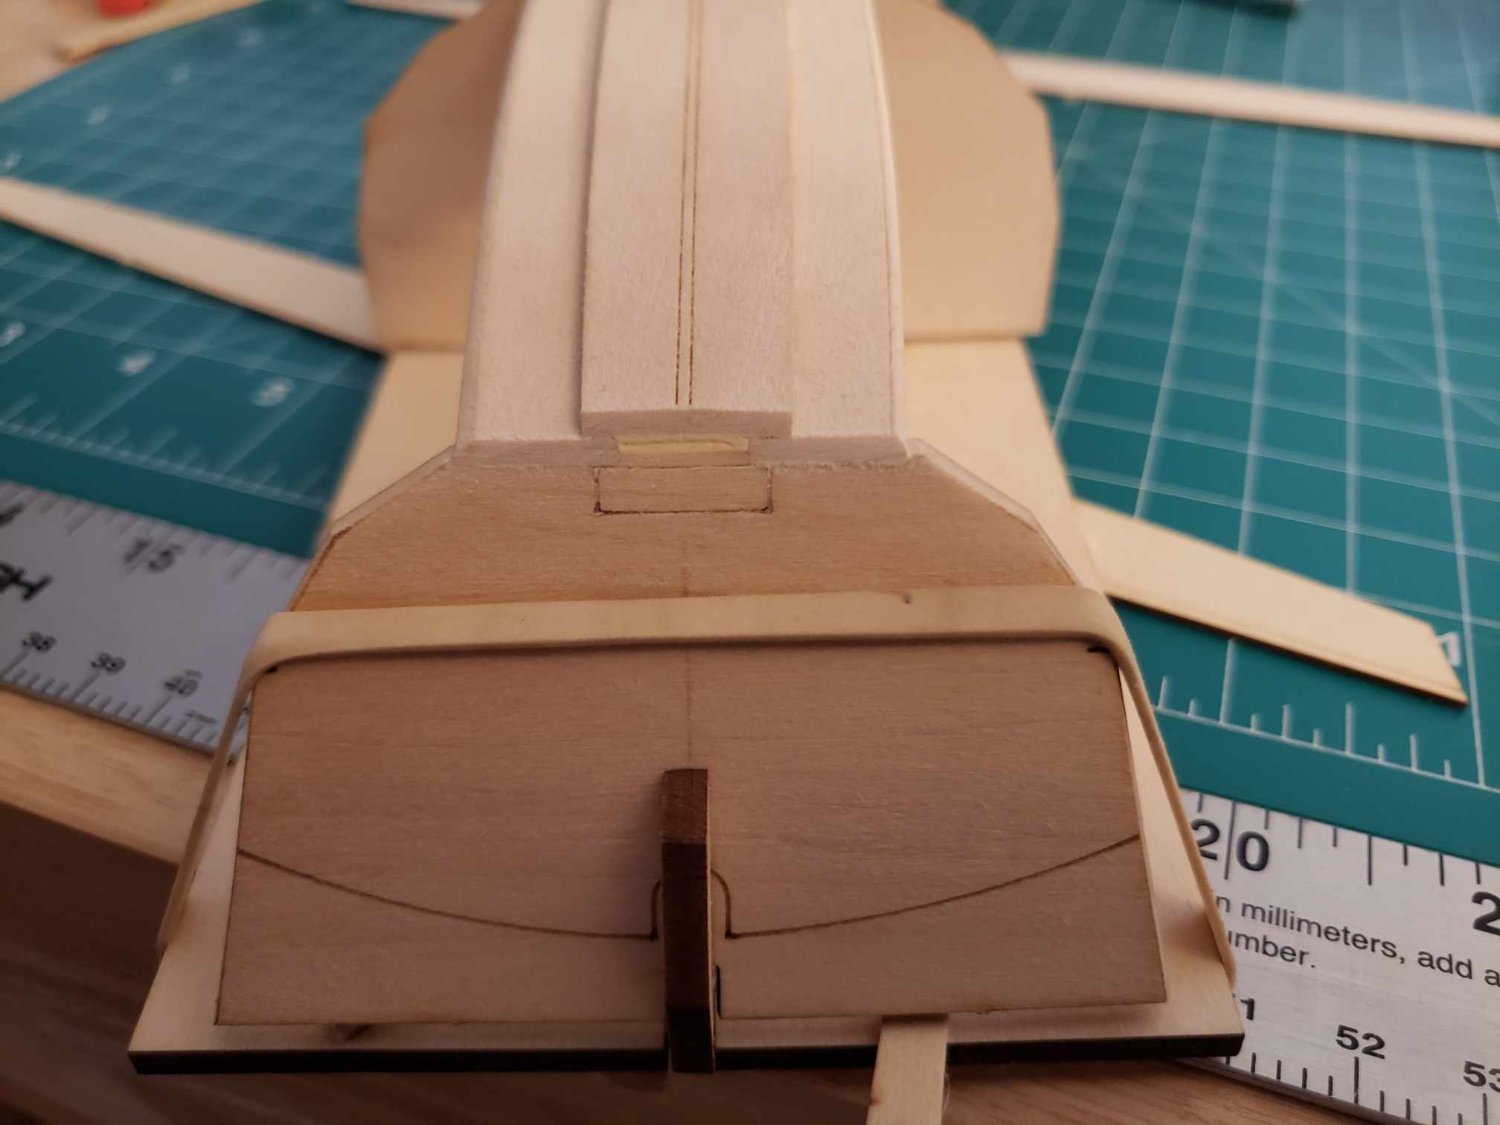
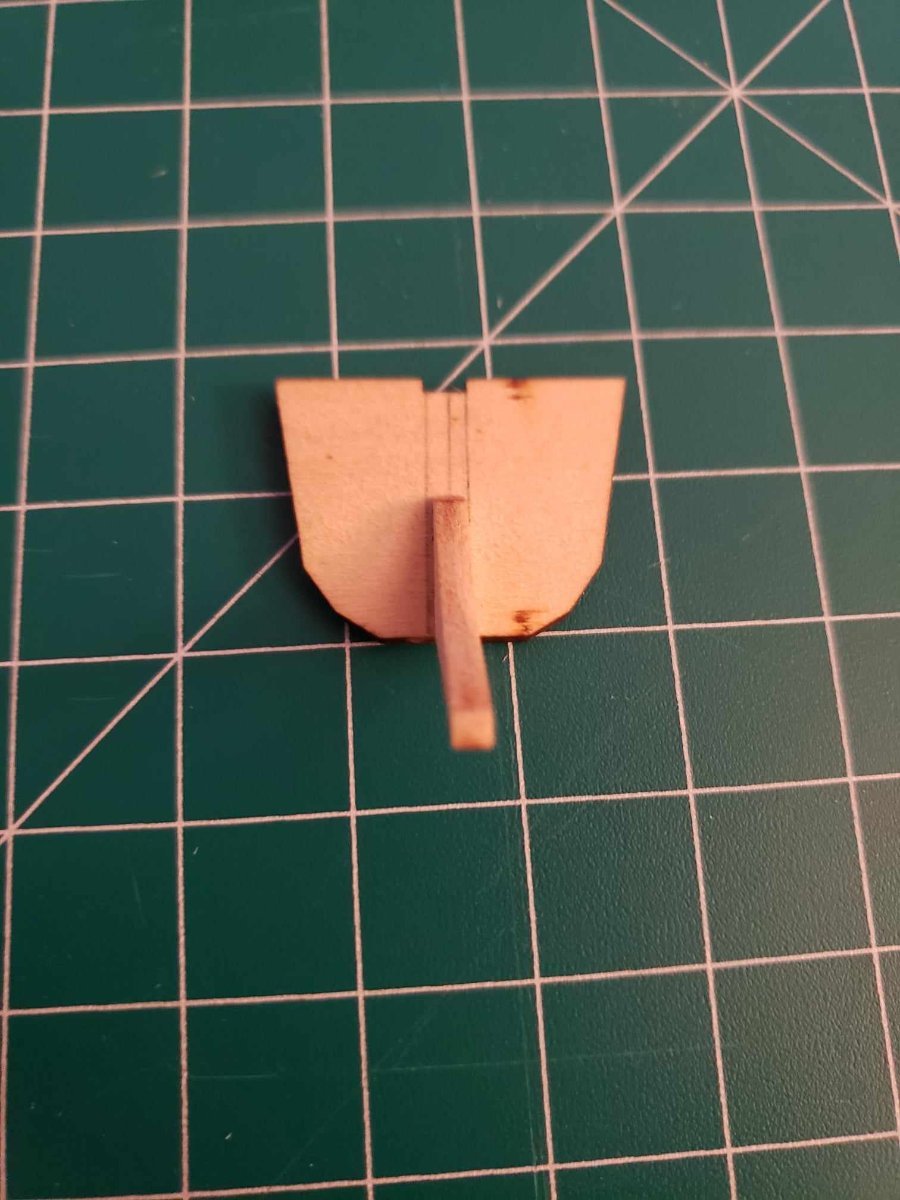
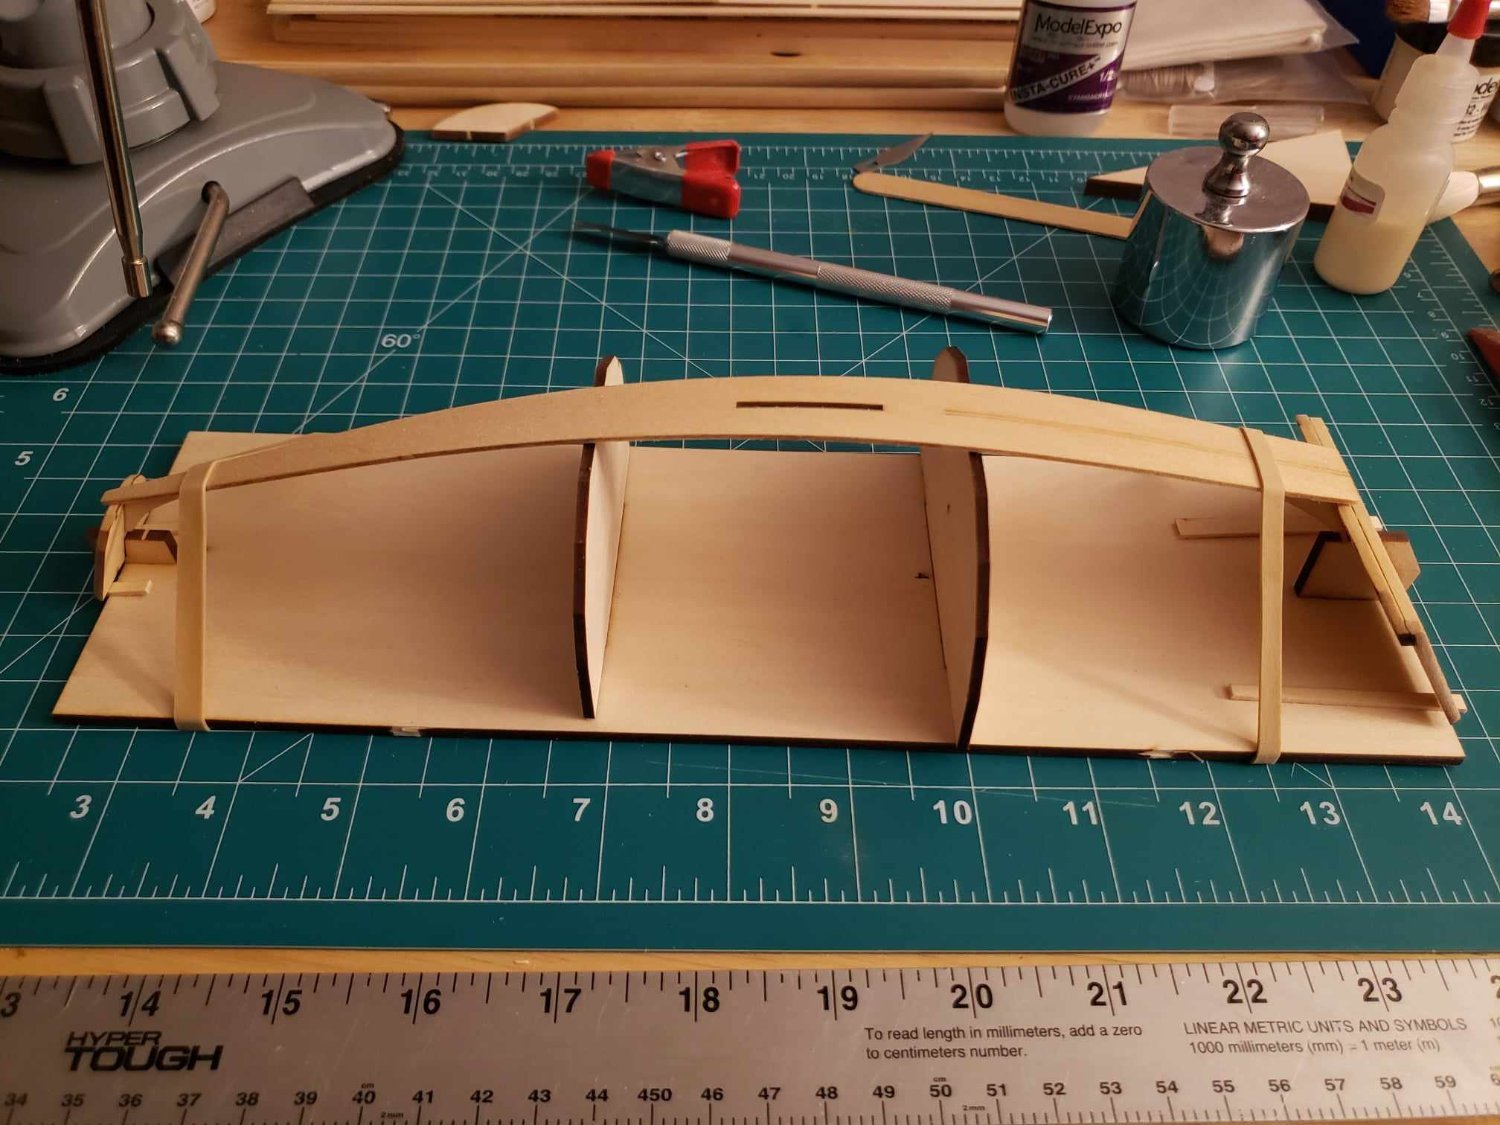
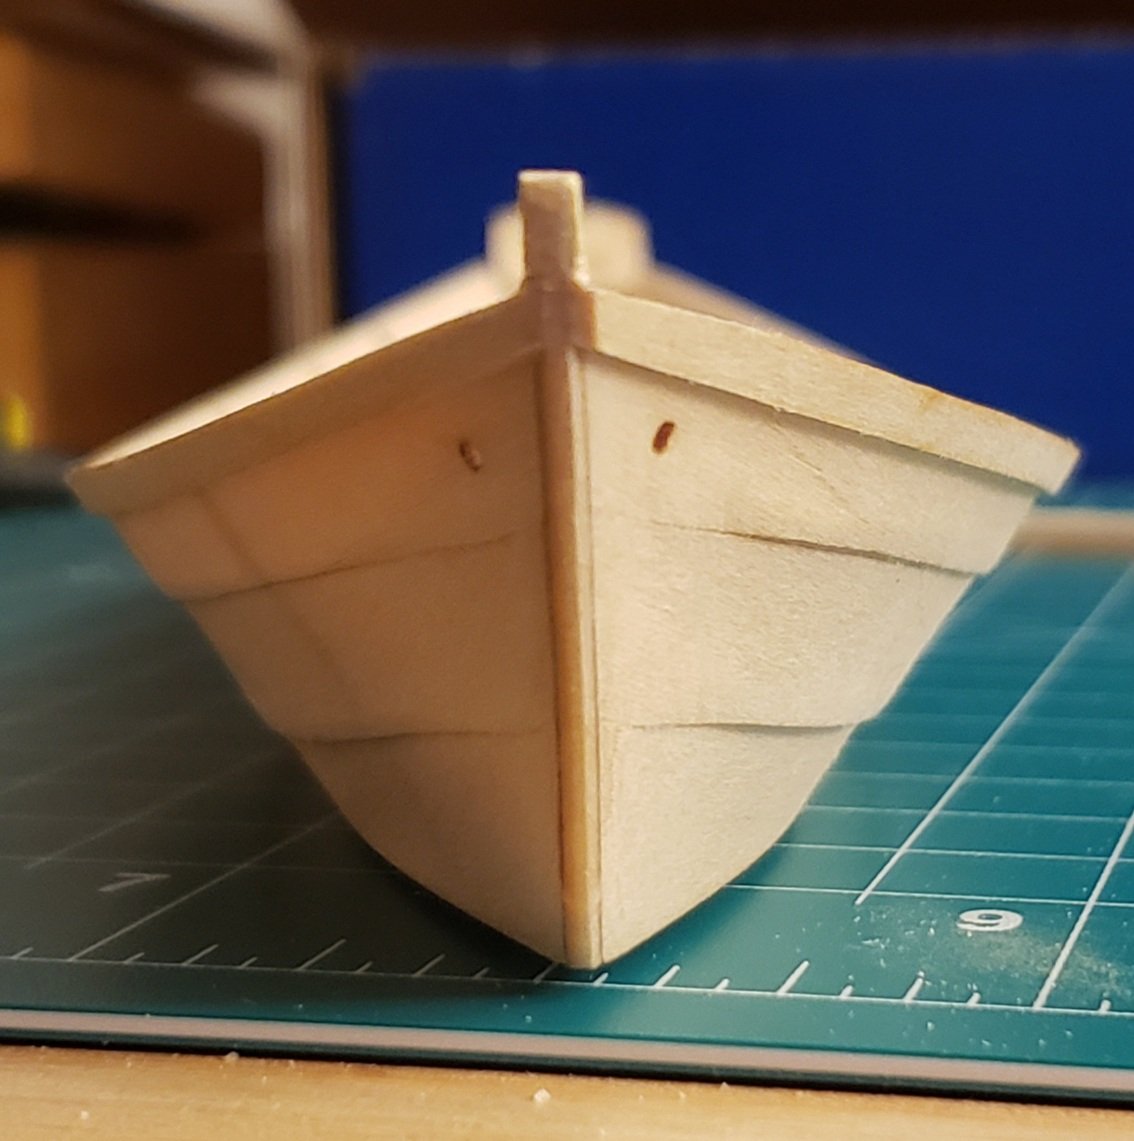
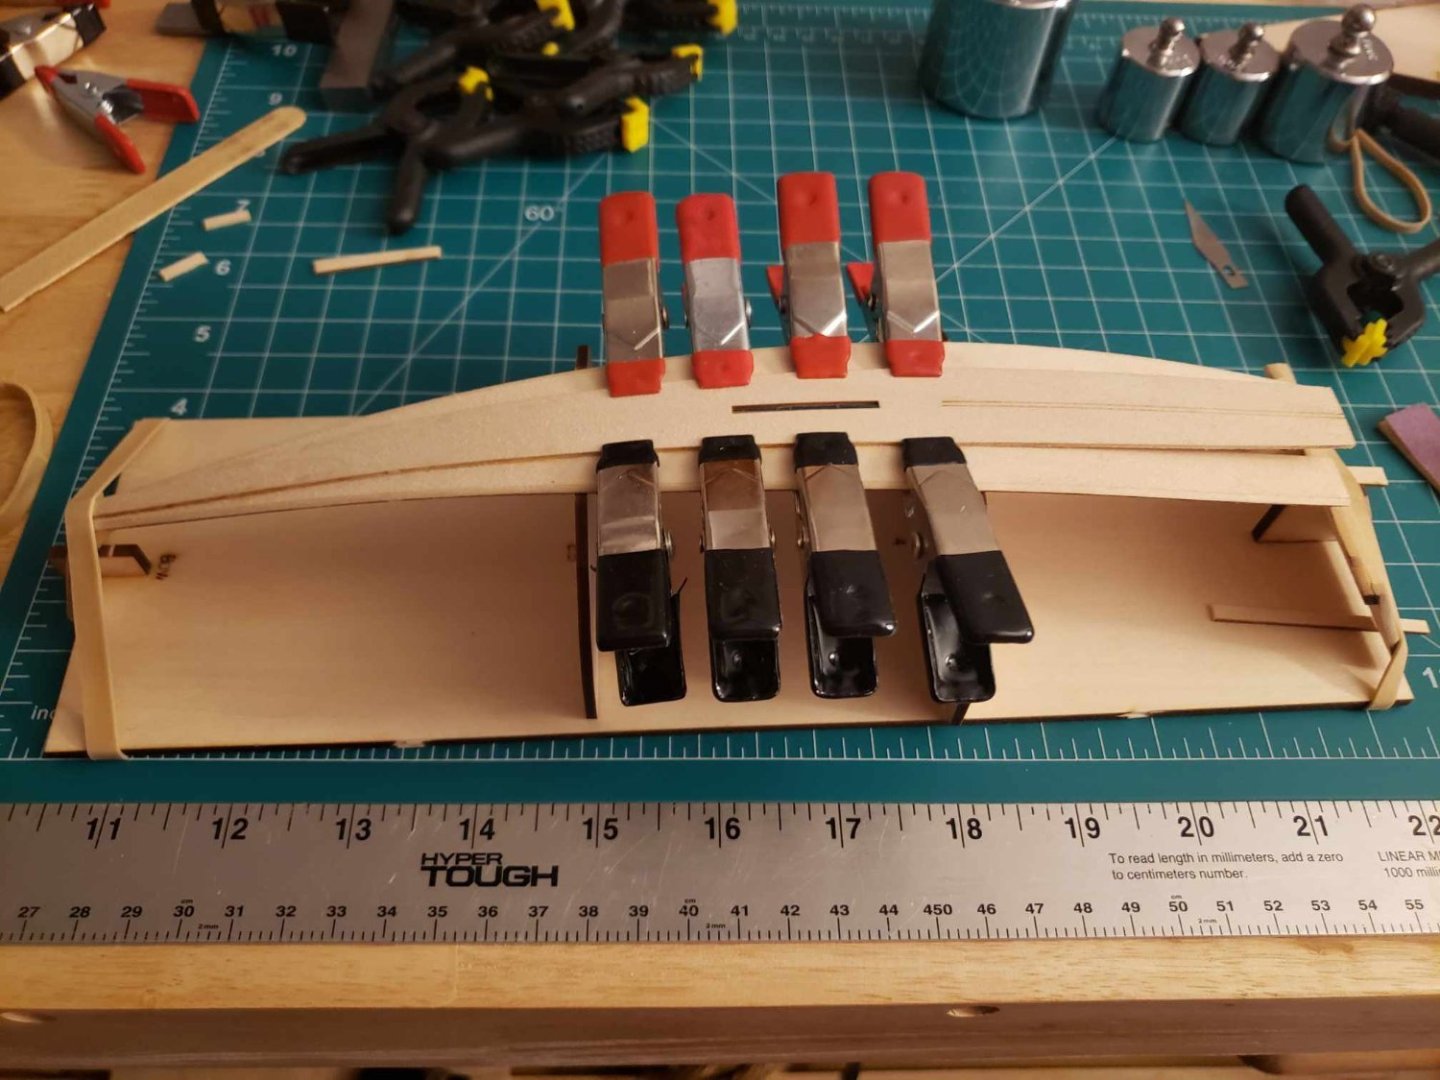
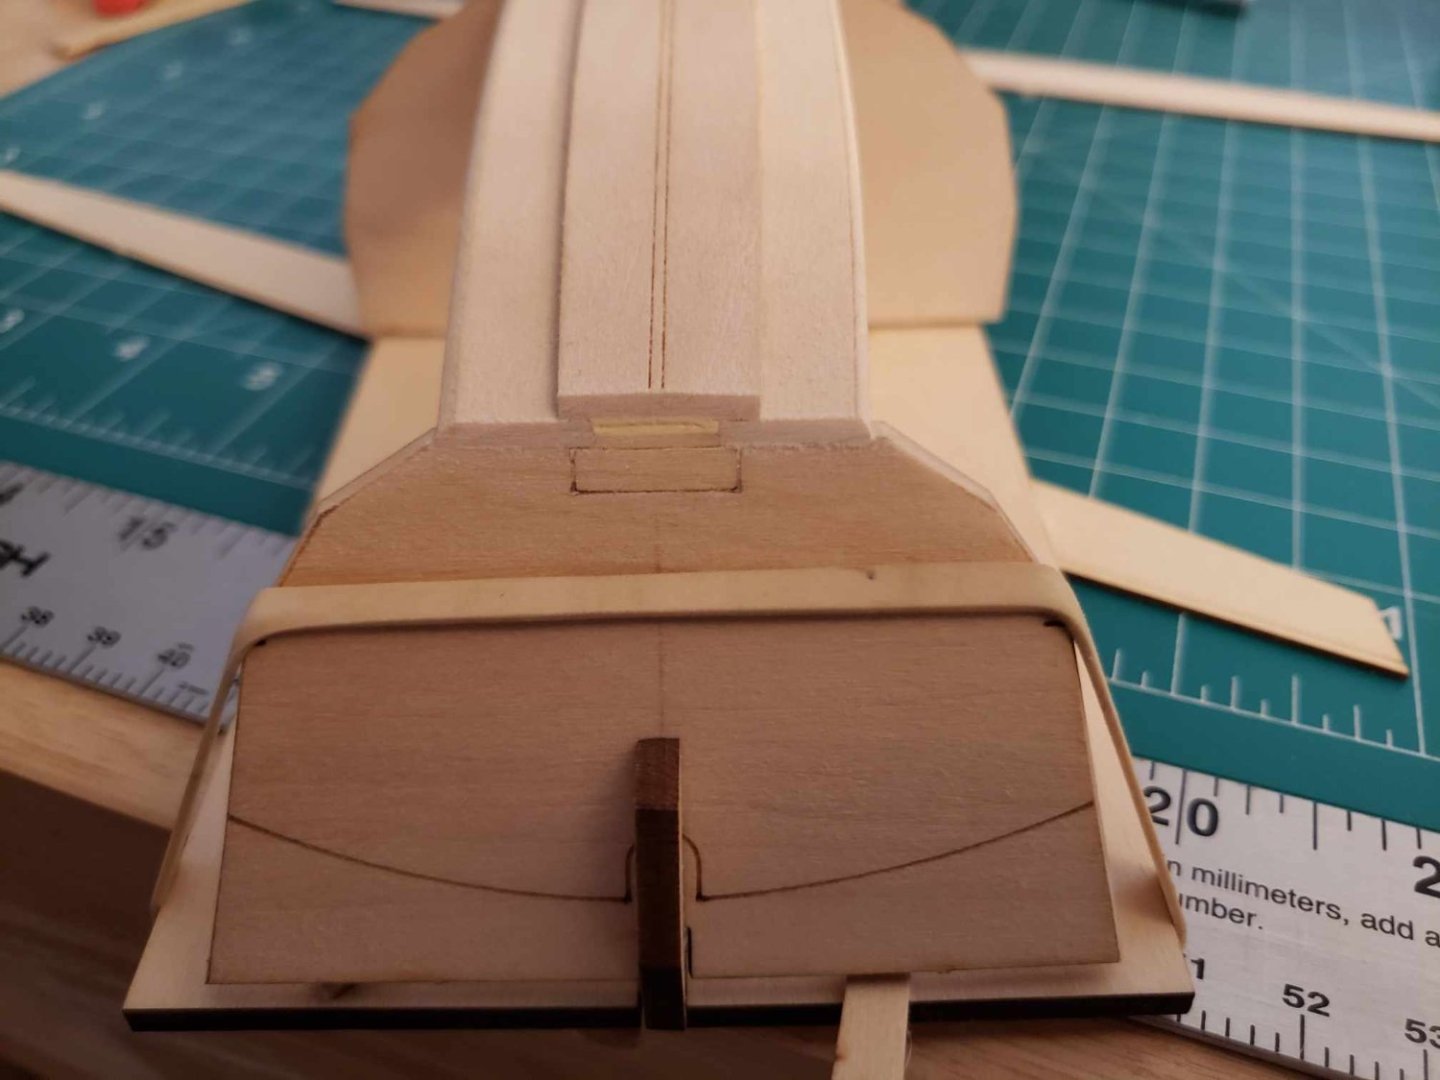
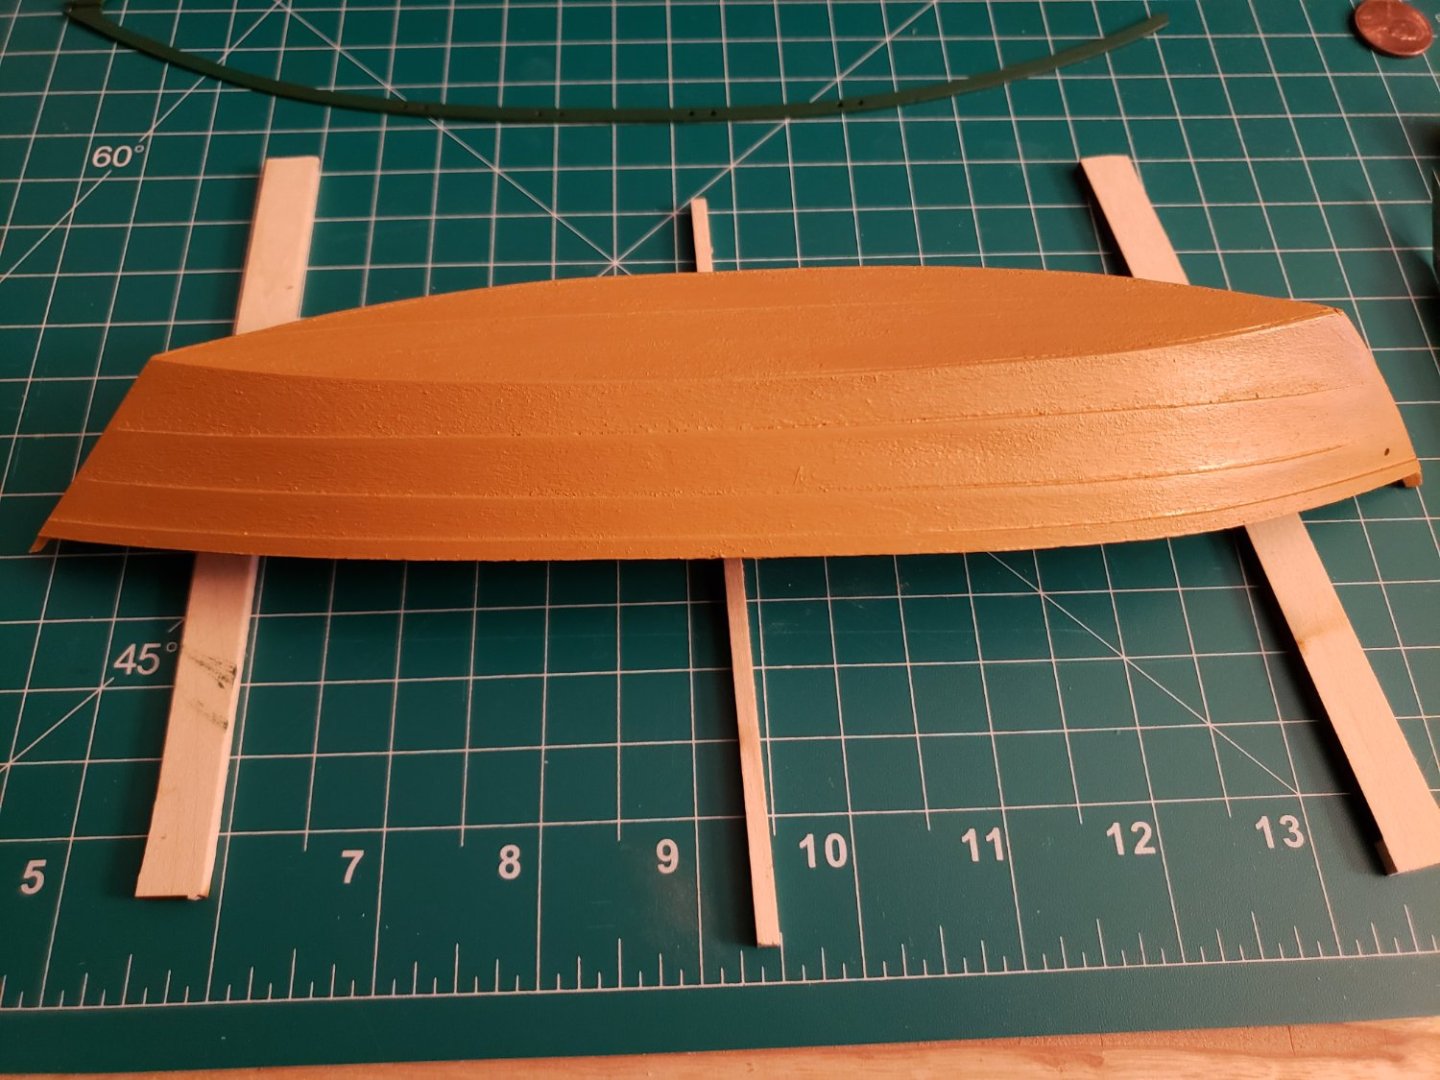
 Keel plank and bottom planks are assembled. I had to readjust the stern transom knee and fill in a gap with some wood putty (not the last time I expect to do so), but next is the garboard planks. We'll see how that goes. I'm probably also going to have to shave down the angle on port side of the transom to make the garboard fit nicely. Ahh well.
-
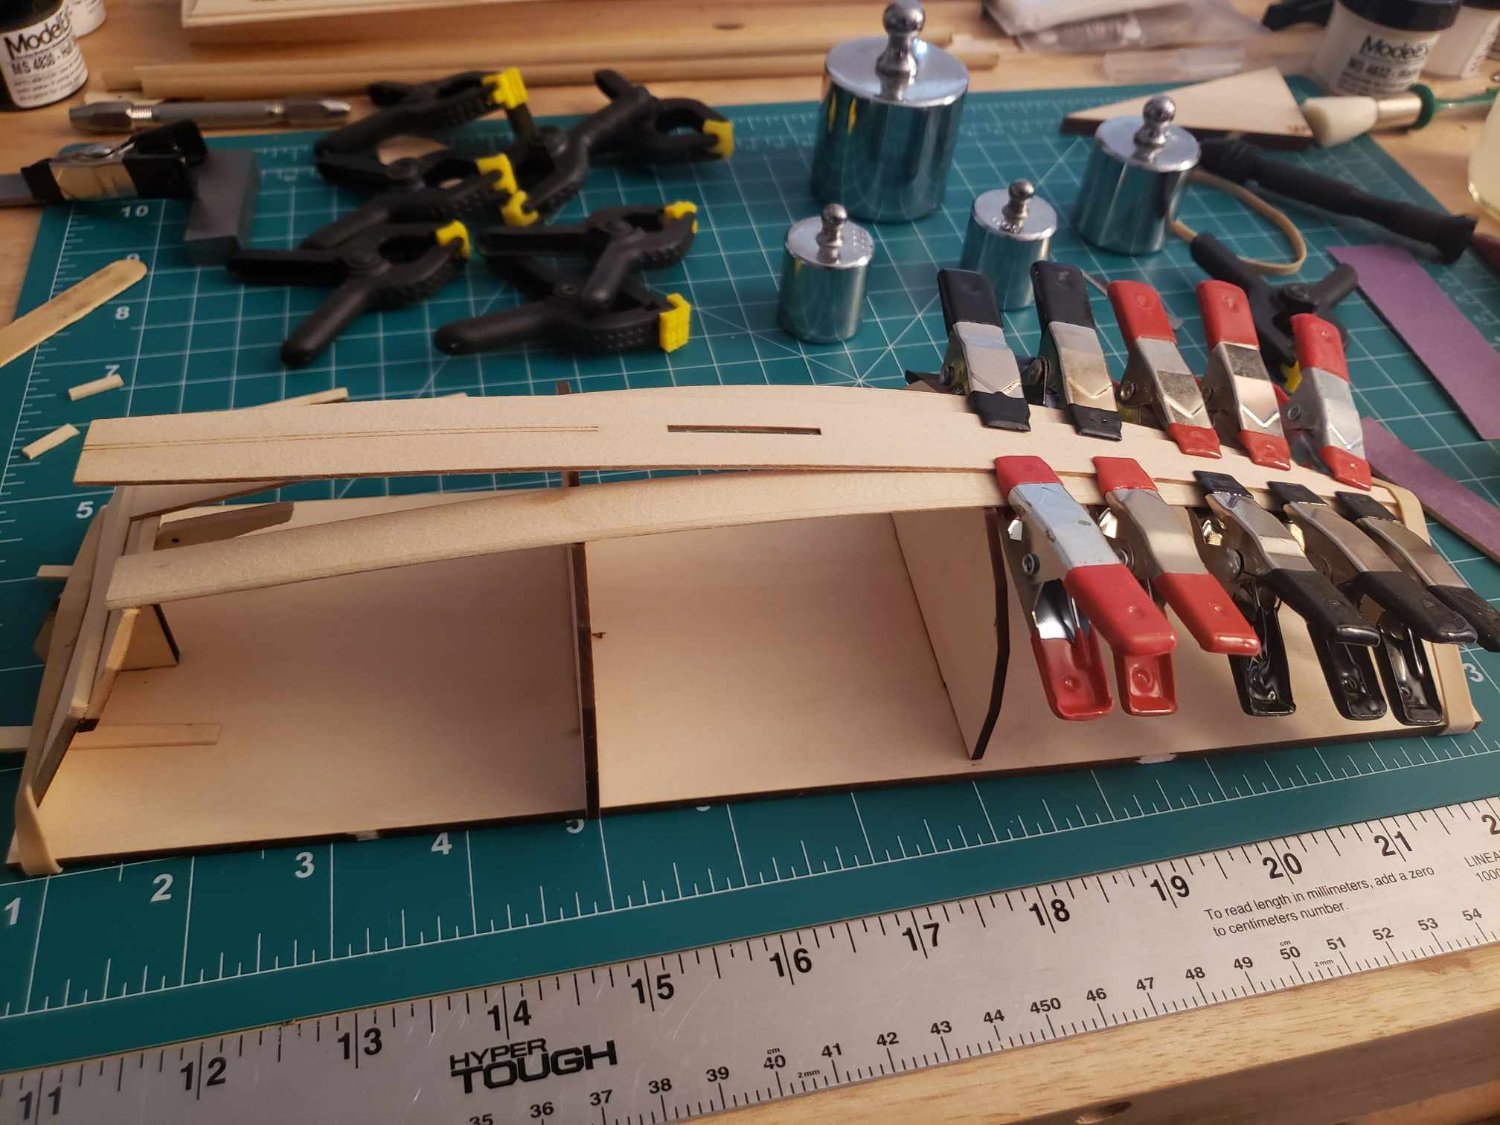
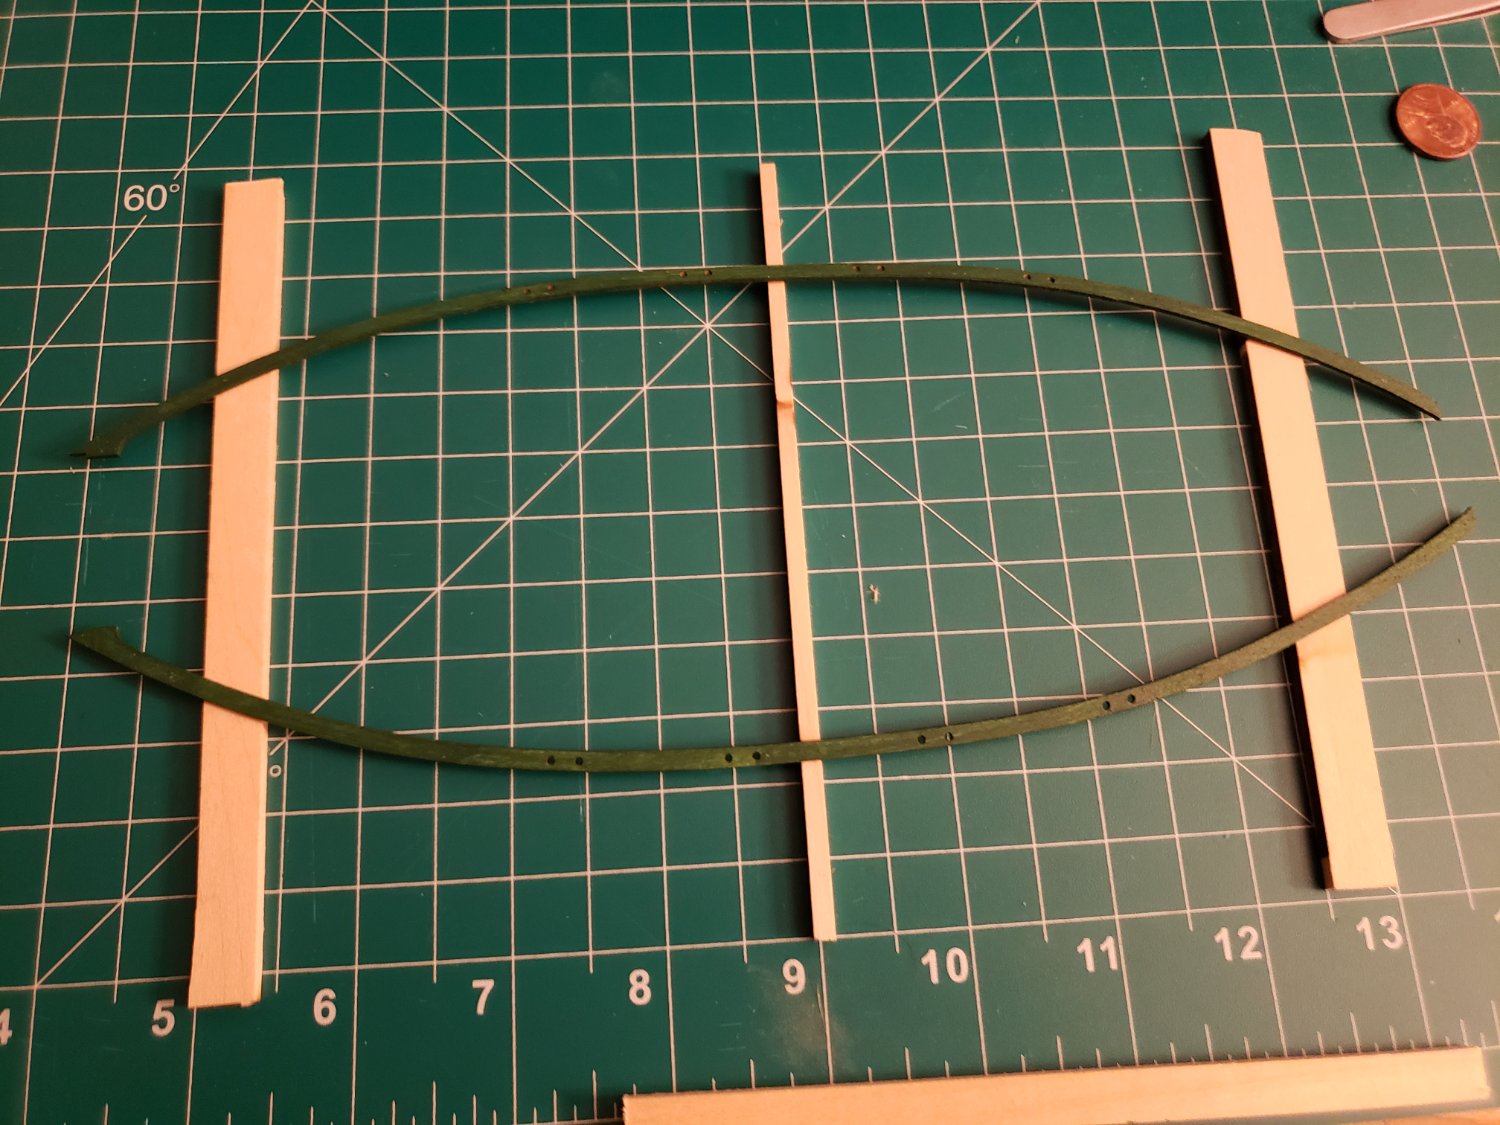
Made some progress, decided it was time for an update. I apologize for being AWOL so long. I'm currently working on bending the bottom and keel planks, and have attached the bottom planks. Keel plank will go on next. The stern transom knee needed a slight adjustment up to reach the keel plank, and there's going to be a small gap that I'll likely fill in with wood putty. Then it's trimming the planks flush with the transoms, and we can move on the the garboard strakes. Also, reposting all the pictures thus far, since I have zero clue why this thread ate the ones I had.


-
I promise I am still working on this, life things just keep getting in the way. Also, not sure what happened to the pictures I had posted in this thread.
-
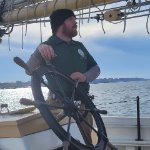
Me too, though updates here will be a bit more sporadic than I'd like. I'm going to be serving as a deckhand on the tall ship LYNX until April, and naturally won't be able to work on this until I get back.
-
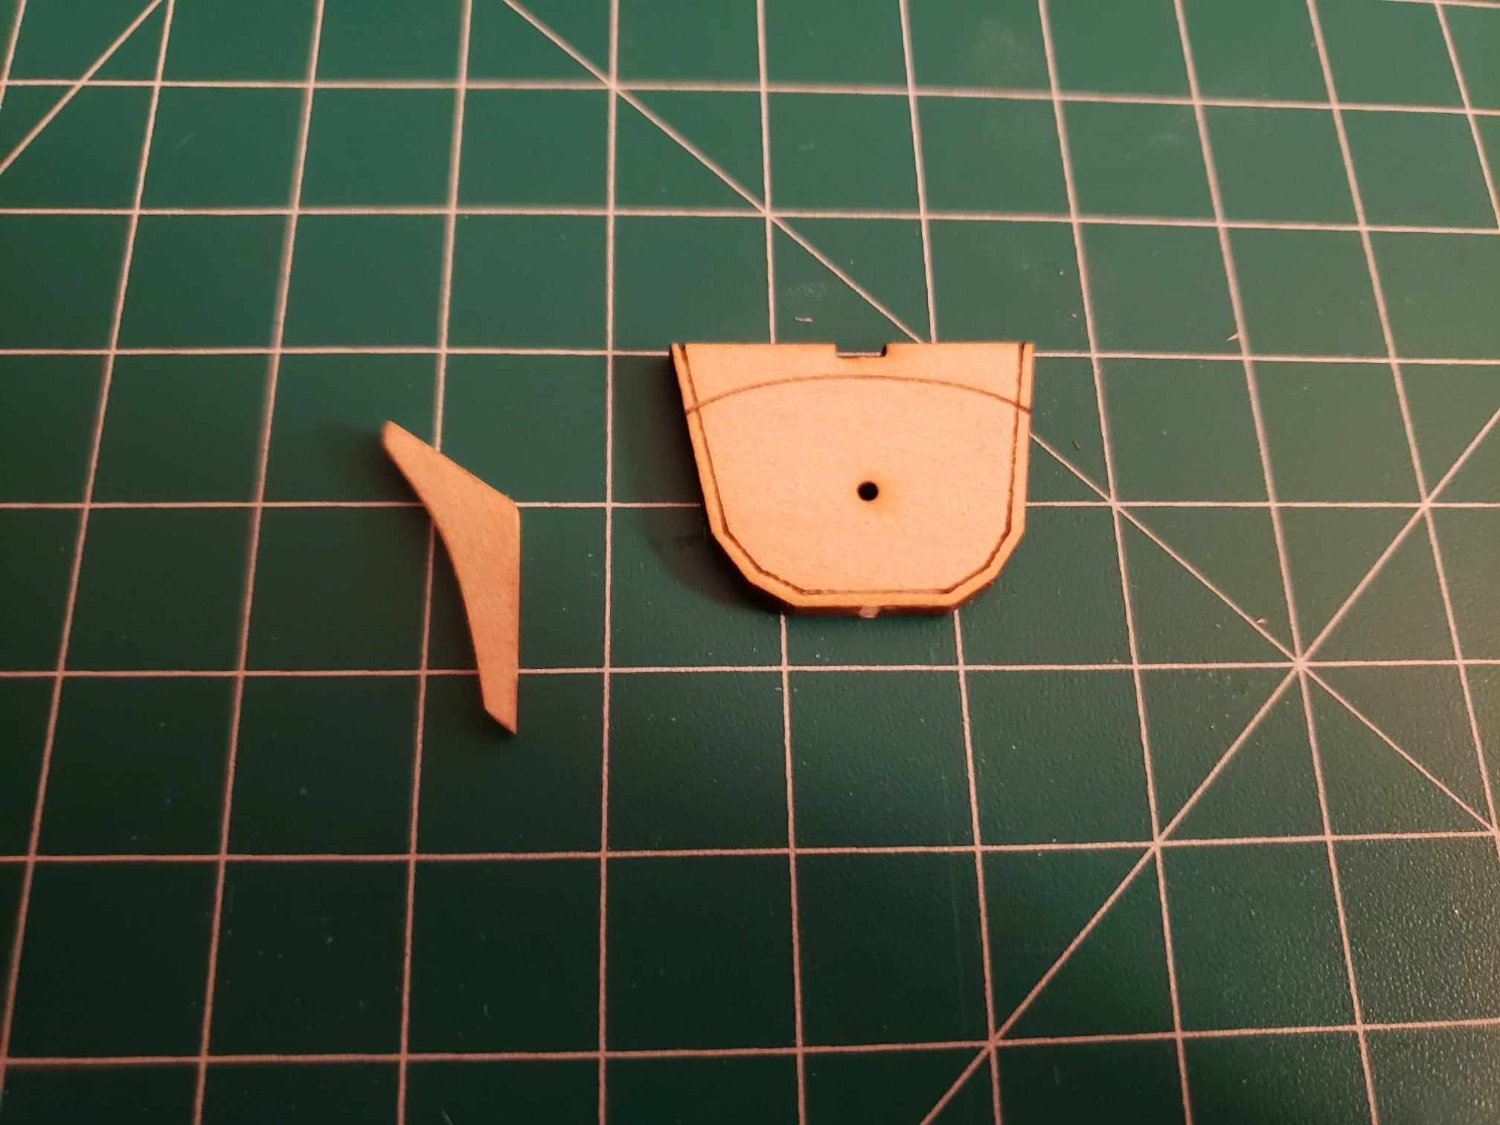
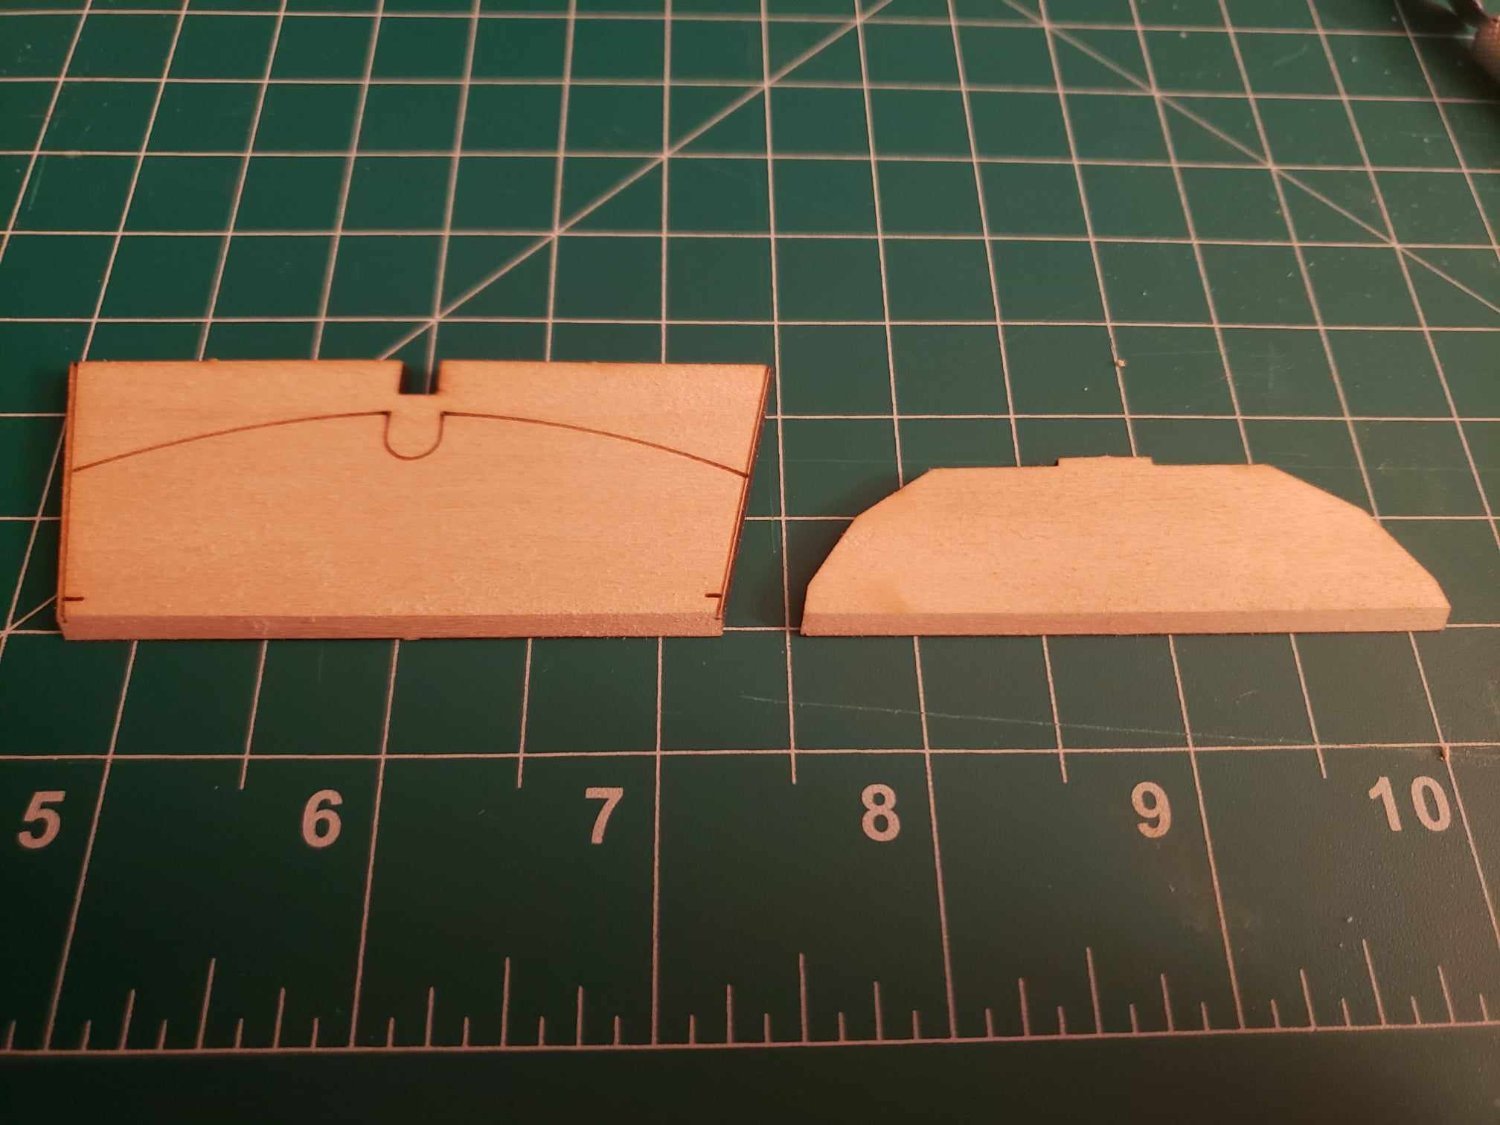
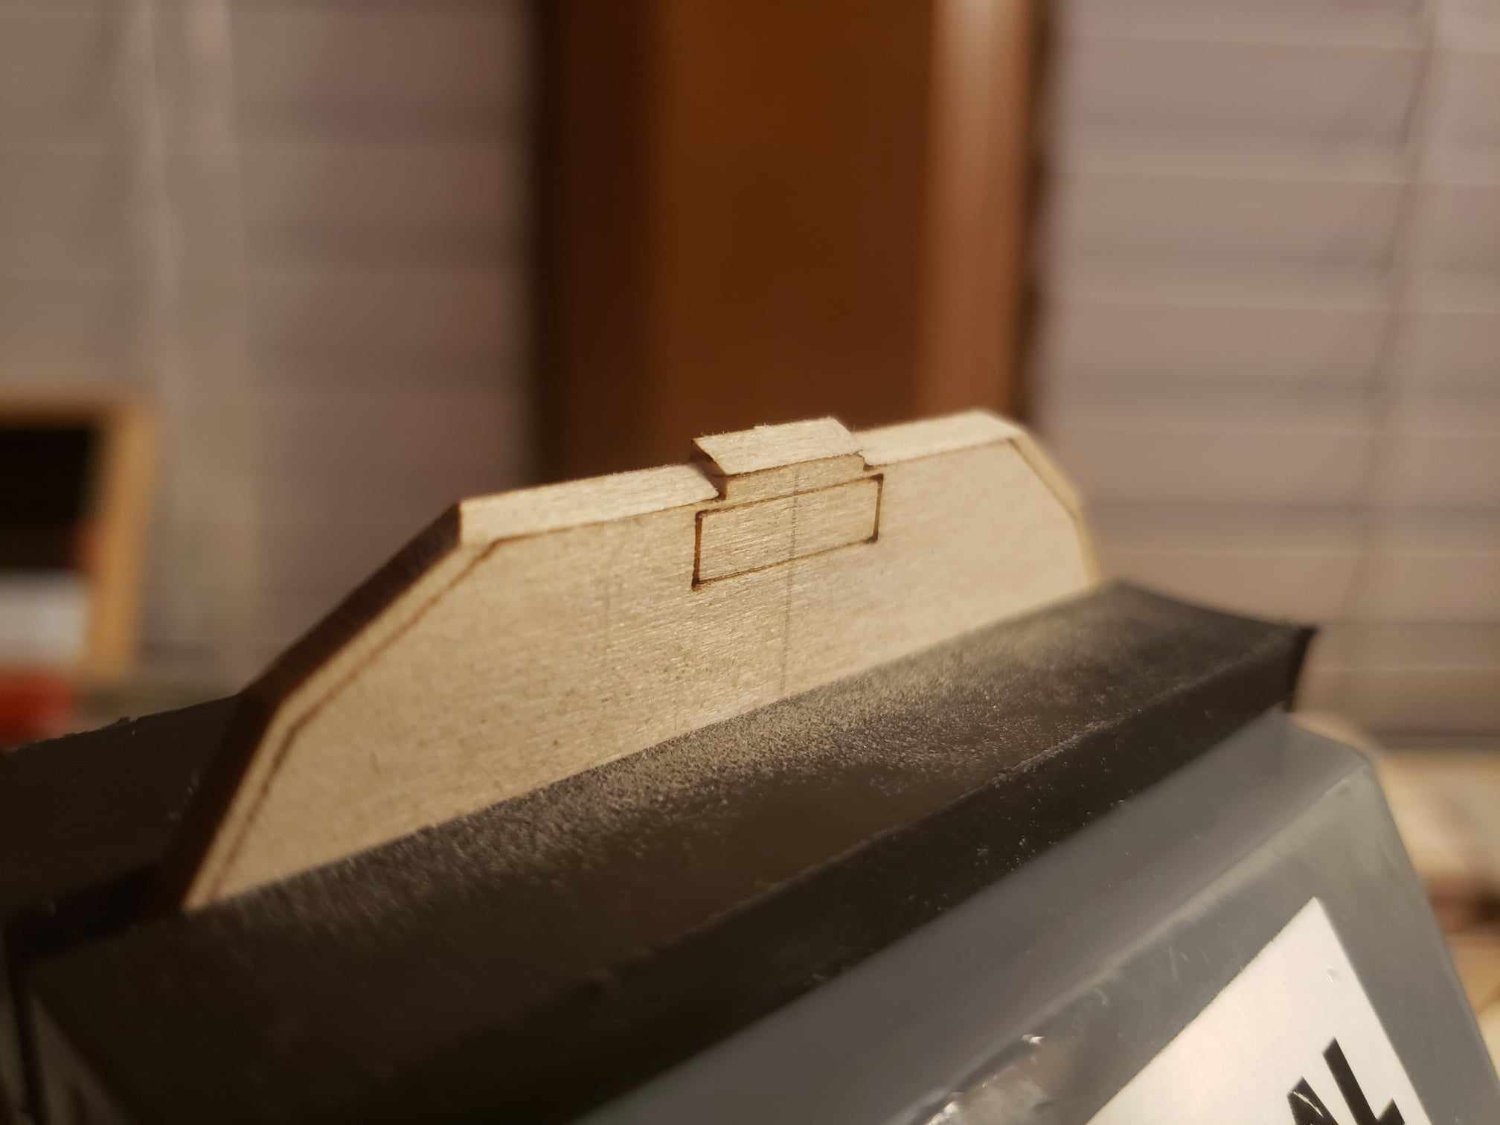
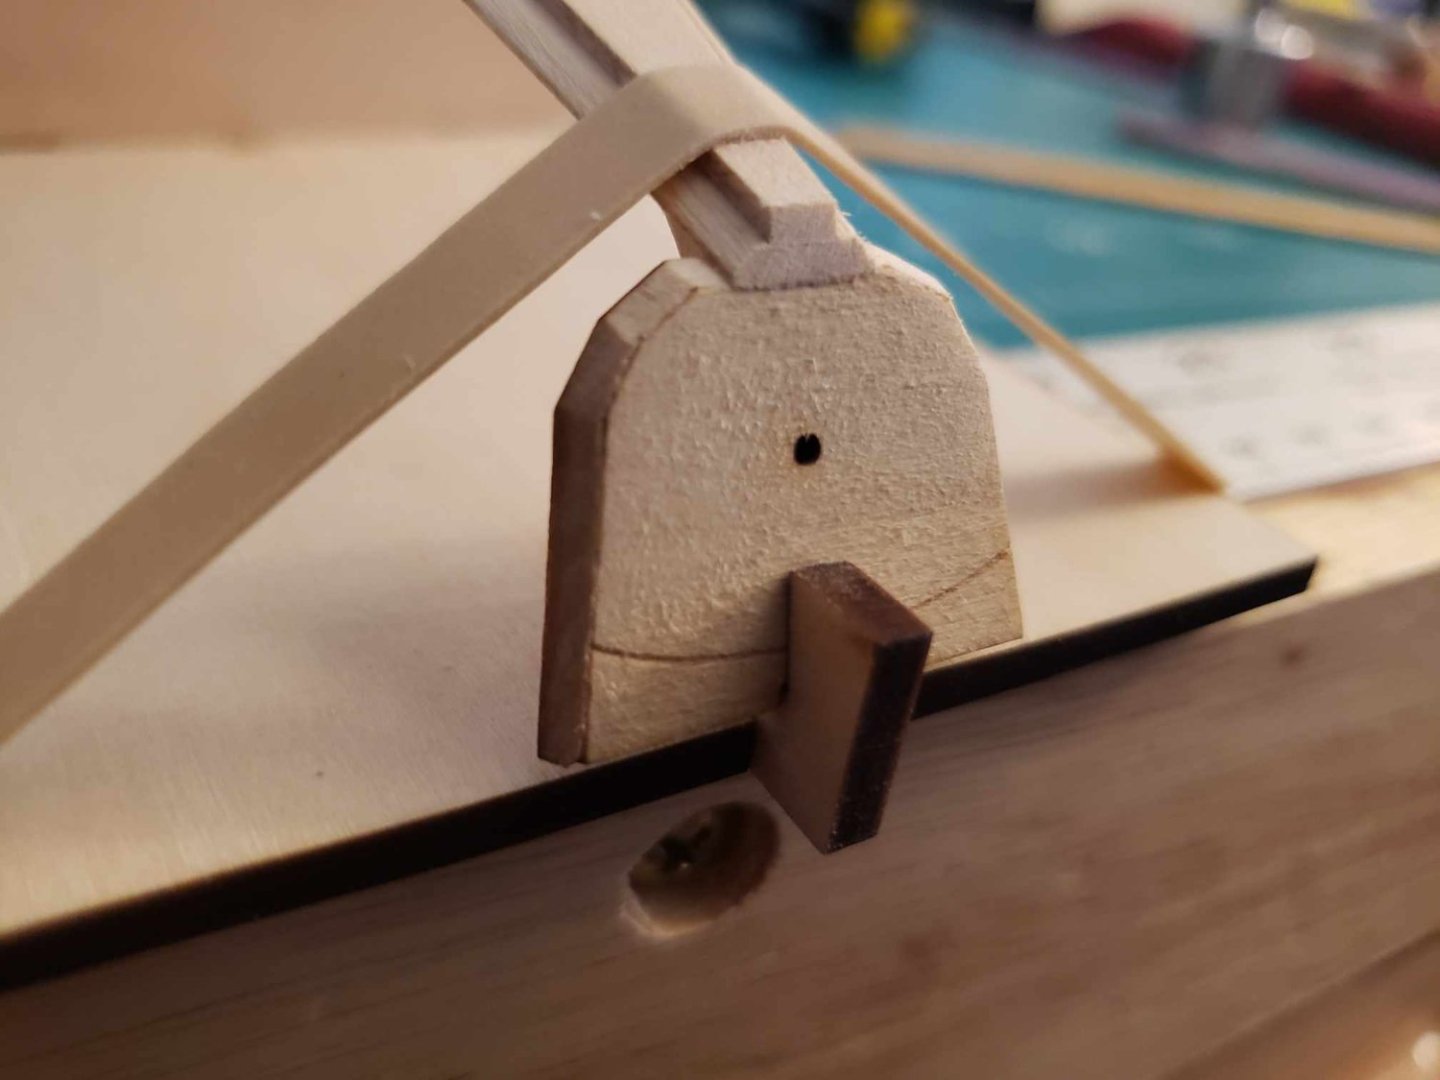
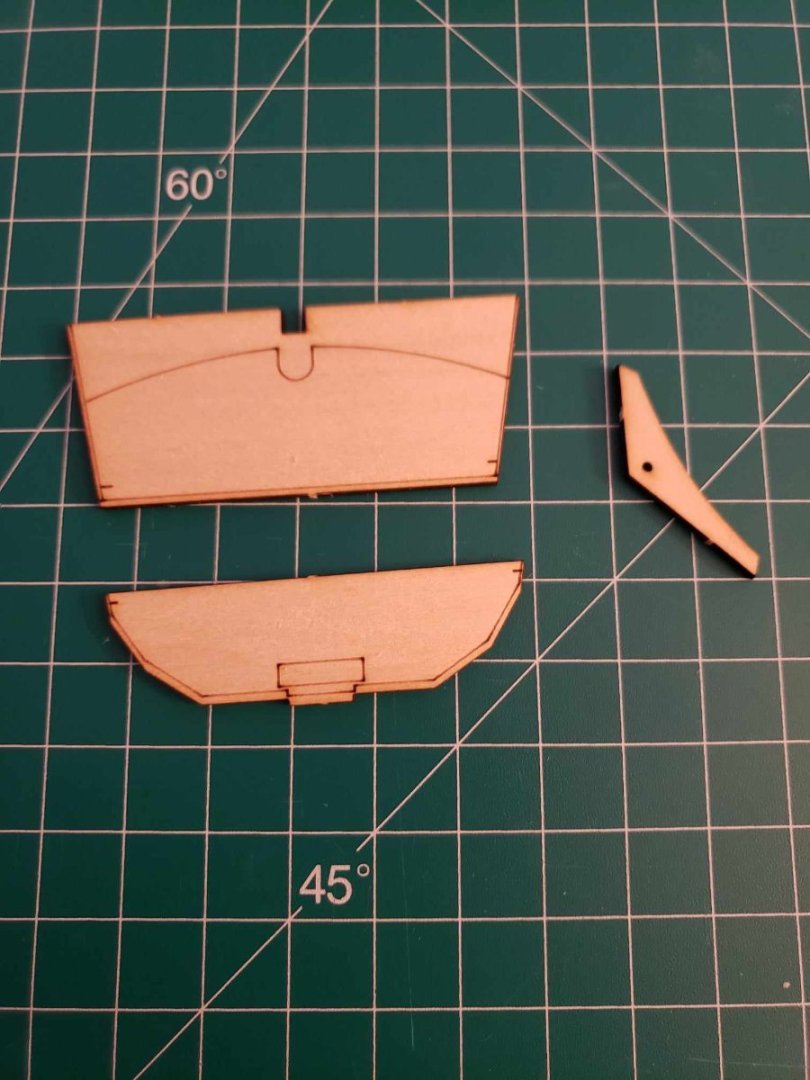
Oh, I know that trick. I had to redo the risers on the dory, after all. I mean that the transom piece itself isn't symmetrical. From the notch to the edge on one side is a half inch, and just under a half inch on the other. Not enough to make a difference (I don't think), but certainly enough to annoy yours truly.
-
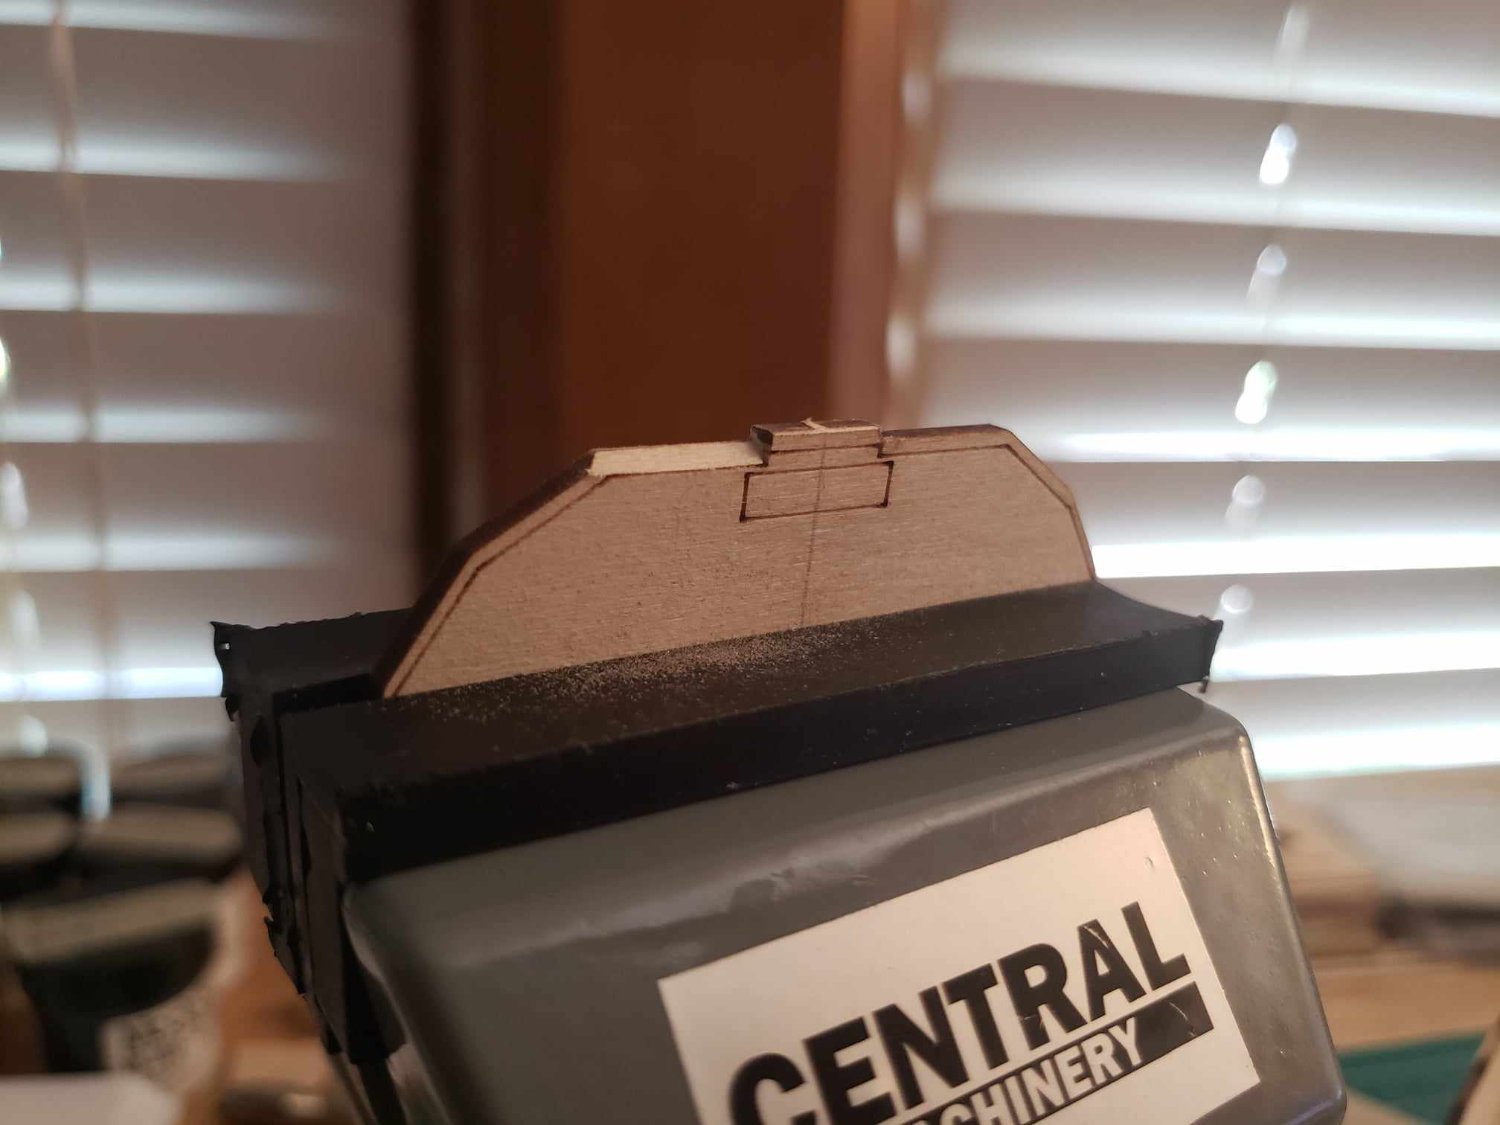
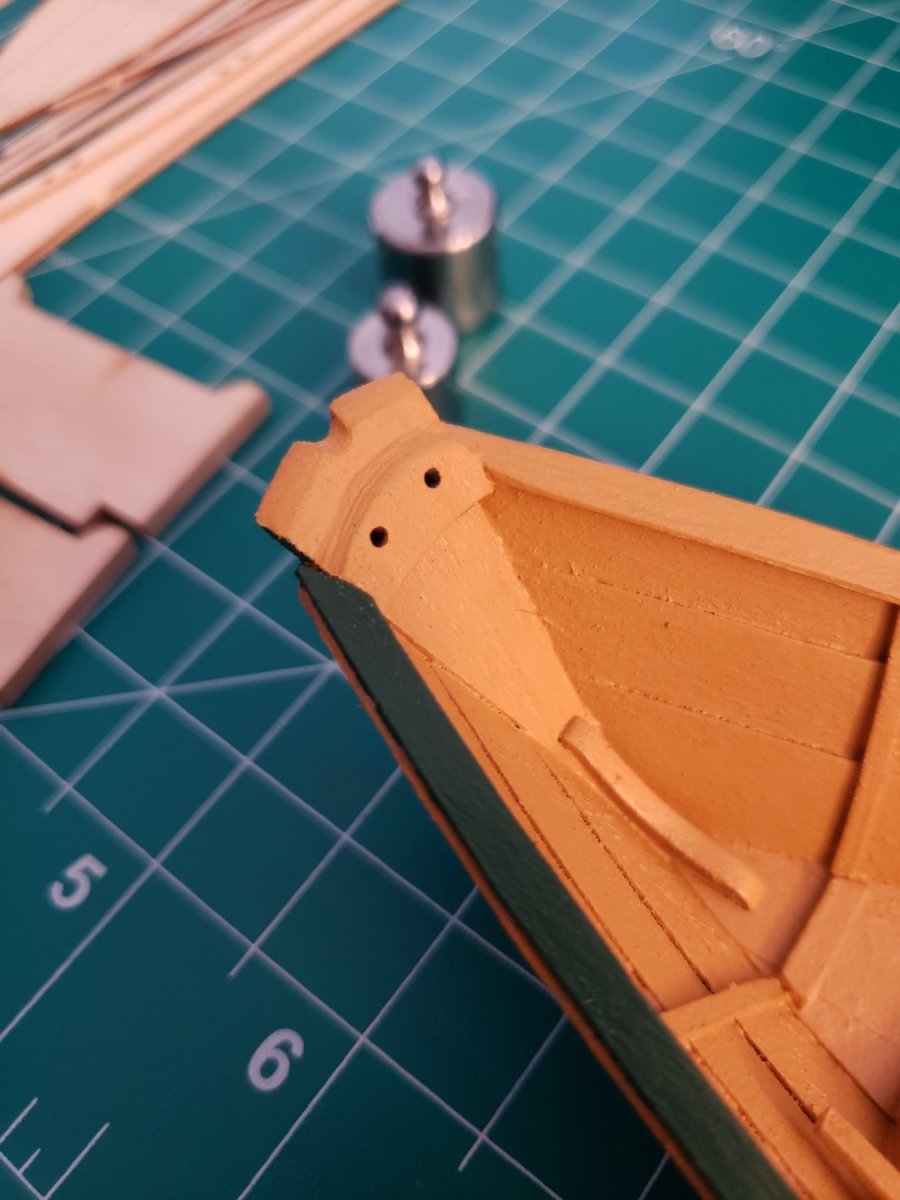
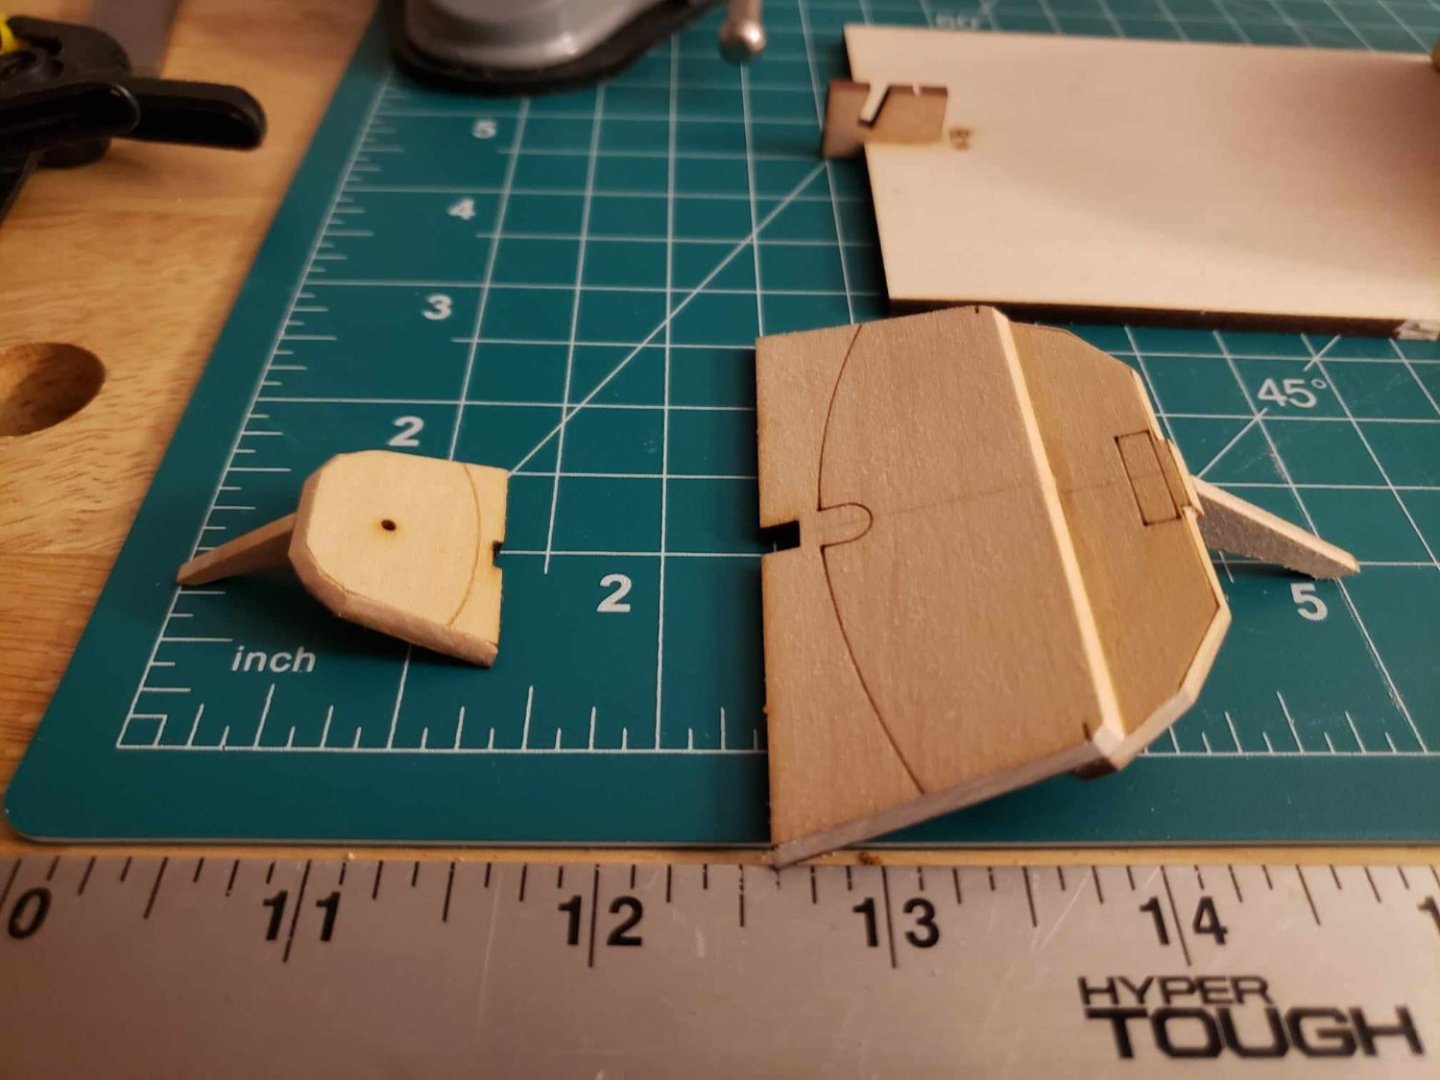
Heh, step one and I'm already irritated. The bow transom isn't symmetrical, at least not at the top, so I attached the knee as best I could centered on the drill hole. I imagine I can make this make sense later, but for now it's annoying.
-
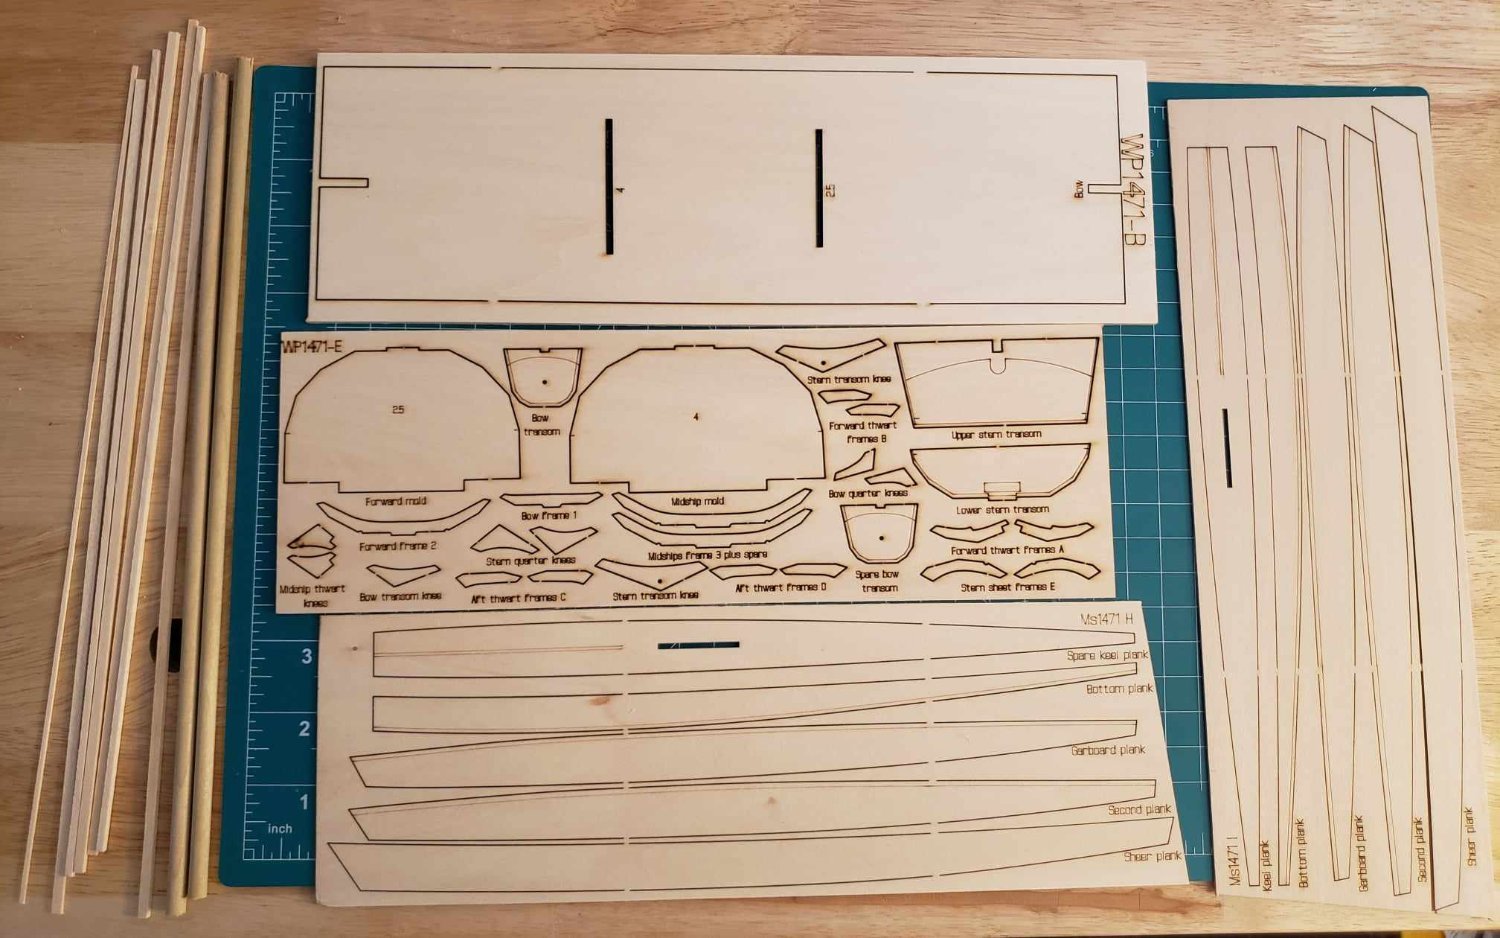
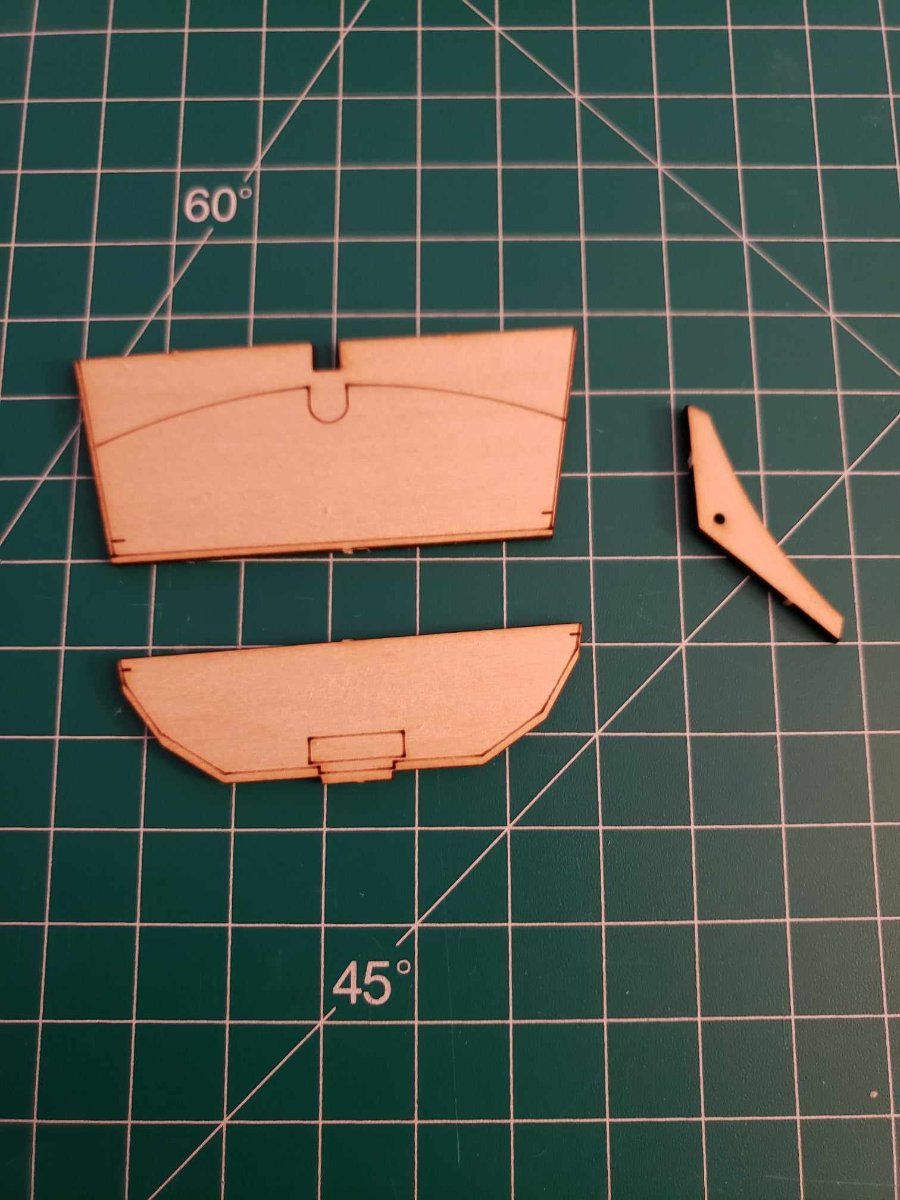
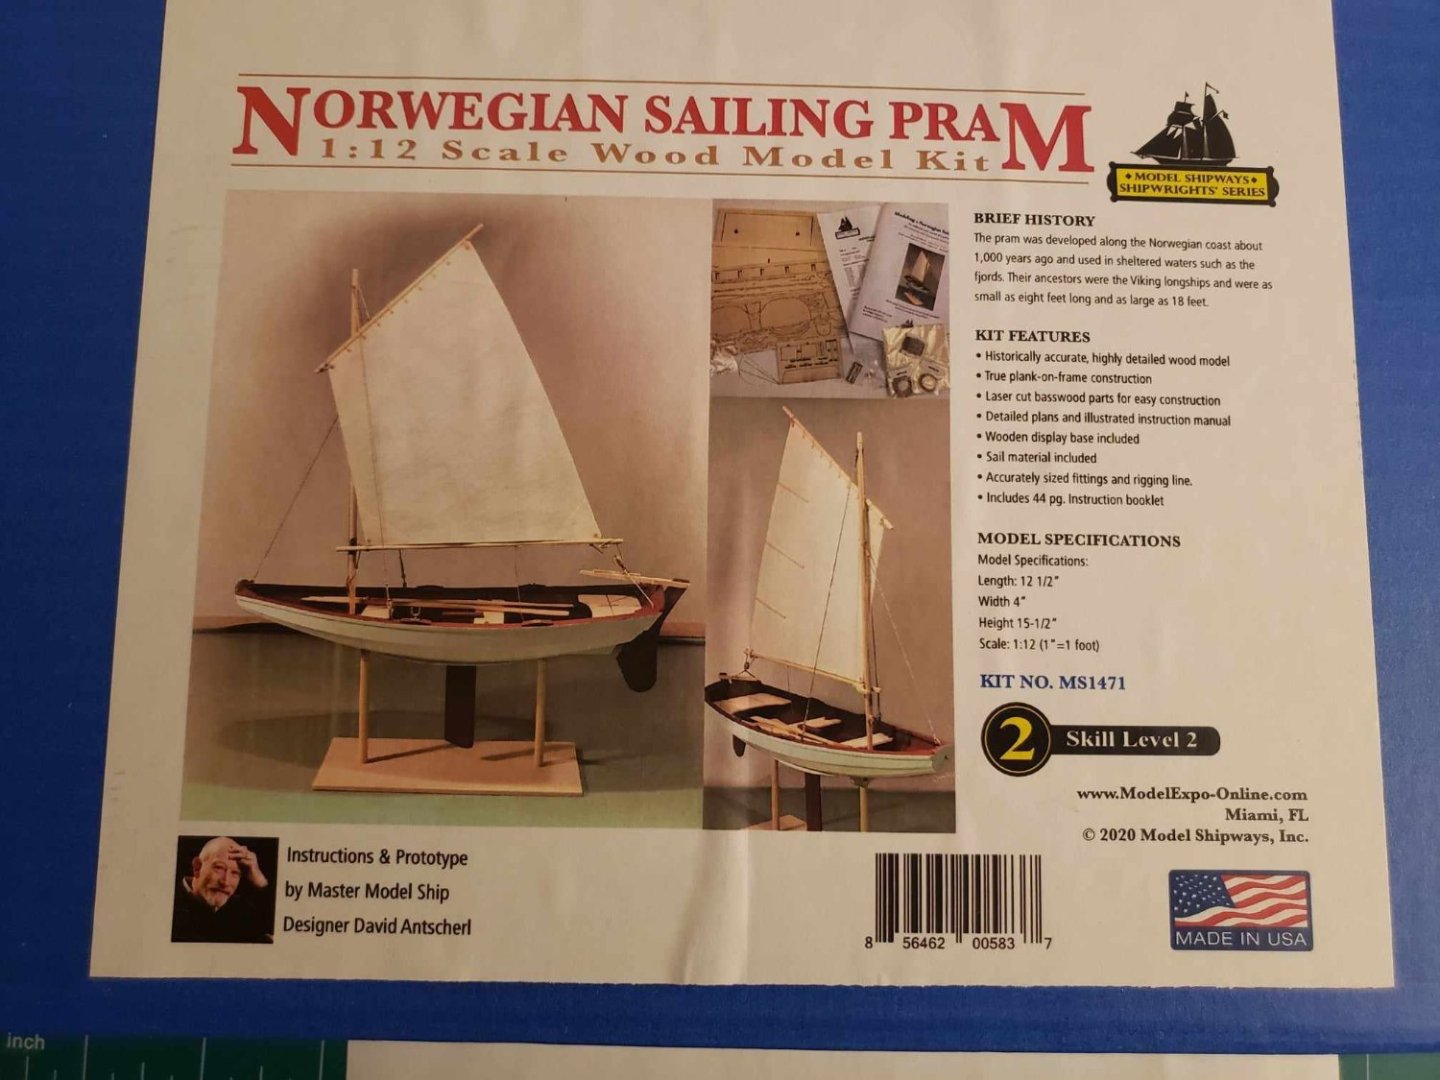
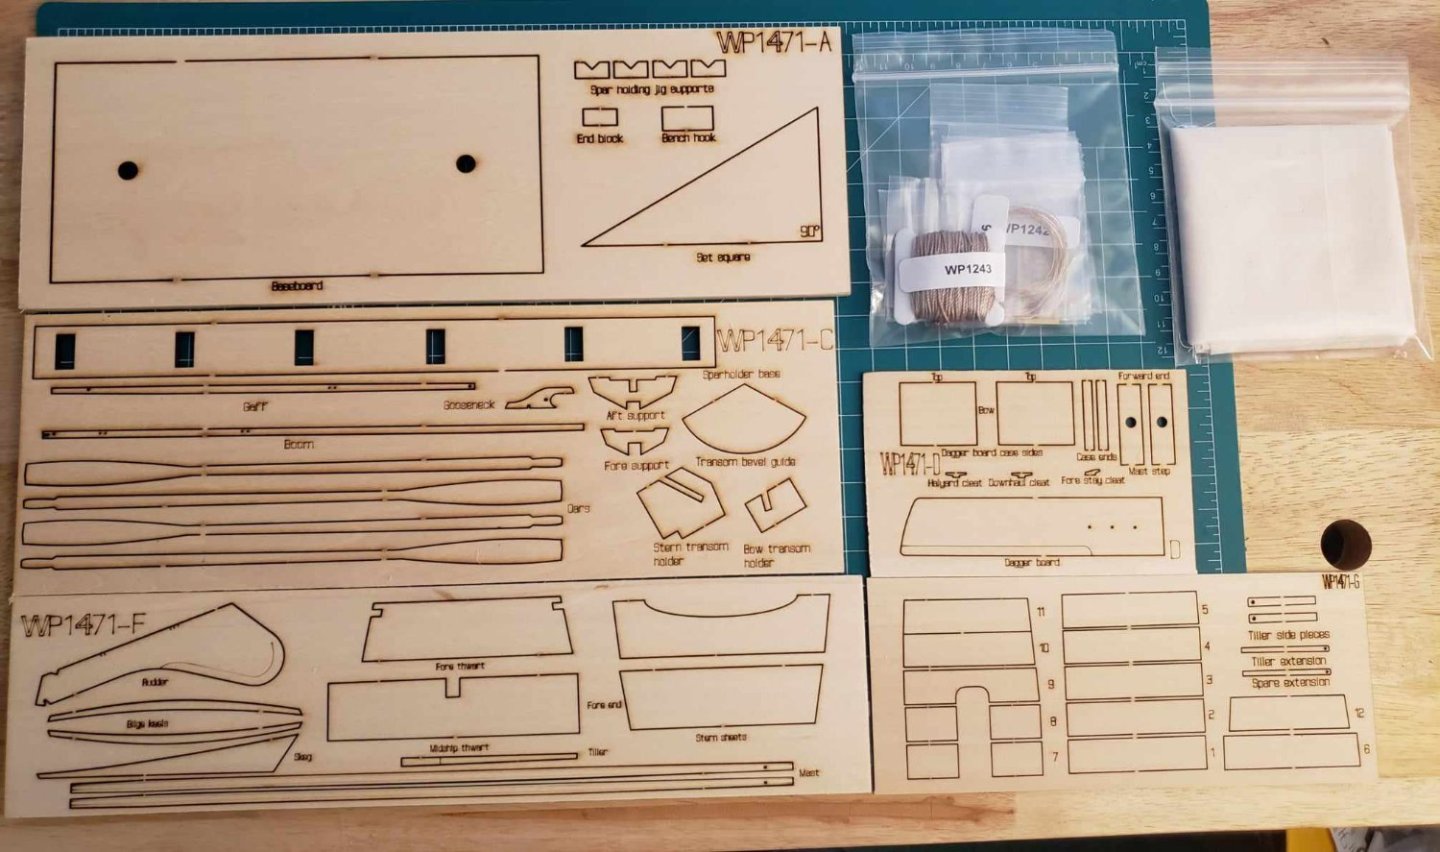
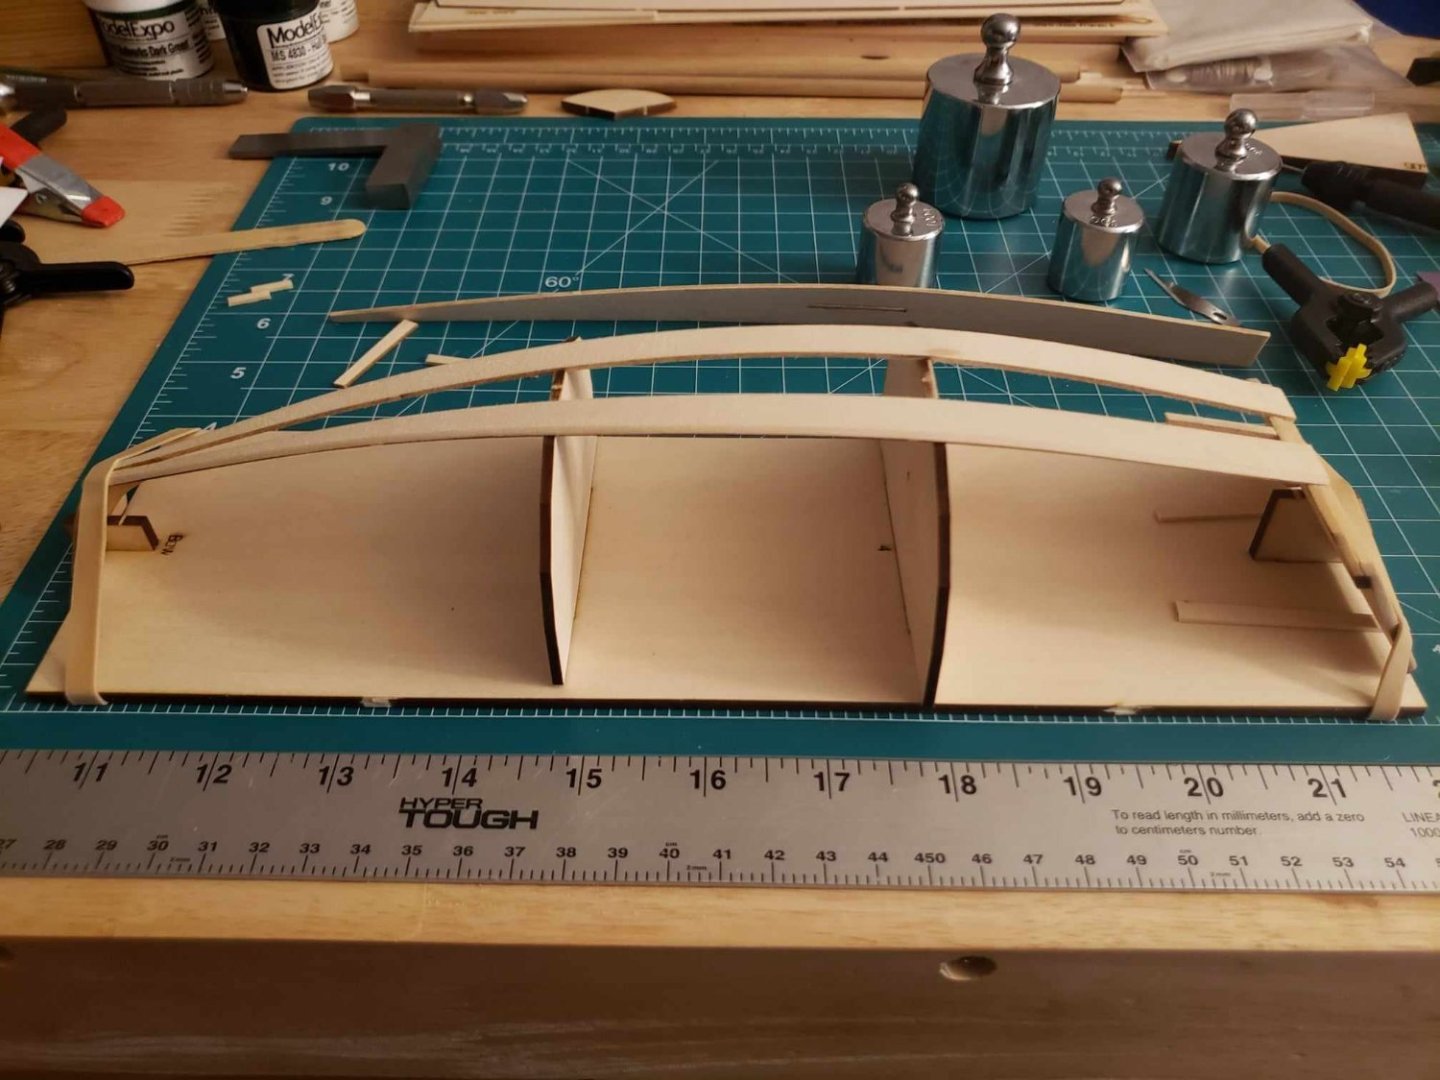
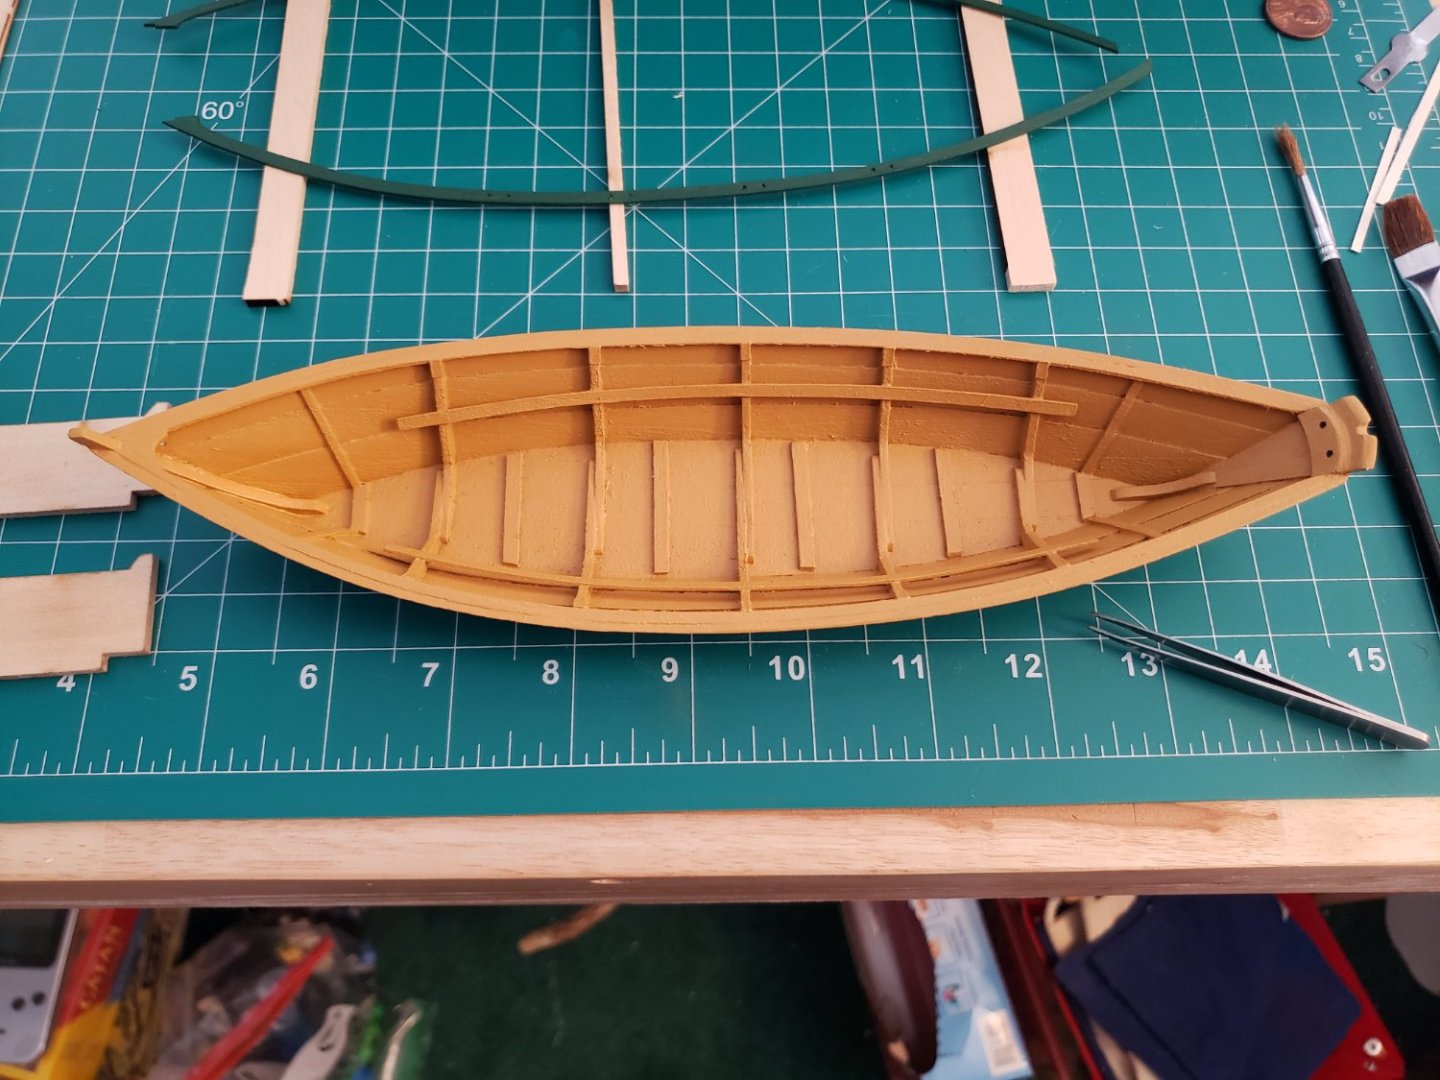
After having finished the Grand Banks Dory (link to build log in signature), I'm trying my hand at the next model in the series. I expect updates for this log are going to be more sporadic than I would like, because I'm slated to be sailing for most of the time from March through October, but I'll work on this when I can. Started with unboxing and getting a sense of the parts. I can't help but feel a little intimidated, but then the dory looked scary before I started it too.
-
A couple: 1) Don't let perfect be the enemy of good. I've wasted so much time stressing tiny details that didn't look exactly right. If it looks close enough, it's good enough. 2) When beveling or shaping, I've found that sanding is better than using a hobby knife. It'll take longer, to be sure, but you have far more control over it. 3) When you get to painting, if you're using Model Expo acrylic, it'll be tacky for a while. It'll dry out eventually, but that's just a heads up. 4) Read and re-read each section before starting a new part of the build 5) Take it slow, and remember that a lot of mistakes are fixable or able to be hidden. Good luck on your build!
- 34 replies
-
- 1
-

-
- Grand Banks Dory
- Model Shipways
- (and 1 more)
-
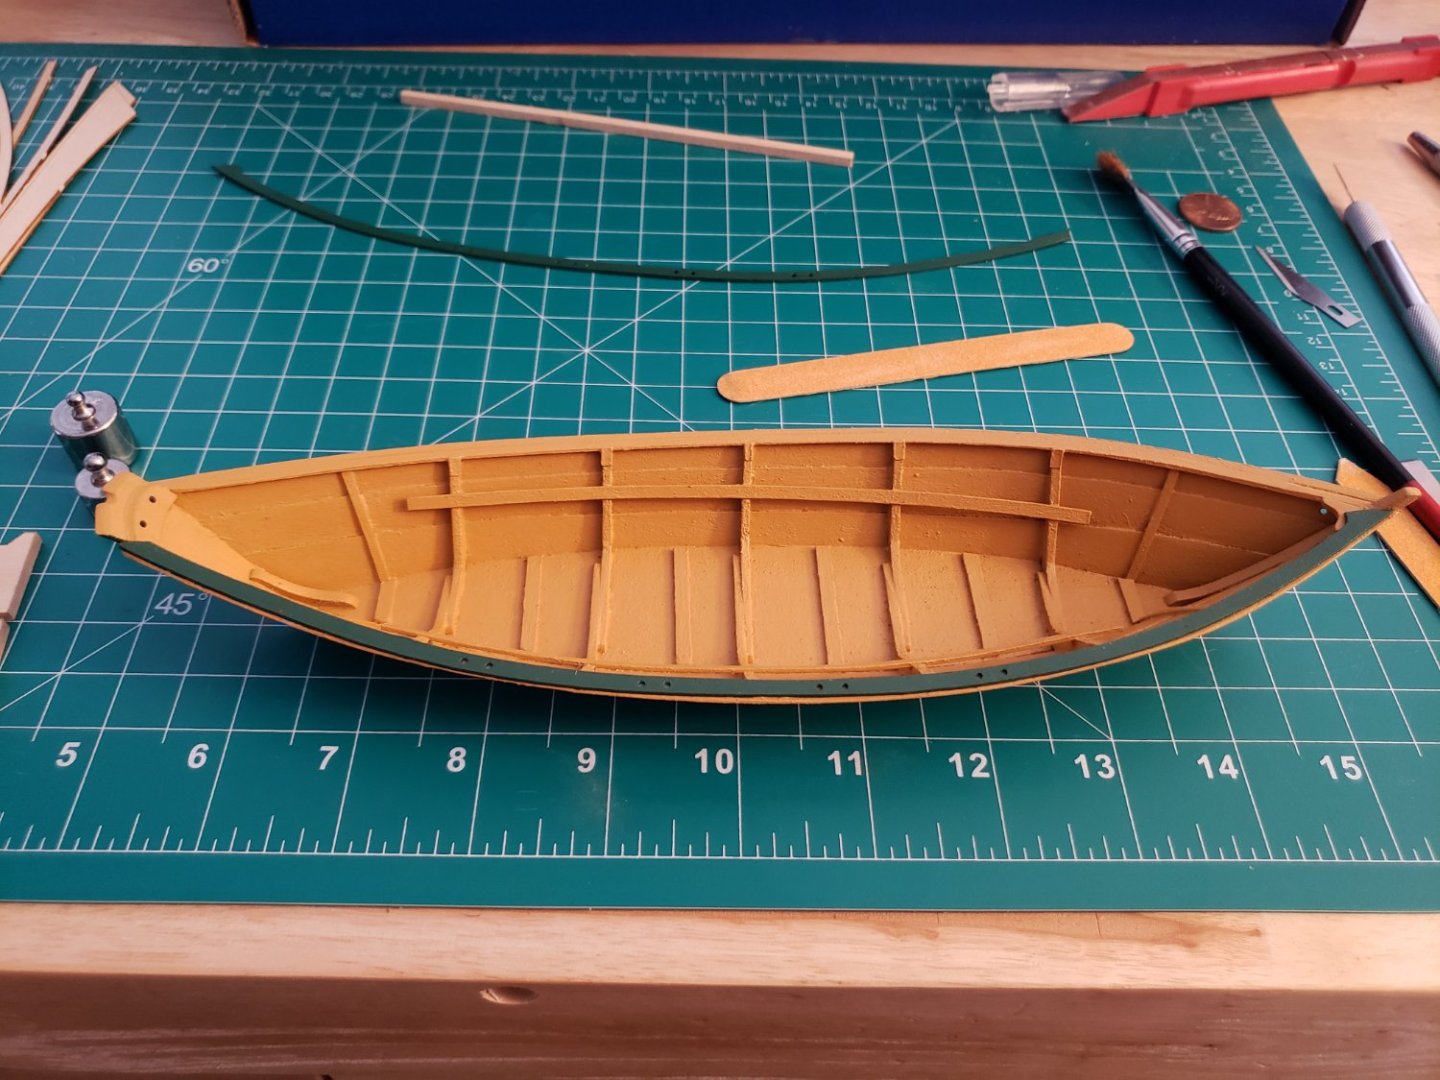
Finished up the oars. None of them really came out the same, but that's fine. Better they all be slightly different than three be the same and one be off. But with this, I am calling this build done. Thanks for coming with me on this journey, and for your advice and encouragement along the way. Next model on my docket is the Model Expo Norwegian Sailing Pram.
- 34 replies
-
- 5
-
-
- Grand Banks Dory
- Model Shipways
- (and 1 more)
-
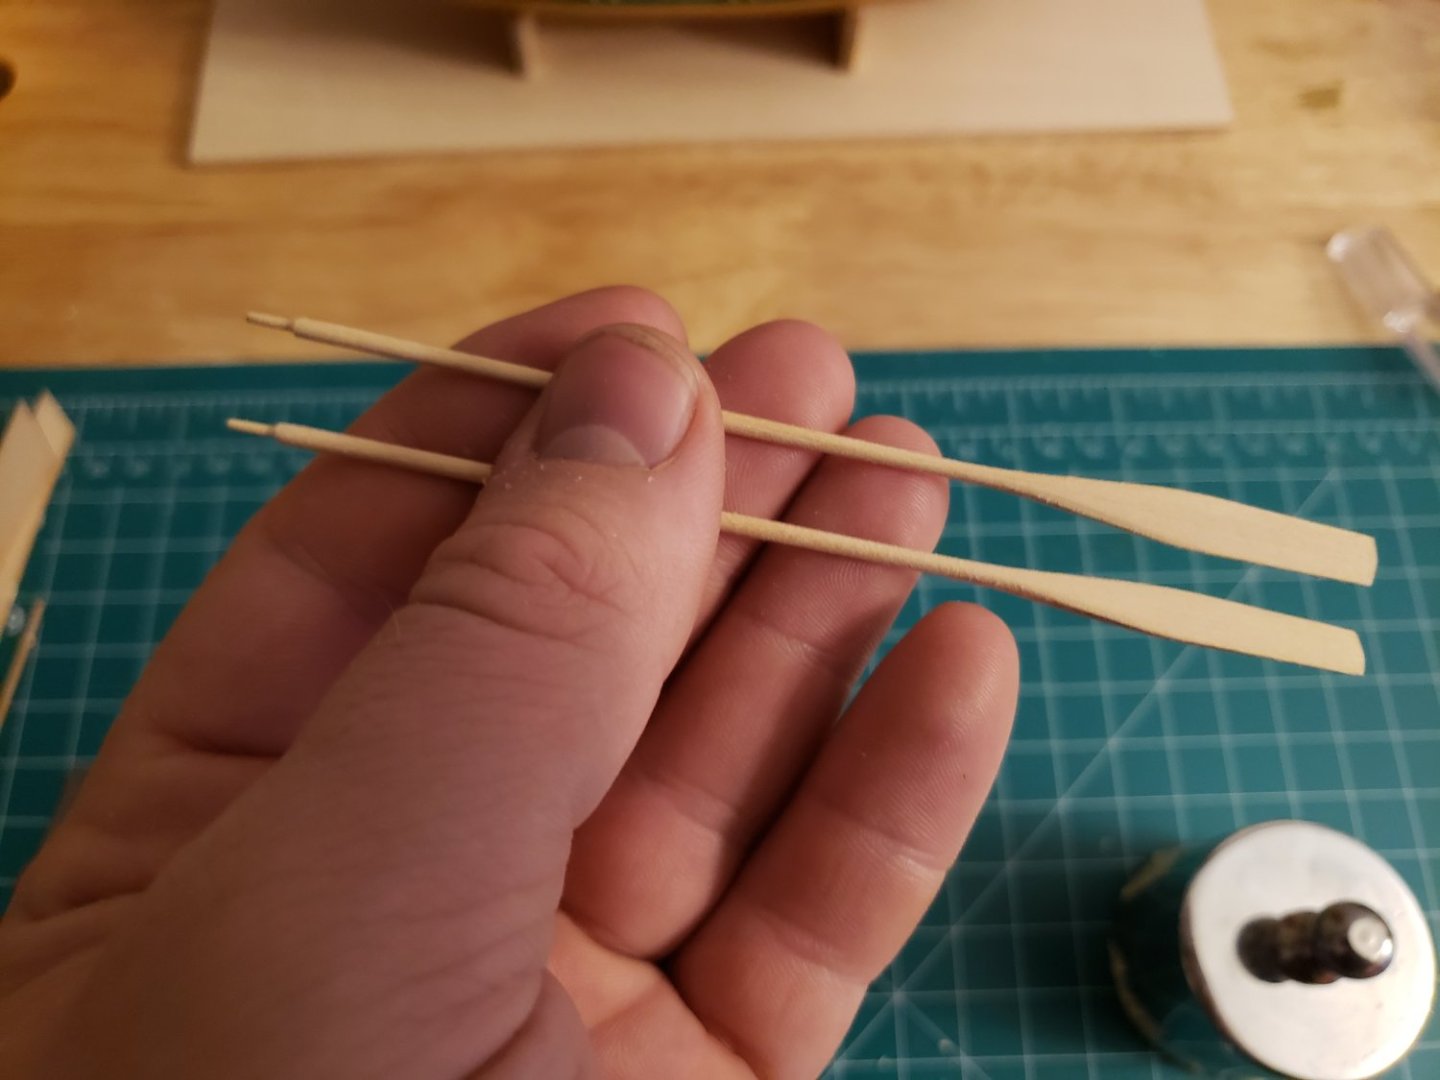
Started work on the oars, the last big project before this build is finished. So far I've got two of them shaped. I'm tossing around the idea of staining them, just so they stand out a bit when I lay them across the thwarts. I'll also be attaching a piece of brown construction paper to serve as the leathering.
- 34 replies
-
- 4
-
-
- Grand Banks Dory
- Model Shipways
- (and 1 more)
-
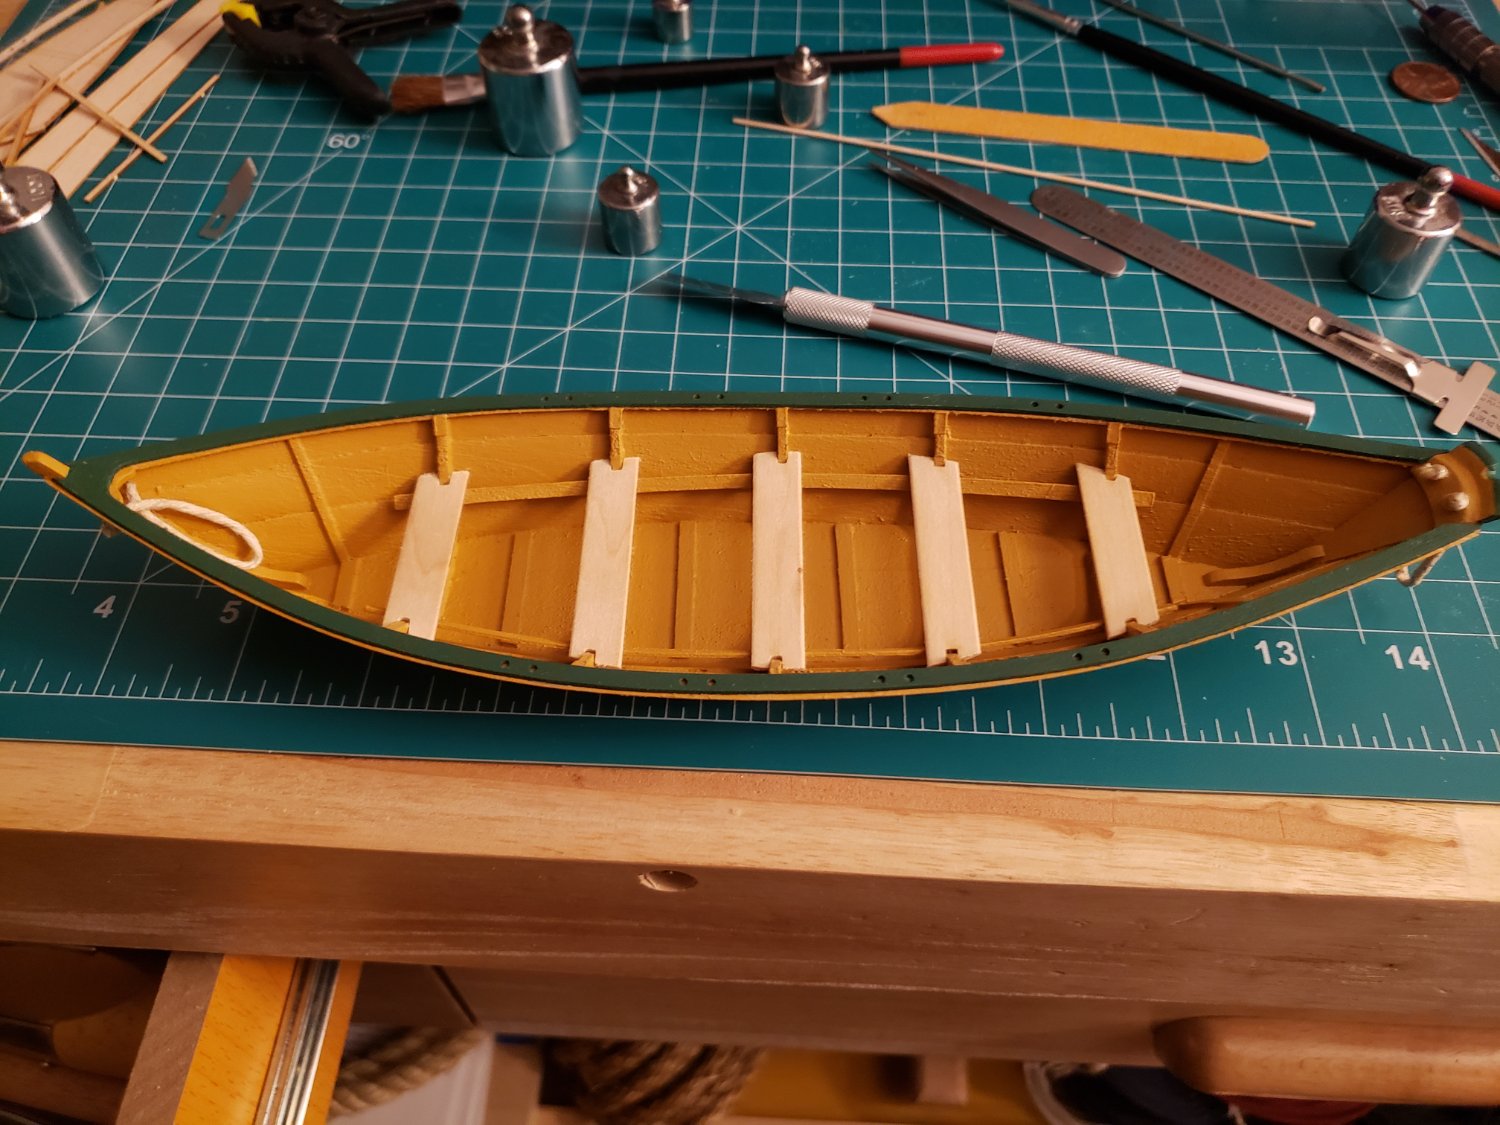
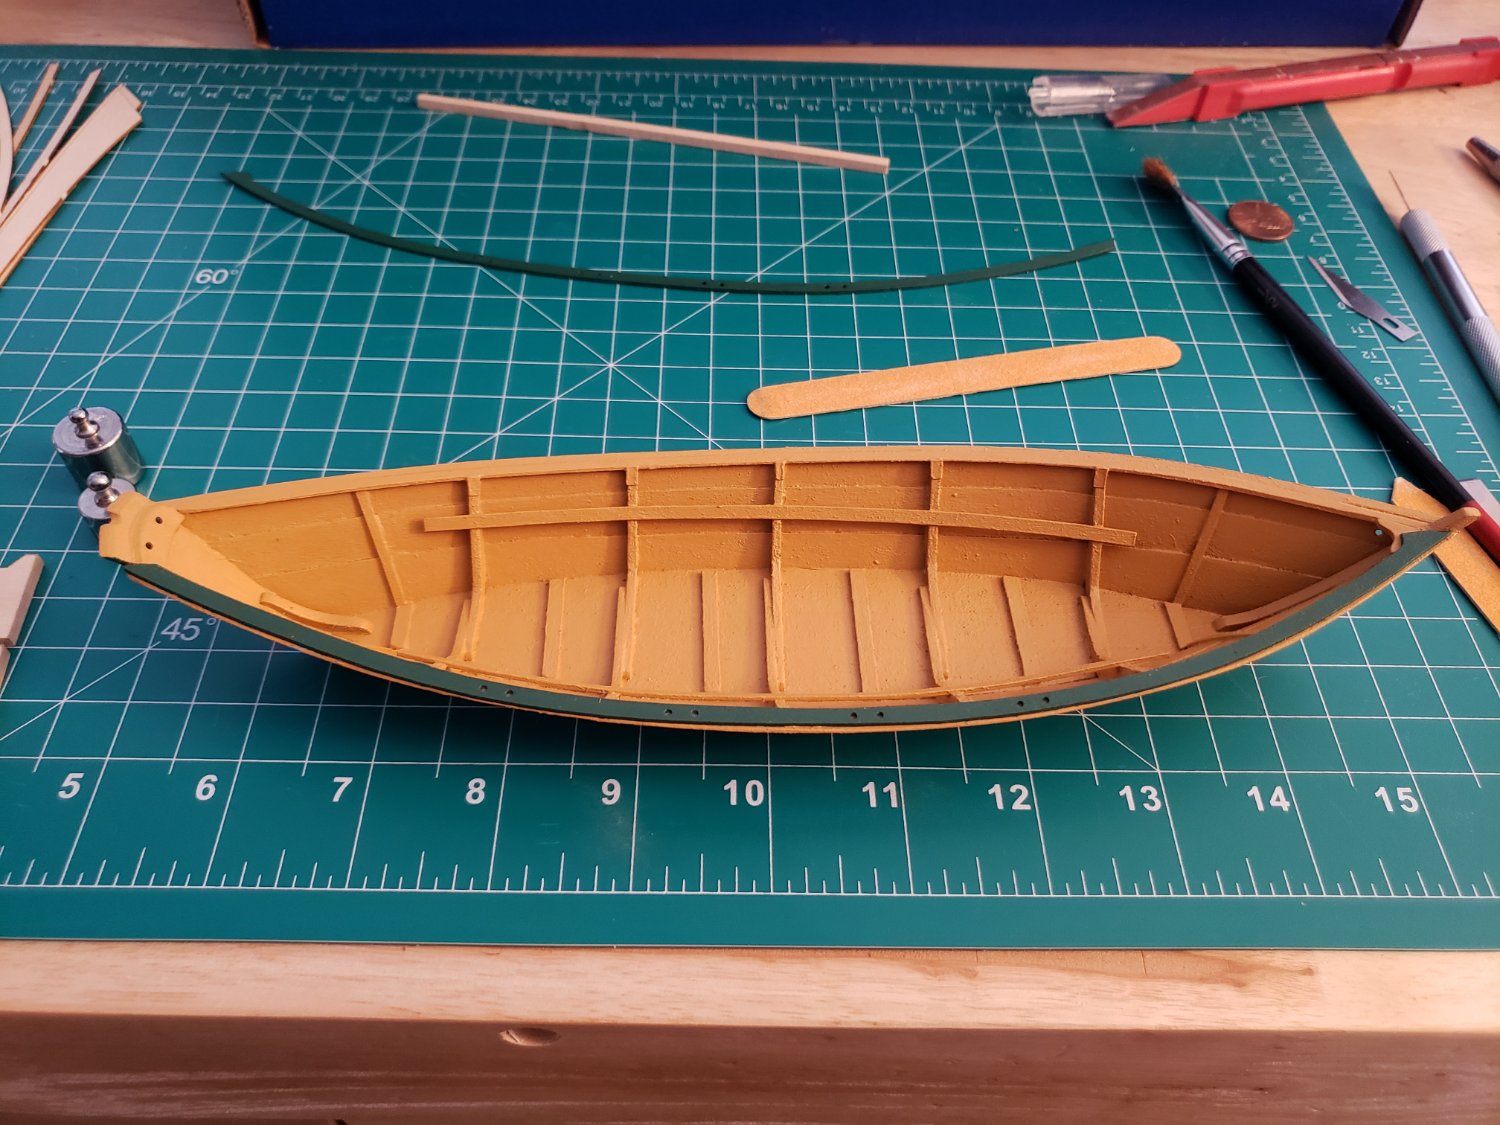
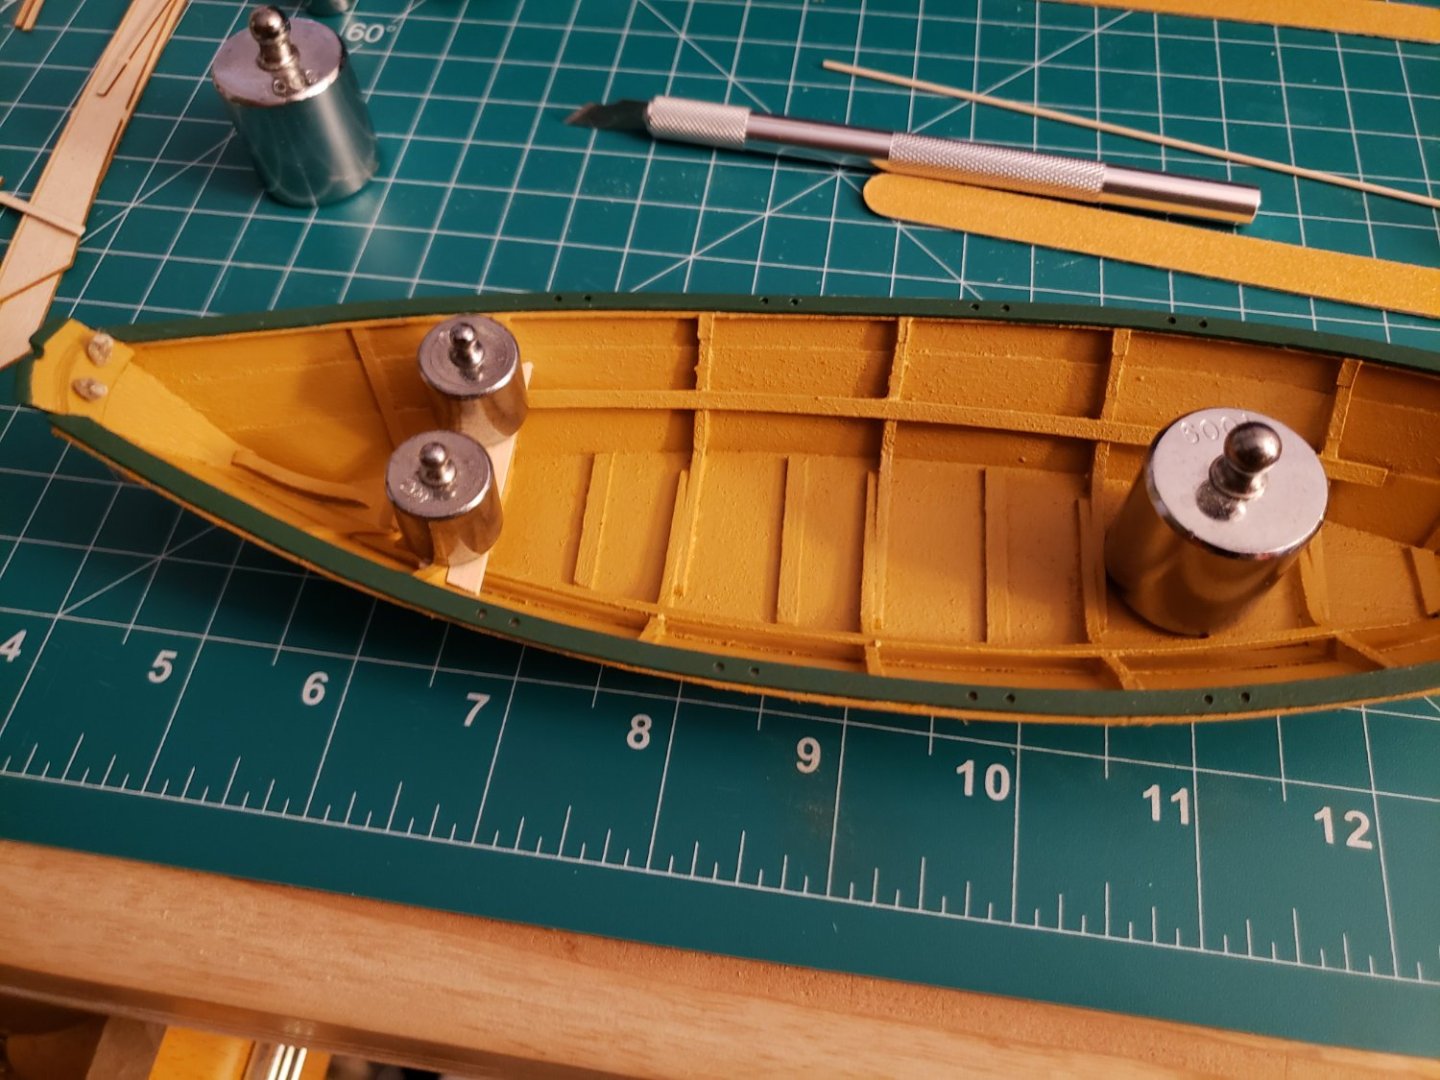
Back on track. The thwarts are fitted, now I would like to glue them in place. A nitpick I have is that a few of the thwarts don't reach to the hull, but I'd imagine historically as long as the frames fit into the slots and the thwarts didn't shift, it was fine.

- 34 replies
-
- 6
-
-

-
- Grand Banks Dory
- Model Shipways
- (and 1 more)
-
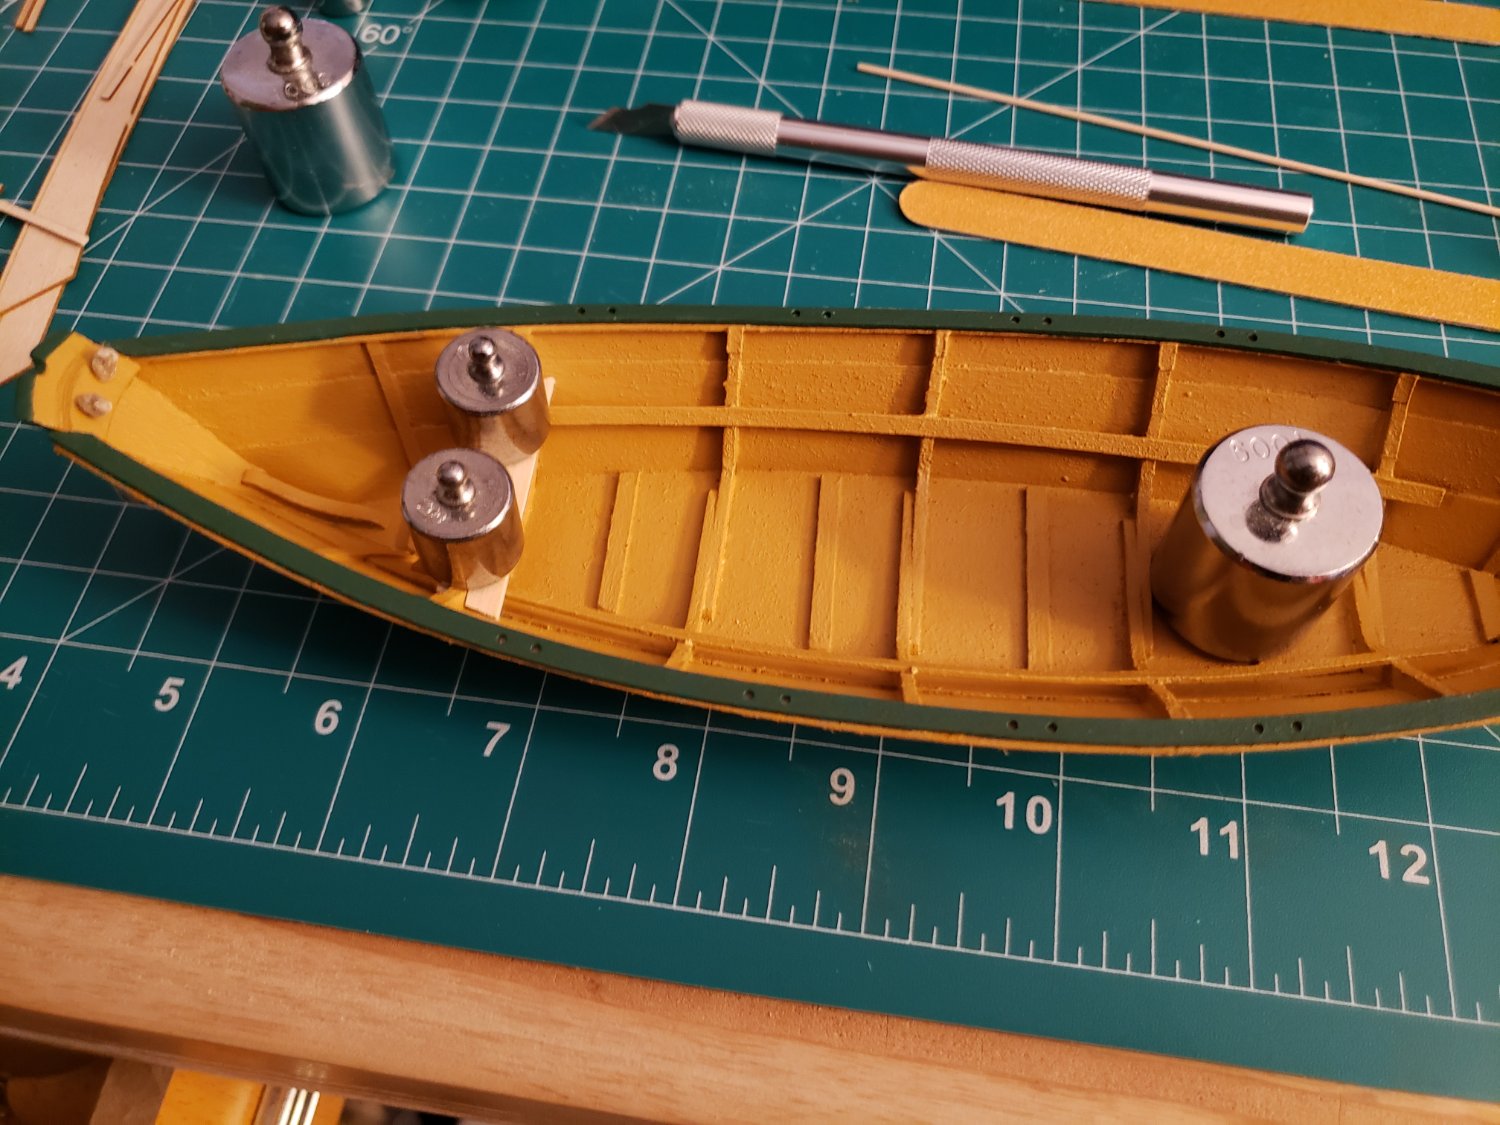
Had to make a fairly annoying correction. Upon trying to fit the thwarts, I found the too short. Looking back at my build log, I found that I attached the risers too high. There are marks on frames that are supposed to line up with the TOP of the risers, and I put them in line with the BOTTOM. Whoops. So, after removal, resanding, regluing an eighth inch down, and repainting, I now find the thwarts are too long. Easier problem to fix, as I can sand those to fit. So far got the aftmost thwart attached. Annoying problem, but learning how to fix things on the fly is never a bad thing, I guess.
- 34 replies
-
- 5
-
-
- Grand Banks Dory
- Model Shipways
- (and 1 more)
-
And now I worry that I made the stern becket too long. Not a hard fix if I did, but still. I'll sit on changing that and see if how it looks later.
-
I filled in the gap in the caprail at the bow, touched up paint where needed, and started on the beckets. I decided to do the stern first, but ran into a number of problems. First off, the holes are around 1mm in diameter, and the provided line was 2mm. Seems to me that scale would be off anyway, since that would equate to 2" rope full scale, and to my mind 1" rope would be fine. So I took a 1.6mm drill to the holes, and used some 1mm hemp twine I had lying around. The 1mm cotton I have probably would have been better, since it's clearly three strand, but I couldn't finagle that into place. Either way, I'm satisfied with how it turned out. Put some diluted glue on the becket to help it keep shape, and plan to do the bow becket next before moving on to the thwarts.
- 34 replies
-
- 3
-
-
- Grand Banks Dory
- Model Shipways
- (and 1 more)
-
Second caprail is attached. For the gap at the bow, I'm thinking fill in with wood putty, gently sand down flush, then paint over.
- 34 replies
-
- 6
-
-
- Grand Banks Dory
- Model Shipways
- (and 1 more)
-
Good to know! I imagine once I get it done and touched up, it'll have all the time in the world to cure on the shelf.
- 34 replies
-
- 1
-
-
- Grand Banks Dory
- Model Shipways
- (and 1 more)
-
First caprail is attached. I'm really proud of the fit at the stern. As an aside, acrylic paint and I are not friends. Seems slightly tacky, even after extended time to dry, and has a rubbery feel which I can't tell is normal or not. Anyone have advice on that front?

- 34 replies
-
- 5
-
-
- Grand Banks Dory
- Model Shipways
- (and 1 more)
-
Two coats plus touch ups on the interior and exterior of the dory. I'm planning on attaching the cap rails next, but I had a question that I hoped someone could assist with. Will wood glue adhere to acrylic, or do I need to scrap off the area to be glued? Sidebar, the paint is dry, but feels slightly tacky. Anyone else have this issue?

- 34 replies
-
- 2
-
-
- Grand Banks Dory
- Model Shipways
- (and 1 more)
-
First real attempt painting a model. Cap rails are done and waiting to be attached, while the interior of the hull has two coats. I'll do some touch ups after that dries, and then paint the exterior.

- 34 replies
-
- 5
-
-
- Grand Banks Dory
- Model Shipways
- (and 1 more)
-
Breast hook is attached, frame head irons cut and attached, and the stern shaped to accept the eventual cap rail once I get to that point. For the frame head irons, I made those out of card stock. I didn't have a 1:24 ruler, just the picture of it that came in the instructions, but I found that 1mm is a close enough approximation for 1 scale inch, so the irons are 2mm x 4mm. The stern shaping was tedious, and even now I'm not 100% thrilled with it, but I am convinced it'll look better once the cap rail is on. As it stands, I'll be priming and painting the model before continuing.
- 34 replies
-
- 3
-
-
- Grand Banks Dory
- Model Shipways
- (and 1 more)
-
Success on the gunwale. As with so many things thus far, my trepidation was more of an obstacle than the thing itself. Gunwales are in place and sanded. Next is the frame head irons (I'll be making those out of some white or grey card stock as soon as I can source it) and the breast hook. For once, I can actually see the end of a model in sight.
- 34 replies
-
- 7
-
-
- Grand Banks Dory
- Model Shipways
- (and 1 more)
-
Took me a minute to figure out fitting the gunwale. The frames on the port side have been cut back, the gunwale is trimmed and fitted, and now just needs glued. I took the opportunity to fair down the transom and stern cleat a little while I was pondering how to proceed with the gunwale. Might touch it up a bit more later, but I'm pretty happy with it thus far.
- 34 replies
-
- 3
-
-
- Grand Banks Dory
- Model Shipways
- (and 1 more)
-
I do try not to make perfect the enemy of good, an endeavor I frequently fail at. Still, I'm at the point where I think the bands at the bow are about as good as they're going to get, so I'm satisfied. There's not a ton I can do with the becket holes unless I feel like patching and drilling, which I do not. The sheer more or less matches on both sides, even if the lines on the planking doesn't, but I know the sheer is the same height midships, so I must be doing something right. I'm rather nervous about the next step (the gunwale), so if anyone has any advice, I'm all ears.

- 34 replies
-
- 4
-
-
- Grand Banks Dory
- Model Shipways
- (and 1 more)
-
Risers and bands are attached. I also decided to try my hand at undoing a bevel. I originally beveled the entire false stem, but saw in the instructions that the part of the stem above the hull isn't beveled. So I built up the area with wood putty, then sanded to shape. With the bands on, it's a little more obvious that the sheer and beeholes for the bow becket are slightly misaligned. It bugs me a little, but what makes me feel better is that the shipwright/carpenter where I work took a look at my progress pictures, and declared it was "insane precision for a dory".
- 34 replies
-
- 3
-
-
- Grand Banks Dory
- Model Shipways
- (and 1 more)
-
Sorry for the thread necromancy, I was digging into Lettie's history and found this. I work on Lettie G. Howard, currently sailing out of Erie, PA, and was thrilled to find this build log. Such a lovingly detailed model of a fantastic schooner. Well done, sir!