HOLIDAY DONATION DRIVE - SUPPORT MSW - DO YOUR PART TO KEEP THIS GREAT FORUM GOING! (Only 13 donations so far - C'mon guys!)
×


raven62
-
Posts
43 -
Joined
-
Last visited
Content Type
Profiles
Forums
Gallery
Events
Everything posted by raven62
-
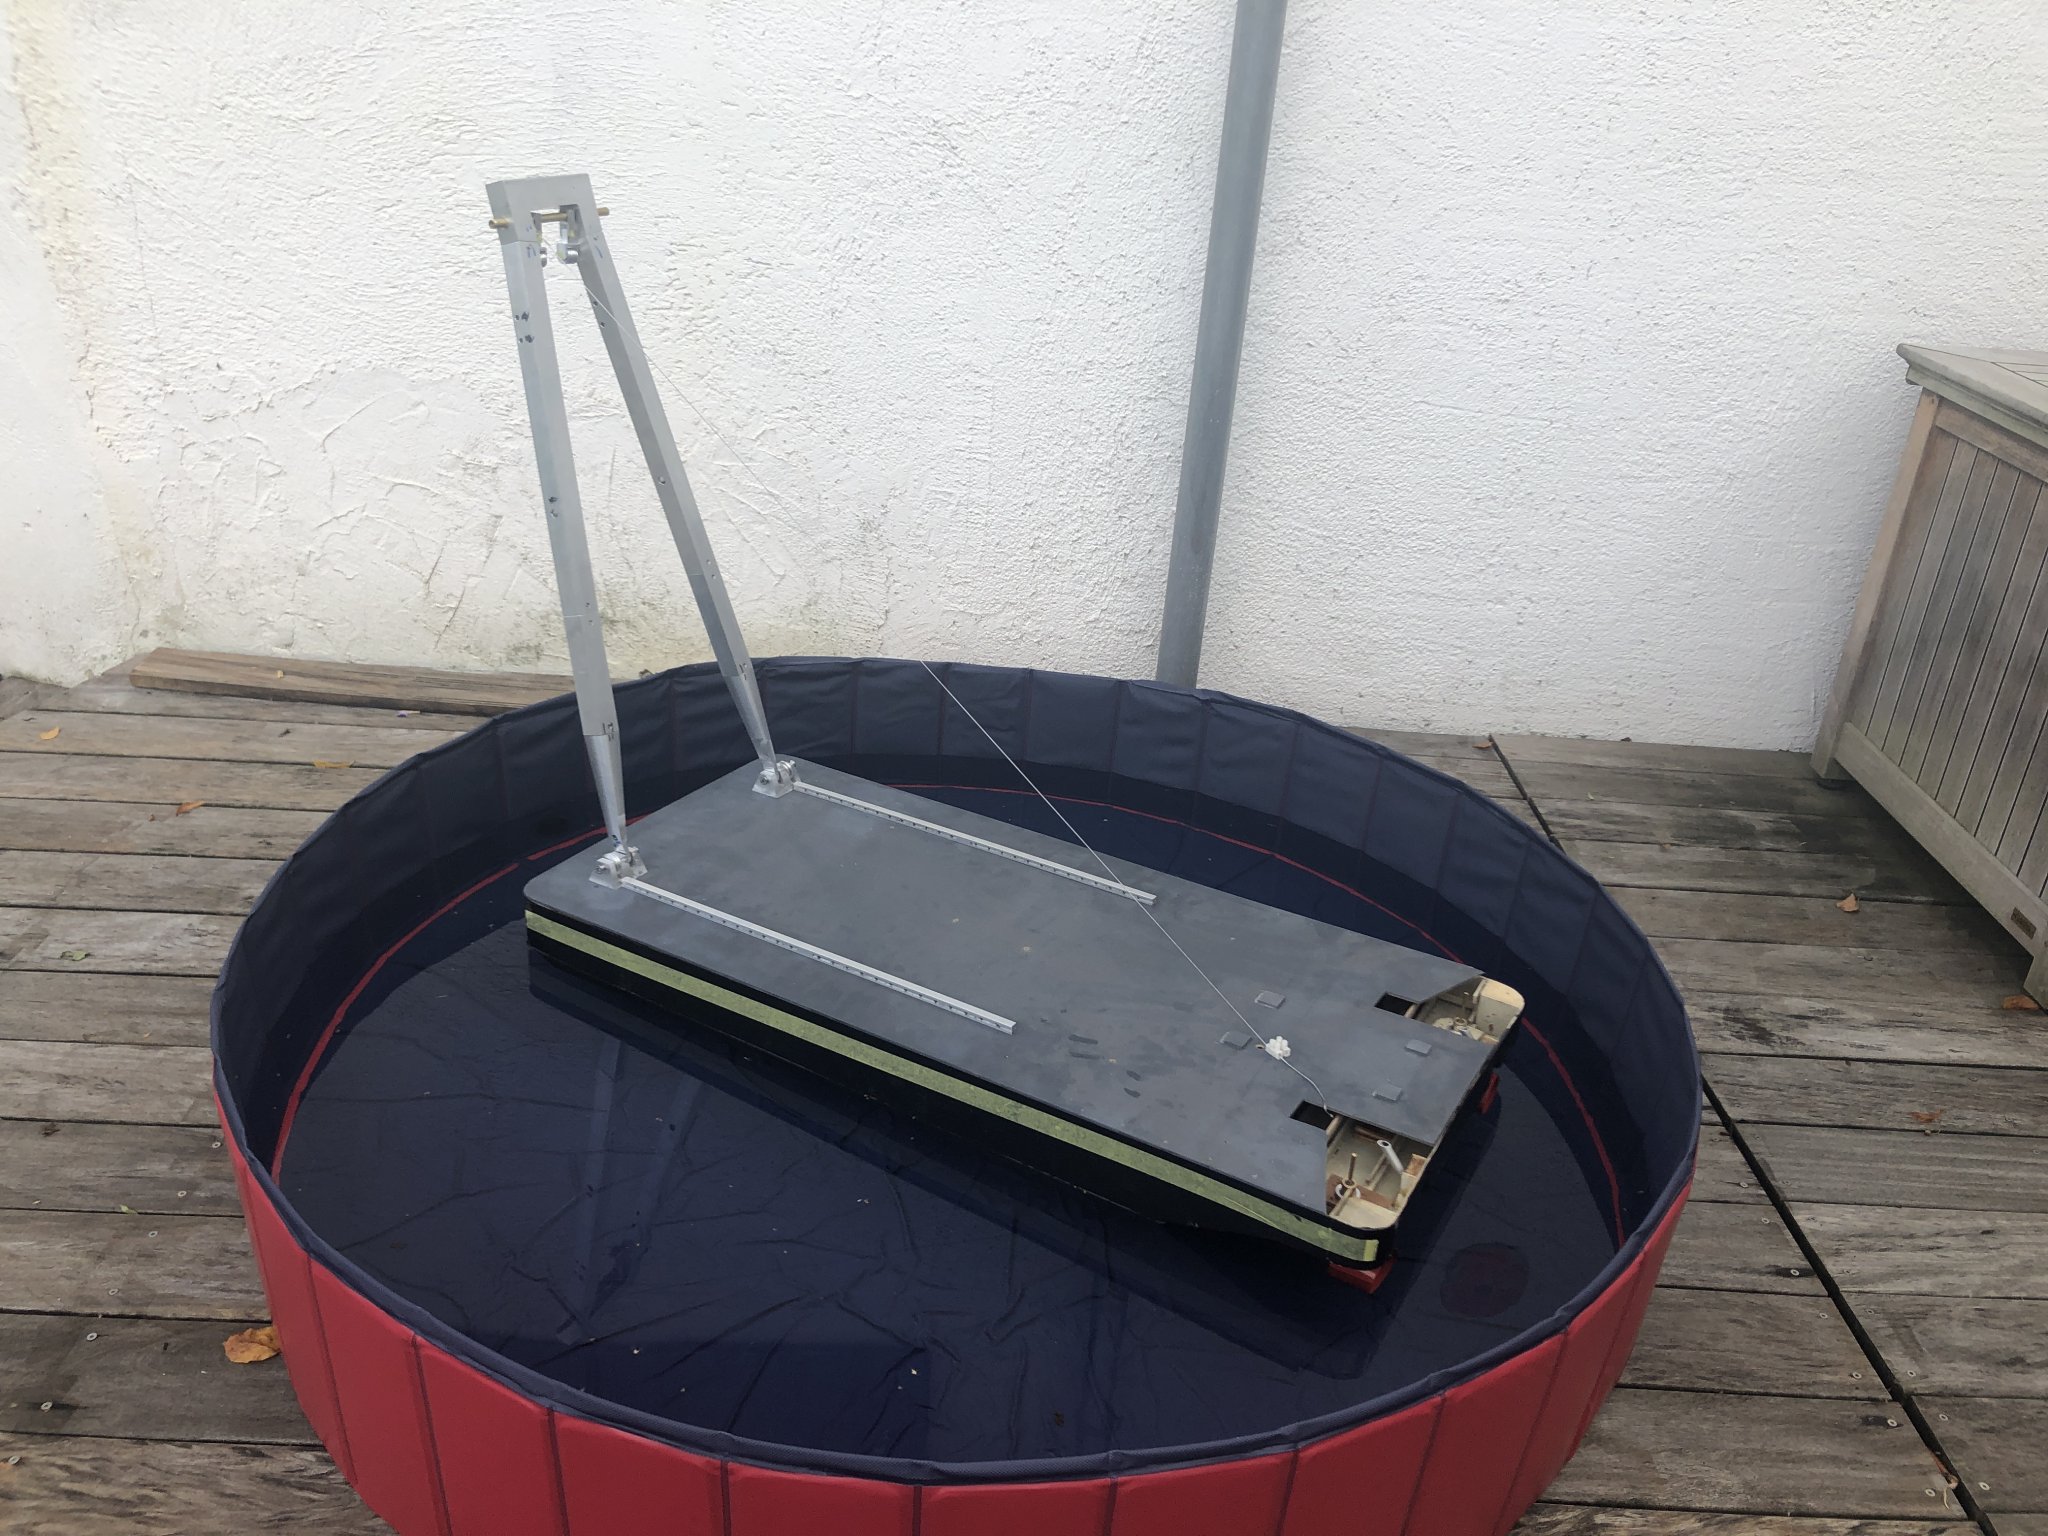
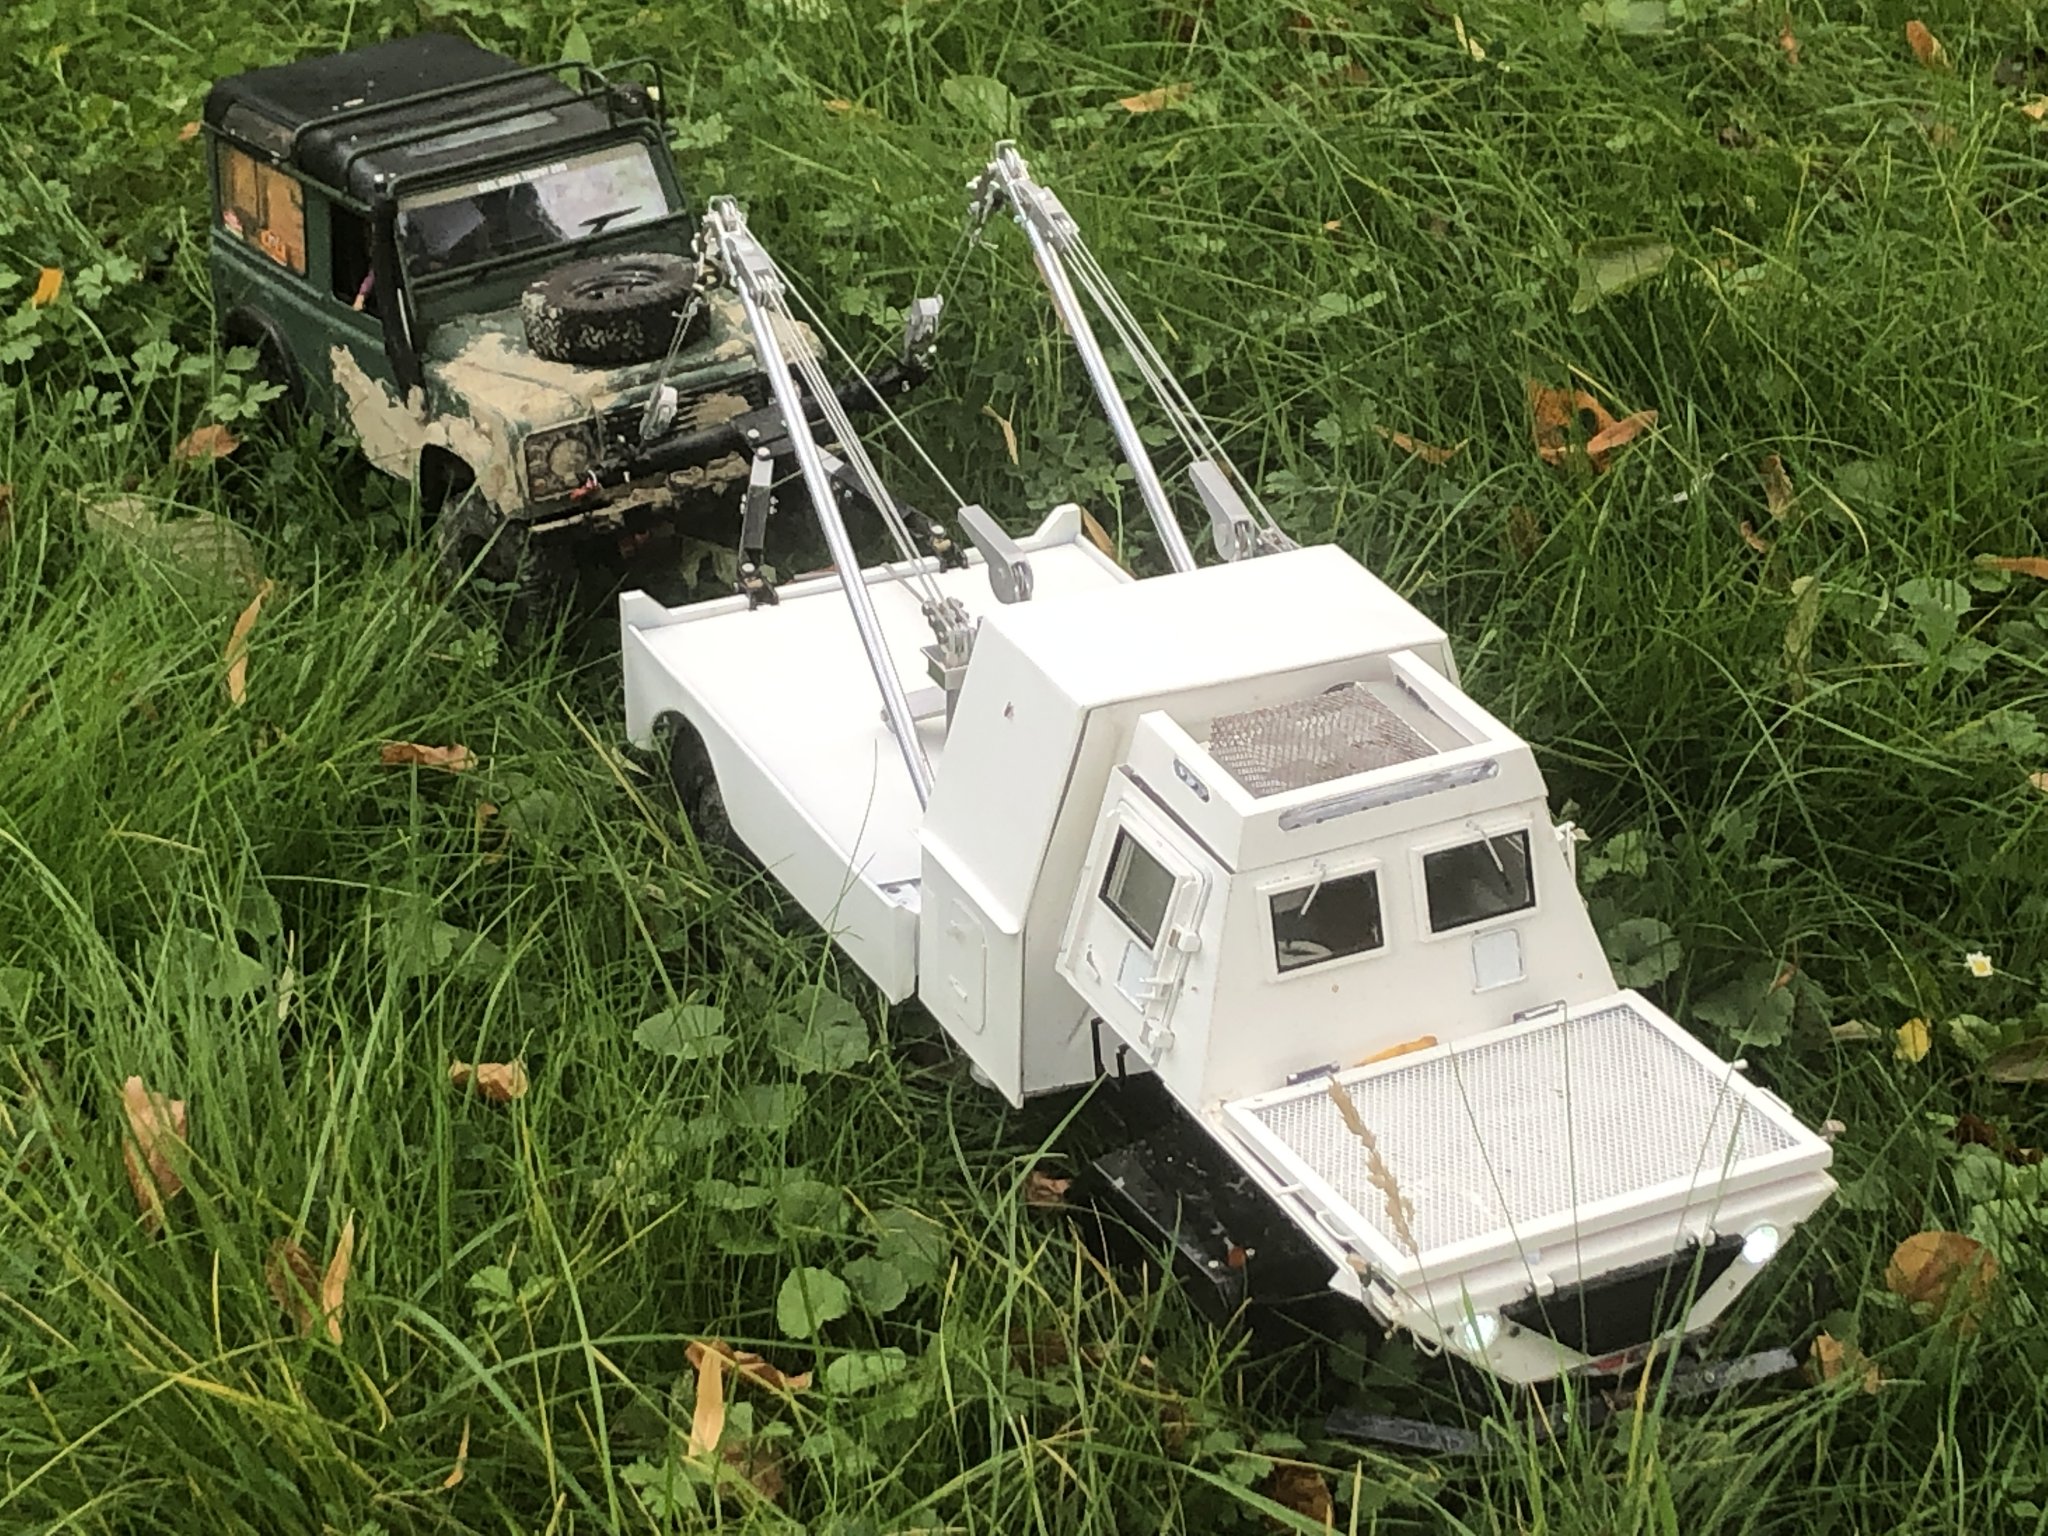
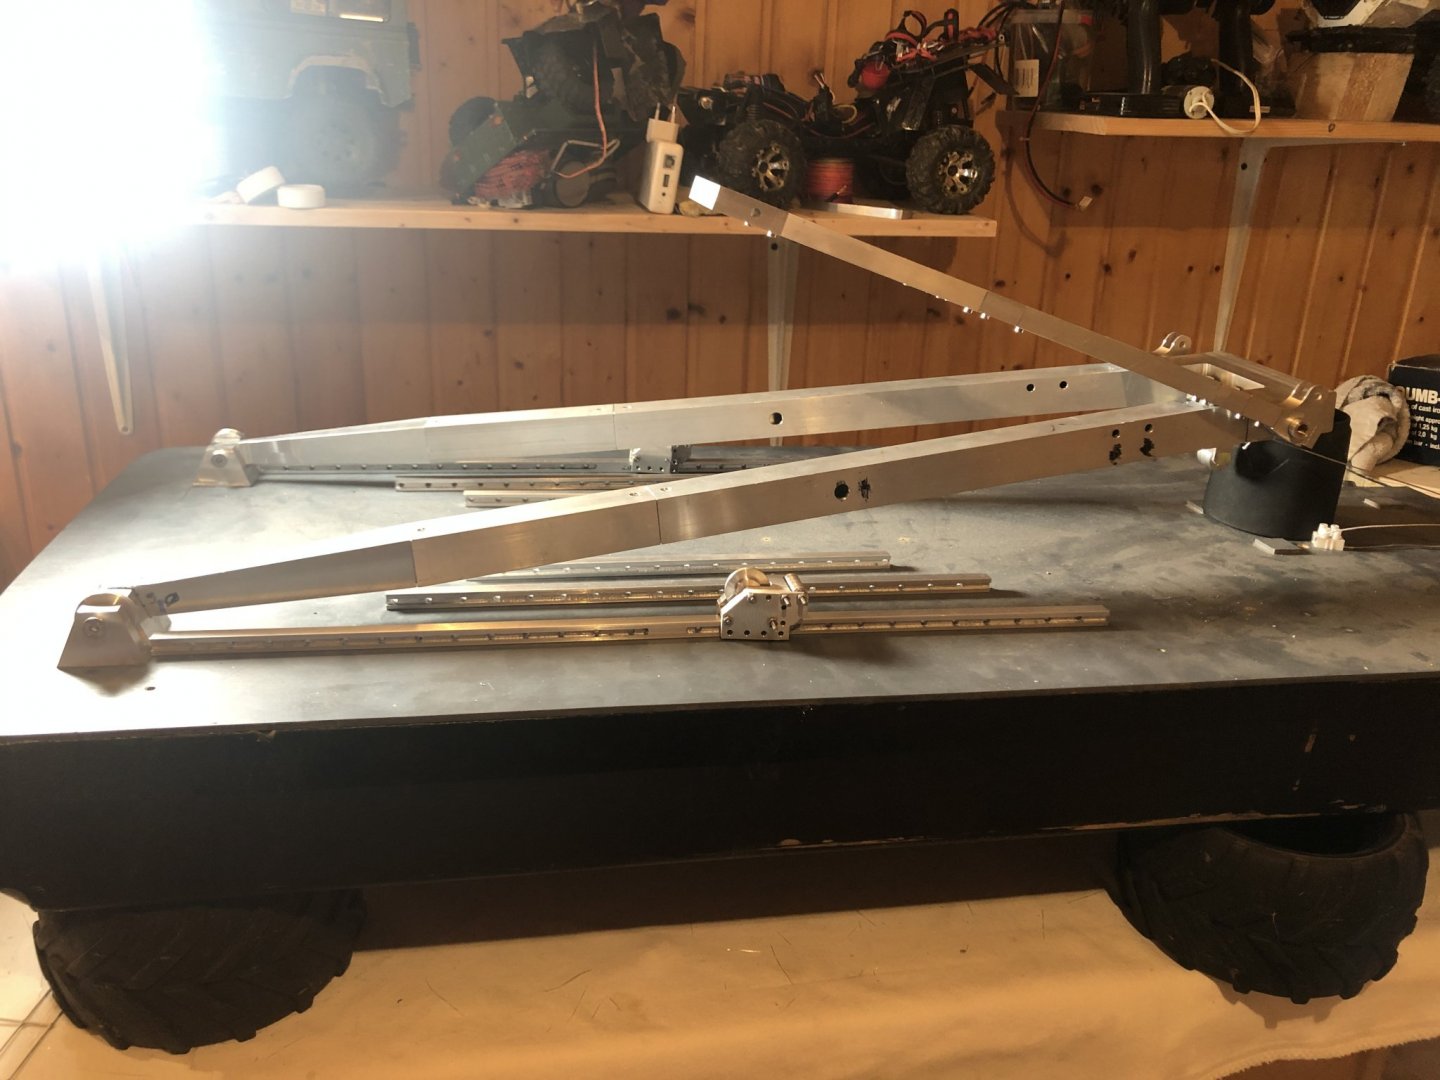
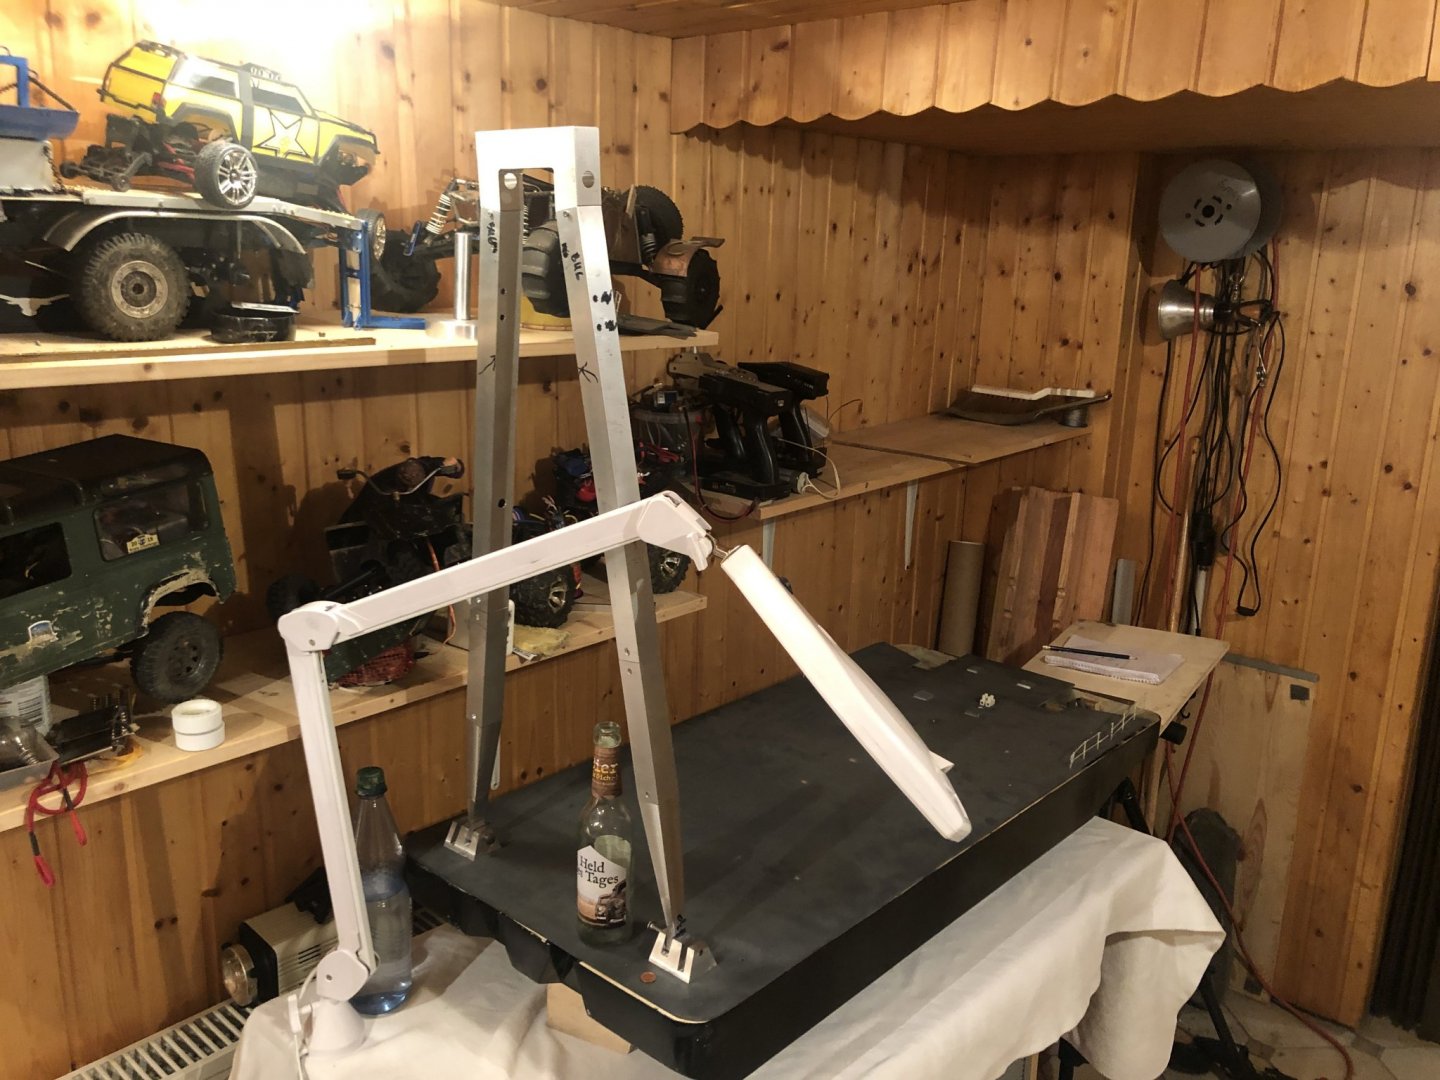
 Topboom is mechanical done. Overall heigth is 175 cm (69 inches) and my cellar isn't high enough. So this unusual perspective Ths is the position if the crane ist towed long distances or bad weather conditions I'll try to make the model tough enough to fold and unfold him with his own winches like the 1/1
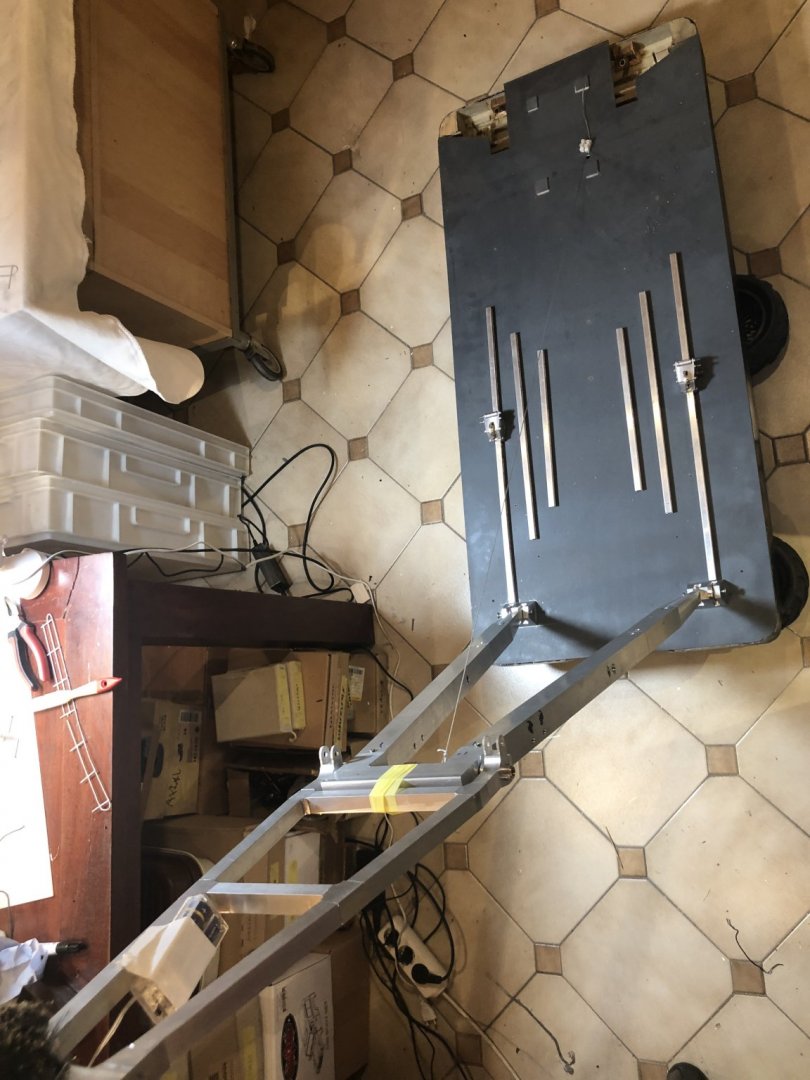
-
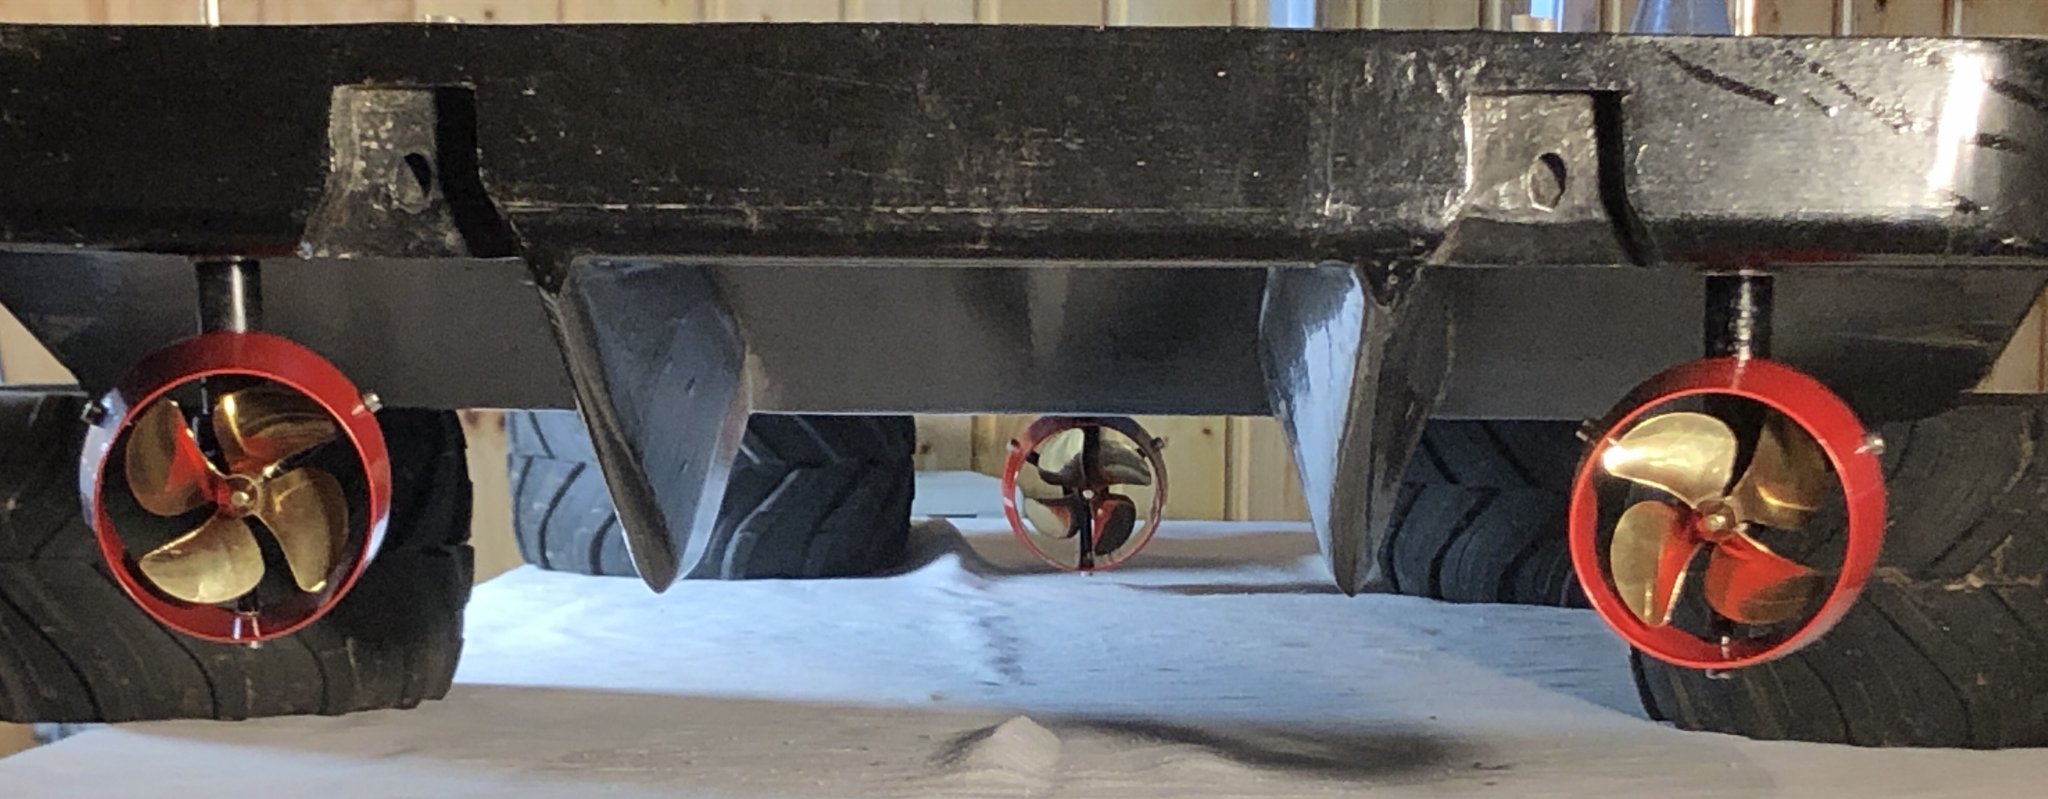
Hi Lou, thank you. My old Plan from the 90's shows just two nozzles. But the actual technical sheet from the shipping company tells three. So I decide to make three. It will be easier to drive for me.
-
Thanks, no. The emphasis is on functionality only at the first stage of the build. Because I need fix points for all the scale things on deck. For example: the six rails on deck depend on the exakt sizes of the booms. The positions of the winches depends to the rails. And so on. I'm not really perfect in matching all scale size, so they will varying a bit their location on deck. So the little Details, wich bring life to a modelship, will come when the crane is mechanical working. I can't wait to solder all the ladders for the booms ( roundabout three meters with platforms etc) 😎 I see, i've forgot to post a link to the original. Here it is: The original Enak
-
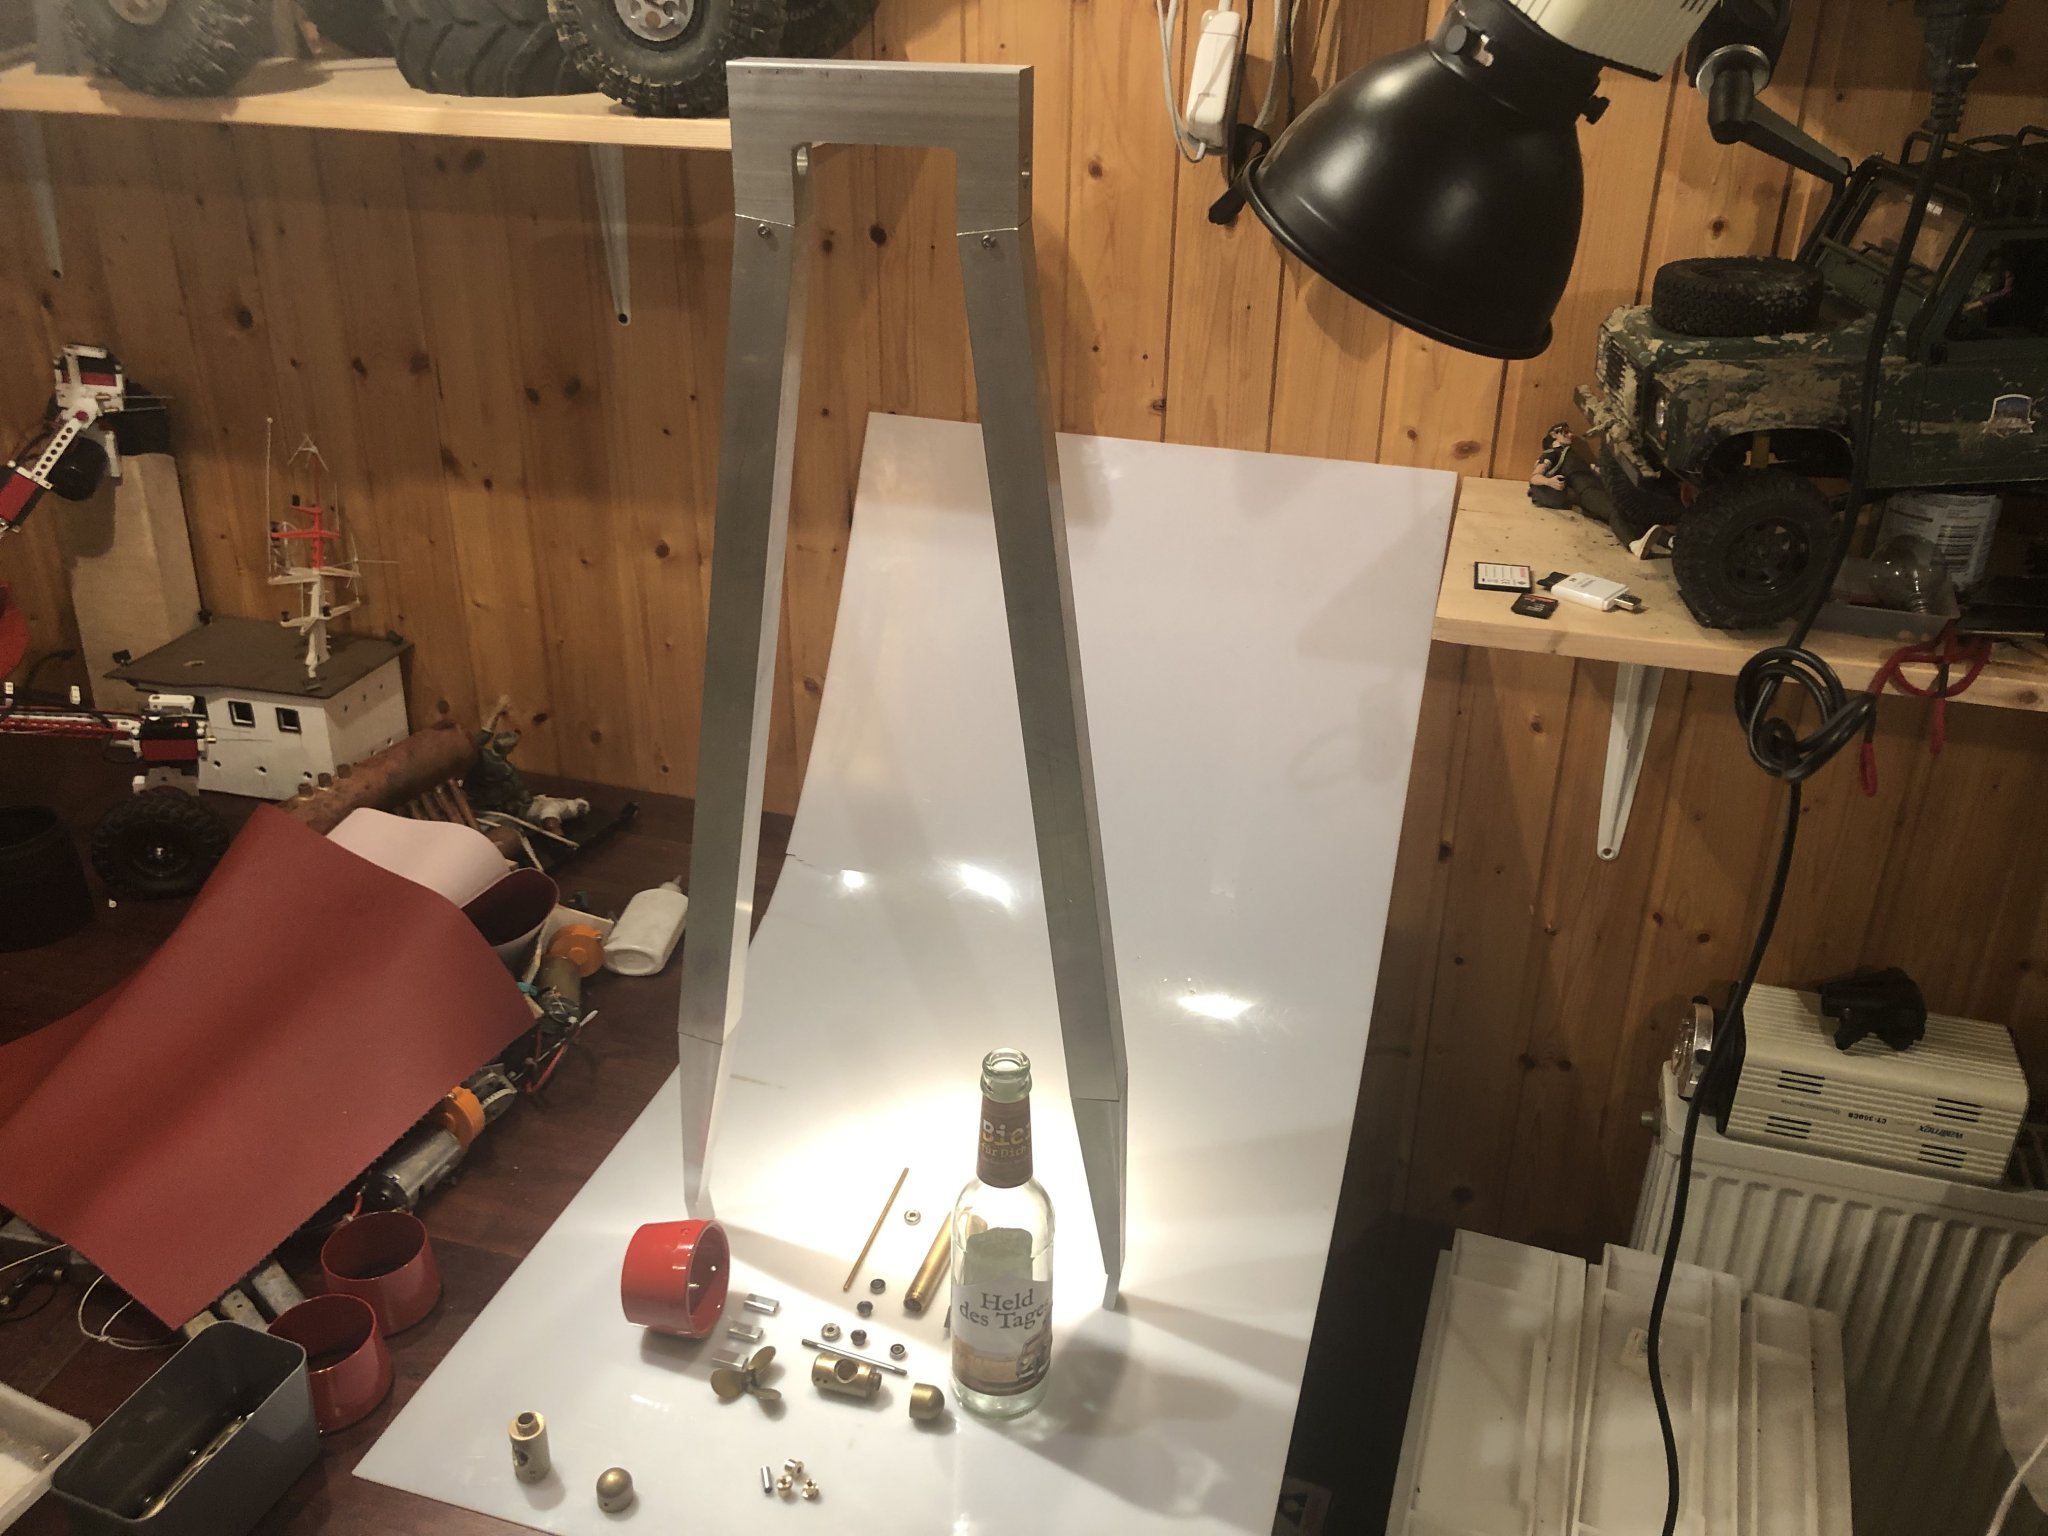
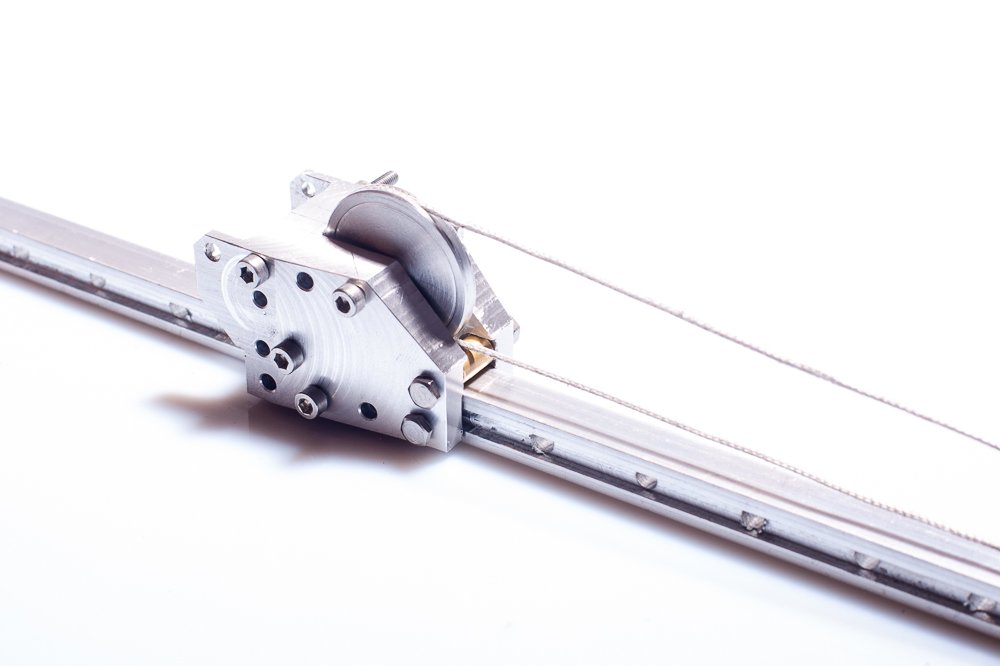
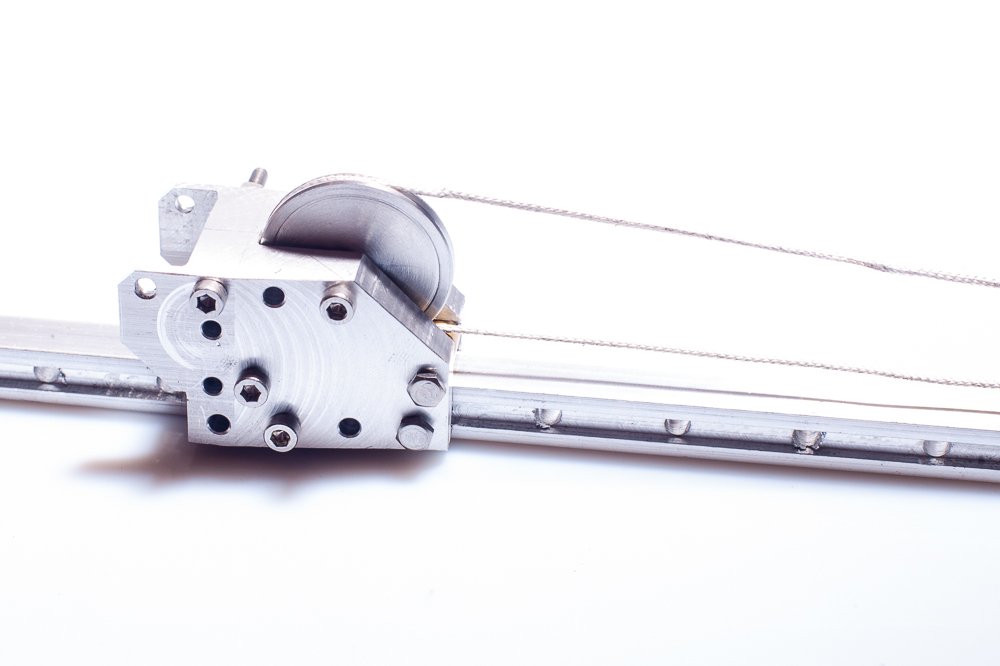
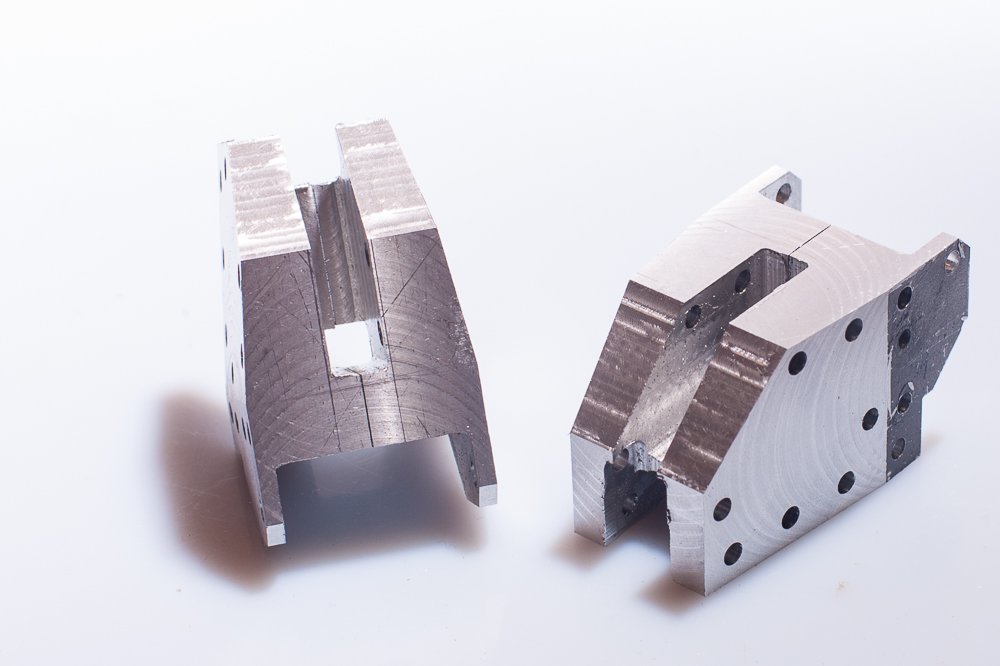
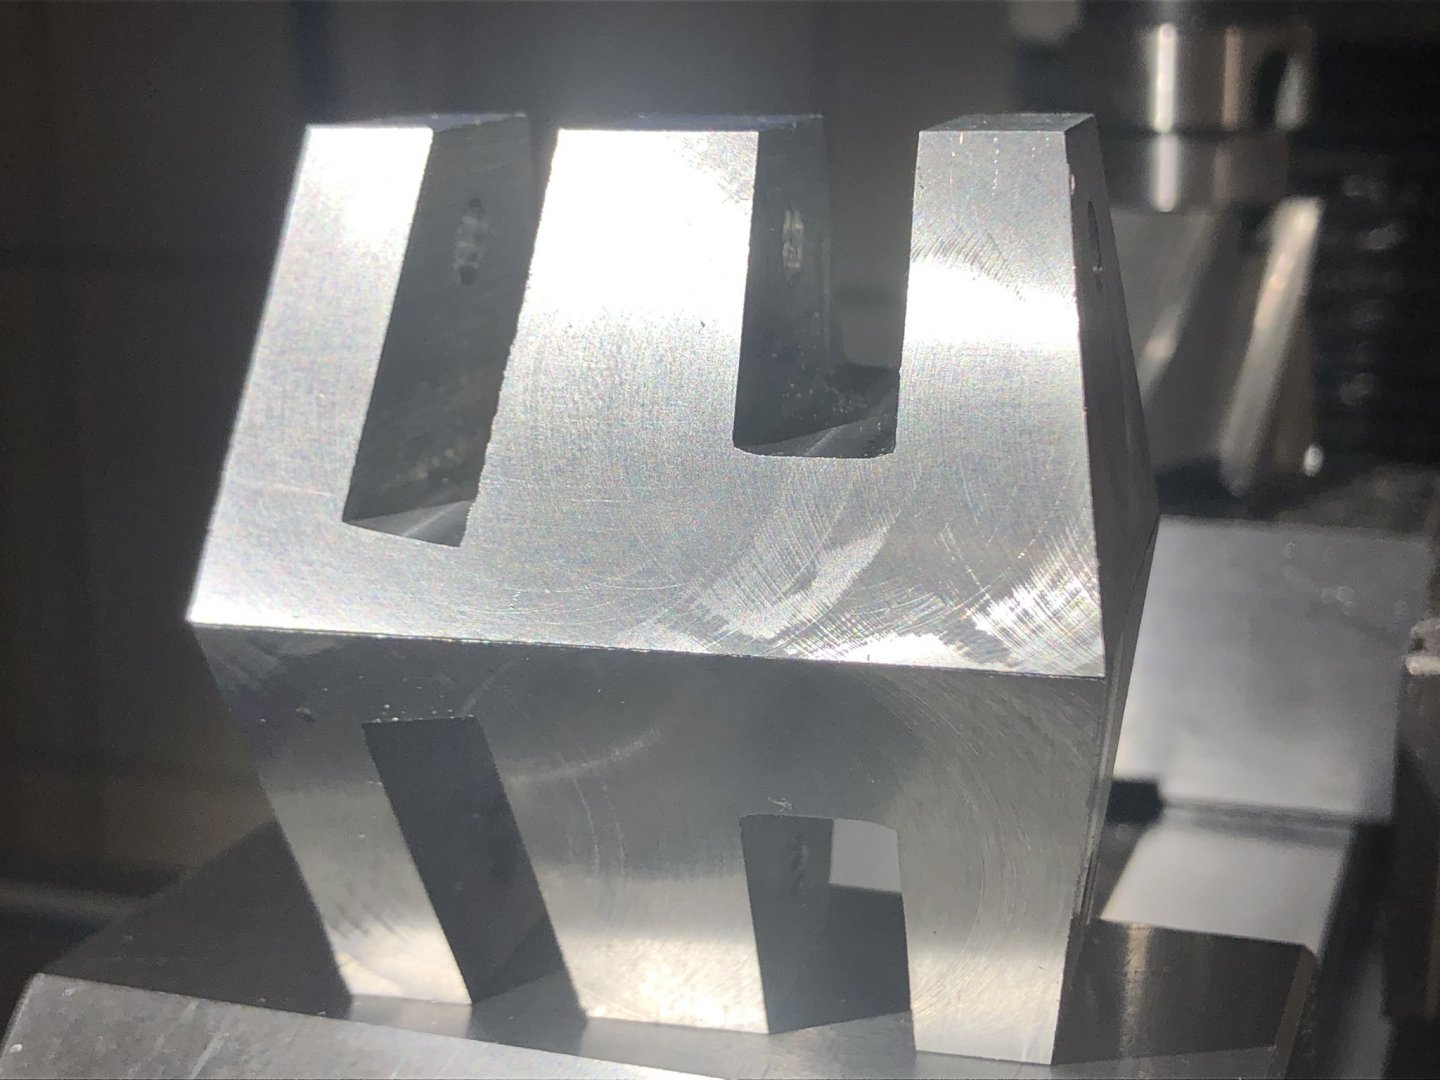
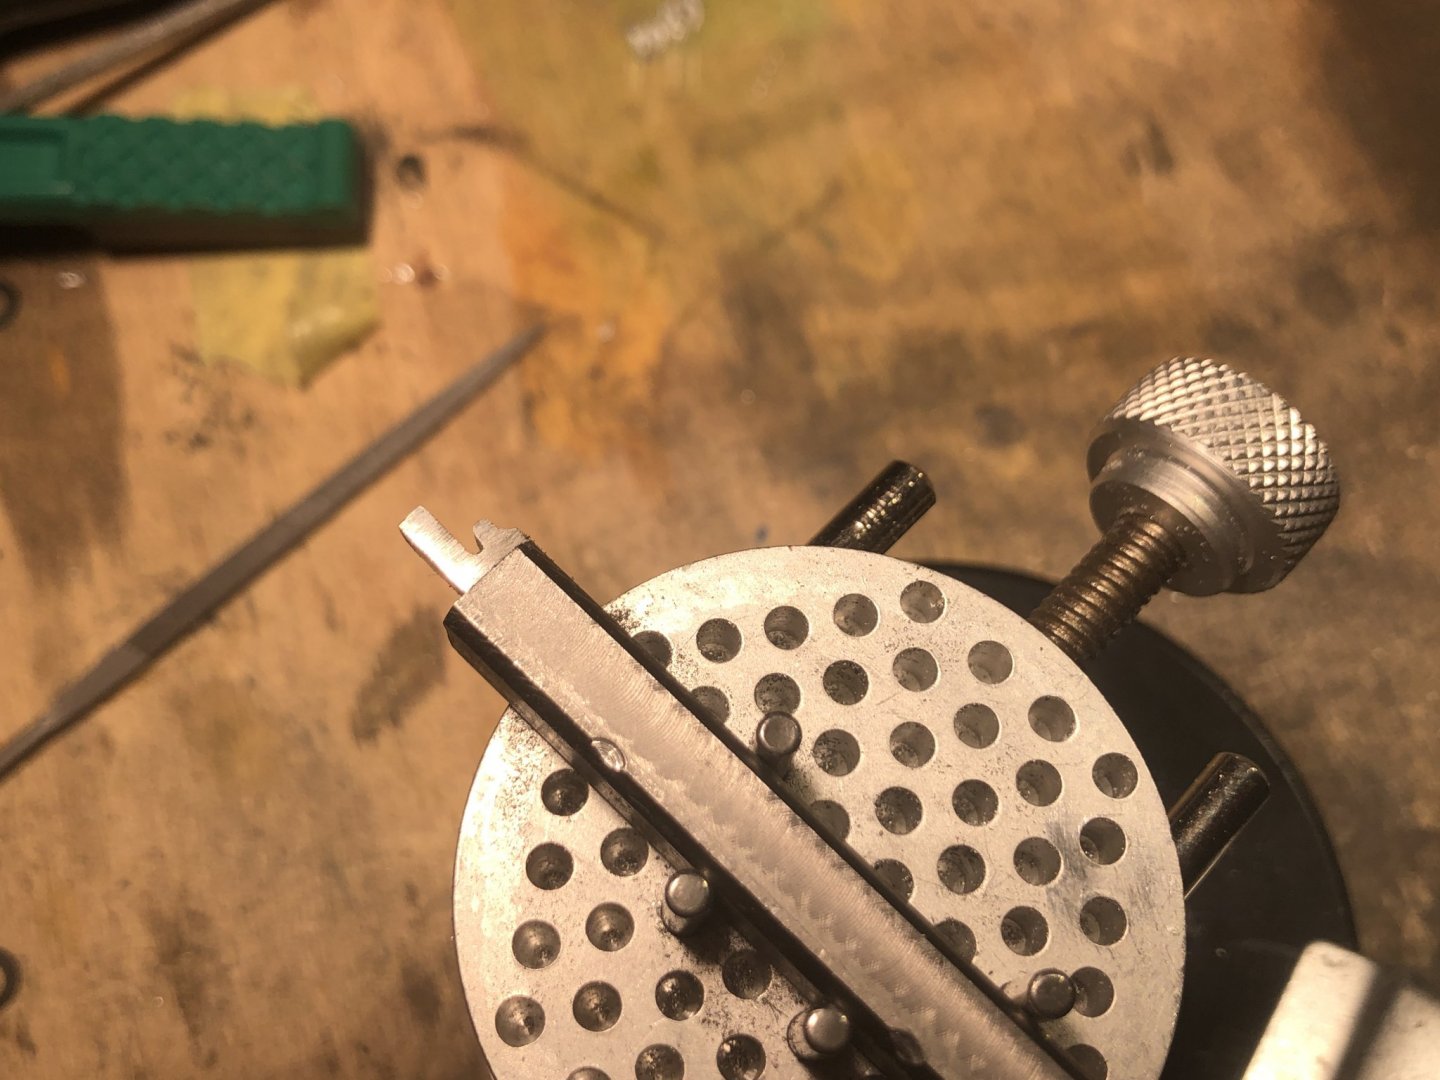
A small piece on the crane but a big step for my construction and milling experiences. (I'n not a pro in machining, just autodidactic learning) The carriages to adjust the top boom.
-
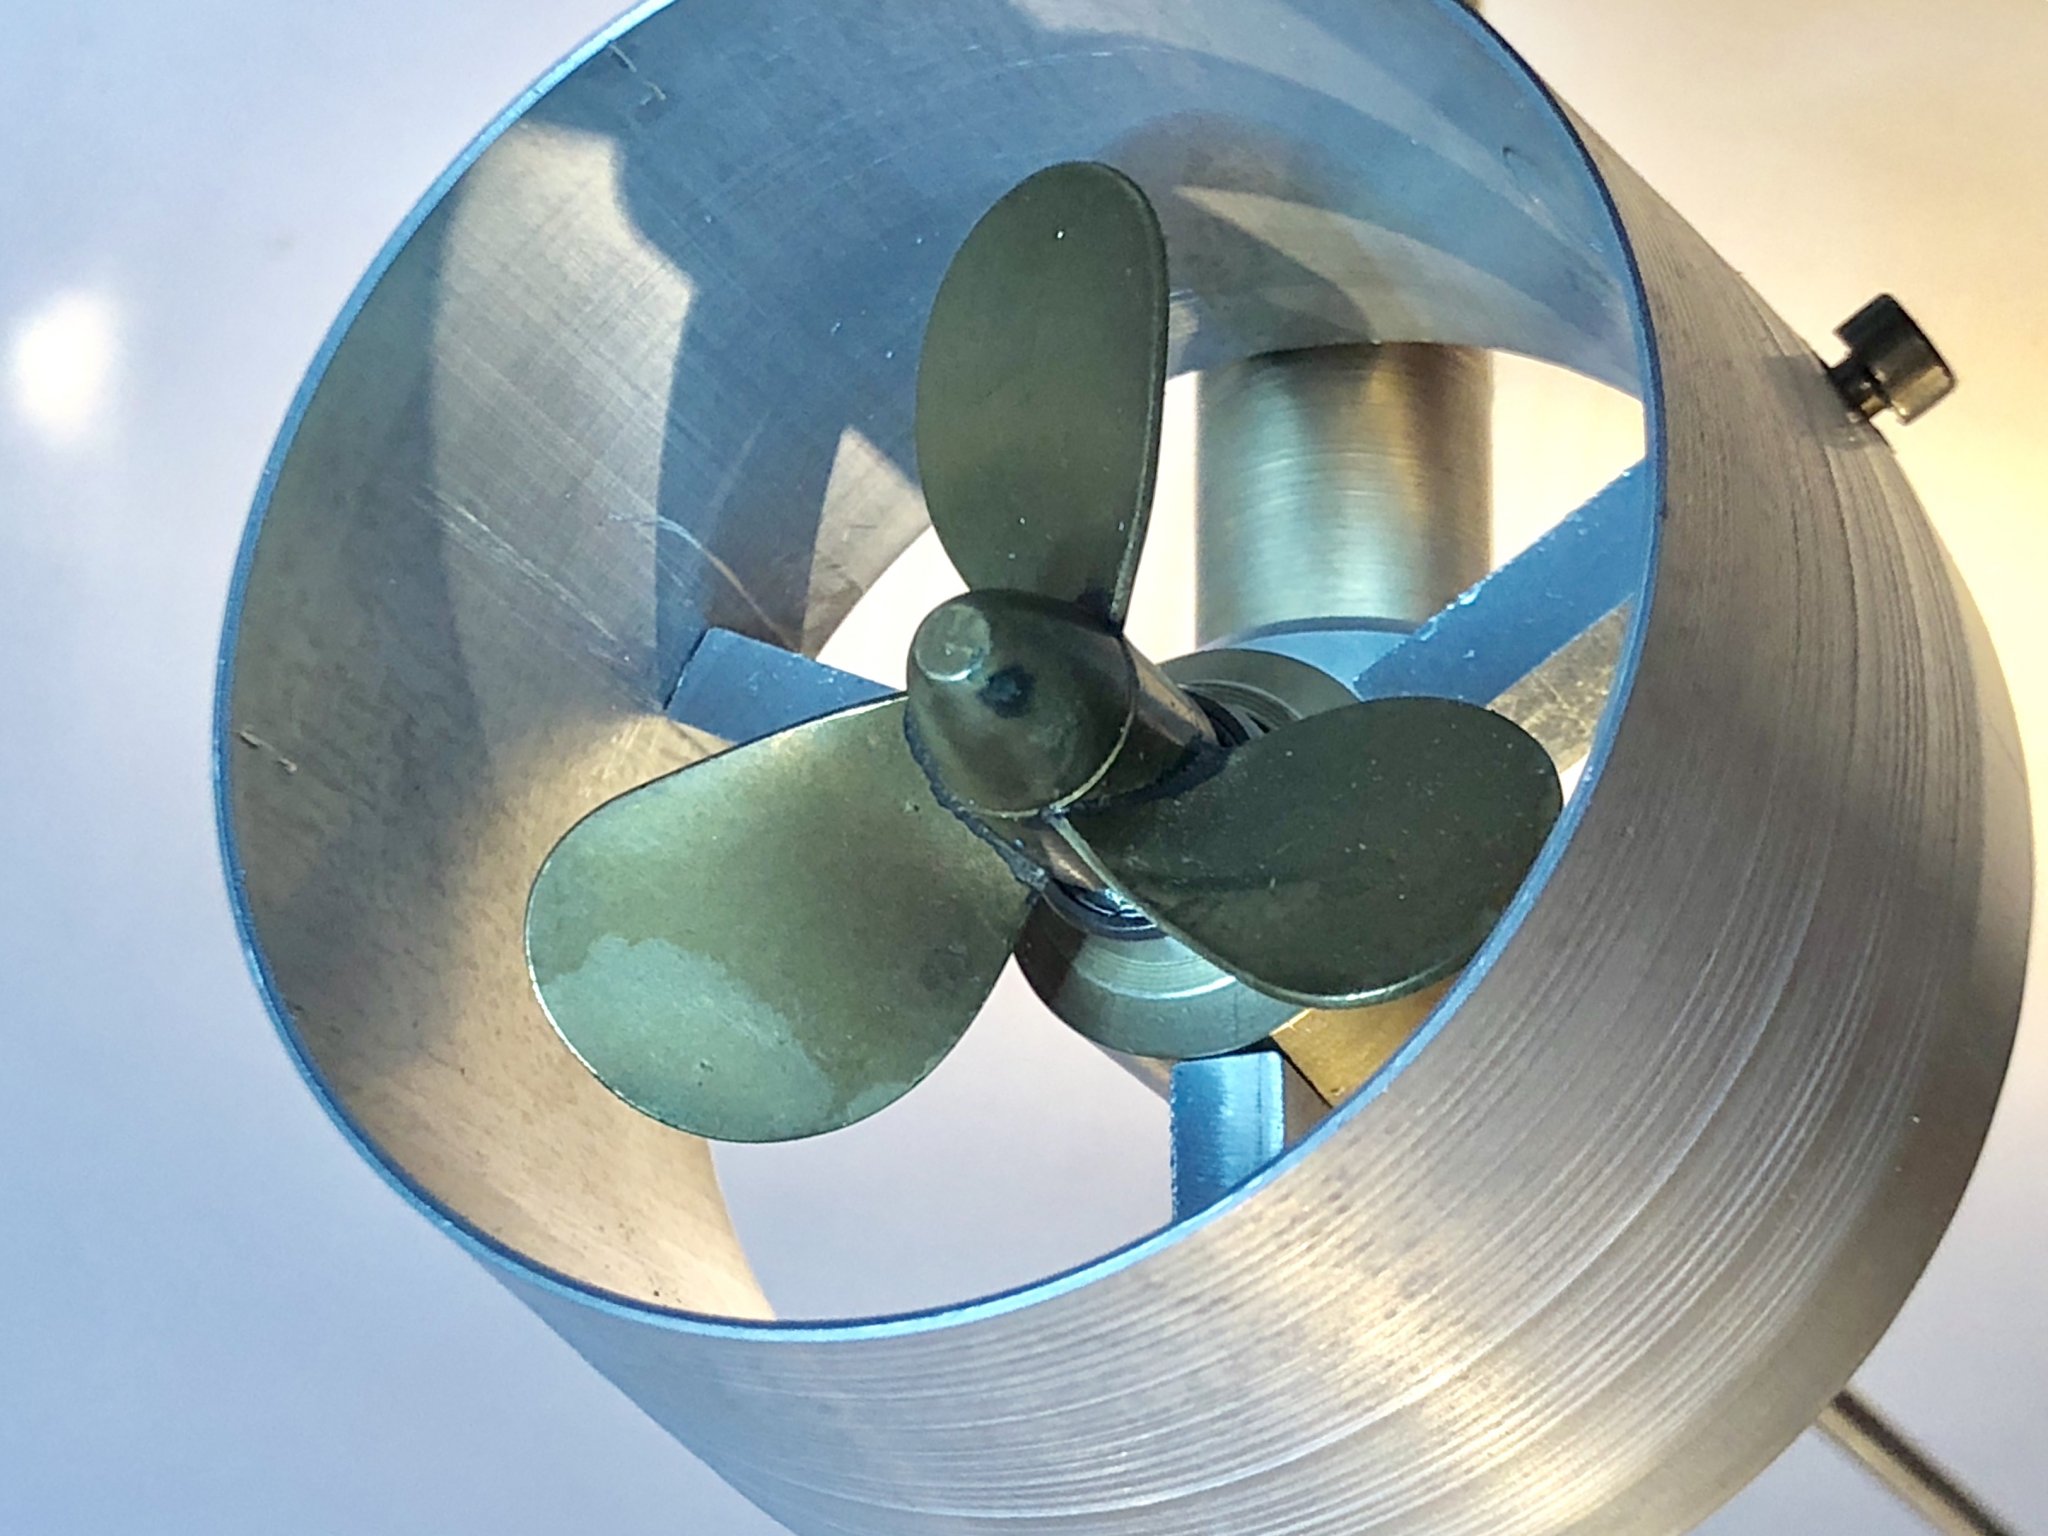
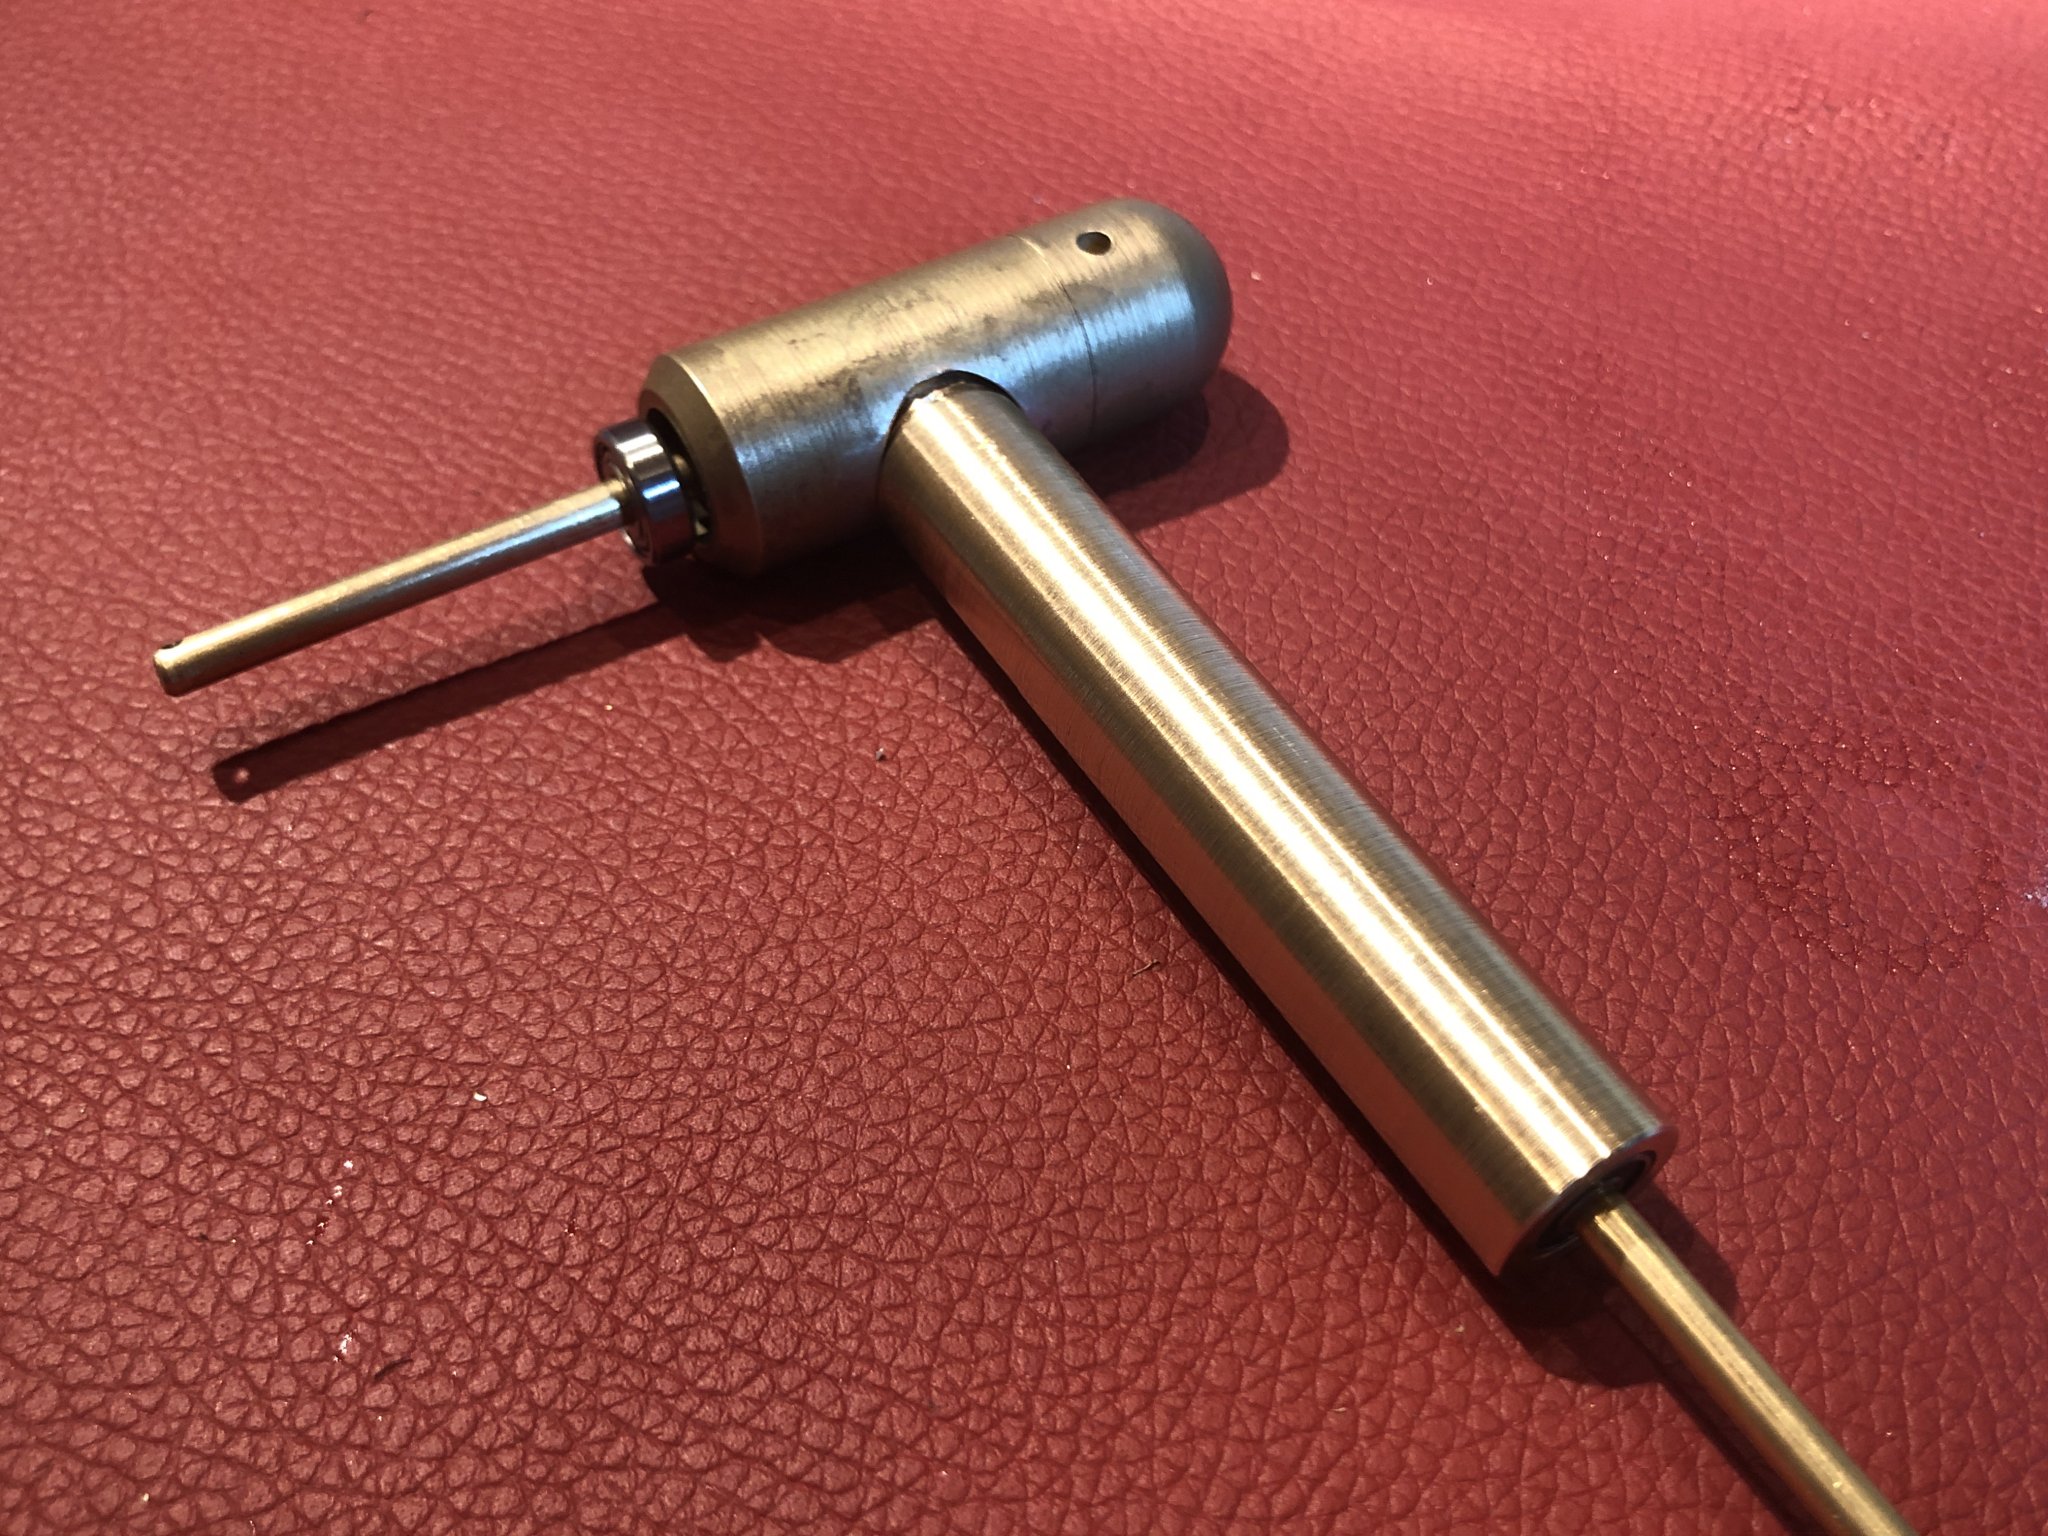
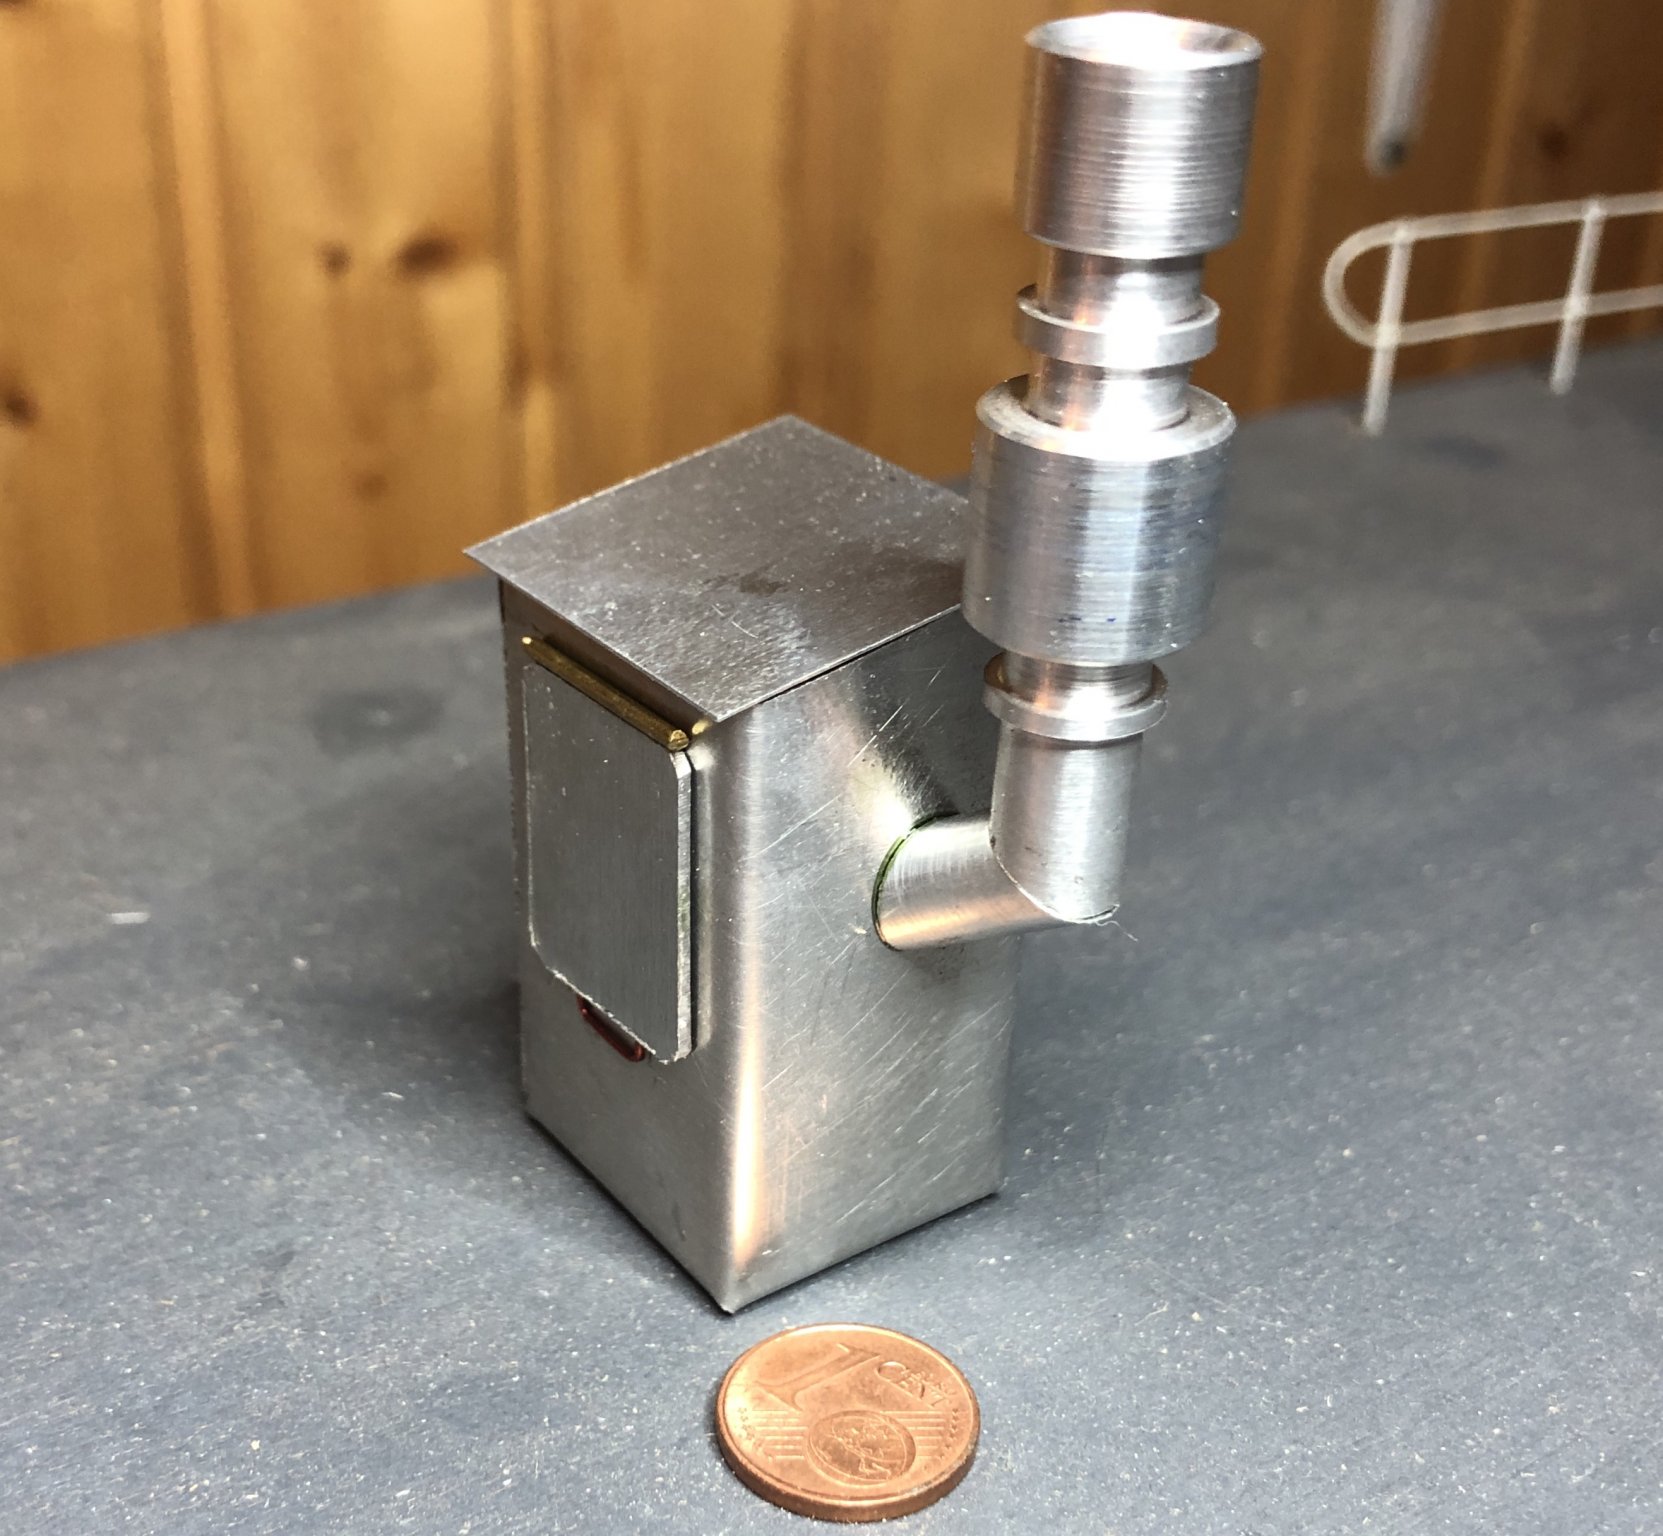
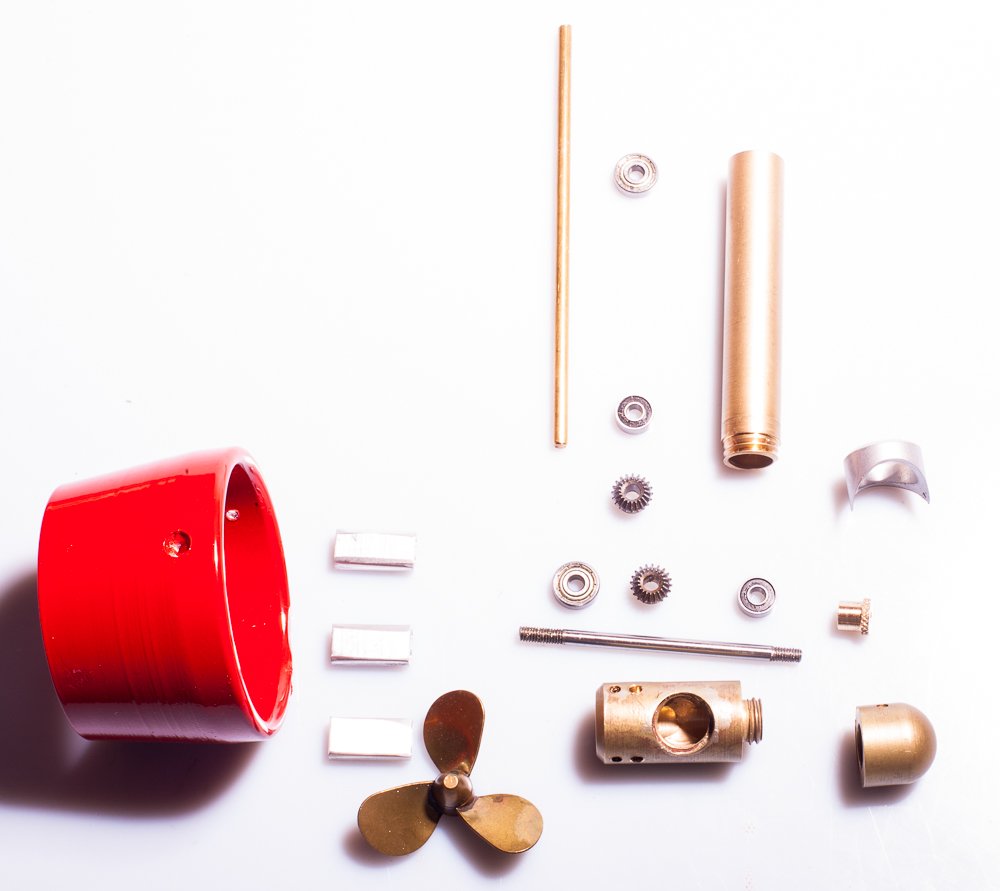
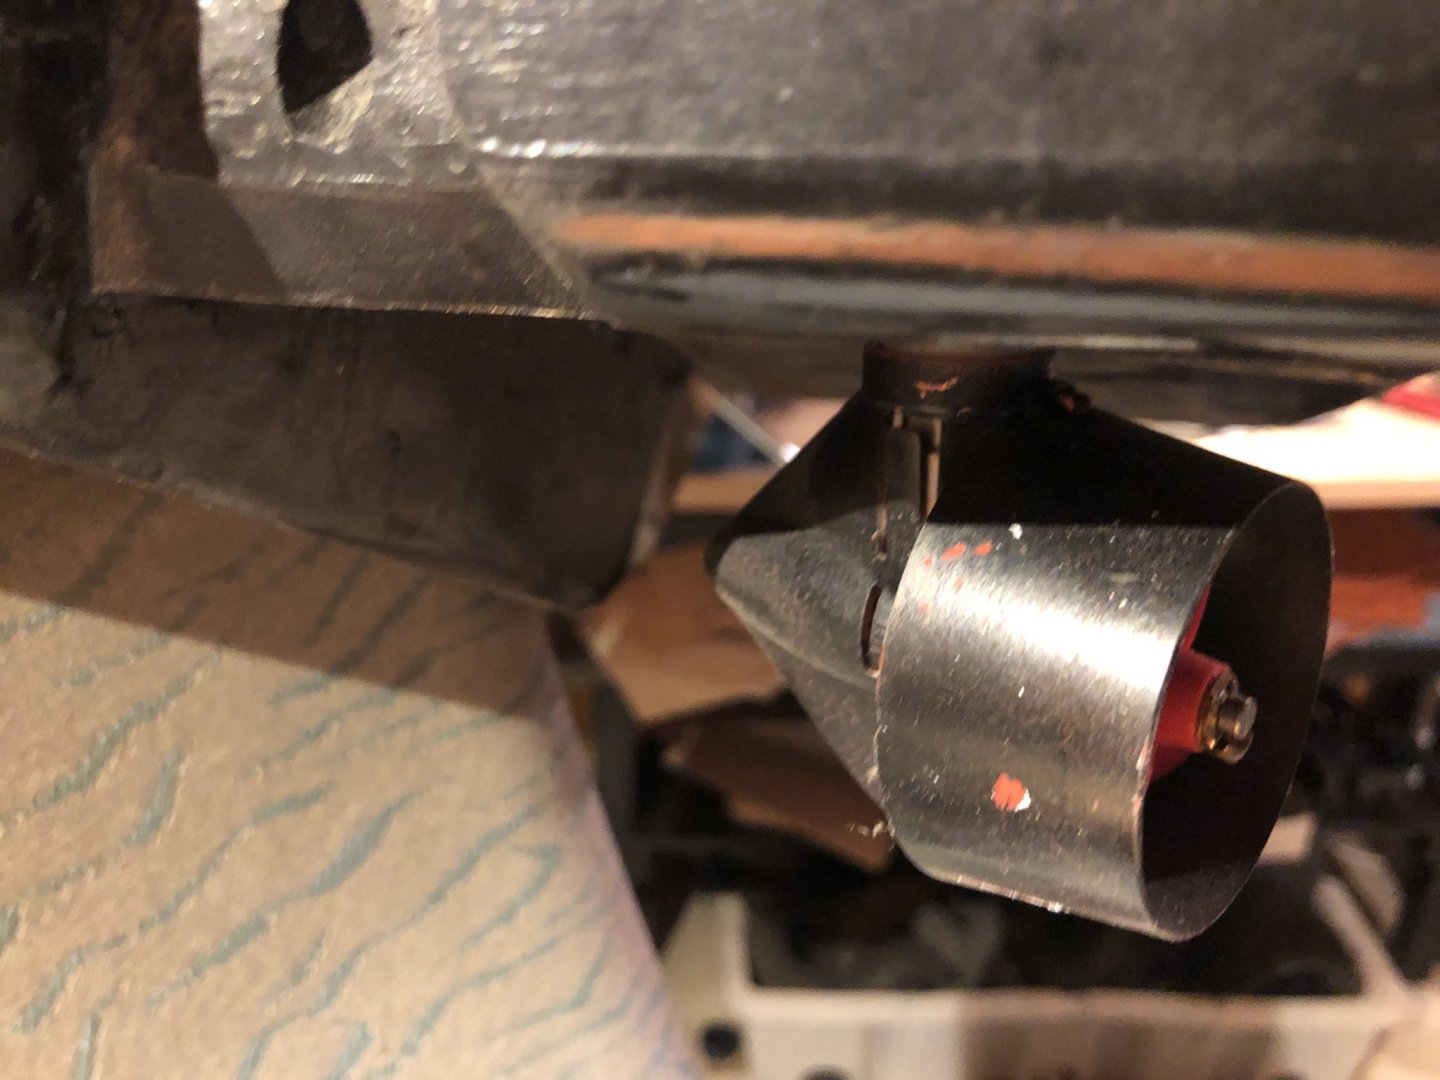
Hi there, the Rudder Propellers are ready to run (ok , almost ready, countersunk screws are ordered 🙂 ).

-
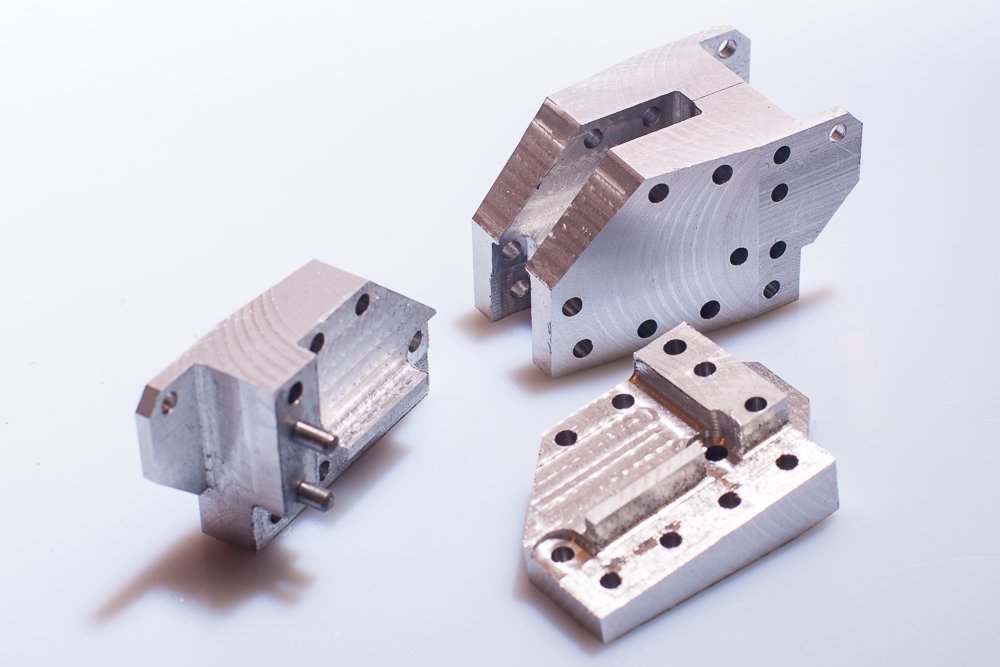
The bearing blocks for the main beam are done too. And I've calculate the wheights of the crane: Waterline 33,7 Kg (74,2 lbs) Full 55,2 Kg ( 121,7 lbs) It will be a great fun to get it out of the cellar 😁
-
All Parts done, first Parts are powder coated, just waiting on ordered shaft seals before assembling. An Overview. (bigger four blade brass propellers are ordered too)
-
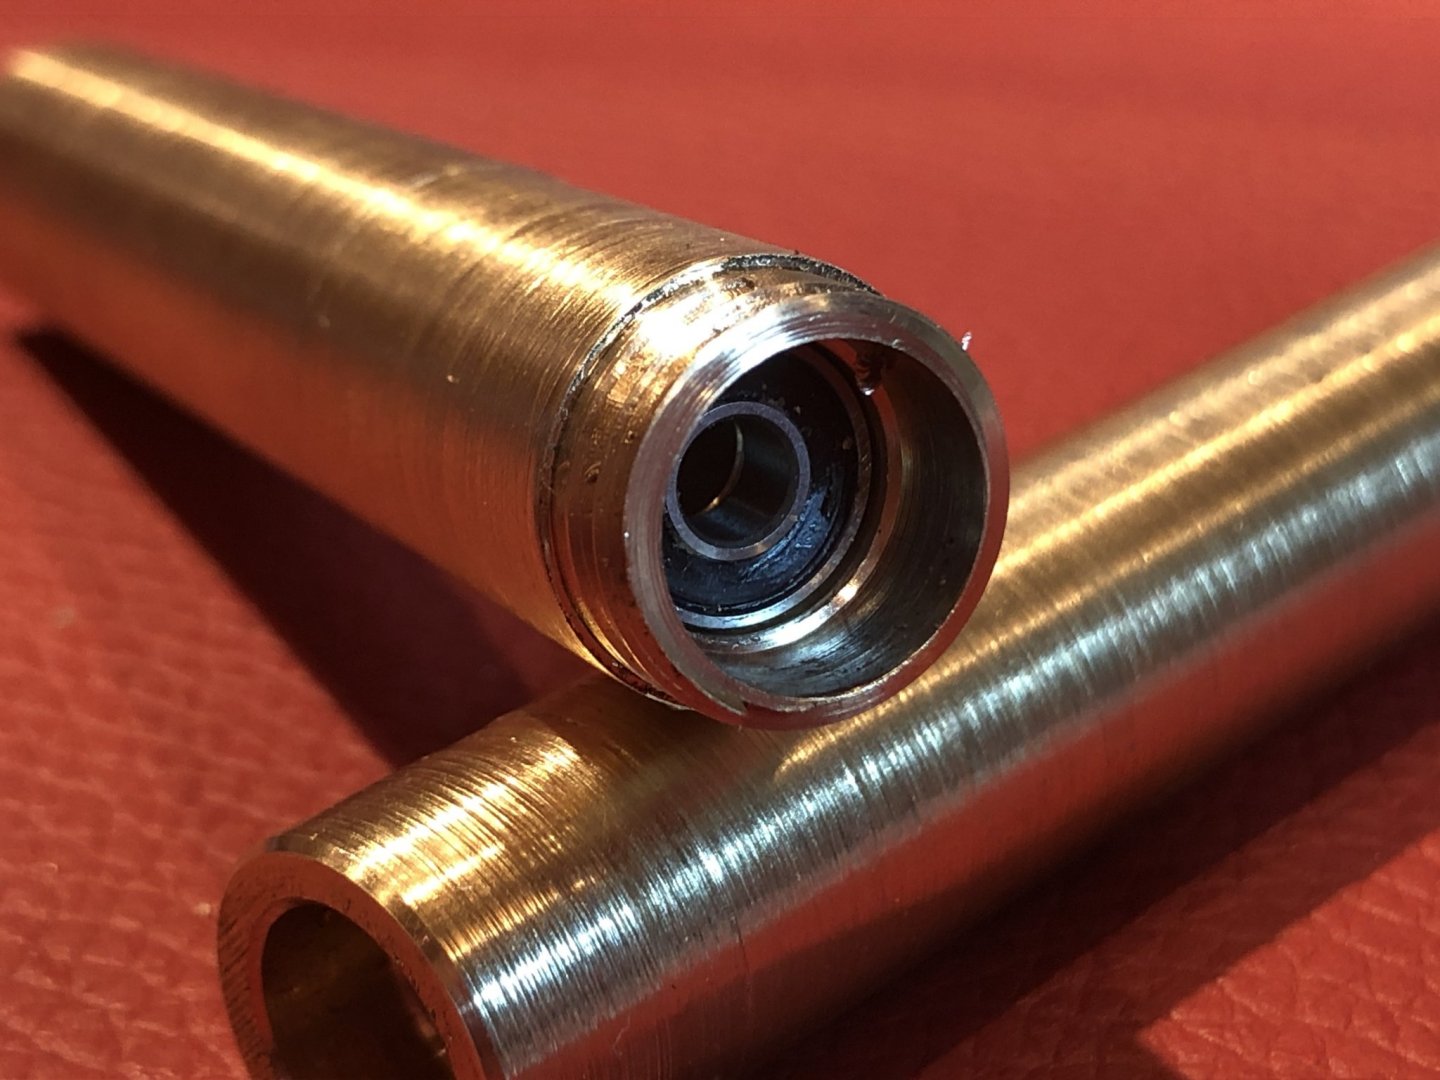
Last parts are made. The flanges between the kort-nozzles and the propeller. First rough setup to check the sizes and principally construction. More work on details and ordering more suitable screws and propellers will follow....

-
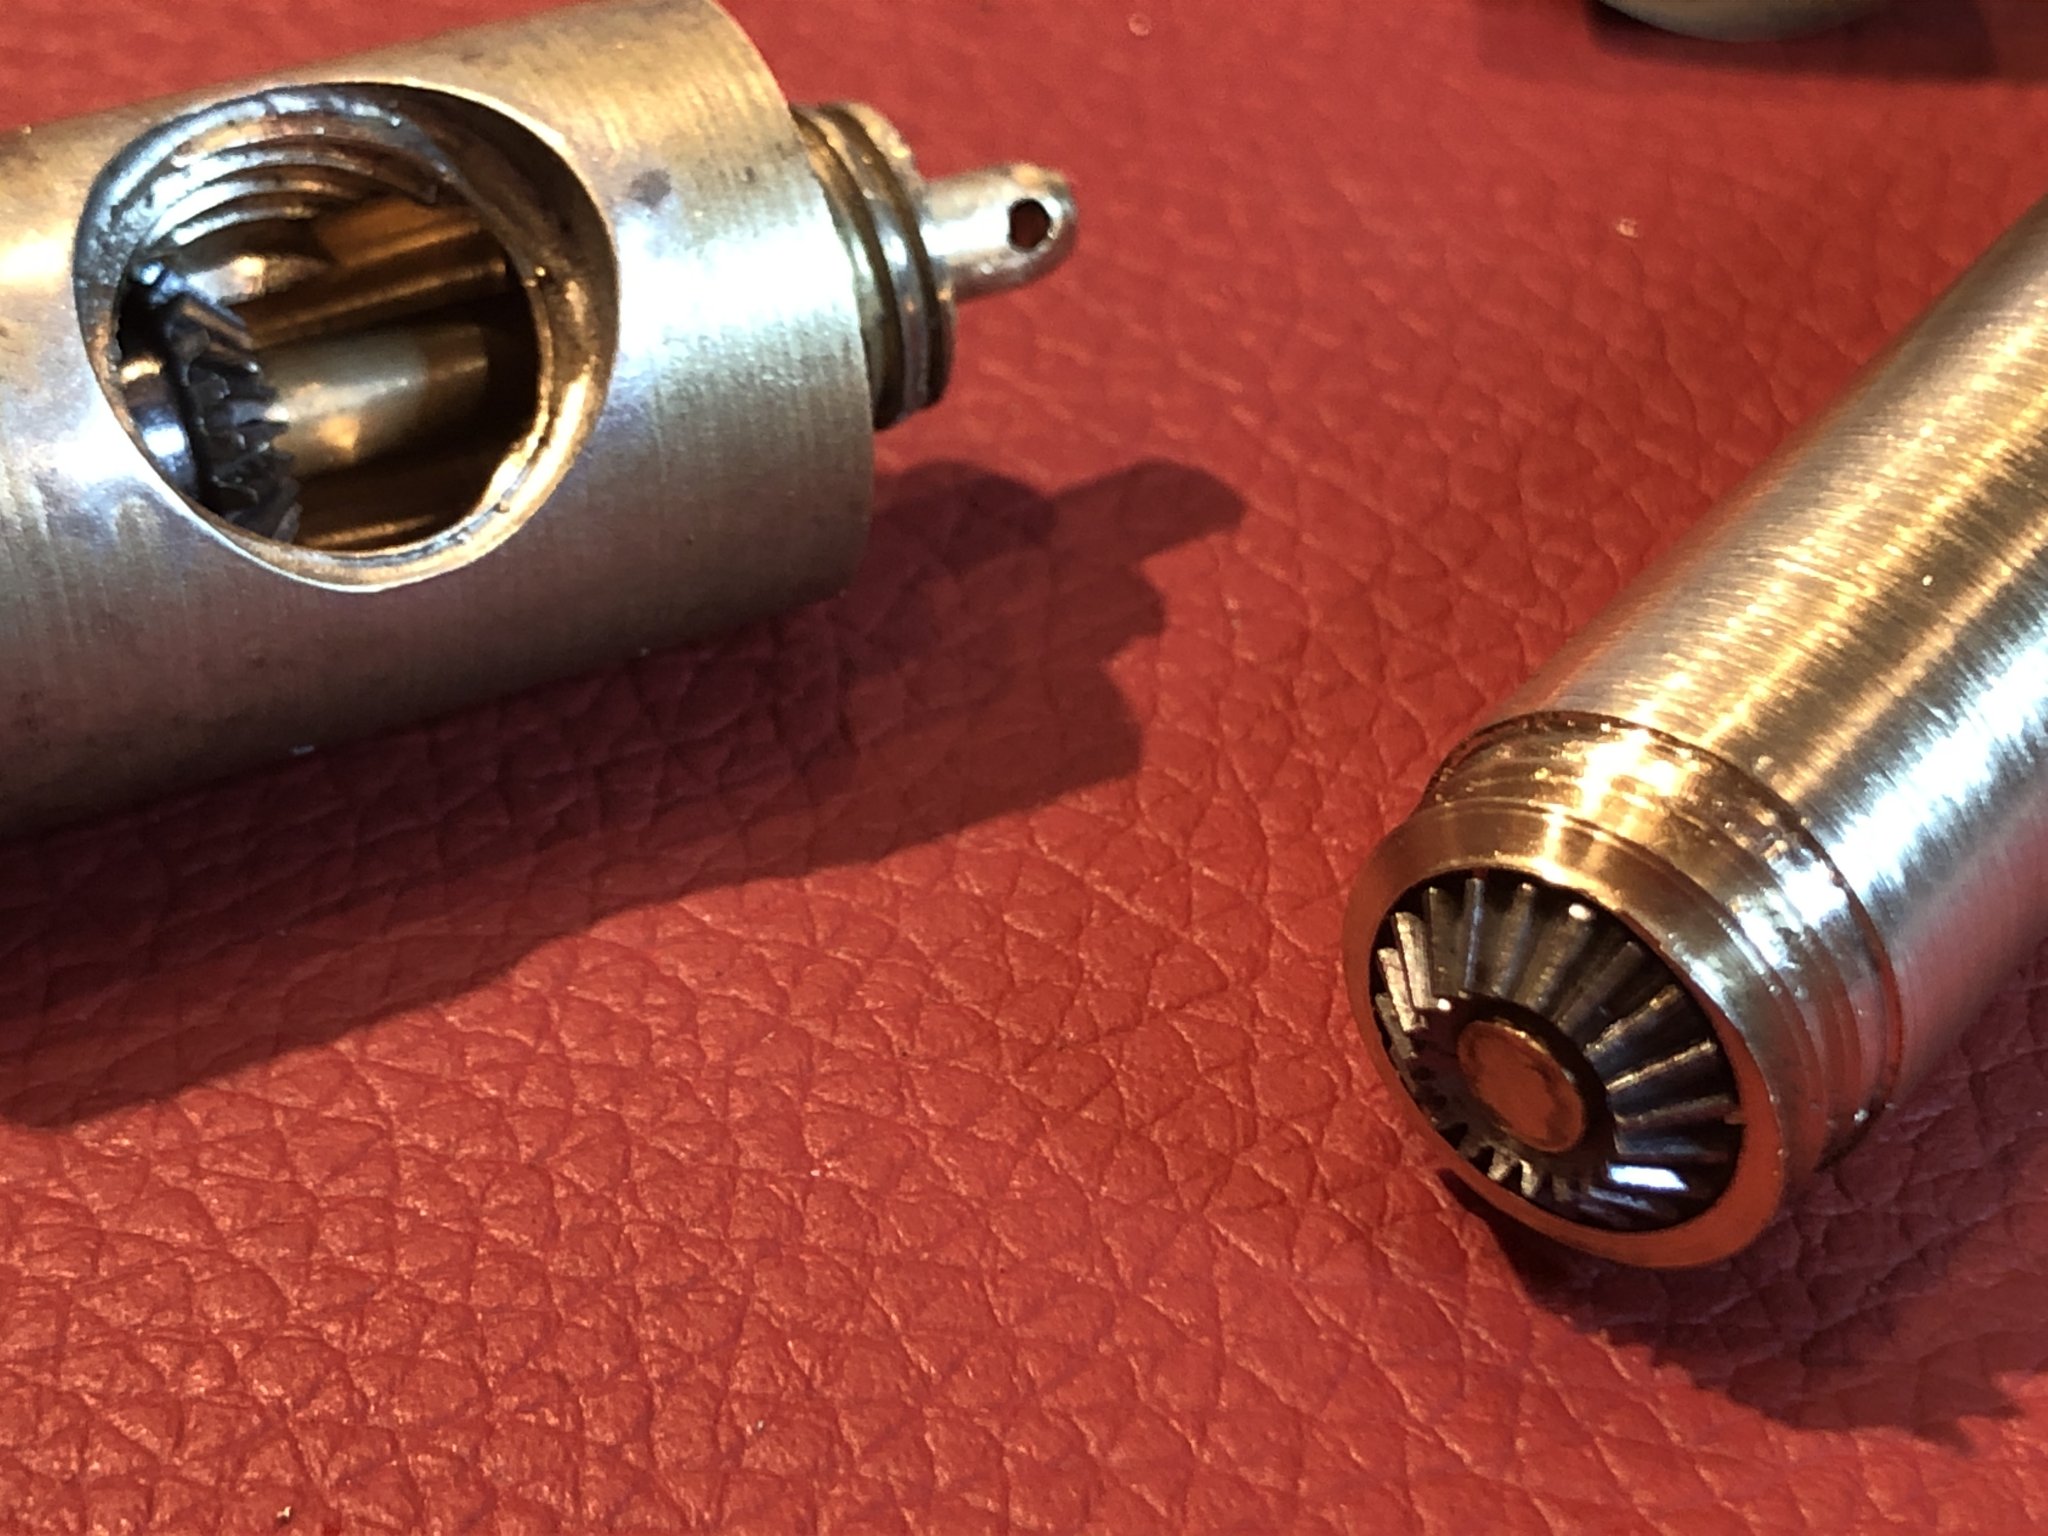
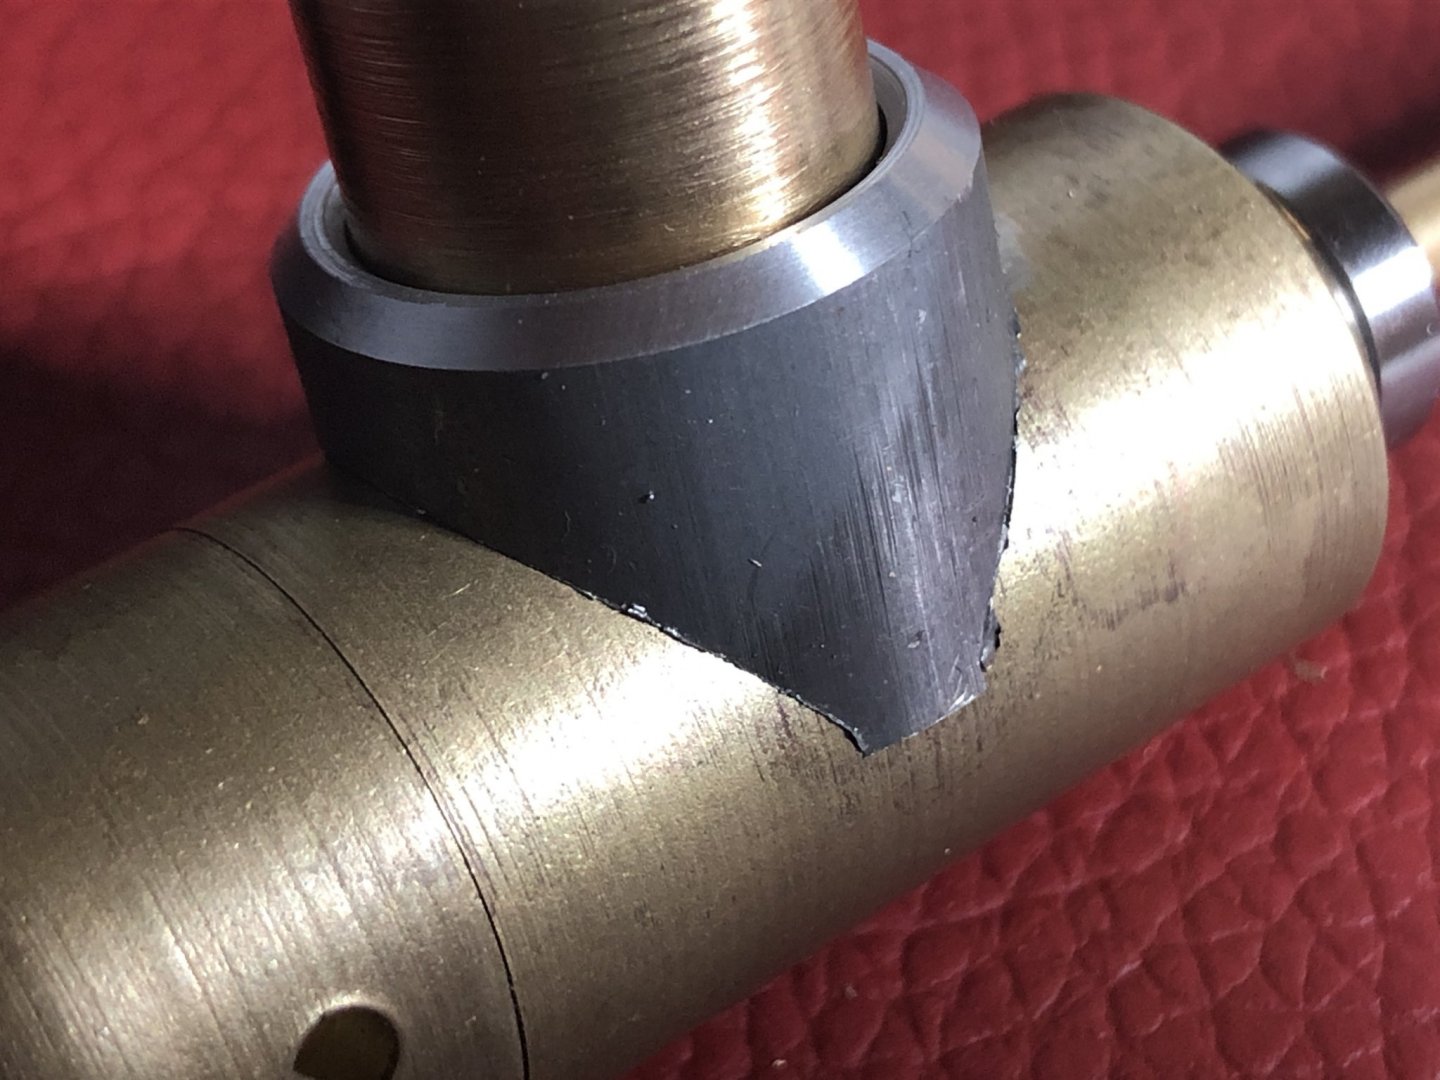
Todays work are the covers between the Parts of the Rudder Propeller don't be surprised about the material mix and the rough surfaces. everything will be powder coated after deburring and a light grinding with a tumbler.
-
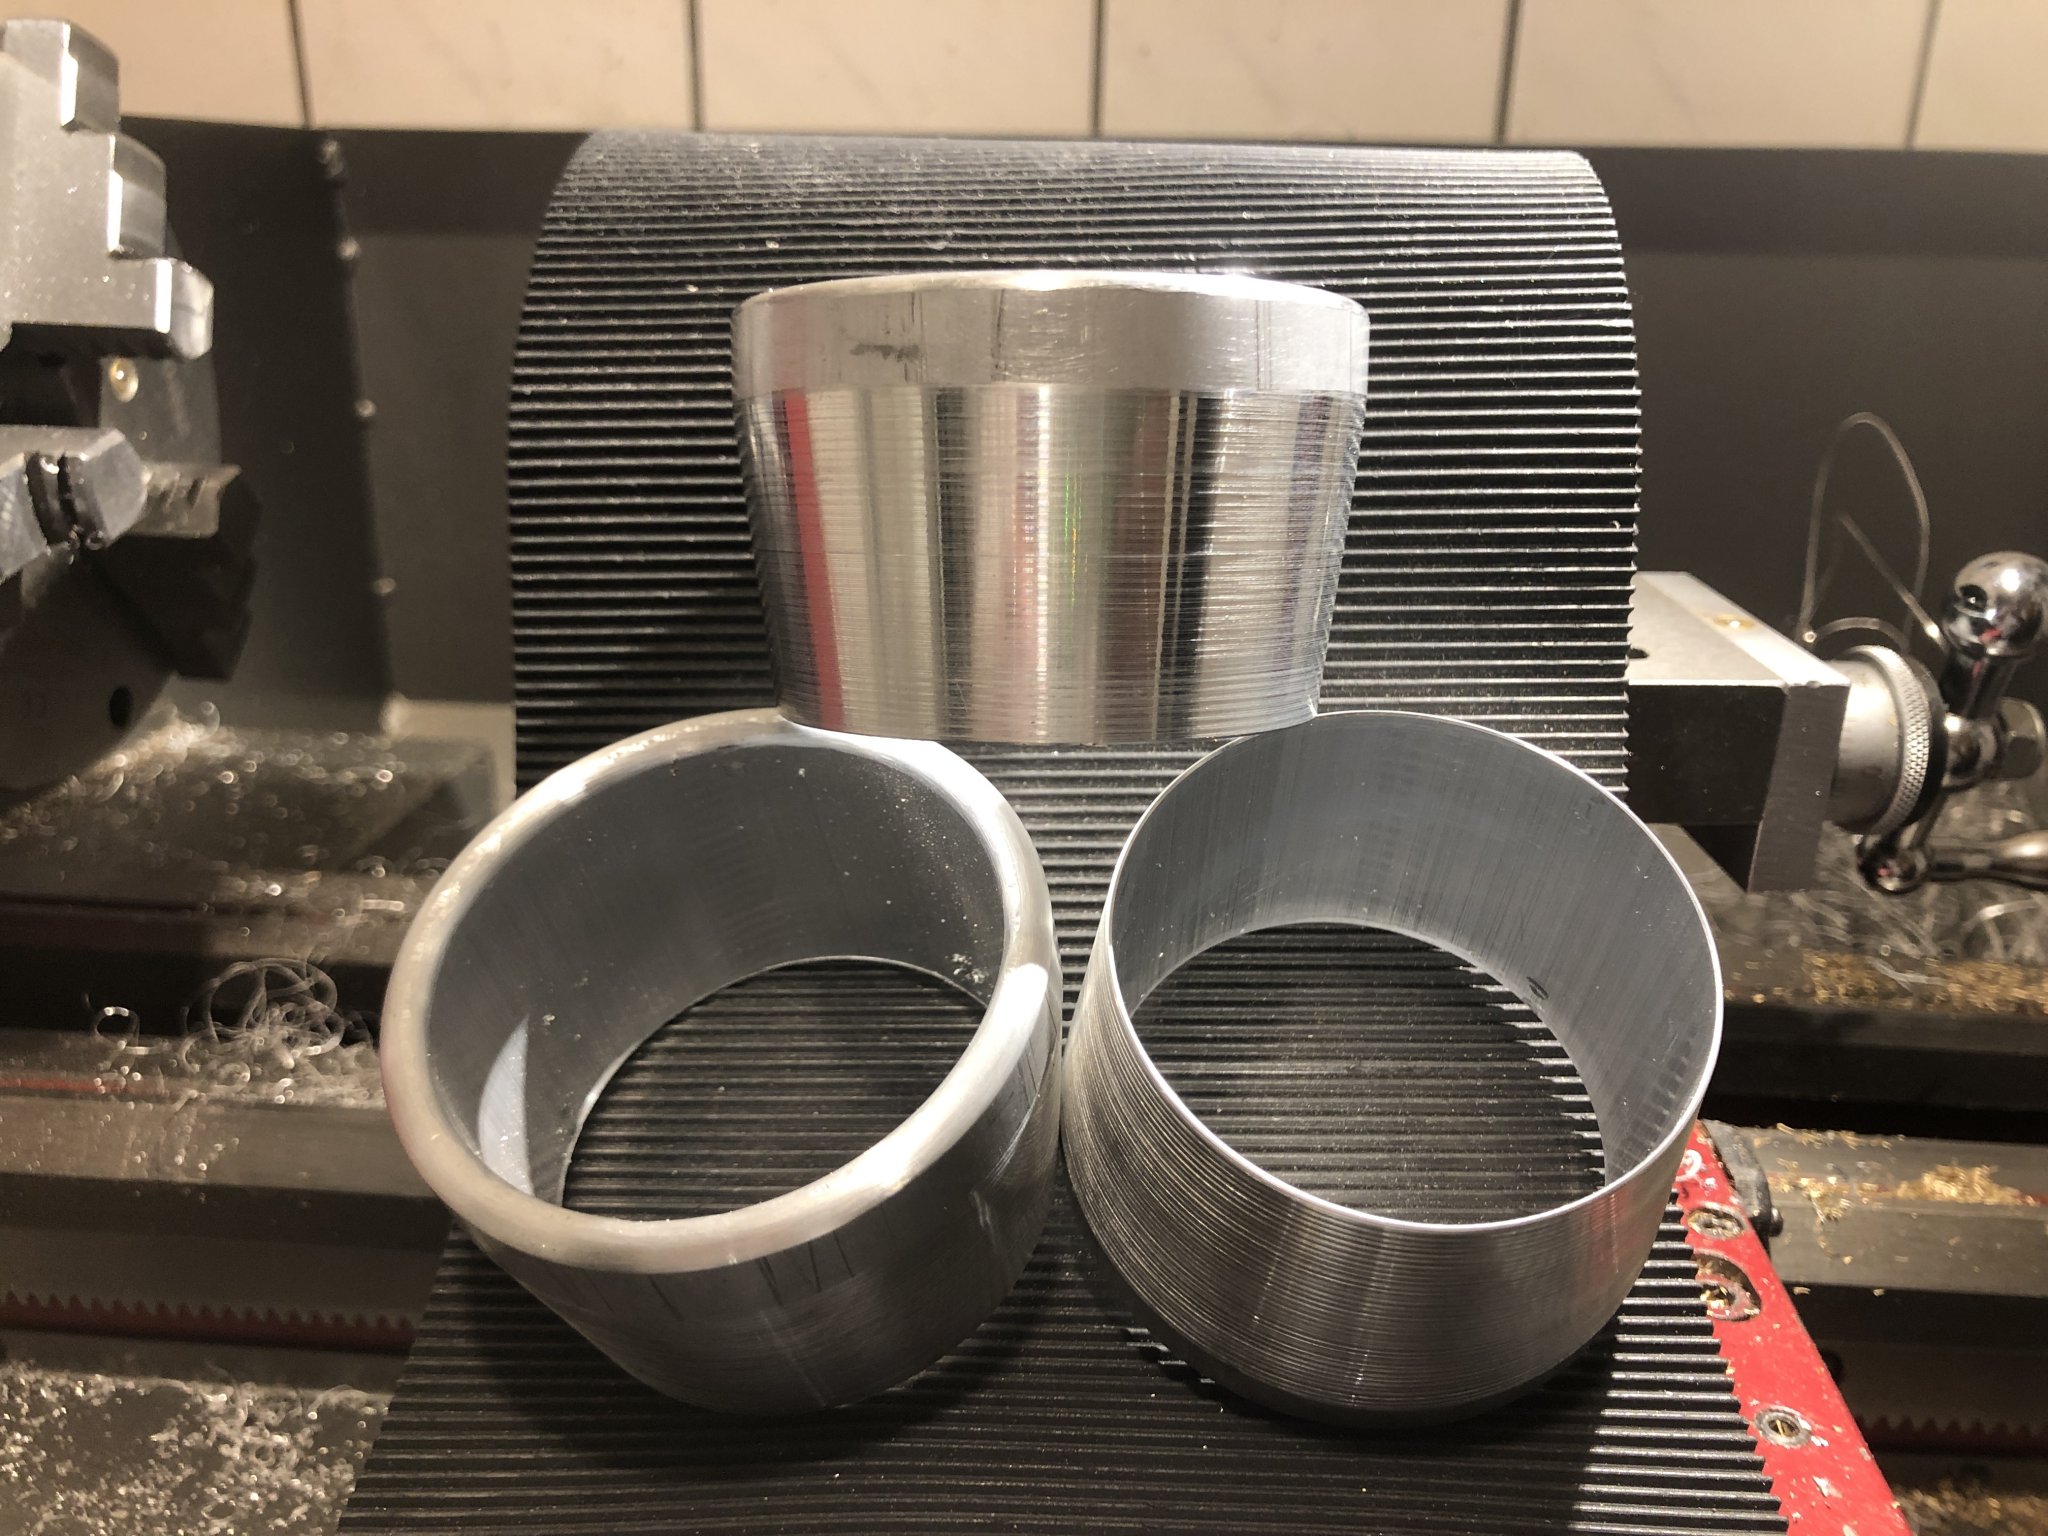
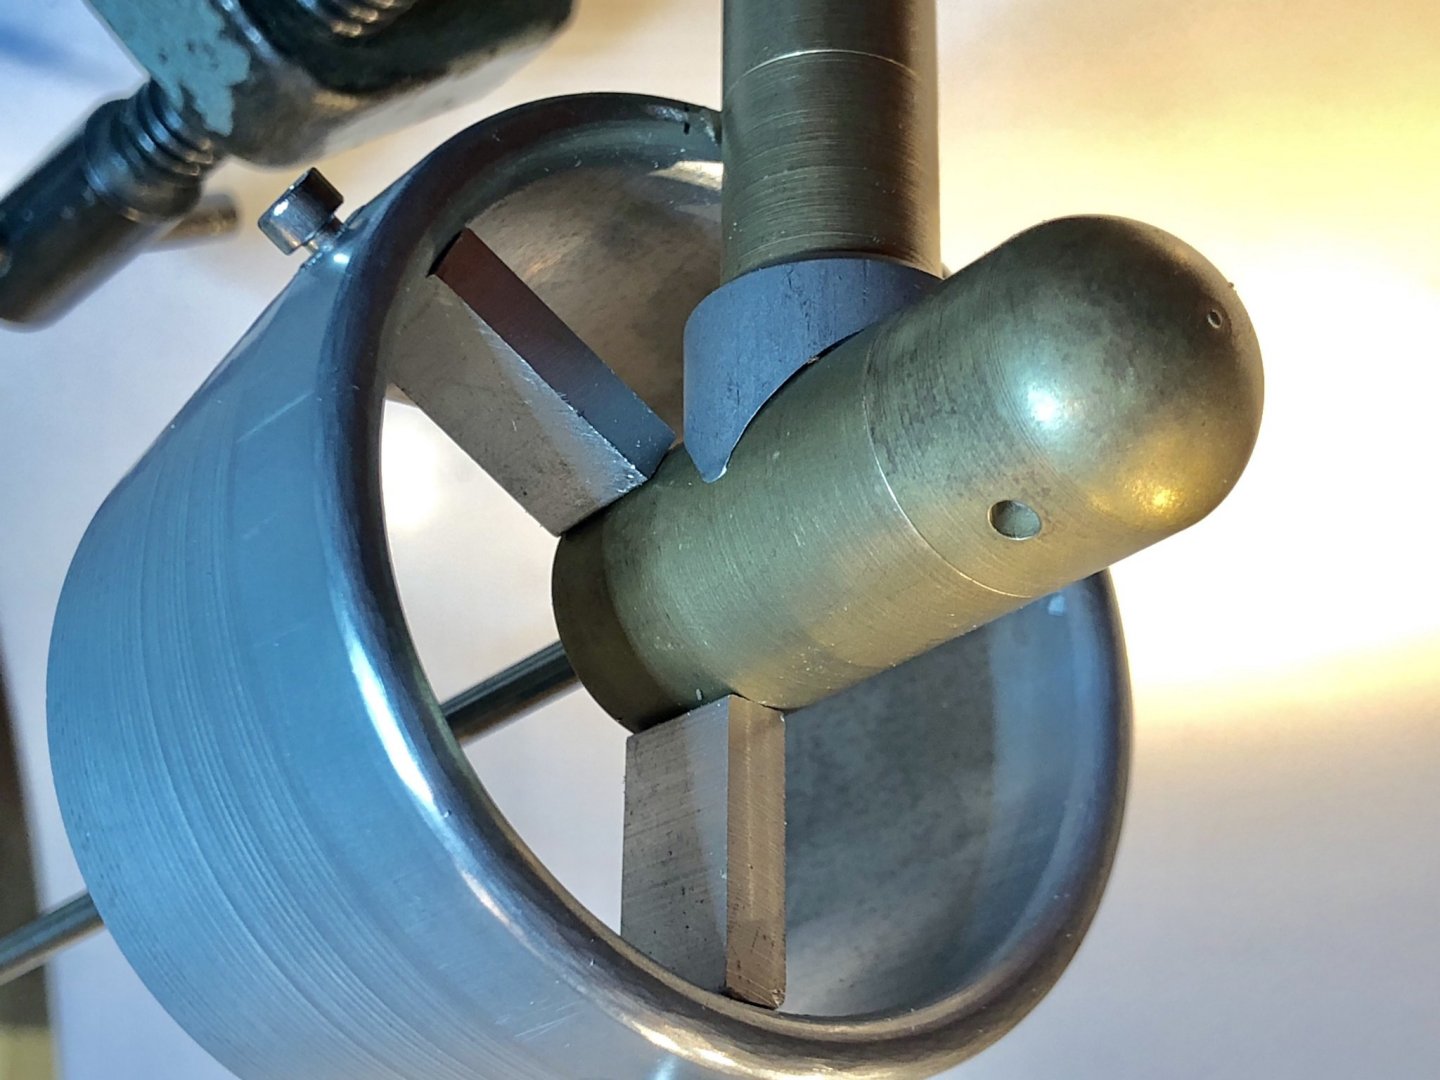
Hi, today a big Step for the rudder propeller is done. The mechanic ist on his way, but still some todos. The kort-nozzles are roughed up and actually in a tumbler to get a proper surface finish. (My lathe is to weak to get a proper surface on a slope ) You can see a short making of the kort-nozzles here Instagram Some impressions:


-
I will. But unfortunately I must recognize that the plans are not really accurate. Same Item have on three sheets three different sizes 😪. Thereby I'm forced to redraw all important things in Fusion 360 to get proper sizes and angles.
-
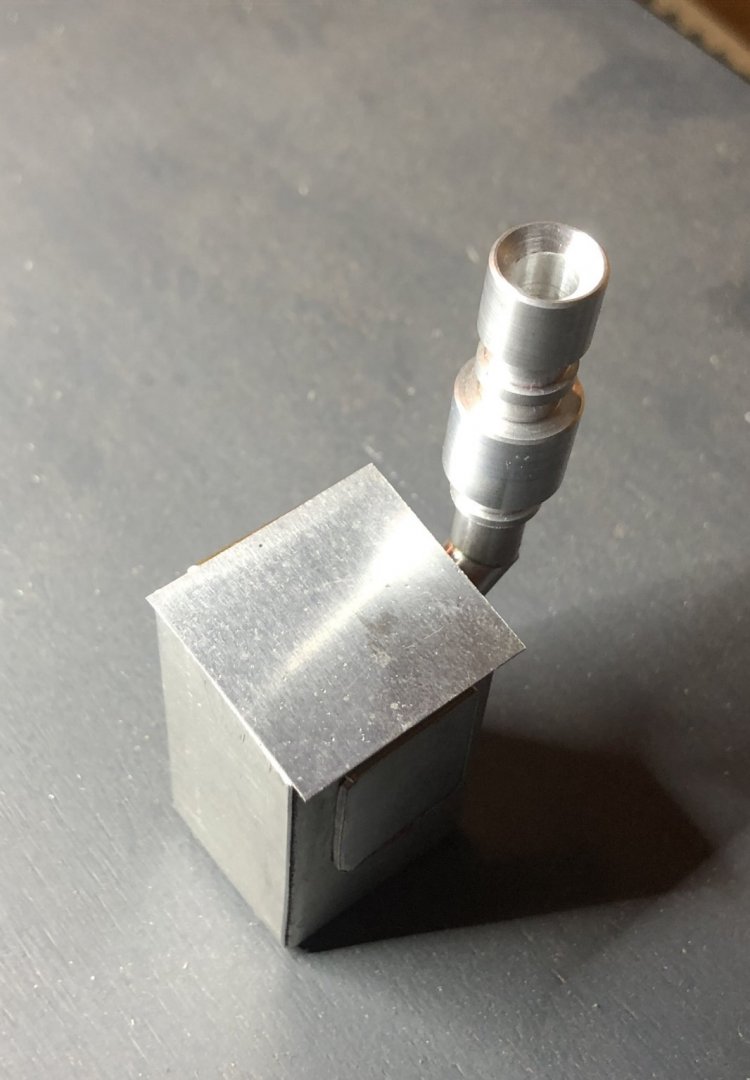
Hi, waiting for material..... ....but I'm impatient and so made a quick build of a little deckhouse with chimney for steam. Build from 0.3mm aluminium , 1mm alu and a machined chimney. Someone interested in my techniques of Metal-Handling? Then I'll write more about them.

-
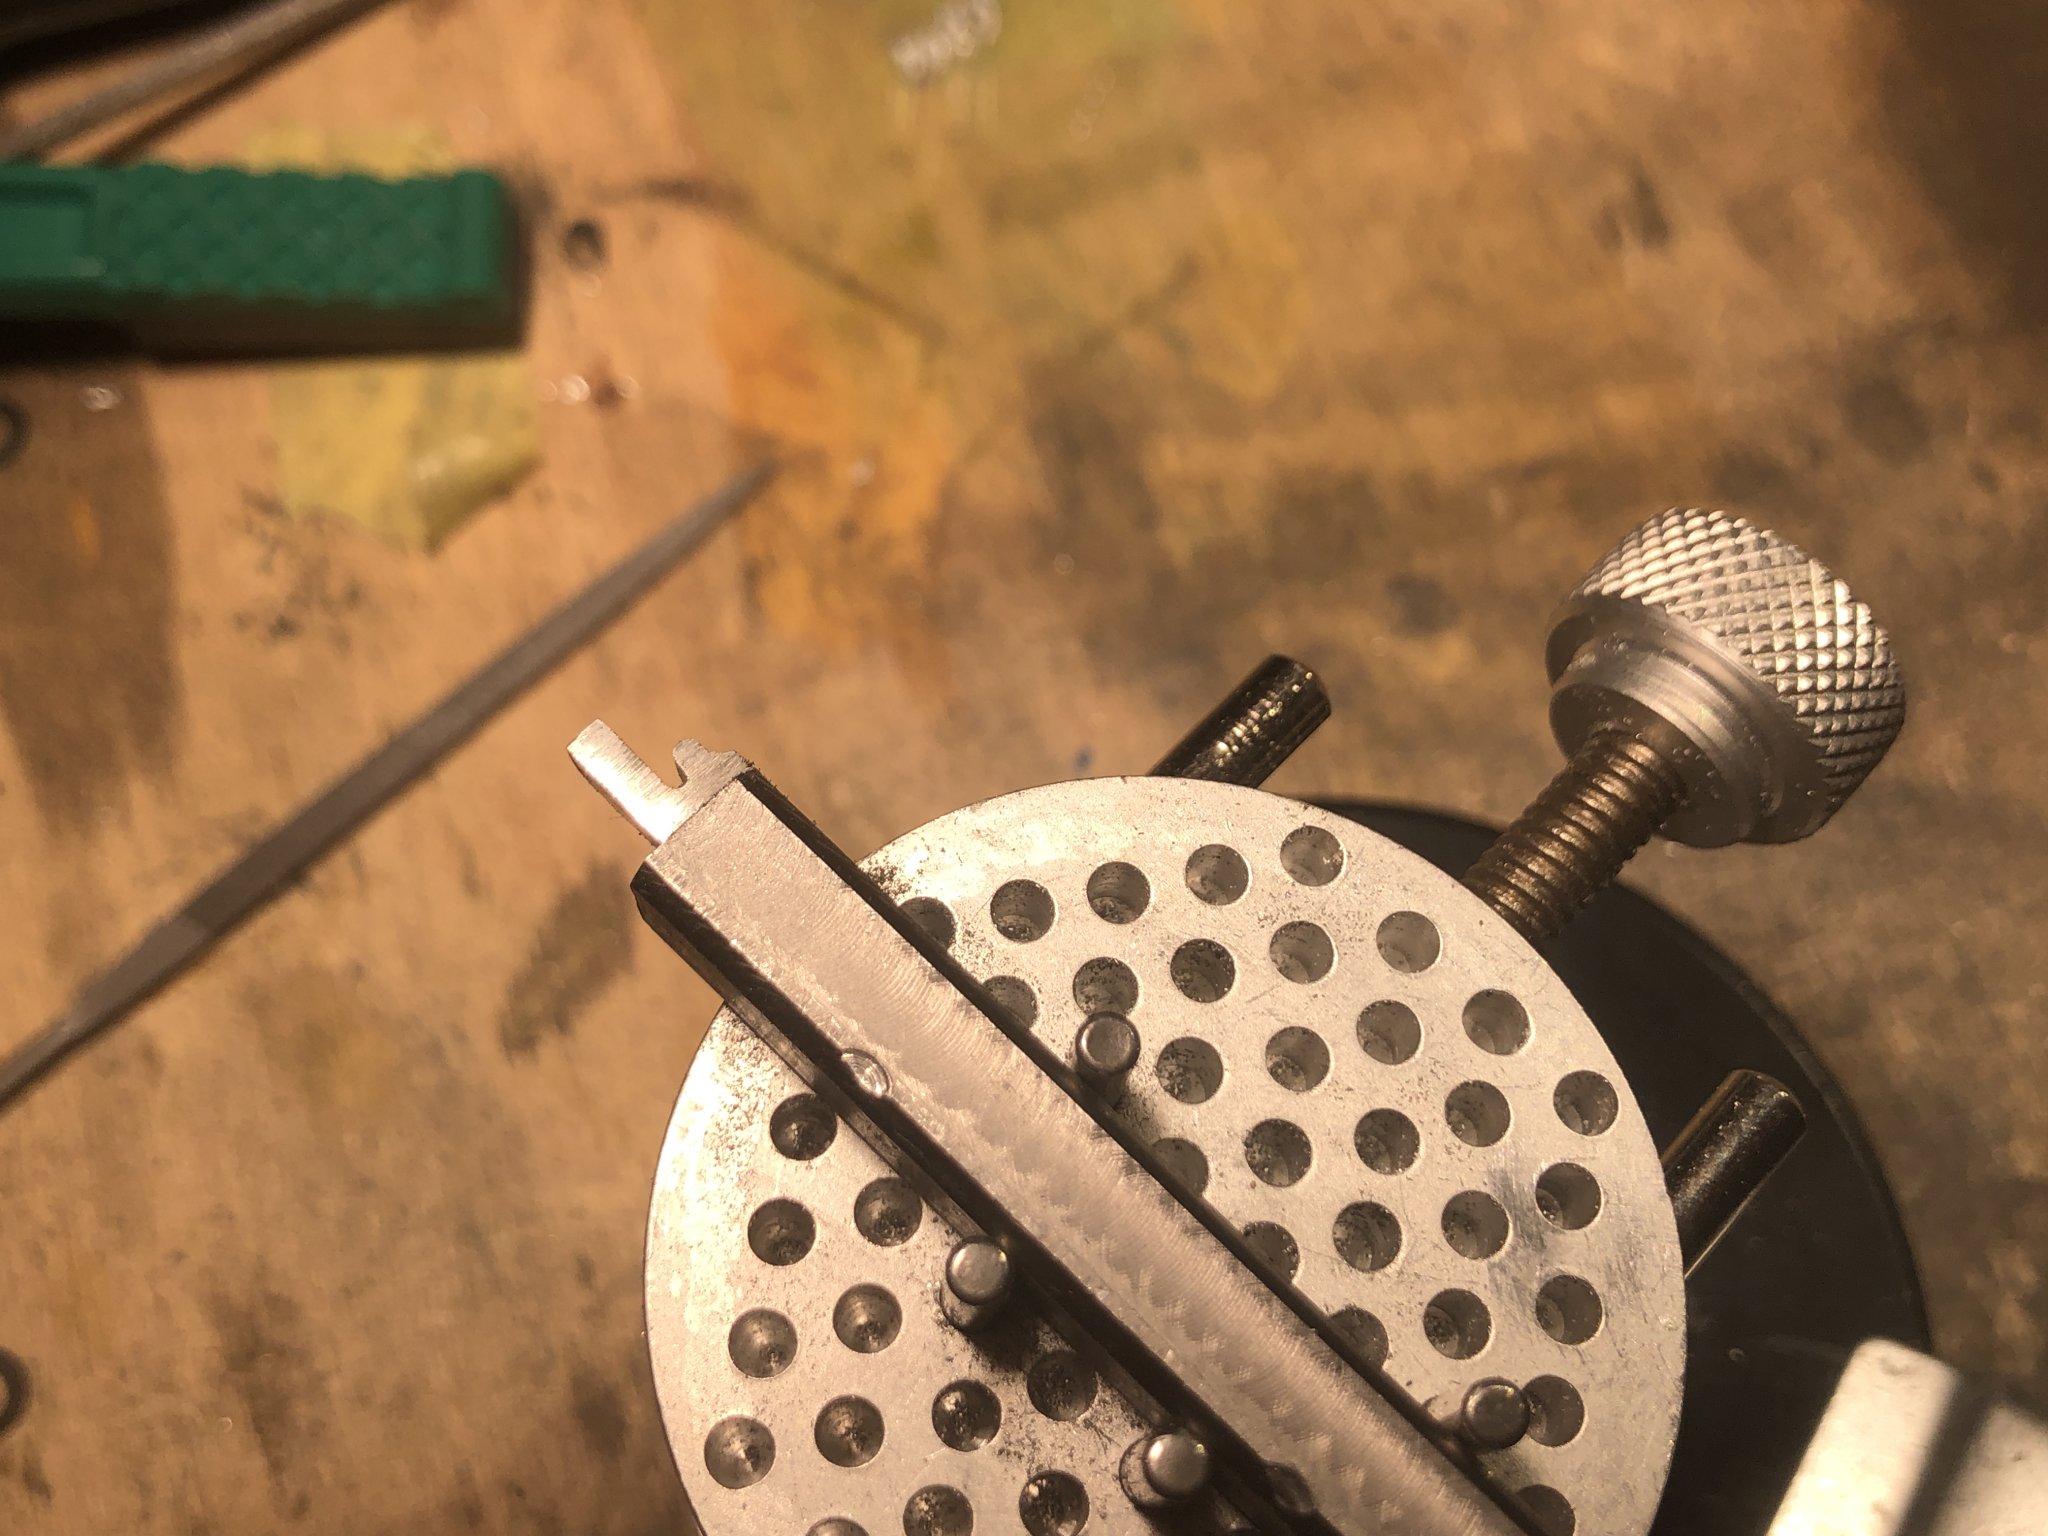
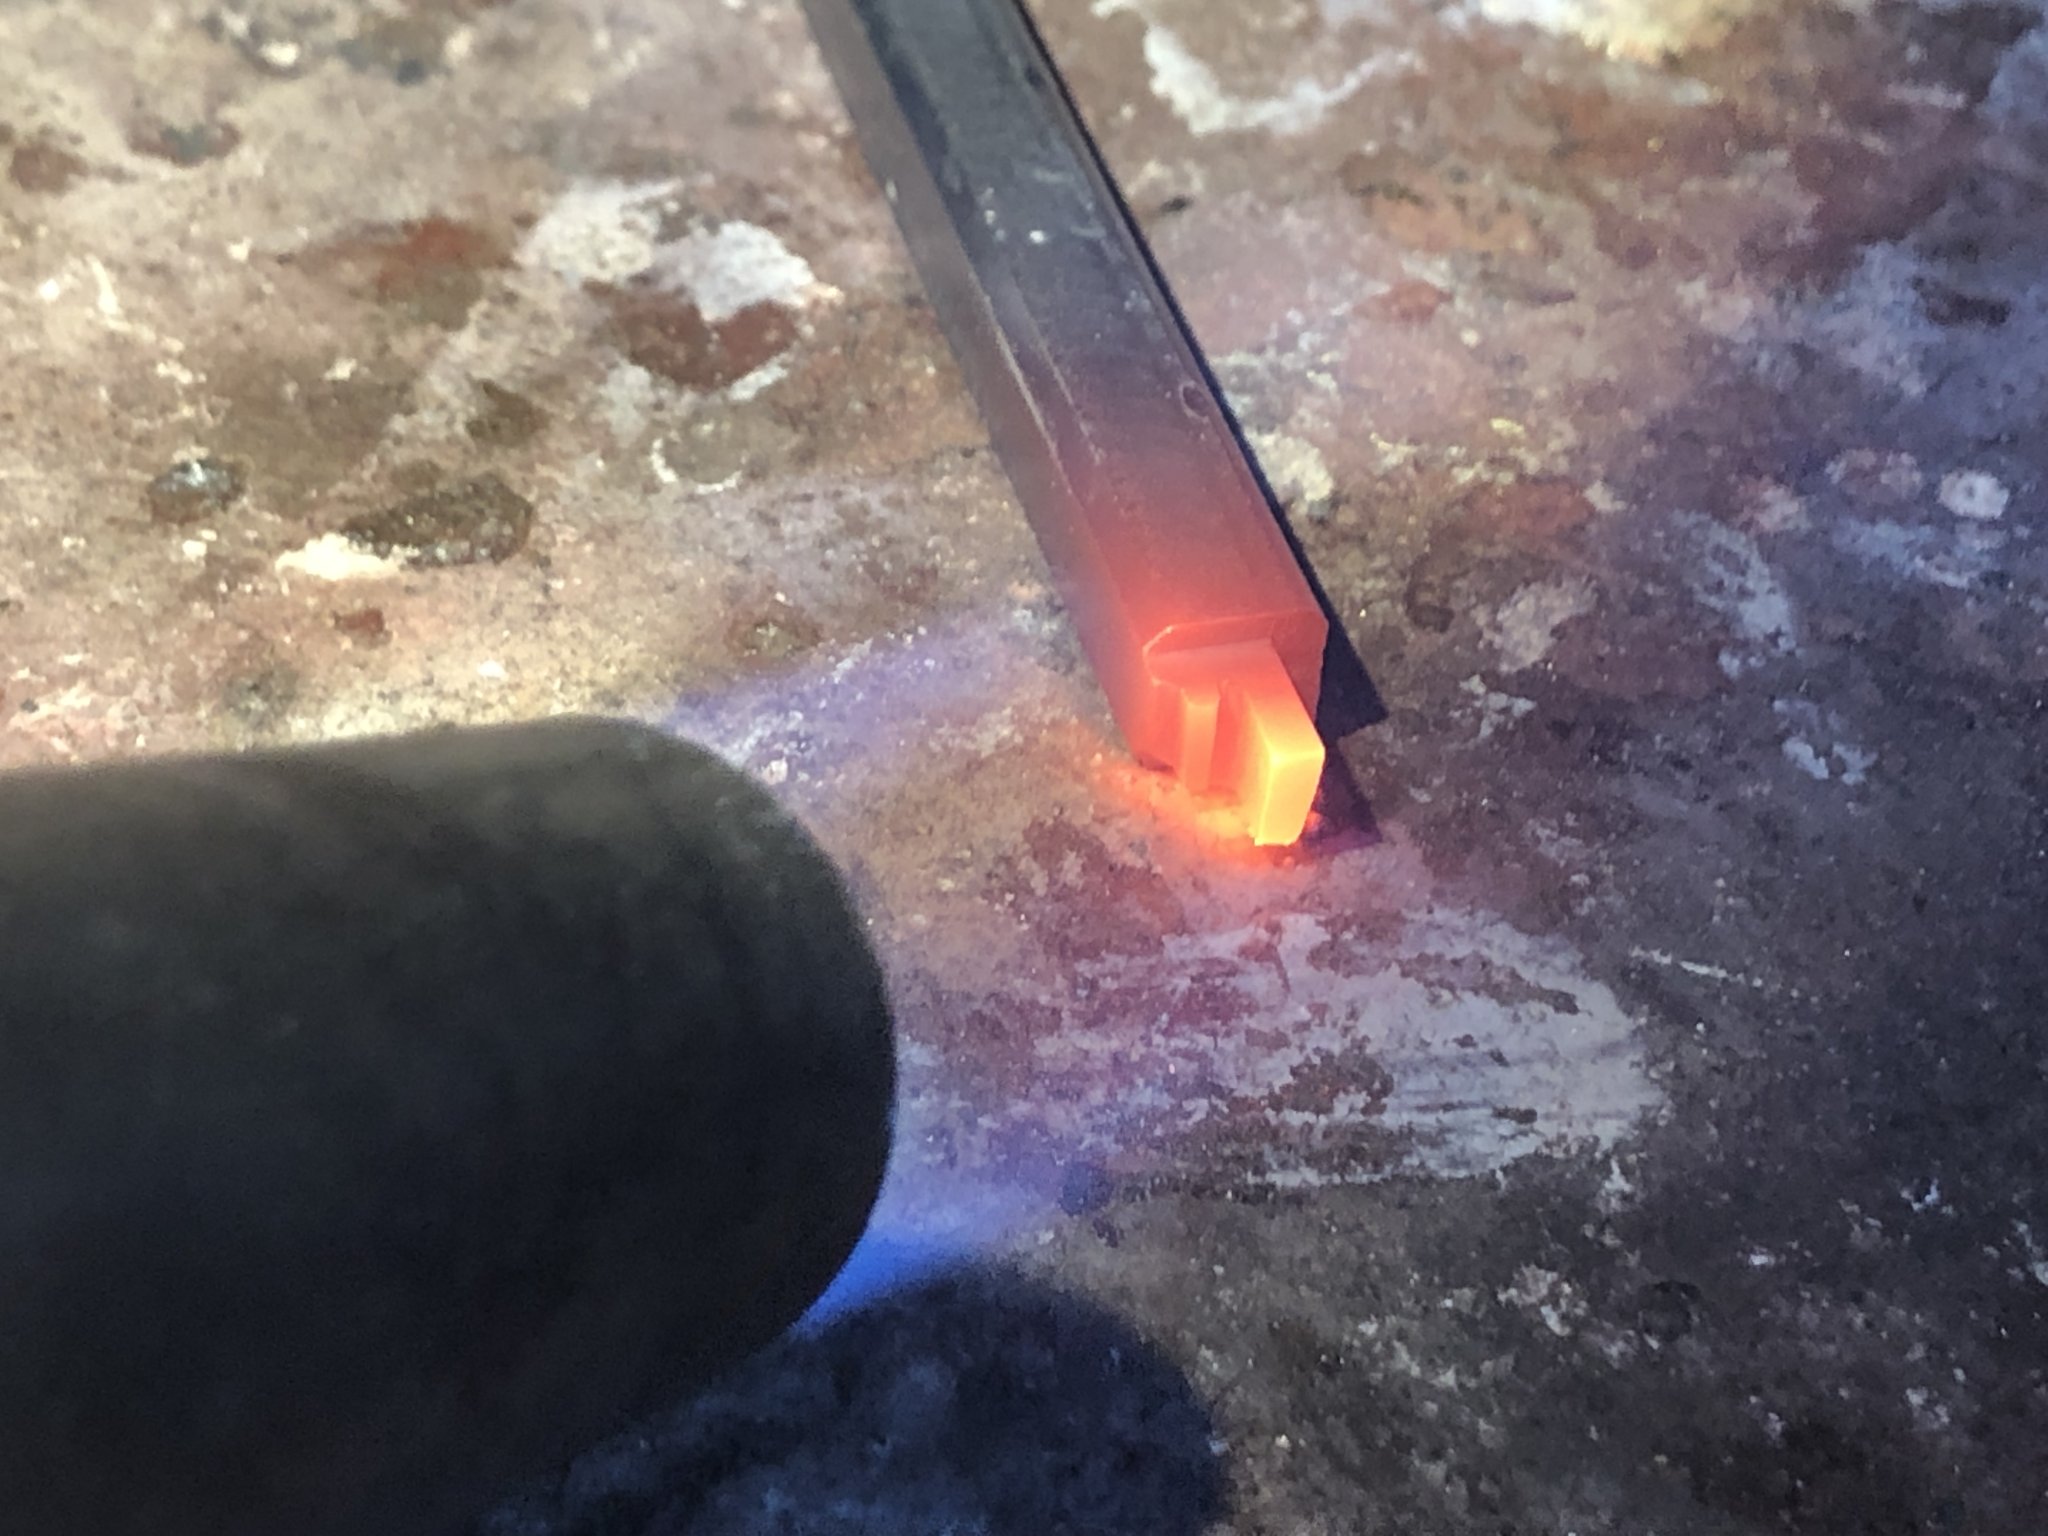
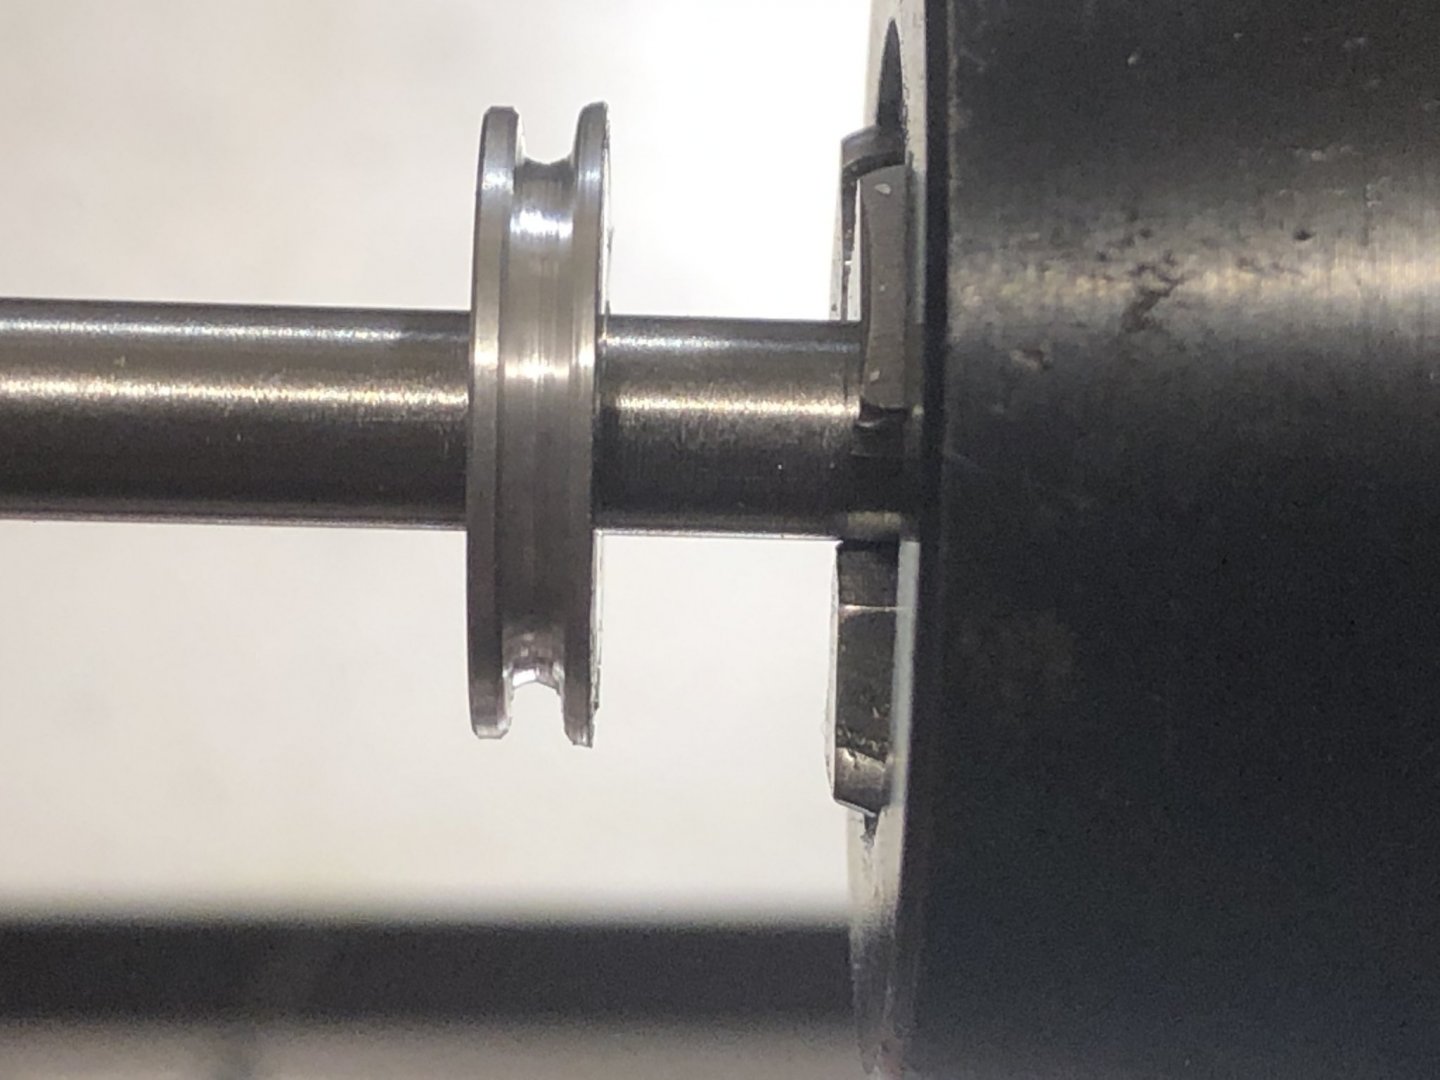
Hi there, planning, thinking, planning...... Actually I had enough form planning and decide to begin the work with important thing wich will needed, however the plan ends. The crane need over 100 pulleys, often 3mm width with different diameters. So it is woth to invest in a selfmade formtool for the lathe. From a piece of Silversteel I get with the Mill, several Files and at the end with a hand-lapper the folloing Shape. Simply hardened It makes now these nice pulleys Not really perfect on the right side, but I'll have plenty of pieces to do and learn the right adjustments. Probably the last pulley will be perfect 🙂

-
Hi guys , thanks for your interest. Indeed, it will be a big challenge for me but i‘m not worried about the machining part ( i‘ve build successful a full functional crane before ) More complicated for me should be the more water based topics like balancing , ballast tanks, etc.

-
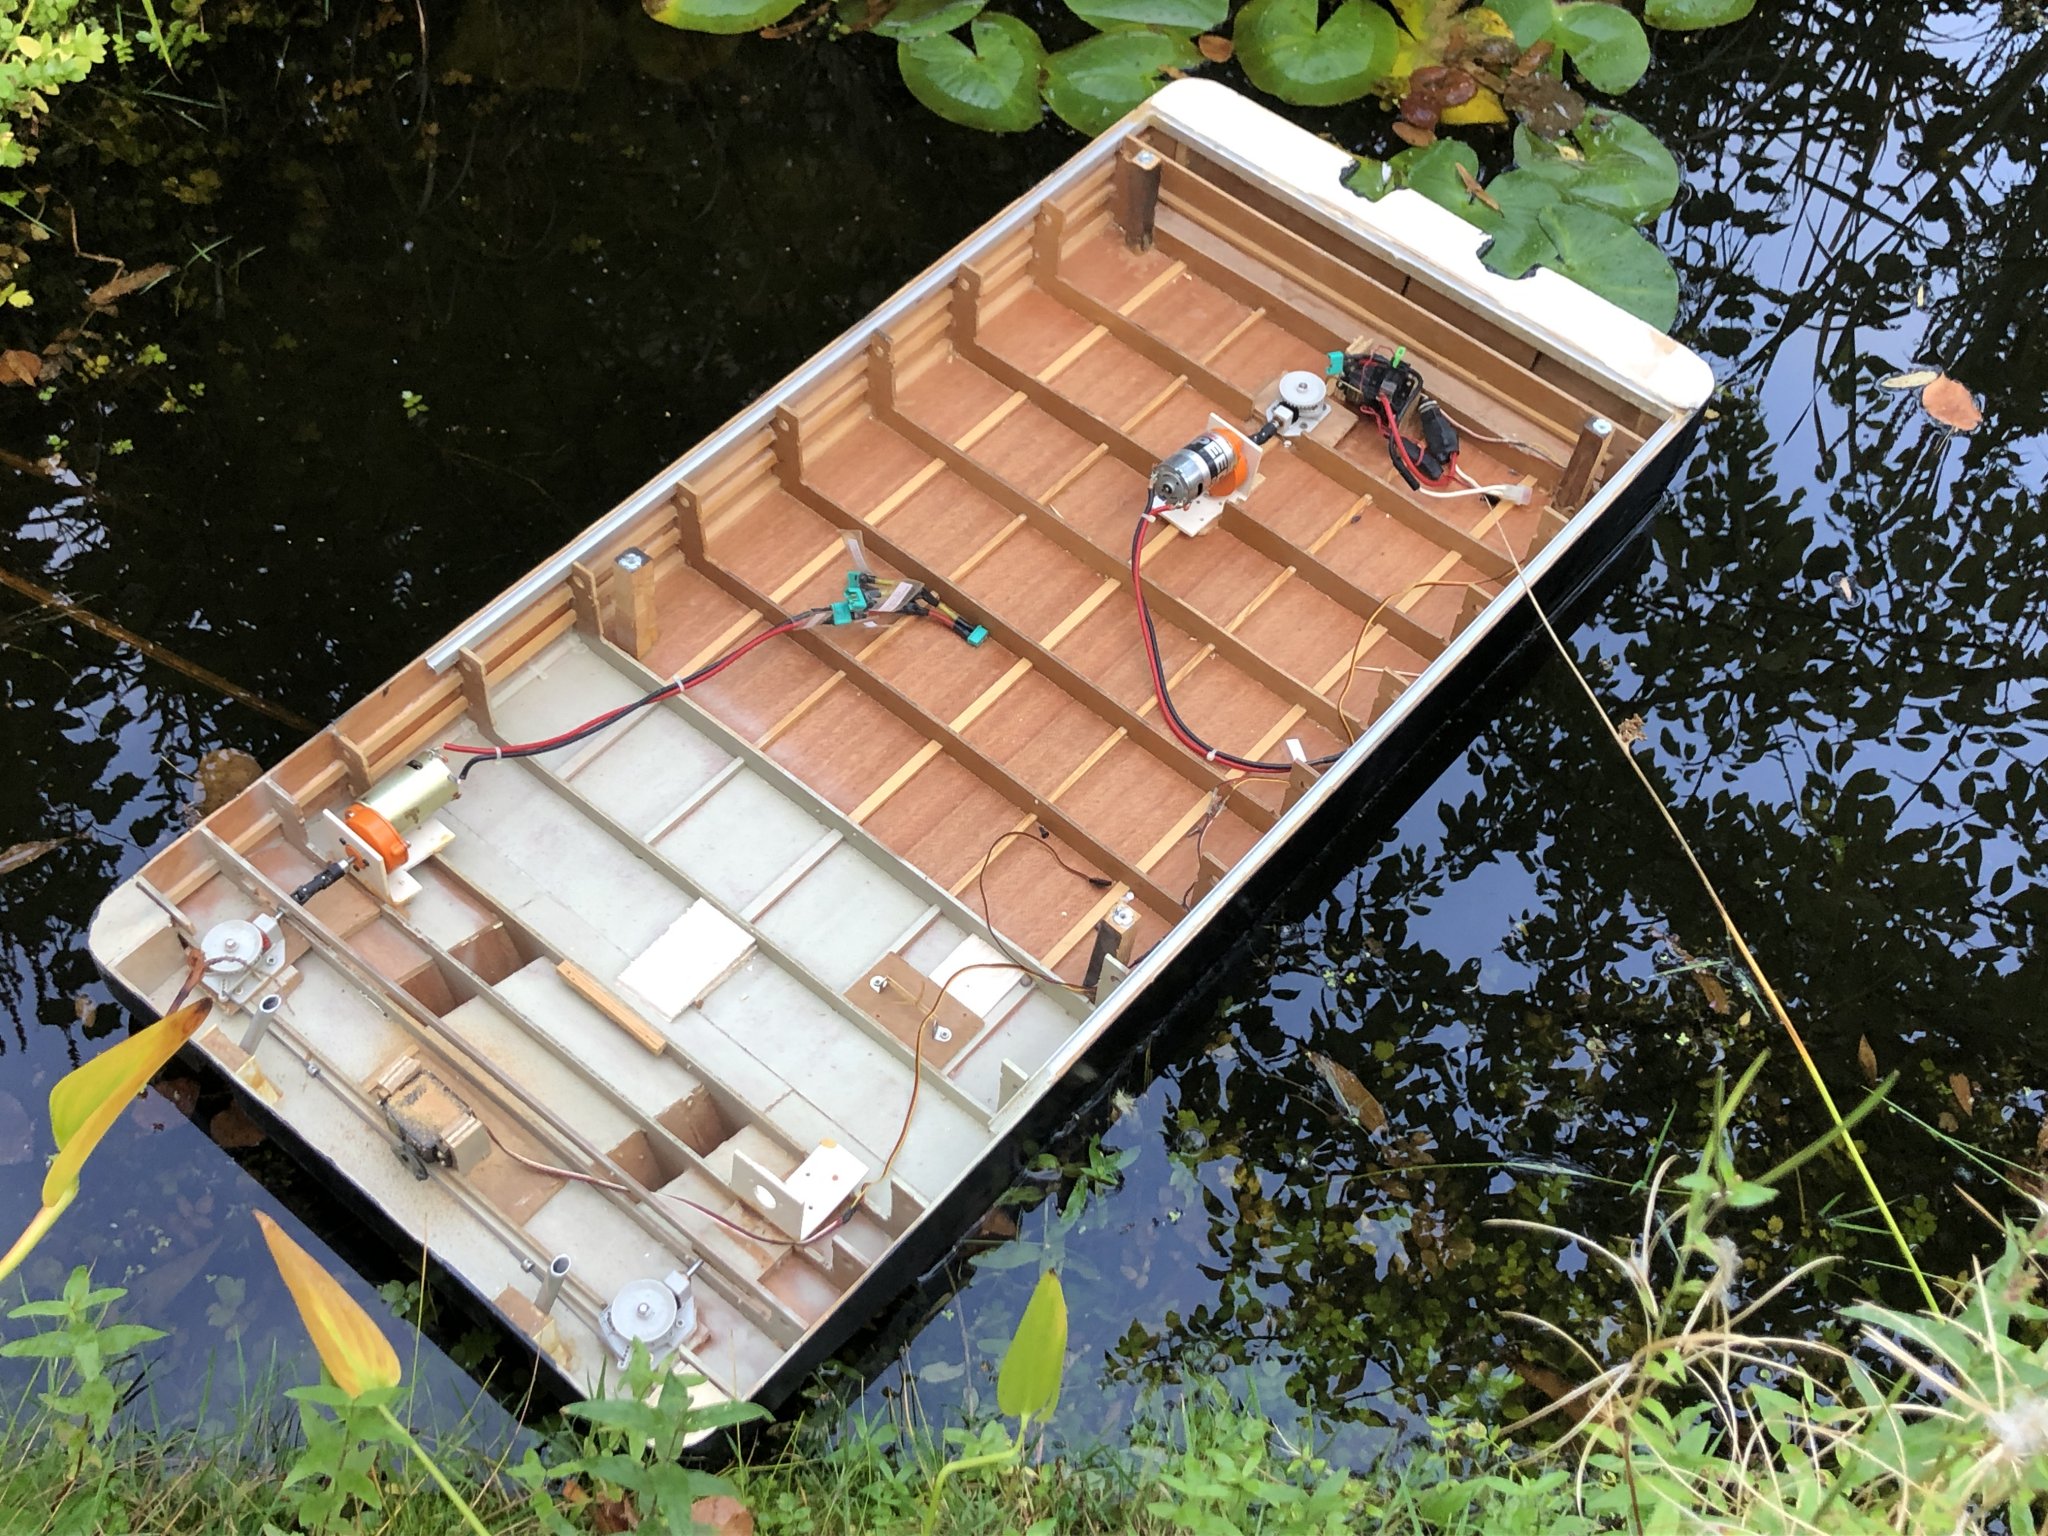
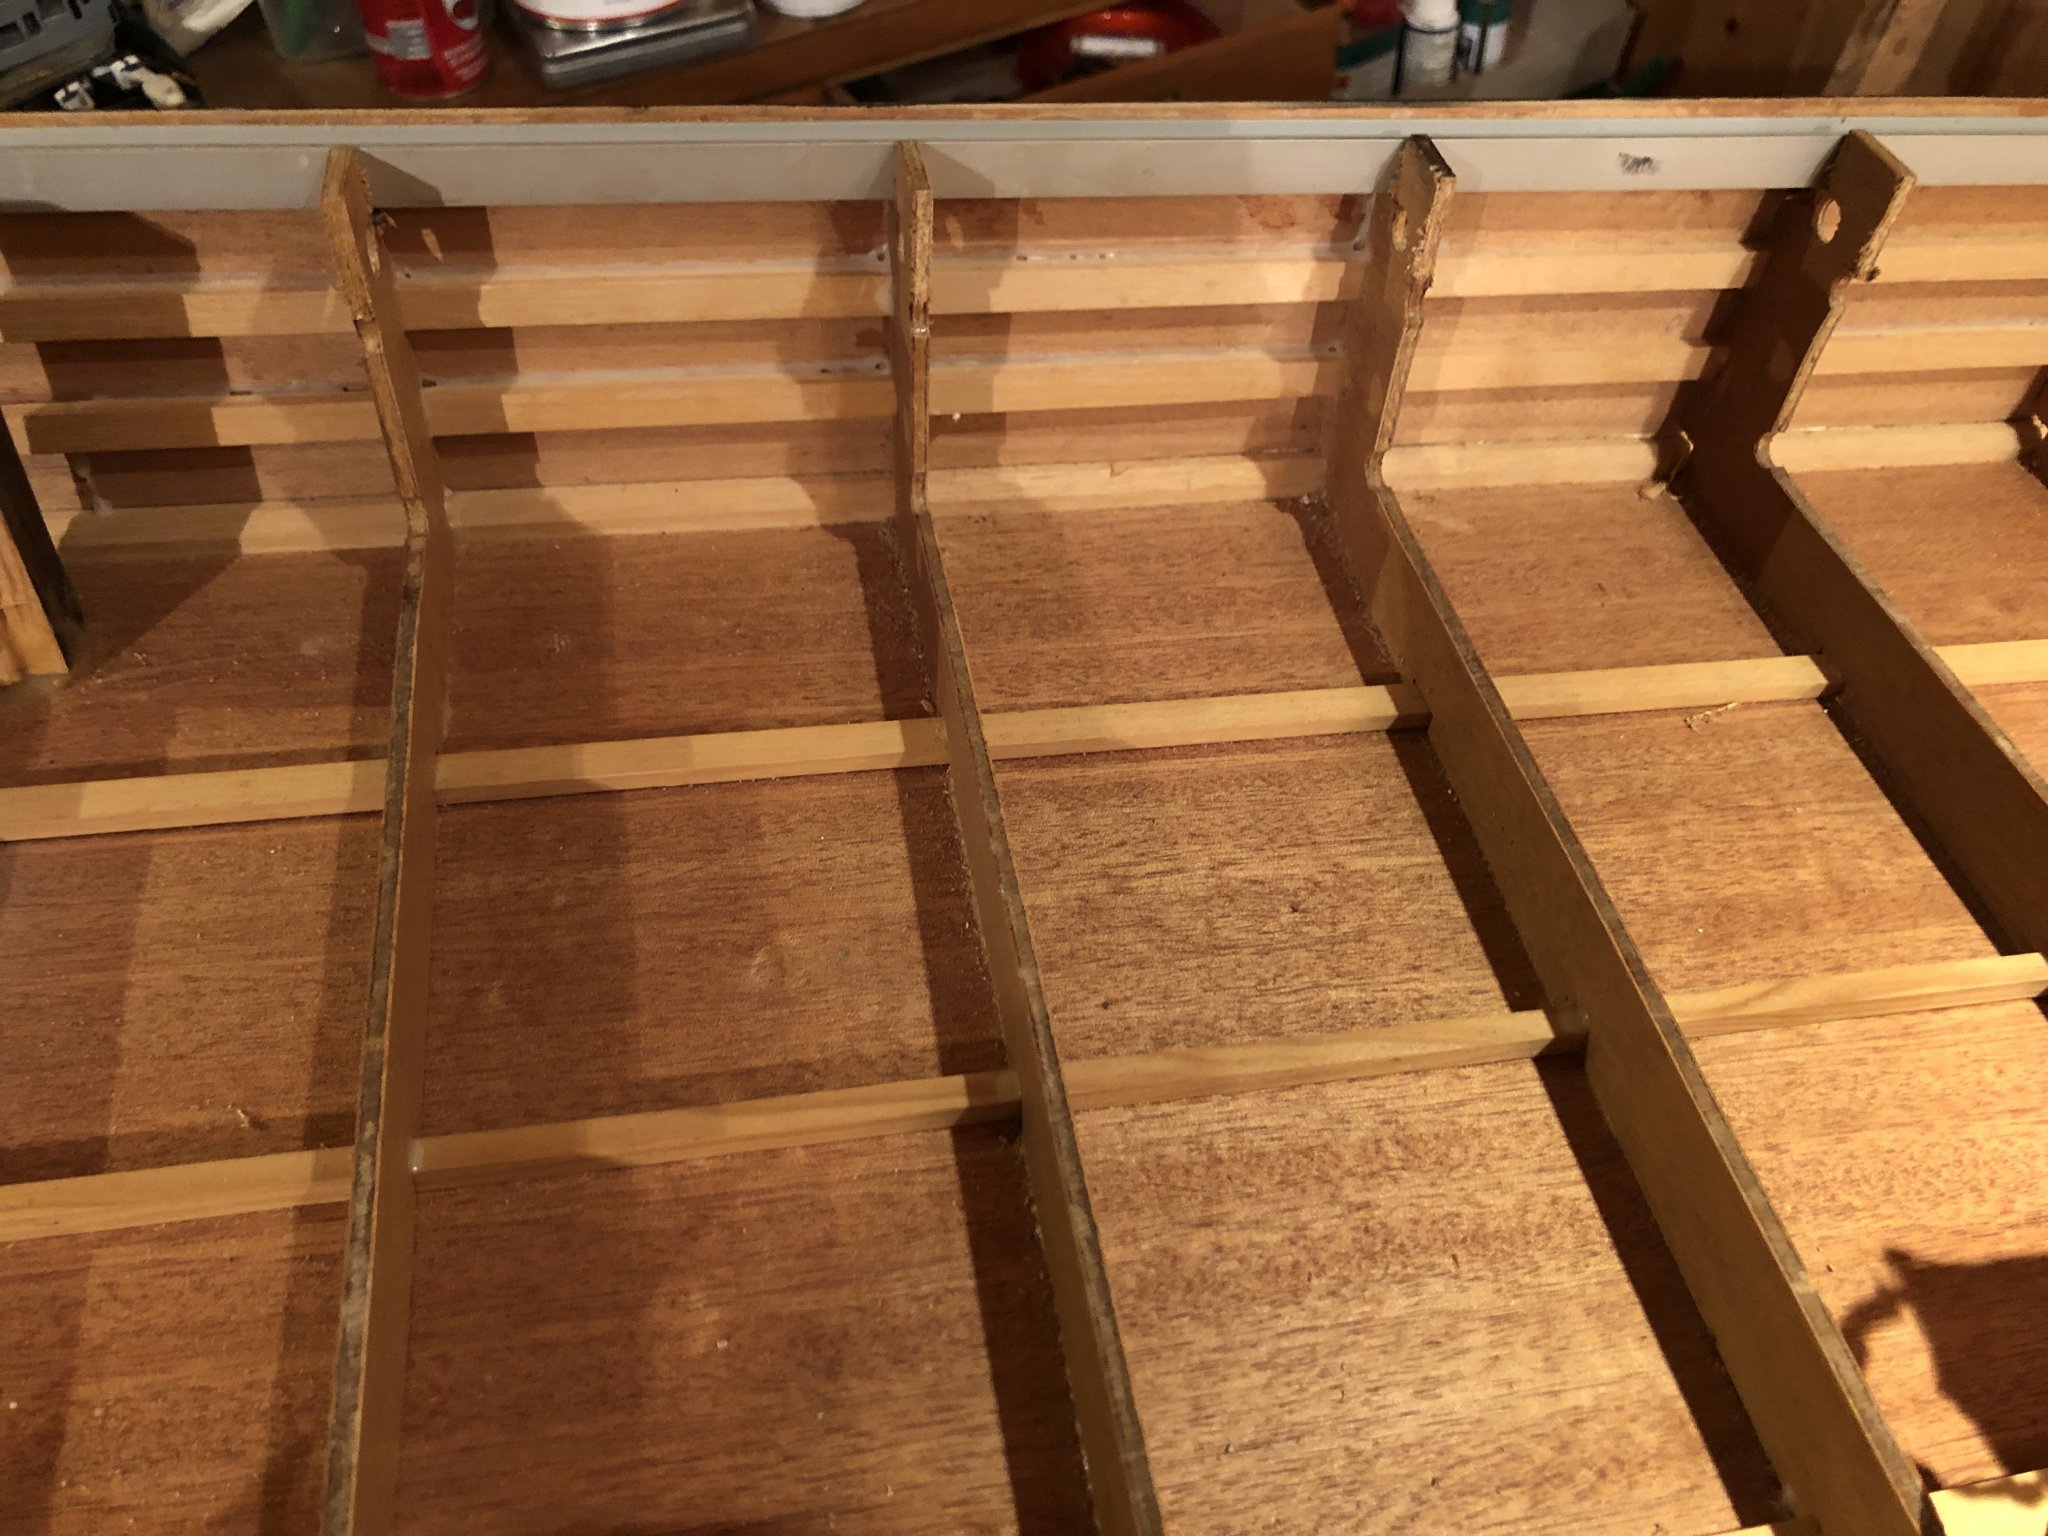
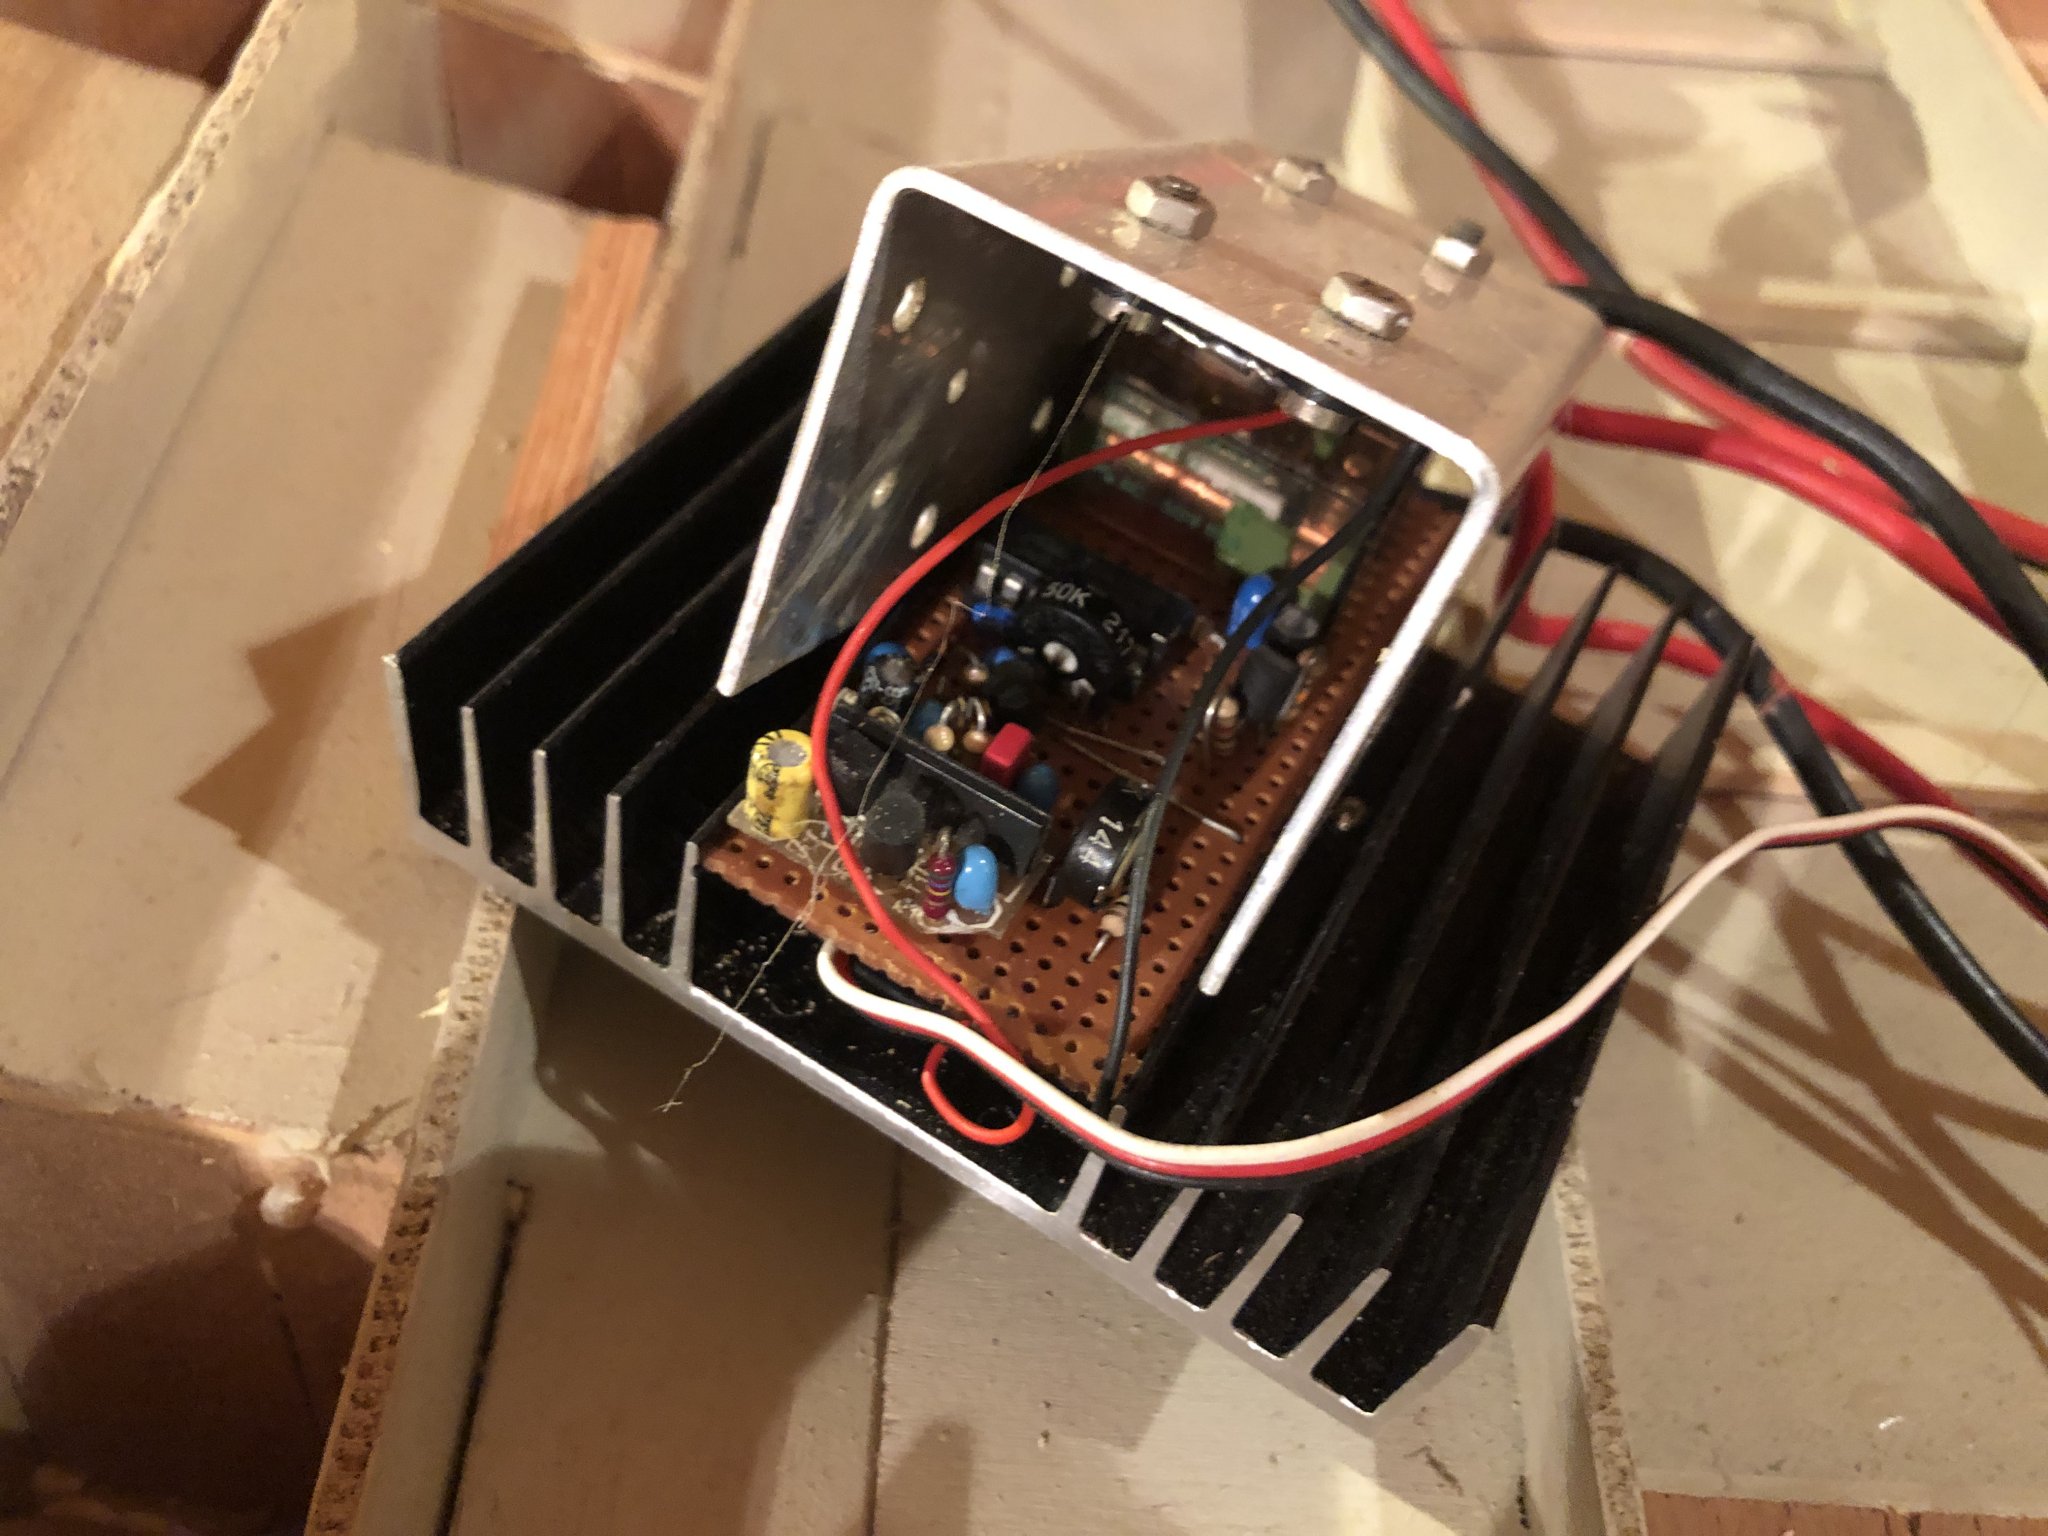
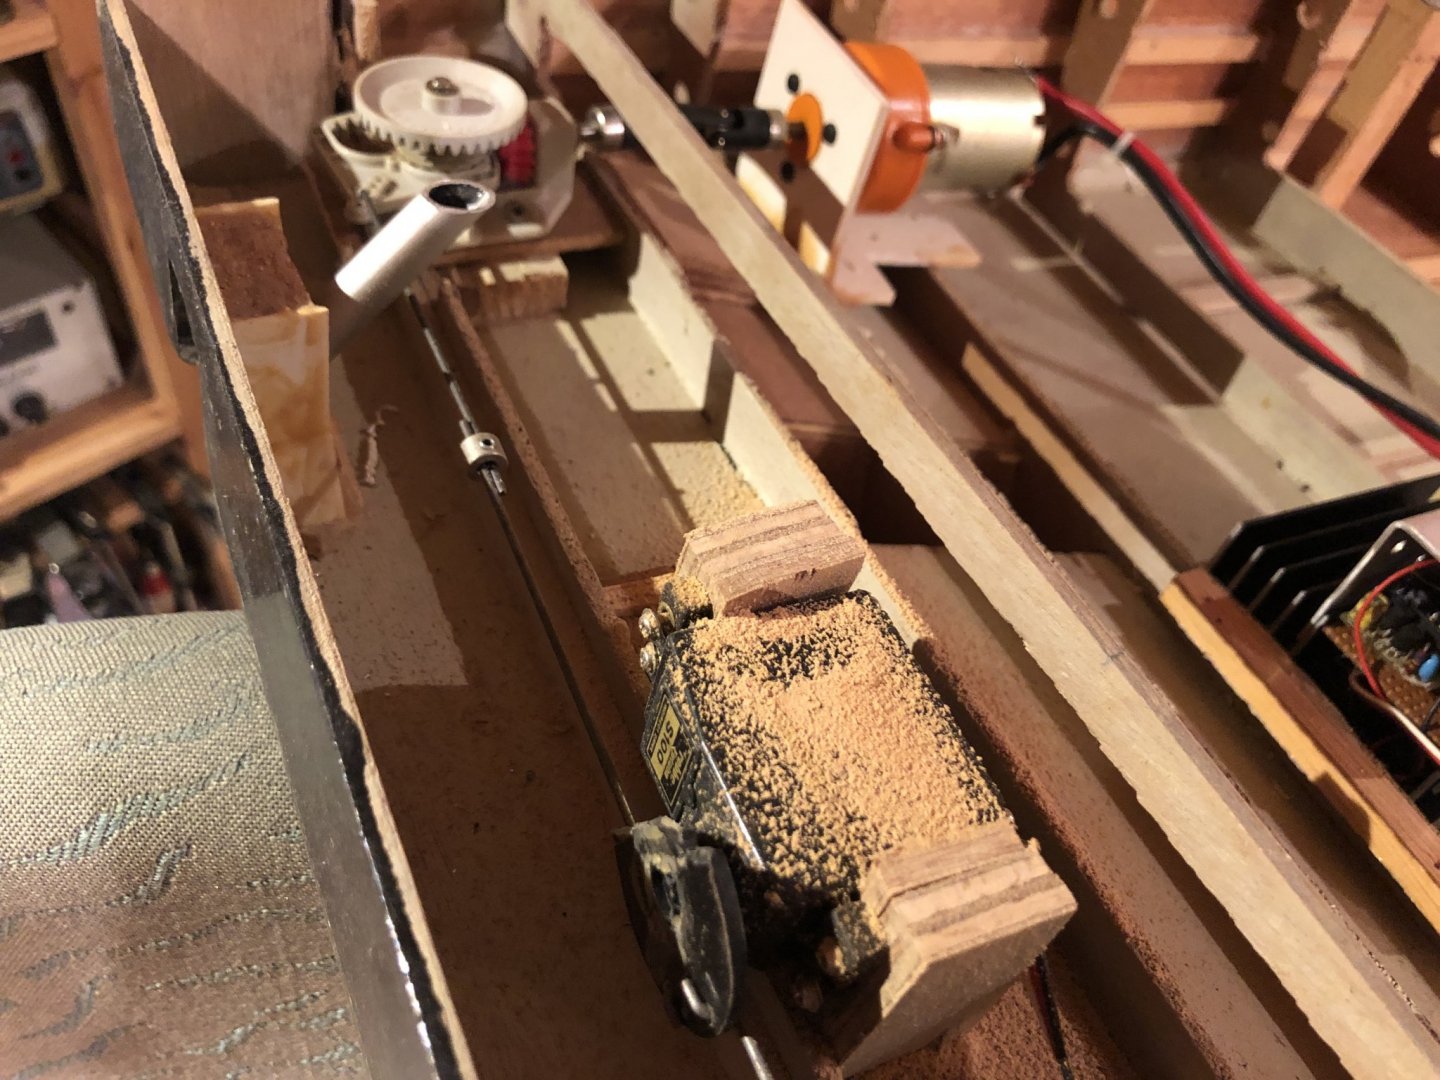
Hi there, after a short break of 26 years I've restart the build of the floating crane Enak. Based on plans I've bought in 1993 the Build begans with the hull. The beginning with plywood and balsa wood was easy and the hull became quickly swimable. But after this first success I have to realise that I'm not able to build the mechanics for the crane. No skills and no tools are on board. But actually I've get the needed skills in machining metal (I'm an autodidactic amateur, not a pro) I give it another try. The actual state is the hull is still water proof three graupner rudder propellers mounted. I'm very excited if the will work or must replace them. Electronics are not uptodate and will replaced. Motors eventually too. May be with slow outrunners to save space. Next steps will be saturate the wood with liquid epoxy to avoid swelling and build a slip. The hull will be the single peace of wood. The deck and the cranes structure will be complete in metal. regards Ralf


-
Hi there, since 2011 I'm in my second life as a modeler, mostly building rc offroad cars in 1/10 scale. But my first life was ship-based. And after a 26 years long rest, I'm on the water again. So I'm here, improve my English and will start a build log about a rc floating crane soon.