-
Posts
43 -
Joined
-
Last visited
Content Type
Profiles
Forums
Gallery
Events
Everything posted by raven62
-
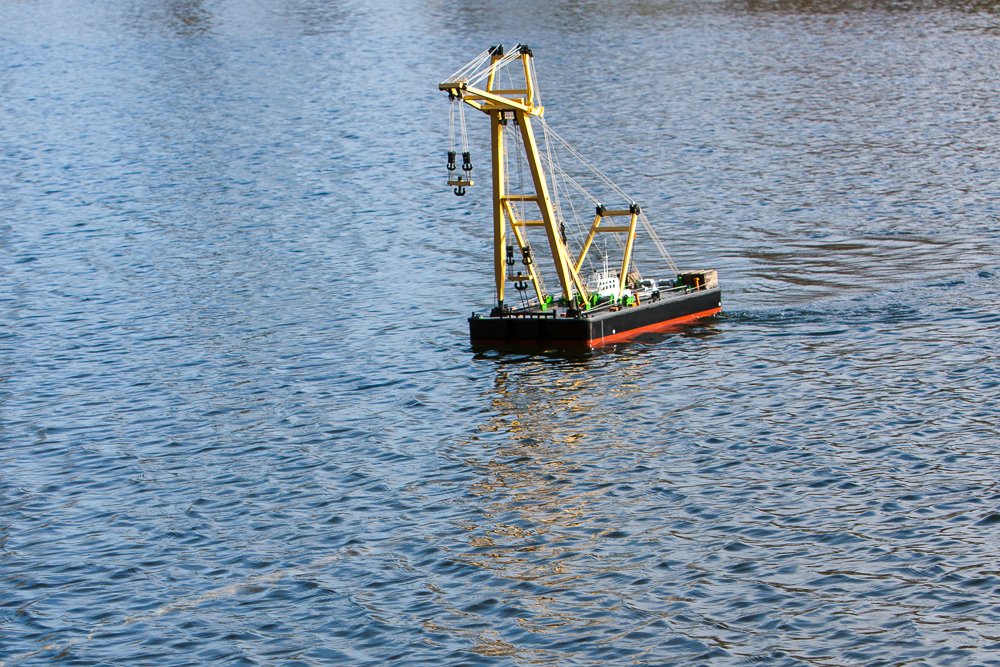
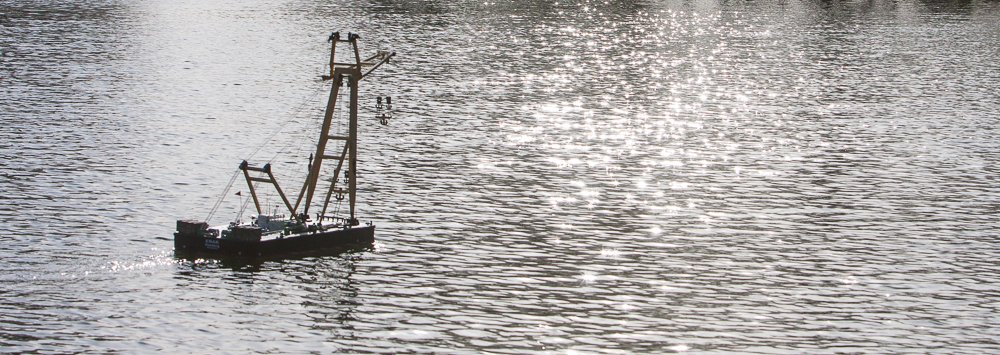
Hi there, today I can make the first real test on a lake with the crane. 90% works well. Just the steering needs an improvement. After two hours of testing and some fine adjustment I'm very happy with the crane and his behavior. As a result of that recognition and the great fun I had, I will invest in a professional rudderpropeller steering hardware. The mechanical indicators are not good enough for my eyes if the crane is too far away. A short clip And some impressions
-
Hi hope you can see my post in another forum ( and it is allowed to post a link) Powder coating at home part one Part two
-
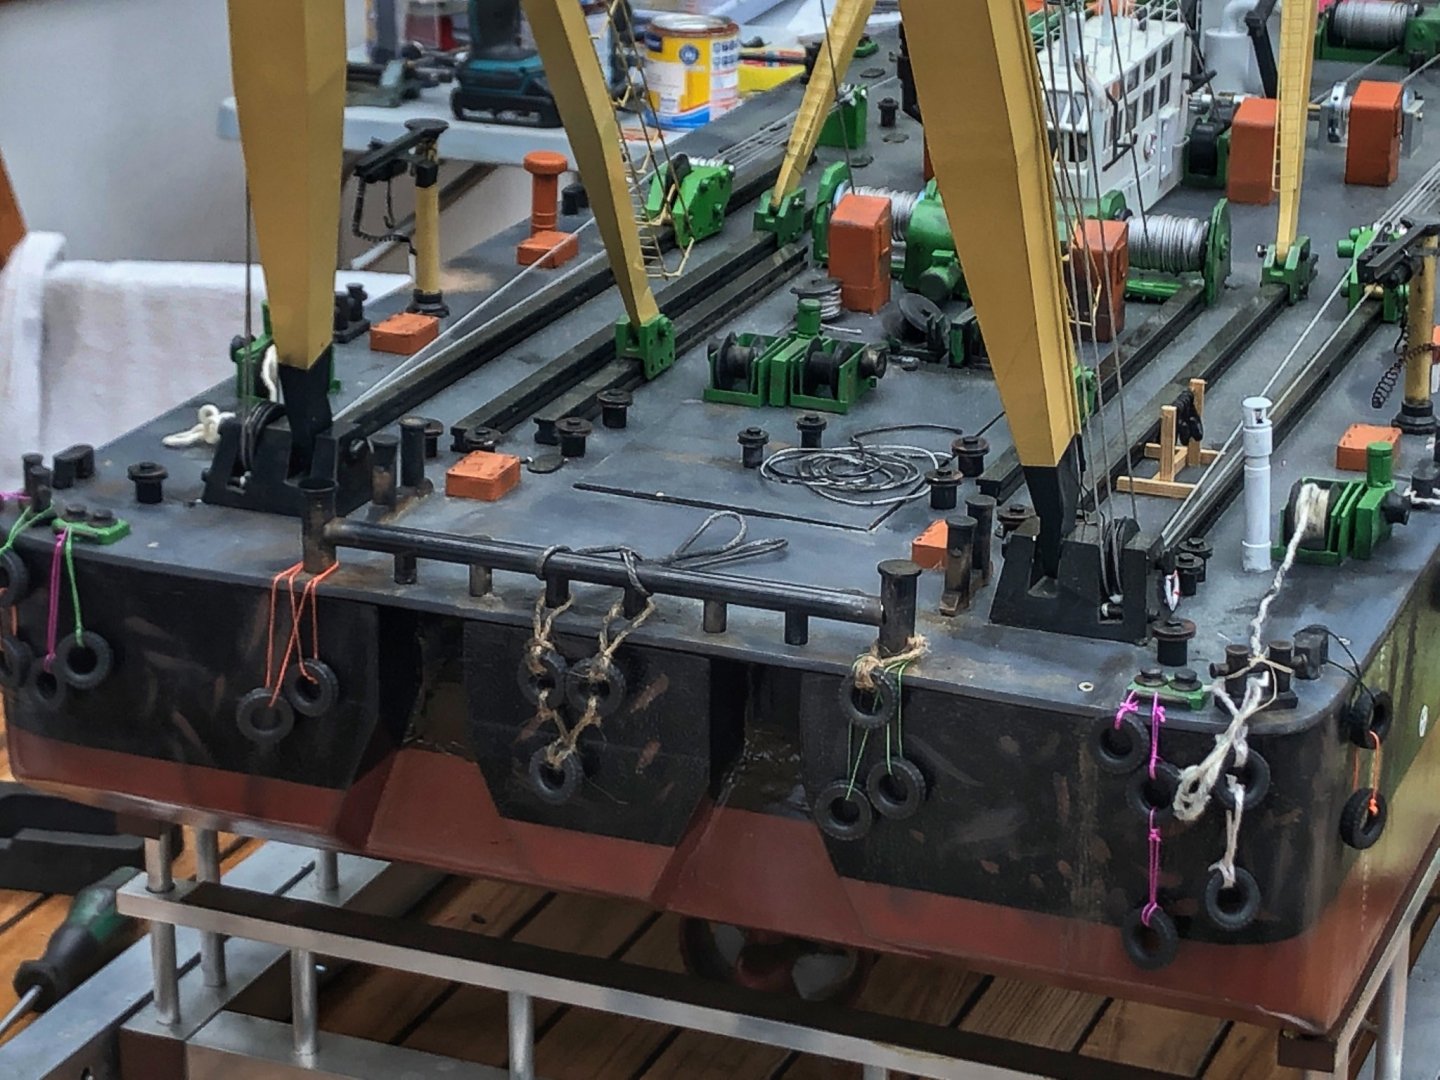
Hi there, it's been a while since the last update. Actual state is: It swims, all rudder propellers and the crane are working fine. The hull is paintend , some Scale-Details are added (some are still on the todo-list 🤗 ) and so it's time to put it in the Water. Ok. A very small lake 😂 , but really important for me. Steering with the rudder propellers is extremly unfamiliar for me. To get it on a bigger Lake I've build a combined display and transport utility. Todays work was to build a technical looking load , maybe a large silo I think, a first testdrive is coming soon, but I'm waiting for lead to made a propper trimming.
-
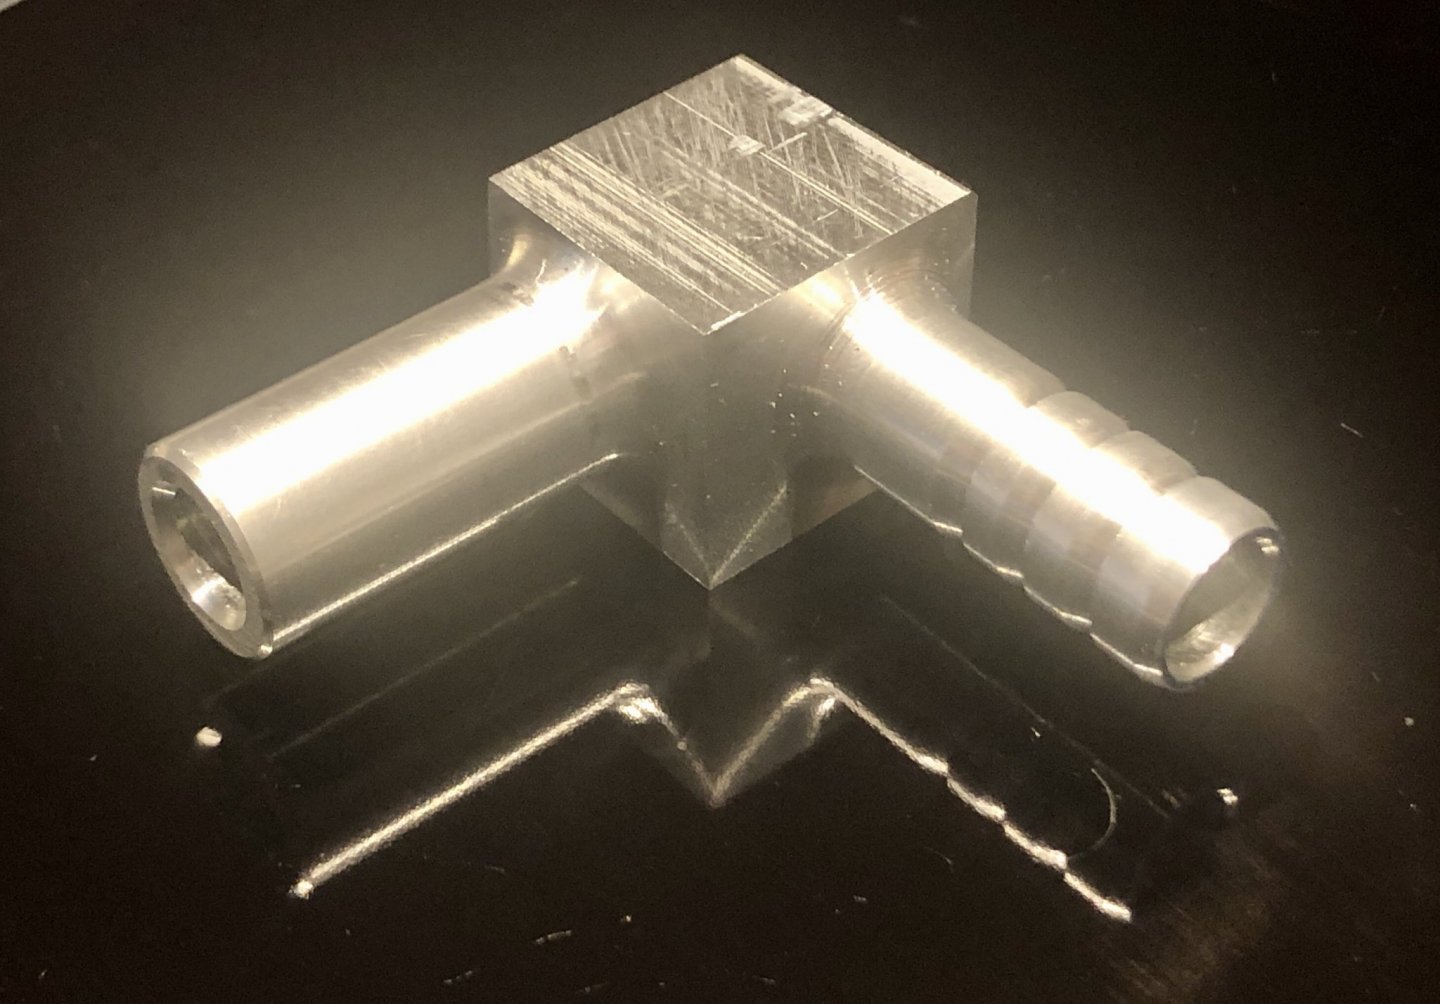
Work on the ballast tank begins. A magnetic valve and a gear pump will be use for flooding and drainage. First step is the angle adapter through the hull. It's been a while since I made an excentric turning so I use this part for a pretty practise. and the complete setup for valve and pump
-
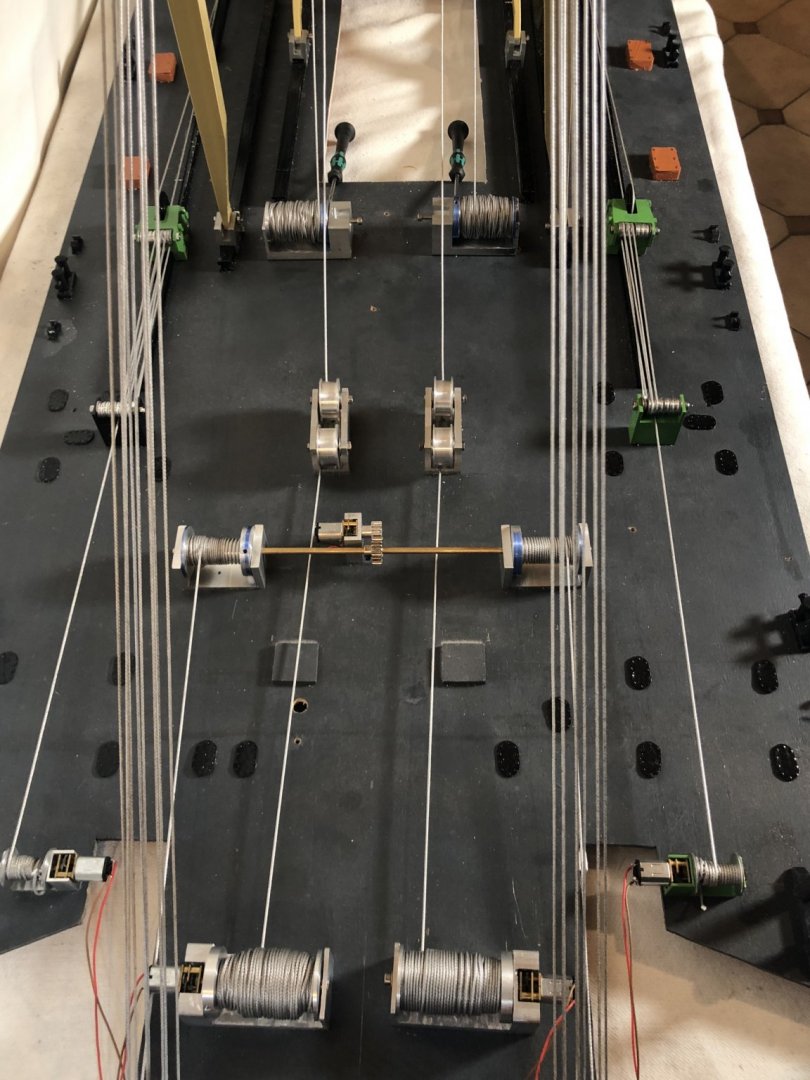
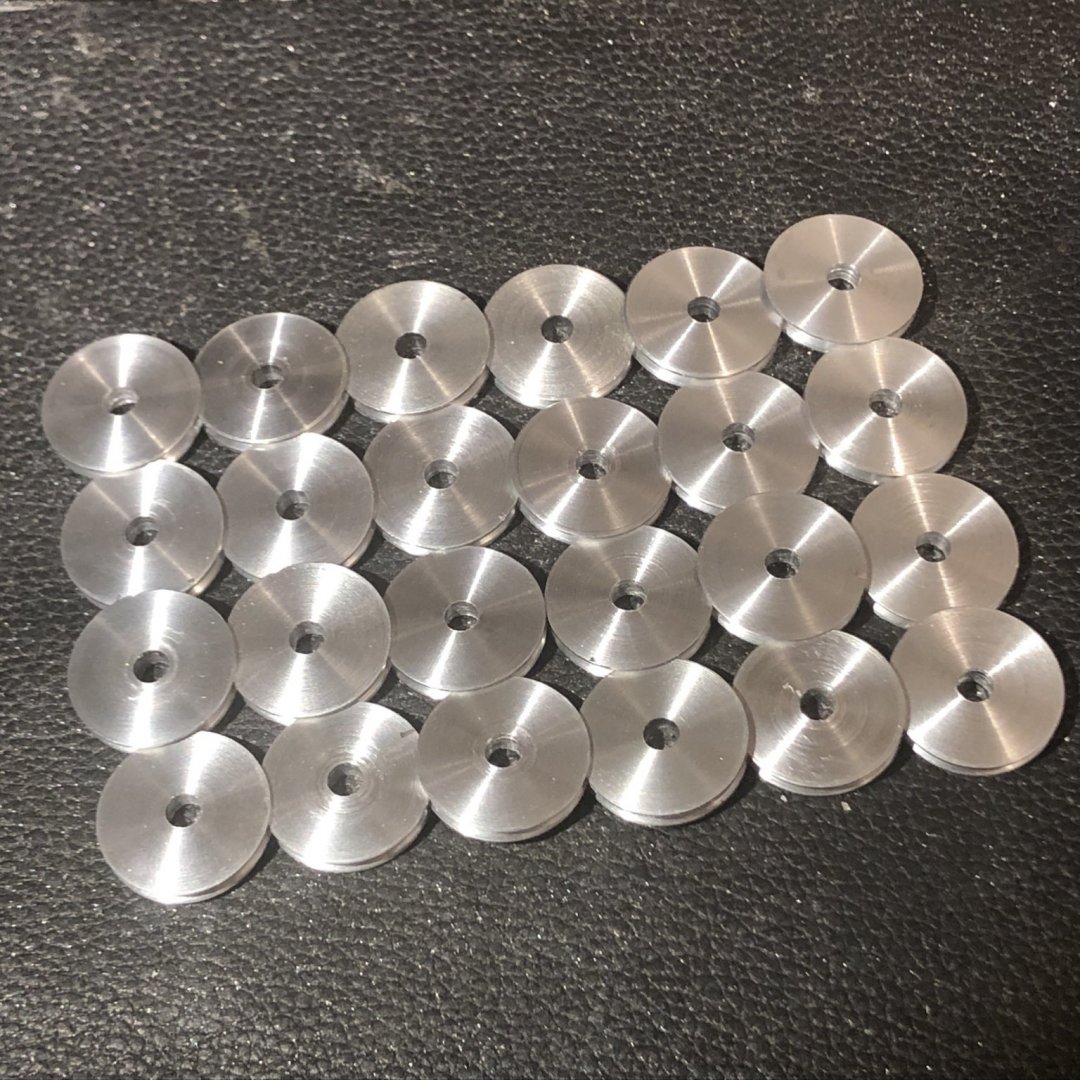
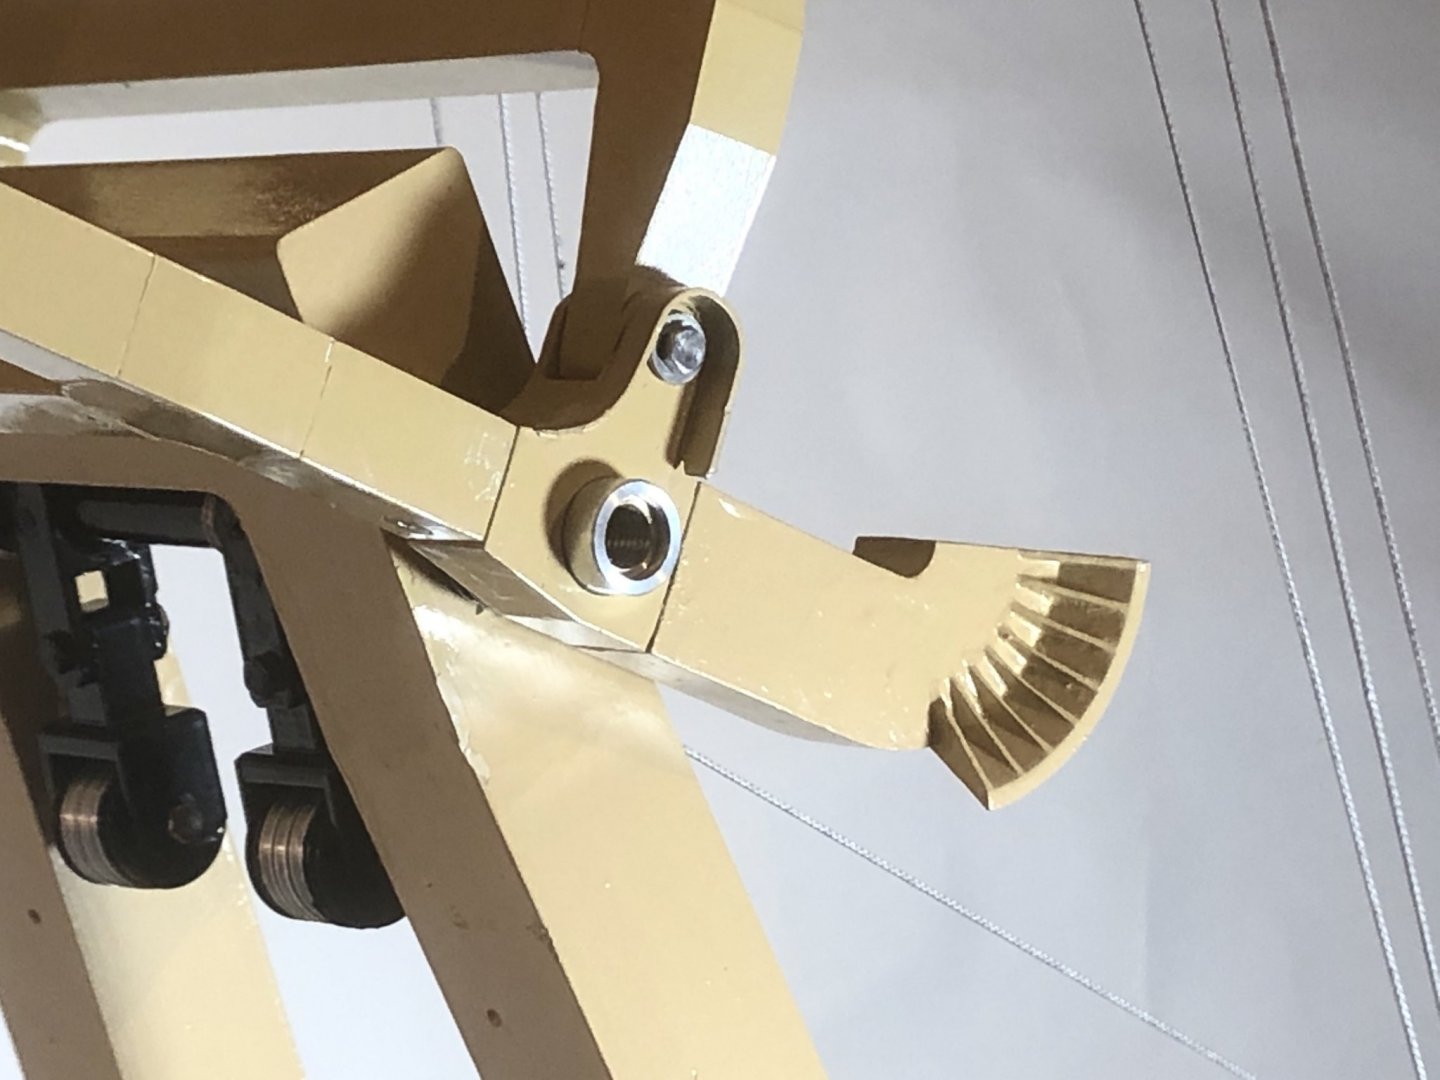
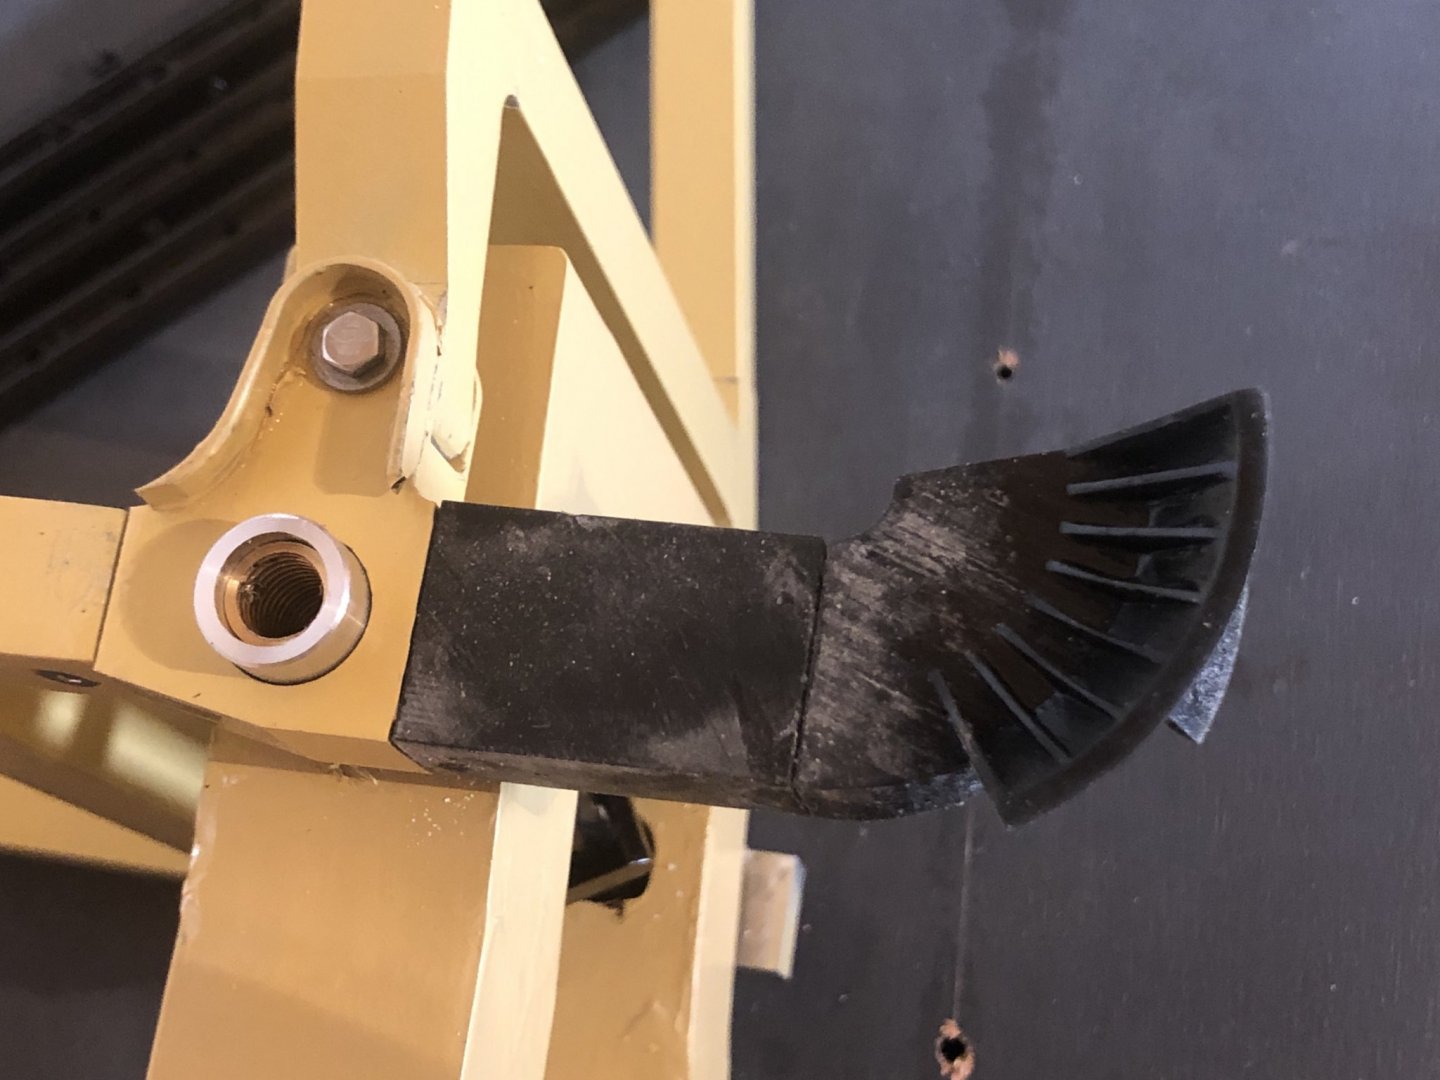
After only three months the mechanical Parts for the crane are finished. Eight winches ✅ Five booms ✅ Several hundreds of meters ropes ✅ Six self casted lead hooks ✅ About 130 pulleys ✅ Some Impressions The motors for the last winches are on their way, so i've blocked them in an unusually way.
-
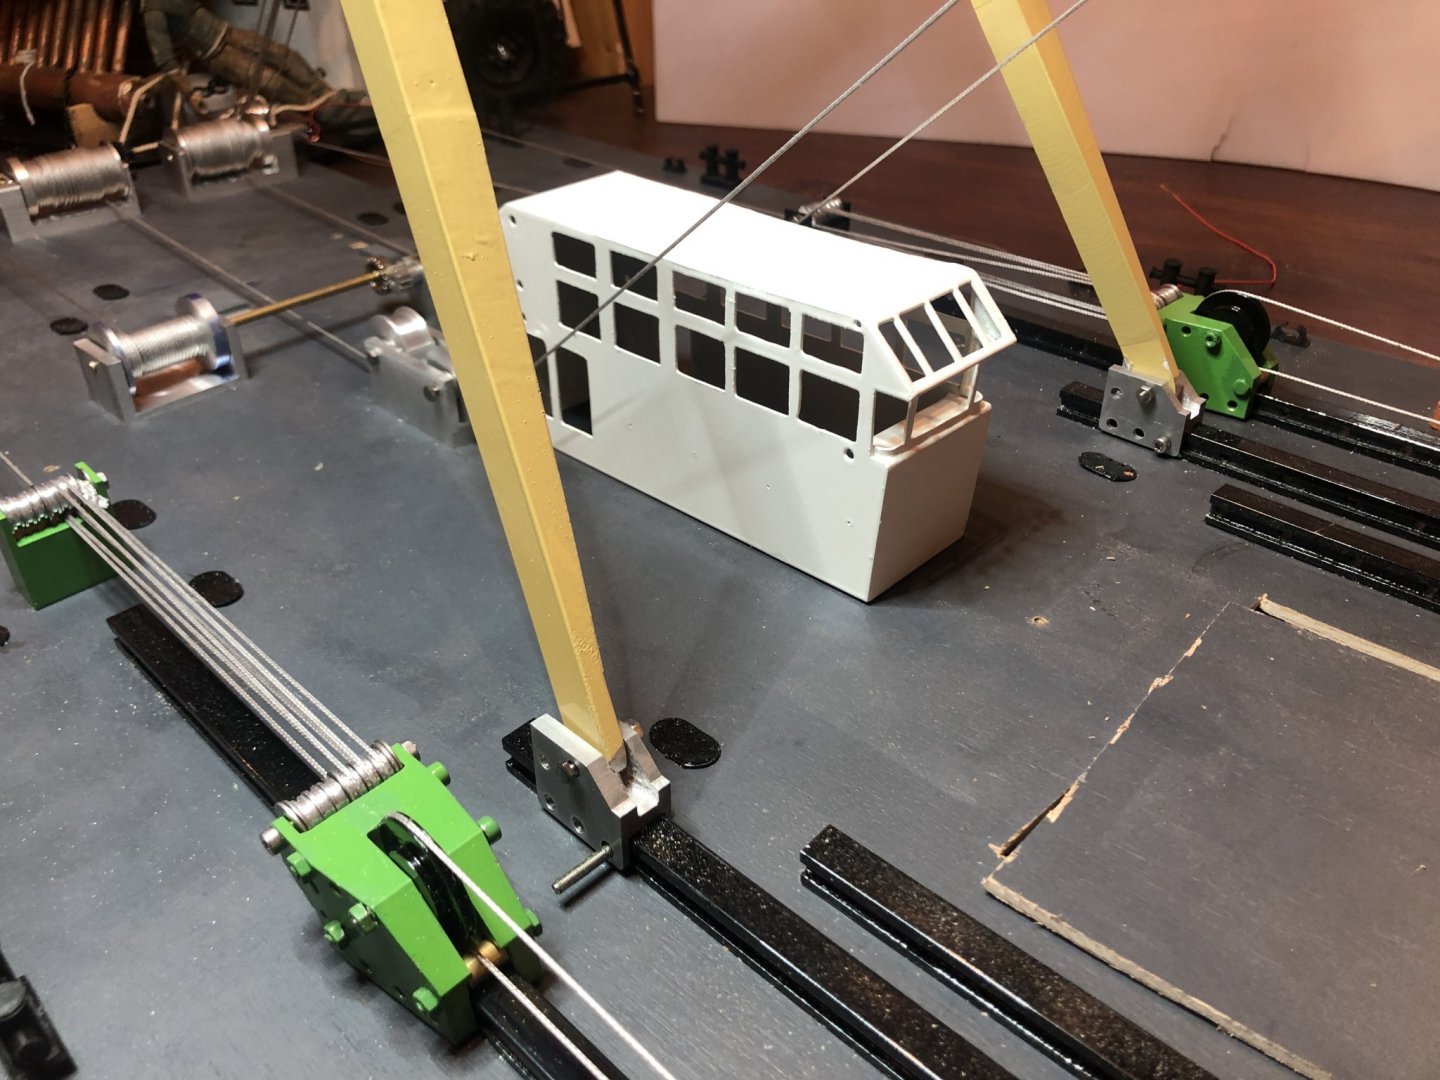
Deckshouse has get his railings. The printed ladders are too weak to use, so I made my own from brass. Together with the double basket bring they a bit life to the topboom.
-
A big motivation for the upcoming work on the crane: The first Lift was succesful 💪 A little clip of the action can you see HERE
-
Hi there, my Original uses railing pillars with chains between them. In 1/50 the holes will be .5 - .7 mm Do you know any providers for so tiny chains? My approximate solution will be thread. But it's hard to fix it in a chain-like curve hanging between the pillars. Any suggestions?
-
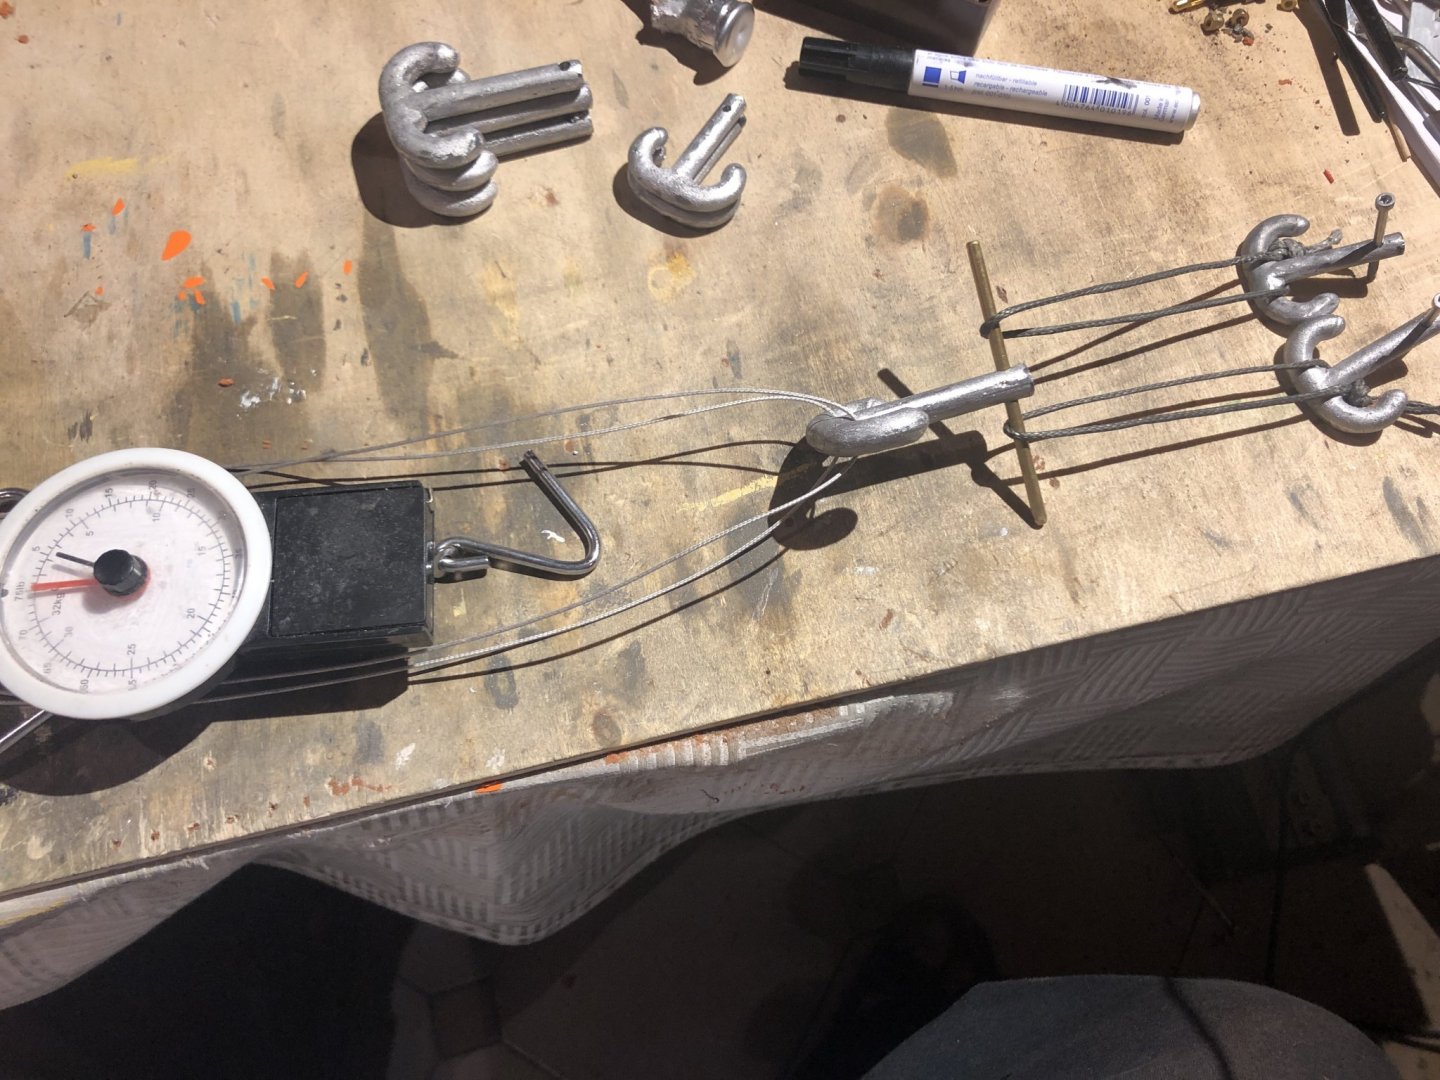
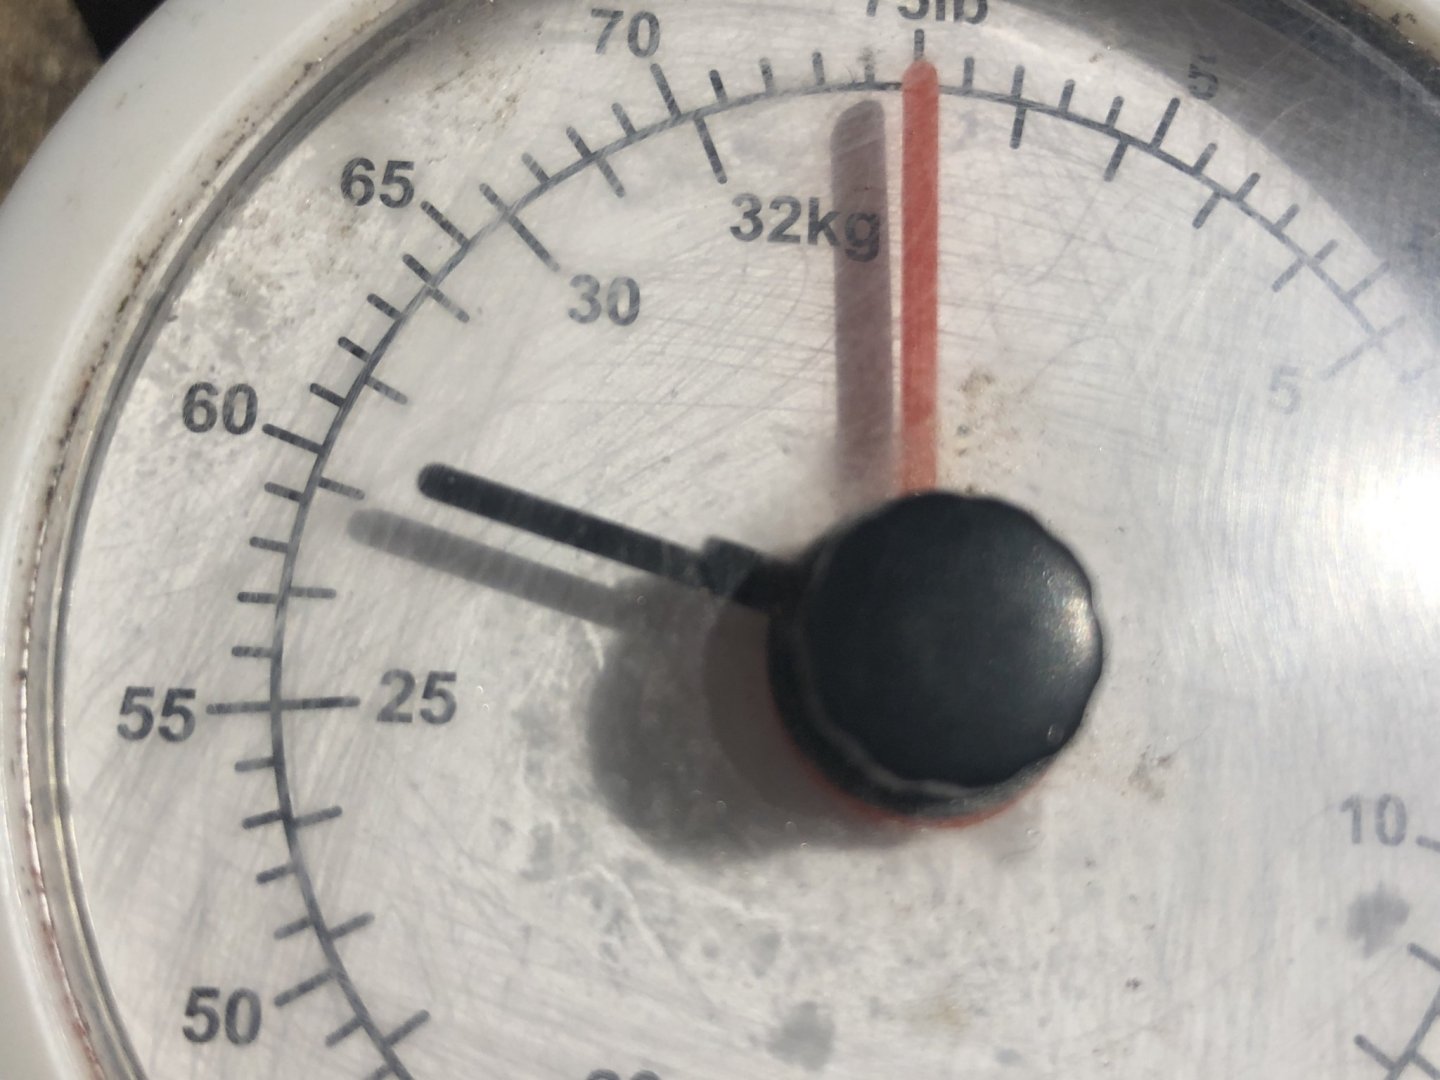
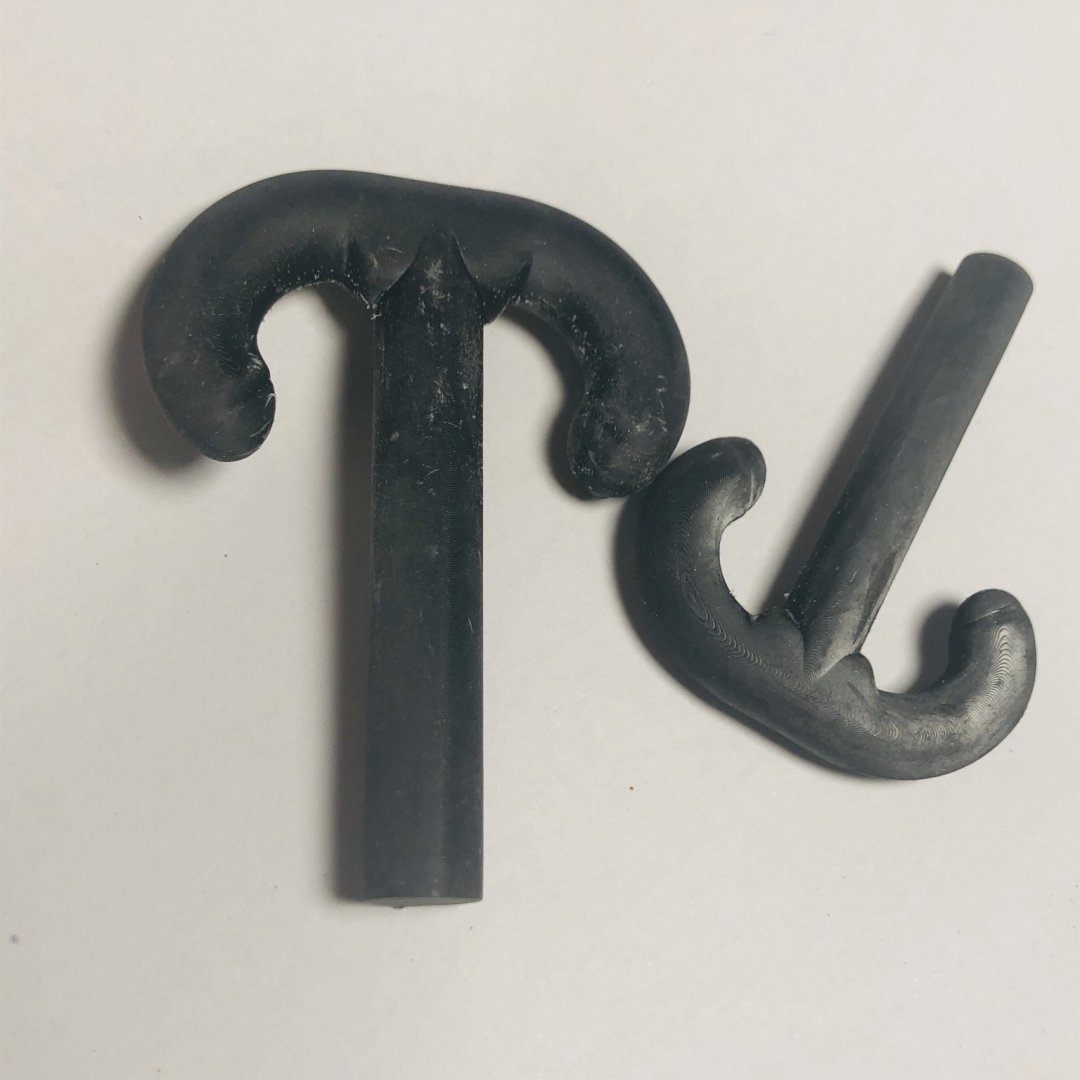
The booms are moving. Slow but steady. Here you can see a short clip -> Instagram <- Thereby I'm now sure that the crane will be work and beside the technical aspects, the optical and scale parts will get more room in my work. For example, today I've print, paint and mount the 30 manhole-covers. Additionally I've made the eight Lead castings for the Hooks. Casting was new for me but works very well and now the eigth Hooks are waiting for they blocks. Before painting I've tested the strength of the hooks. Same setup as planned. I think, it's enough.
-
The connection between the mainboom necksupport and his winch is installed. Thereby I'm able to measure the widest overhang of my crane. tailboard <-> peak of topboom = 60cm (~24 inches) Enough to lift my 28 yo Glasgow, wich I declare to my first salvage.
-
Details the first 10 of 460 cm ladders are painted and glued to test the stability of this extrem small adhesive surfaces Parallel the tests for pouring the lead - hooks are started.
-
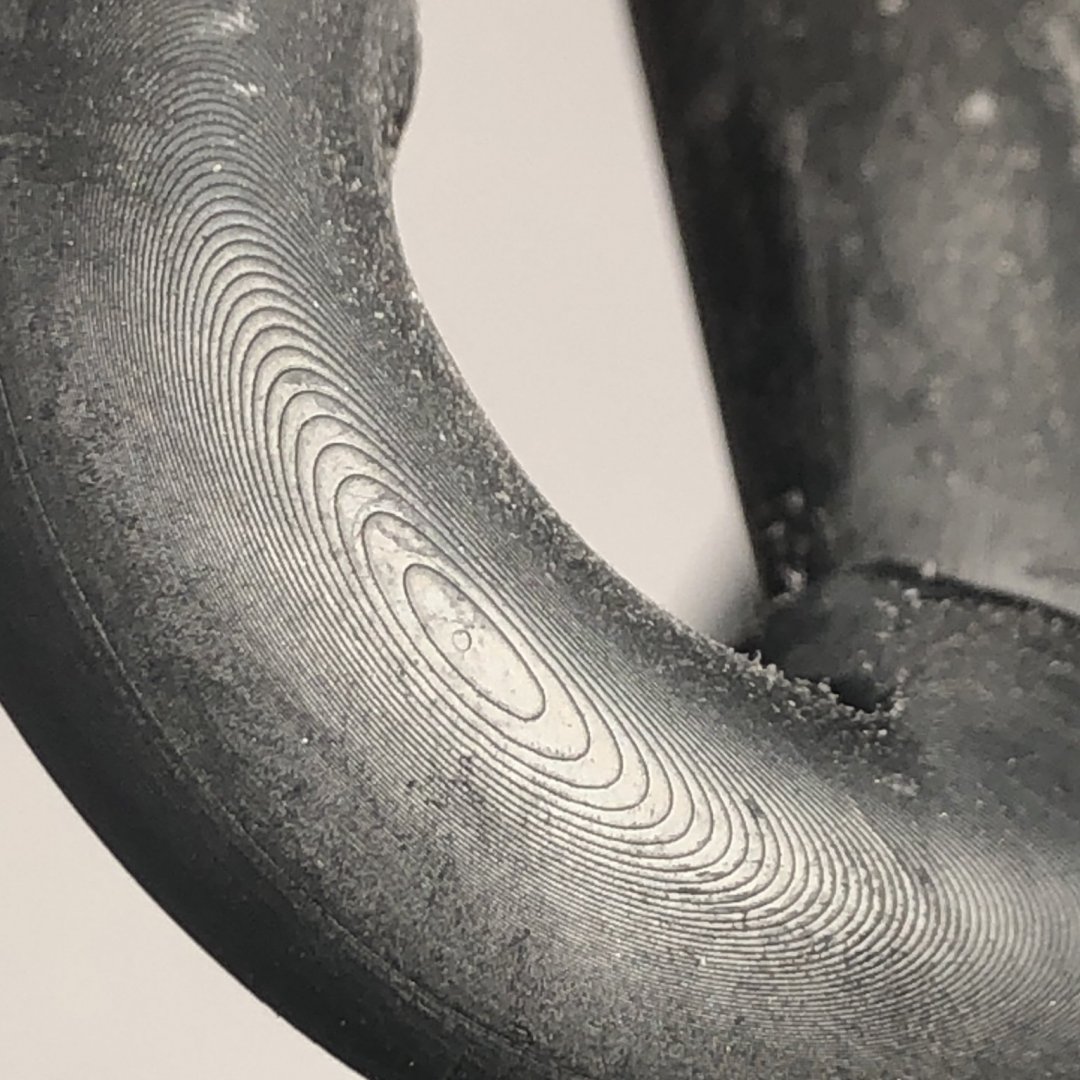
All booms are now assembled. Future view of a Seagull Also I've found a good Method to get into the Hull Additionally the positiv forms for the lead-hooks are ready. waiting for the formsand..... Layer Thickness of a Resin-Printer
-
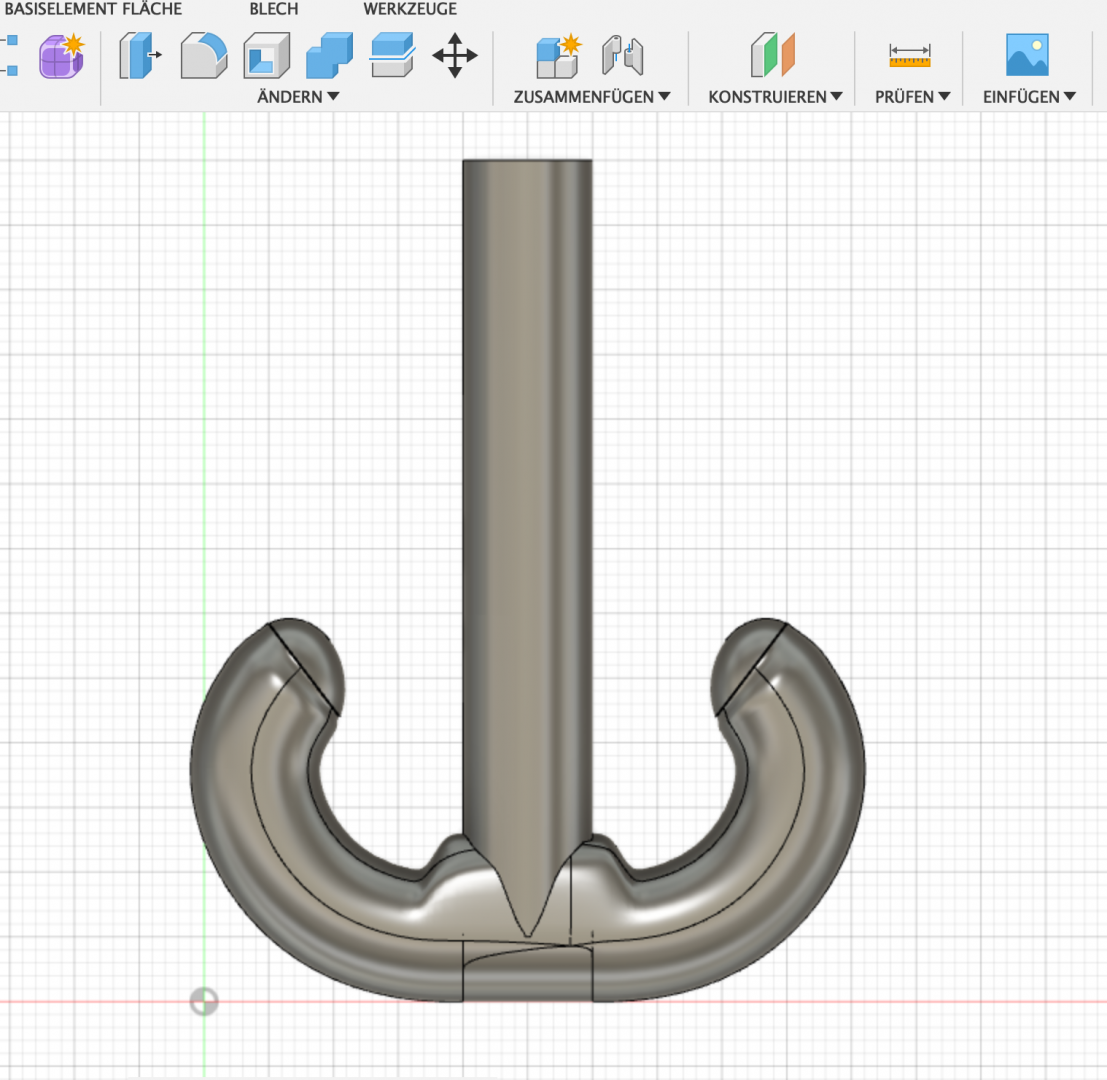
Meanwhile, I acquire a taste for my resin printer and it seems, that I'm now able to make reproduceable result. Thereby I dare to make some more complex parts like the counter weight of the topboom. Painted and mounted Also,I've made a good progress in handling Fusion 360 and made a first positive form for the hooks. I'll need heavy hooks on the cables to tighten them. So the hooks will be poured from lead.
-
No. I don't know anymore what I think 26 Years ago, as I built the Hull. Maybe laziness to resize the plans? Maybe a bit innocence to realise the drawbacks of the large scale? Now I have the hull and the abilities to build the rest. So - why not?
-
I'm sure that the mechanics will work and the leaky Hull is waterproofed too. So I've started with the embellishment of the parts I've done so far. I can't lacquer very well so I've learned Powder Coating my metallic parts. It smells very vicious and you have to use a mask, but it's much less work for preparations. A big limit for the size of the parts is the oven. In this case I must divide the mainboom, but fortunately the topboom fits exact simultaneously my new resin printer works on the first scale parts....
-
Today i've reached a major milestone in my project. This little geared motor ( an euro-cent for comparison) can lift the topboom easily with 7.4V and 2 Kg weigth on the peak The sizes of the machine are so pretty, that i'm able to put really scale housings on it. Now I know, that the rest of the mechanics will work too. So I can start with sanding, filling, powder coating and so on. Electric lifting the topboom on Instagram
-
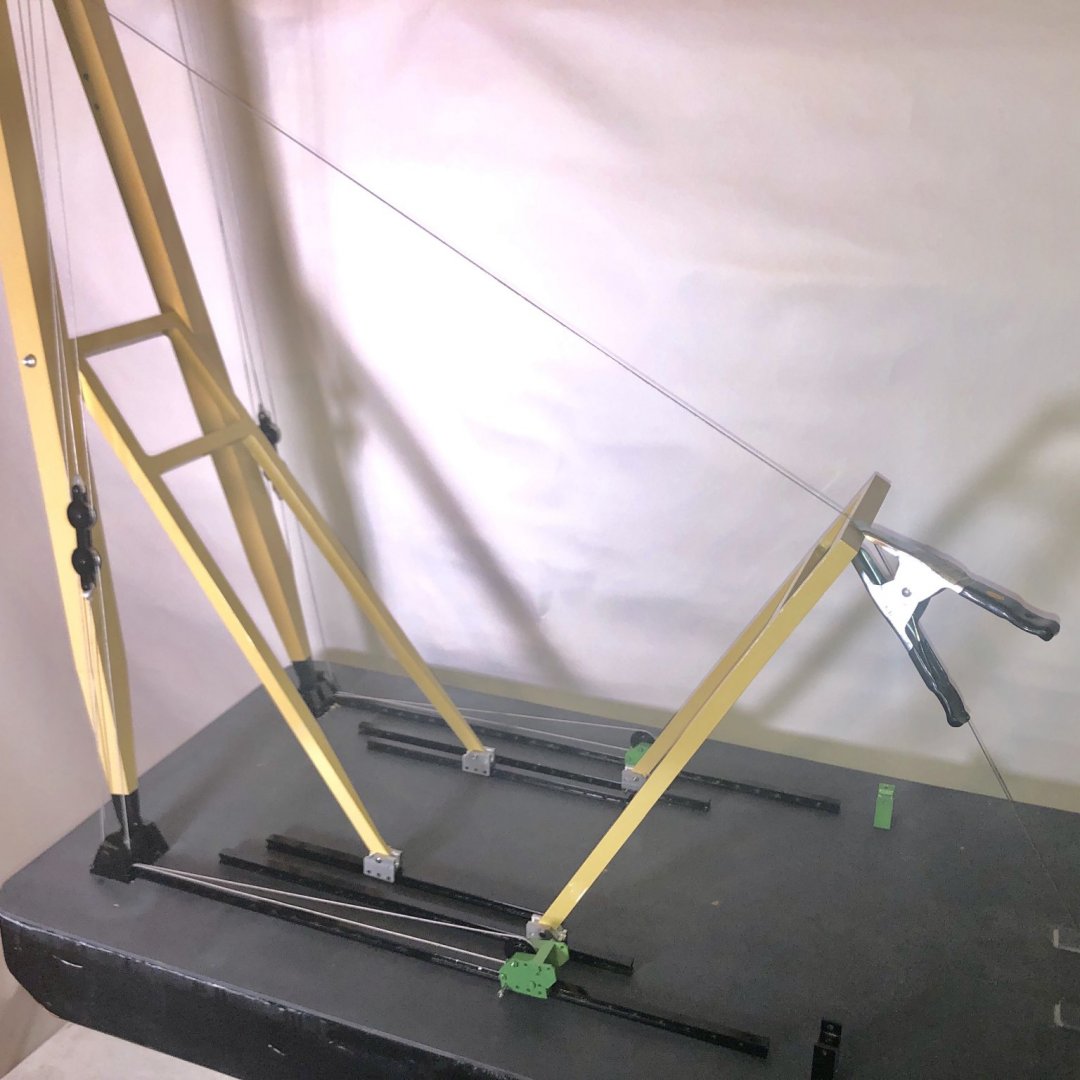
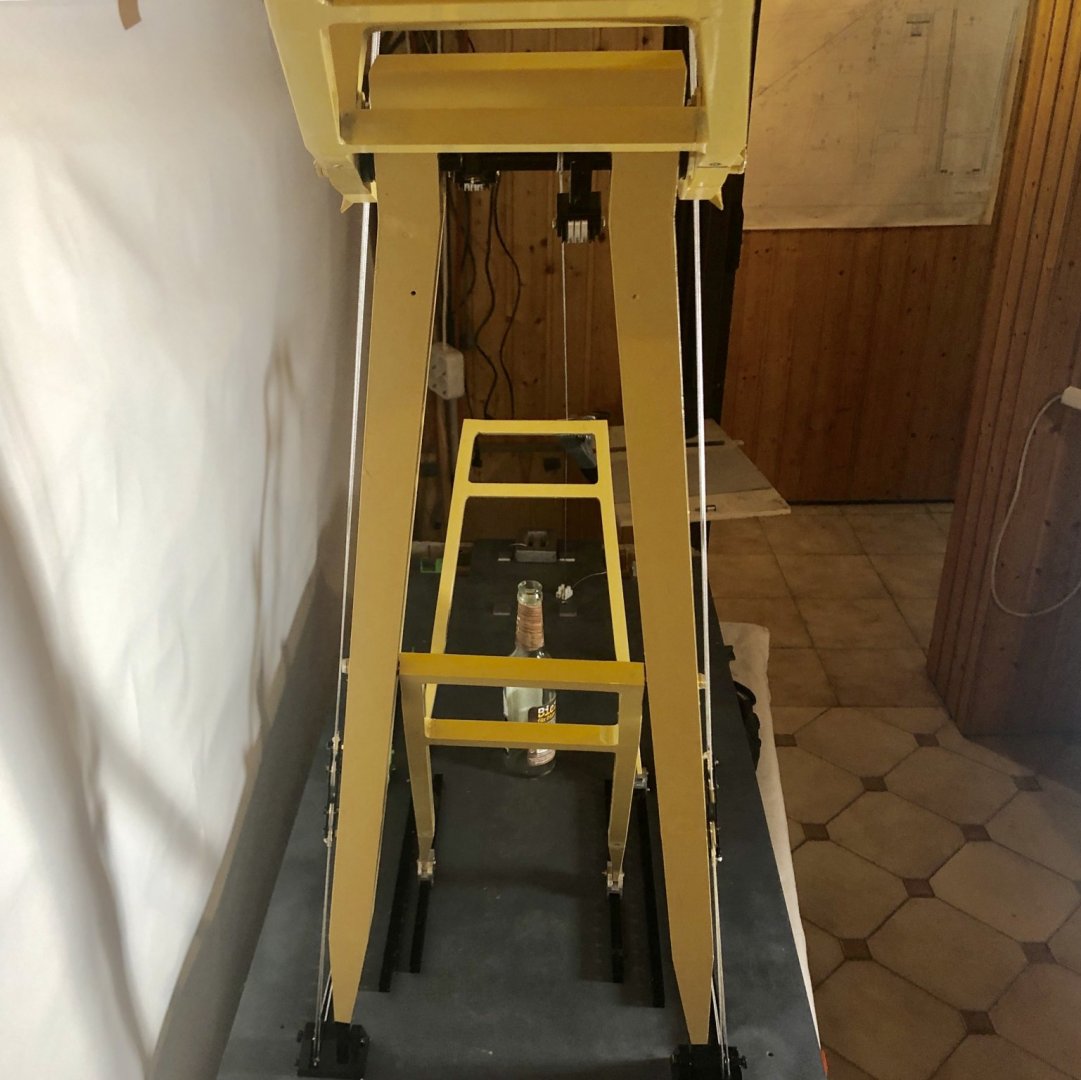
First part of rigging is done. Half way of ropes and pulleys to move the topboom. I'm glad to see, that i've build the correct geometric and rope guides to fold the crane A short trip along the ropes with all its pulleys etc. Ropes and Pulleys on Instagram. Working position Ropes and Pulleys on Instagram. Folded position
-
Topboom-Necksupport is ready. Next Steps are making the many little items (pulleys,bolts etc) to make the Topboom movable.
About us
Modelshipworld - Advancing Ship Modeling through Research
SSL Secured
Your security is important for us so this Website is SSL-Secured
NRG Mailing Address
Nautical Research Guild
237 South Lincoln Street
Westmont IL, 60559-1917
Model Ship World ® and the MSW logo are Registered Trademarks, and belong to the Nautical Research Guild (United States Patent and Trademark Office: No. 6,929,264 & No. 6,929,274, registered Dec. 20, 2022)
Helpful Links
About the NRG
If you enjoy building ship models that are historically accurate as well as beautiful, then The Nautical Research Guild (NRG) is just right for you.
The Guild is a non-profit educational organization whose mission is to “Advance Ship Modeling Through Research”. We provide support to our members in their efforts to raise the quality of their model ships.
The Nautical Research Guild has published our world-renowned quarterly magazine, The Nautical Research Journal, since 1955. The pages of the Journal are full of articles by accomplished ship modelers who show you how they create those exquisite details on their models, and by maritime historians who show you the correct details to build. The Journal is available in both print and digital editions. Go to the NRG web site (www.thenrg.org) to download a complimentary digital copy of the Journal. The NRG also publishes plan sets, books and compilations of back issues of the Journal and the former Ships in Scale and Model Ship Builder magazines.


