Jeff preisler
-
Posts
92 -
Joined
-
Last visited
Content Type
Profiles
Forums
Gallery
Events
Everything posted by Jeff preisler
-
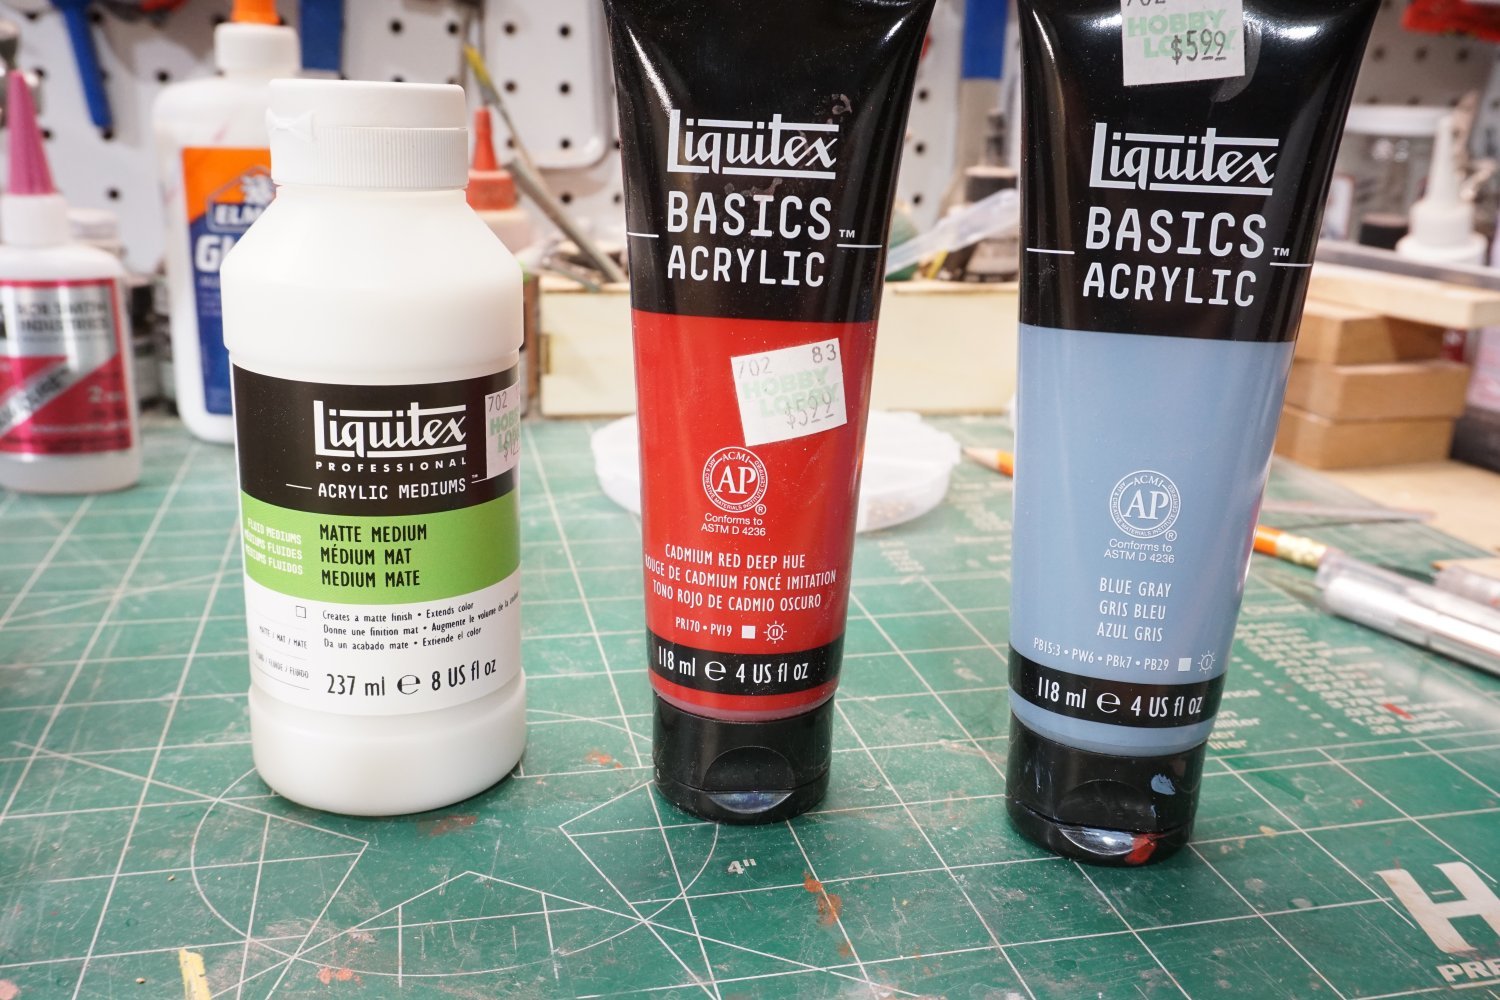
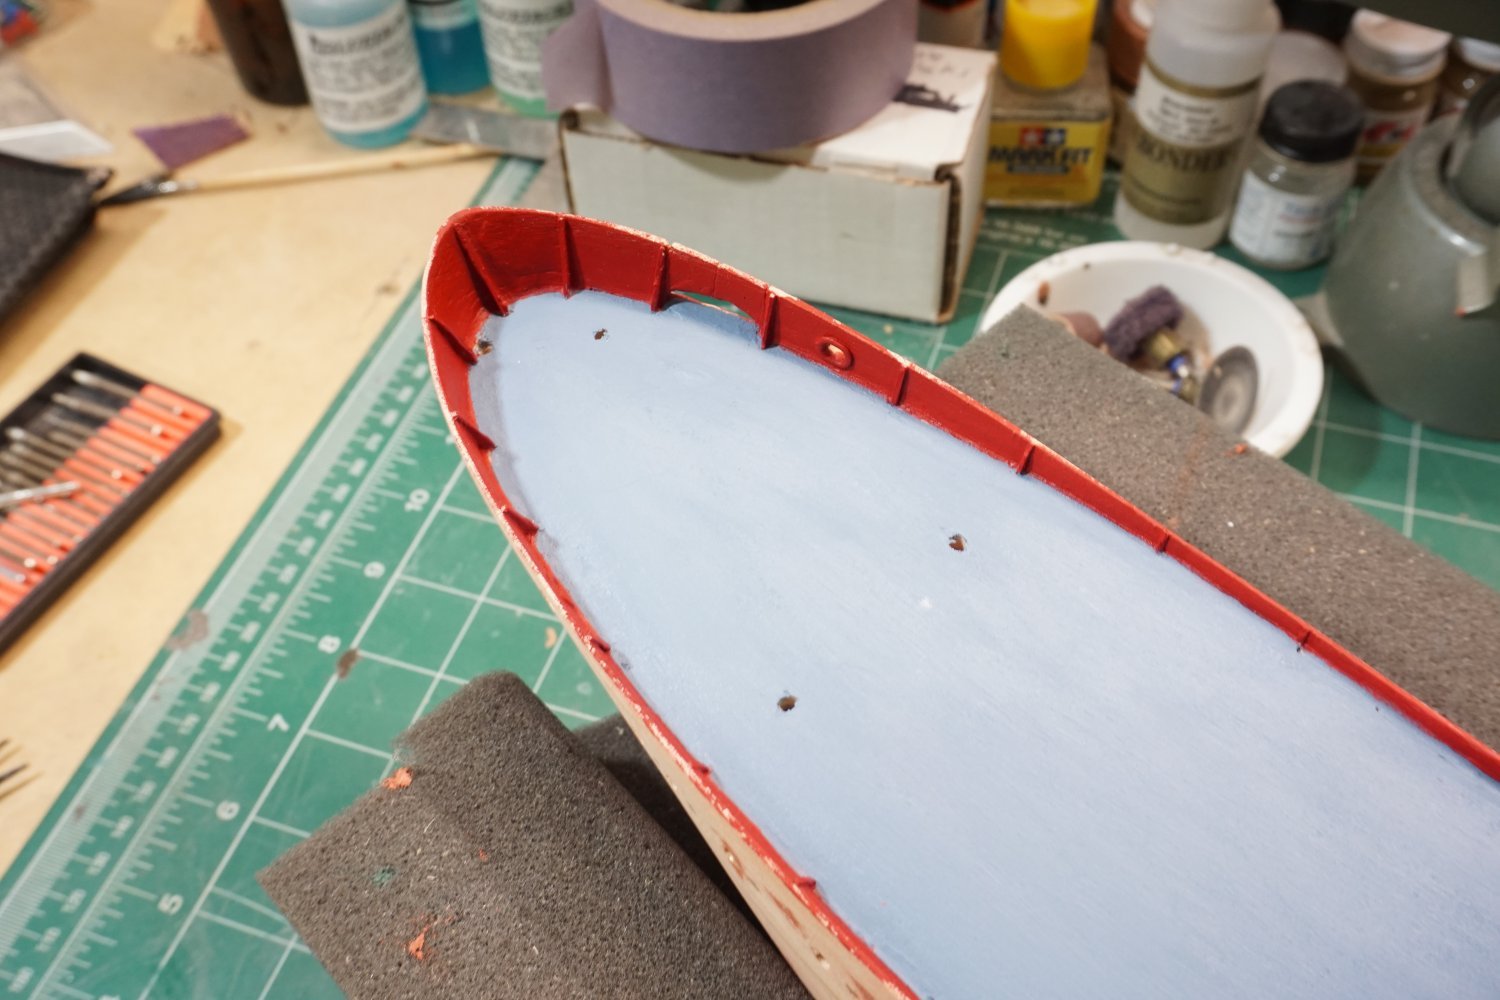
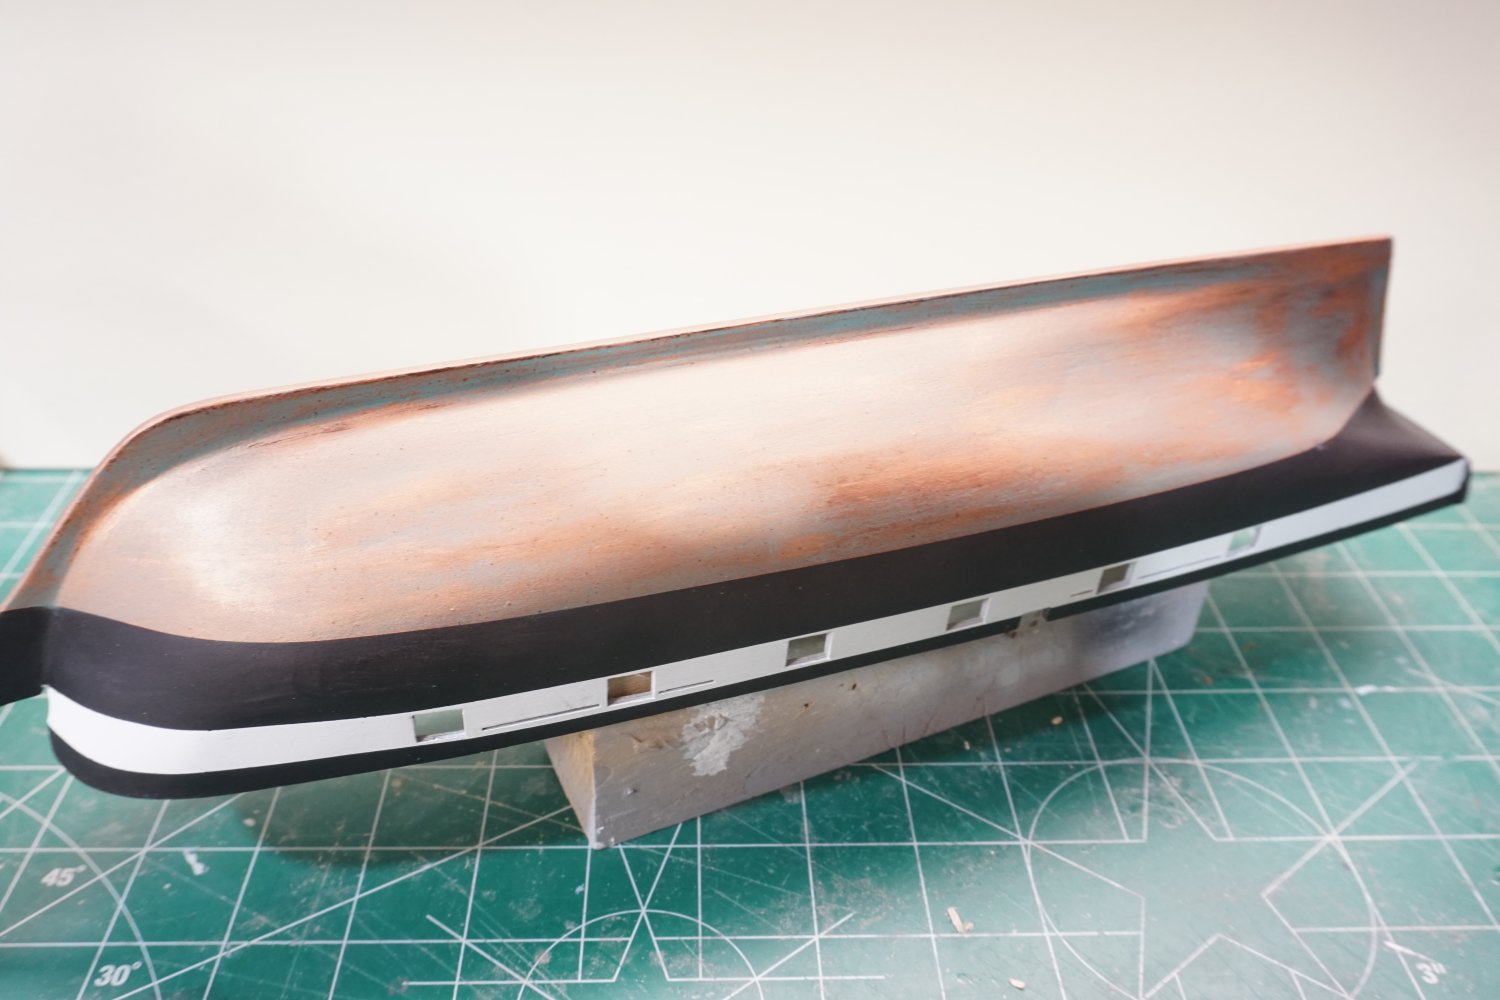
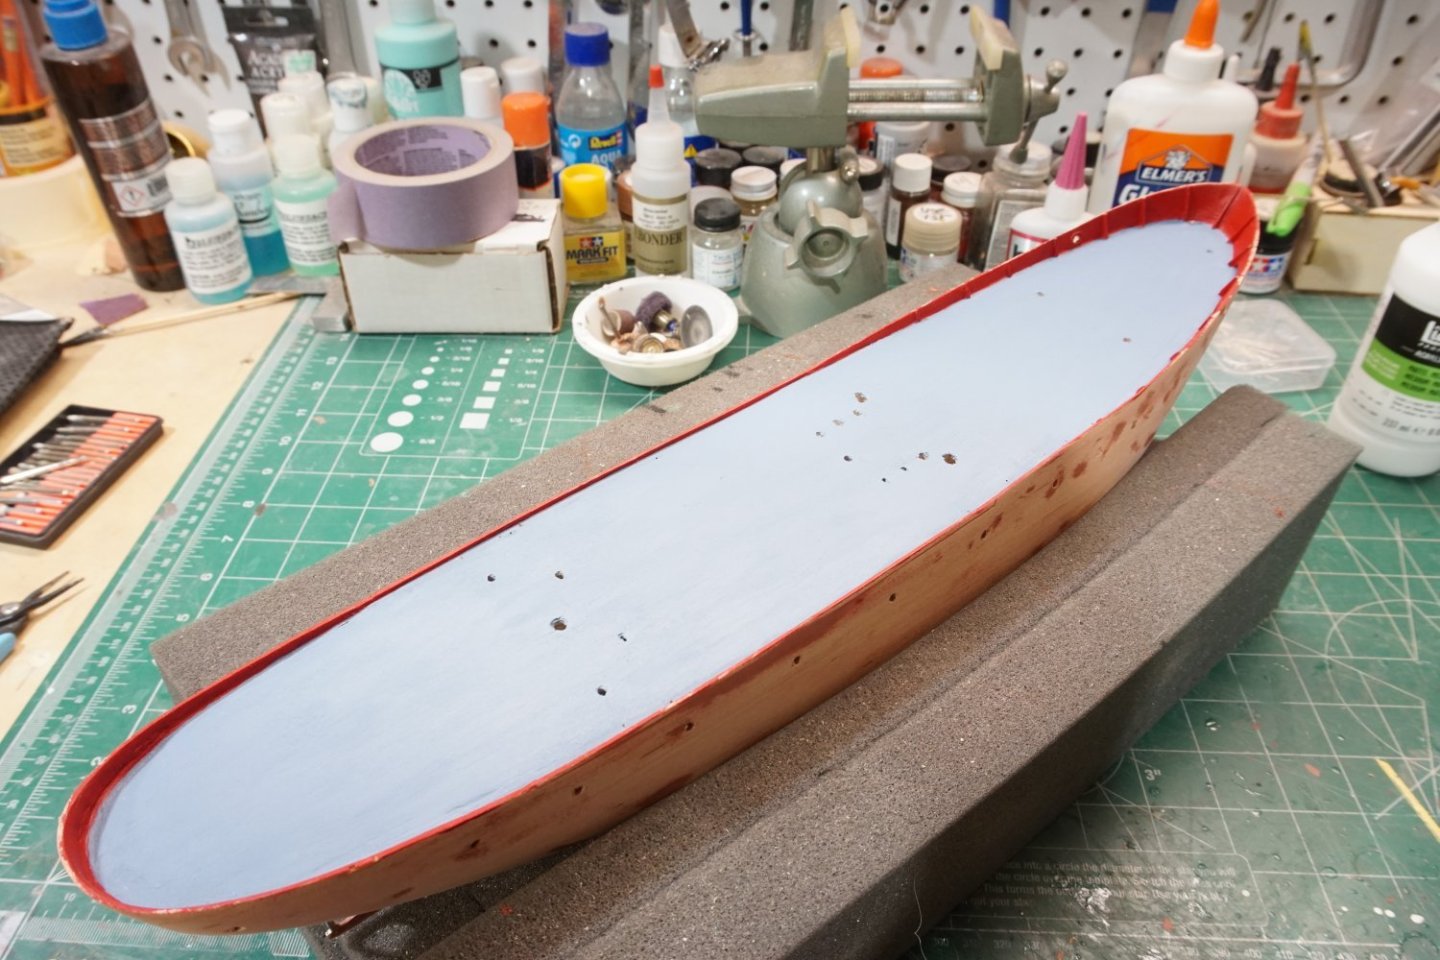
I decided to brush paint the model using Liquitex cadmium red for the bulwarks and blue gray for the deck. I did brush sanding sealer on entire hull before this step, but I did not use any primer. I thinned down the paint with Liquitex fluid matte medium and paint brushed on rather nicely. I will use the same red color for the hull, but I will see if I can thin this for airbrush use, if not brushing this will be ok. I also plan on priming the hull with the Liquitex white gesso first.


- 29 replies
-
- 5
-

-
- Nantucket Lightship
- BlueJacket Shipcrafters
- (and 1 more)
-
After thinning bulwarks and more sanding I proceeded to drill all necessary holes on deck according to plans. Installed braces on bulwarks around foredeck, and carefully cut out the stowing port for the spare anchor.
- 29 replies
-
- 5
-
-
- Nantucket Lightship
- BlueJacket Shipcrafters
- (and 1 more)
-
Thanks Al, I was wondering about that as I saw one of the other build threads that styrene was used. It all worked out fine with my heat gun.
- 29 replies
-
- 1
-
-
- Nantucket Lightship
- BlueJacket Shipcrafters
- (and 1 more)
-
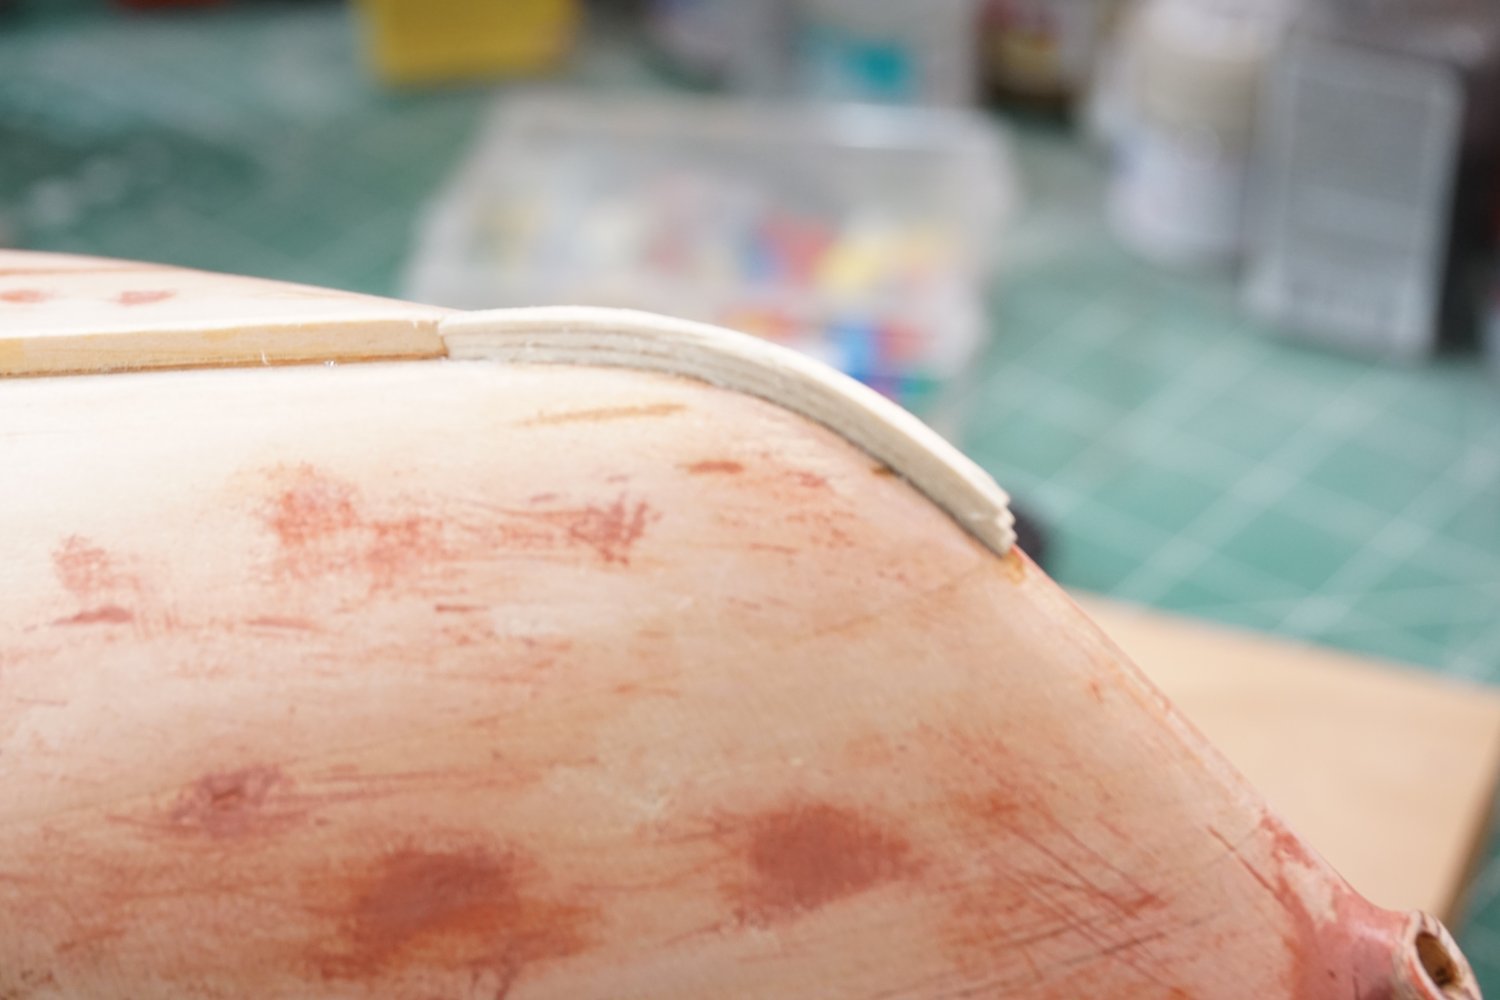
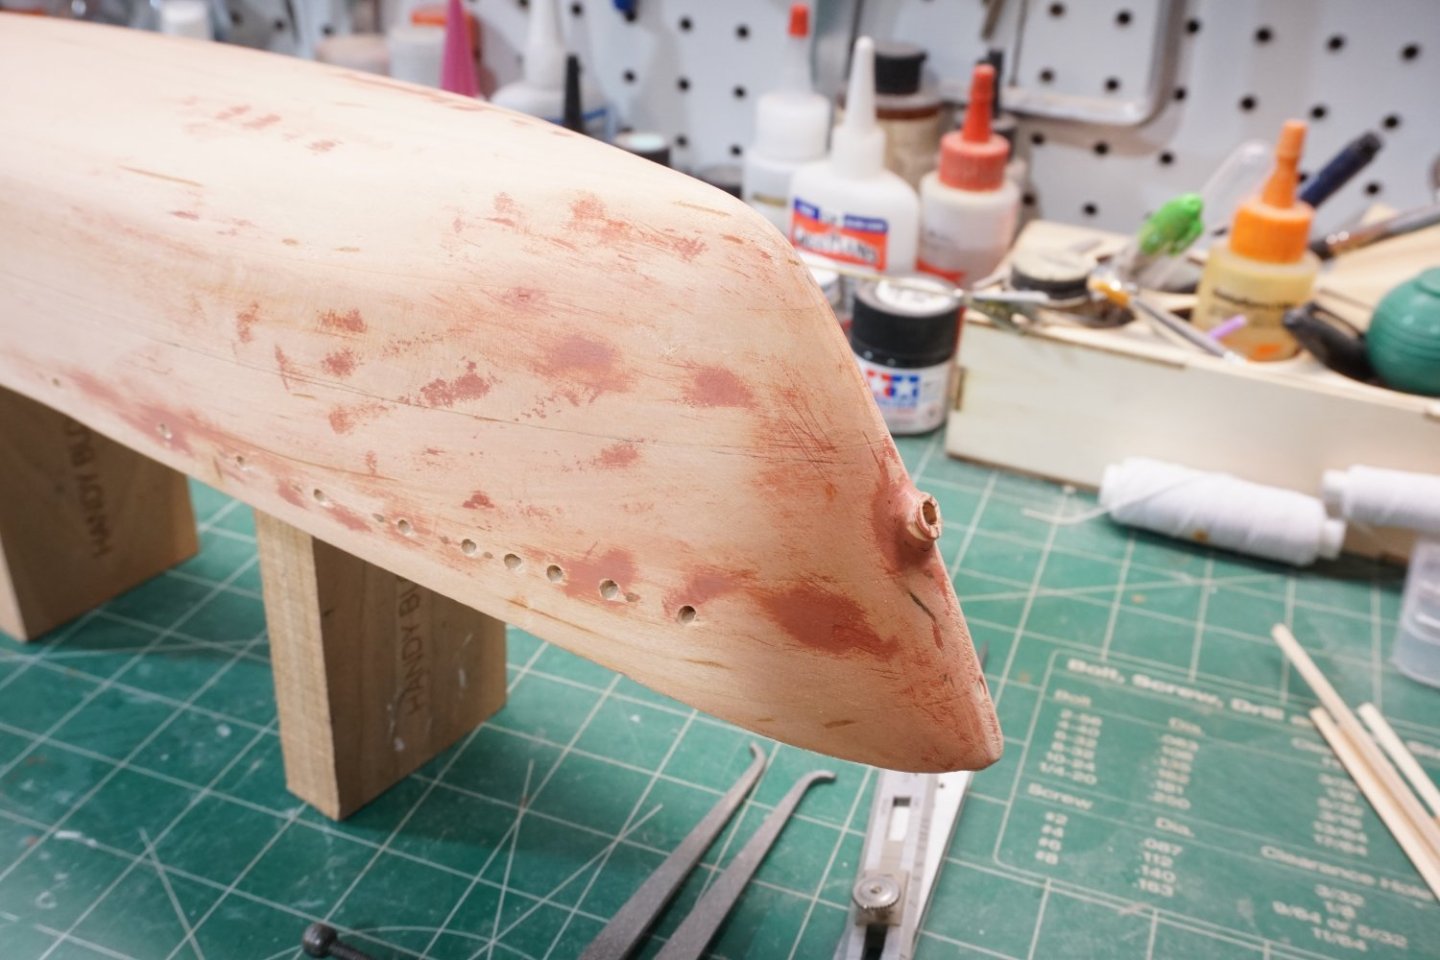
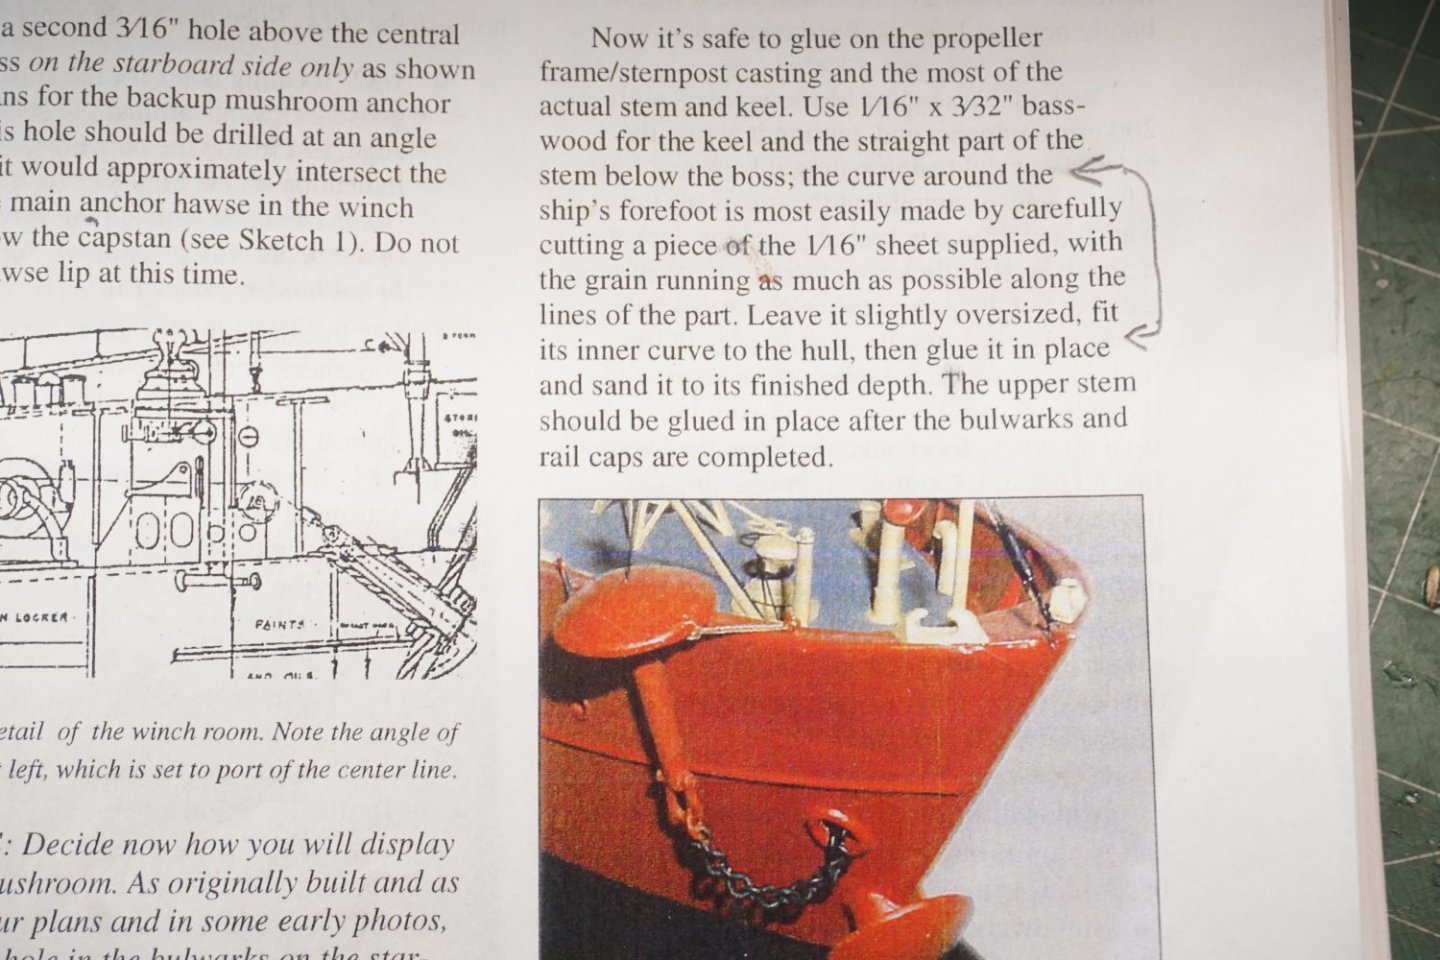
As far as my question concerning the ship's forefoot, this is what I came up with. I first soaked an oversized piece of that 1/16 basswood in water and used my heat gun to make the curve. I cut that piece in 3 sections then glued it to the hull in that location. Viewing images of other models, I just saw a continuation of the keel around the curve and up the stem and made my best educated guess.

- 29 replies
-
- 5
-
-
- Nantucket Lightship
- BlueJacket Shipcrafters
- (and 1 more)
-
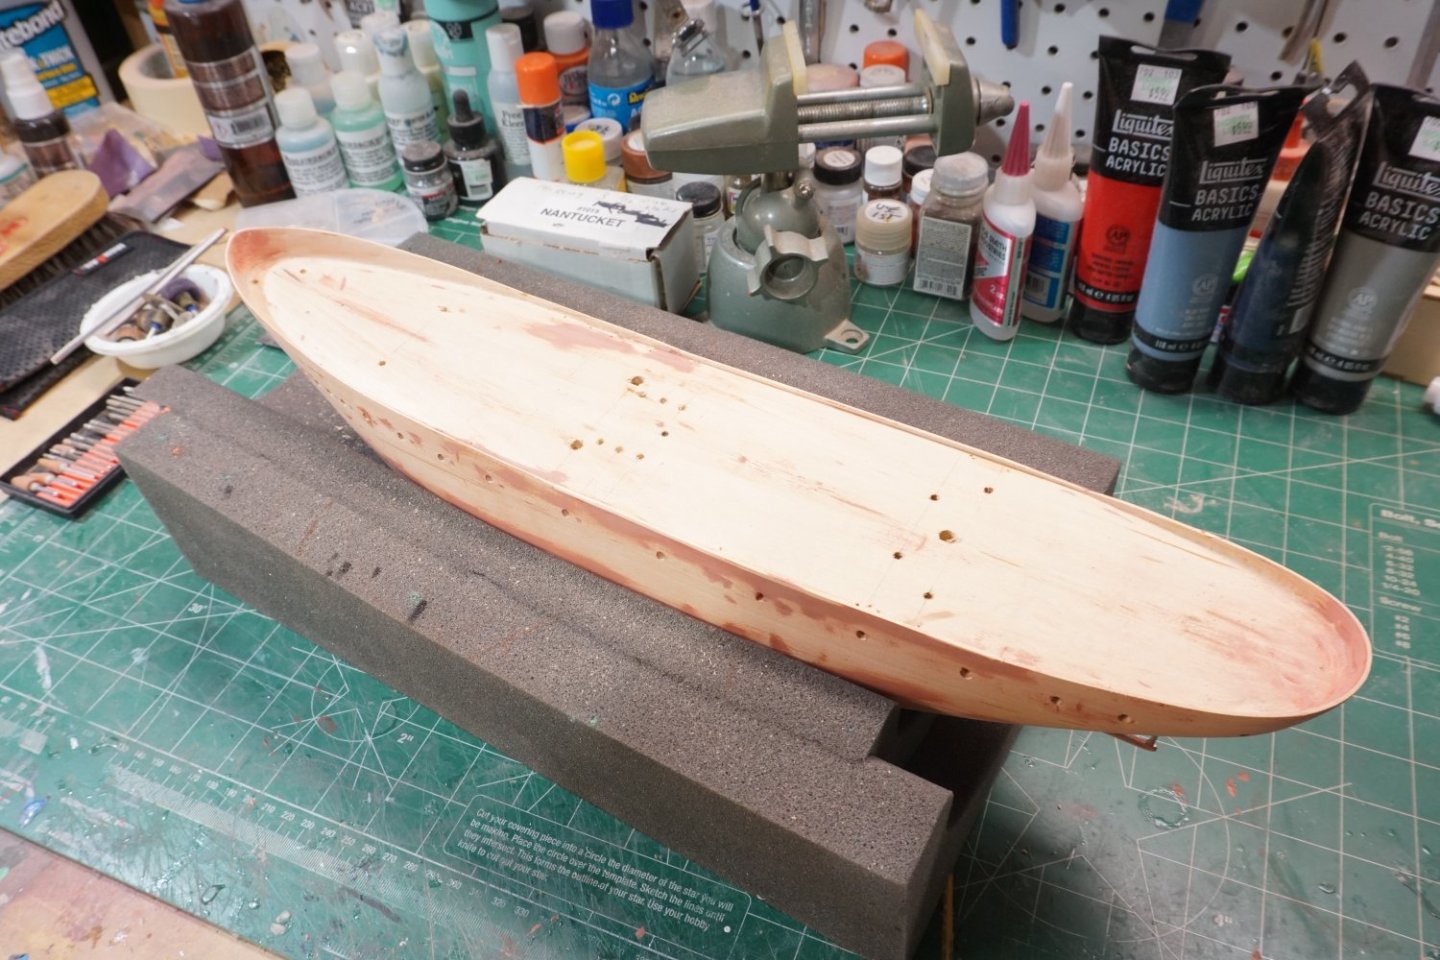
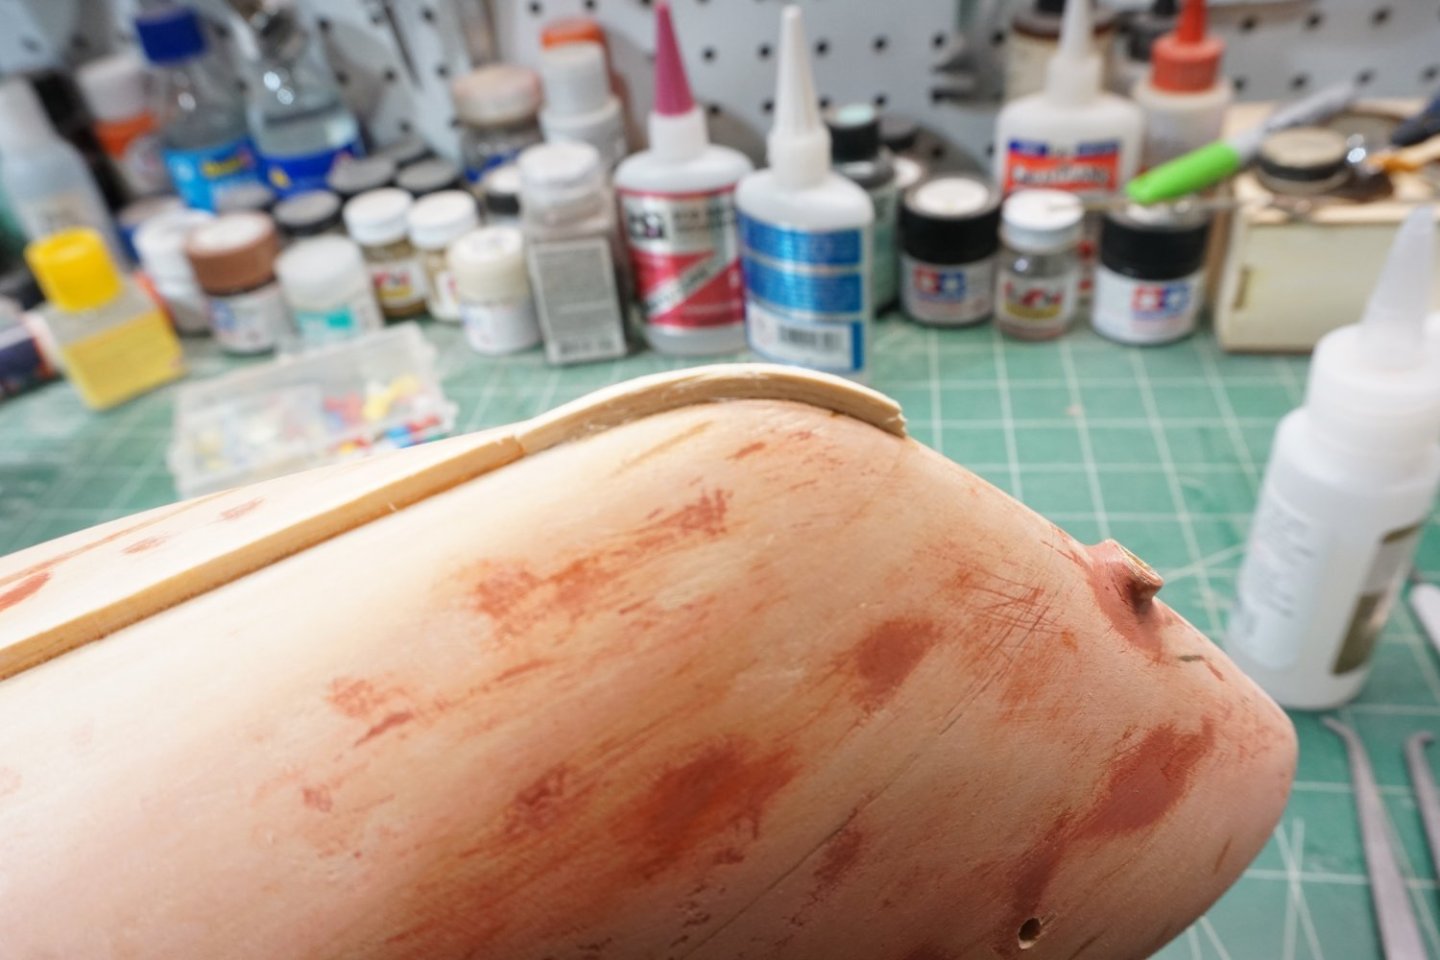
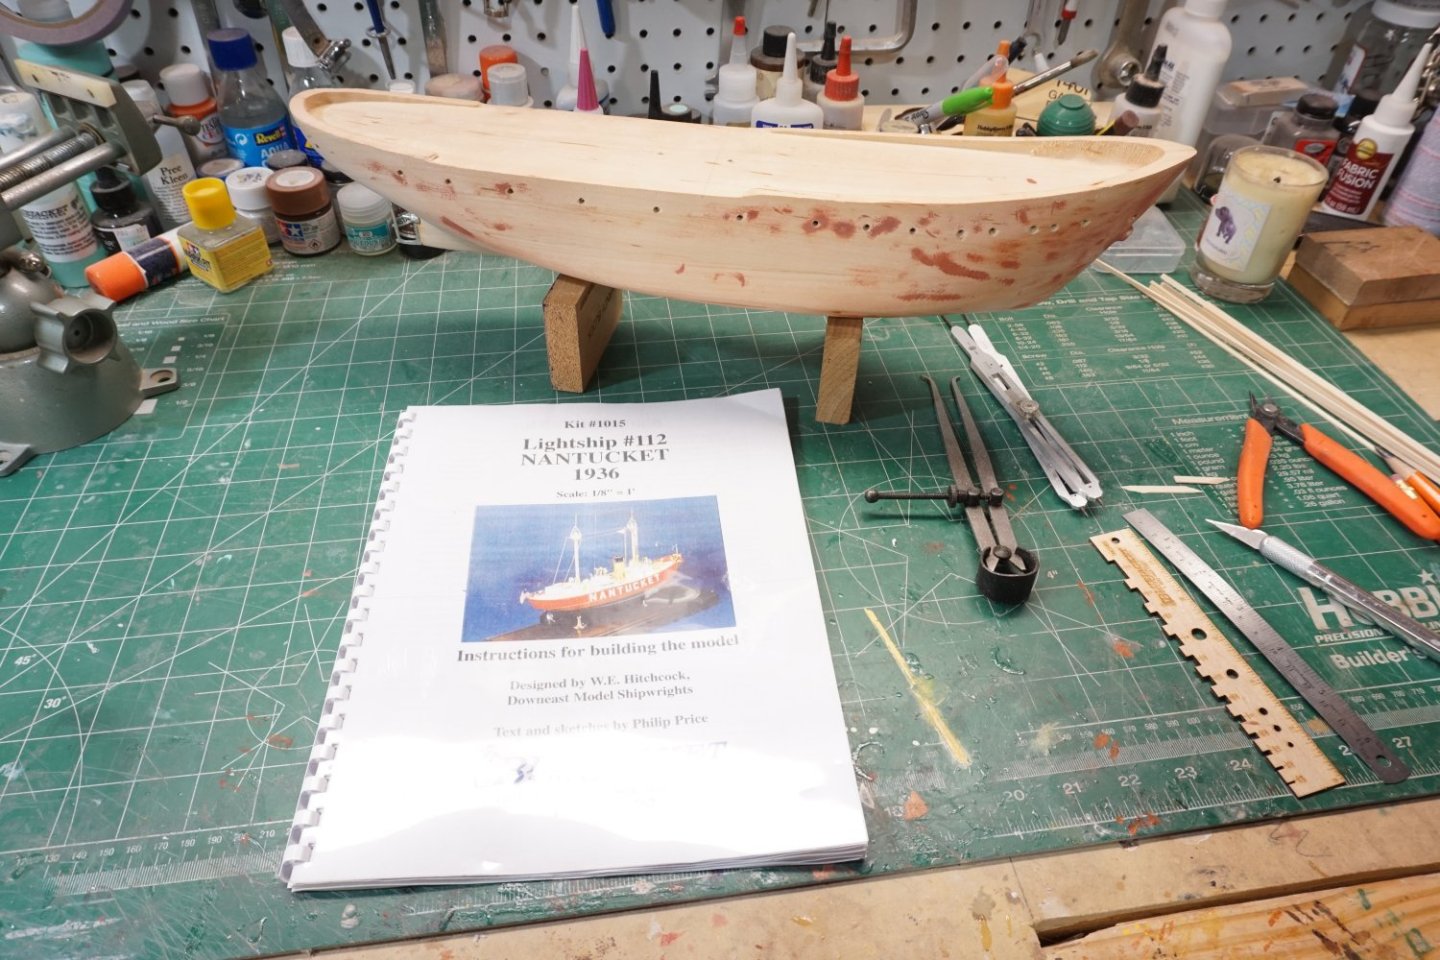
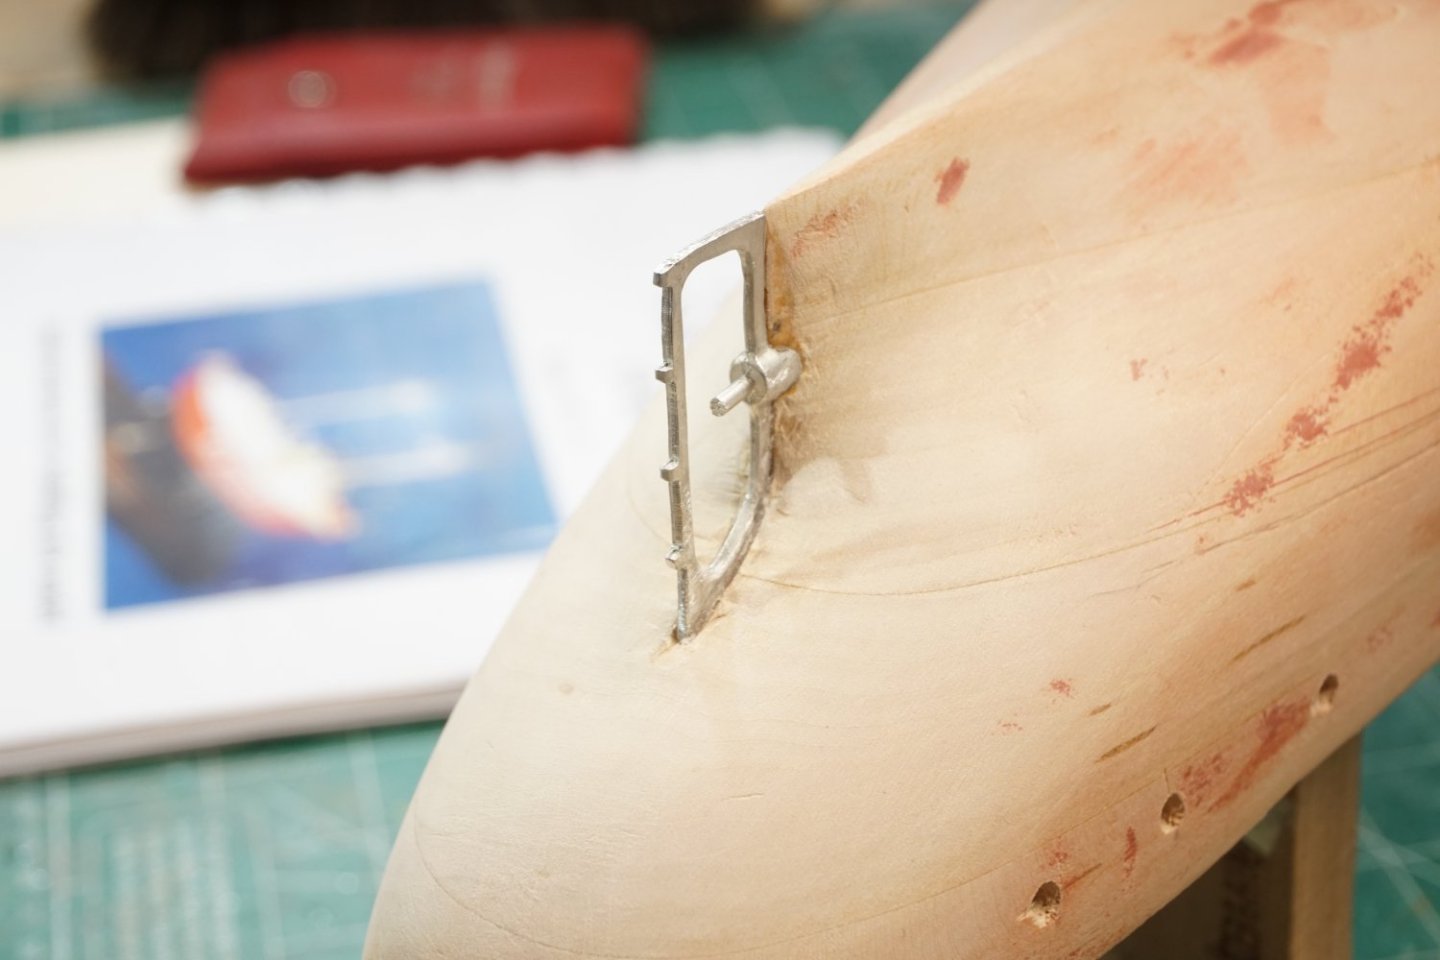
After the last several months away from ship modeling, I started building Bluejackets Lightship #112 Nantucket from 1936. This was a kit that I purchased at Bluejacket several years ago while vacationing in Maine. After reading through the manual and studying the plans I proceeded to shape the hull. This solid hull was very close to plans and very little wood had to be removed, therefore, according to manual, the use of hull section templates was not needed. At the bow, I drilled out the hole for the central anchor hawsepipe boss and glued it in place. Marked out locations of all portholes and drilled them with an 1/8 drill bit. After gluing in the propeller frame/sternpost casting I proceeded to the next step but I'm a little confused. Unsure of the ship's forefoot construction, the kit gives you a 1/16" x 3" x 6" piece of basswood for this step. My question: Is this supposed to be just a continuation of the keel around the curve of the hull, or is it to simulate an additional plate of steel that was welded to the hull in this area?
- 29 replies
-
- 9
-
-
- Nantucket Lightship
- BlueJacket Shipcrafters
- (and 1 more)
-
Thank you Nic!
-
Thank you so much! I agree with you on the coppering of the hull, I think in this scale it looks just as good if done right. Glad you like.
-
Thank you so much!
-
Thank you so much!
-
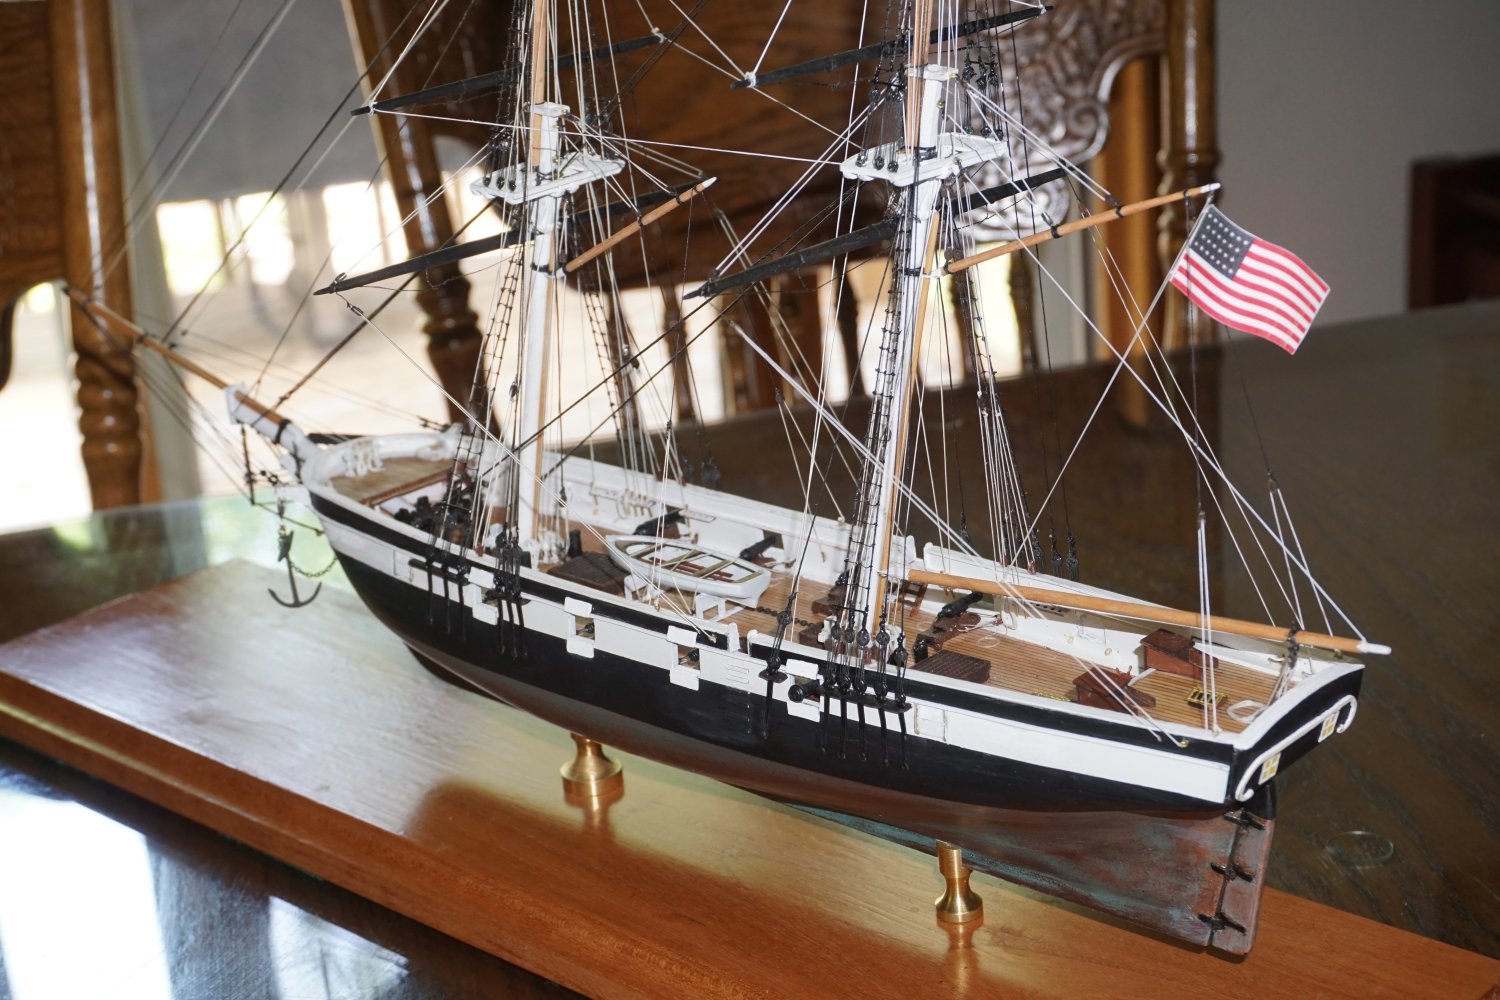
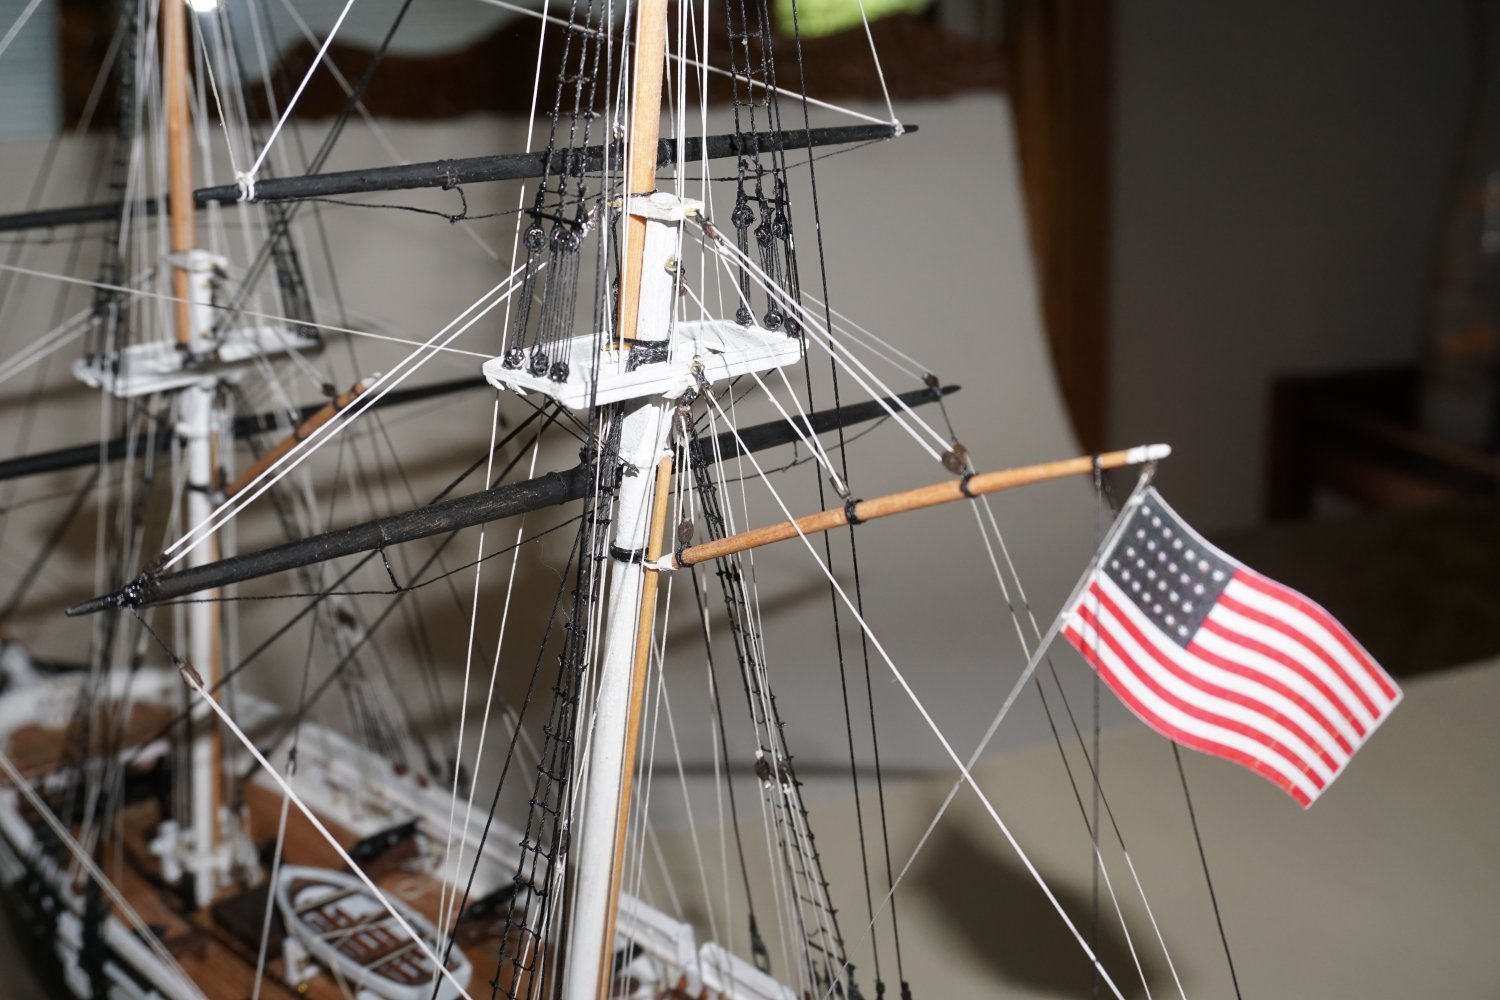
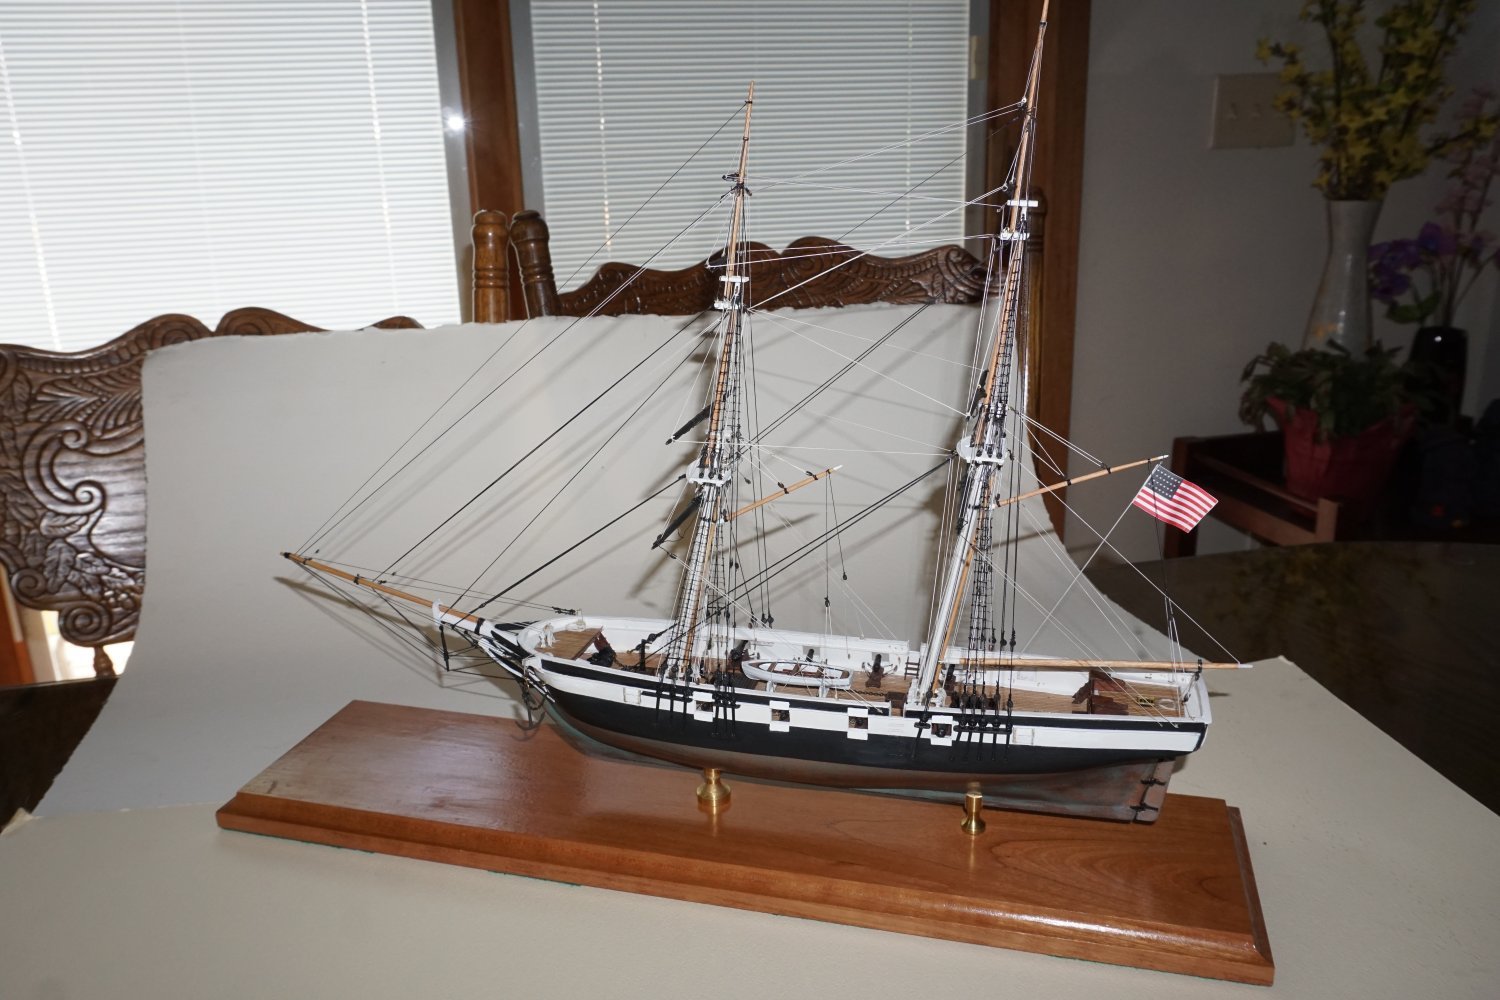
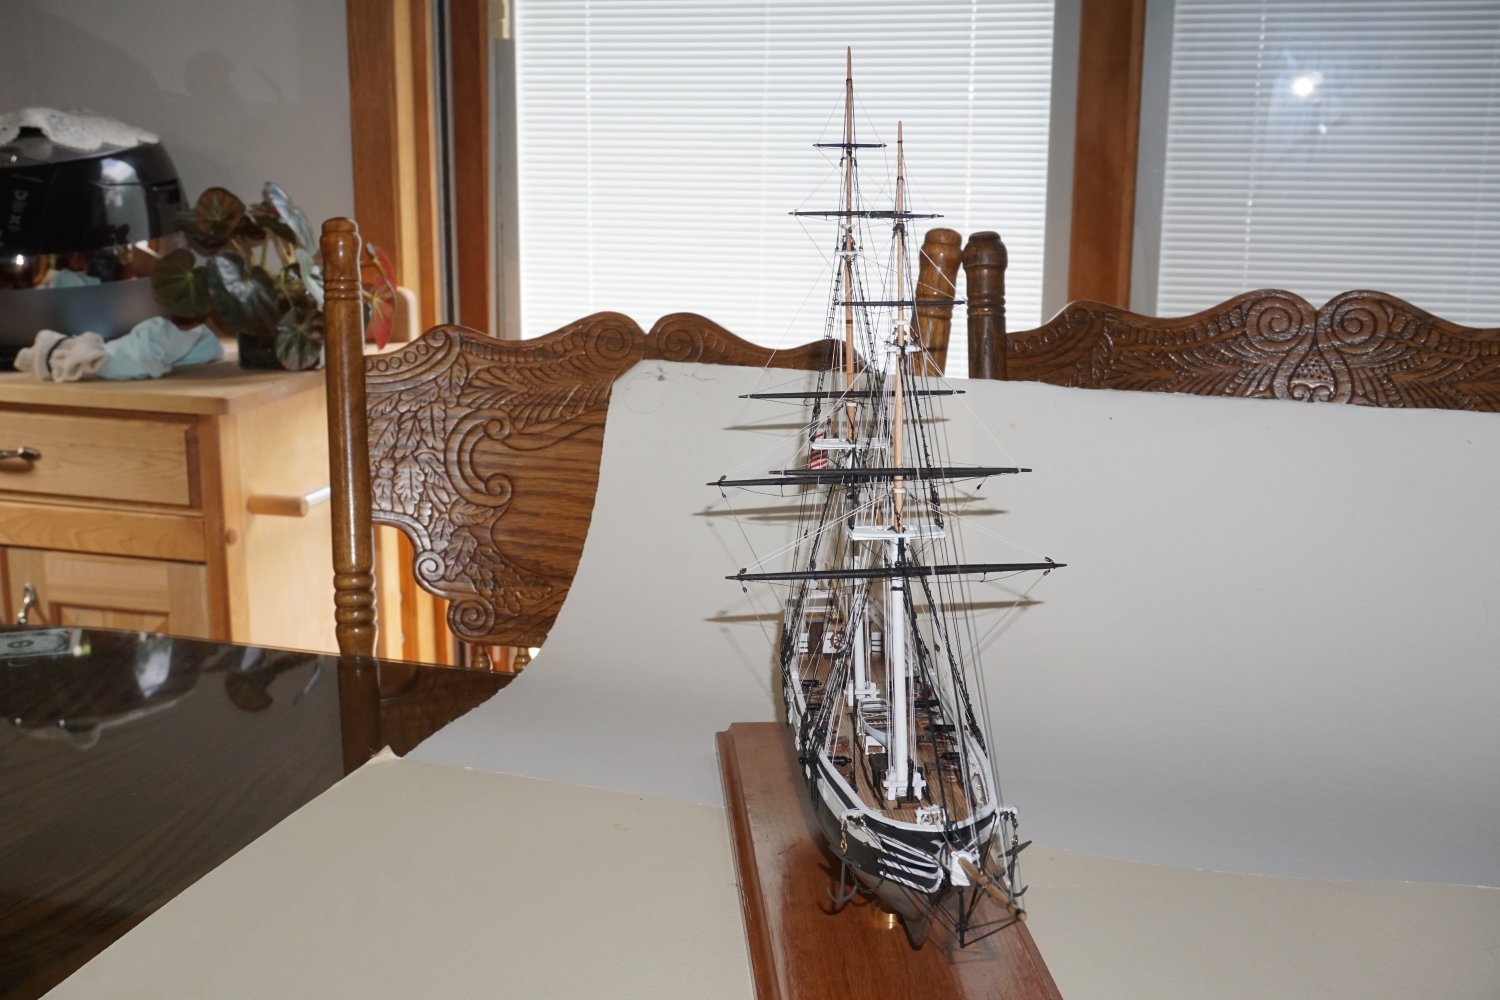
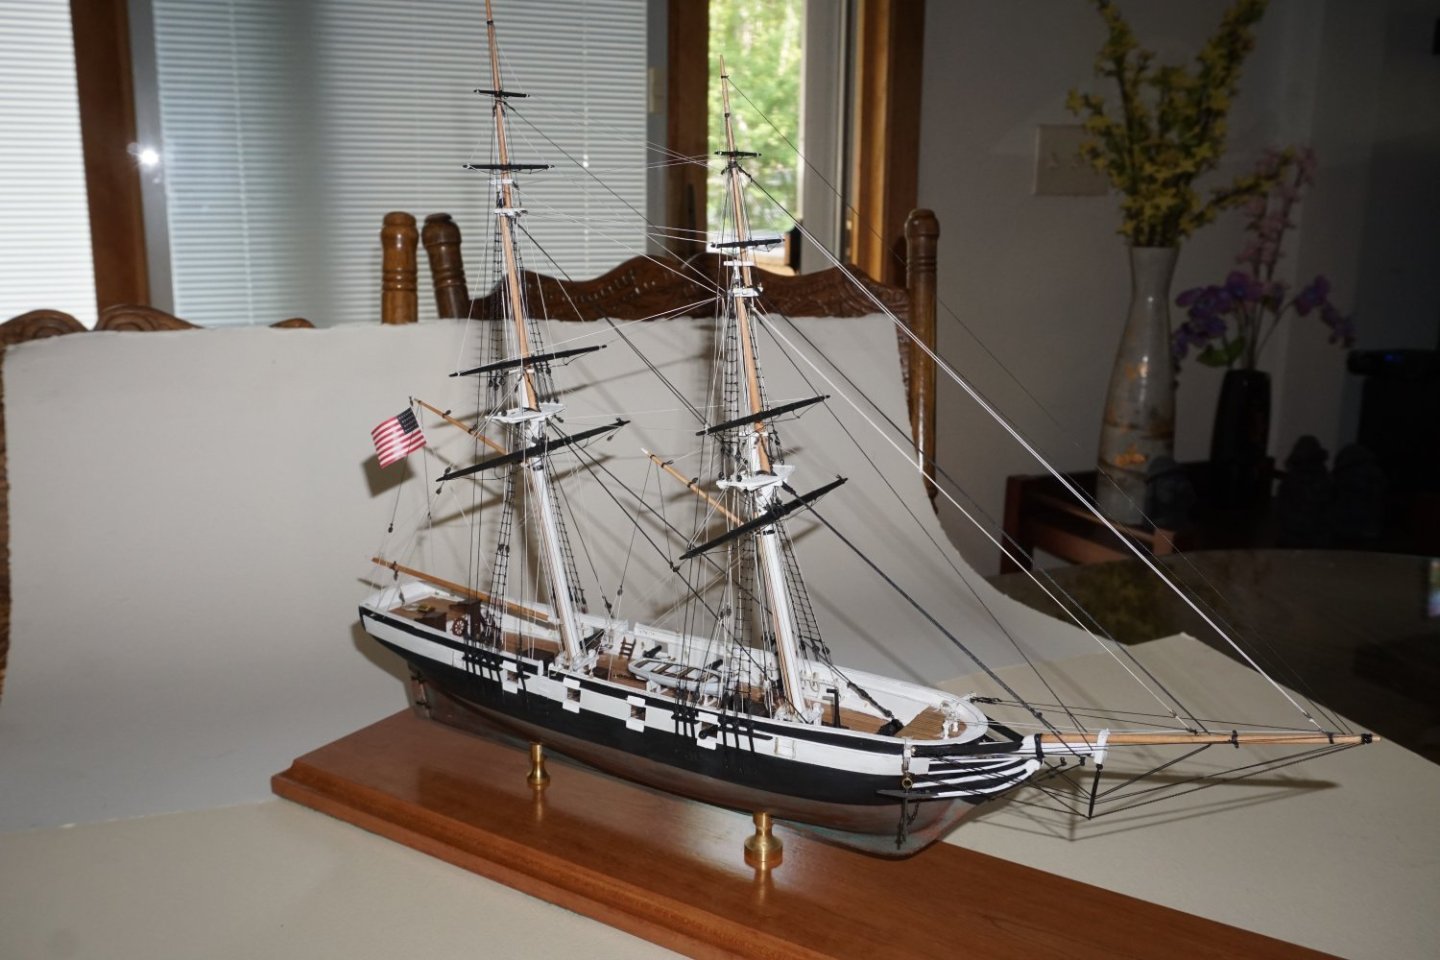
After 6 months and a huge number of hours, I'm finally calling this ship complete except for the case that I will have to make yet. I made some mistakes along the way, but I am very pleased with the outcome. This is my 1st 2 masted sailing ship, and it was quite the challenge for me. Last year I was fortunate enough to take Nic's (Bluejacket ship crafters) rigging class, and I can say that class was very, very helpful and I learned so much. The only problem I have now is figuring out what my next project will be.


- 50 replies
-
- 8
-
-
- Perry
- BlueJacket Shipcrafters
- (and 1 more)
-
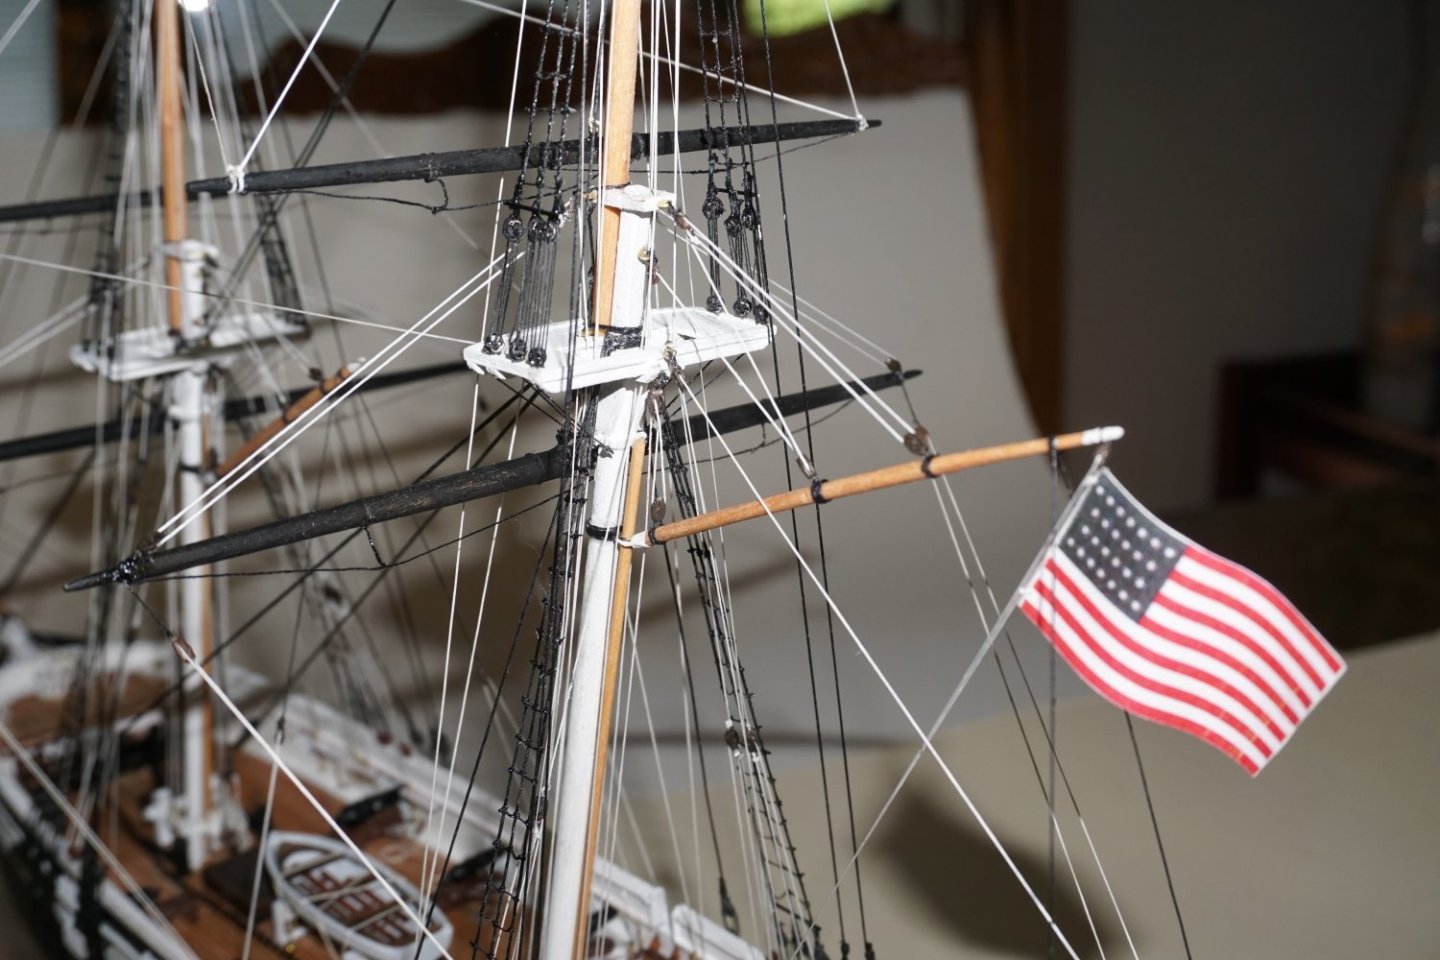
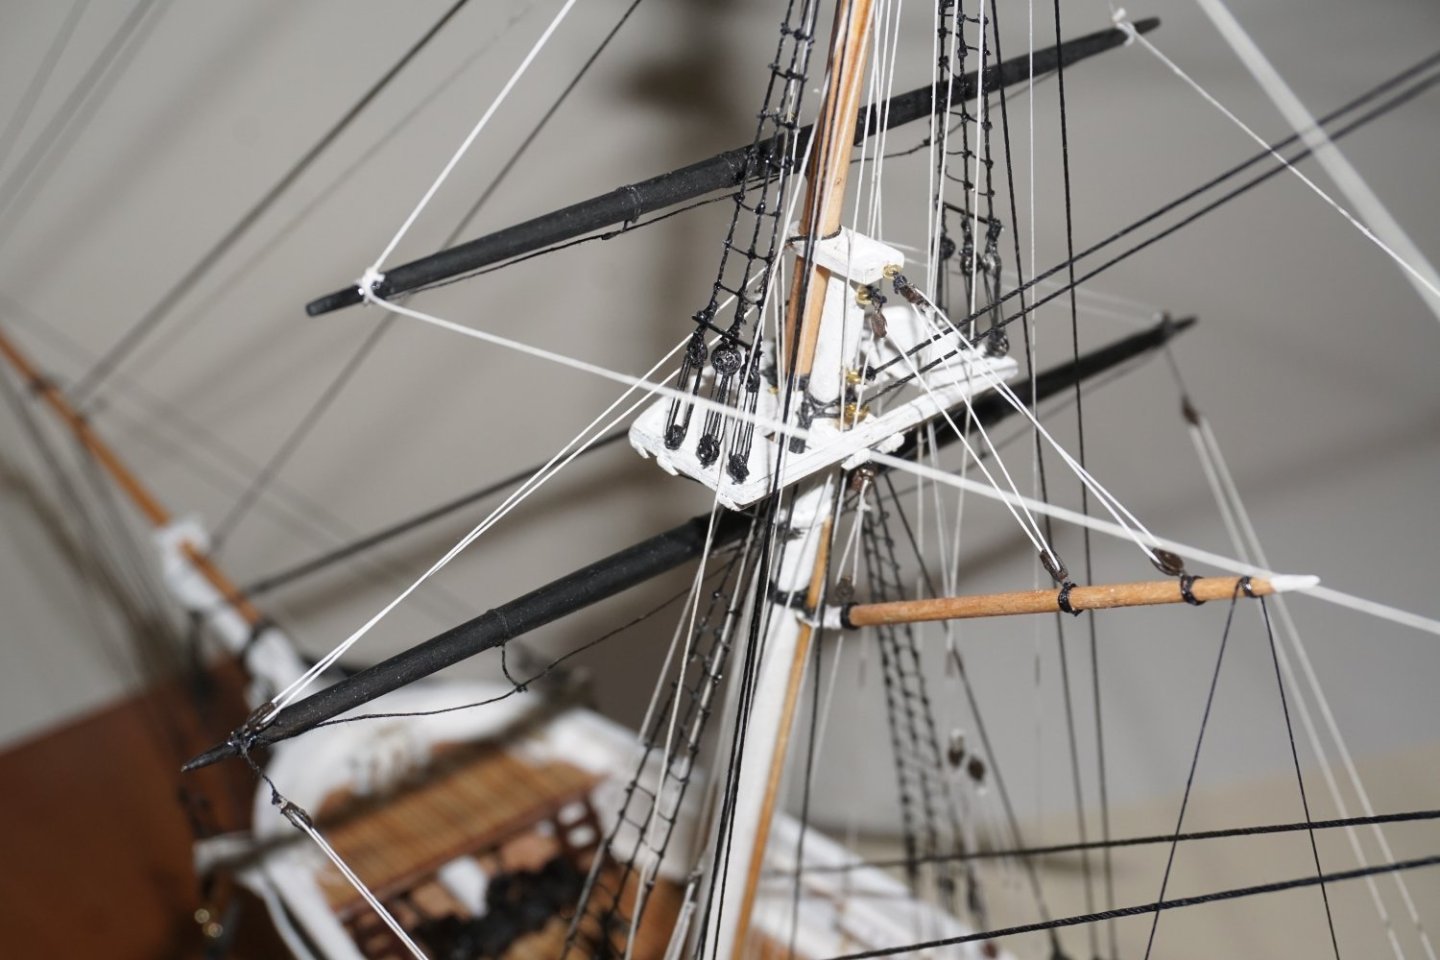
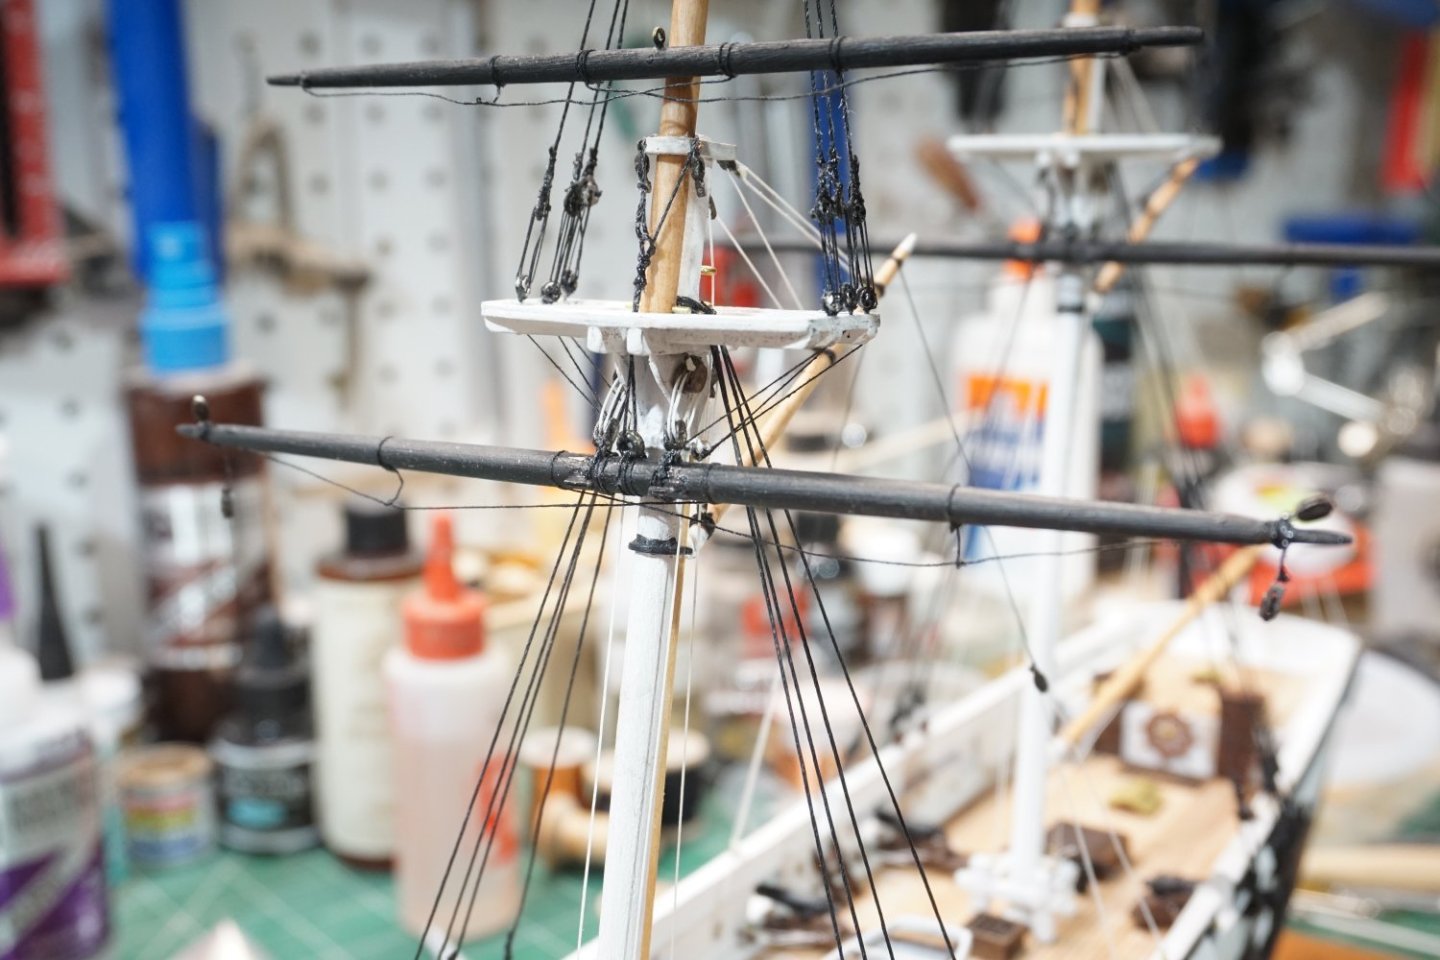
Making more progress and just thought I would take some photos of where I'm at on the rigging.


- 50 replies
-
- 4
-
-
- Perry
- BlueJacket Shipcrafters
- (and 1 more)
-
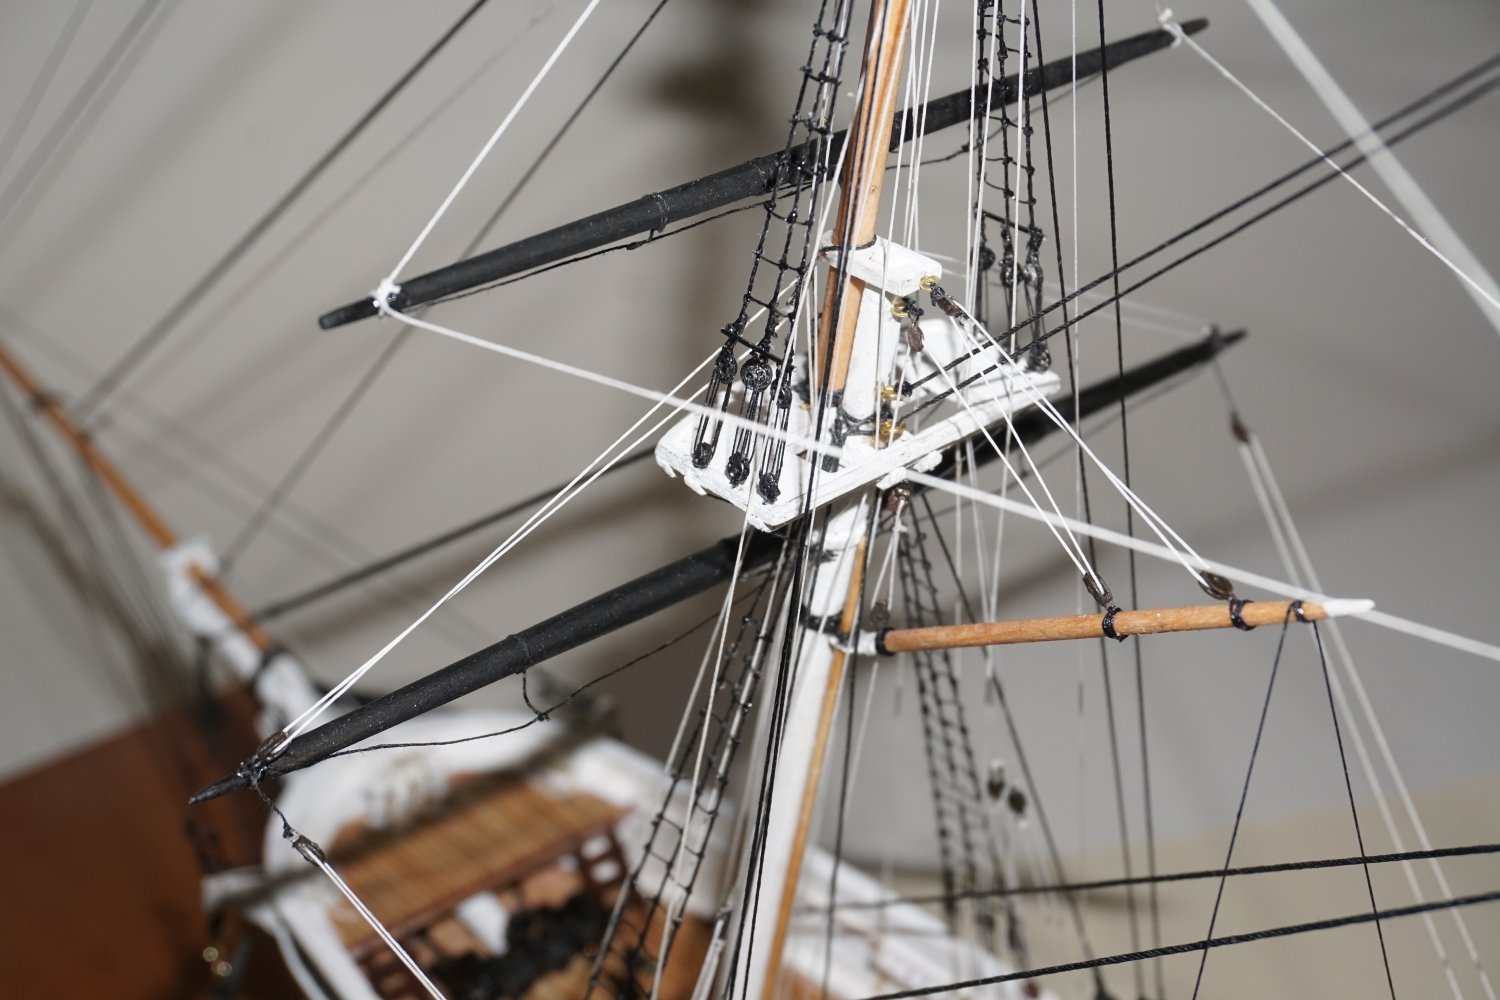
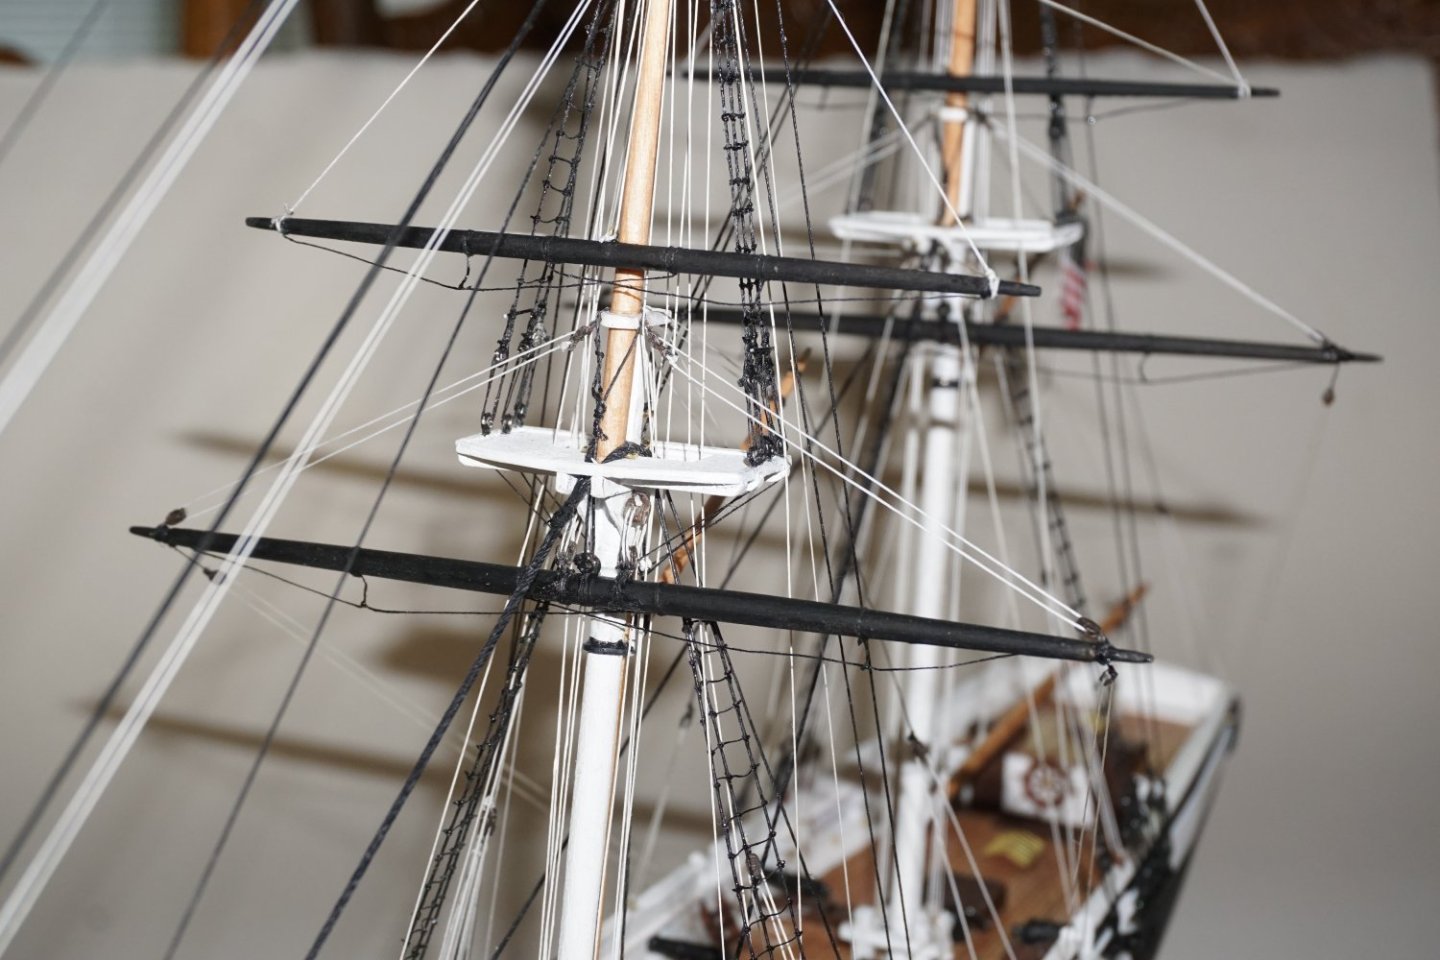
Work is progressing slowly, but she is starting to come to life. Installed lower and top mast shrouds over the last few days. Hopefully I can get this completed in the next few weeks. Sure, wish I knew some shortcuts to working with those tiny deadeyes as some modelers make this look so easy. Although not perfect, I'm pleased with my results so far and I guess that's all that should matter. I will get better at this as I gain experience.

- 50 replies
-
- 8
-
-

-
- Perry
- BlueJacket Shipcrafters
- (and 1 more)
-
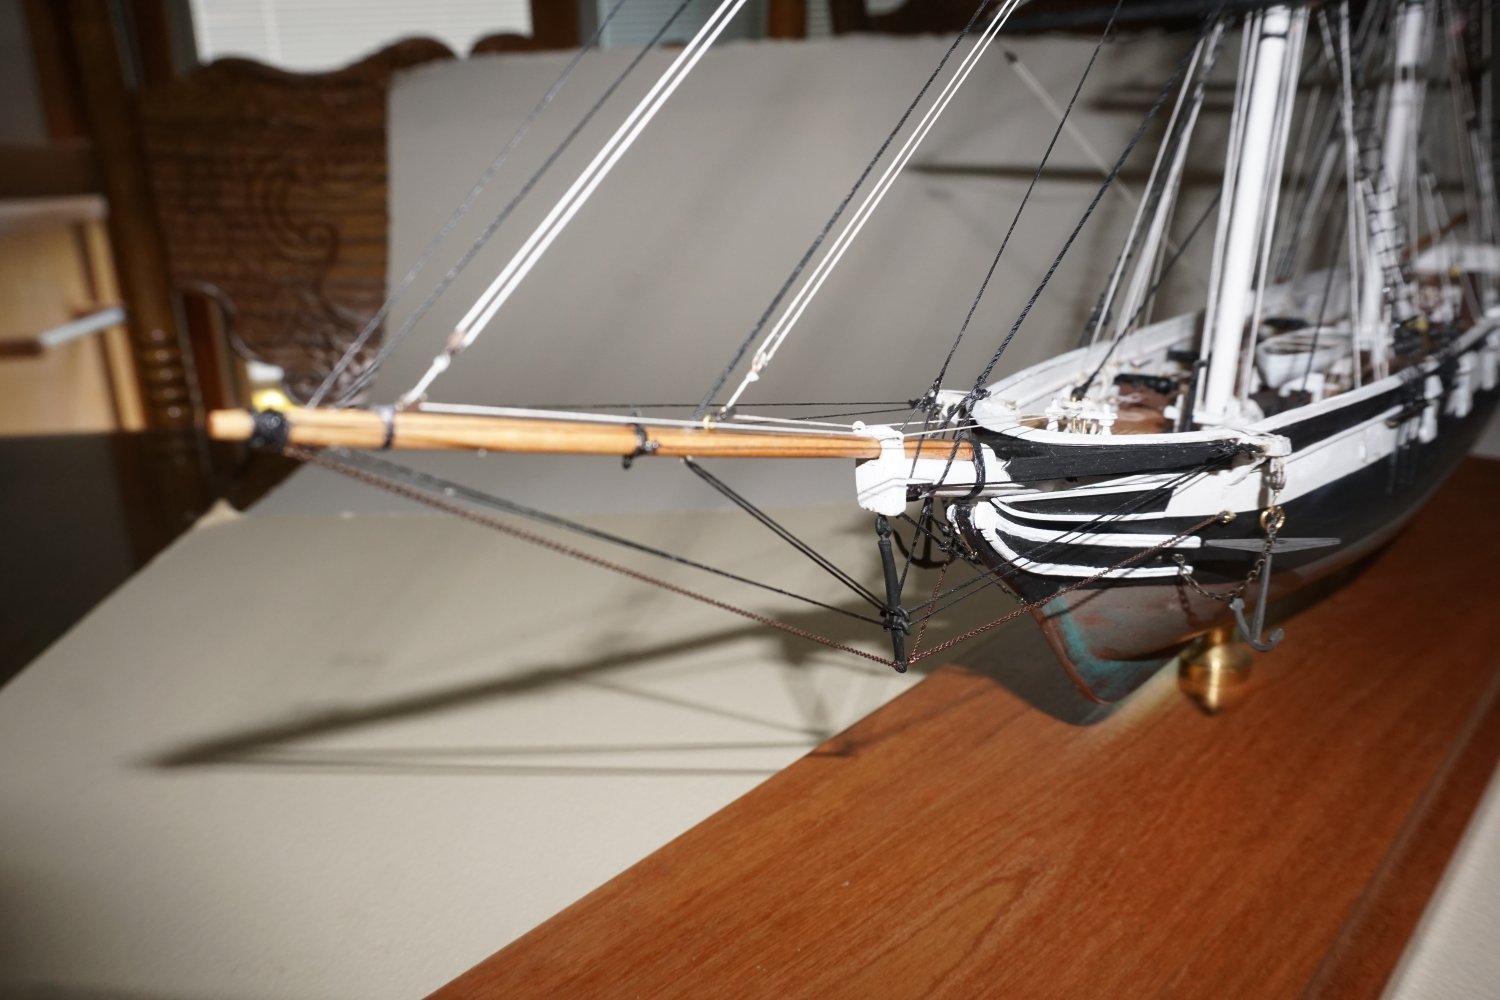
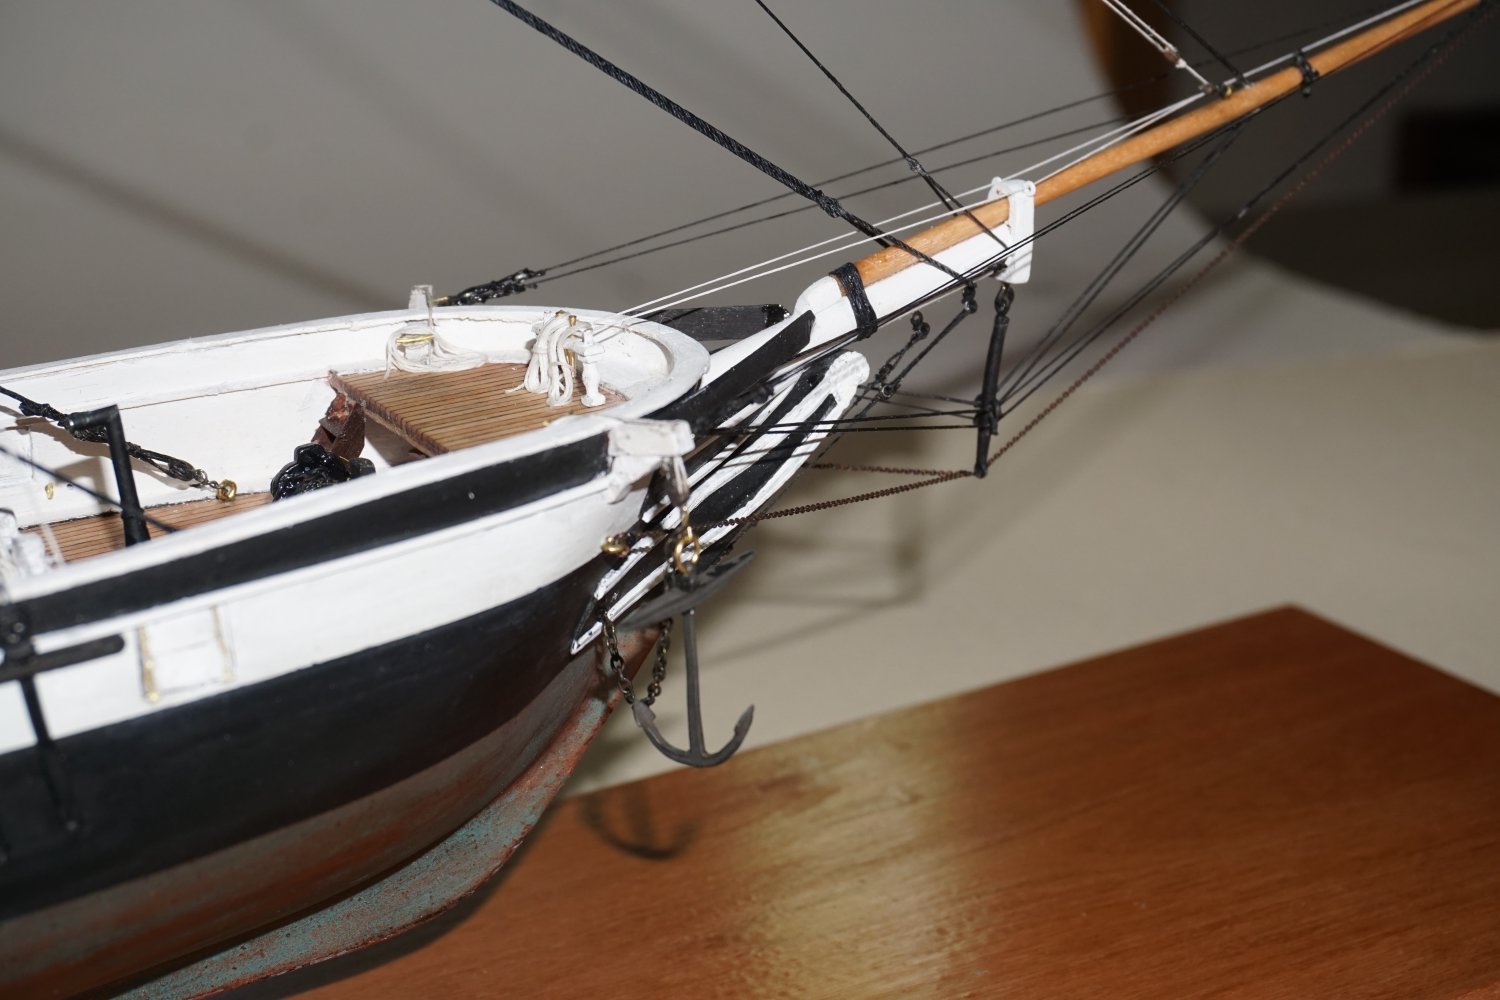
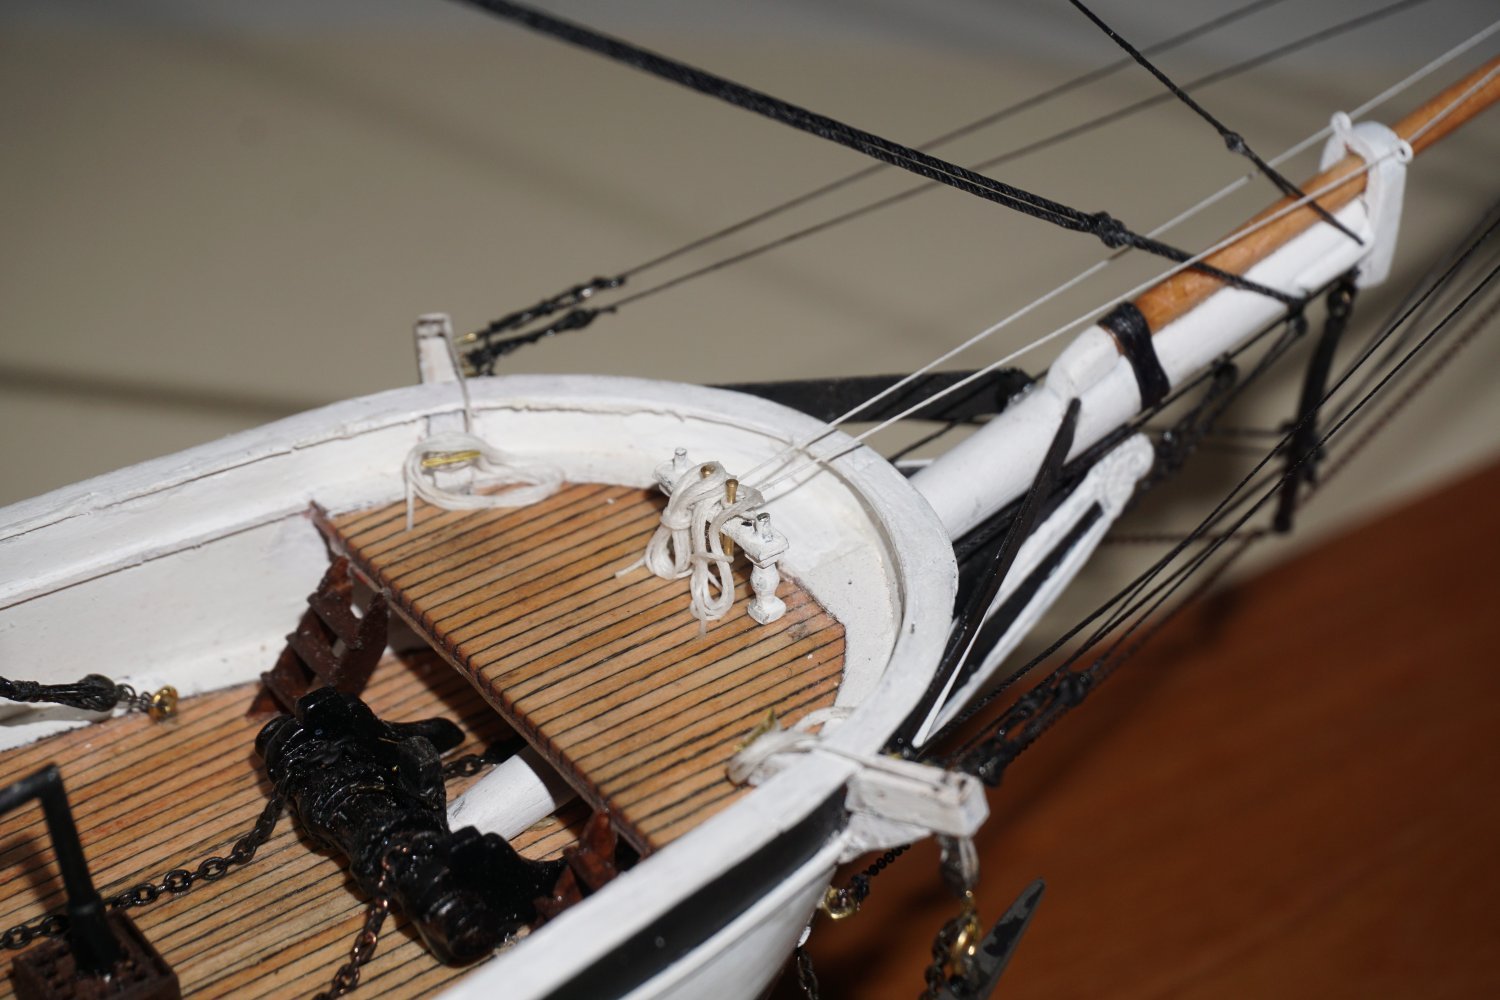
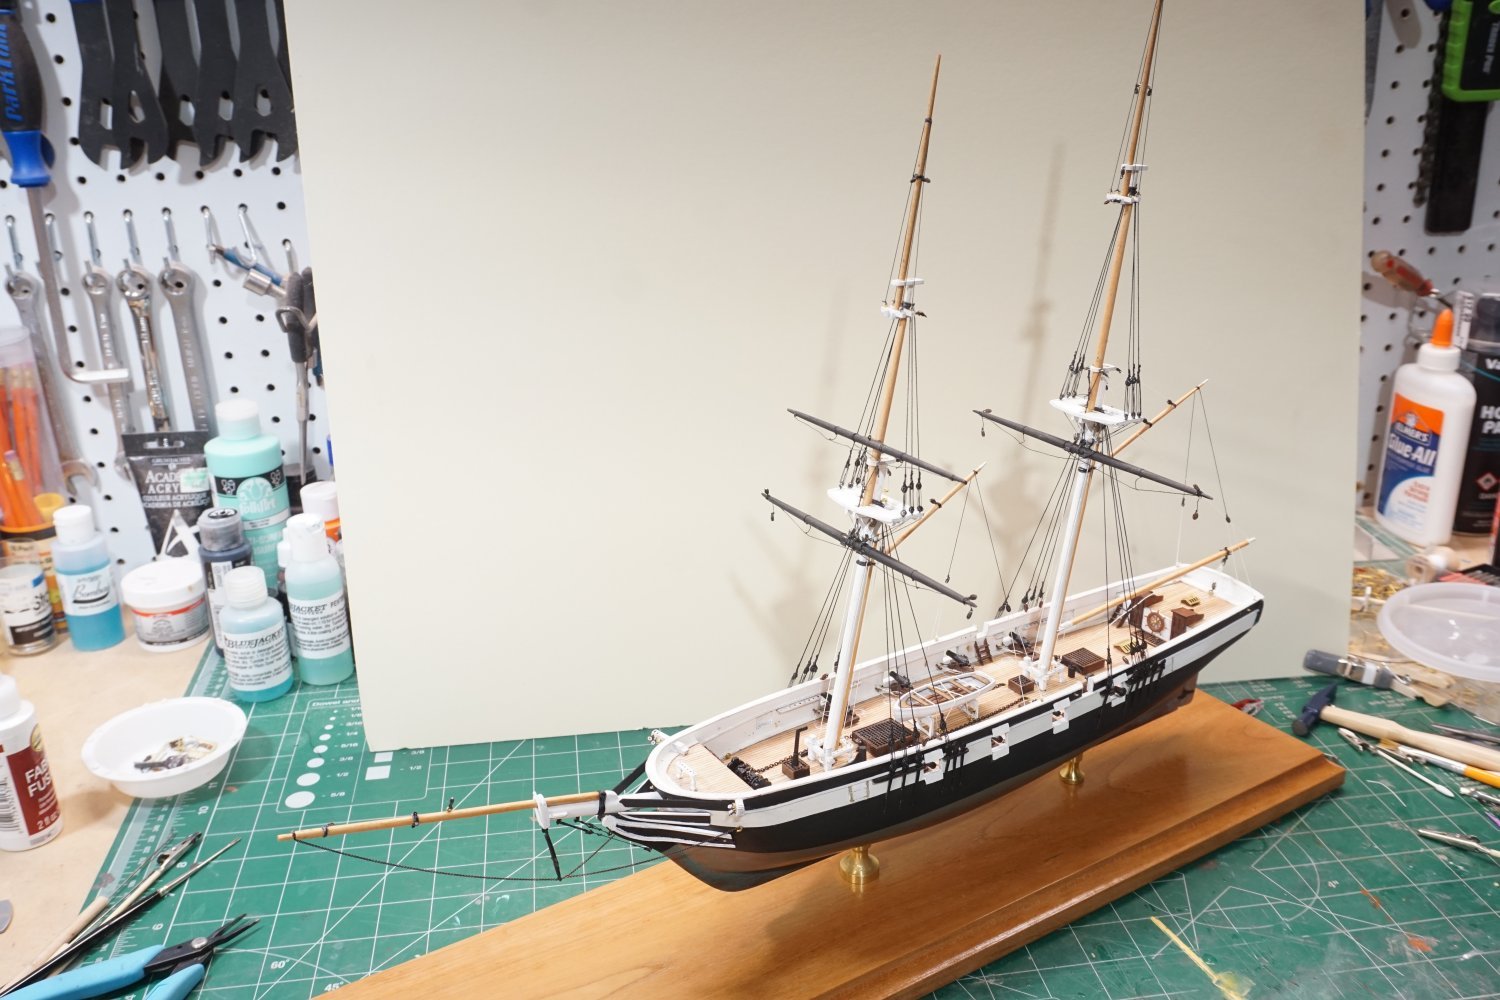
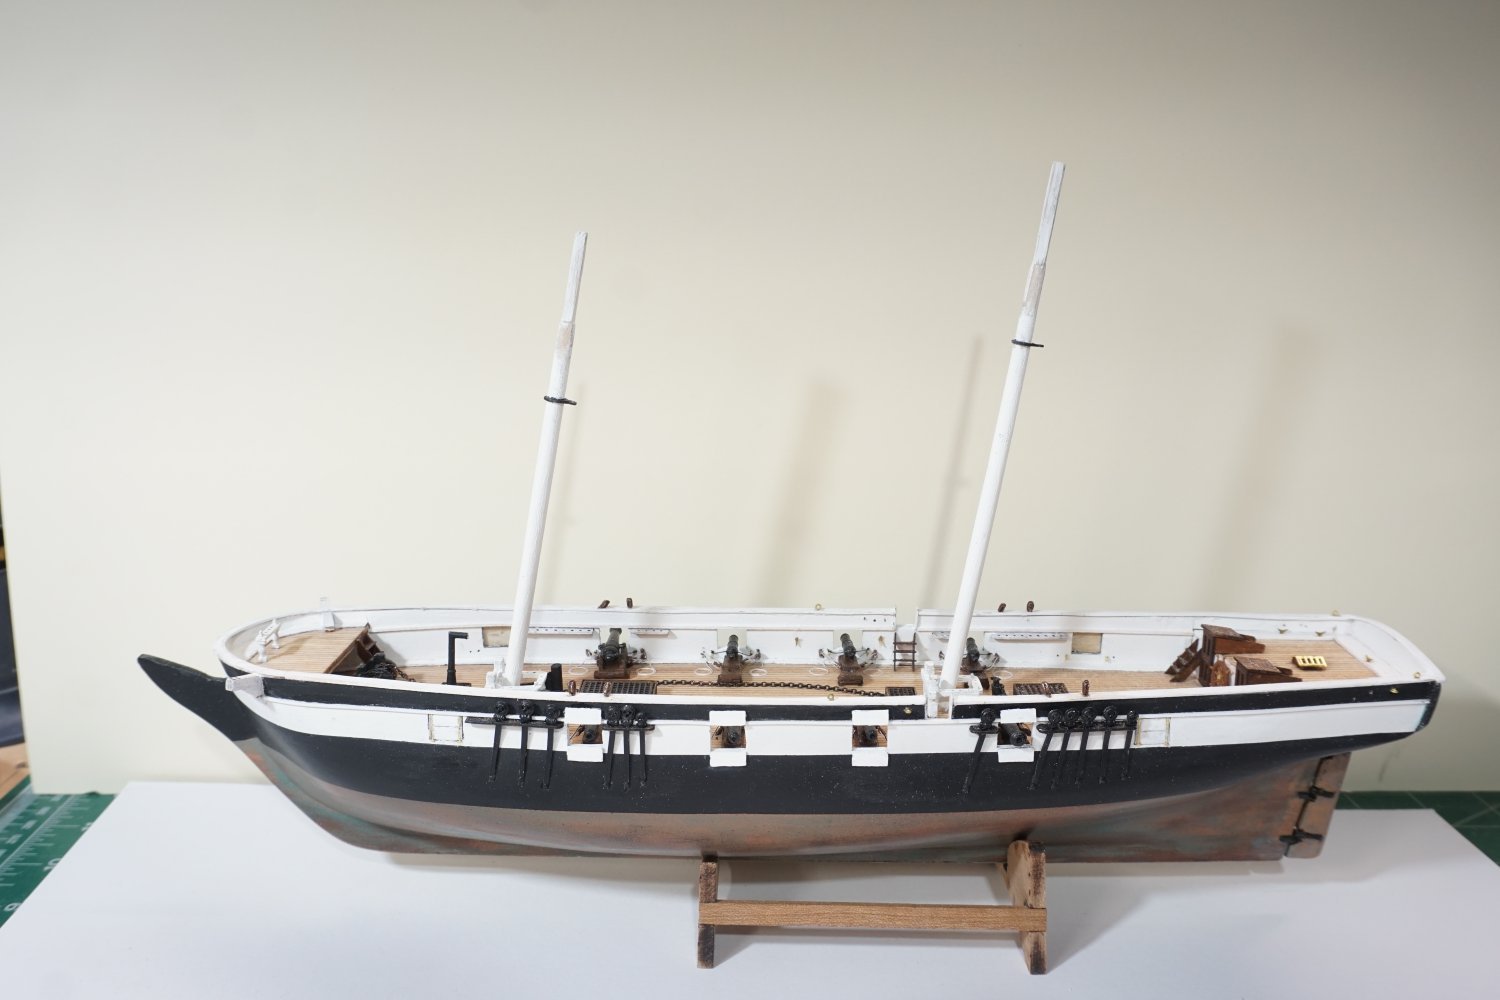
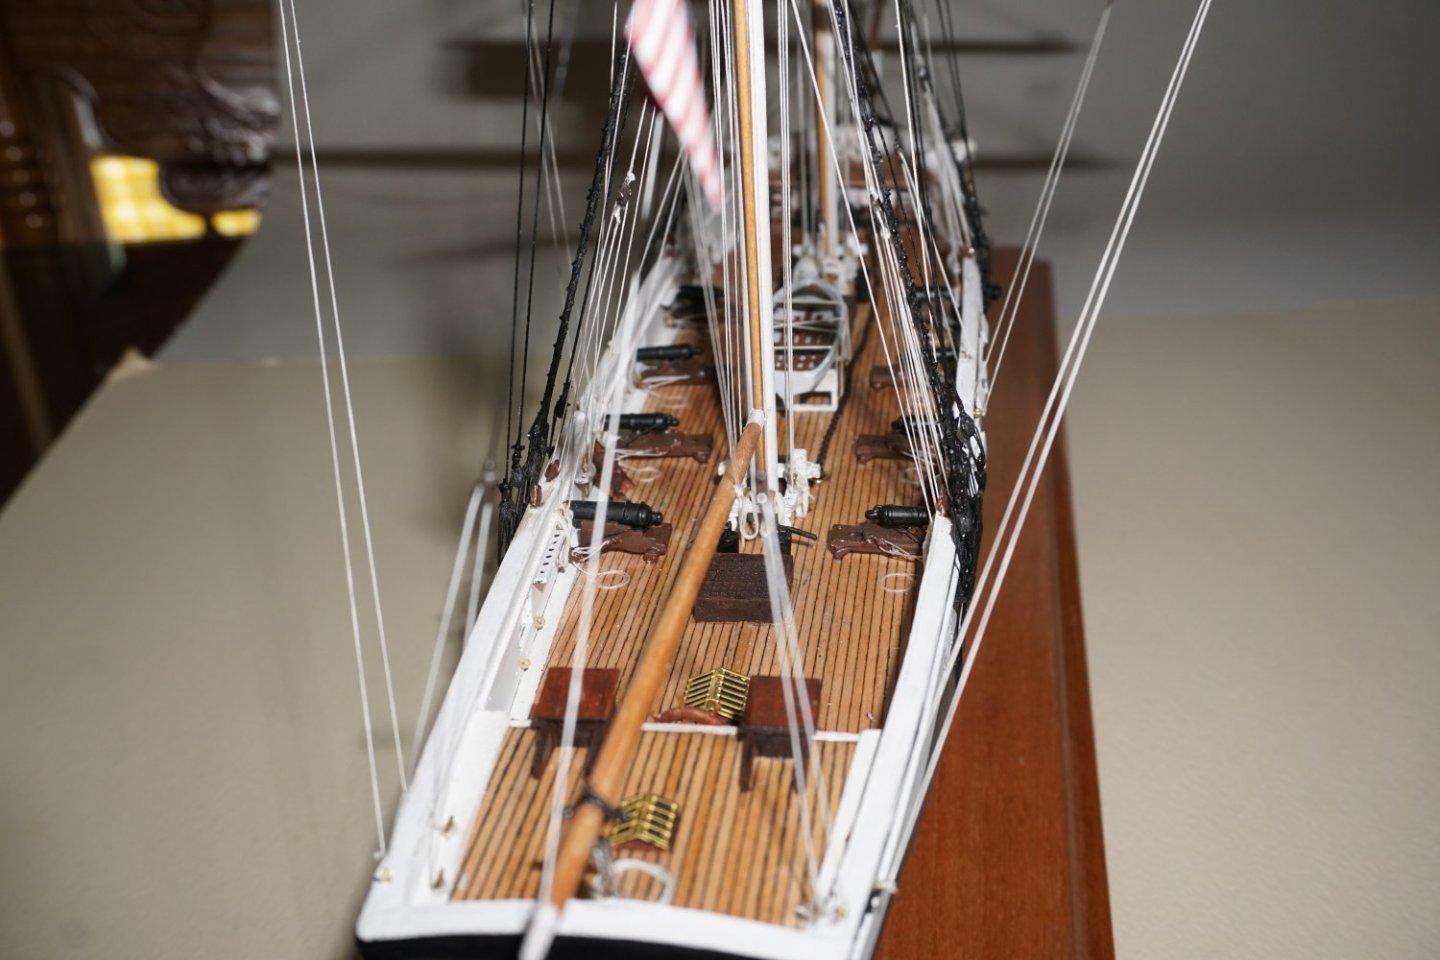
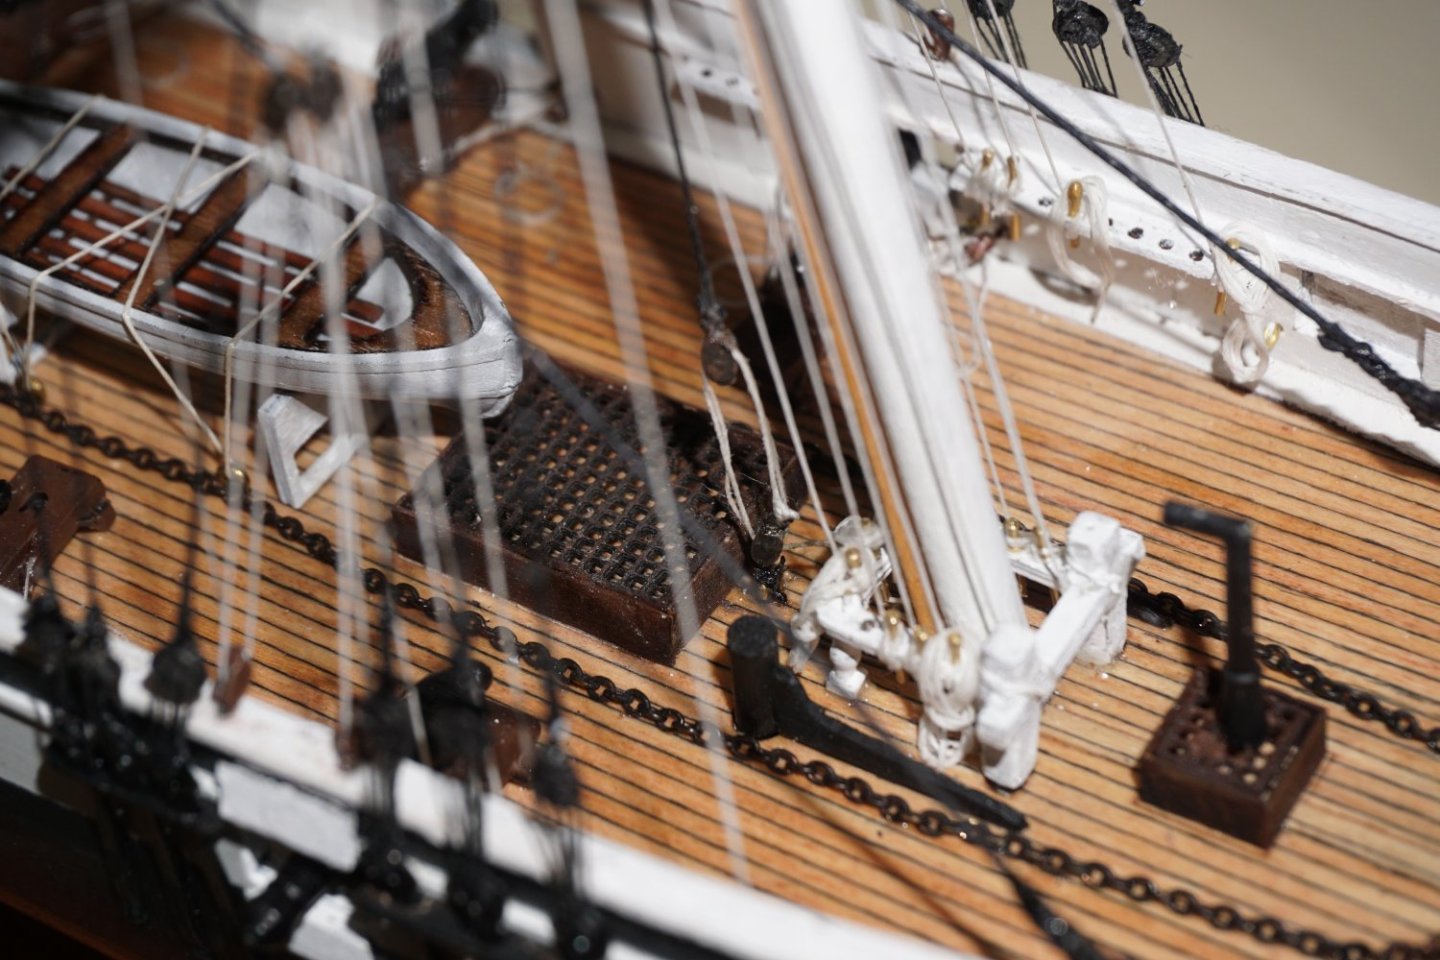
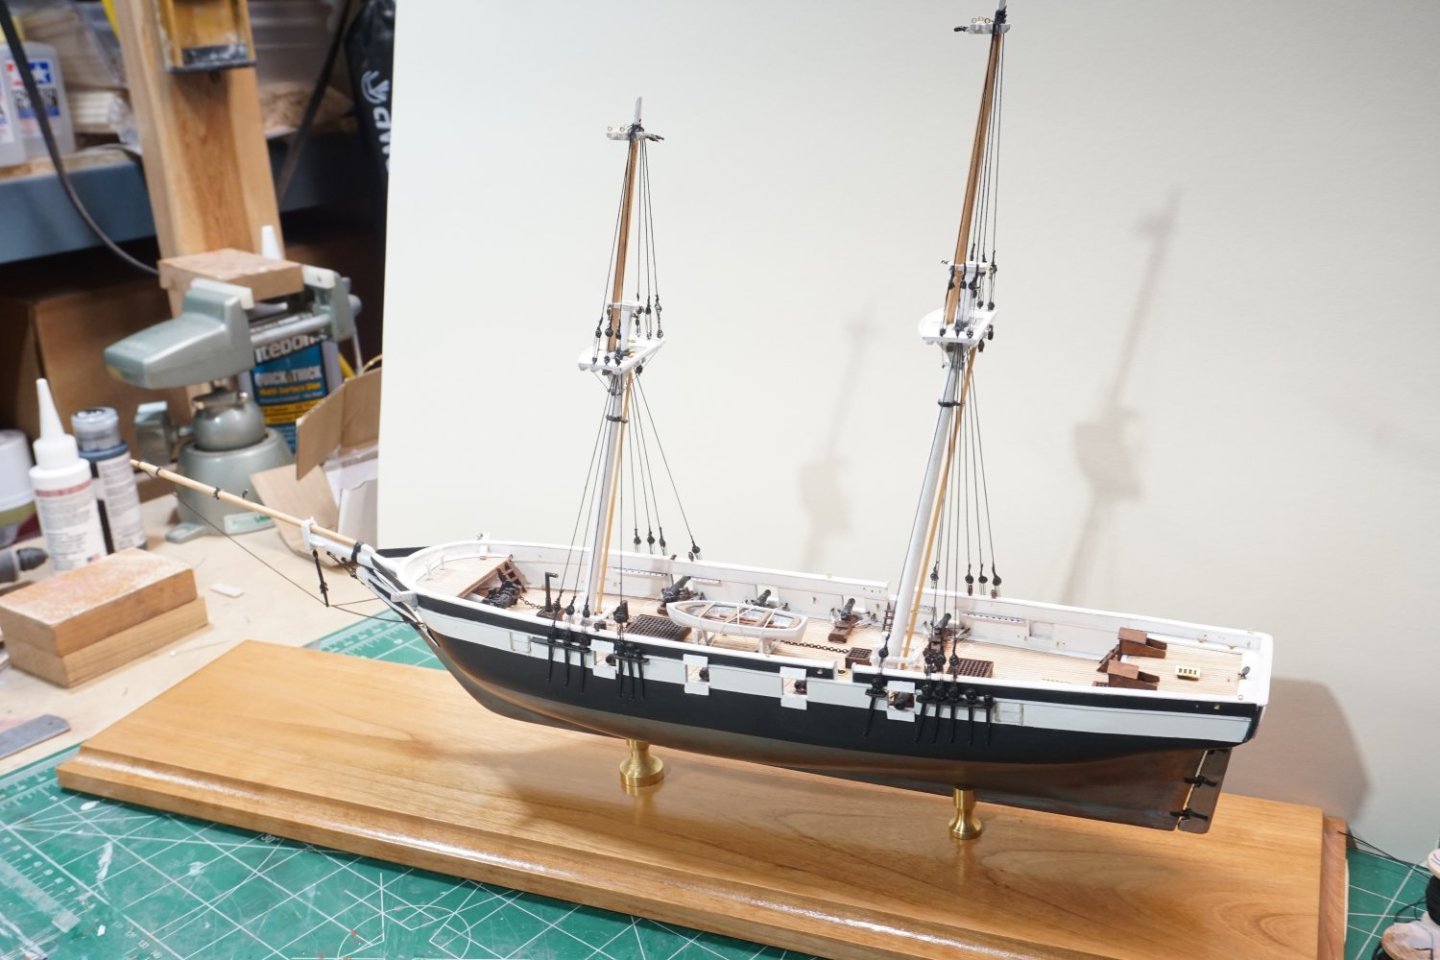
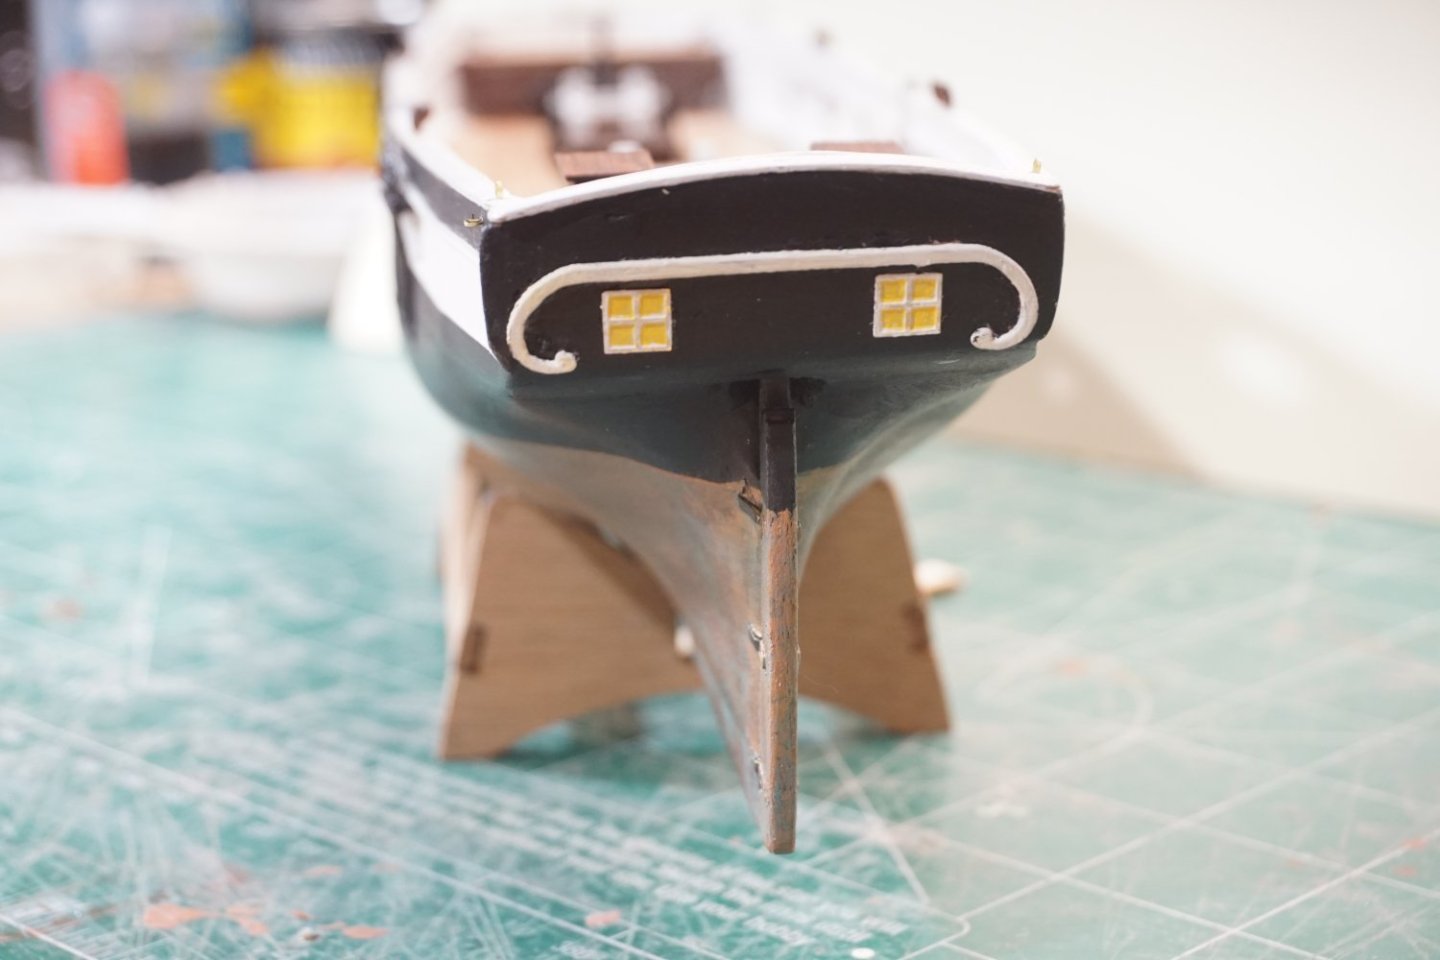
Completed and attached bowsprit, added all the required blocks, eye bolts to the bow for the rigging. Also installed trail boards then finished and installed the cutter. Progress has been slow for me the last month or so as I've been busy with other projects, but after all this work completed, I finally mounted the ship to its permanent base. I previously had all the masts, yards, boom and gaffs completed so now I'm ready to put my rigging skills that I have learned to work.


- 50 replies
-
- 5
-
-
- Perry
- BlueJacket Shipcrafters
- (and 1 more)
-
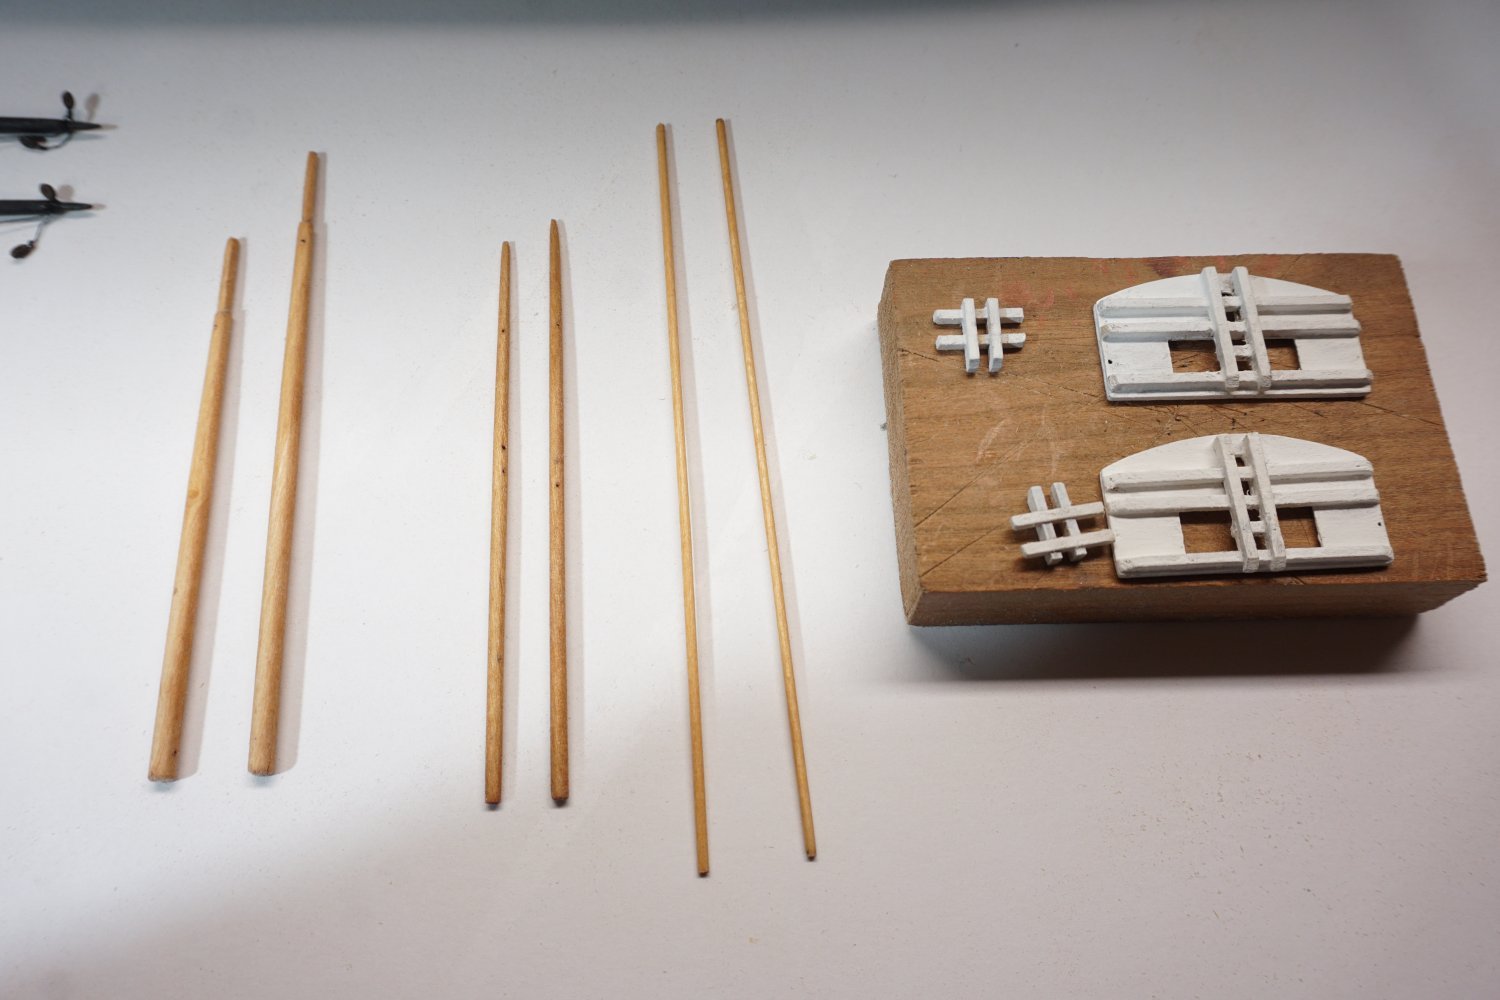
Thank you for your nice compliment and interest!
-
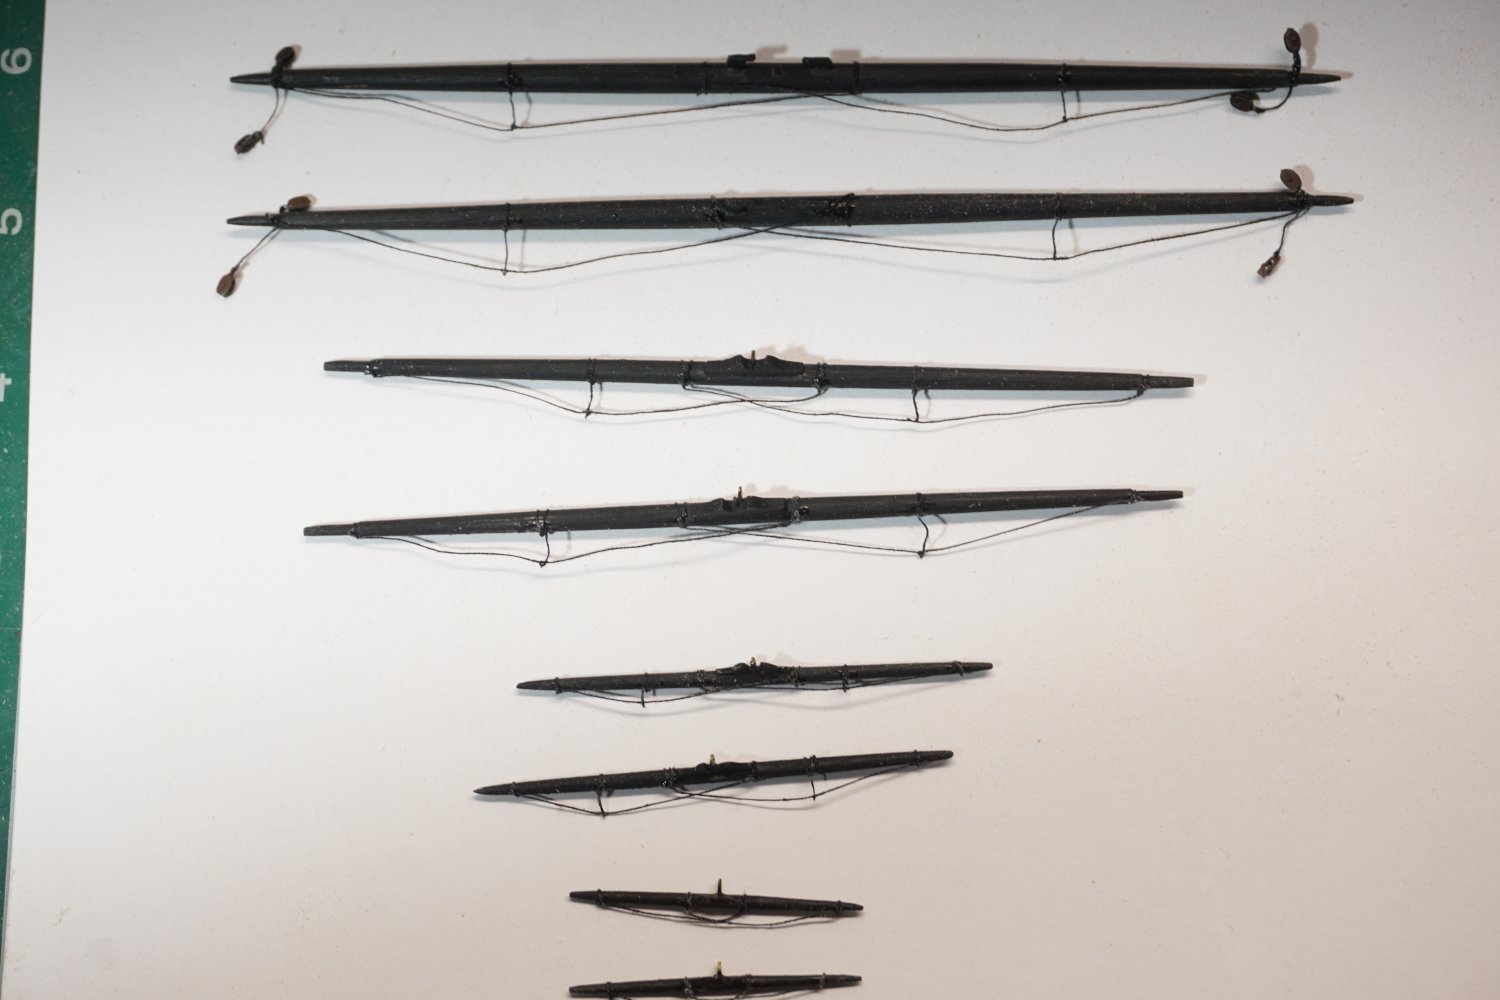
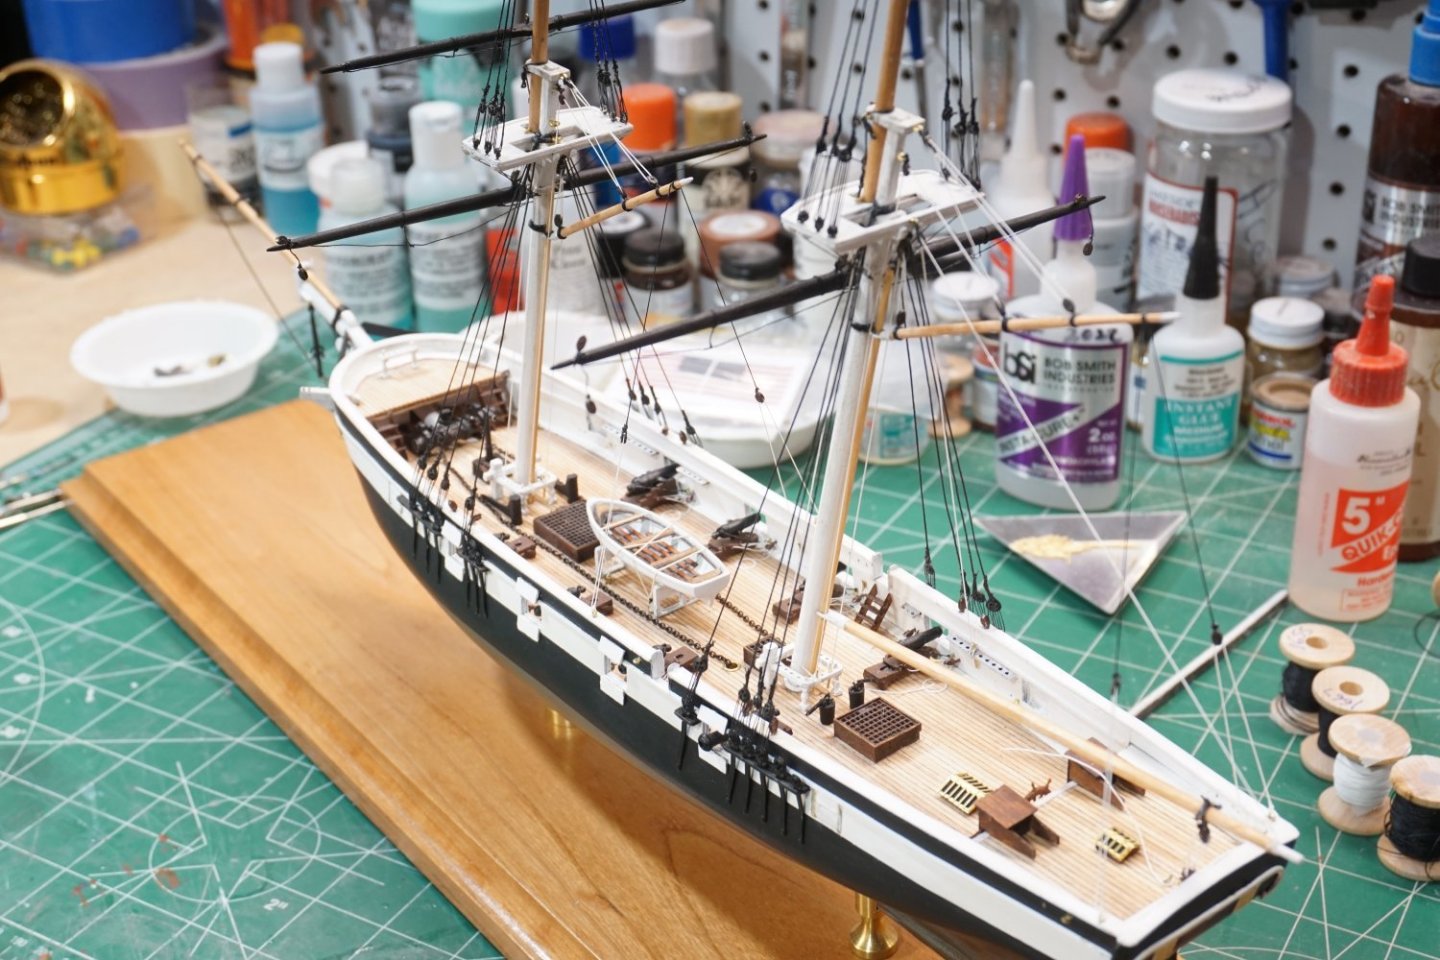
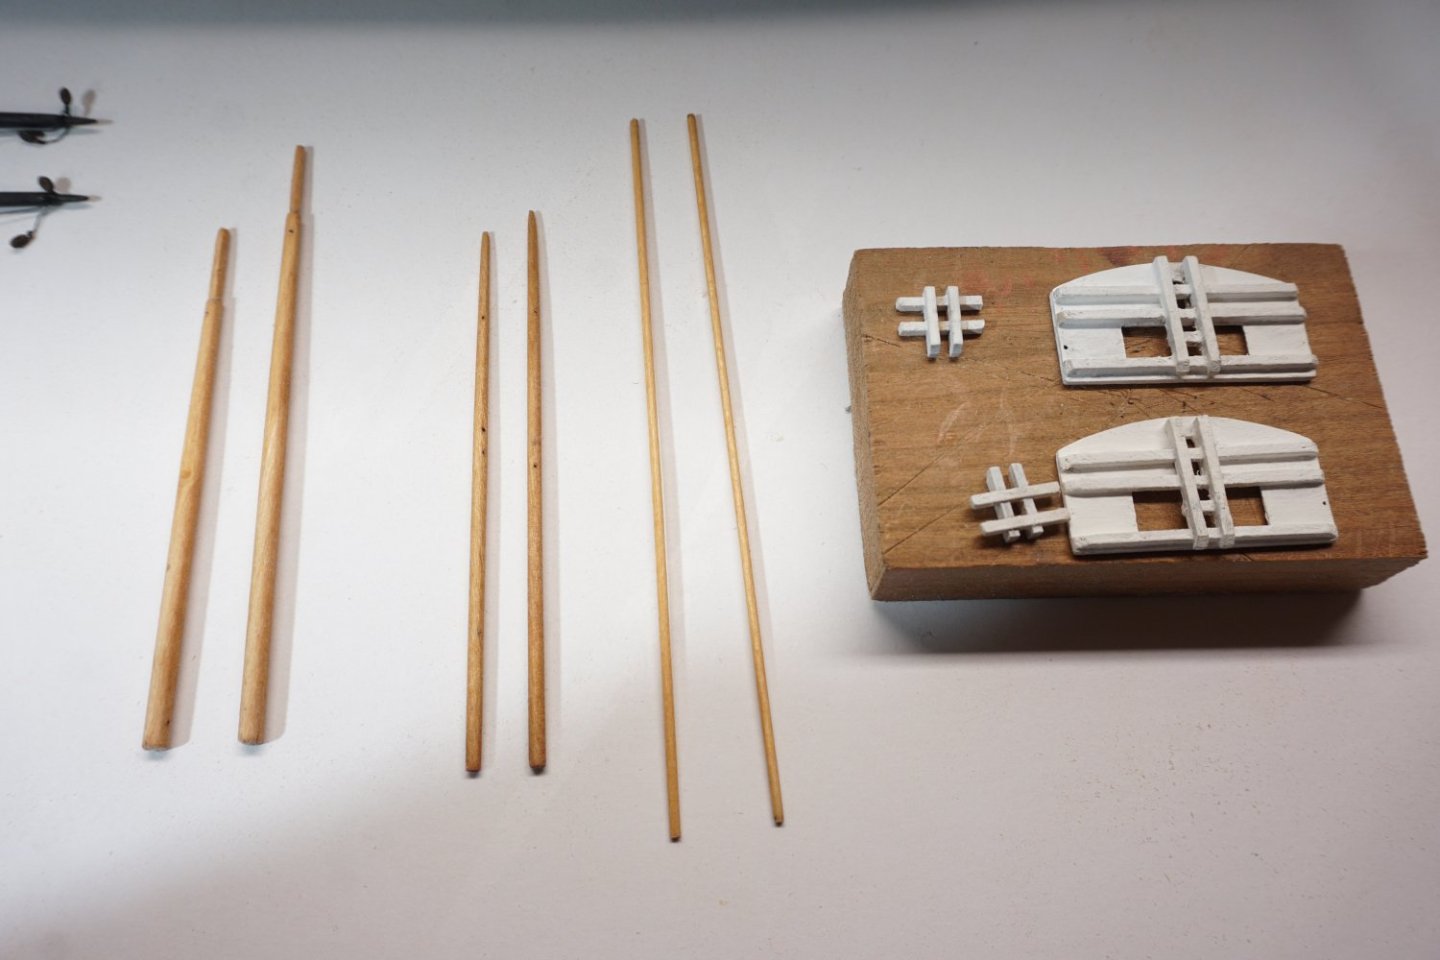
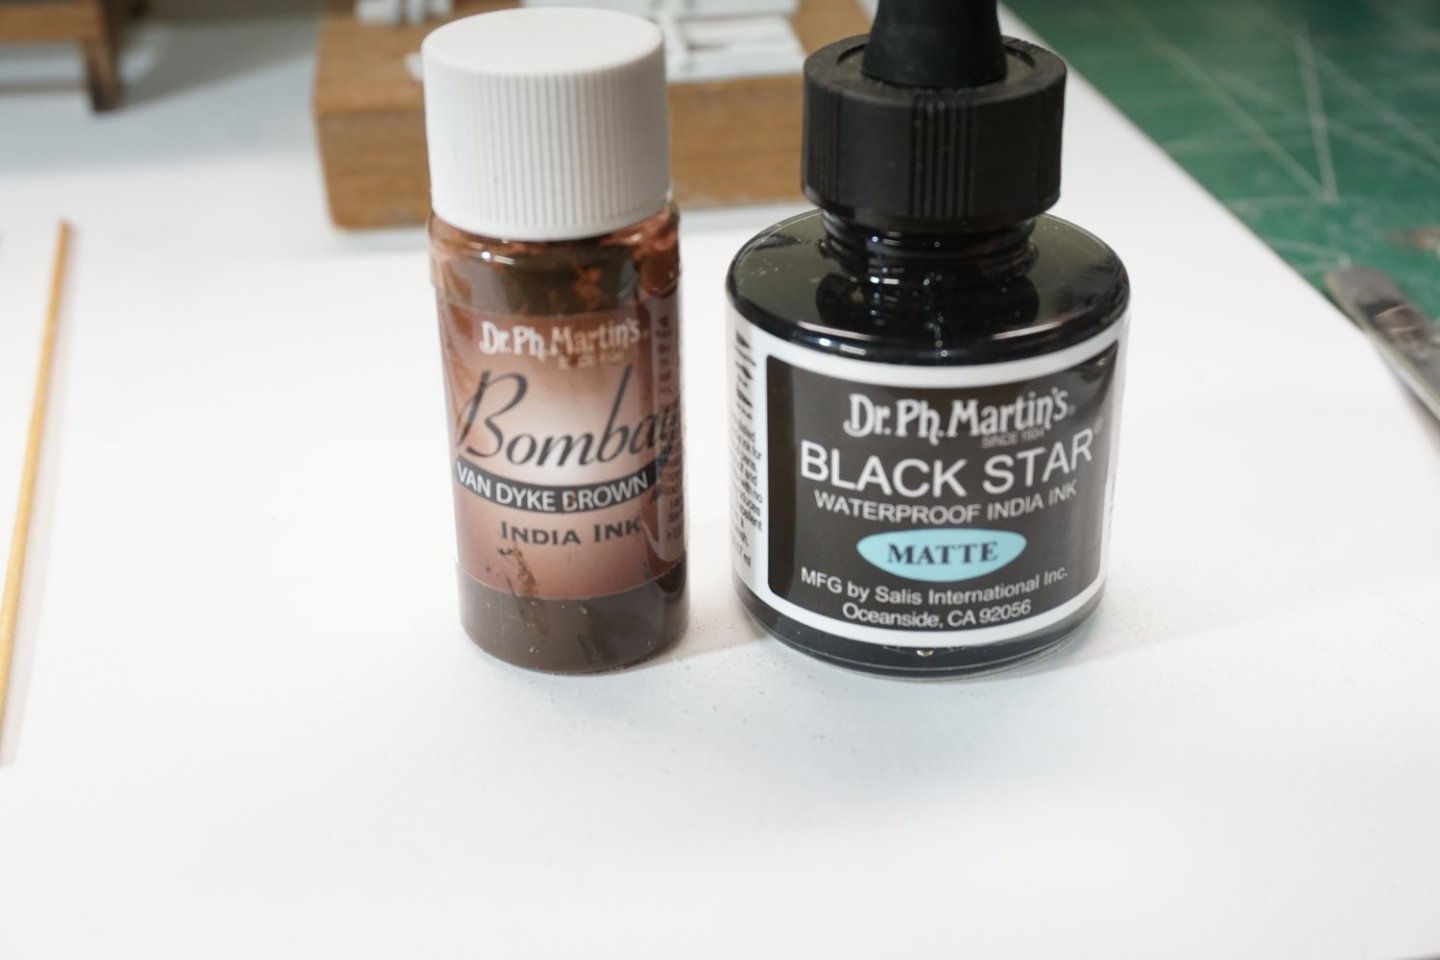
Prepared the masts and trestles. painted the lower masts white and stained all the upper masts and spencer mast with Mini wax "golden pecan" stain. Continued on to prepping the yards attaching required blocks and foot ropes which I gave a coat of matte black paint. As far as the blocks were concerned, I thought I would experiment with India ink as paint always seems to peel off from handling excessively. After cleaning blocks with some lacquer thinner and "Pre-clean" I dipped the blocks in the ink and set them to dry. So far, the ink hasn't rubbed off from handling and covers blocks nicely, any thoughts on the use of India ink would be appreciated.


- 50 replies
-
- 5
-
-
- Perry
- BlueJacket Shipcrafters
- (and 1 more)
-
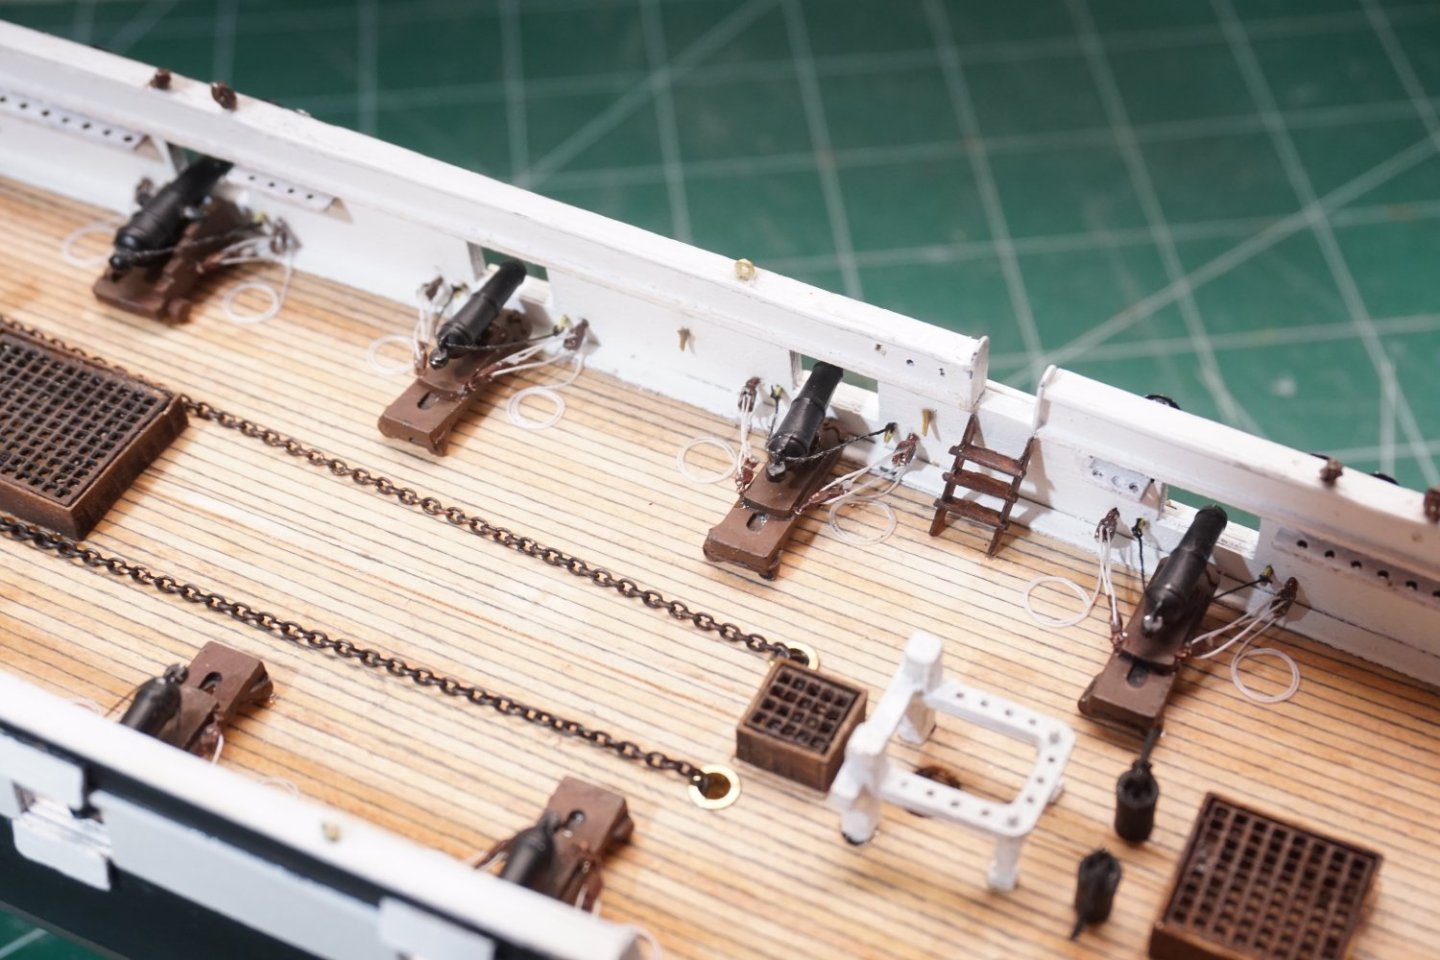
Completed all the carronades and the 2 cannons, installed all gun port hatches, and ship's wheel. Next, I can direct my attention to preparing the masts.


- 50 replies
-
- 7
-

-
-
- Perry
- BlueJacket Shipcrafters
- (and 1 more)
-
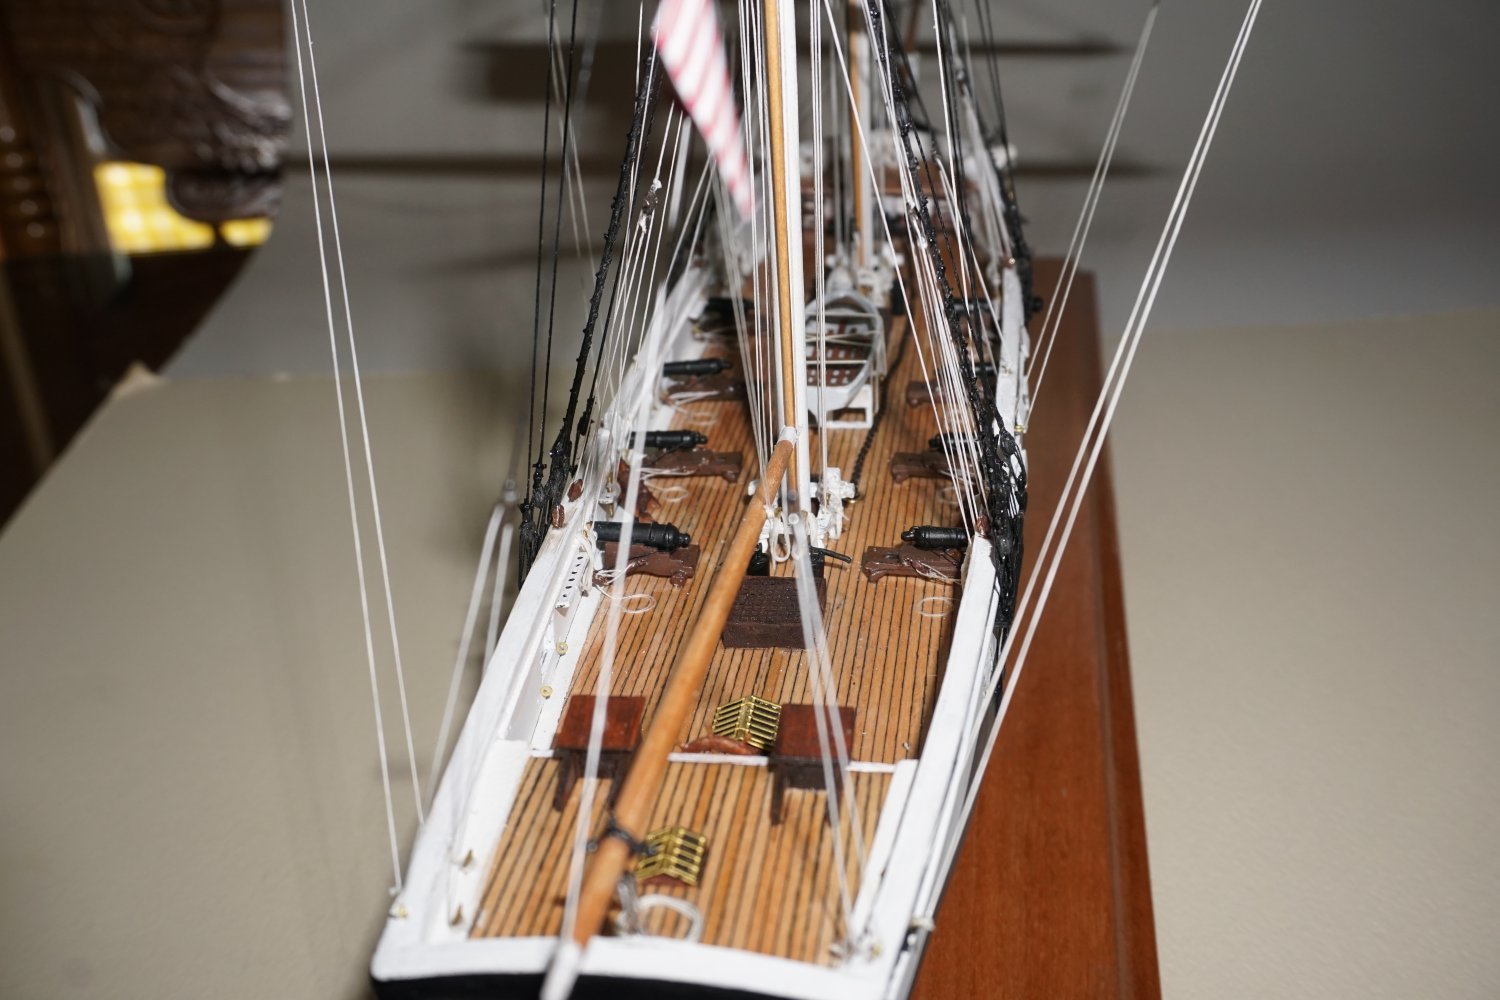
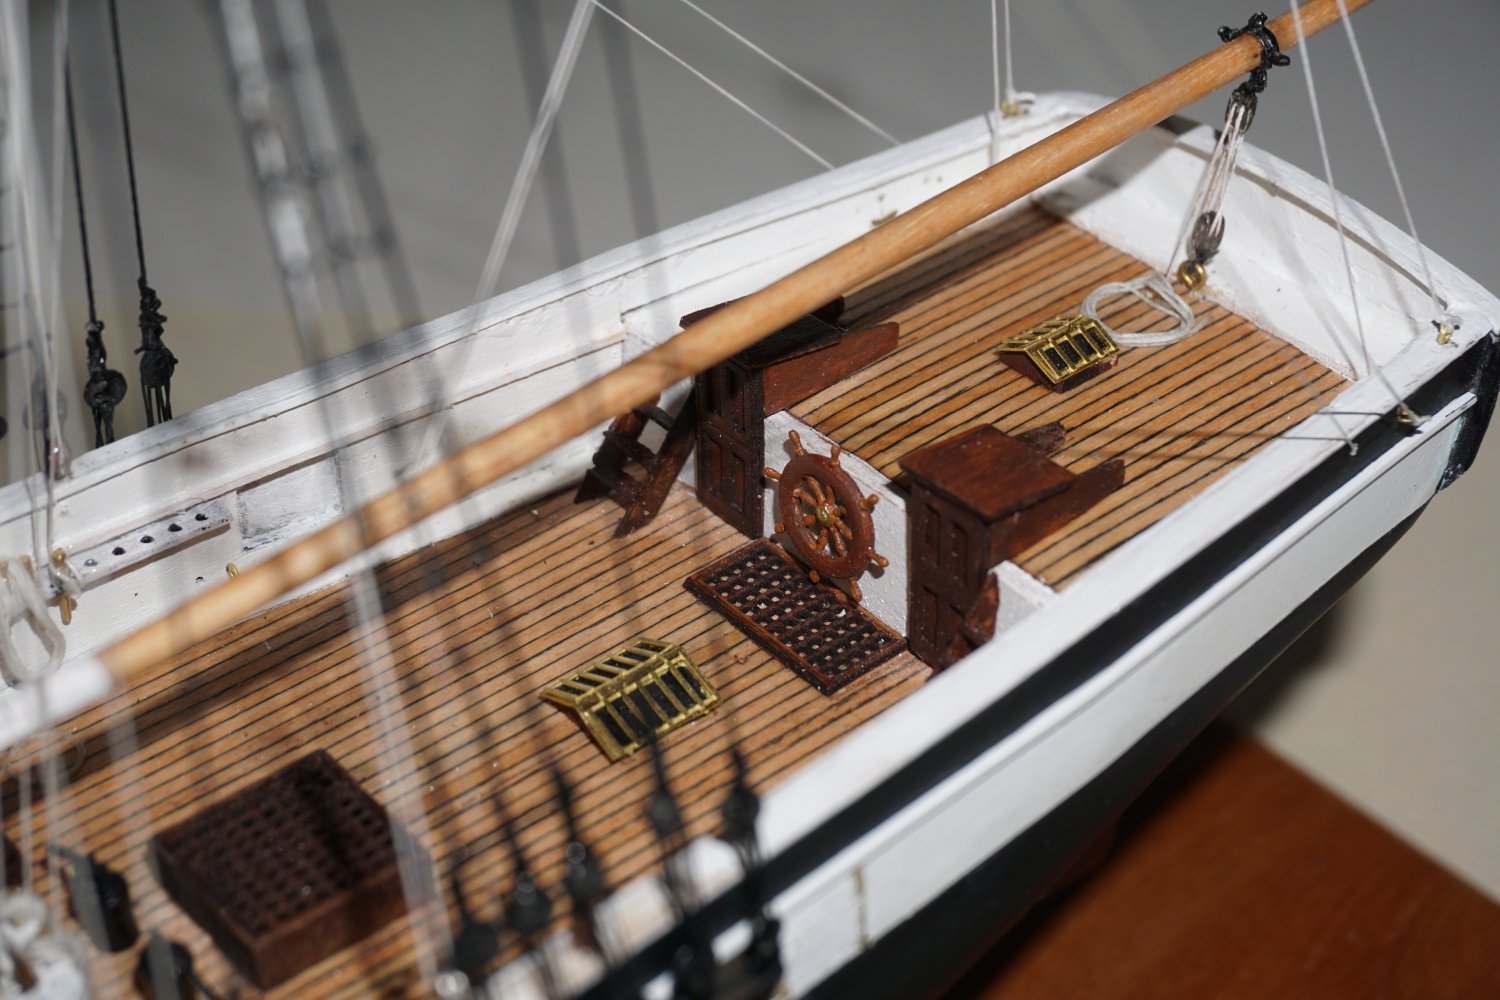
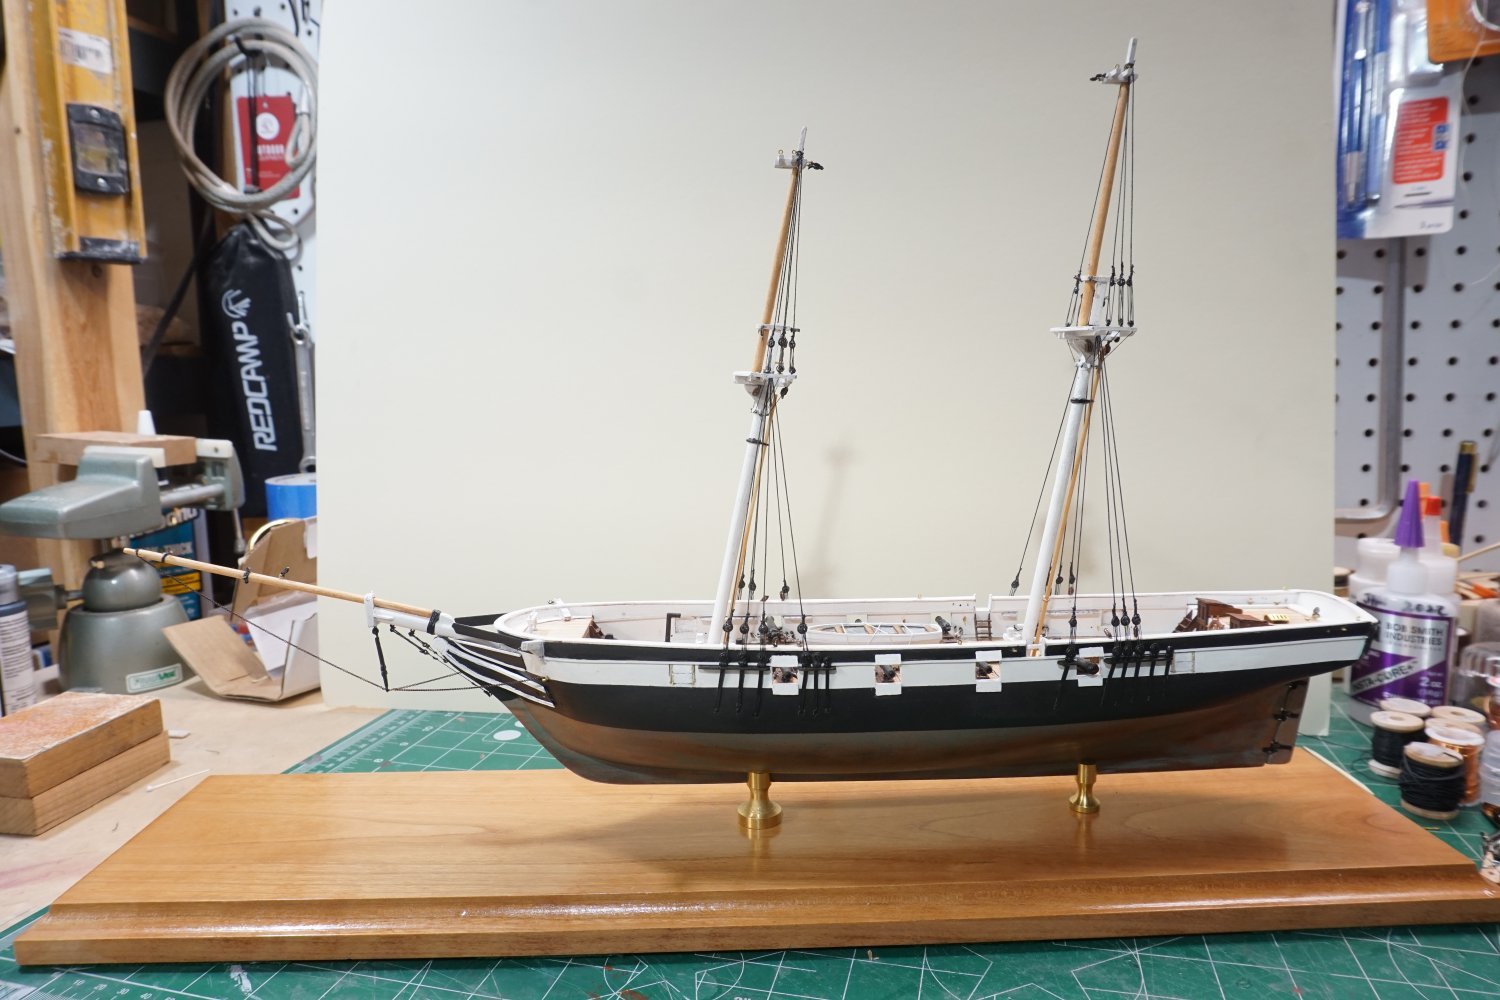
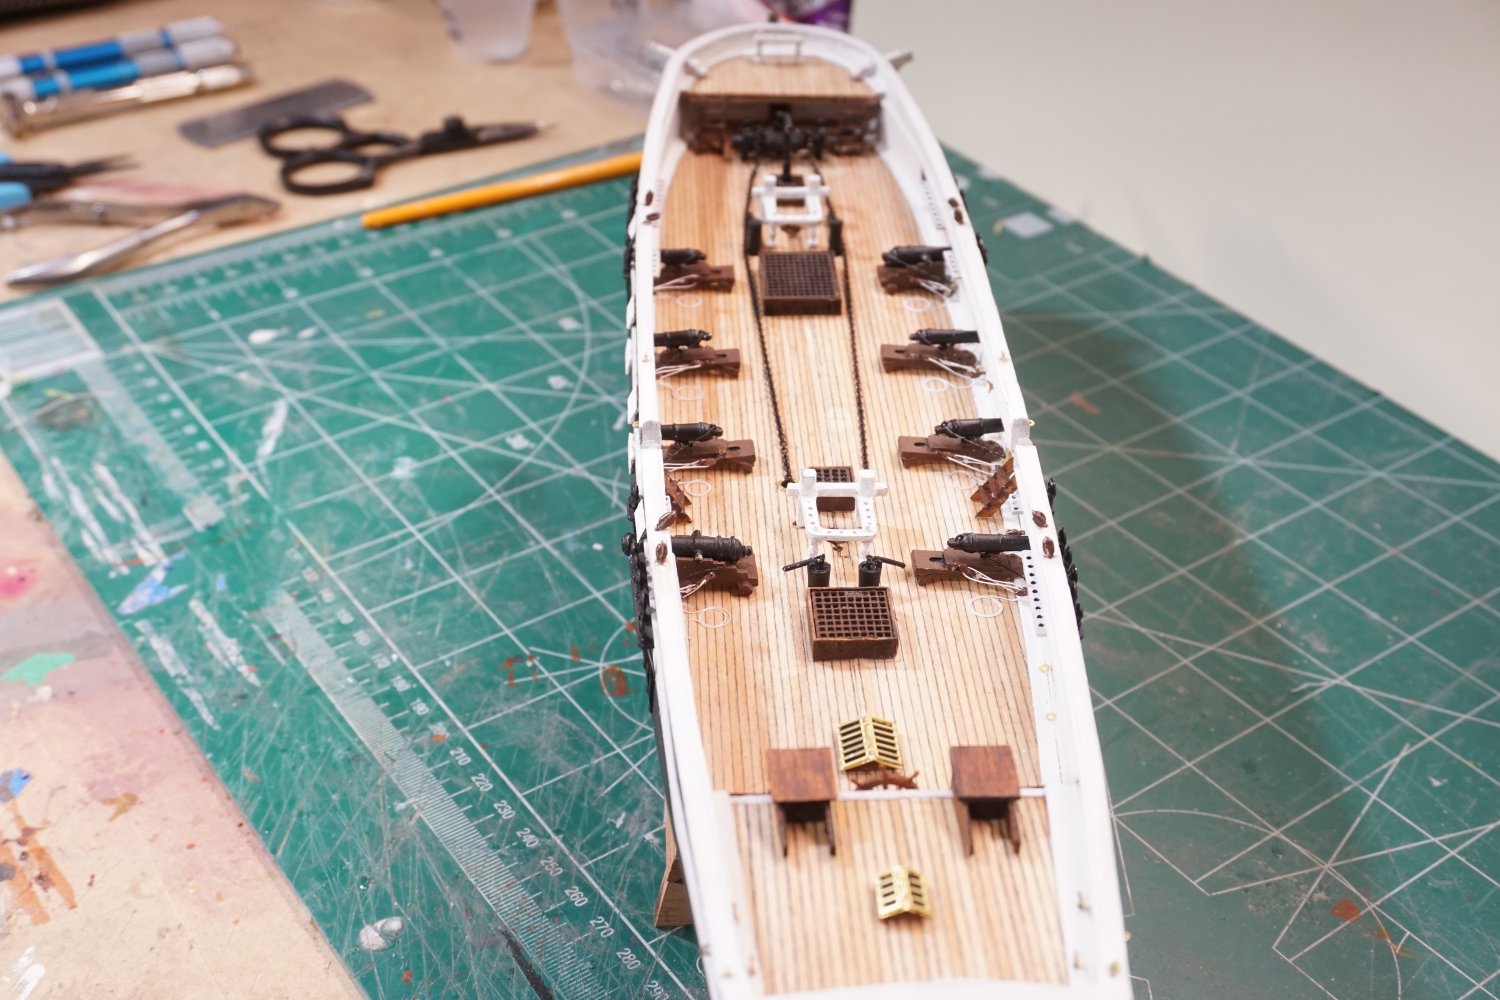
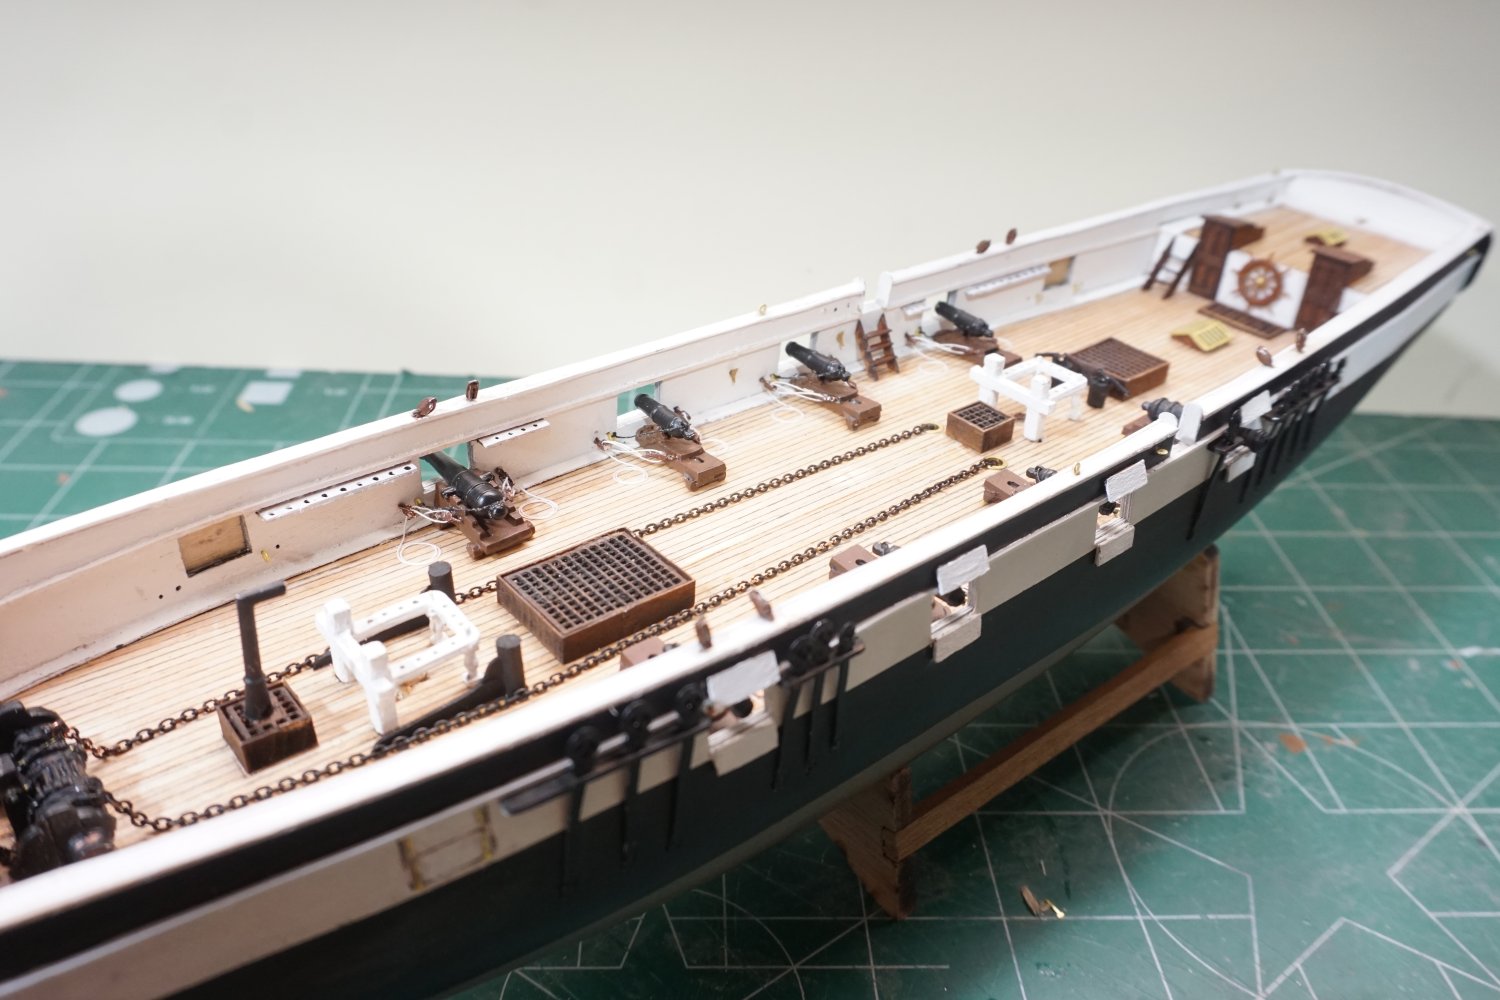
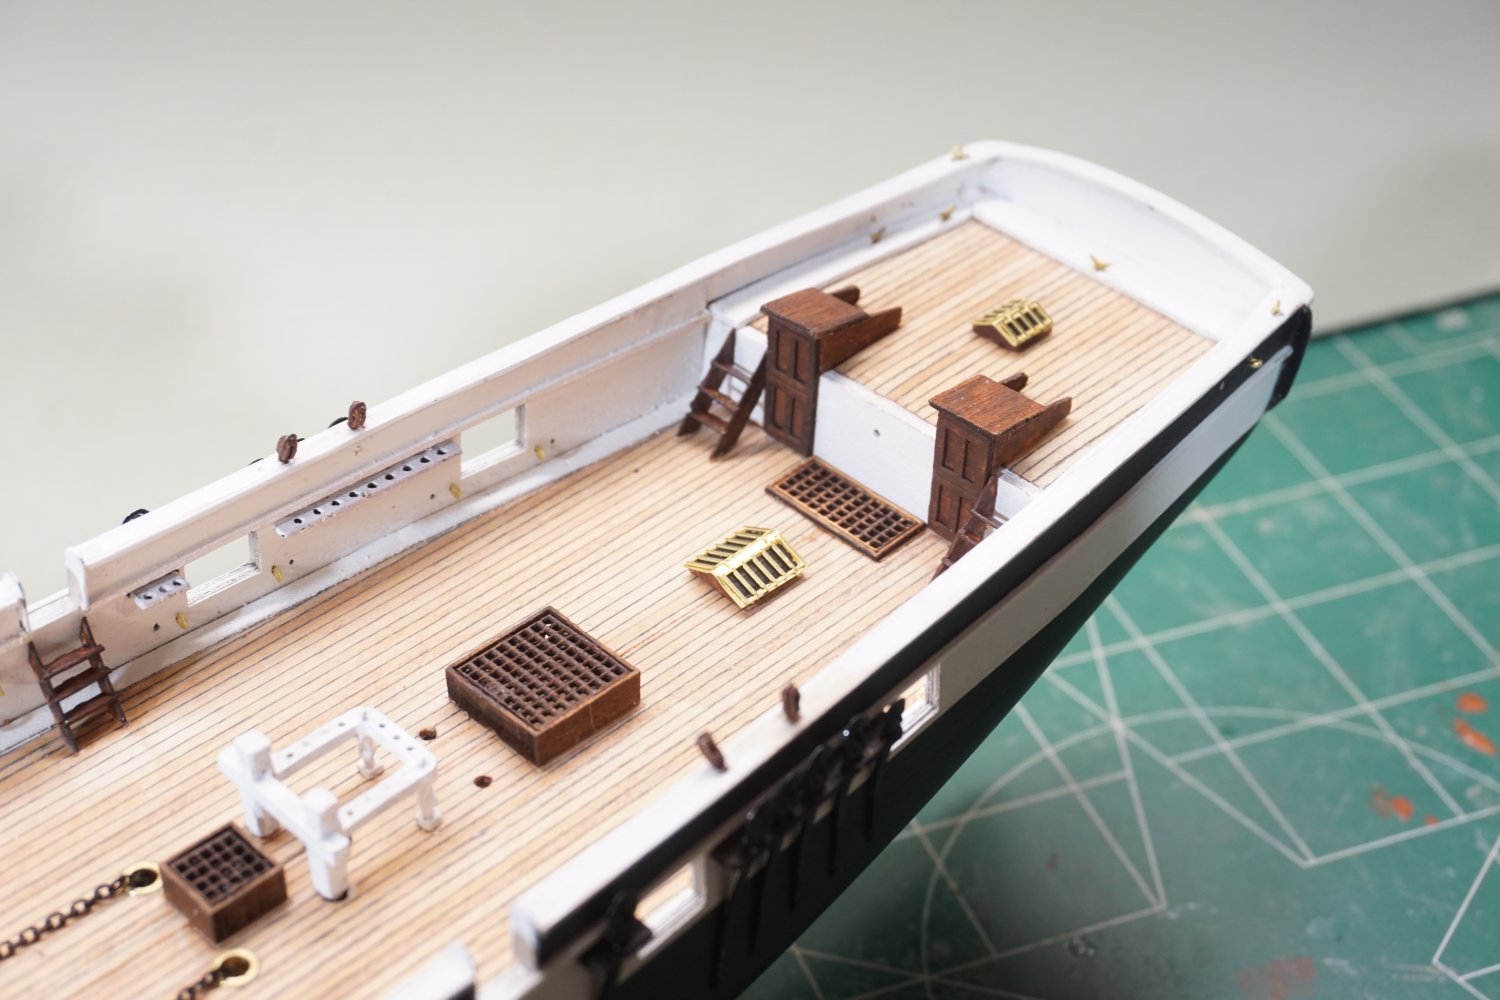
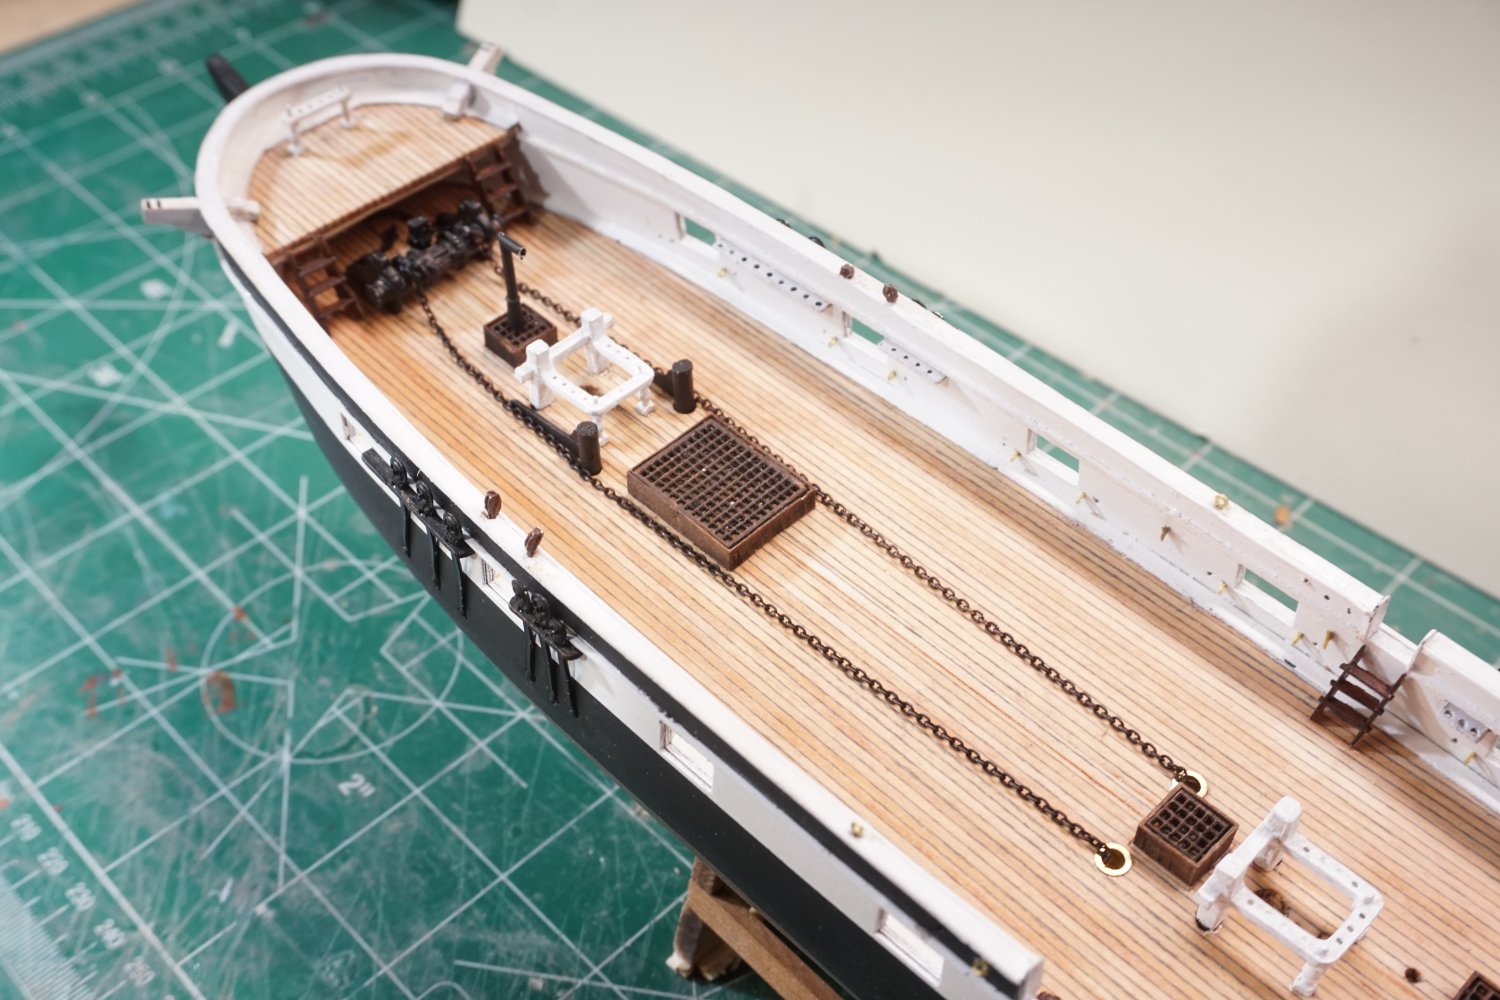
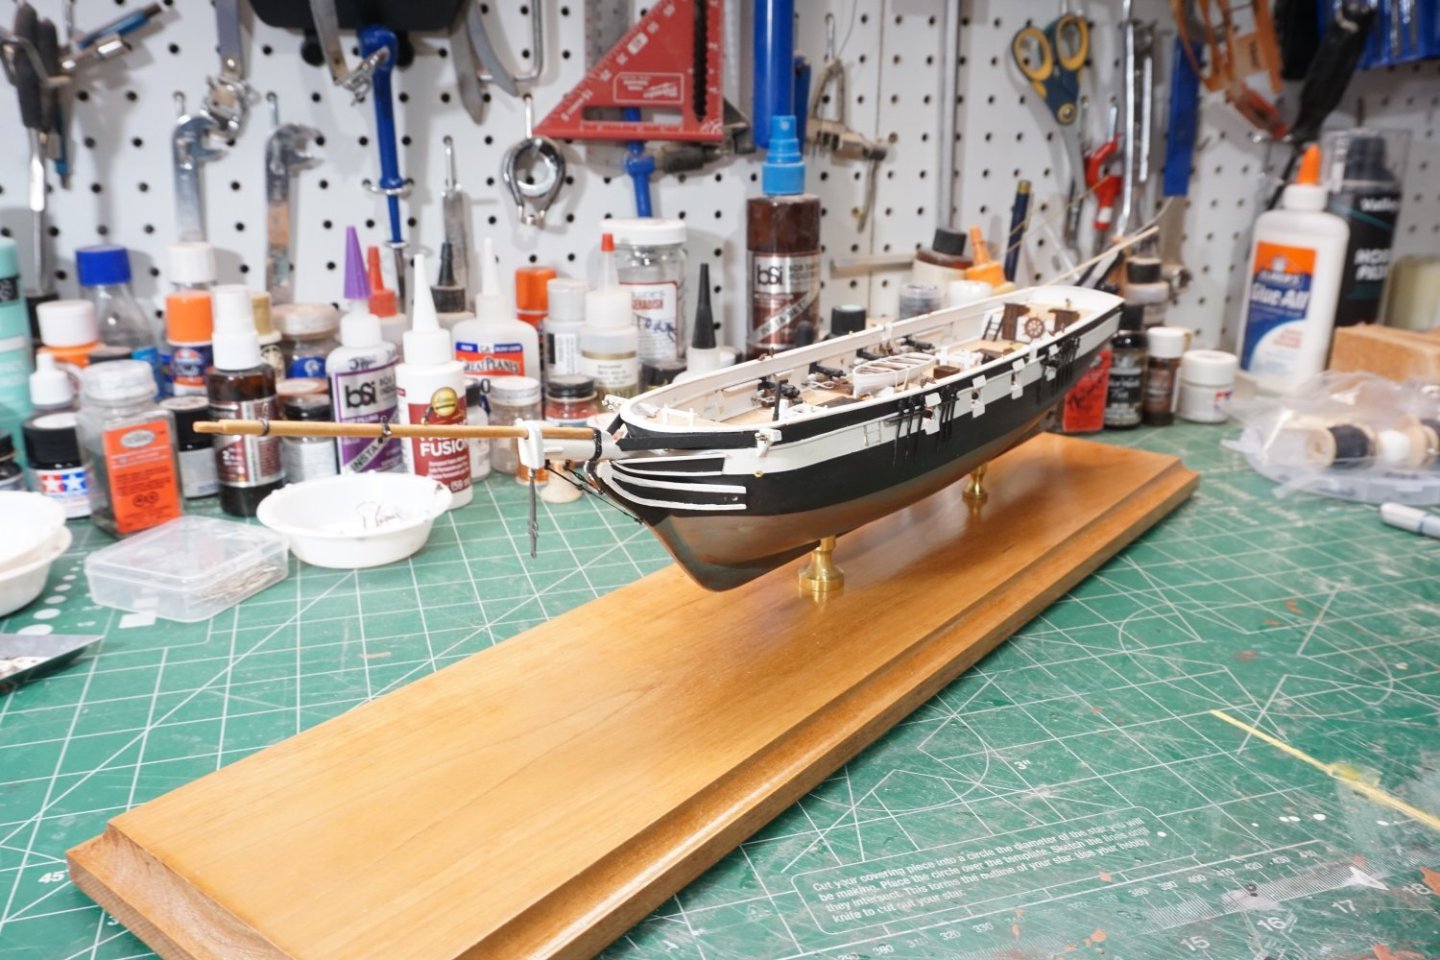
Installed the channel pin rails, chain plates, I then cut out the hull for the catheads, installed the windlass, riding bits and hatches. For the brown wood looking color for all deck furniture, I used acrylic tube paint and made a stain thinning the colors with water. Next, I drilled out the mounting holes in the hull and the permanent base which I still have temporarily mounted just for the photo. Just a few more things to finish up on deck then I will start the cannons which I already have painted. I'm really enjoying this project so far and happy with my results, am looking forward to the rigging though.


- 50 replies
-
- 10
-
-
- Perry
- BlueJacket Shipcrafters
- (and 1 more)
-
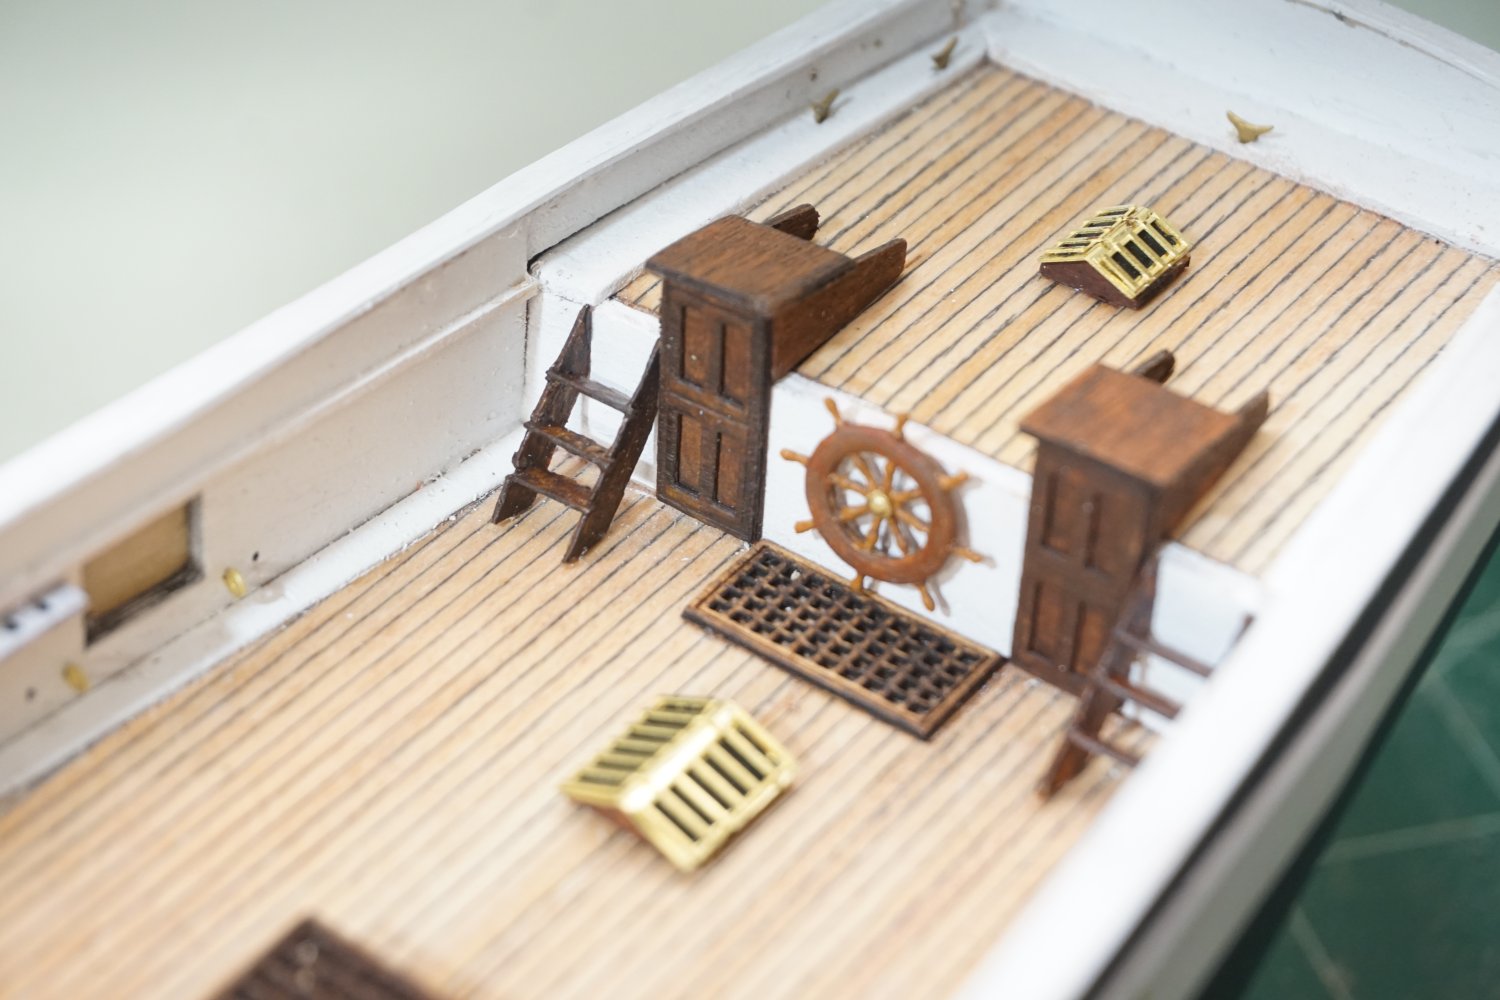
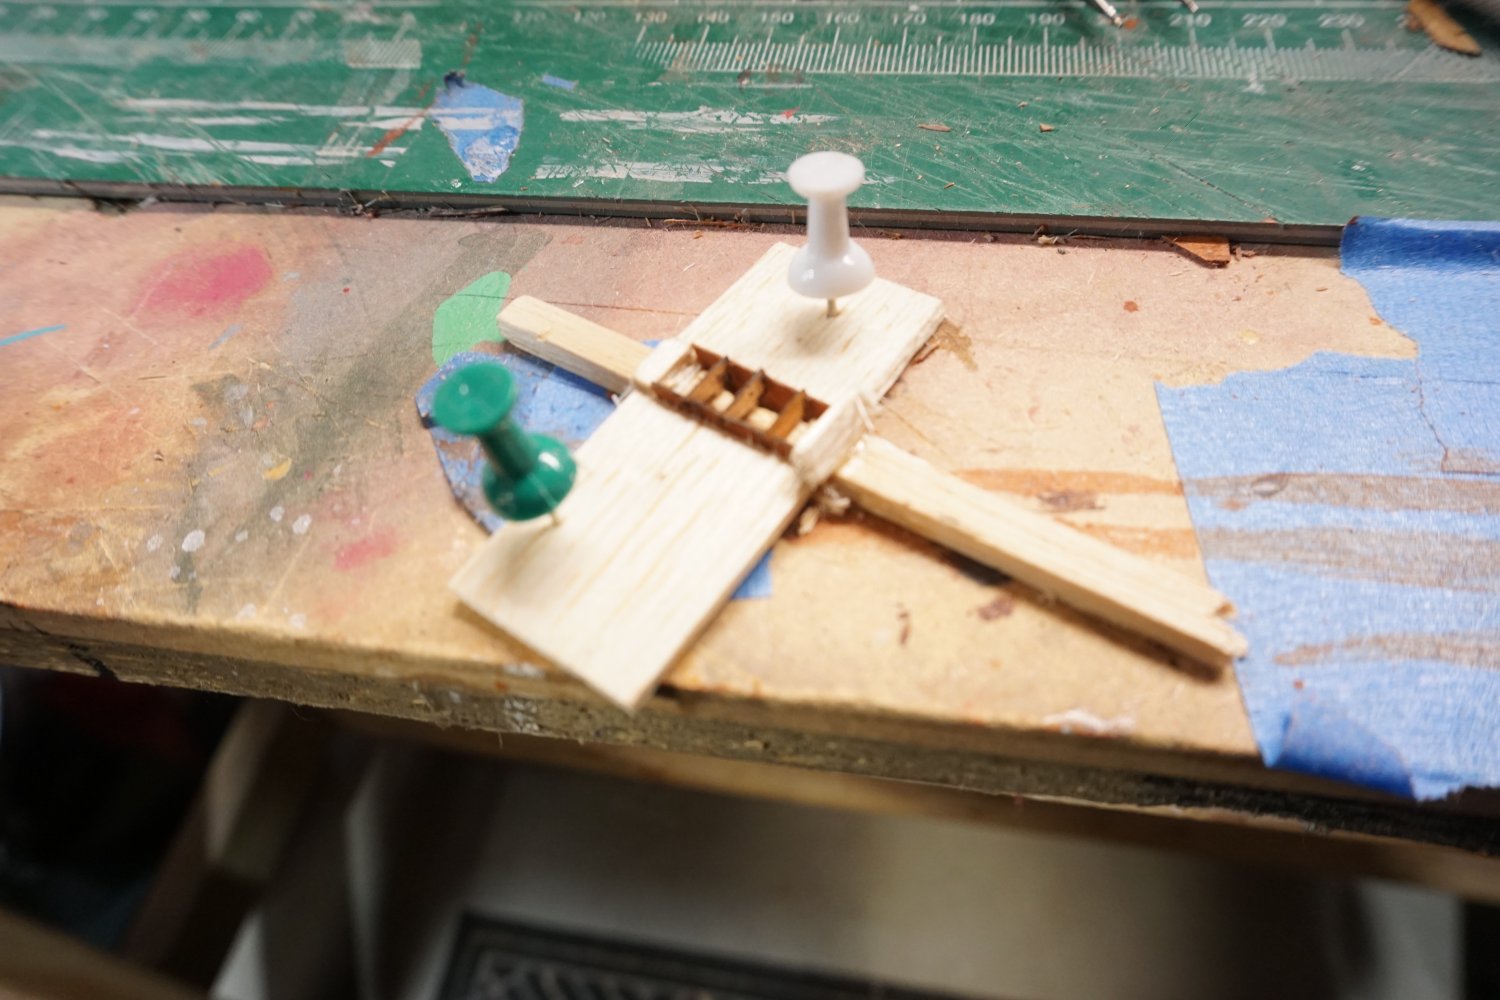
After completing the Patina look on the hull, I then started on the deck. My 1st thing was to try to assemble all those tiny stairs which was quite a pain until I manufactured a crude but effective assembly jig. The jig was just a piece of scrap balsa the same width as the inside width of the stairs and thinned down where the treads get positioned. I lastly added a piece of pinned down wood on either side to hold stringers in place while gluing in treads.

- 50 replies
-
- 5
-
-
- Perry
- BlueJacket Shipcrafters
- (and 1 more)
-
Thank you for the photo Nic, very helpful comparison. I have to get over the shiny copper look and go with realism.
- 50 replies
-
- 2
-
-
- Perry
- BlueJacket Shipcrafters
- (and 1 more)
-
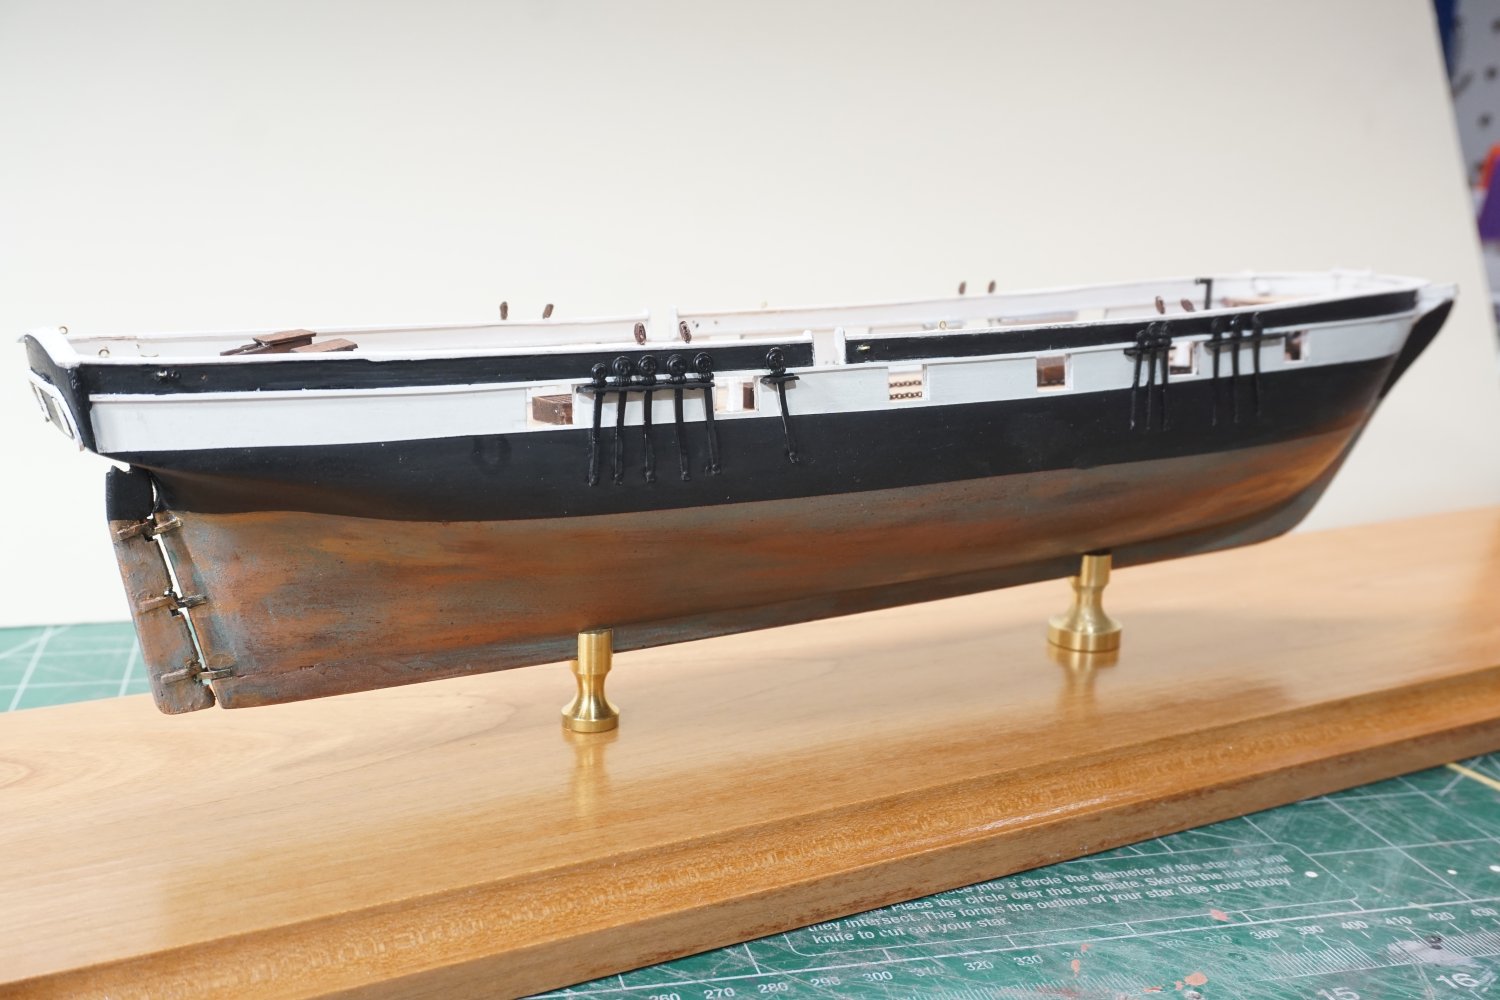
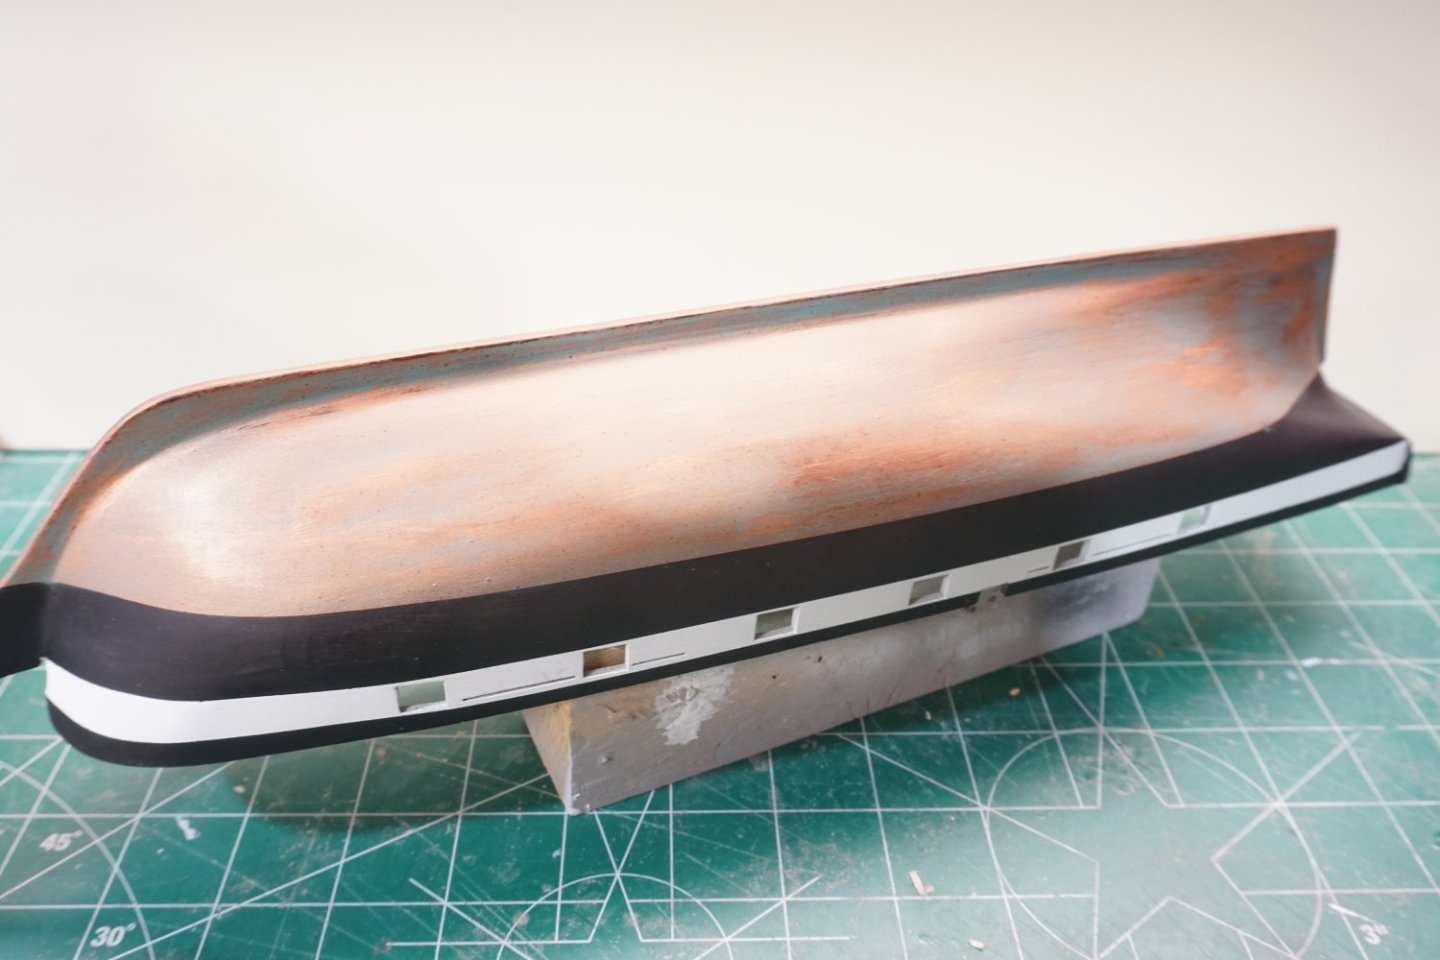
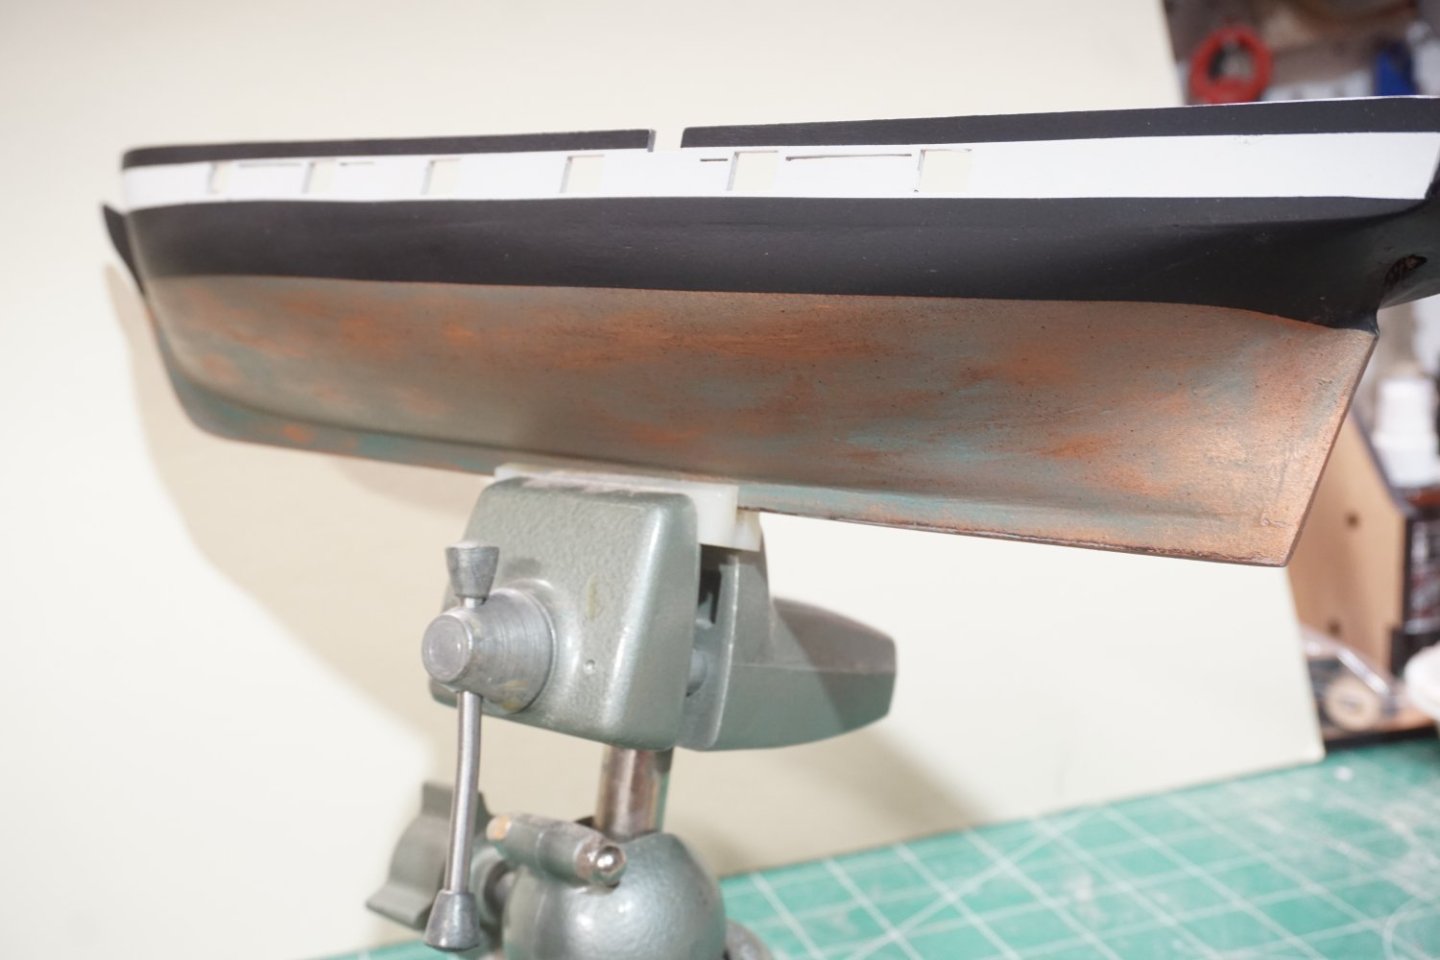
After buffing out with 1000 grit sandpaper I dry brushed some copper to tone down some of the green, better, but I'm still deciding if I should leave it alone at this point or tweak it some more. Any thoughts would be appreciated.
- 50 replies
-
- 5
-
-
- Perry
- BlueJacket Shipcrafters
- (and 1 more)