Check out our new MSW Sponsor Innocraftsman
×


Jeff preisler
-
Posts
92 -
Joined
-
Last visited
Content Type
Profiles
Forums
Gallery
Events
Everything posted by Jeff preisler
-
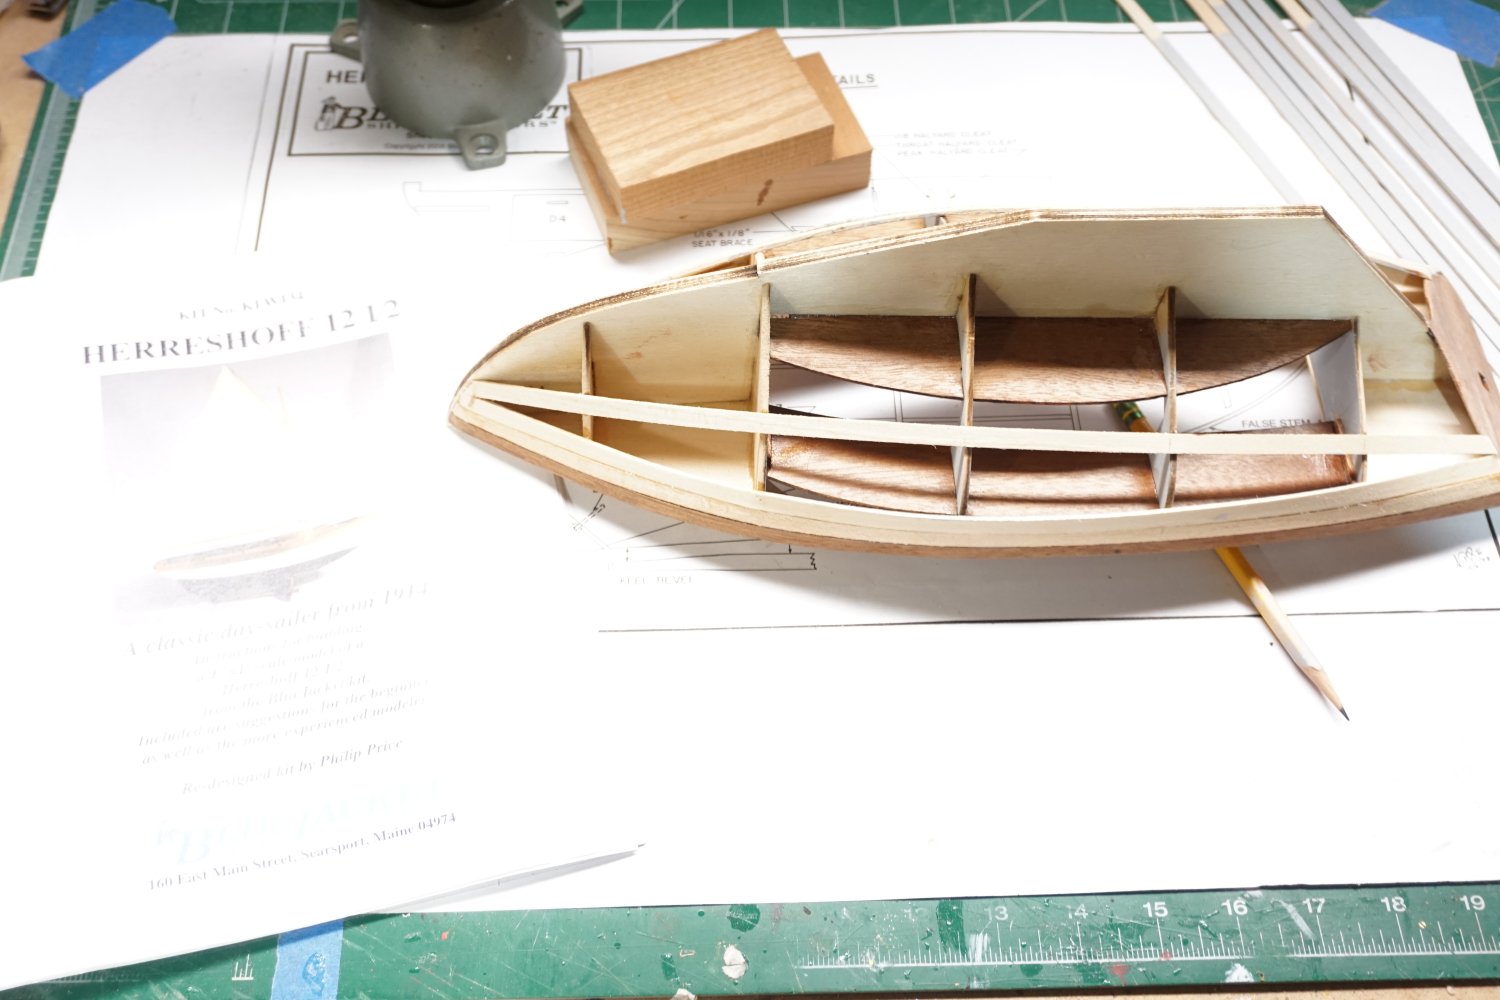
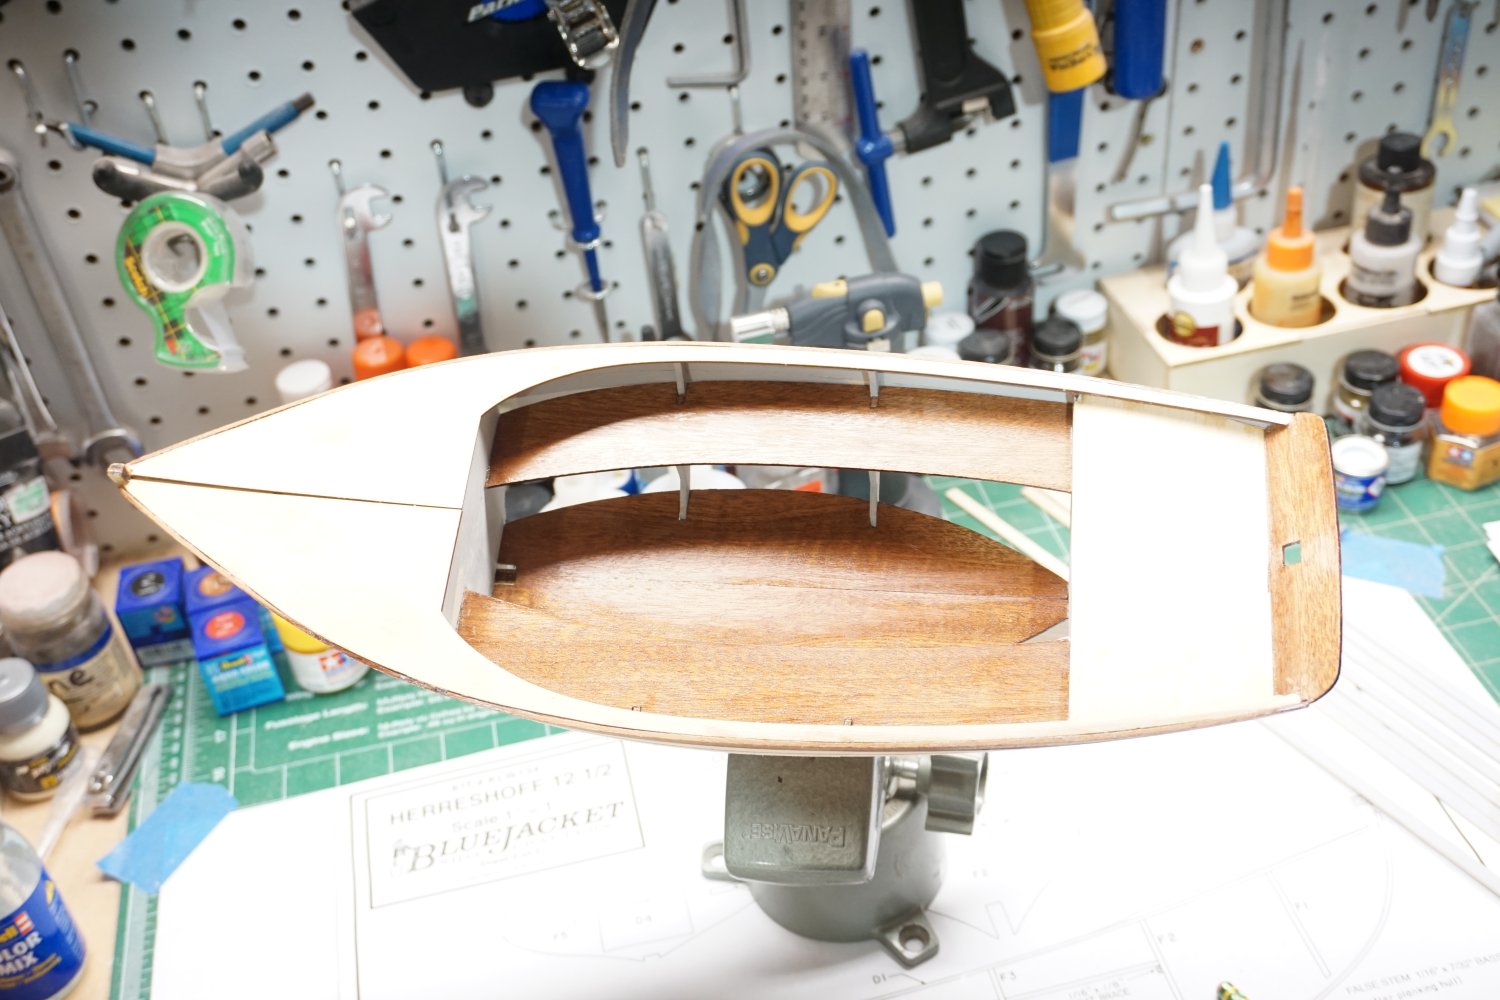
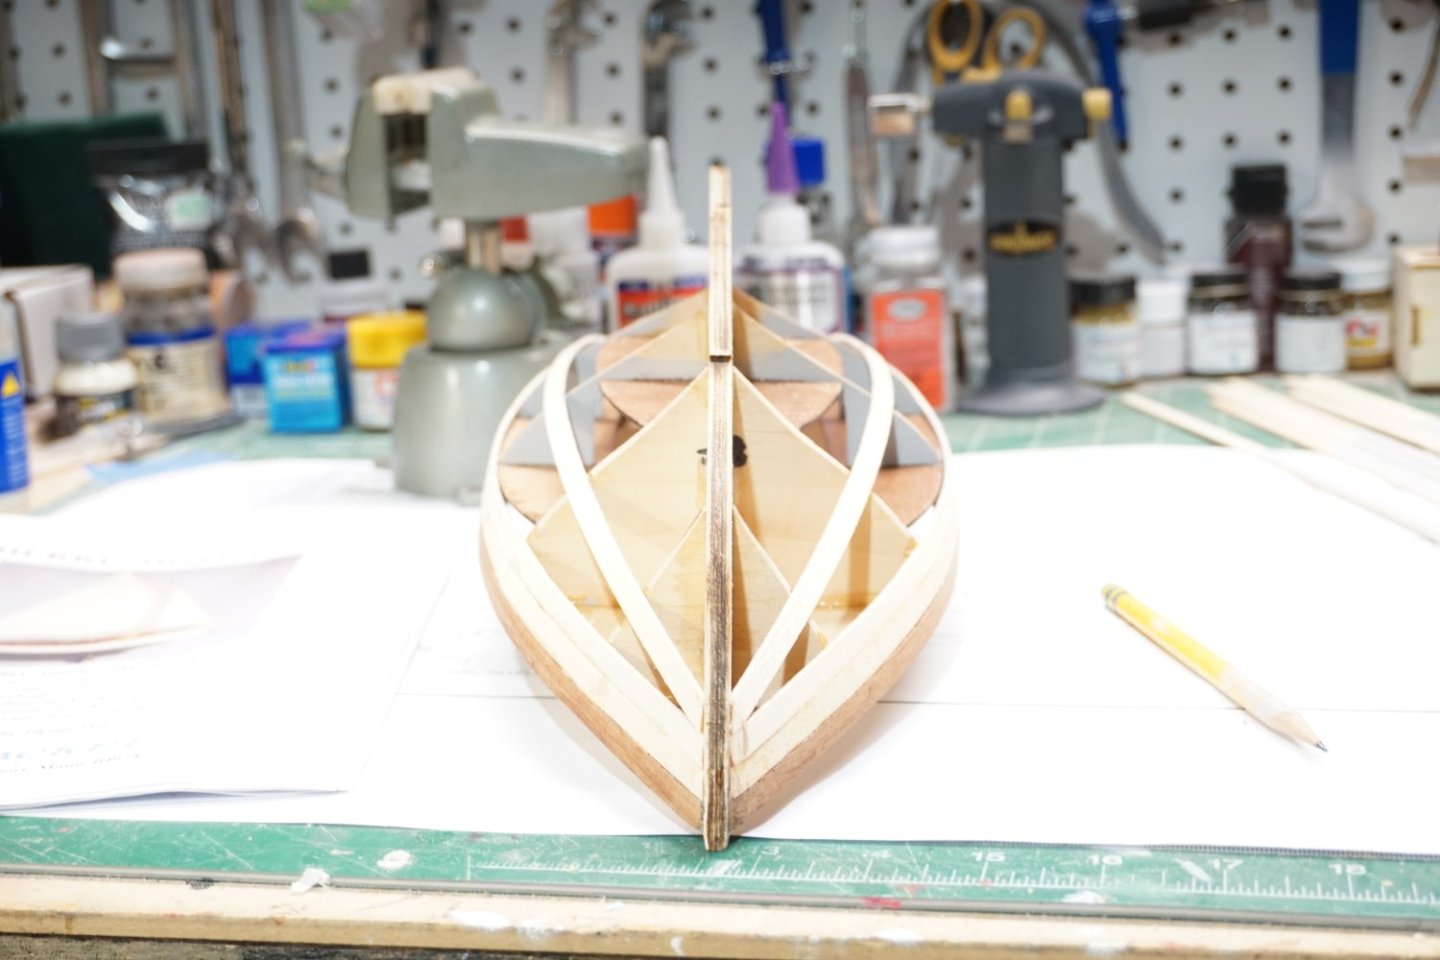
I decided on this kit as I want to gain some more experience with hull planking as it doesn't look too difficult. The Herrshoff 12 1/2 also known as the 'Buzzard's Bay Boy's Boat" was designed by Nathanael Herreshoff, (a famous yacht designer at the time) to build a sailboat to train children. It had to be small enough that kids could handle, but capable of coping with the choppy waters and strong gusty winds of Buzzard's Bay, southwest of Cape cod on the Mass. coast. (This bit of history is taken from the Bluejacket ship crafters build manual). Following kit instructions, before constructing the basic hull structure, I stained the mahogany pieces with mini-wax cherry then applied a semi-gloss poly acrylic. As far as the bulkheads and interior planking that are visible inside the cockpit, these were painted a flat grey color. Structure went together well, and the planking begins. Using CA for the planking, so far it seems ok but I'm wondering if wood glue would be the better choice as I did have to debond a couple of areas and start over. As I progress with this build, I welcome anyone that wants to comment on what I should have done as I'm always open to learning and improving.


- 23 replies
-
- 4
-

-
- Herreshoff 12 1/2
- BlueJacket Shipcrafters
- (and 1 more)
-
Congratulations on completion of your Nantucket. Looks great!!!
- 35 replies
-
- 2
-
-
- Nantucket Lightship
- BlueJacket Shipcrafters
- (and 1 more)
-
Thank you. I really enjoyed building your kit and doing this build thread.
- 32 replies
-
- 3
-
-
- Lackawanna
- BlueJacket Shipcrafters
- (and 1 more)
-
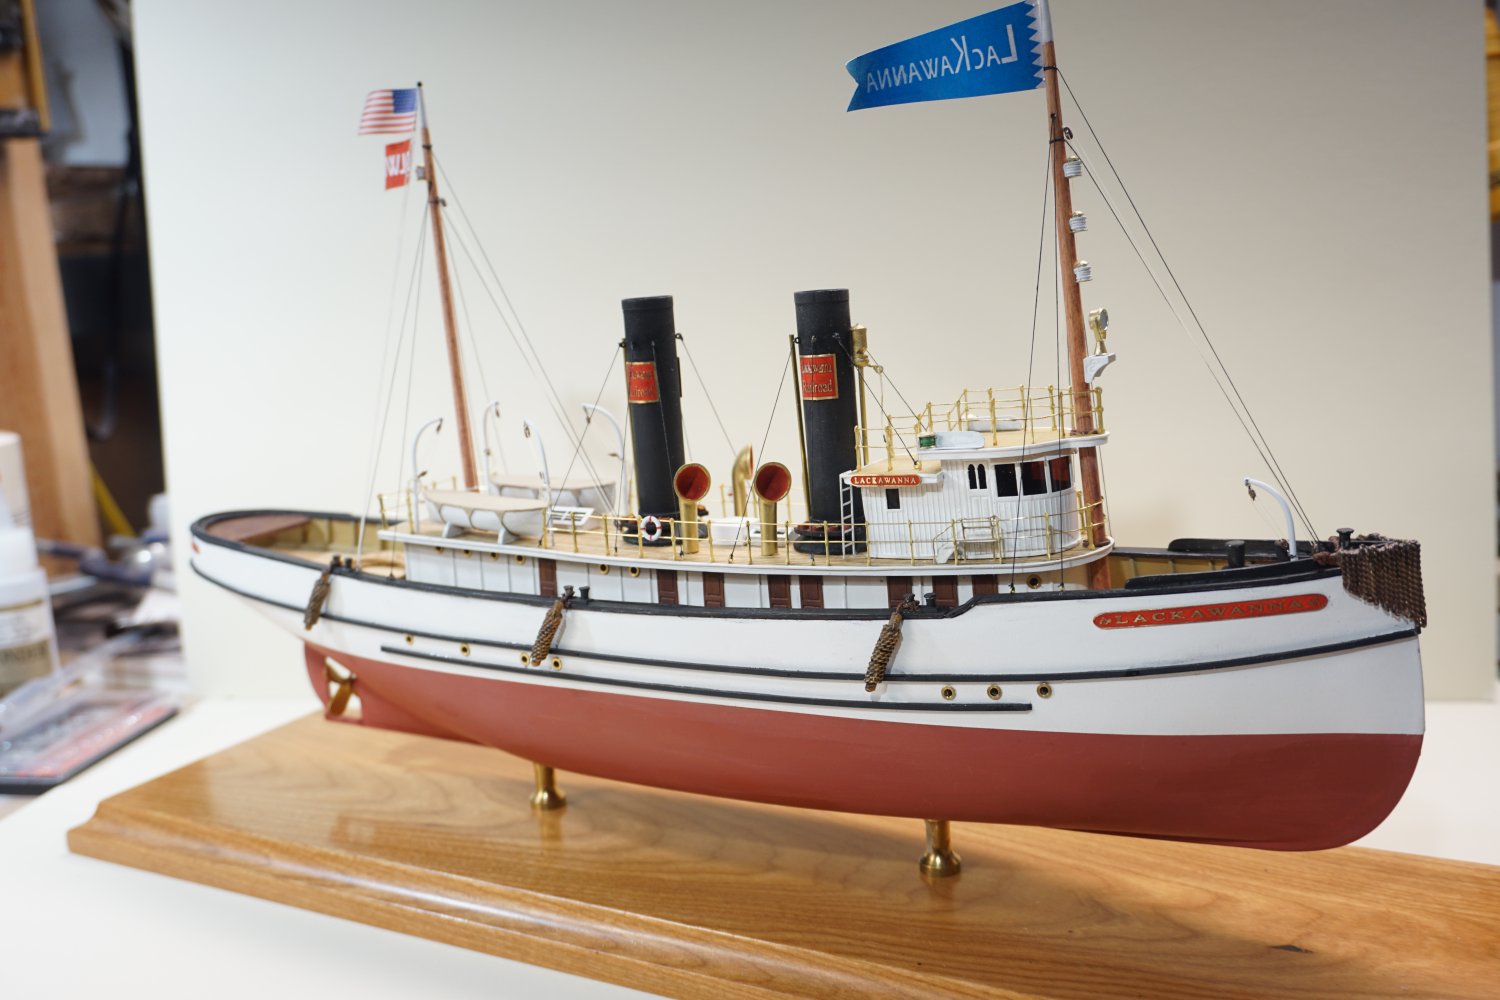
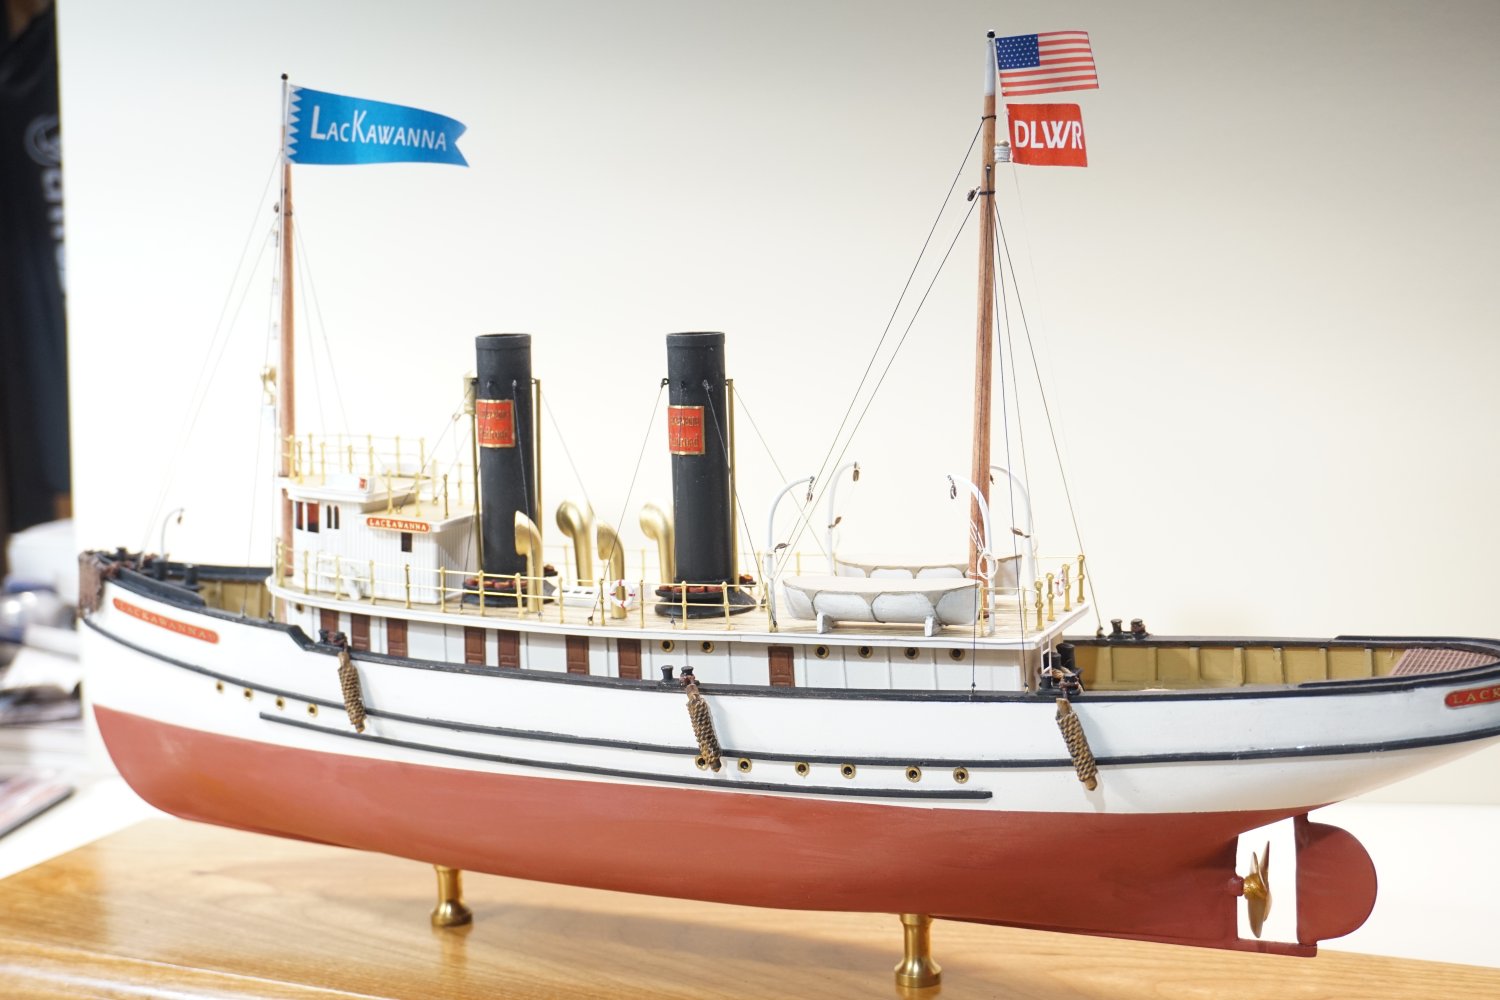
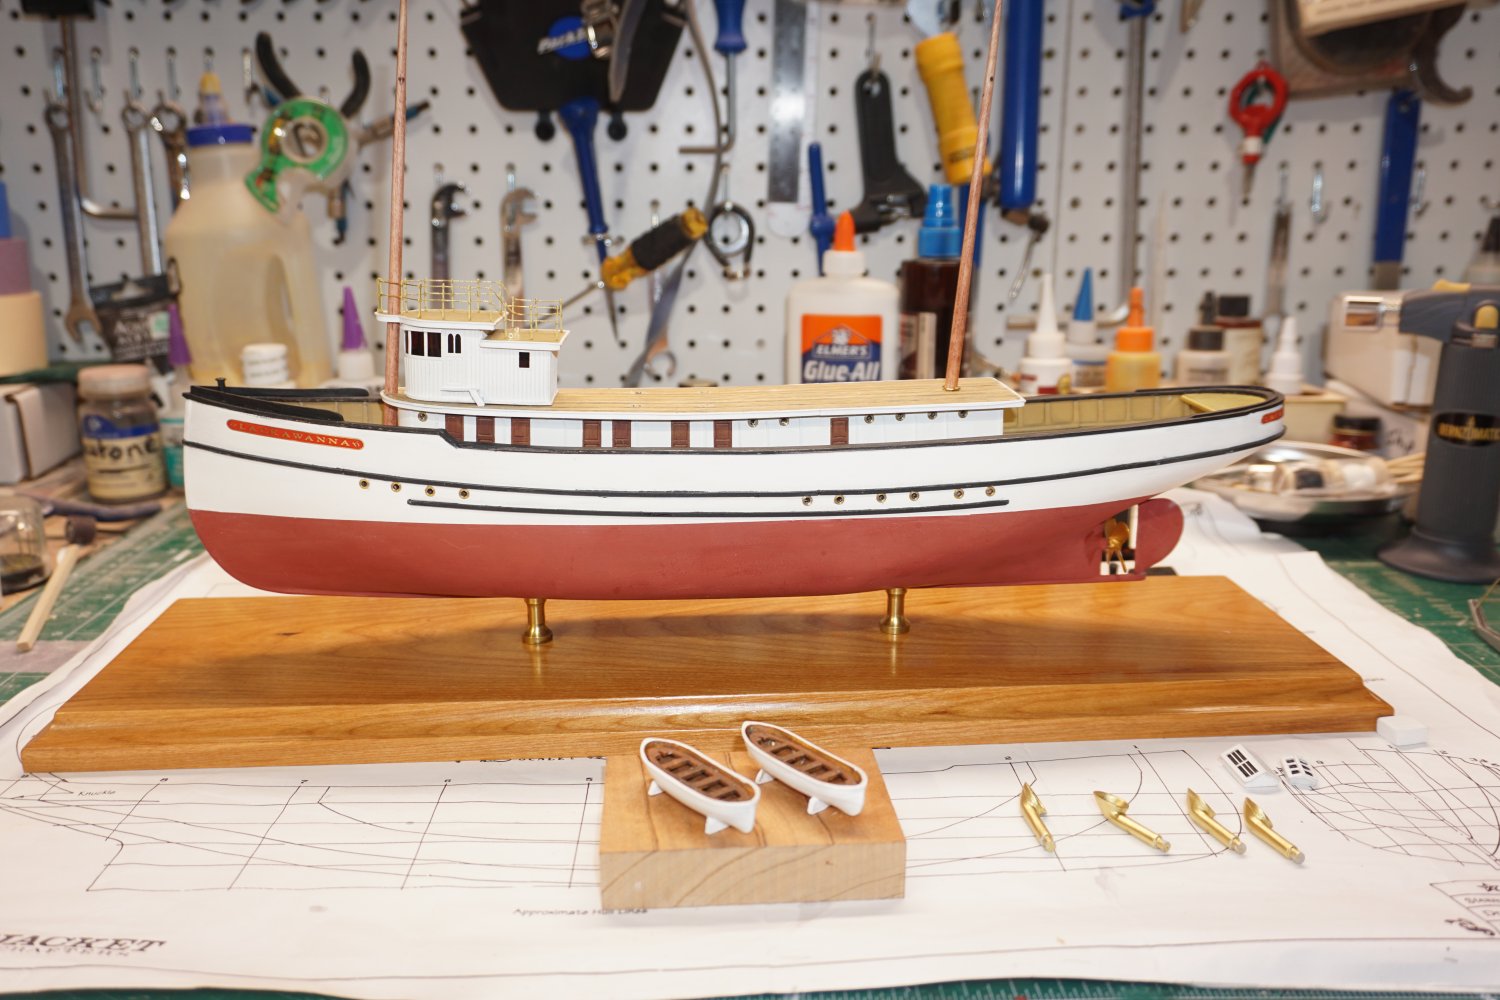
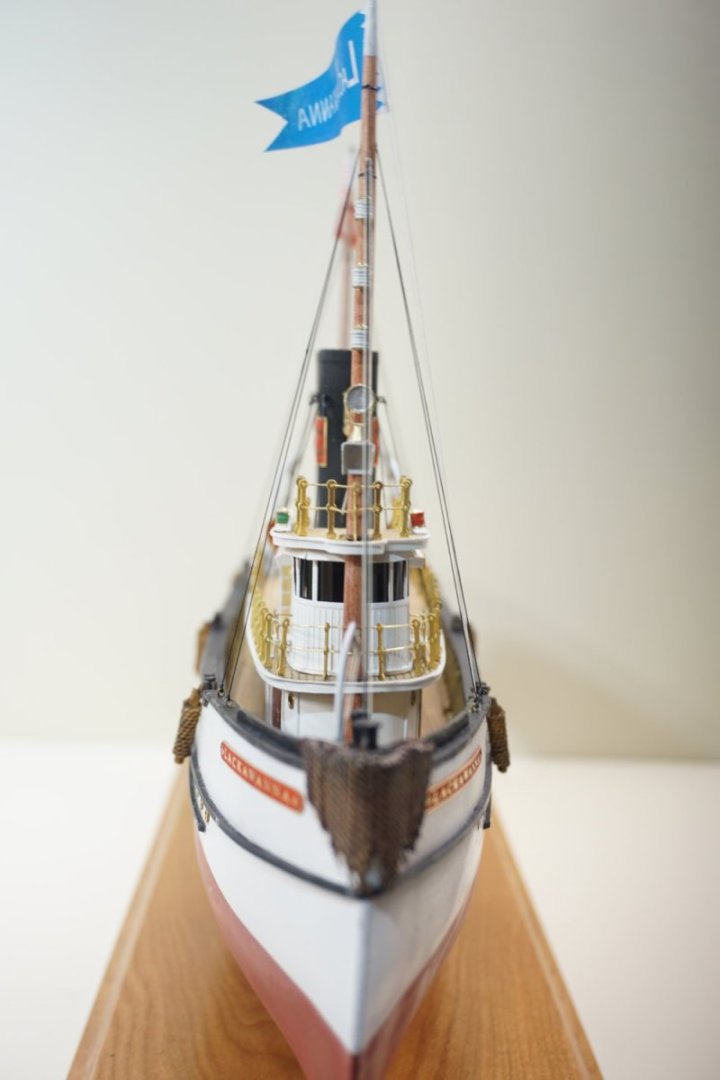
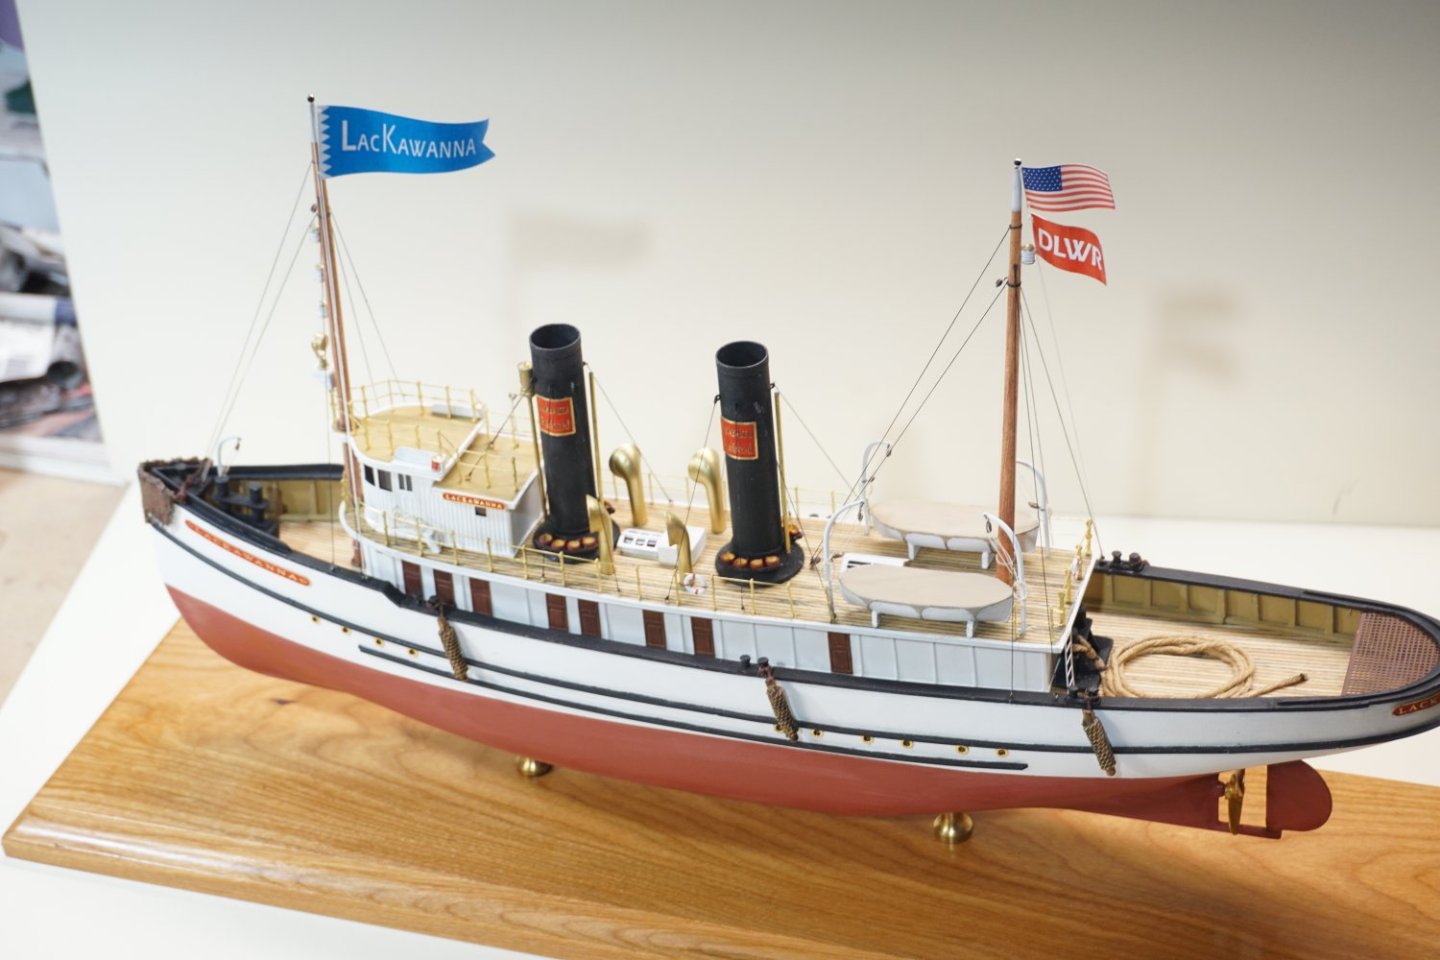
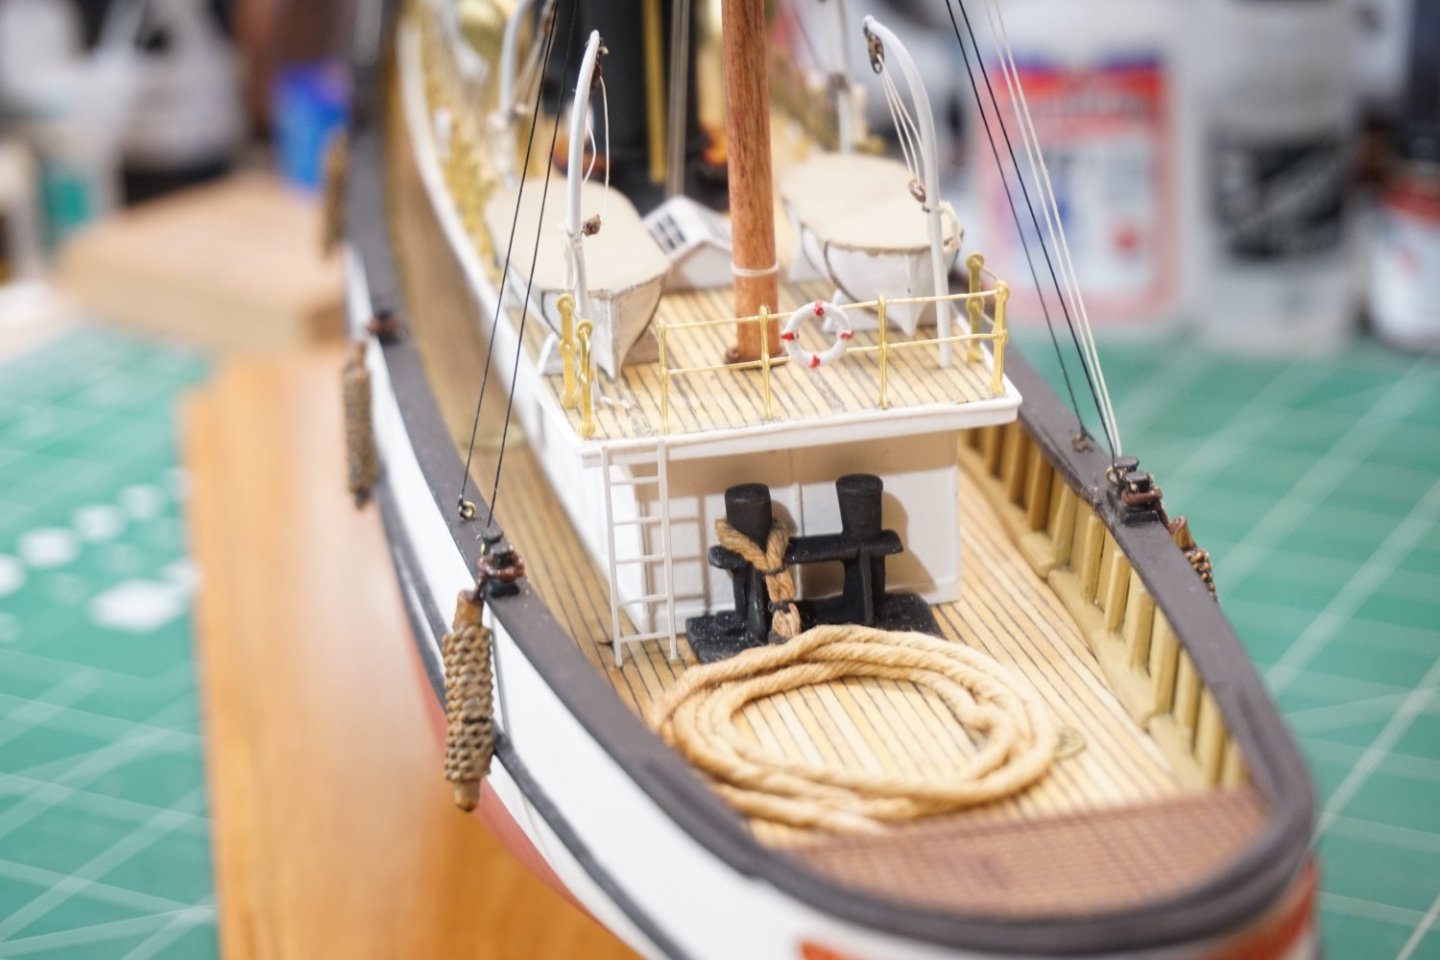
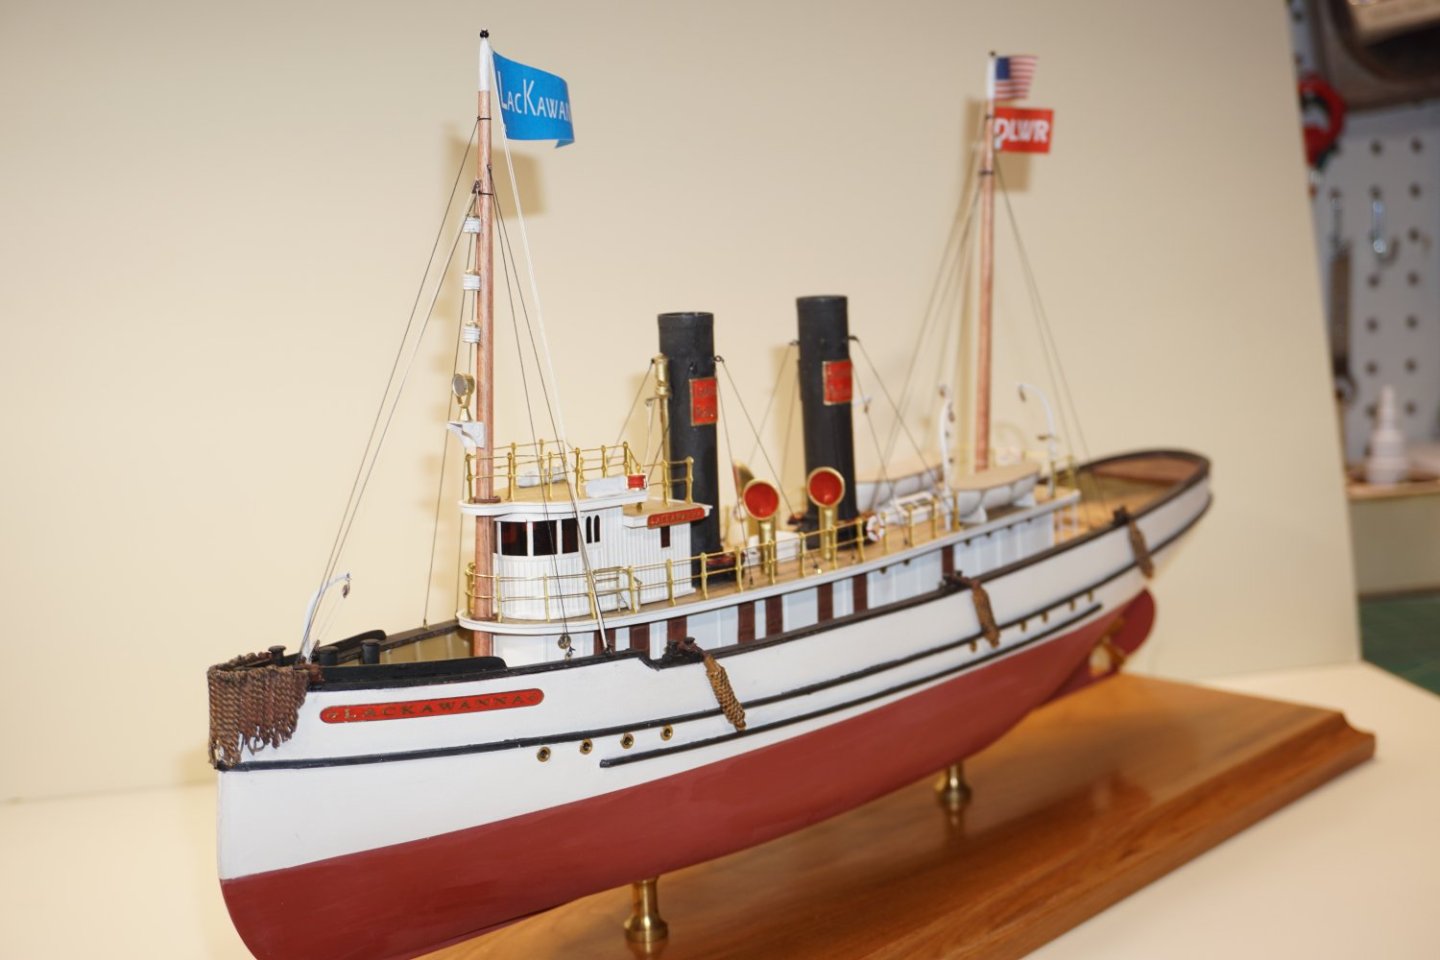
The main deck railing and all the rigging went smoothly, just those darn tiny blocks are annoying, but it all worked out. I decided to follow the optional kit instructions for lifeboat covers. To do this, I just used copier paper and cut the pattern with my x-acto knife; I then used fine thread for the cover ropes which were cut to size and glued under the cover flaps. After covers were dry, I carefully brushed the covers with Tamiya buff. I thought it would be interesting to add a tow rope at the stern using just some household string that I dipped in a brown wash. Attached Flags, bow and side fenders, life rings, and lastly did some final touch up and I'm calling this complete.


- 32 replies
-
- 16
-
-
- Lackawanna
- BlueJacket Shipcrafters
- (and 1 more)
-
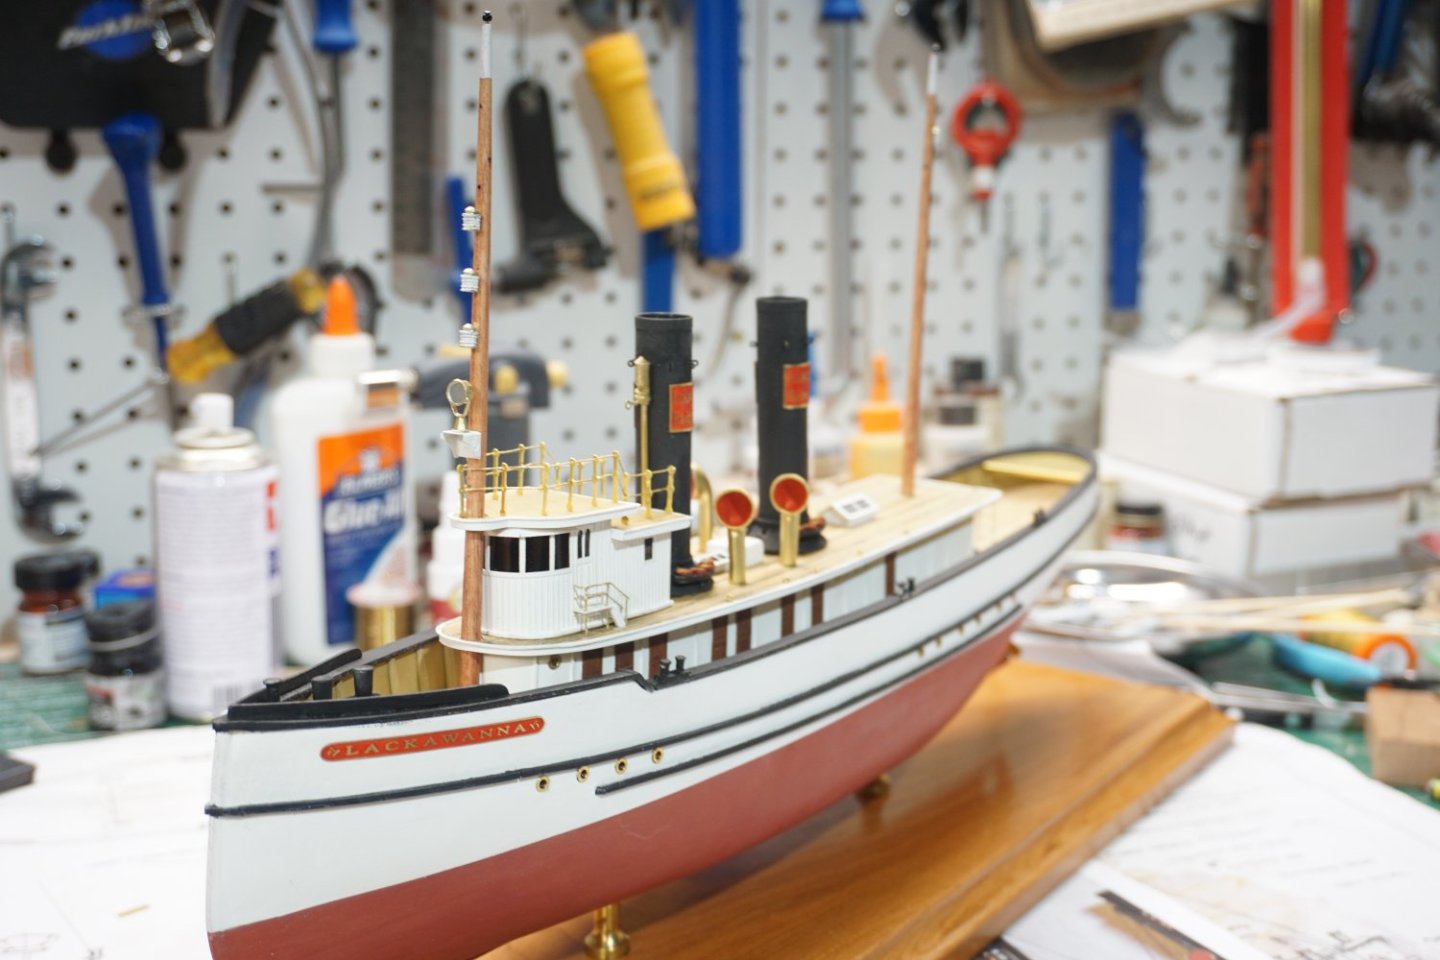
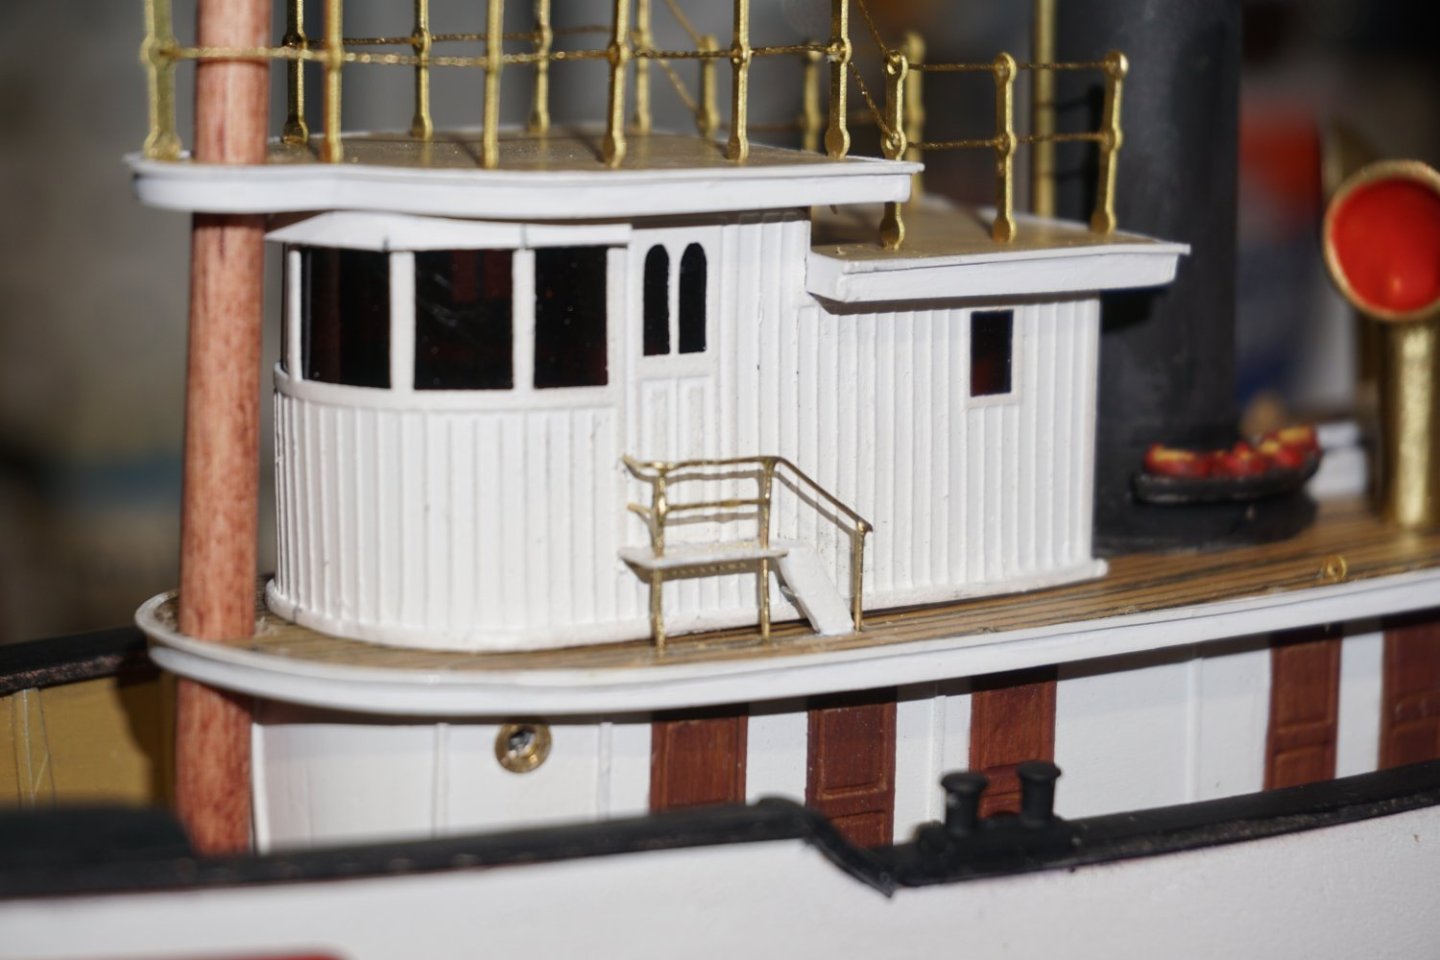
Getting a little closer to completion. Had some trouble making the pilot house door and landing railing. After a couple of tries with CA glue I did not like the results, so I decided to re-fabricate the rails using solder at the joints, not perfect but I think they came out OK. Installed the search light, mast lights, smokestacks, ventilators, and deck sky lights. After placing all the eyebolts, I am now ready for the rigging.
- 32 replies
-
- 12
-
-
- Lackawanna
- BlueJacket Shipcrafters
- (and 1 more)
-
The paint I used is (USN Norfolk 65-A anti-foul Red) from True North Precision Enamels
- 32 replies
-
- 2
-
-
- Lackawanna
- BlueJacket Shipcrafters
- (and 1 more)
-
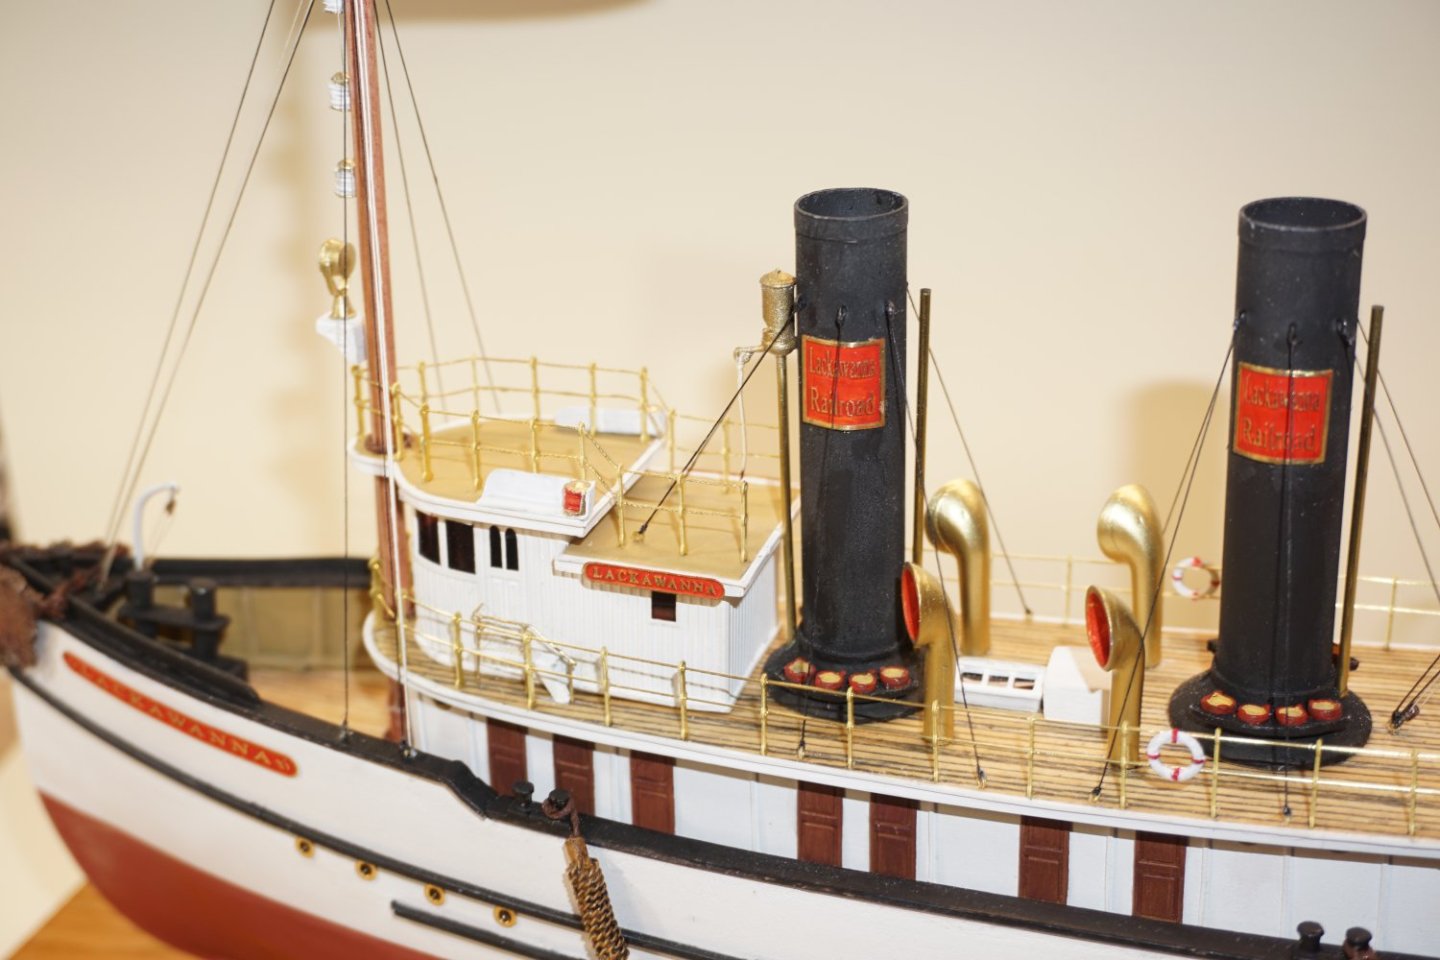
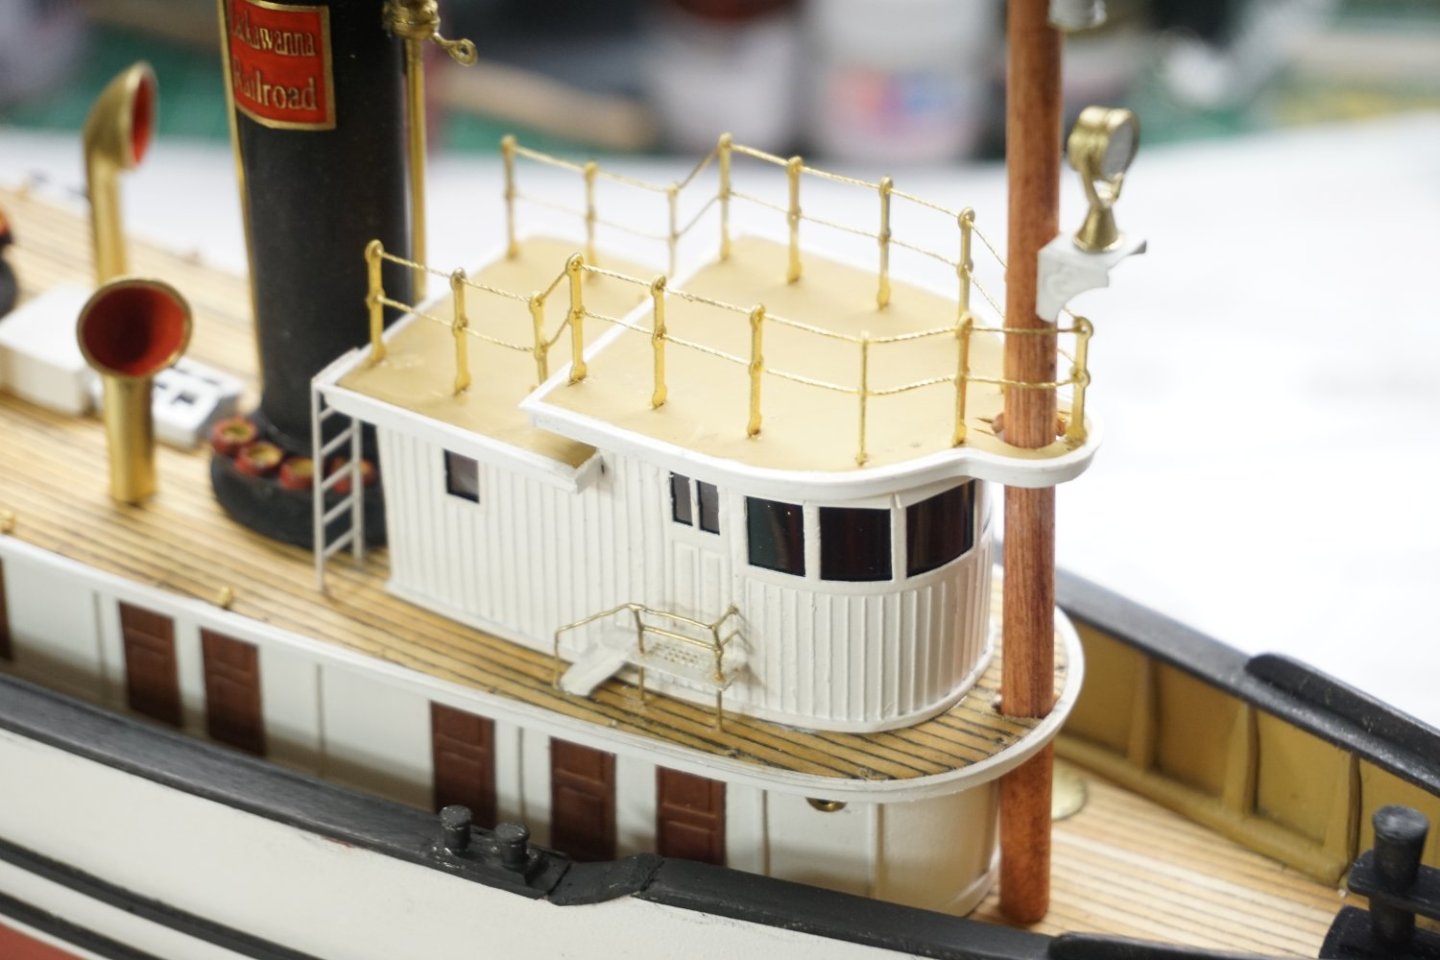
I'm starting to see the light at the end of the tunnel. For the Pilot house construction, I used old photo negatives for the windows. After drilling holes and installing pilot house stanchions I decided to use thread to simulate the railings which I then painted with a brass enamel color. Masts were tapered, holes drilled and stained per kit instructions and set in place temporarily. After attaching pilot house to main cabin, I then mounted ship using brass pedestals on its permanent base. Overall, this kit is excellent and a pleasure to build, I am hoping to have this completed within the next week or so.

- 32 replies
-
- 12
-
-
- Lackawanna
- BlueJacket Shipcrafters
- (and 1 more)
-
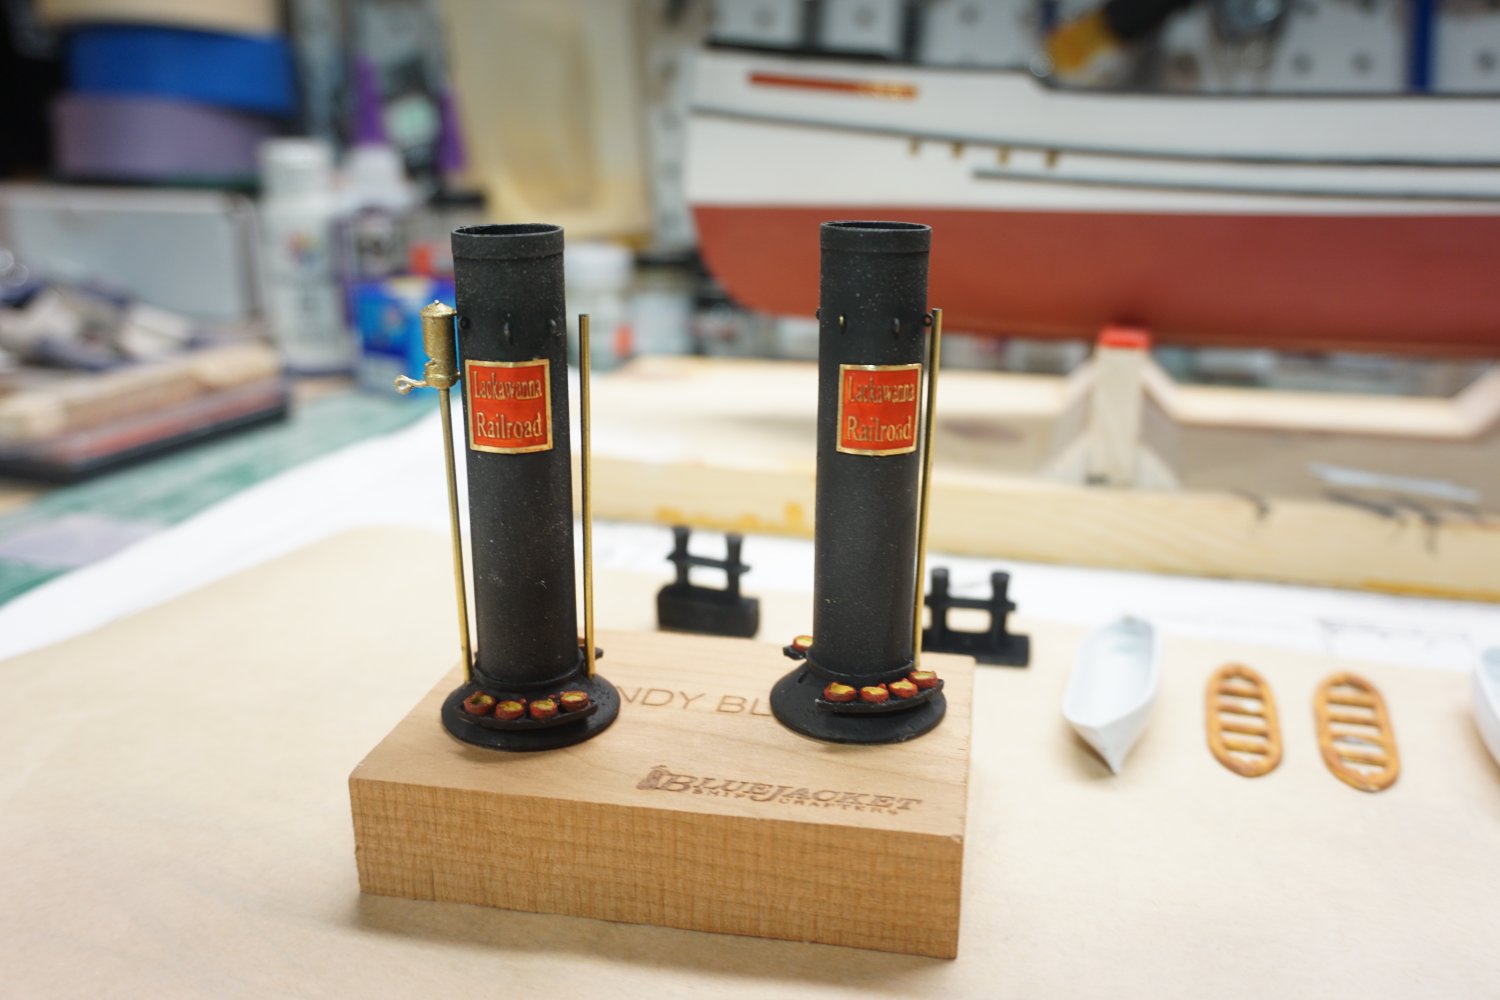
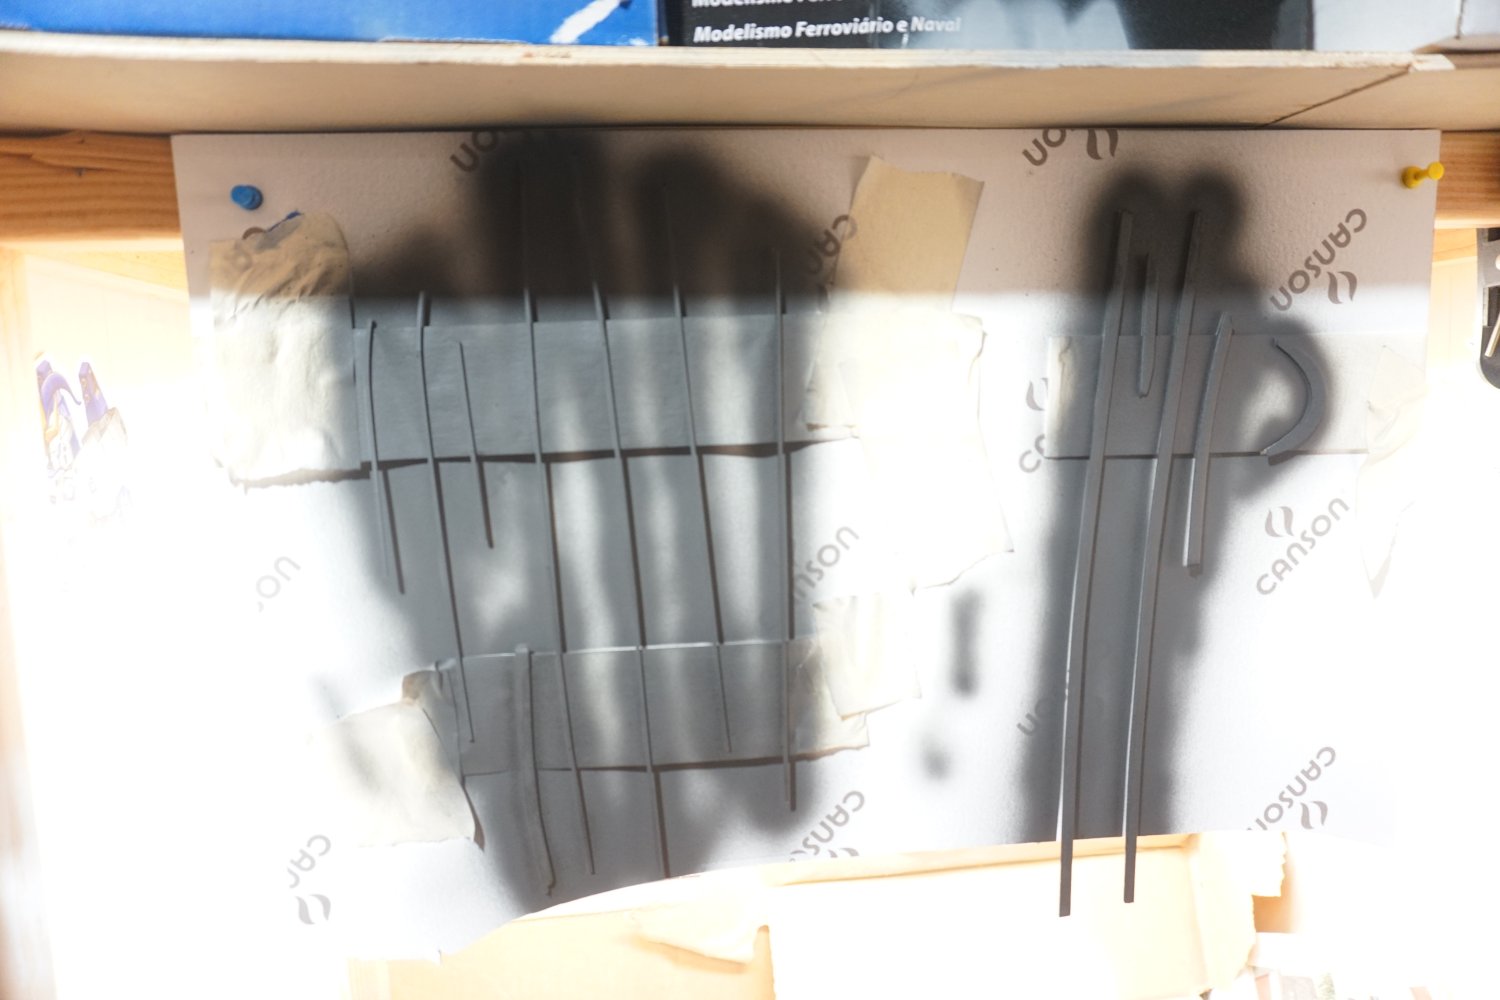
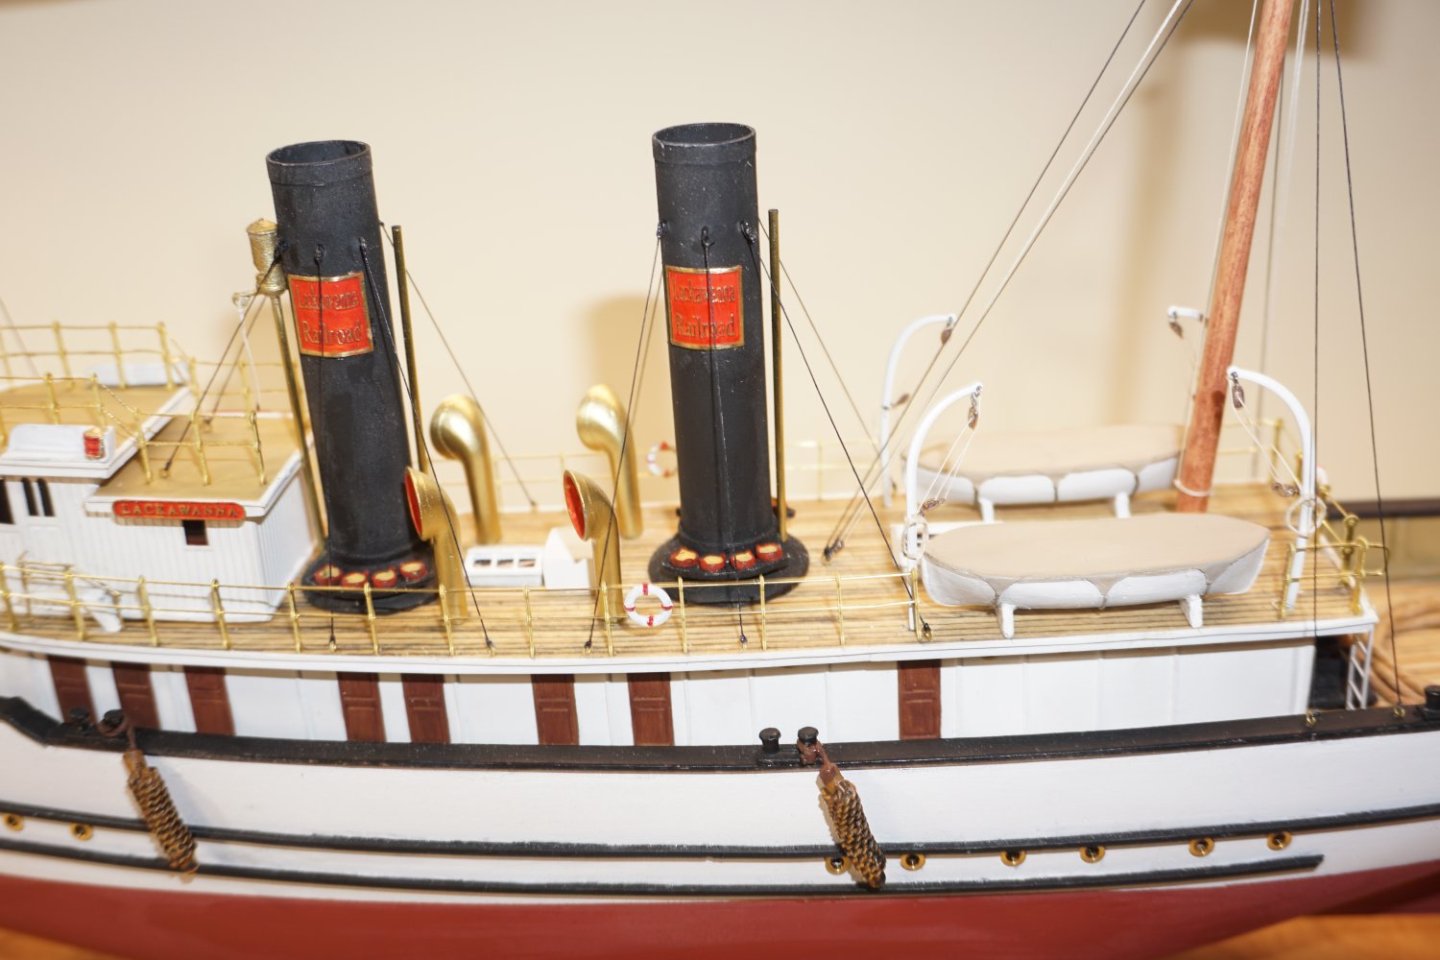
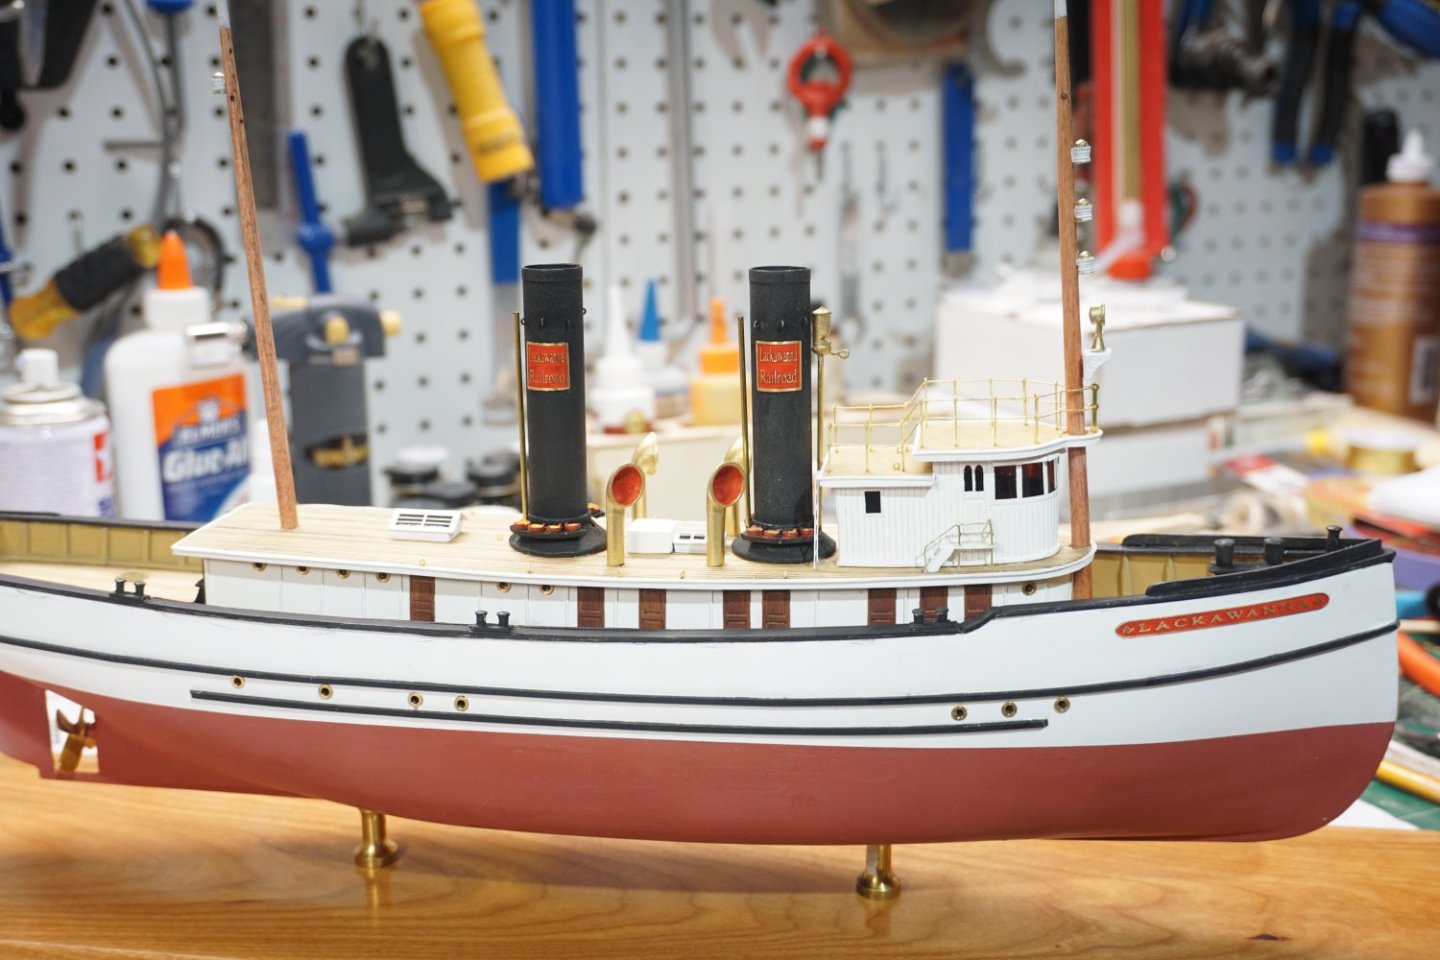
Completed smokestacks, main cabin sky lights, main cabin deck and pilot house decks. Smoke stacks wer primed with automotive primer then airbrushed flat black, because I was in a bit of a hurry I used tamiya acrlic red paint for the smokestack badges then scraped off raised detail with x'acto knife. painted fire buckets red as well. Per instructions, it says to paint cabin doors white but I wanted them to stand out, so I painted them with a woodish color,(I did see some models done this way). When constructing the sky lights, I found some old photo negatives that I used for the glass panes, this turned out pretty good so I will try this when I construct the pilot house instead of using black paint, see how it goes.


- 32 replies
-
- 11
-
-
- Lackawanna
- BlueJacket Shipcrafters
- (and 1 more)
-
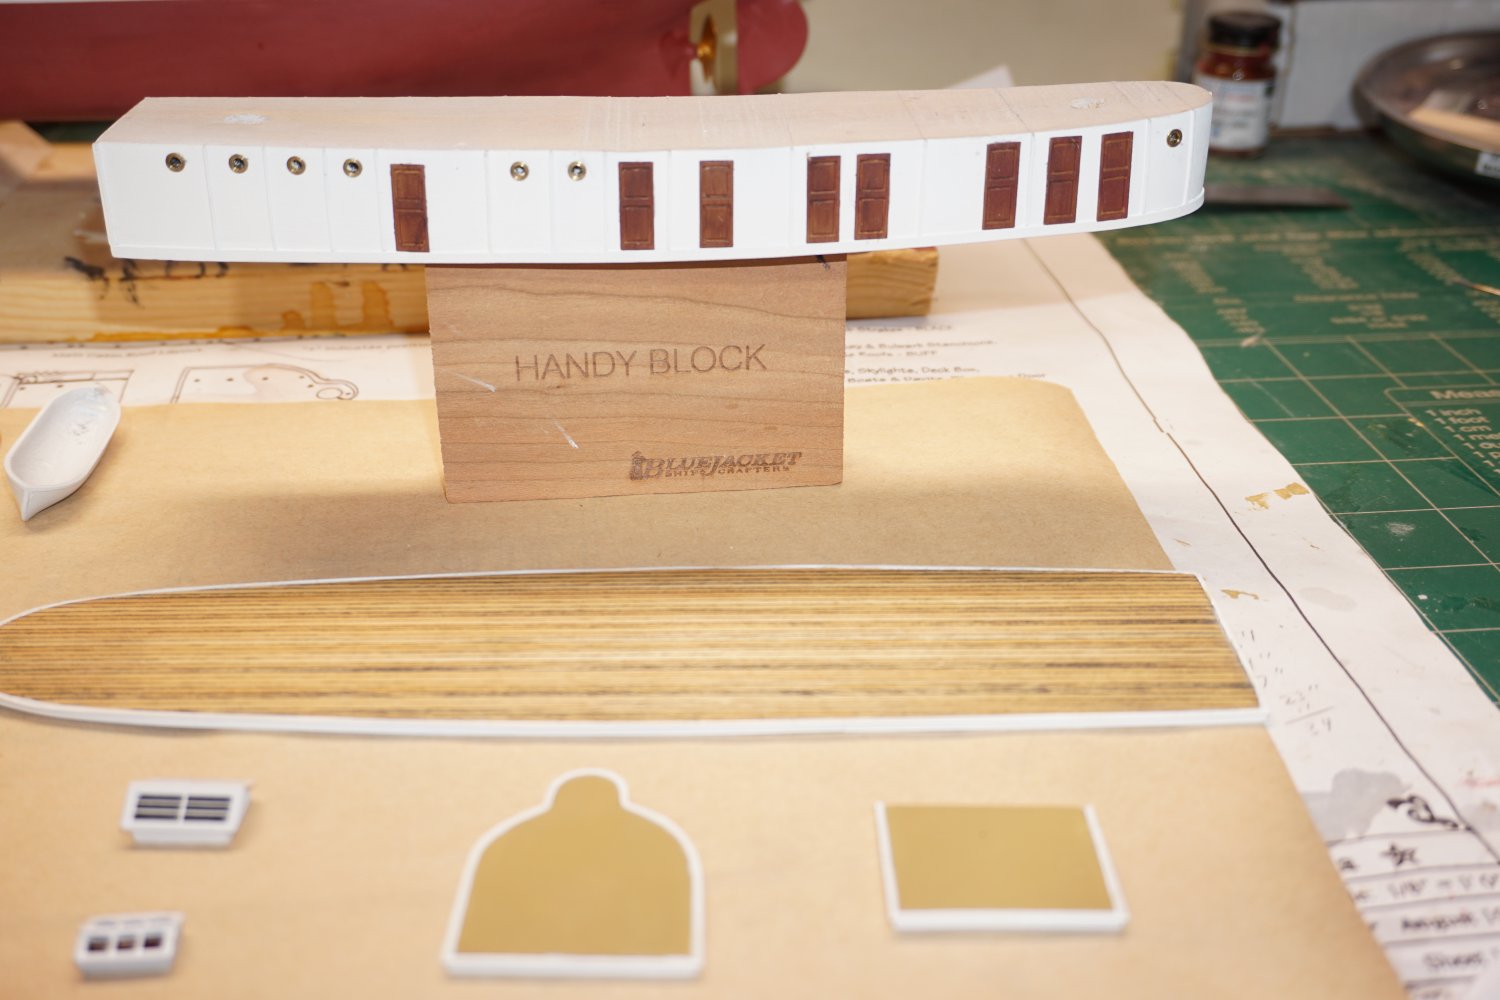
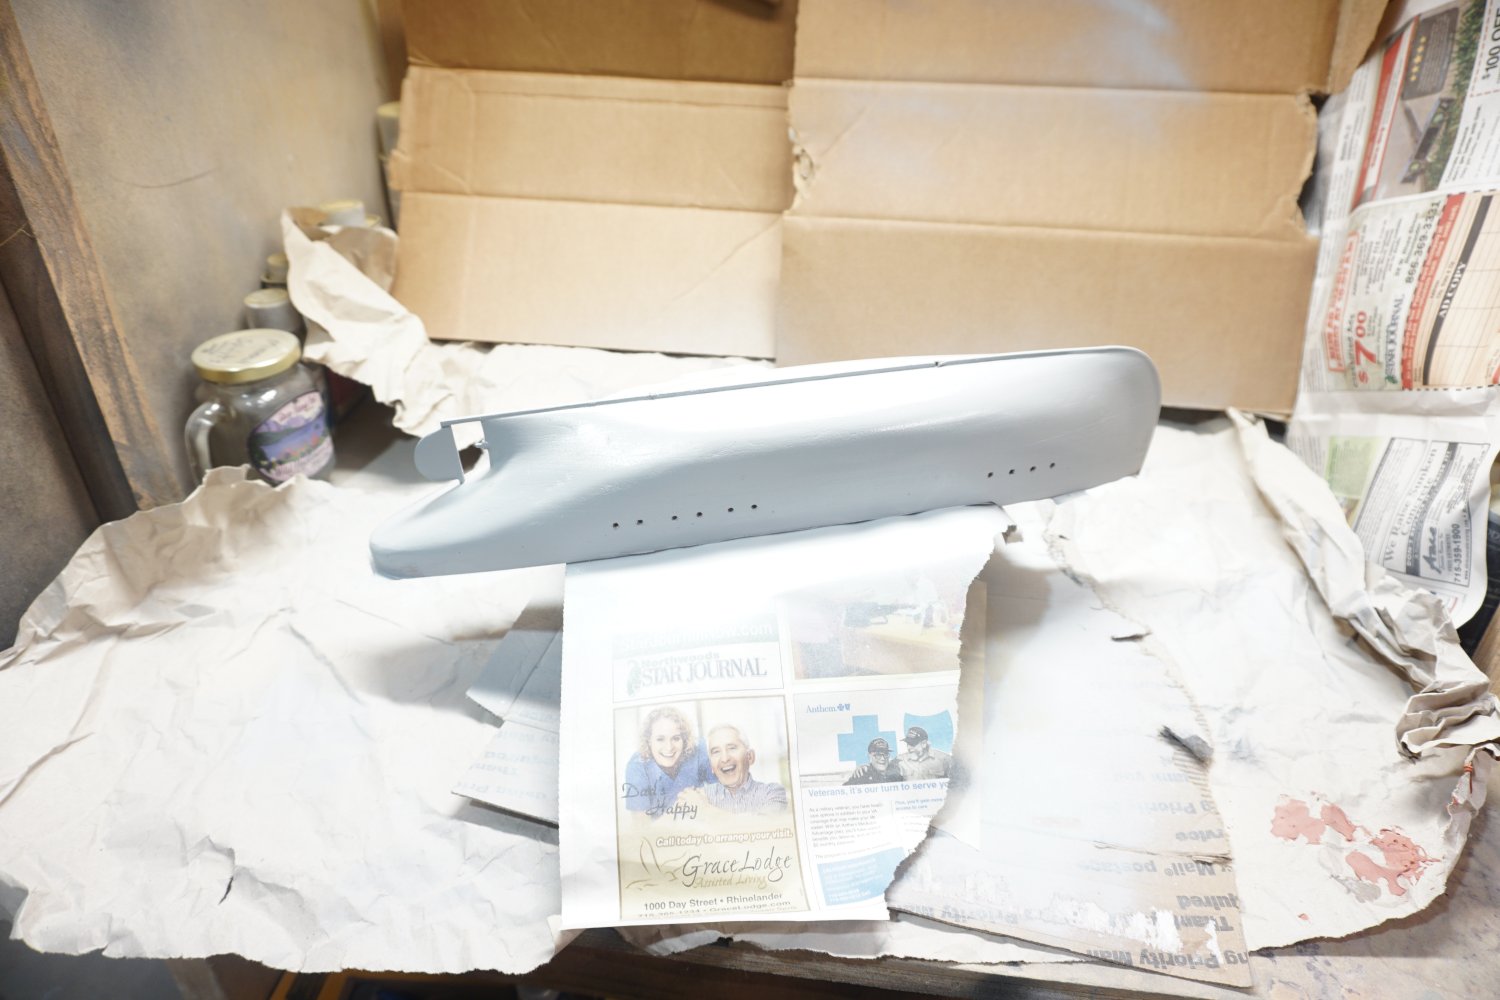
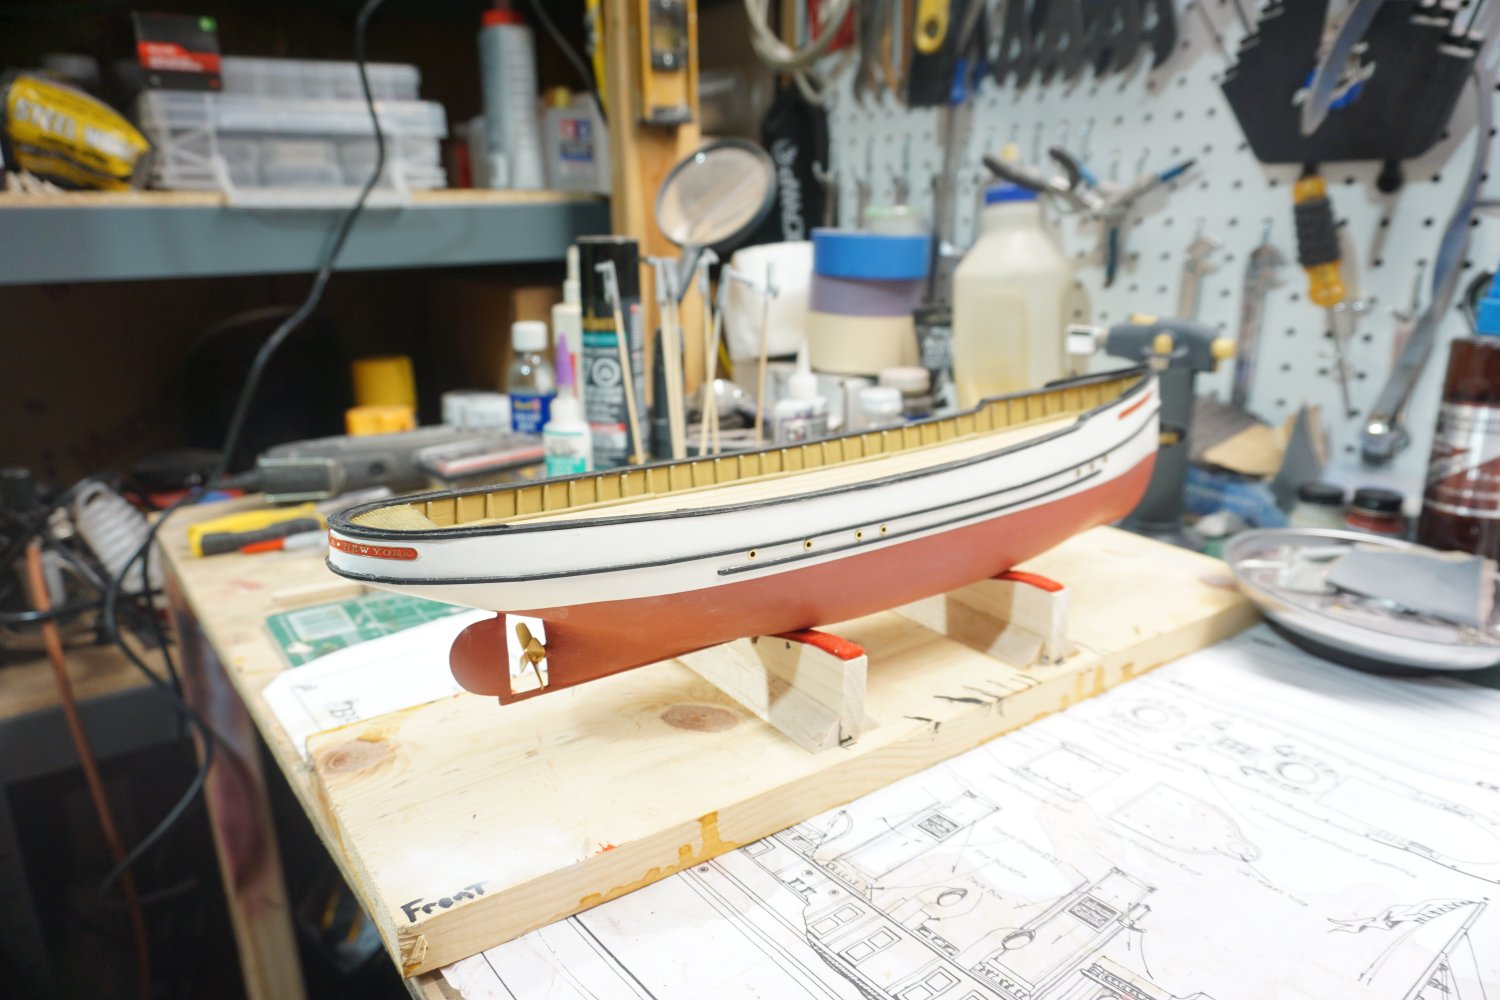
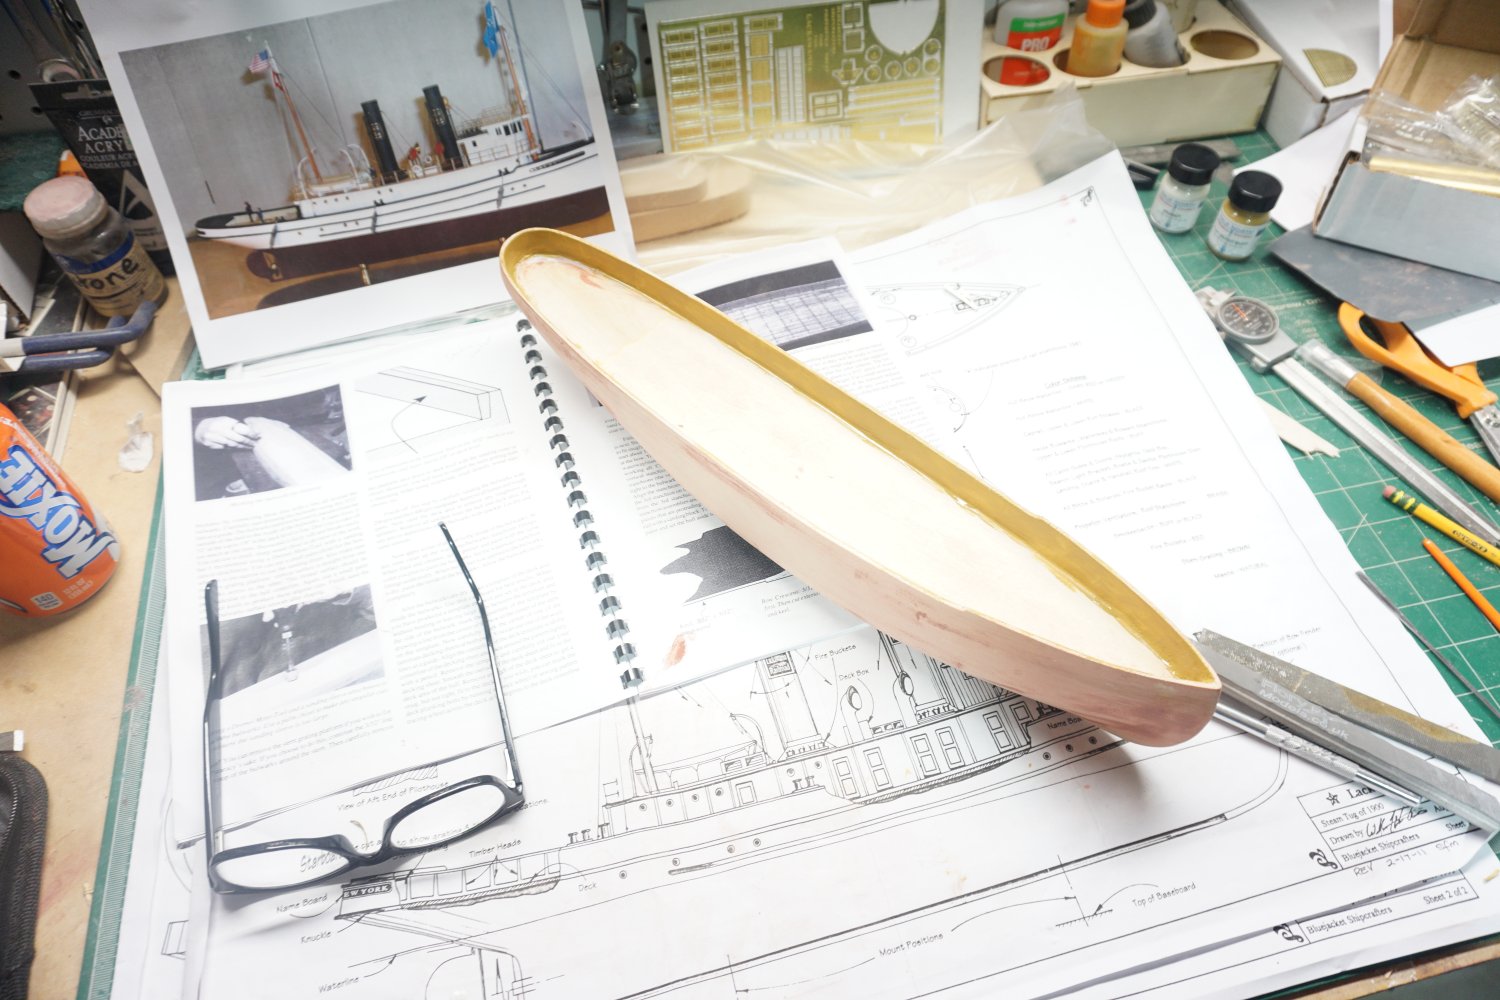
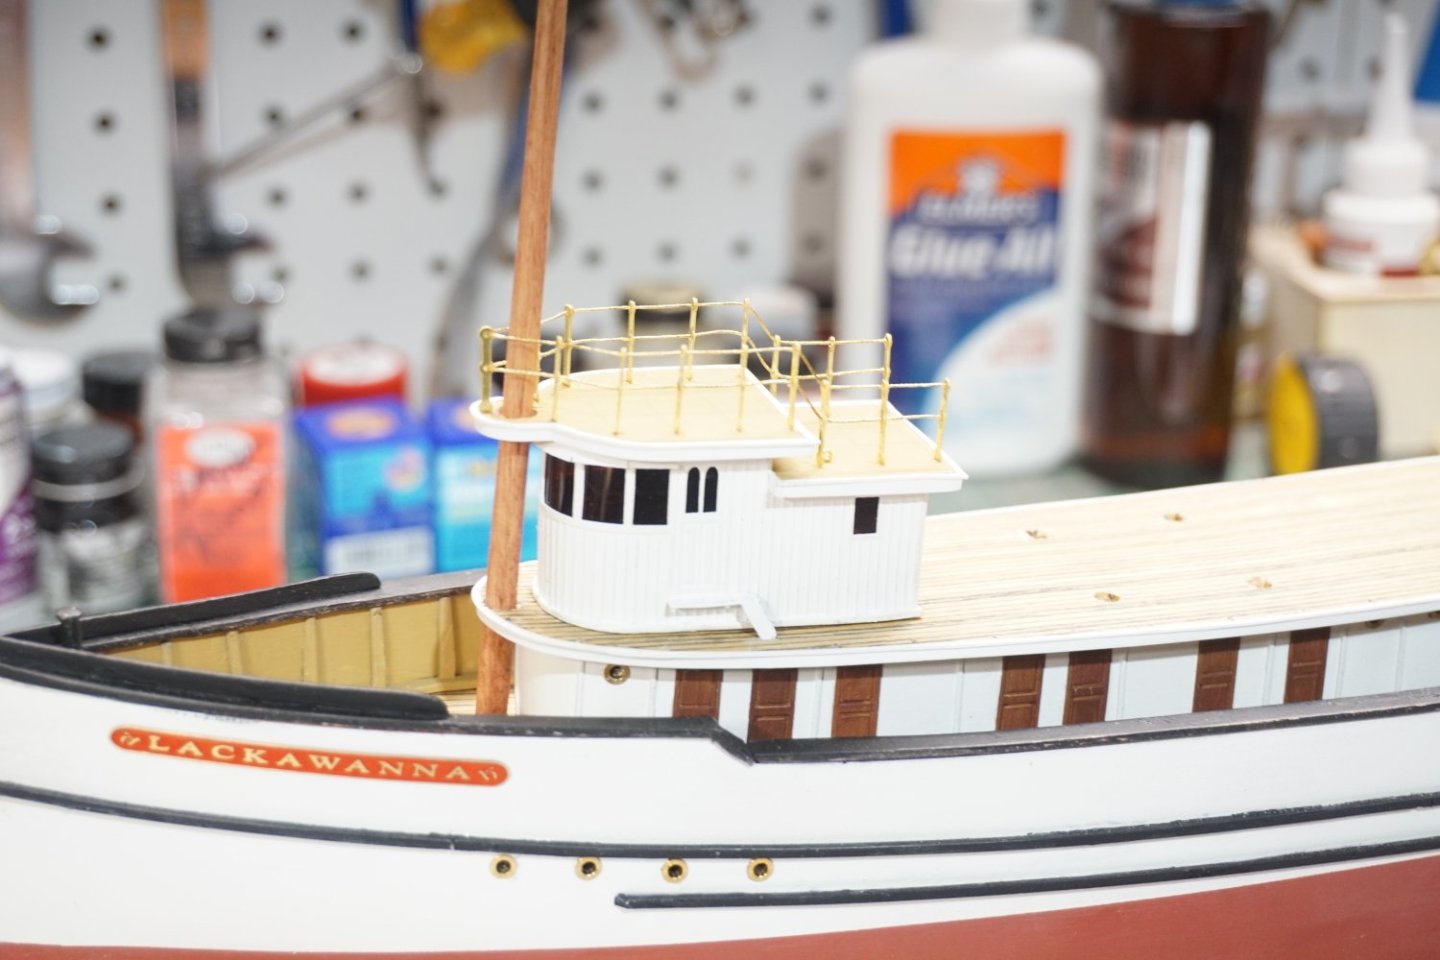
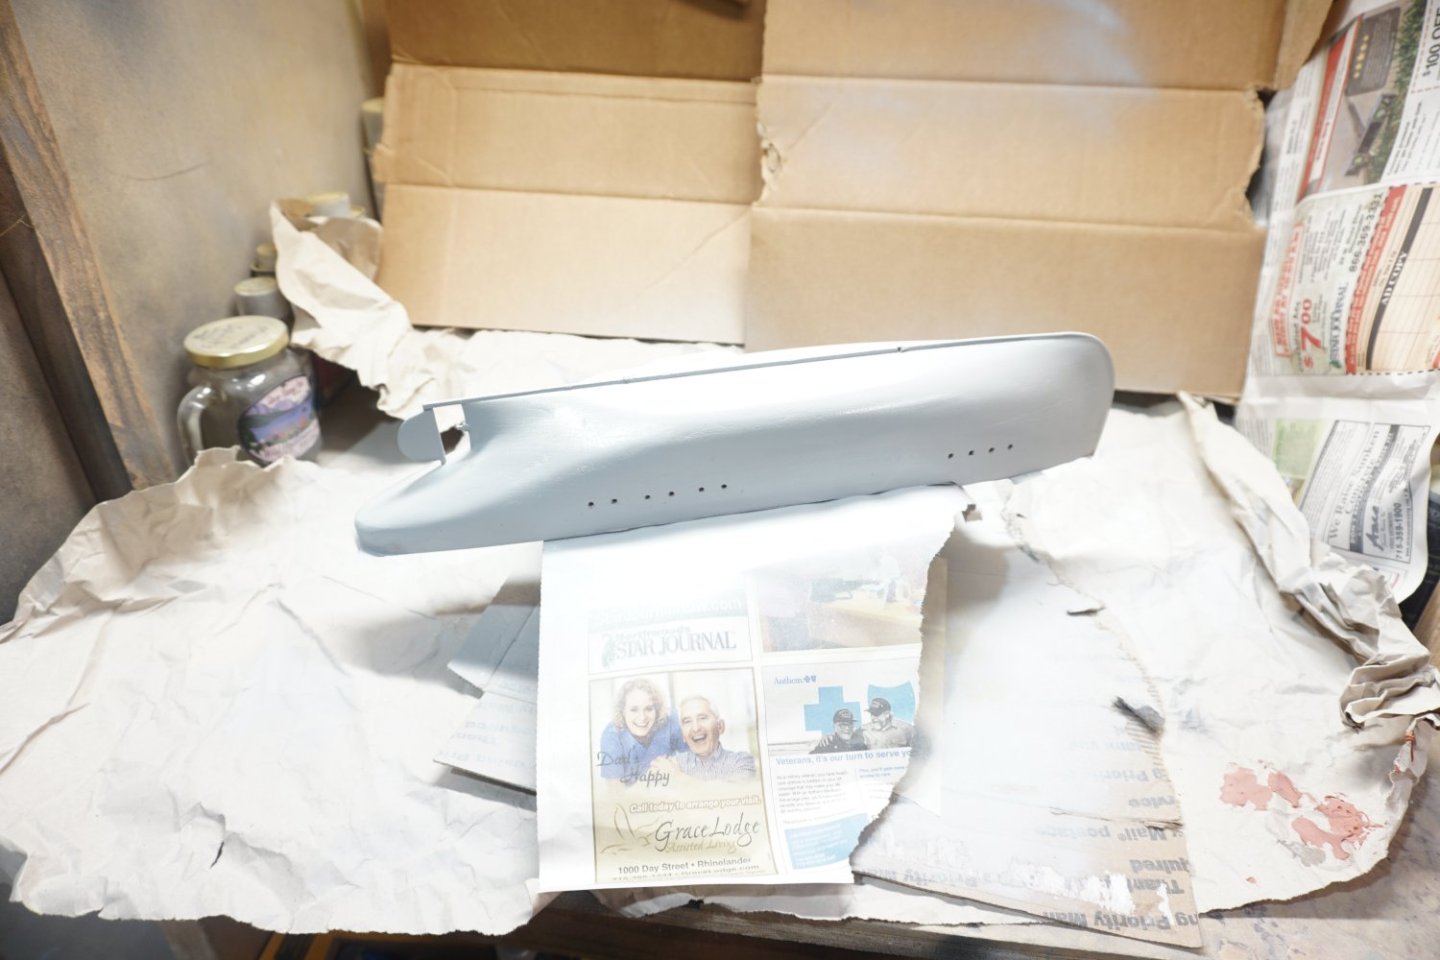
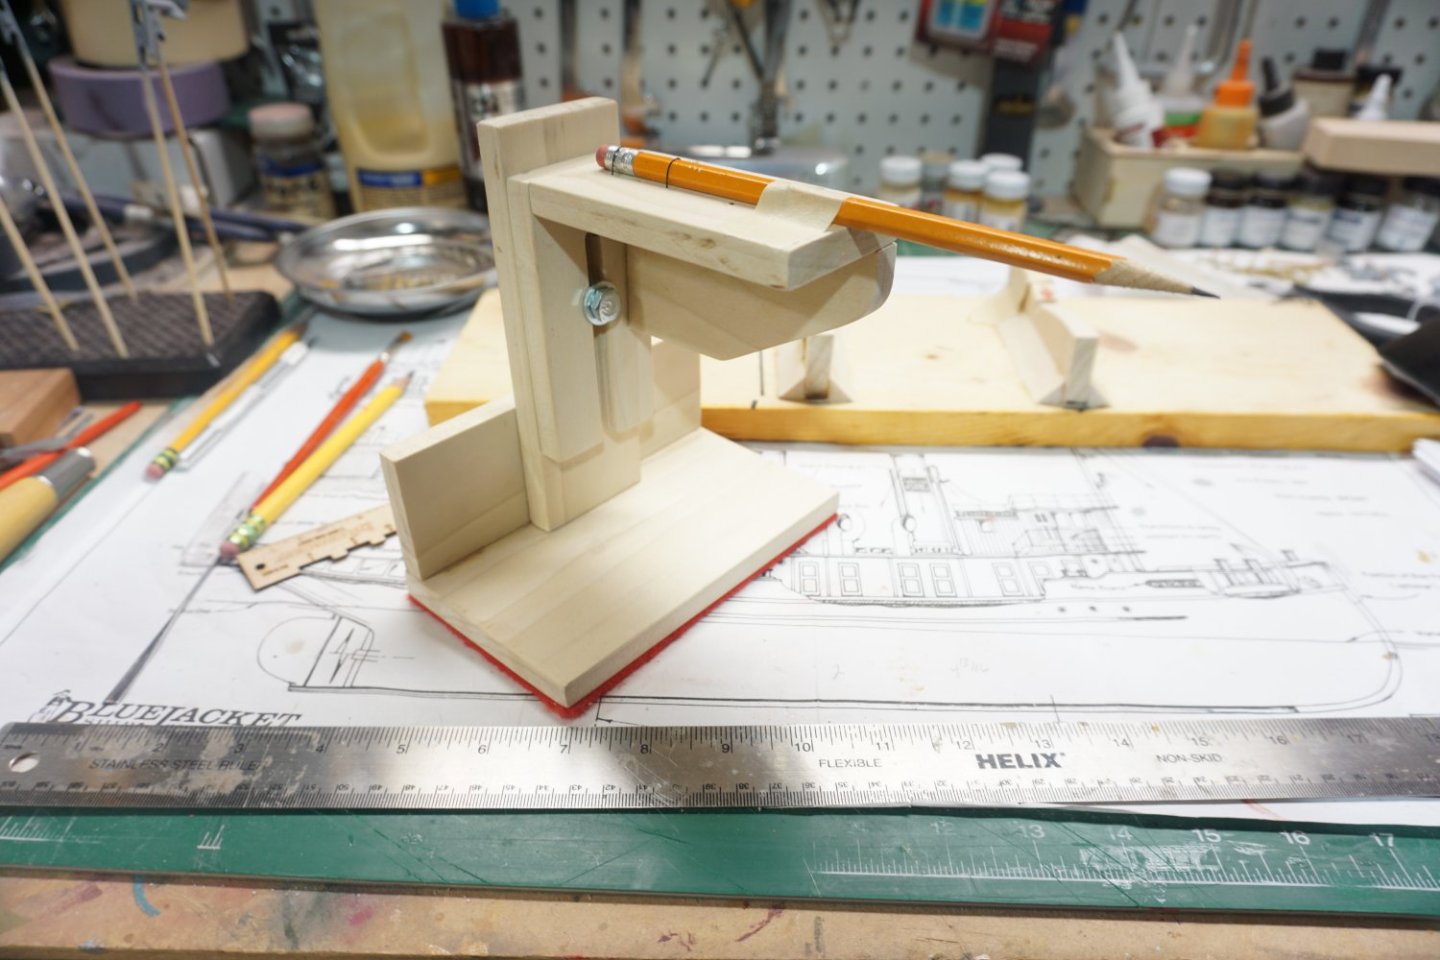
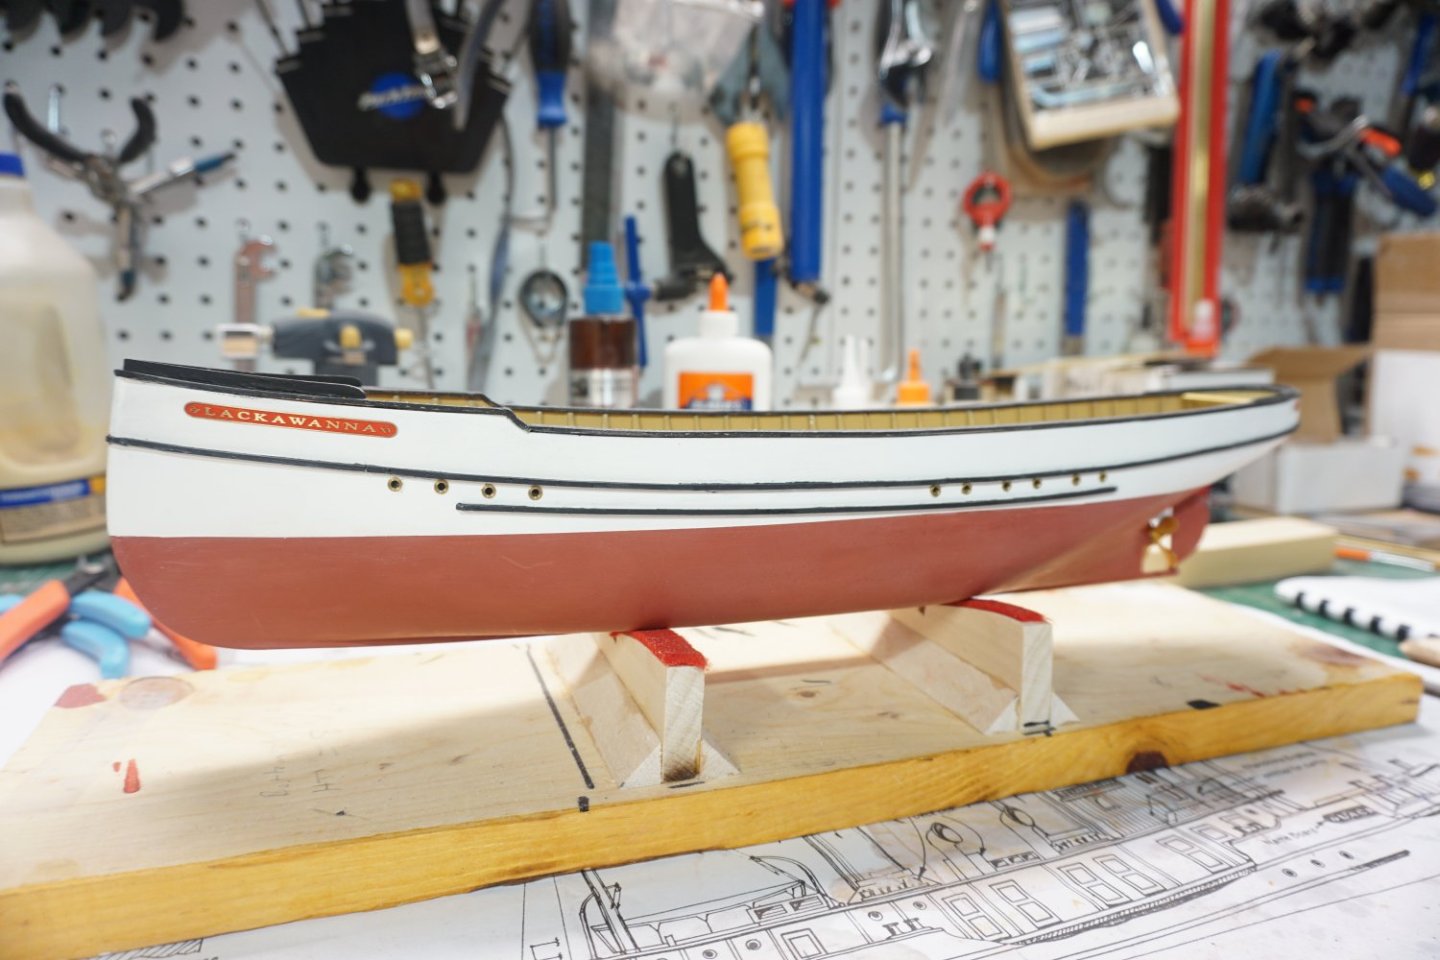
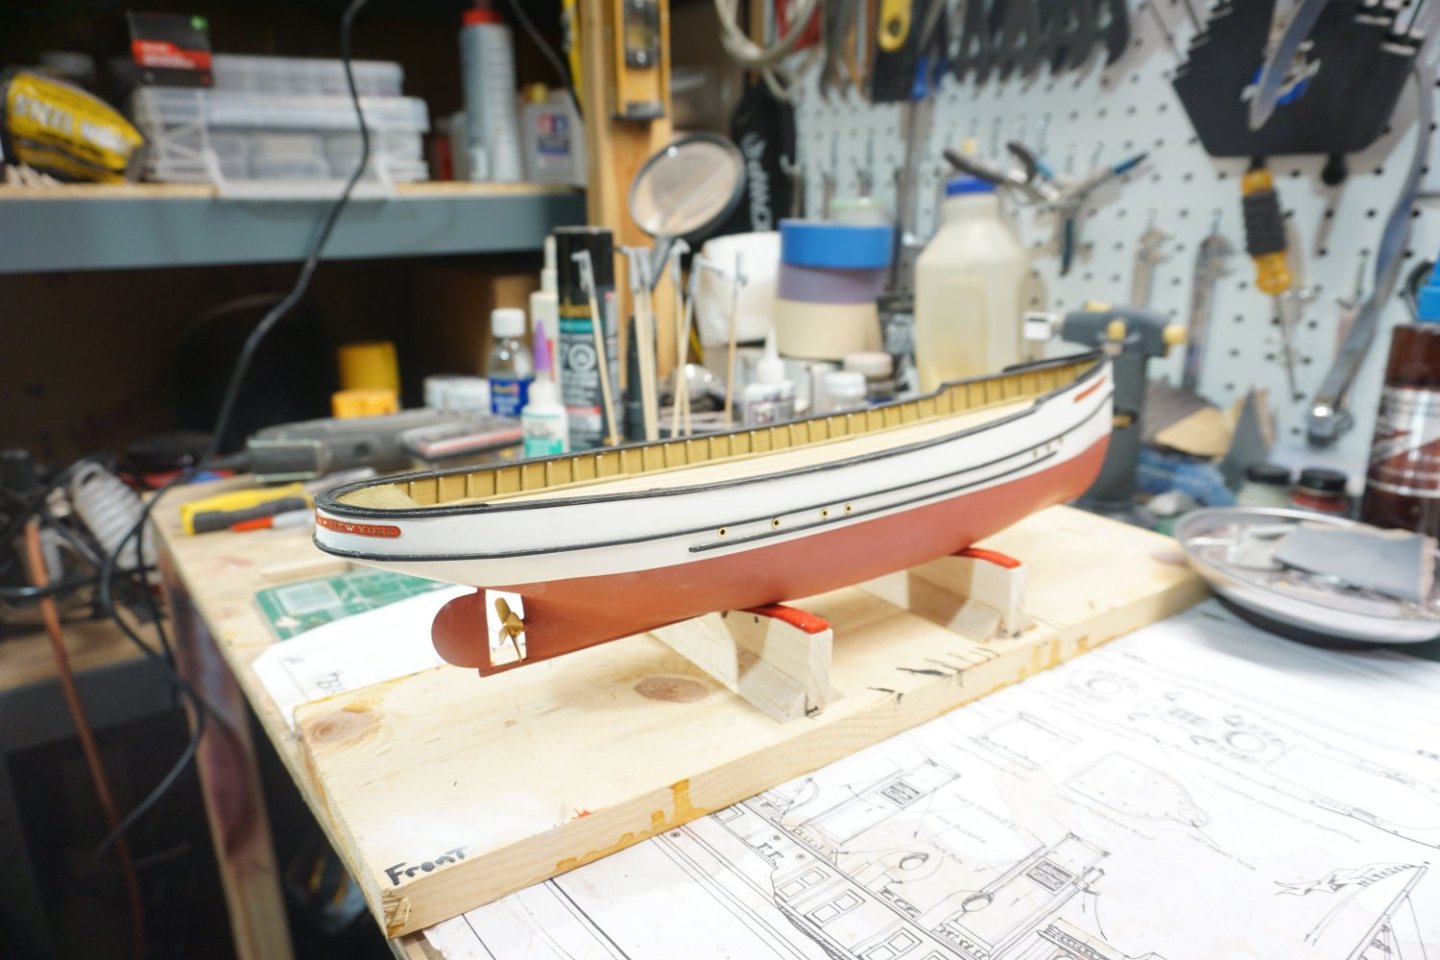
After final sanding, and drilling out for port holes I gave it a coat of automotive primer. Cut to fit cap rails, sheer and rub strakes, then sanded and airbrushed flat black. When primer was dry I had to establish the waterline using this homemade tool from Frank Mastini's plans illustrated in his book "Ship modeling simplified" Airbrushed lower hull with anti'fouling red then masked waterline with scoth magic tape then air brushed white above waterline. Finally installed cap rails, sheer and rub strakes, brass port holes and lastly bow and stern name boards.

- 32 replies
-
- 10
-
-

-
- Lackawanna
- BlueJacket Shipcrafters
- (and 1 more)
-
At this point in build per instructions I decided to mount my completed ship on pedestals, so I took care of this, then removed from finishe base and sent hull back to work cradle.
- 32 replies
-
- 5
-
-
- Lackawanna
- BlueJacket Shipcrafters
- (and 1 more)
-
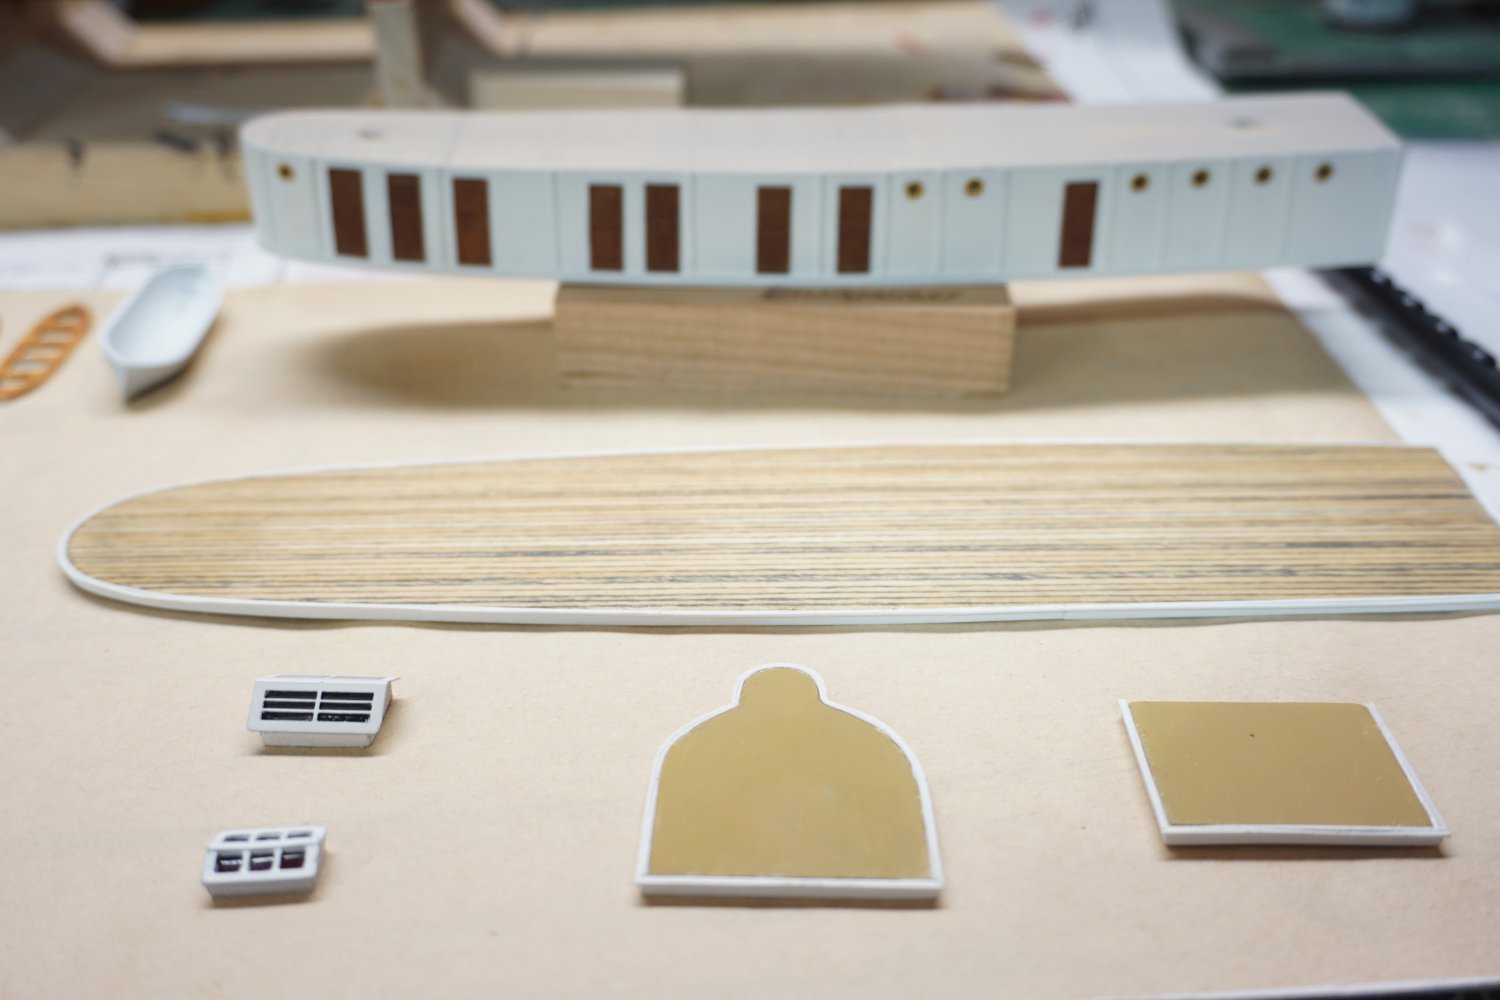
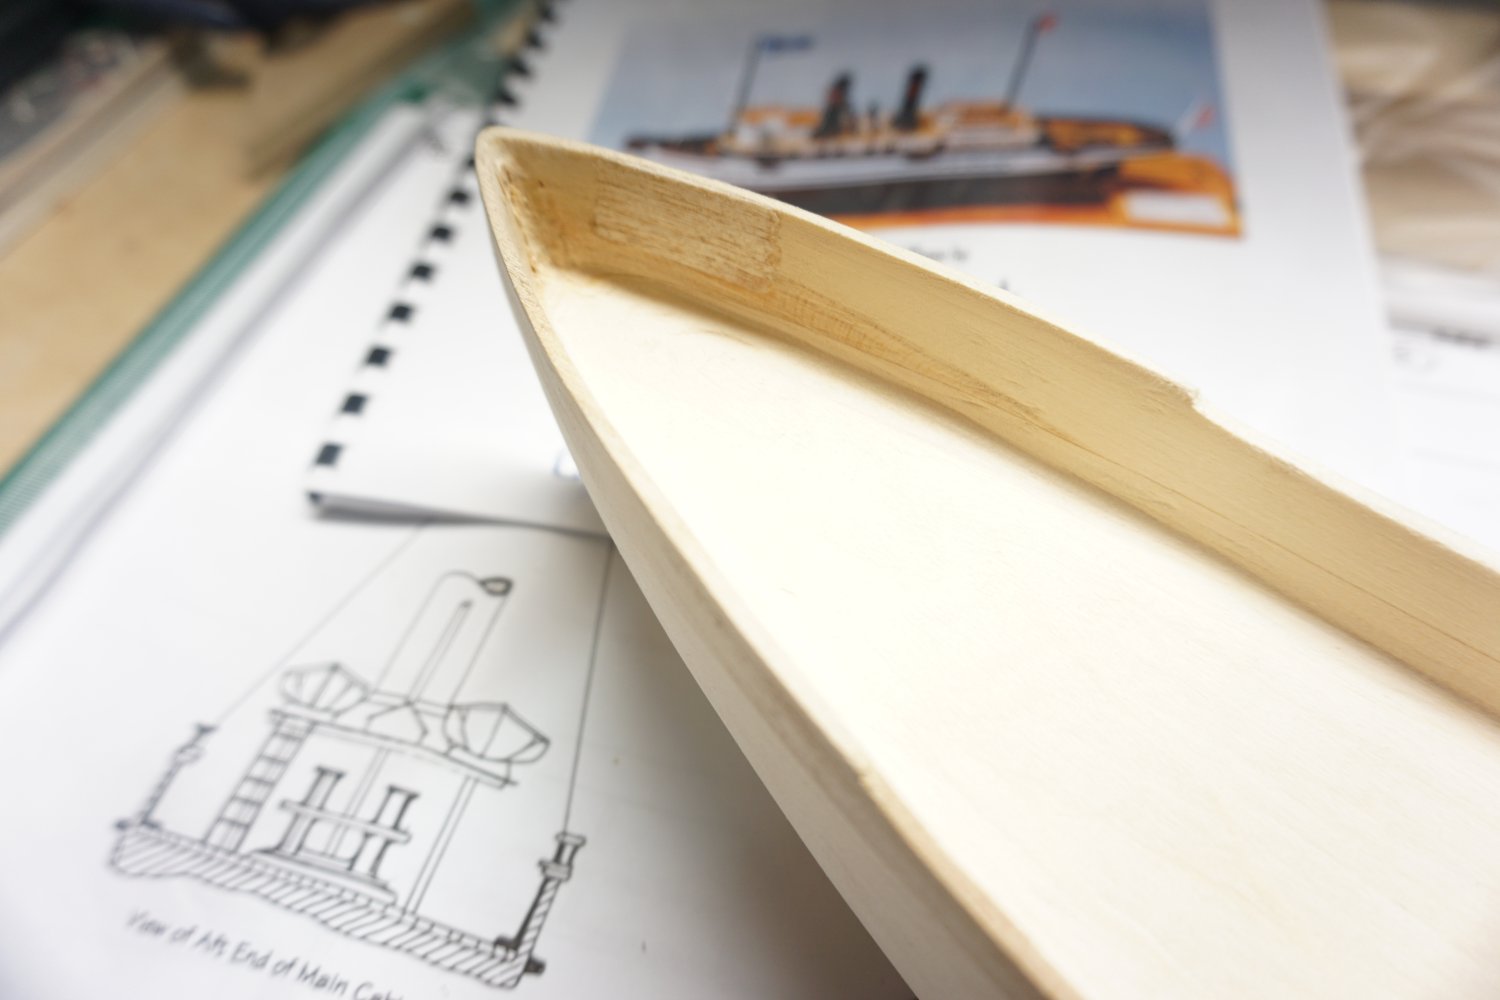
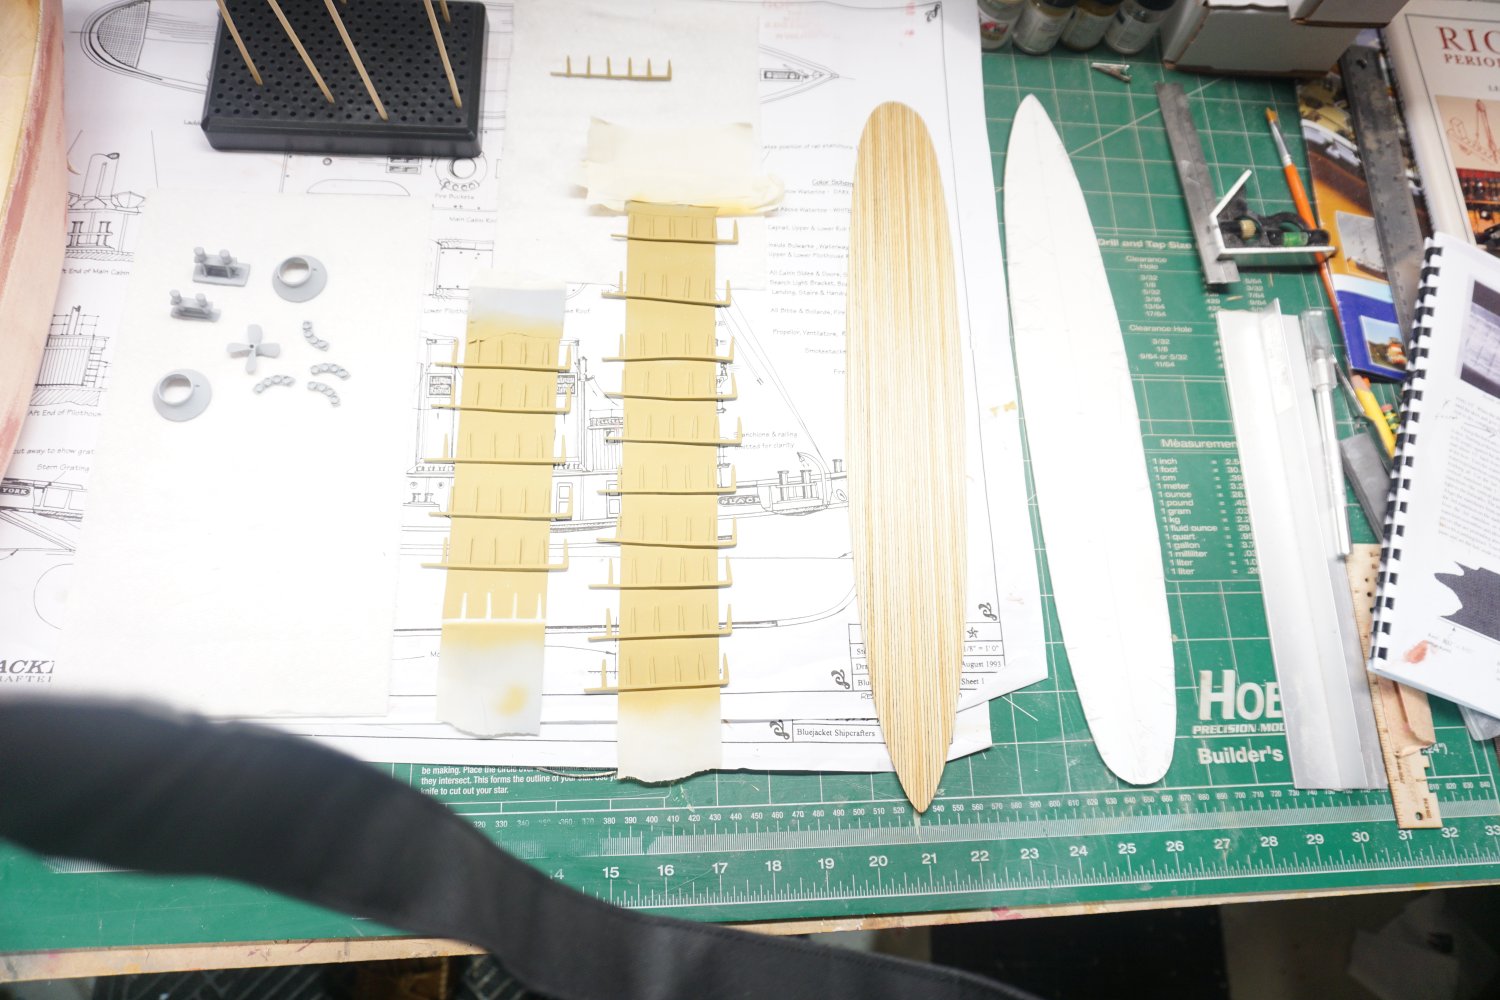
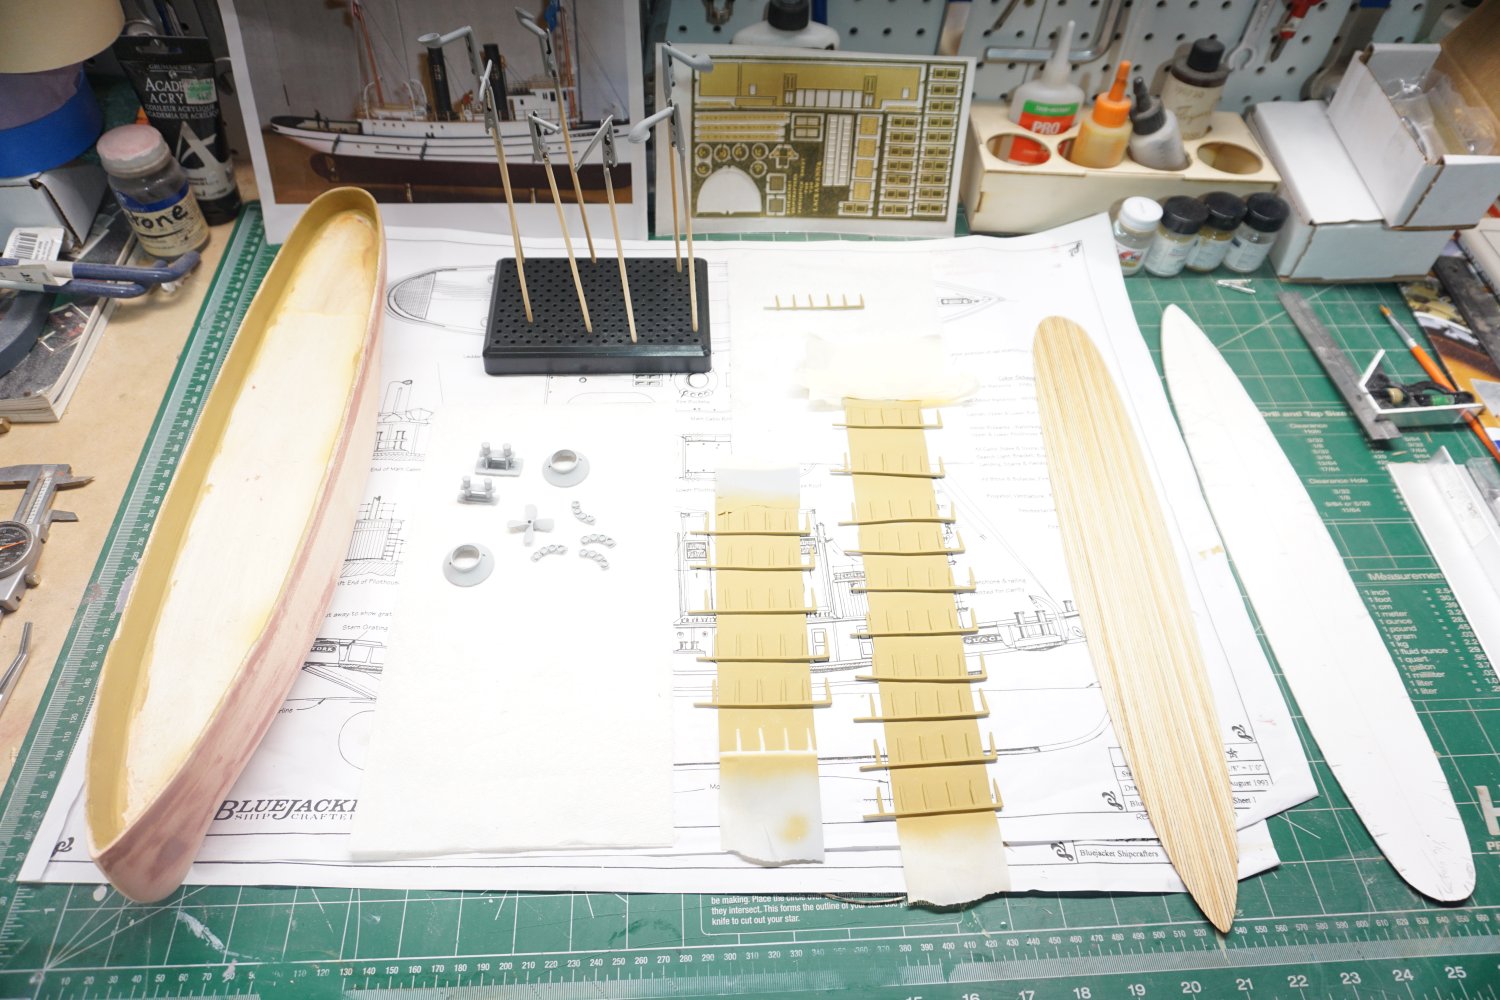
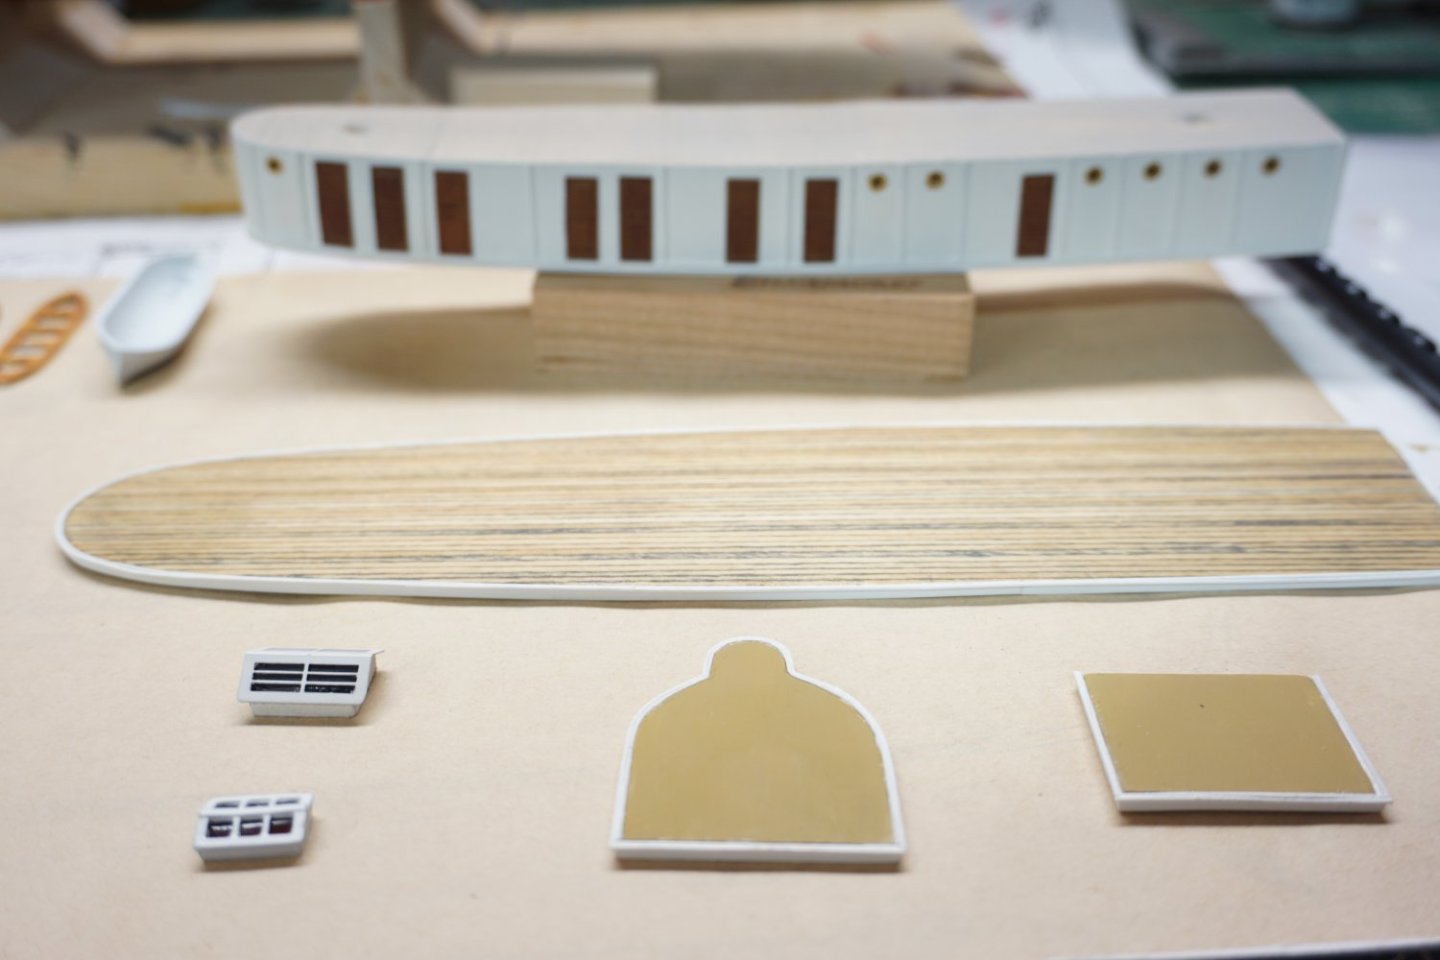
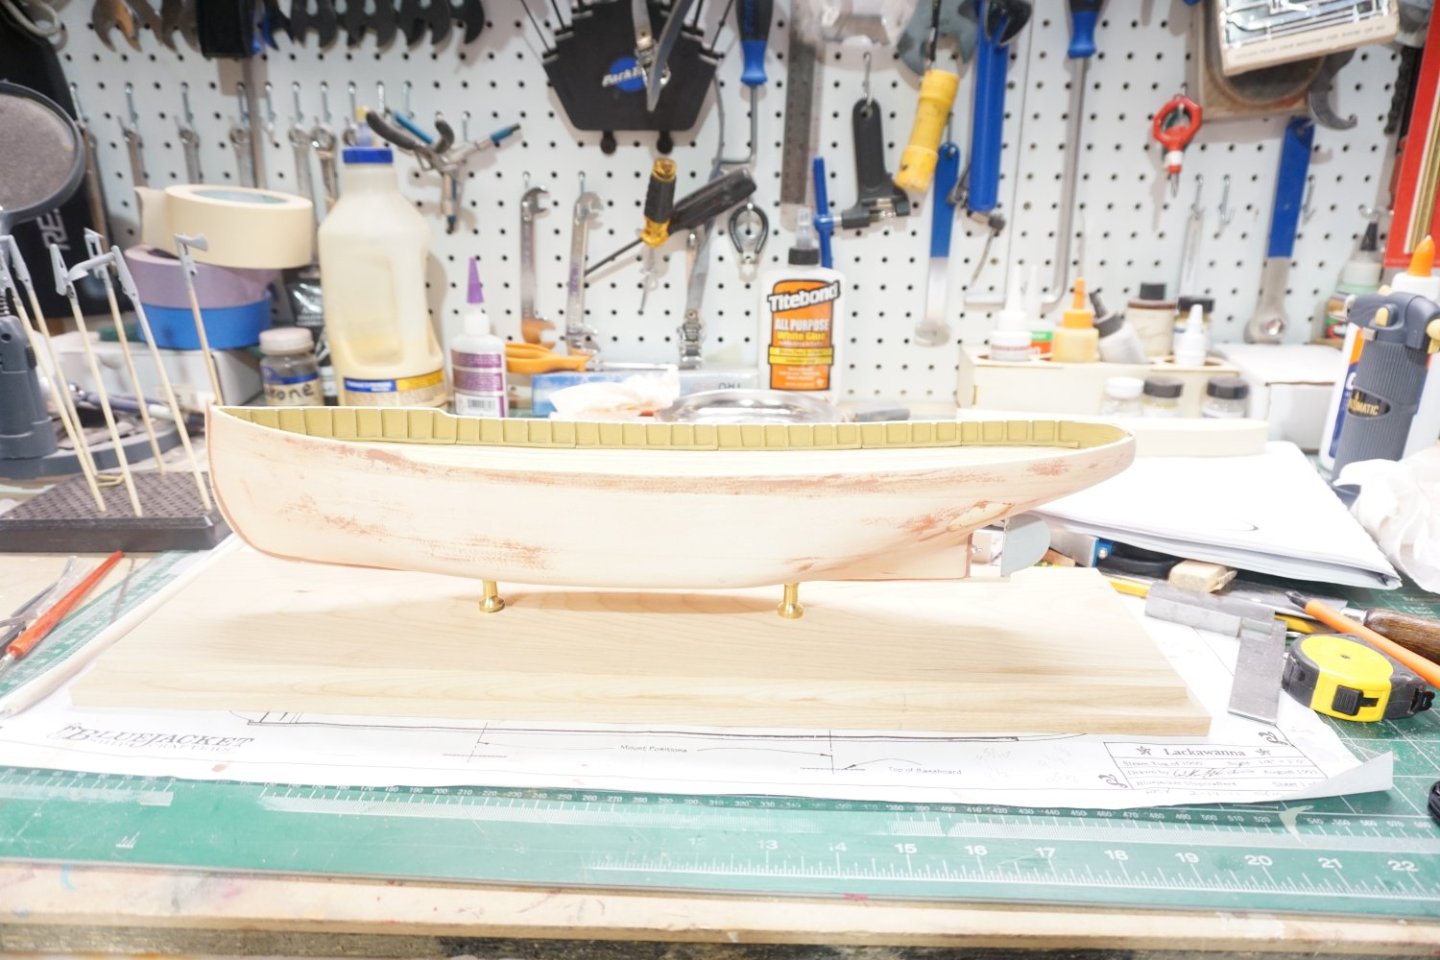
Initial shaping of the hull complete, after final sanding I airbrushed the inside of the bulwarks Buff. Ater completion of hull I made a template of deck out of matte board then transfered to 1/16" glued decking sheet, lastly after gluing in the deck I added the waterway stanchions that were previosly primed and airbrushed with buff.
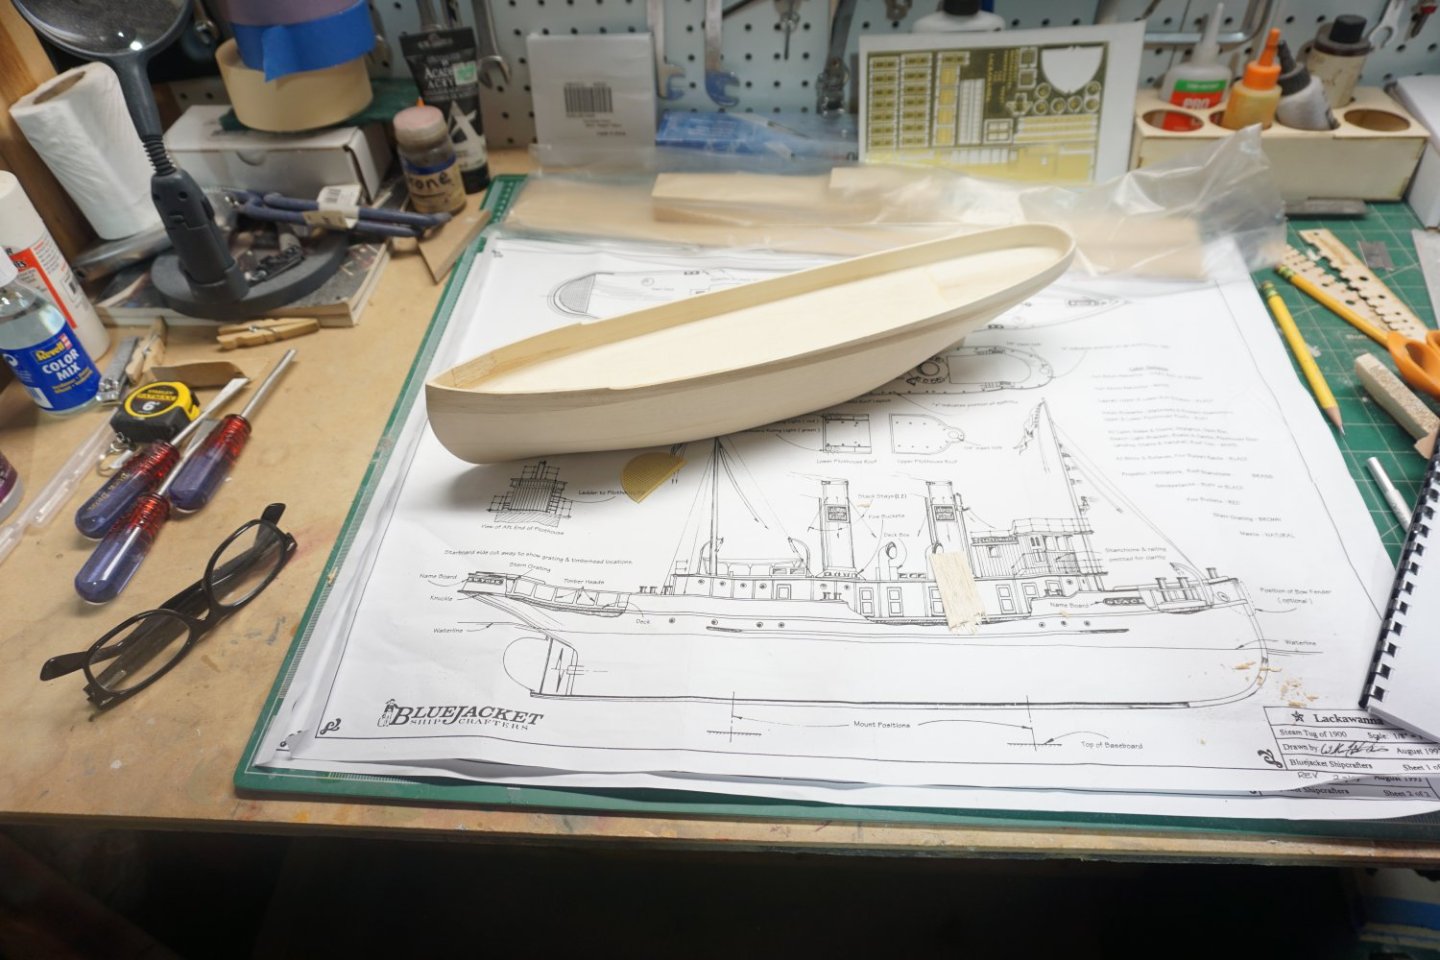

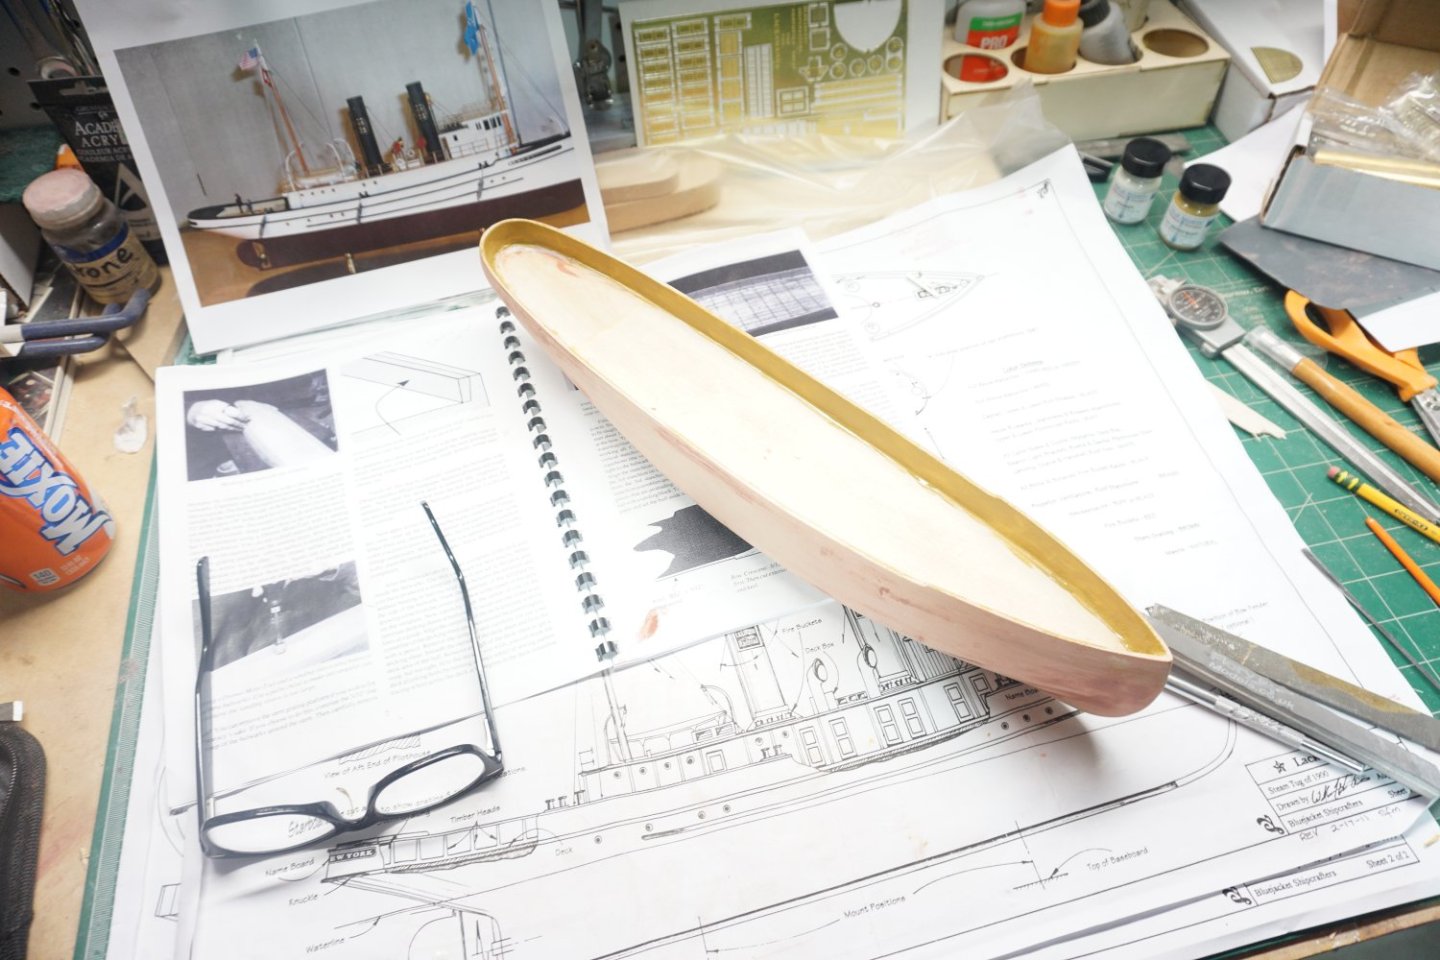

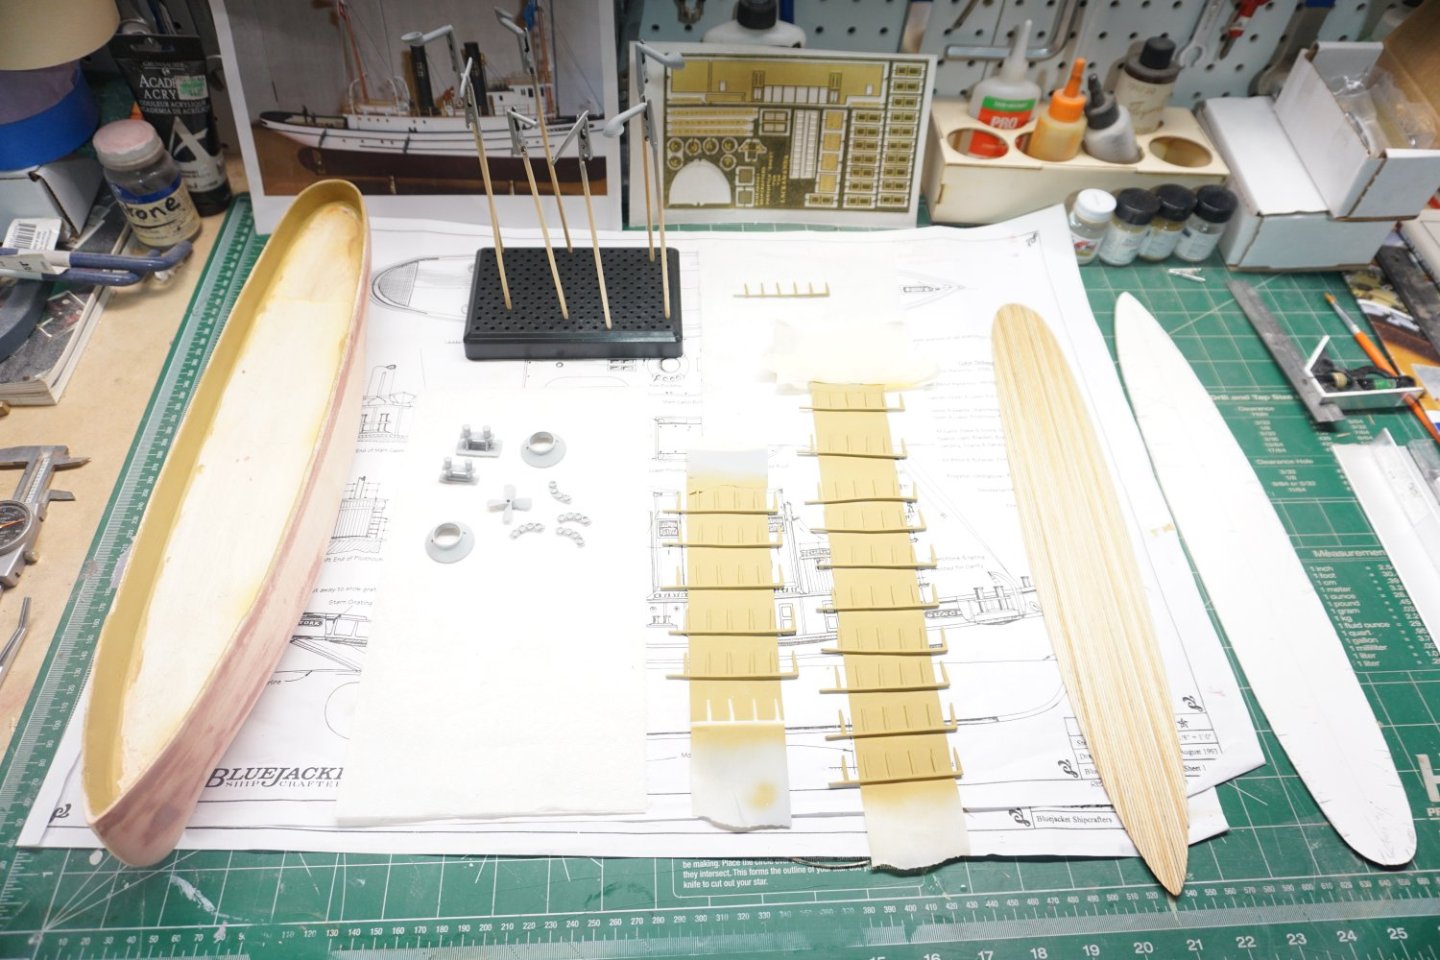
- 32 replies
-
- 6
-
-
- Lackawanna
- BlueJacket Shipcrafters
- (and 1 more)