


H March
-
Posts
41 -
Joined
-
Last visited
Content Type
Profiles
Forums
Gallery
Events
Posts posted by H March
-
-
-
On 1/21/2021 at 5:58 AM, Jerry said:
Good morning, Harry.
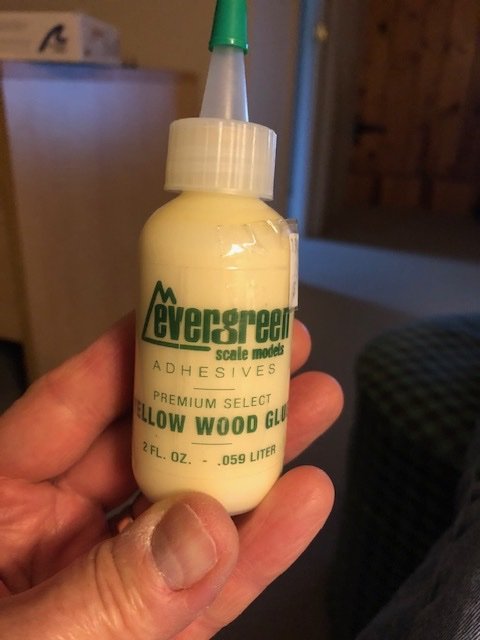
I used CA for both layers of hull planking. I spot glued about every 5 or 6 mm very lightly. I had no problems. Hope this is helpful.
Best,
Jerry
Hi again Jerry.
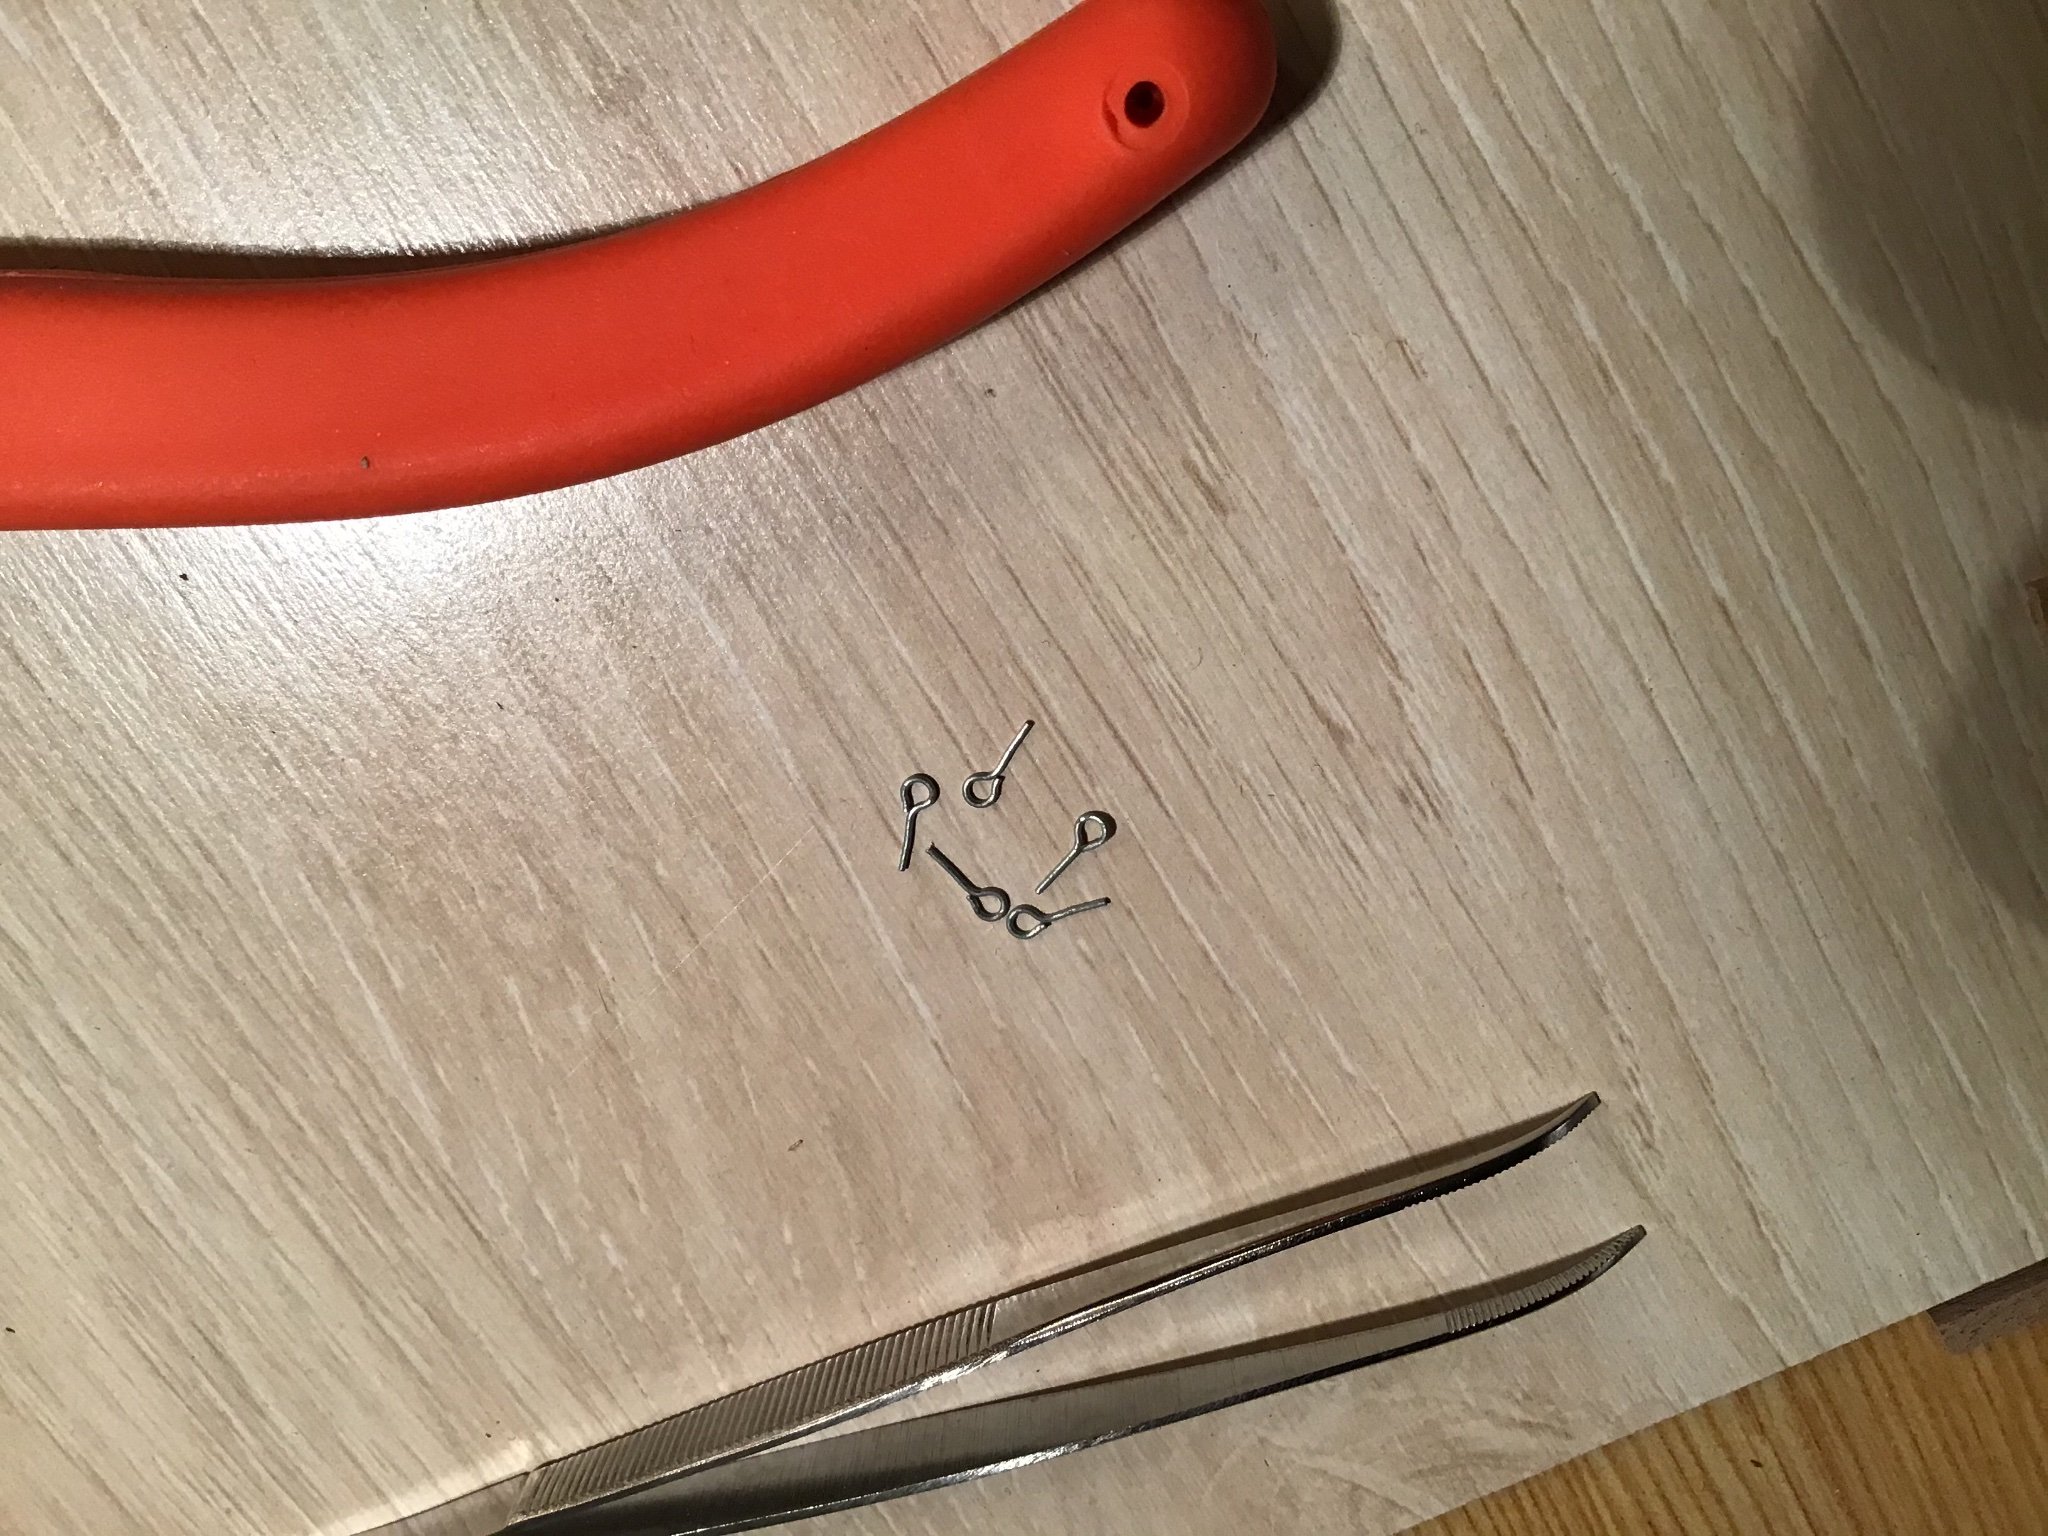
I am working my way through my La Niña and have come across something not quite right. I was about to drill some holes in the deck for some eye bolts. I notice that my eye bolts are tiny silver things instead of brass as the instructions call for. What kind of eye bolts did you get in your kit? My kit is made by Artesania Latina.
Thanks,
Harry
-
On 6/26/2017 at 9:37 AM, Jerry said:
Hello,
Continuing on...April 13 to 15...
I don't remember the reason, but i didn't do anythng on this project for a couple of weeks afetr April 15th. Thank goodness, it wasn't due to any medical reasons..enough is enough!
Best,
Jerry


Jerry, this is Harry again with another question. What kind of glue did you use for the 2nd planking? I’m worried about glue gooshing out as the planks are pressed down.
-
Your veneer 2nd planking looks good. What kind of glue did you use?
Harry
-
On 1/5/2021 at 6:45 AM, ThirdCoast said:
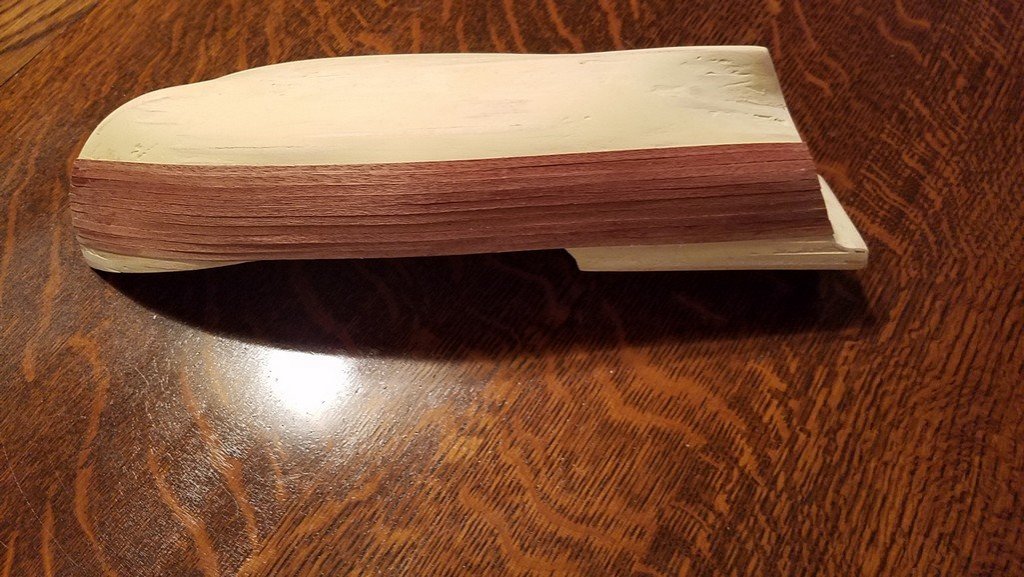
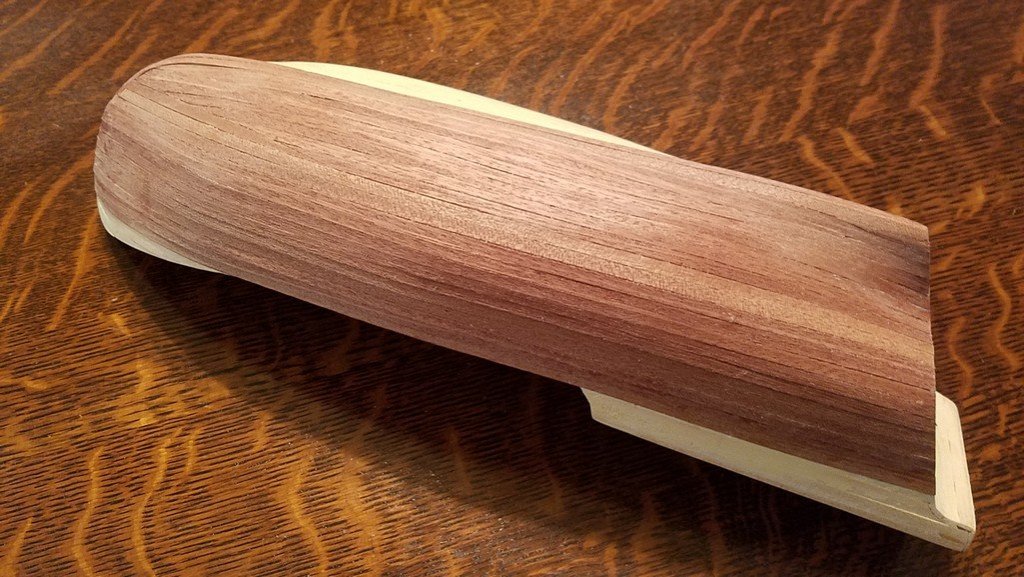
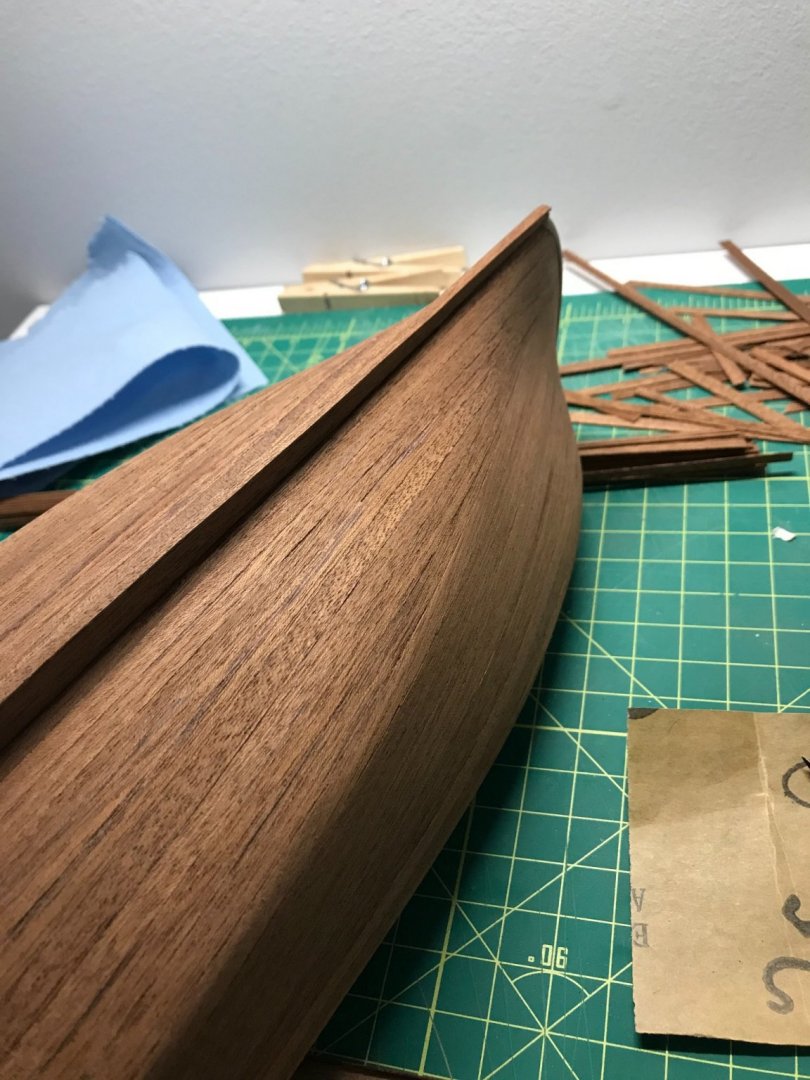
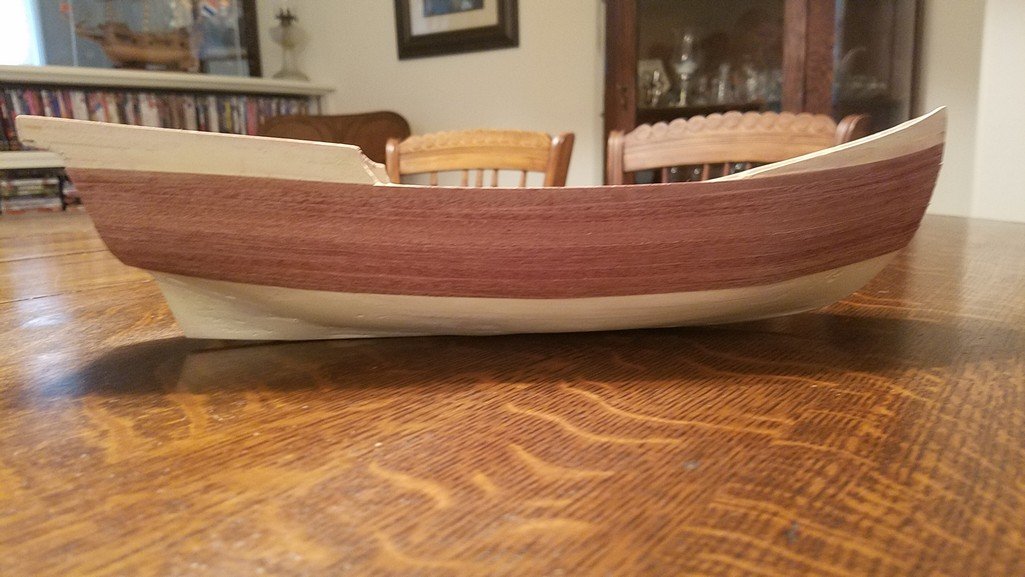
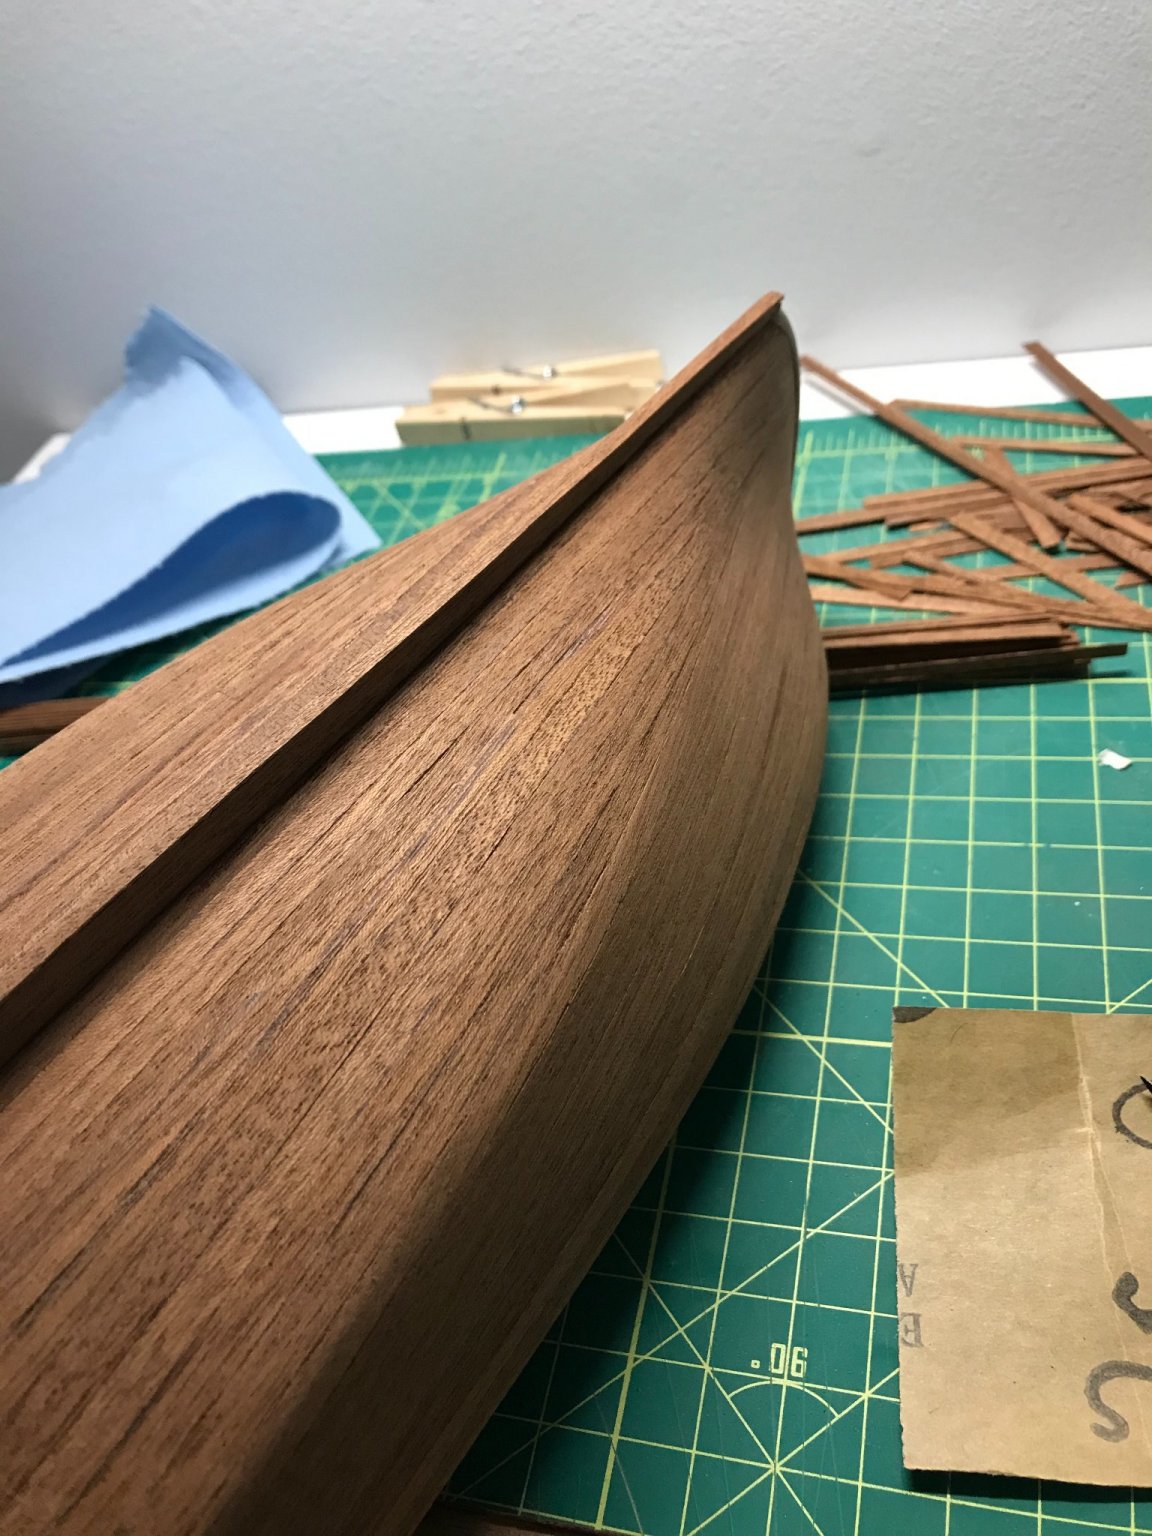
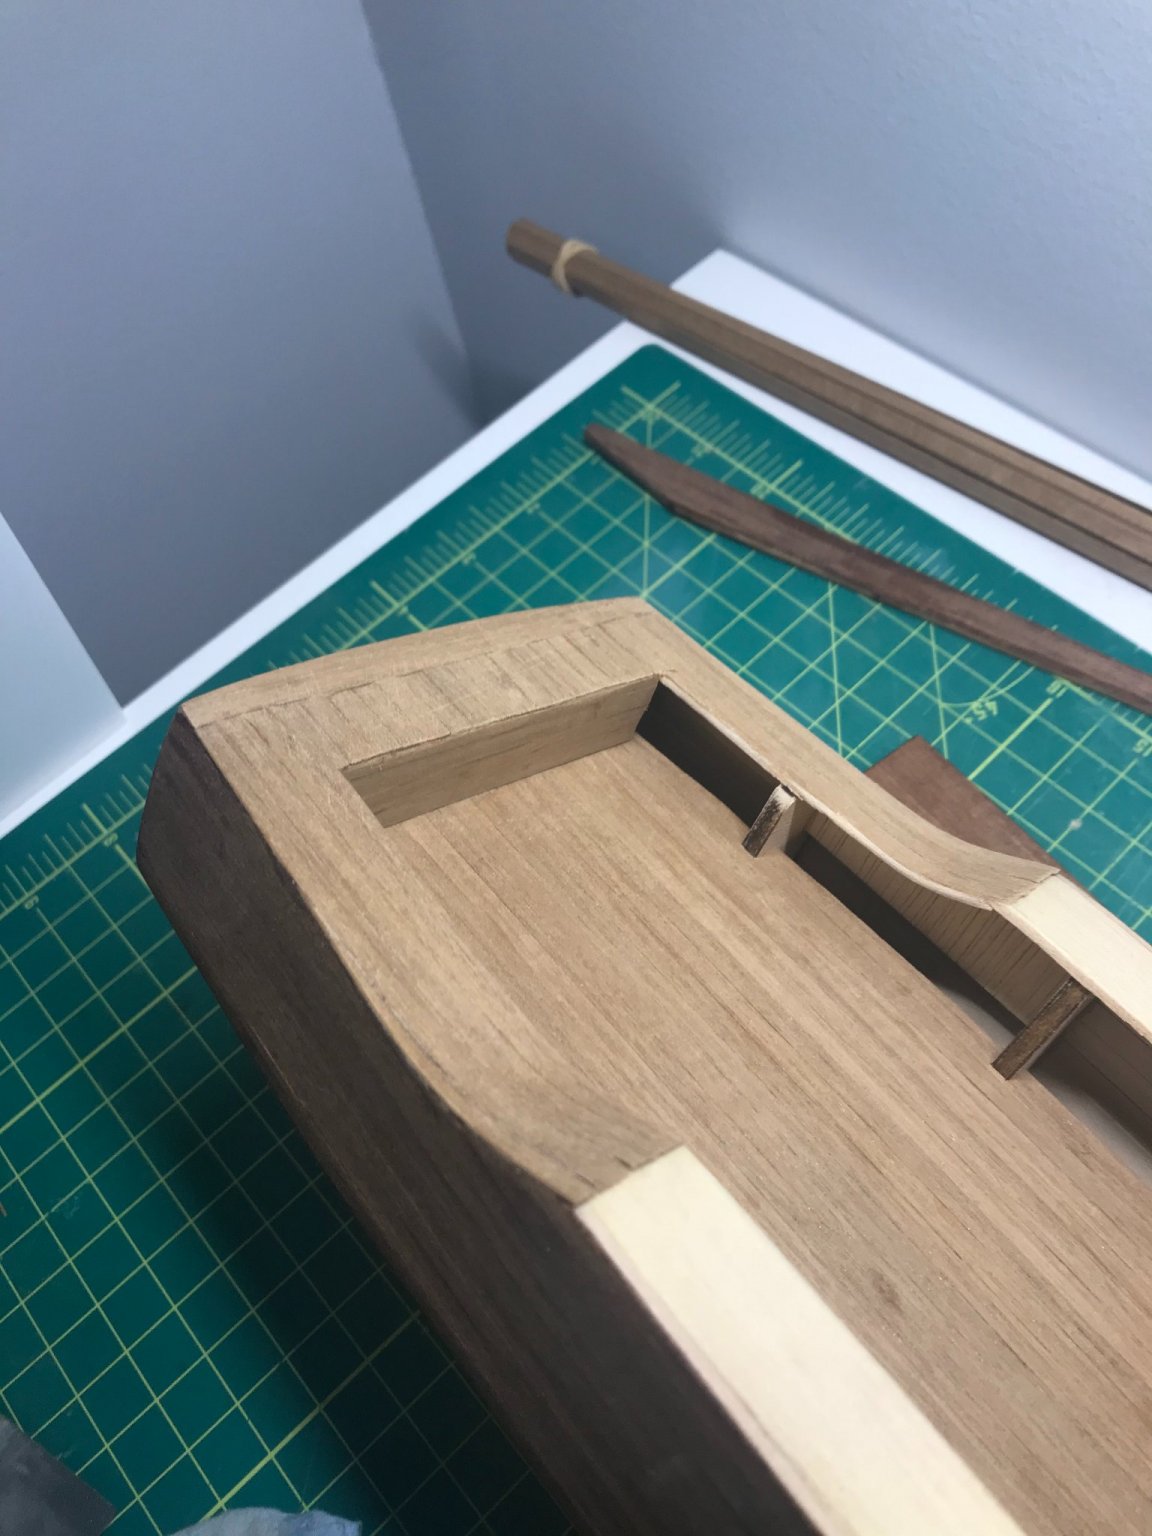
Some more progress with the second layer of planking. This veneer layer was a little difficult to work with because it was so thin and I clumsily nicked and cracked it on the edges more times than I'd like to admit. I had to replace some areas when that happened which was tedious.
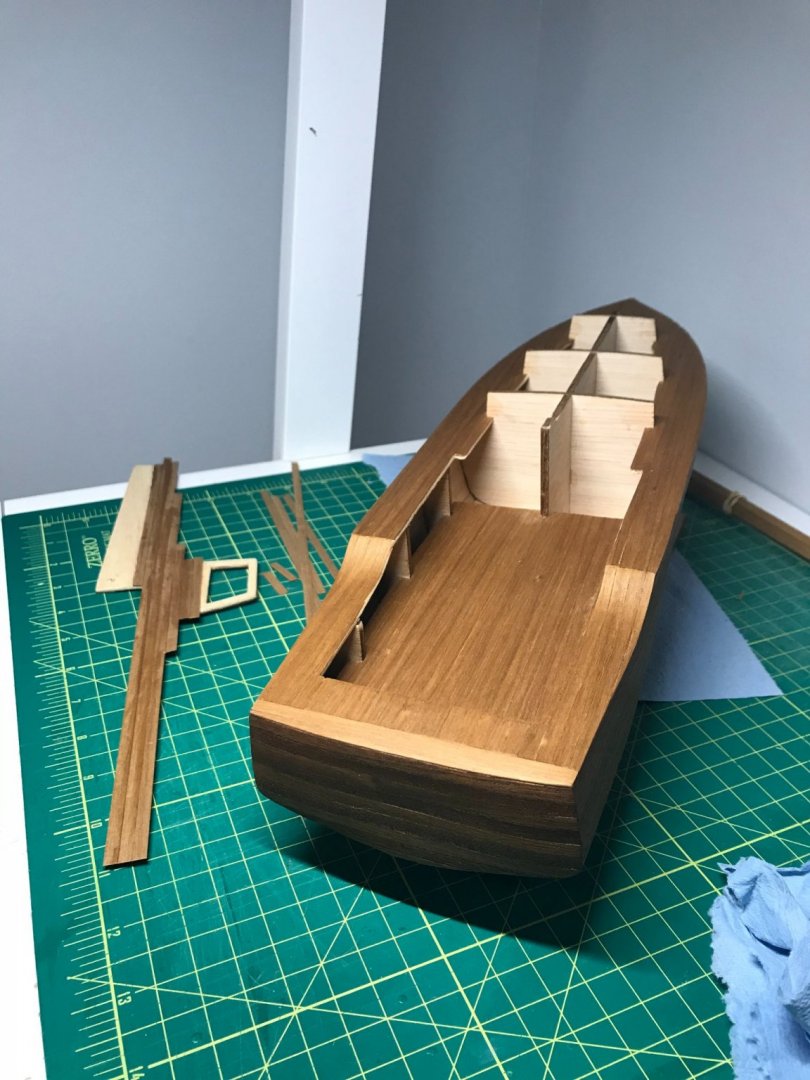
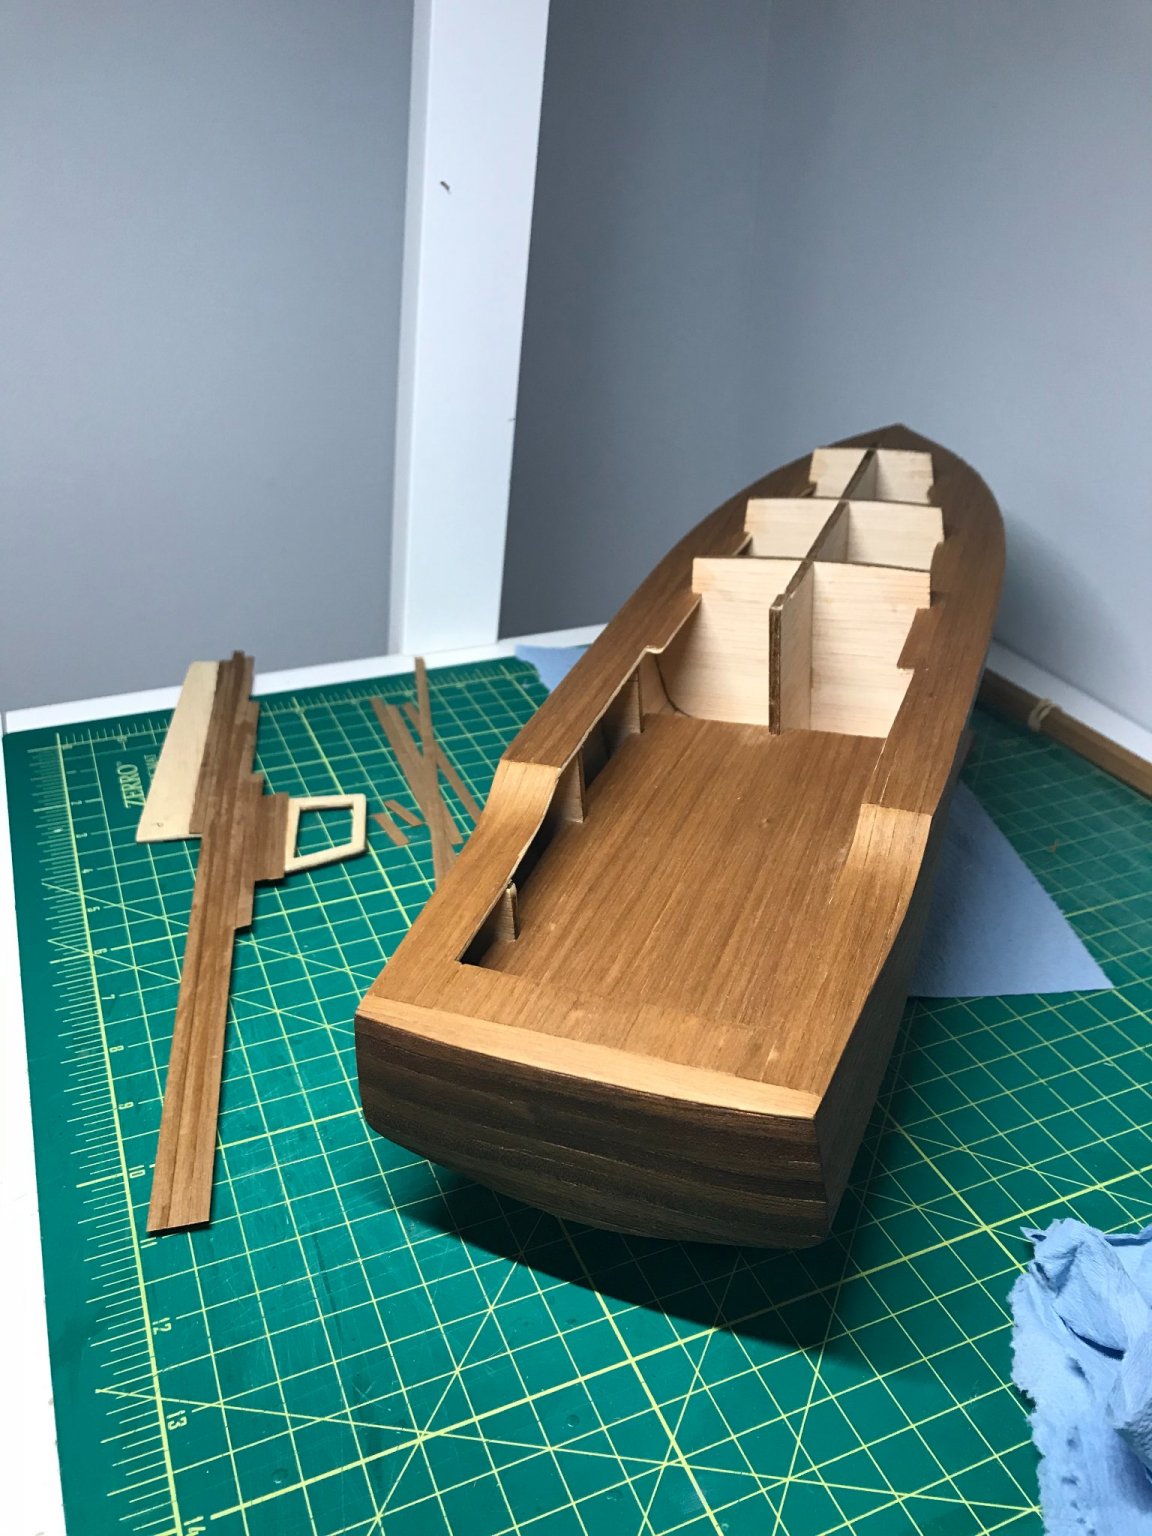
I have been following the instructions in order which meant putting the keel on during this final stage of planking but I learned quickly that it's a big pain to deal with it when trying to put on the decking layer. You will see it in these pictures but I took it off when I started the deck planking and will attach it again once I have painted.
The plans say that painting the hull should come at the very end but I can already see that will be very difficult to do once all the decking works are assembled so I'm going to jump around a little and do that step next (once the paint comes in the mail) before I start assembling above deck.
False keel planked and attached but I'll tear this off out of frustration from it getting knocked around while doing the upper deck planking.

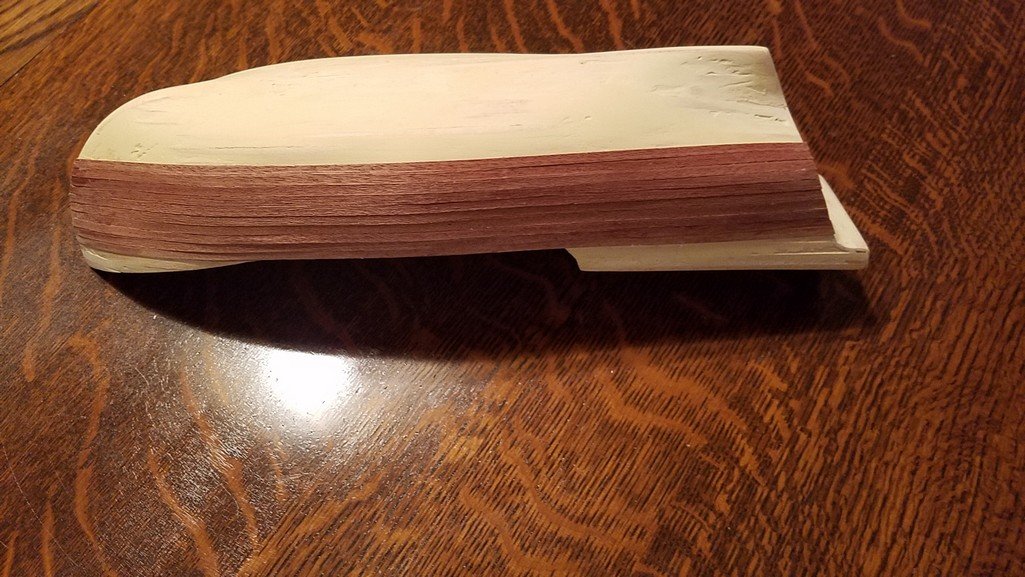
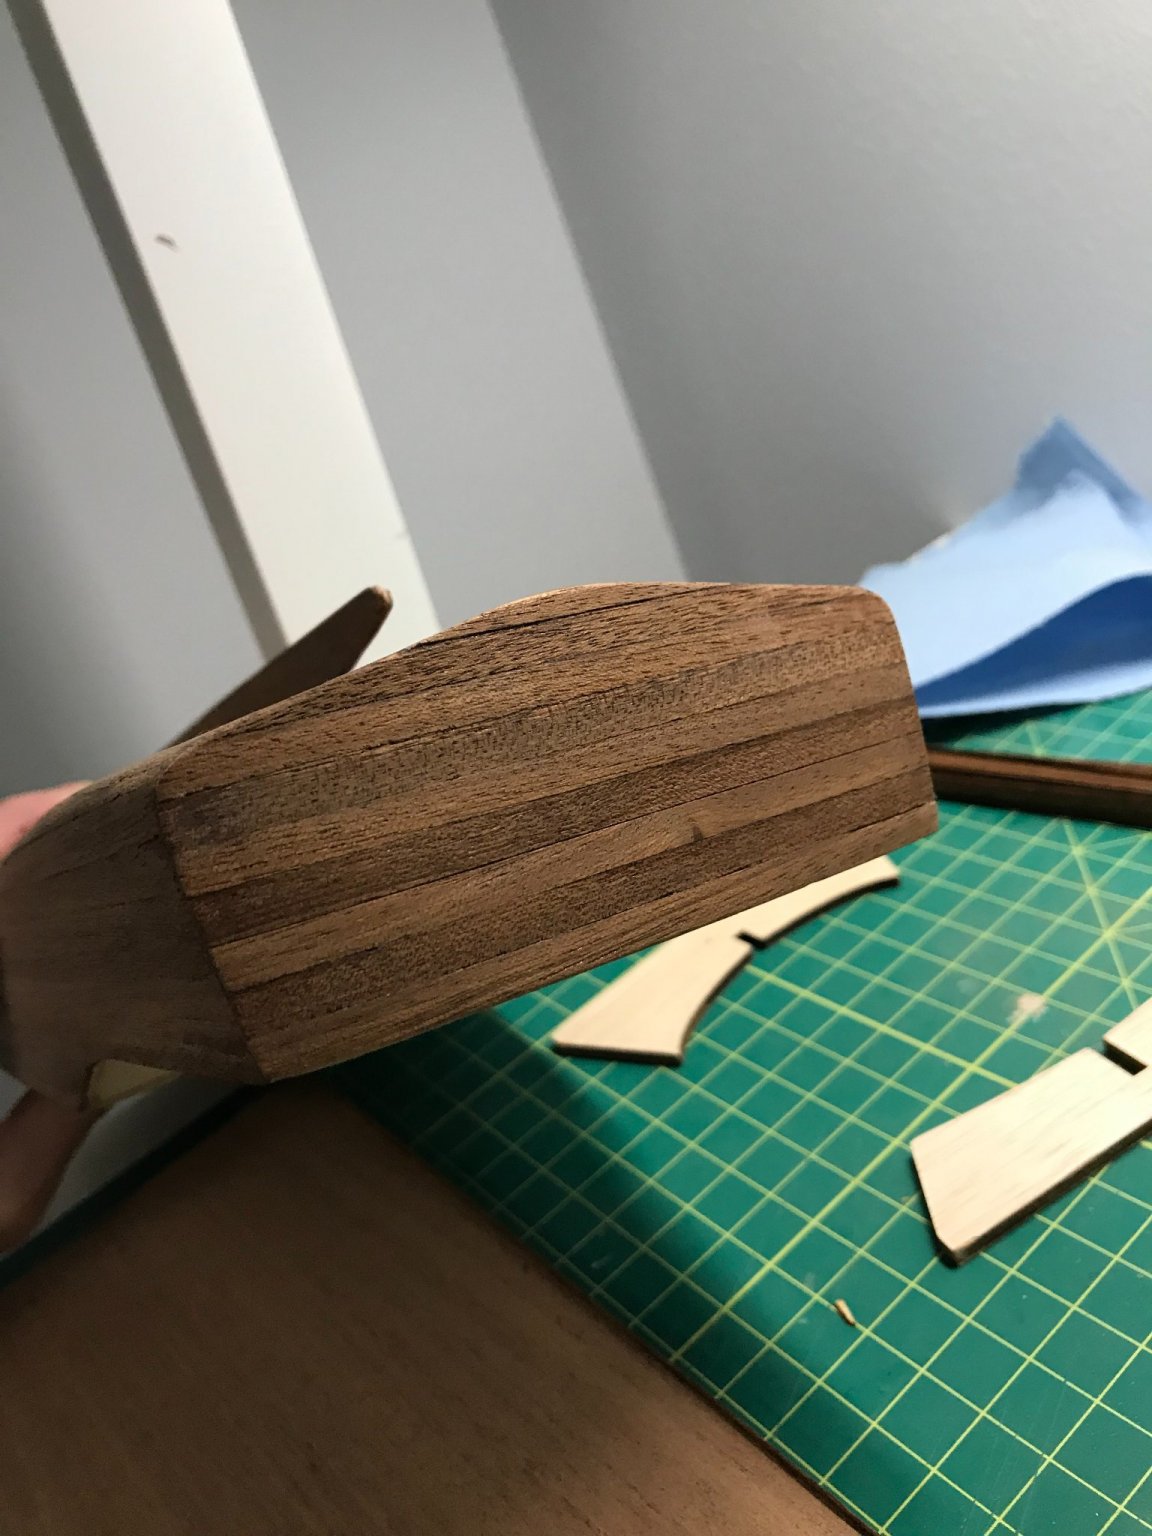
I had to add some cheaters on the 2nd layer of planks and you can see how the edges chip really easily near the stem. I'm confident that the gunwale strips and paint will cover up these imperfections though.
A fun stem curve to have to fit here.
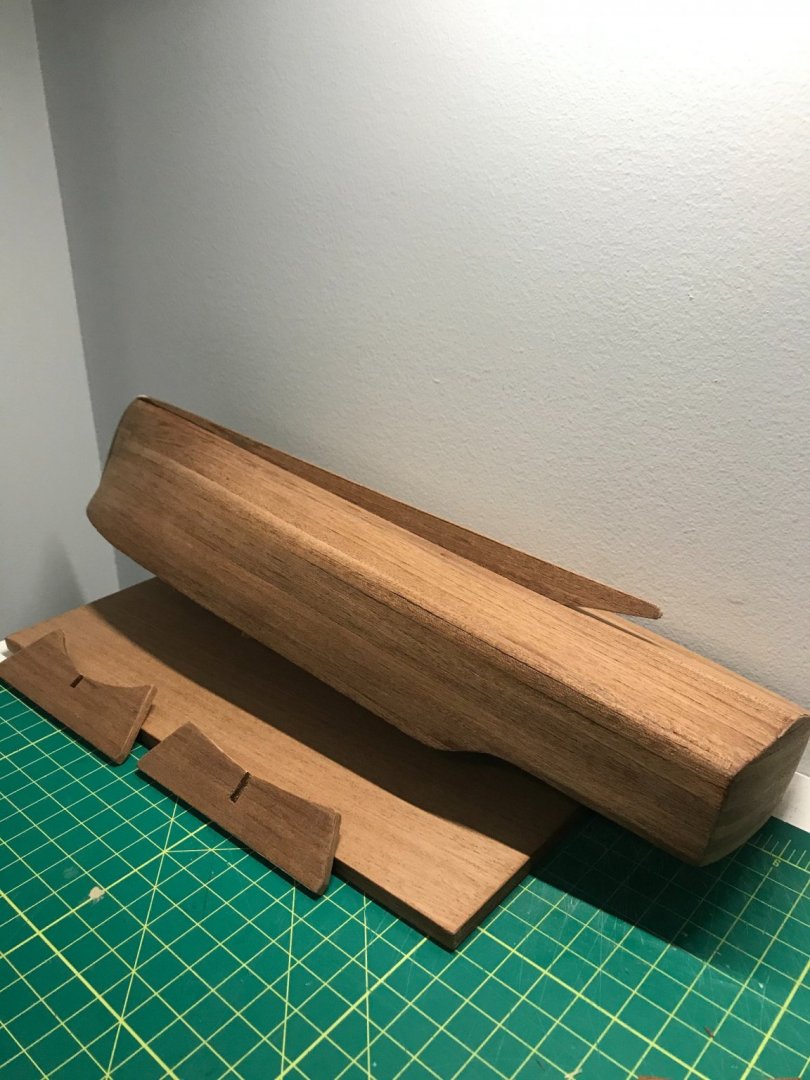
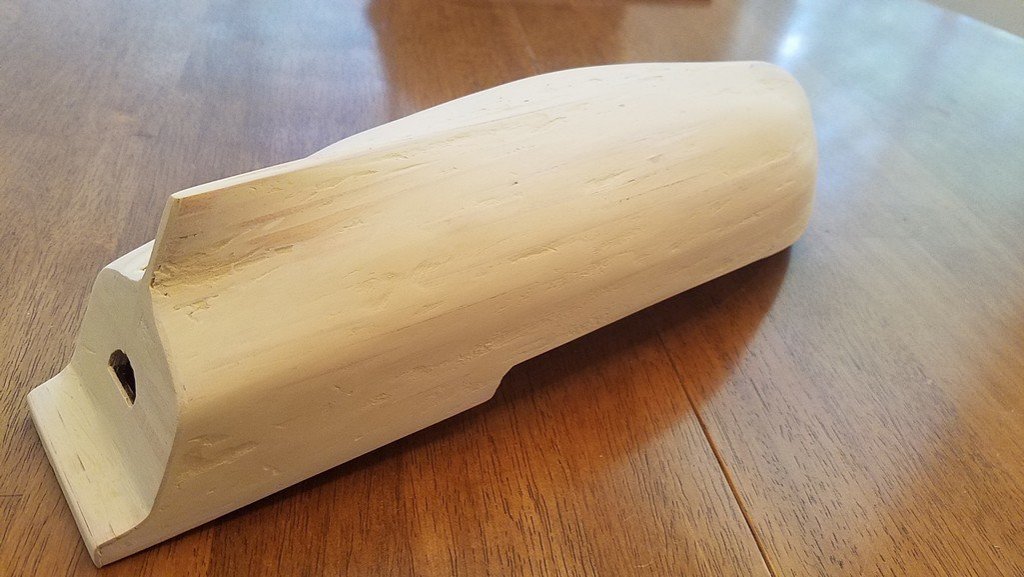
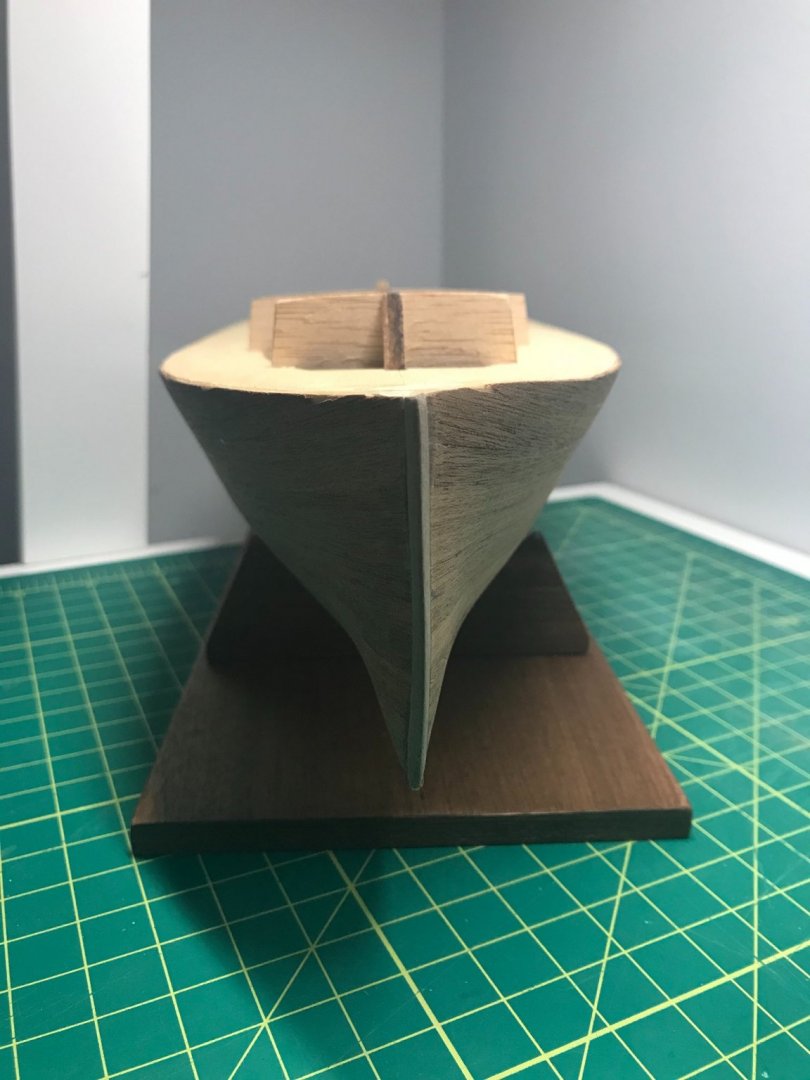
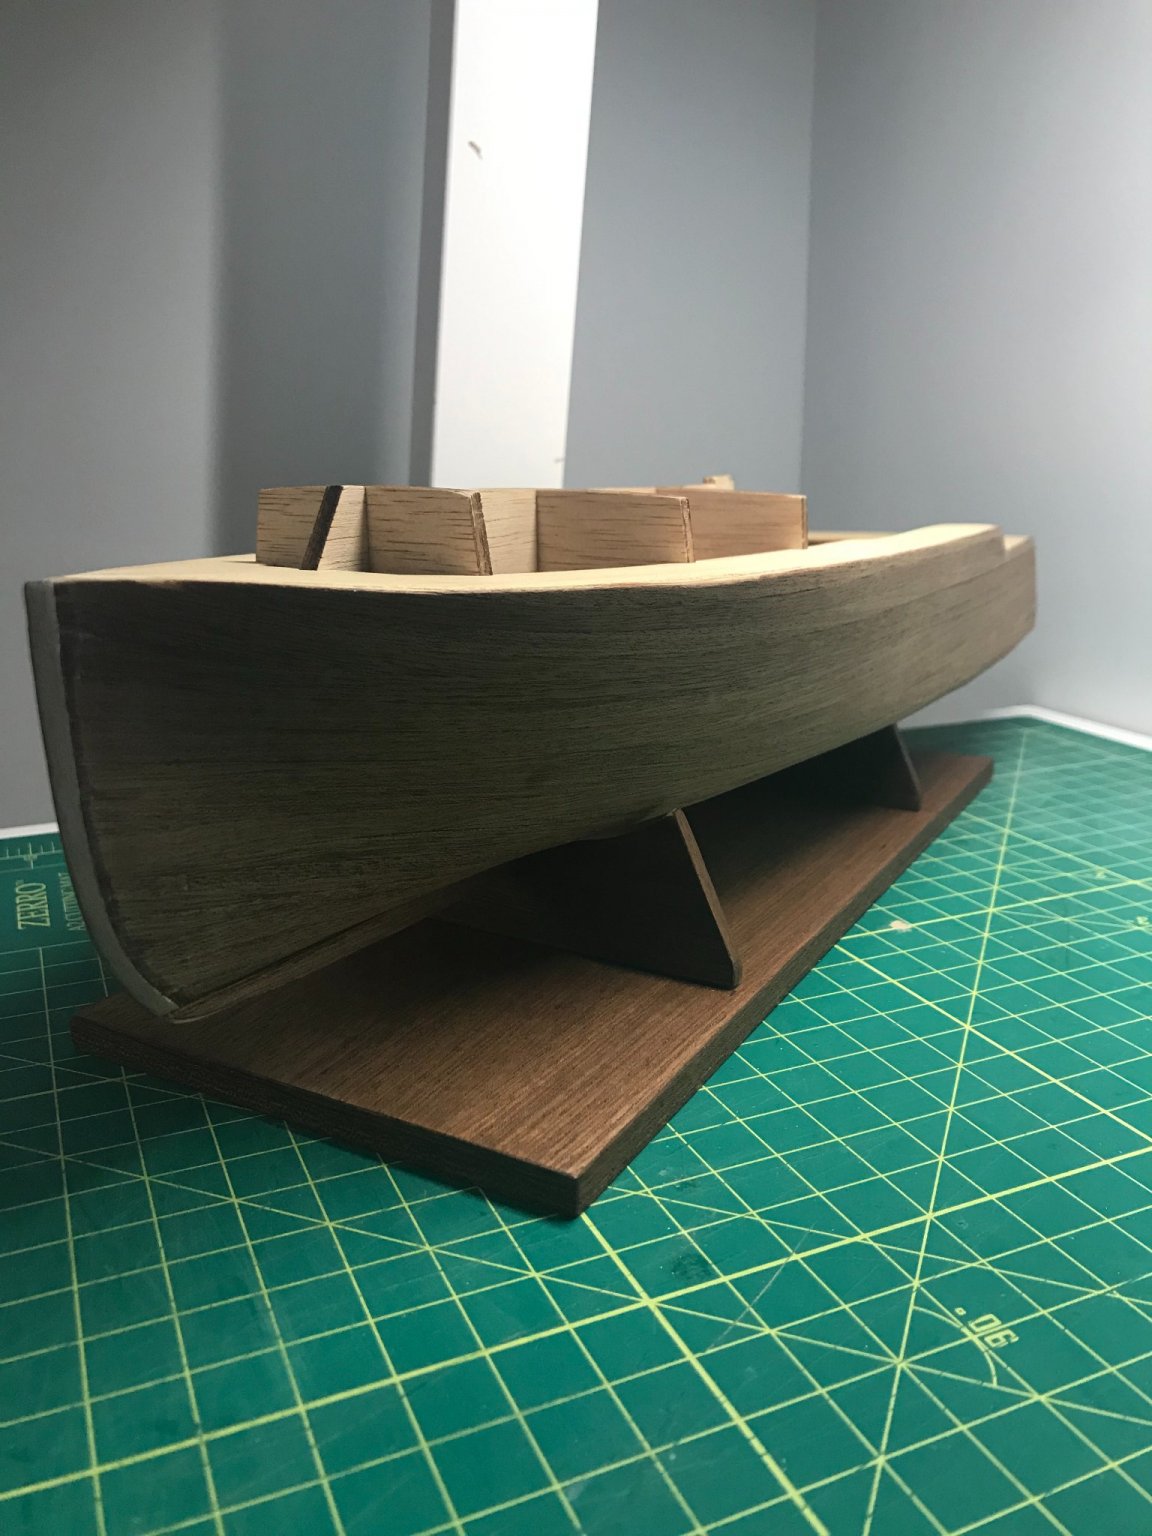
Stand is planked and ready for assembly.
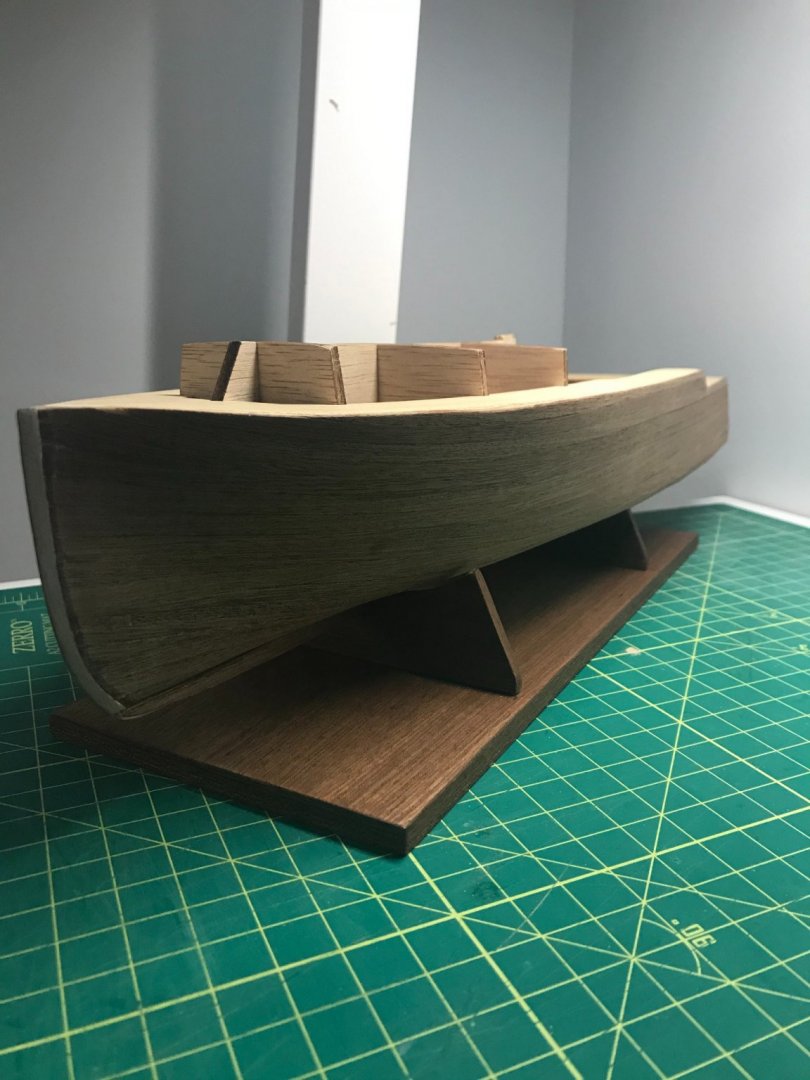
Stand with a couple coats of poly and our model progressing.
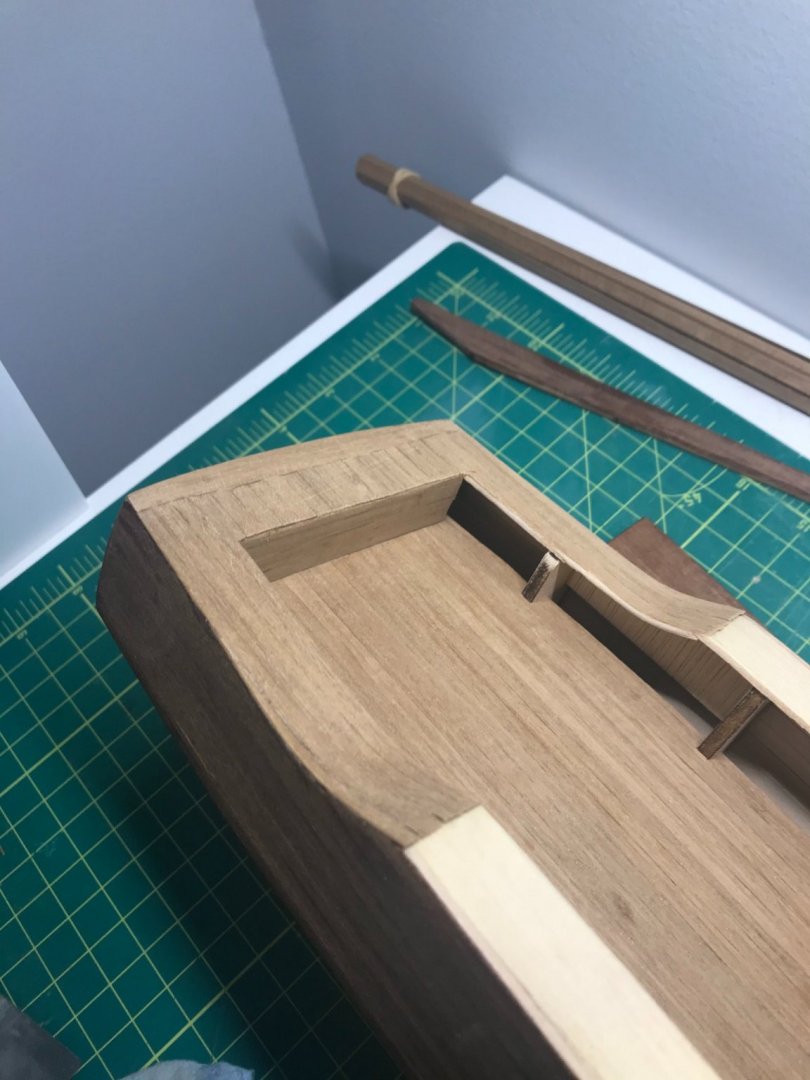

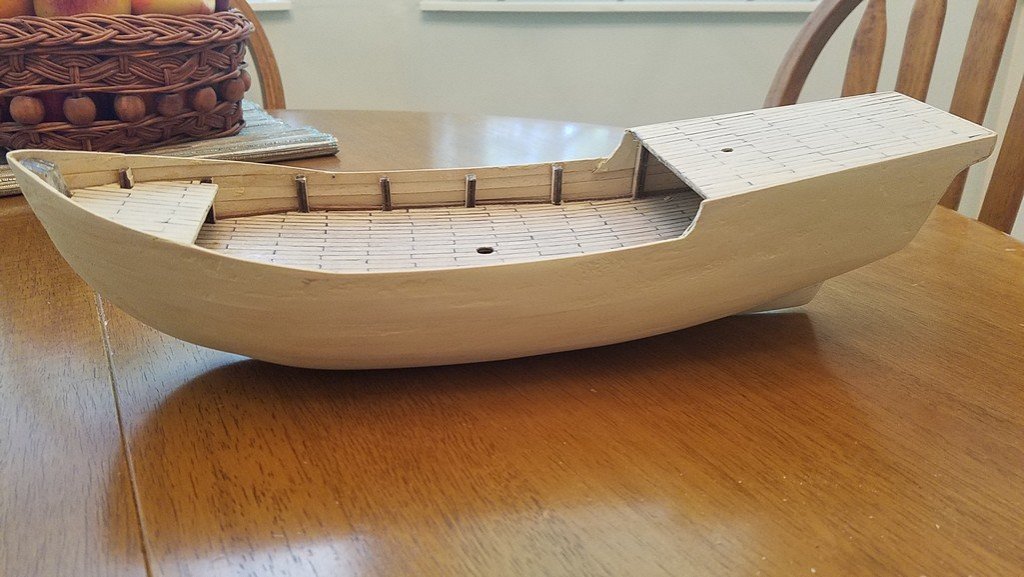
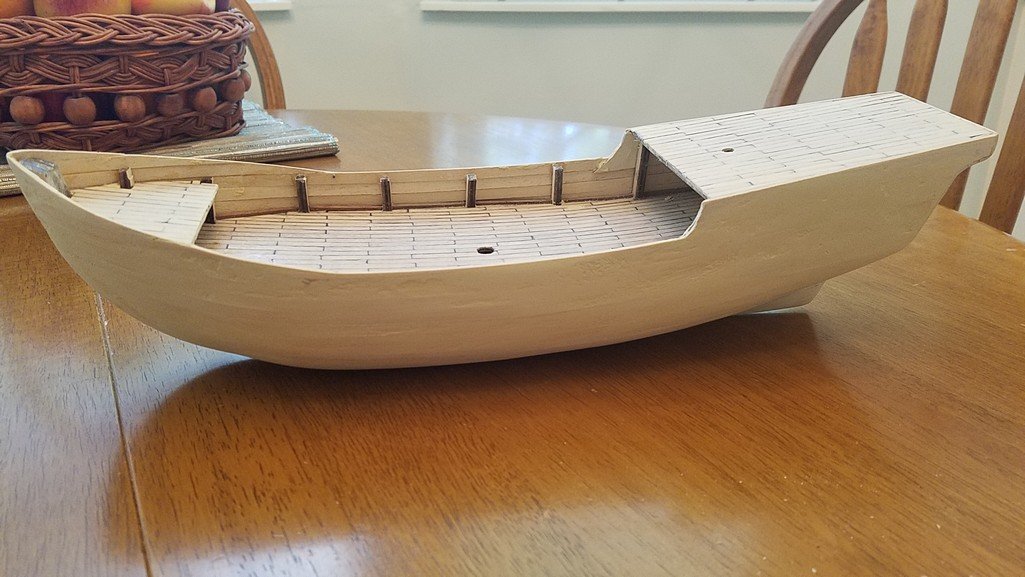
Planking the decks and transom.
Added a couple layers of poly and starting to plank the sides.
I'll hold off on attaching the sides or doing any other steps related to the deck until I can get the hull painted. It'll just be too much trouble working on anything else until that's done.
This is my first time planking and I'm learning a lot about it. If there was ever a model to start planking, this one has plenty of it for you. Just about everything needs a layer and I'm certainly getting my fill of it.
On 1/5/2021 at 6:45 AM, ThirdCoast said:Some more progress with the second layer of planking. This veneer layer was a little difficult to work with because it was so thin and I clumsily nicked and cracked it on the edges more times than I'd like to admit. I had to replace some areas when that happened which was tedious.
I have been following the instructions in order which meant putting the keel on during this final stage of planking but I learned quickly that it's a big pain to deal with it when trying to put on the decking layer. You will see it in these pictures but I took it off when I started the deck planking and will attach it again once I have painted.
The plans say that painting the hull should come at the very end but I can already see that will be very difficult to do once all the decking works are assembled so I'm going to jump around a little and do that step next (once the paint comes in the mail) before I start assembling above deck.
False keel planked and attached but I'll tear this off out of frustration from it getting knocked around while doing the upper deck planking.
I had to add some cheaters on the 2nd layer of planks and you can see how the edges chip really easily near the stem. I'm confident that the gunwale strips and paint will cover up these imperfections though.
A fun stem curve to have to fit here.
Stand is planked and ready for assembly.
Stand with a couple coats of poly and our model progressing.
Planking the decks and transom.
Added a couple layers of poly and starting to plank the sides.
I'll hold off on attaching the sides or doing any other steps related to the deck until I can get the hull painted. It'll just be too much trouble working on anything else until that's done.
This is my first time planking and I'm learning a lot about it. If there was ever a model to start planking, this one has plenty of it for you. Just about everything needs a layer and I'm certainly getting my fill of it.
Your veneer 2nd planking looks good. What glue did you use?
Harry -
Well, it was my first time planking and yes it will be covered by a thin veneer second planking. Because it was my first time it isn’t perfect so I’ll need to smooth it out and fill some cracks with something.
- thibaultron, Canute and mtaylor
-
 3
3
-
Hi, thanks for the glue advice. I used super glue to attach the first planking.
Now I need to use some kind of putty to fill the gaps and sand it nice and smooth before adding the second layer of planking. Can someone advise me on what kind of putty to use? I have looked at other comments on this website and I have seen many different kinds of putty have been used. Too many!Thanks
Harry
- thibaultron and Canute
-
2
-
On 1/26/2020 at 9:54 AM, Chuck said:
Here is another tip.....
I know this may waste some wood. BUT it is much easier to bend a strip not so close to the end of the strip. You can get a much nicer and smoother bend a bit farther back. Obviously then the excess after bending will need to be trimmed and discarded. But that is OK. It is very hard to bend a strip edge-wise so close to the end of a strip. So this is just another option you might want to try when a tighter bend is required.
Chuck, I have seen your videos regarding using an iron for edge bending planks which I have done and it worked quite well. How do you yourself do bending in the other direction? In other words to follow the curve of the hull of the ship from bow to stern. I have seen articles on steam, hot water and I have heard of using a hair dryer.
Thanks,Harry
-
Thanks Jerry. It sounds like you used something. I picked up a water based varnish made by Saman which I just applied on the main deck and yes it got sucked right into the wood and seemed to dry right away. My only worry is that by applying a varnish to the deck now makes me wonder if I can glue any of the many things that will be on the deck later. I made a mock up using some of the deck planks and I glued them to a piece of wood I had previously applied a polyurethane to. I used a yellow wood glue made by Evergreen and they are stuck on there real well! I suppose I can use a crazy glue if I need to.
Did you use a different glue for different applications? I am a bit new to this.Harry
-
11 hours ago, Jerry said:
Good morning, Harry.
It's been a long time but I used a water based varnish sold in most hobby shops. I don't remember the brand but I do remember that it was water based. It dried quickly and allowed me to apply several coats throughout the day. I hope this is helpful.
Best,
Jerry
-
Hi, your ship looks great! I am doing the same model and have just finished planking the main deck and looking at your model I have a million miles of go! Did you use a water based or an oil based urethane or any other kind of finish on the deck or the hull for instance? I’m wondering if I should give everything a coat or two of something.
Thanks,
Harry
-
On 7/18/2017 at 3:51 AM, Jerry said:
Hello Keith...
Nice to hear from you. La NIna is a fun kit. HMS Victory is a long term project; La Nina isn't. Finish La Nina and you'll have a little jewel in your possession. Thank you for your very nice words and have a terrific day.
Best,
Jerry
-
On 1/26/2020 at 8:39 AM, Chuck said:
Build log discussion here
and videos here.....
Is there a Chapter 1 that shows the lines being made for the planks?
-
Hi. I am going to start La Niña by Artesania Latina soon. My dad was a Lancaster pilot in WWII and over the last four years I built plastic models of four of the planes he flew starting with the Tiger Moth and ending with the Lancaster. I built a wooden ship a few years ago and now I am going to build another. I apologize for this dumb question. I bought some yellow wood glue but I’m not convinced it’s the right kind for the main construction of the model. Any ideas out there?


LA NINA By Jerry - Artesania Latina - Scale 1:65
in - Kit subjects built Up to and including 1500 AD
Posted
No, it was the previous question about the eye bolts I received in my kit. Sorry about that. They are silver tiny eye bolts as shown in the photo but they are supposed to be brass. I was wondering what yours were in your kit. Silver or brass.