Andre Knight
-
Posts
13 -
Joined
-
Last visited
2 Followers


-
 Macika reacted to a post in a topic:
Endeavour by Andre Knight - Amati - 1:35 - J-Class
Macika reacted to a post in a topic:
Endeavour by Andre Knight - Amati - 1:35 - J-Class
-
Macika reacted to a post in a topic:
Endeavour by Andre Knight - Amati - 1:35 - J-Class
-
BobG reacted to a post in a topic:
Endeavour by Andre Knight - Amati - 1:35 - J-Class
-
BobG reacted to a post in a topic:
Endeavour by Andre Knight - Amati - 1:35 - J-Class
-
BobG reacted to a post in a topic:
Endeavour by Andre Knight - Amati - 1:35 - J-Class
-
BobG reacted to a post in a topic:
Endeavour by Andre Knight - Amati - 1:35 - J-Class
-
BobG reacted to a post in a topic:
Endeavour by Andre Knight - Amati - 1:35 - J-Class
-
king derelict reacted to a post in a topic:
Endeavour by Andre Knight - Amati - 1:35 - J-Class
-
yvesvidal reacted to a post in a topic:
Endeavour by Andre Knight - Amati - 1:35 - J-Class
-
I'm currently on working now on the decking. It's a very slow process! I'm using black card inserted between the planks to simulate caulking. I will post more pictures soon.
-
yvesvidal reacted to a post in a topic:
Endeavour by Andre Knight - Amati - 1:35 - J-Class
-
I am a newbie! I just did a lot of reserach on your forum, curated the various methods/ideas given by other modellers of this yacht and decided on the way ahead!
-
Andre Knight reacted to a post in a topic:
Endeavour by Andre Knight - Amati - 1:35 - J-Class
-
Yves, I don't intend to paint her. It would be such a waste of time I spent on the second planking, sanding, etc etc. Besides I don't own a spray gun! I have bought some detailing stripes from a model shop on eBay, which I will use to provide the white line(s) as shown on the plans.
-
Andre Knight reacted to a post in a topic:
Endeavour by Andre Knight - Amati - 1:35 - J-Class
-
Andre Knight reacted to a post in a topic:
Endeavour by Andre Knight - Amati - 1:35 - J-Class
-
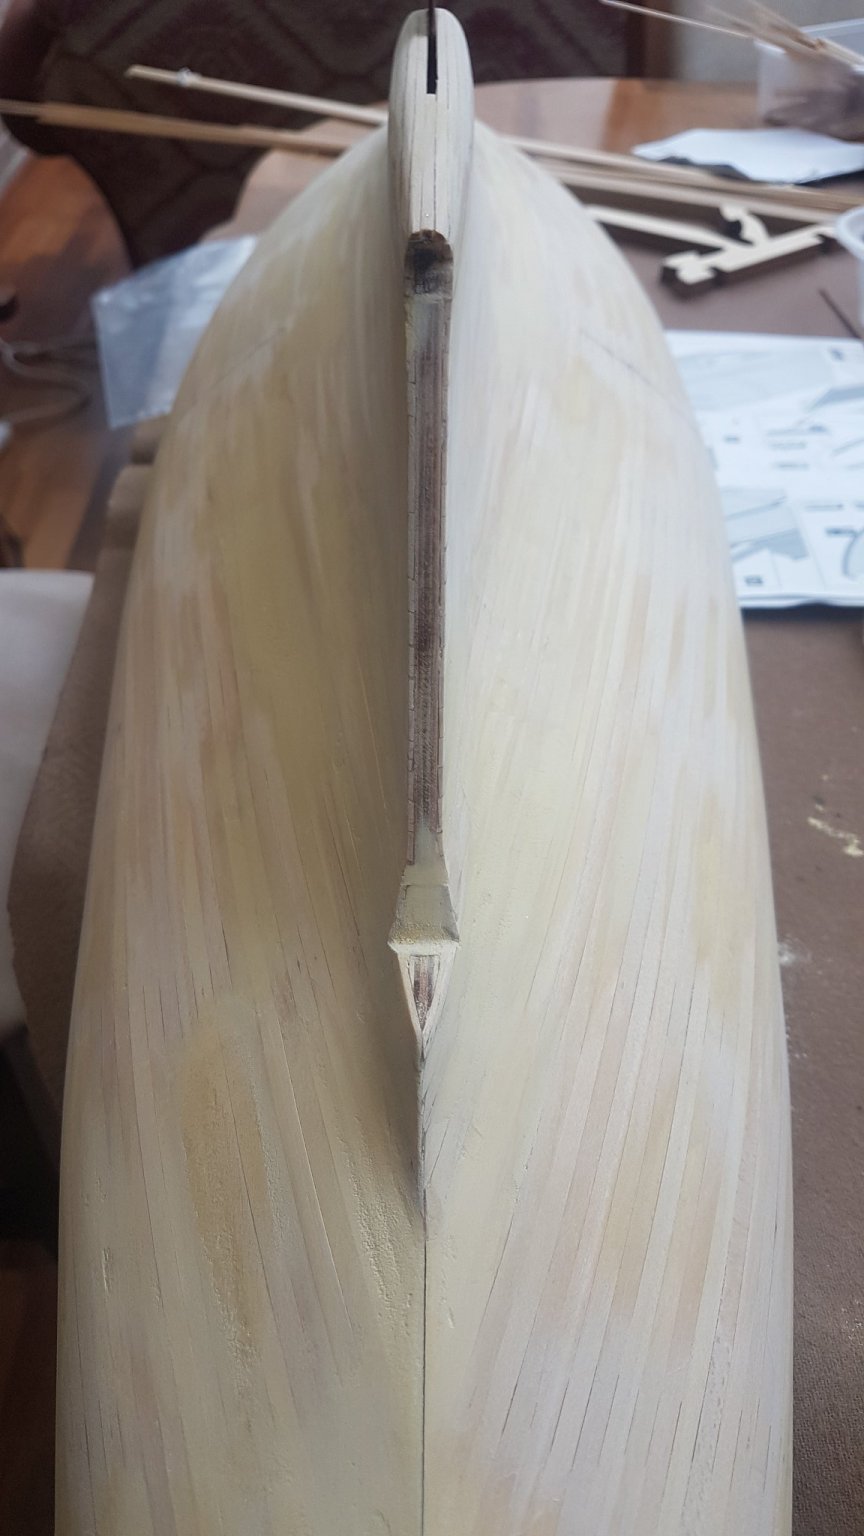
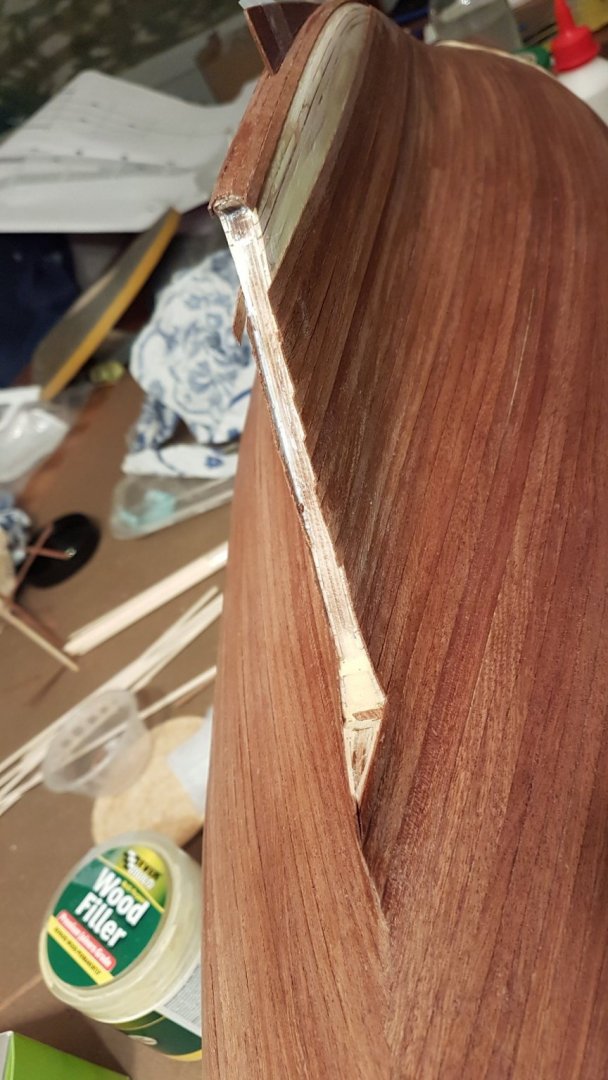
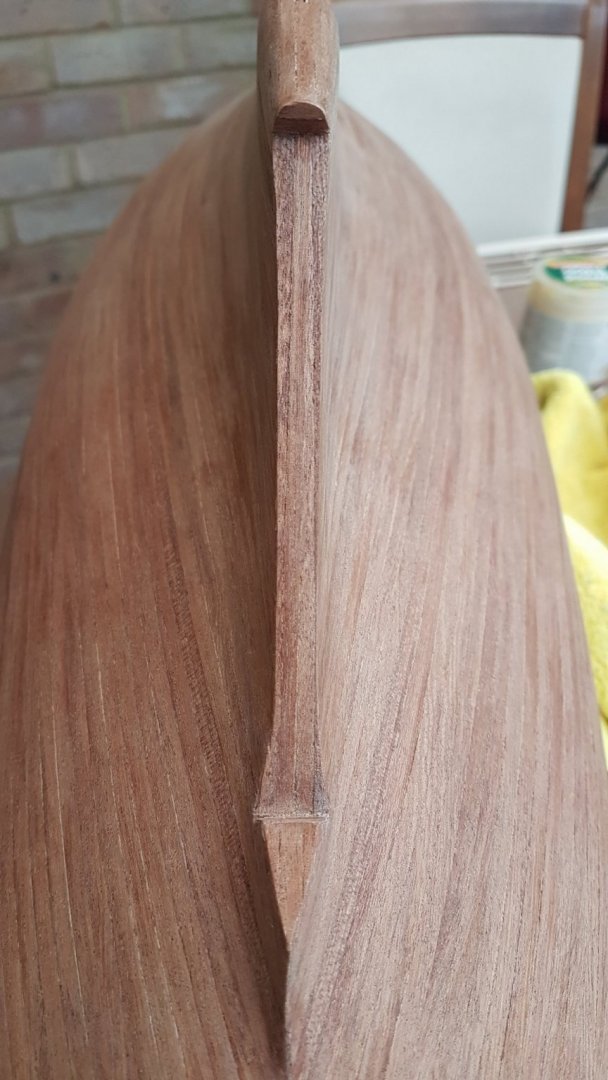
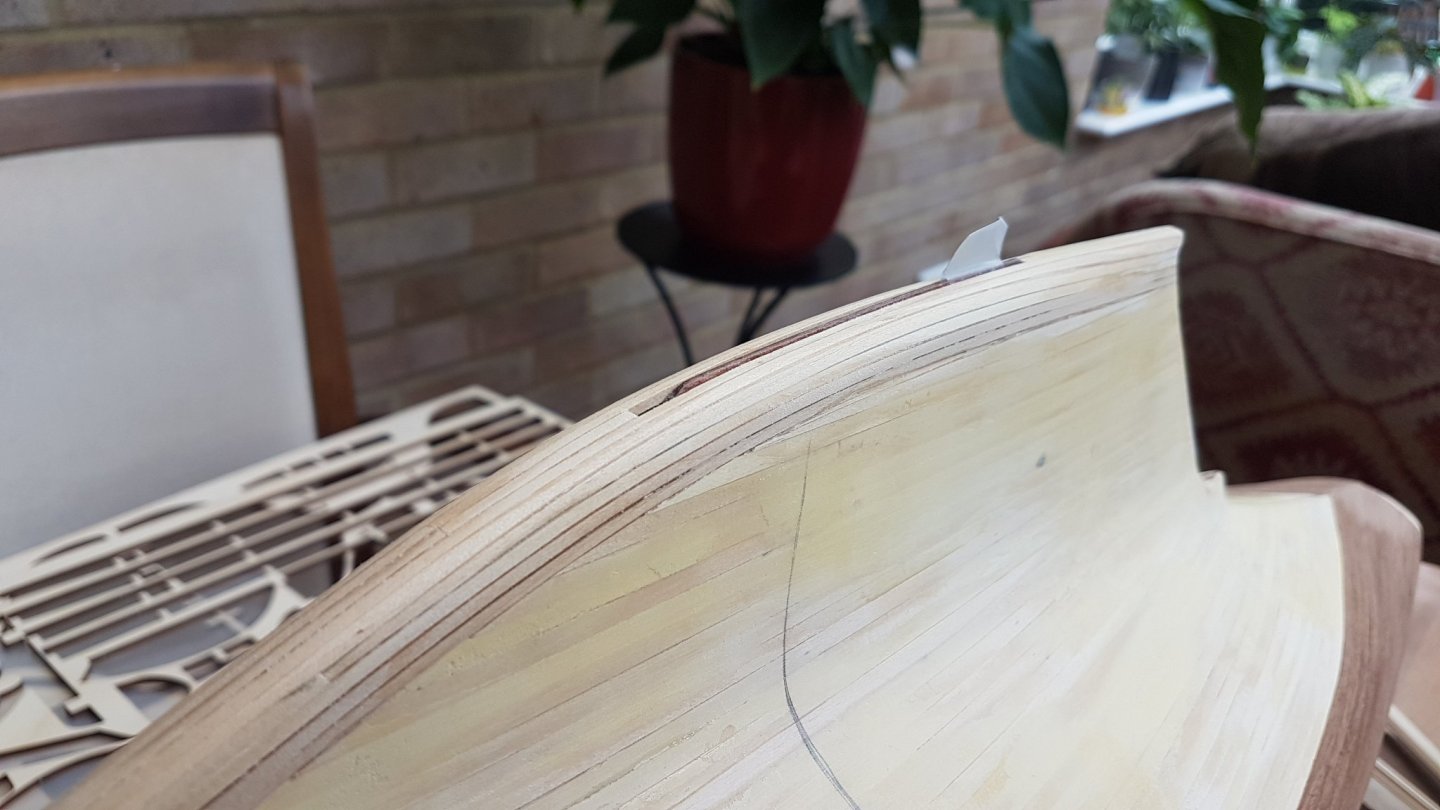
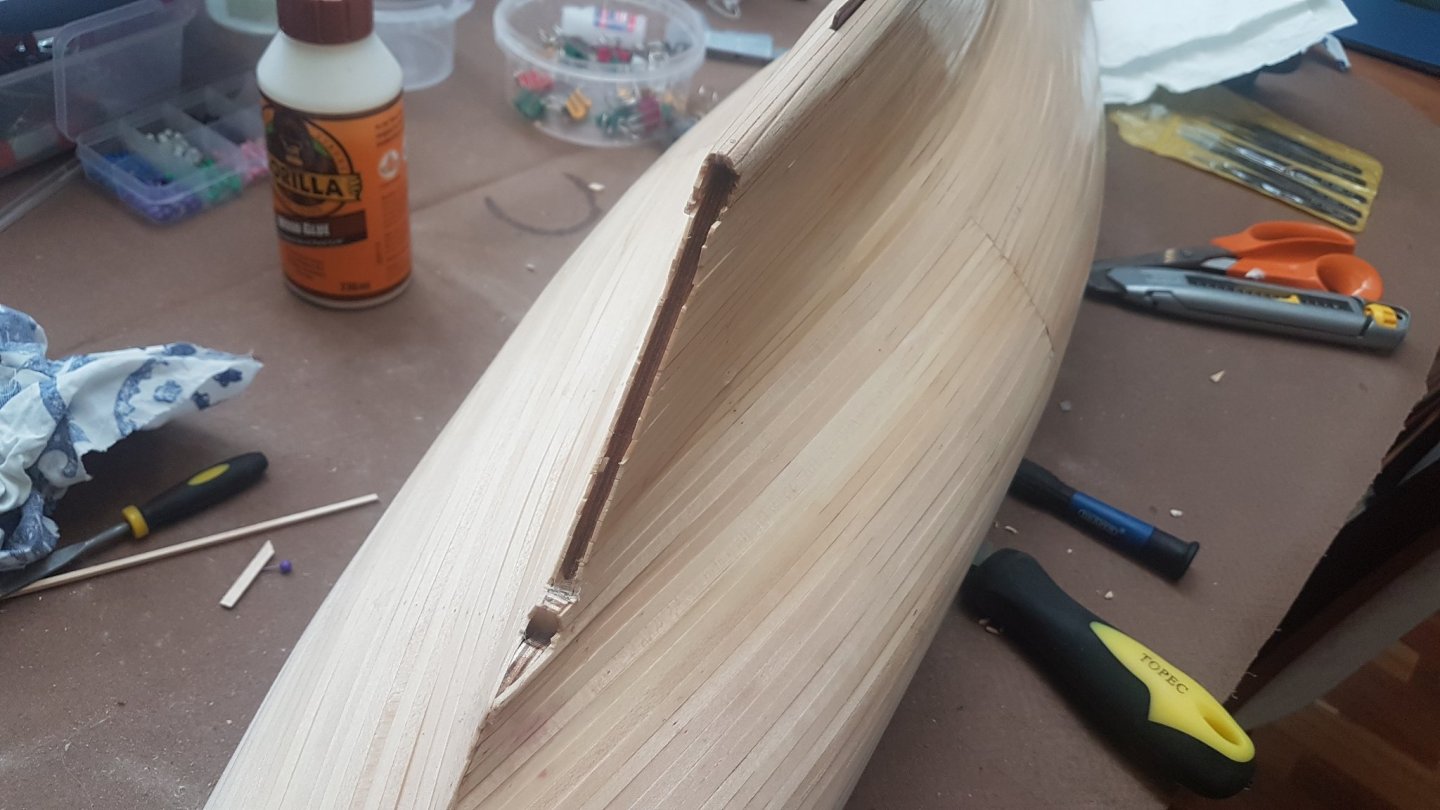
I decided that I wasn't going to just 'glue' the rudder to the section of the hull that was made for it. I am going to hinge it somehow so it can be moved. Don't see the point of putting all the work in to shaping it and veneering etc to then glue it in place! So I decided to veneer the area where the rudder meets the hull to finish it off.
-
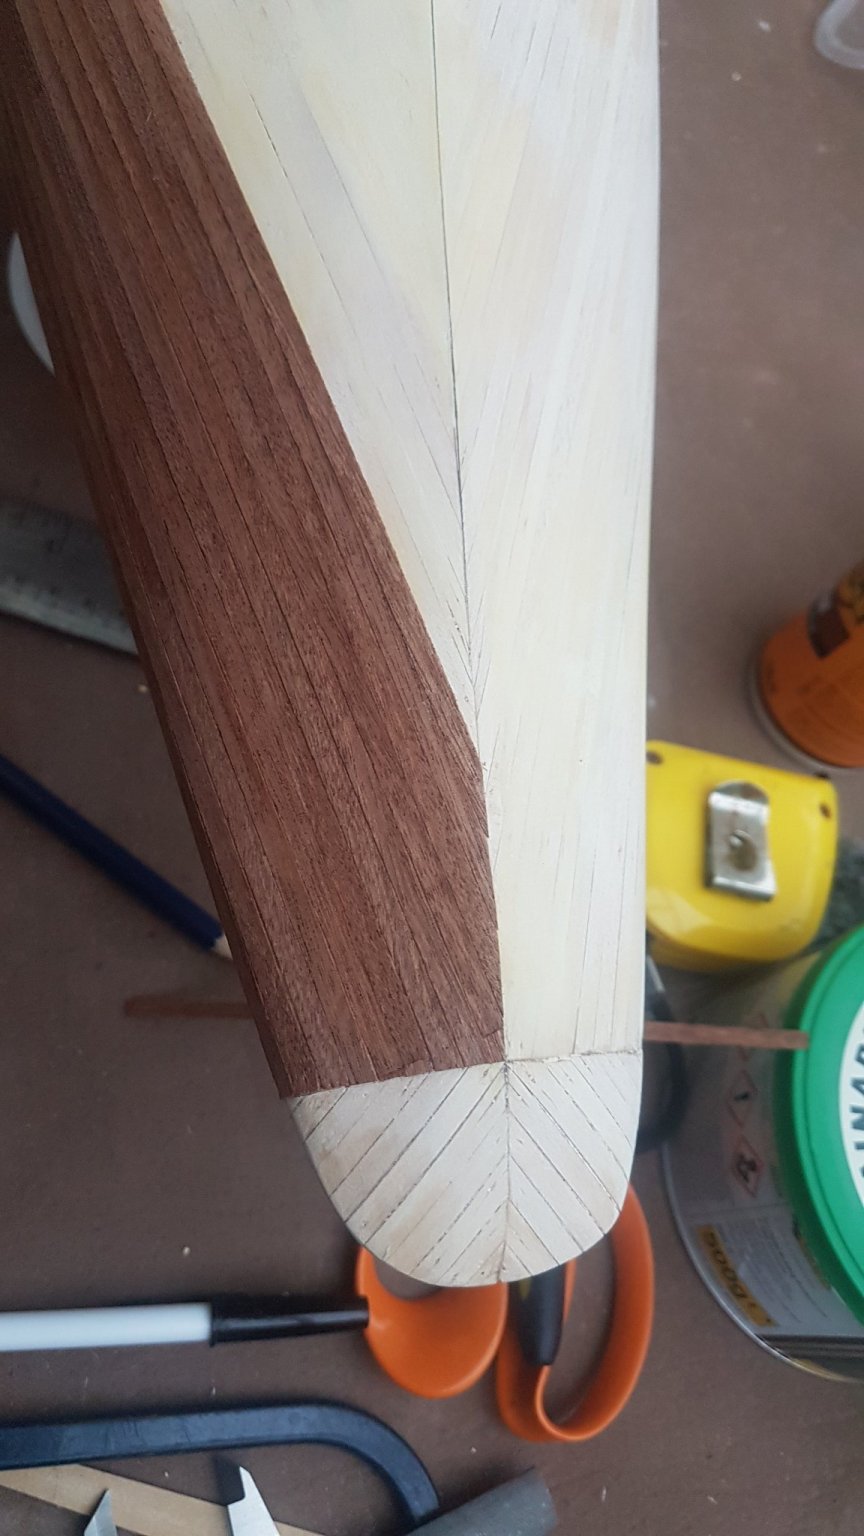
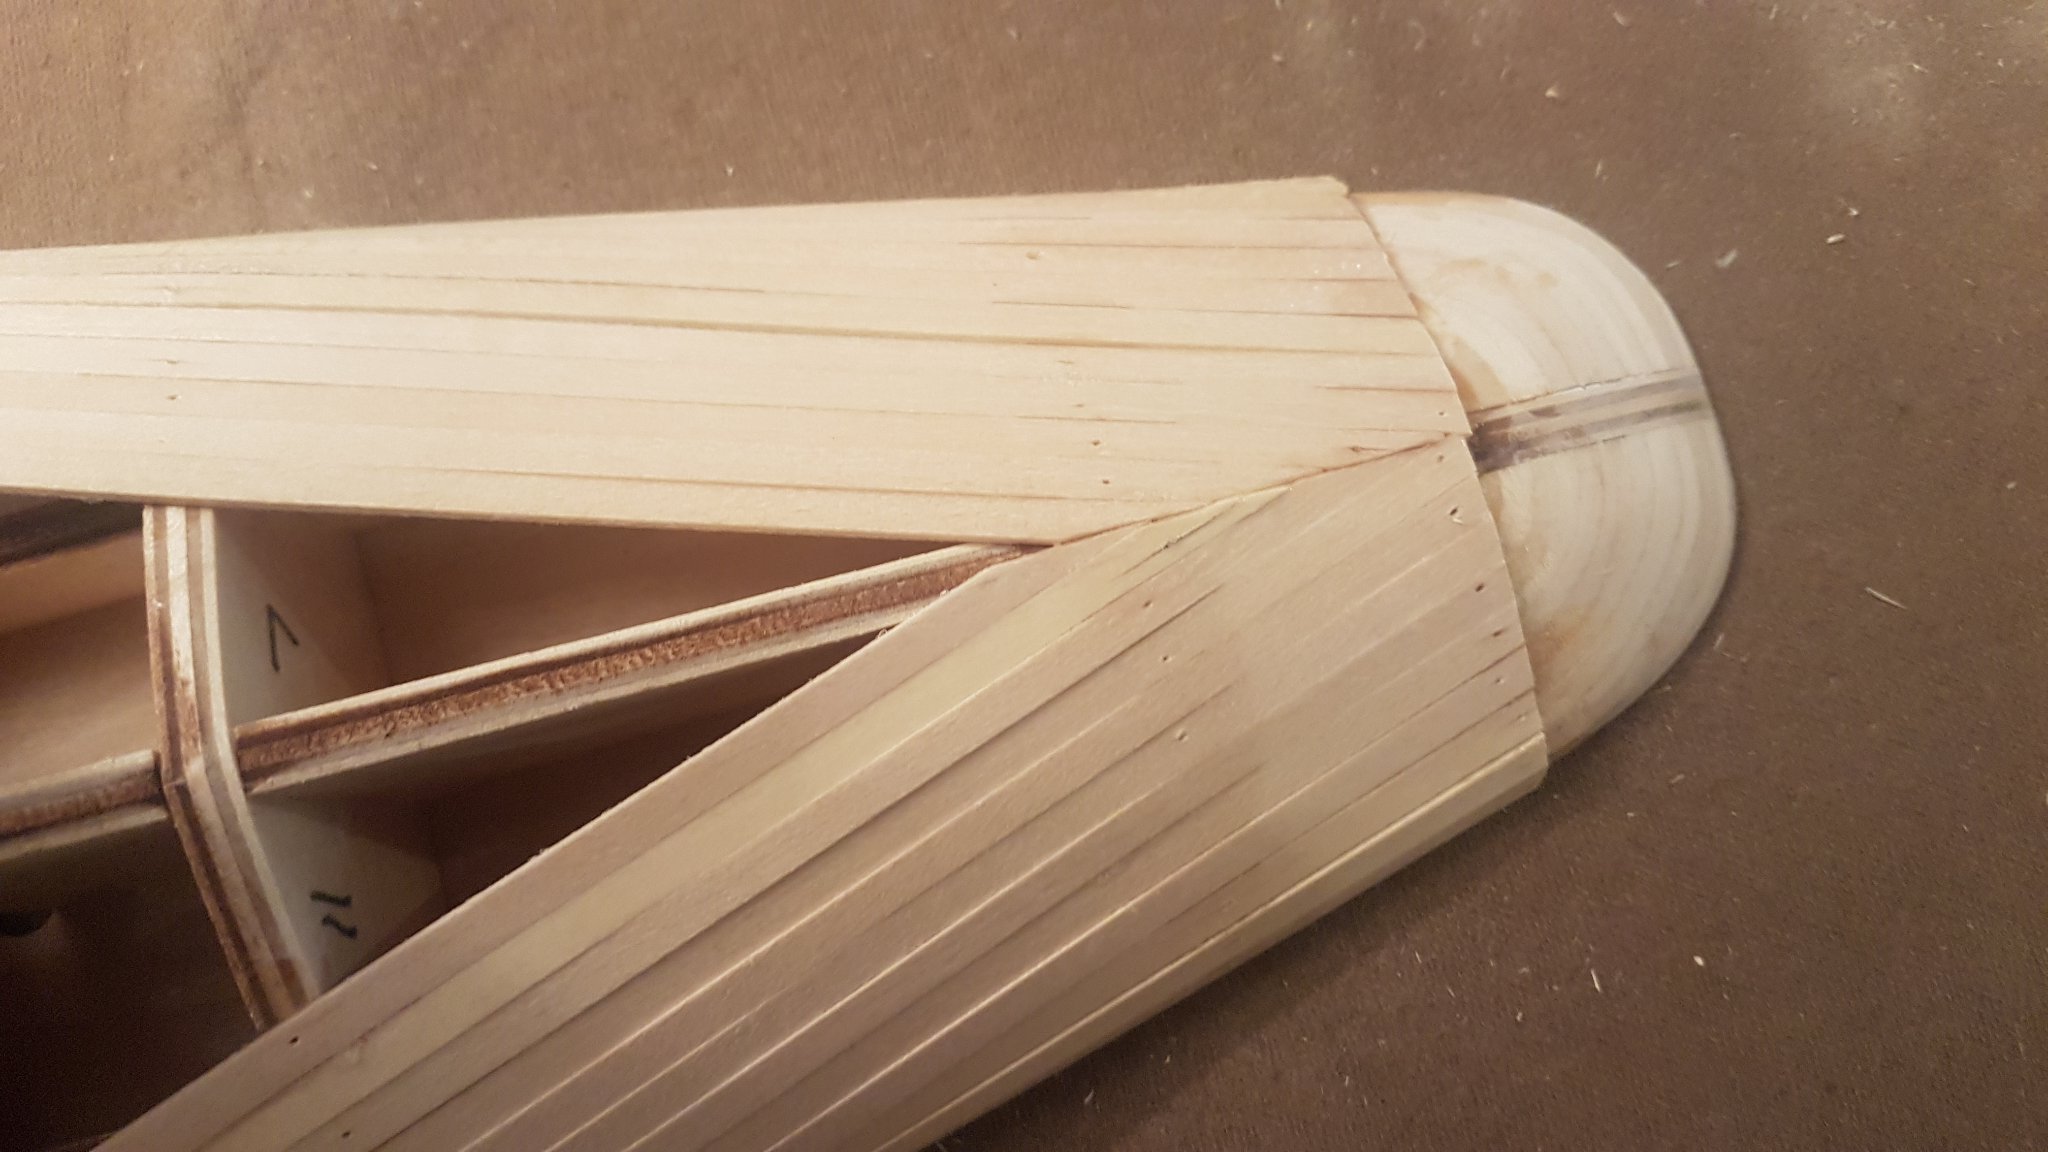
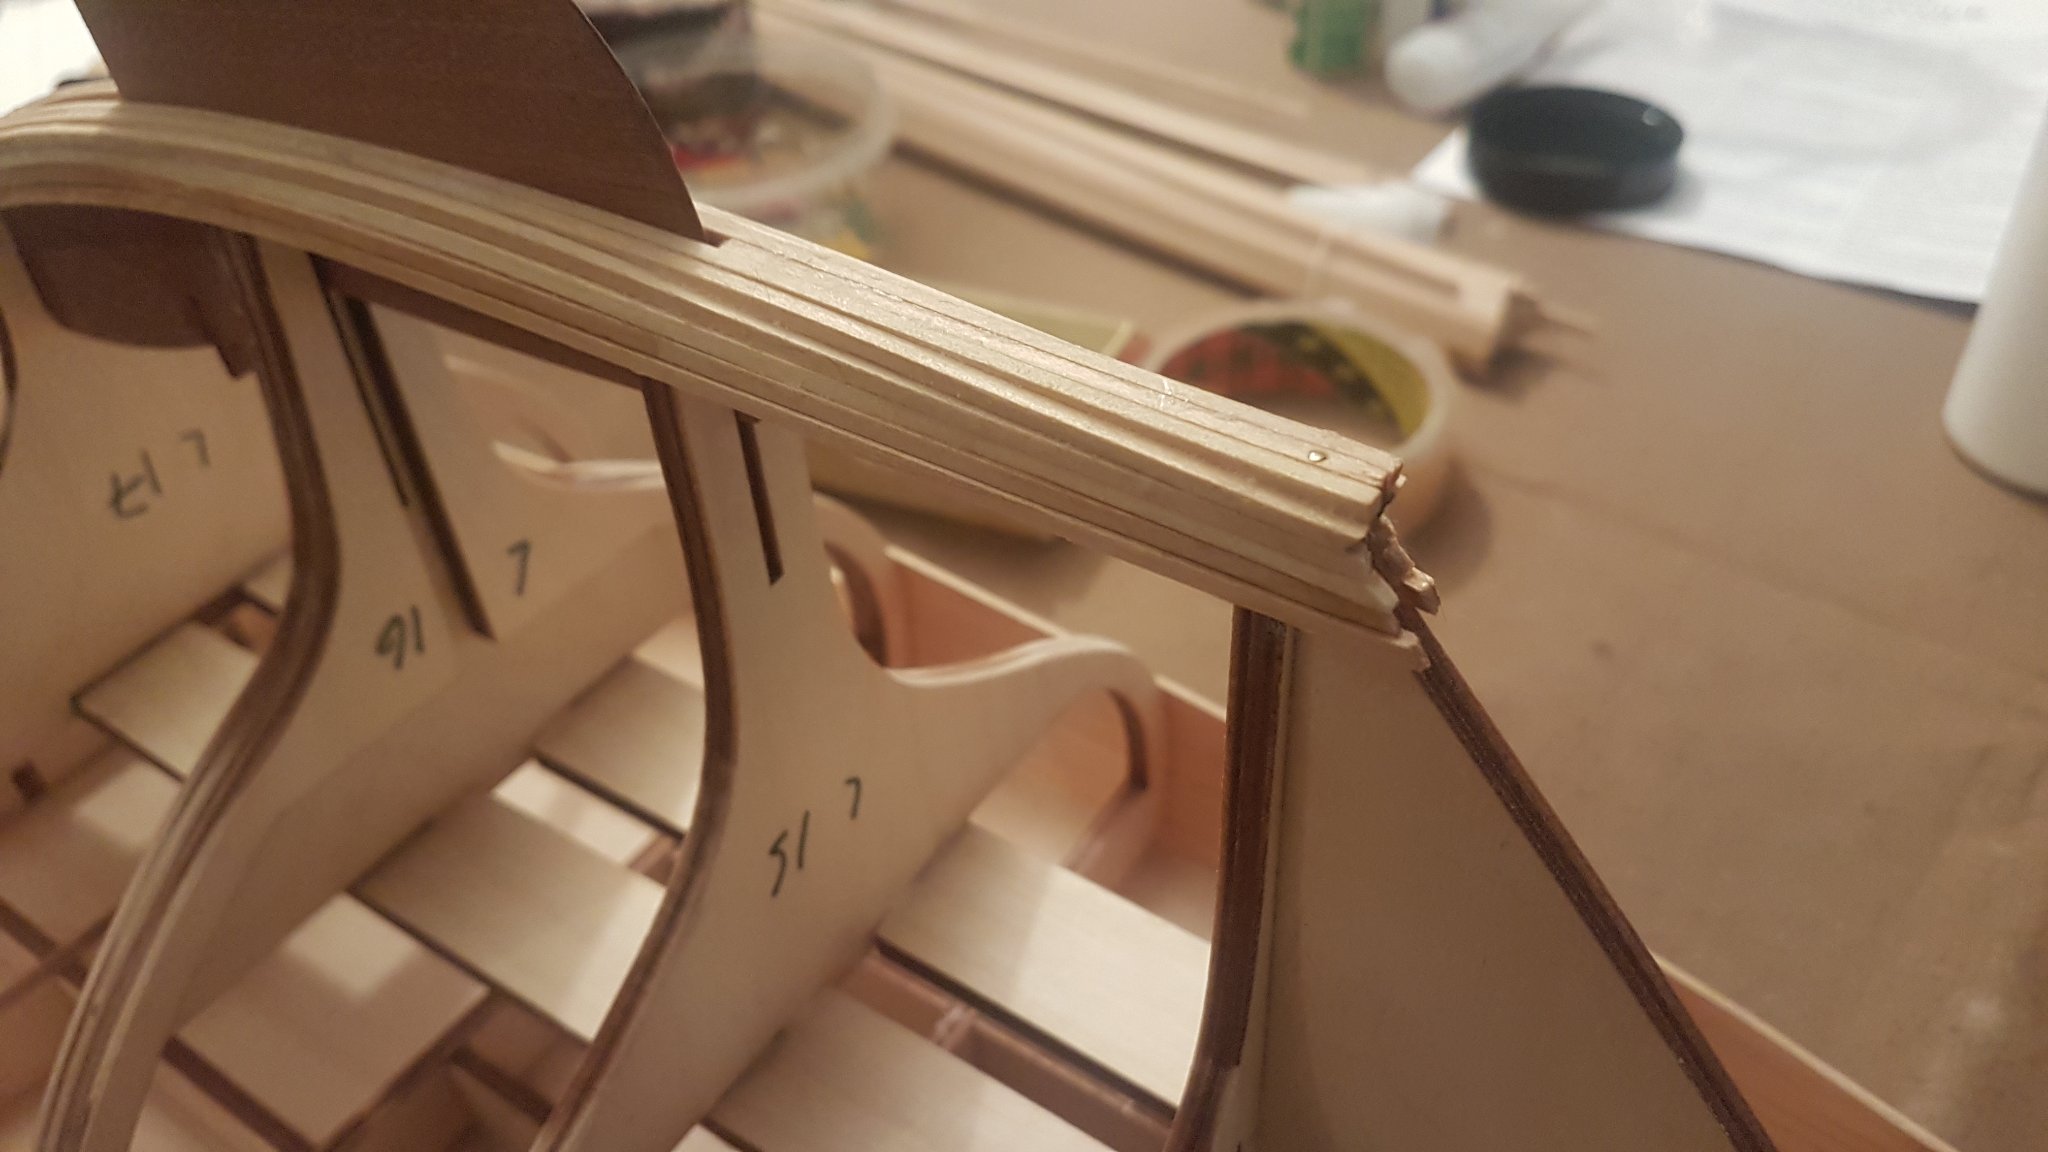
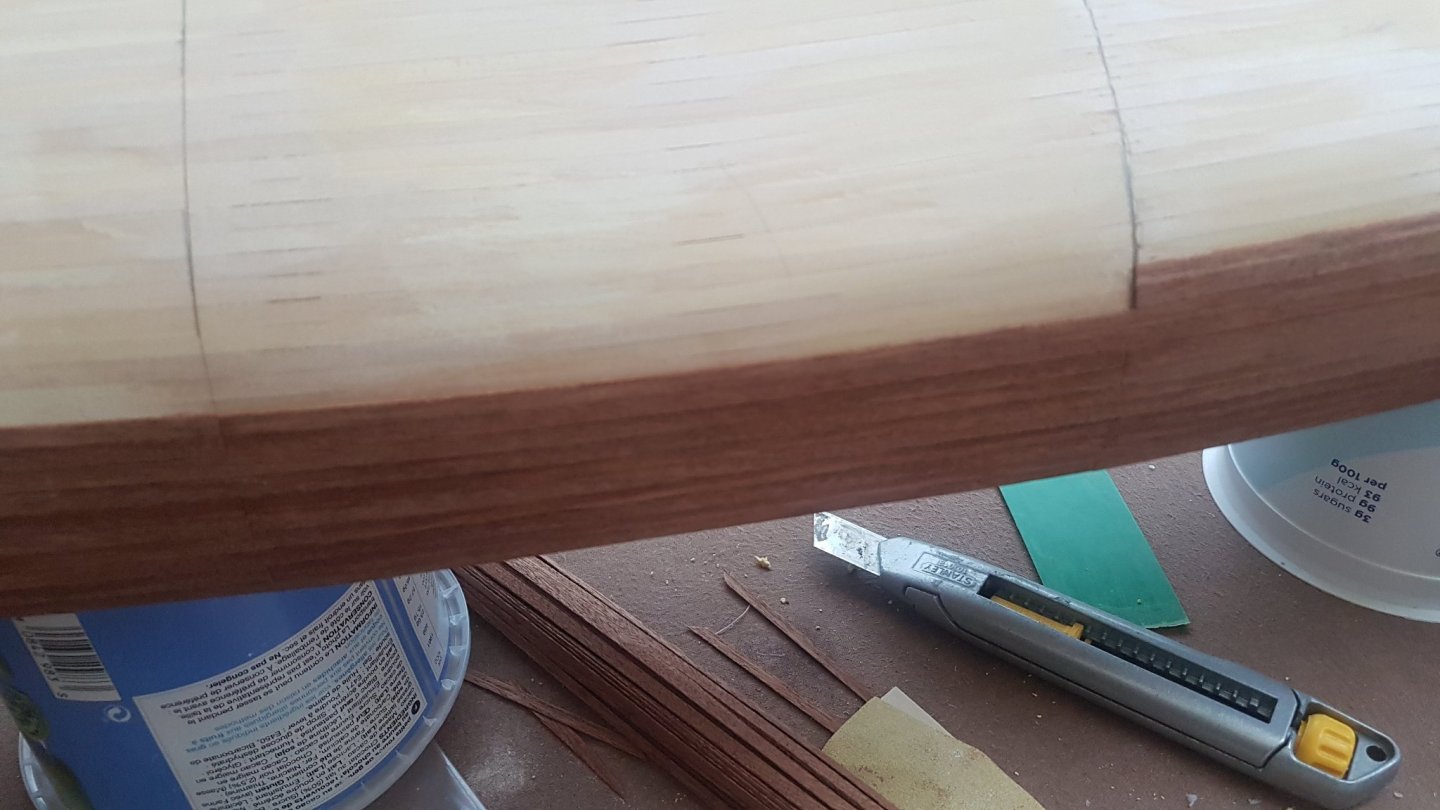
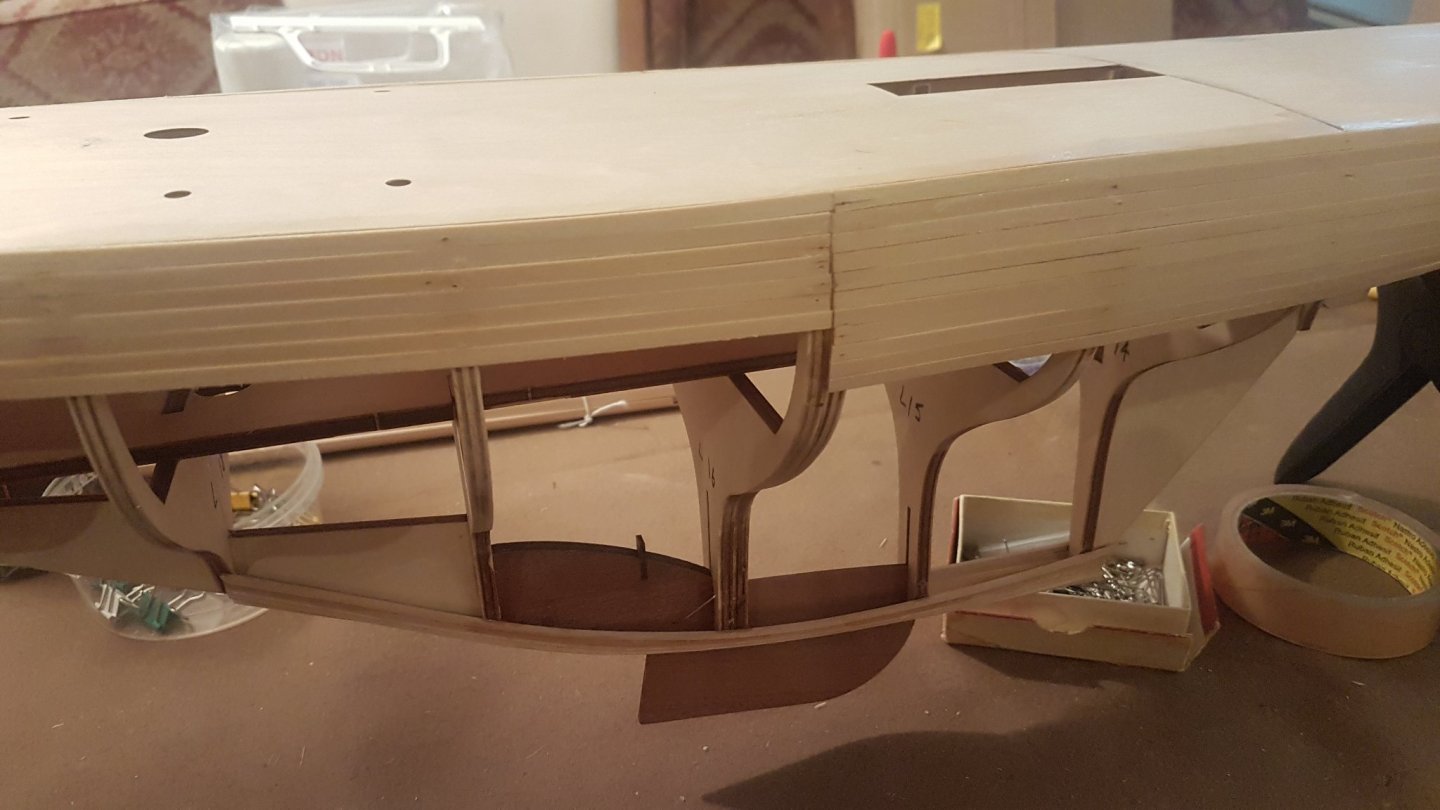
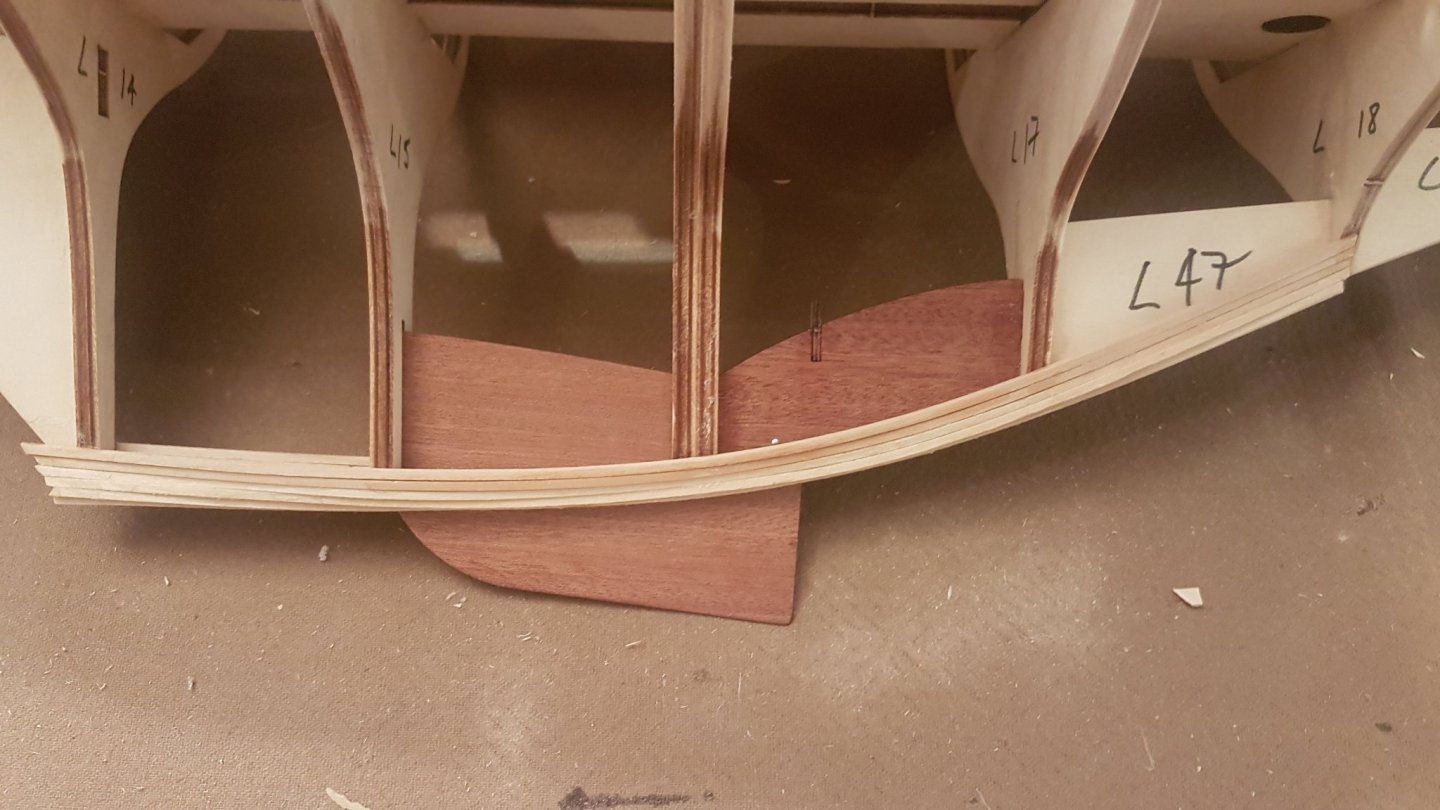
Once I got to the lower section of the hull and the keel area, it was time to apply the narrower (3mm) mahogany strips to allow for the curvature of the bulb area and to then meet up with the wider strips.
-
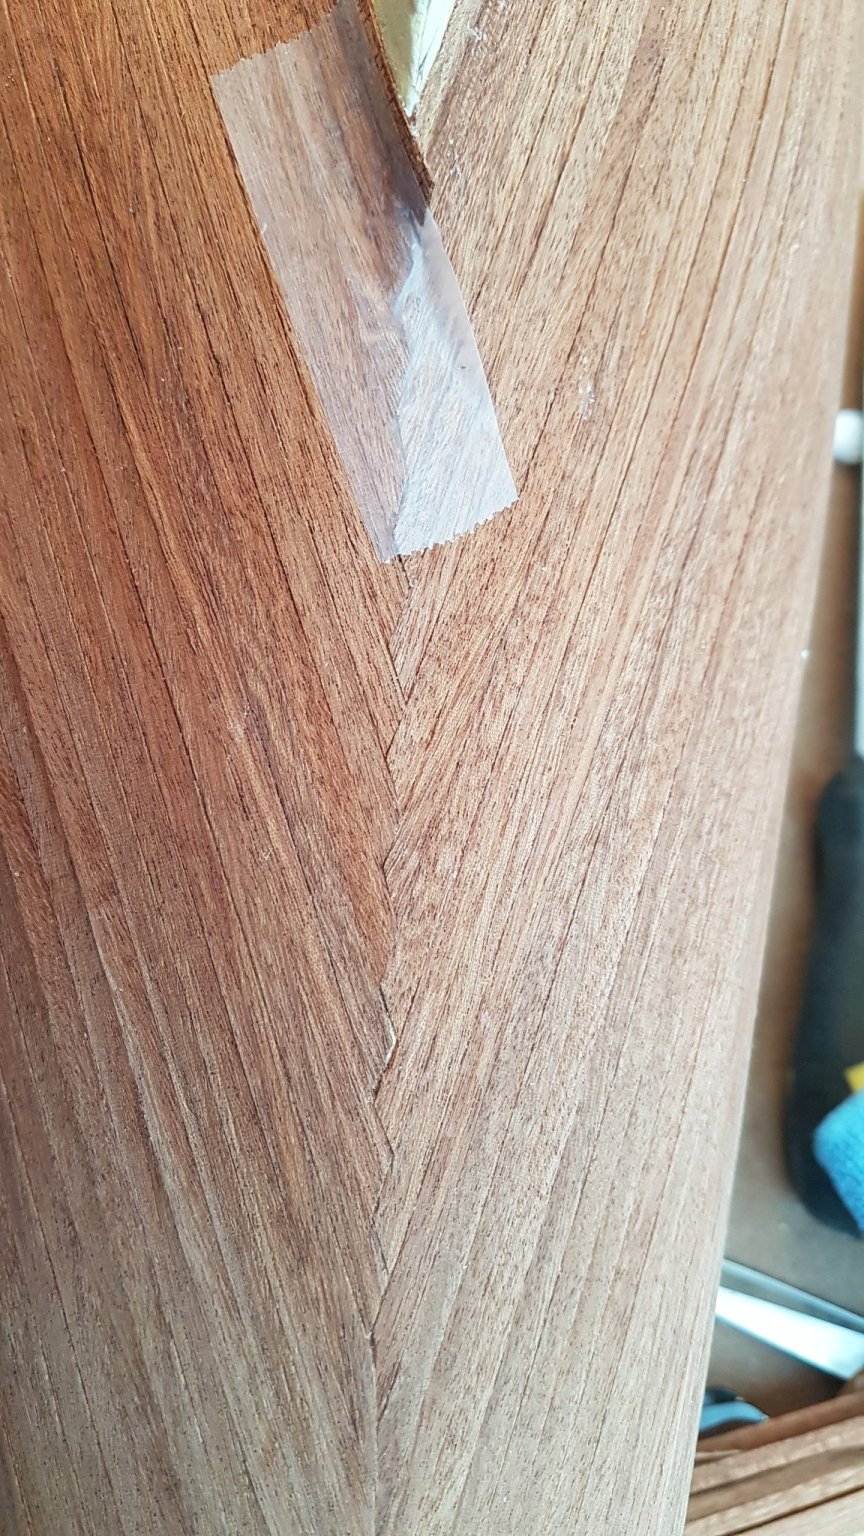
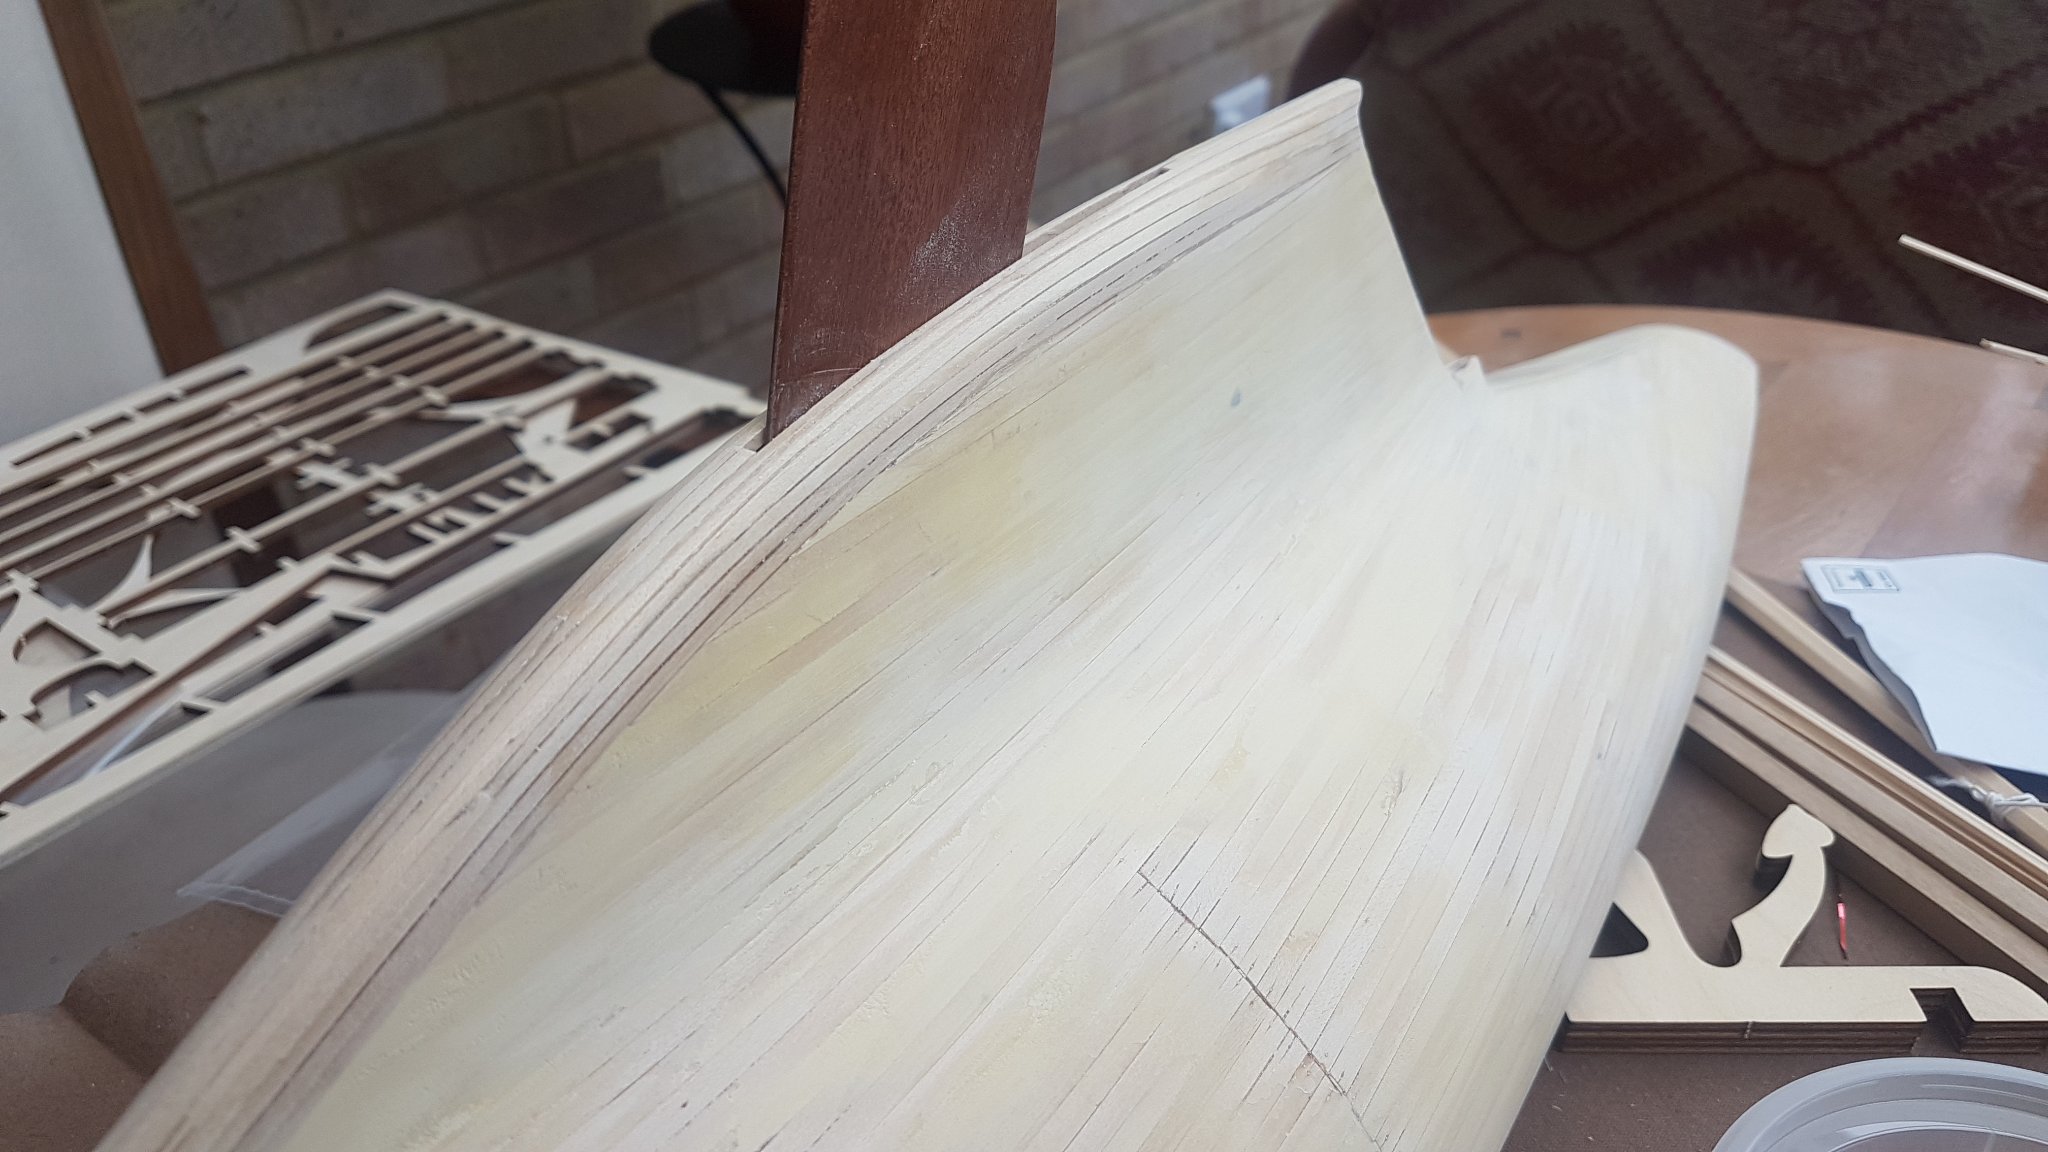
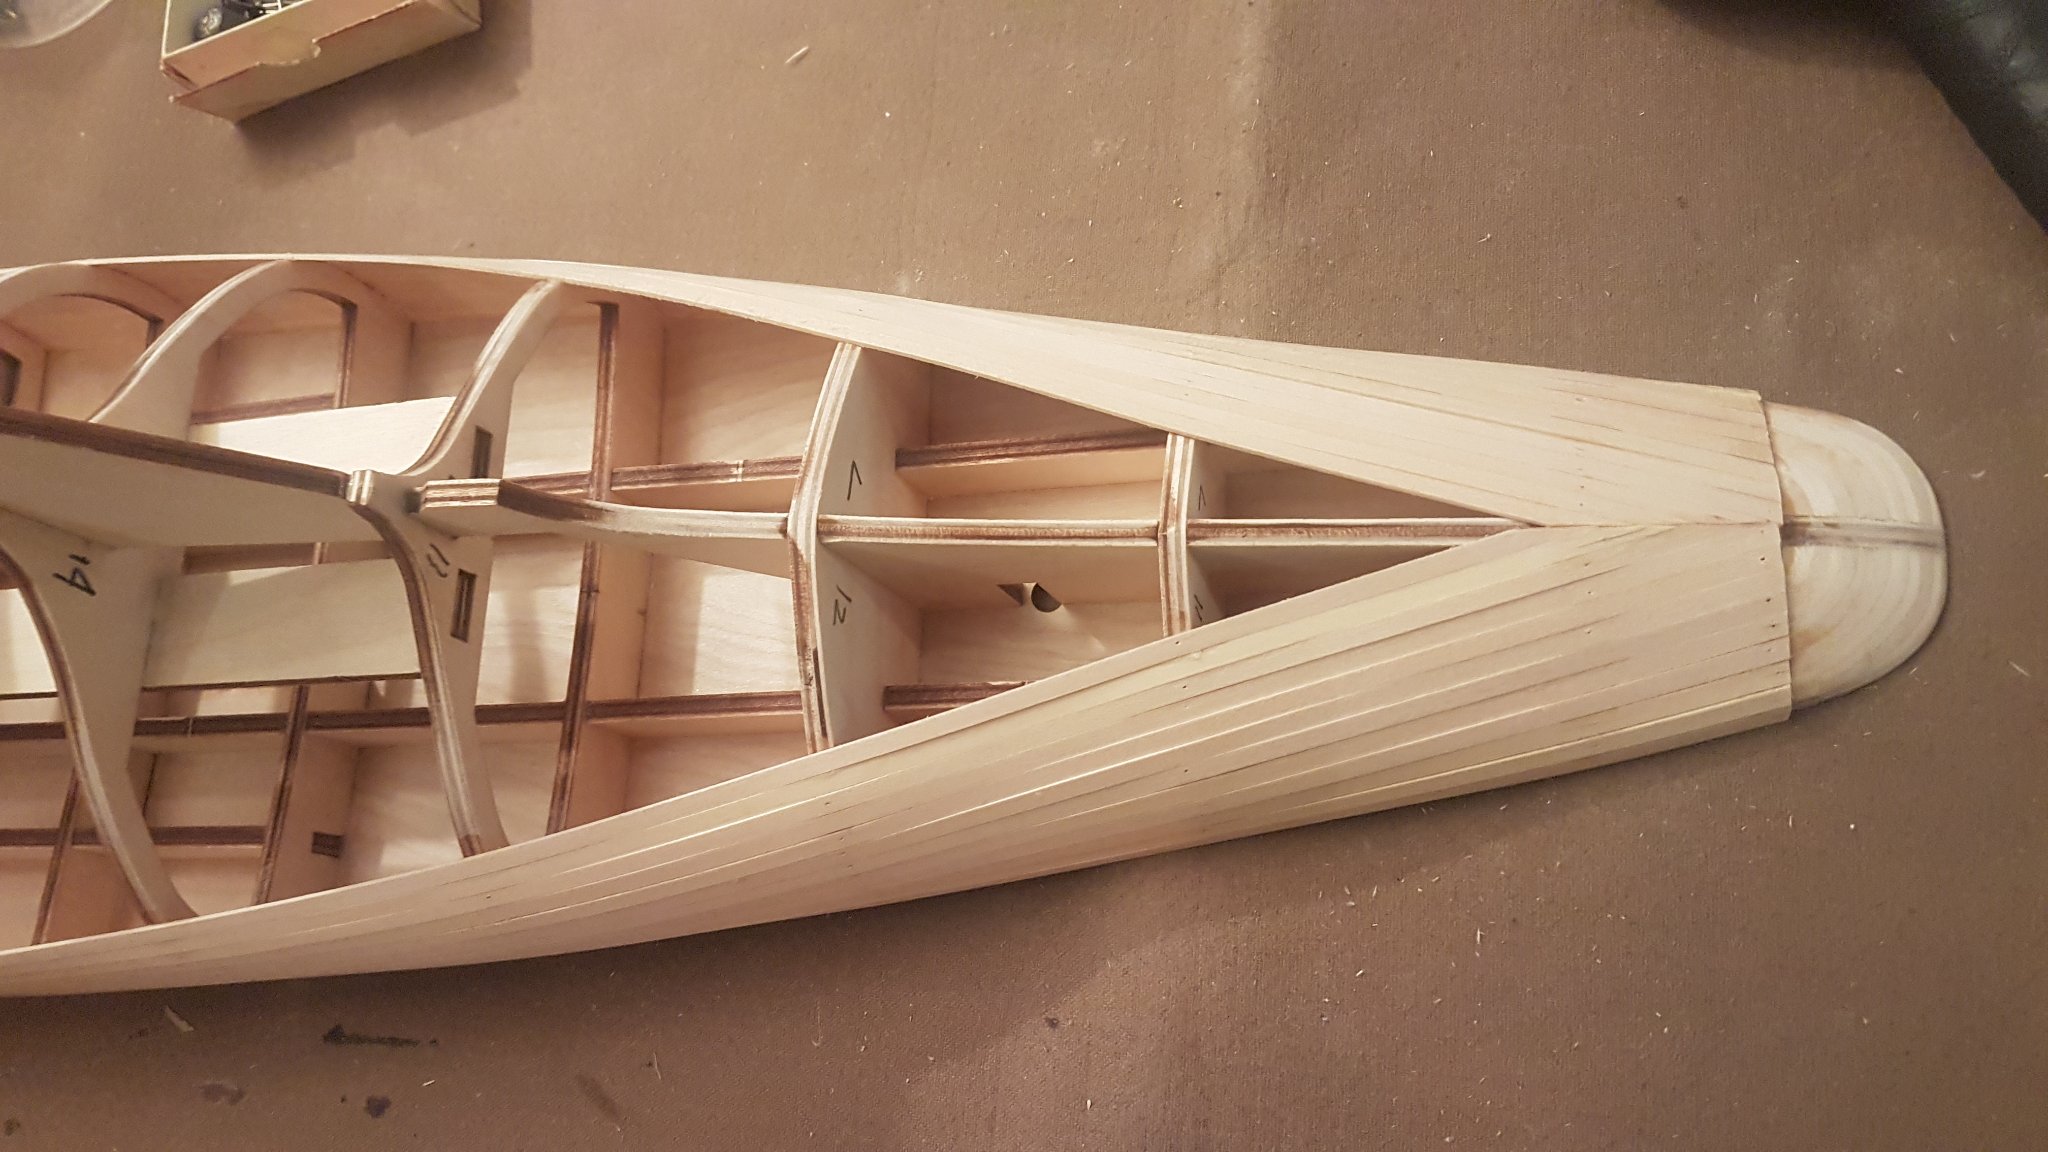
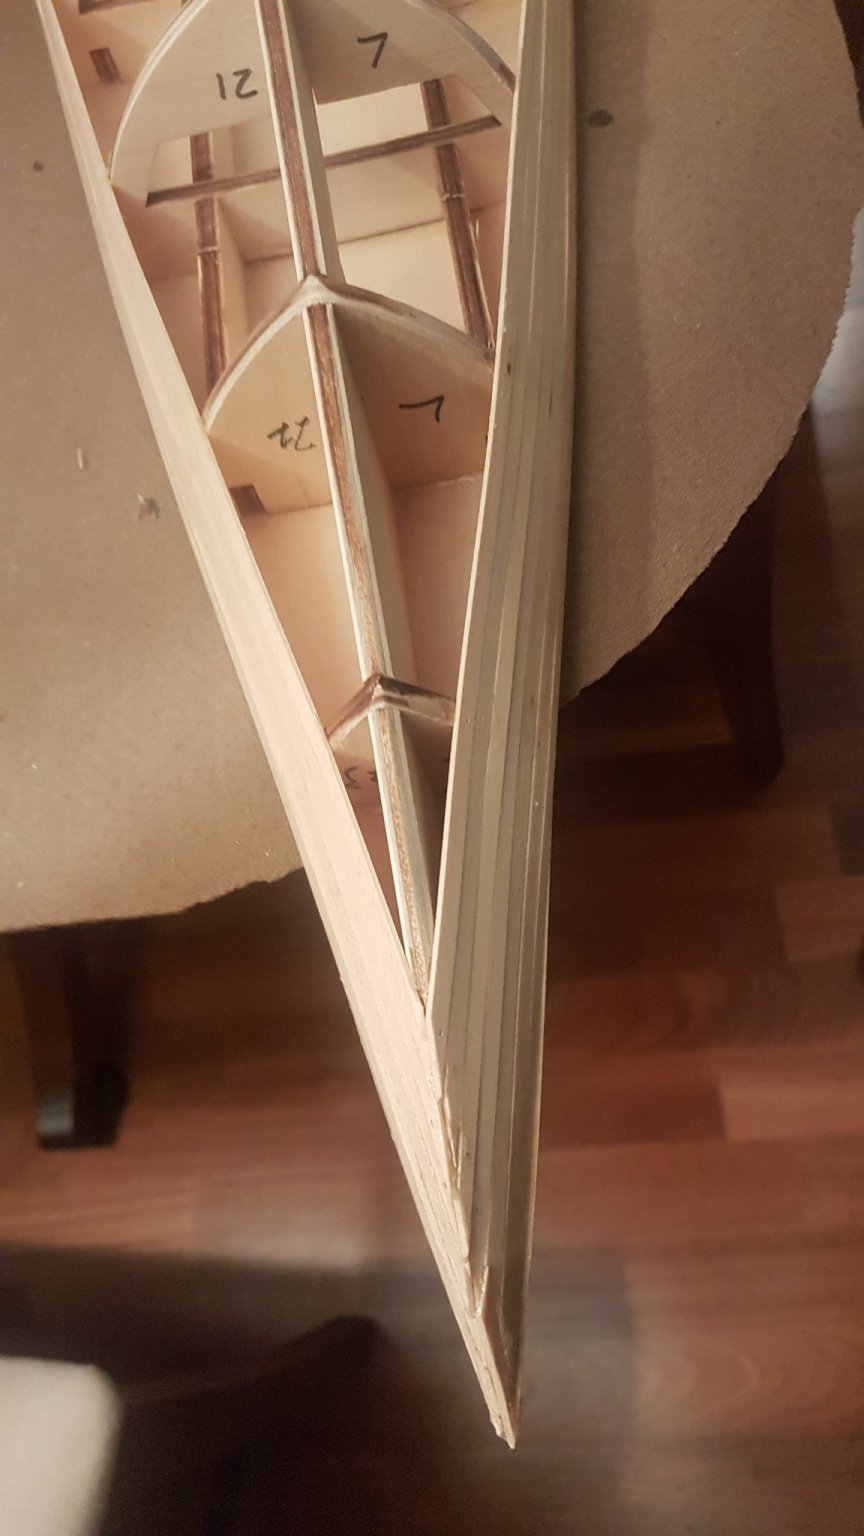
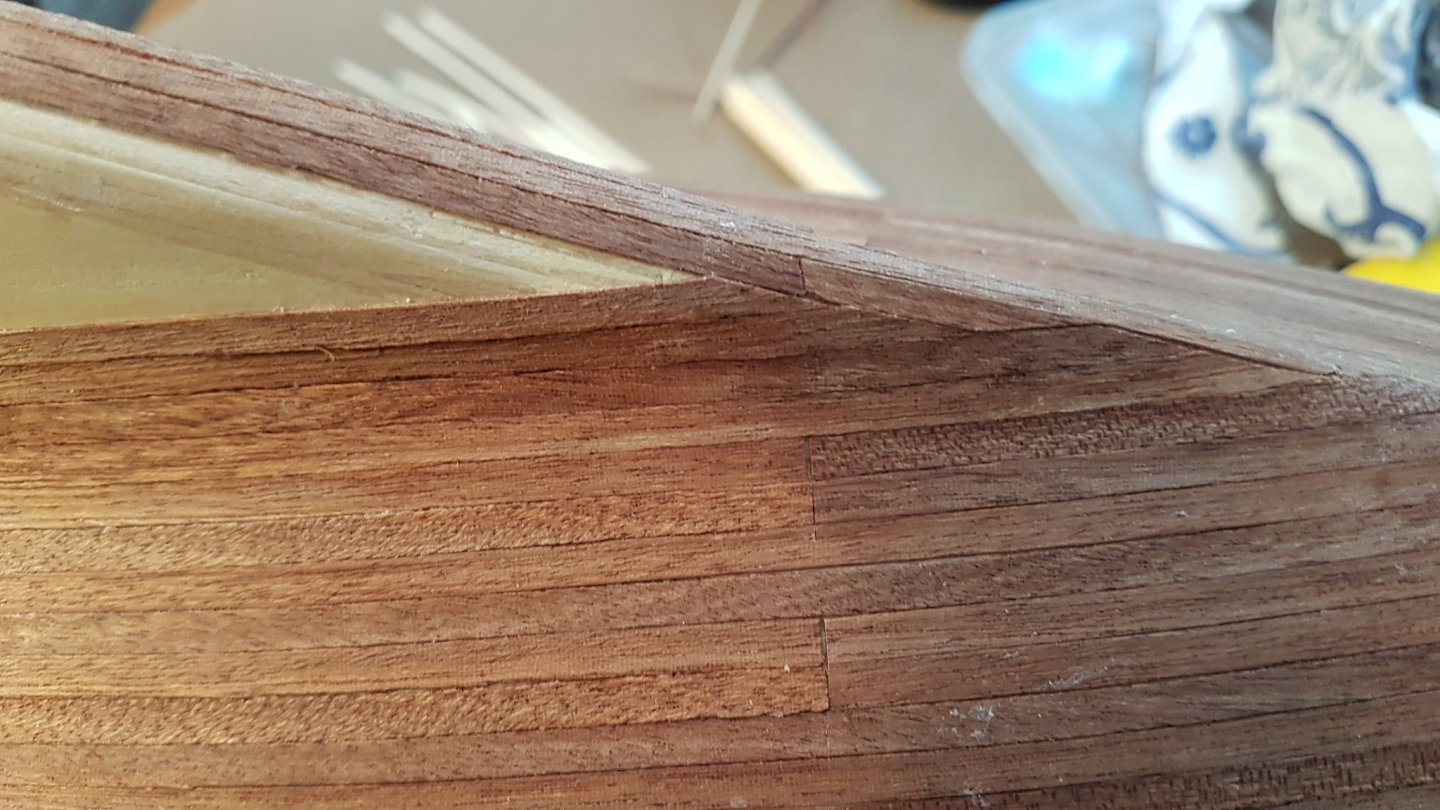
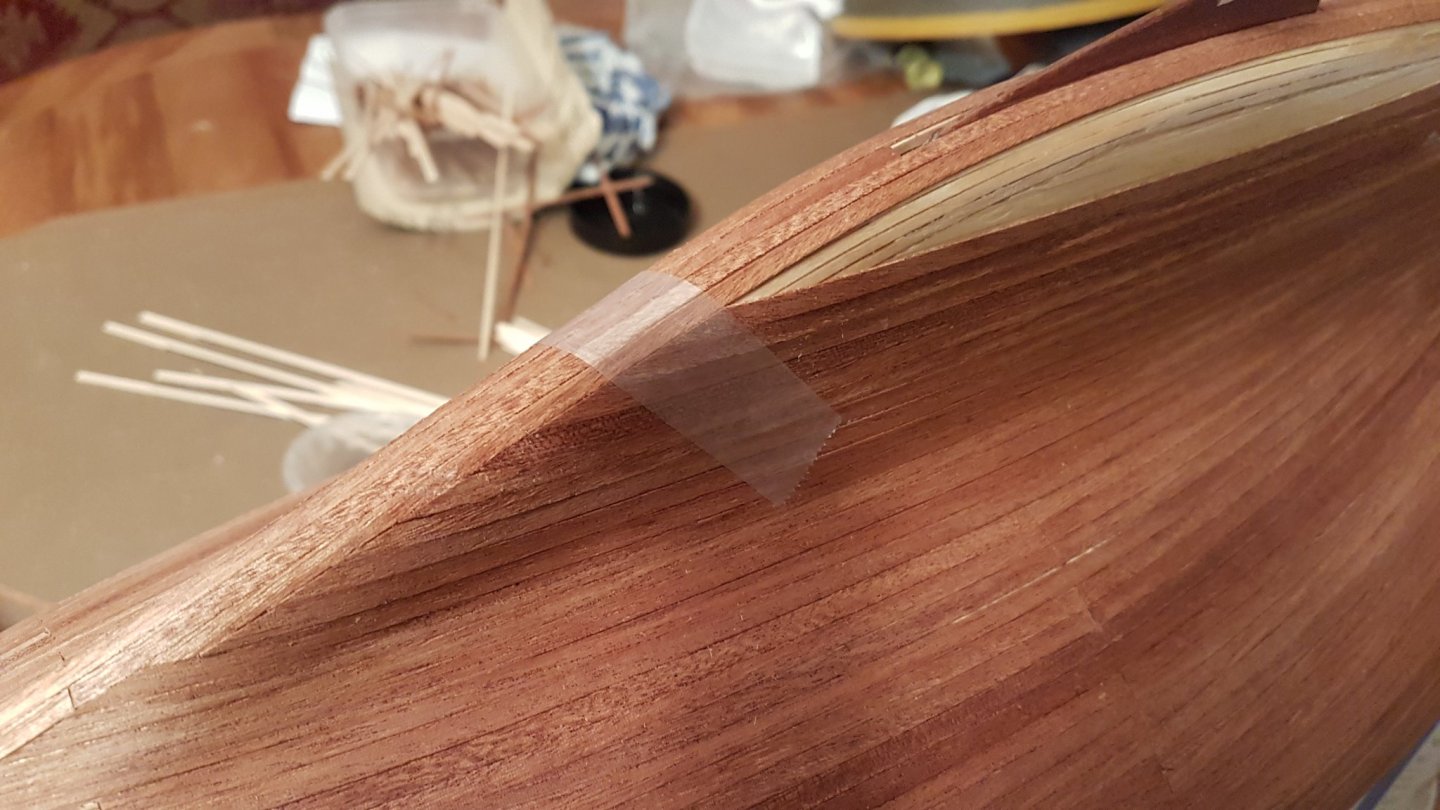
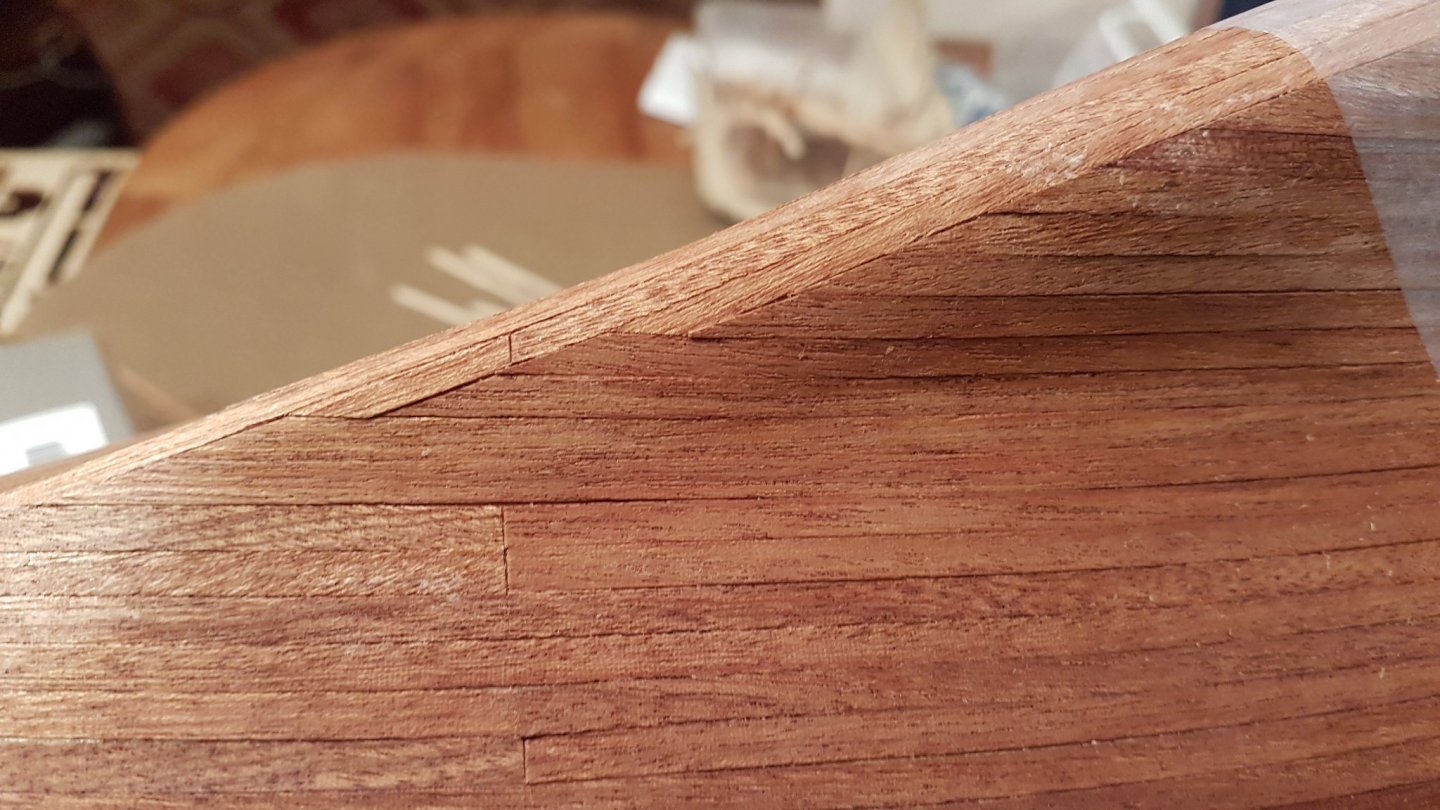
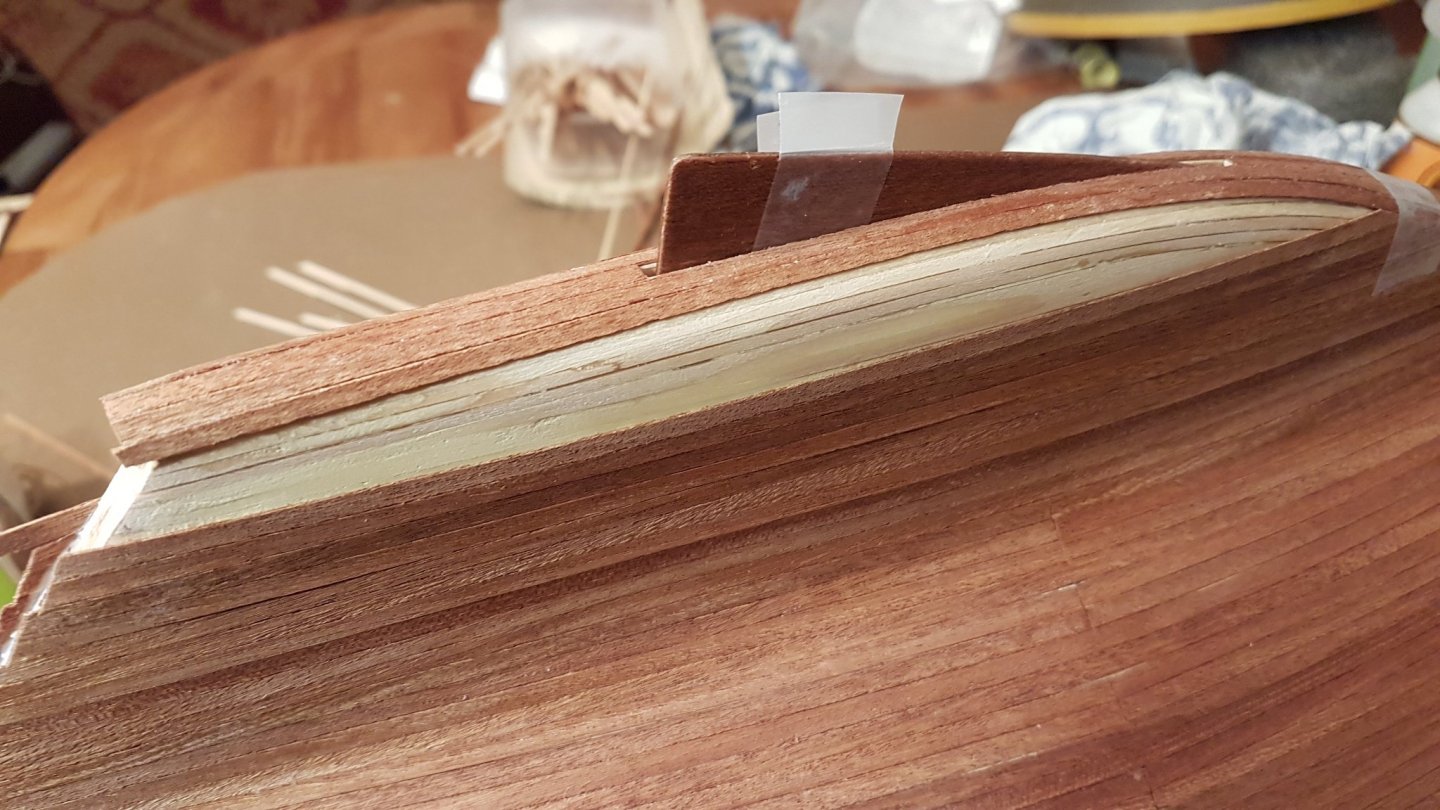
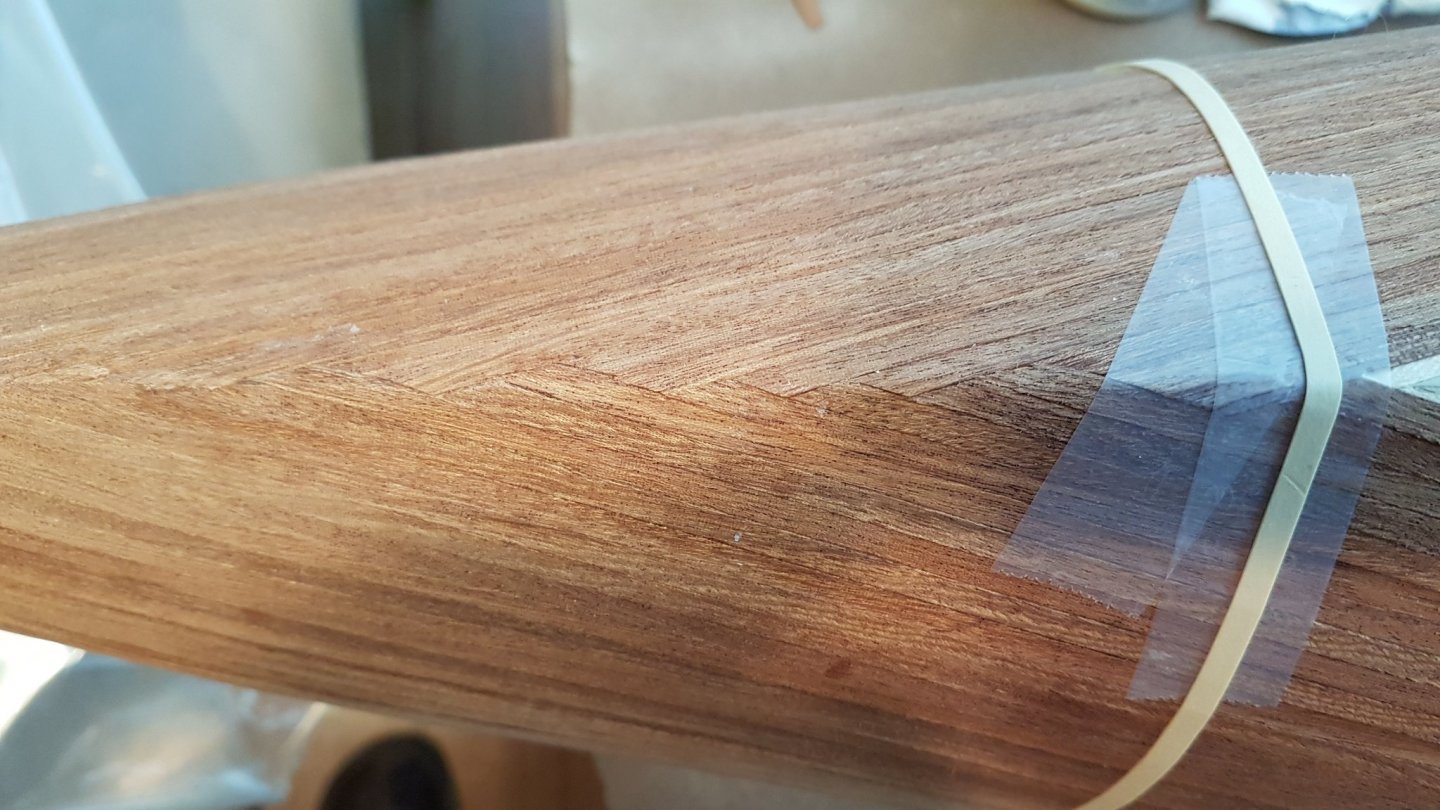
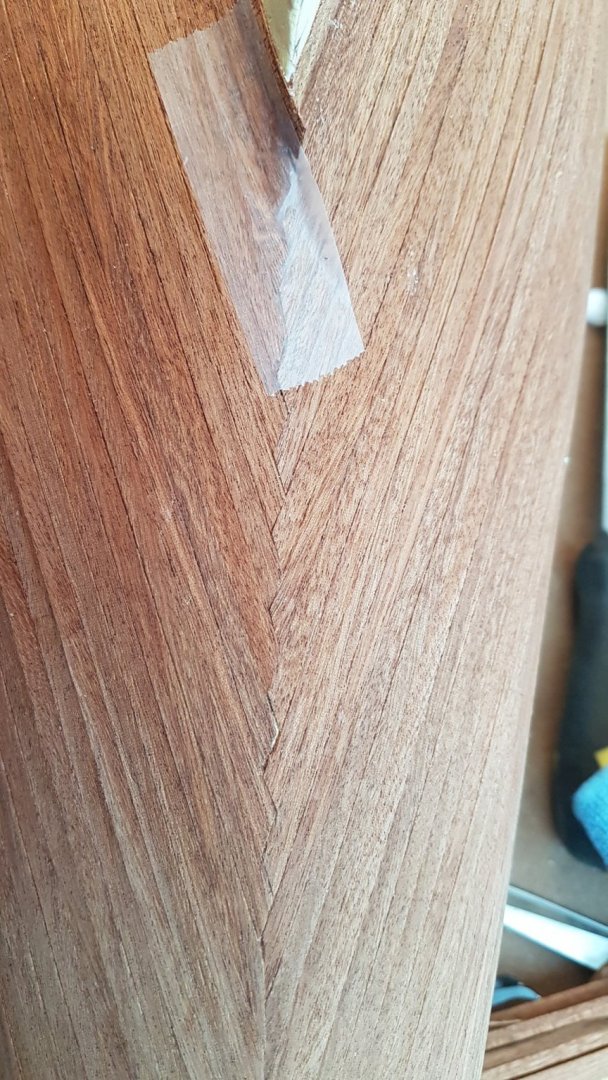
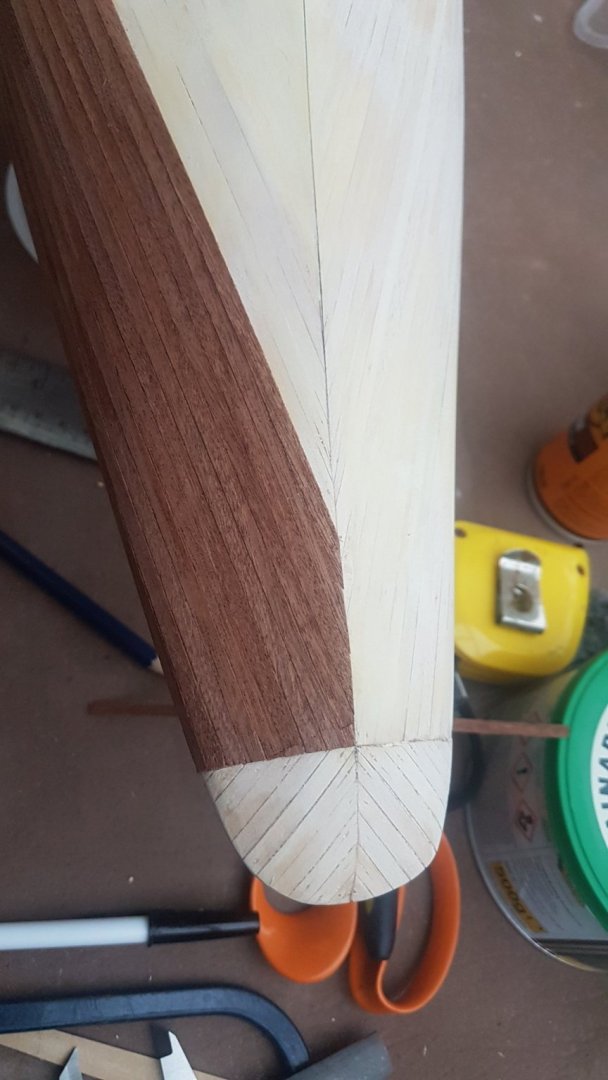
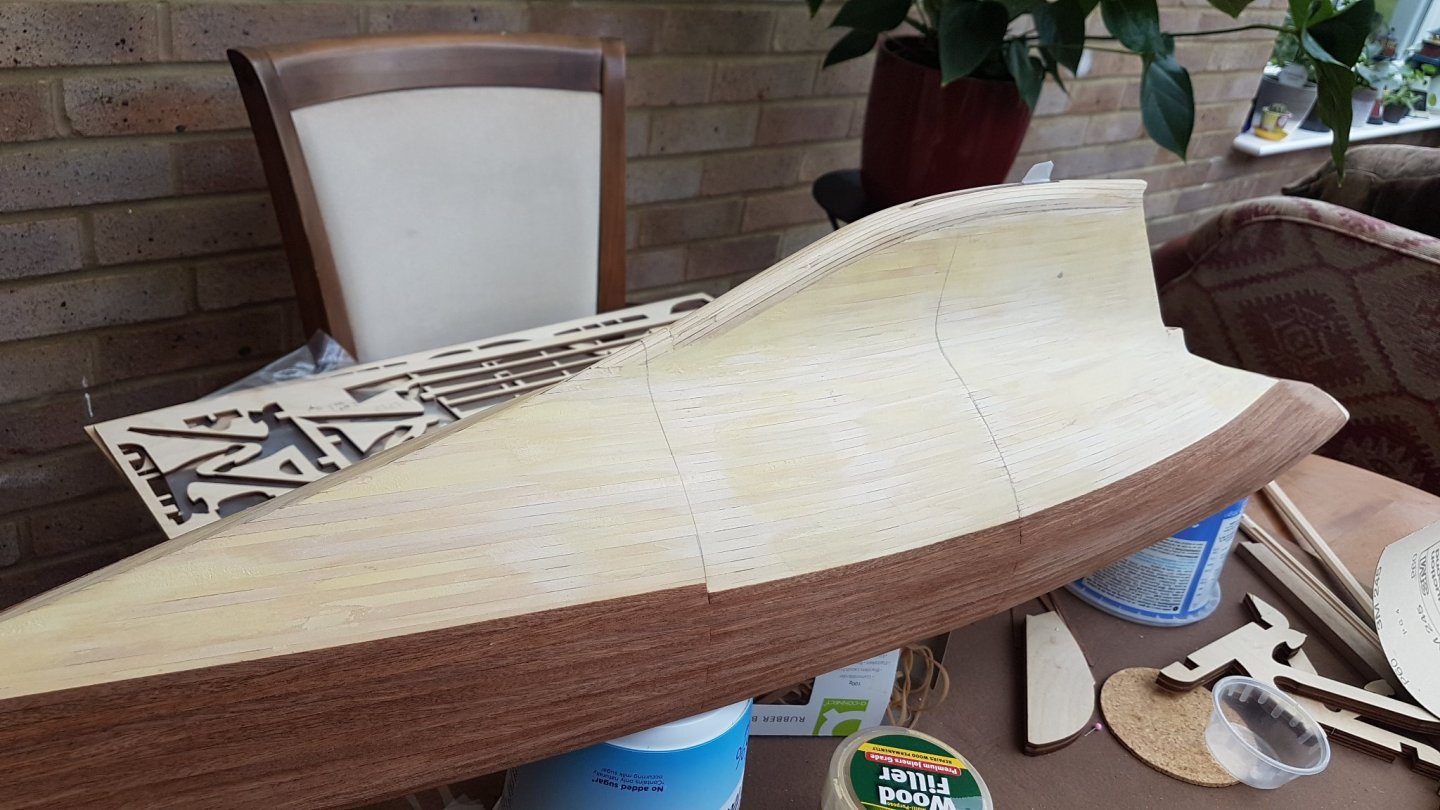
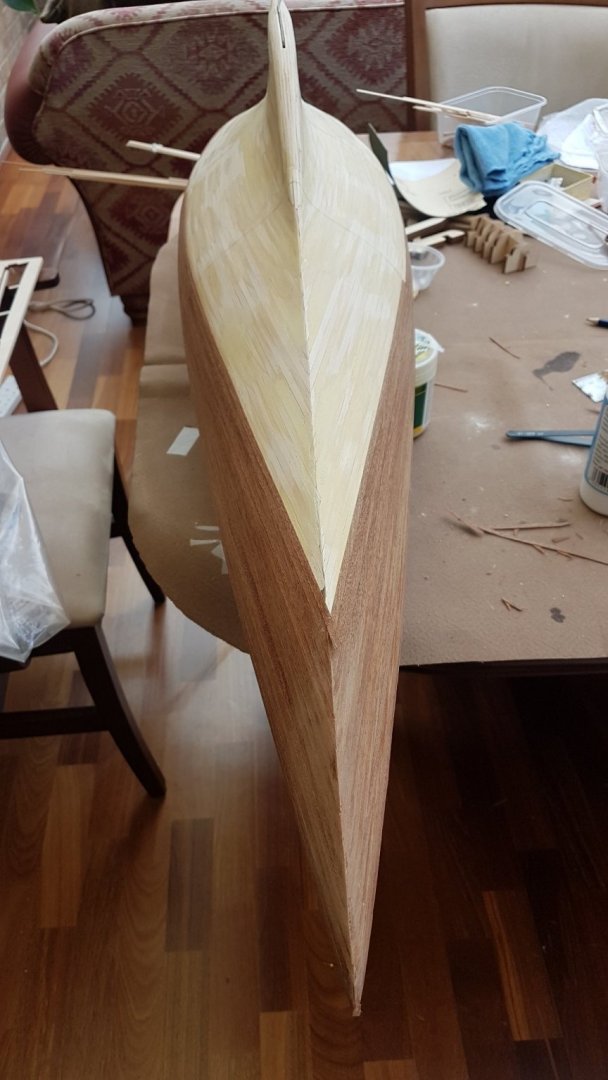
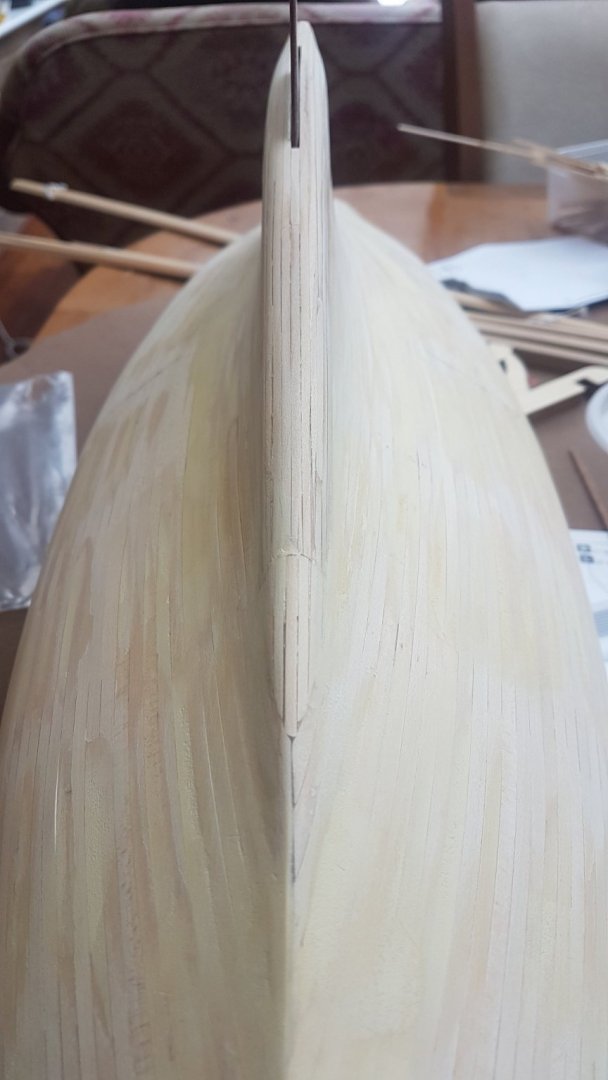
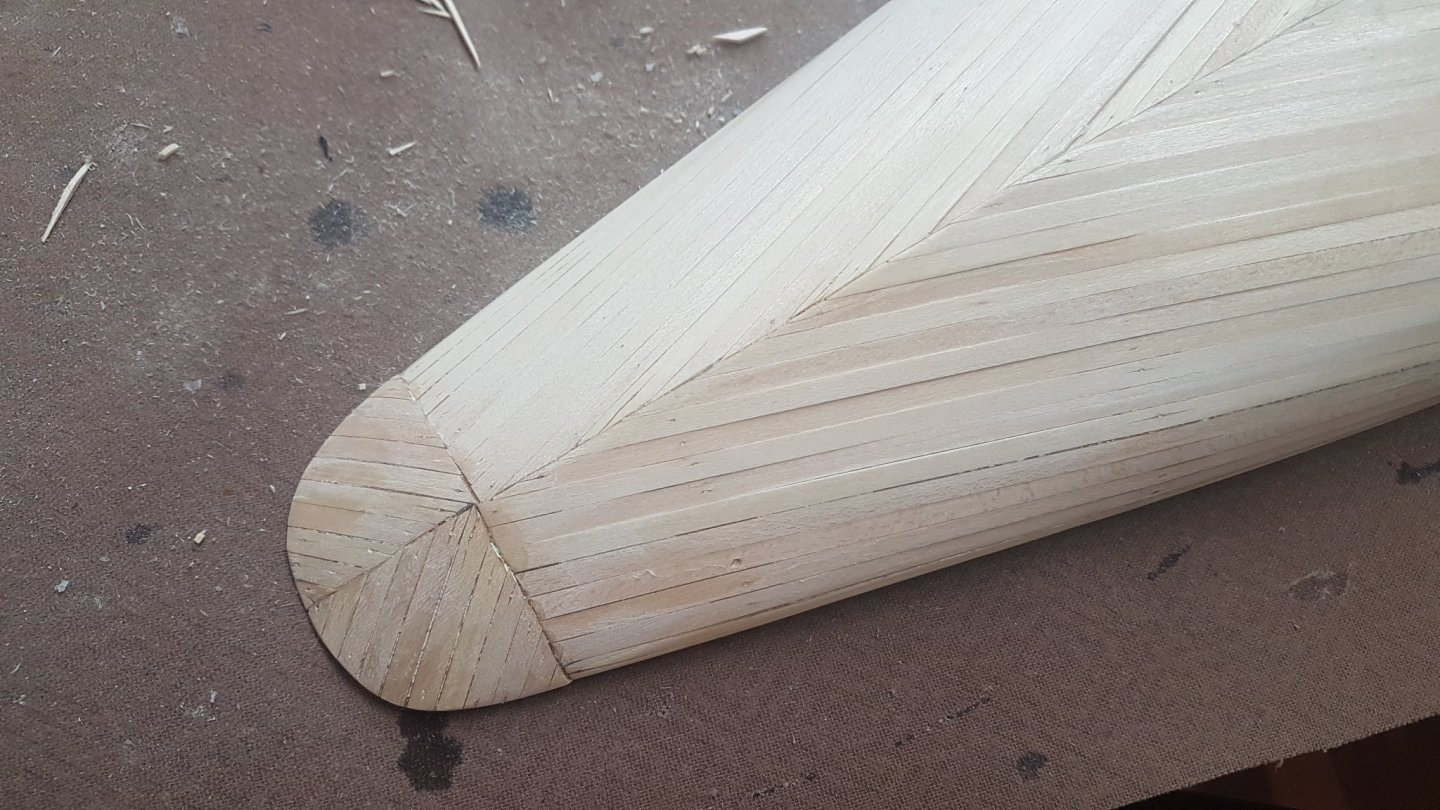
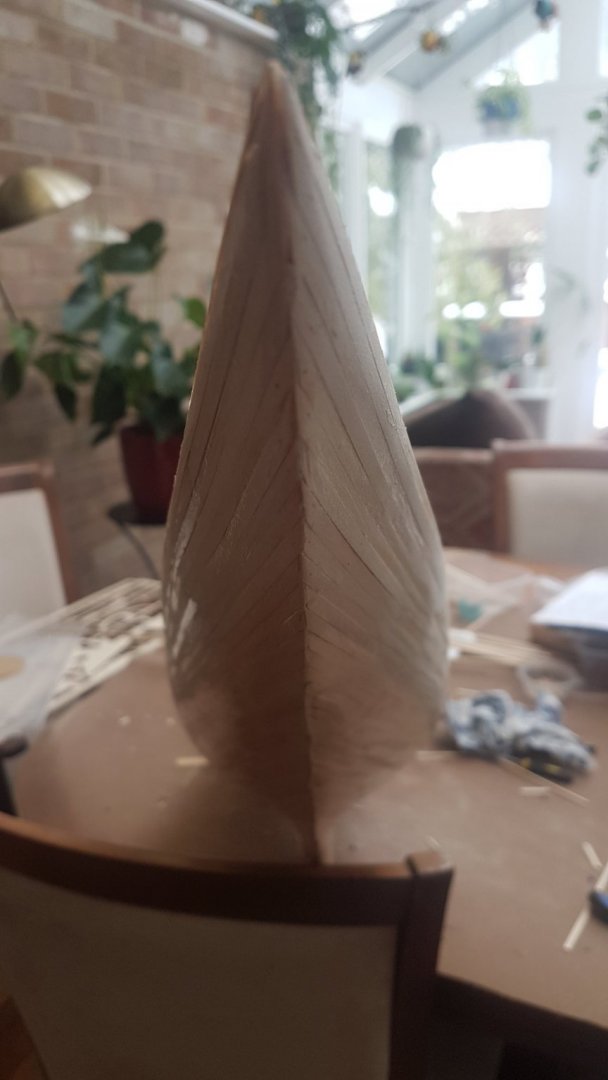
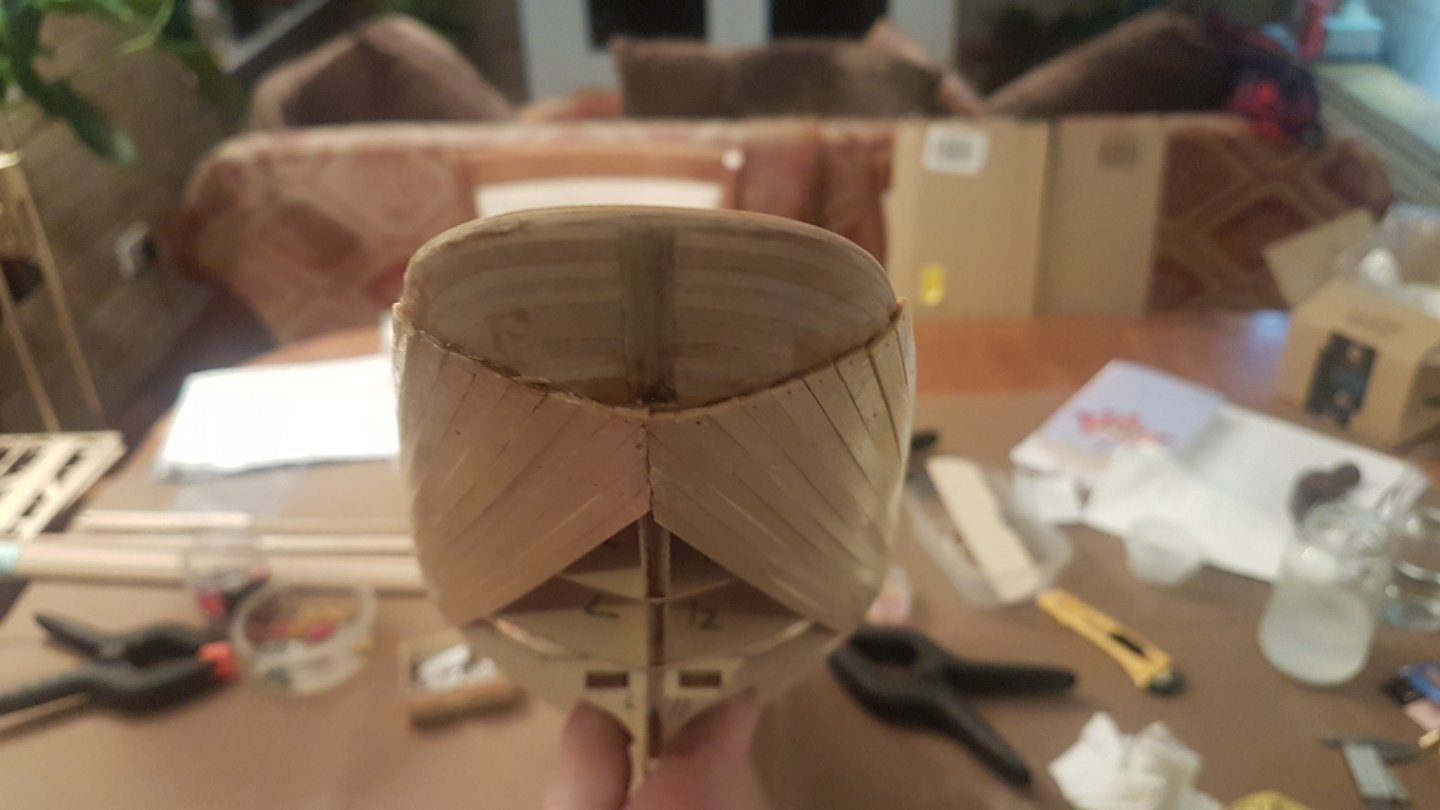
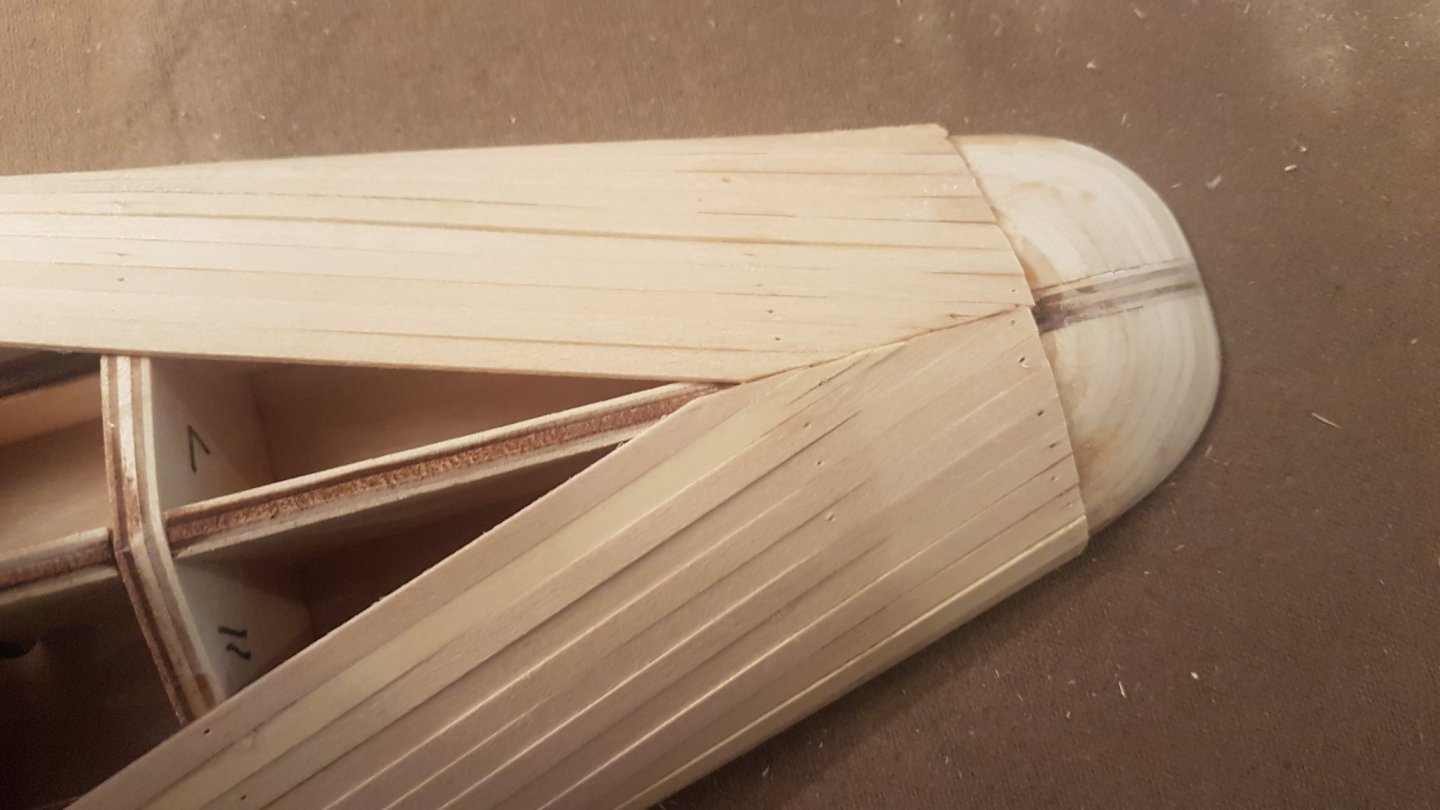
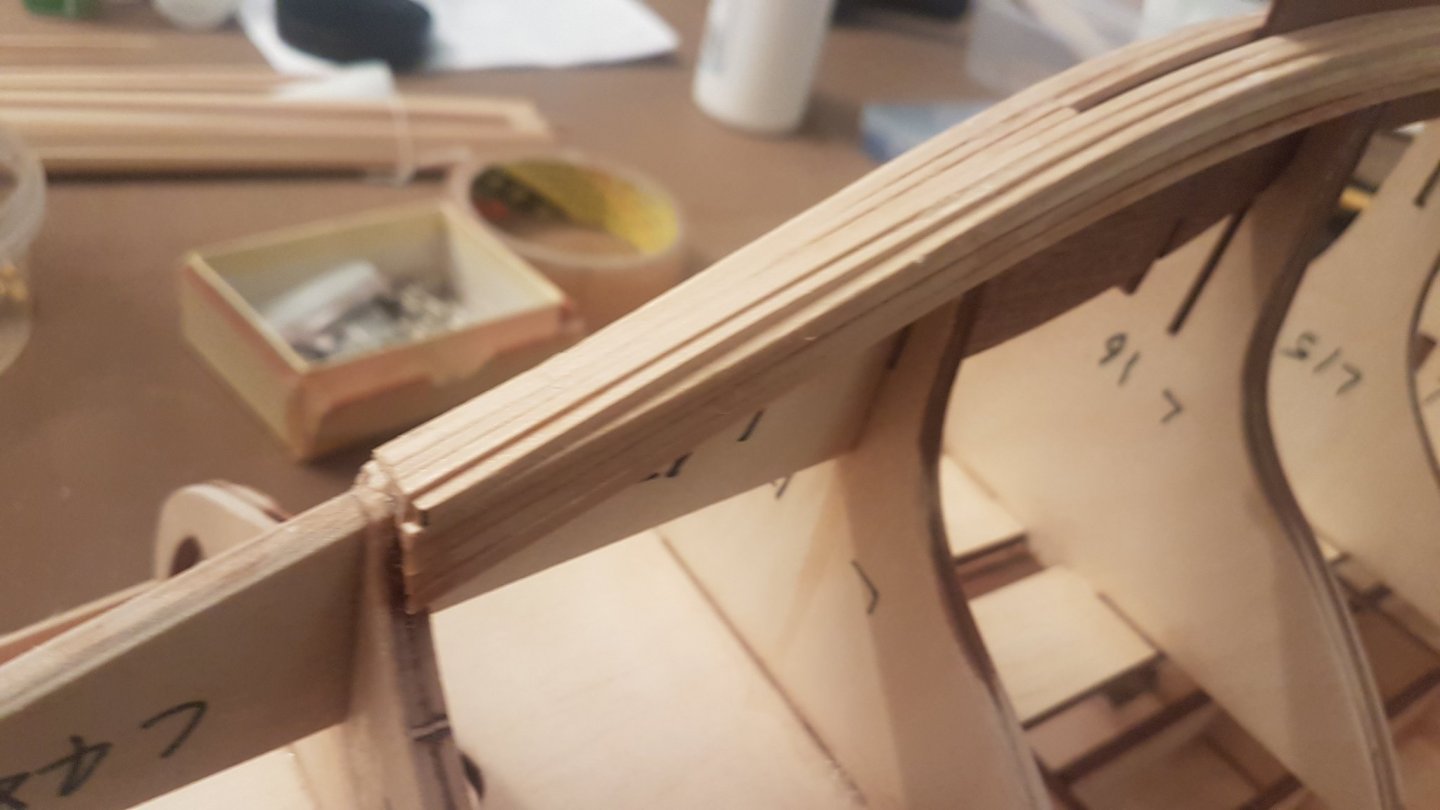
Hi David I For the first portion of the bow where the v is pronounced I was happy to plank with the planks meeting each other accordingly. Soaking the grain ends in PVA makes the wood tough and much easier to sand to a sharp line Where the line of the bow starts move from a v to more of a u, I then started to overlap the planks. The 1mm veneer is very easy to bend over the centreline especially when it has been softened with glue. See my photo below to show the transition from 'butt' joint to 'overlap'. Note the extensive use of 'Scotchtape' to hold the veneer in place. I found this really worked as it's so easy to quickly apply, holds well and can go round corners!
-
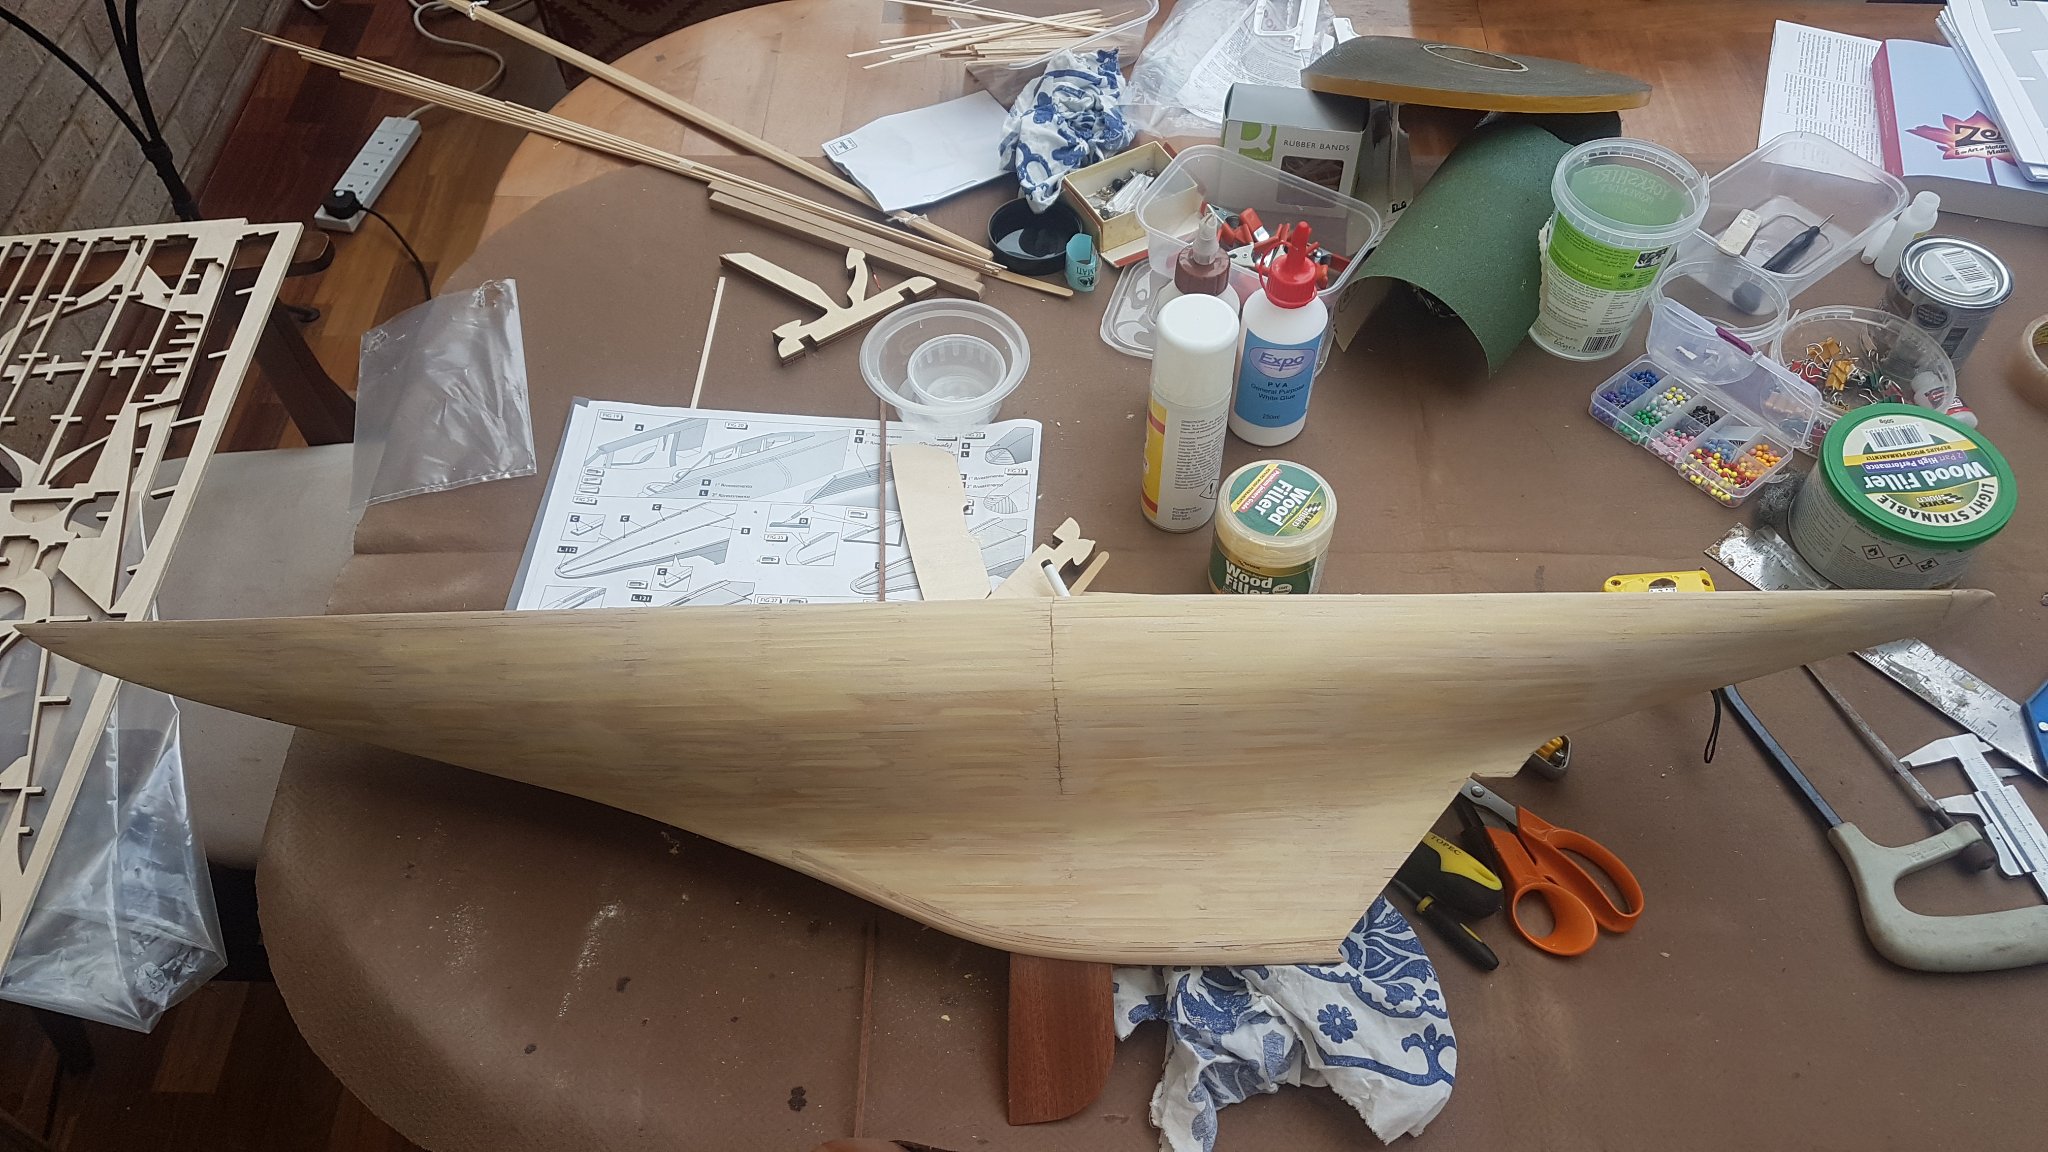
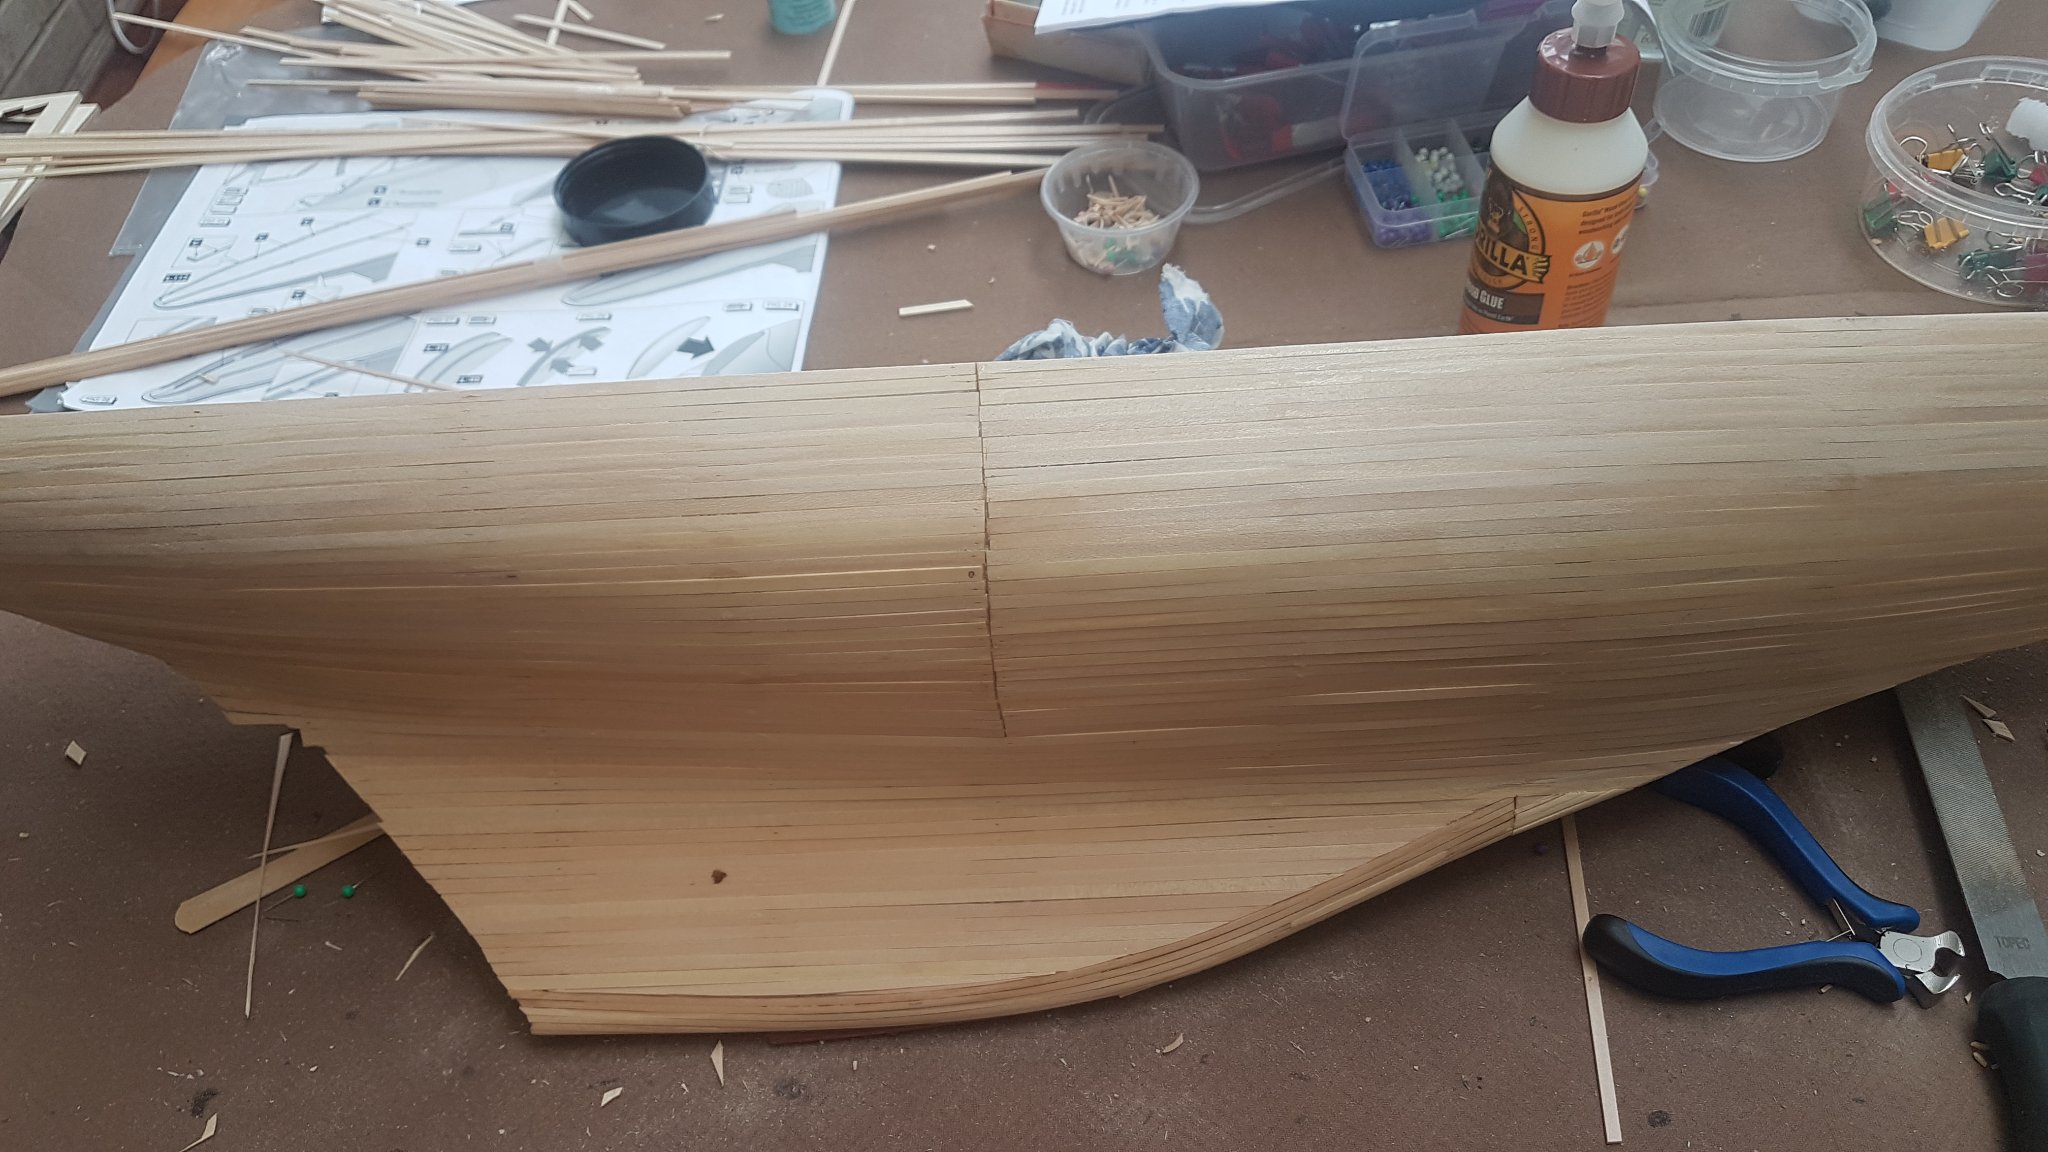
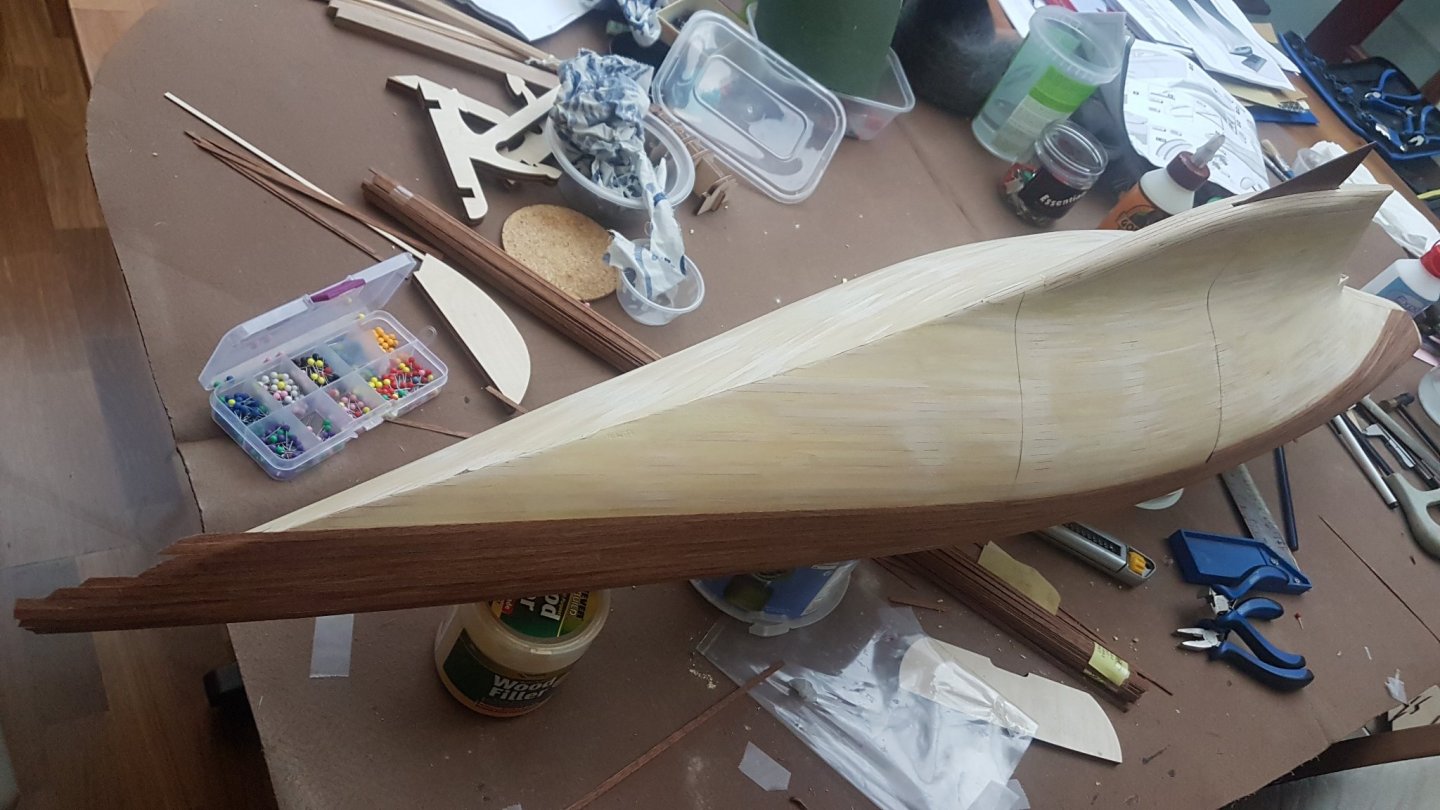
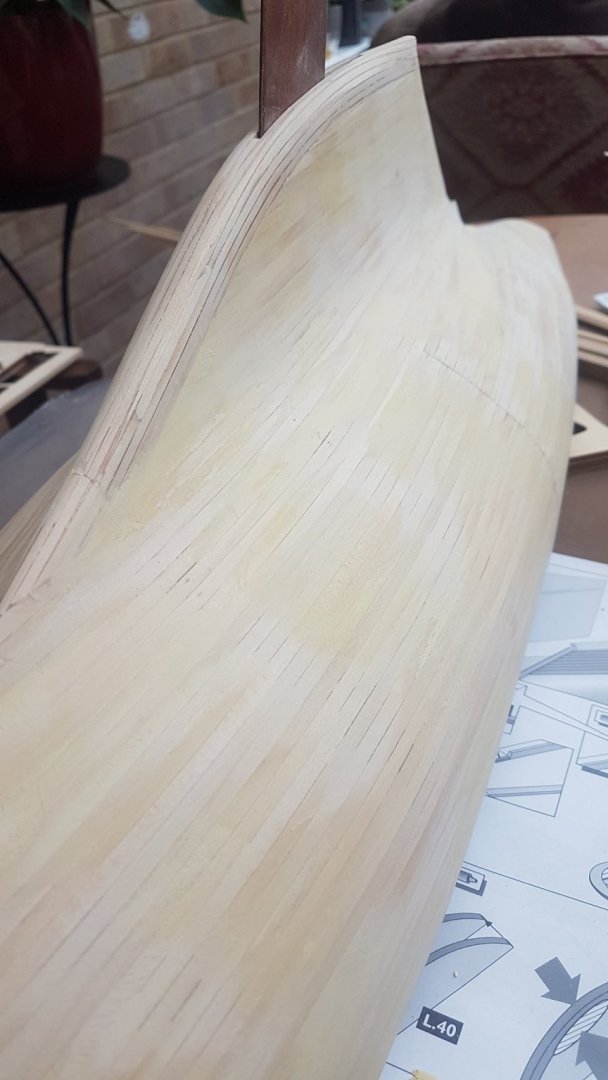
Thanks for the comments and appreciation guys! On with the build! I noticed that after sanding some crack lines did appear along the random lengths of the planking abviously caused by the PVA 'wash' not reaching these parts. Quickly remedied and she's now ready for the lovely mahogany veneer. The veneer supplied is 1mm thick so half the thickness of the first planking. I also noticed that the edge of the strips were quite rough. I should have bunched a group together and lightly sanded them before applying (which I did do for the decking planks/strips). I didn't do this and just applied the planks straight from the box and starting at the deckline and working my way to the keel. This time I off-set every second row of the planks (you'll see the two lines drawn on the hull to show the lines of cuts that I wanted to follow as I worked my way down the hull) so that I didn't up with a continuous vertical line halfway down the hull and descending towards the keel. Here are some pics of the first few planks of the second planking:
-
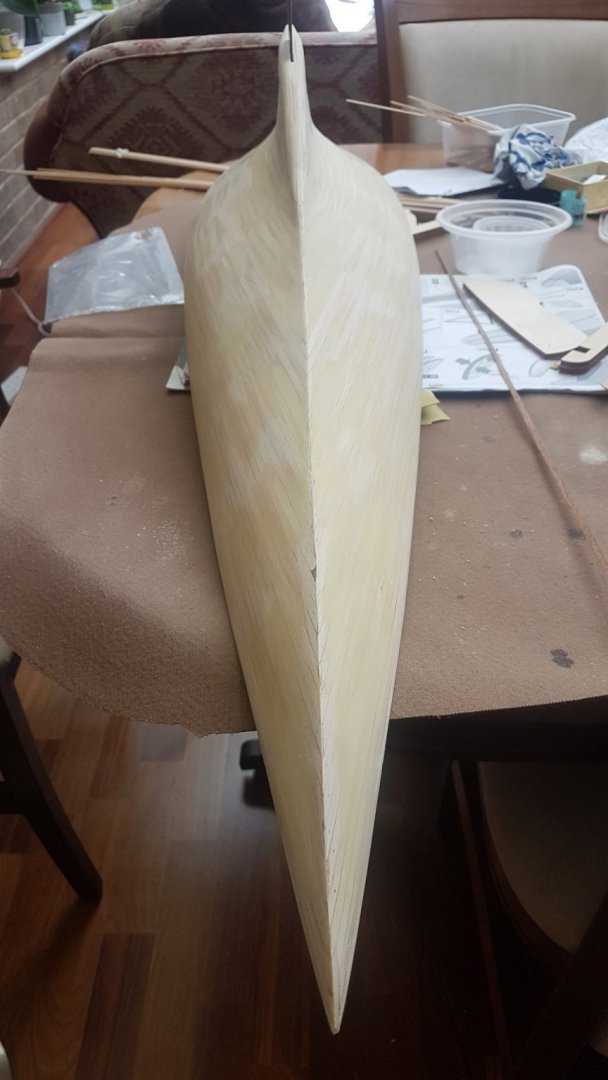
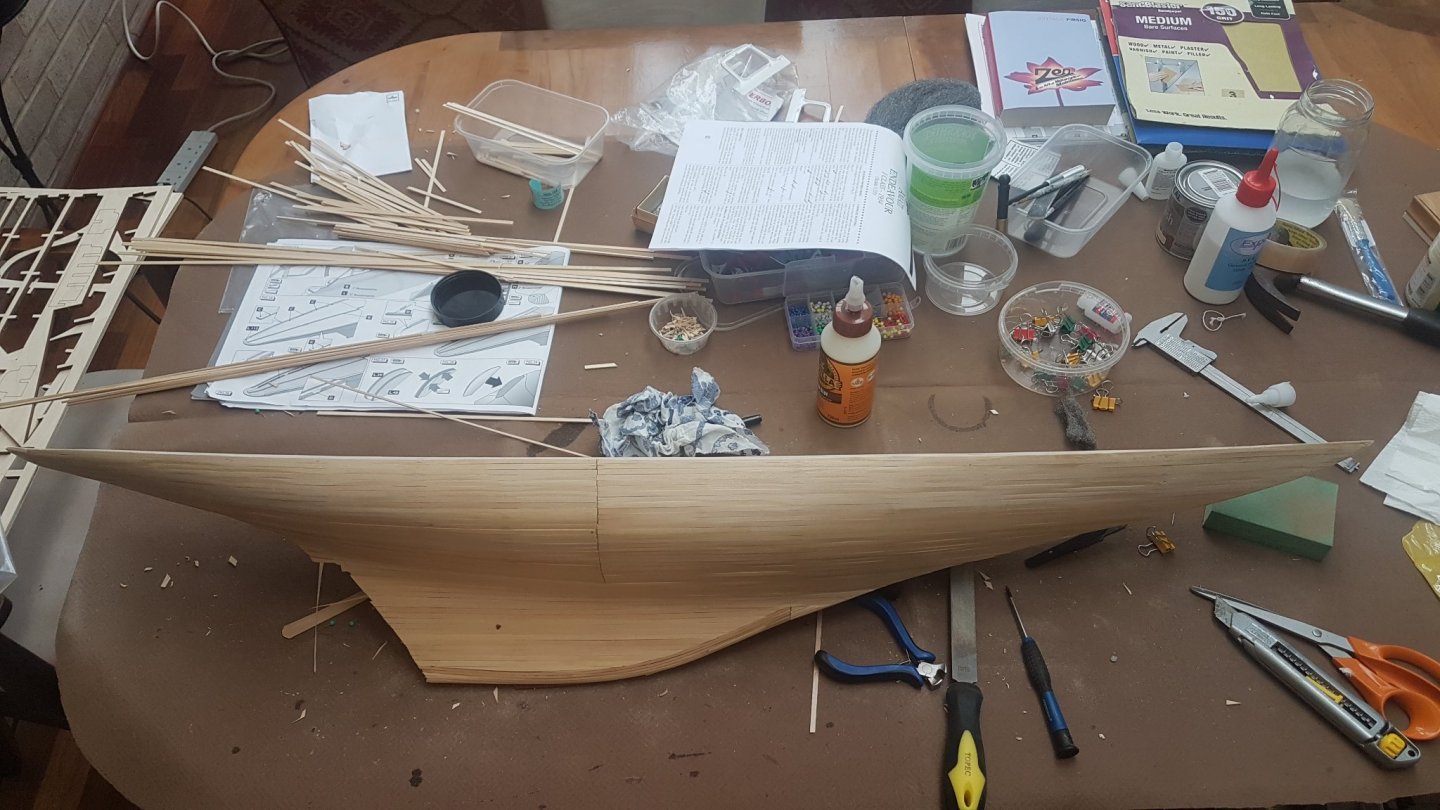
Here she is with the hull now filled and sanded ready for the mahogany planks. To help with the sanding I used a Bosch orbital sander with frequent stopping and checking to make sure I hadn't sanded through any of the planks:


-
Andre Knight reacted to a post in a topic:
Endeavour by Andre Knight - Amati - 1:35 - J-Class
-
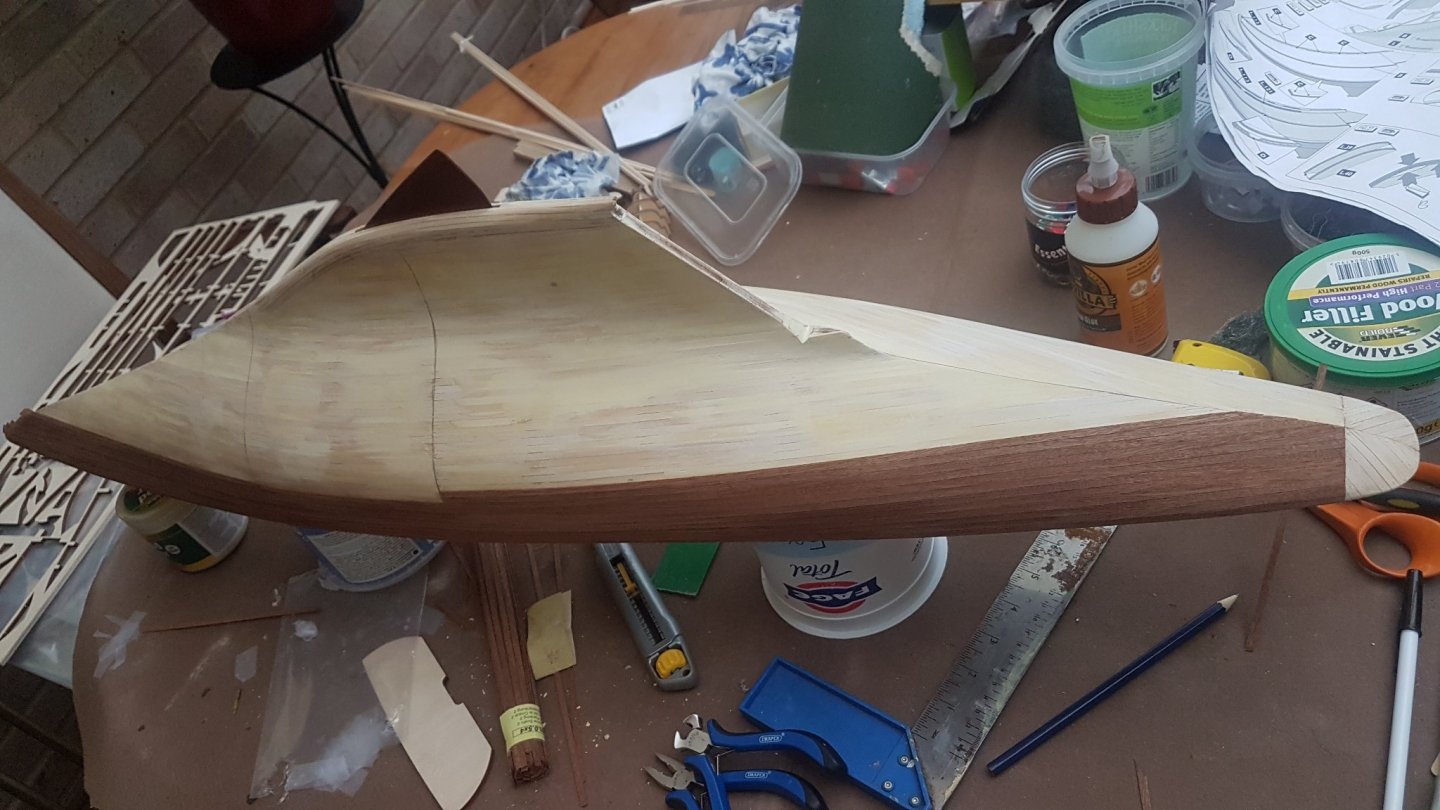
I knew that the complex curves of the hull will make the perfect edge-alignment of the planks very difficult so I had prepared to use filler and sand carefully to acheive a flush finish before the 2nd planiking. For the first planking I used cyno to fix the planks to the frames. I then 'washed' the exterior surface of the planks in a PVA to enable the planks edges to stick together. Here are the pics of the finished first planking:


-
Frequent visits to this forum, have started as I find the Amati instructions 'somewhat lacking'. I noticed that some builders have resorted to in-fillng with balsa-wood between the frames as they are considered to be too far apart. I decided not to do that. Lockdown means that I can't get to a model shop to buy balsa and I don't think mail order would work for me. So I decided to proceed with the first planking and using the method of modifying bulldog clamps to hold the planks in place:


-
I decided to go down the route of not doing anything differently to building the boat other than what the instrctions say to do. I also wanted to bring out the beauty of the mahogany planking and minimise any painting that some people I noticed on this forum have done. I didn't want to add any balsa backing before adding the first planking. Here are the pictures from my first ever attempt at assembling the frame and first planking of the bulb area with the square-section strips, which then need to be sanded down to a round rpofile to marry up with the 2mm limewood 1st plankign strips.

-
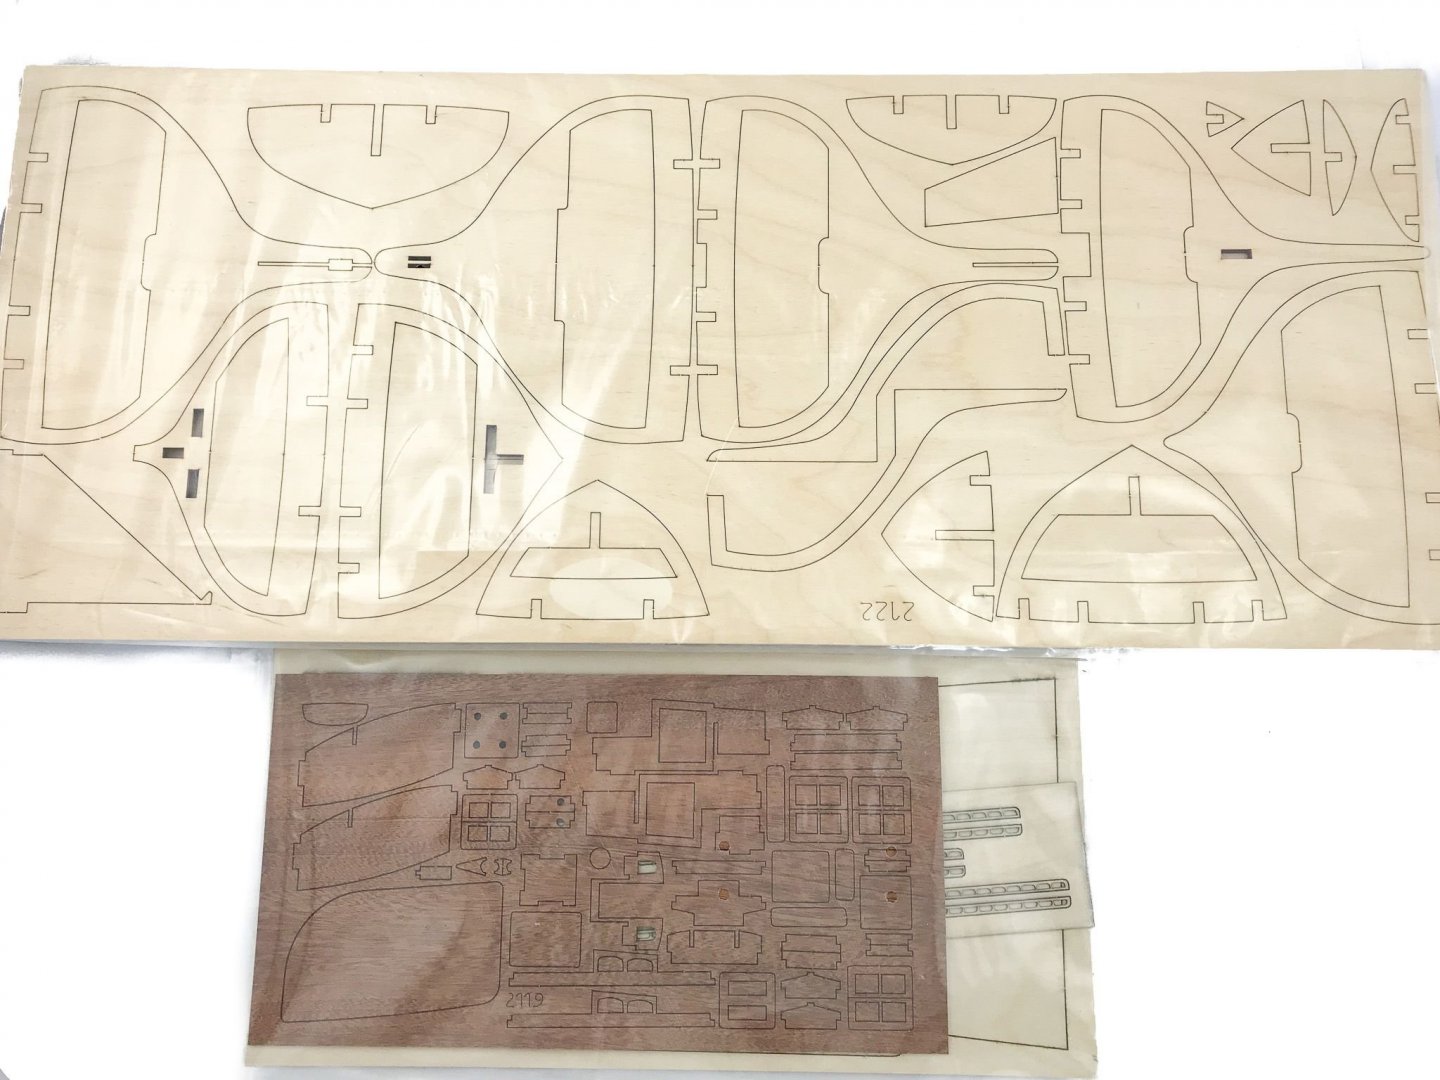
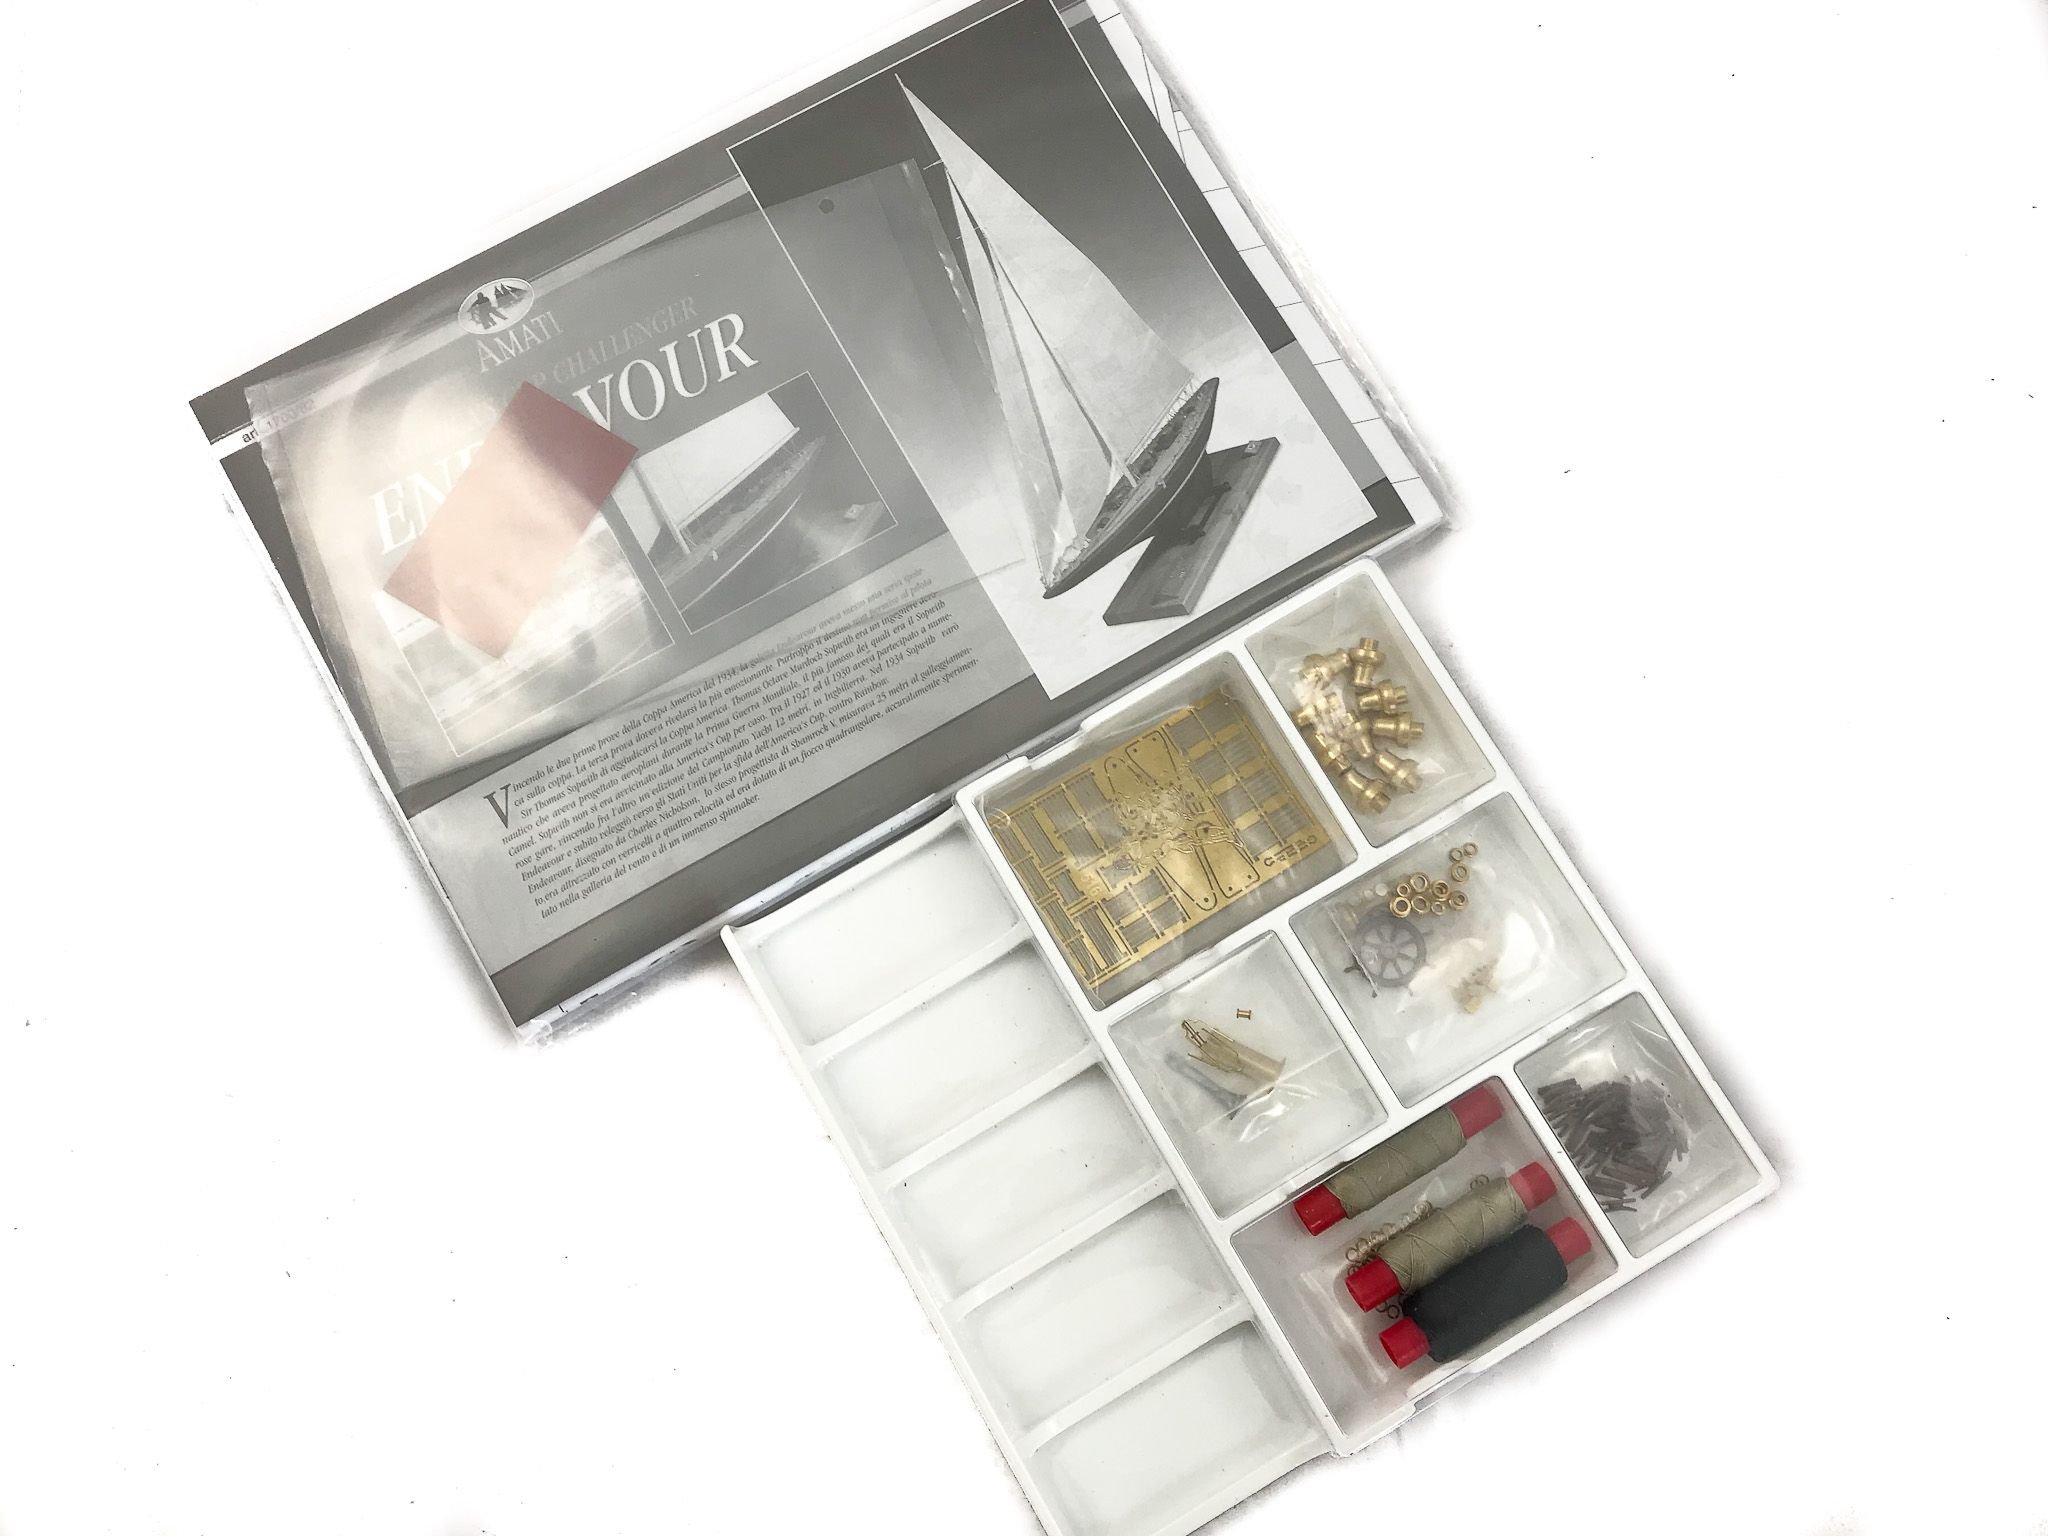
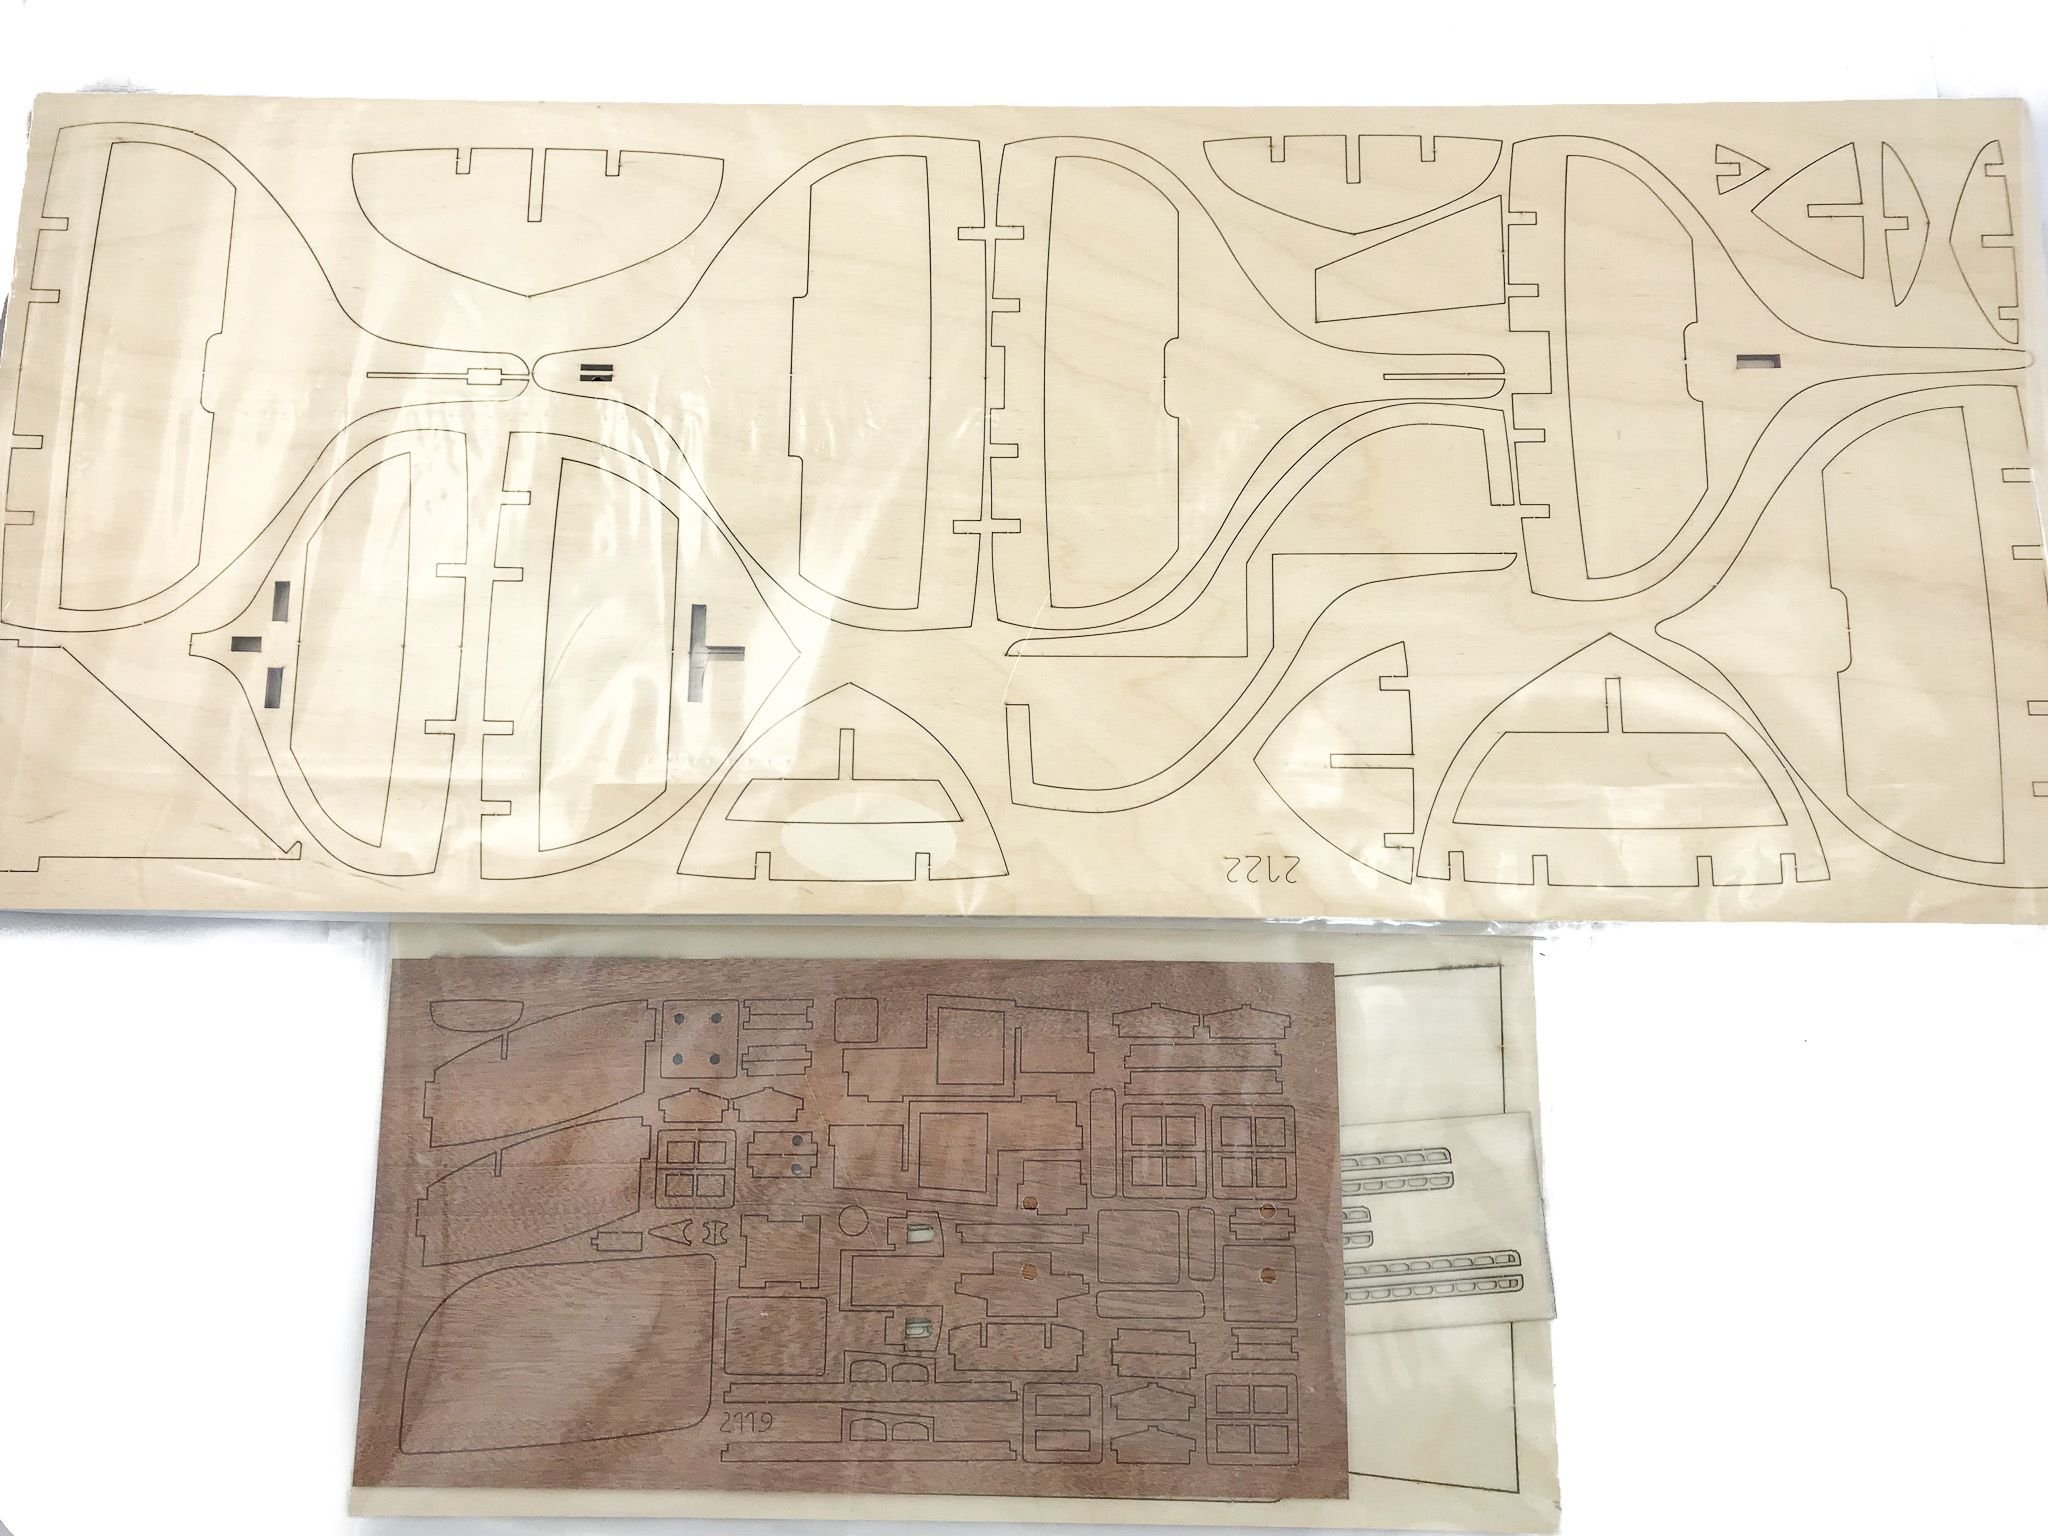
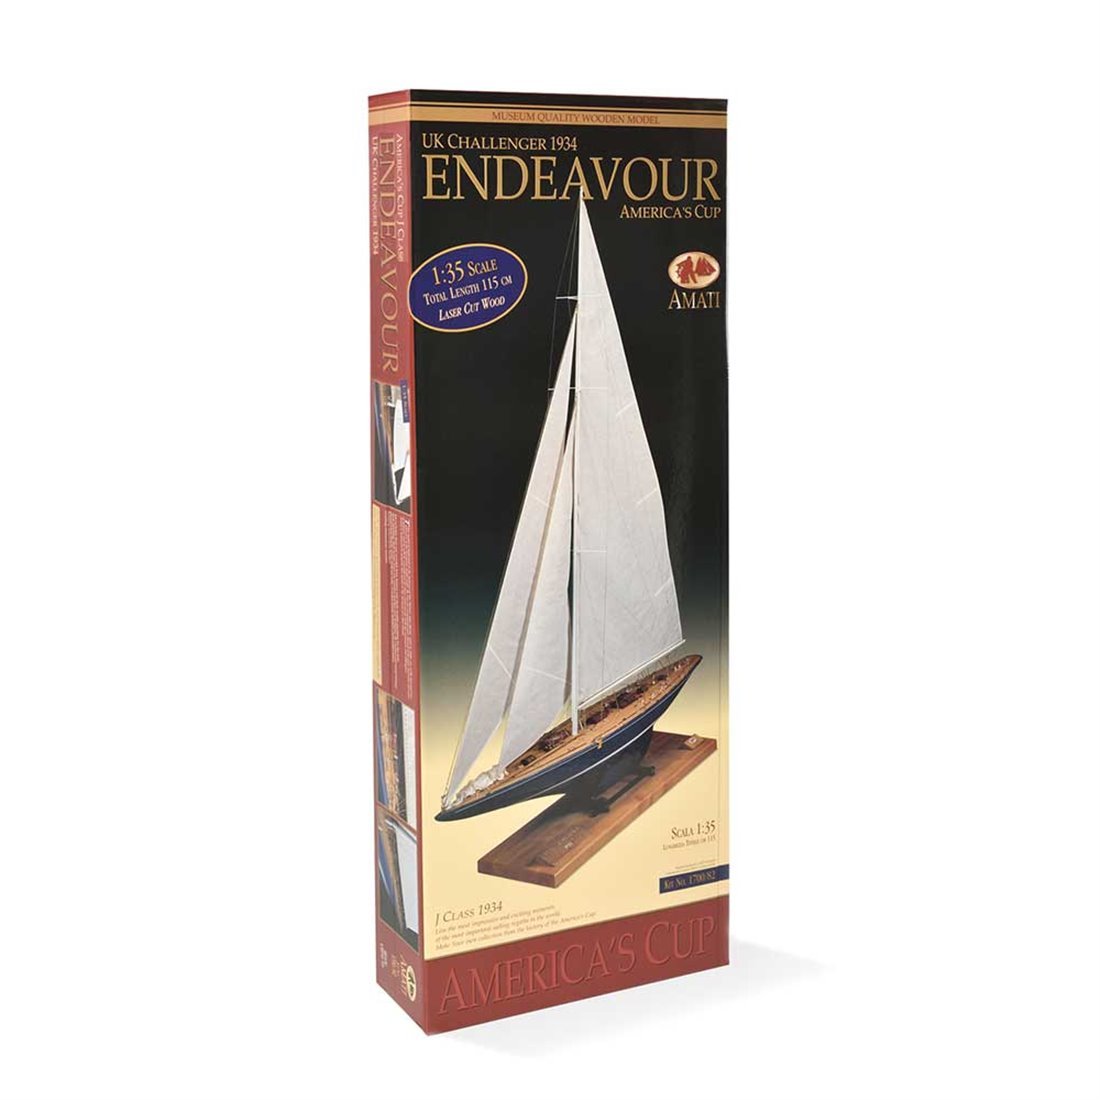
We're in the midst of an epidemic and my wife asked me what I would like for Christmas. I replied that is was sick of watching the ubiquitous boxed-sets on the telly and I always used to like building model kits. We both like sailing and we do have a 'nautical themed' lounge and conservatory with various ornaments and pictures depicting nautical themes. With an impending 3rd lockdown in the UK commencing in January it seemed like an excellent idea to get my teeth into and maybe re-kindle skills learnt from my woodwork 'O-Level'? Christmas day arrived and I was presented with a massive box, which I unwrapped and was presented with the Amati kit. Inspecting it revealed the huge, full-size plans plus the laser cut ply pieces. Reading theinstructions quickly revealed that they were aimed at a seasoned model boat builder with terms, processes and procedures that are alien to me! The internet and Google beckoned and so I started on my journey of building this monster! Here are some pics of the box, plans and contents: