
boatsNbeers
-
Posts
46 -
Joined
-
Last visited
Content Type
Profiles
Forums
Gallery
Events
Everything posted by boatsNbeers
-
 Hi Don B, This helps a lot. I now understand how the knee gets beveled to the lower transom. Thank you very much for the great pictures with markups. This helped me to envision how the beveling is done for the lower transom. Appreciate your quick response to my question. Thank you.
 -
Hi DonB, I too am building the Pram. I have a question for you. My stern Transom looks just like the first picture above. It looks to have a tab on top of a tab. The picture below shows only the 1 tab on the Stern transom. My questions is - Did you cut off the 1st tab on top and then glue the stern knee on ? I don't want to cut off something I shouldn't. Look forward to hearing from you, Dan
-
Thank you Ryland. I look forward to applying what I learned to the Norwegian Sailing Pram. I'll get that started in the next day or so.
- 43 replies
-
- 1
-

-
- Lowell Grand Banks Dory
- Model Shipways
- (and 1 more)
-
Thank you everyone who have followed this build log. I haven’t given up. The build was sometimes frustrating and at the same time enjoyable. I enjoyed completing the Dory. I also learned a lot of new things during the build. These are lessons that can be applied to future builds. Now on to the Norwegian Sailing Pram. Look for that build log soon.
- 43 replies
-
- 2
-
-
- Lowell Grand Banks Dory
- Model Shipways
- (and 1 more)
-
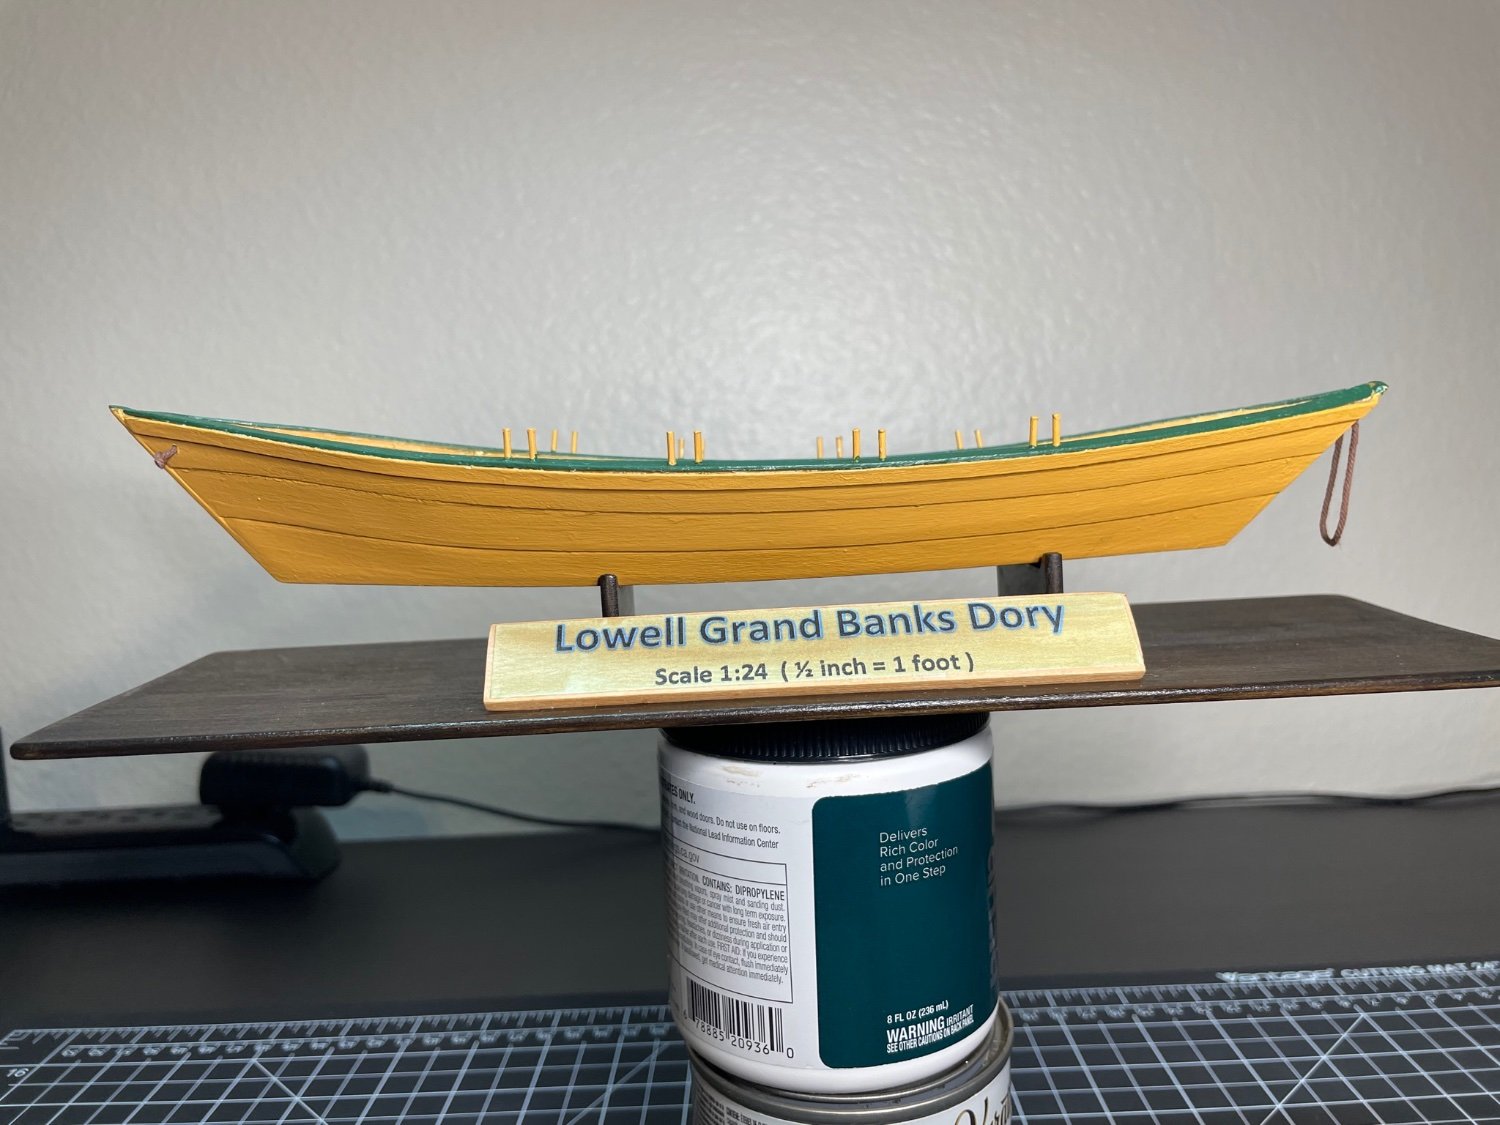
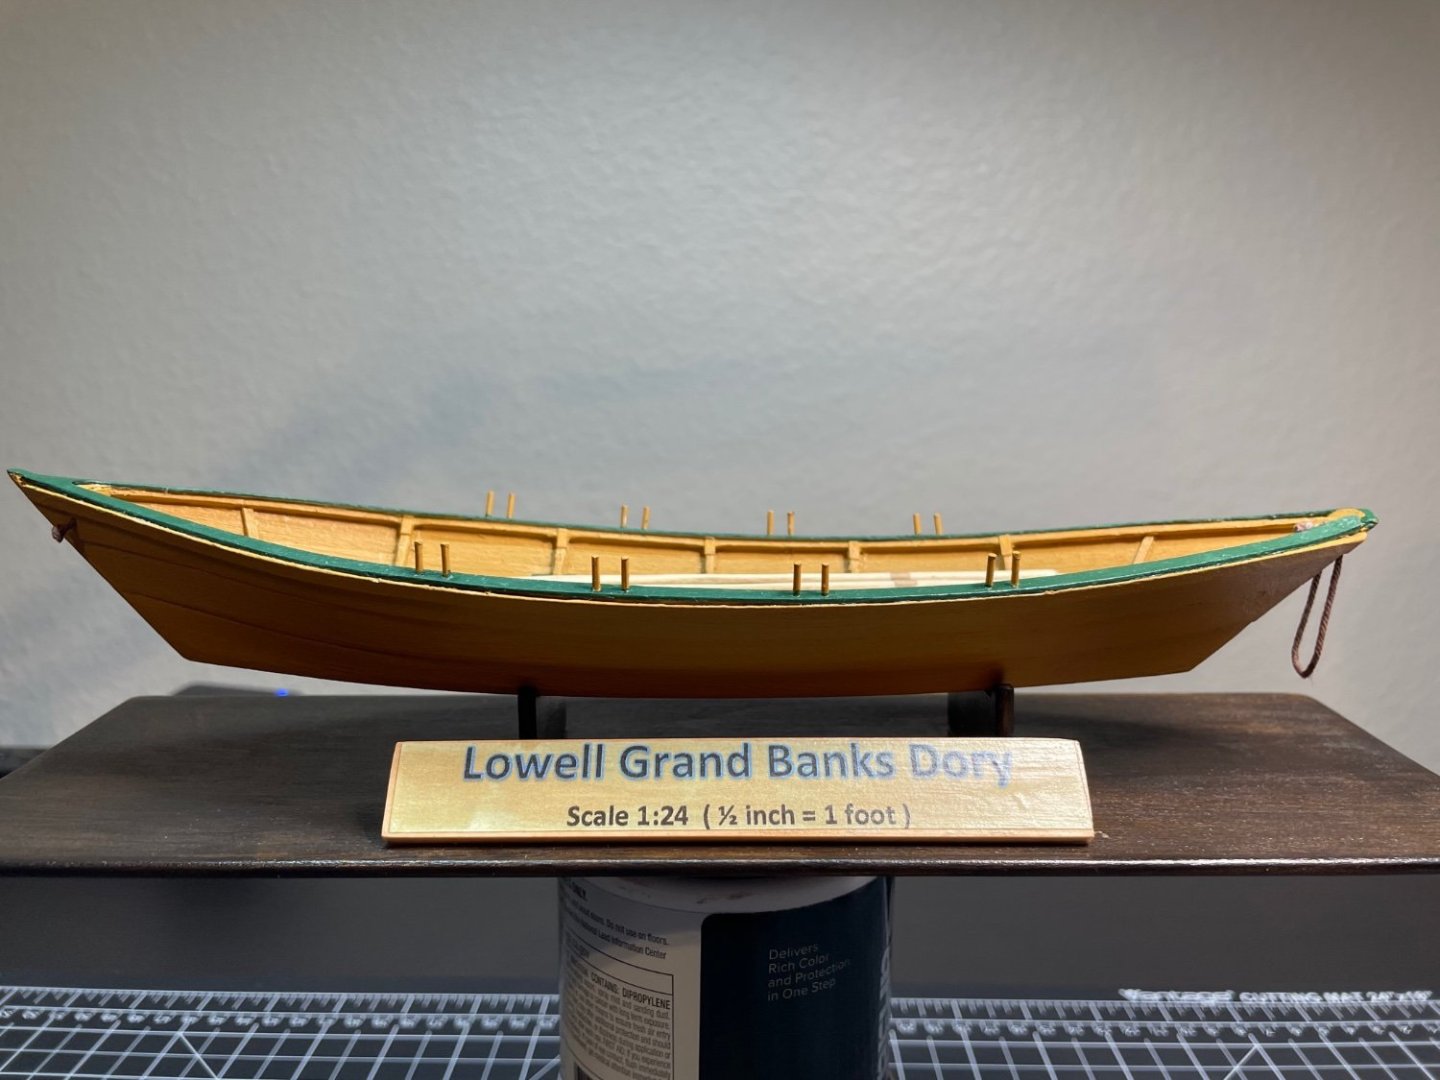
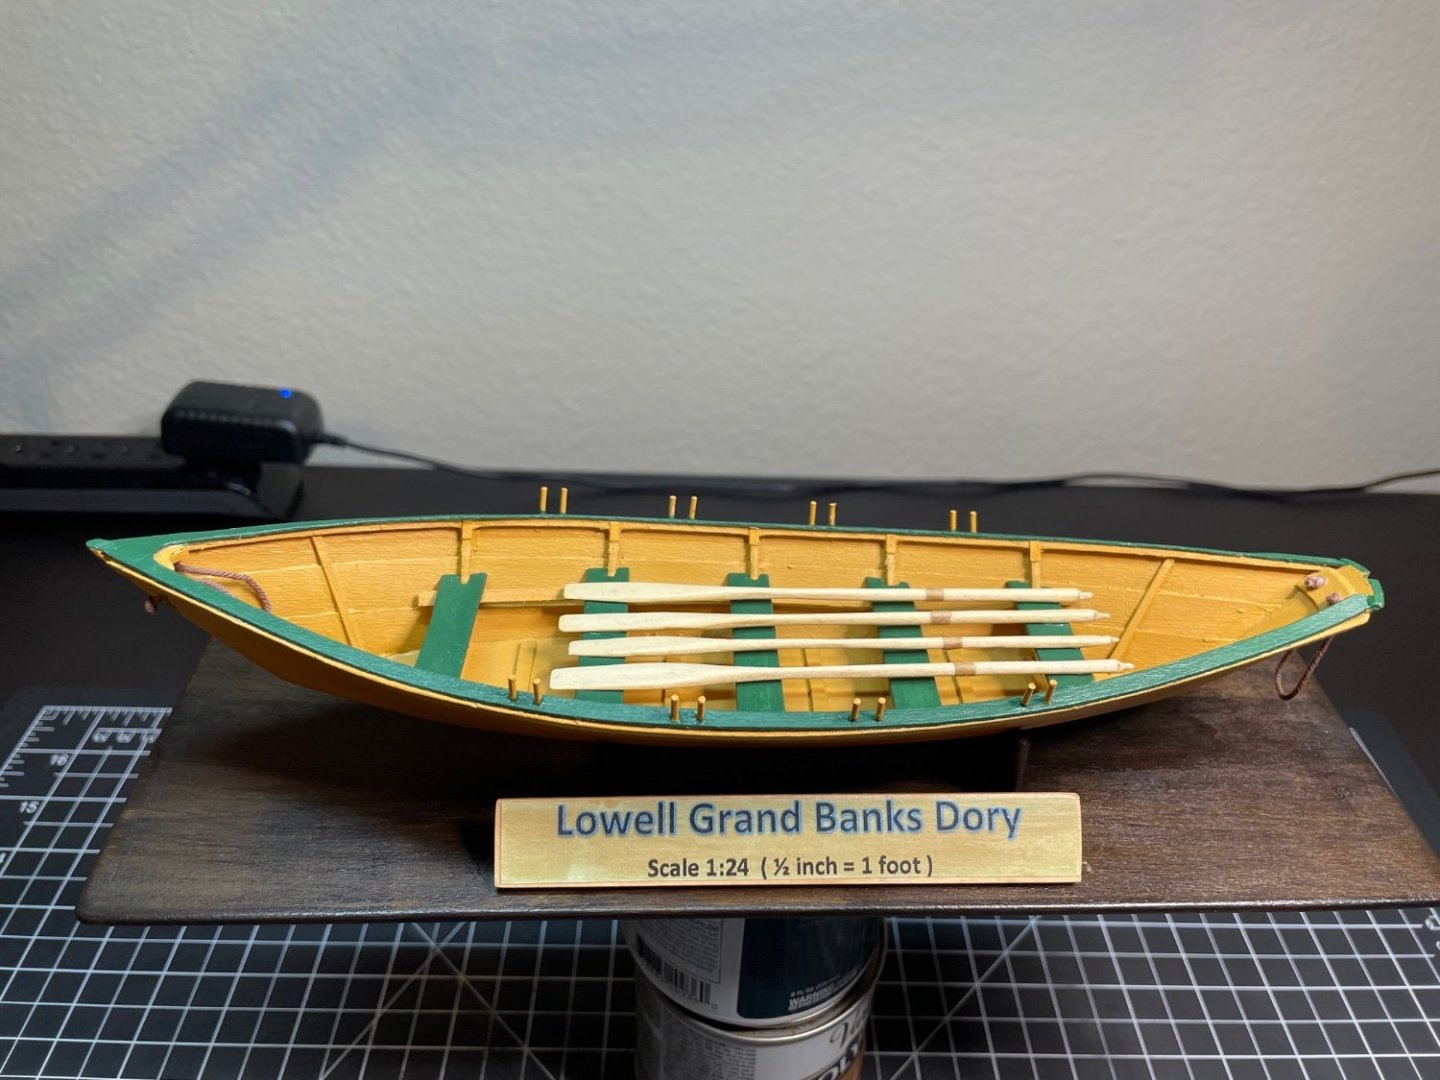
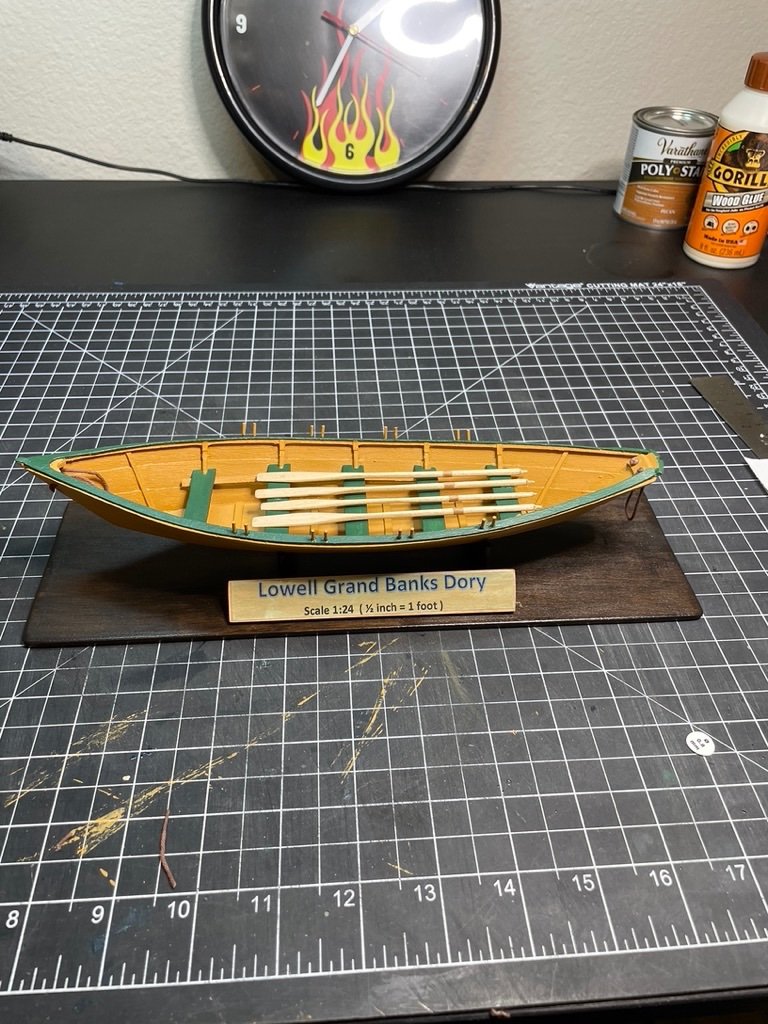
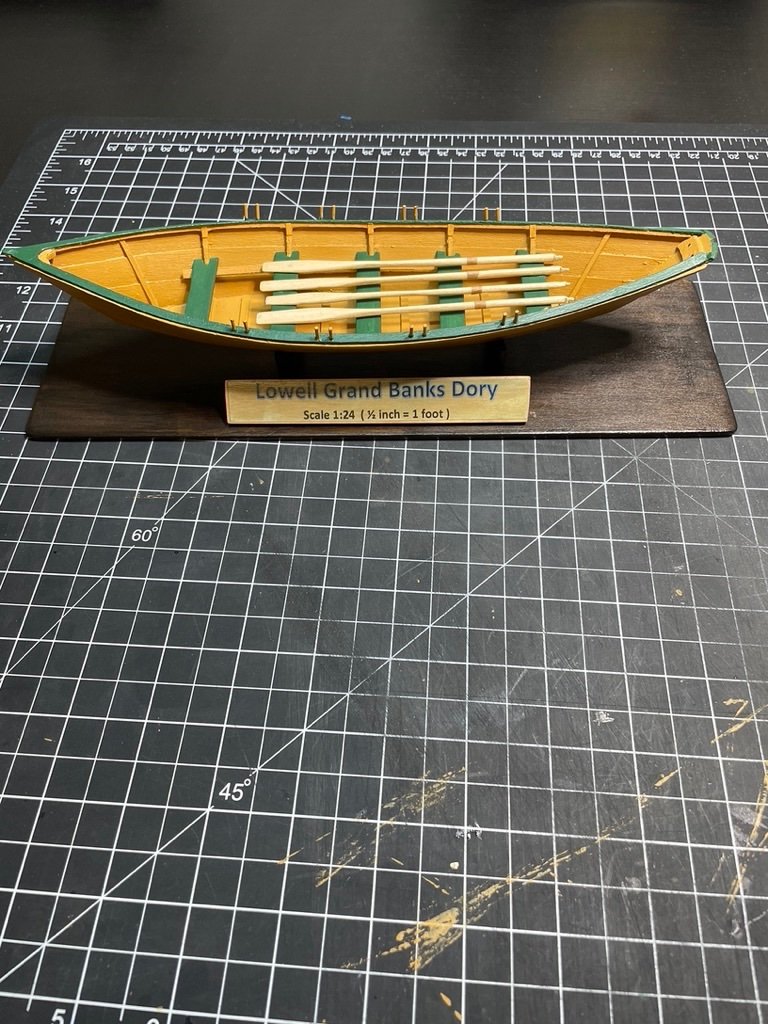
Hi Everyone, All after a long day of yard work and some dinner. I finally got back to the computer. Below are the finished pictures of my Lowell Grand Banks Dory. It has been quite a journey. from busted frames to planks cut too short, the build is finally complete. So what did I learn from this build.....Hmmm...... 1. Basswood is very soft. 2. Basswood breaks easy. 3. Don’t force Basswood - See # 2. 4. Measure twice cut once. 5. Thin your paint so you get a smooth coat. 6. Line things up the first time. It takes less time than having to un-glue and re-glue parts. 7. Most important thing - TAKE YOU TIME 8. And other stuff that I don't remember right now but will come to back to me on my next build.

- 43 replies
-
- 6
-
-
- Lowell Grand Banks Dory
- Model Shipways
- (and 1 more)
-
Thank you SkiBee. Appreciate the encouragement.
- 43 replies
-
- 1
-
-
- Lowell Grand Banks Dory
- Model Shipways
- (and 1 more)
-
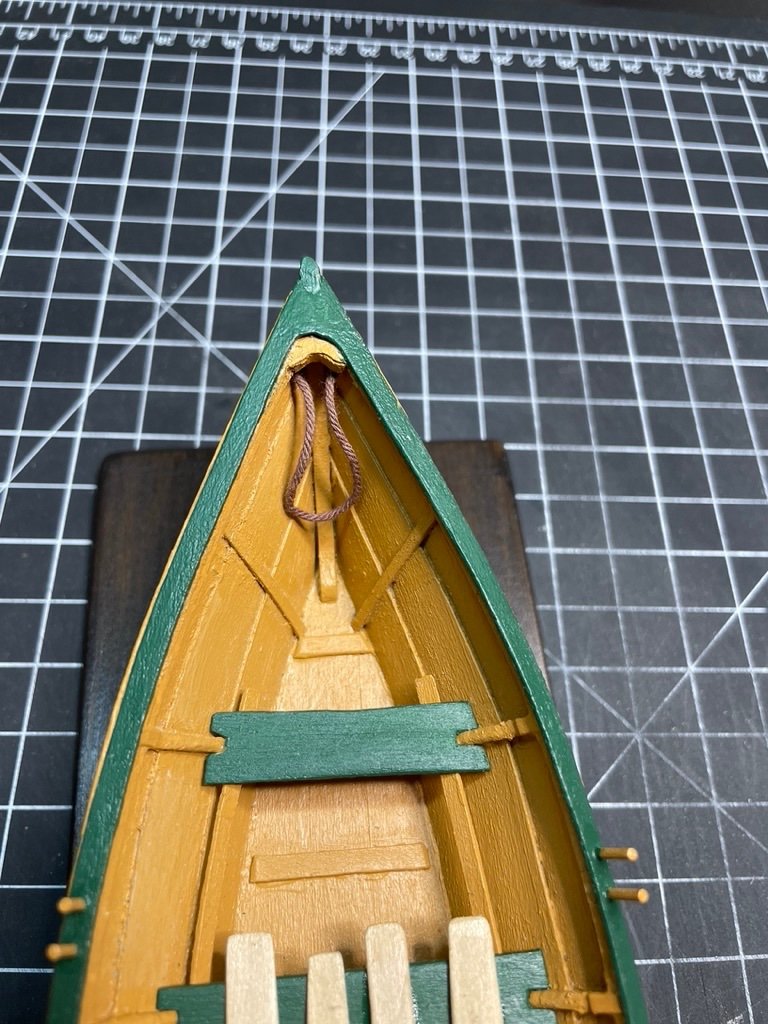
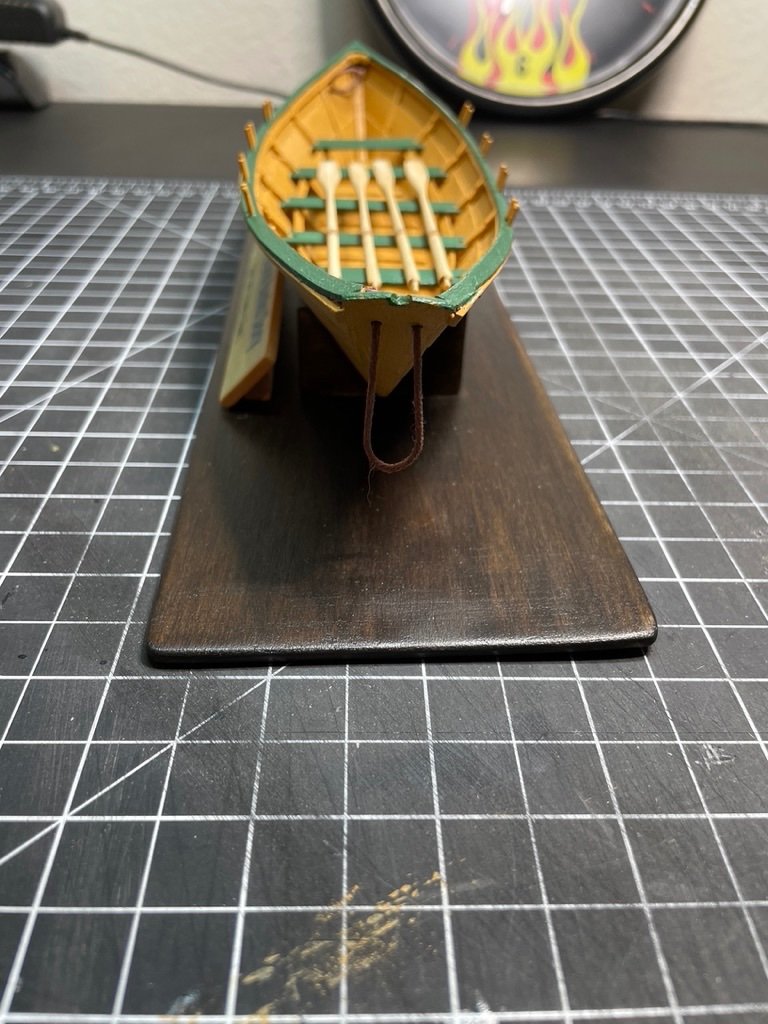
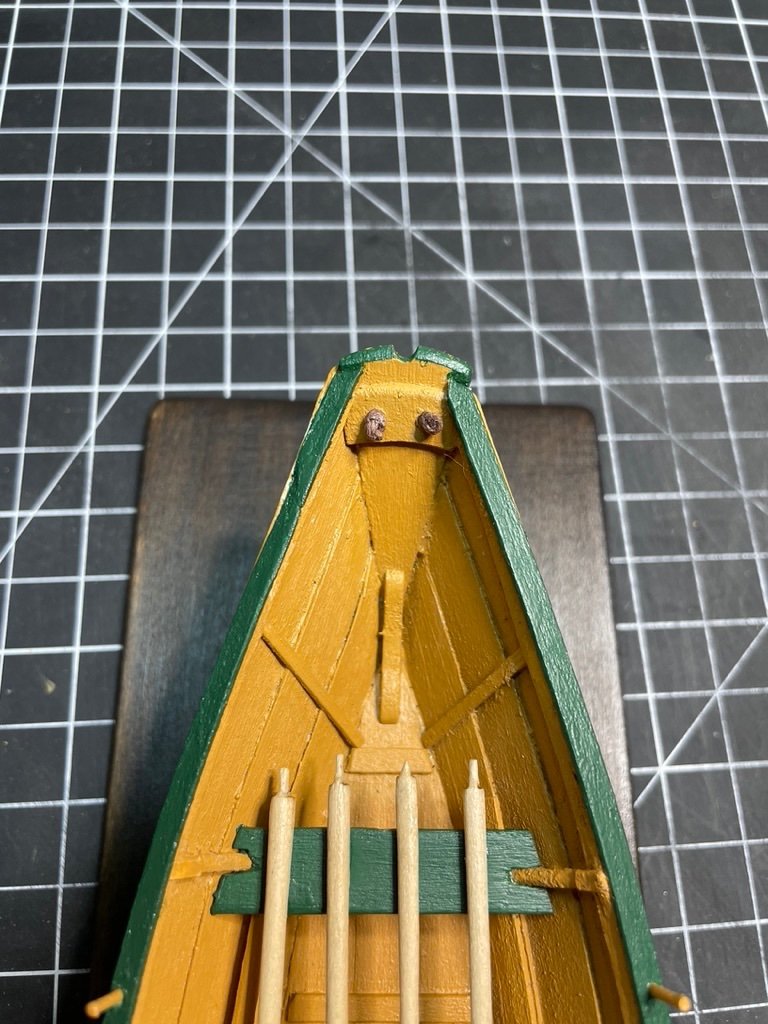
The Bow becket is next. First picture is the Bow Becket with knots before trimming. Next picture a top view showing the Bow Becket installed. The next view shows the Bow Becket knots. I forgot to mention that the thread used for the beckets is left over thread from a previous ship model I had built. Believe it or not the thread is the same size. The difference is the thread that I used was a much tighter weave. It was easier to thread through the holes and also easier to knot. The thread that came with the kit seemed way too big and out of scale for the Dory. The next post will be pictures of the finished Dory with closing comments.

- 43 replies
-
- 7
-
-
- Lowell Grand Banks Dory
- Model Shipways
- (and 1 more)
-
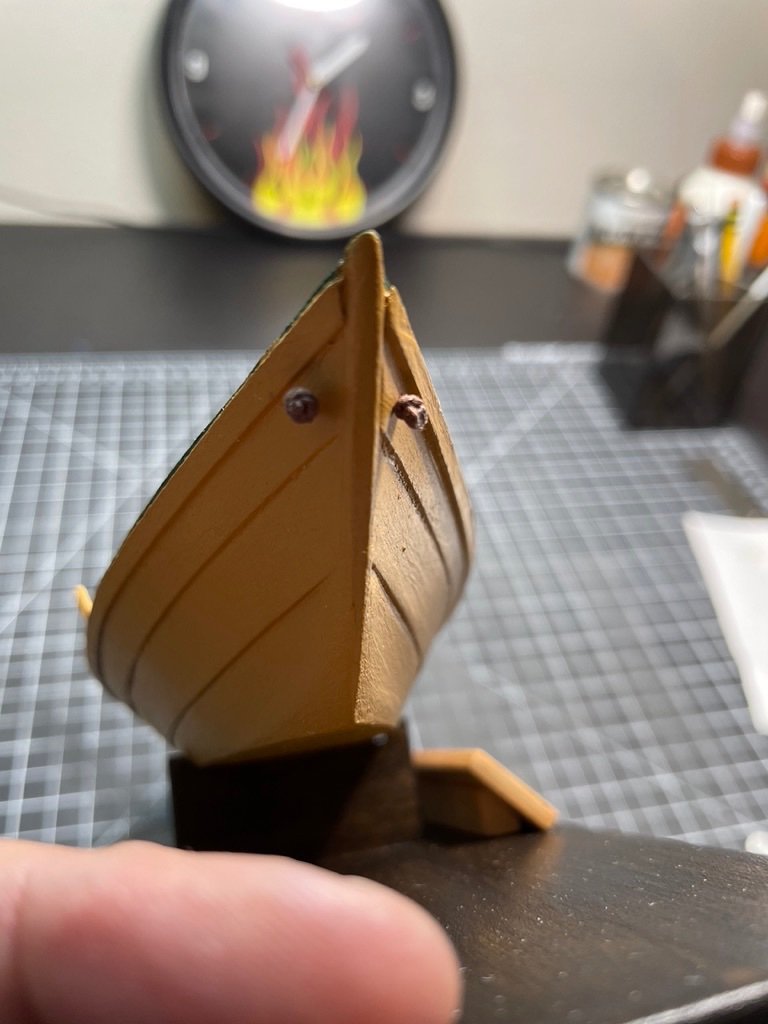
Next were the Beckets. The pictures that follow are of the Stern Becket. The first is the Stern becket being formed, the next is the Stern Becket after forming and the last picture is the Stern Becket knots. I think the Stern Becket came out okay. I will work on the Bow Becket next and then post up the final pictures of the finished Dory.
- 43 replies
-
- 4
-
-
- Lowell Grand Banks Dory
- Model Shipways
- (and 1 more)
-
Lots of progress on the Dory. The base is complete, now comes gluing the dory to the base. This step took a steady hand because I was using CA glue to ensure a good adhesion to the cradles. You only get one try at mounting the Dory to the base. Luckily, I got it glued on the first try. Looks good.
- 43 replies
-
- 4
-
-
- Lowell Grand Banks Dory
- Model Shipways
- (and 1 more)
-
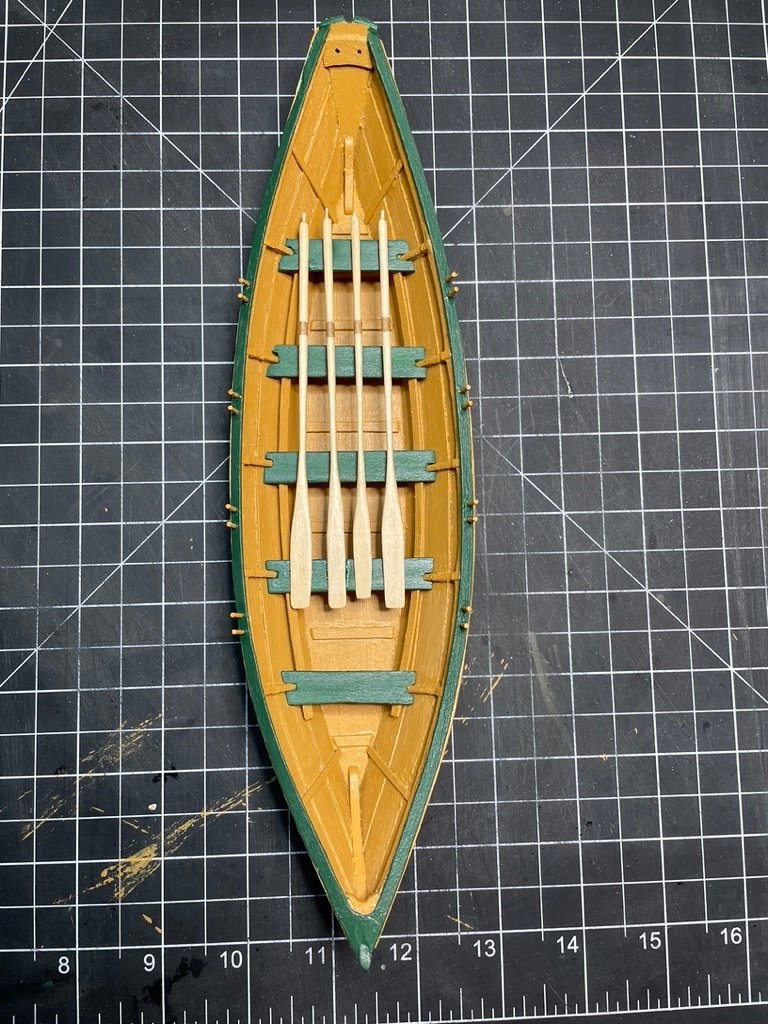
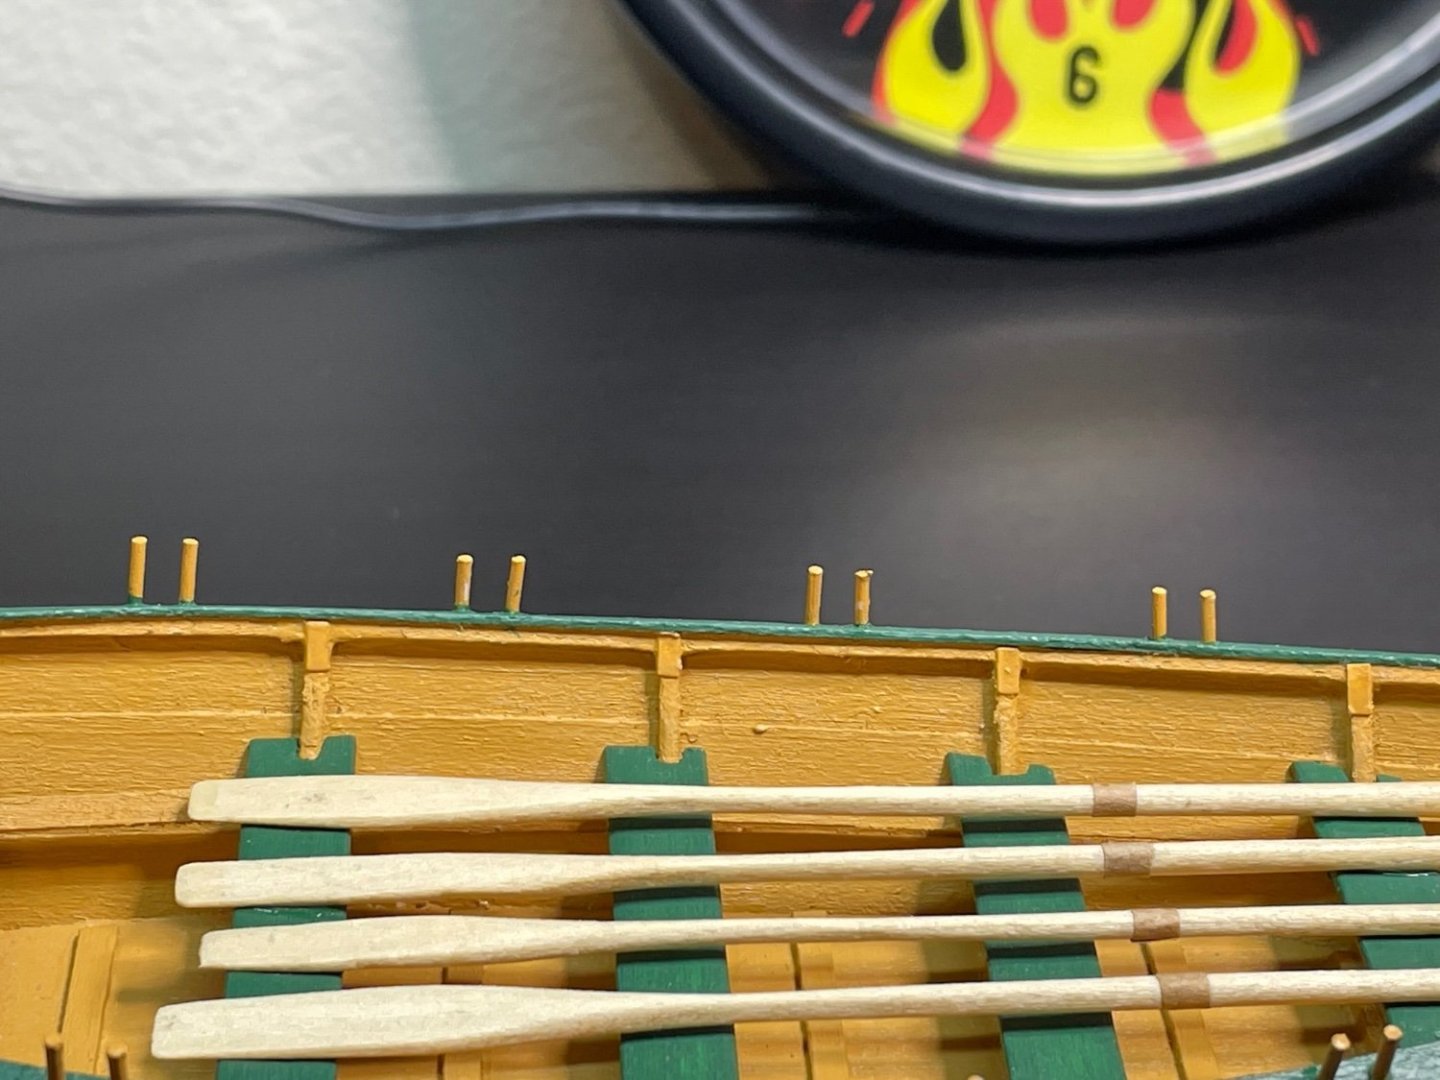
Found some more time to work on the Dory. The thwarts were painted bulwark dark green. I was looking for some contrast with the yellow ochre. The thwarts were glued in using CA glue. I didn't want them coming loose when the oars are glued on. The thwarts definitely stand out. I played around with different oar combinations to get them to look the same in size and shape. I aligned the oars with the leathering. Next were the thole pins. My kit didn't have the 3/64" dowel. What I got was a 12" length on 3/64" x 1/8" strip of basswood. Fortunately I have friends in other hobbies. My buddy Wayne builds train layouts in N gauge. He had some plastic 3/64" dowel. Yeah !!!. All I had to do now was get it to look like wood. I used some 150 grit sandpaper to give the dowel some texture, kind of like wood grain. I then painted the tholes yellow ochre. Another contrast between yellow ochre and bulwark dark green which is what the cap rail was painted with. Great progress so far. Next will be mounting the Dory to the base and installing the beckets.
- 43 replies
-
- 5
-
-
- Lowell Grand Banks Dory
- Model Shipways
- (and 1 more)
-
I will follow your build on the Parm. I am getting ready to start on it too.
- 43 replies
-
- 2
-
-
- Lowell Grand Banks Dory
- Model Shipways
- (and 1 more)
-
Great way to display the oars. Very unique. The Dory looks great. Nice work. Look forward to seeing the Parm.
- 28 replies
-
- 2
-
-

-
- Lowell Grand Banks Dory
- Model Shipways
- (and 1 more)
-
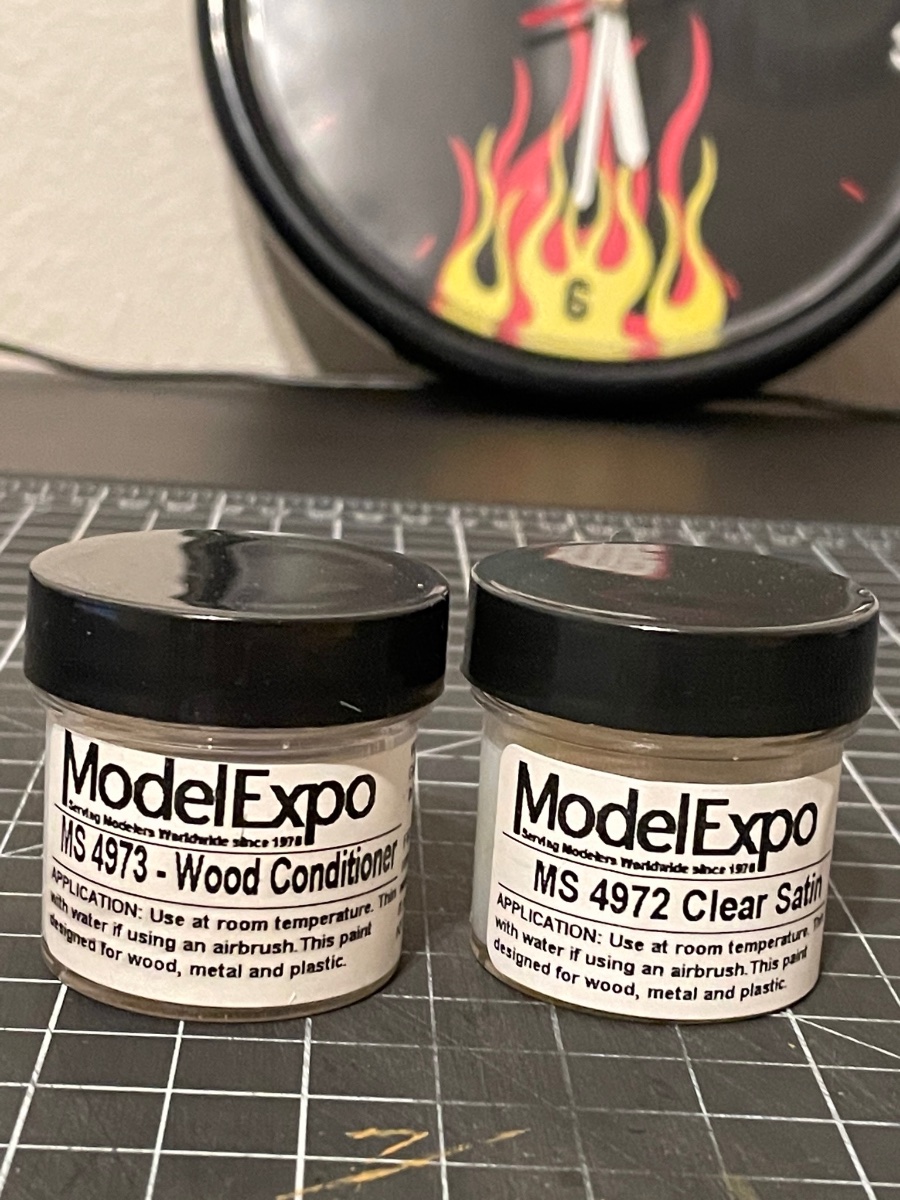
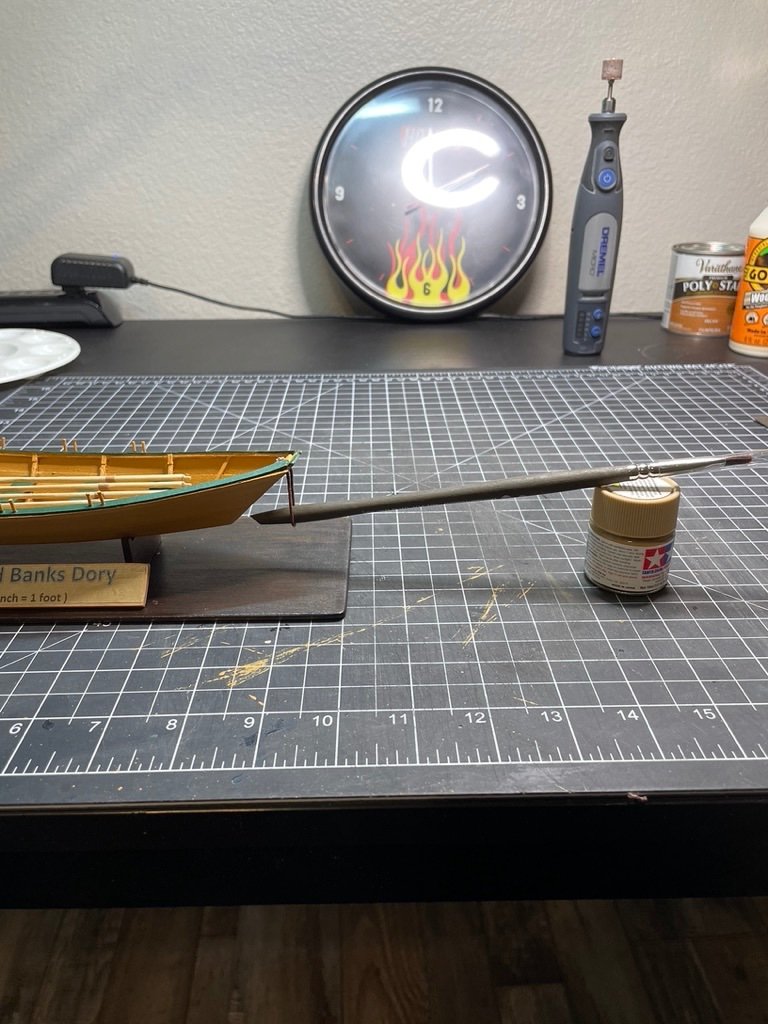
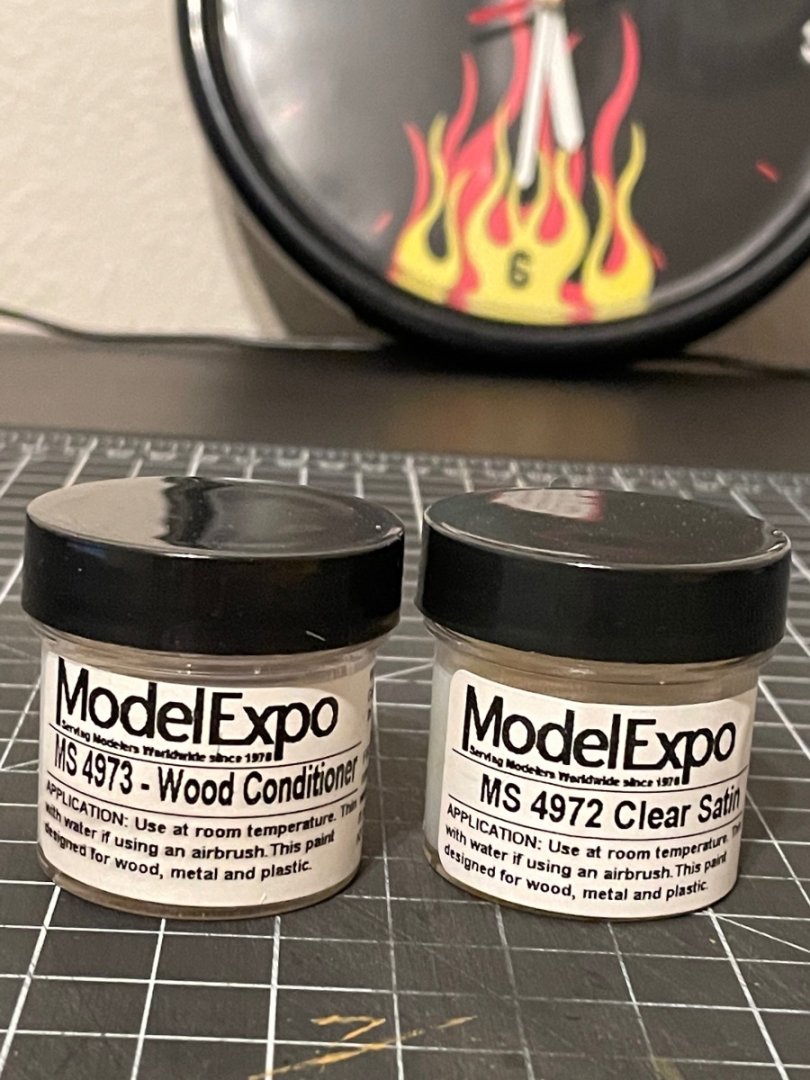
Hi Bryan. The wood conditioner and satin finish are from Model Expo. I used the wood conditioner to seal the oars so the satin finish wouldn't build up. After the wood conditioner I used some 320 sandpaper to smooth them and then used the satin finish to give it a varnished look without the shine. Attached is a picture of the 2 bottles.
- 43 replies
-
- 1
-
-
- Lowell Grand Banks Dory
- Model Shipways
- (and 1 more)
-
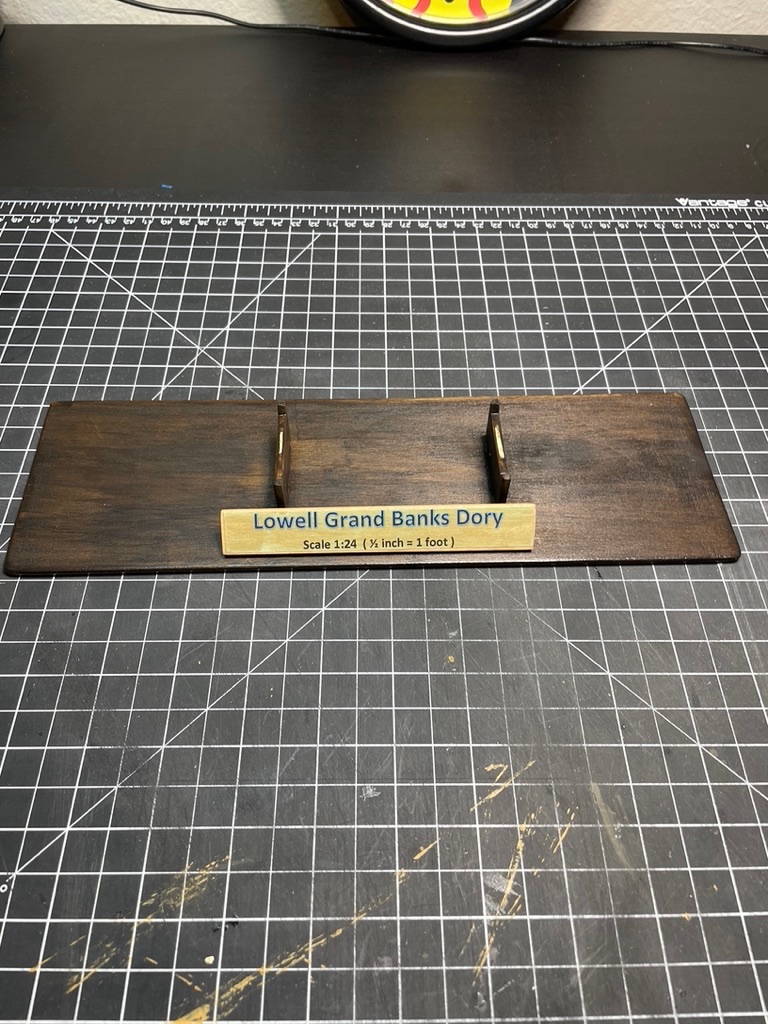
Had some time over the weekend to update the build log. This is my finished base. I rounded the edges of the base and the cradles. Sanded it with 320 sand paper and then 400 grit to give it a smooth finish. I then used an espresso poly stain. The name plate was made from scrap wood. I stained the name plate with a Pecan poly stain. The lettering was created on my computer and printed on my ink jet printer. I then sealed the name plated with a clear stain finish. Really like how it turned out. Anyone have any comments on the base?
- 43 replies
-
- 4
-
-
- Lowell Grand Banks Dory
- Model Shipways
- (and 1 more)
-
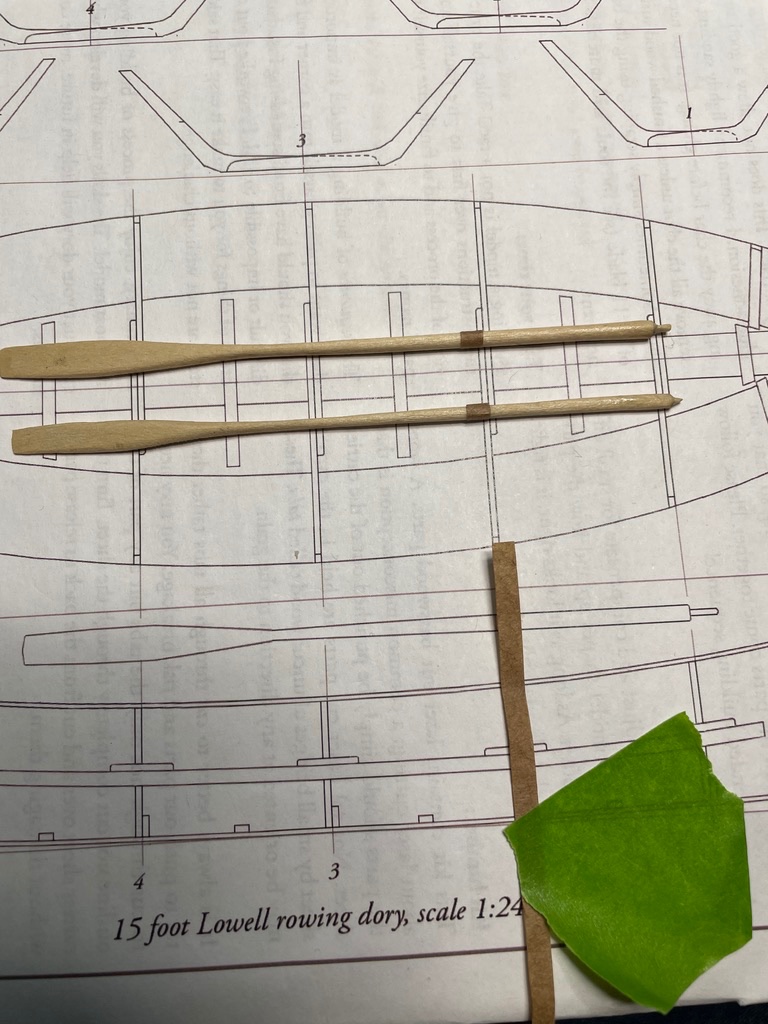
I finished up the oars by using wood conditioner to seal the oars. I then applied some clear satin finish top them to give a lacquered look. Once they were dry the leathering was added. I used brown packing paper for the leathering and matched it against the plans. I think the leathering came out okay. This is my first time ever making oars. I like how they look, especially from 3 feet away, lol. Next up will be building and finishing the base.
- 43 replies
-
- 7
-
-
- Lowell Grand Banks Dory
- Model Shipways
- (and 1 more)
-
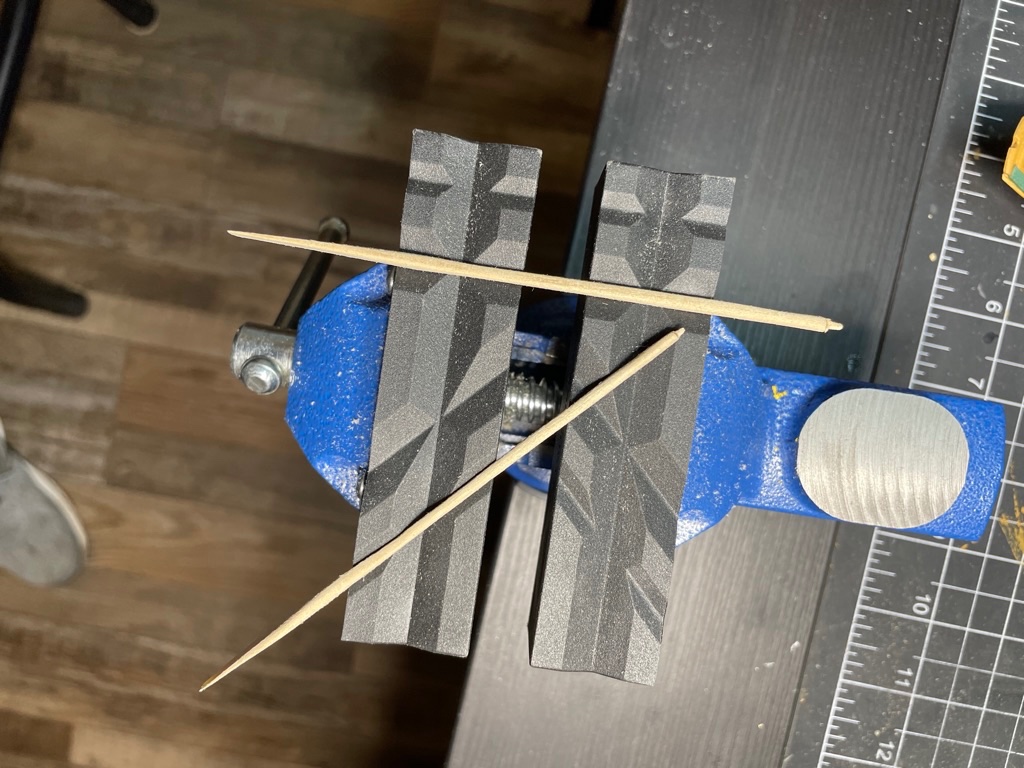
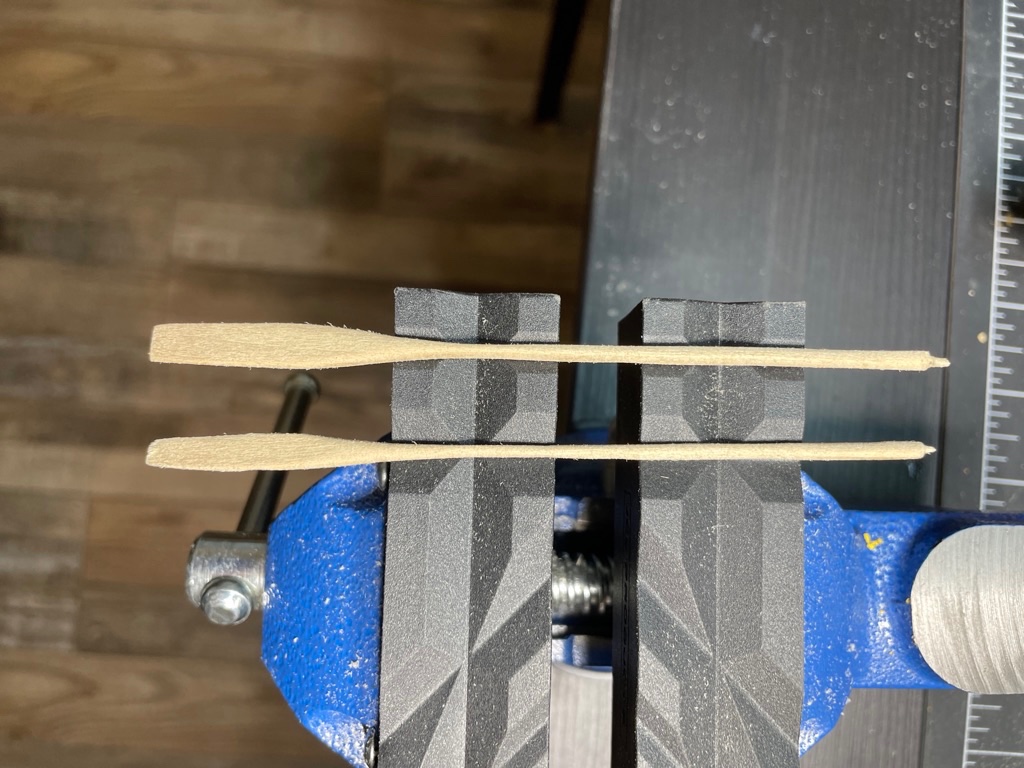
These pics are of my attempt to make oars. They give you 5 oars for which I am very glad they did. I broke one so I was down to four. The oars are harder than they look. Getting the right shape is challenging. I had 2 things working against me. Soft wood and sandpaper grit. I think I used too heavy a grit to shape the wood and took off too much material at one time. The shaping of the paddle portion went well. Getting the oar to be perfectly round not so well. They look okay at first and then you look close at them you see that they are not completely round. Another lesson learned. The other challenge was getting the handles round. The trick here is cutting the handle so it is square and then very gently round the corners until it gets round. On my last oar I got a round handle. Now I know how to do the handles. The secret to doing oars in lots of patience, some 180 or 200 grit sandpaper and a gentle touch. It's easy to take off material and impossible to put it back on. I have a much better feel for creating oars now.
- 43 replies
-
- 4
-
-
- Lowell Grand Banks Dory
- Model Shipways
- (and 1 more)
-
Cap rail glued in-lace and painted. The dory has also had its second coat of paint. You’ll notice a slight dip in the cap rail towards the stern. This is because I broke the cap rail trying to get the bend right. Another OOPS !!! Tried to fix with some wood filler but it’s still noticeable. I chalk this up to lesson learned and what NOT to do. :).
- 43 replies
-
- 3
-
-
- Lowell Grand Banks Dory
- Model Shipways
- (and 1 more)
-
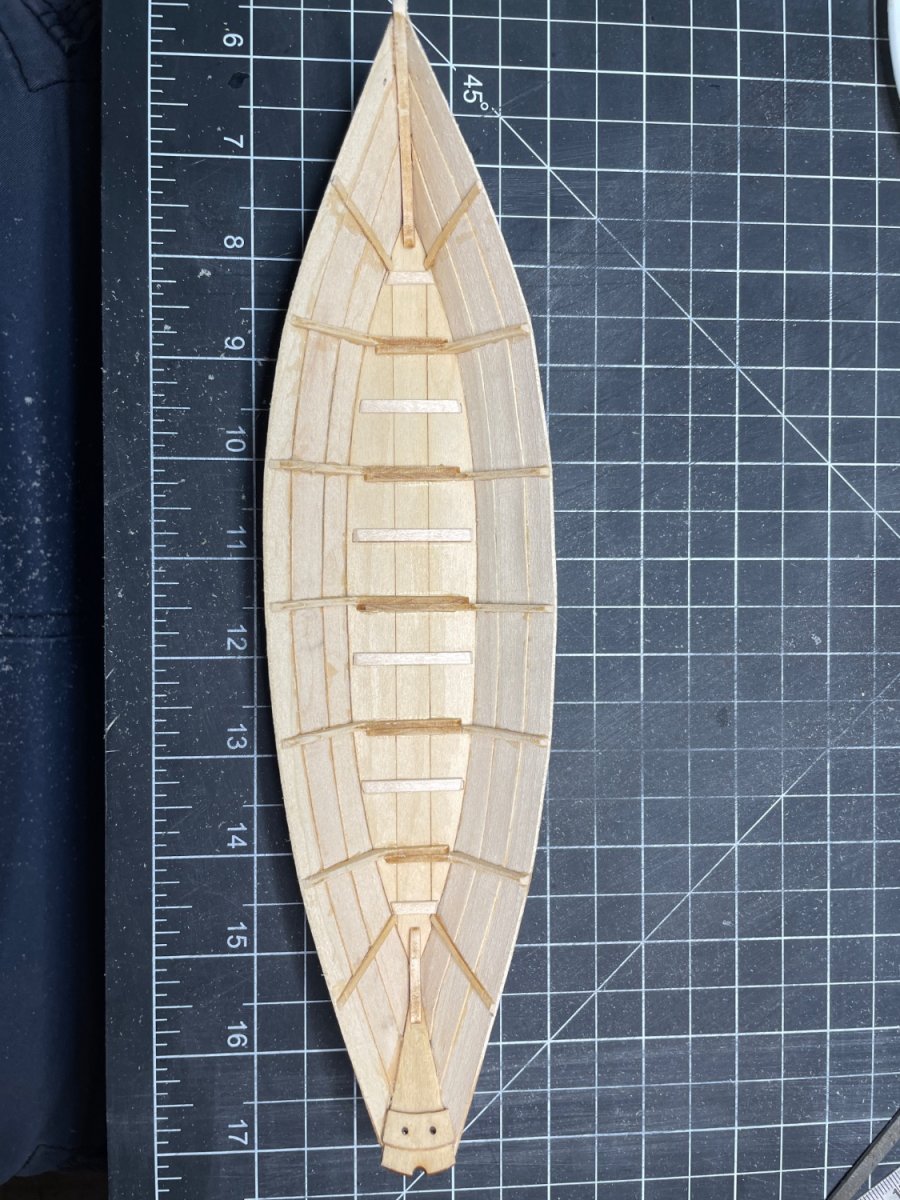
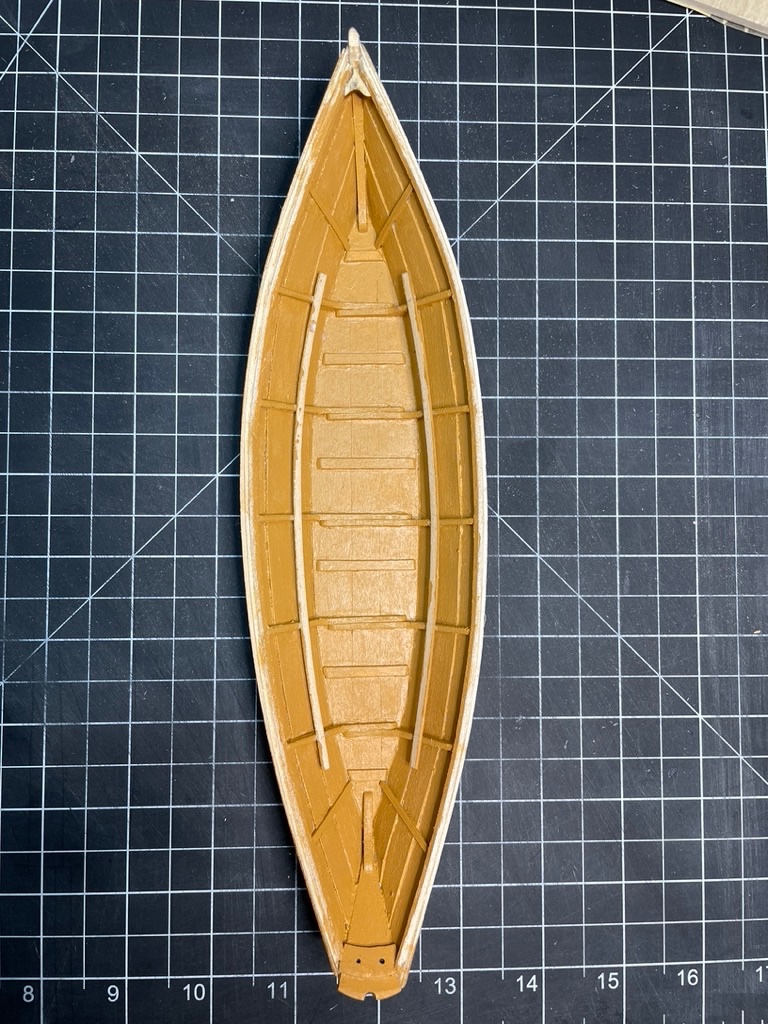
Continued progress. The seat risers have now been glued in place. This is another top view.
- 43 replies
-
- 2
-
-
- Lowell Grand Banks Dory
- Model Shipways
- (and 1 more)
-
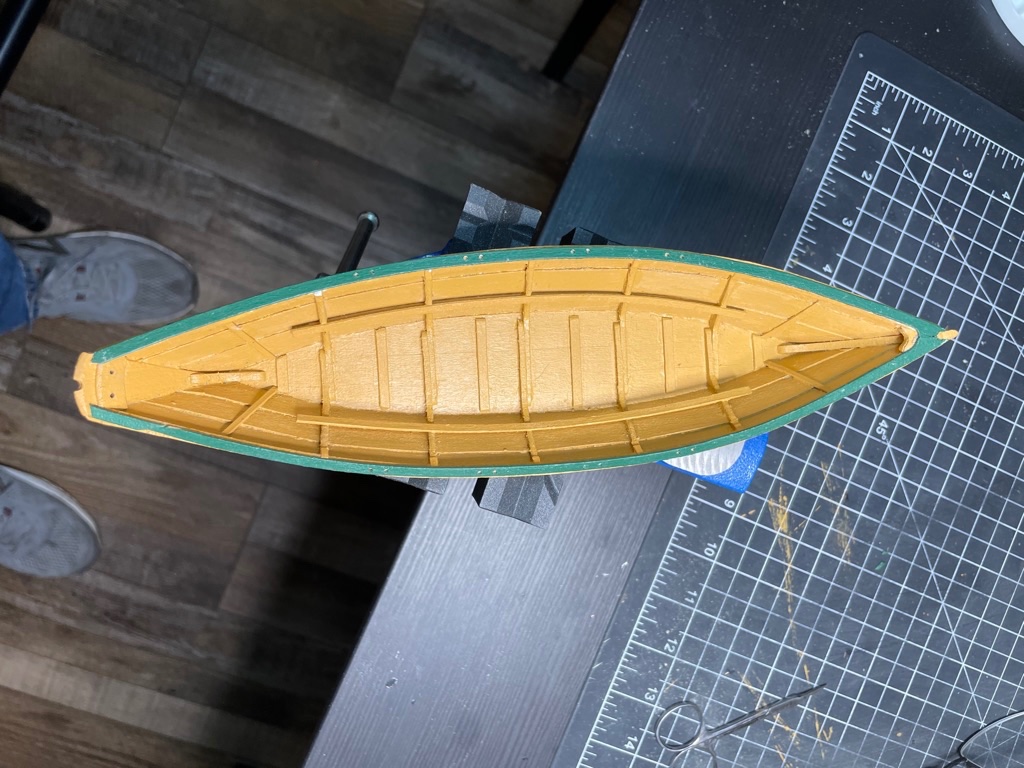
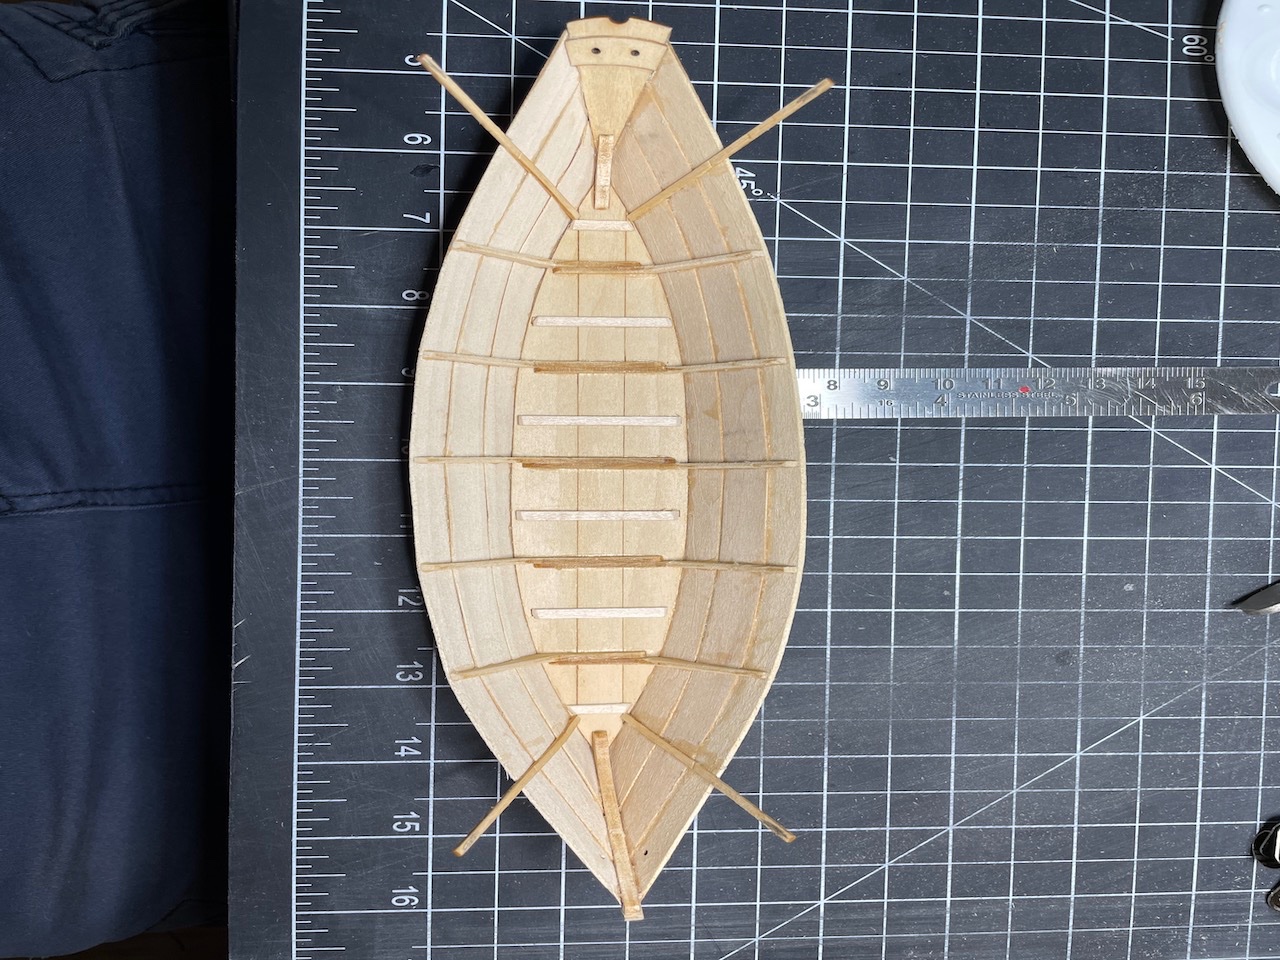
I finally got some time to continue the build of the Dory. This is the first coat of paint on the inside. The view is from the top looking down.
- 43 replies
-
- 2
-
-
- Lowell Grand Banks Dory
- Model Shipways
- (and 1 more)
-
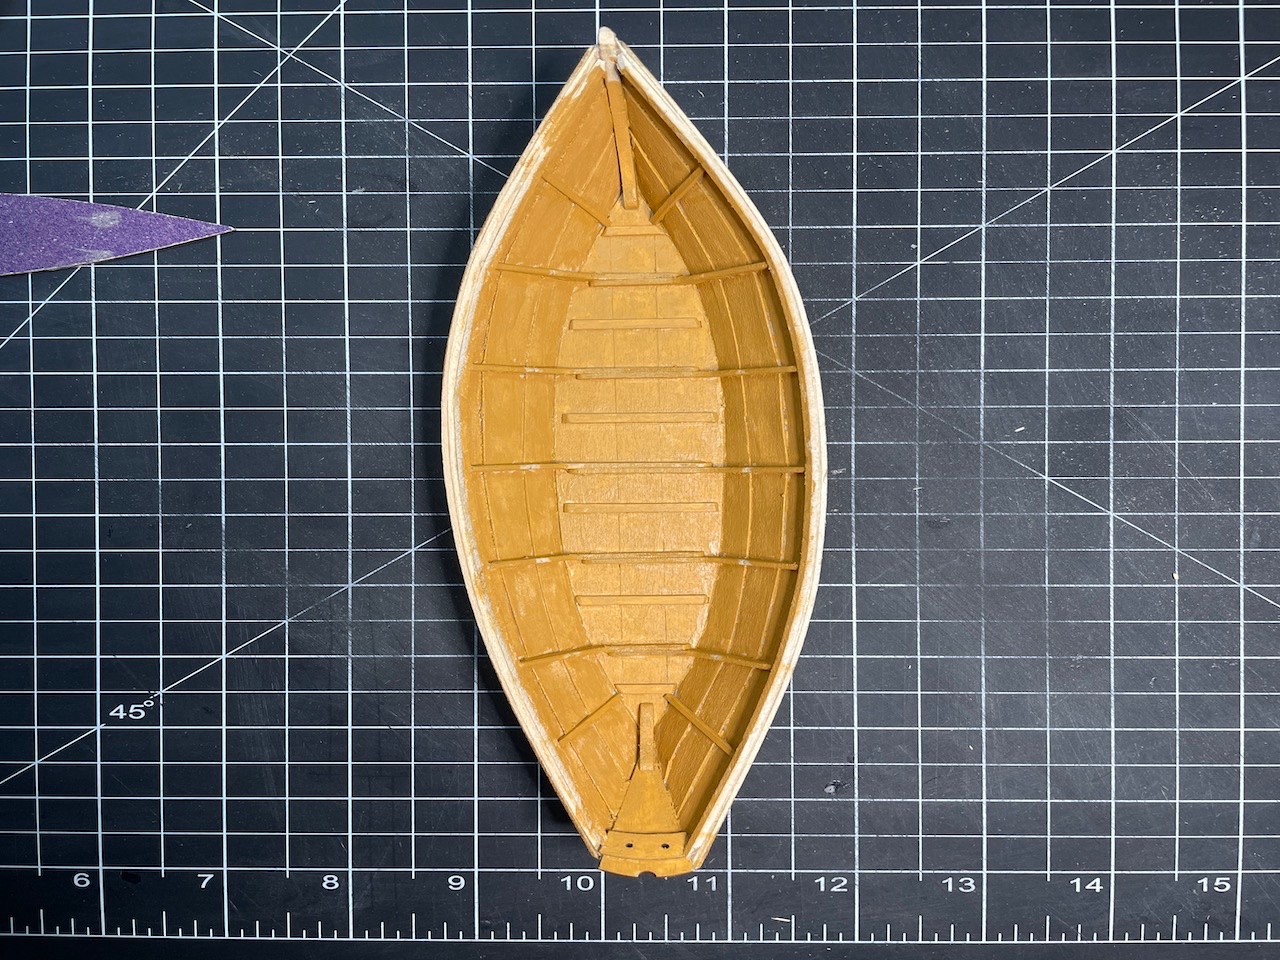
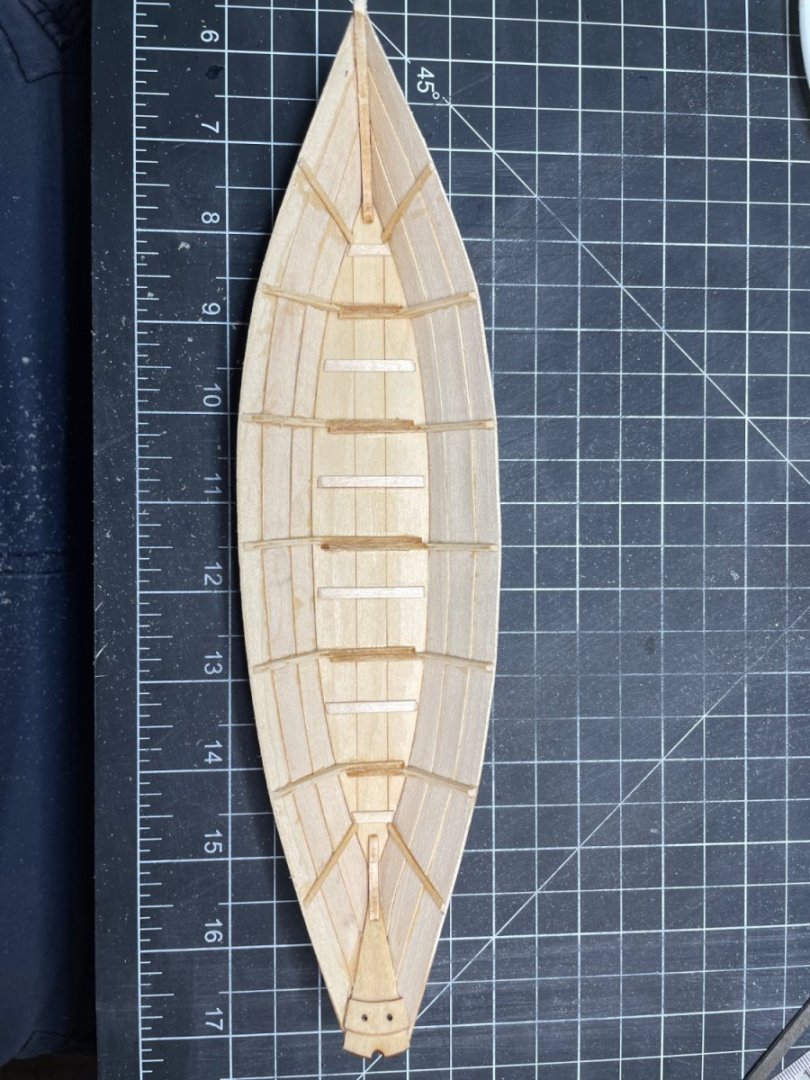
Top view with cleats cut down. Also notice the frames came out okay. Hard to tell which ones were broken. I think the glue job came out okay.
- 43 replies
-
- 4
-
-
- Lowell Grand Banks Dory
- Model Shipways
- (and 1 more)
-
Starboard and Port view of False Stem sanded down

- 43 replies
-
- 2
-
-
- Lowell Grand Banks Dory
- Model Shipways
- (and 1 more)
-
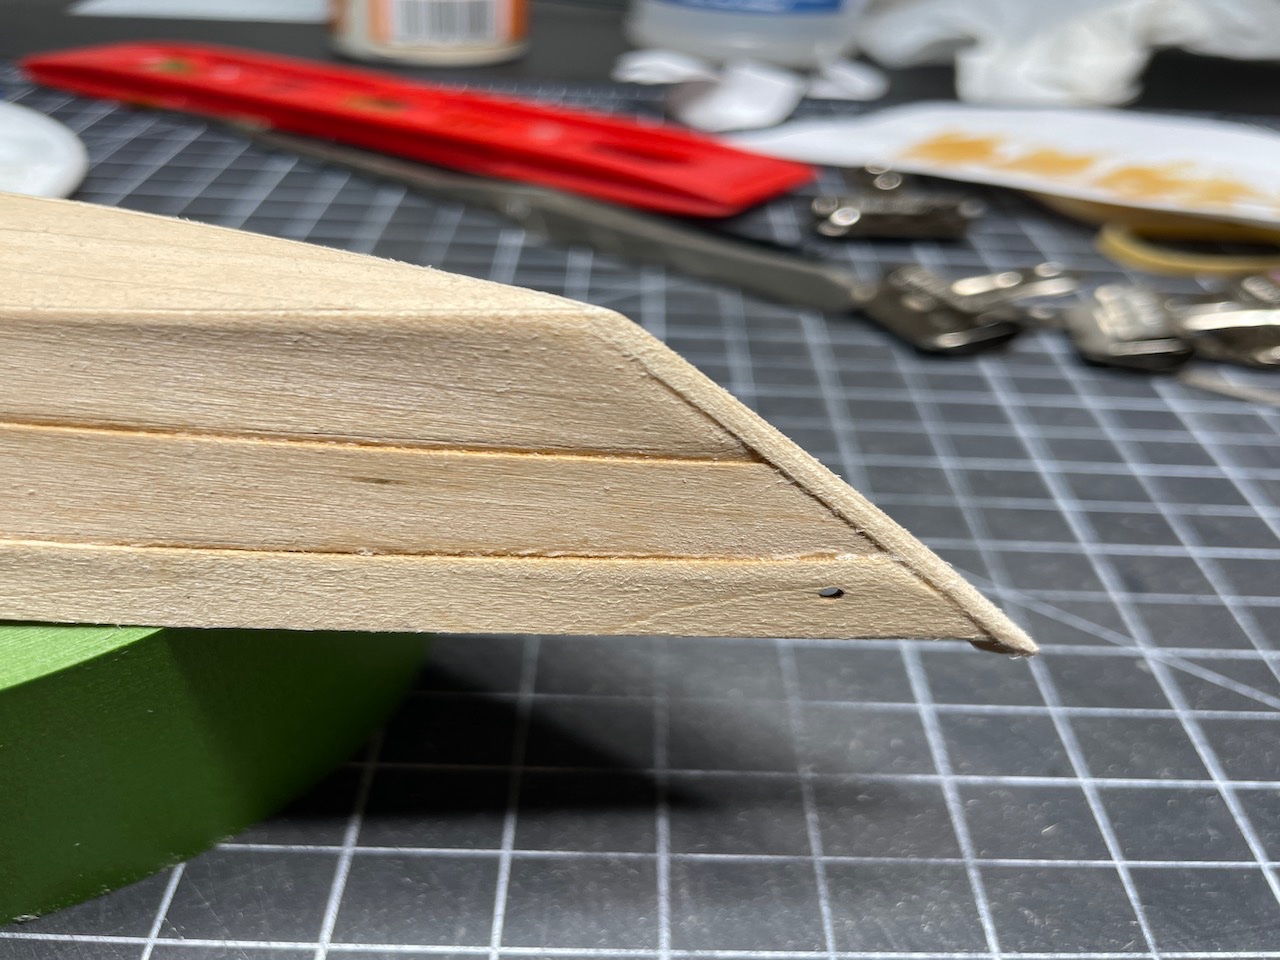
The false stem has been glued on and shaped to align with the planks. Note: The false stem was created using some scrap wood from the kit.

- 43 replies
-
- 2
-
-
- Lowell Grand Banks Dory
- Model Shipways
- (and 1 more)
-
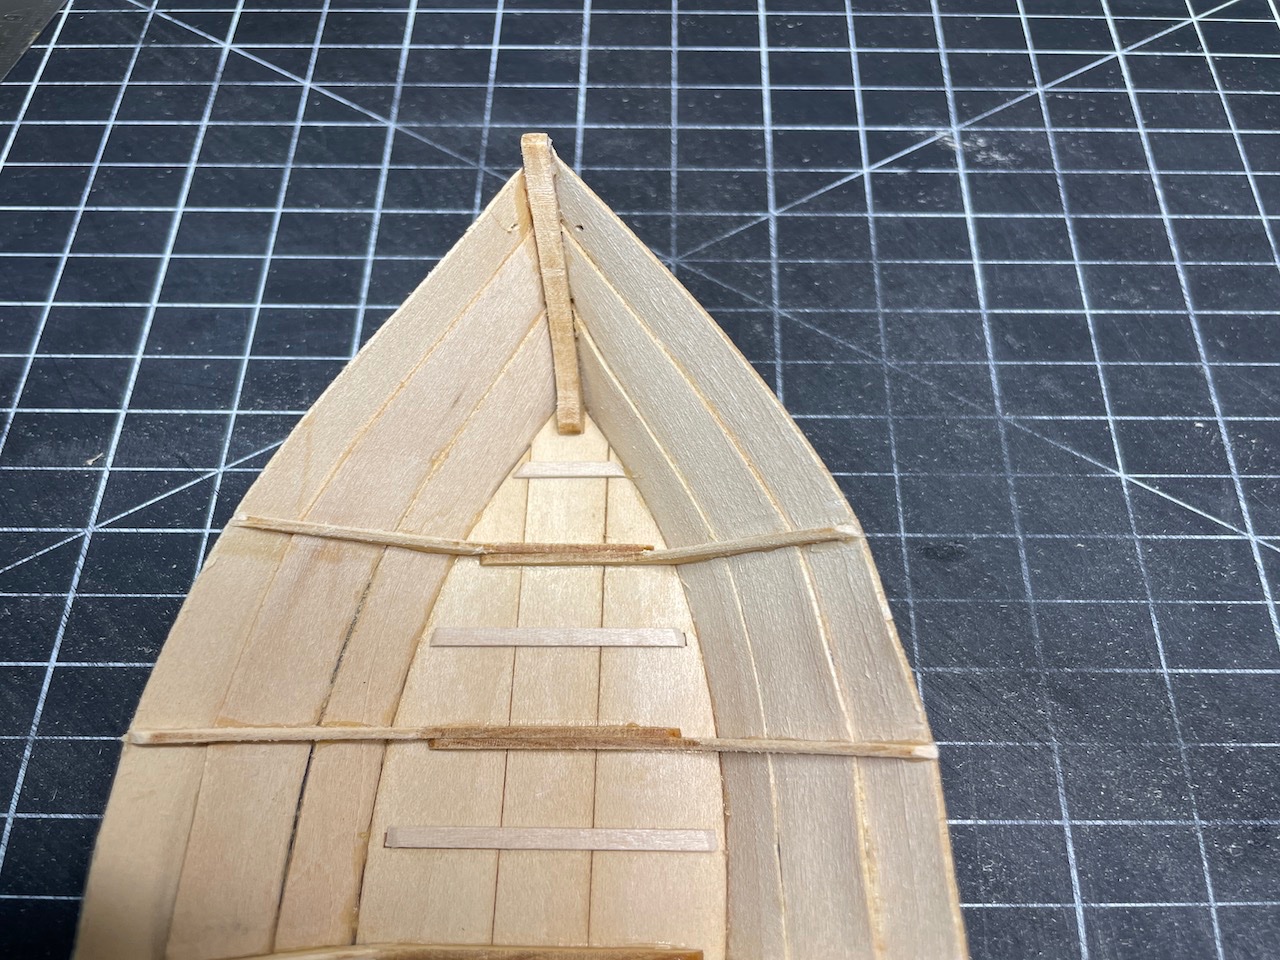
This pic shows the cleats being added. This view also shows the Sheer planks glued in place . Looks good so far.
- 43 replies
-
- 2
-
-
- Lowell Grand Banks Dory
- Model Shipways
- (and 1 more)
-
New Sheer Plank glued in place. Didn’t come out to good. Back to the drawing board. I used some 99% alcohol to get the glue to loosen up and removed my scratch built Sheer plank. Luckily Model Shipways has a policy that allows you to get replacement parts. When I first made my mistake I requested a new Sheer plank. They sent me a new plank and I was back in business. I was happy to get the new sheer plank glued in place and the build continued.


- 43 replies
-
- 2
-
-
- Lowell Grand Banks Dory
- Model Shipways
- (and 1 more)