-
Posts
46 -
Joined
-
Last visited
About boatsNbeers

- Birthday 06/28/1953
Profile Information
-
Gender
Male
-
Location
San Dimas, California
-
Interests
Model building, Golf, BBQ on Big Green Egg, Traveling is what comes to mind right now.
Recent Profile Visitors
-
 boatsNbeers reacted to a post in a topic:
Norwegian Sailing Pram by Bryan Woods - FINISHED - Model Shipways - 1:12
-
 boatsNbeers reacted to a post in a topic:
Norwegian Sailing Pram by Bryan Woods - FINISHED - Model Shipways - 1:12
-
 boatsNbeers reacted to a post in a topic:
Norwegian Sailing Pram by Bryan Woods - FINISHED - Model Shipways - 1:12
-
 bobandlucy reacted to a post in a topic:
Lowell Grand Banks Dory by boatsNbeers - FINISHED - Model Shipways - 1:24
-
 bobandlucy reacted to a post in a topic:
Lowell Grand Banks Dory by boatsNbeers - FINISHED - Model Shipways - 1:24
-
 Ryland Craze reacted to a post in a topic:
Norwegian Sailing Pram by DonBMichigan - Model Shipways - 1:12
-
 DonBMichigan reacted to a post in a topic:
Norwegian Sailing Pram by DonBMichigan - Model Shipways - 1:12
-
 Keith Black reacted to a post in a topic:
Norwegian Sailing Pram by DonBMichigan - Model Shipways - 1:12
-
 boatsNbeers reacted to a post in a topic:
Norwegian Sailing Pram by DonBMichigan - Model Shipways - 1:12
-
 Ryland Craze reacted to a post in a topic:
Norwegian Sailing Pram by DonBMichigan - Model Shipways - 1:12
-
 Keith Black reacted to a post in a topic:
Norwegian Sailing Pram by DonBMichigan - Model Shipways - 1:12
-
Hi DonB, I too am building the Pram. I have a question for you. My stern Transom looks just like the first picture above. It looks to have a tab on top of a tab. The picture below shows only the 1 tab on the Stern transom. My questions is - Did you cut off the 1st tab on top and then glue the stern knee on ? I don't want to cut off something I shouldn't. Look forward to hearing from you, Dan
-
 boatsNbeers reacted to a post in a topic:
Norwegian Sailing Pram by Zack Soderquist - Model Shipways - Scale 1:12
-
 boatsNbeers reacted to a post in a topic:
Norwegian Sailing Pram by Zack Soderquist - Model Shipways - Scale 1:12
-
 boatsNbeers reacted to a post in a topic:
Norwegian Sailing Pram by Zack Soderquist - Model Shipways - Scale 1:12
-
 boatsNbeers reacted to a post in a topic:
Norwegian Sailing Pram by Zack Soderquist - Model Shipways - Scale 1:12
-
 boatsNbeers reacted to a post in a topic:
Norwegian Sailing Pram by Zack Soderquist - Model Shipways - Scale 1:12
-
 boatsNbeers reacted to a post in a topic:
Norwegian Sailing Pram by Zack Soderquist - Model Shipways - Scale 1:12
-
 Waitoa reacted to a post in a topic:
Lowell Grand Banks Dory by boatsNbeers - FINISHED - Model Shipways - 1:24
-
 Ryland Craze reacted to a post in a topic:
Lowell Grand Banks Dory by boatsNbeers - FINISHED - Model Shipways - 1:24
-
 Prowler901 reacted to a post in a topic:
Lowell Grand Banks Dory by boatsNbeers - FINISHED - Model Shipways - 1:24
-
Thank you Ryland. I look forward to applying what I learned to the Norwegian Sailing Pram. I'll get that started in the next day or so.
- 43 replies
-
- Lowell Grand Banks Dory
- Model Shipways
-
(and 1 more)
Tagged with:
-
Thank you everyone who have followed this build log. I haven’t given up. The build was sometimes frustrating and at the same time enjoyable. I enjoyed completing the Dory. I also learned a lot of new things during the build. These are lessons that can be applied to future builds. Now on to the Norwegian Sailing Pram. Look for that build log soon.
- 43 replies
-
- Lowell Grand Banks Dory
- Model Shipways
-
(and 1 more)
Tagged with:
-
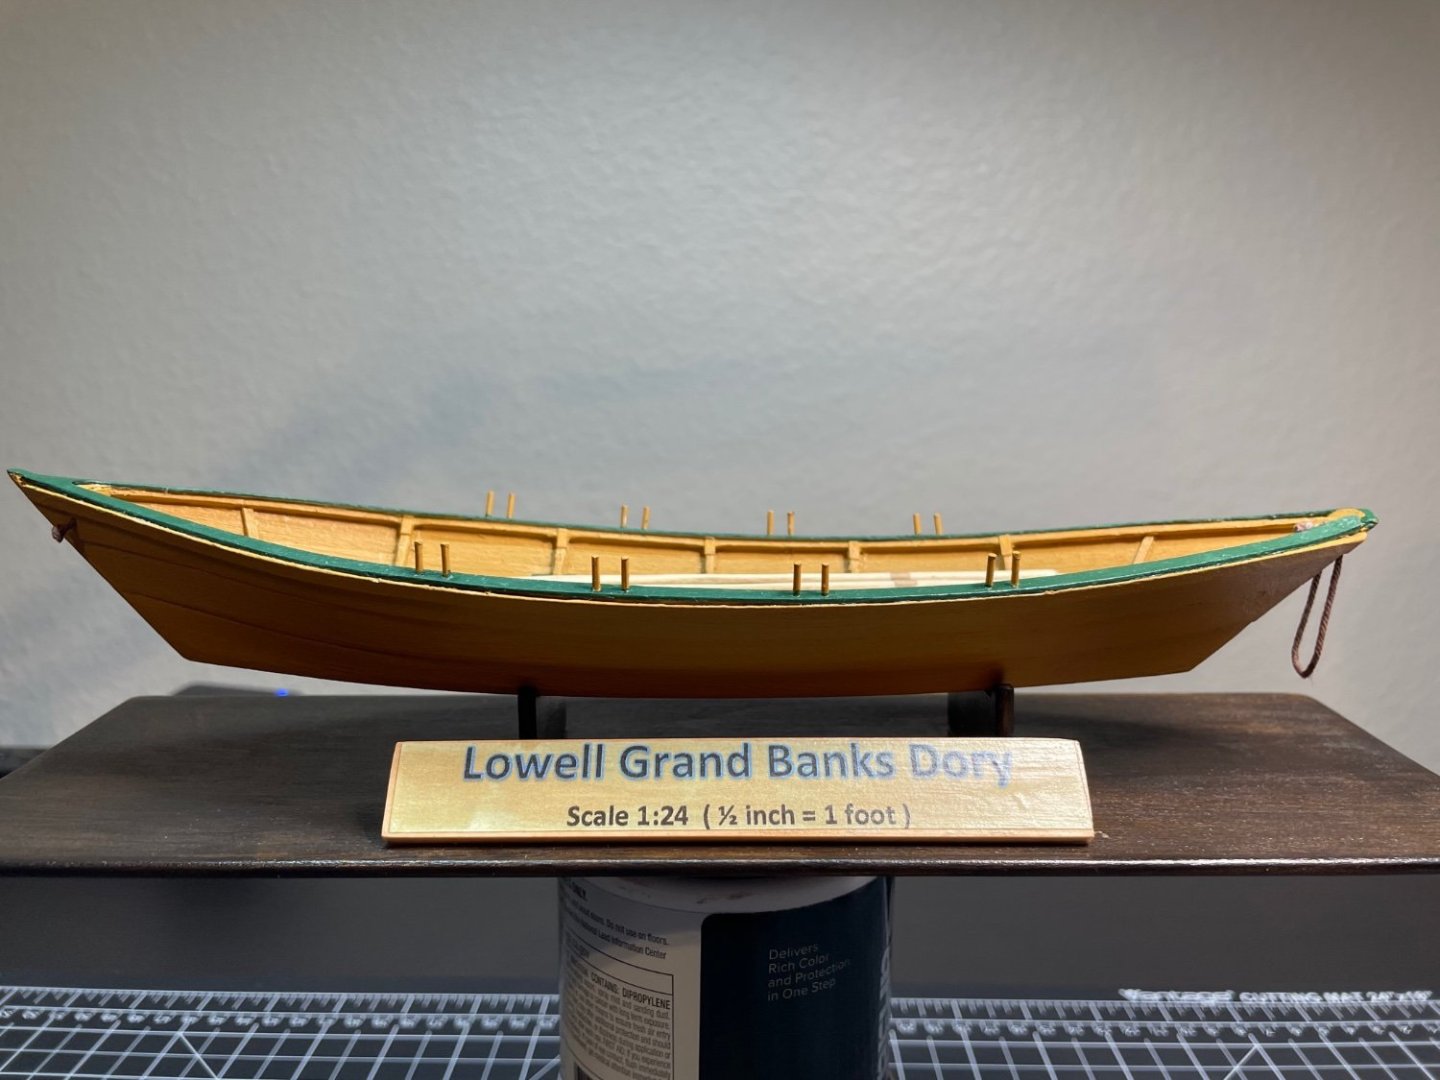
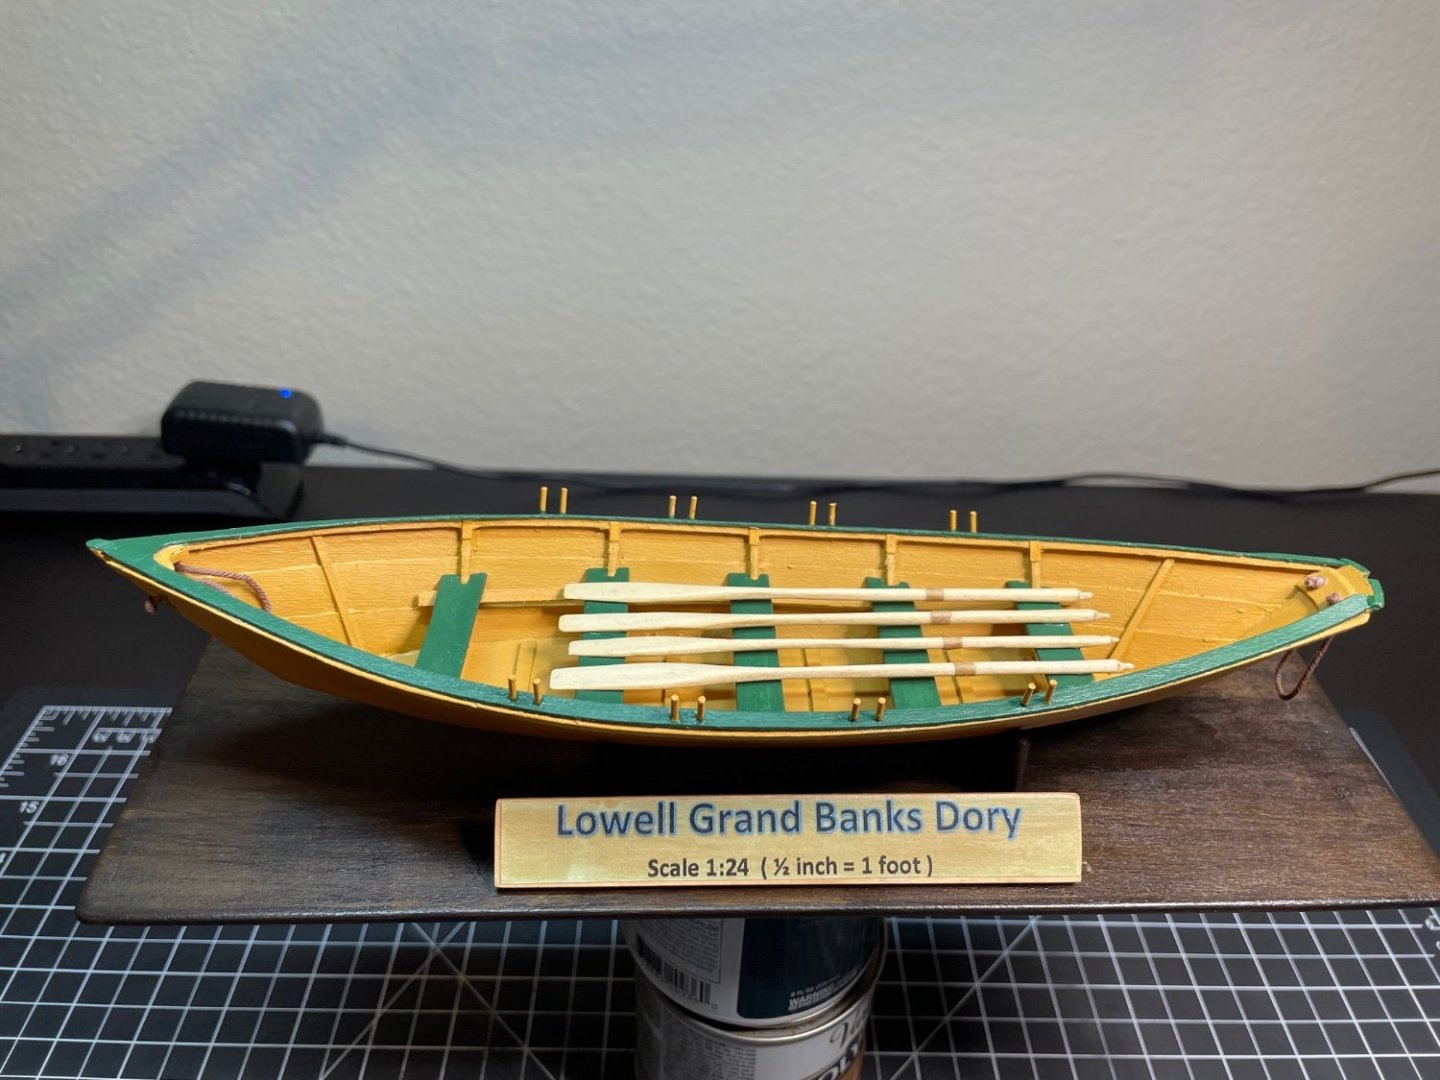
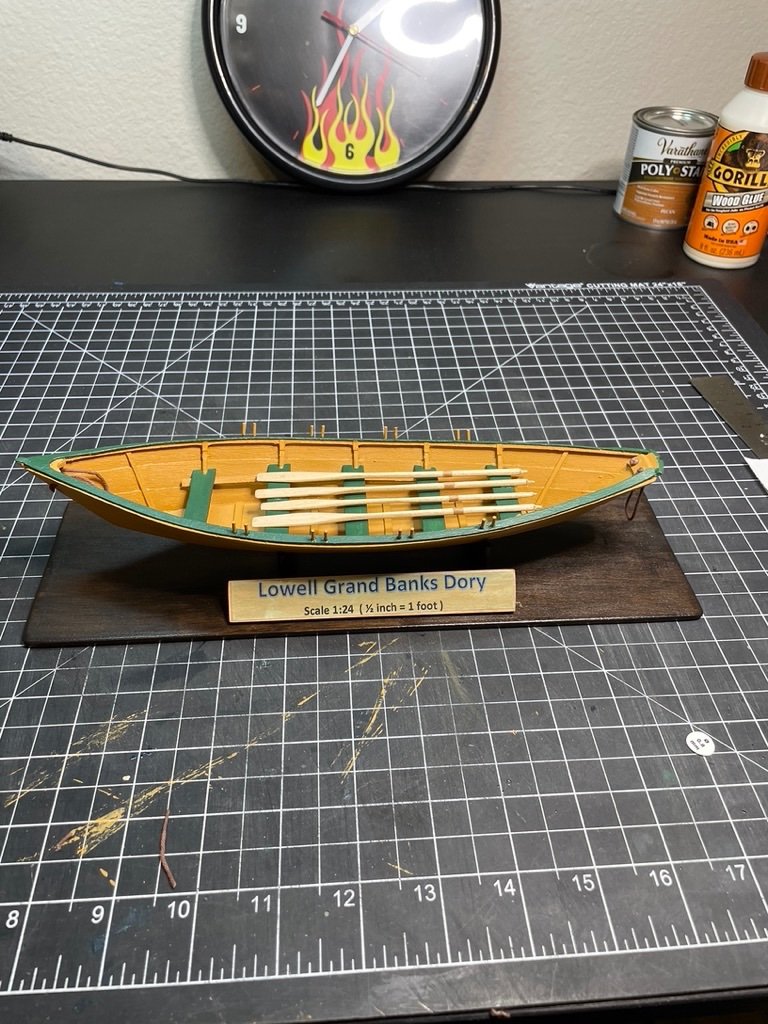
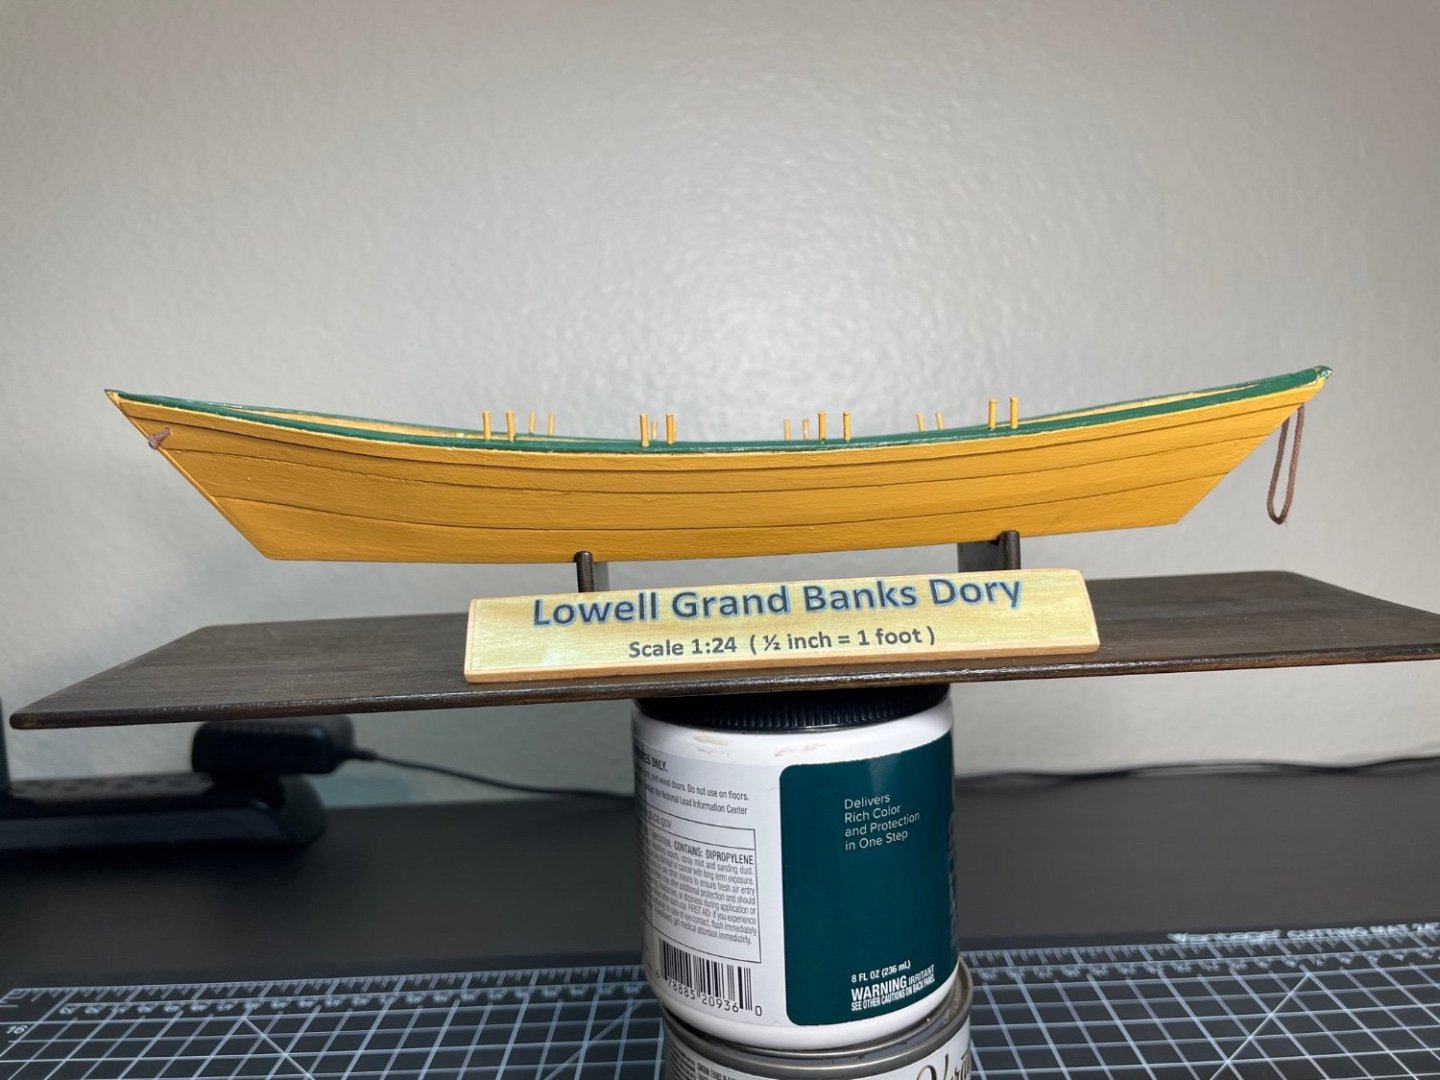
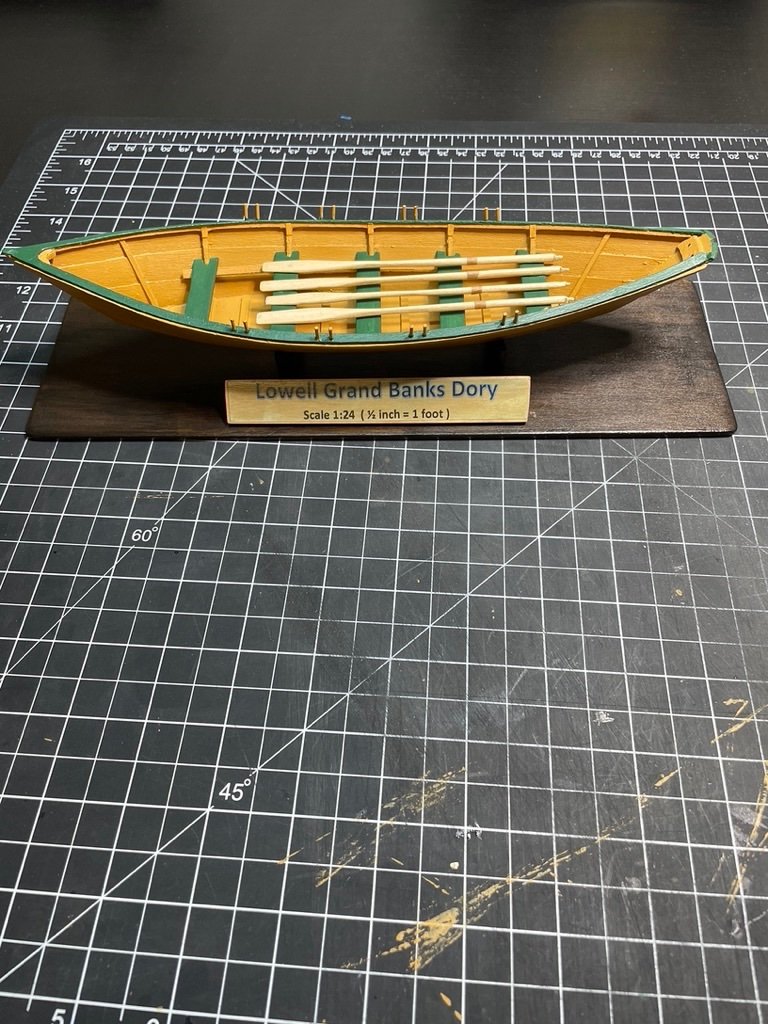
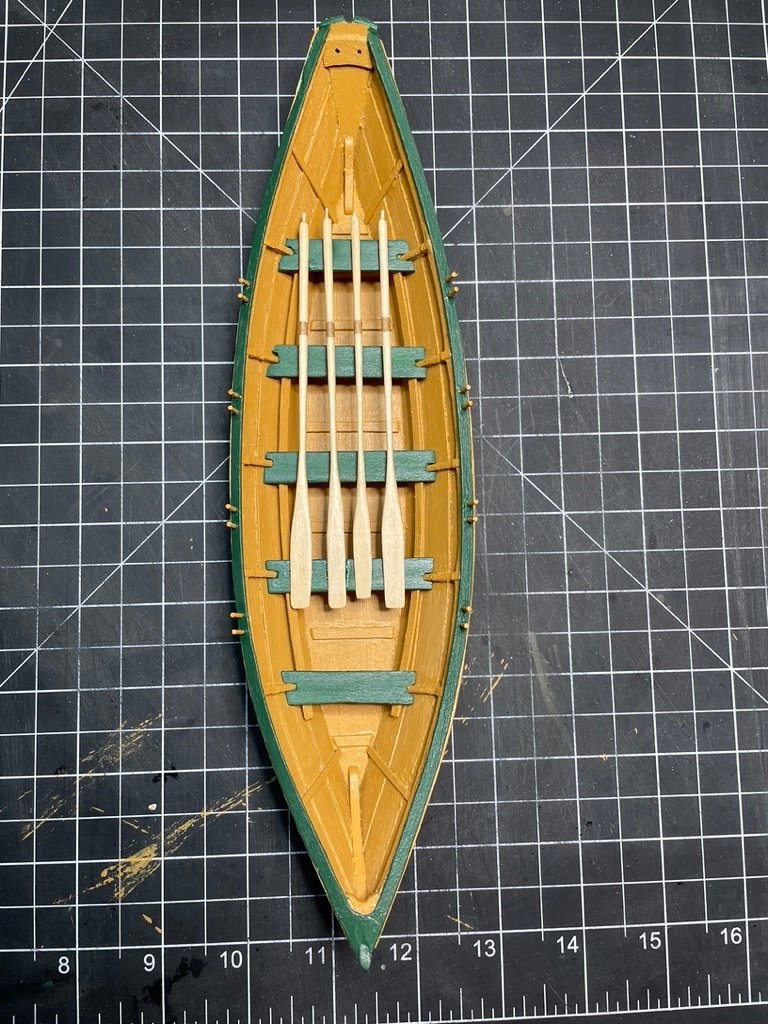
Hi Everyone, All after a long day of yard work and some dinner. I finally got back to the computer. Below are the finished pictures of my Lowell Grand Banks Dory. It has been quite a journey. from busted frames to planks cut too short, the build is finally complete. So what did I learn from this build.....Hmmm...... 1. Basswood is very soft. 2. Basswood breaks easy. 3. Don’t force Basswood - See # 2. 4. Measure twice cut once. 5. Thin your paint so you get a smooth coat. 6. Line things up the first time. It takes less time than having to un-glue and re-glue parts. 7. Most important thing - TAKE YOU TIME 8. And other stuff that I don't remember right now but will come to back to me on my next build.
- 43 replies
-
- Lowell Grand Banks Dory
- Model Shipways
-
(and 1 more)
Tagged with:
-
Thank you SkiBee. Appreciate the encouragement.
- 43 replies
-
- Lowell Grand Banks Dory
- Model Shipways
-
(and 1 more)
Tagged with:
-
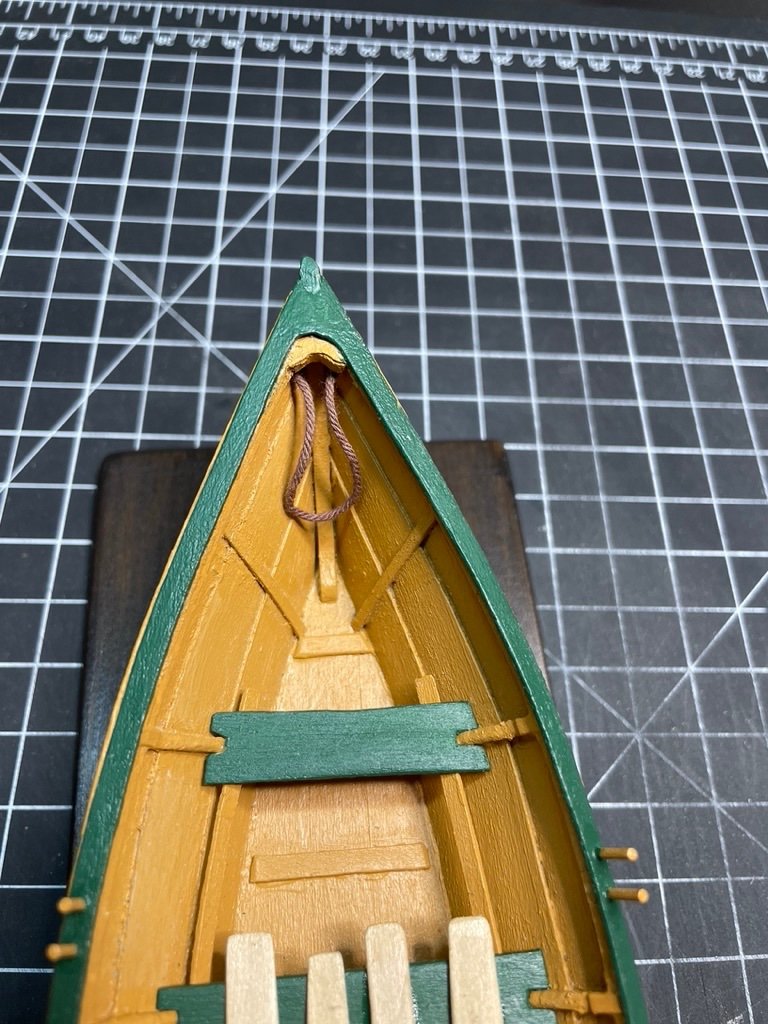
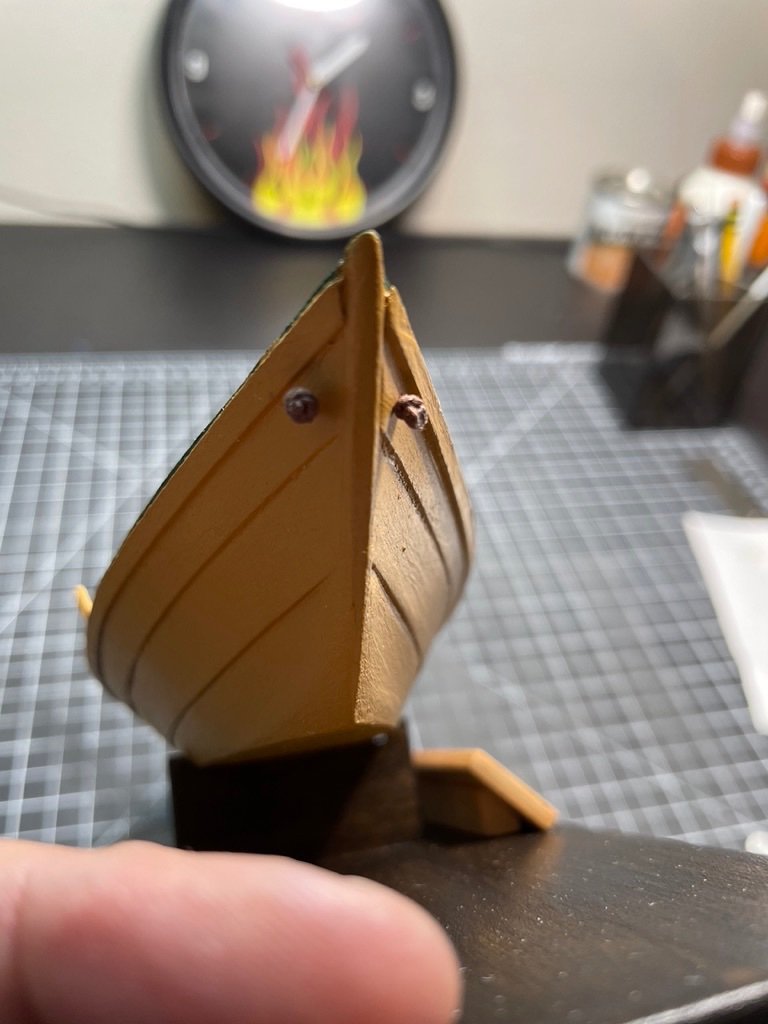
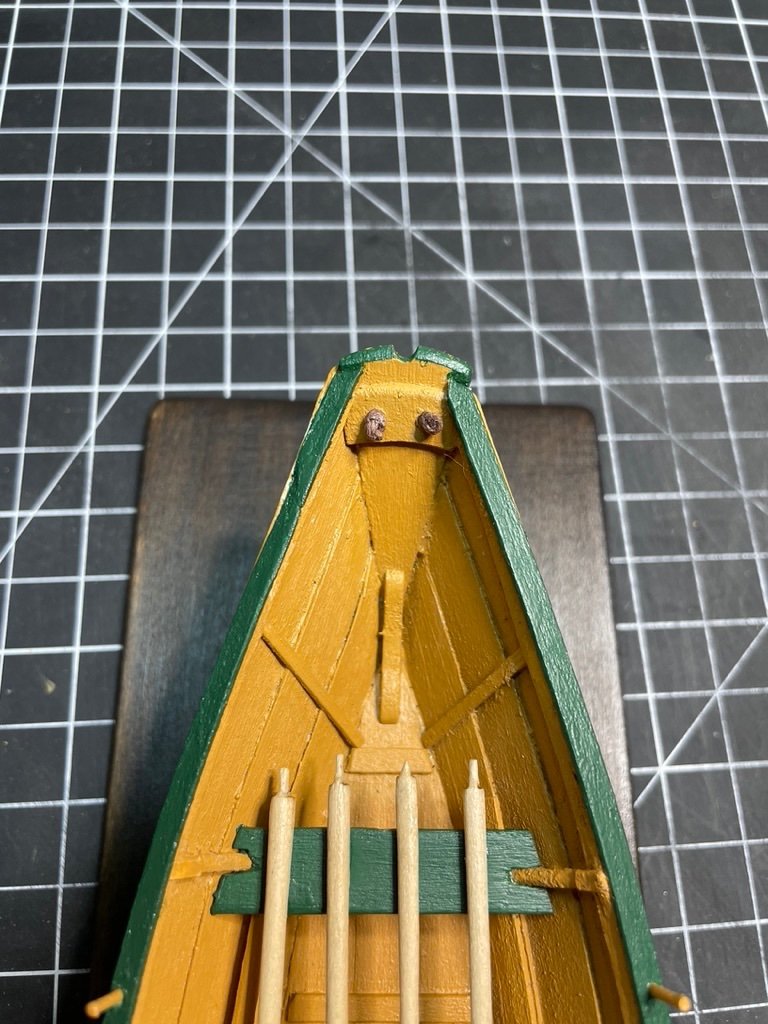
The Bow becket is next. First picture is the Bow Becket with knots before trimming. Next picture a top view showing the Bow Becket installed. The next view shows the Bow Becket knots. I forgot to mention that the thread used for the beckets is left over thread from a previous ship model I had built. Believe it or not the thread is the same size. The difference is the thread that I used was a much tighter weave. It was easier to thread through the holes and also easier to knot. The thread that came with the kit seemed way too big and out of scale for the Dory. The next post will be pictures of the finished Dory with closing comments.
- 43 replies
-
- Lowell Grand Banks Dory
- Model Shipways
-
(and 1 more)
Tagged with:
-
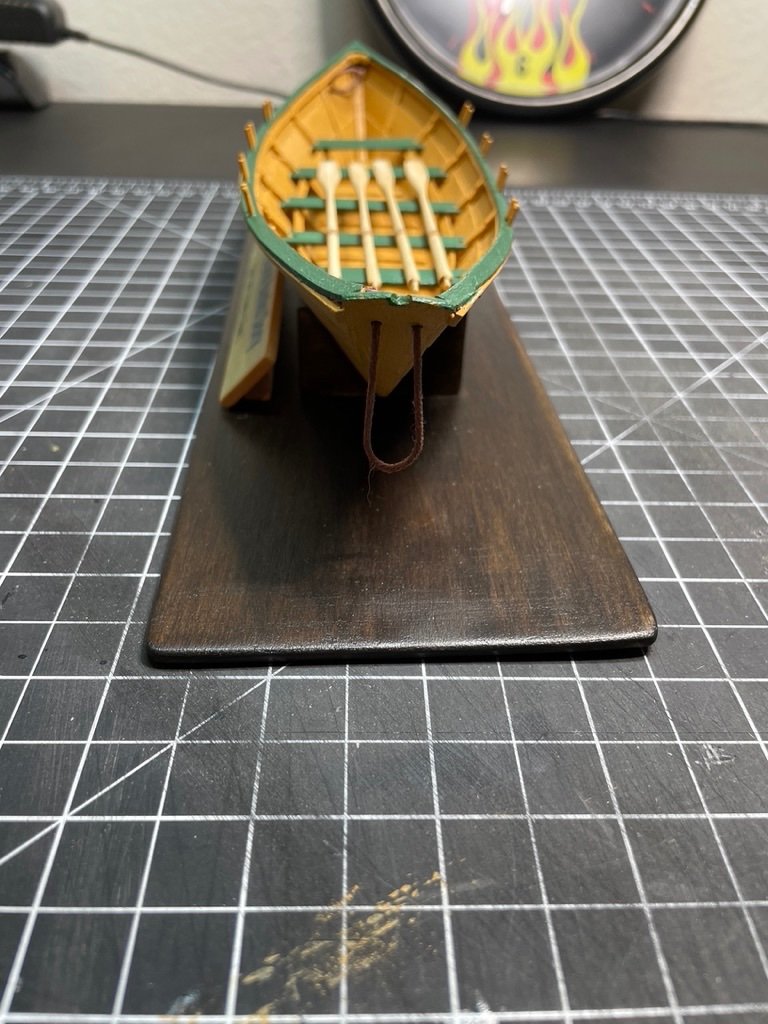
Next were the Beckets. The pictures that follow are of the Stern Becket. The first is the Stern becket being formed, the next is the Stern Becket after forming and the last picture is the Stern Becket knots. I think the Stern Becket came out okay. I will work on the Bow Becket next and then post up the final pictures of the finished Dory.
- 43 replies
-
- Lowell Grand Banks Dory
- Model Shipways
-
(and 1 more)
Tagged with:
-
Lots of progress on the Dory. The base is complete, now comes gluing the dory to the base. This step took a steady hand because I was using CA glue to ensure a good adhesion to the cradles. You only get one try at mounting the Dory to the base. Luckily, I got it glued on the first try. Looks good.
- 43 replies
-
- Lowell Grand Banks Dory
- Model Shipways
-
(and 1 more)
Tagged with:
-
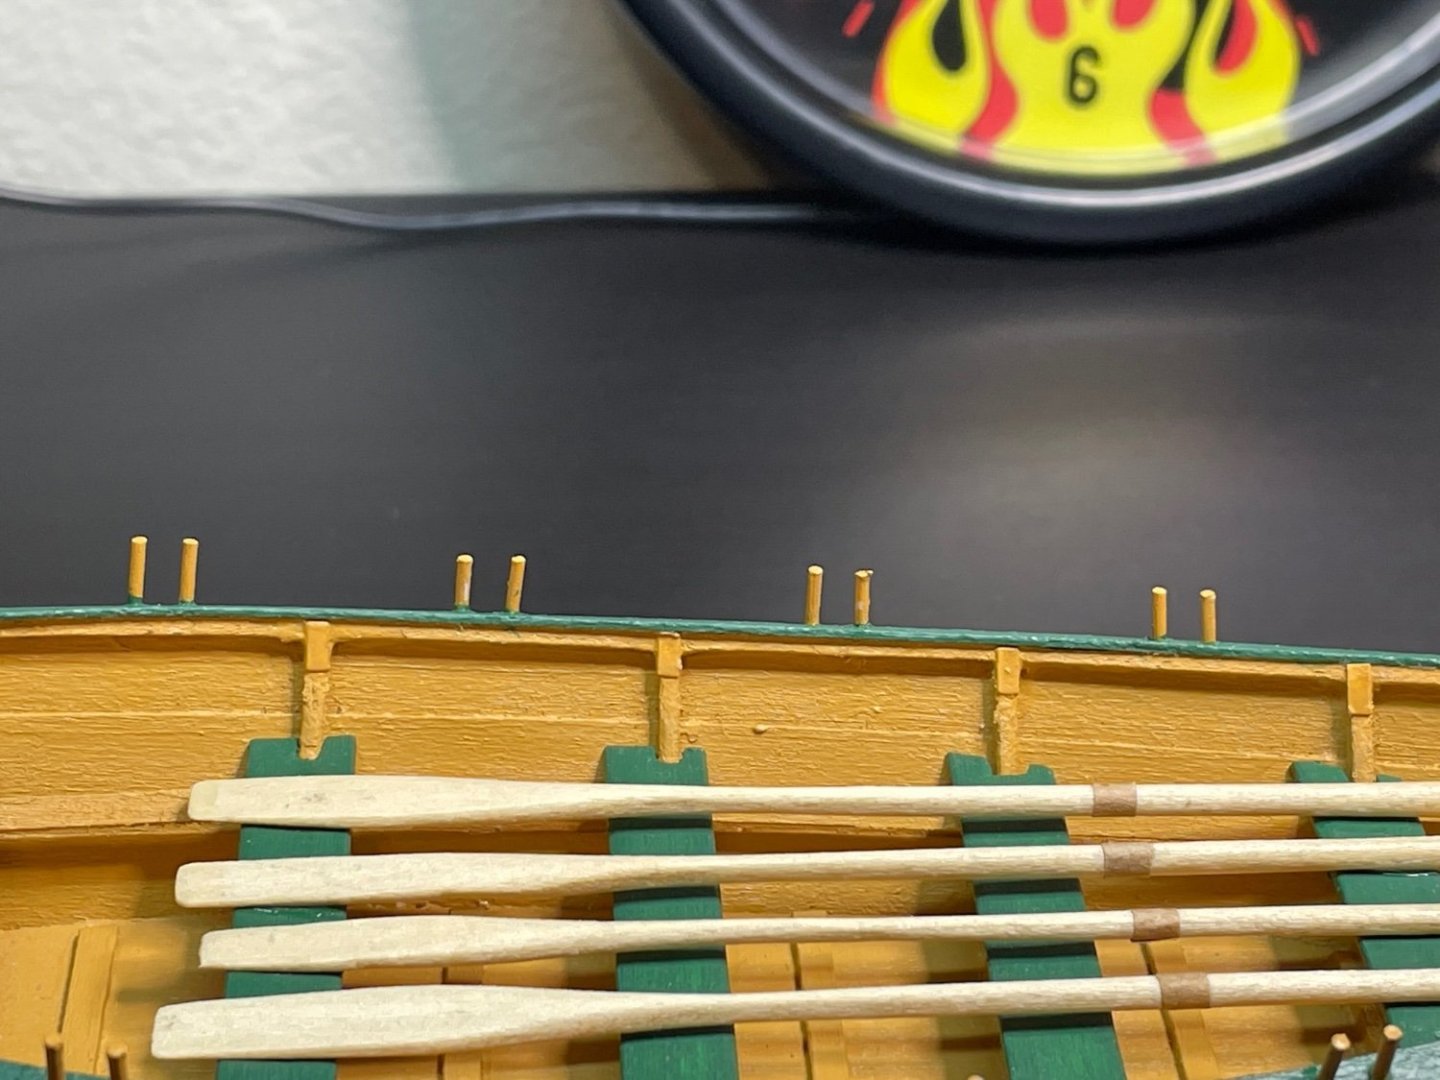
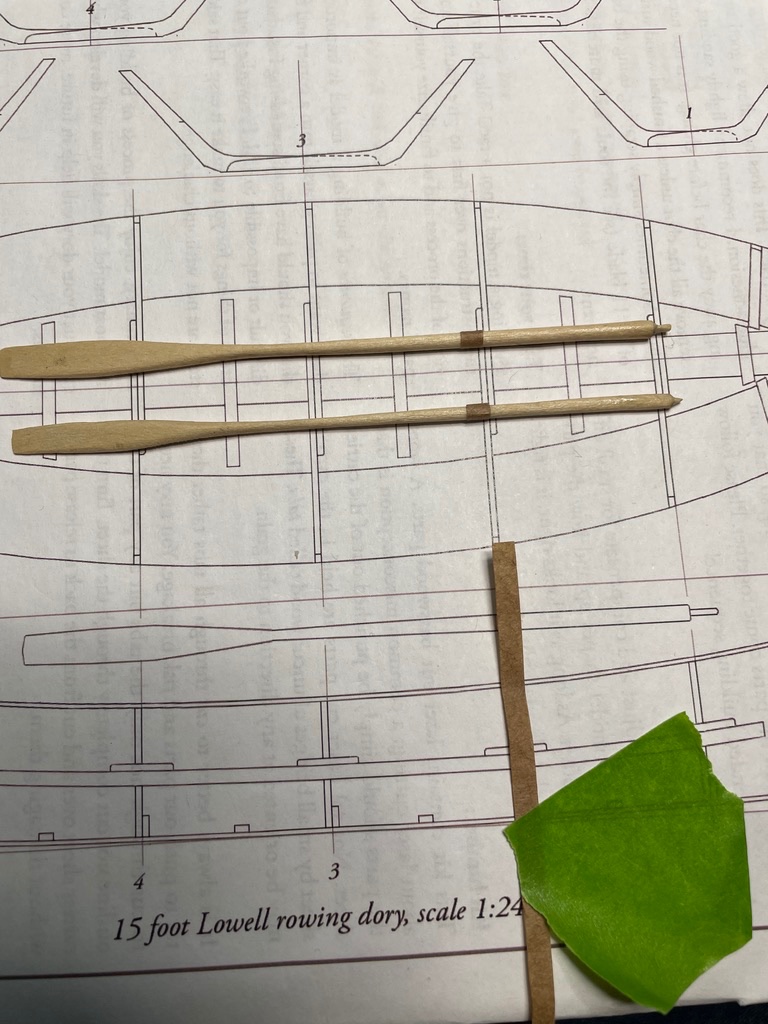
Found some more time to work on the Dory. The thwarts were painted bulwark dark green. I was looking for some contrast with the yellow ochre. The thwarts were glued in using CA glue. I didn't want them coming loose when the oars are glued on. The thwarts definitely stand out. I played around with different oar combinations to get them to look the same in size and shape. I aligned the oars with the leathering. Next were the thole pins. My kit didn't have the 3/64" dowel. What I got was a 12" length on 3/64" x 1/8" strip of basswood. Fortunately I have friends in other hobbies. My buddy Wayne builds train layouts in N gauge. He had some plastic 3/64" dowel. Yeah !!!. All I had to do now was get it to look like wood. I used some 150 grit sandpaper to give the dowel some texture, kind of like wood grain. I then painted the tholes yellow ochre. Another contrast between yellow ochre and bulwark dark green which is what the cap rail was painted with. Great progress so far. Next will be mounting the Dory to the base and installing the beckets.
- 43 replies
-
- Lowell Grand Banks Dory
- Model Shipways
-
(and 1 more)
Tagged with:
-
I will follow your build on the Parm. I am getting ready to start on it too.
- 43 replies
-
- Lowell Grand Banks Dory
- Model Shipways
-
(and 1 more)
Tagged with:
-
Great way to display the oars. Very unique. The Dory looks great. Nice work. Look forward to seeing the Parm.
- 28 replies
-
- Lowell Grand Banks Dory
- Model Shipways
-
(and 1 more)
Tagged with:
-
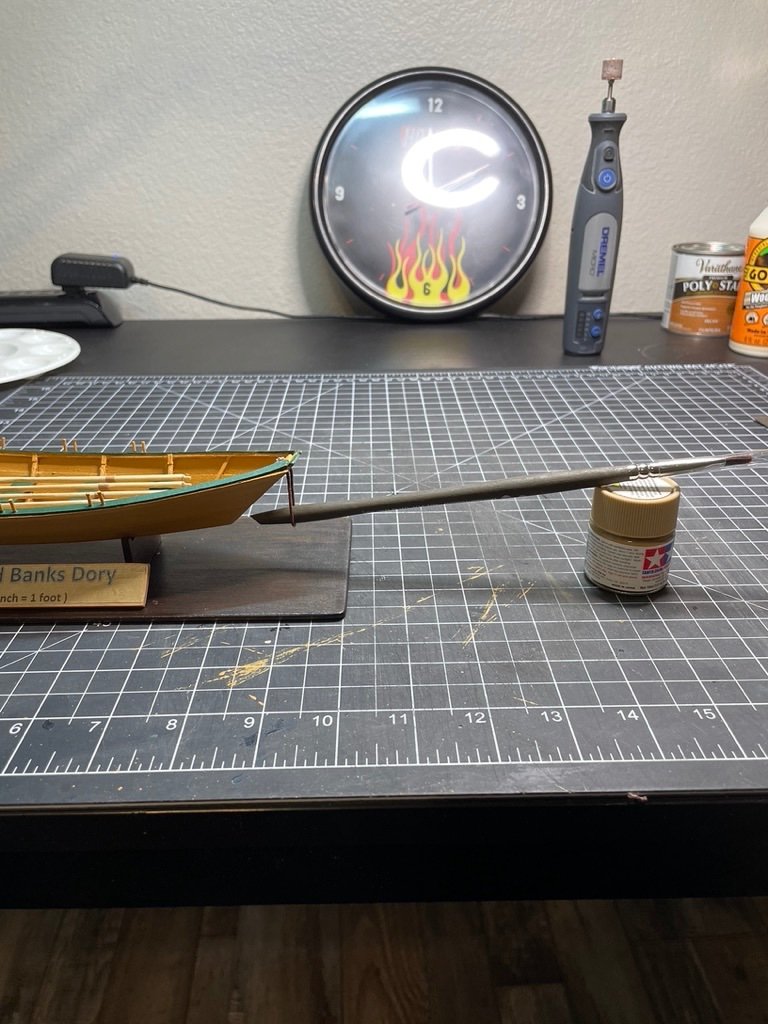
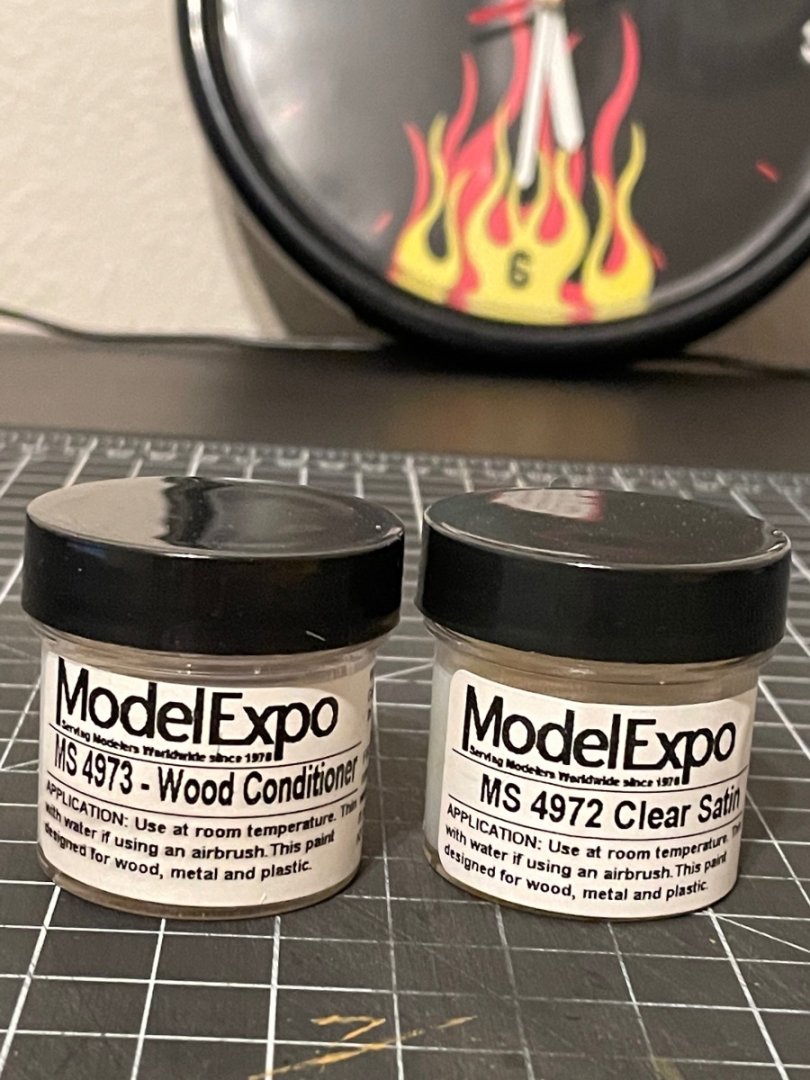
Hi Bryan. The wood conditioner and satin finish are from Model Expo. I used the wood conditioner to seal the oars so the satin finish wouldn't build up. After the wood conditioner I used some 320 sandpaper to smooth them and then used the satin finish to give it a varnished look without the shine. Attached is a picture of the 2 bottles.
- 43 replies
-
- Lowell Grand Banks Dory
- Model Shipways
-
(and 1 more)
Tagged with:
-
Thank you for the complement.
- 43 replies
-
- Lowell Grand Banks Dory
- Model Shipways
-
(and 1 more)
Tagged with:
-
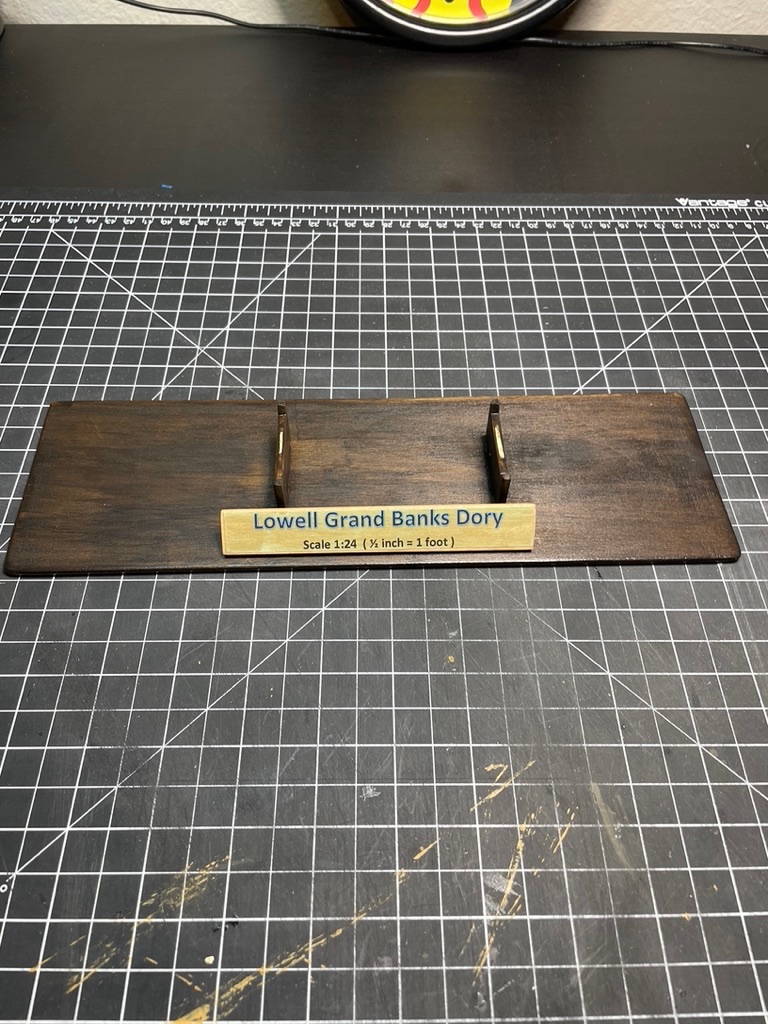
Had some time over the weekend to update the build log. This is my finished base. I rounded the edges of the base and the cradles. Sanded it with 320 sand paper and then 400 grit to give it a smooth finish. I then used an espresso poly stain. The name plate was made from scrap wood. I stained the name plate with a Pecan poly stain. The lettering was created on my computer and printed on my ink jet printer. I then sealed the name plated with a clear stain finish. Really like how it turned out. Anyone have any comments on the base?
- 43 replies
-
- Lowell Grand Banks Dory
- Model Shipways
-
(and 1 more)
Tagged with:
About us
Modelshipworld - Advancing Ship Modeling through Research
SSL Secured
Your security is important for us so this Website is SSL-Secured
NRG Mailing Address
Nautical Research Guild
237 South Lincoln Street
Westmont IL, 60559-1917
Model Ship World ® and the MSW logo are Registered Trademarks, and belong to the Nautical Research Guild (United States Patent and Trademark Office: No. 6,929,264 & No. 6,929,274, registered Dec. 20, 2022)
Helpful Links
About the NRG
If you enjoy building ship models that are historically accurate as well as beautiful, then The Nautical Research Guild (NRG) is just right for you.
The Guild is a non-profit educational organization whose mission is to “Advance Ship Modeling Through Research”. We provide support to our members in their efforts to raise the quality of their model ships.
The Nautical Research Guild has published our world-renowned quarterly magazine, The Nautical Research Journal, since 1955. The pages of the Journal are full of articles by accomplished ship modelers who show you how they create those exquisite details on their models, and by maritime historians who show you the correct details to build. The Journal is available in both print and digital editions. Go to the NRG web site (www.thenrg.org) to download a complimentary digital copy of the Journal. The NRG also publishes plan sets, books and compilations of back issues of the Journal and the former Ships in Scale and Model Ship Builder magazines.

