SaltyNinja
-
Posts
76 -
Joined
-
Last visited
Content Type
Profiles
Forums
Gallery
Events
Everything posted by SaltyNinja
-
 Looking good! I'm going to make an effort to get back to work on mine. I have been distracted by work for a while now.
 -
Thanks for the compliment Clueless! It took a bit of time, but I figured repairs are probably part of the process, as I usually need to improve things after screwing them up. Yeah, the part you are referring to is called the "false stem". It's installed on my boat already, but I forgot to note the installation in the build log. I put it on and sanded it pretty flush with the planking. I did notice today that I need to glue it better because it popped loose in the middle of it's length. I think I'll just use a diluted glue mixture so I don't need to sand any glue after it's dry. I was also considering trying to correct some warpage in the planking by wetting some areas with water and letting it dry. I think I'm going to experiment with that tonight. I have a few indentations caused by clamps also. I'm going to touch those up with some water as well. The instructions say that some water might pull the grain of the wood back at the spot of indentation. I'll probably put the last cleats in their place on the inside of the hull, attach the "bands" to the exterior top portion on the sheer plank, and glue in the gunwale tonight. I'm going to sand the transom and frames as well. After those steps are complete, I'll probably paint the hull before installing the seat risers and breast hook. I might paint the seat risers the same green as the cap rail just for a bit of contrast and color.
-
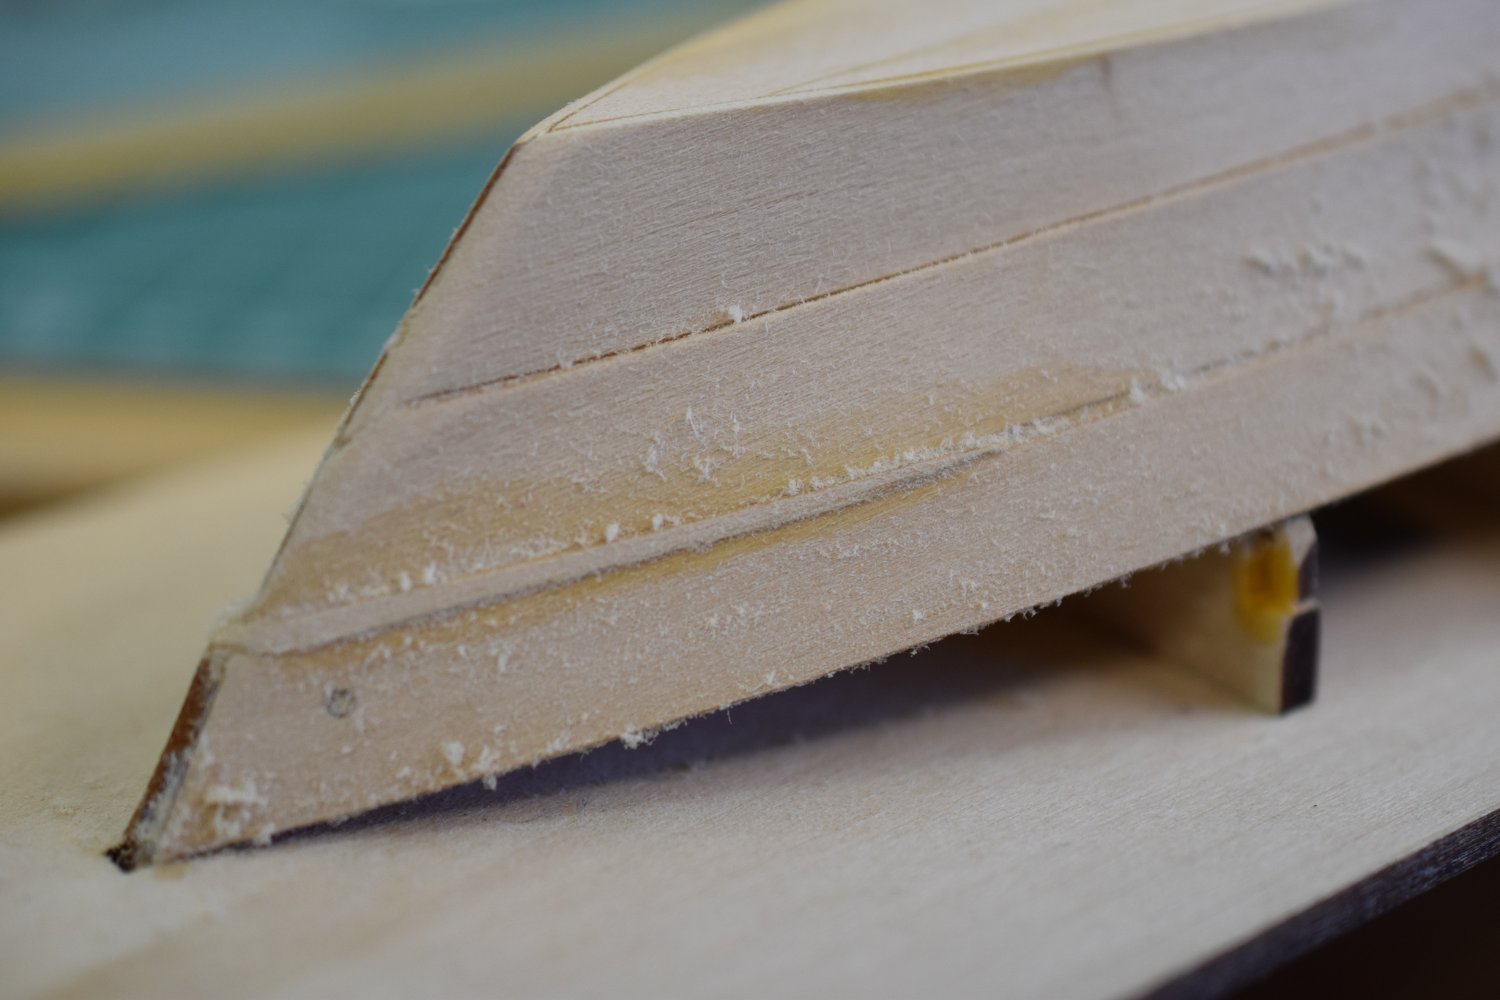
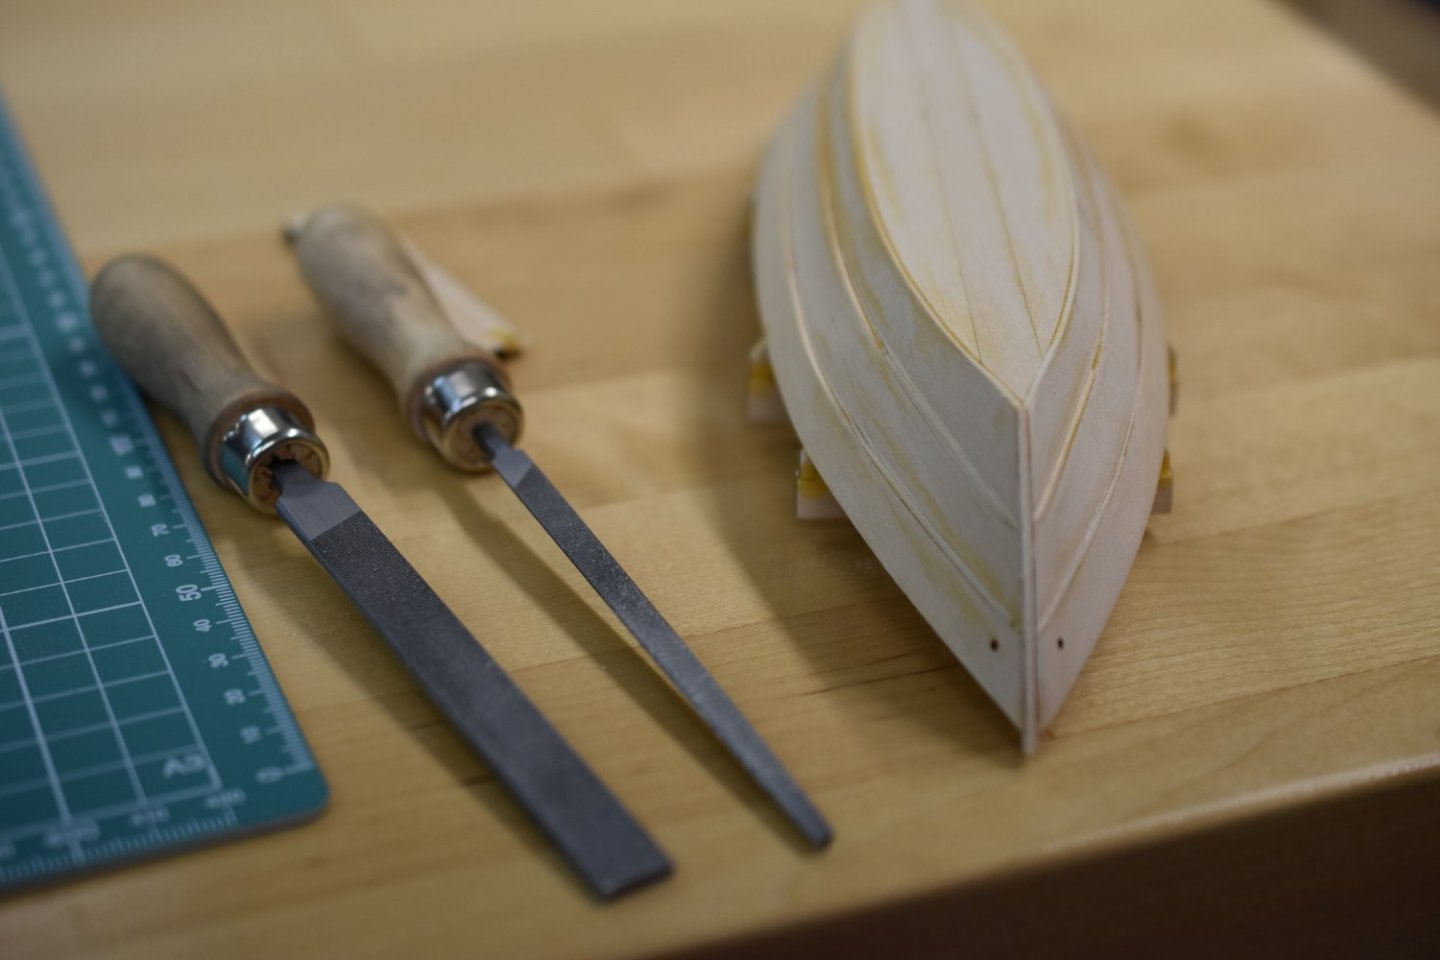
I decided to spend the evening continuing to fair my bow area planking repair. I found that I had previously sanded my repair too much and eliminated the plank ridges too much. I used a couple of files to restore the ridge to the planks a bit and to fair the repair more. While doing this I ended up breaking off one of the frame molding fixtures. I was supposed to have removed them already, but had been delaying that step for no known reason. Now I will be repairing the frame tops at the gunwale apparently. 🤪


- 61 replies
-
- 2
-

-
- Lowell Grand Banks Dory
- Model Shipways
- (and 1 more)
-
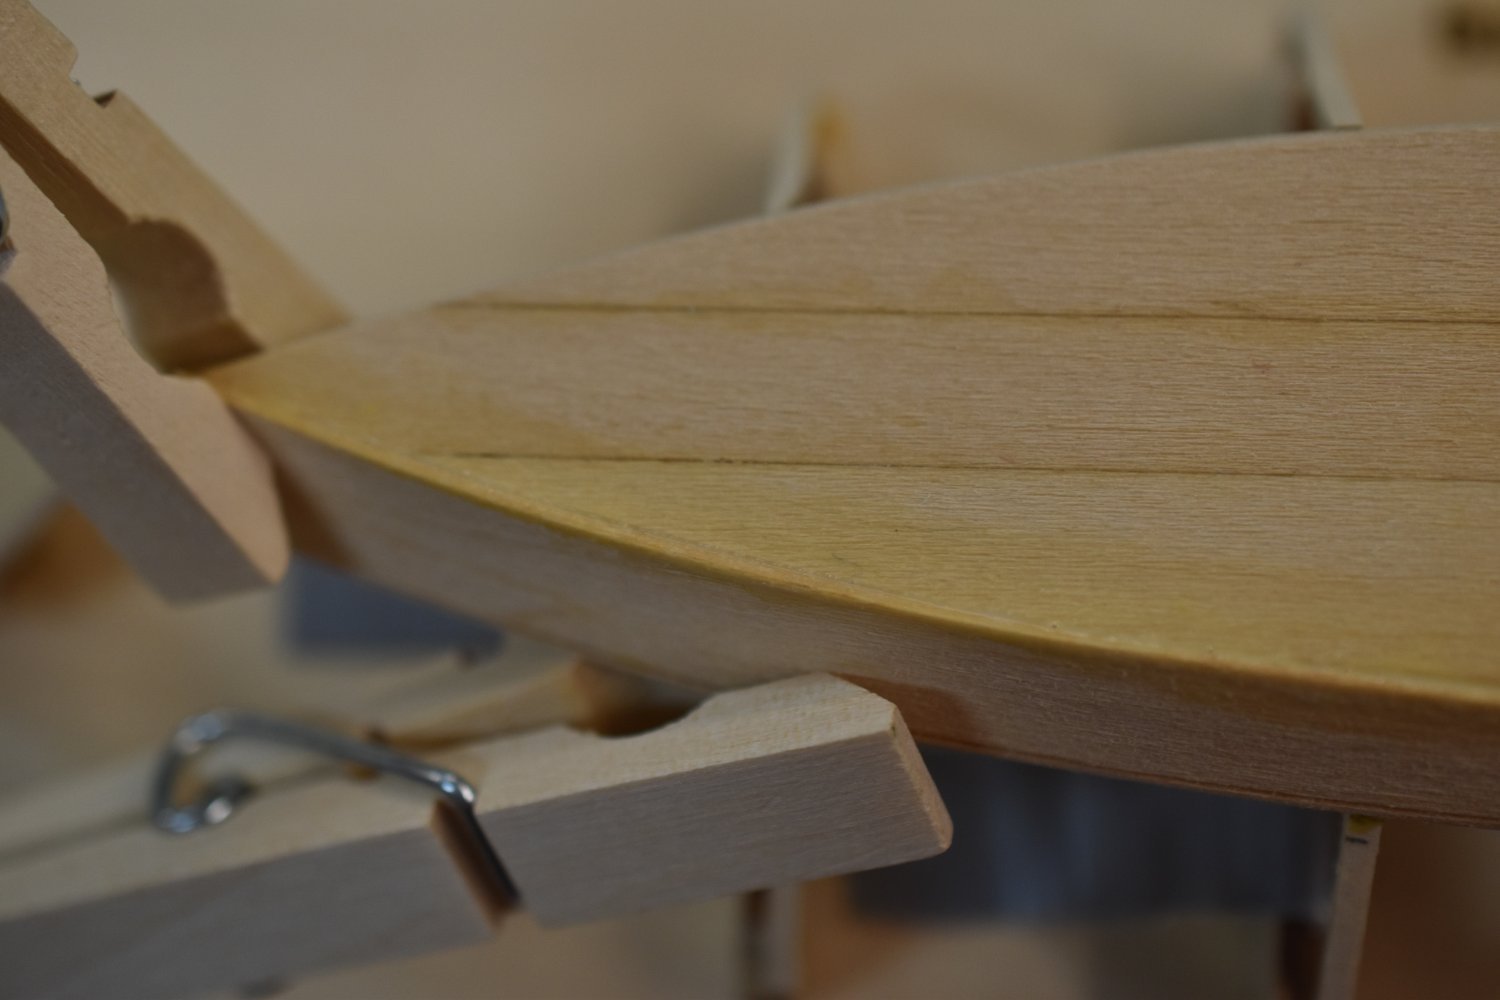
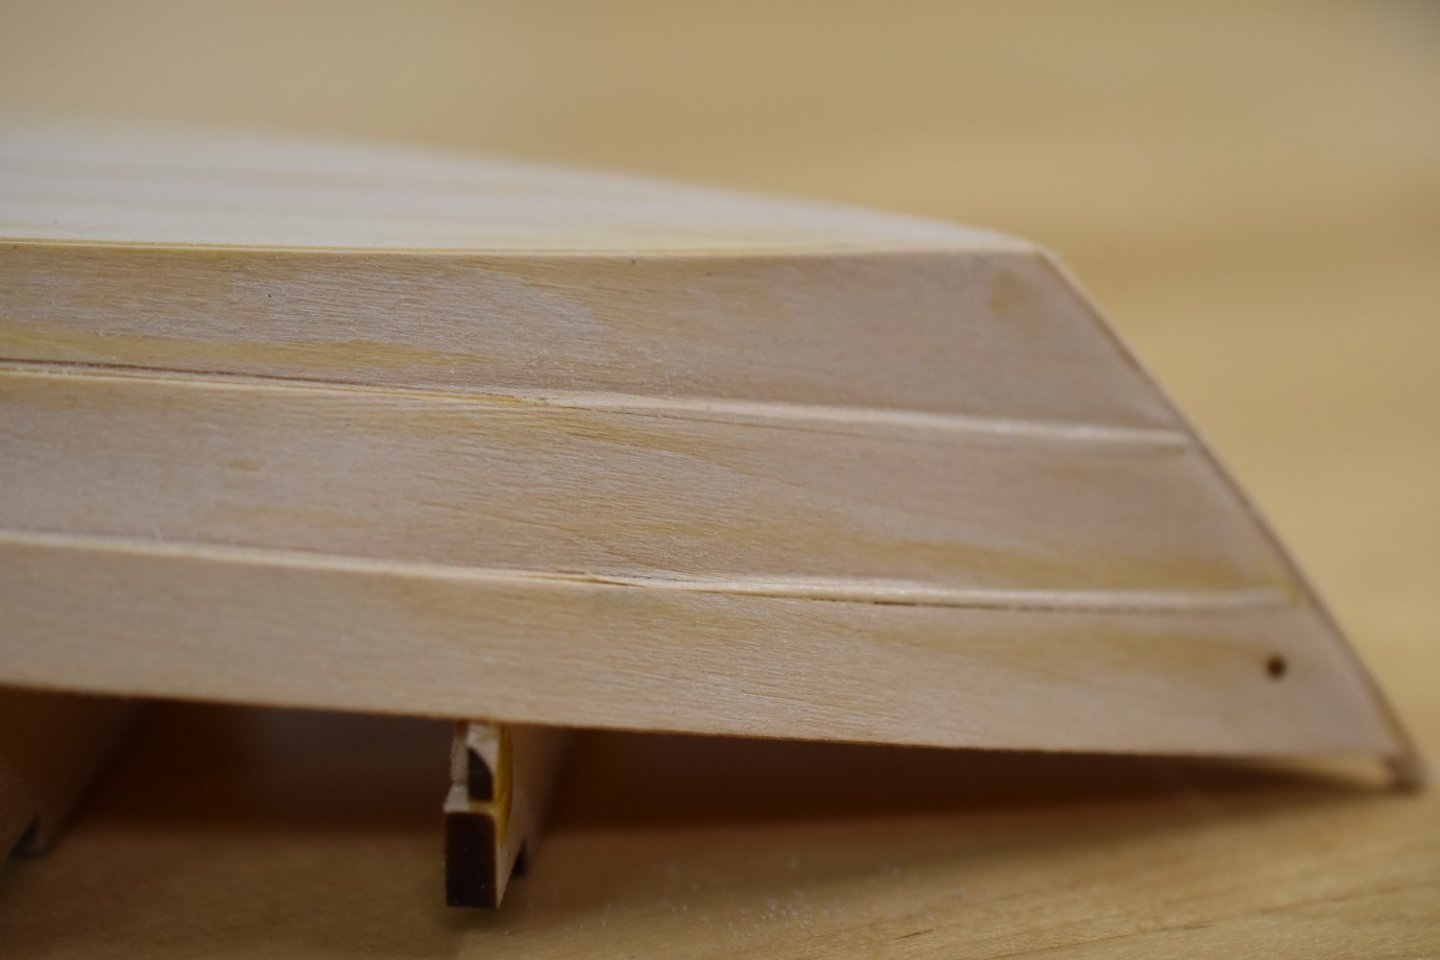
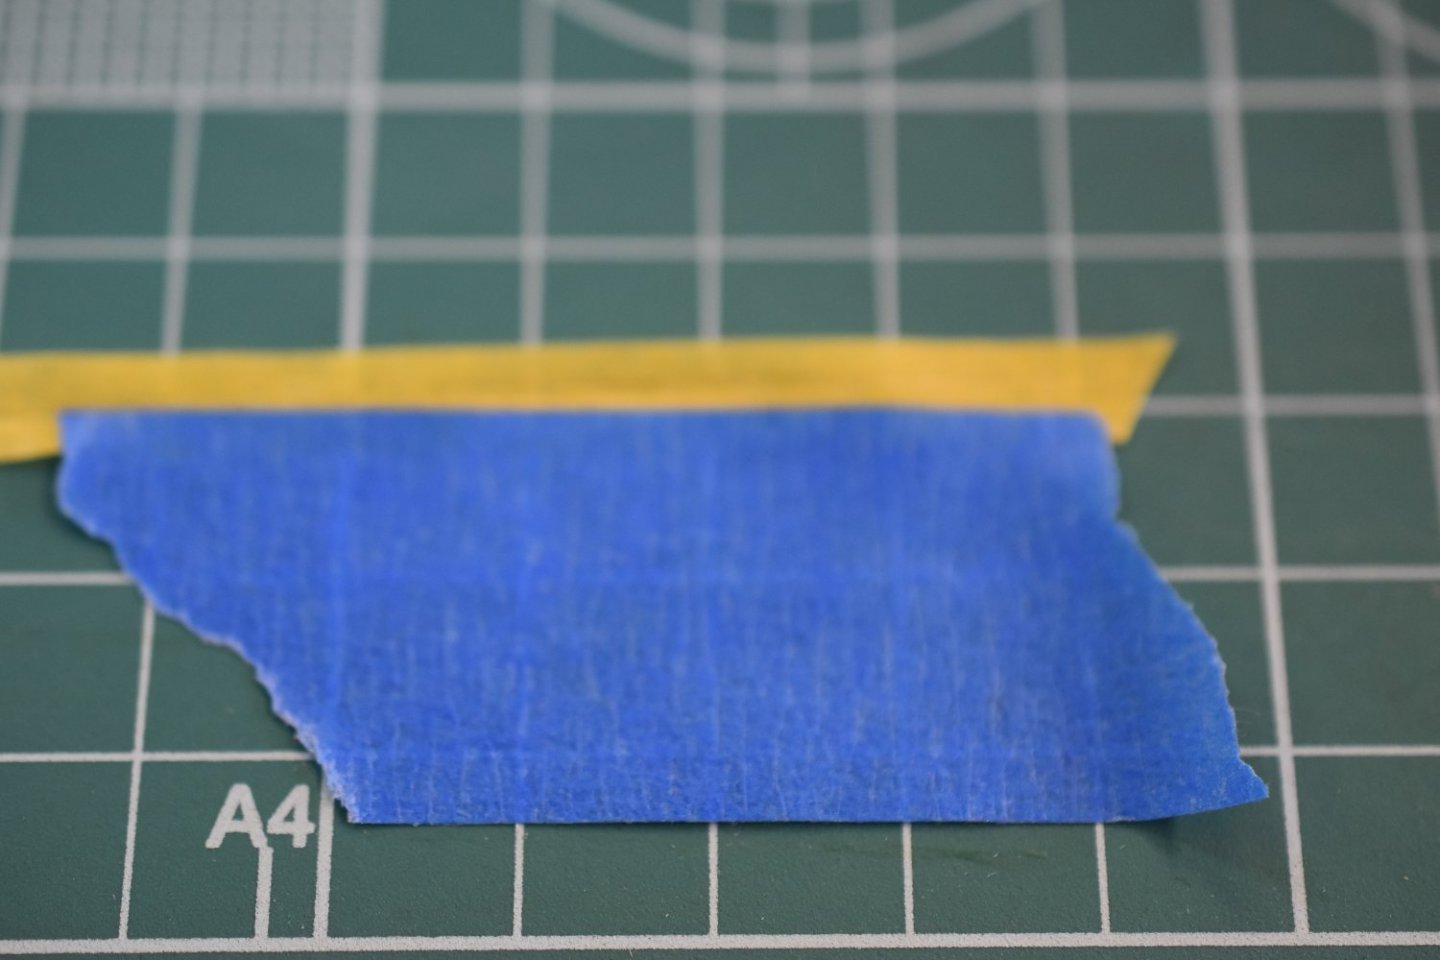
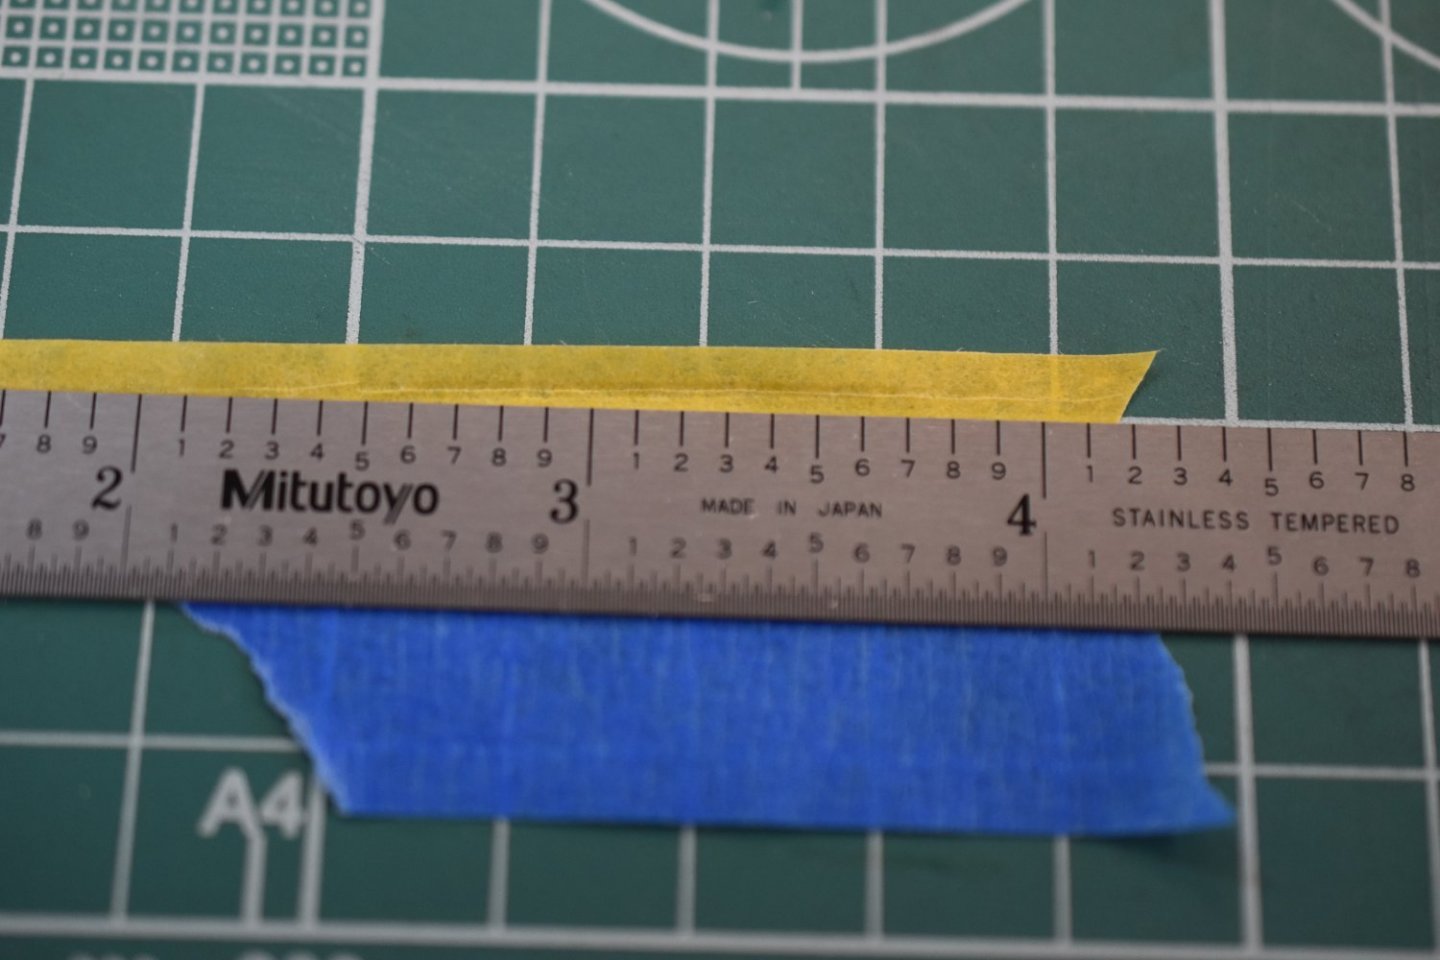
I went ahead and made some small filler pieces to try and fair out my poor craftsmanship. I was a little too lax about lining the planking up with the printed black line. It would have been a lot more fair had I took more care in that aspect of the plank alignment. I spent a lot of time making the little filler pieces and tried different methods as I made each one. I tried my hand at the spiling method with a tape pattern, but the needed pieces were pretty small. In the end I just eye balled it, then sanded to fit and attached. It was much better to sand it very close to a smooth fit before attaching it. that way the planking adjacent to the filler pieces didn't get sanded too much additionally. I'm hoping a coat of sanding sealer, primer, and then paint will fill the joint transition at the repair to hide it. That may catch me adrift, but we'll see.


- 61 replies
-
- 4
-
-
- Lowell Grand Banks Dory
- Model Shipways
- (and 1 more)
-
I decided to use that Americana DecoArt multi purpose sealer on the wood before painting the boat. I'm going to try and use an airbrush on the paint job. I will probably use a light primer coat after the sanding sealer stuff. I ordered a couple bottles of Vallejo paints to try out with the air brush. I think I'll be painting the hull pretty soon.
- 61 replies
-
- 1
-
-
- Lowell Grand Banks Dory
- Model Shipways
- (and 1 more)
-
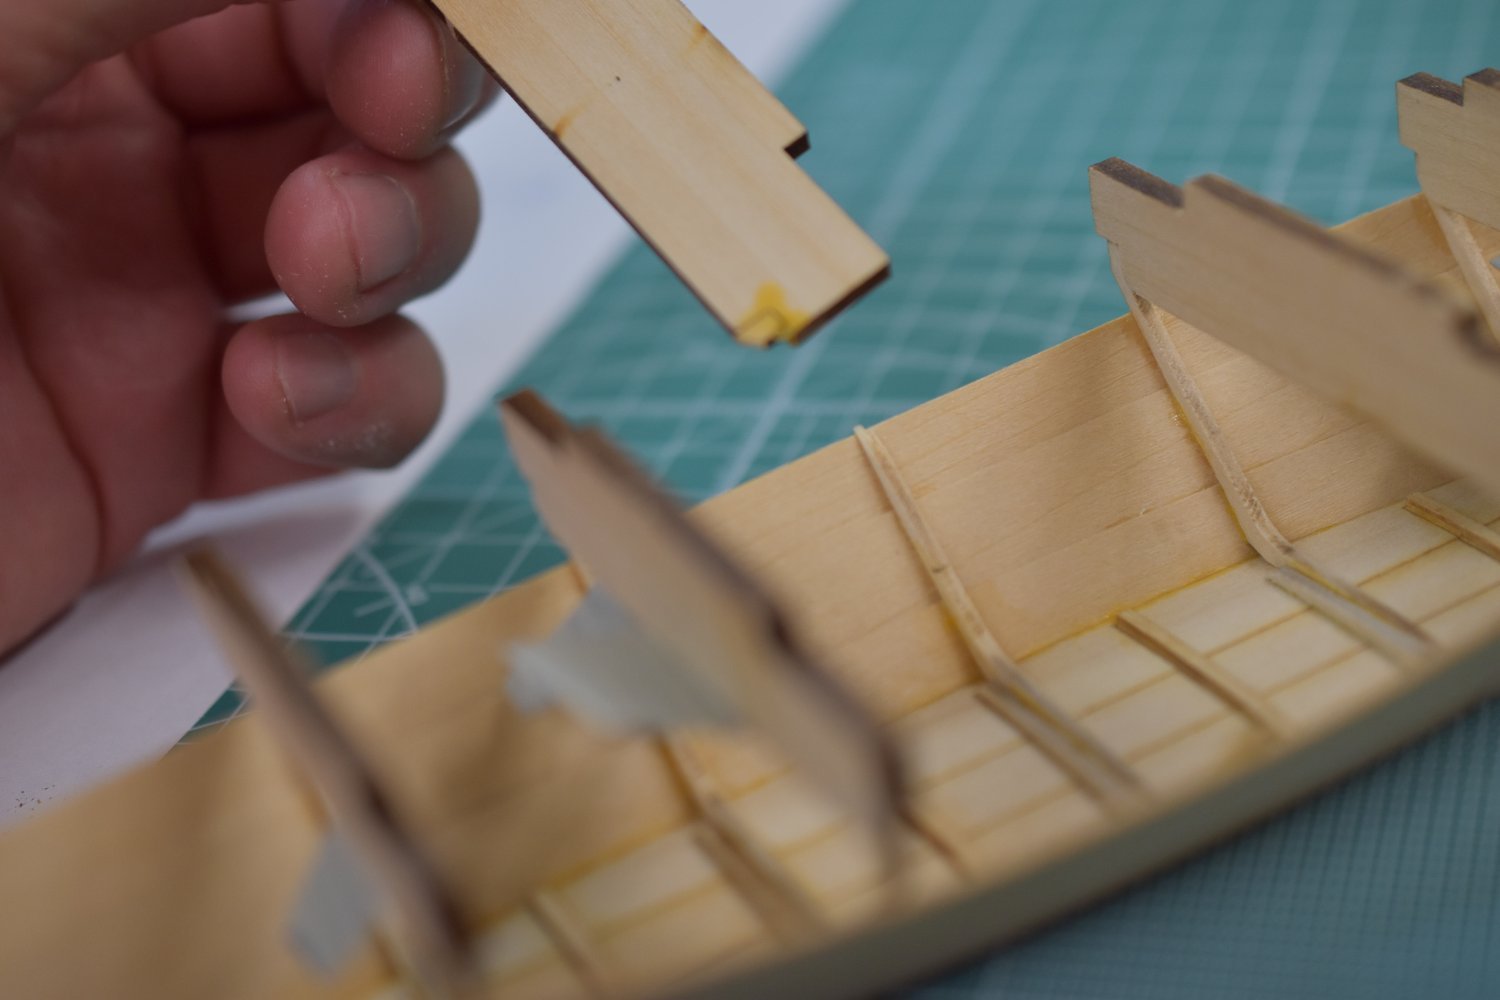
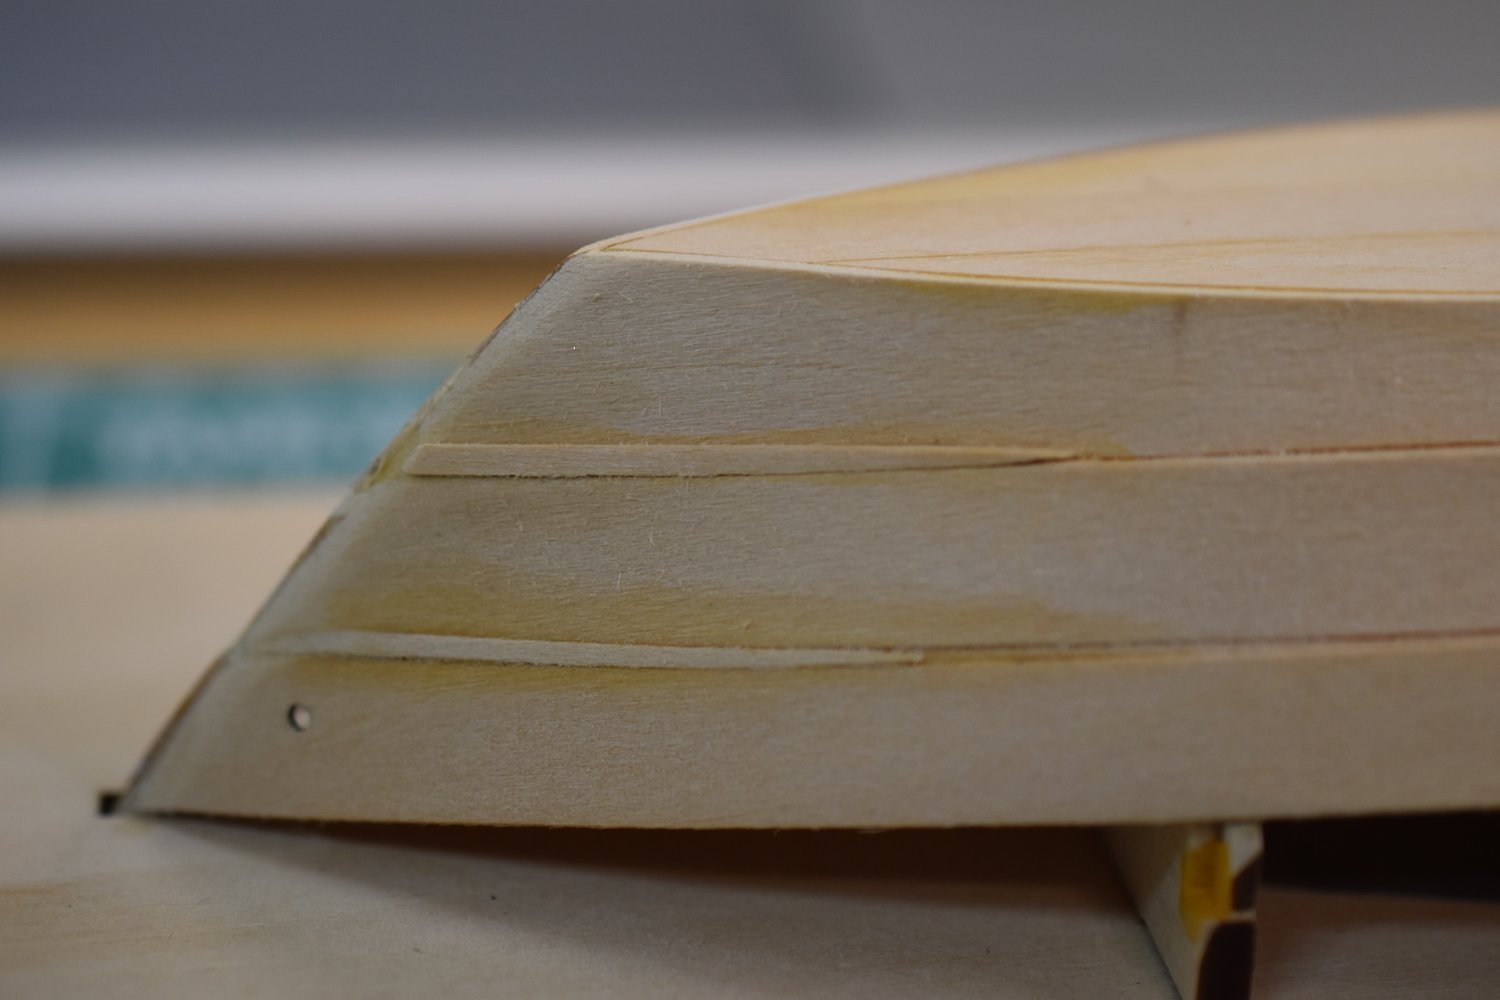
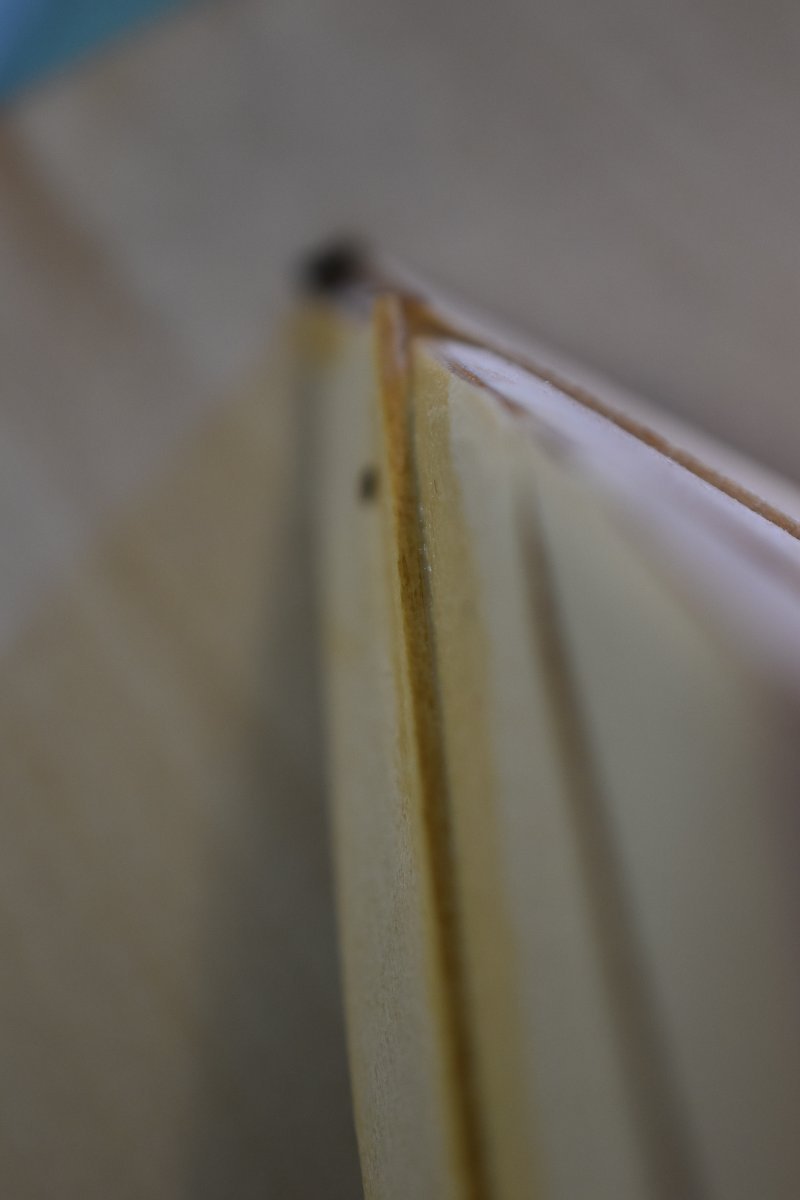
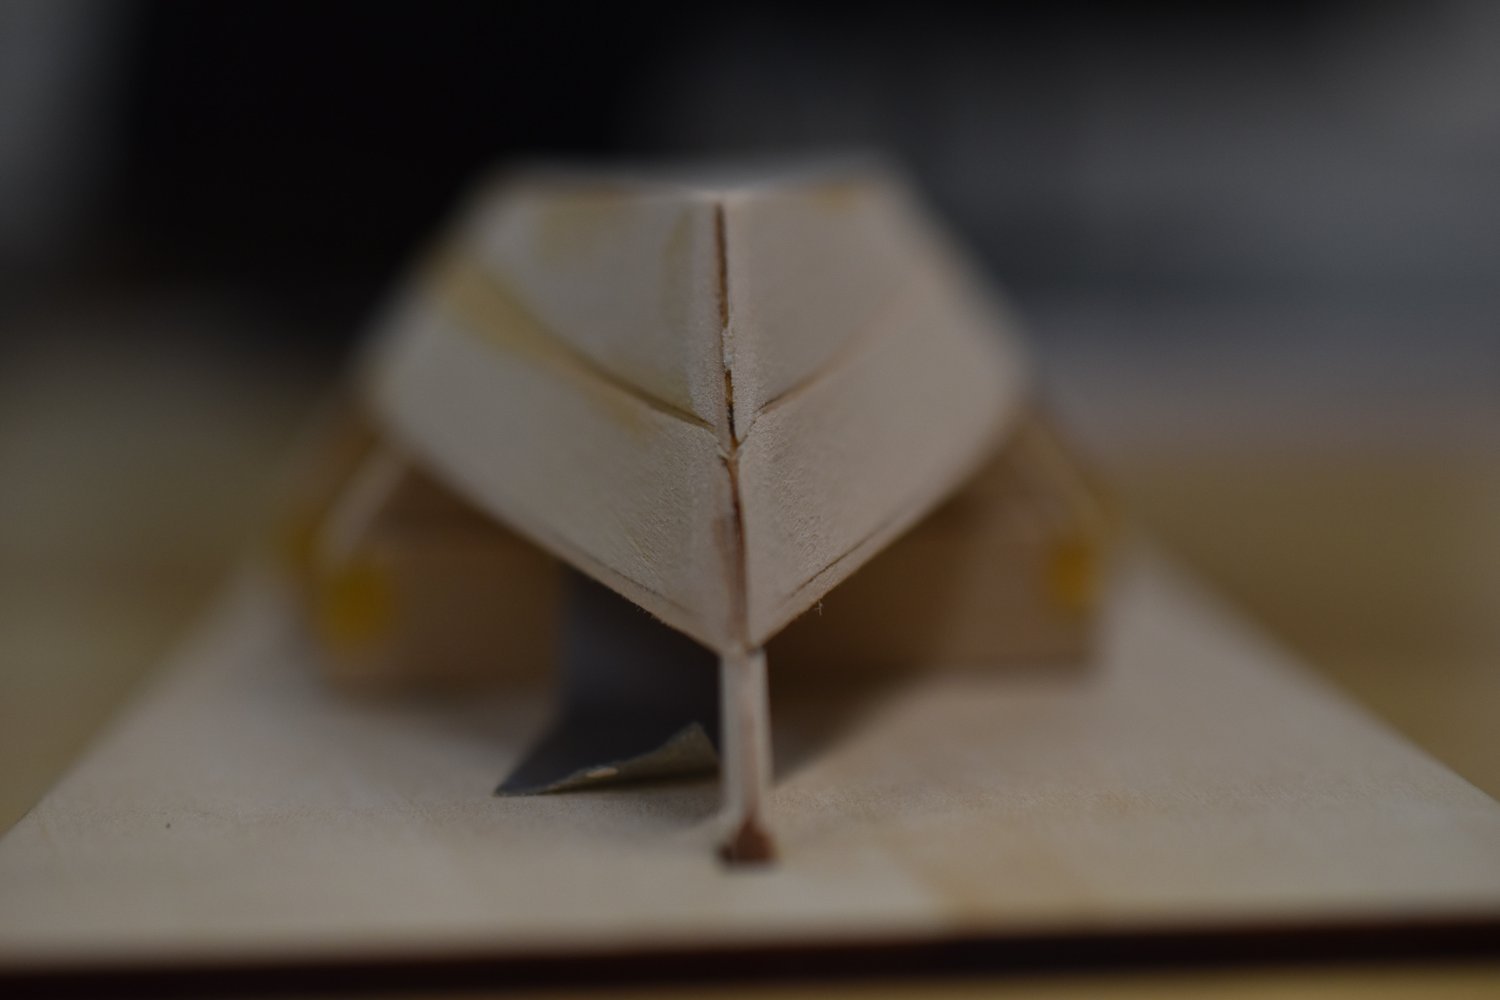
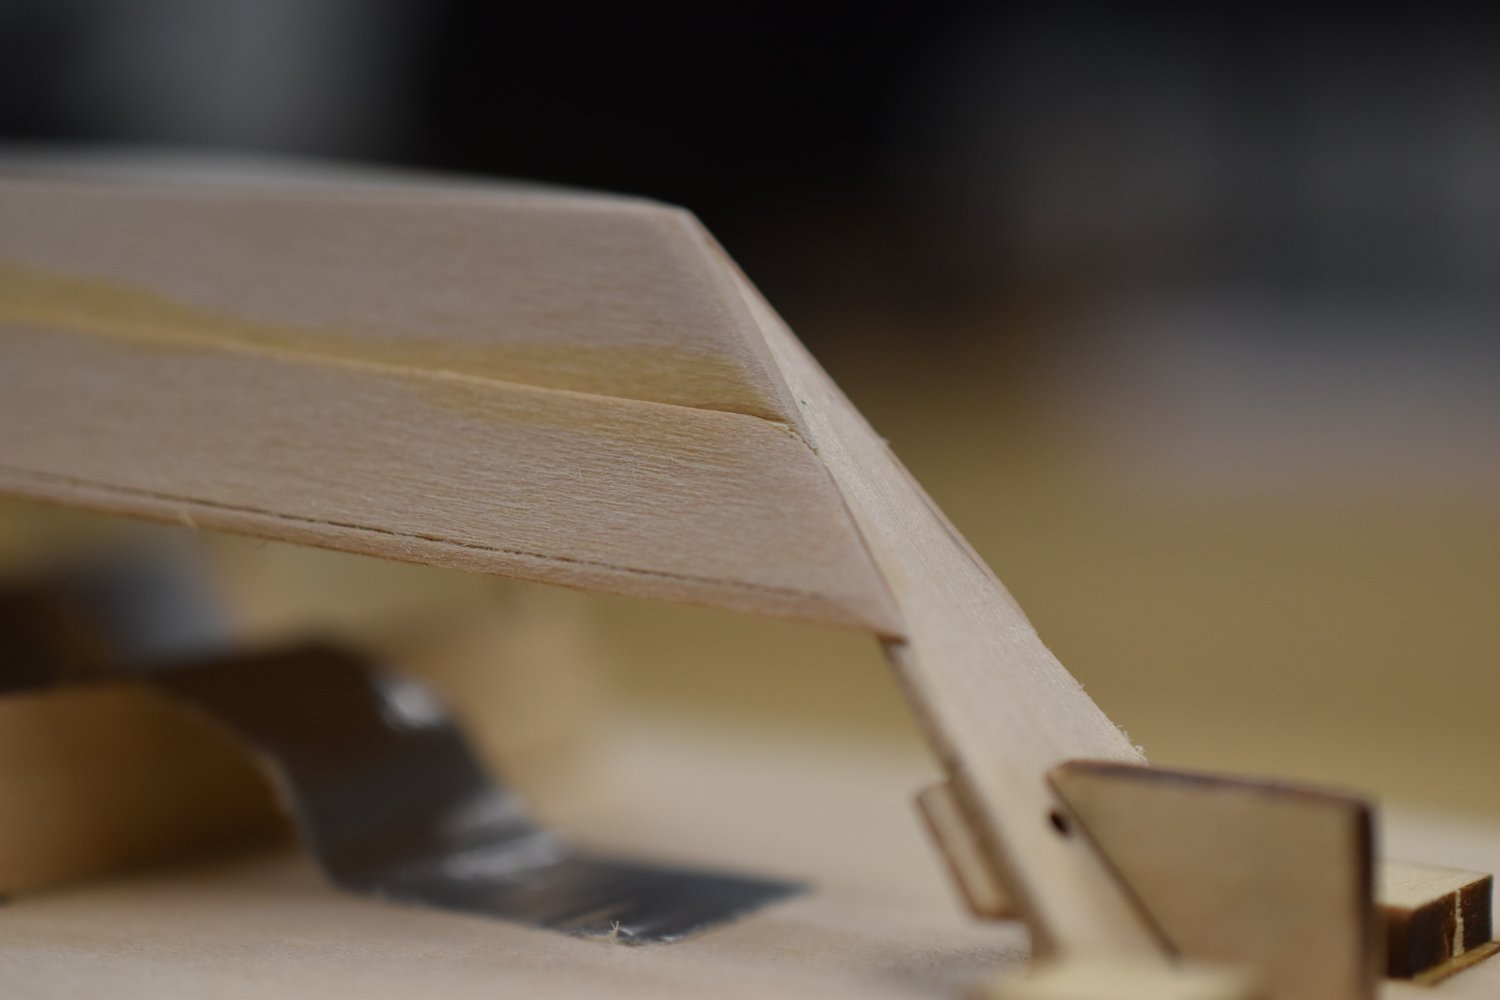
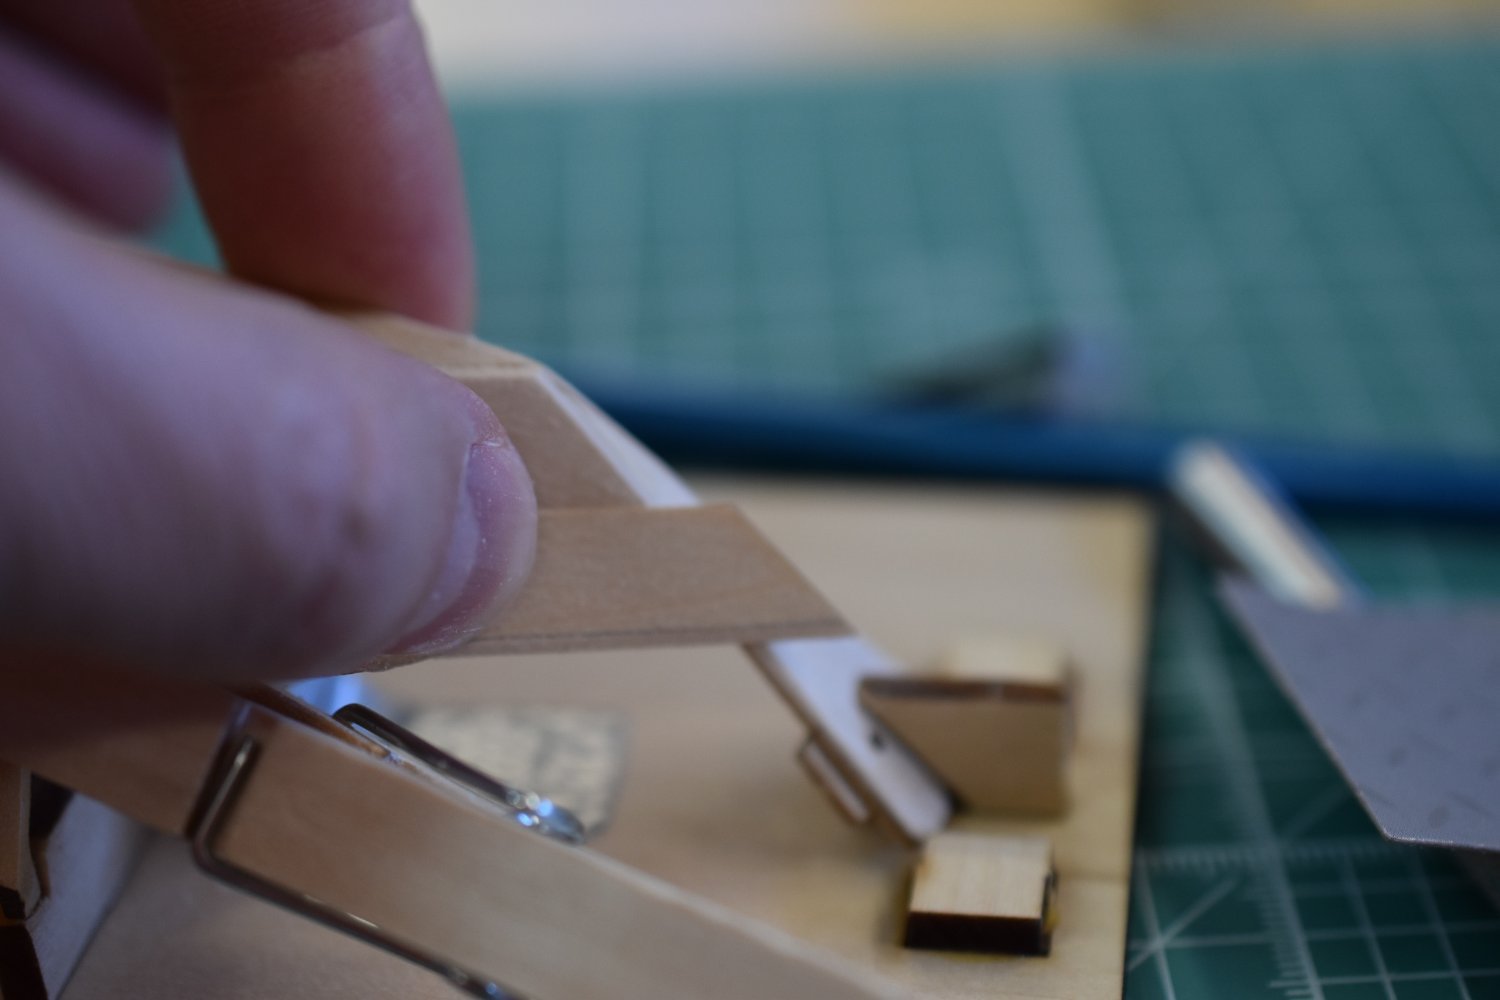
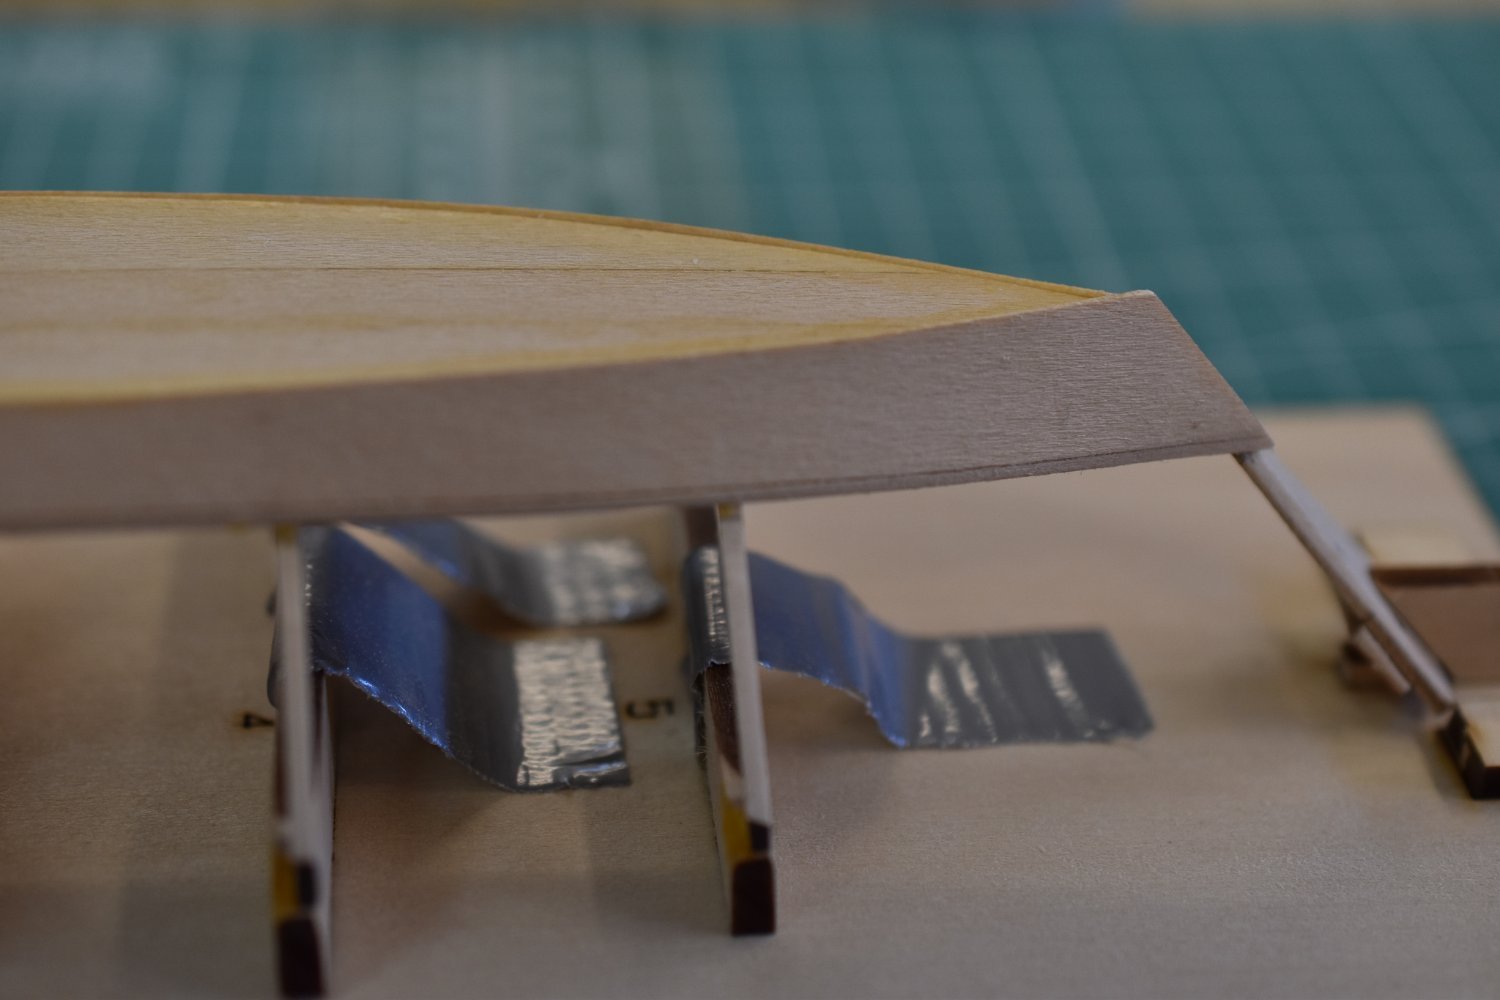
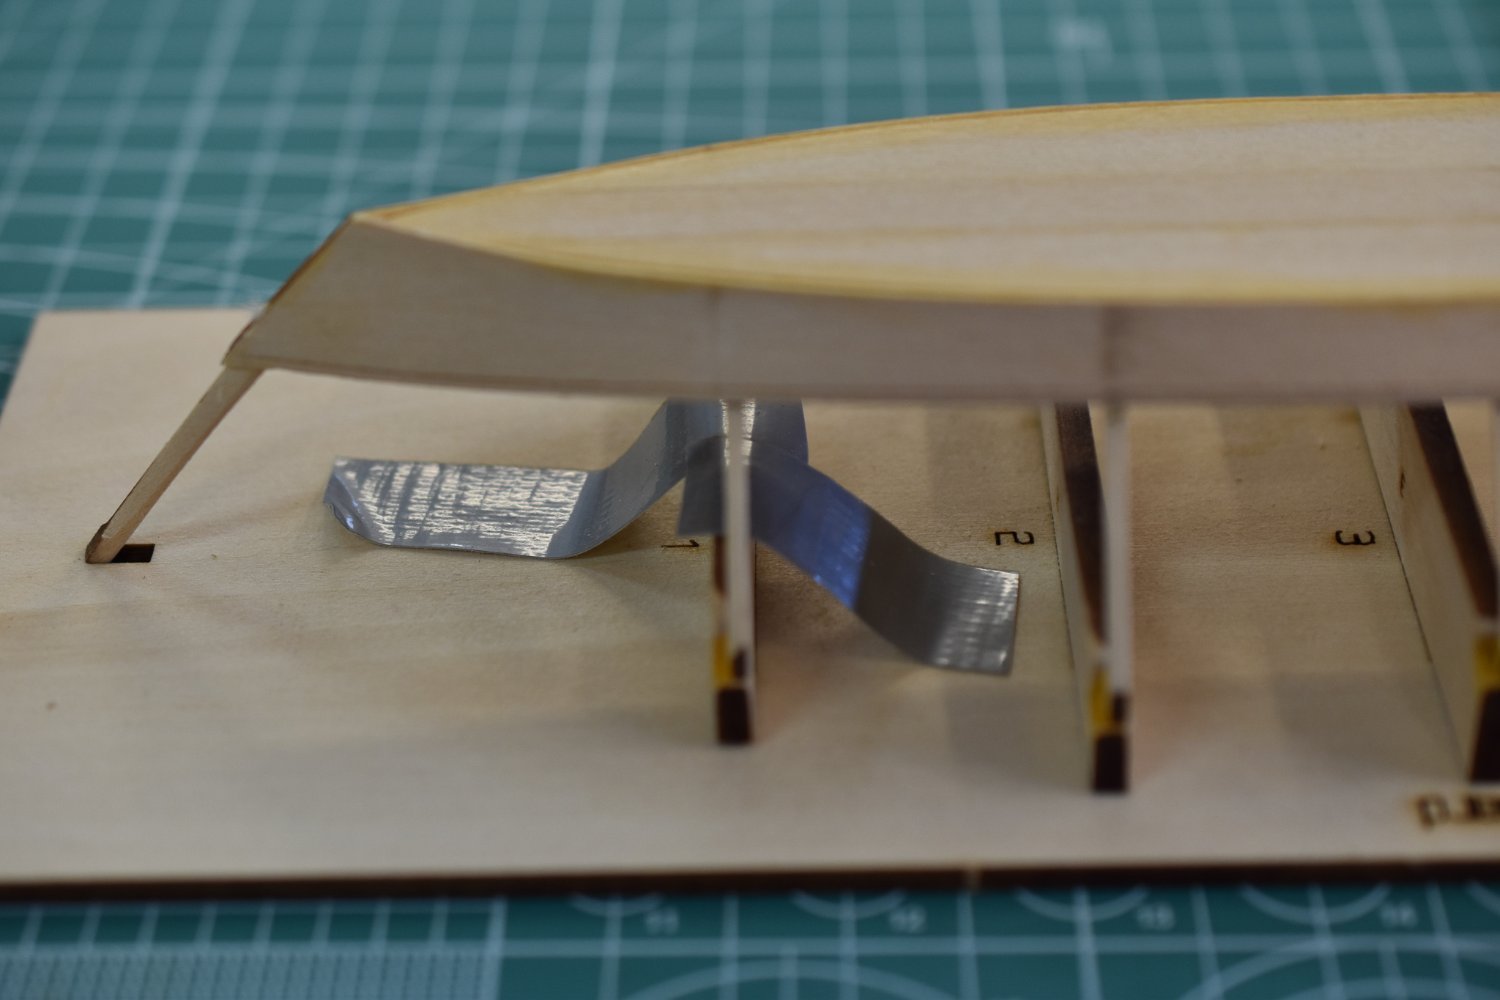
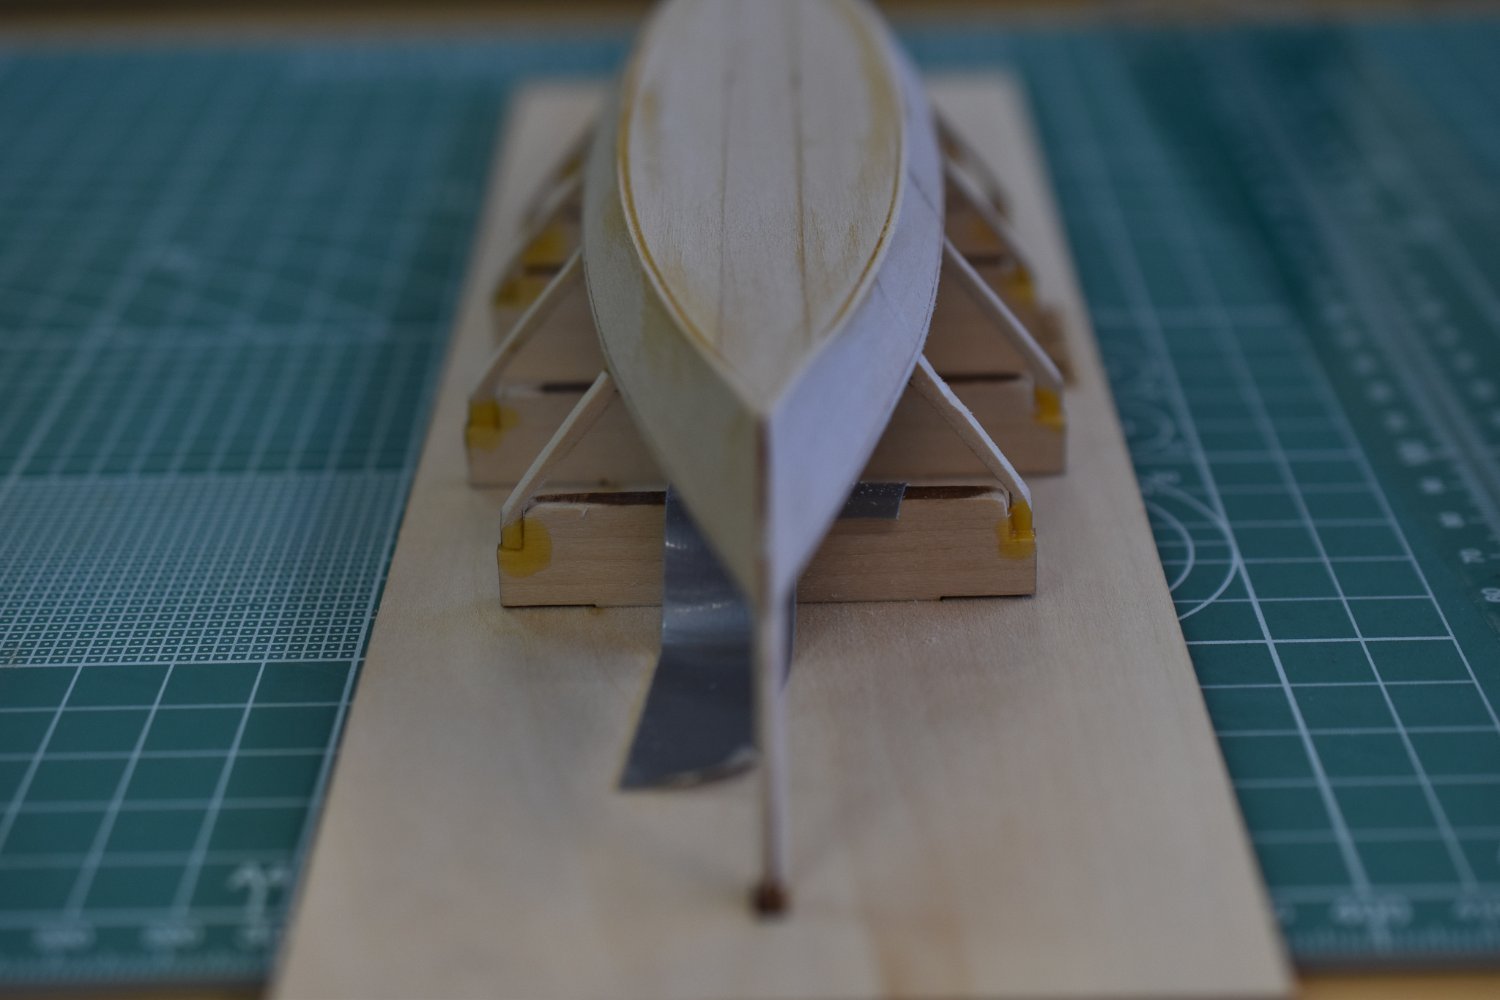
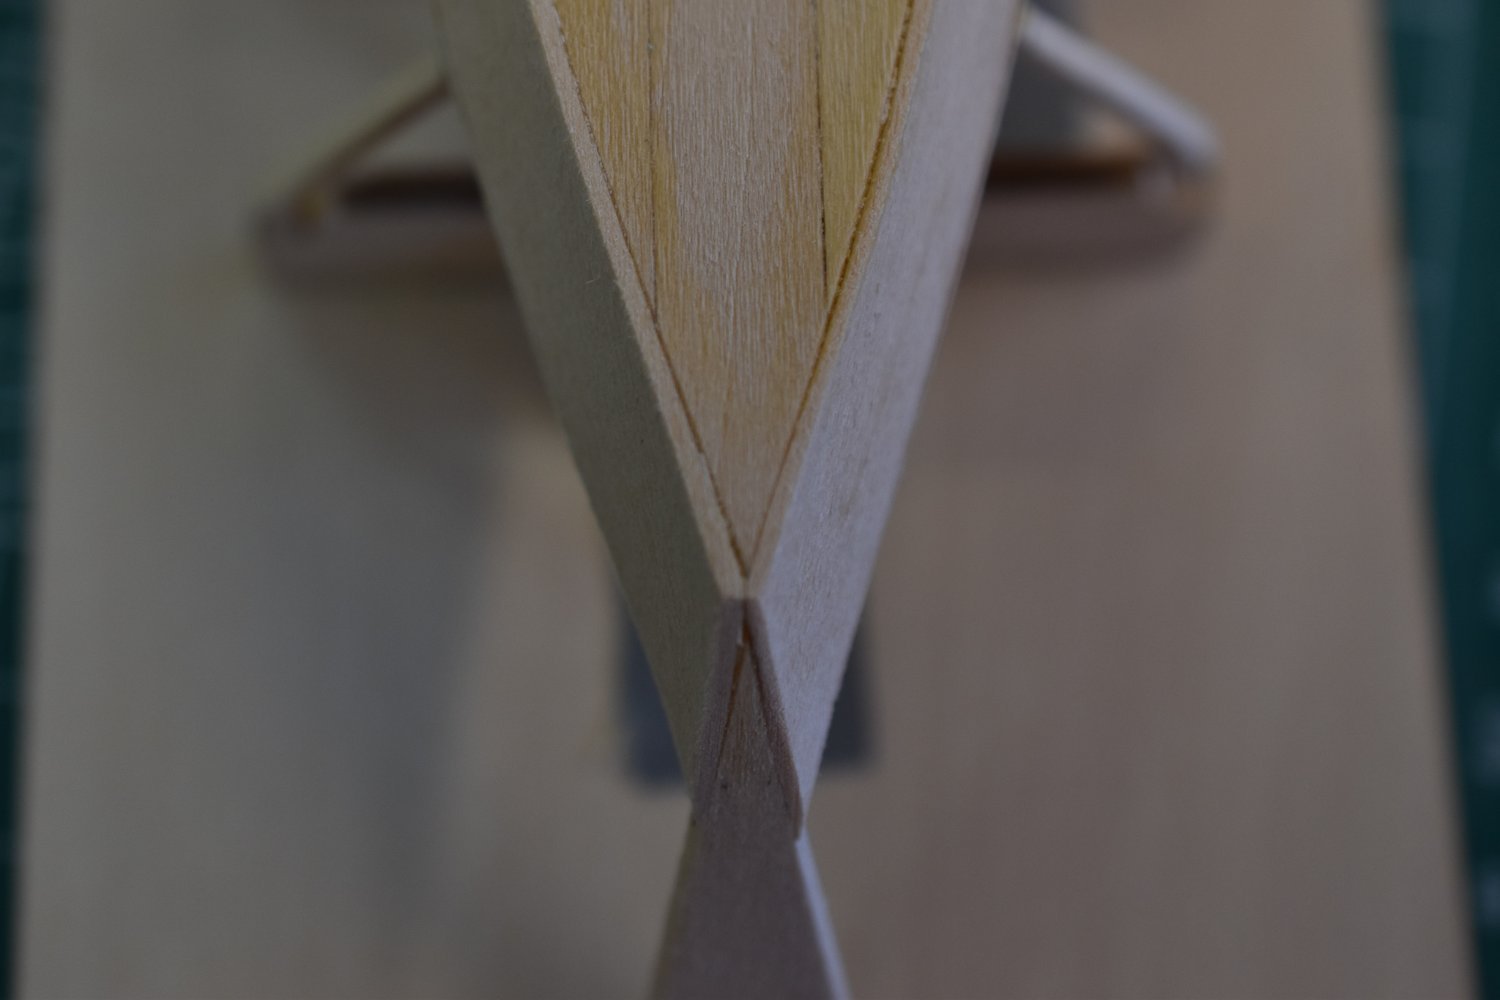
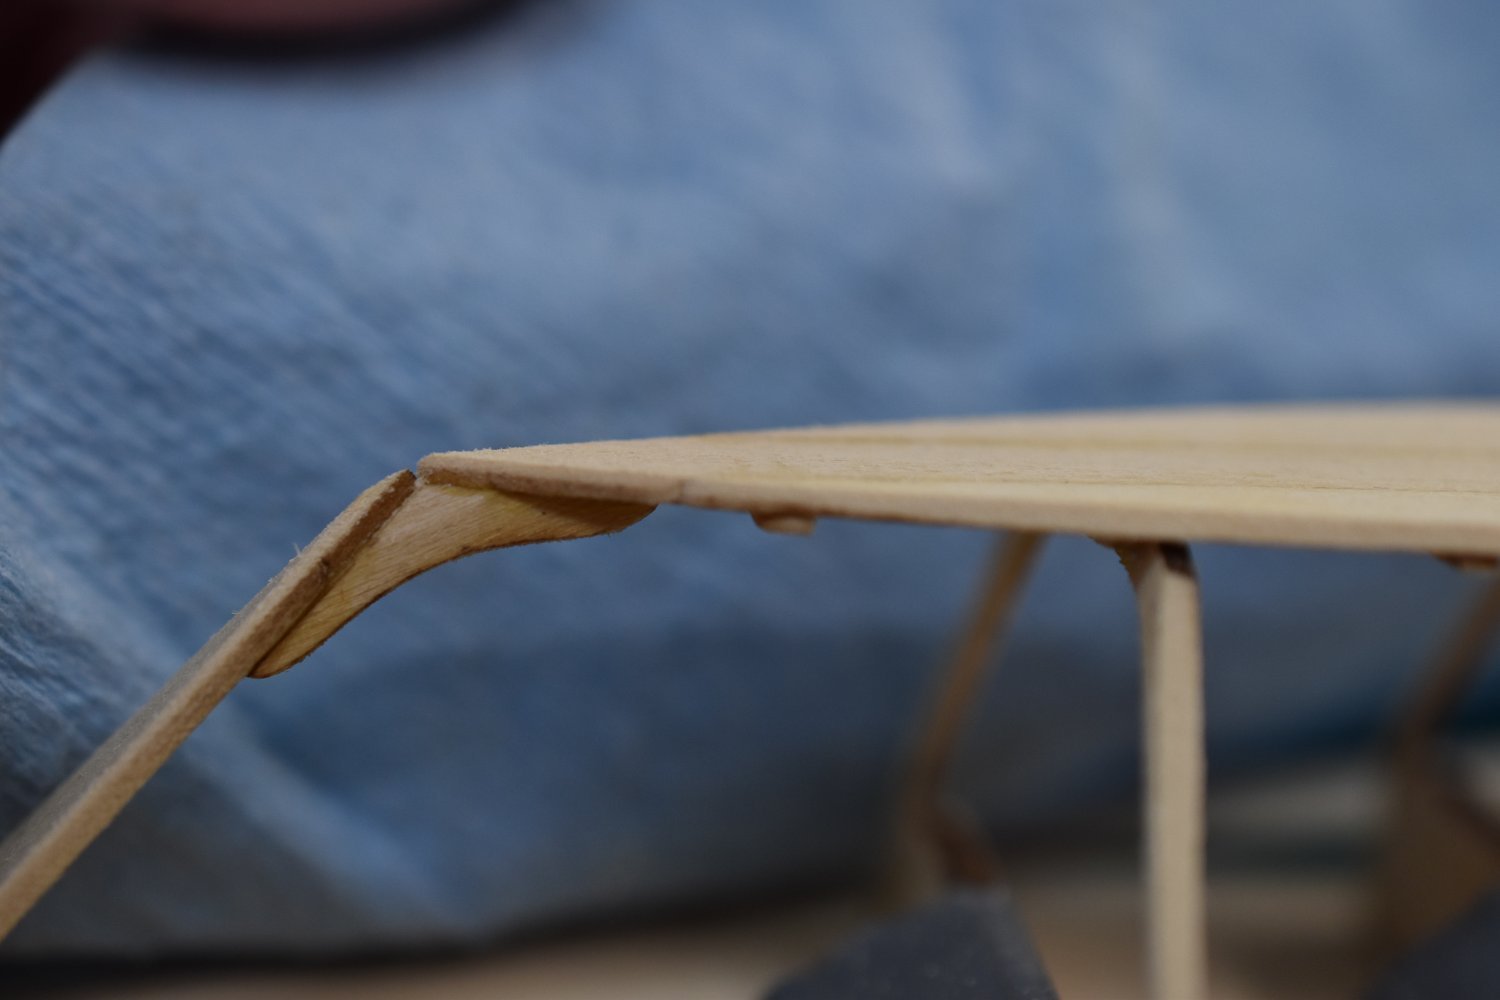
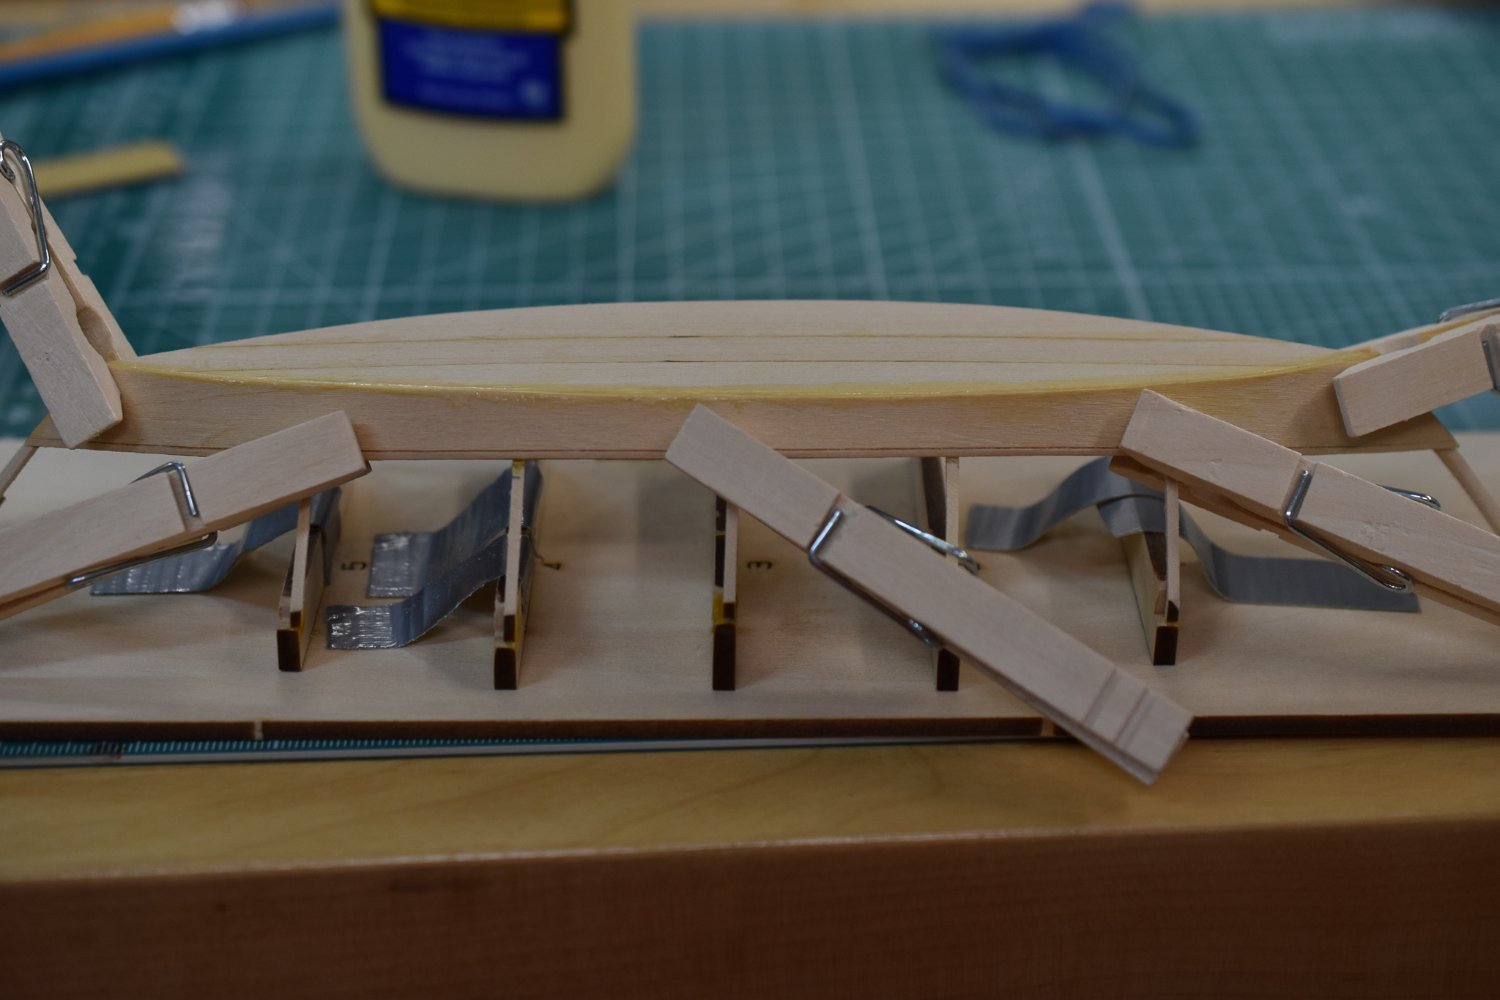
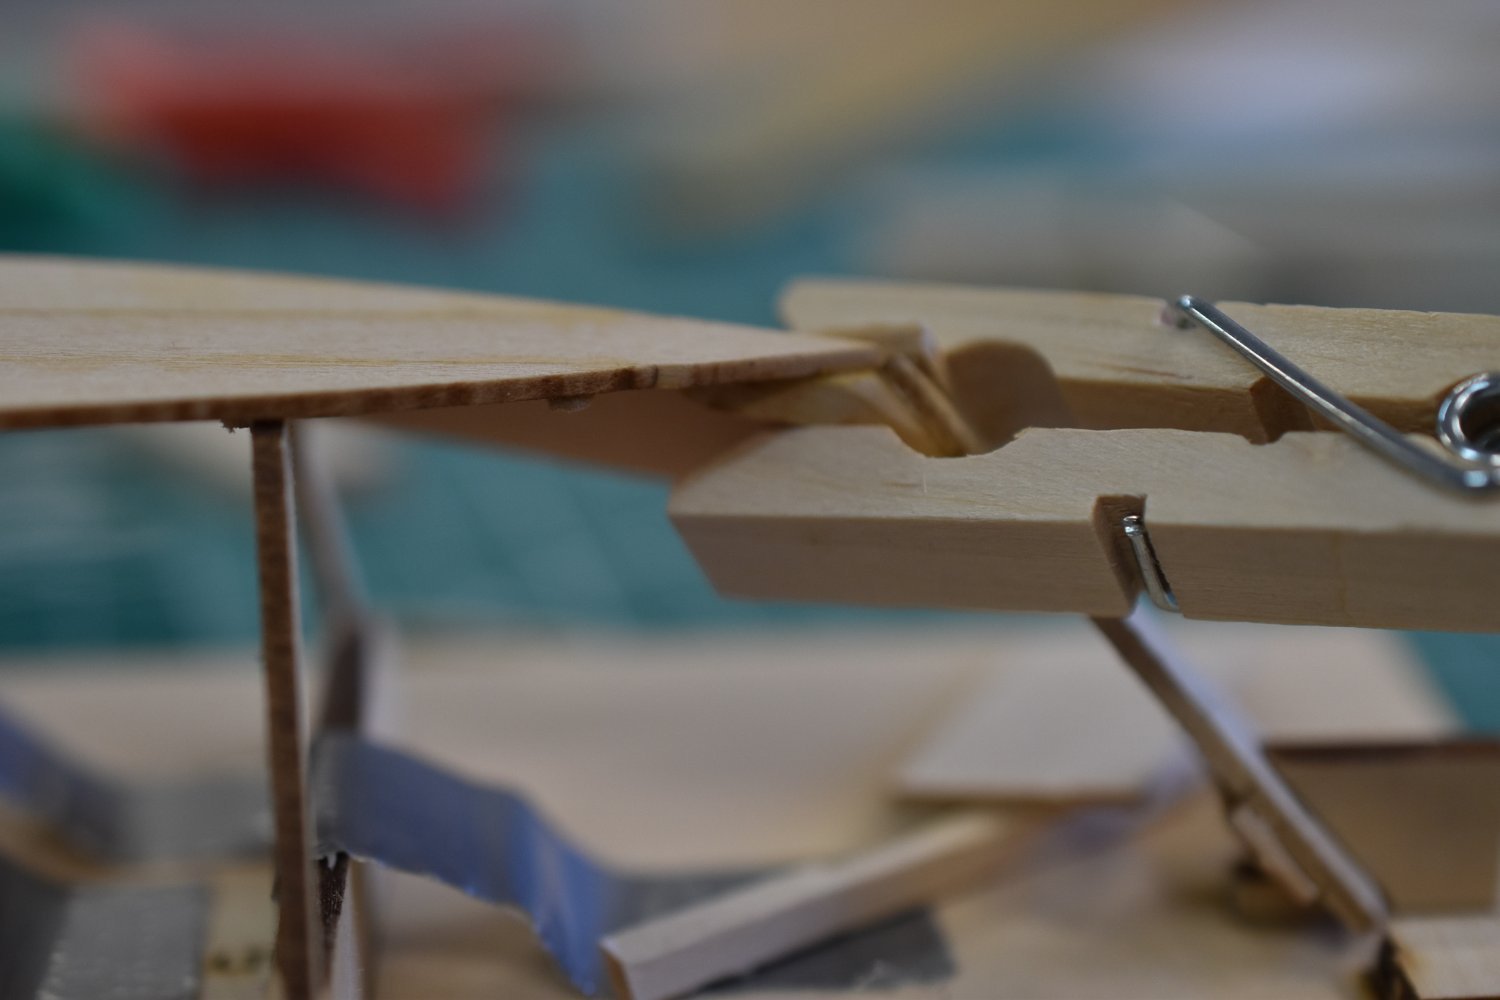
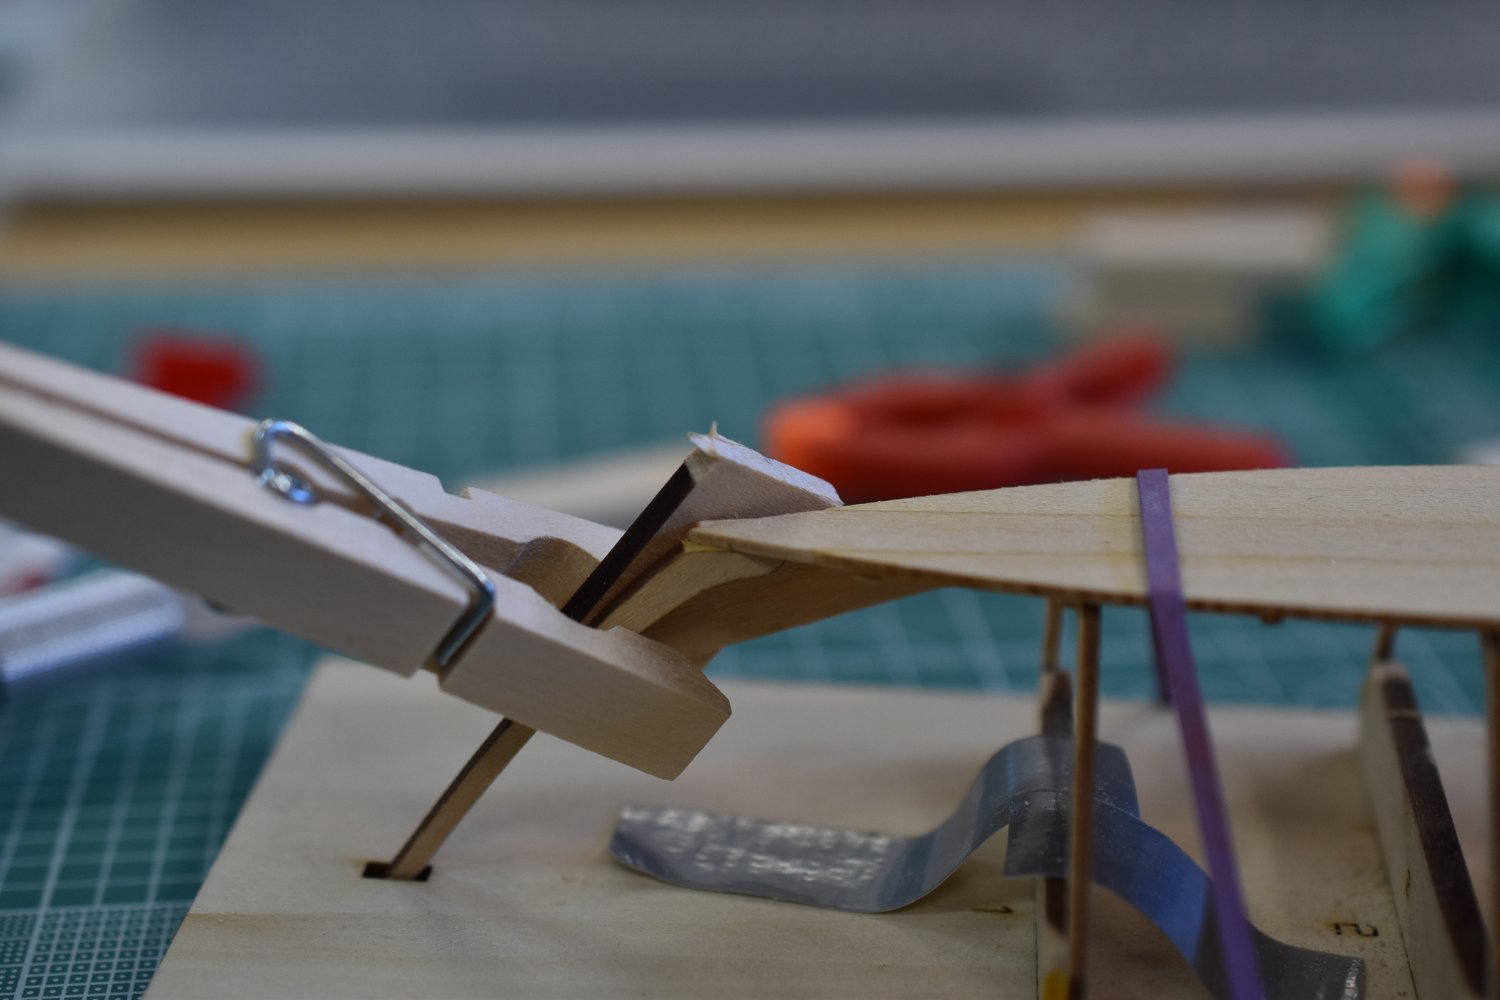
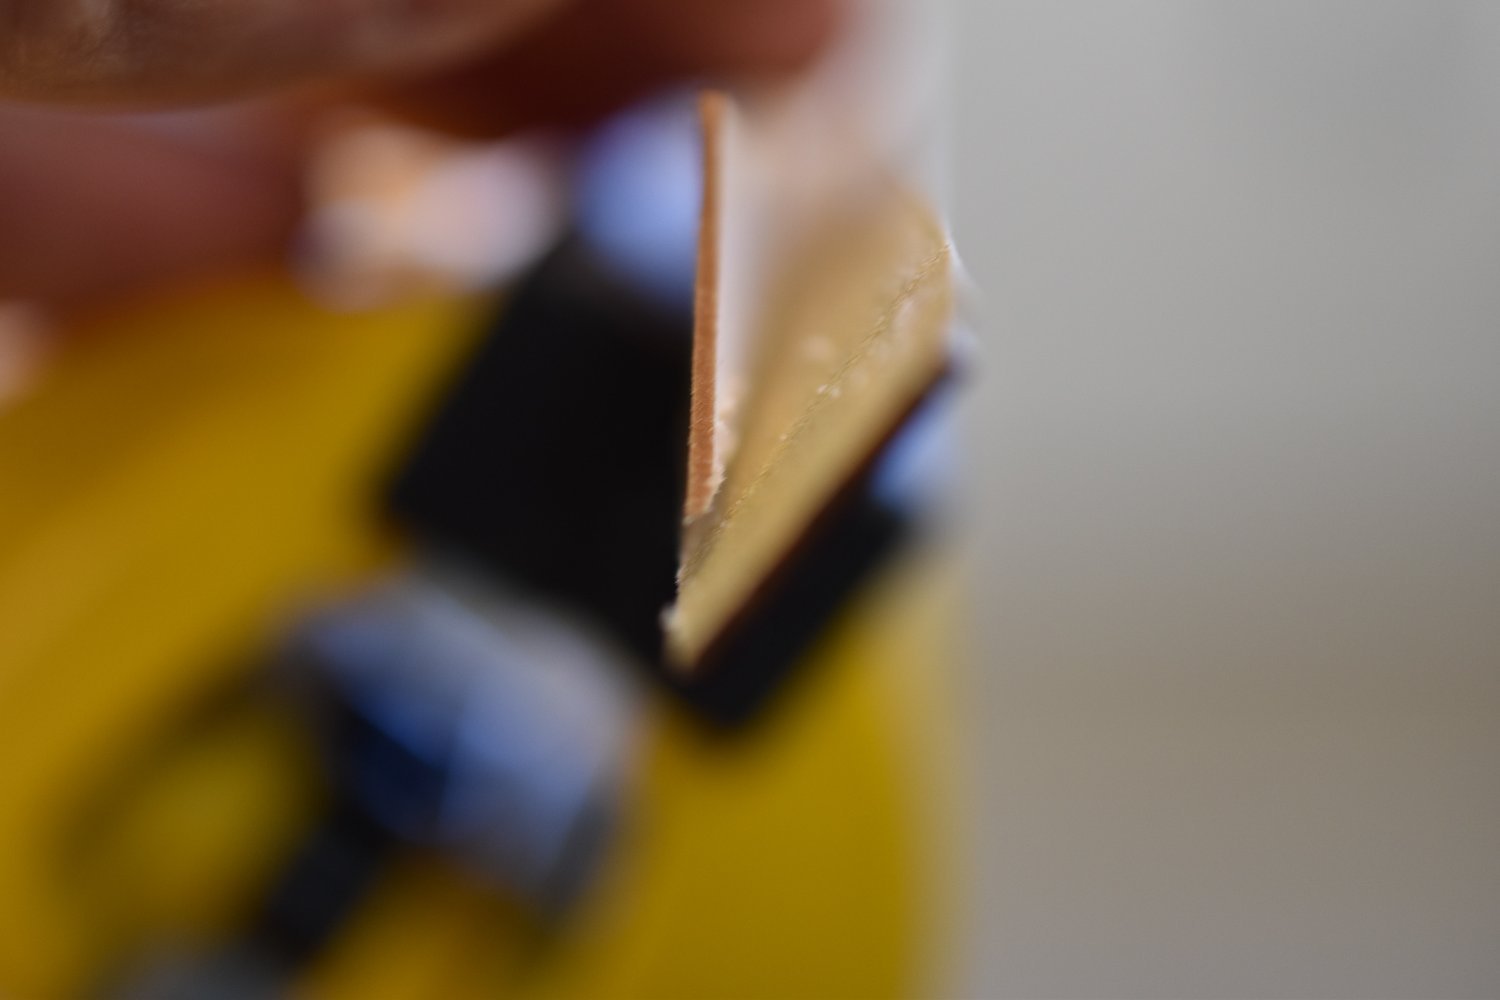
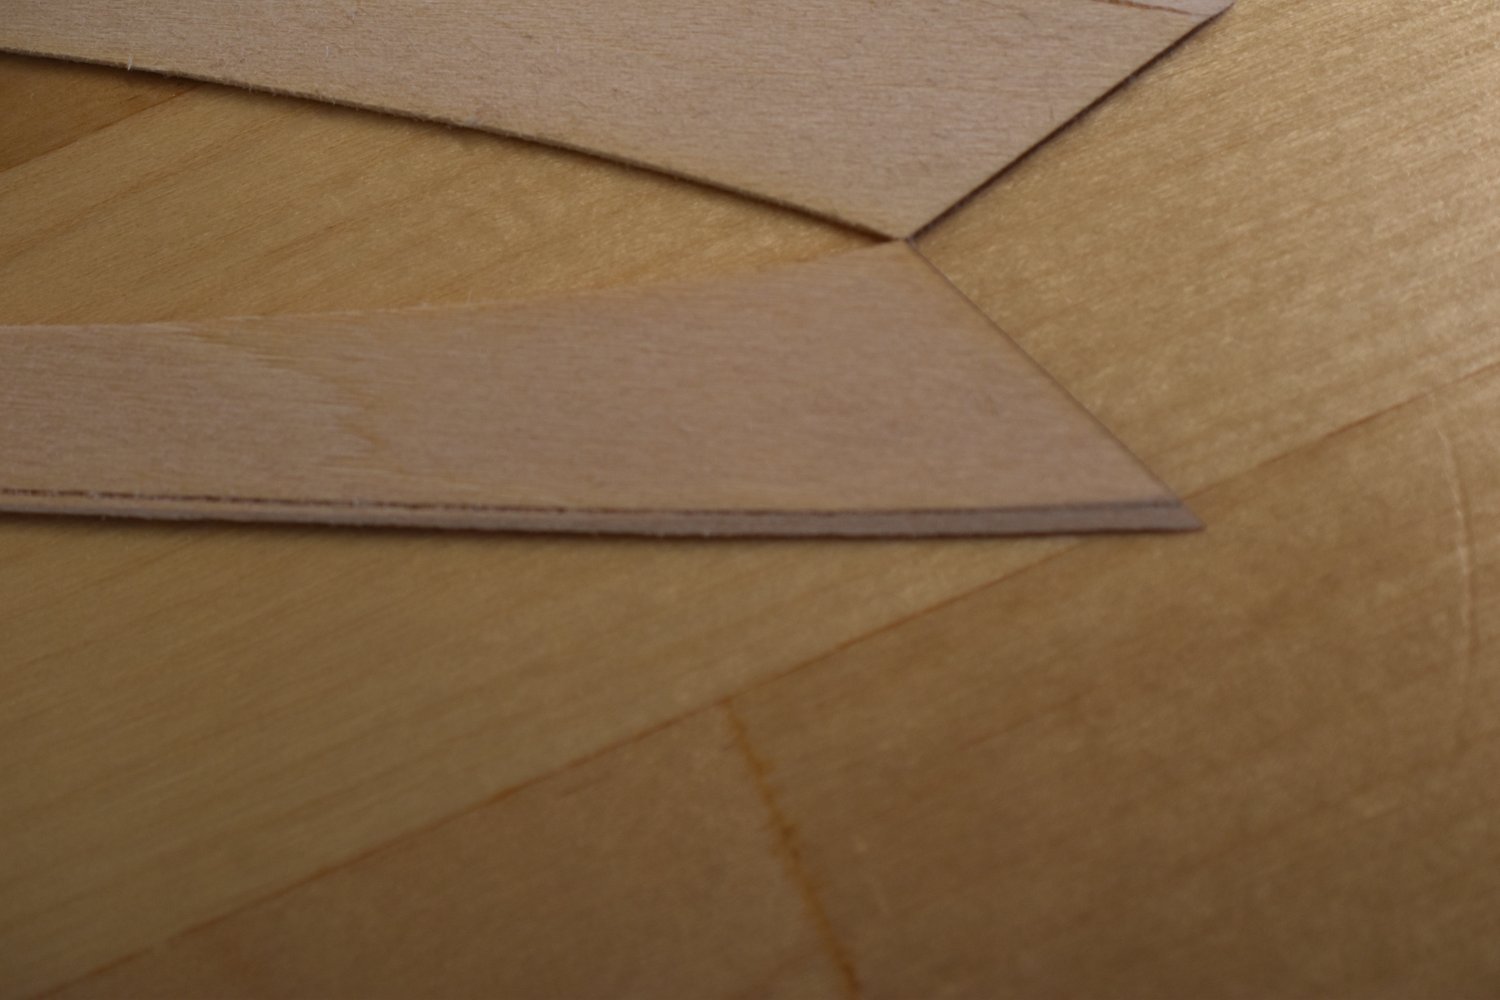
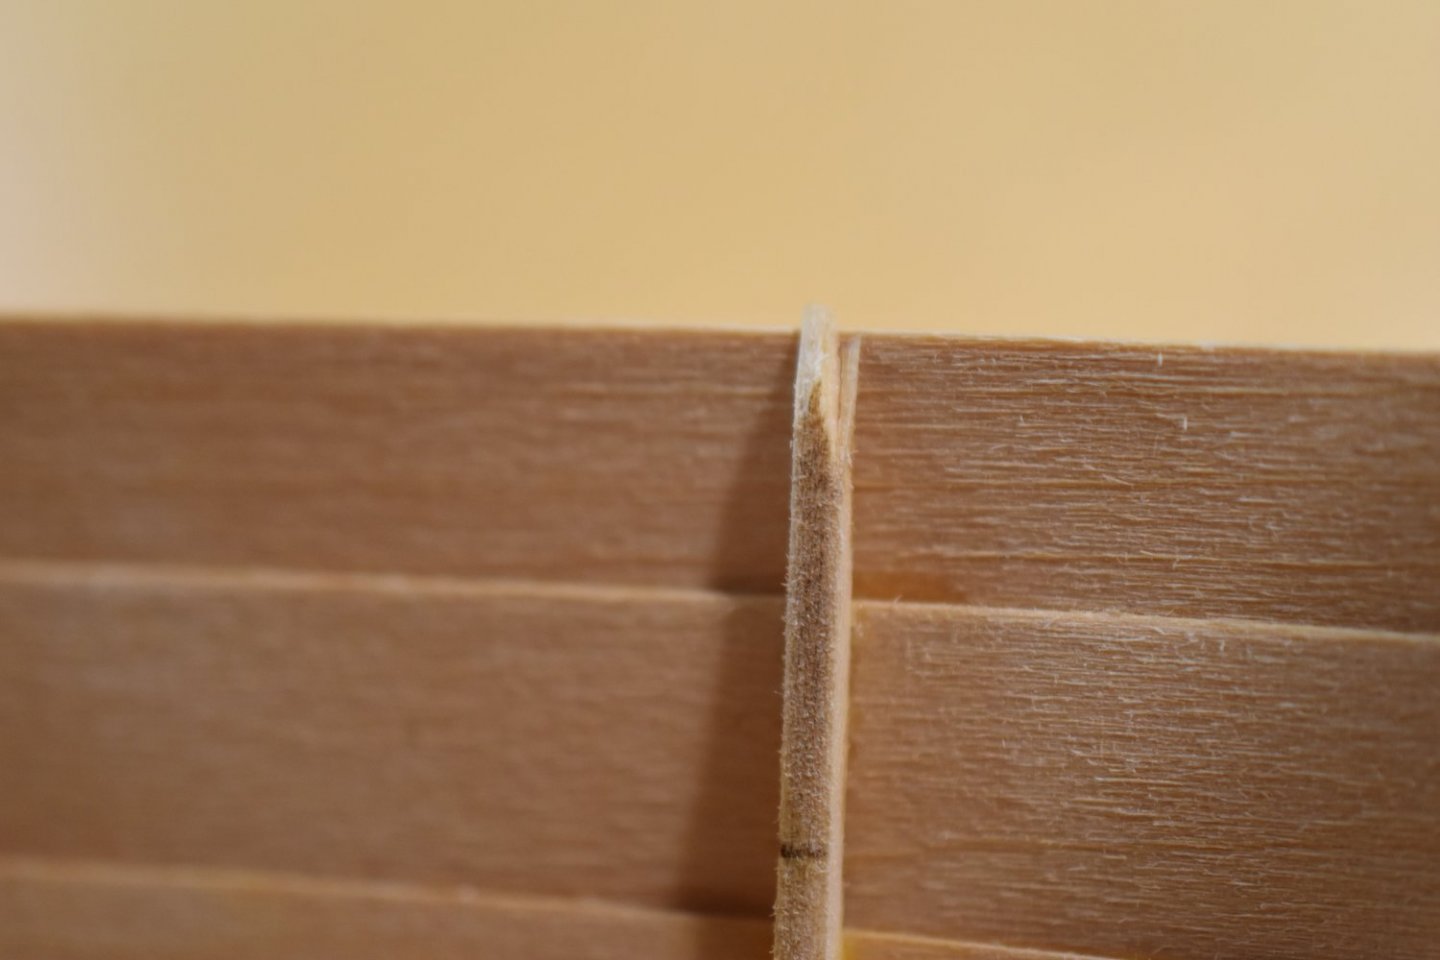
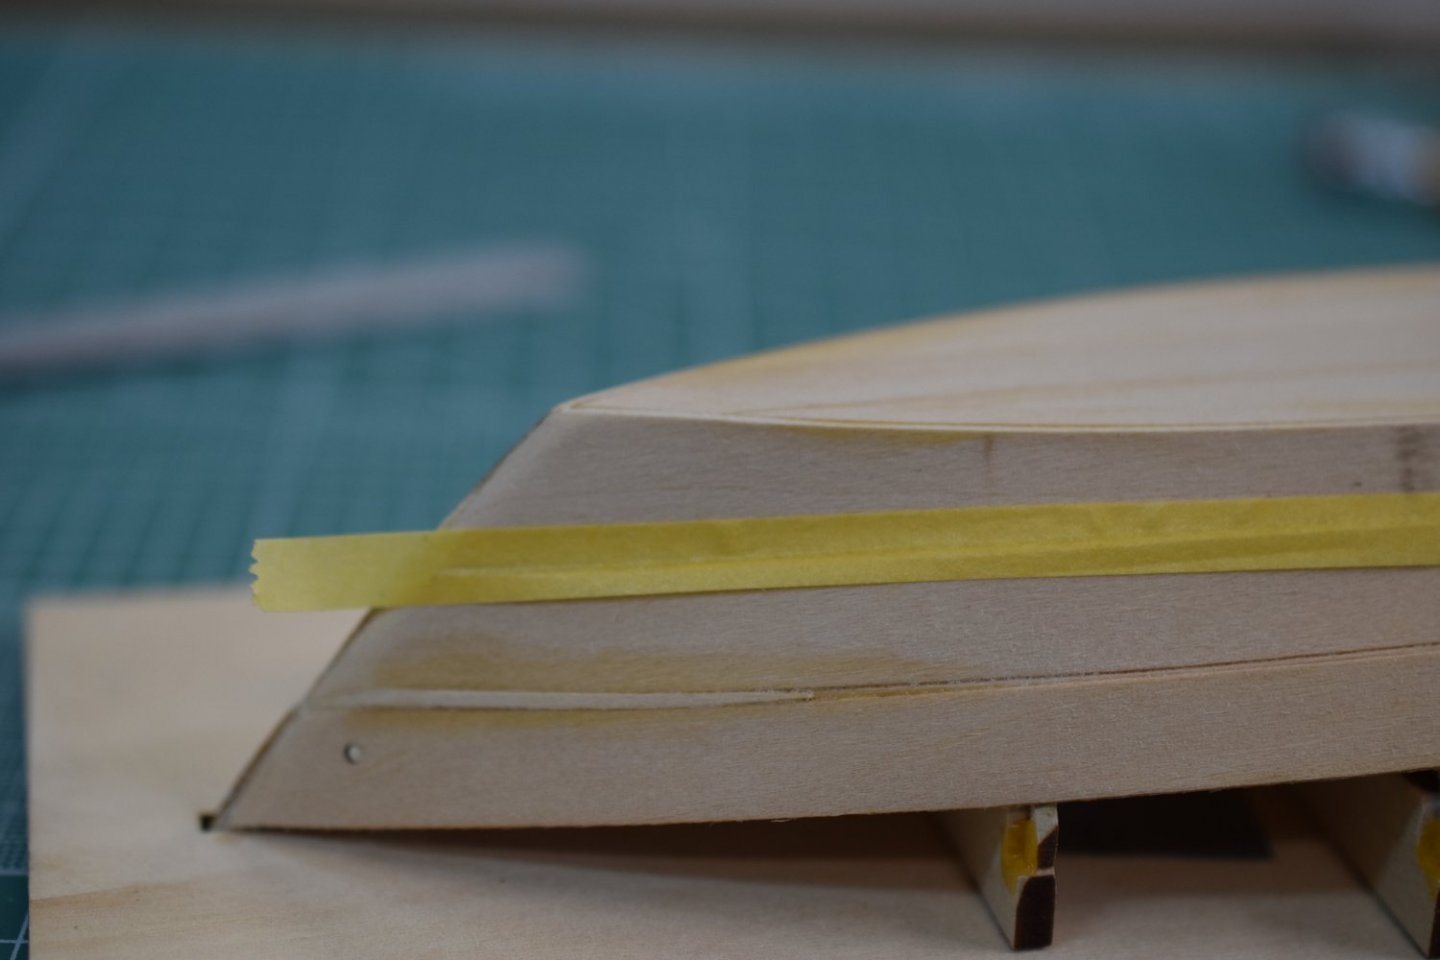
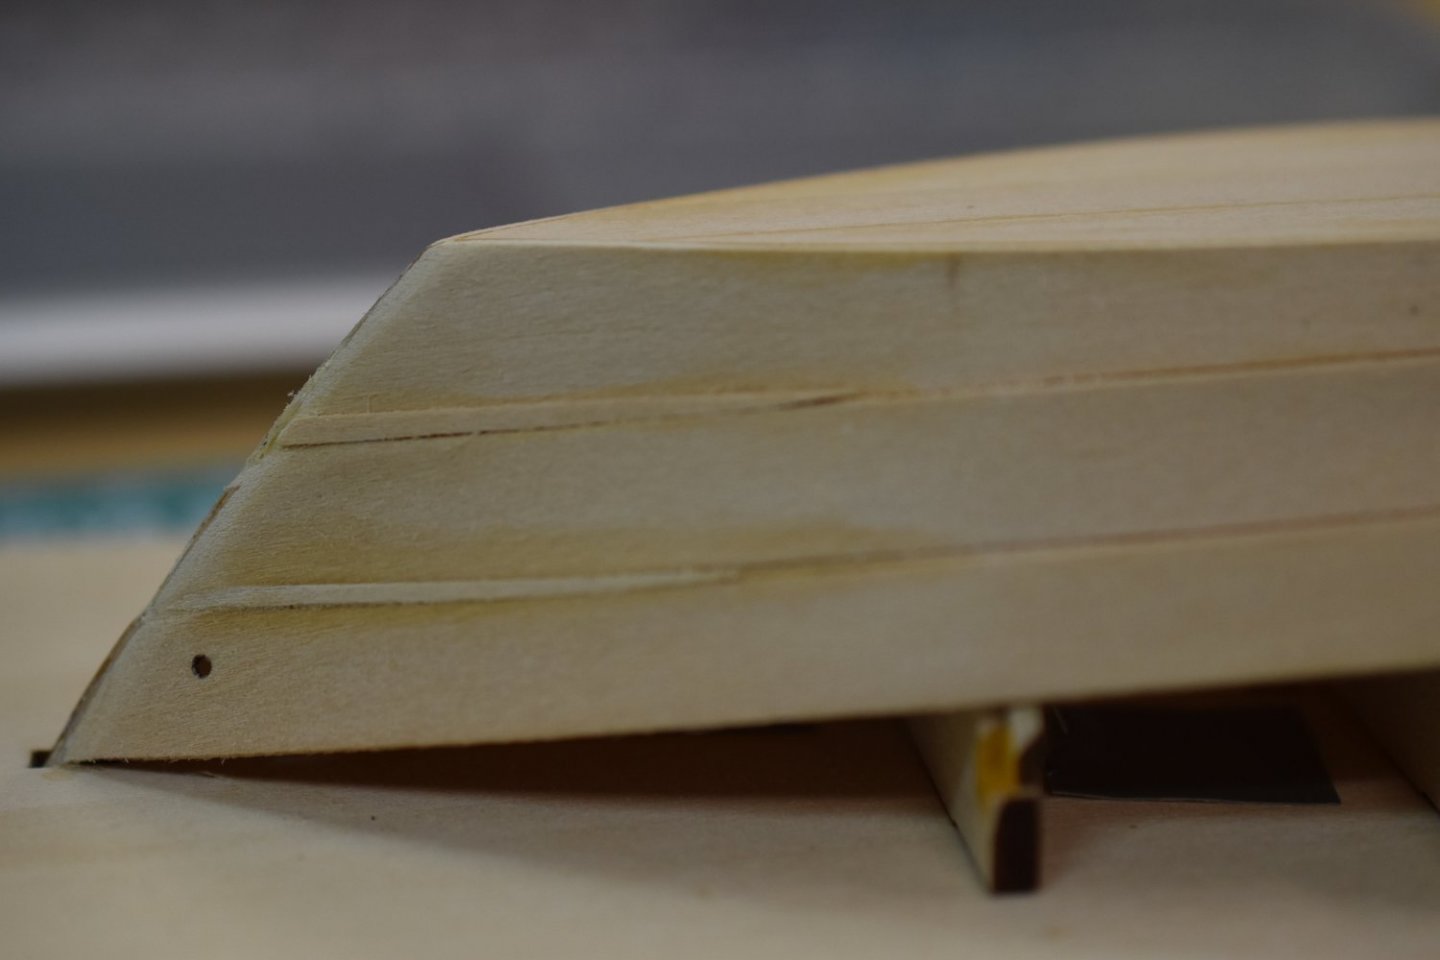
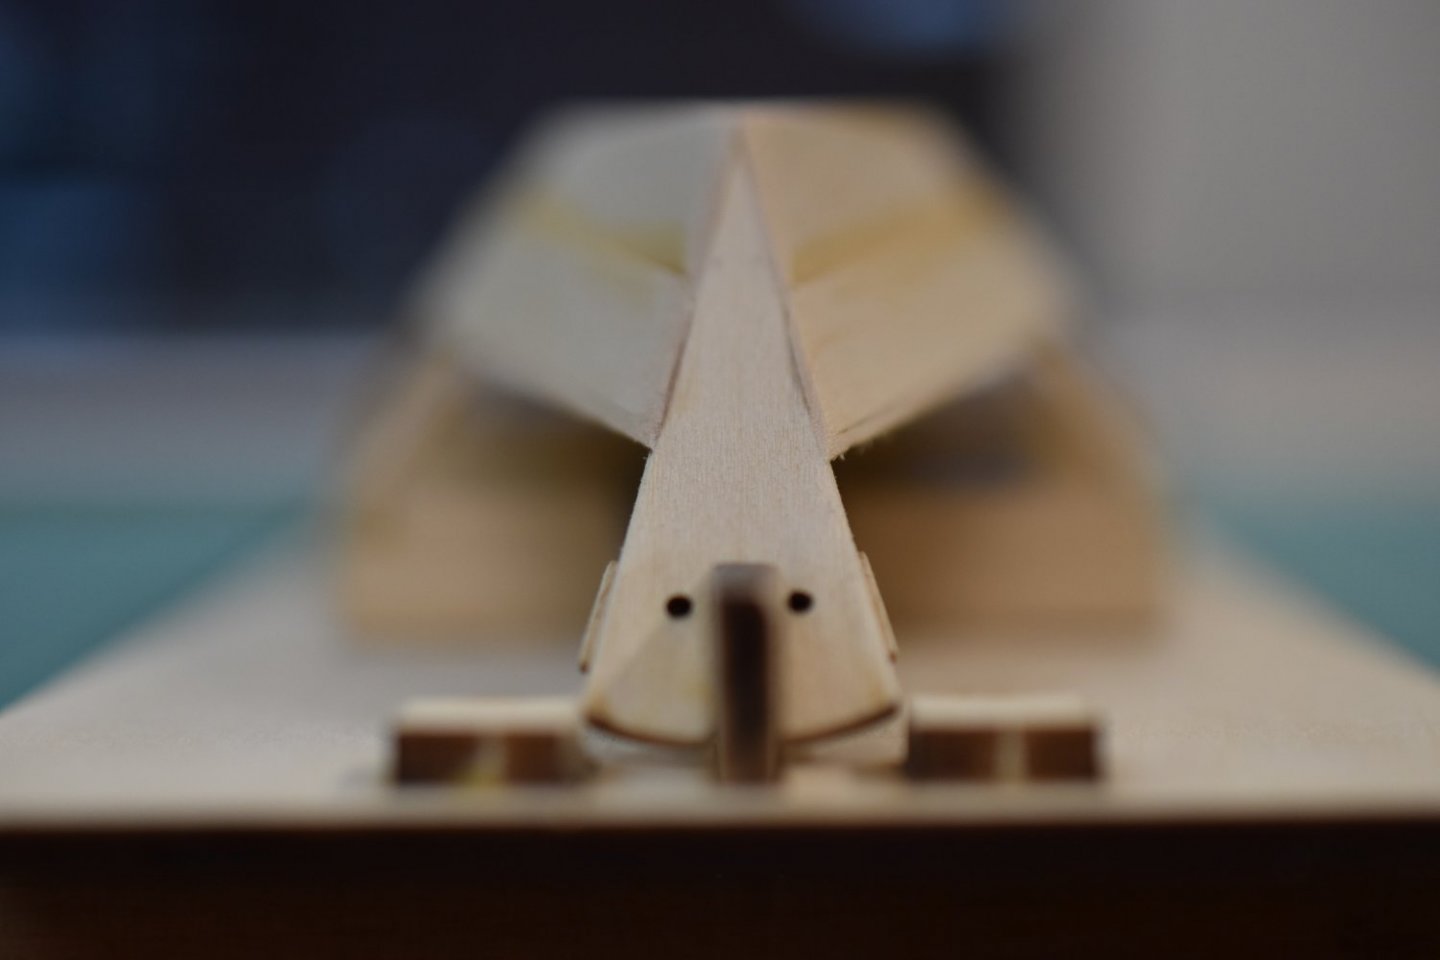
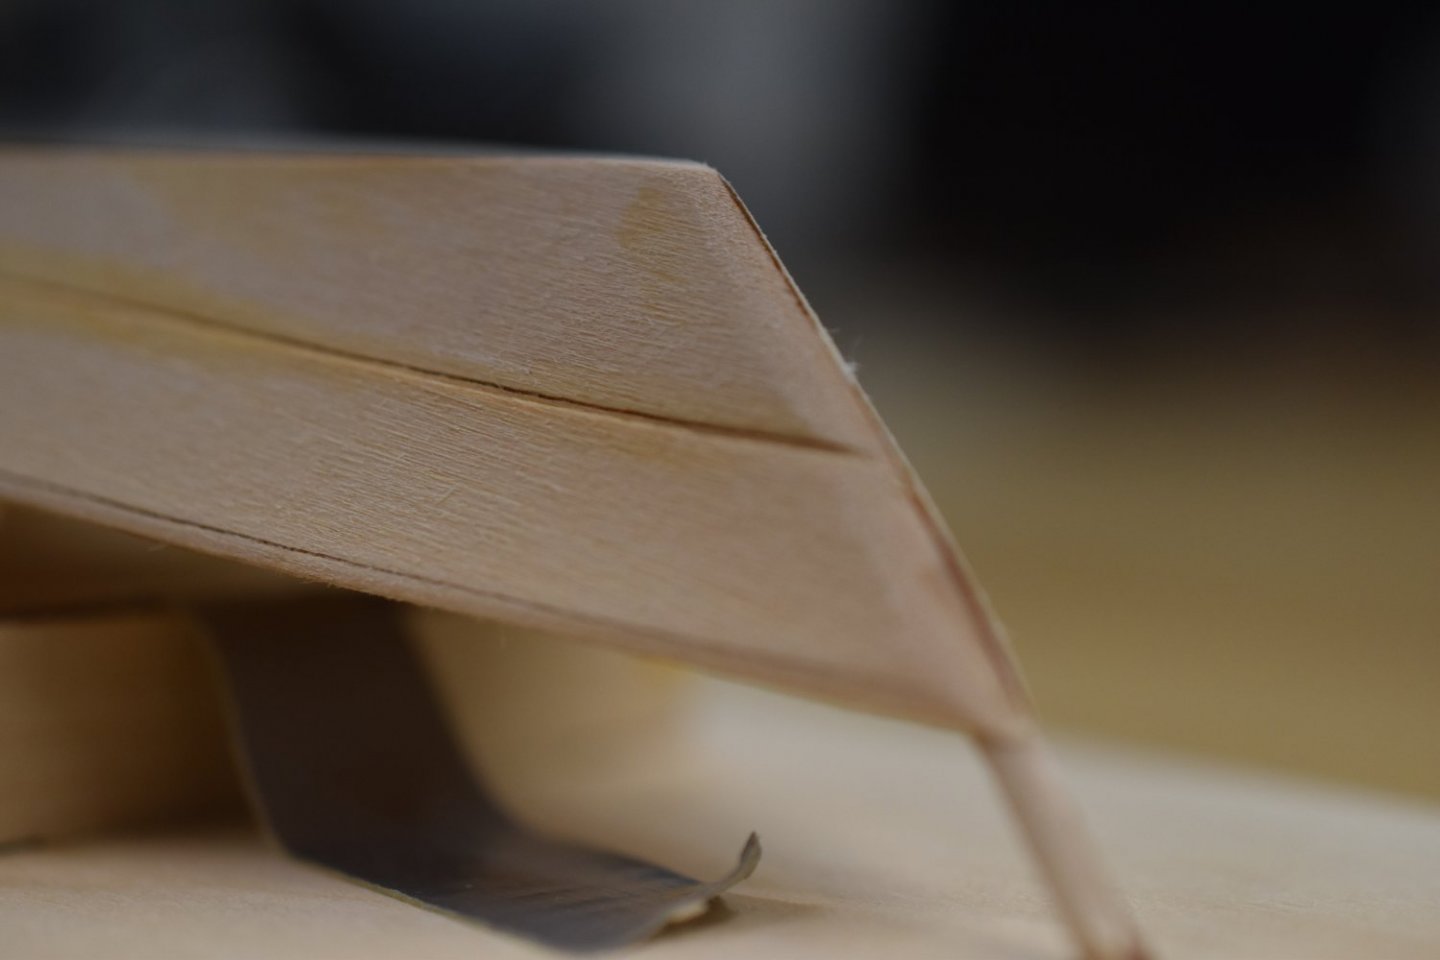
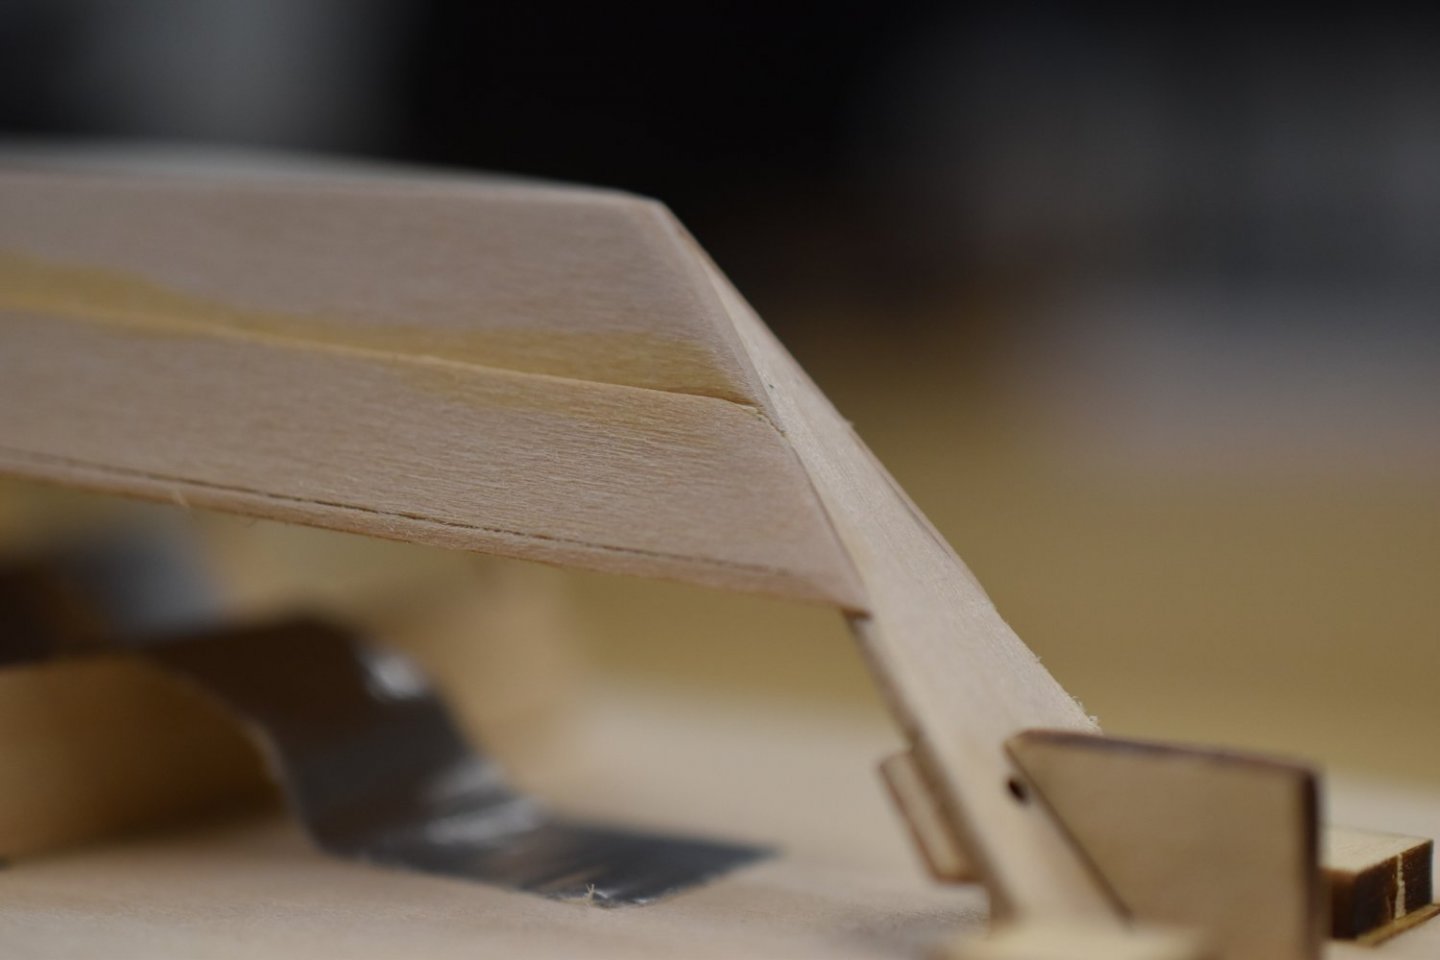
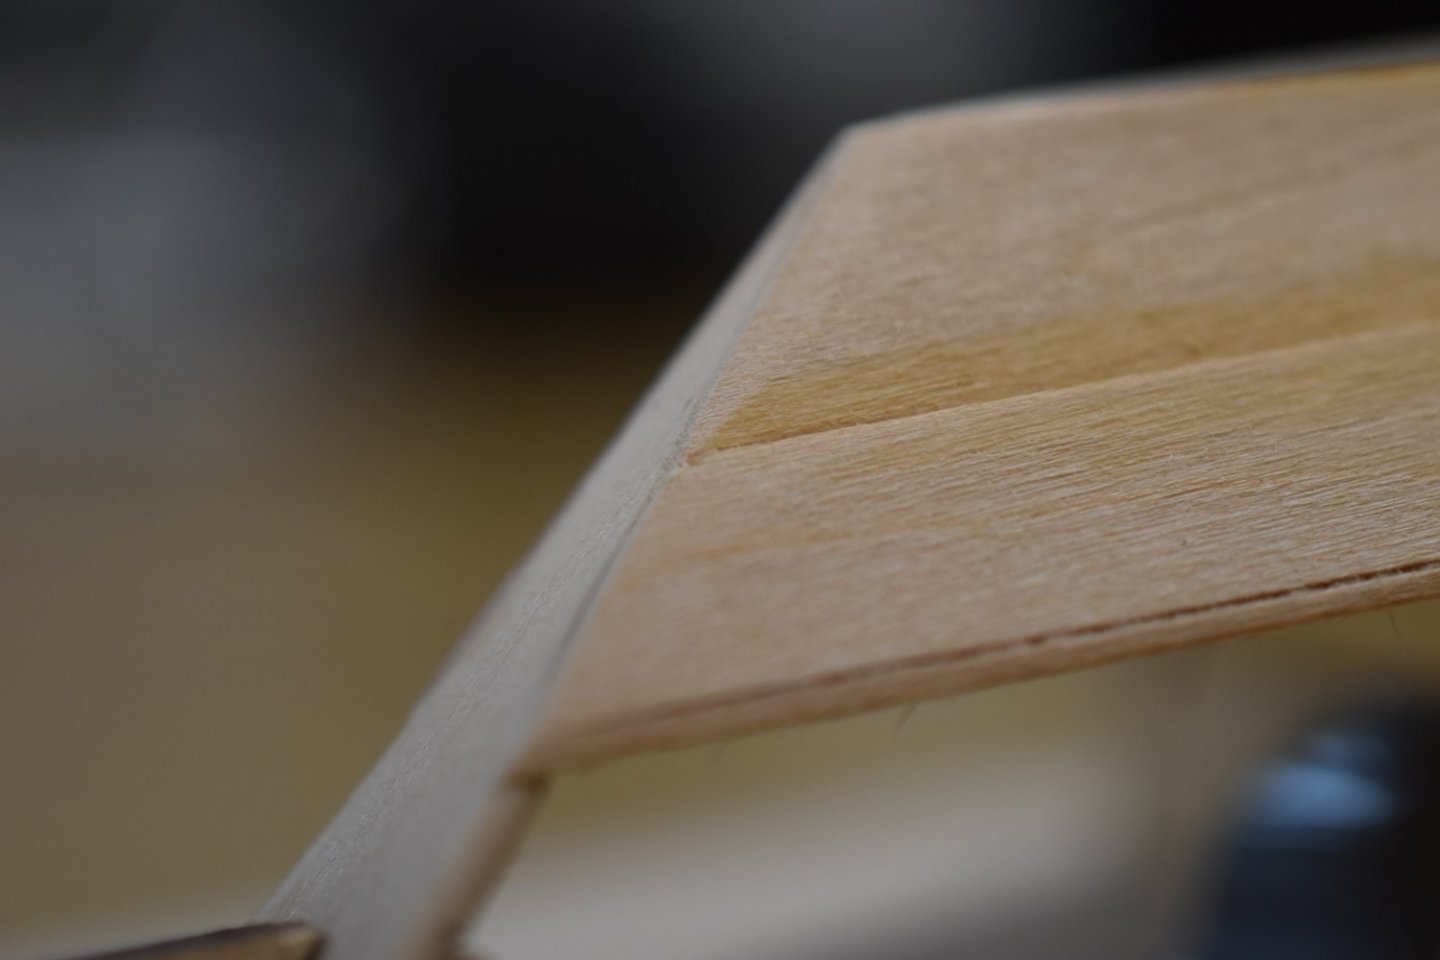
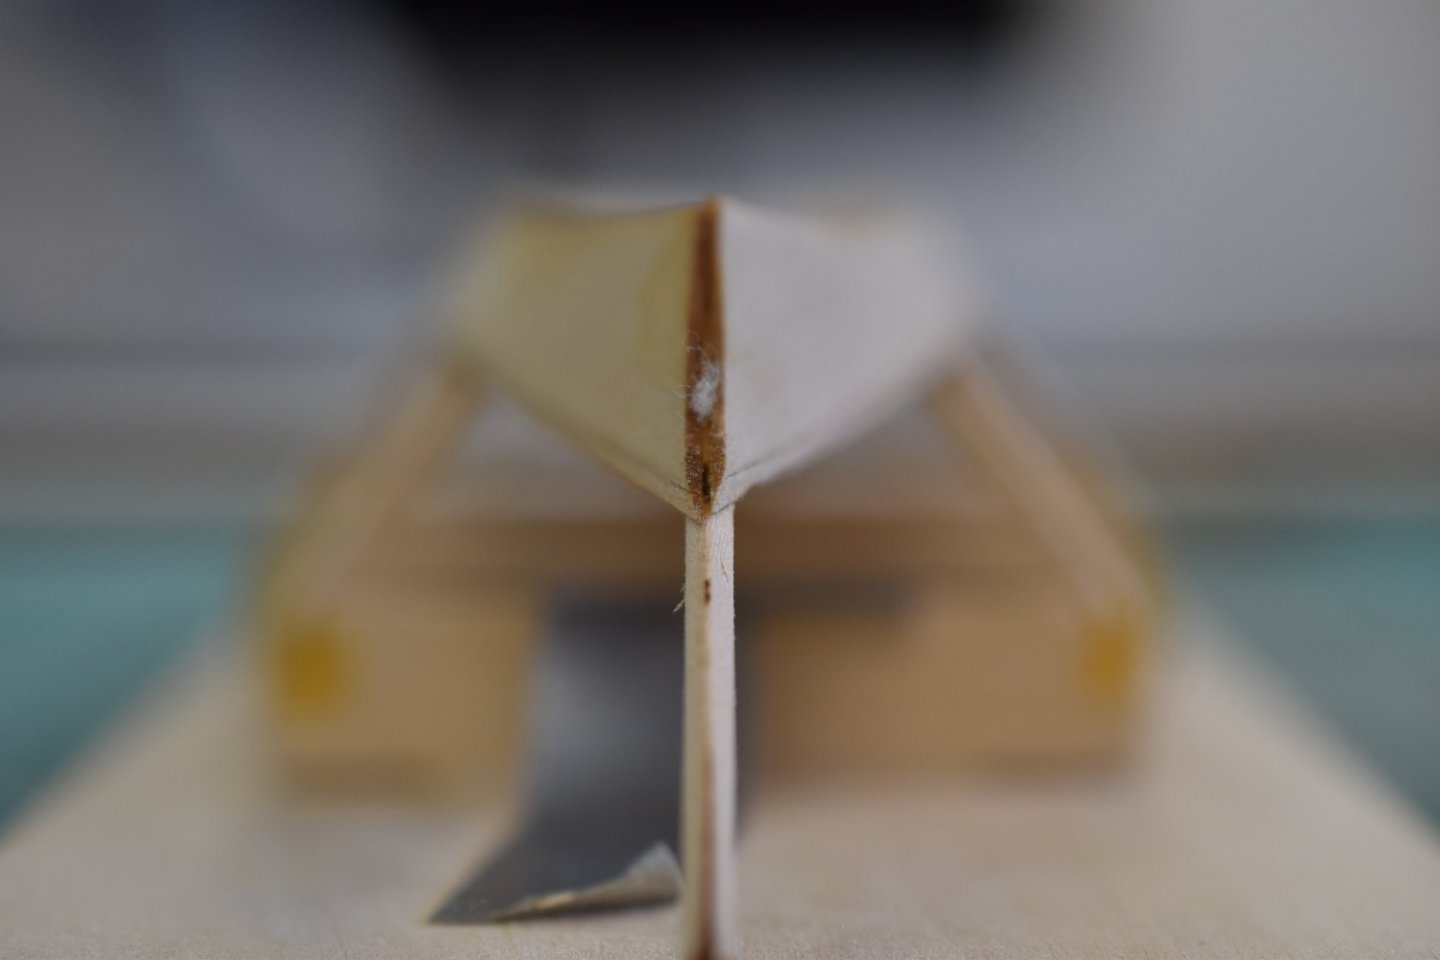
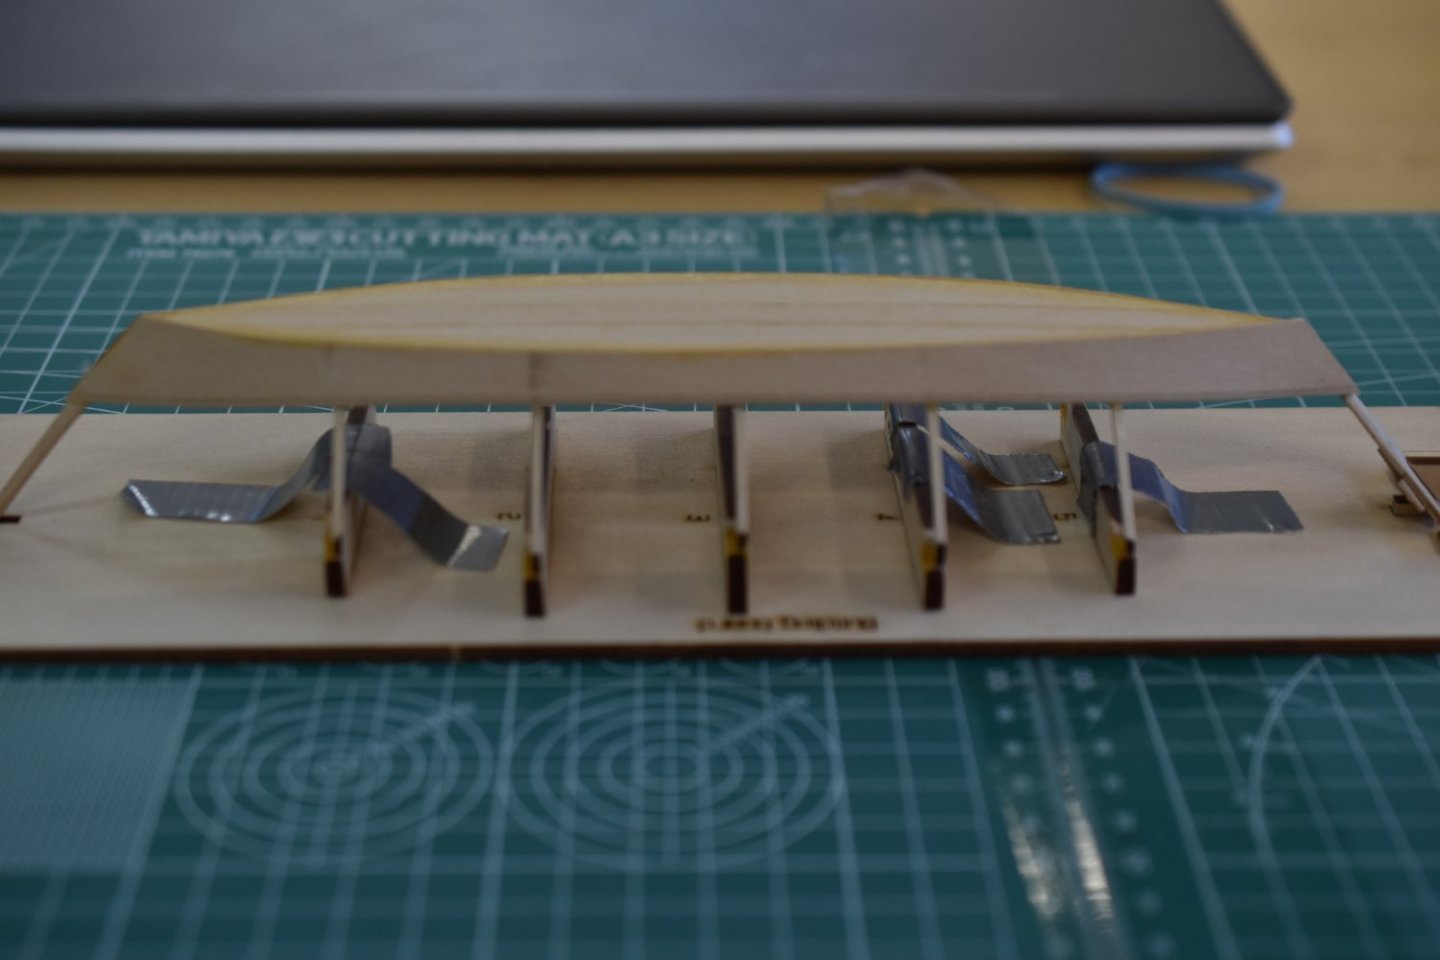
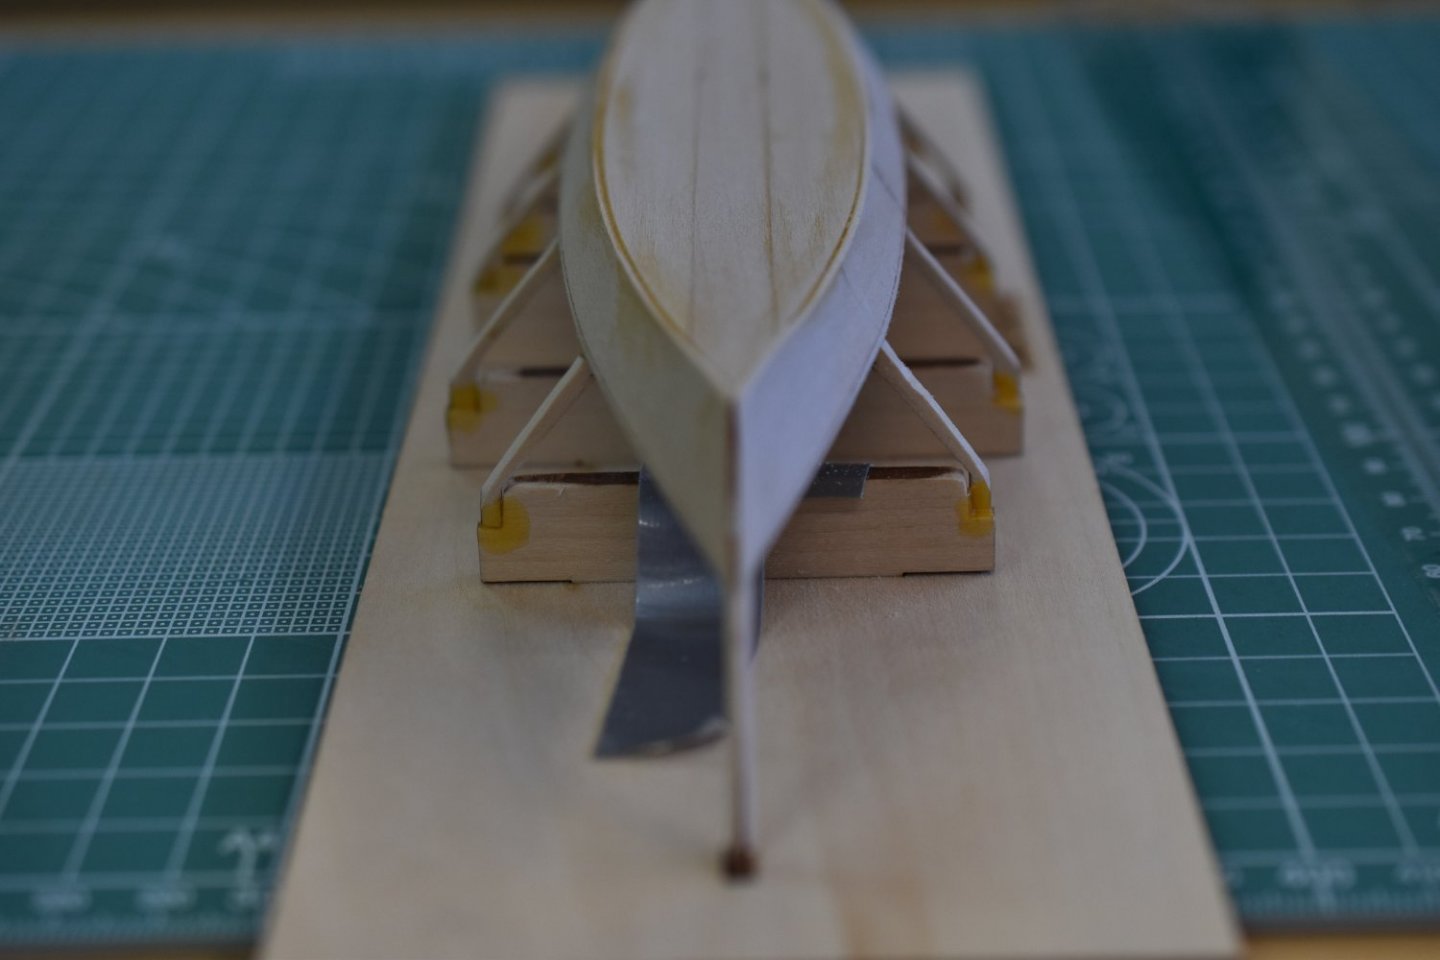
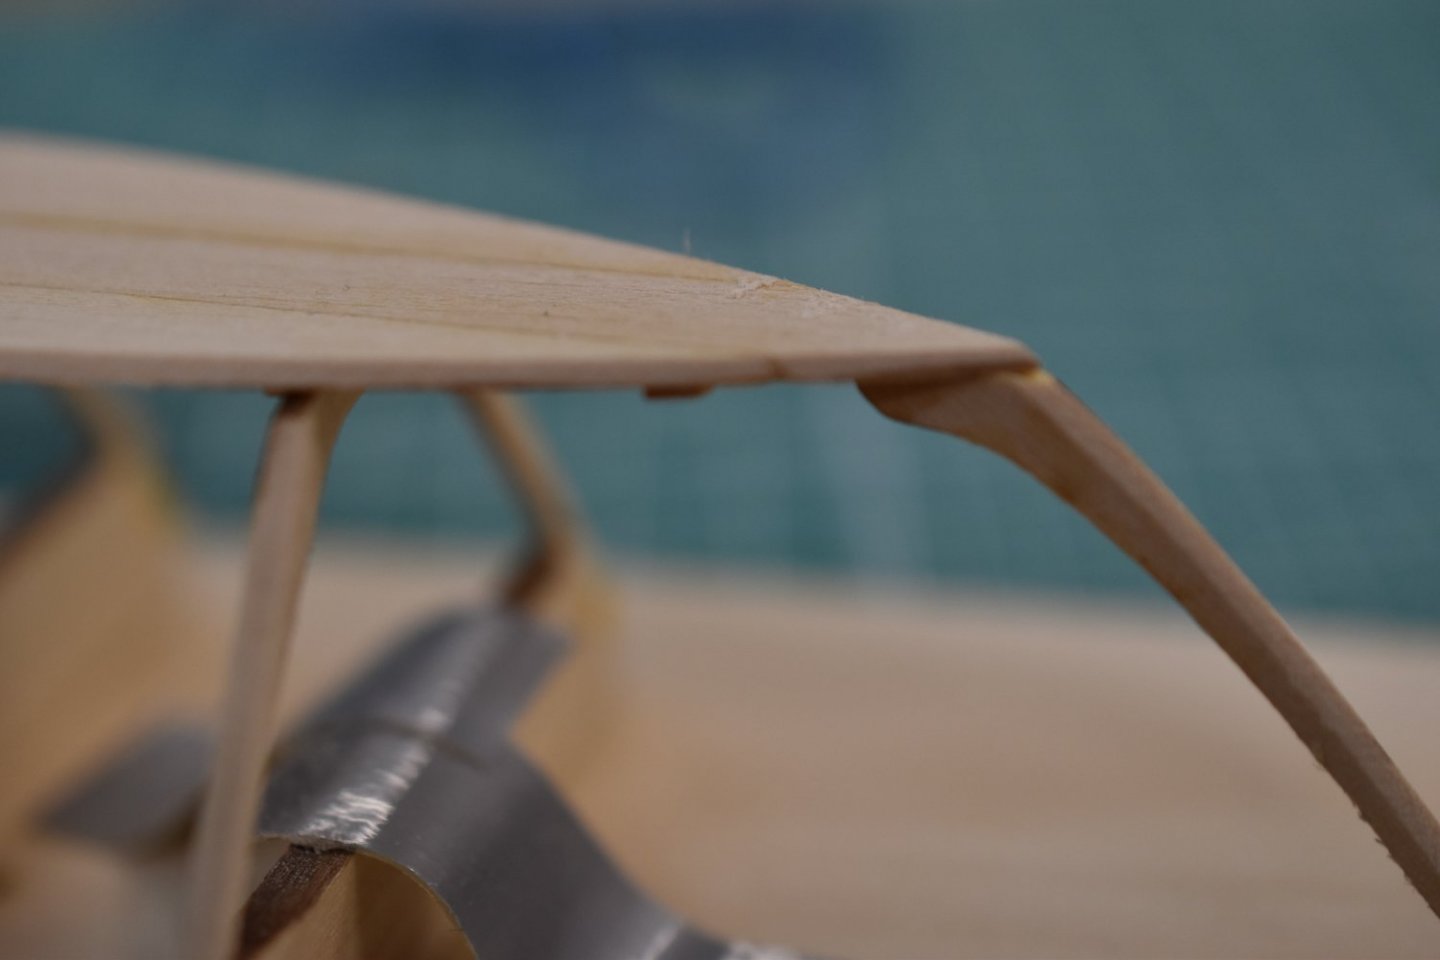
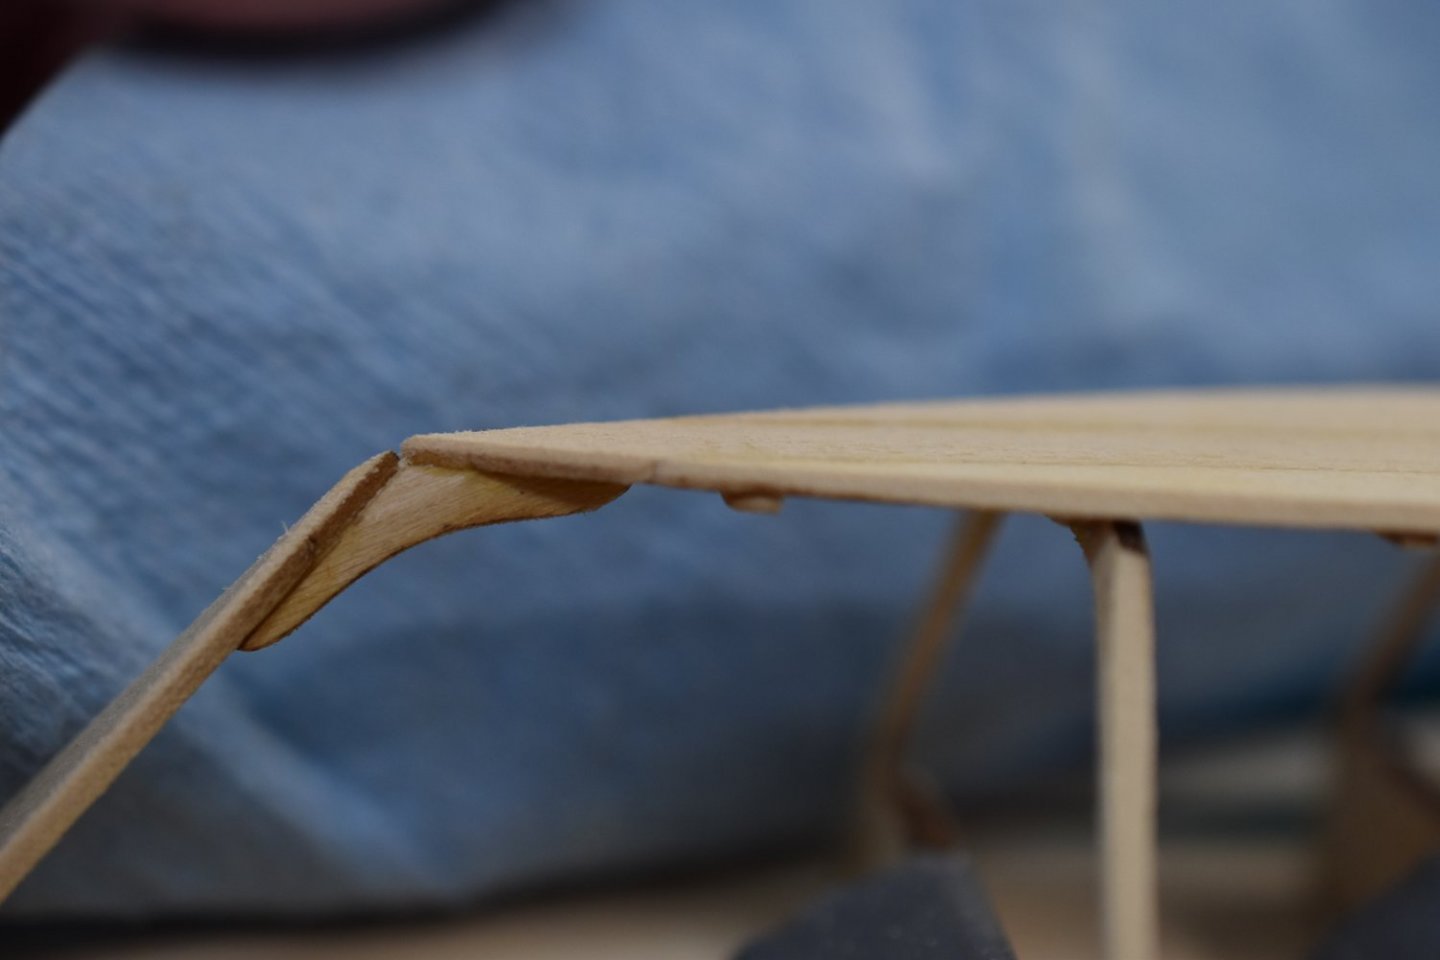
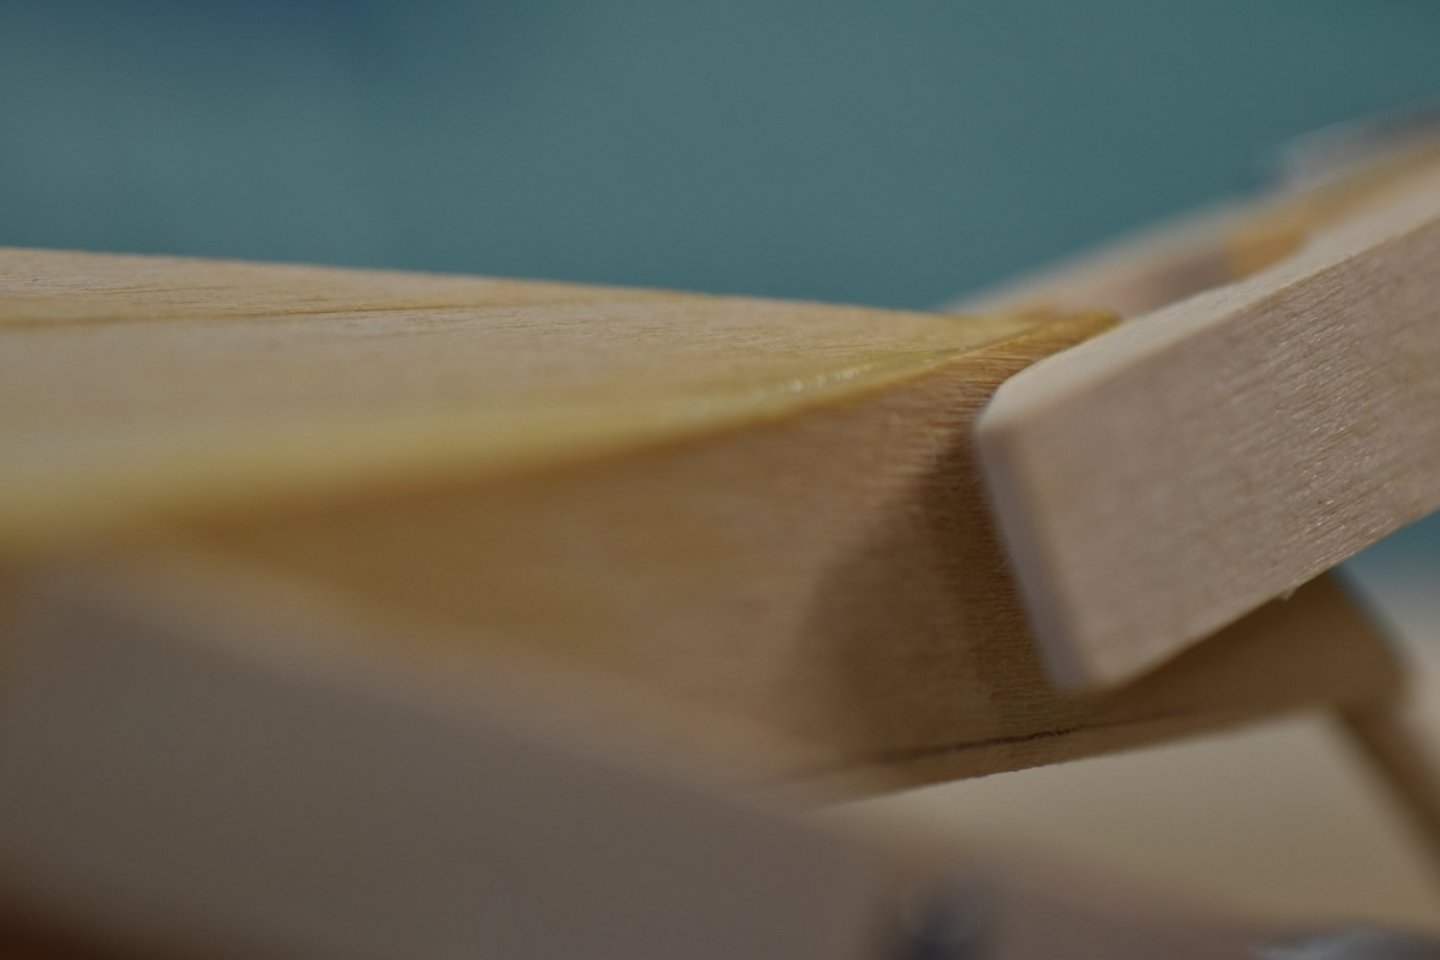
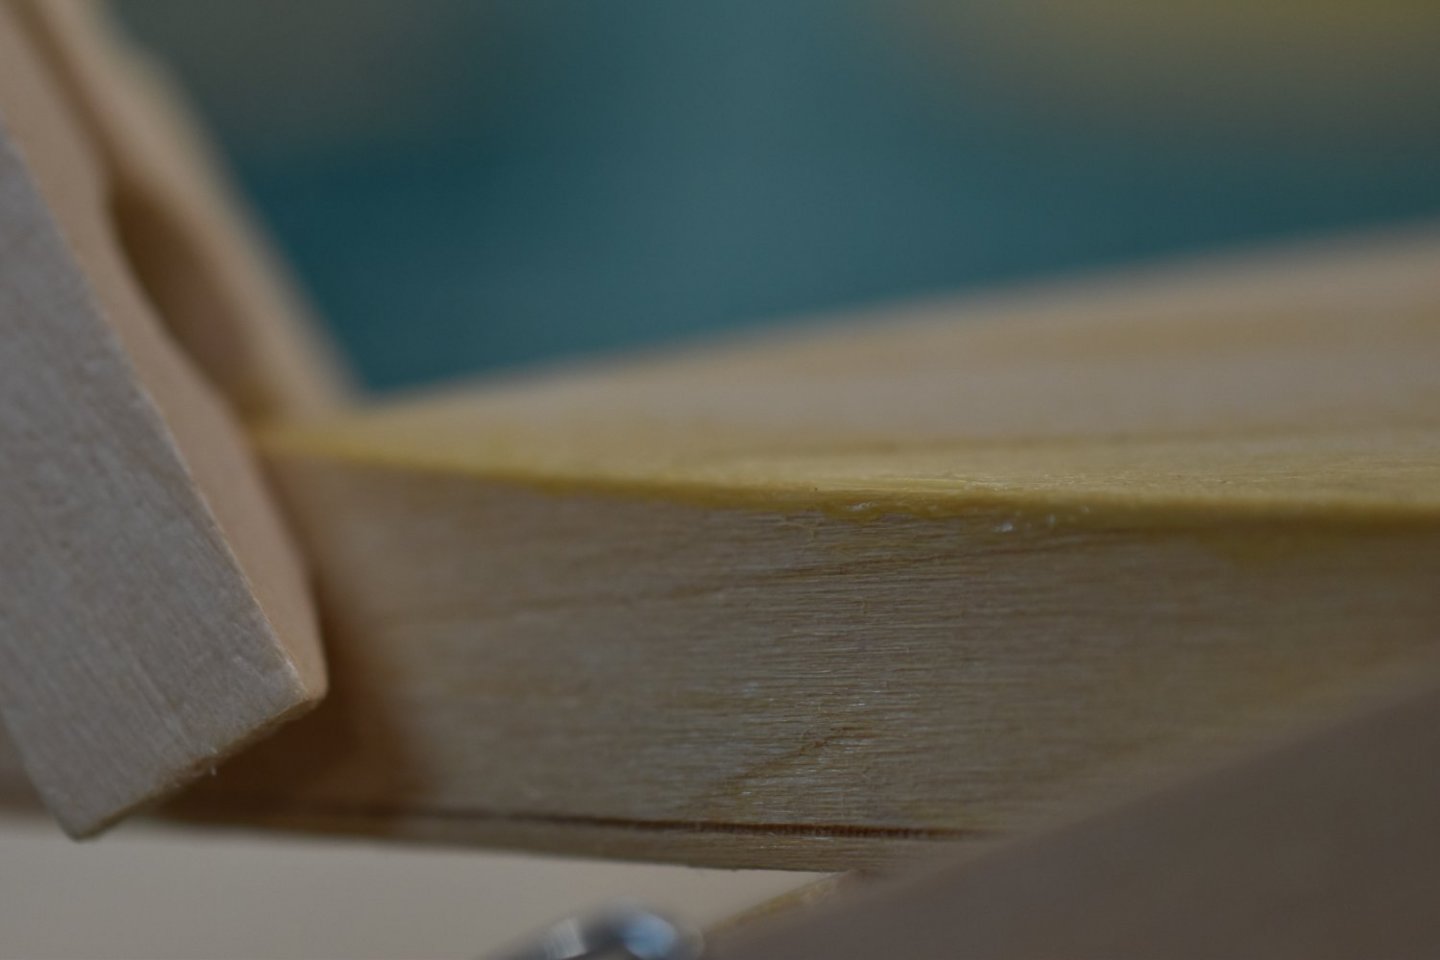
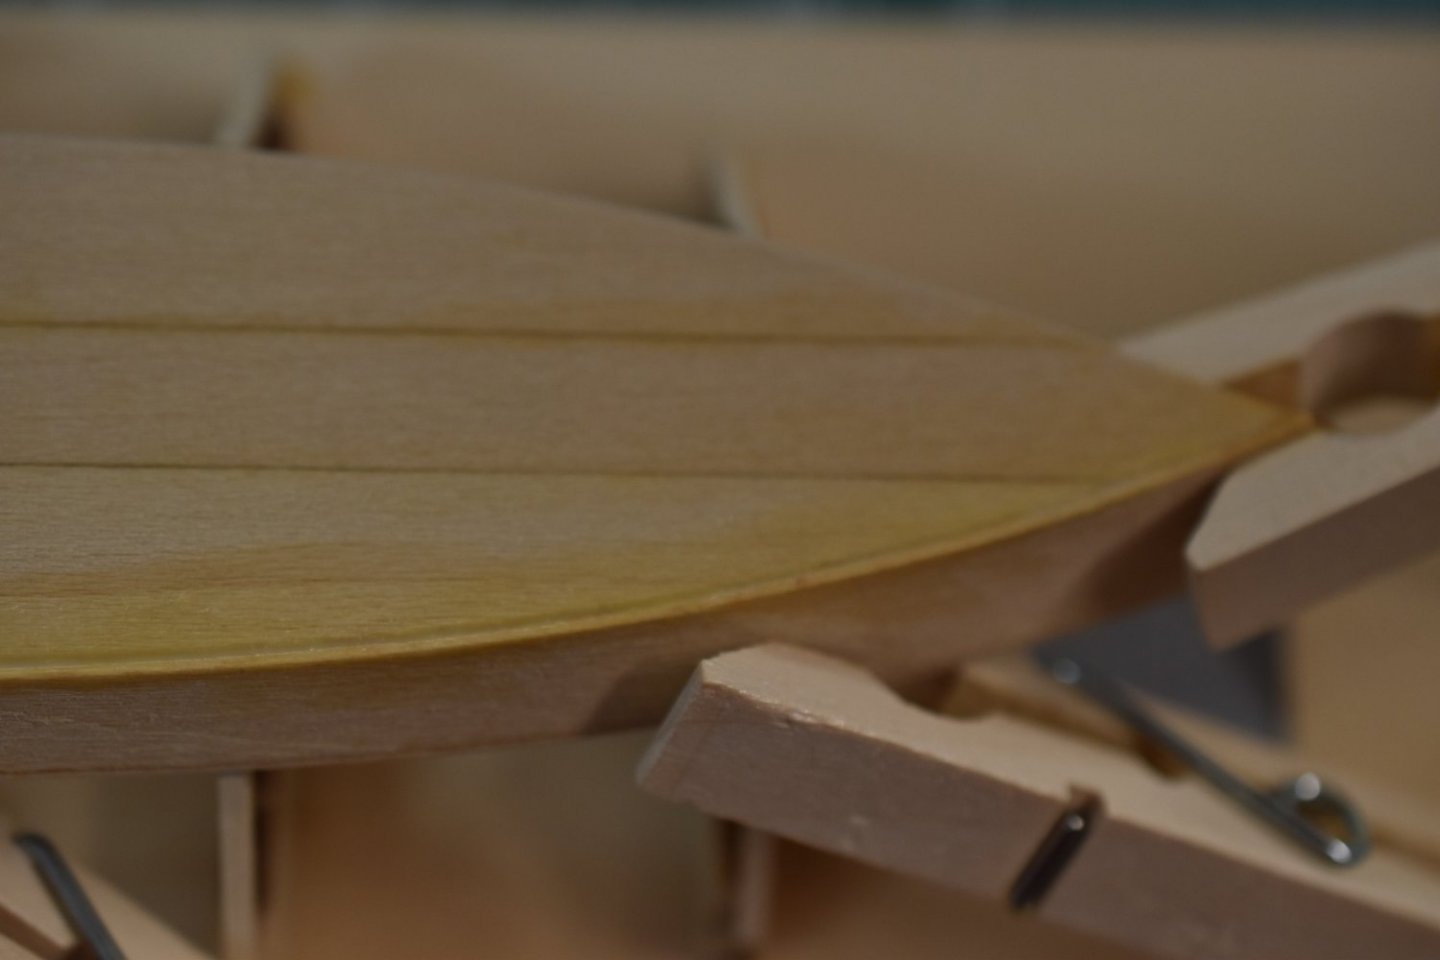
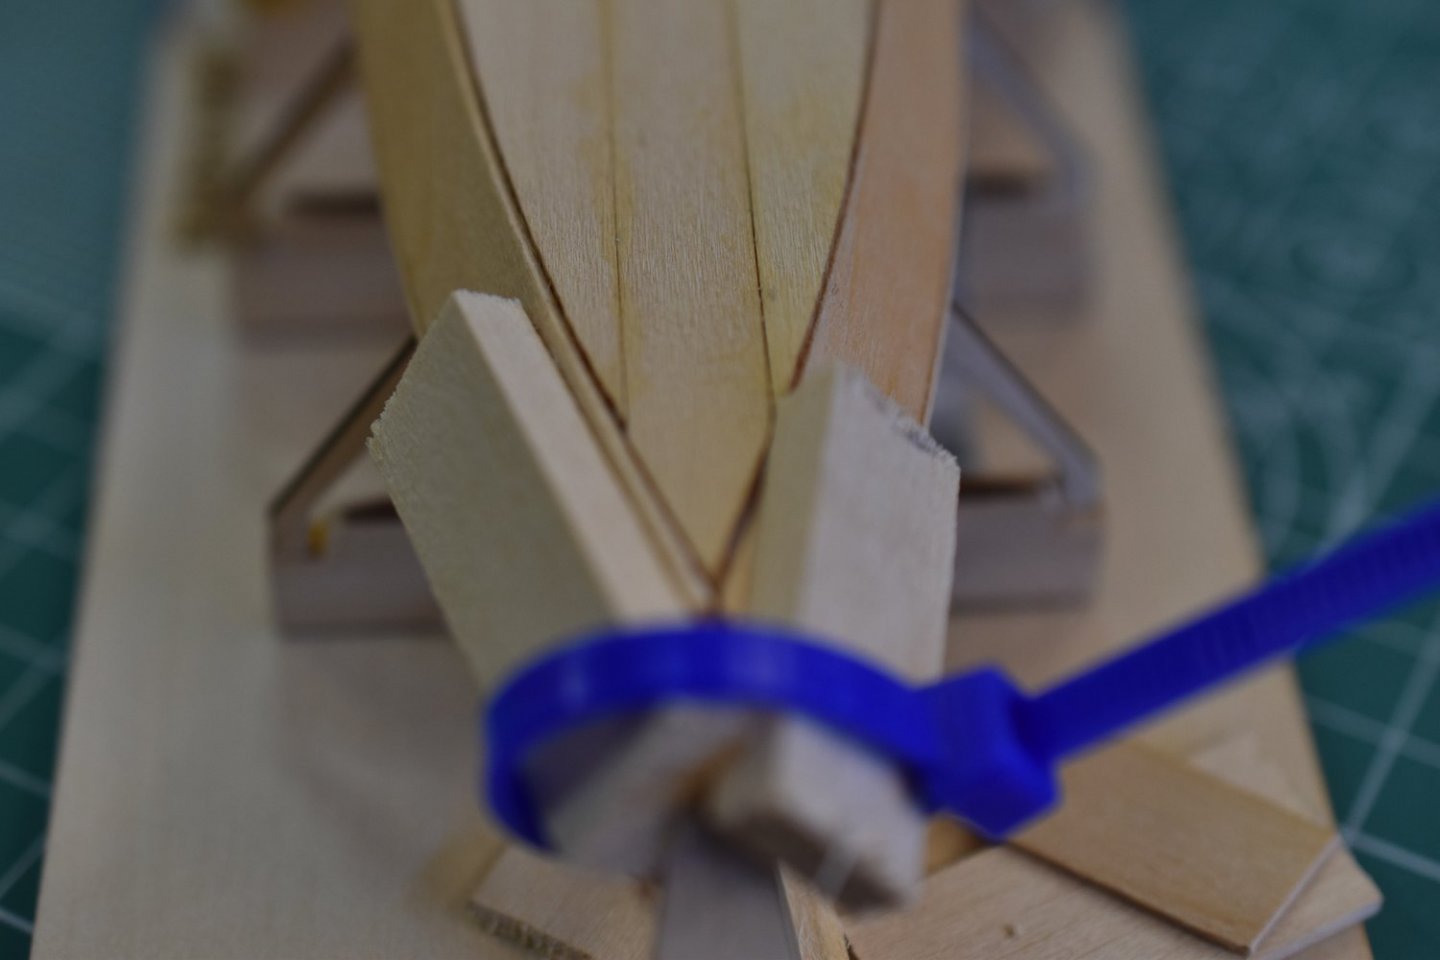
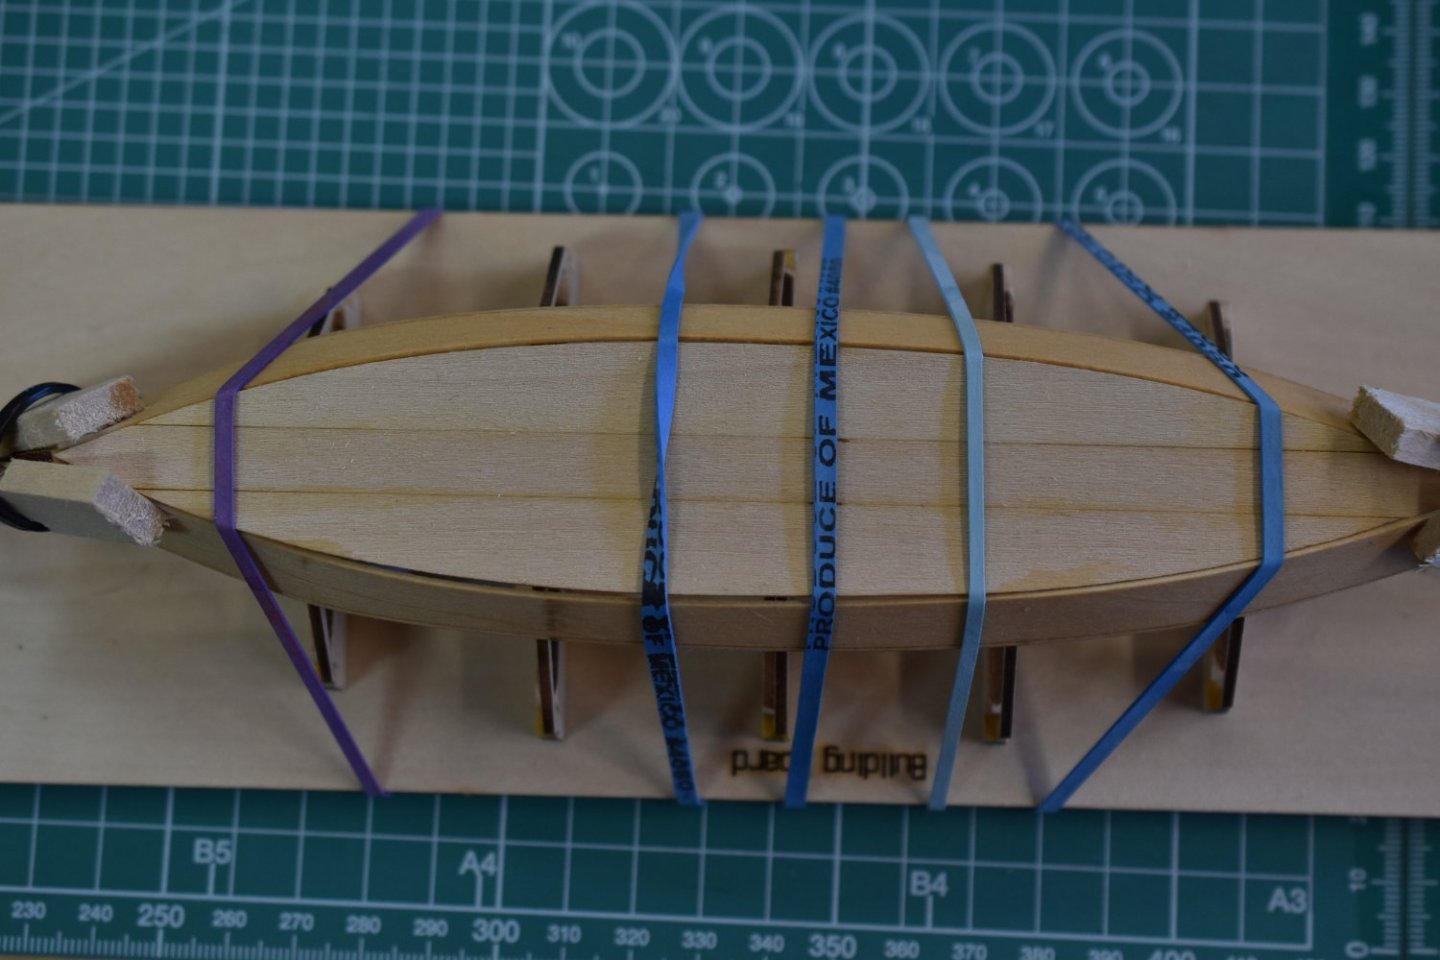
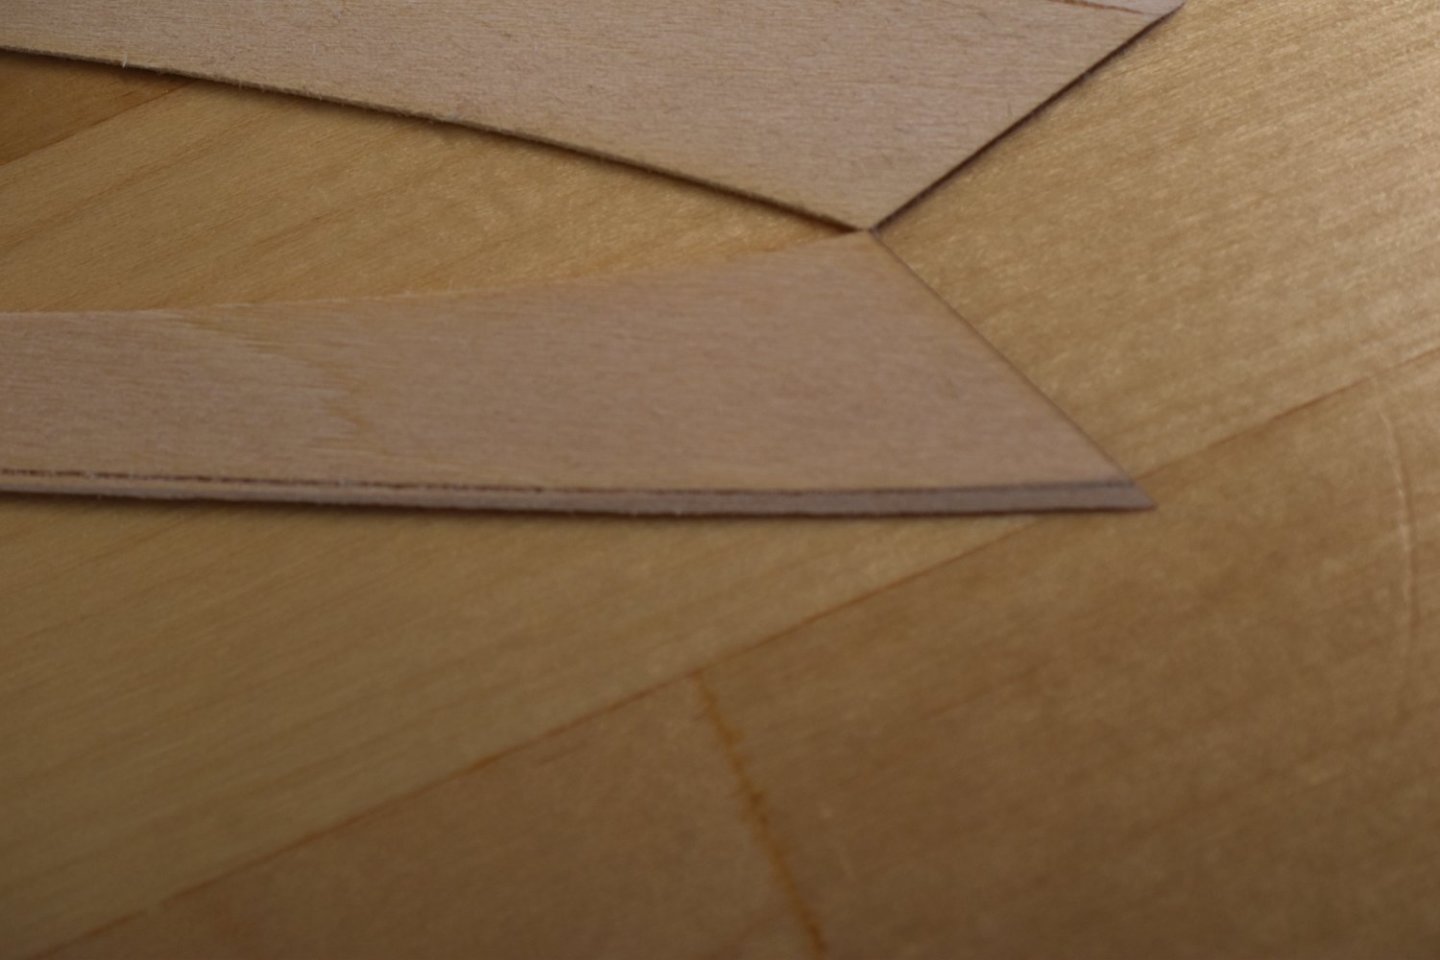
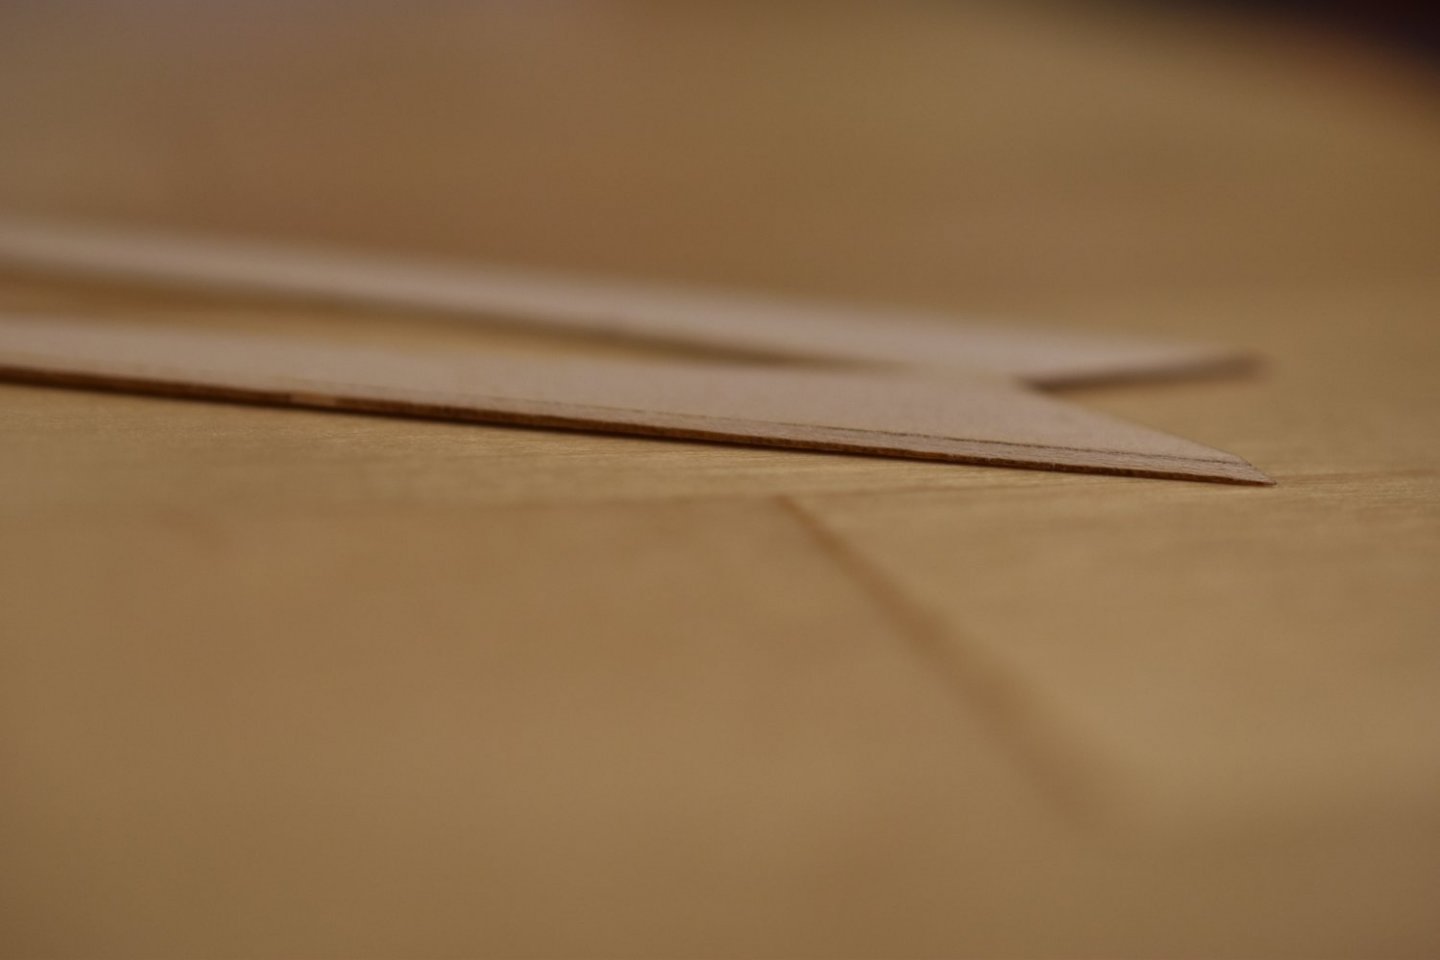
The more I work on this clinker boat, the more it turns into a clunker boat! I attached the sheer planks today. I soaked one side in water to form it up and let it dry. I attached it using AC glue along every glue point on the frames, stem, and transom to attach it. It went alright I guess. On the second side I decided to not wet the plank and attach it at the transom first with AC glue and let it set. Then I put wood glue on the frames and attached them. I lastly put AC glue on the stem and set it. I had a problem with alignment and popped the sheer plank off the stem while it wasn't completely set. I fixed my alignment and reattached it. I had a problem still, but decided to let it be. I would fix the problem it somehow. The problem was the alignment being off. The problem resulted in the ridge of the sheer plank to the broad plank was flush. I decided to try and put a very small strip in place and sand it back to reform the ridge. I think it worked pretty well. 👇 I have some issues with the fairness of some planks. I'm considering how to fix it. I need to look at it for a while and think. I might try a scaple knife and trim the offending areas to my liking. Not sure yet. I'm going to let the glue dry for today.


- 61 replies
-
- 3
-
-
- Lowell Grand Banks Dory
- Model Shipways
- (and 1 more)
-
Your New "cautionary tale" posterchild here!
SaltyNinja replied to Valkyrja68's topic in New member Introductions
I'm from Santa Cruz too, I grew up in Capitola BTW!💪 -
Your New "cautionary tale" posterchild here!
SaltyNinja replied to Valkyrja68's topic in New member Introductions
Hey over there Valkyrja68, I'm new over here too.🎸🤘 It gets foggy sometimes but I'm learning to navigate and learn to use all the tools and instruments for safe passage. I think when the seas get tough and you see mountainous swells rolling your way, the kind that make you get that sinking feeling, this joint can help guide the astute. 👍 -
You look like you're a highliner already! 😁 I have the half hull planking kit too, so make up a nice build log and I'll tune in to get prepped for mine, and soak up any knowledge you share. Thanks for joining up here and keep up the great work on your fleet. I hope you can find the support you need to feel better.
-
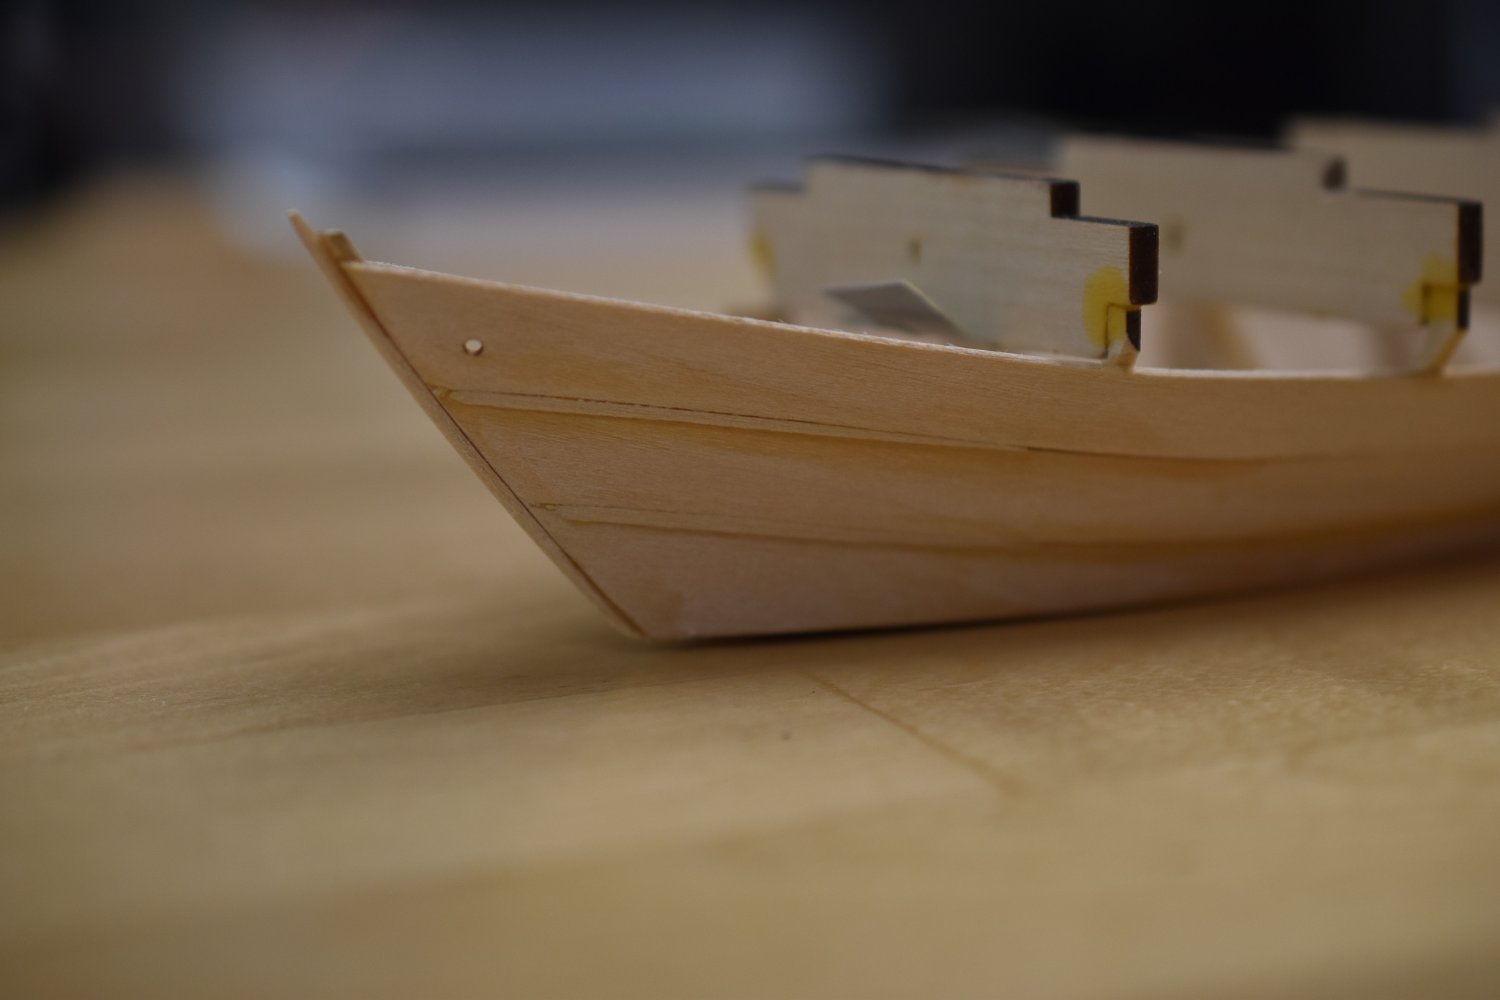
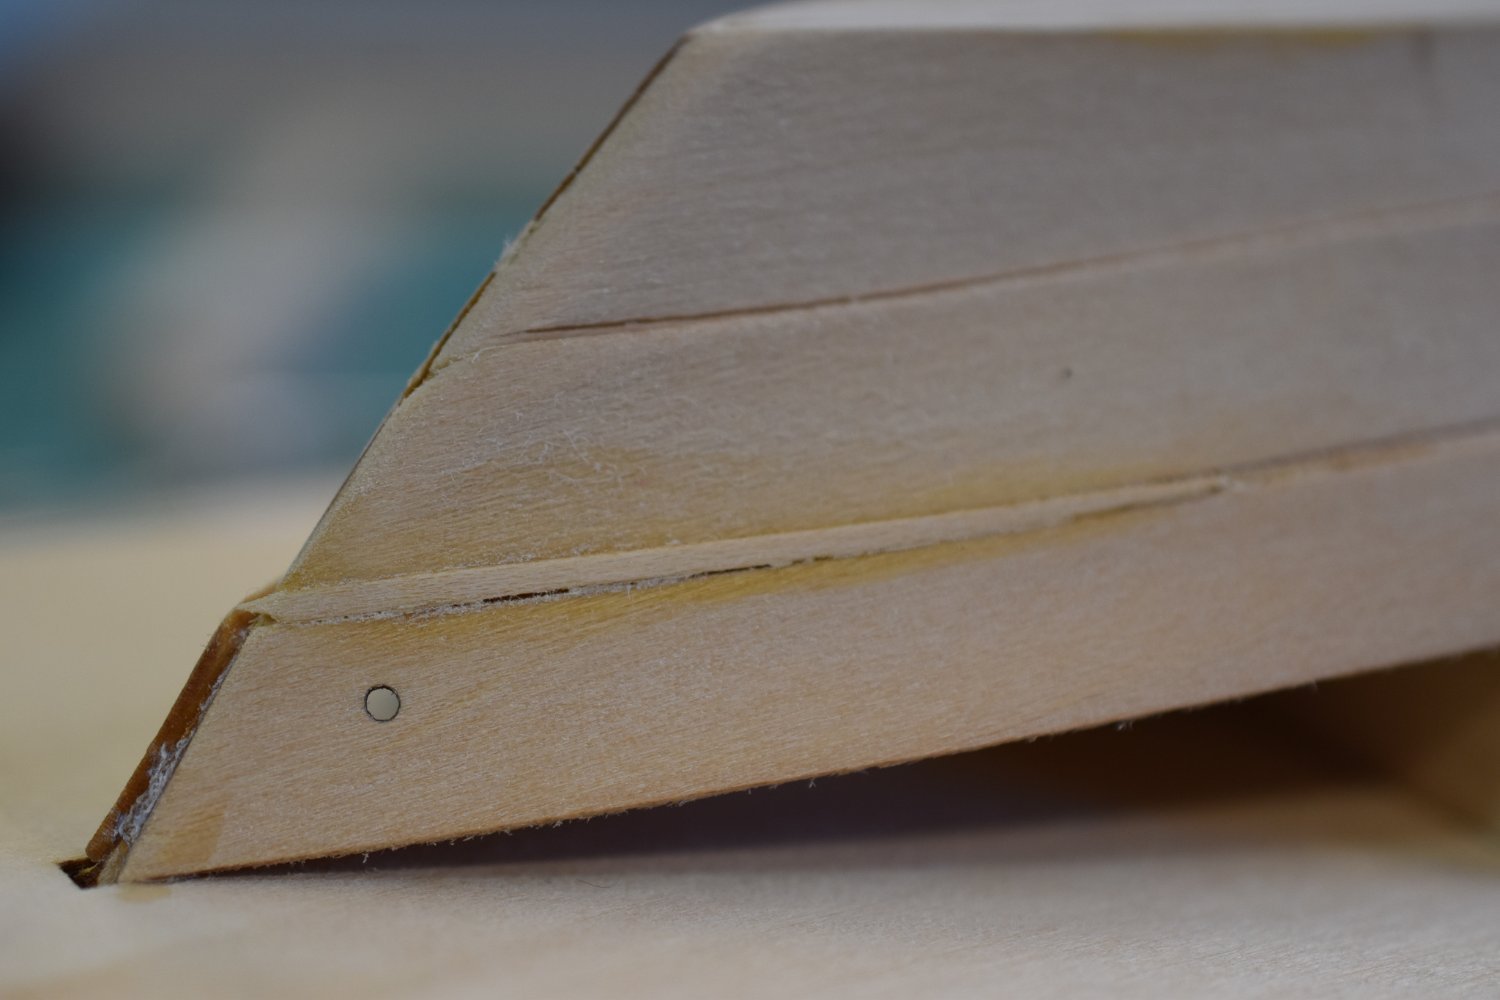
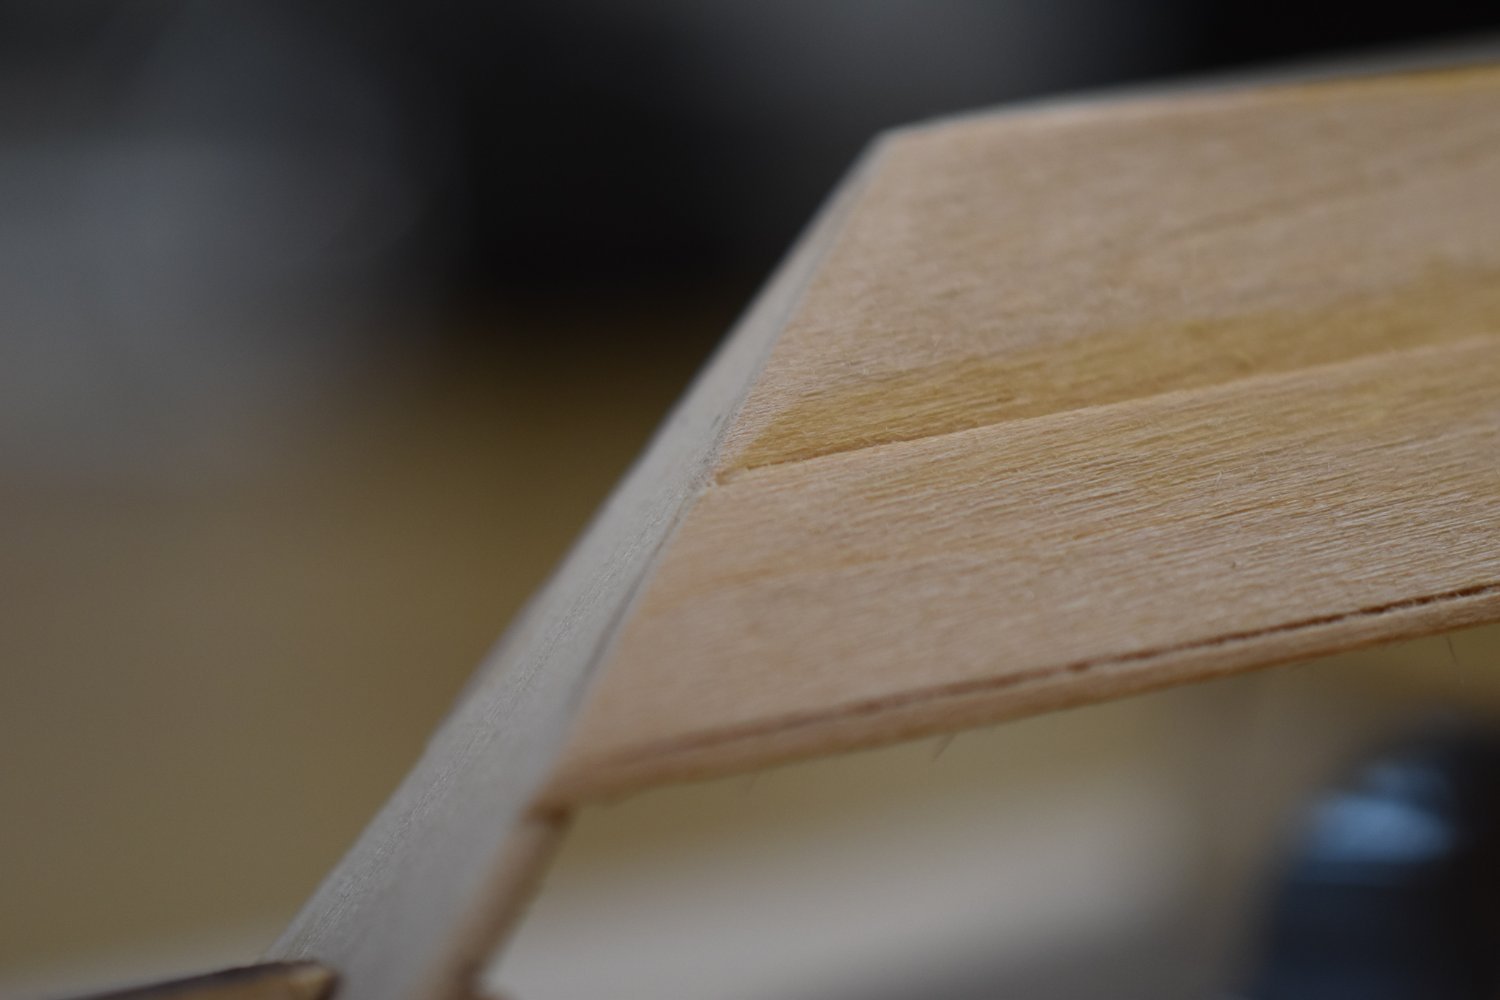
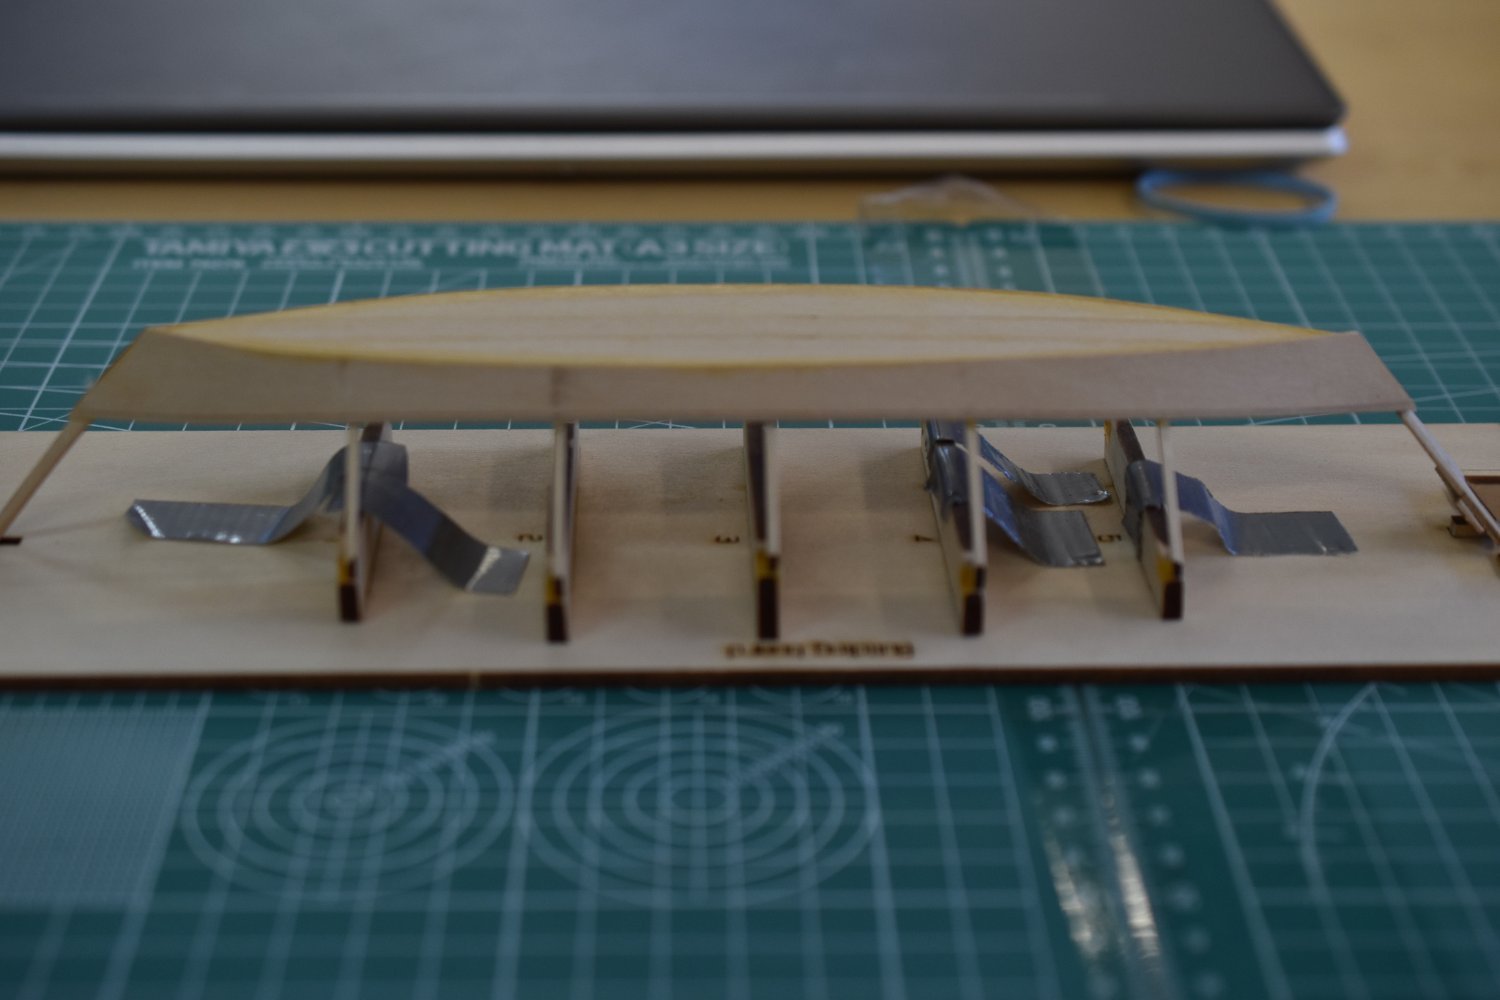
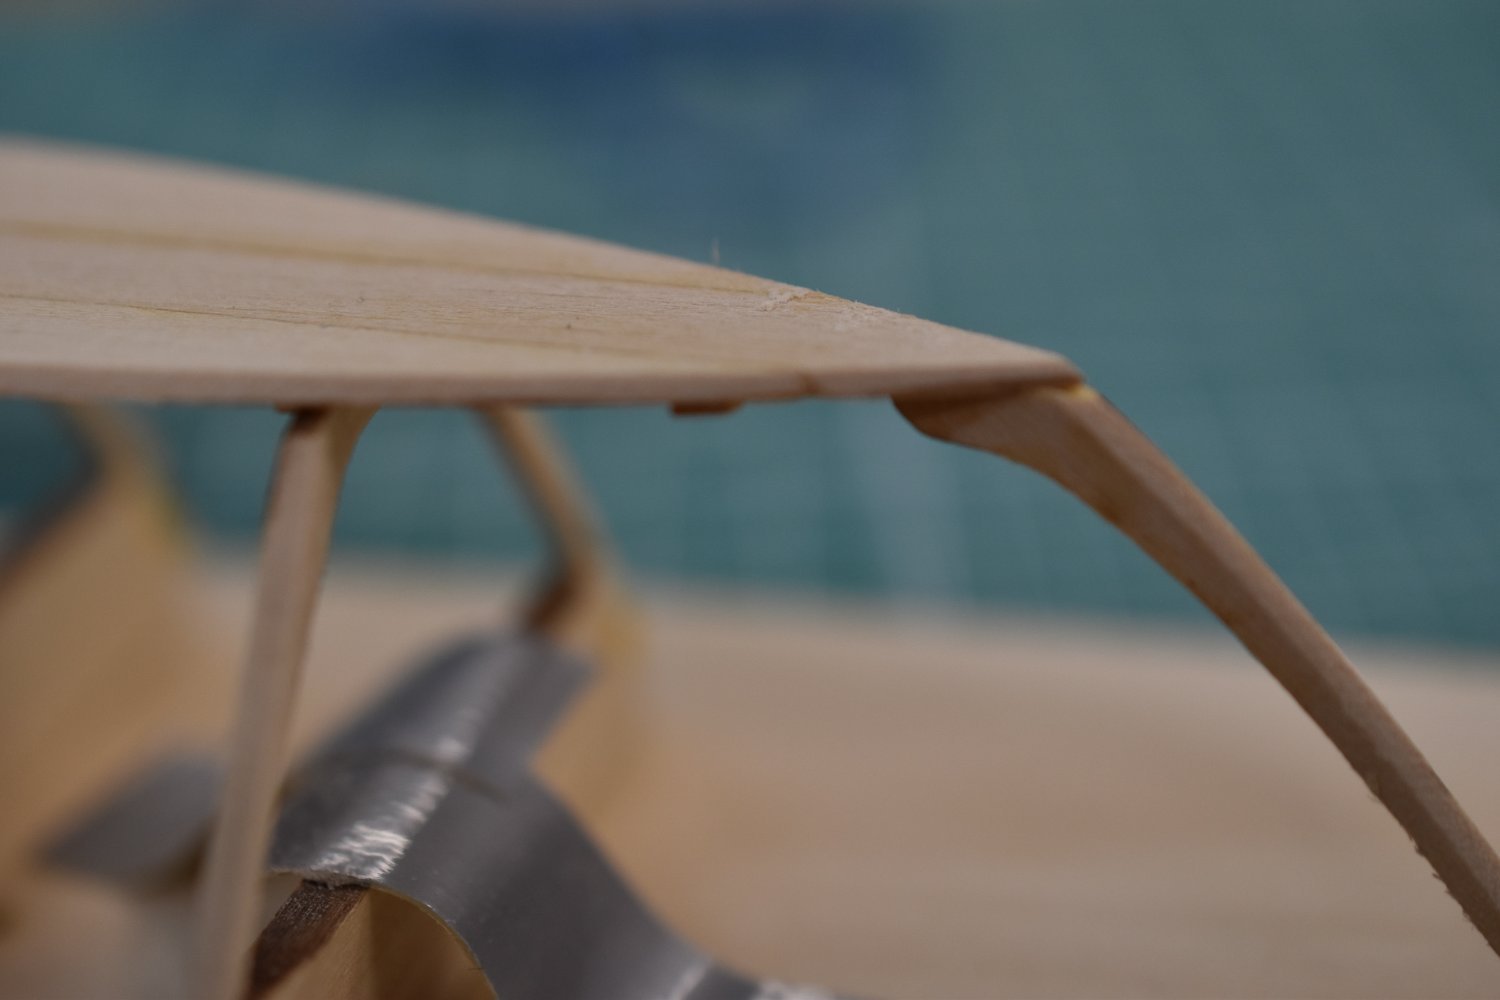
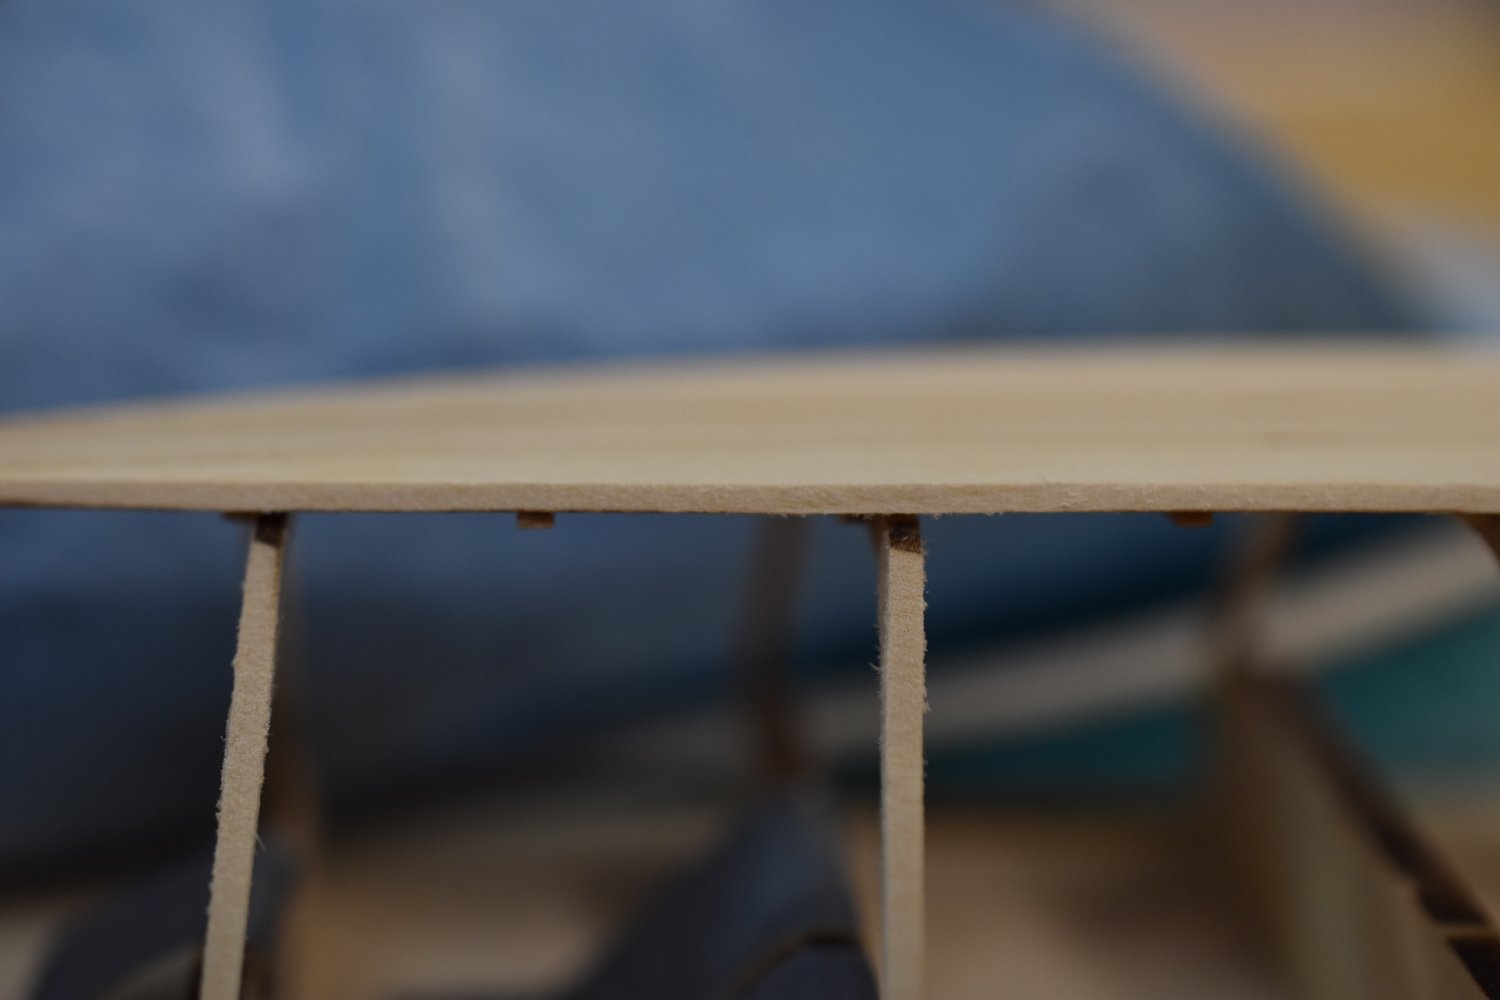
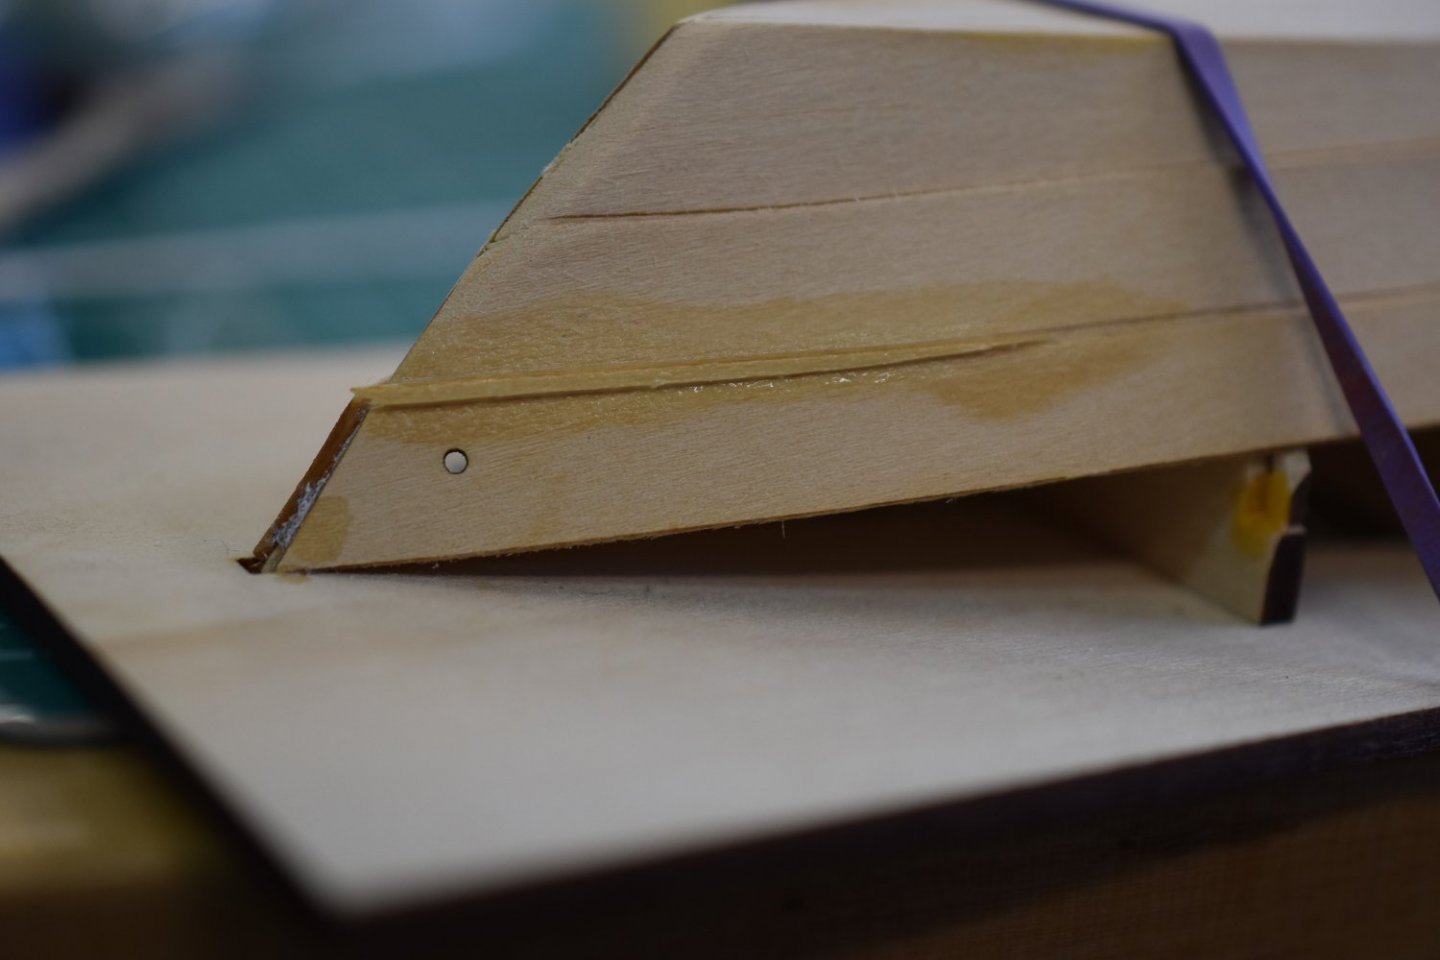
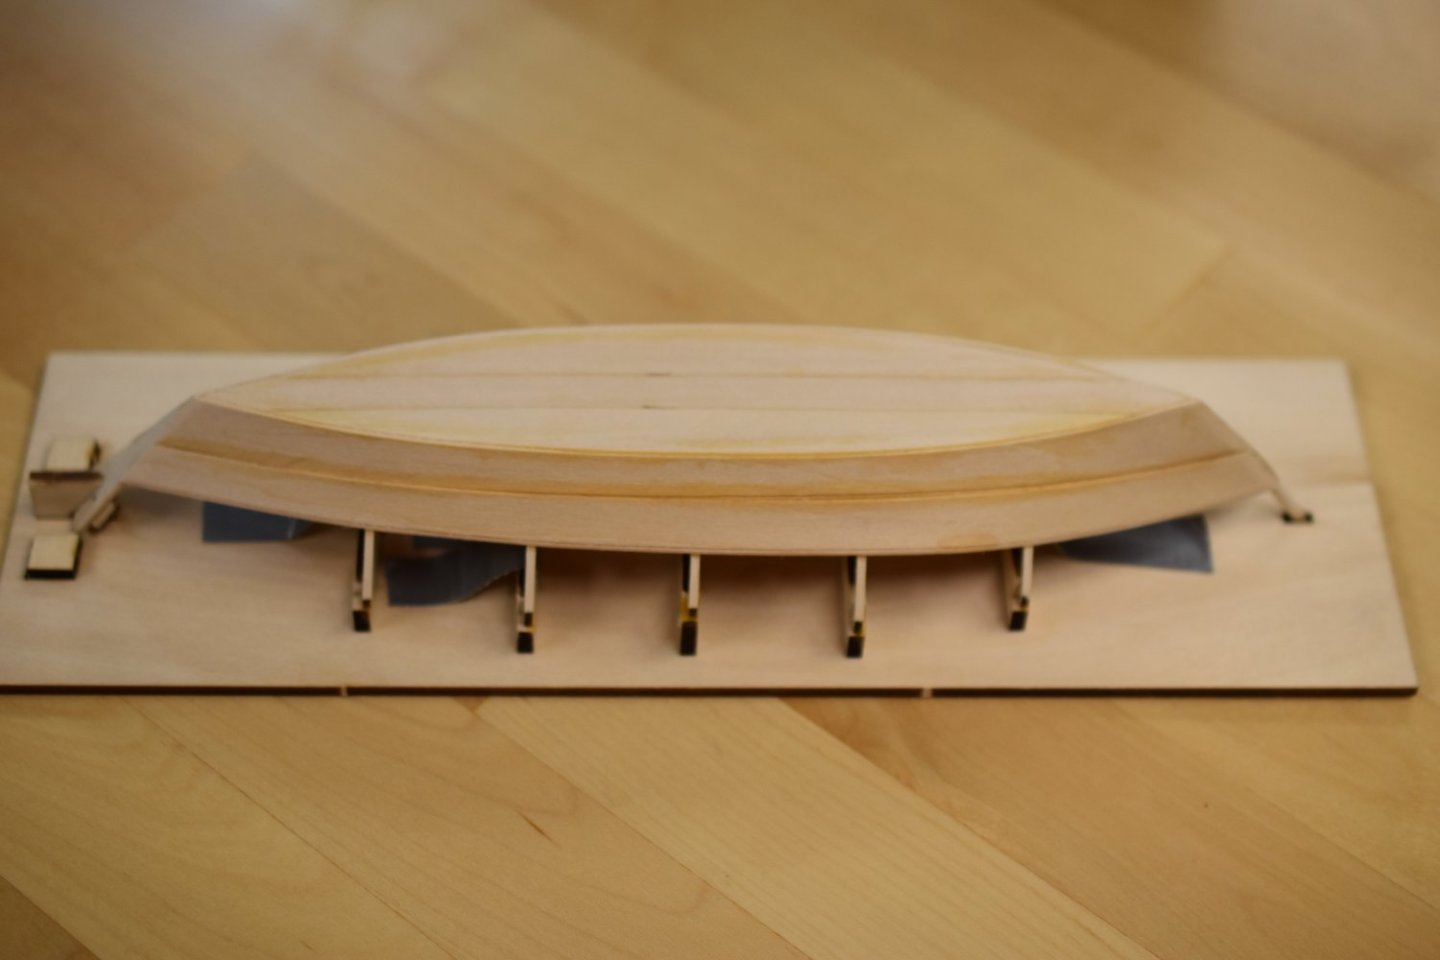
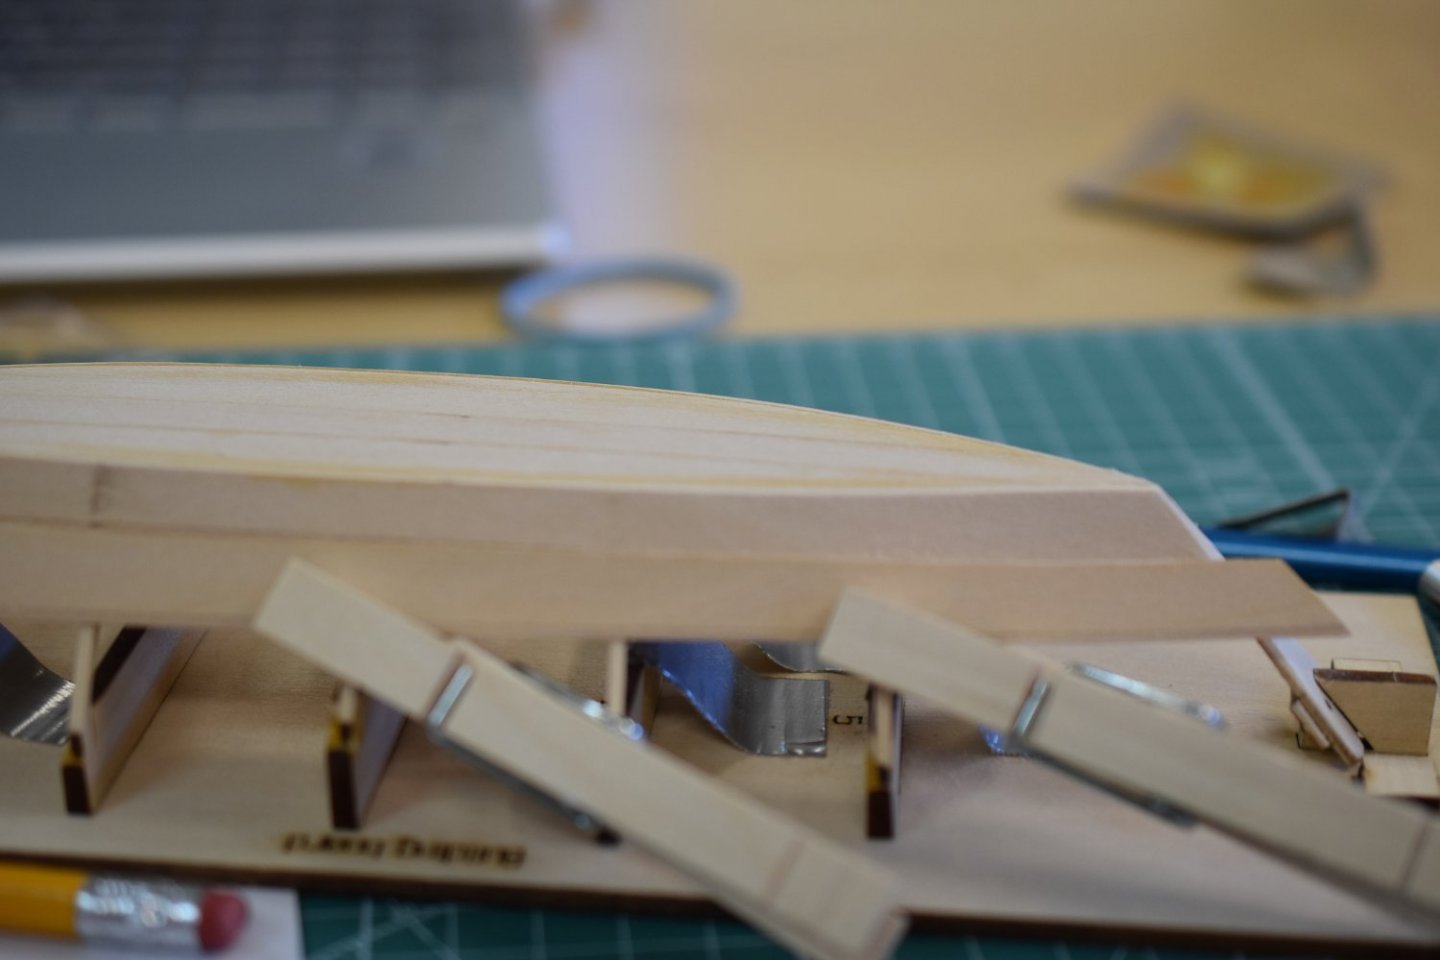
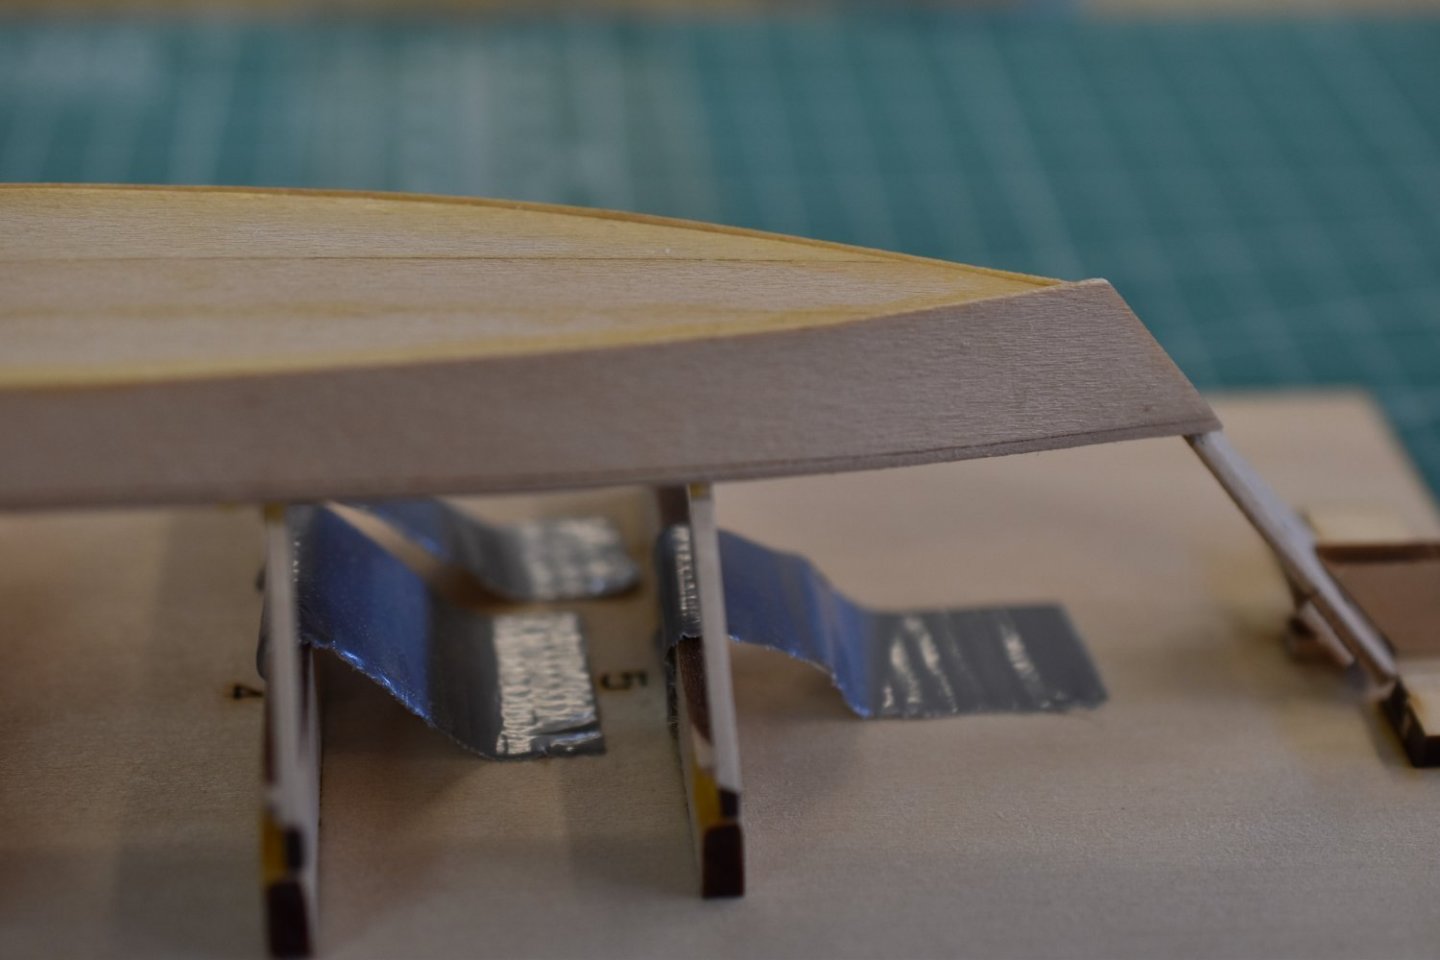
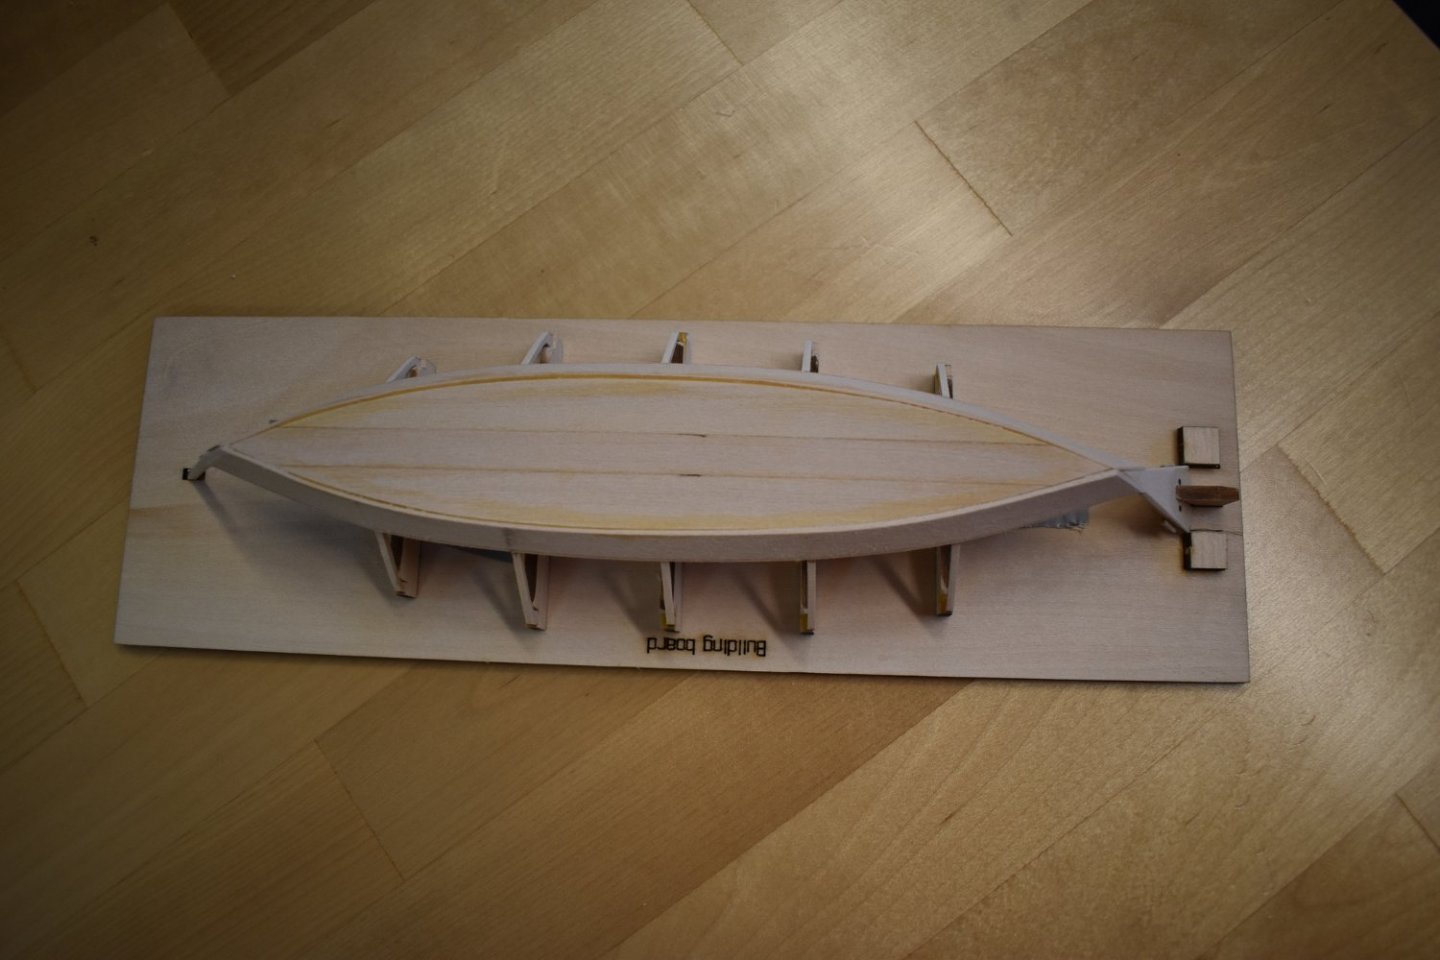
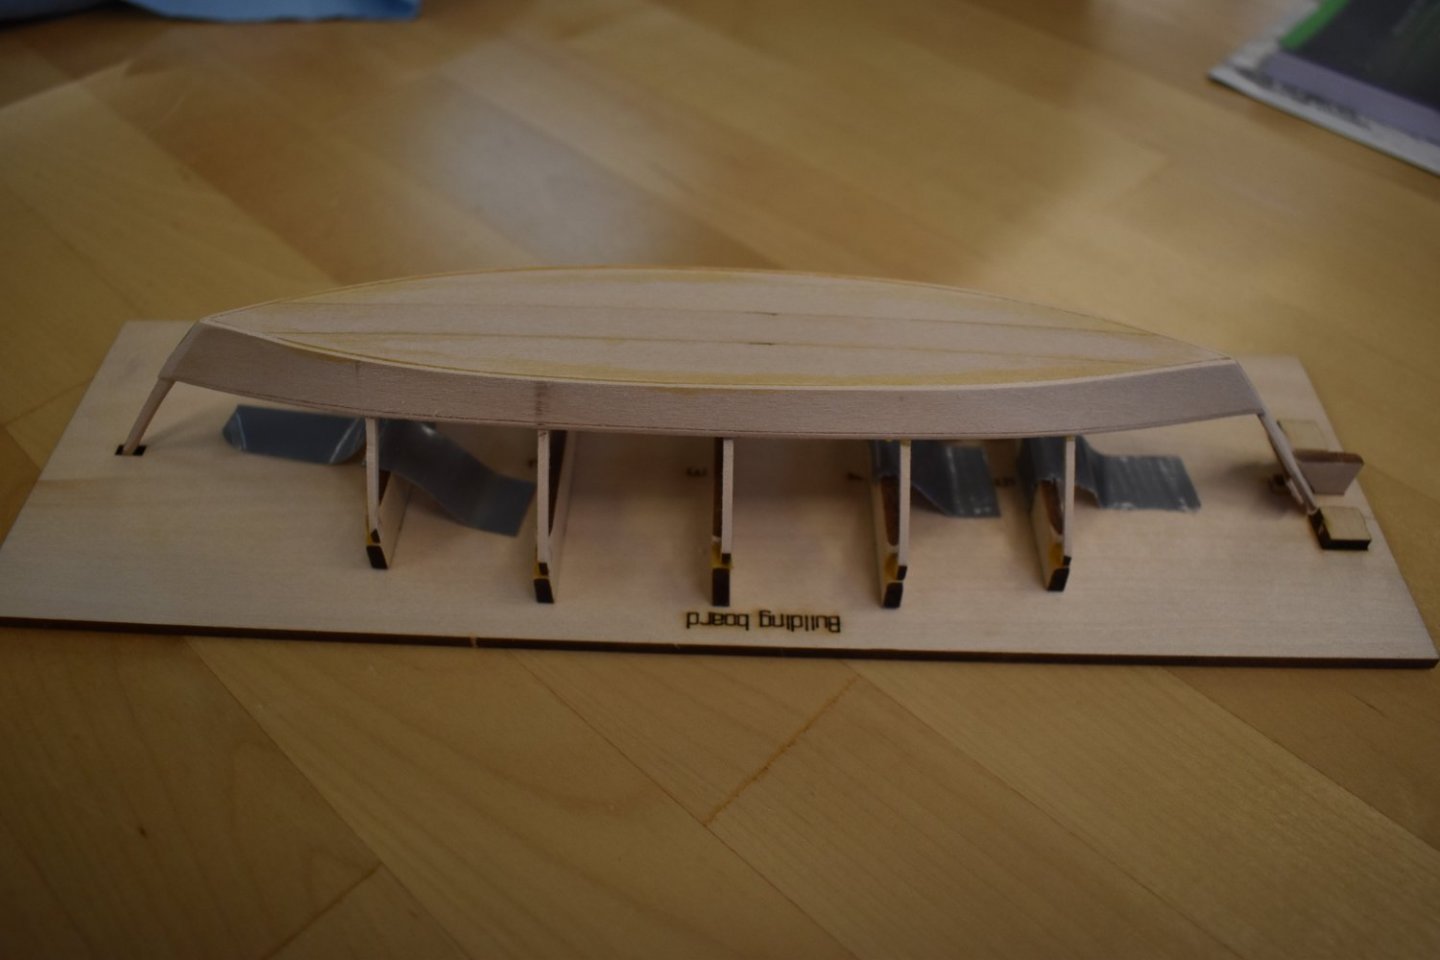
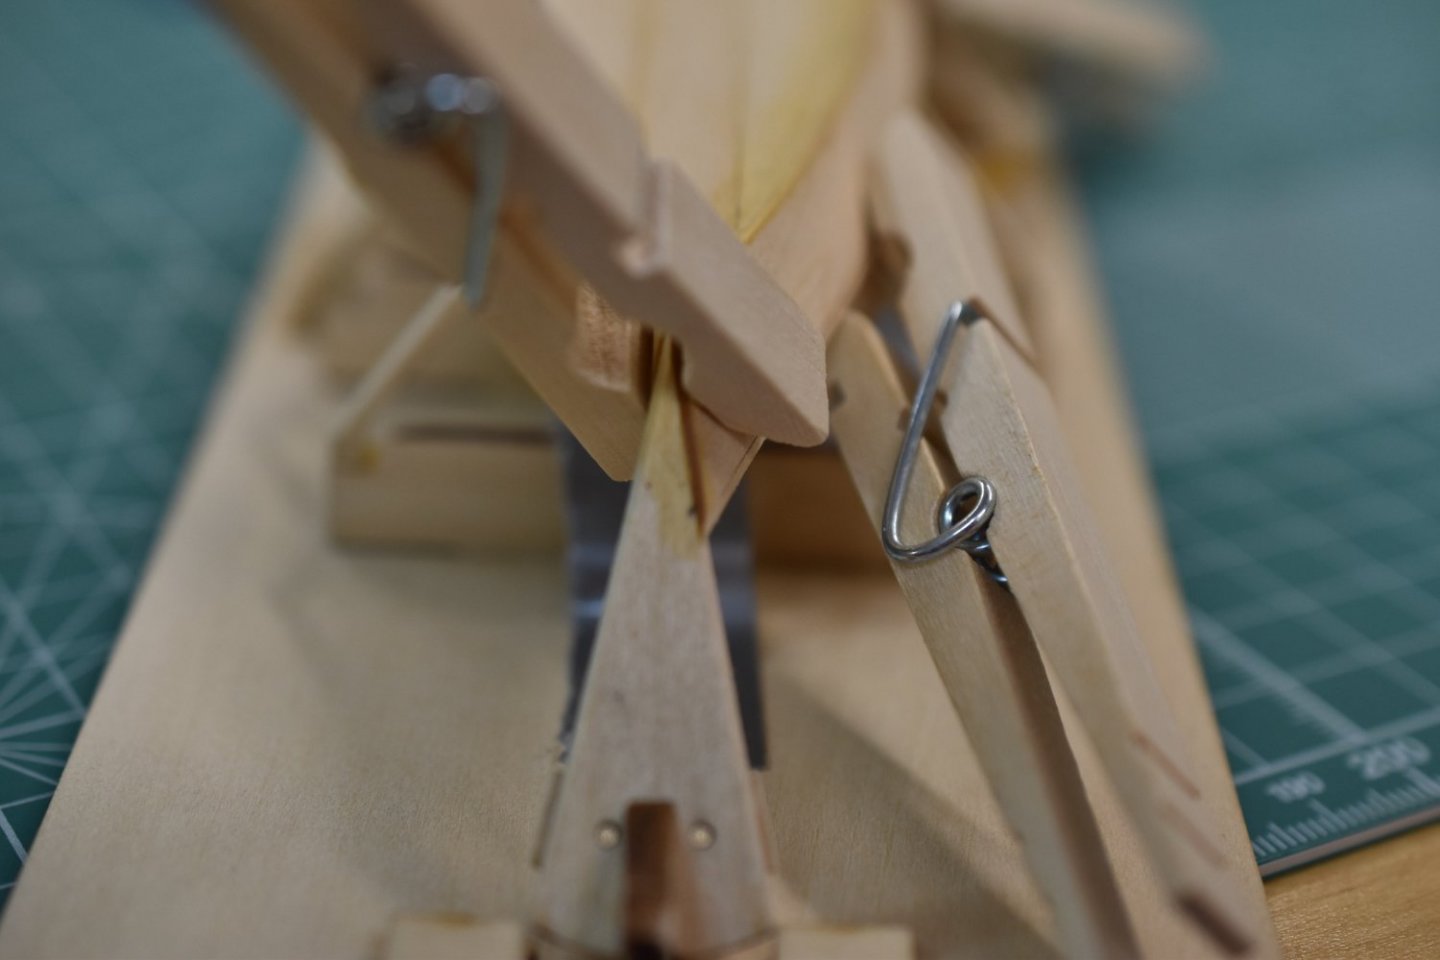
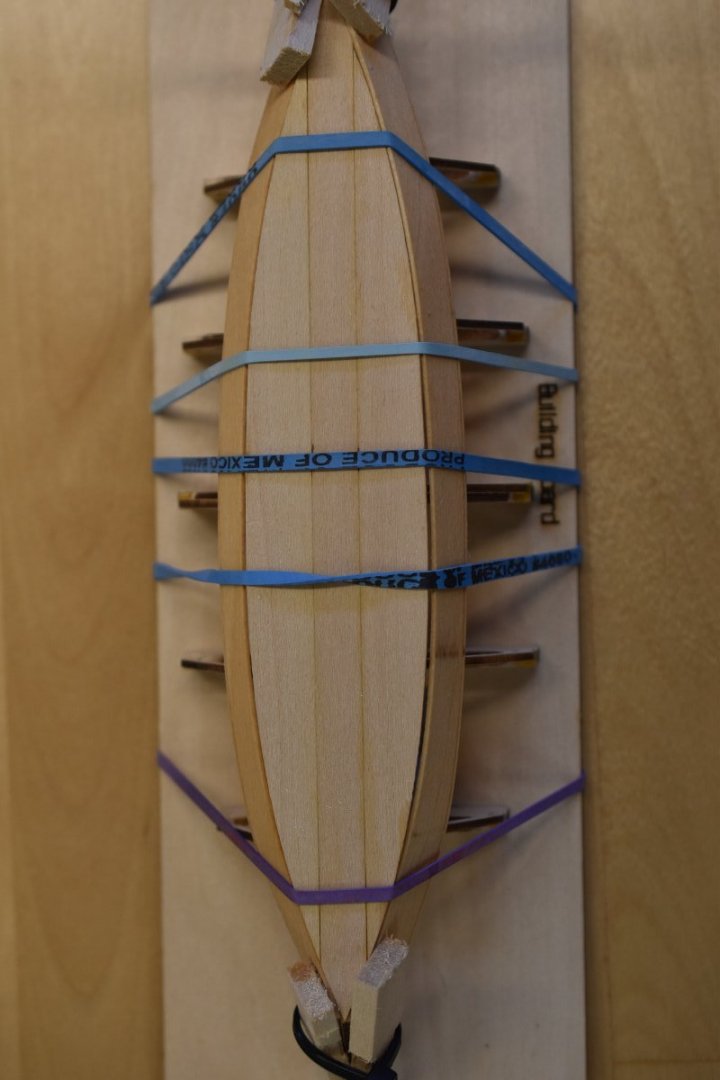
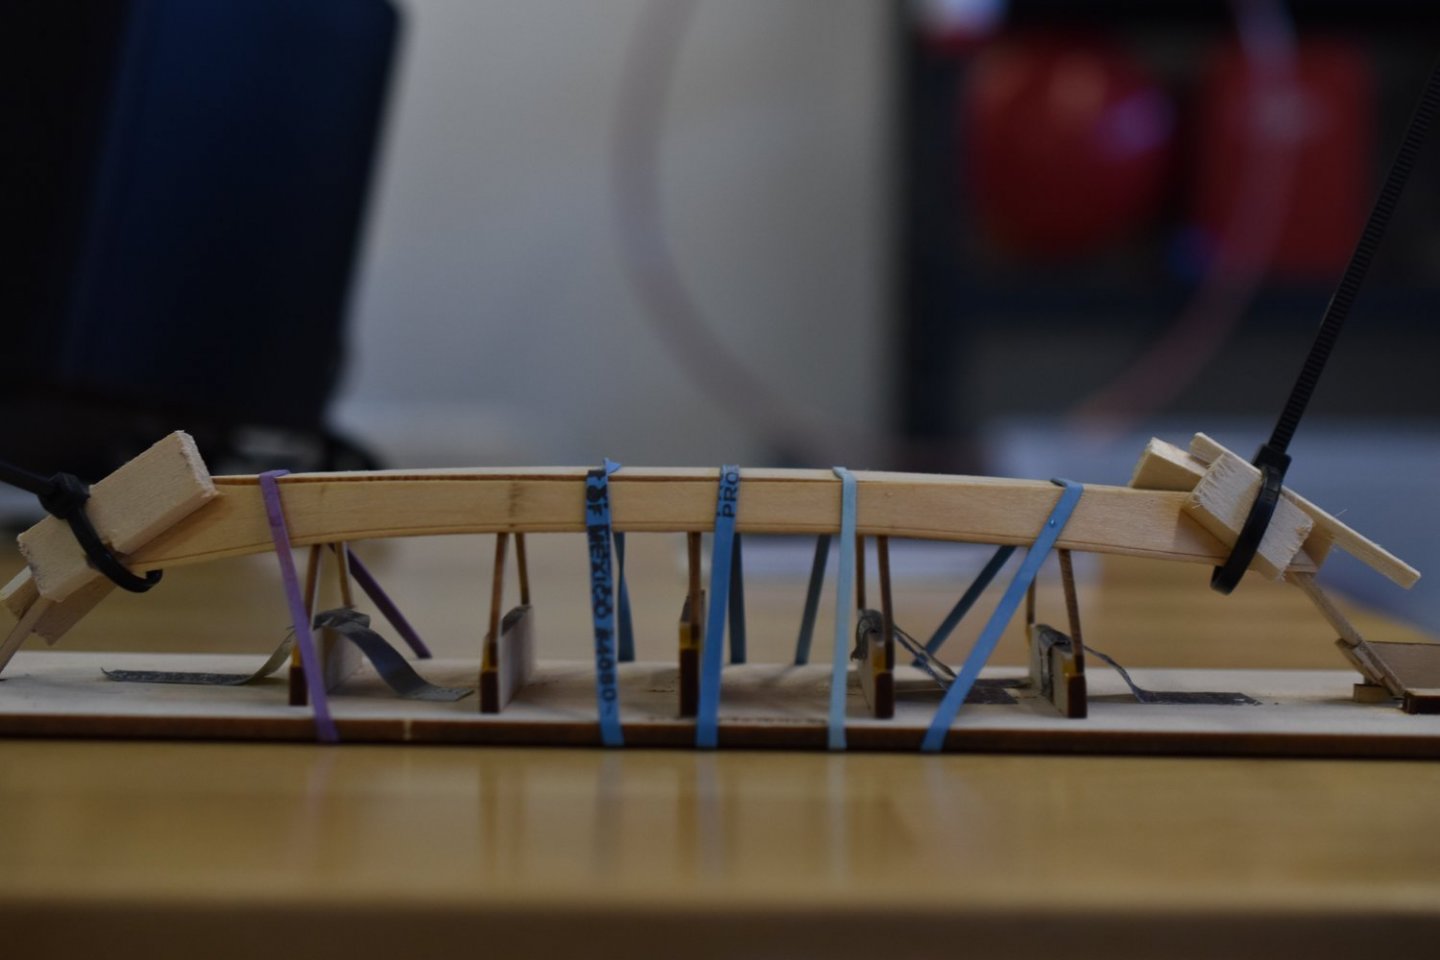
I attached the broad planks yesterday, as noted above. 👆 I got a few pictures after a bit of sanding. The planks look fairly level/even at the top so far after the sanding. I thought one side was going to need a bit of leveling, but it looks alright to my eye so far. There are a few waves along the run of planks. the worst offending spot was because of the clamp was pushing the plank out and it escaped my attention. another lesson to note >>look closely at your clamps to be sure they're as correct as possible on all sides. They should probably only touch on the actual clamping surface of the clamp and not touch on the sides of the clamp because of a tough angle. It might push on the material you're trying to form and put a ripple in it, like it did to me. I think I'm going to wet that area of the poor spots on the plank(s) when I glue the sheer plank on and see if the sheer plank can pull it in fair. I'm going to be spray painting this boat and starting to wonder, I guess I should prime it very lightly to seal the grain, then sand it lightly to knock the grain that raises when it gets wet from the primer? The primer seals it and then the grain won't raise again. I read this somewhere, but I'm not sure where.

- 61 replies
-
- 2
-
-
- Lowell Grand Banks Dory
- Model Shipways
- (and 1 more)
-
Sounds like some great news Clueless! I hope you're able to do that and have a good rest from the stress of ill health. 👍
- 61 replies
-
- 1
-
-
- Lowell Grand Banks Dory
- Model Shipways
- (and 1 more)
-
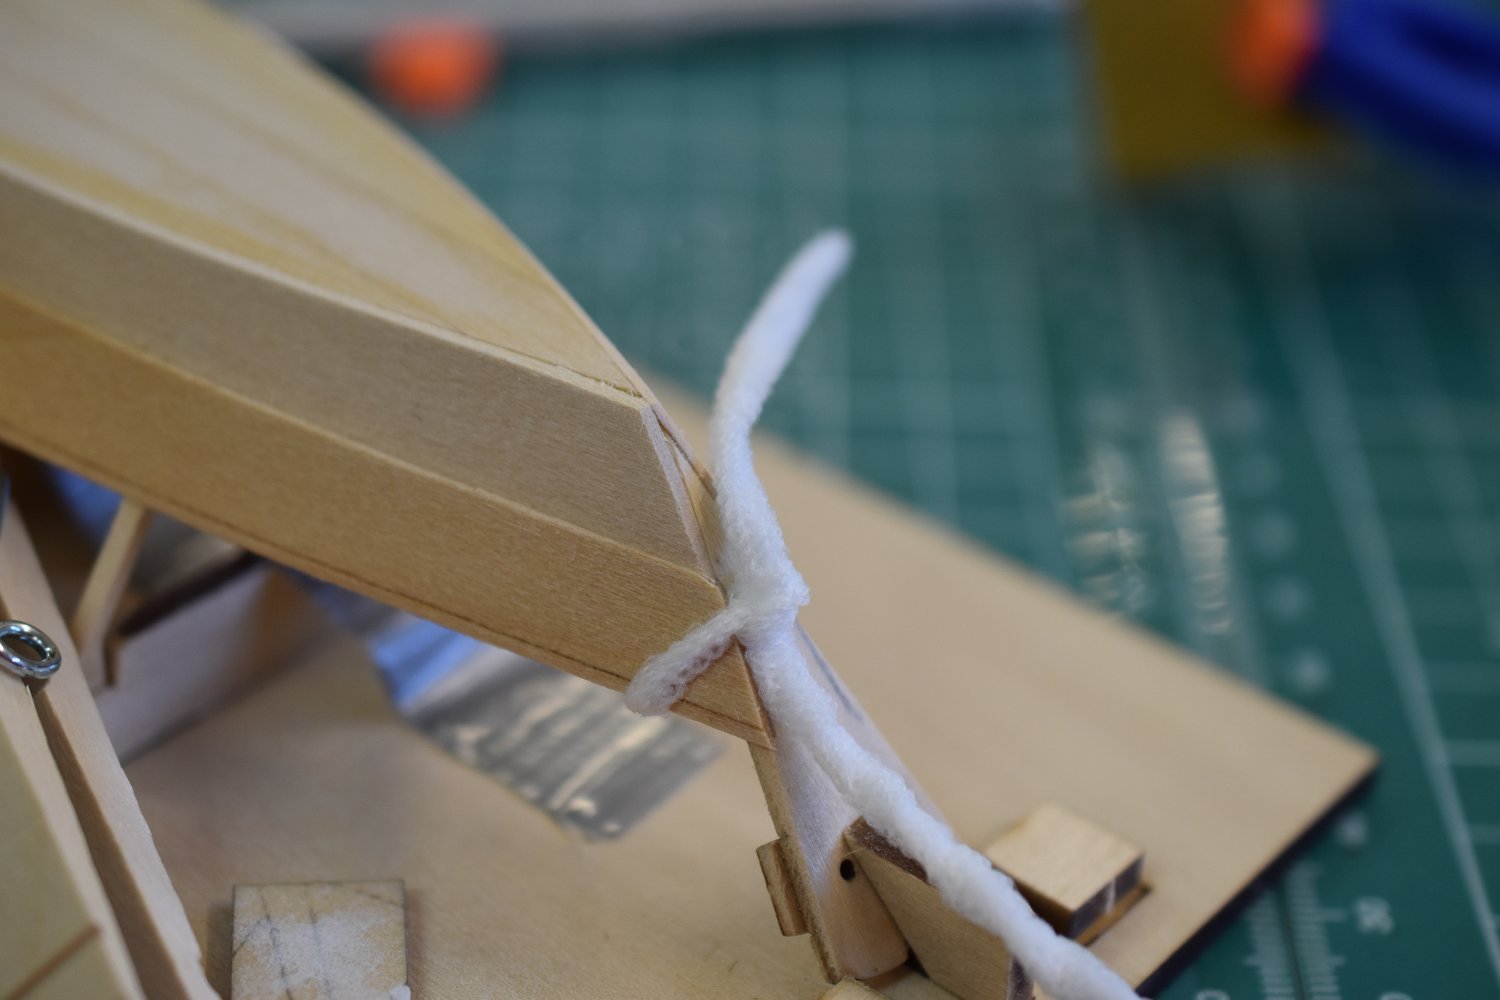
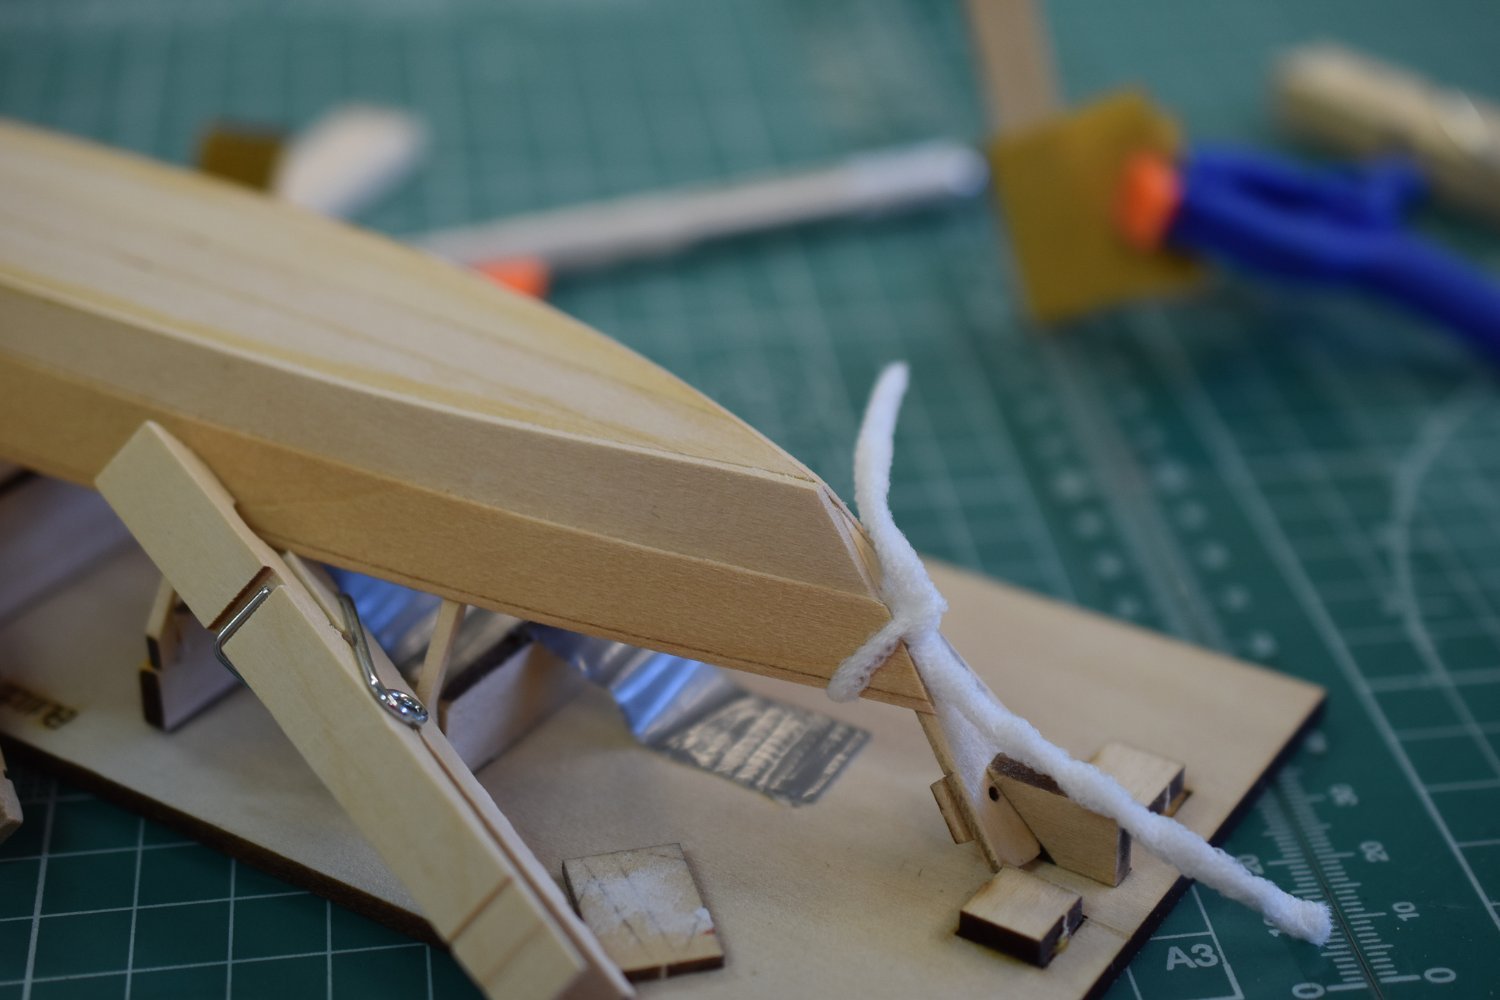
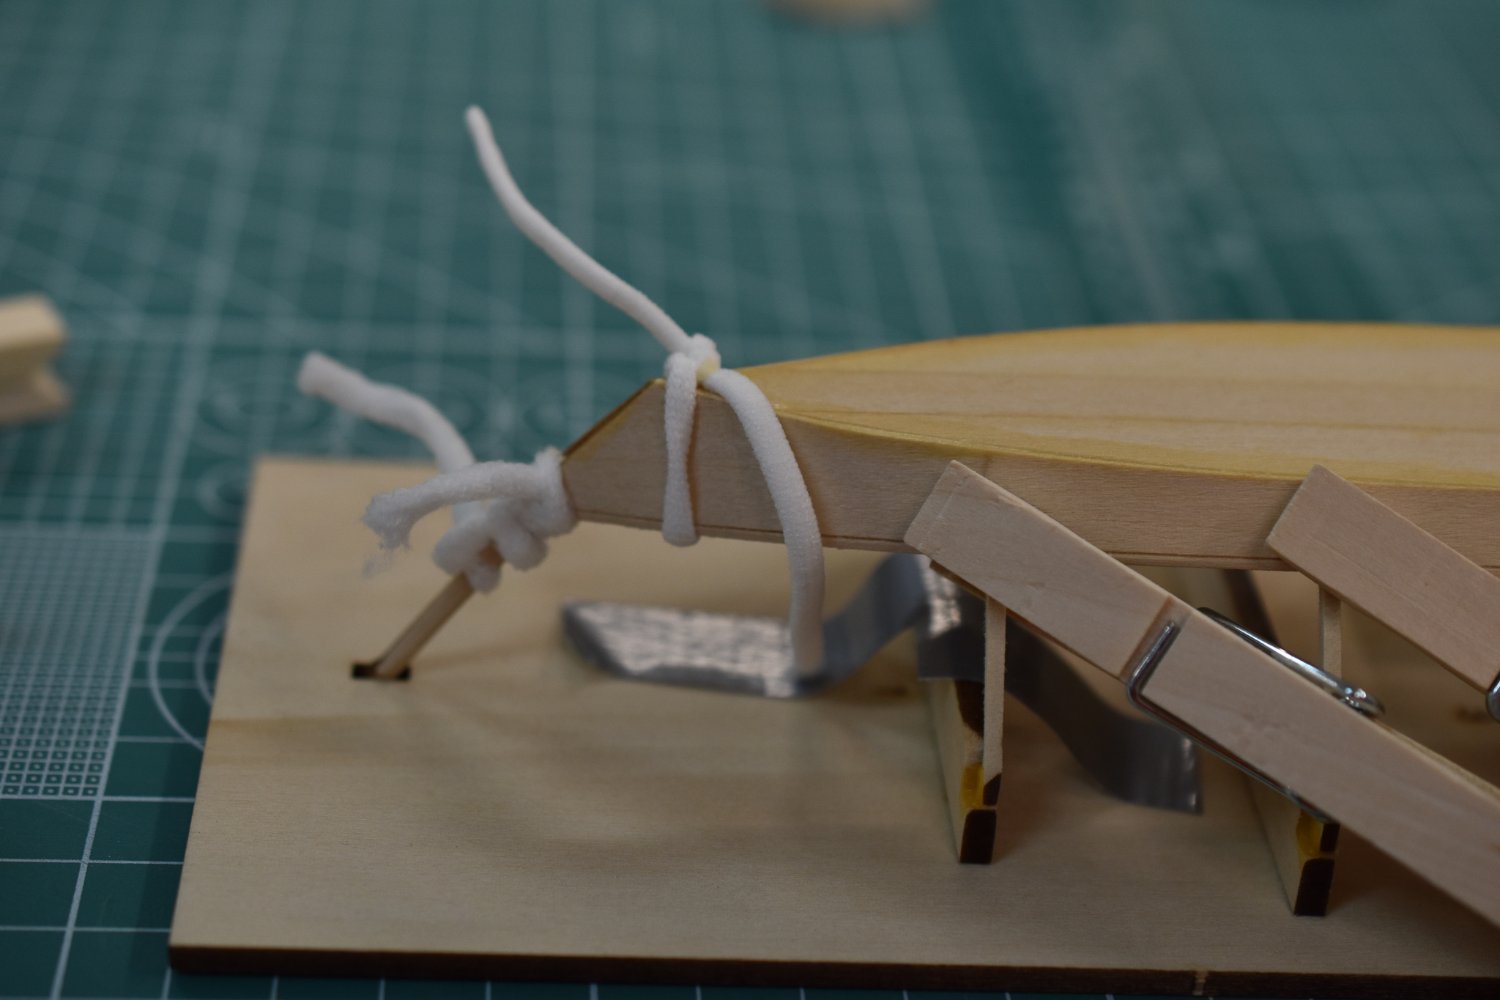
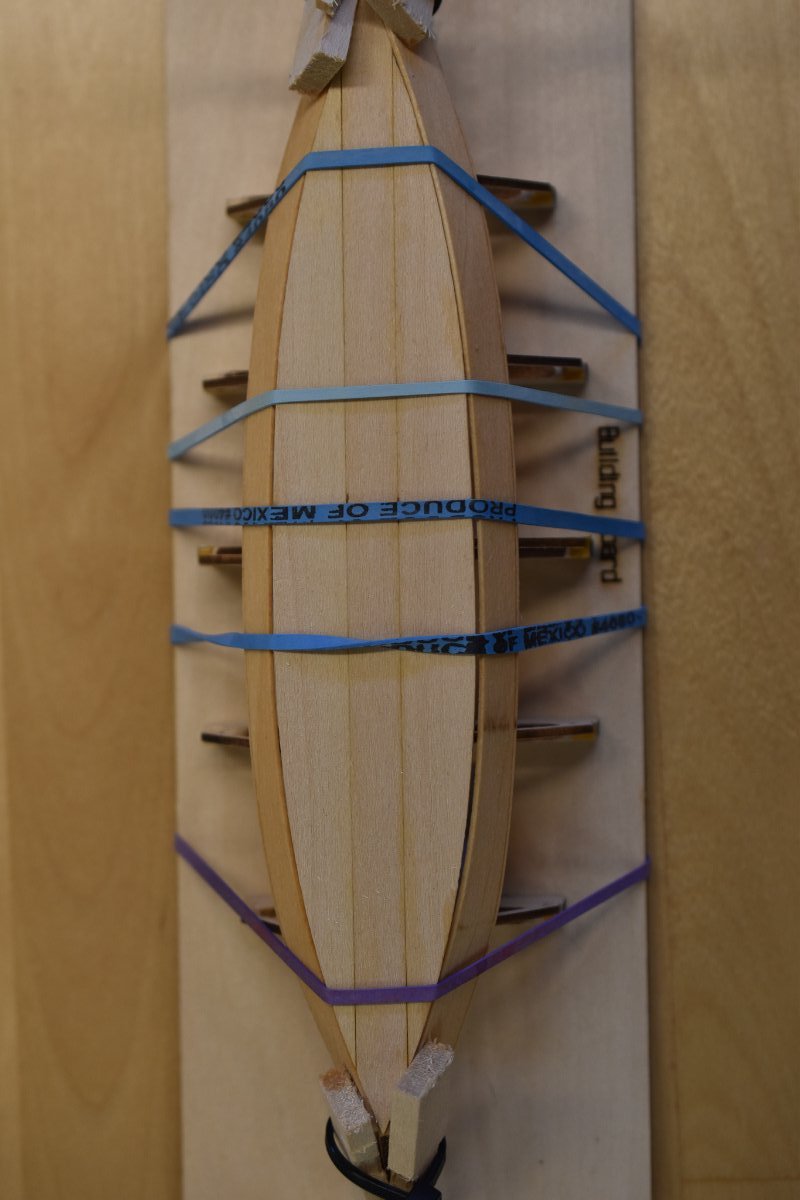
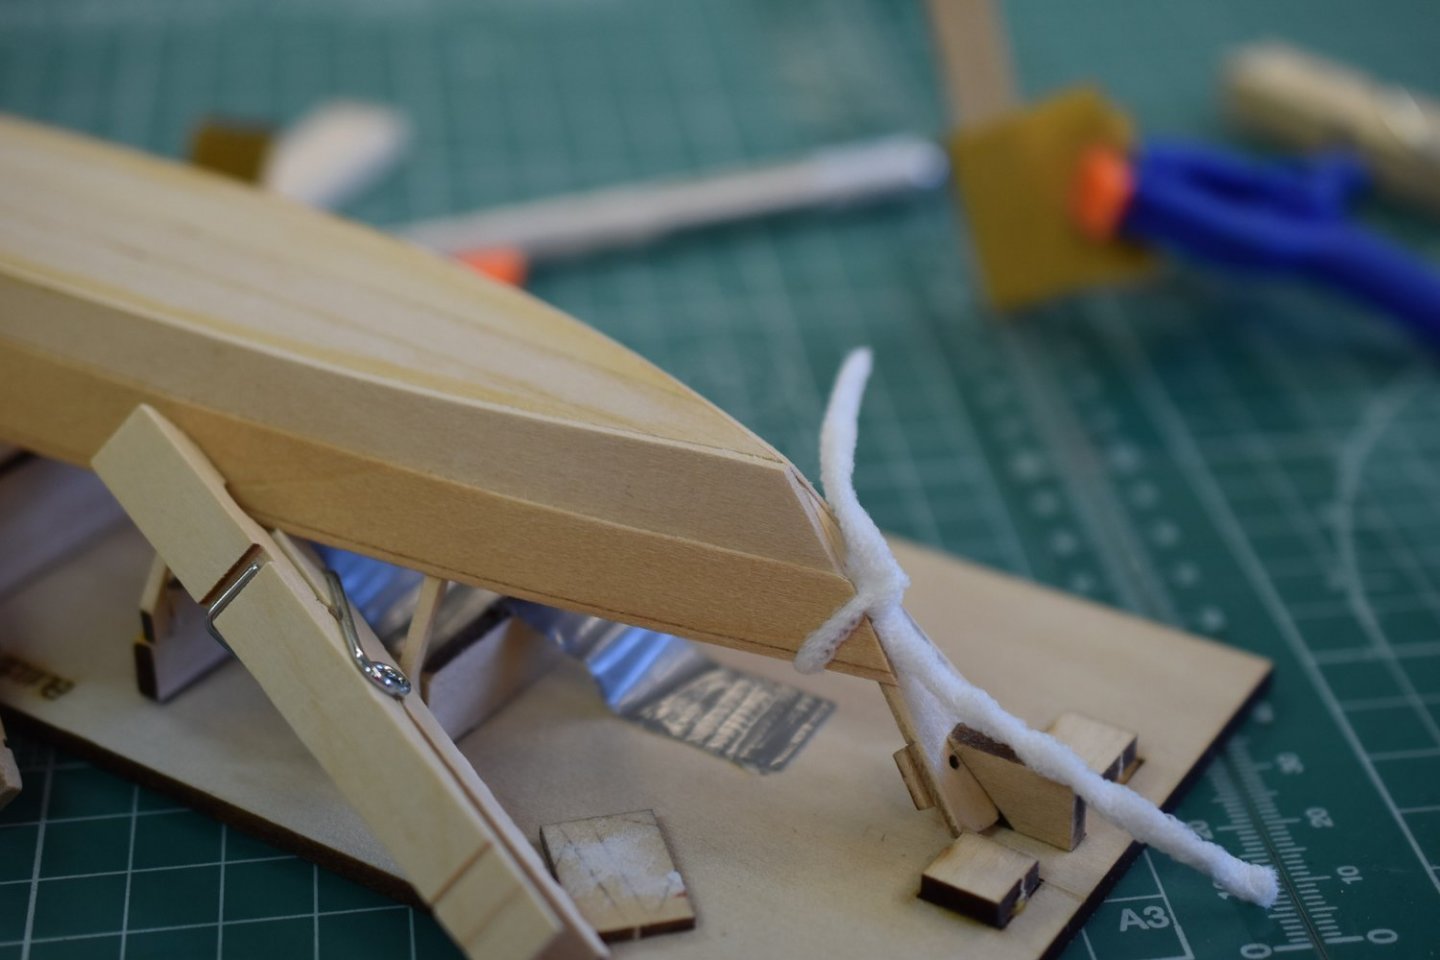
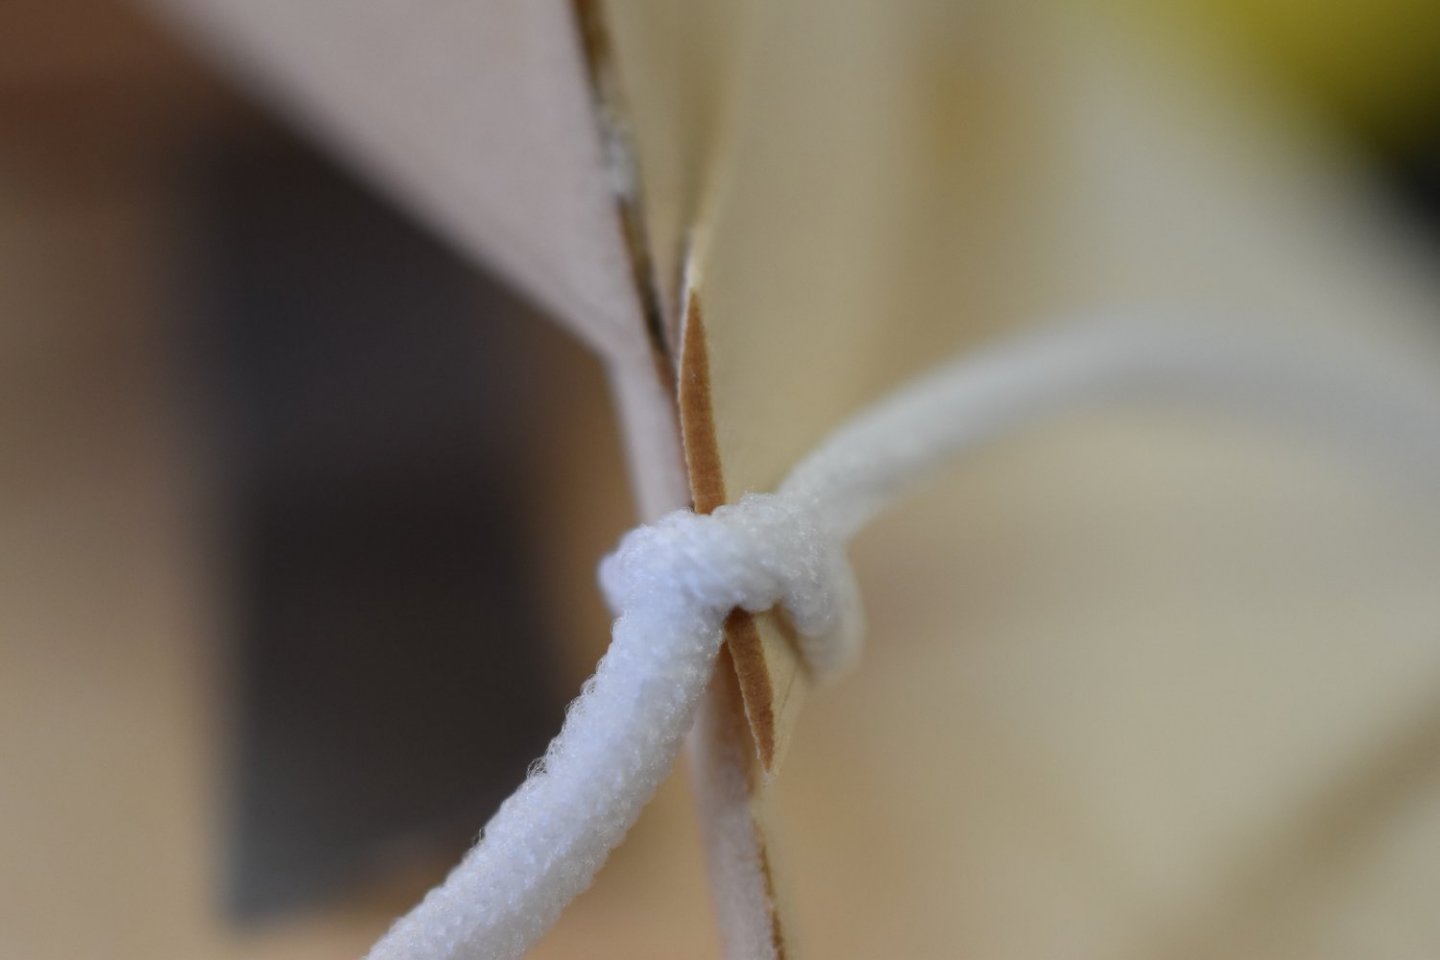
No druxey, I didn't try elastic bands yet, but these cords are stretchy like elastic and cinch up nicely. I will try them again when necessary. On the broad planks tonight I tried using super glue. My technique was flawed on the first side, but it went a little better on the second side. I like how it cures fast. I used regular wood glue on the frames and the super glue on the stem and transom. A little more practice with that method should prove worthy. Thanks for the intel Dan. I think I'm may only stain the thwarts. I'll be painting the hull and cap rail. I've got glue stains in too many places for a staining job to look alright I think. I have tried rubber bands and they worked well for me in the middle portion, but on the ends I'm going to stick with the elastic cord stuff I tried. I'm also going to use super glue. I'm going to start with painting wood glue on the frames along the length of the plank, except for the stem where I will put a dab of super glue at the last second. Then I will attach the plank to the super glue and quickly align the plank across the frames with wood glue already applied. I will hold finger pressure until the super glue dries enough to hold. After making sure the alignment is alright along the plank I'll clamp it or use rubber bands (tonight I clamped the plank to the frames). Then I'll apply super glue to the other end of the plank and hold finger pressure until it grabs solid. I did this tonight and it worked well enough that I think with more practice it will be a smooth method. I'm going to repeat it a few more times to see if I get comfortable with the super glue on the ends. I think I read somewhere that super glue hasn't been proven over a long period of time yet though?
- 61 replies
-
- 3
-
-
- Lowell Grand Banks Dory
- Model Shipways
- (and 1 more)
-
Hi Glomar:
The shipwright pram is my next project. It looks like you're doing a great job at it. Have you considered a build log so stragglers like me might learn something from your techniques.
Thanks,
Ian
-

Thanks Ian! I mostly have been building this while on Zoom meetings so I am not sure if I will be able to do a build log for this model but I am more than happy share what I know if you ever have any questions. I am very much still learning so I could probably get some great tips if you do a build log! Big things that I discovered on this build is that tools really do help, specifically calipers and chisel blades.
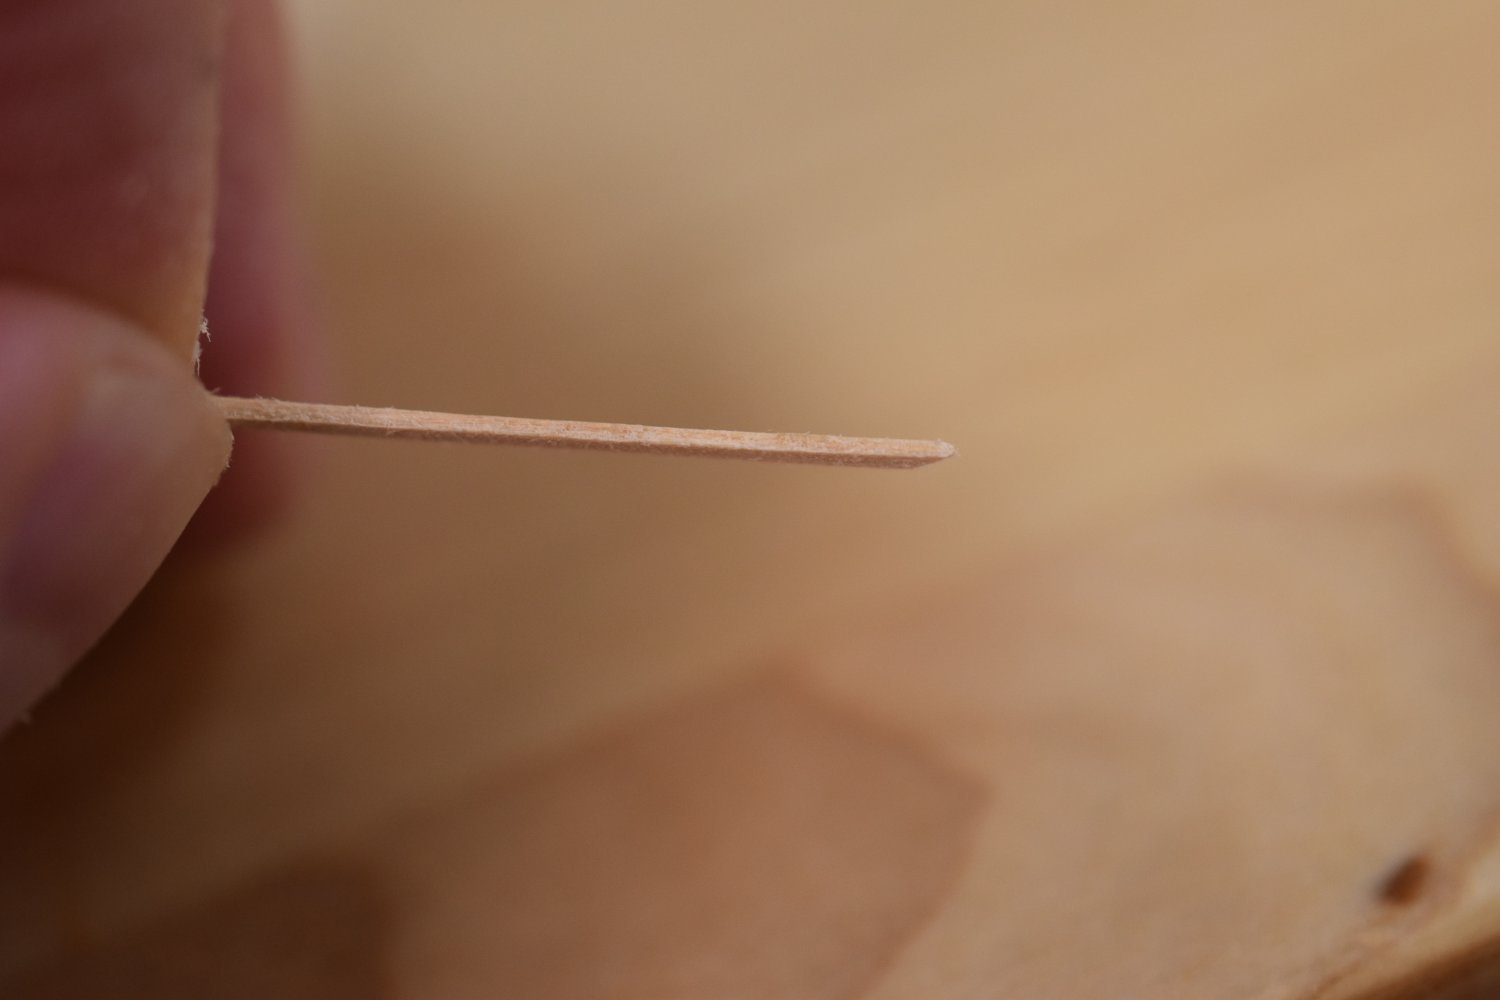
or the dory I was sanding the edges of boards but this kind of caused a smushed effect so trimming it with a blade created cleaner edges. Marking out the locations of the planks on the transoms also really helped clean things up as well
-
-
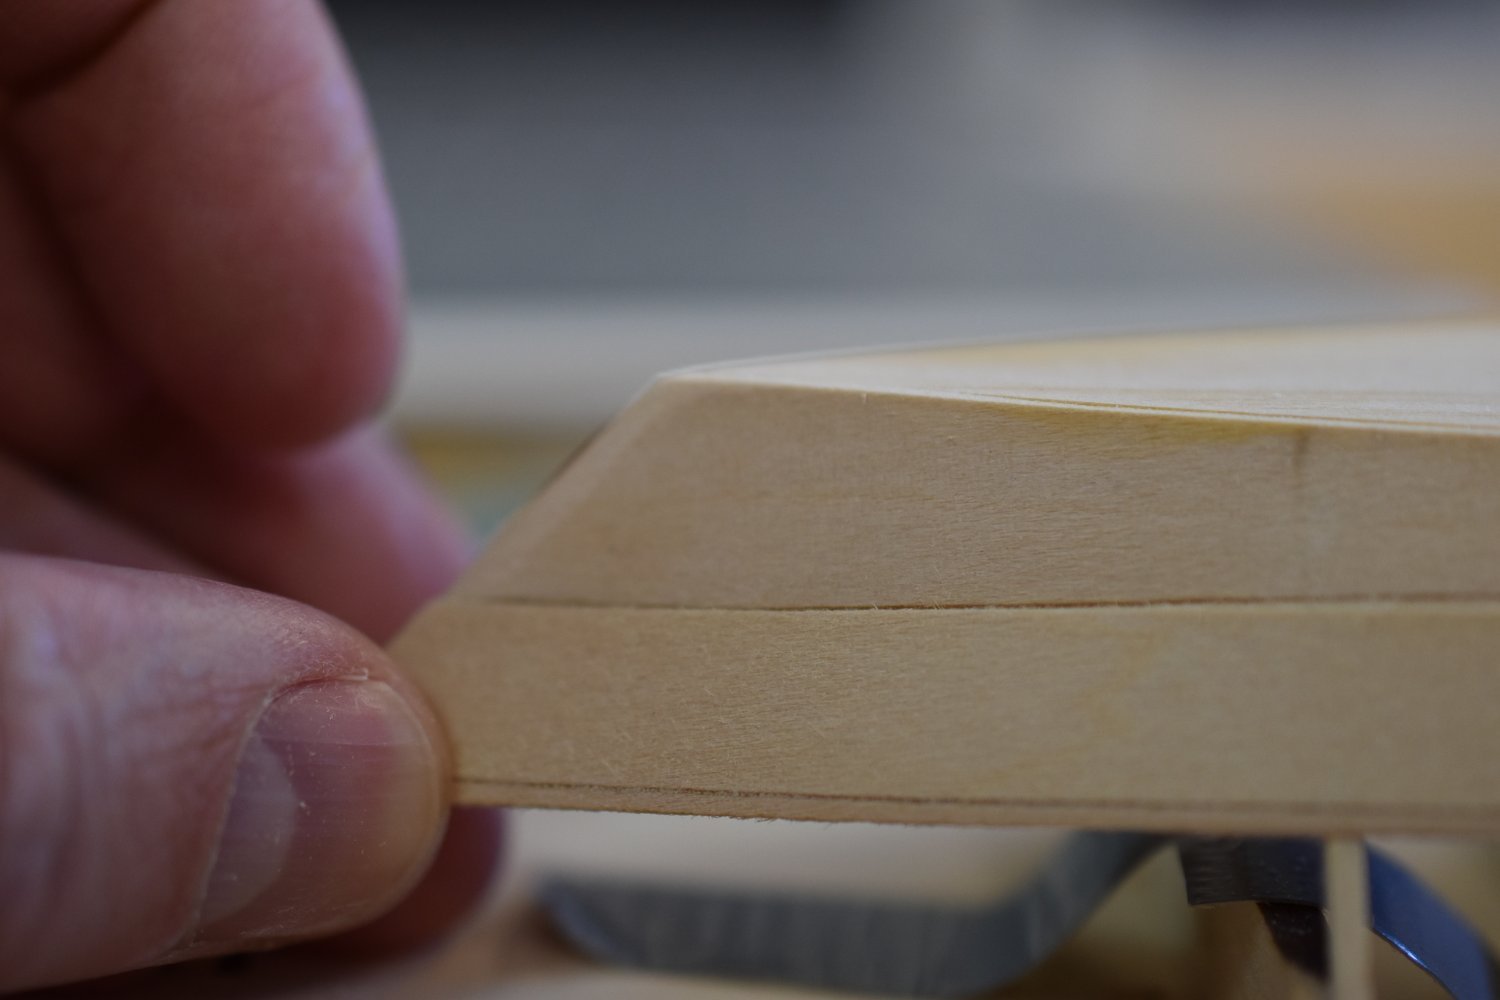
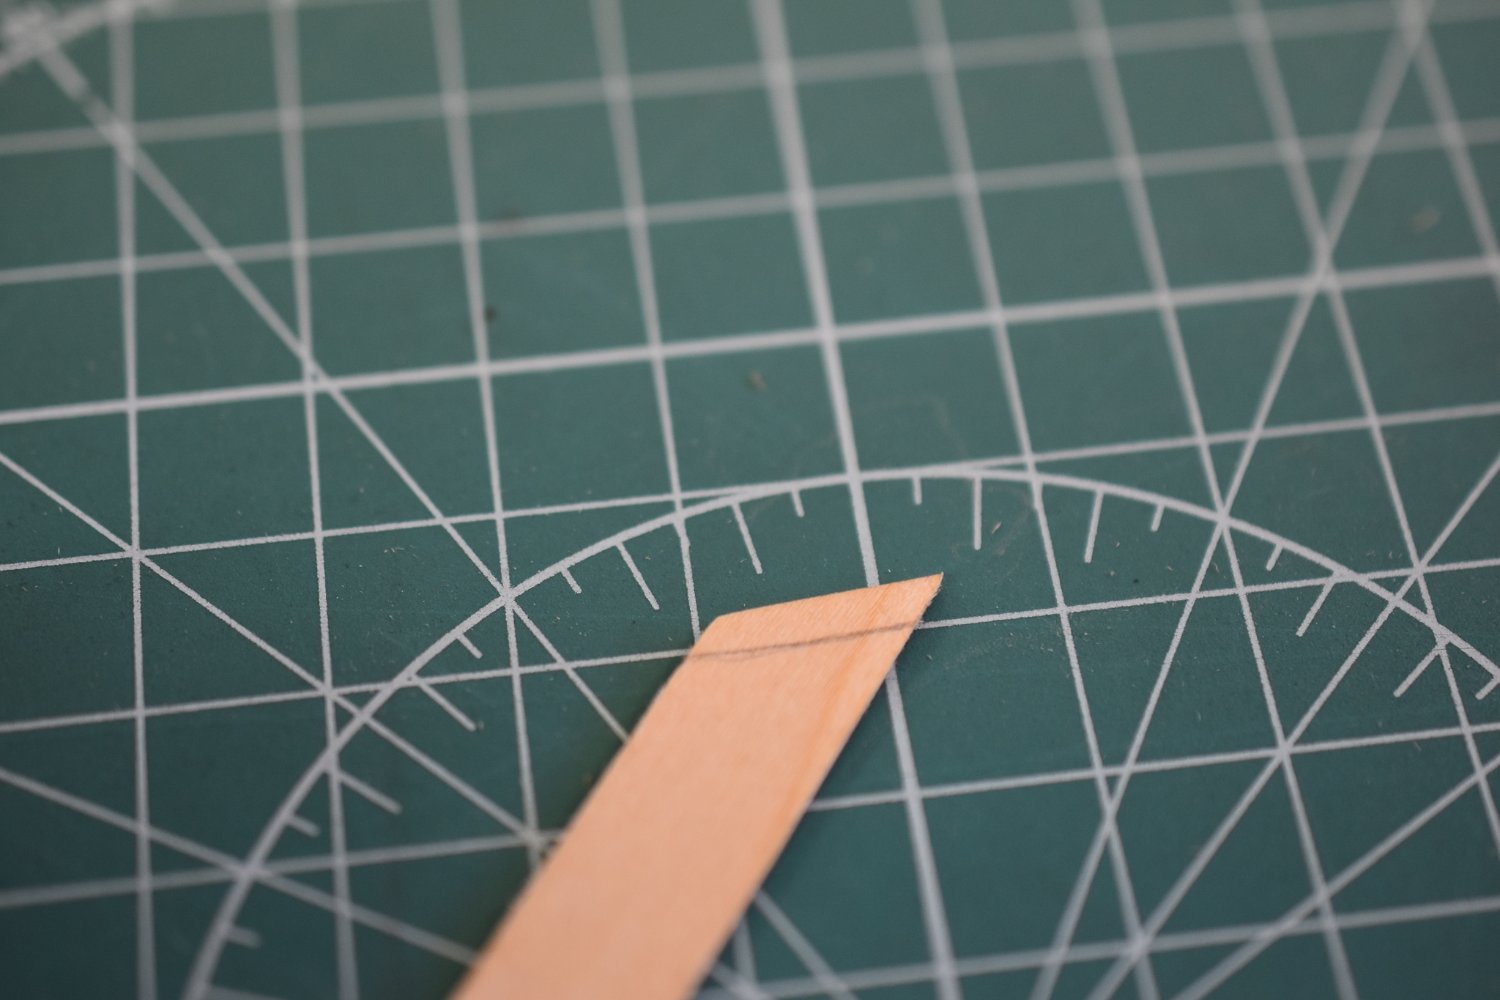
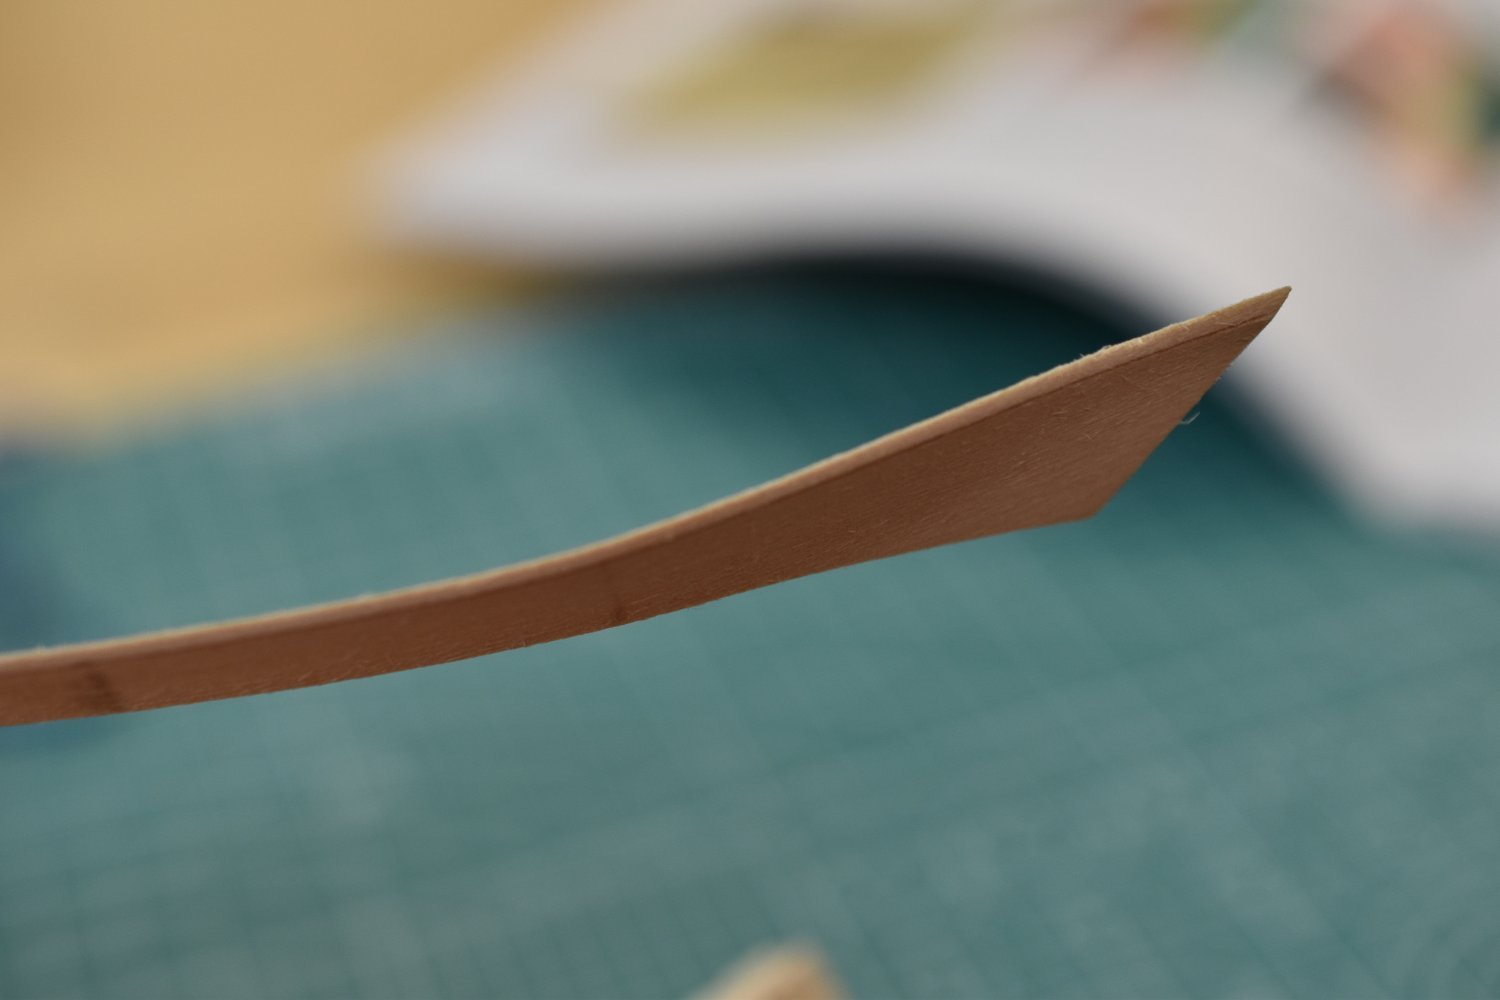
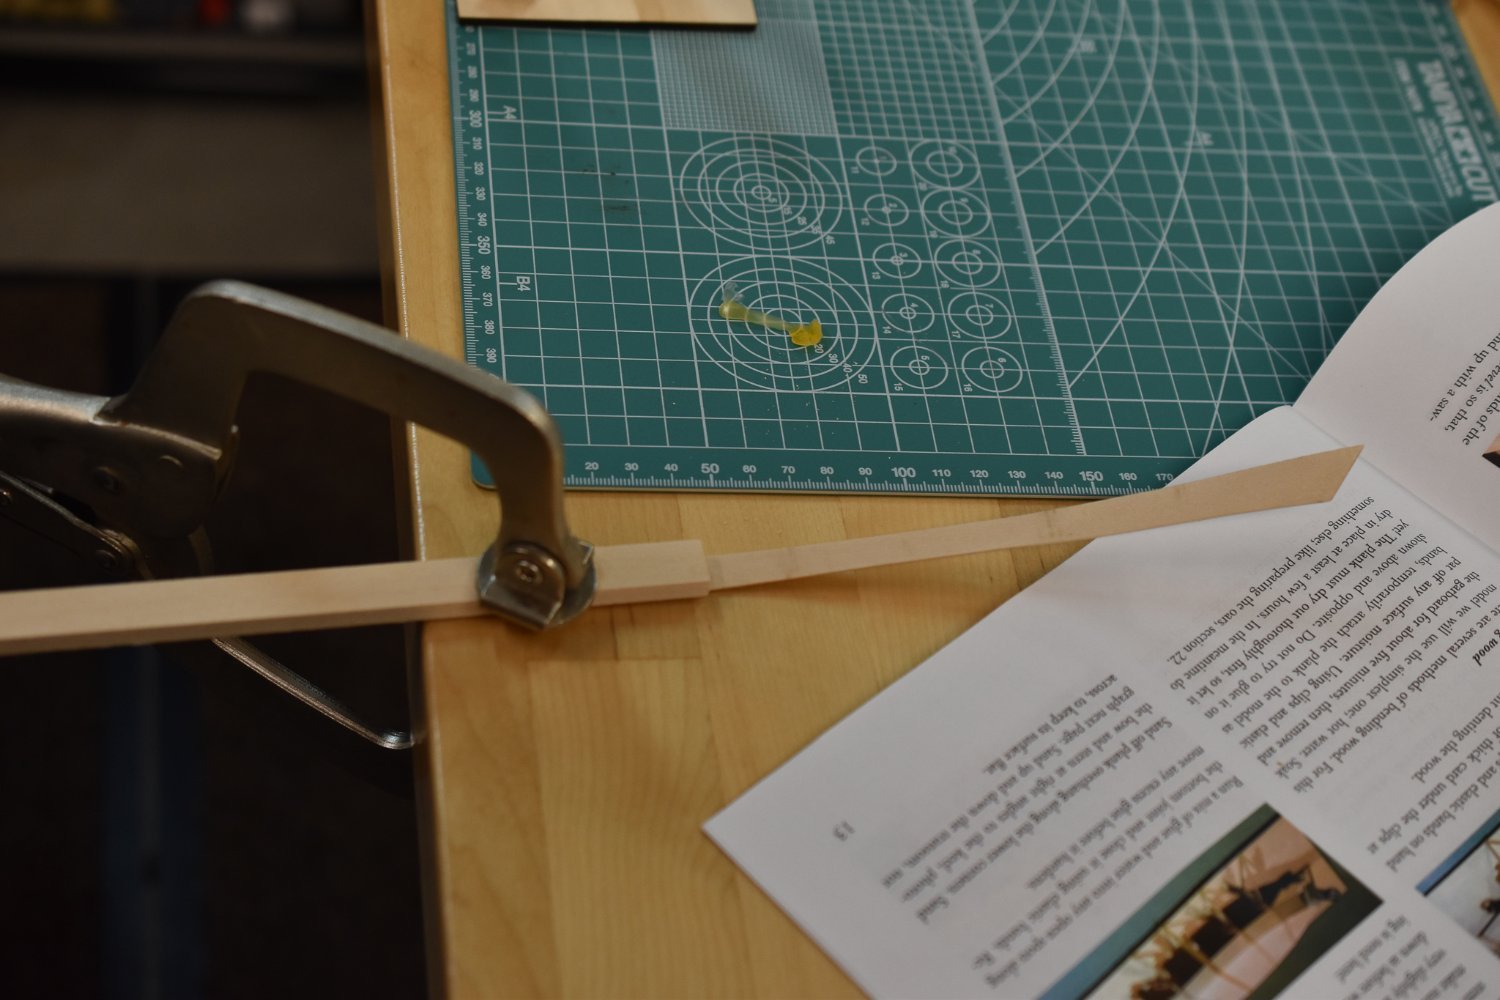
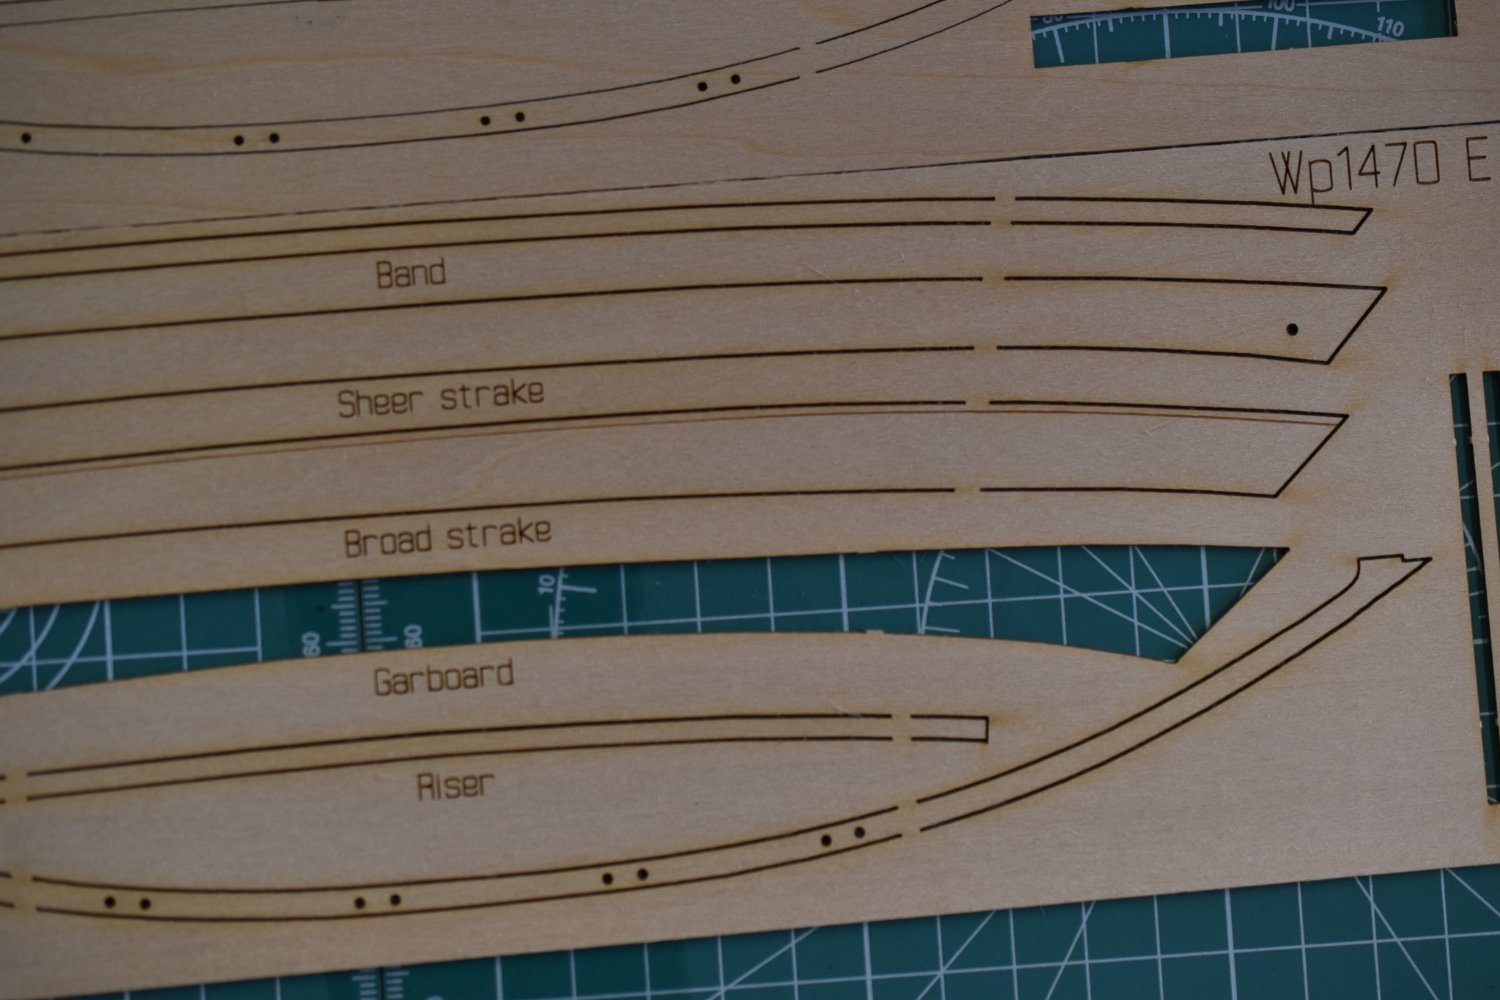
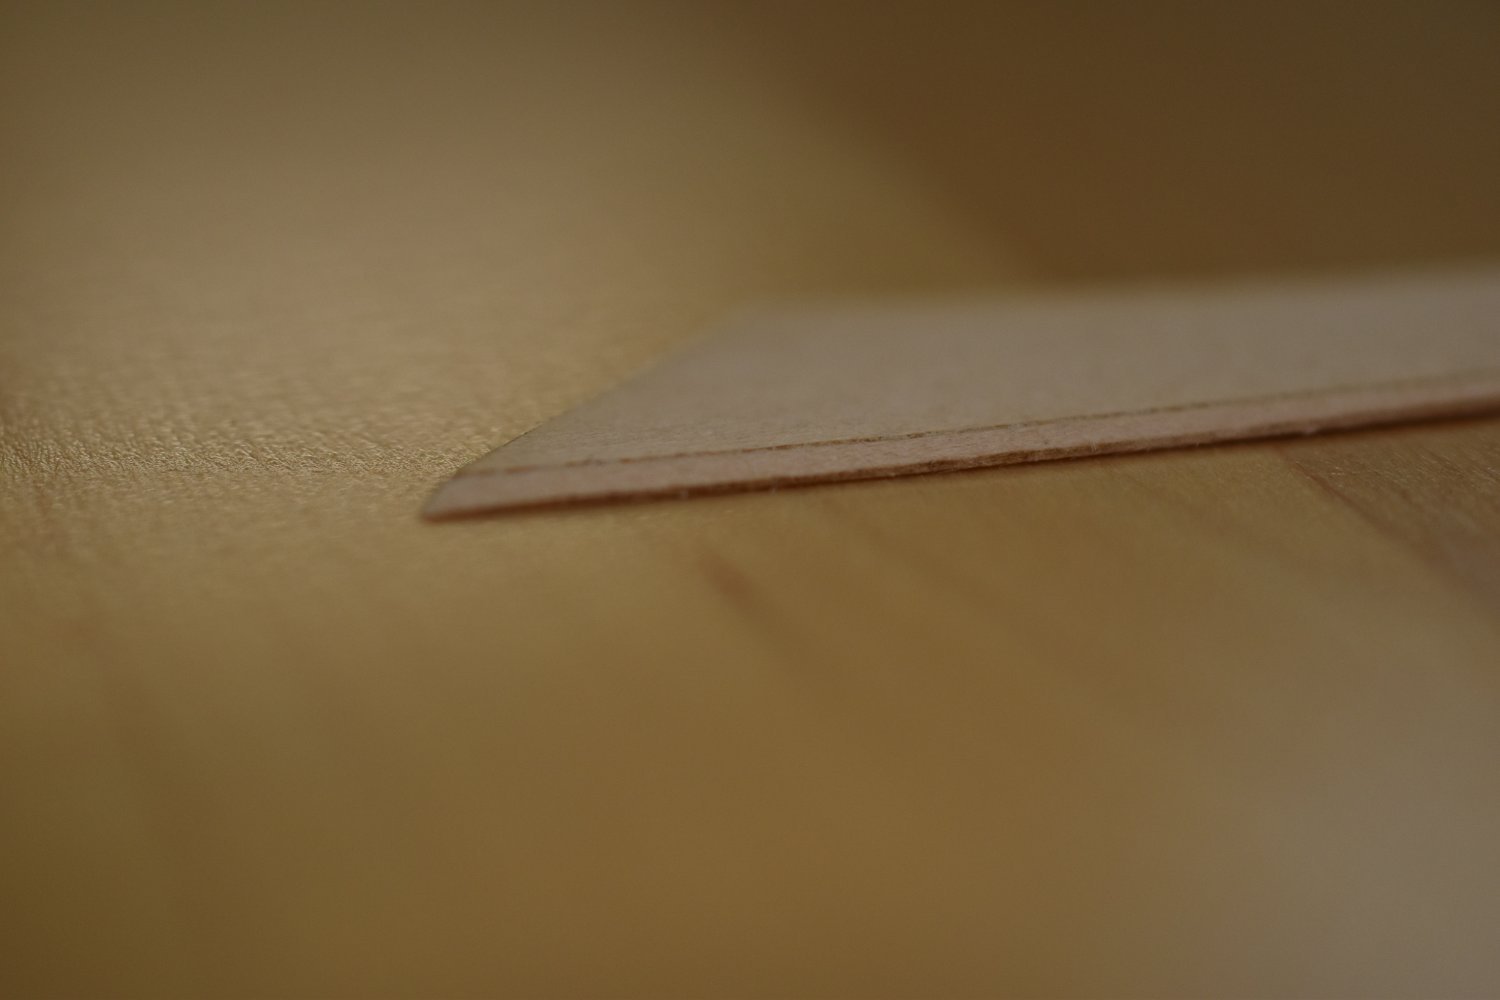
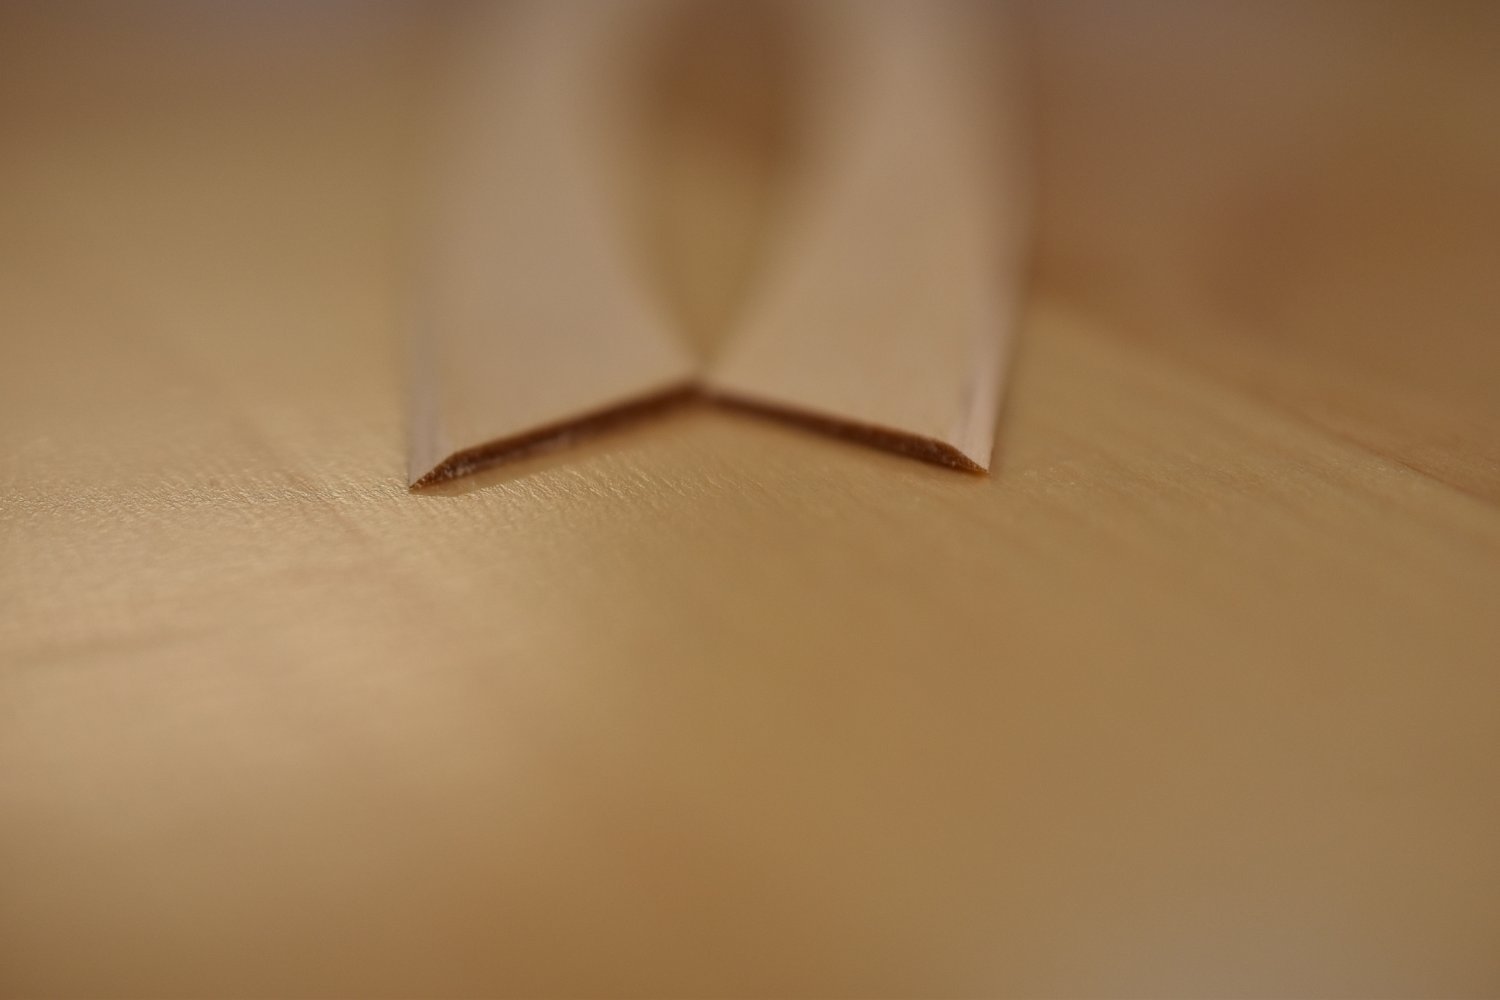
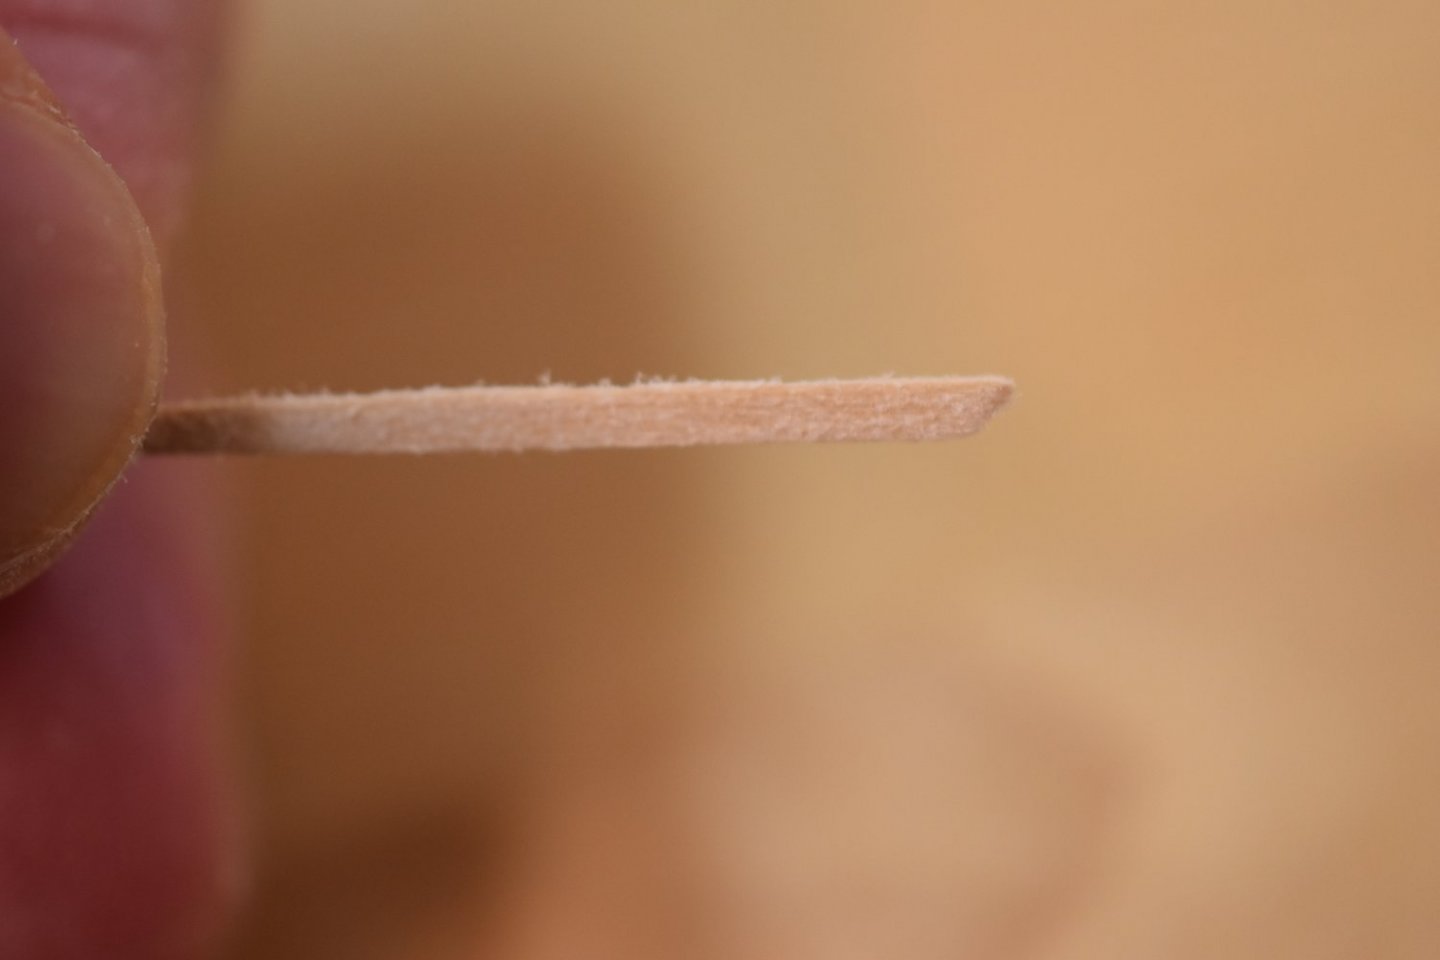
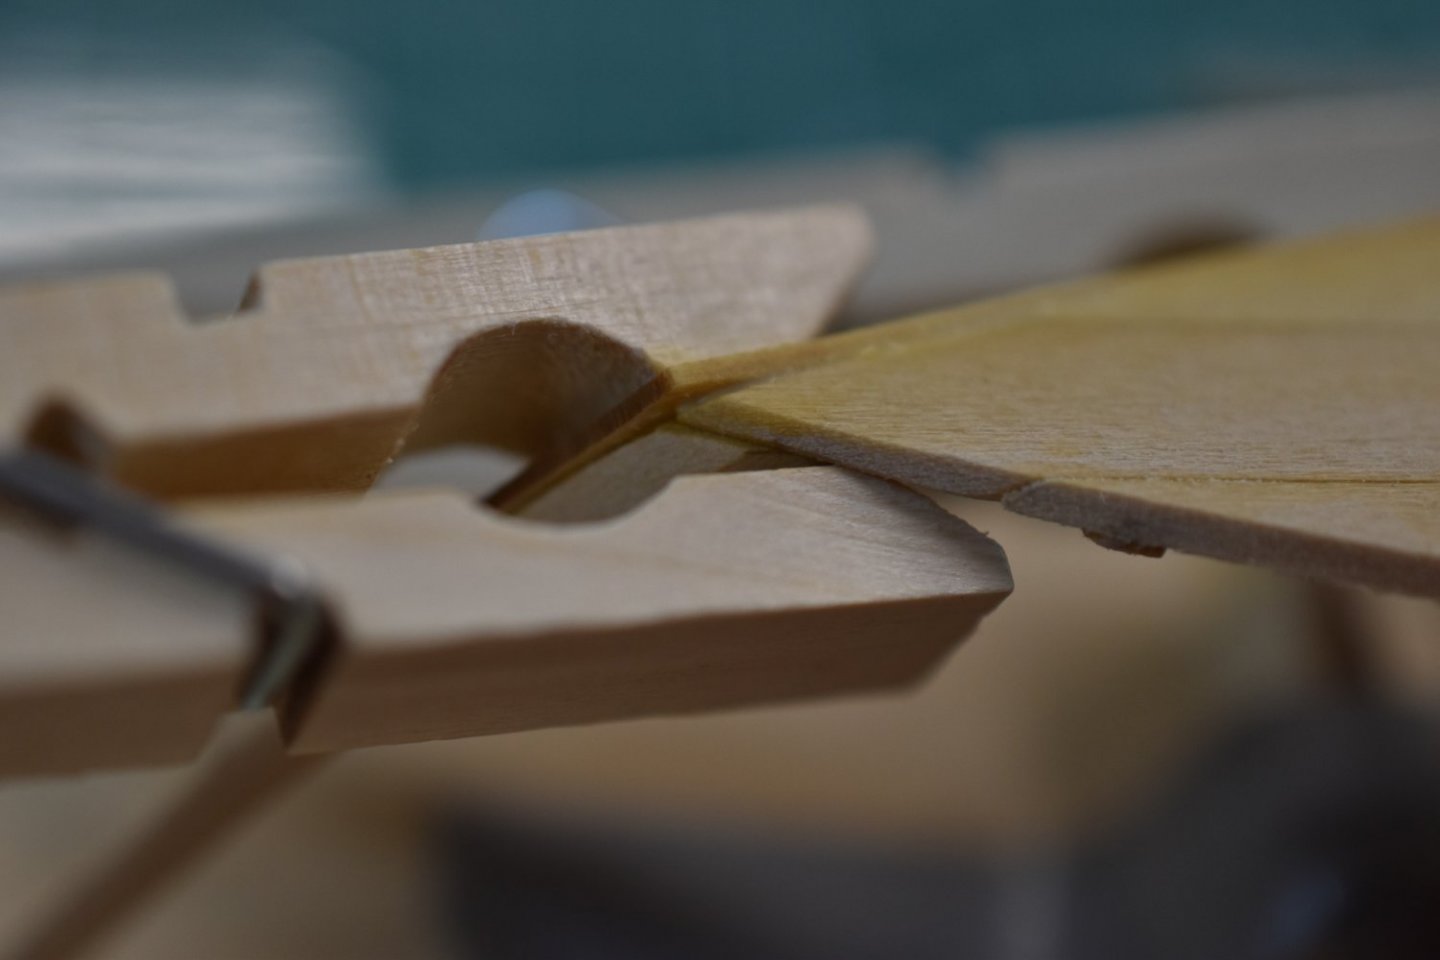
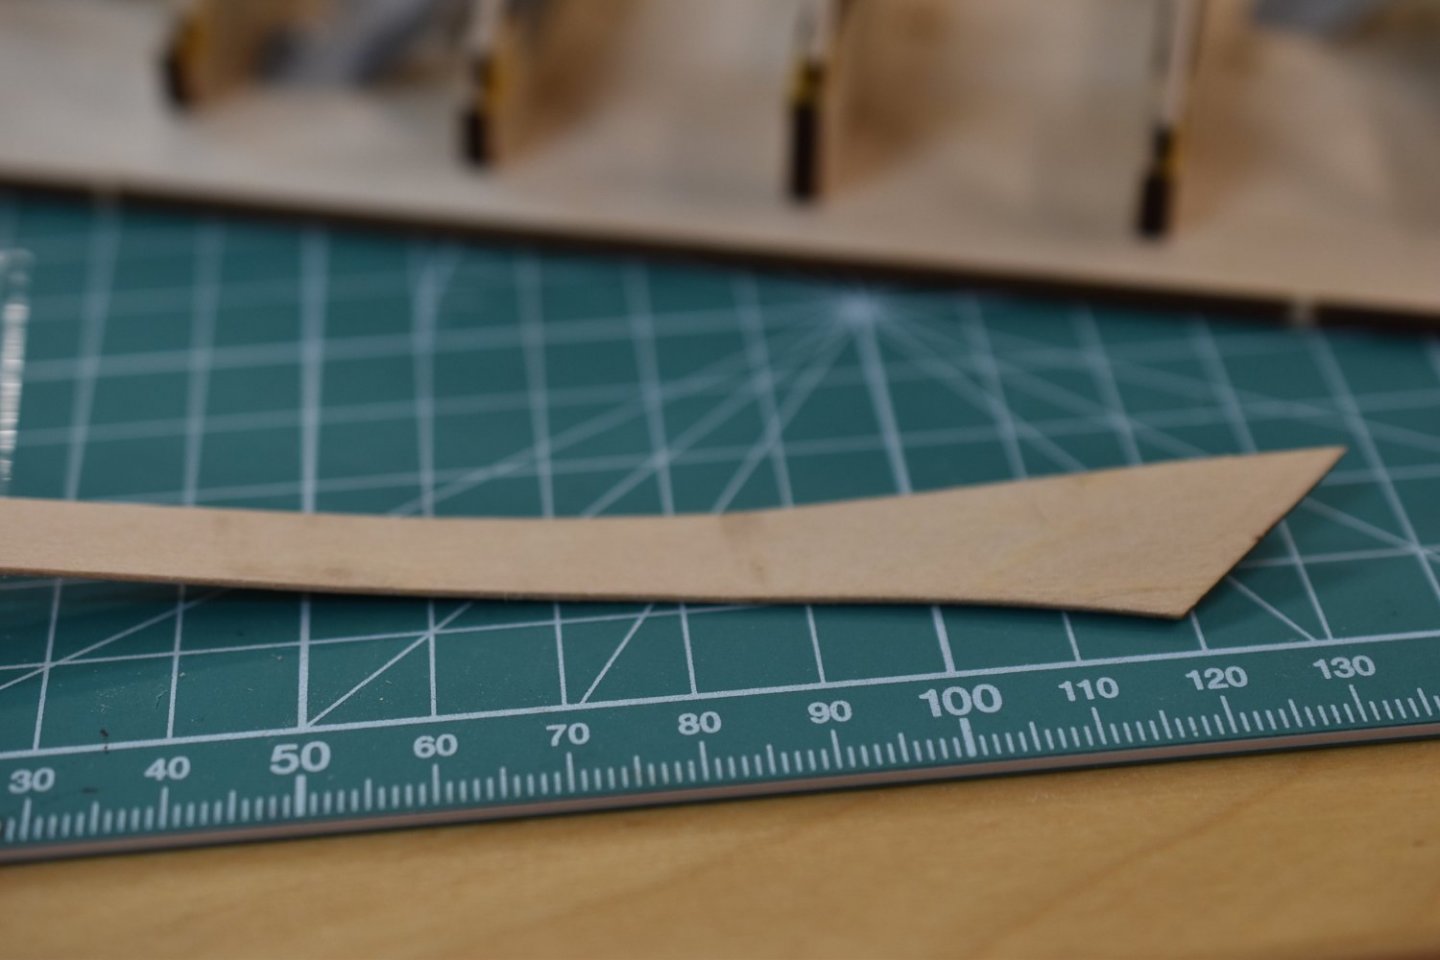
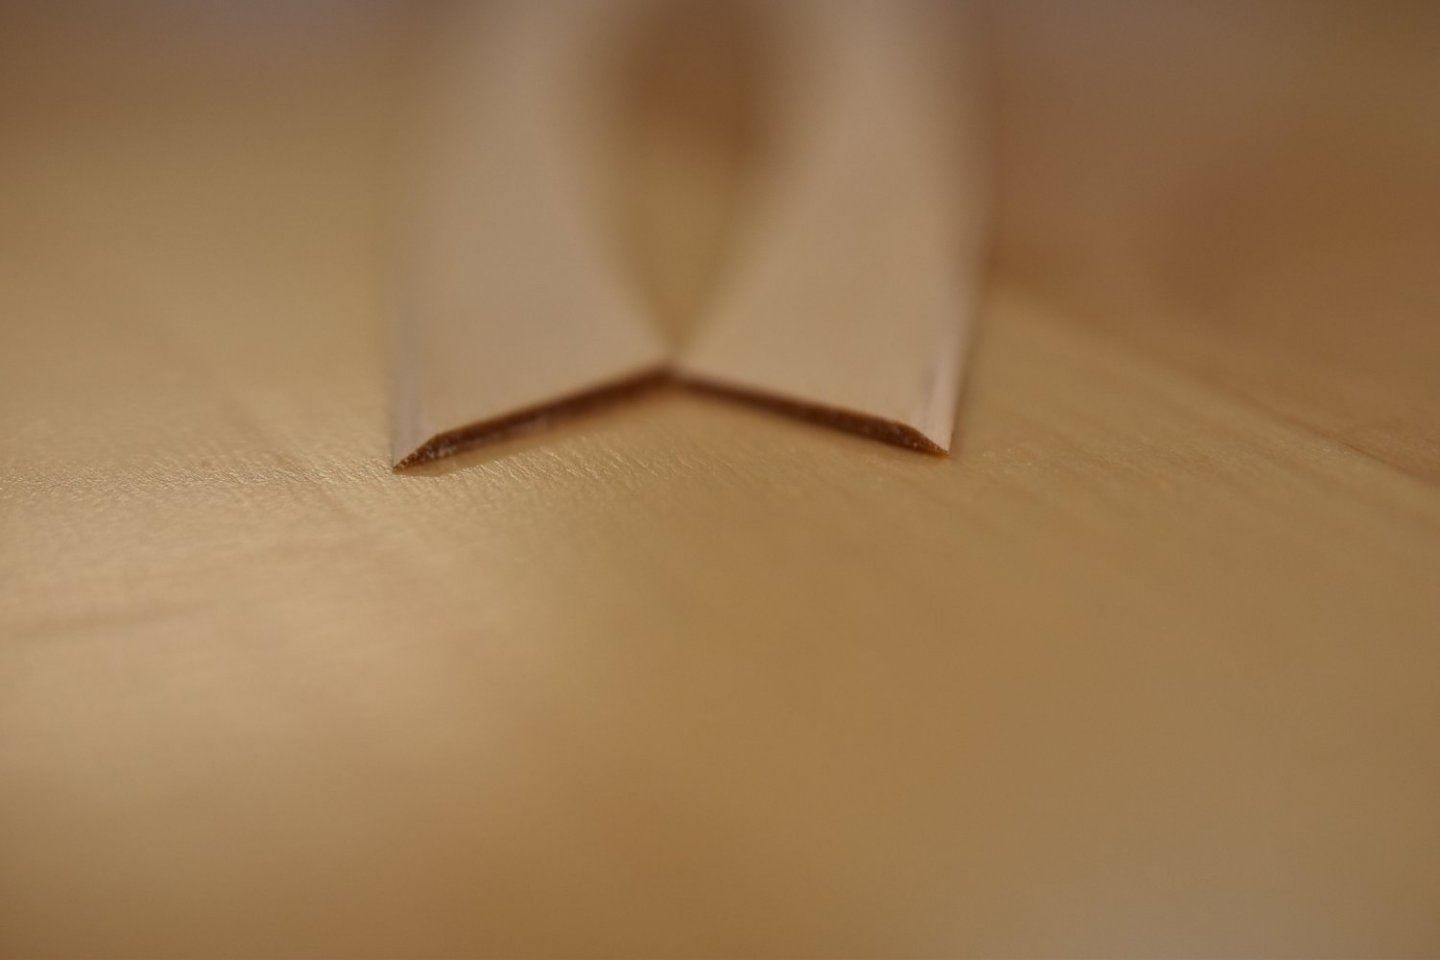
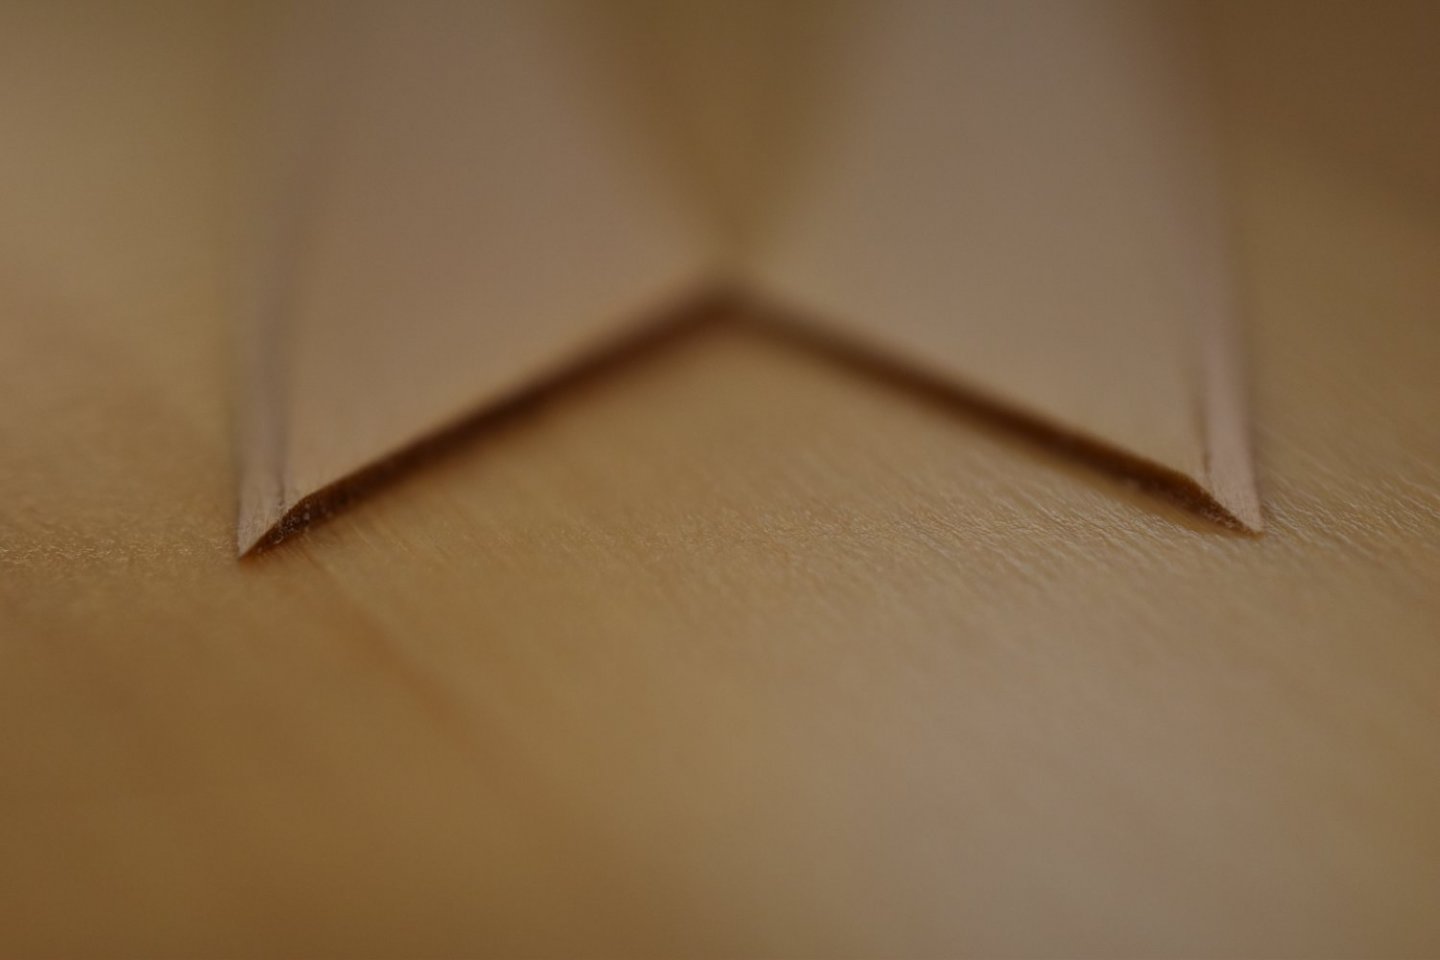
I'm preparing the broad planks. I found the length a bit long, so I trimmed some of the extra after some alignment. I sanded the bevels on both ends and the length of the upper edge. In the picture in the instructions it looks like there is a bevel on the inside lower edge along the length too, but I'm not sure. I did bevel the inside lower edge length, but didn't on the opposite side broad plank. I'm going to compare the result once they form up and dry.


- 61 replies
-
- 4
-
-
- Lowell Grand Banks Dory
- Model Shipways
- (and 1 more)
-
Thanks Drux! I'll look at that and take note. I'm still not smart enough to figure out this clamp issue when trying to glue the second plank on the adjacent side of the boat. So far I resorted to the elastic thick string again as it holds it nicely without slipping frustrations. I guess I'll really look at this over here soon. My clamps aren't on a ball joint pivot, so don't make good purchase on the compound angles, even with sandpaper (which does help a lot). The clothes pins aren't opening wide enough. I'll figure out what works best for me, but I'm really thinking it's going to be yarn as it seems like it wound cinch and hold well, but I'll have to give it a try. I may resort to pins in a serious planking job. I'm after a snug mating of the joint with no slipping issues. Only practice will determine the method I ultimately use, adapt, or develop. Thanks for listening at my thinking out loud. I often talk to myself and even answer at times. 😁
-
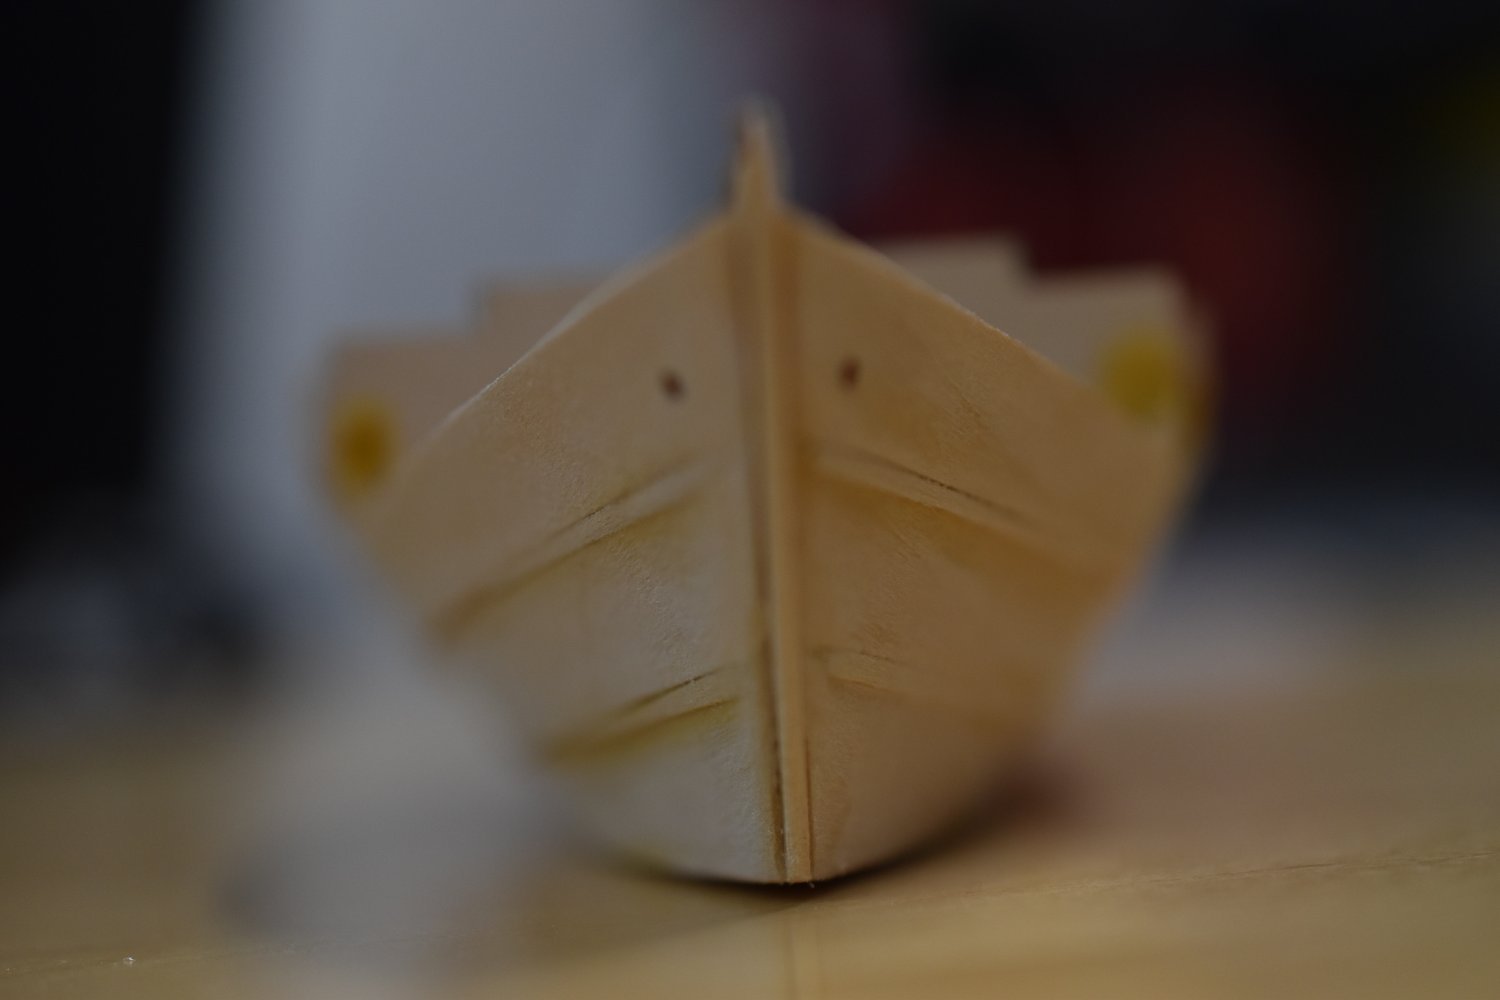
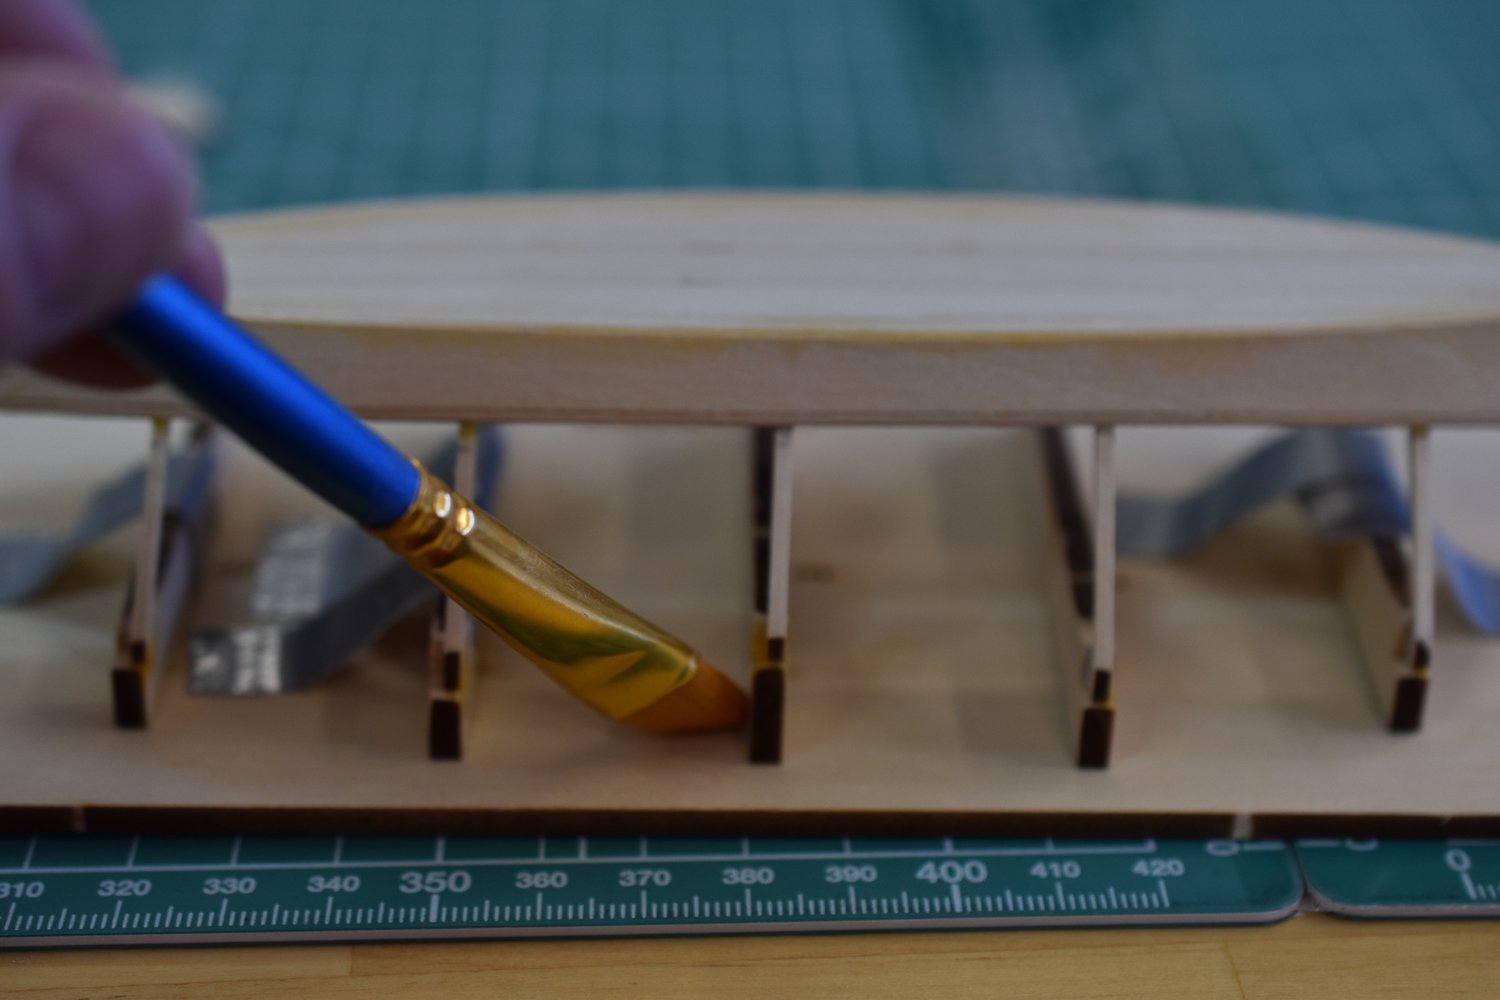
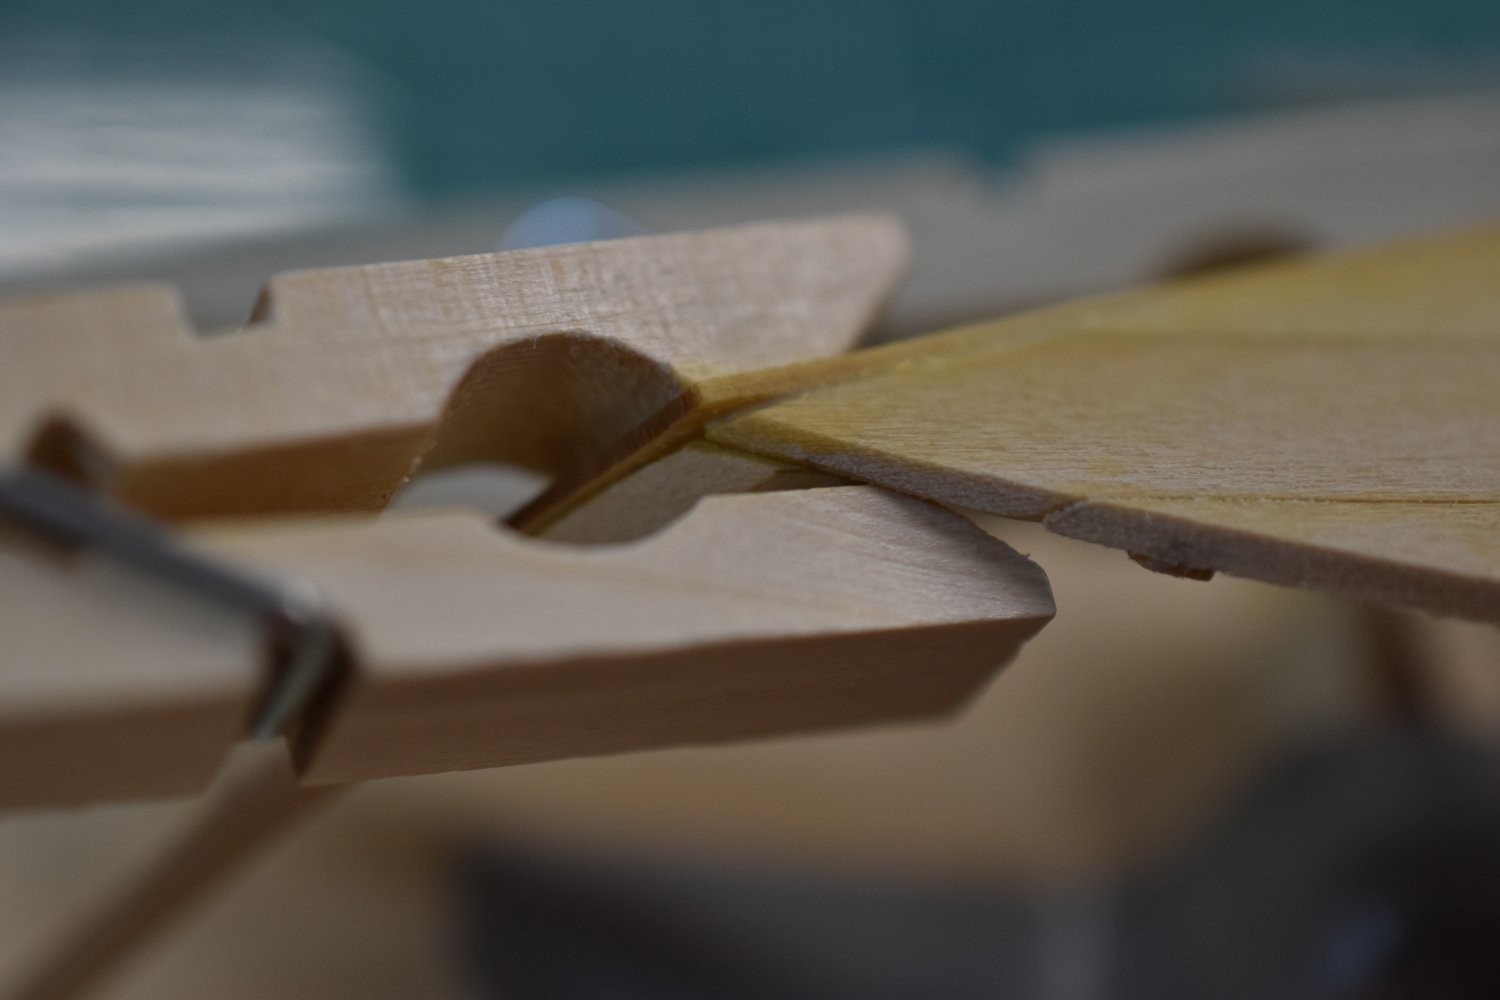
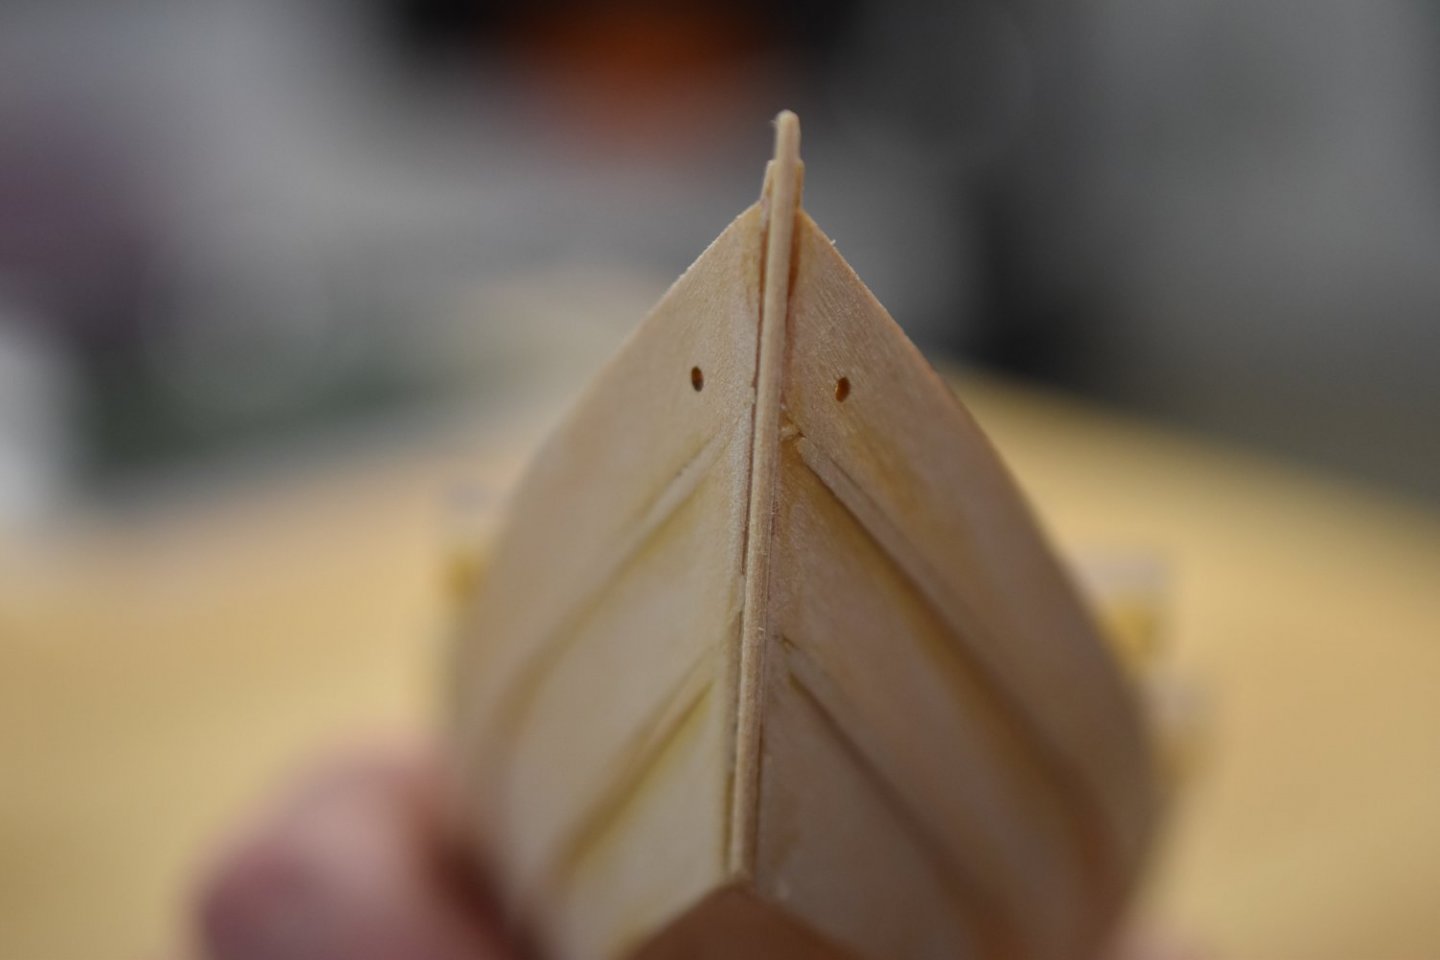
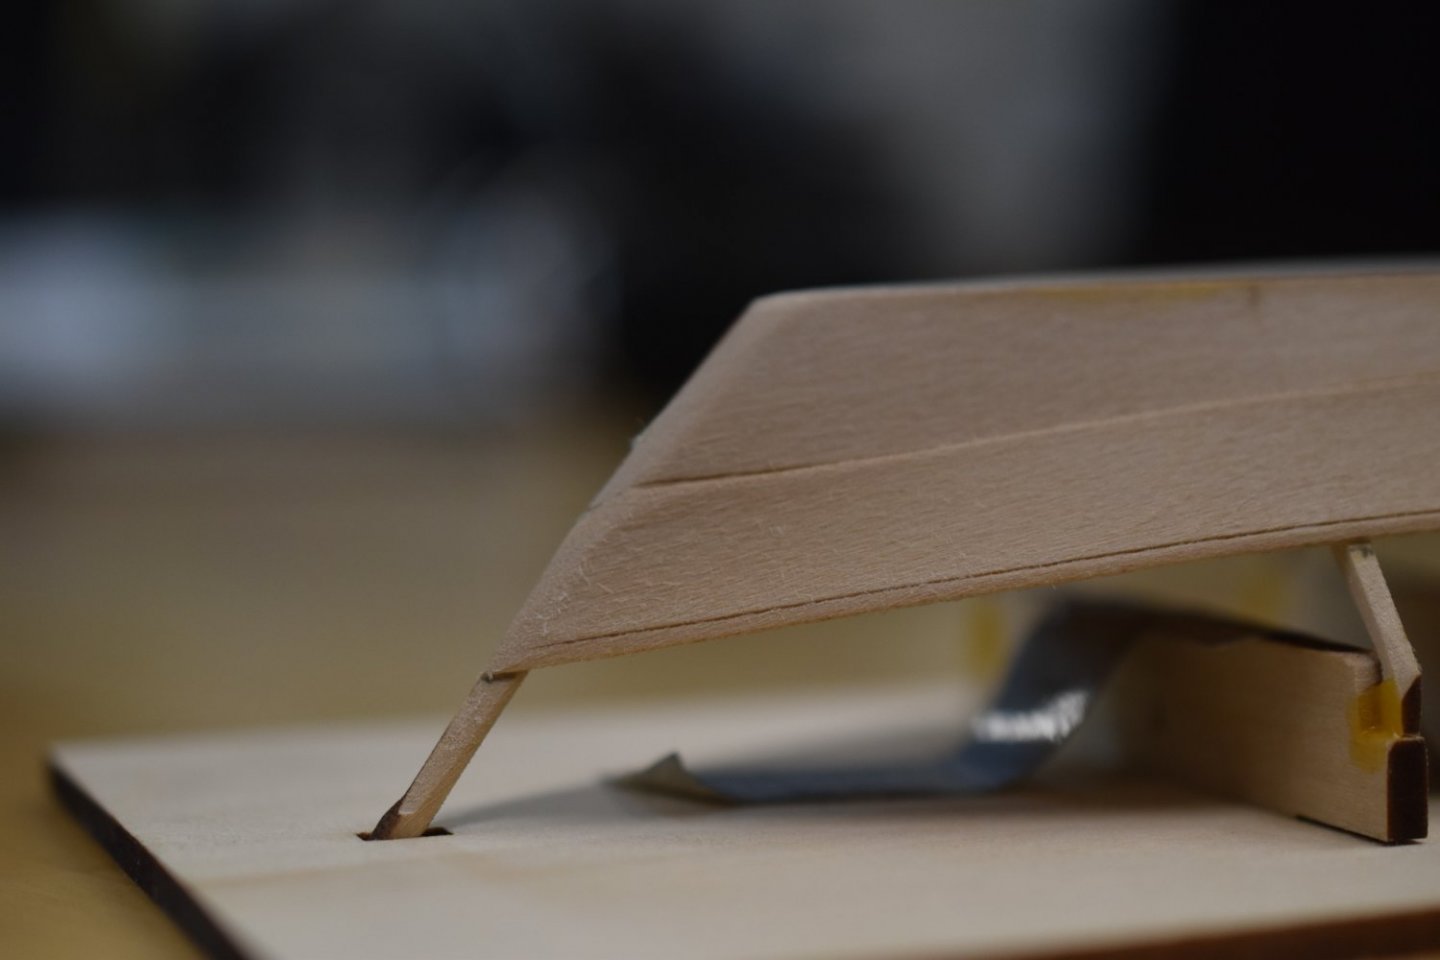
I removed the clamps and string then inspected my installation. The bow planks are even at the next board mounting joint, but the rear is a little off. I will see what I can do to compensate when mounting the next planks. I need to resolve my clamping method and options now with these secure planks in place. I know you can hold the planks at the stem and transom when drying with your fingers, but I'd rather have a system of clamps that works without hassling holding them. I might try the super glue next time too. here's the glued planks before sanding. 👇 I've started using my surgical mask to prevent breathing the dust too. It seemed like it was only a tiny bit of sanding, but it was enough to disturb my lungs and respiratory tract a little bit. It's probably obvious to most wood workers, but I started using one of my paint brushes when vacuuming up the sanding dust. 👇 I'm going to paint this boat, but I was wondering if it was to be stained, would the glue wash residue prevent a good finish? I'm looking at you drux! 👀 Here's the sanded result so far.


- 61 replies
-
- 4
-
-
- Lowell Grand Banks Dory
- Model Shipways
- (and 1 more)
-
I was able to straighten my twisted and bent garboard plank for the starboard side, but I made dent in the wood through careless clamping. I think it'll be fine though, and I mounted it anyway. I had a difficult time again with clamping the second plank on when attaching with glue and ran short of skill. I resorted to the string idea and cut some stretchy cord off a couple surgical masks. It worked well enough in an emergency. I'm still a bit upset about my short sided preparedness and lack of plan "B", or even a plan "A" for that matter. I ended up losing a bit of plank height on the starboard side I think. I won't know until tomorrow when I can take a good look.

- 61 replies
-
- 5
-
-
- Lowell Grand Banks Dory
- Model Shipways
- (and 1 more)
-
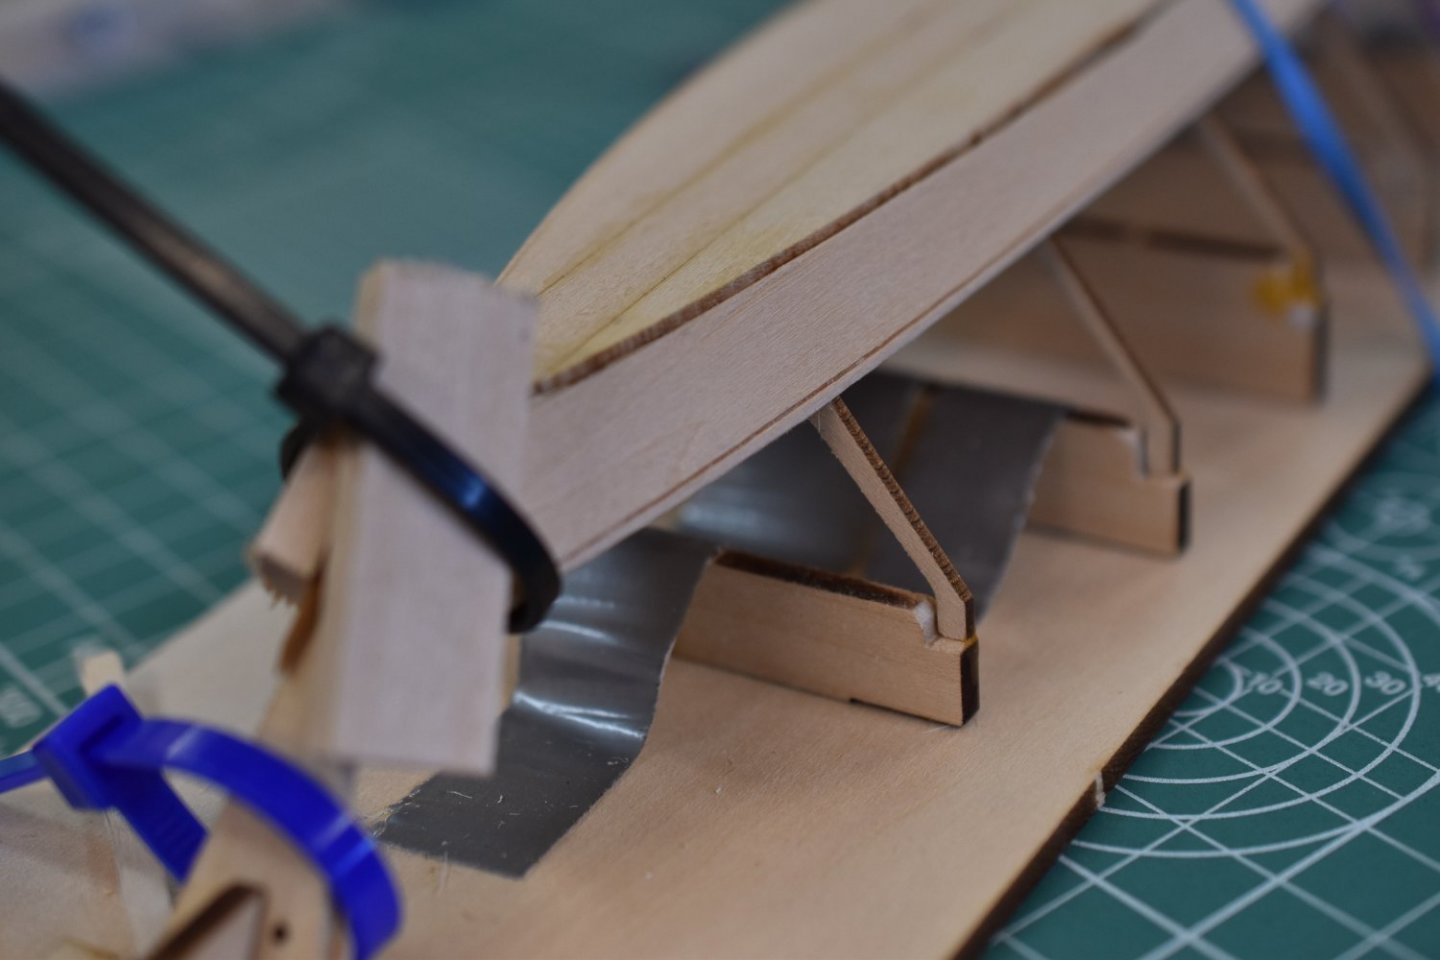
While that other plank is being straightened and drying I sanded the frames, stem, and transom. I tried to bevel everything nicely and smoothly. Some of the frames suffered a bit of too much sanding in the middle section of the side rib. I don't think it's too terrible, but an error none-the-less. When I got the frames, stem, and transom to my satisfaction I checked the plank fit and decided on my plan of attachment. I glued the contact points as instructed in the directions and attached the port side garboard plank. It was much easier to deal with when doing one plank at a time. The clothes pin clamps worked well. The fit seemed pretty tidy and I painted some watery glue on the seems to help ensure a decent bond. I'll try the other plank tomorrow night if it straightens out well.


- 61 replies
-
- 4
-
-
- Lowell Grand Banks Dory
- Model Shipways
- (and 1 more)
-
Tonight I found that my plank bending error of trying to do both planks at the same time compounded my errors. One of the planks got tweaked and twisted by the clamping. That wouldn't have happened if I did one plank at a time. Anyway, I'm going to wet it down and clamp it straight and try to fix it. I'll let it sit over night and see if it's better tomorrow night.


- 61 replies
-
- 2
-
-
- Lowell Grand Banks Dory
- Model Shipways
- (and 1 more)
-
Thanks Clueless! I actually have some of those clamps. My basic problem was that I was doing it wrong. 😆 I tried some of those, but they were too strong for my incorrect method. The clothes pins are working well when I do it properly. That would be one plank at a time!
- 61 replies
-
- 1
-
-
- Lowell Grand Banks Dory
- Model Shipways
- (and 1 more)
-
Looks like it's coming along nicely! 🎸🤘
-
What about when gluing? One at a time again I guess? Yeah, it would need to be! Too obvious for me. Well, that should be easier. 🤣🤘 The sand paper on the clip is a great tip! Thanks again.👍
- 61 replies
-
- 1
-
-
- Lowell Grand Banks Dory
- Model Shipways
- (and 1 more)
-
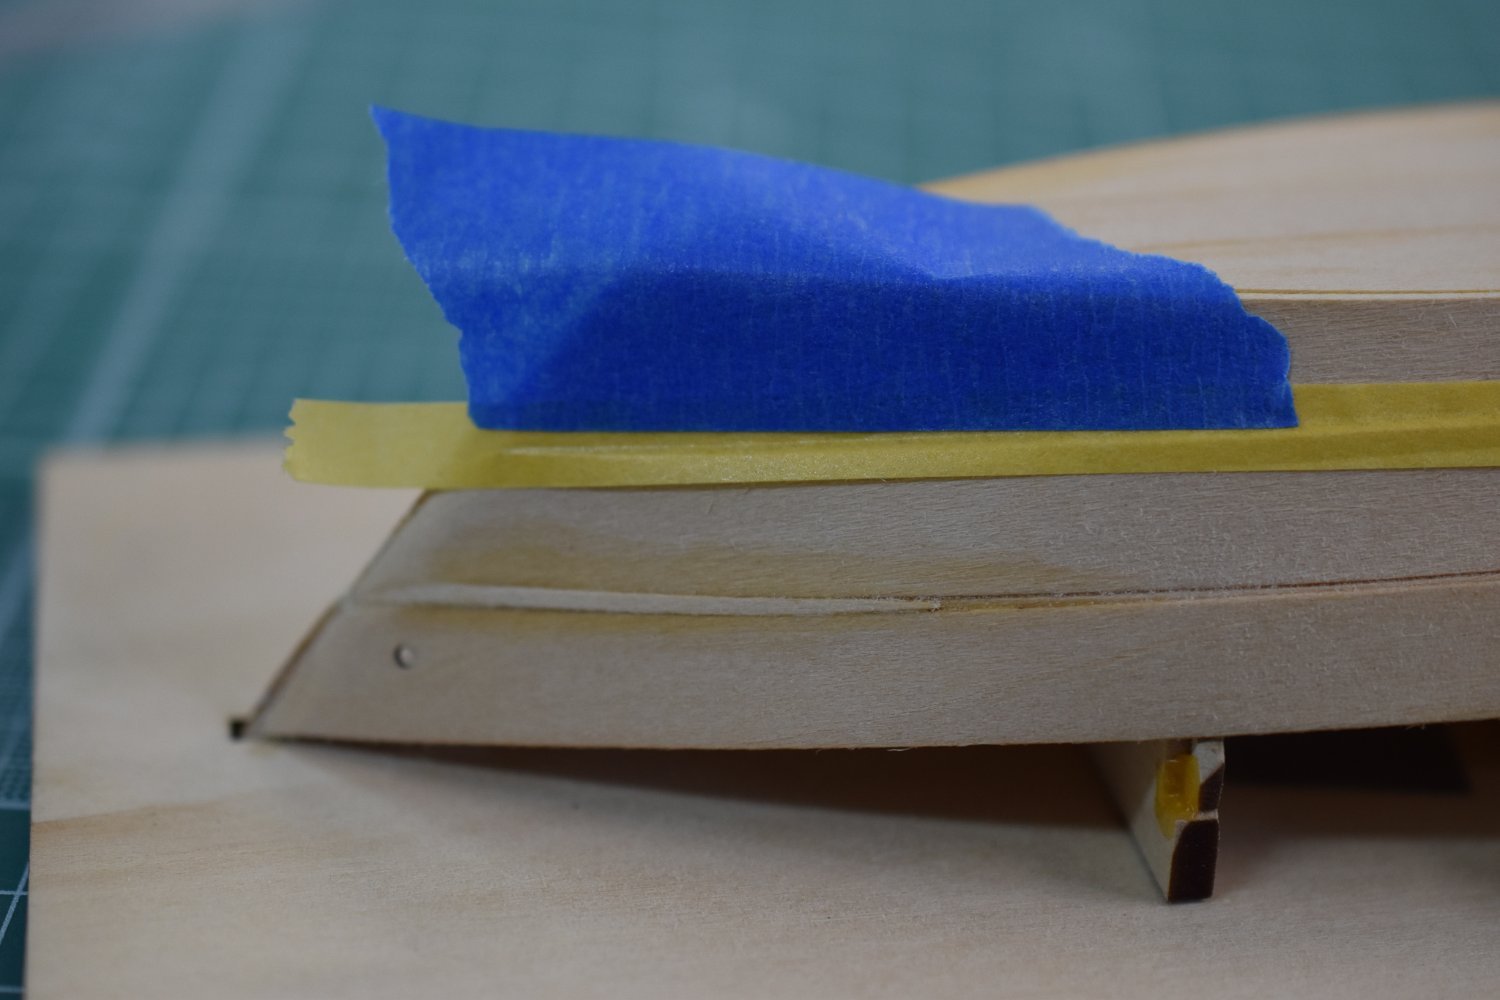
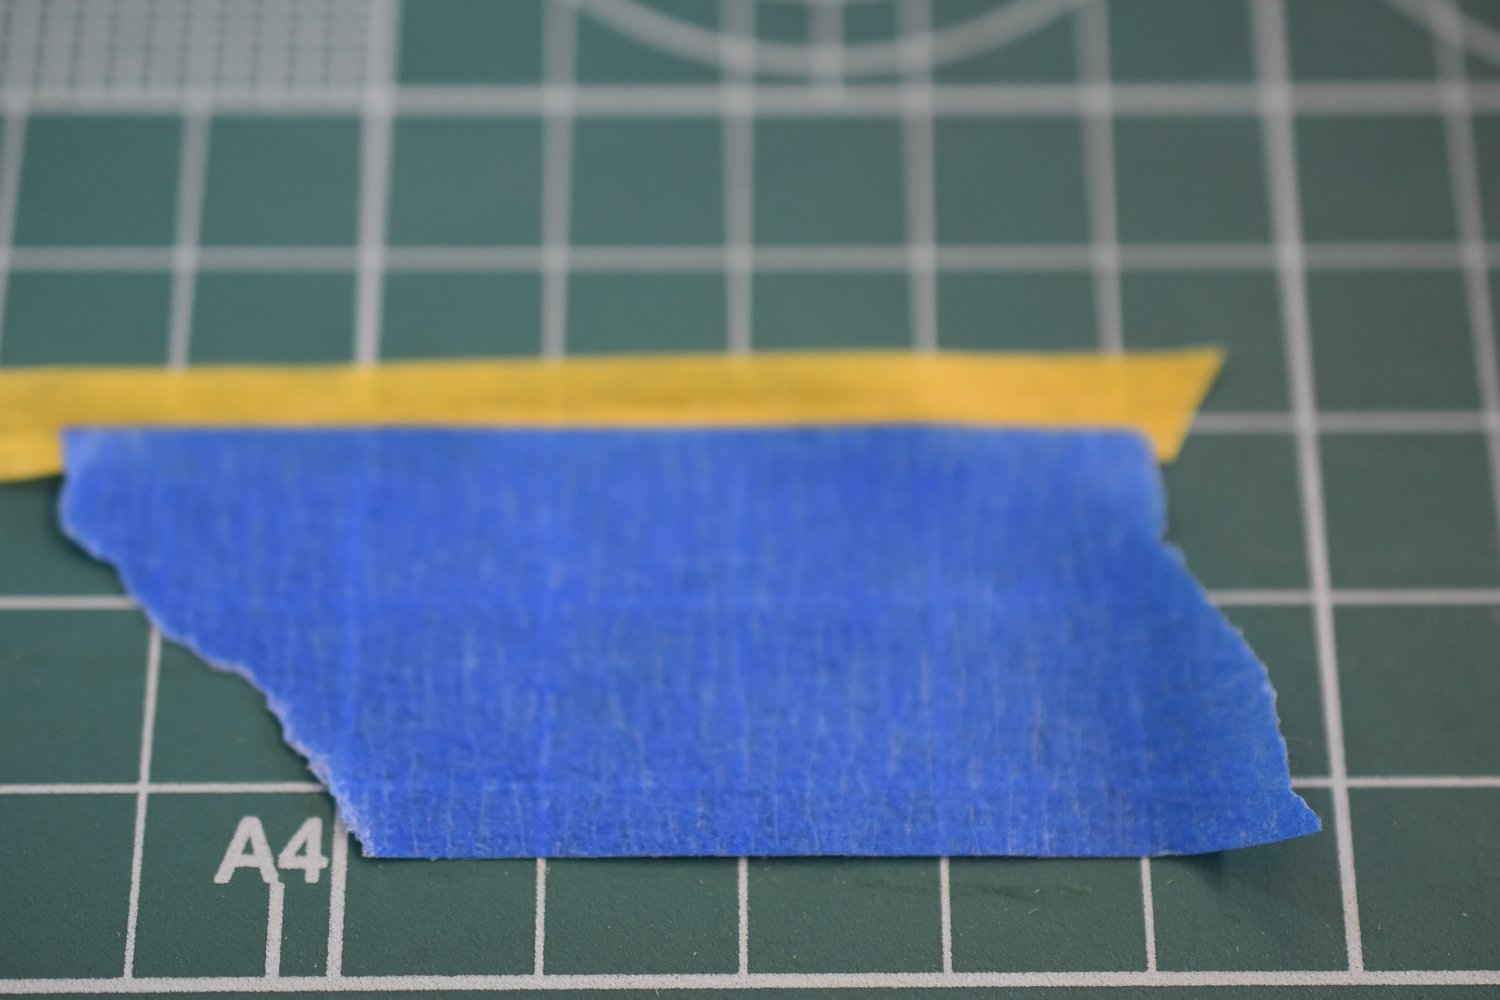
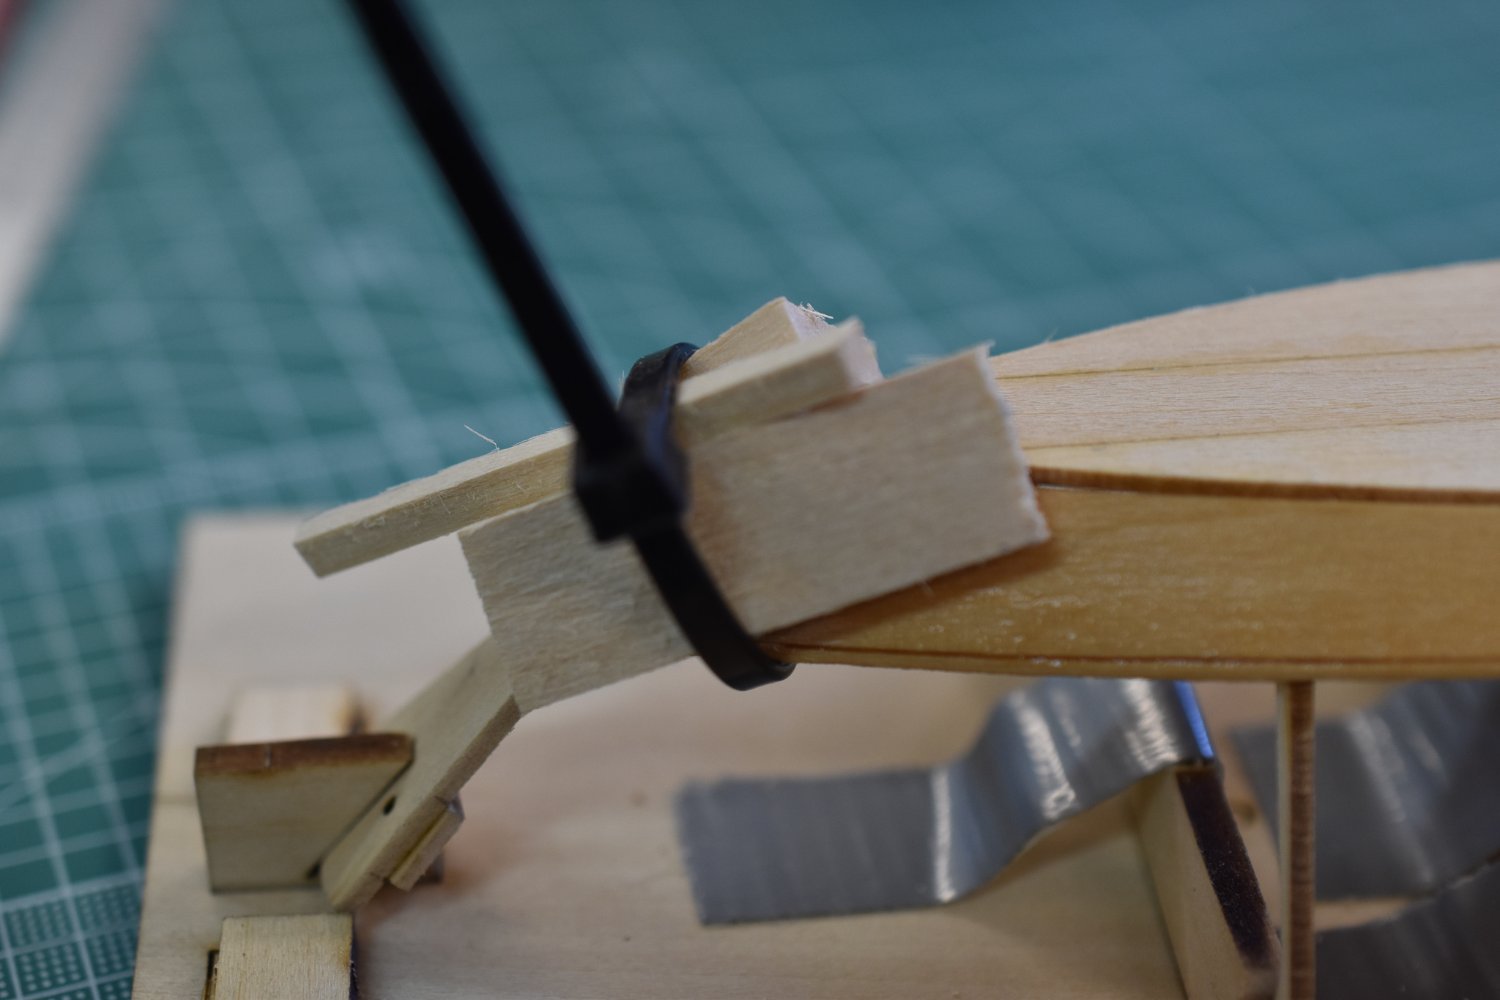
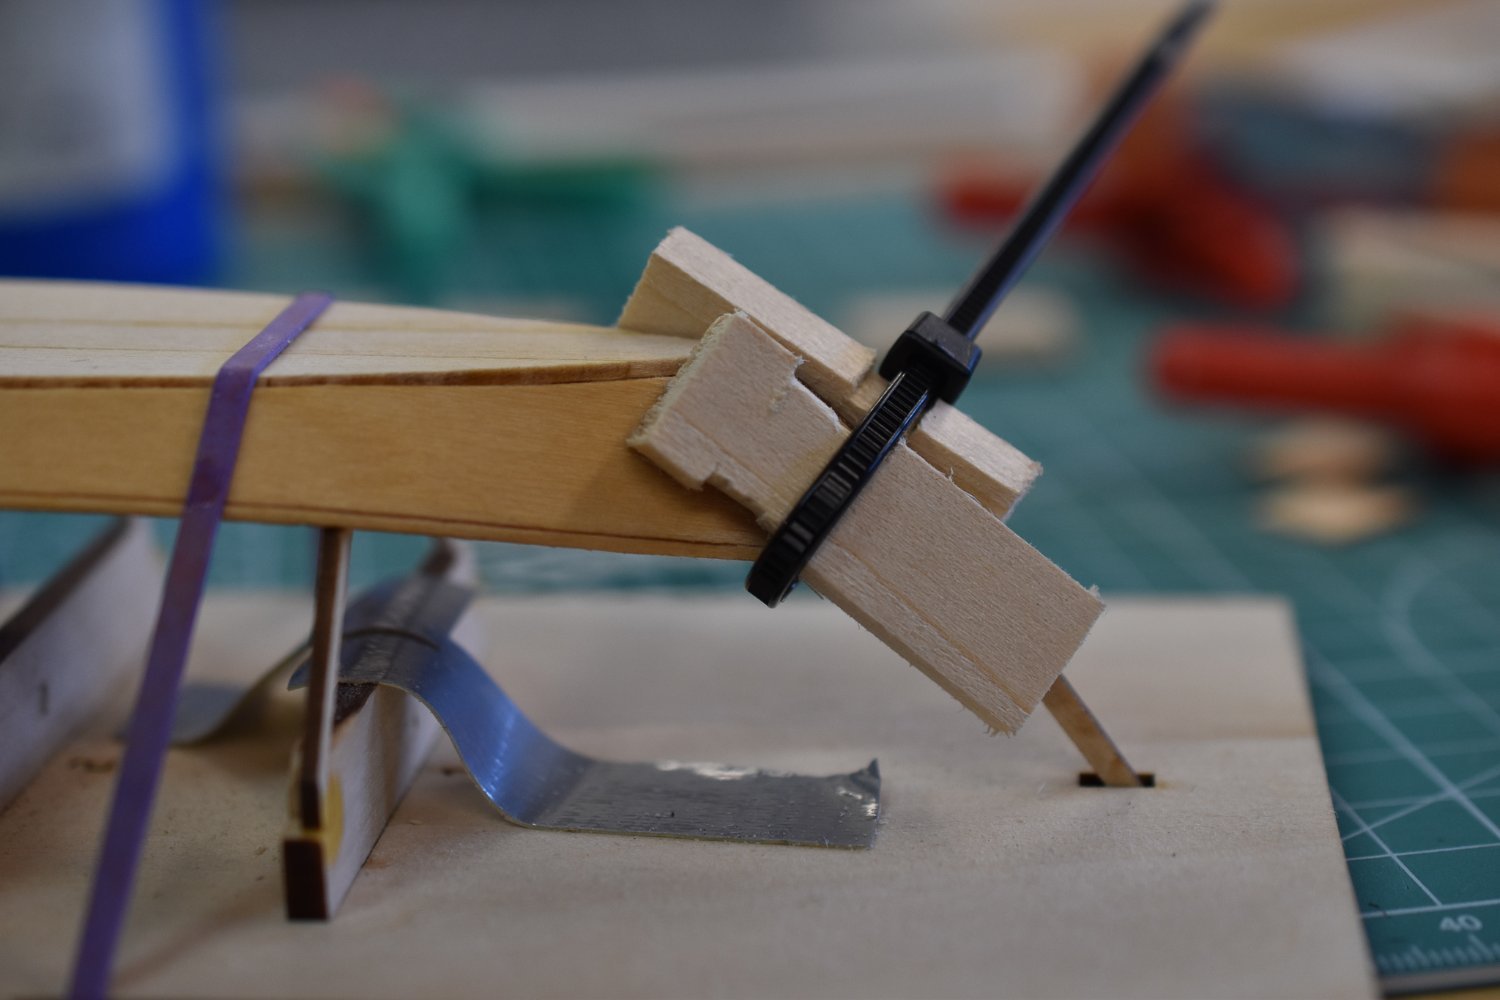
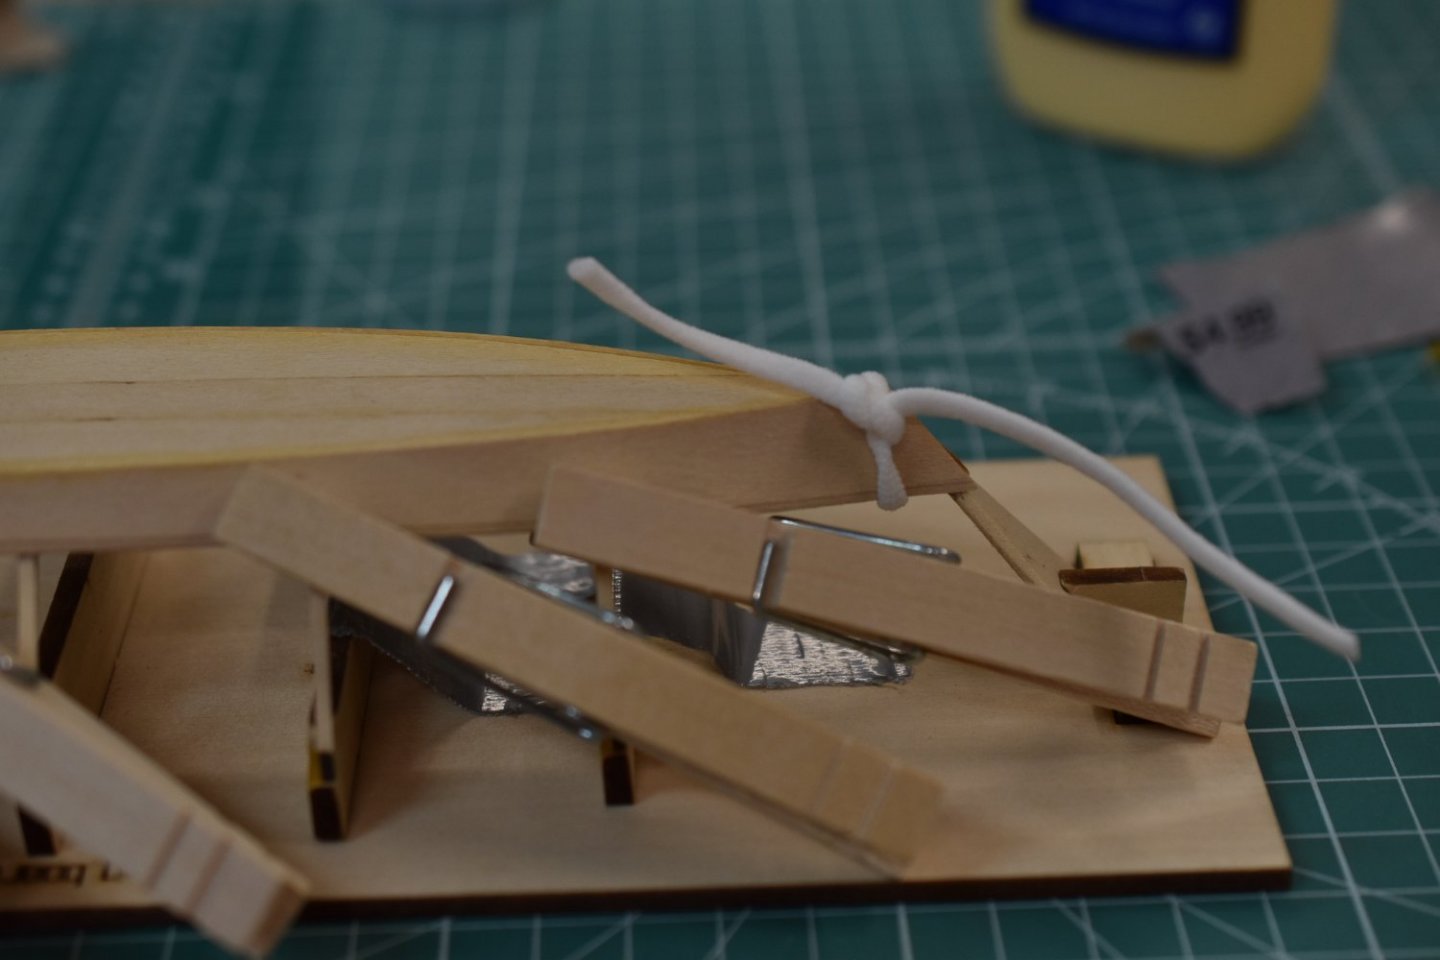
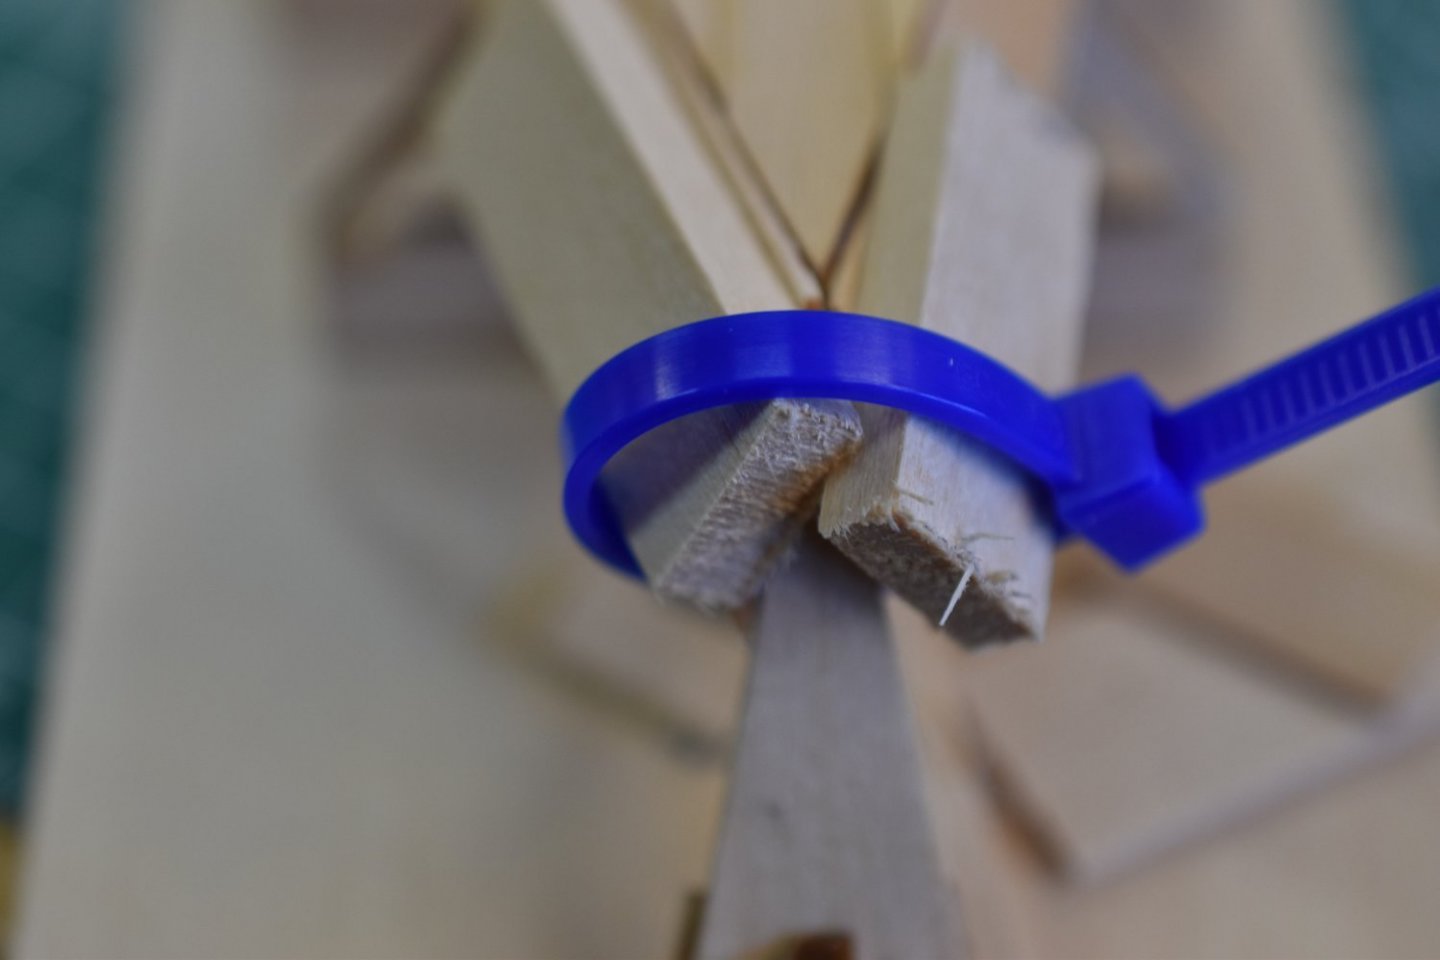
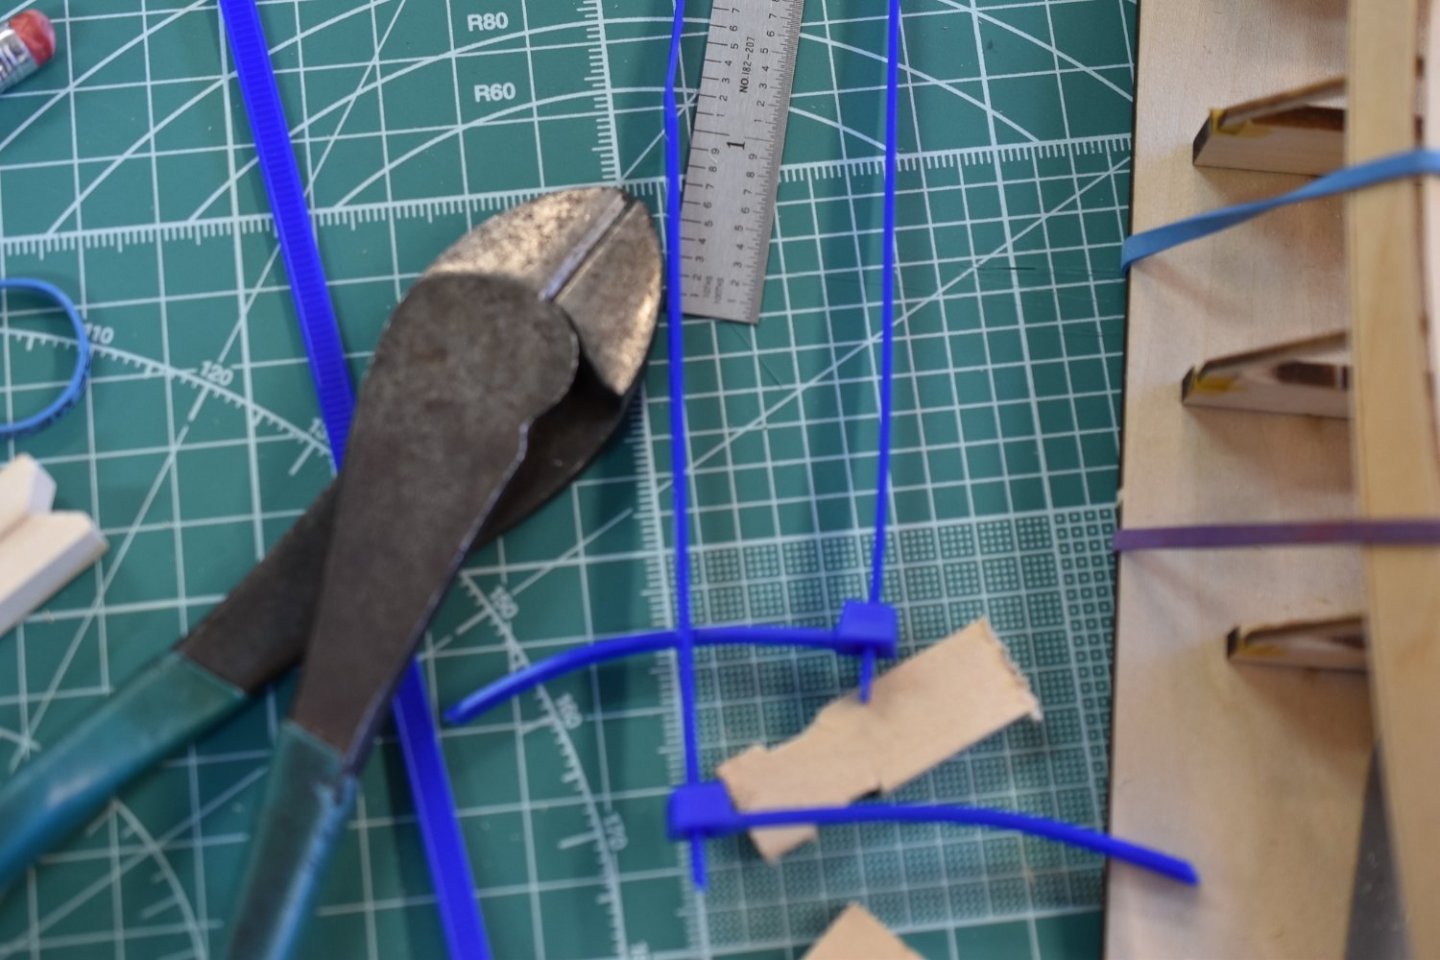
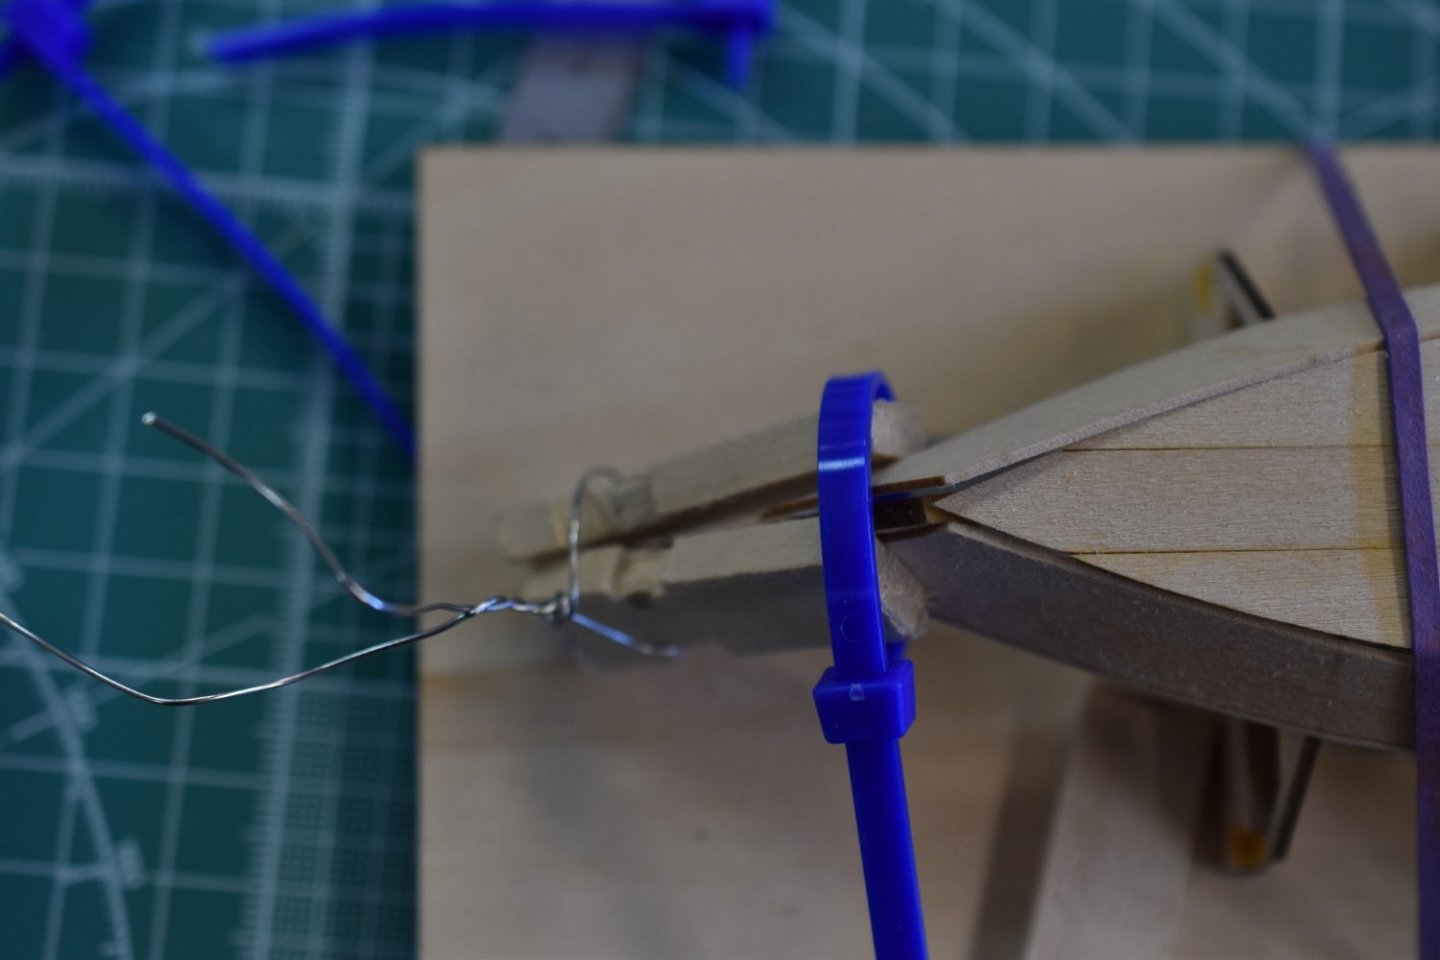
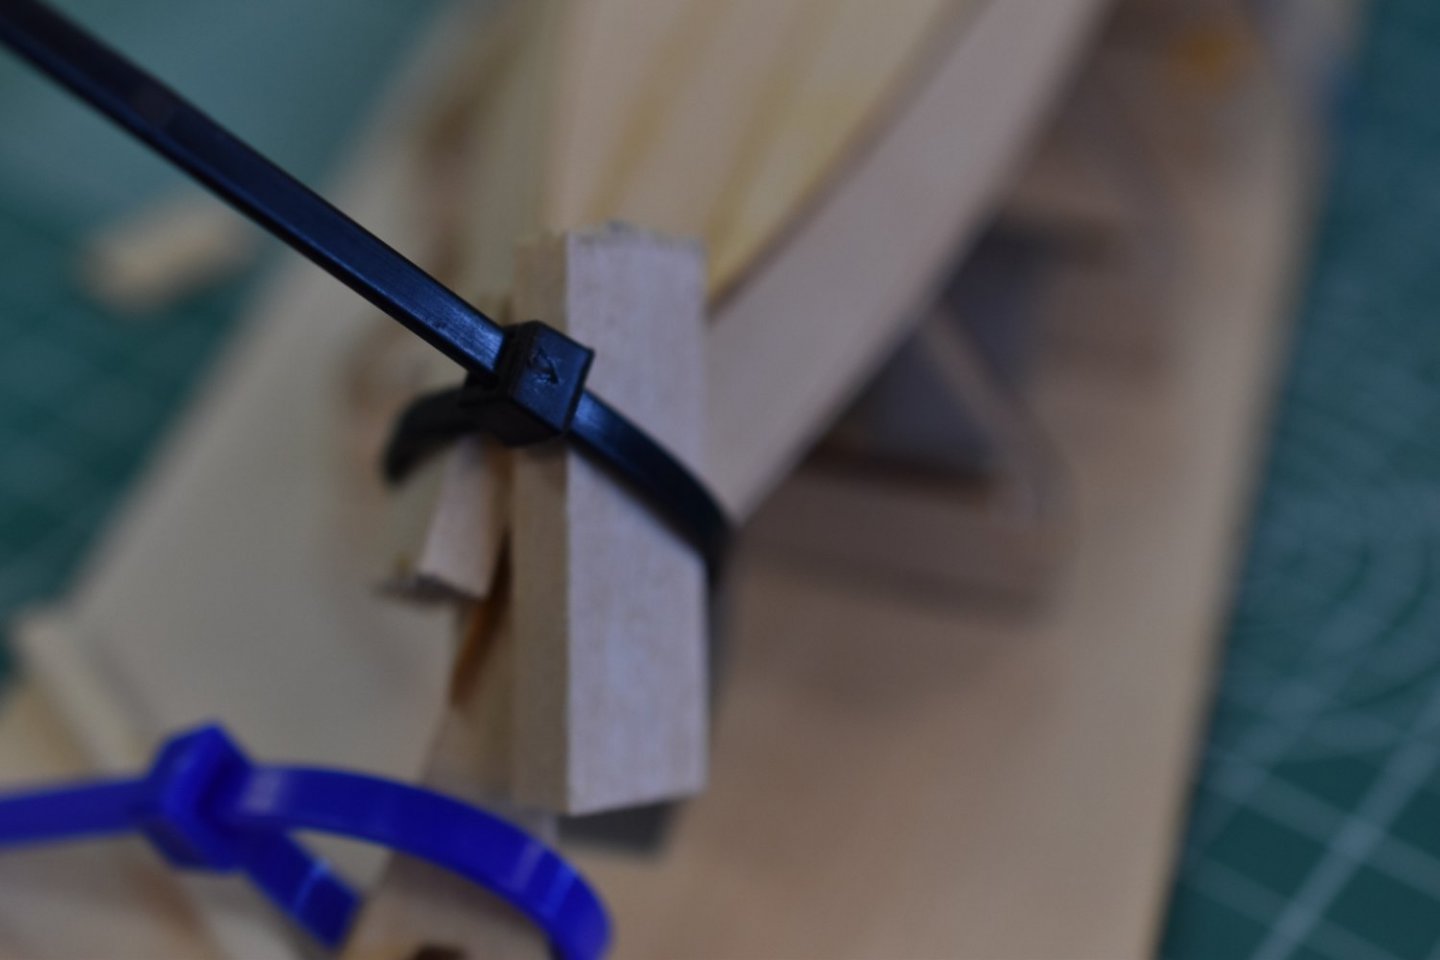
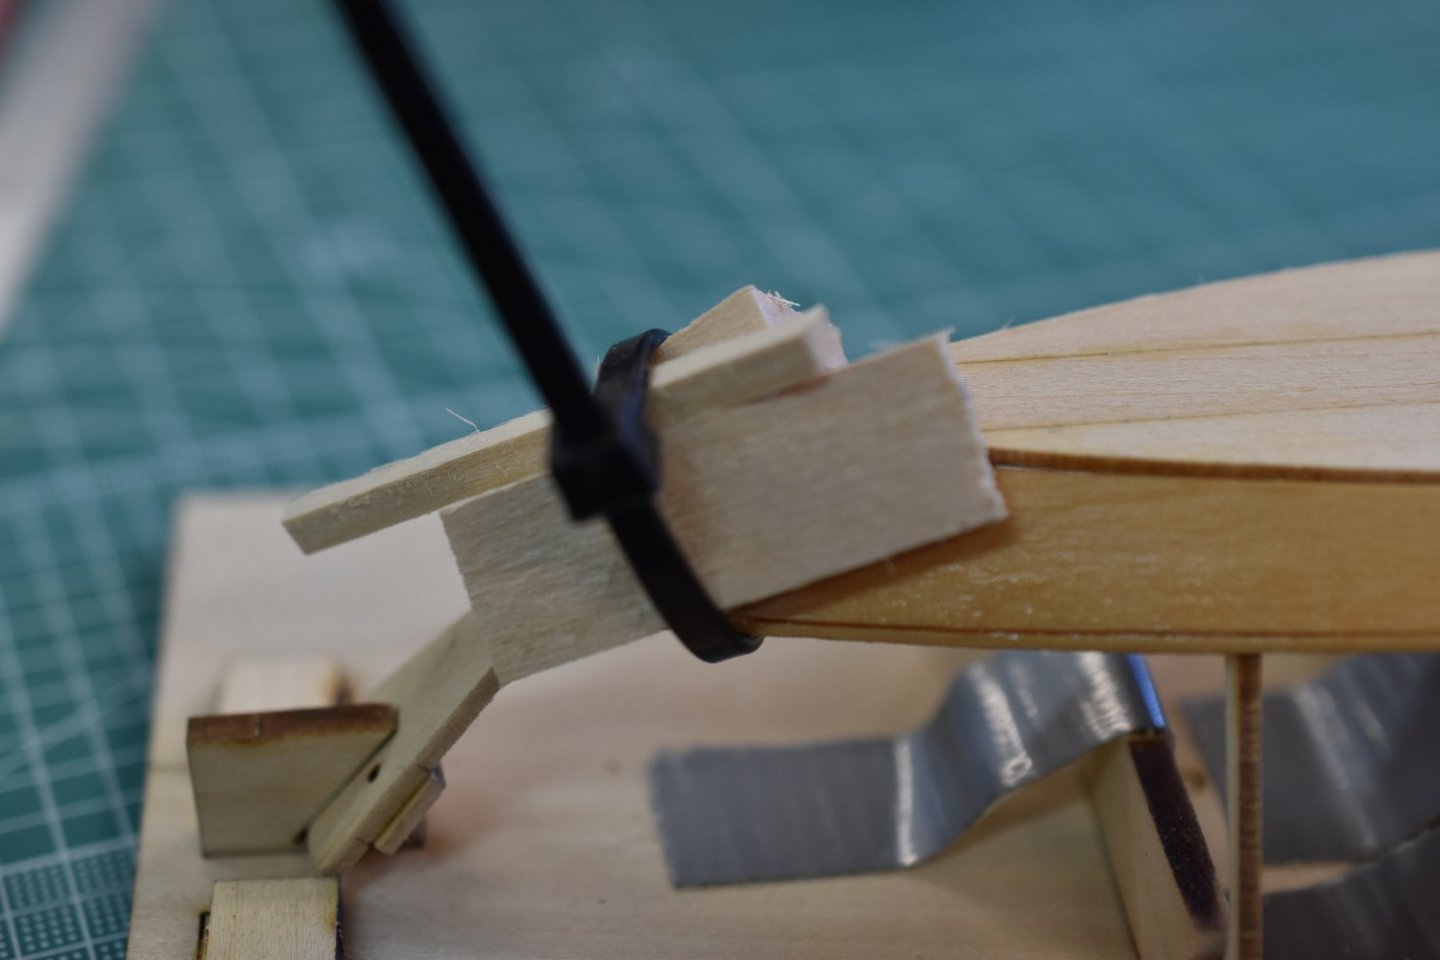
It got pretty foggy and I almost ran aground getting the garboard planks mounted for the bending. I wet them down and tried several different ways to clamp them. My clamps are too strong, don't open enough, and otherwise were useless to stay put! I resorted to zip ties, but they were too big and slipped off. I tried different angles with different thicknesses of shim wood. Nothing was working. I tried tie wire, but was unprepared to get it snug enough. I was going to tie a rubber band around the ends, but it didn't want to work smoothly either. The clothes pins would work well with one plank at a time, but wouldn't open enough for two. The blue zip ties were too big and weren't quite delicate enough. I got one to hold, but it wasn't secure enough to stay put. I then tried to put grooves in my wood shims for the zip ties. It almost worked, but needed more fabrication time to be a good resolution. The wire would probably be a great method if I had a smaller gage and more sensitive wire tie tools. Something made for jewelry maybe? I ended up using very small zip ties with the wood shims at a different angle. It'll work for today, but I'm not happy with any of the methods tried. My blue masking tape probably would've worked, but I didn't try it. I want to try string next time. Maybe yarn made up and ready to cinch to feel?


- 61 replies
-
- 2
-
-

-
- Lowell Grand Banks Dory
- Model Shipways
- (and 1 more)
-
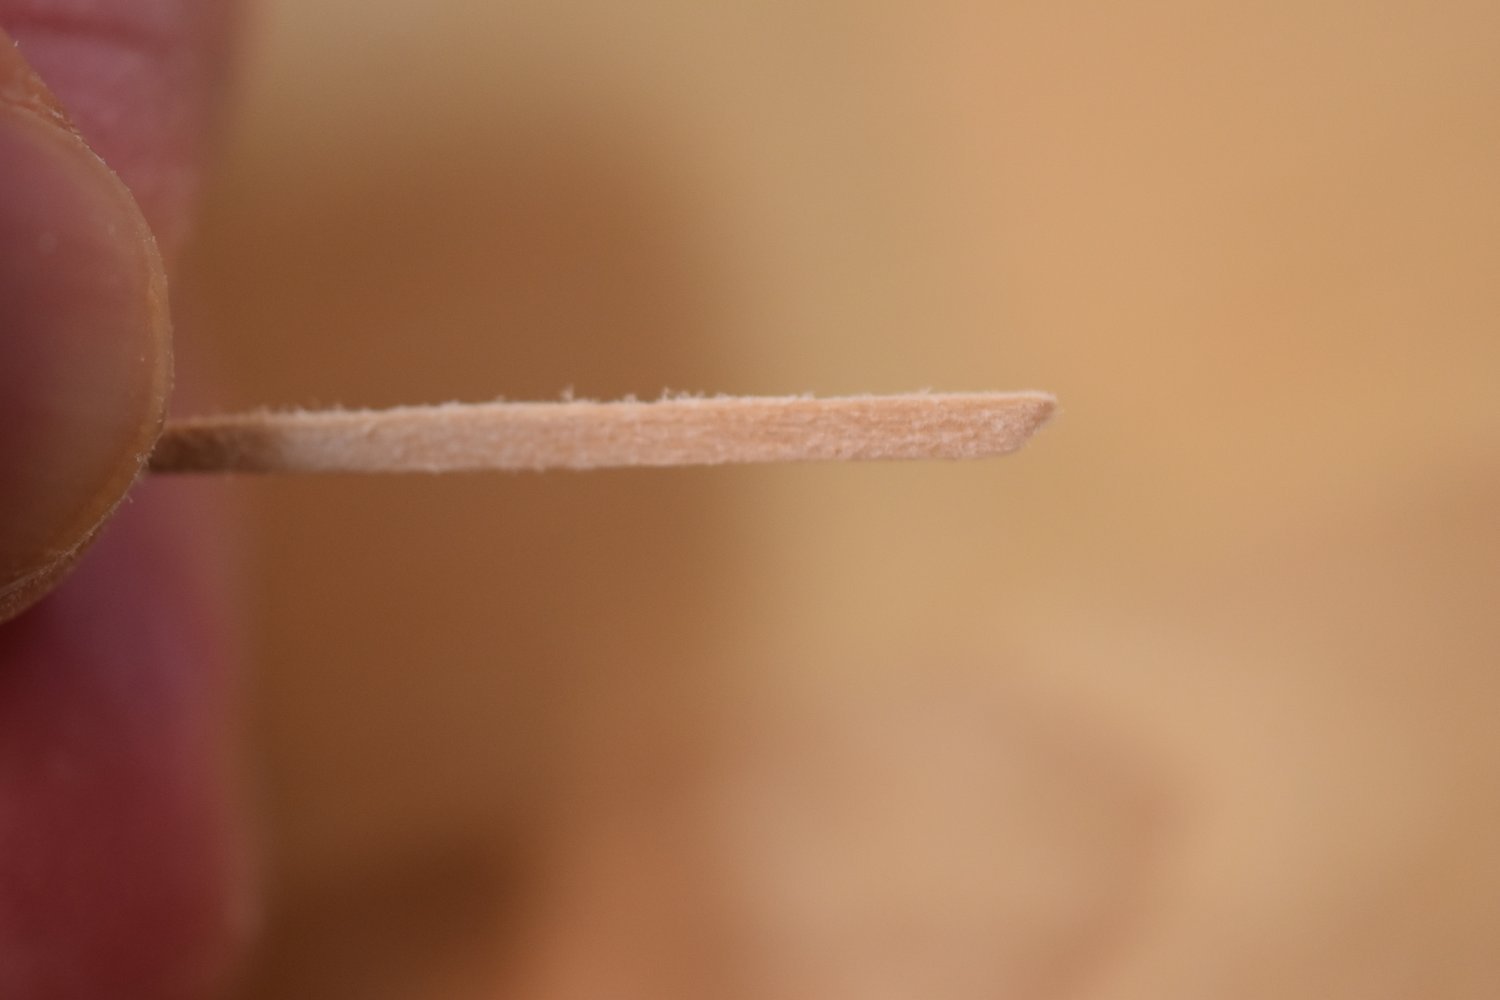
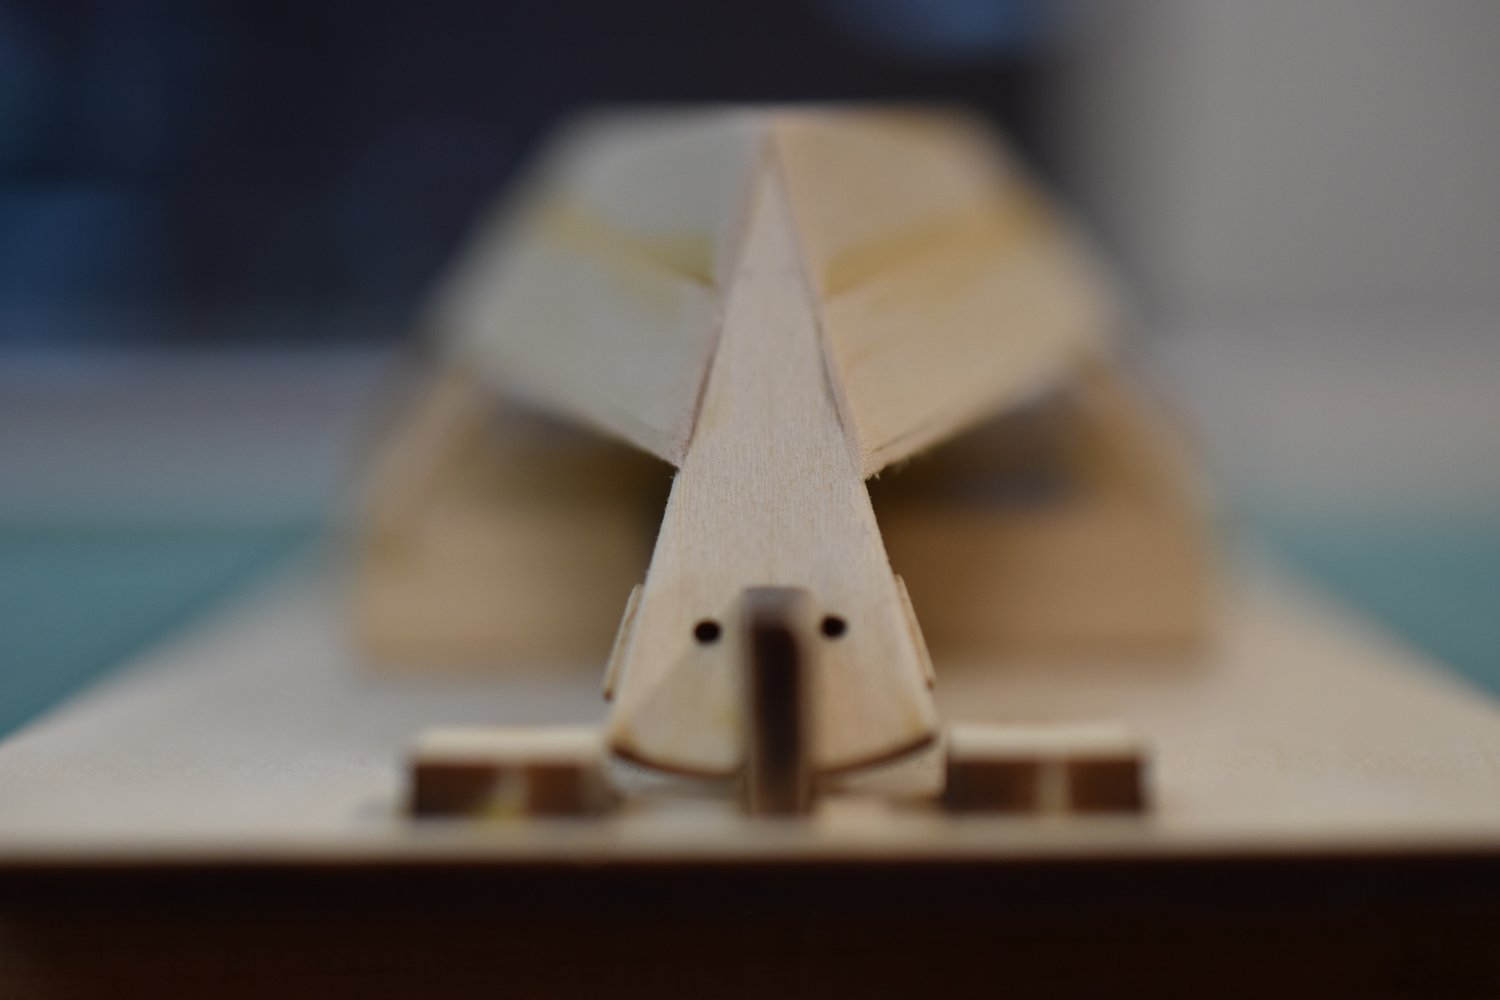
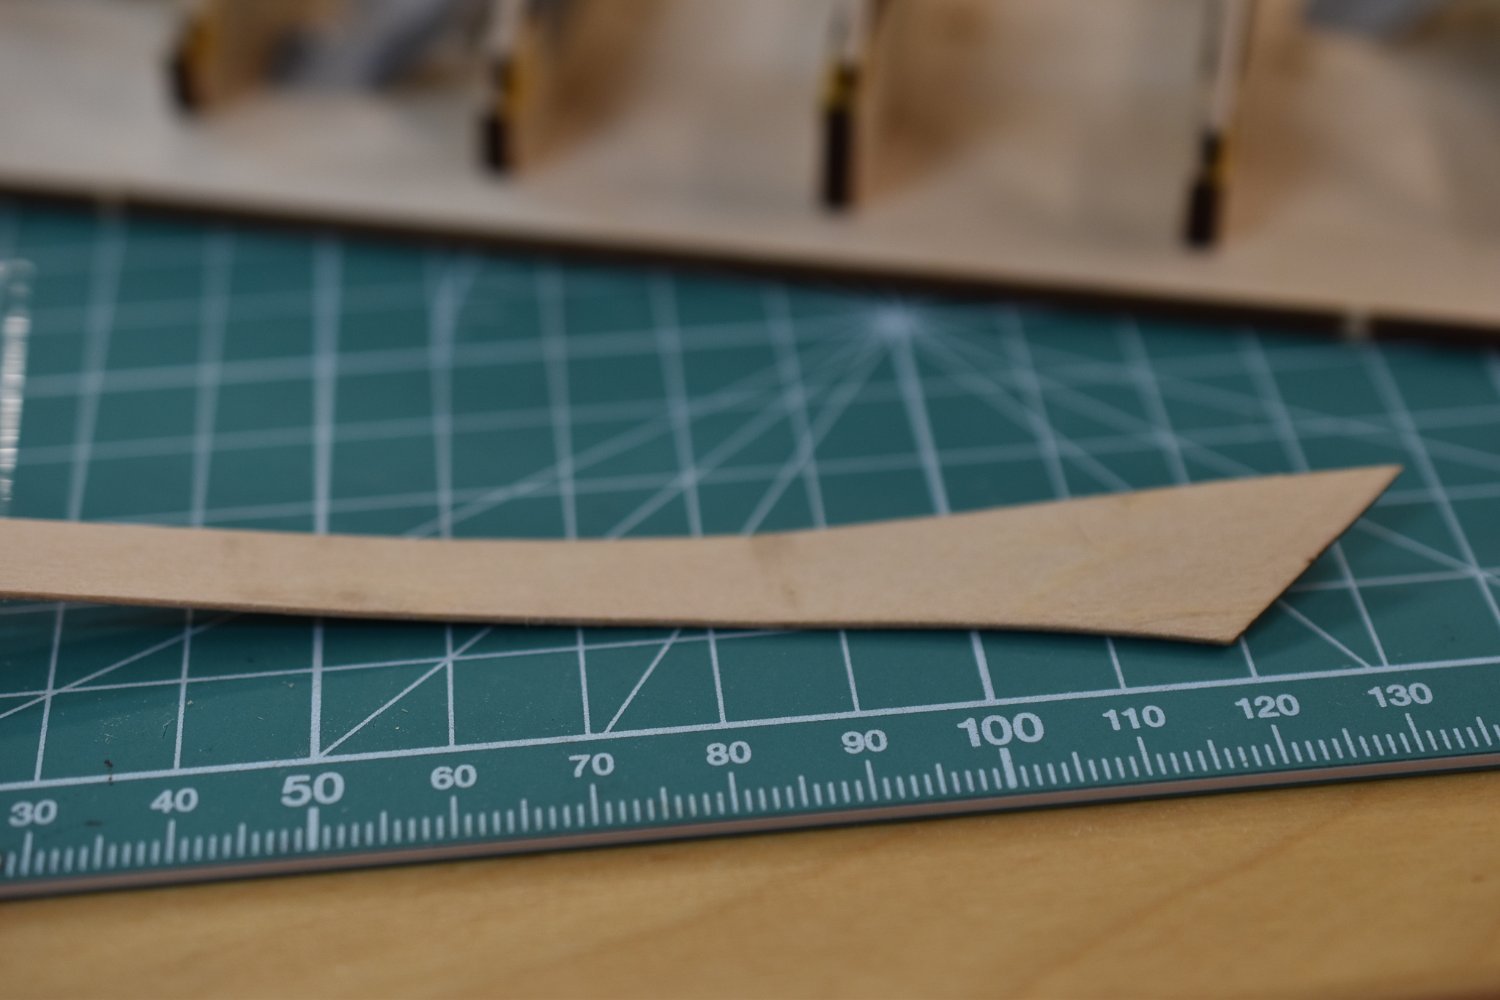
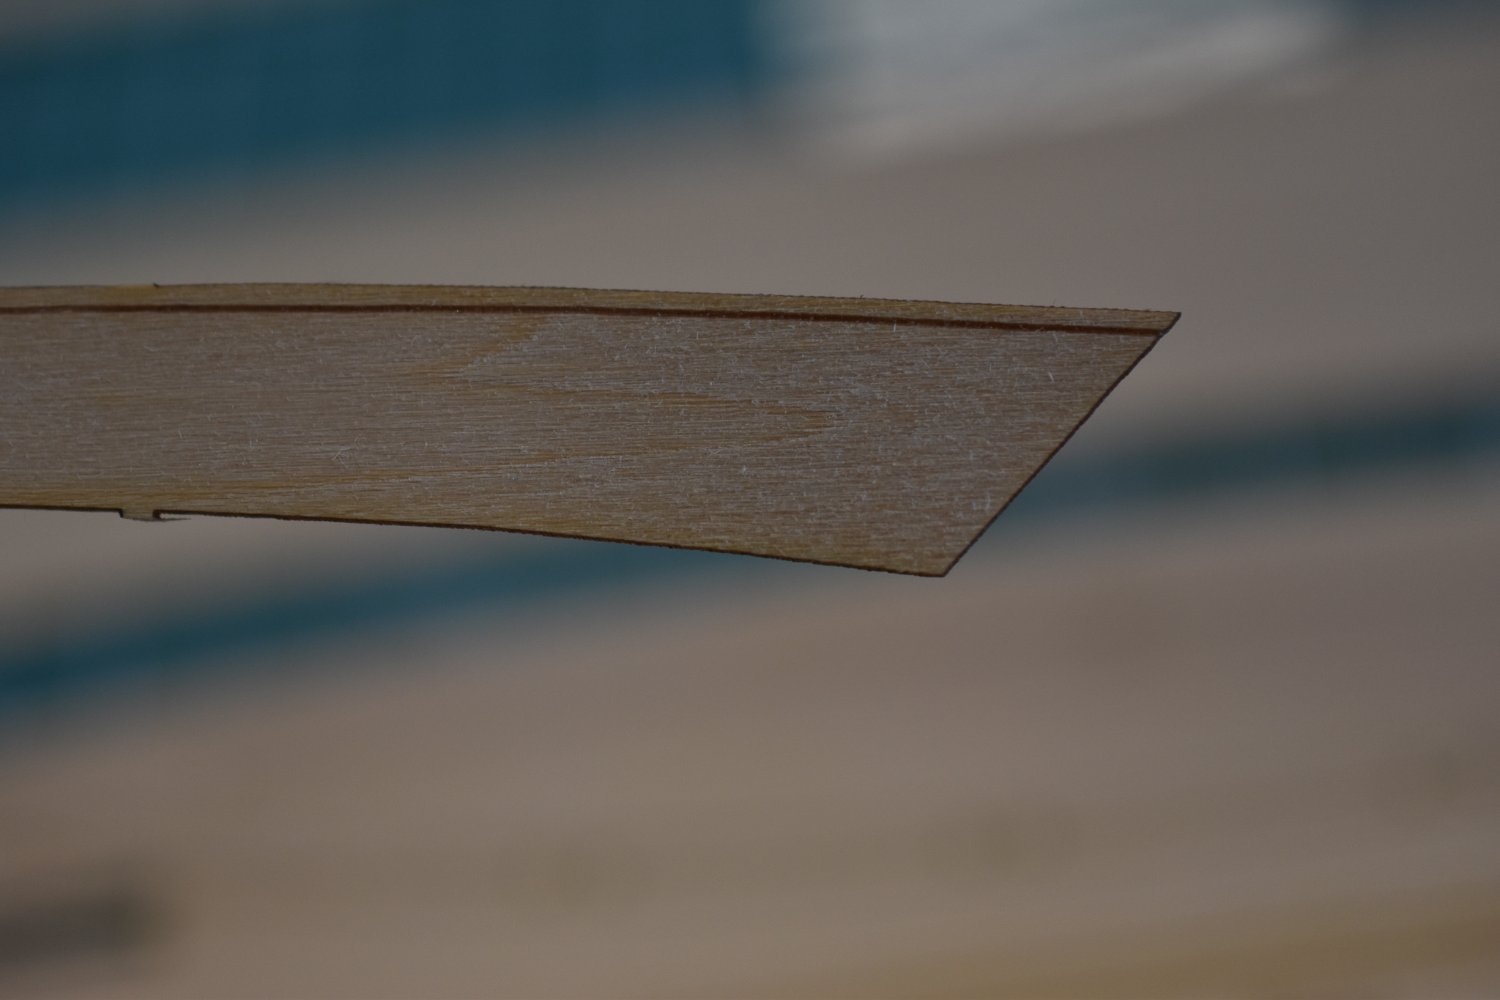
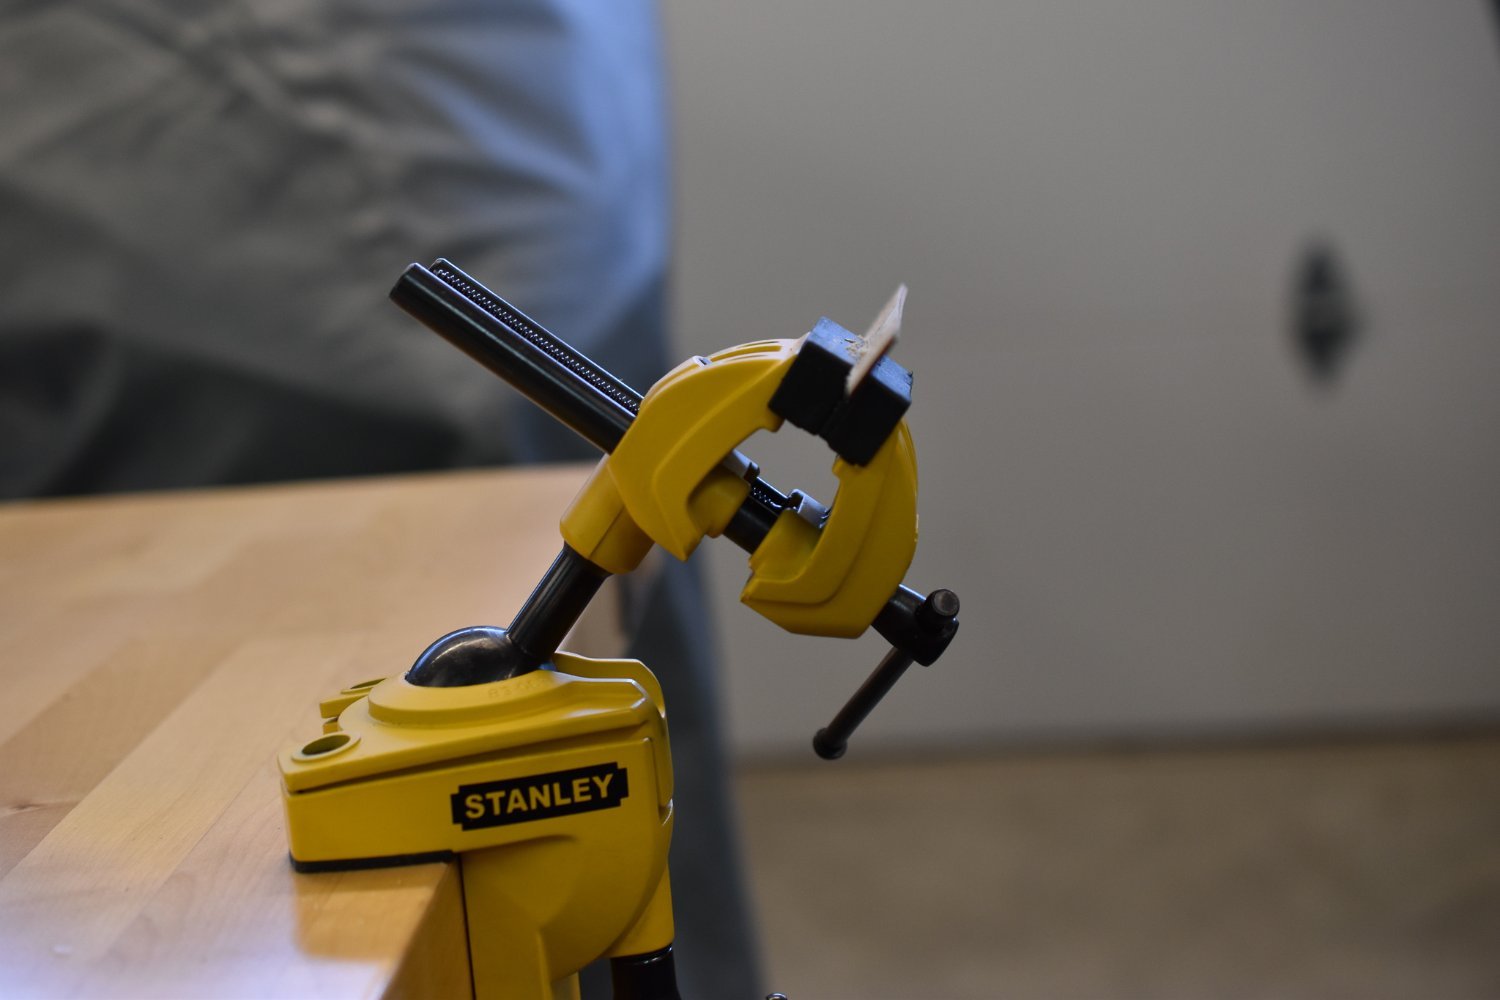
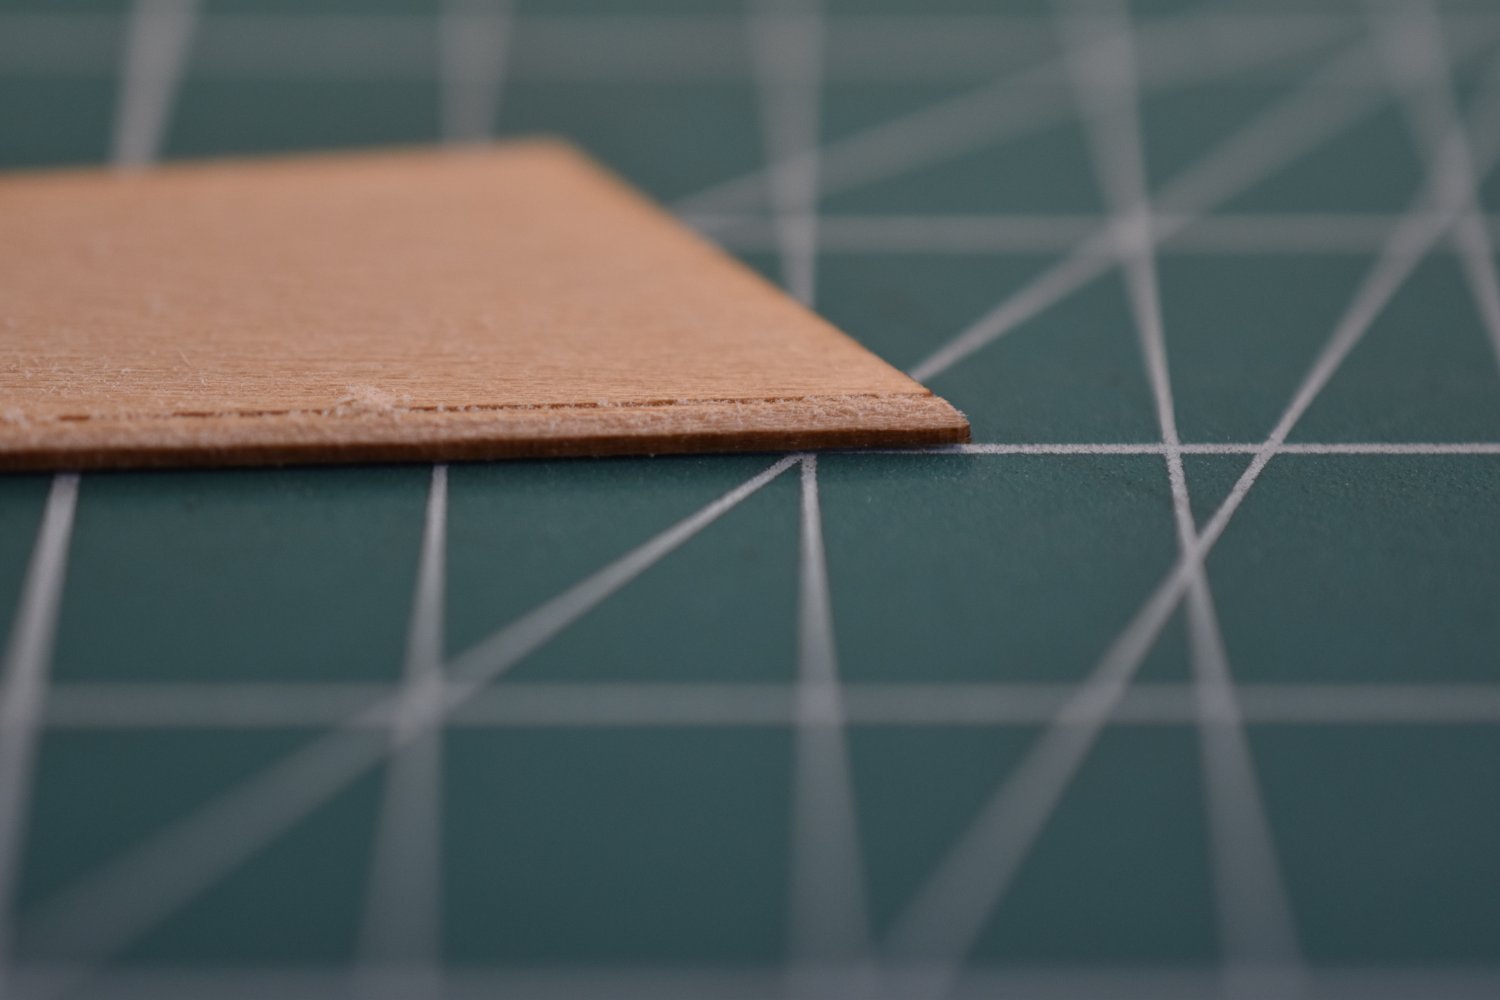
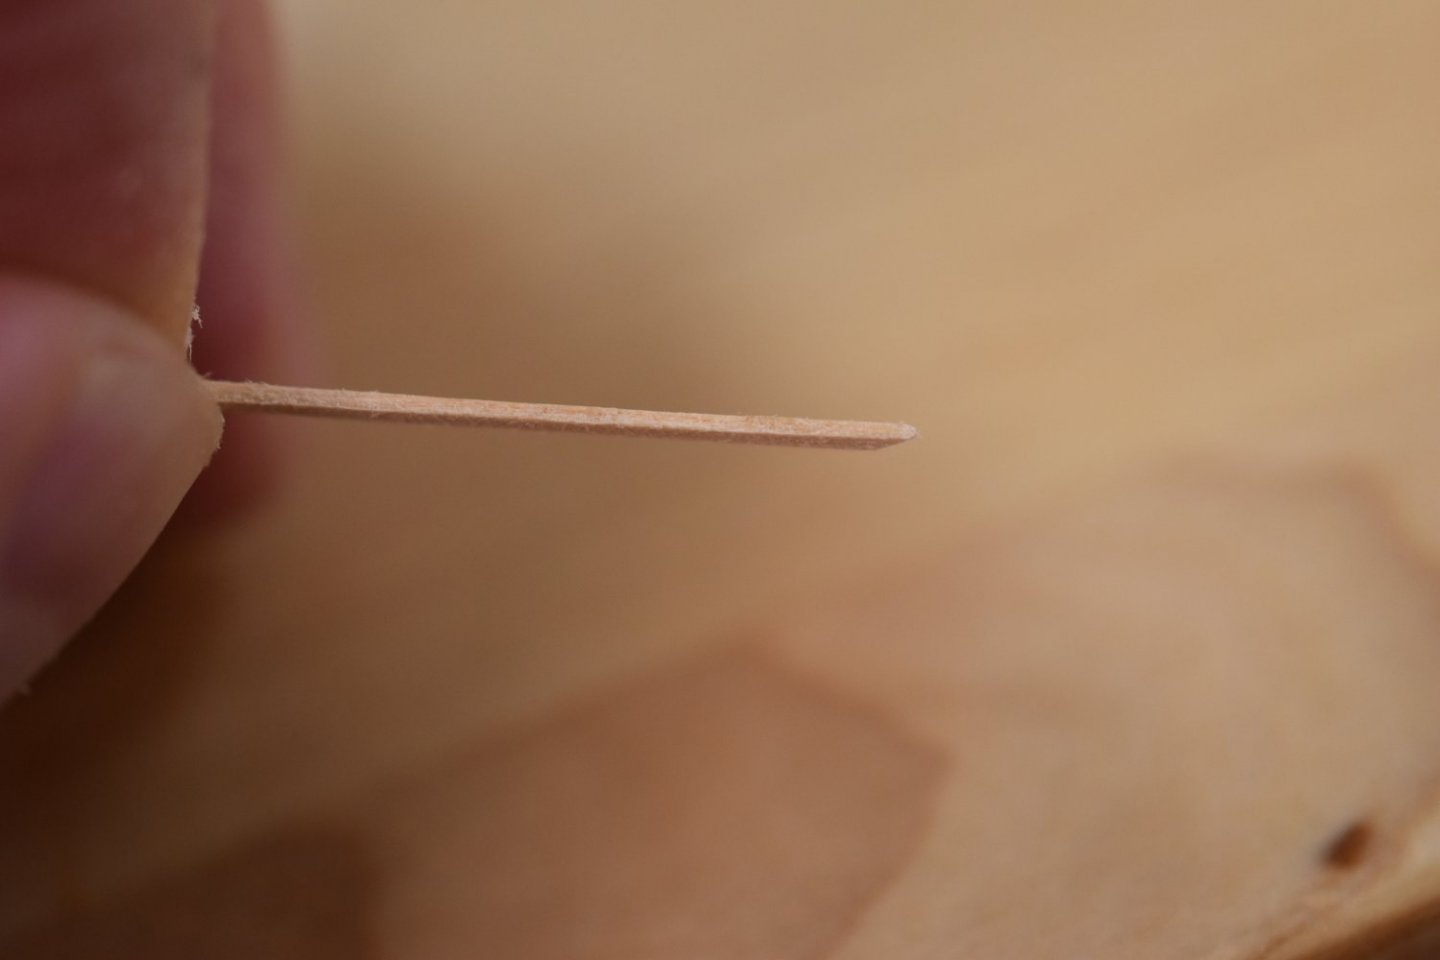
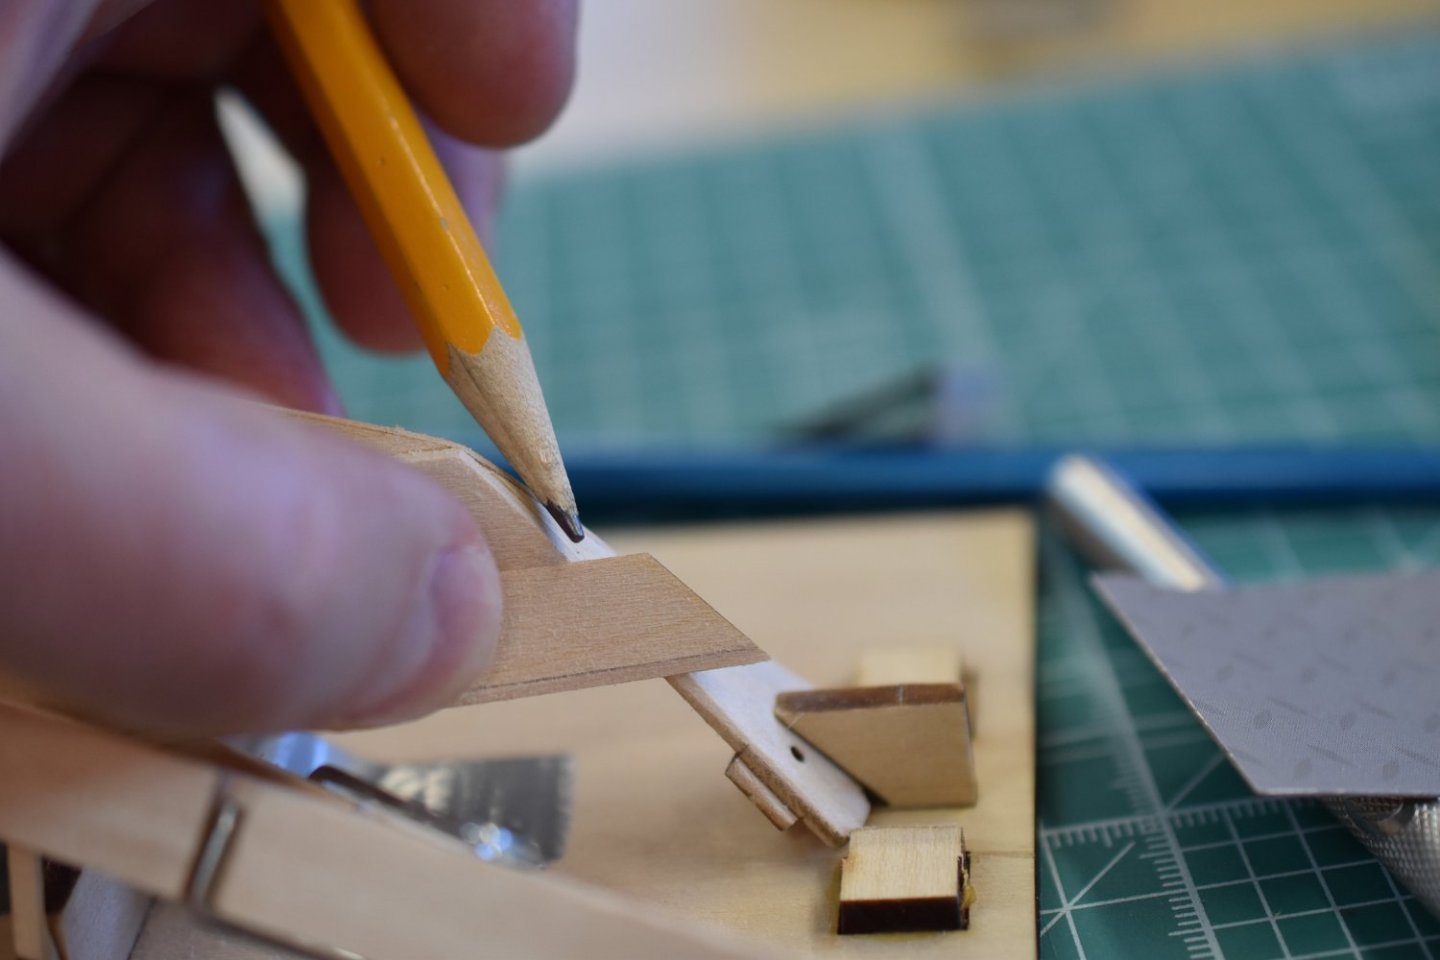
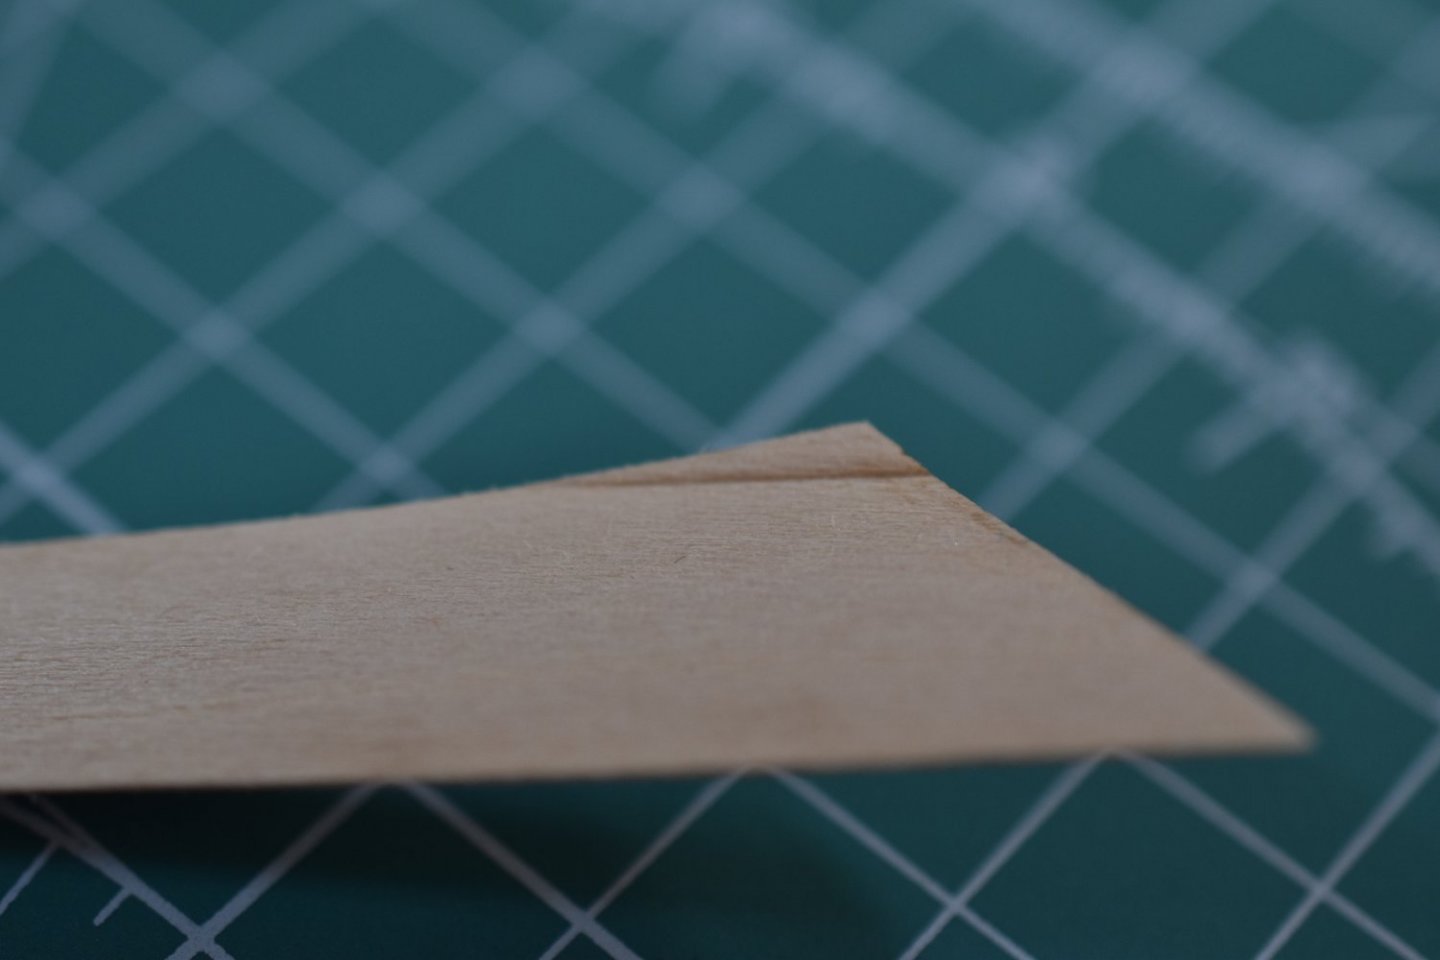
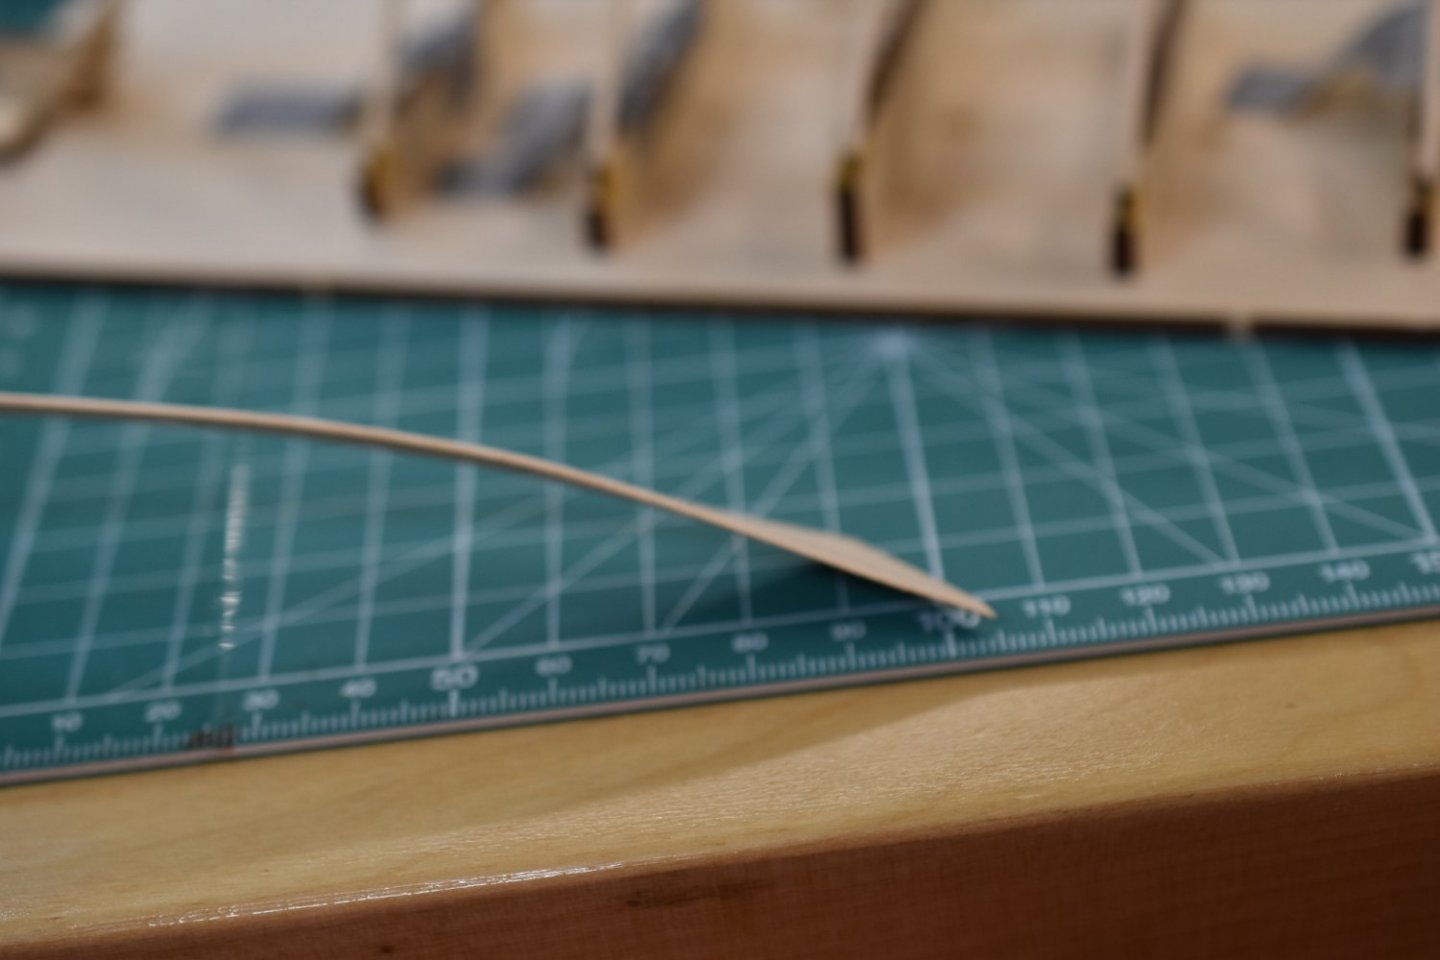
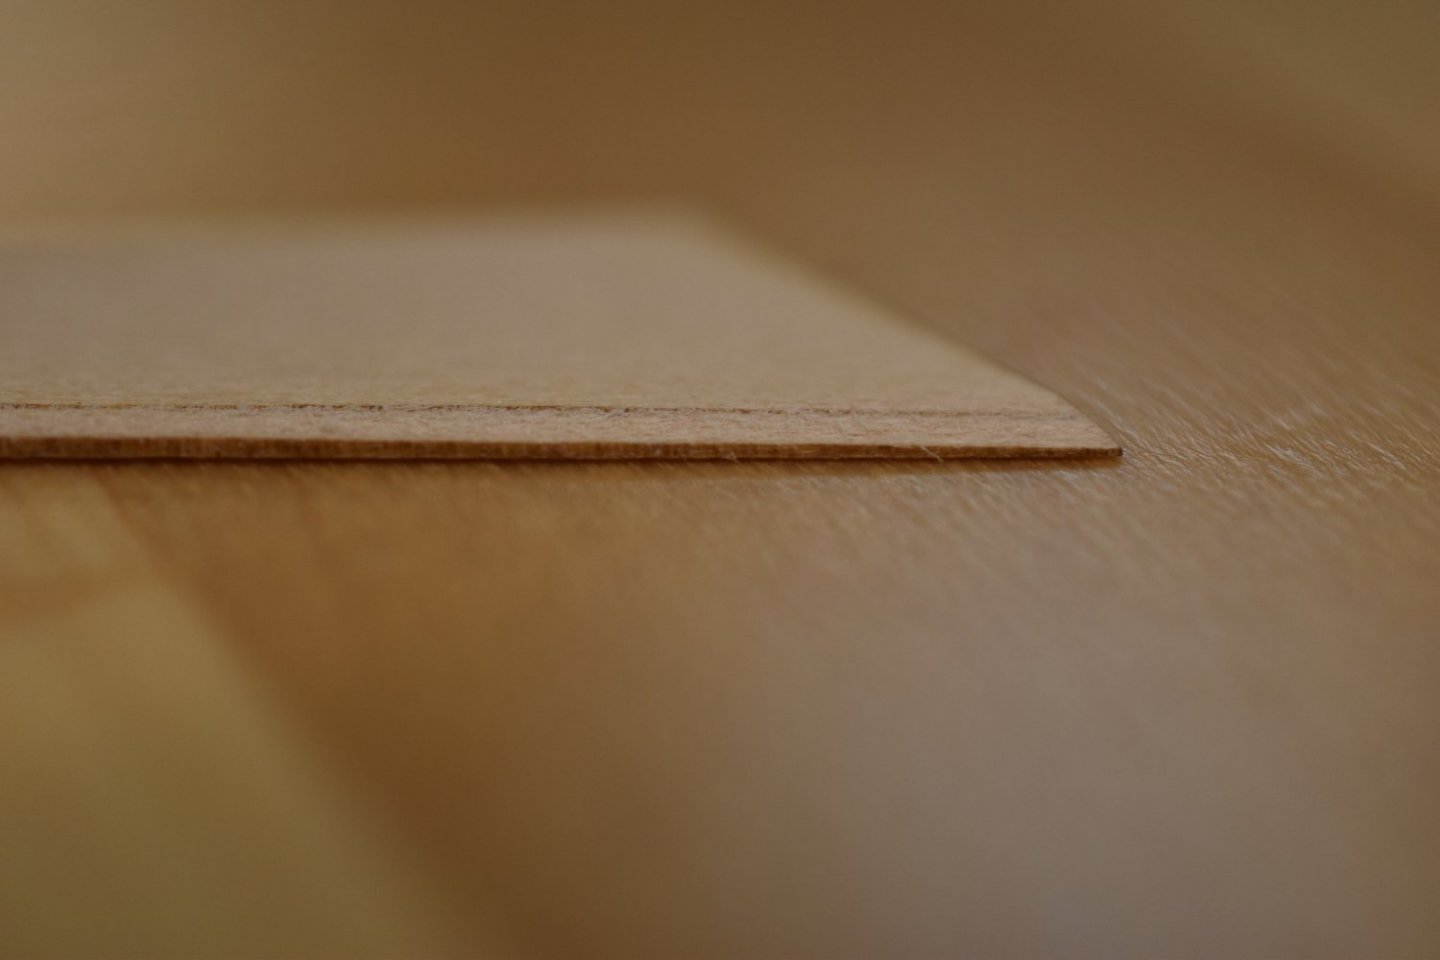
I started to prepare my garboard planks for the sides of the boat. I assume that the wider part of the plank is the bow. On the parts sheet it is the same side as the planks with the hole for the rope piece, so the parts all seem to be orientated the same direction. I had bought a Stanley hobby vice recently from an England Ebay guy. The vice was well liked here on the forum, and I concur; it's a great quality purchase! Anyway, I thought if I set the vice at an eyeball 45 degrees, then sanding at a vertical angle with the garboard plank might be easier than holding the board at 45 degrees. I think the idea worked pretty well. I first sanded gently to the line printed on the board, then put an additional compound angle on the last inch or so of the ends of each board. I watched the margin of the board to judge my sanding amount. The margin is supposed to be about half the width of the board in the middle section, and it reduces from half thickness to nothing across the last inch or so. That is my understanding of the directions anyway. The result is in the pictures down there. 👇


- 61 replies
-
- 3
-
-
- Lowell Grand Banks Dory
- Model Shipways
- (and 1 more)
-
Nice progress and building log Jason! I used to fish with a Norwegian Viking named Stanley B. Long. He explained a lot of Norwegians have the surname "Long" and came from the clans that lived in the long valley of Norway. He said that's the origin of the surname, but I'm not sure which long valley?