


Simon 707
-
Posts
17 -
Joined
-
Last visited
Content Type
Profiles
Forums
Gallery
Events
Posts posted by Simon 707
-
-
Making progress, so far I'm following the instructions fairly closely. I haven't attached the rudder yet, it seems to easy to break it off while working on the rest of the ship.
-
-
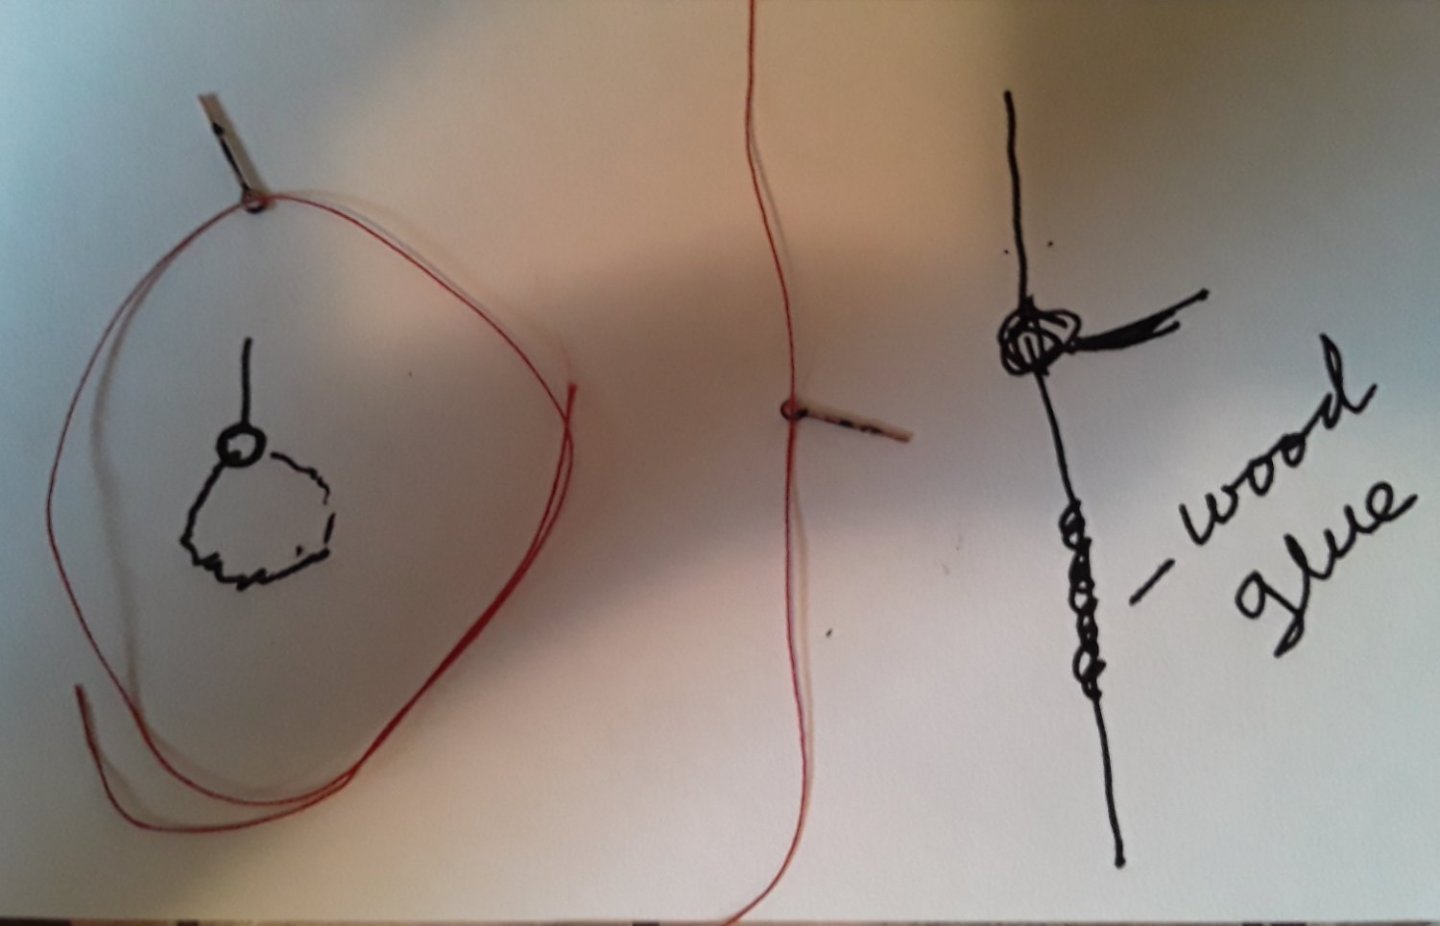
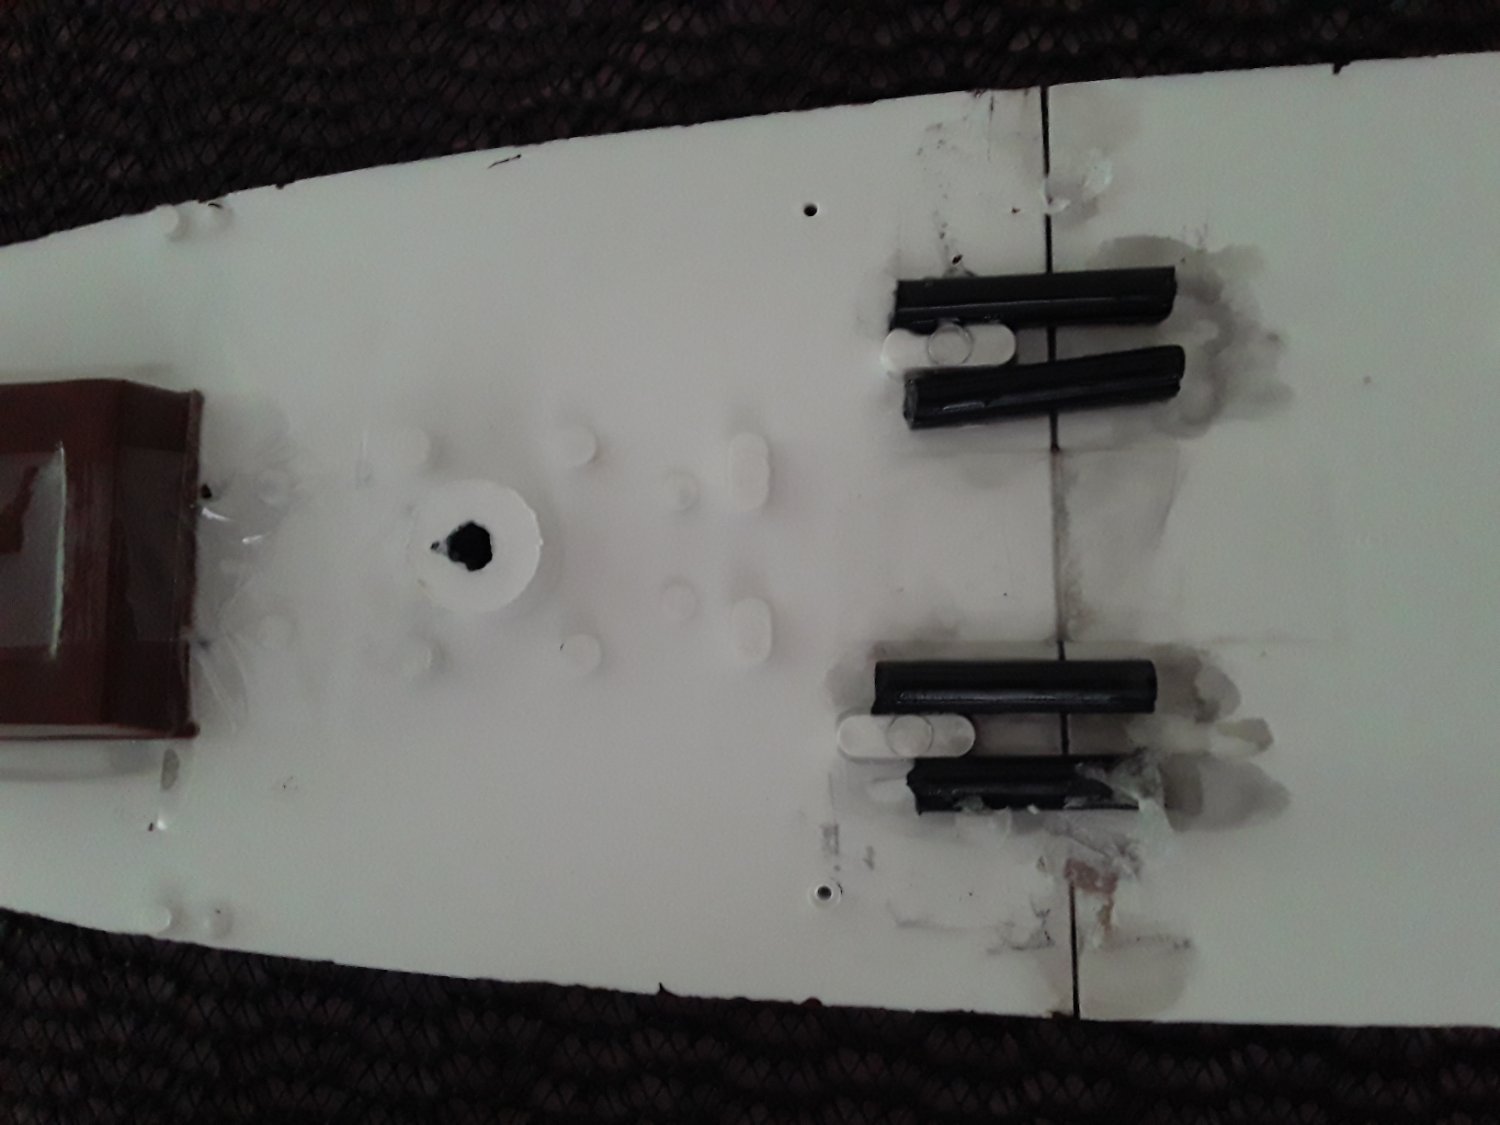
I've had an idea (always a risky thing) to make rigging a little easier. Before I install the eyes into the deck, I'm going to put a loop of ordinary cotton through them. When I come to rigging, I can use it as a draw string. I tested it and using ordinary wood glue and twisting them together. When dry, it pulls through quite easily.
-
Even a bar of soap has a use

-
-
-
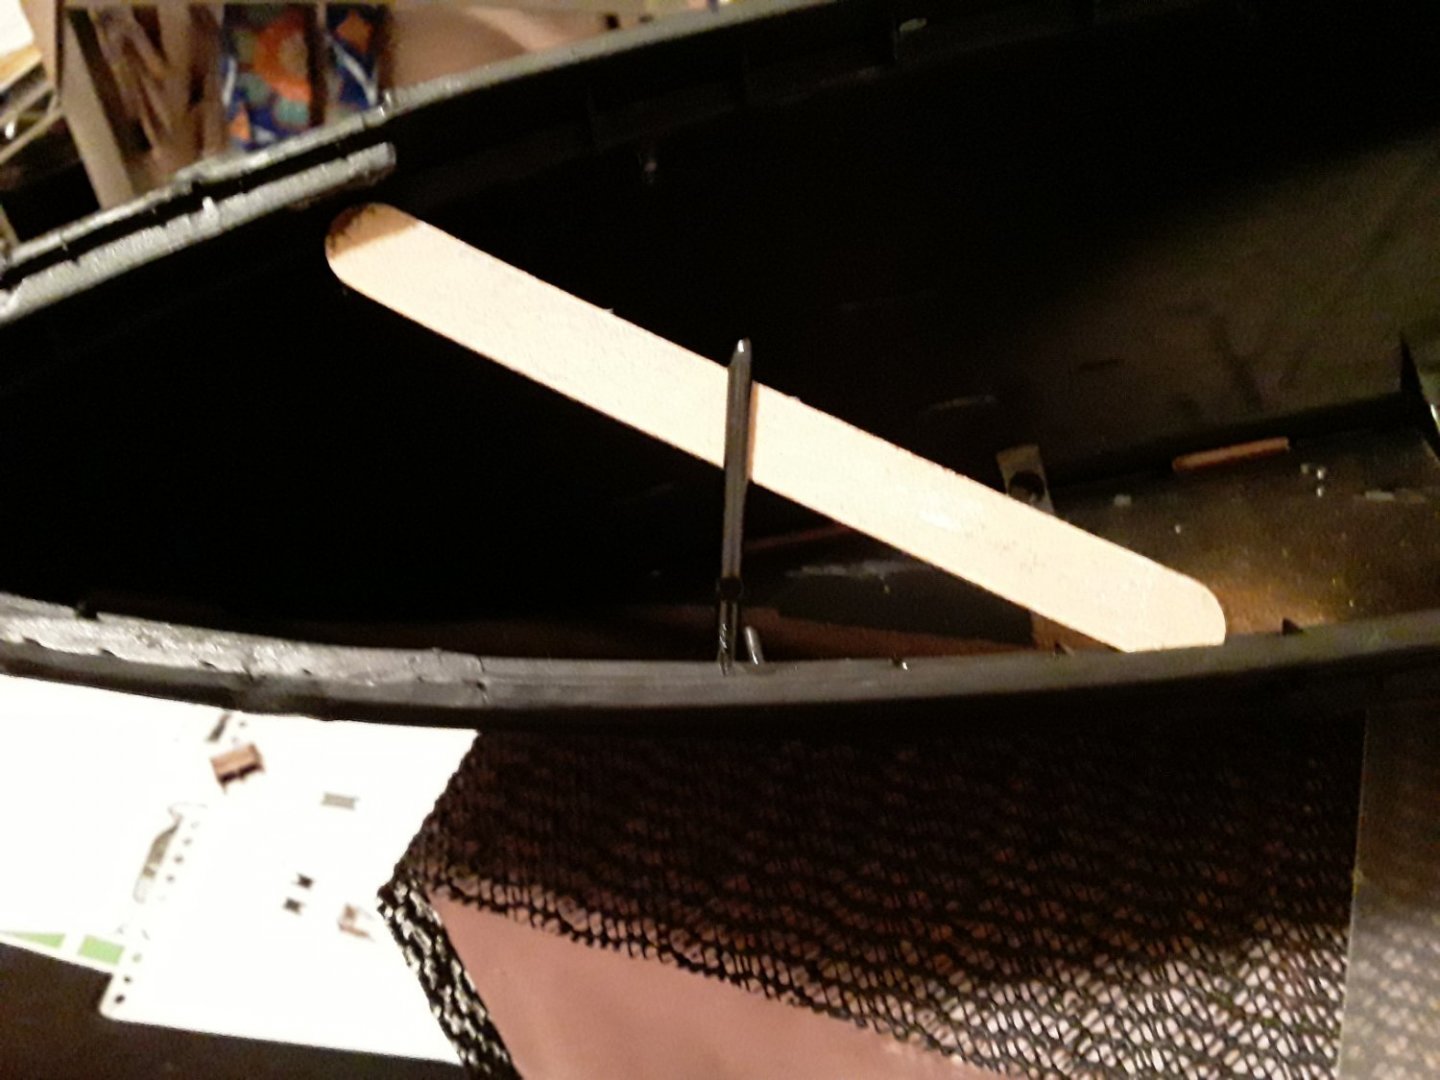
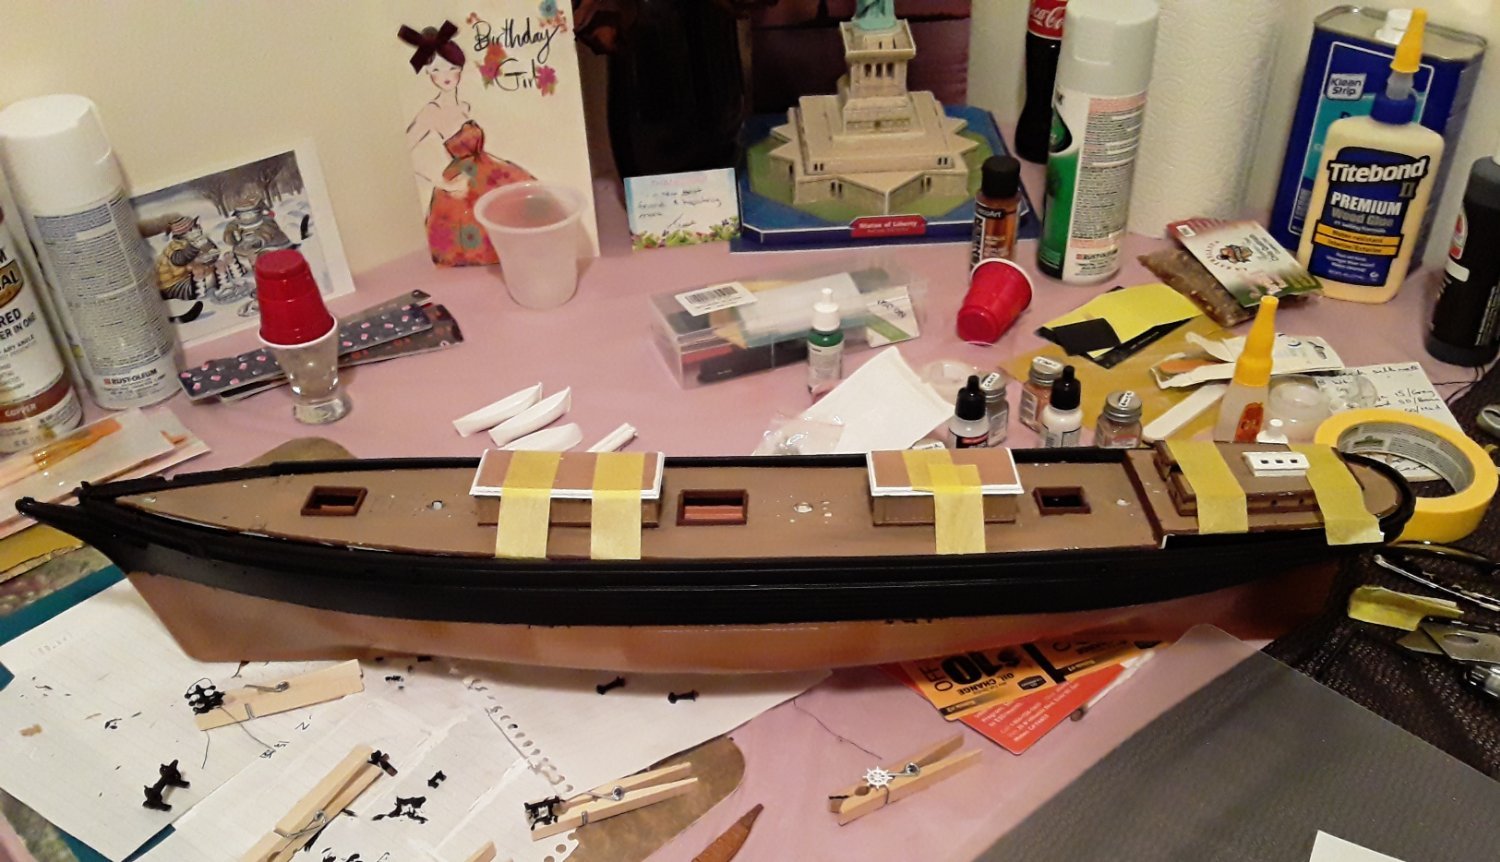
I tried dry fitting the deck and found that it is a little short. Aft is good and I hope that the forecastle deck will cover the gap. To give extra support to the bow, I'm trying a cross brace, I plan to extend the other support points similarly. The emery board is temporary to give support at the right height. I will do the same from the other side and loosely join them with cotton since I don't know the exact gap.

-
-
Deviation
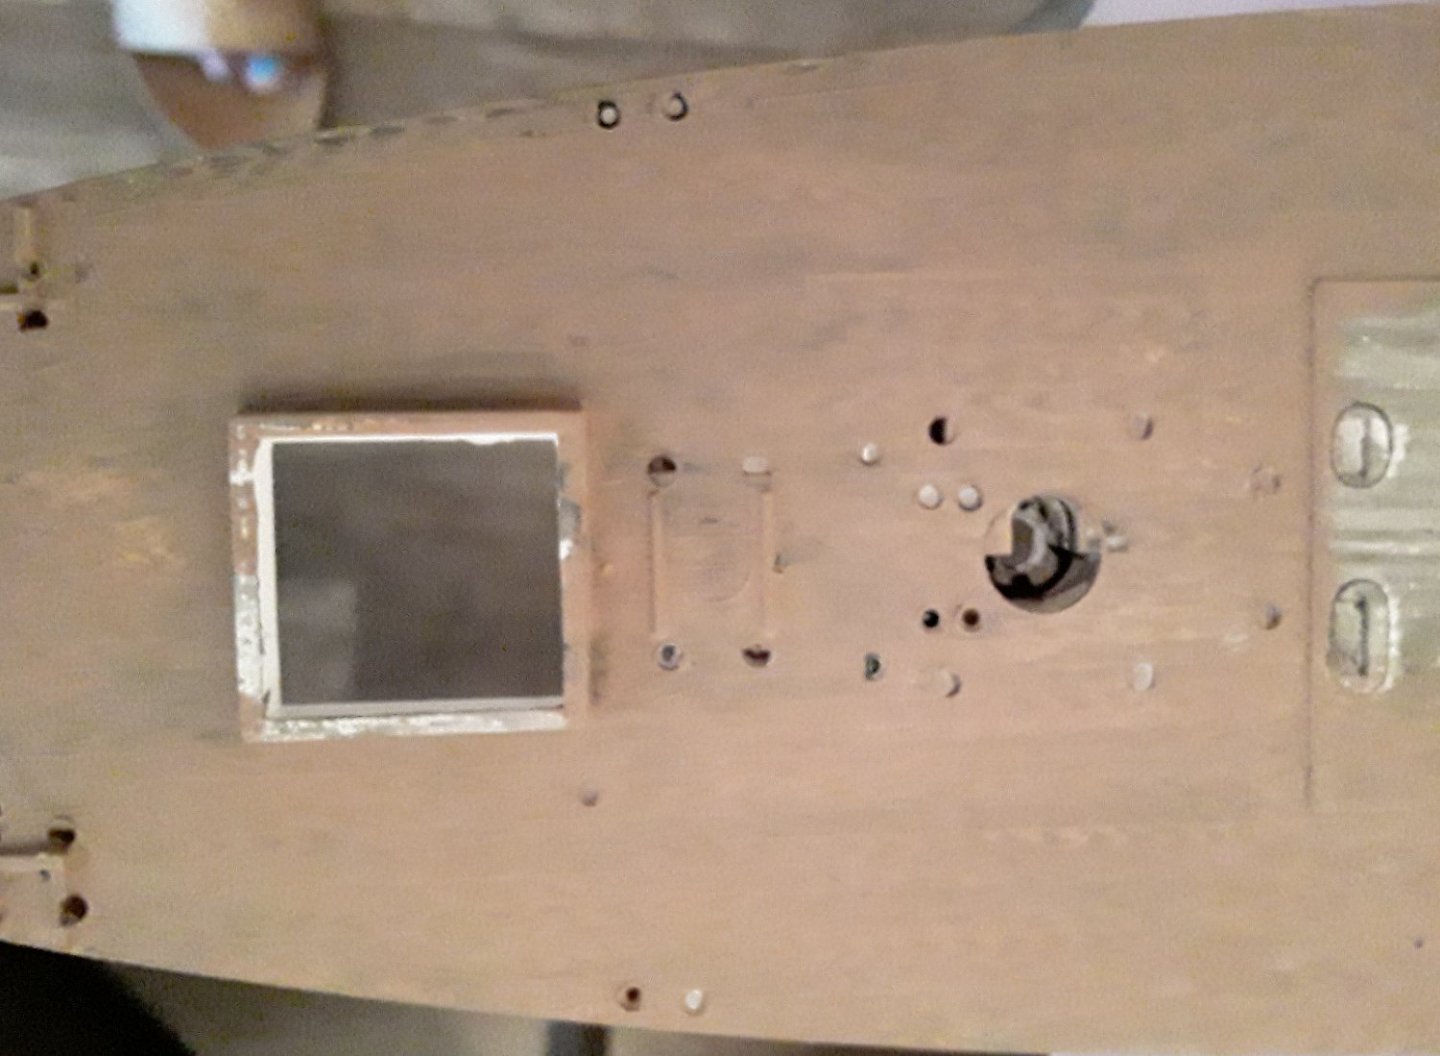
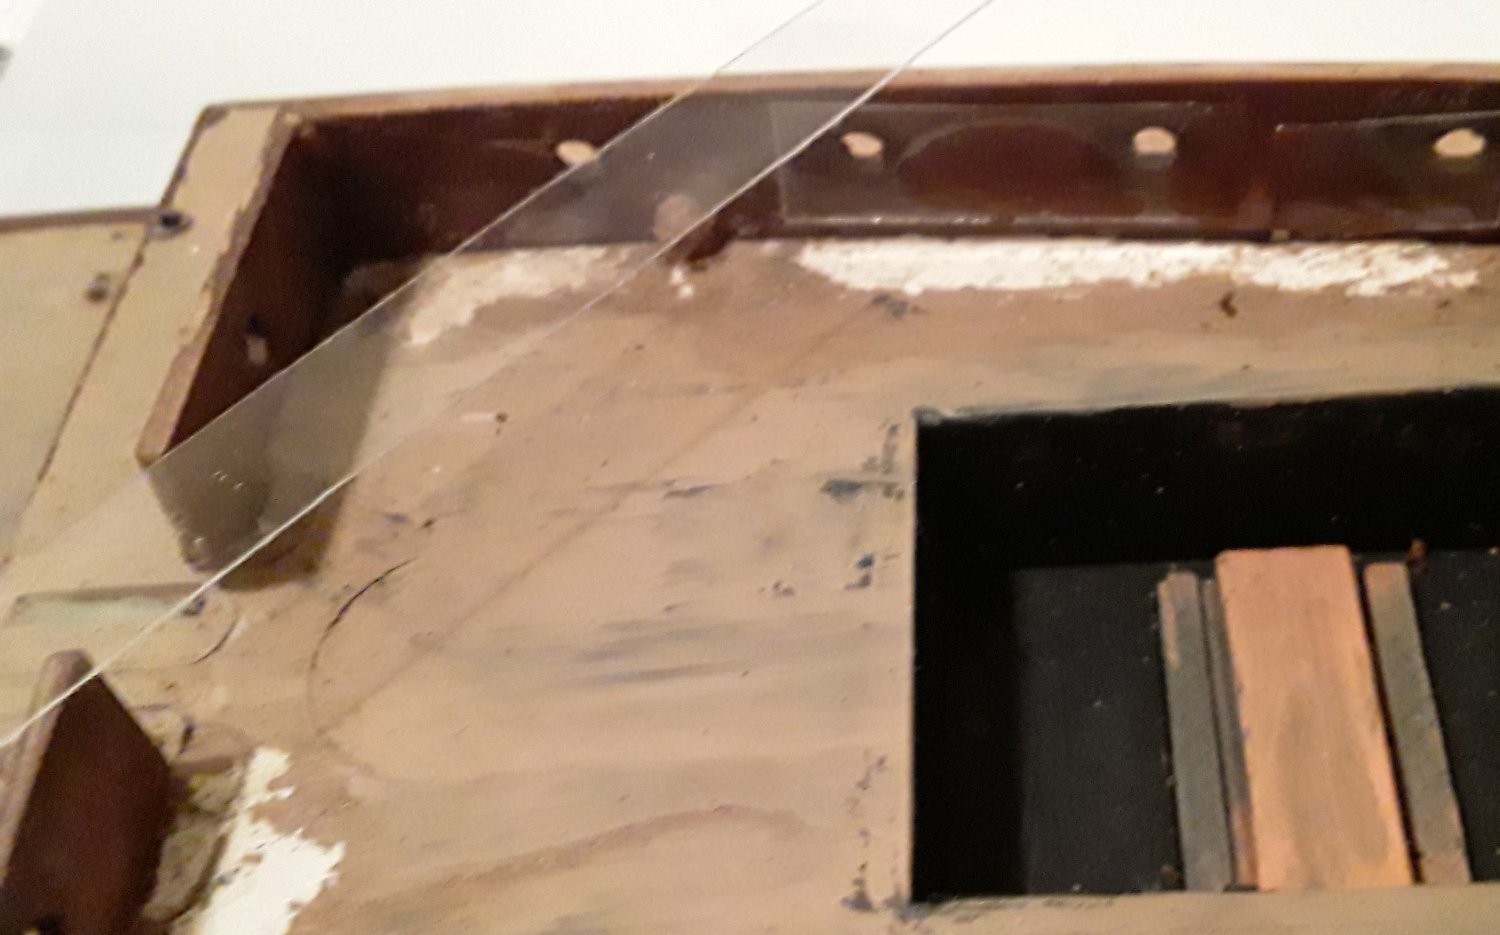
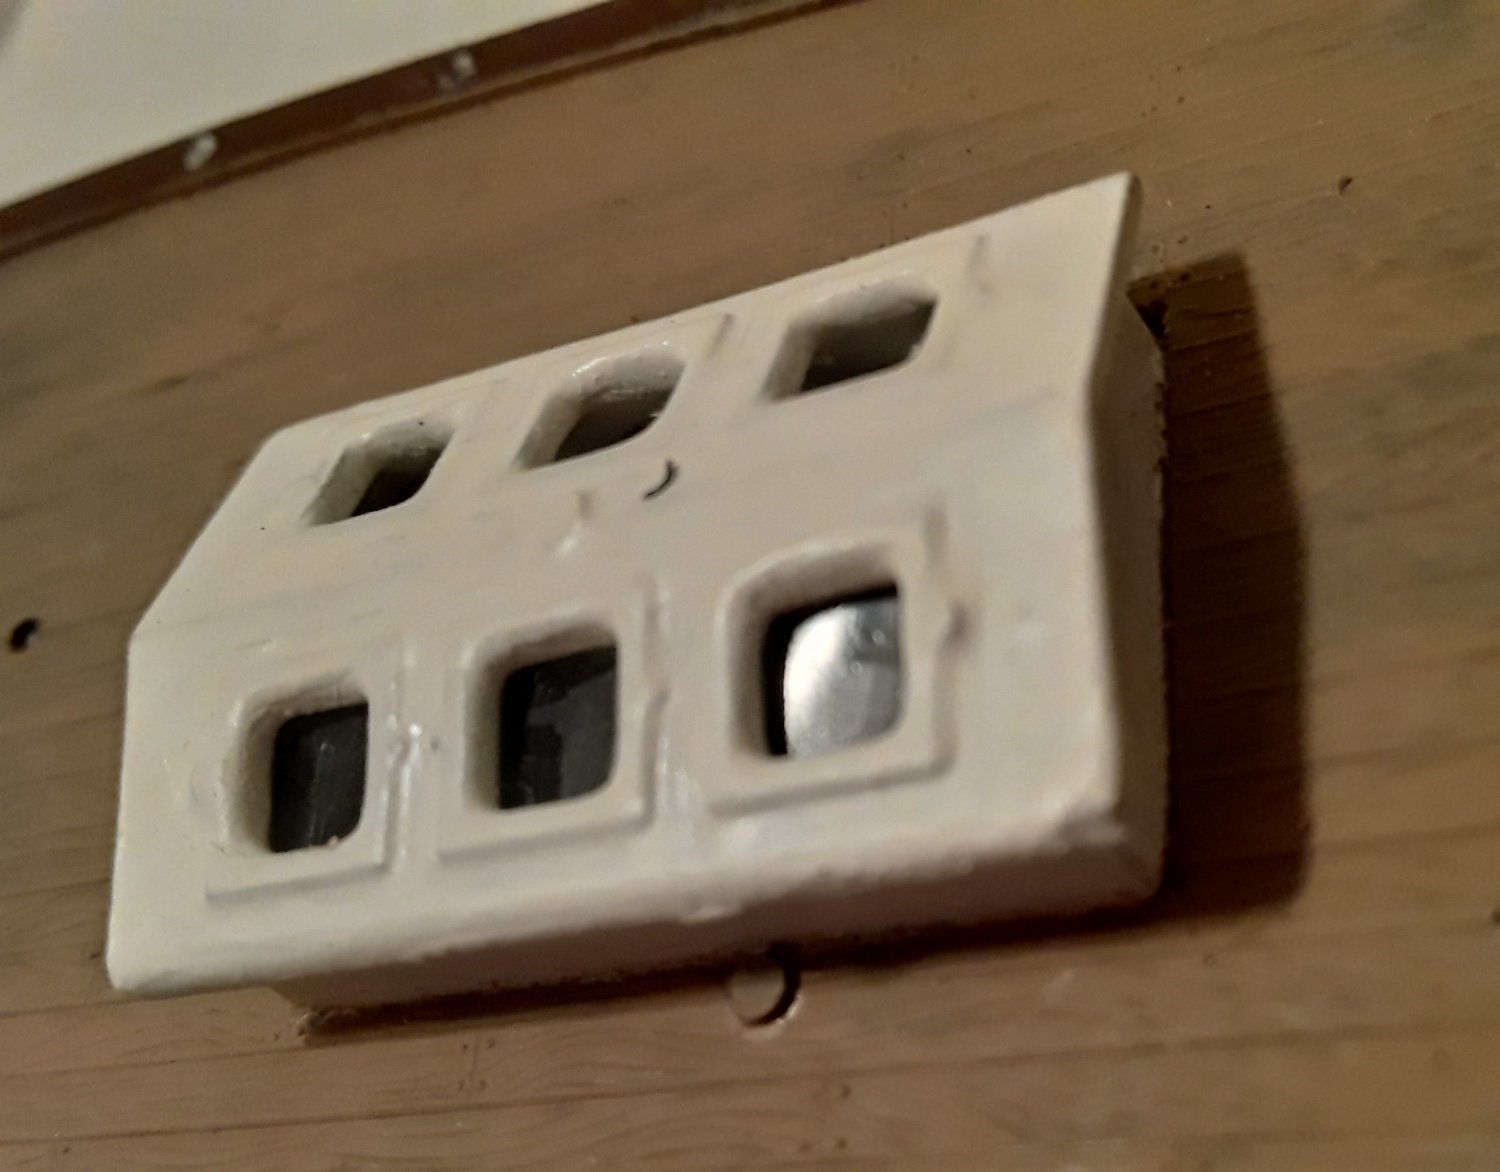
The bow spit comes in halves. I used plastic putty to fill the hollow and so strength the part.I changed the sequence of steps for the deck. I followed the instructions as far as cementing the deck in place. Before I fixed it, I installed the "buildings" and cleaned all of the other holes. It helped by having direct access to both sides. -
First Hint
The surface area for glue between the deck sections is relatively small and so I reinforced the joints with some scrap plastic. Not very elegant but it works. Flat strips would have been better but not all plastics work with my glue.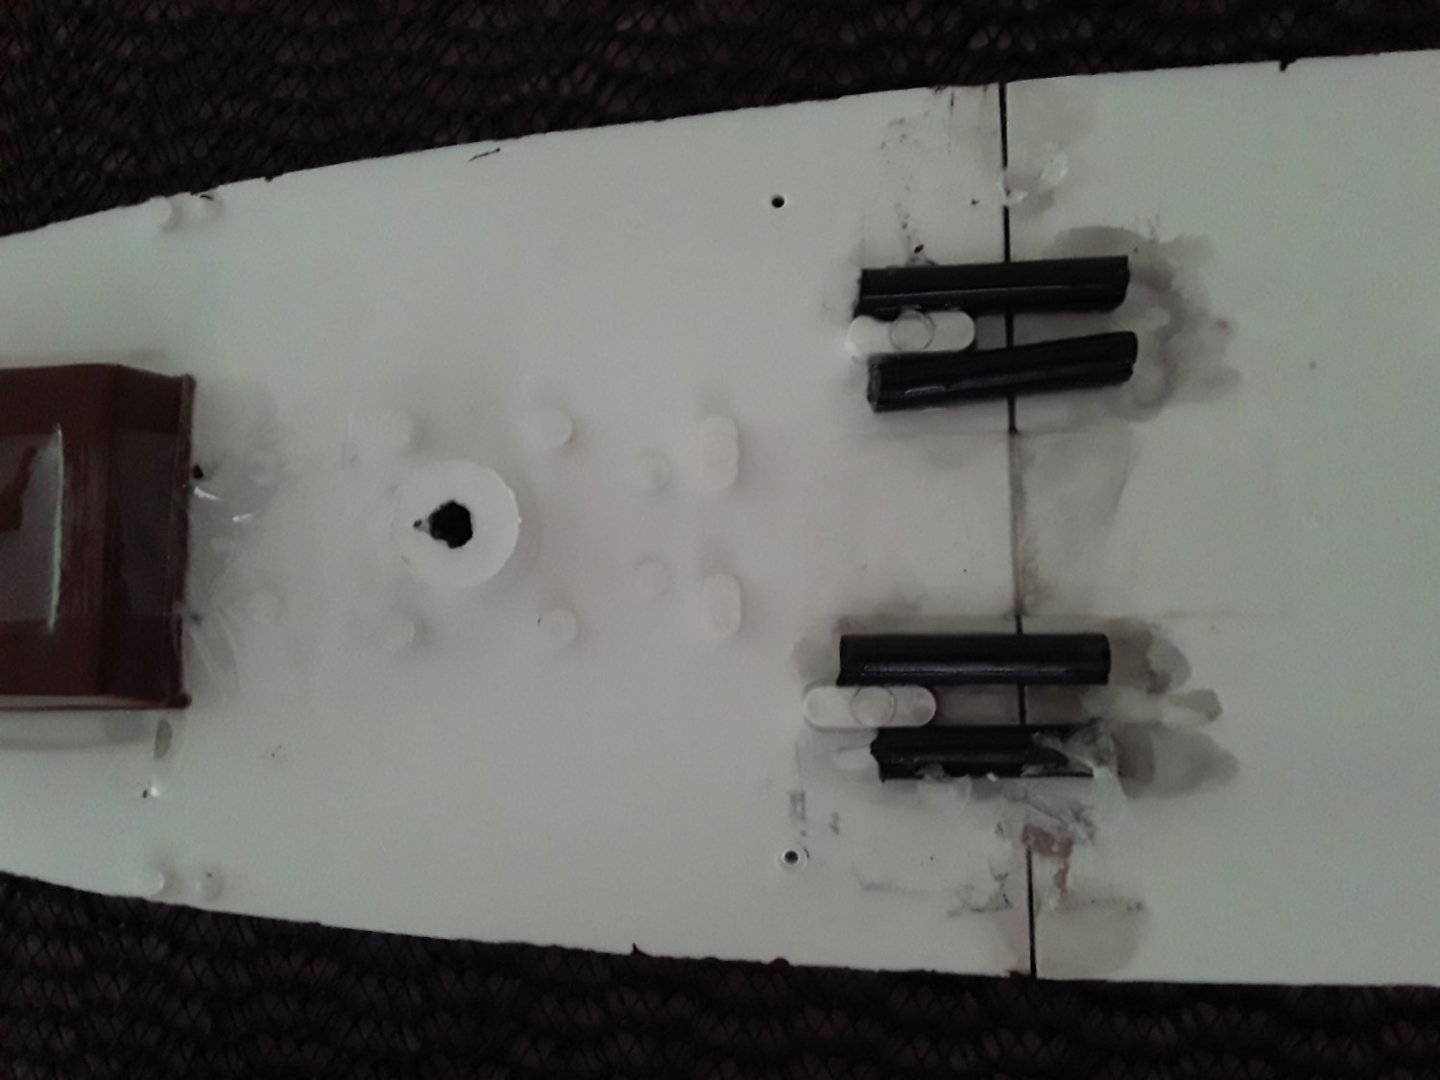
-
First Mistake
The deck comes in three sections. I tried to hide the joins but I made a mistake. For my copy of the kit , the deck sections are not EXACTLY the same thickness. I worked from the underside to get a flush join but I found that the topside was a fraction off. I have clamps with flat grips and, next time, I will use a little padding on the inside to account for any variation and then concentrate on making the topside flush.
-
The first good thing is that it took a month for my kit ro travel from the Netherlands to me. At first I was unhappy to have to wait but I now realise that it was a good thing. If Amazon had delivered it the next day I would have jumped straight in, as it was, I’ve spent the month reading everything I could find online. I realised that I was taking on a serious project and collected a lot of good advice.
My first discovery is that there isn’t a ‘correct” colour scheme. The actual colours changed over the years and so it’s a matter of selecting a style and following it.
Lets start
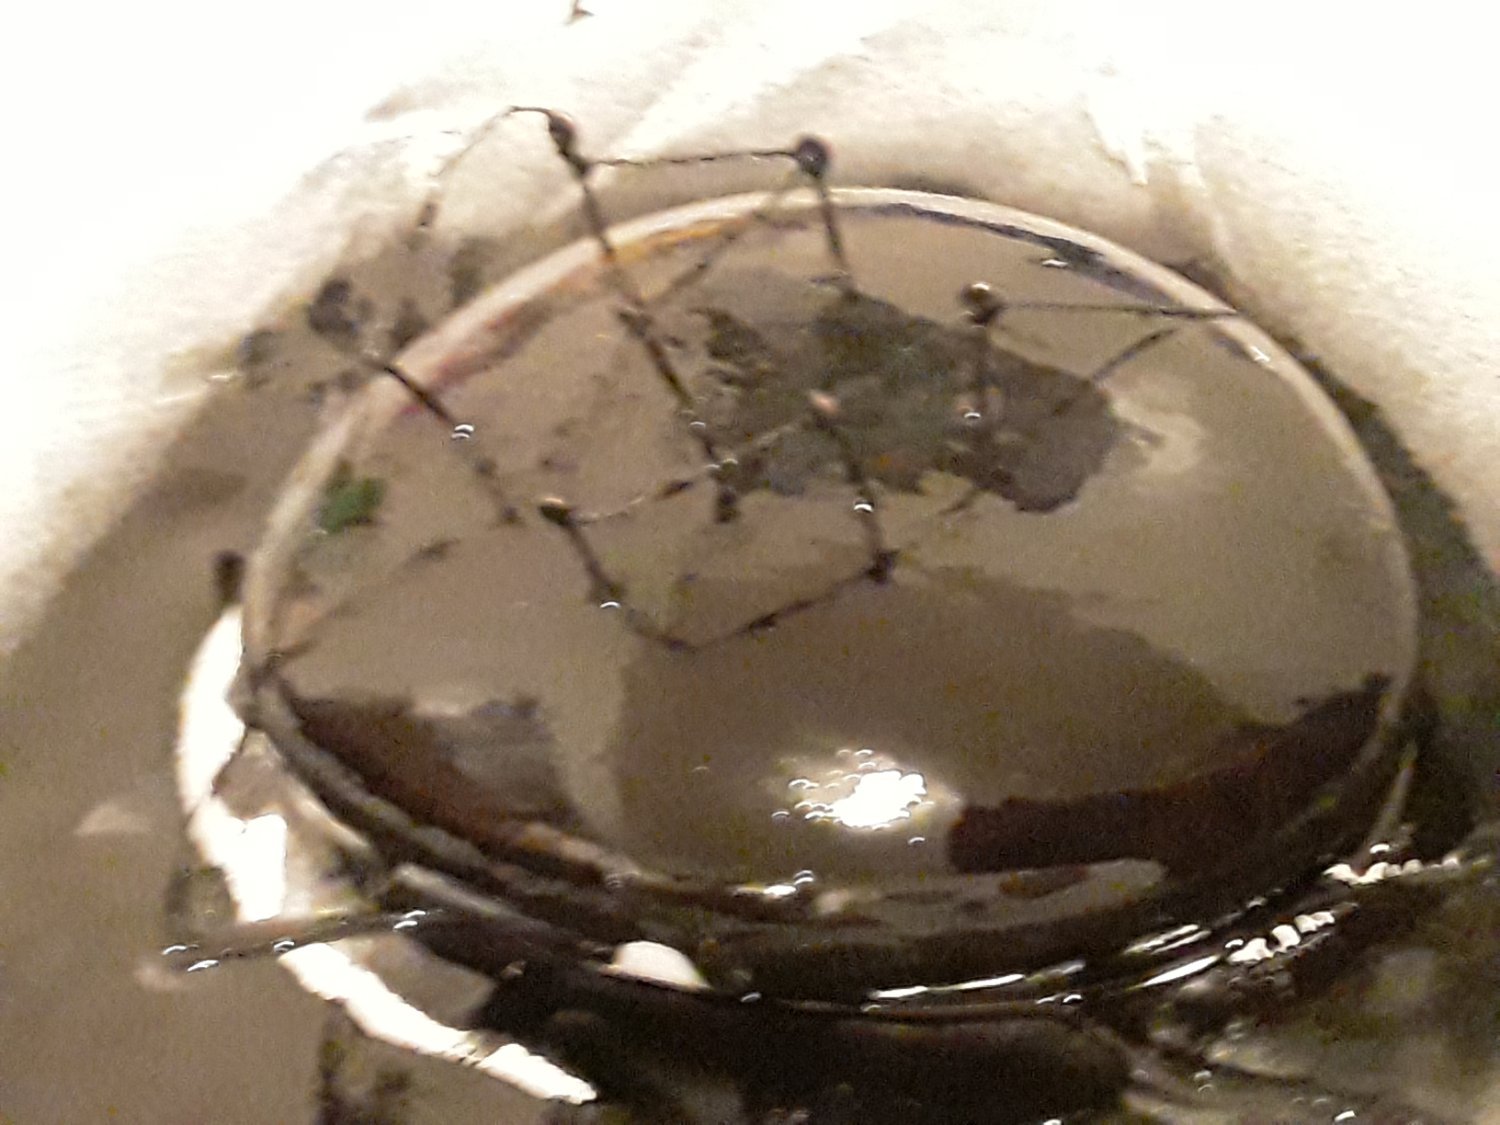
To get the deck colour I started with a black wash and then applied a Beige coat but let the black show through.
-
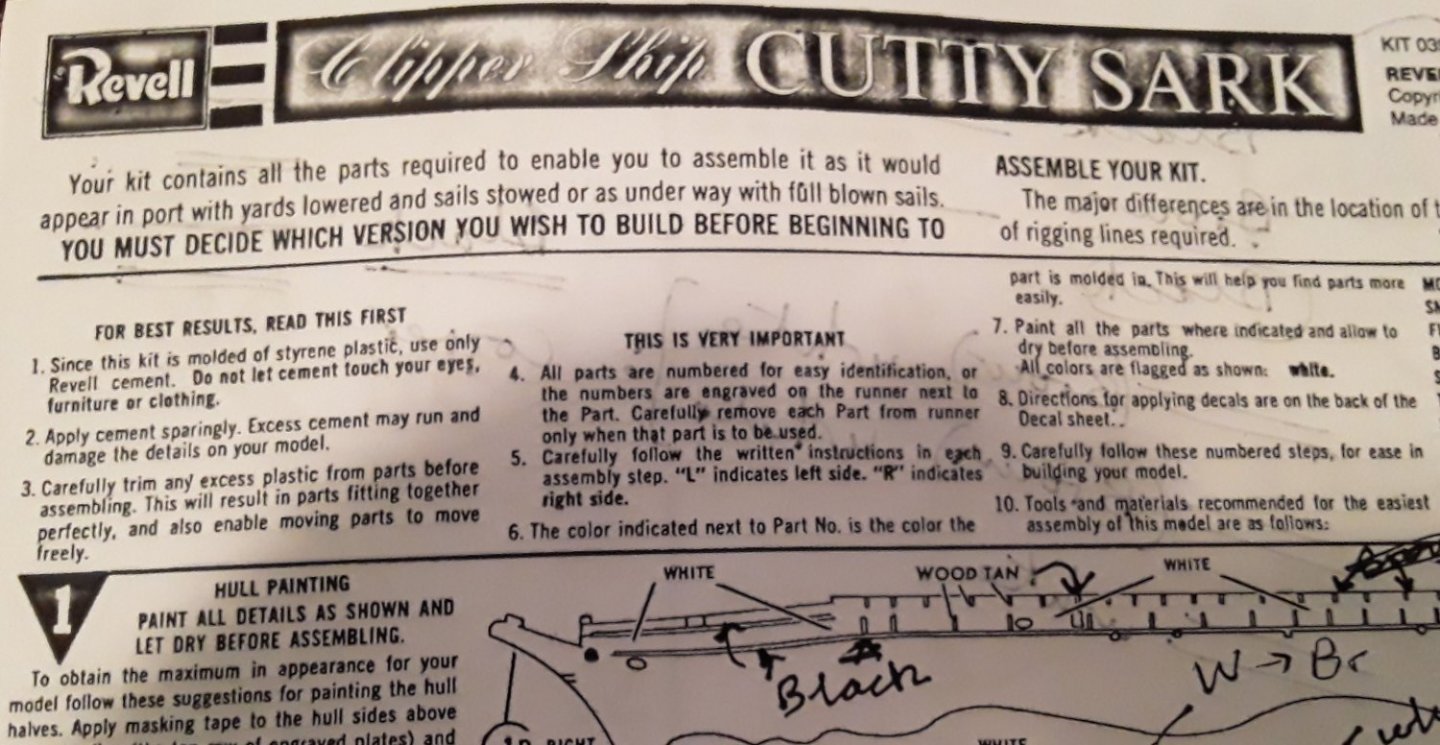
I have just started the Revell Cutty Sark 1/96 model. There are several excellent build logs already available and so I plan to focus more on tips and especially the mistakes I will make. If I don’t mention a step , it’s because I followed the vanilla instructions and have nothing of value to add. I have made many paper, wood and Lego models over the past years but its been many years since I last built a plastic model.
I am working from the latest instructions, enhanced by the 1987/88 version. I am also following a couple of the existing build logs I found here.

-
Any views please? Can I join the 2 hull sections together, paint it, attach the 3 deck sections together, paint it. Seems easier to hid the joins


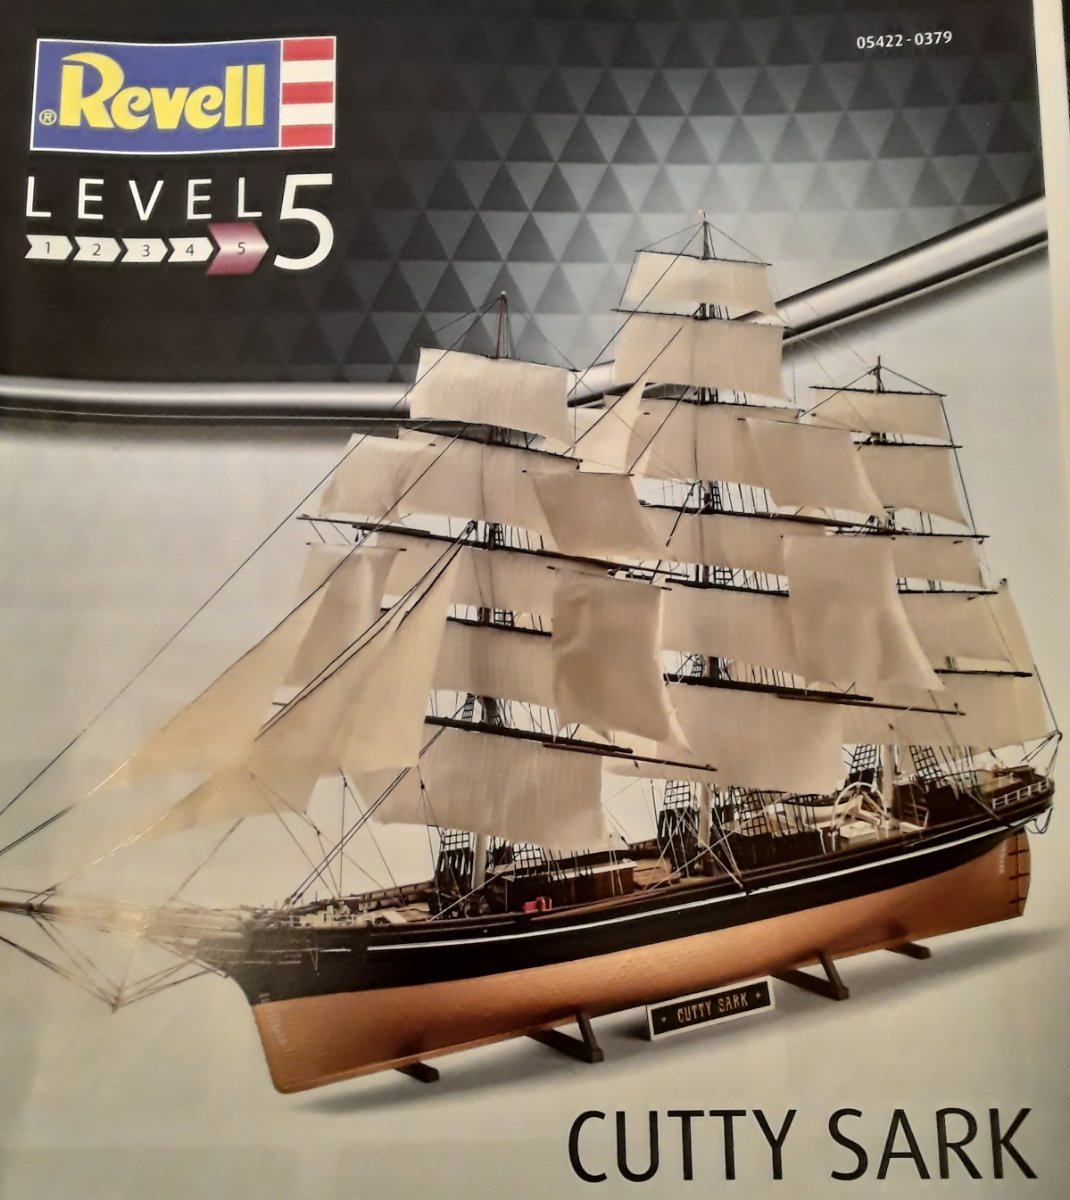

Cutty Sark by Simon - Revell - 1:96 - PLASTIC
in - Kit build logs for subjects built from 1851 - 1900
Posted
Making progress, so far I'm following the instructions fairly closely. I haven't attached the rudder yet, it seems to easy to break it off while working on the rest of the ship.