

Ron Gagner
-
Posts
8 -
Joined
-
Last visited
Content Type
Profiles
Forums
Gallery
Events
Posts posted by Ron Gagner
-
-
On 6/16/2023 at 11:01 AM, ahb26 said:
Thanks for the likes - much appreciated, especially given the slow pace of the project.
Spars and sails are complete but not yet assembled. The gaff and boom jaws (I am not using the prescribed gooseneck for the boom) were straightforward.
.jpg.caf55d2d4152cf13c34185b756b93f9f.jpg)
This rig holds everything in alignment while the glue dries. I sanded slight flats into the dowels to give the jaws a better glue surface.
This kit is my first experience making detailed sails. The material supplied with the kit is a stiff linen of some sort. It does not creep or stretch when it is being cut or when lines are drawn on it. I reinforced it further with matte poly spray to keep the edges from fraying. Here's the jib:
.jpg.bc98c42bc82d6e3a1854ddbbd8f74f39.jpg)
The dowel helps in tying uniform-size hanks. The instructions say that the halyards and sheets should be tied directly to the jib. This doesn't sound quite kosher, but after considering alternatives I went ahead with it.
.jpg.87d4536fa952e745a4adc5122351d81e.jpg)
I glued triangular gussets to the corners of the sail to assure that the tied lines wouldn't pull out.
The mainsail was next. To make the reefing lines, I sewed lengths of black thread through the sail, taped the threads on each end of the sail, and secured them with a dot of CA at the reef point.
.jpg.dca7a7d35cae1c272c1e02d52dc49abc.jpg)
Then I trimmed the lines to length. They hang down nicely.
So now I can lay out the whole sail plan, ready for assembly.
.jpg.6eec04153b91457a46a6af085f72b80b.jpg)
I'll do as much rigging as possible off the boat, then step the mast and complete the job.
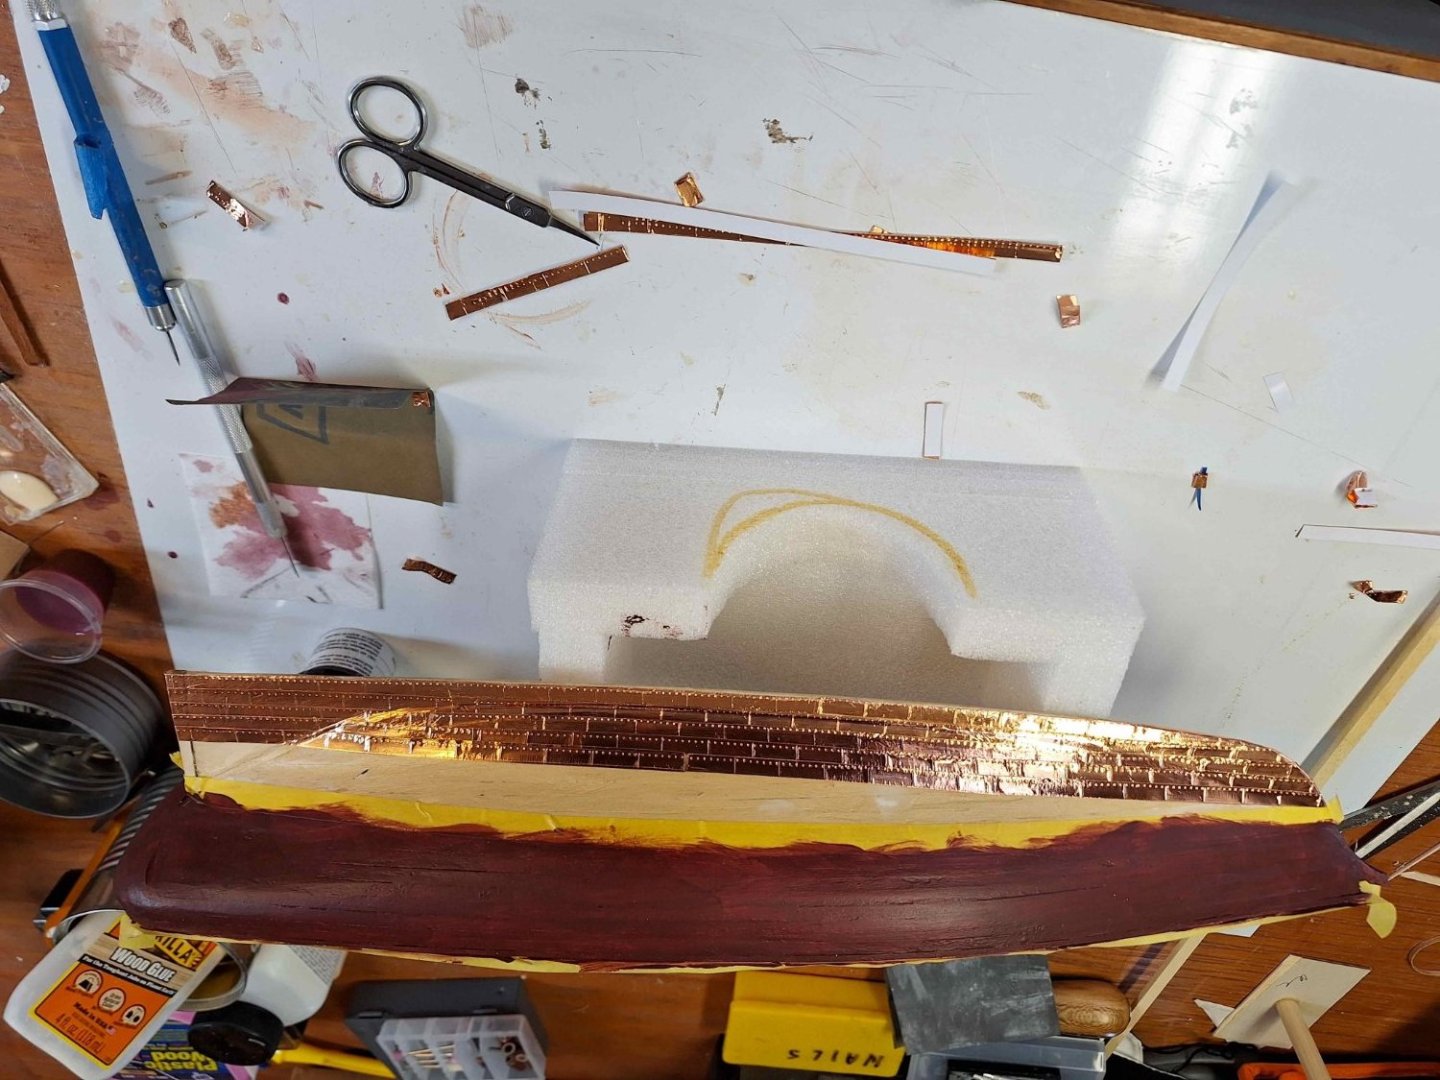
23 hours ago, Ron Gagner said:My kit is arriving Wed. The info you gave me will be very helpfull. This will be my 4th project. I made all kinds of mistakes, to much CA, not following the importanace of alignment... My building skills were in giant scale aircraft that I flew in scale events had to build strong to hold together a 20 lb. aircraft.
The pic is of a 1851 schonner used copper tape made strips 4 or 5 inches made a jig for the rivets. Not to bad for a hack...
-
On 6/26/2023 at 4:08 PM, ahb26 said:
I think I am going to call this finished, although it could use some touch-up (the photos don't lie) which I may do later. The rigging was straightforward. I was able to rig the mainsail and partially rig the jib off the boat.
.jpg.e0f62c4468d5a386410156f4f5e5429b.jpg)
Before stepping the mast, I glued the tiller to the rudder post, a bit tricky given the tight access. Then the mast went in...
.jpg.9db3b407e71903eb0d71b5cd58239321.jpg)
and I completed the rigging. Sounds simple, no? Belaying the lines on the little cleats just about drove me nuts. The supplied line is springy and slippery, and leaps off the cleat unless tension is held on it throughout the process. All my pre-rigging unrigged itself But I finally got everything secure and formed coils from the excess line. So here she is...
.jpg.6d500016c6aa0840b27b2f21fbfa642e.jpg)
.jpg.c5b83aa410b42e882587231ee0accbe4.jpg)
.jpg.4f967bd2d45cb4e919c11dced7445671.jpg)
.jpg.2131667ab77bfd834de7d4efad04bc1d.jpg)
All in all, this build was enjoyable if at times frustrating. (Aren't they all?) I wouldn't hesitate to build another Midwest/Model Shipways kit.
-
-
On 8/15/2018 at 8:22 AM, RussR said:
Is anyone familiar with this product sold by Amazon?
It's called "Copper Foil Tape with Double-Sided Conductive Adhesive".
It's 1/5 inch wide,32 yards per roll (about 5mm wide). Three rolls for $7.00.
The link is:
https://www.amazon.com/gp/product/B07BTLMYFS/ref=oh_aui_detailpage_o00_s00?ie=UTF8&psc=1
This along with COPPER SHEATHING A HULL USING SELF-ADHESIVE COPPER TAPE by Gene Bodnar PDF would be ideal.
Link:
http://modelshipworldforum.com/resources/Framing_and_Planking/CopperSheathing.pdf
RussR
I used it first try a copper works well made jigs to put nail holes and scribe plates
Ron
-
will be buying a elec sander is a beld sander enough or would a combo belt and disc be more usefull'
Ron
-
Thanks mate have a good friend lived in Lesmurdie meet him 83 in Newport RI when you lads took the cup down under.
My next build will be a cup boat a J boat Thanks for the response Happy New Year
Ron
- Keith Black and mtaylor
-
 2
2
-
I;m not new to modeling but shipbuilding YES build and flew giant scale aircraft. I started with the sail boat Harvey. Made many
mistakes got a biginners book and saw how many I made..Have the 2nd model fix a few made a few. needed getting the proper tools is
a big plus to doing things correct....My first question is: building an aircraft I used CA and some epoxy had to be strong
using CA on decking and planking makes it hard to finish! Making lines and halyards using CA knots get like rocks, should I be using white glue
thined out, and using this glue on planking and decking I have many more questions but using the trial an error system, not the best but it's
working...Ron G
- Keith Black, SiriusVoyager and mtaylor
-
3

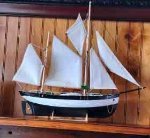
Muscongus Bay Lobster Smack by ahb26 - FINISHED - Midwest Products/Model Shipways - 1:24
in - Kit build logs for subjects built from 1851 - 1900
Posted
It;s harder to post a pic than it was to build
Ron Gagner
North Oxford, MA