HOLIDAY DONATION DRIVE - SUPPORT MSW - DO YOUR PART TO KEEP THIS GREAT FORUM GOING! (Only 64 donations so far out of 49,000 members - C'mon guys!)
×


CAlanR
-
Posts
48 -
Joined
-
Last visited
Content Type
Profiles
Forums
Gallery
Events
Everything posted by CAlanR
-
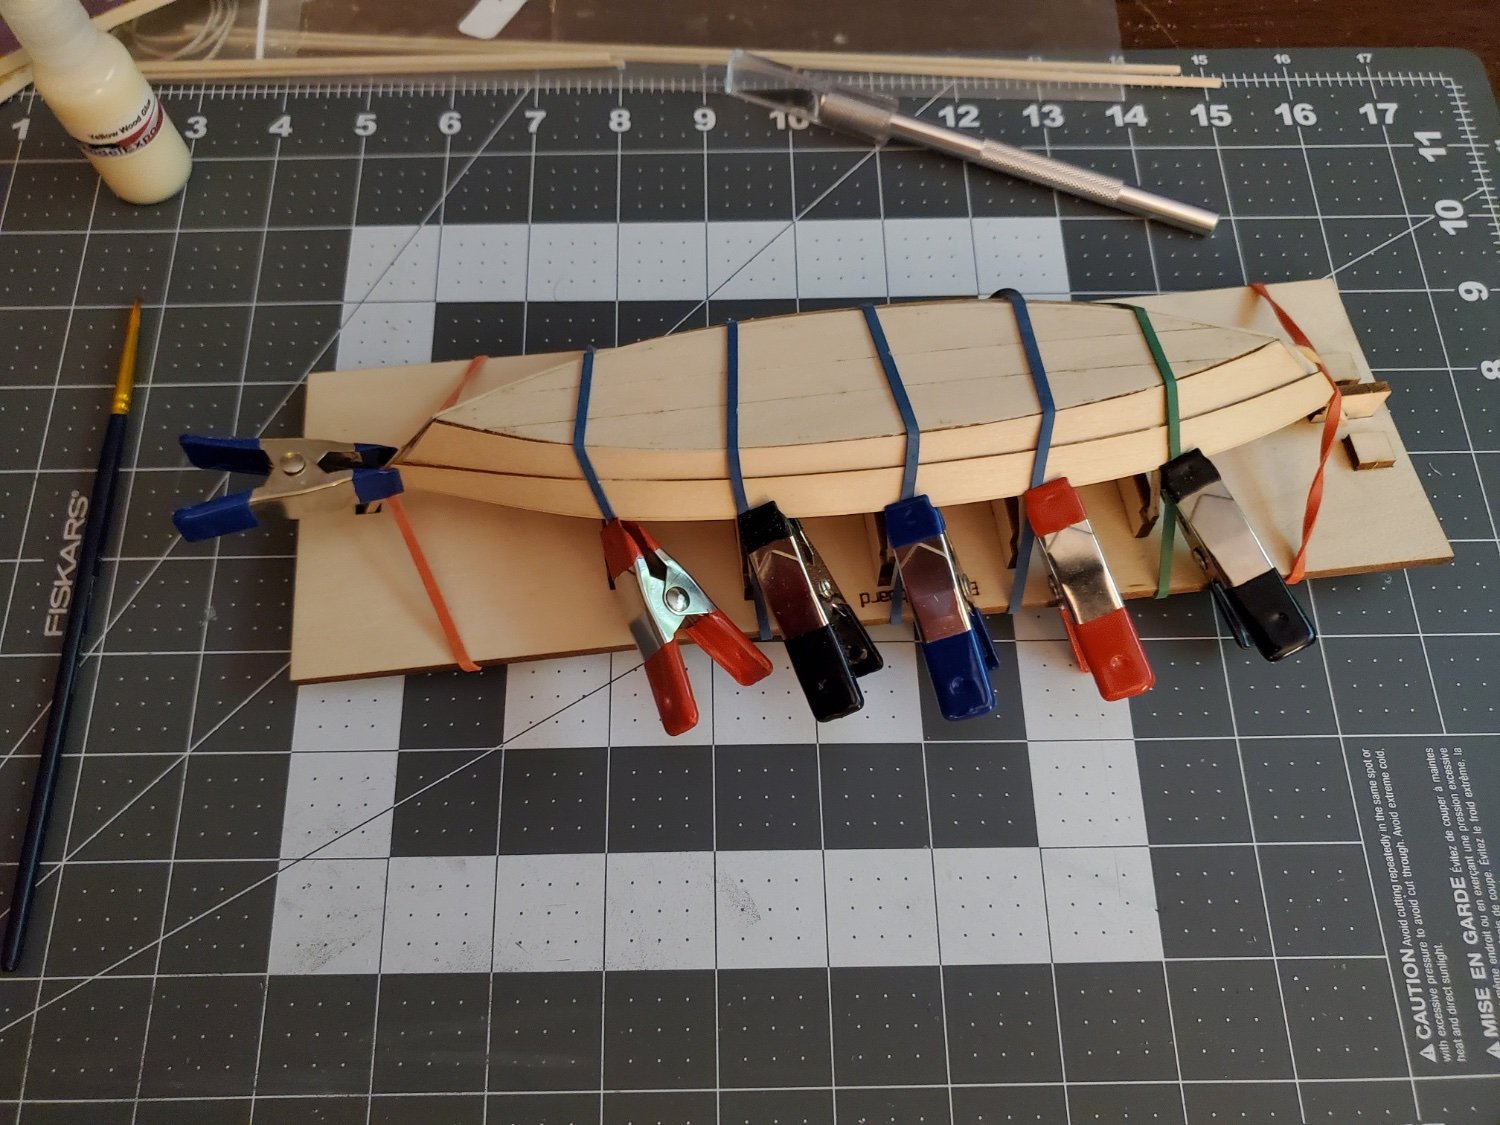
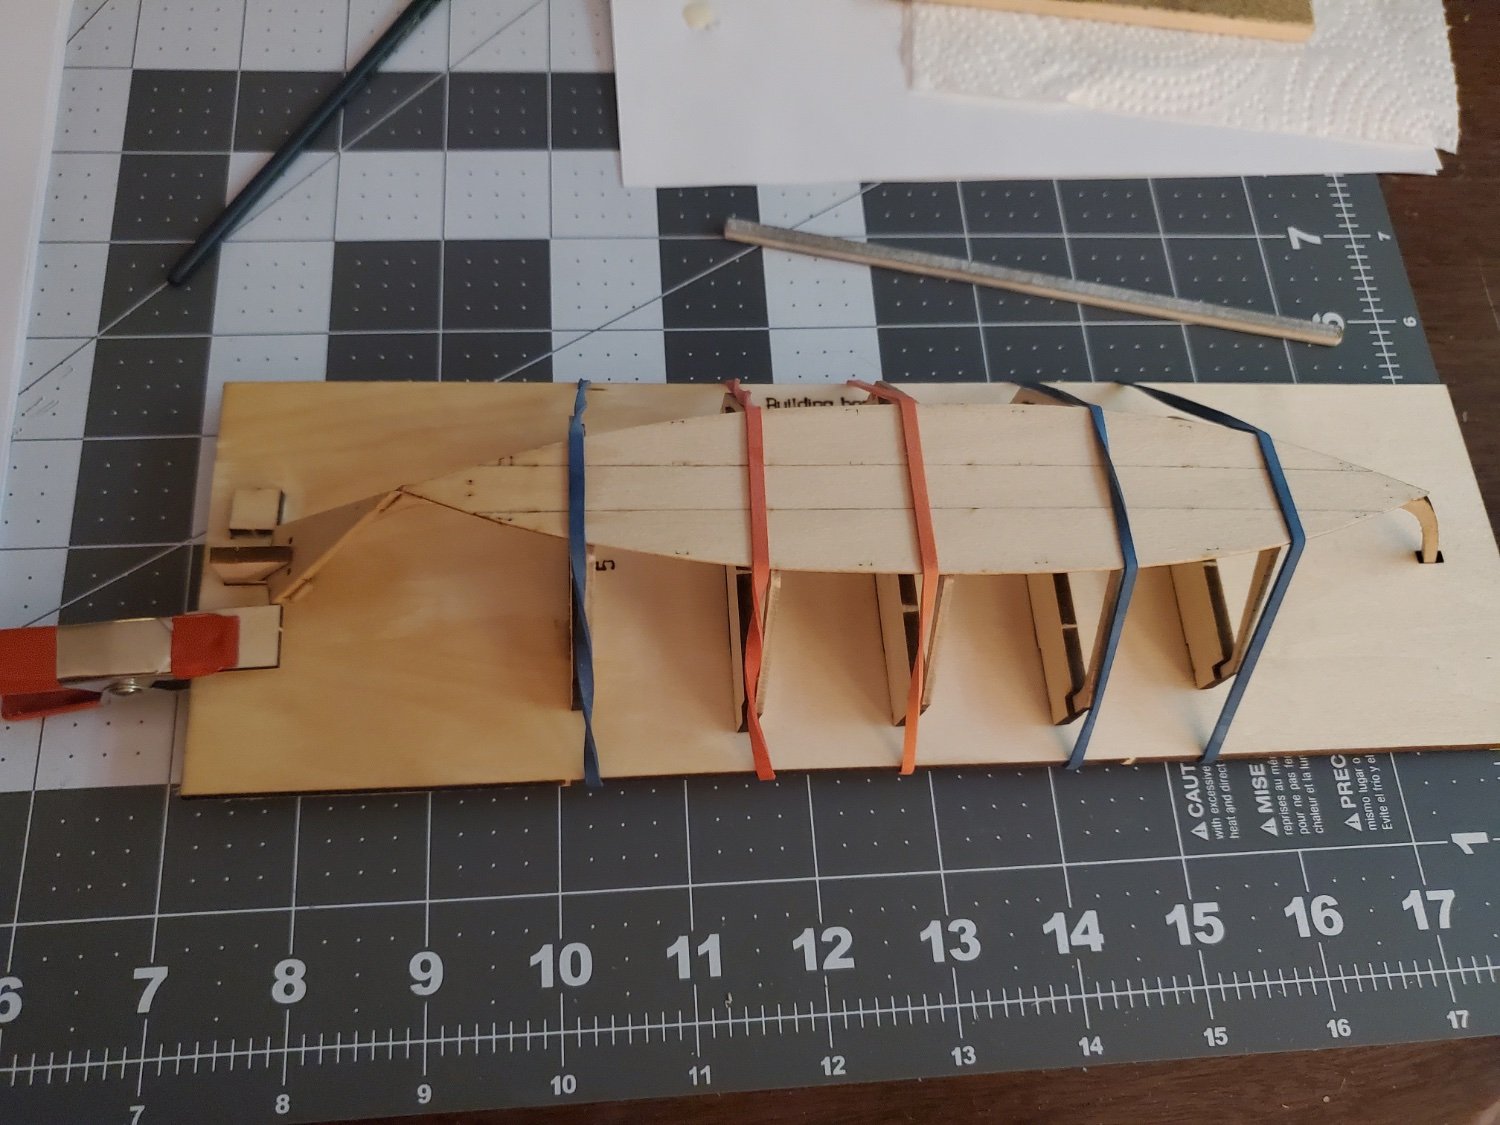
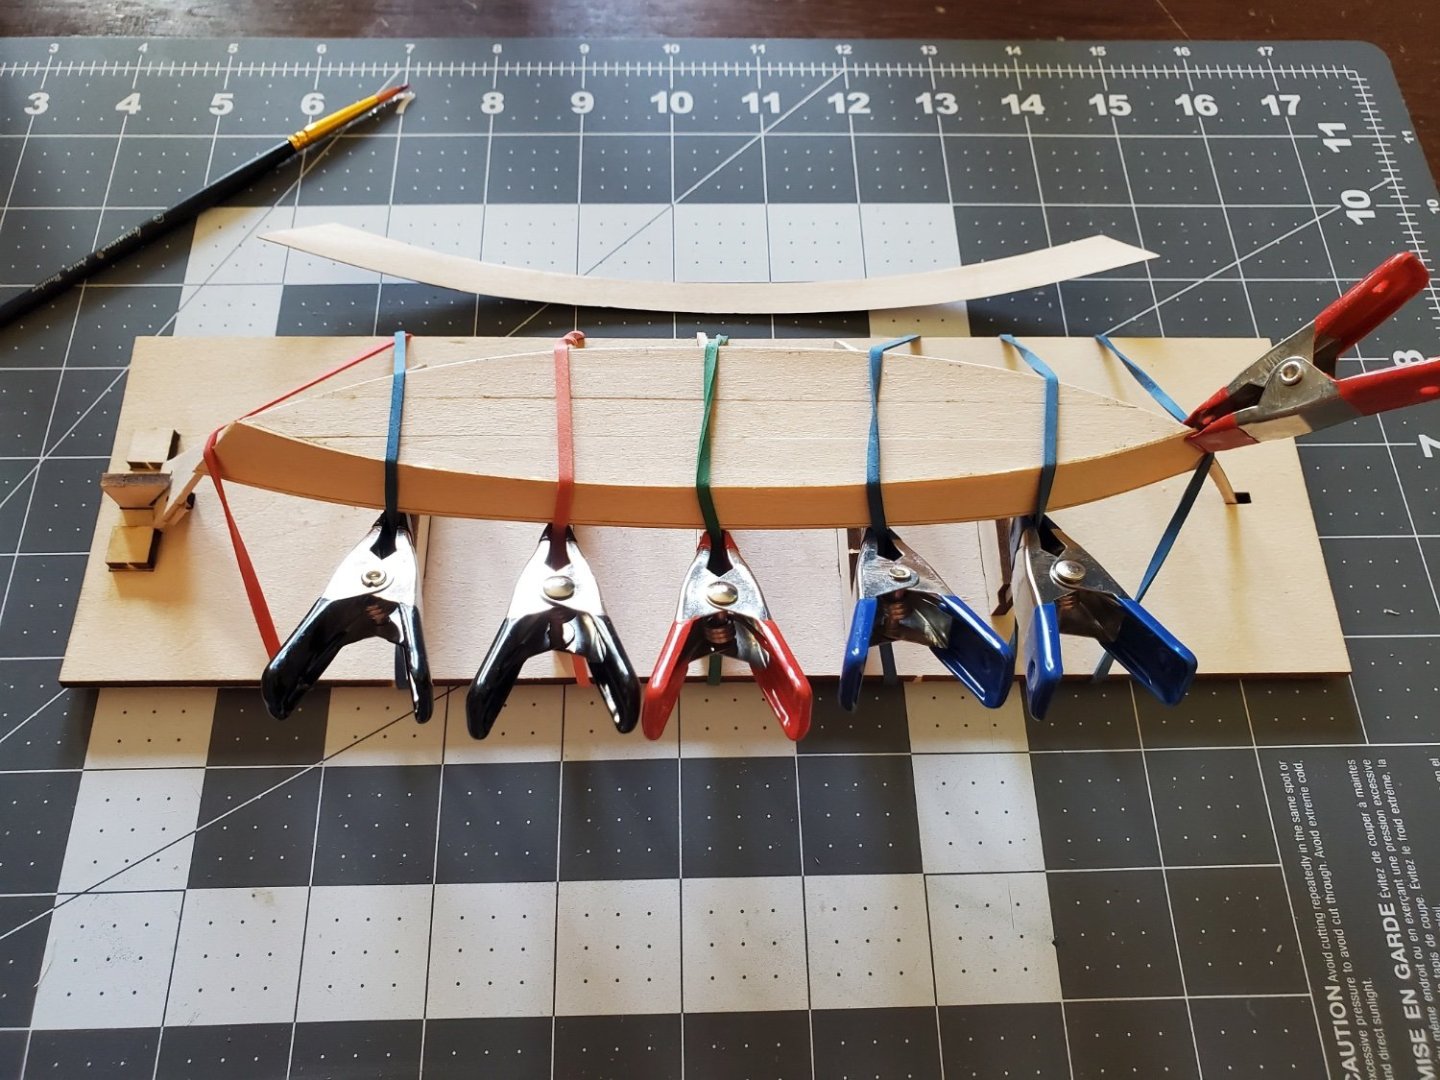
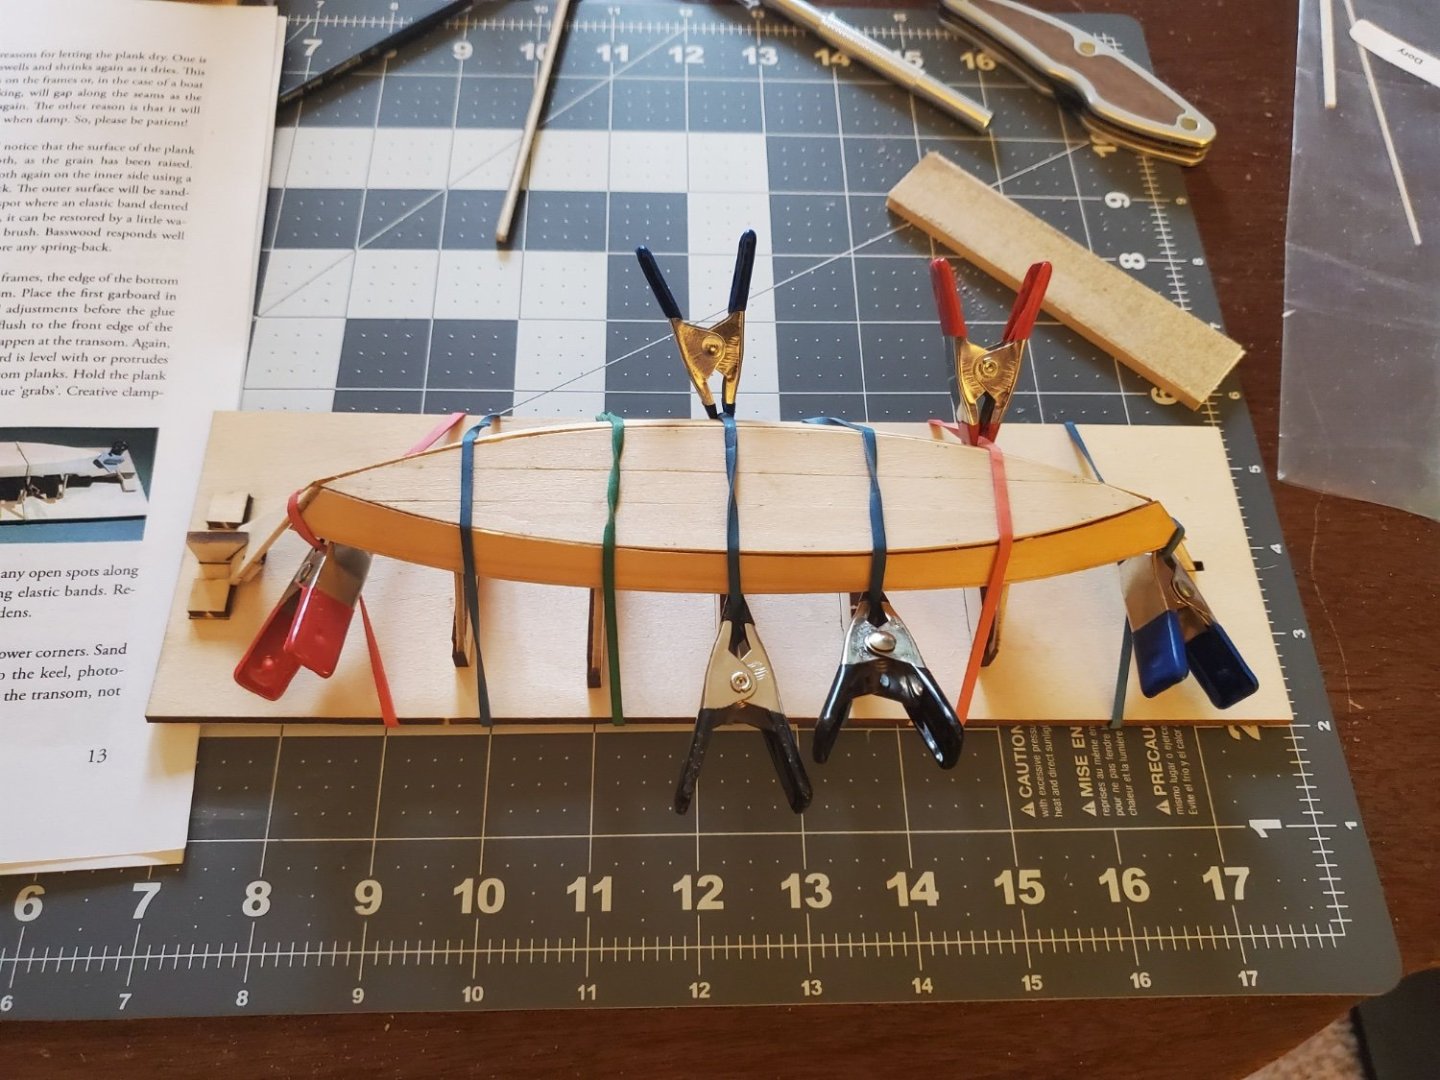
 The clamping on the frames worked! I have the other plank glued into position.
-
One broad plank installed. I noticed that it sits a little ways from the Fram so I used clamps to attach it. We will see if this works or if I borked it up.

-
Yep, I did a second check after I saw your post.
-
Thanks, This is my first build so I'm not sure how helpful it is.
-
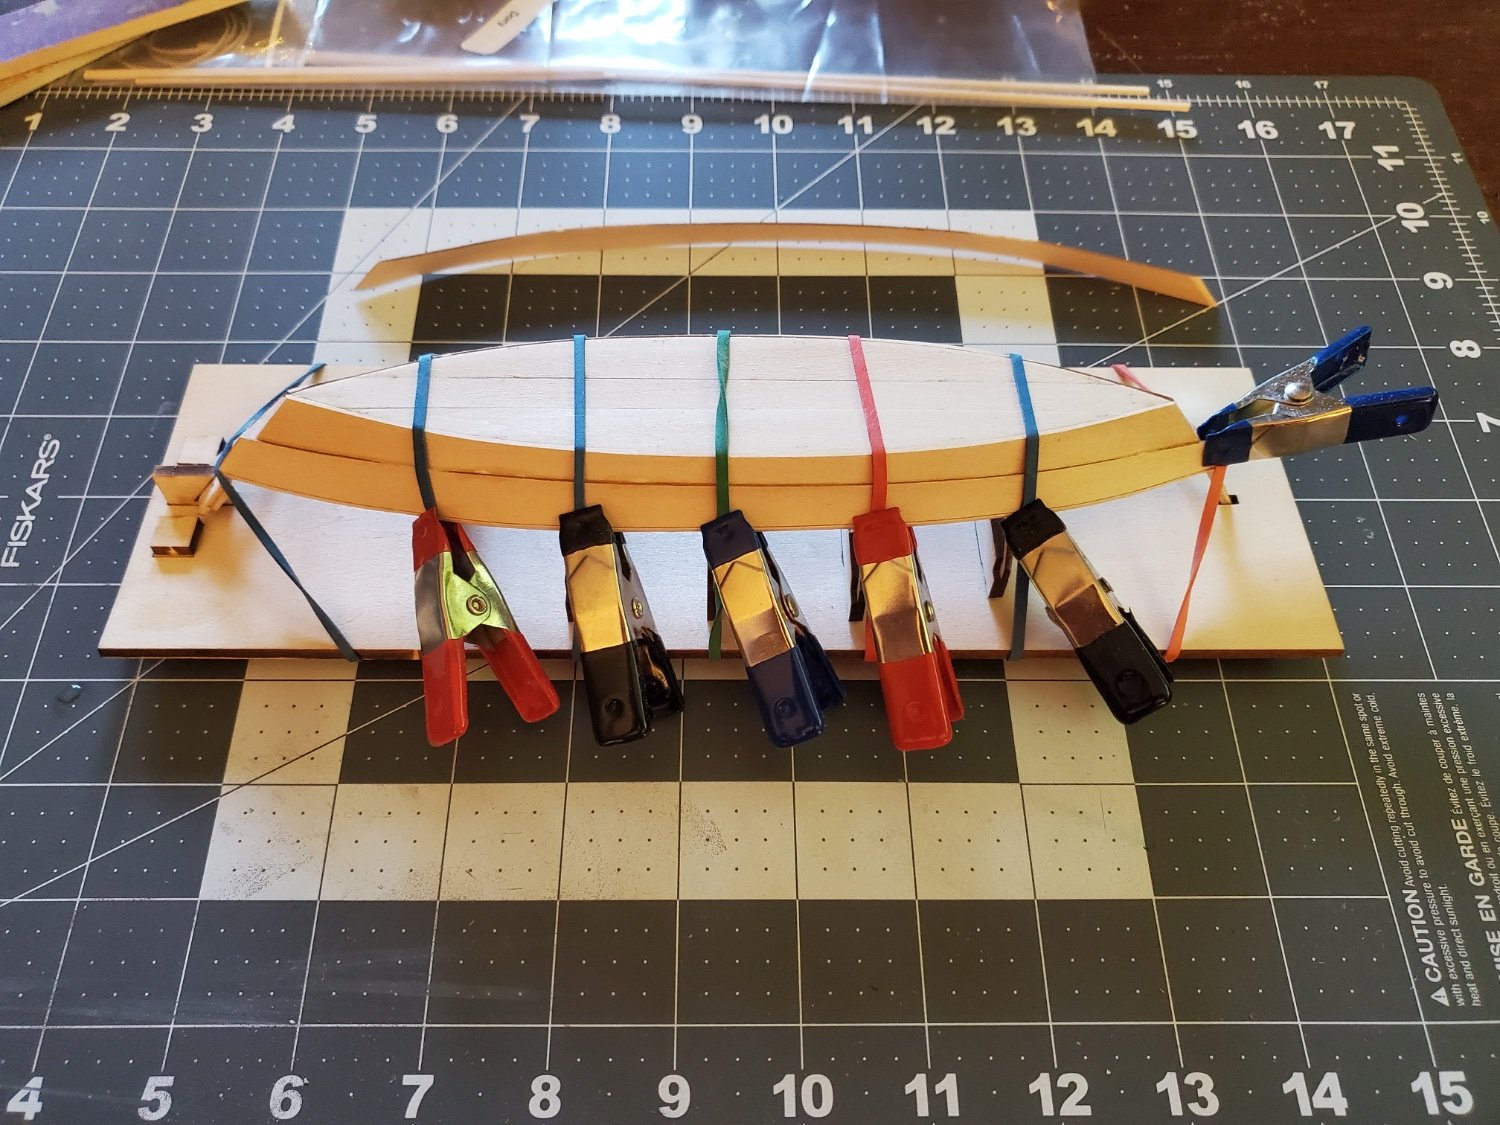
I have the broad planks beveled, soaked, and fitted to the hull. They are longer than the garboard planks so I'll do the inside rolling bevel a little deeper once the planks are dry.

-
Not perfect, but not bad.
-
Second garbed plank on.

-
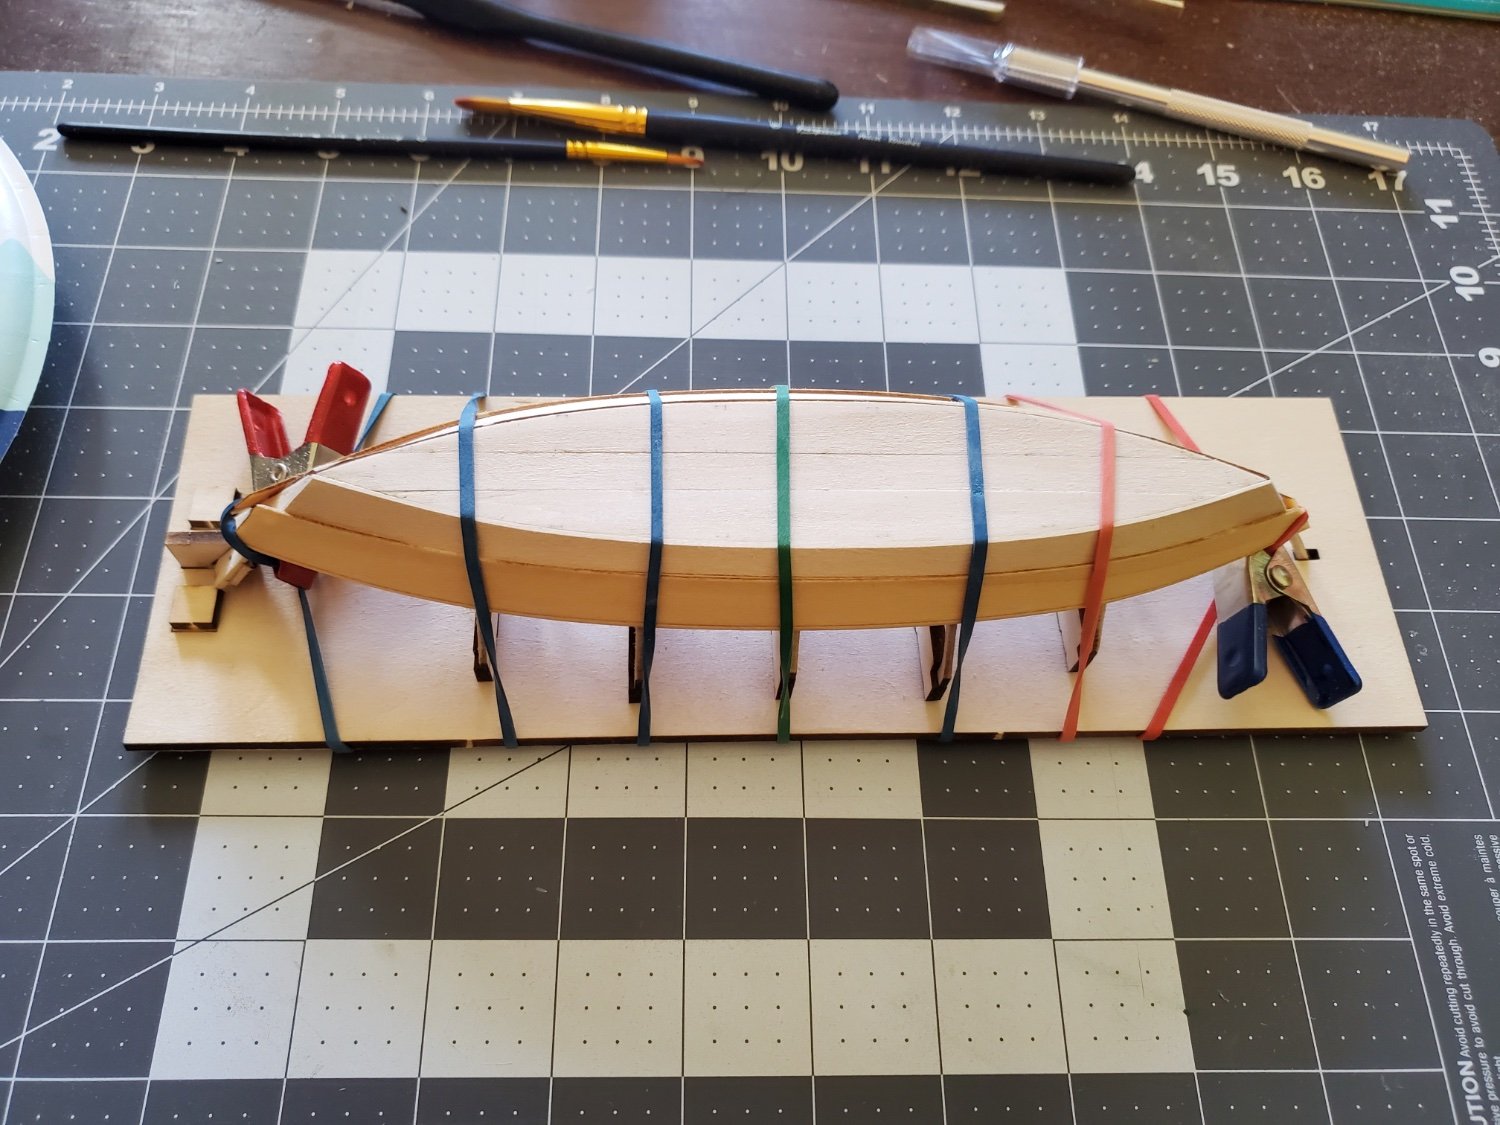
Moment of truth... I have the first garbed plank glued to the frames and bottom with a slight overlap of the bottom.
-
Good to know, thank you.
-
Will do, Thanks.
-
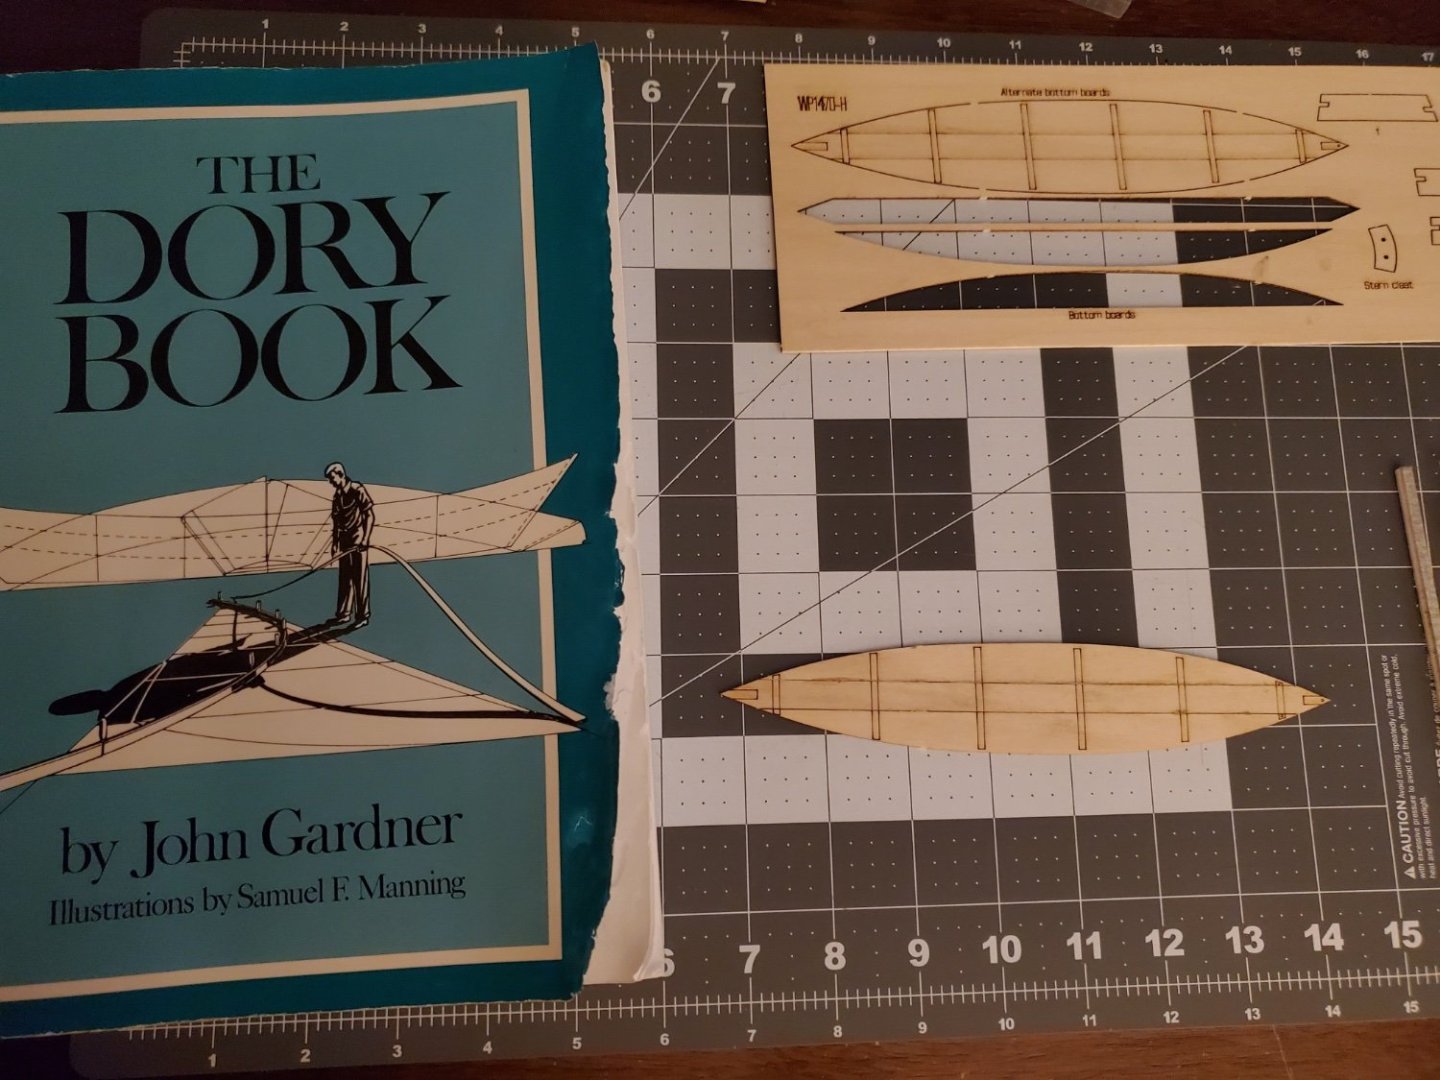
I have everything beveled (I hope) and the garboard planks soaked and fitted to the frames and bottom. Being my first project I'm finding this to be a little nerve racking as I don't know what to expect, but I'm taking faith in the instructions. It is fun reading along in "The Dory Book" and reading about the use of spilling blocks and the geometry that goes into creating the garboard planks.
-
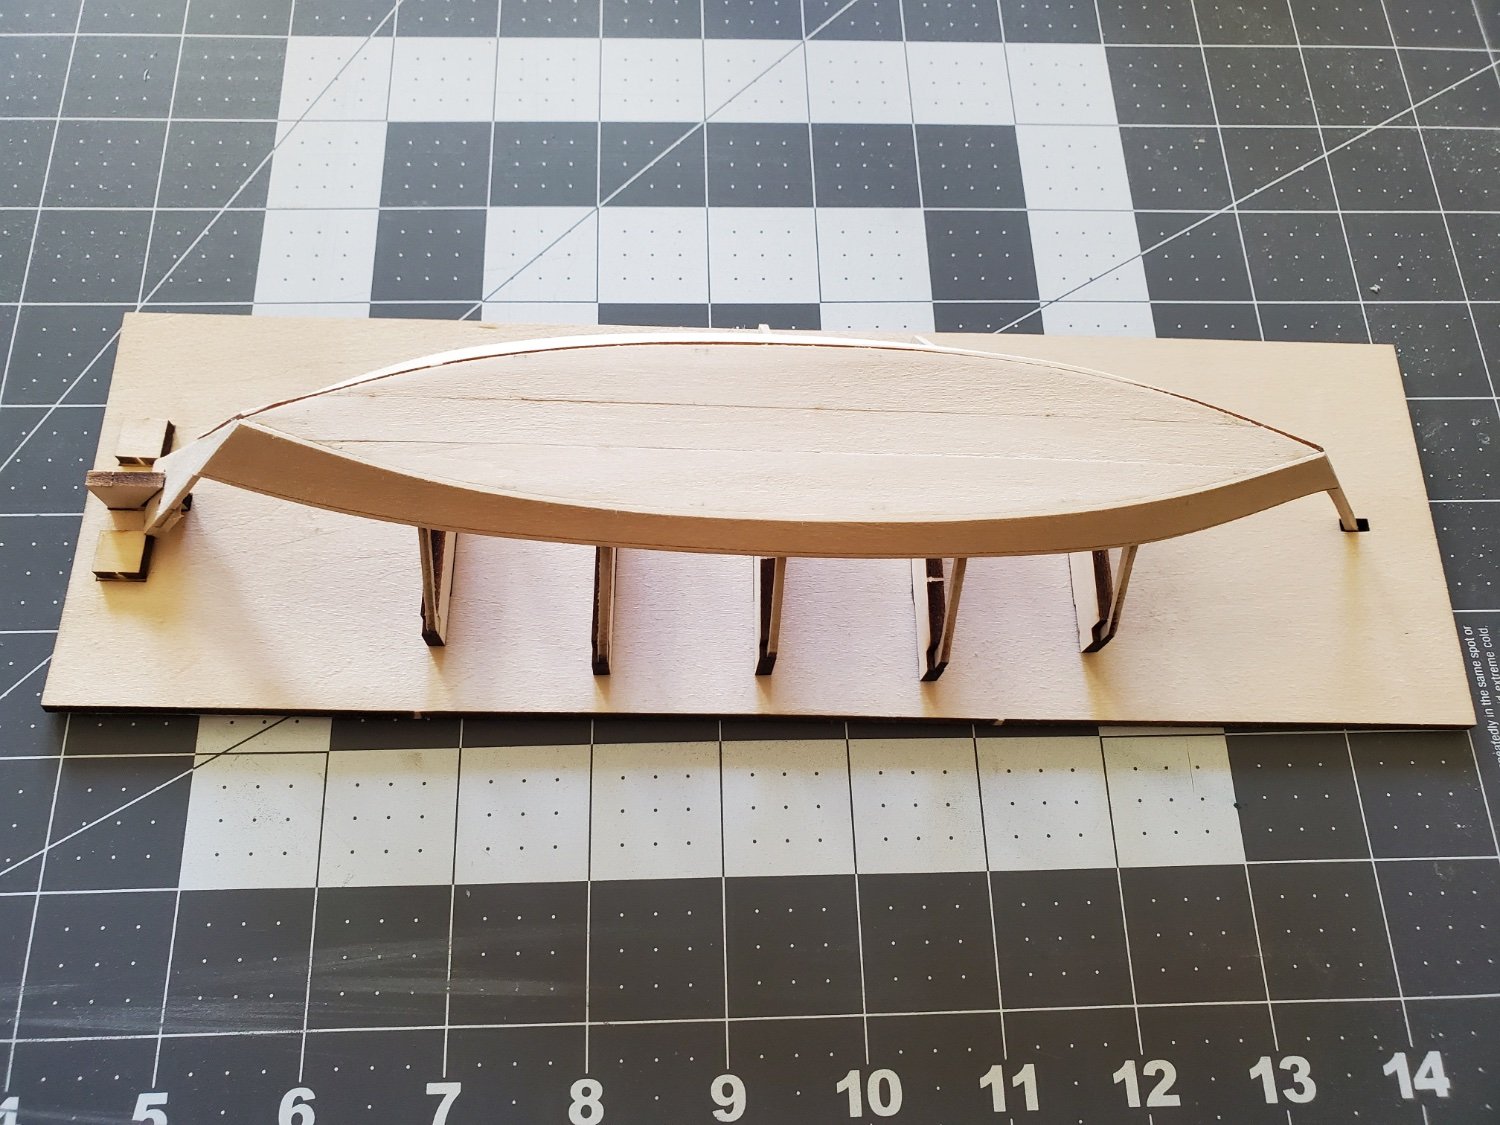
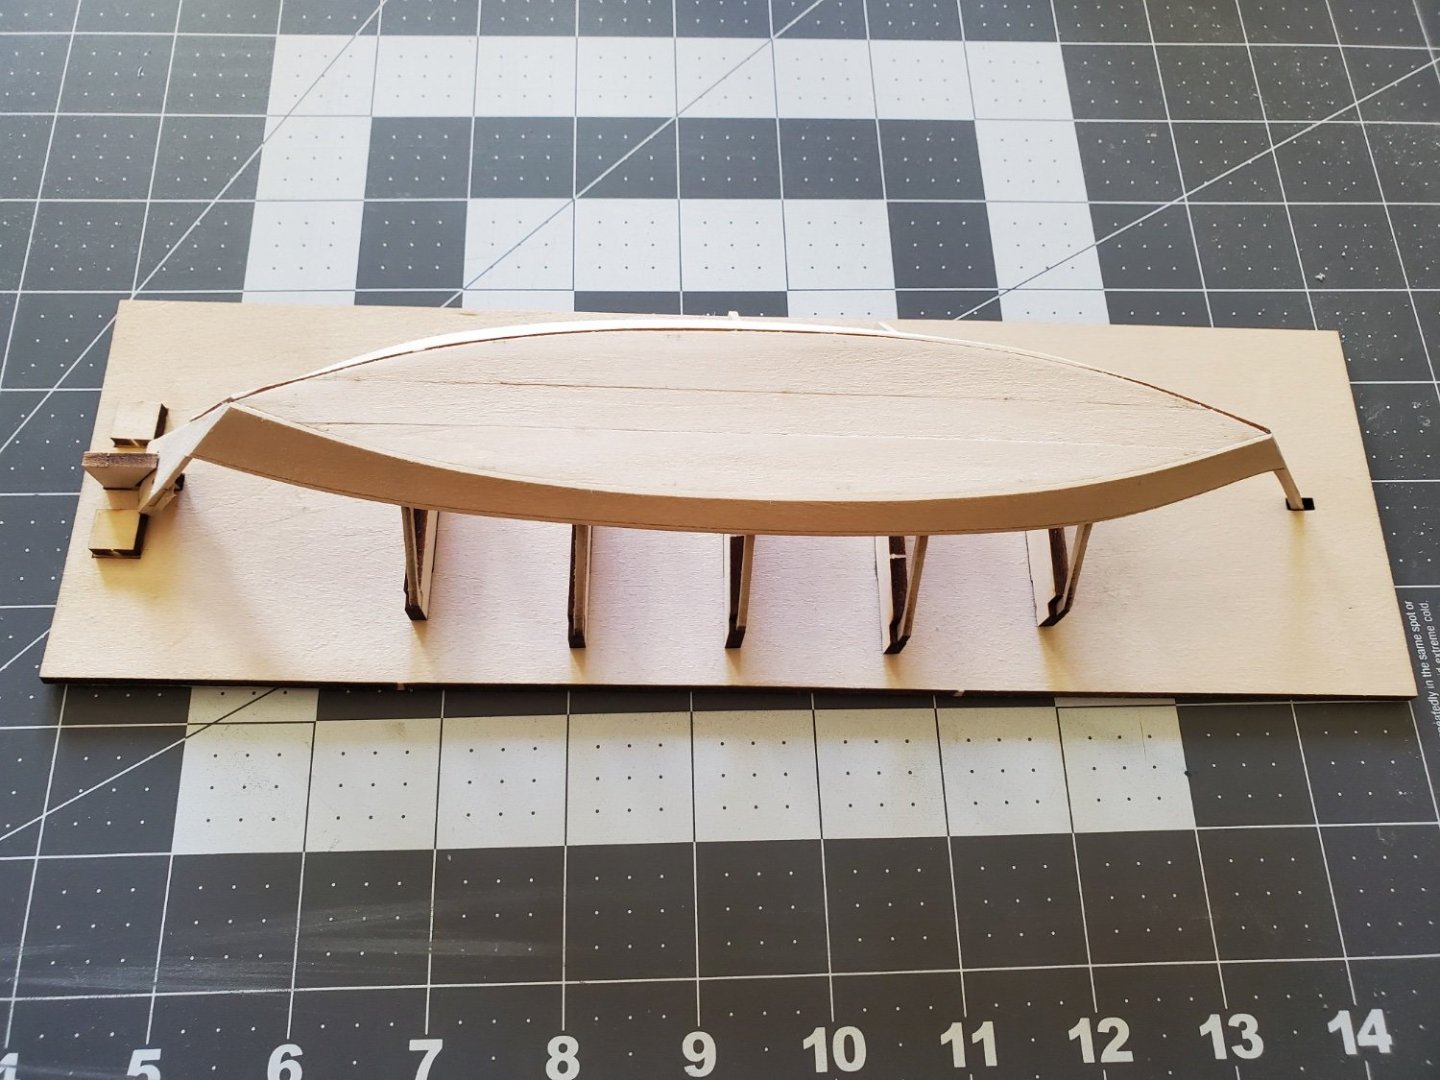
I have the bottom fitted to the frames. I think I will leave the to set up overnight. I did notice that the transom was a little off centerline. I soaked the transom and the aft section of the bottom and placed a clamp to see if it will straighten out overnight.

-
That's what I found too. When I test fitted the bottom to the frame saw that there was space for the water, so I left it alone.
-
Pretty tiny, and they won't really be seen. But I'll know they are there.
-
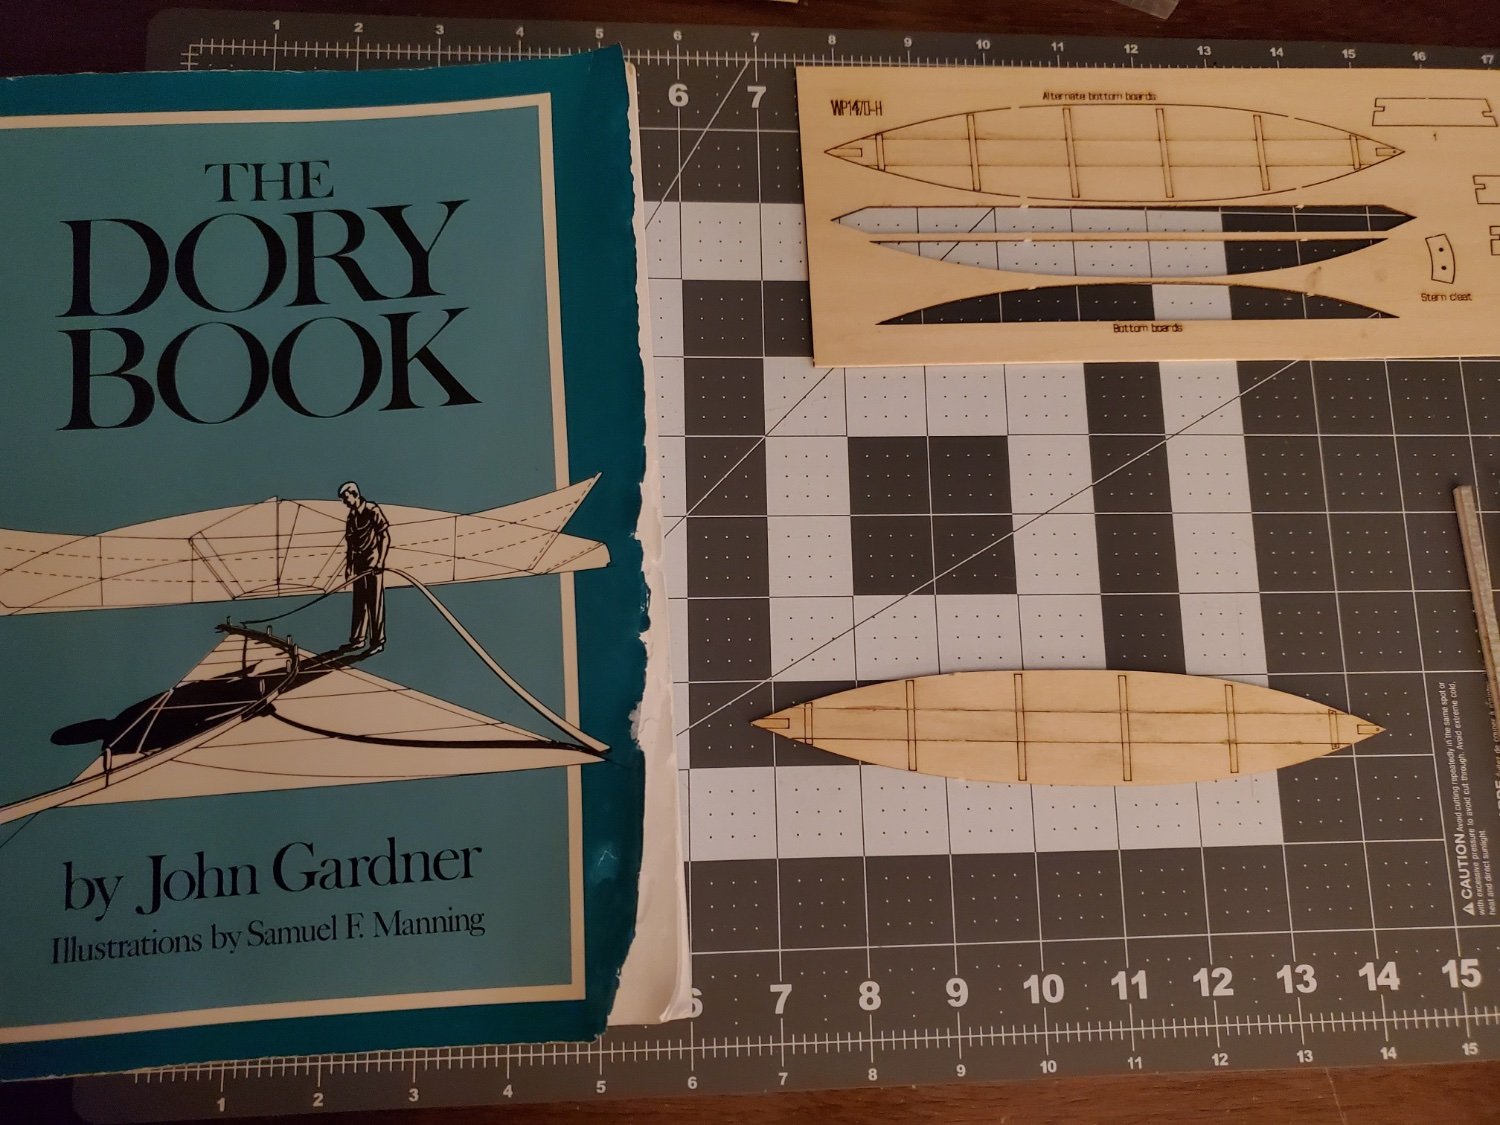
I'm finding it very interesting to learn about these crafts. The second half of the book is filled with plans for many different dories with many different applications. I'm approaching this model with the book in hand. Build the model, read the corresponding construction steps. So far the build process mimics the construction process pretty closely, and I and that fascinating.
-
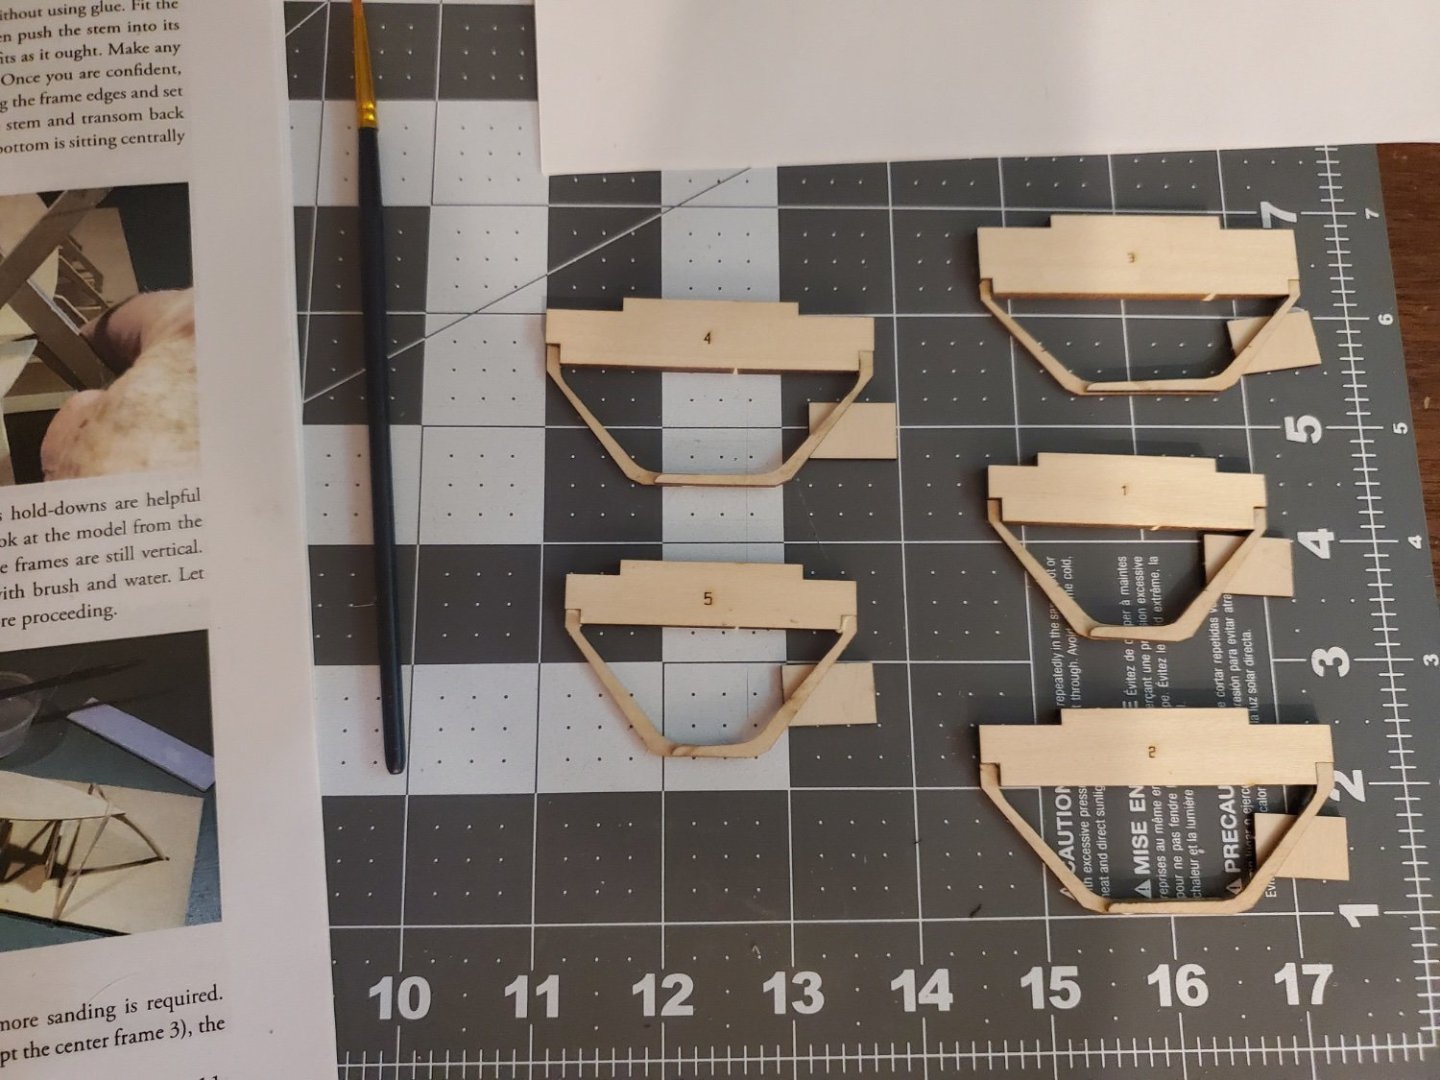
I have the molds put together. Reading "The Dory Book" I found it interesting the early frames were not put together with gussets. One thing not described in the instructions but laid out in the details of "The Dory Book" is the removal of material from the frame at the angled joints to allow water to flow through. I plan to add these in after the glue sets up.
-
Built up the transom and stem. I wetted the bottom of the dory and have it set to dry to add a little bit of a rocker to the bottom.

-
Added the cleats. I tried my best to shorten them lengthwise a bit to allow for water to flow around them, and I "softened" the edges as per the instructions.

-
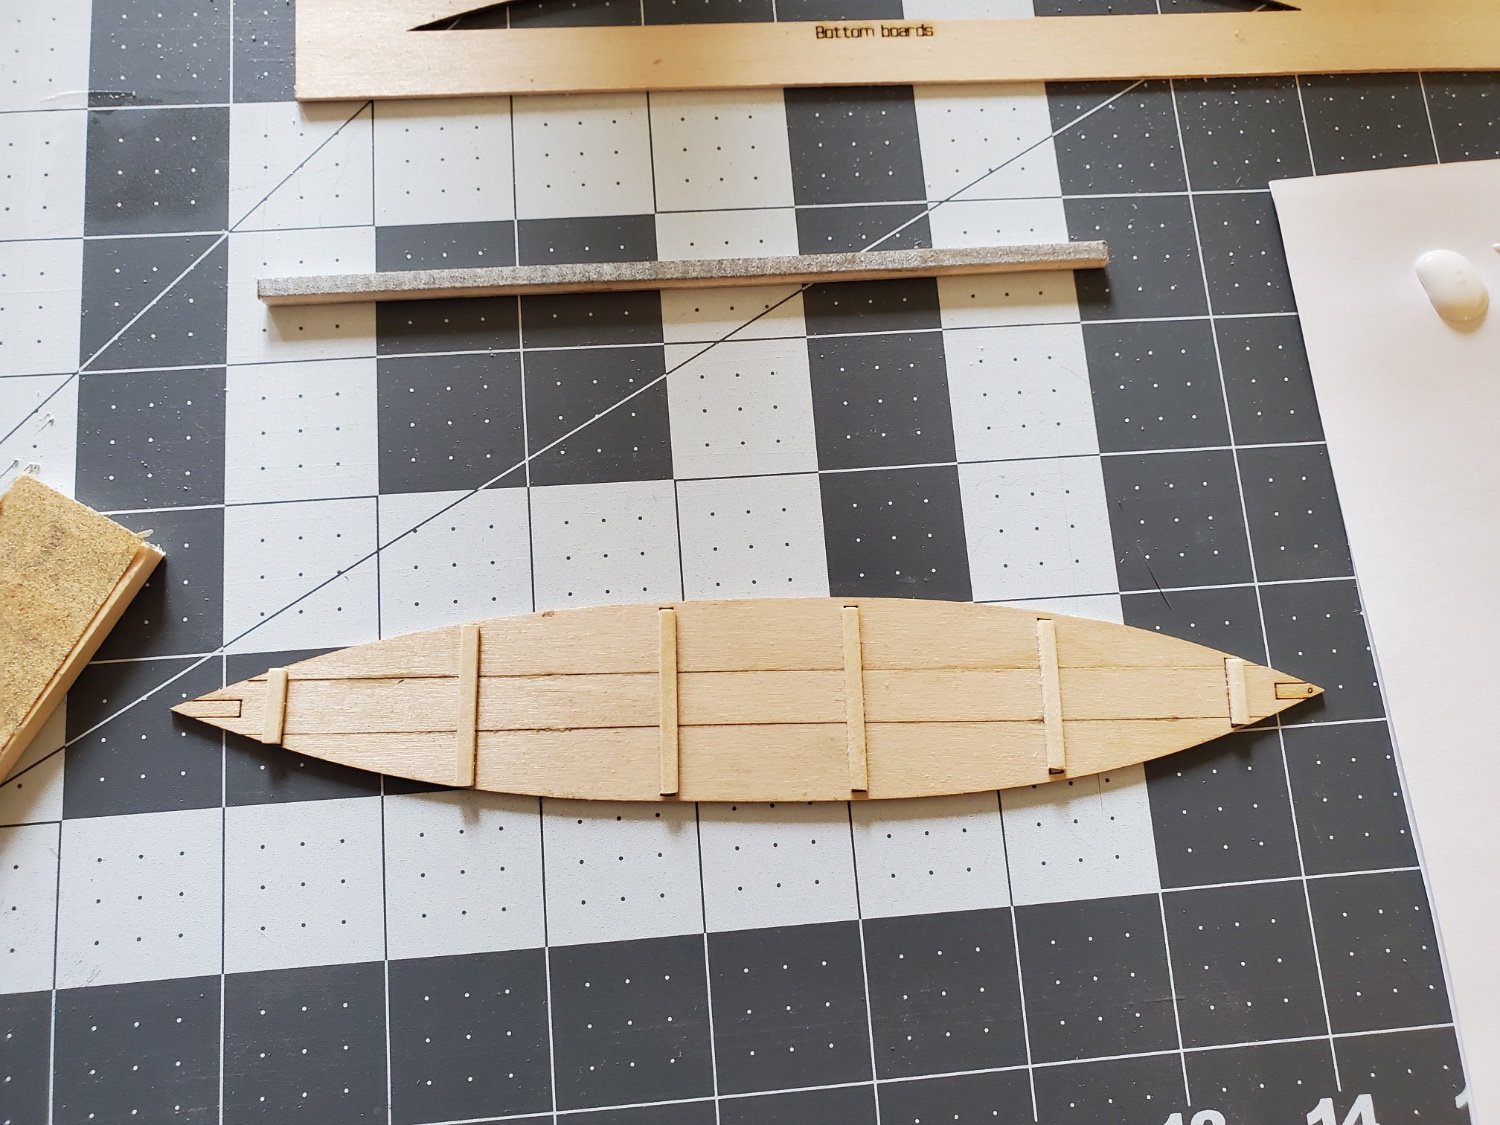
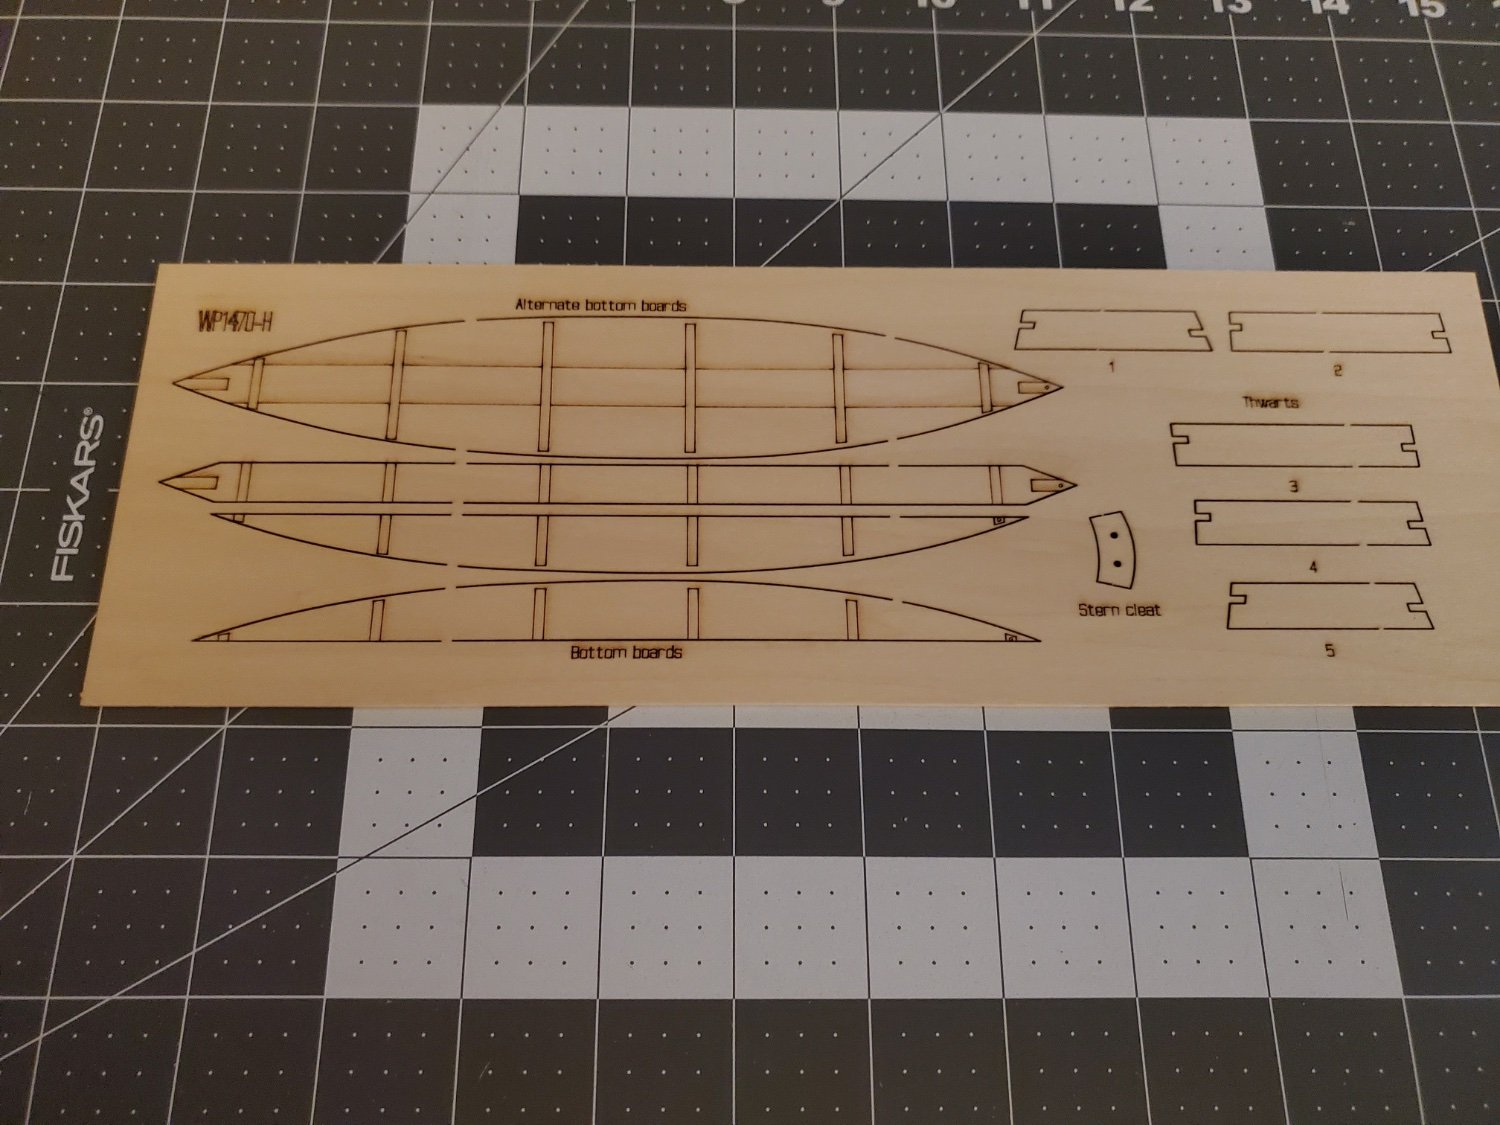
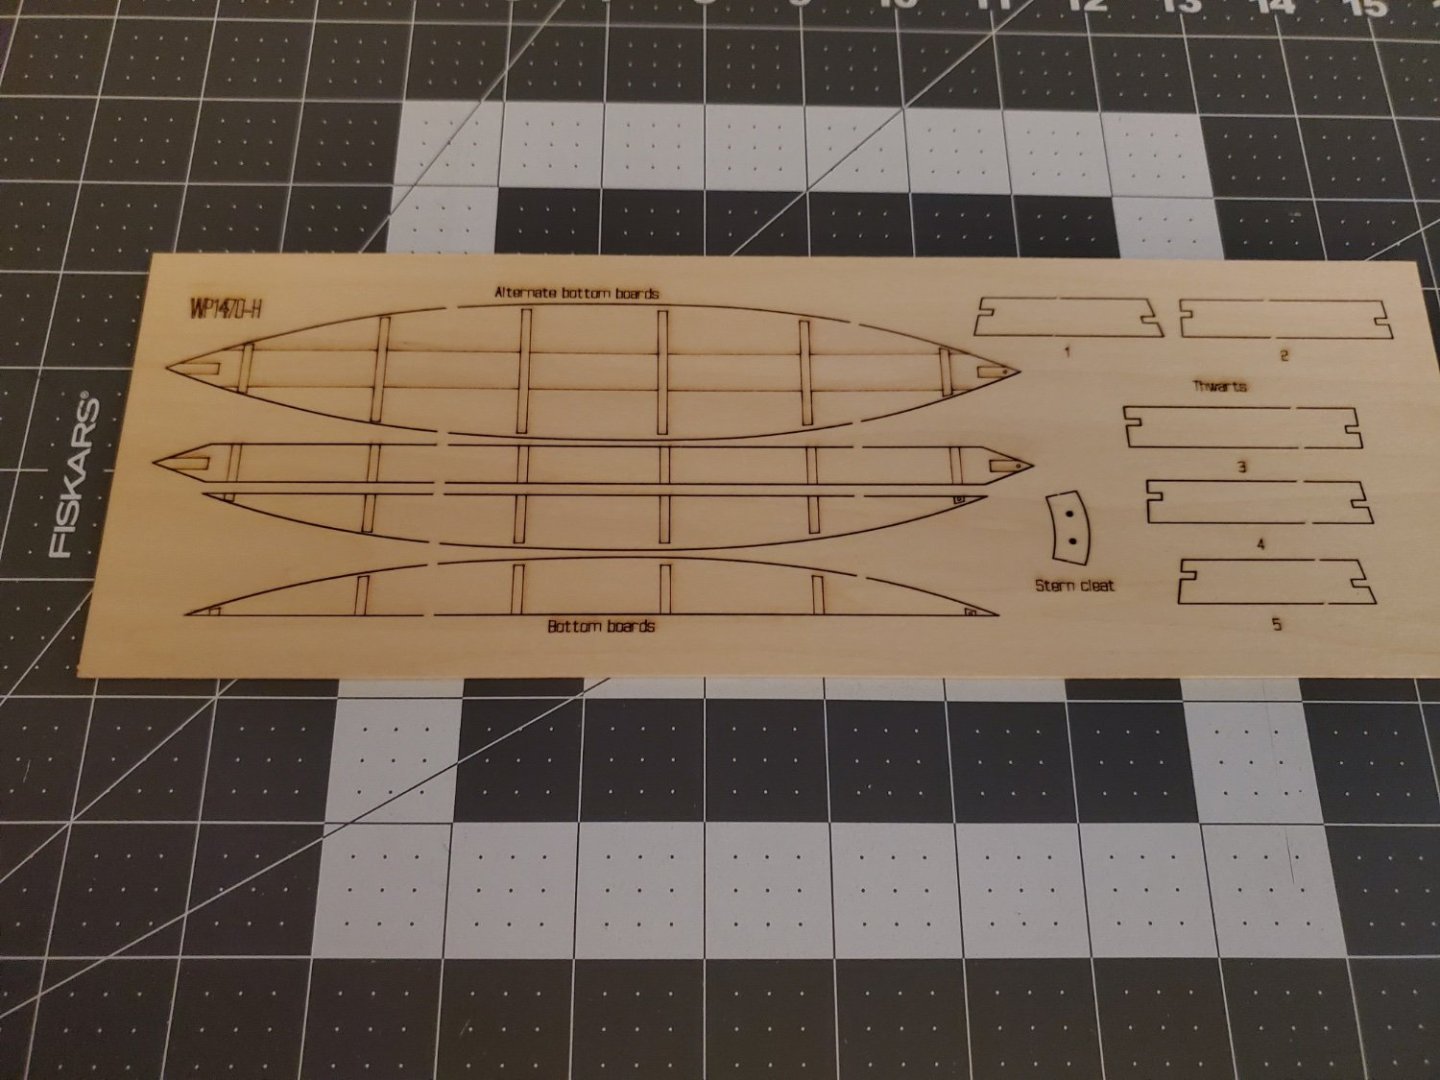
Here is my start to the Lowell Grand Banks Dory. The kit gave the option of using the prebuilt bottom and three sections to build a bottom. I elected to build the bottom. This is similar to what is described in "The Dory Book" by John Gardner.
-
Thanks! I'm starting my build log this evening.
-
Thank you everyone for the kind welcome.
-
Thank you, that is reassuring.
-
Hello, my name is Christopher and I'm starting down this exciting rabbit hole of building model ships! I'm a sailor by trade and have recently retired to Wyoming. I miss the sea, but I'm looking forward to continuing my love for the water by building various ships. I have recently invested in the Model Shipways Shipwright Series. I'm looking forward to starting on the Lowell Grand Banks Dory in the upcoming week. I have already picked up a copy of "The Dory Book" and have read most of it, and its been fascinating to learn about these boats. I'm looking forward to learning and growing in this hobby. Christopher
- 17 replies
-
- 10
-