-
Posts
509 -
Joined
-
Last visited
Content Type
Profiles
Forums
Gallery
Events
Everything posted by FifeModels
-
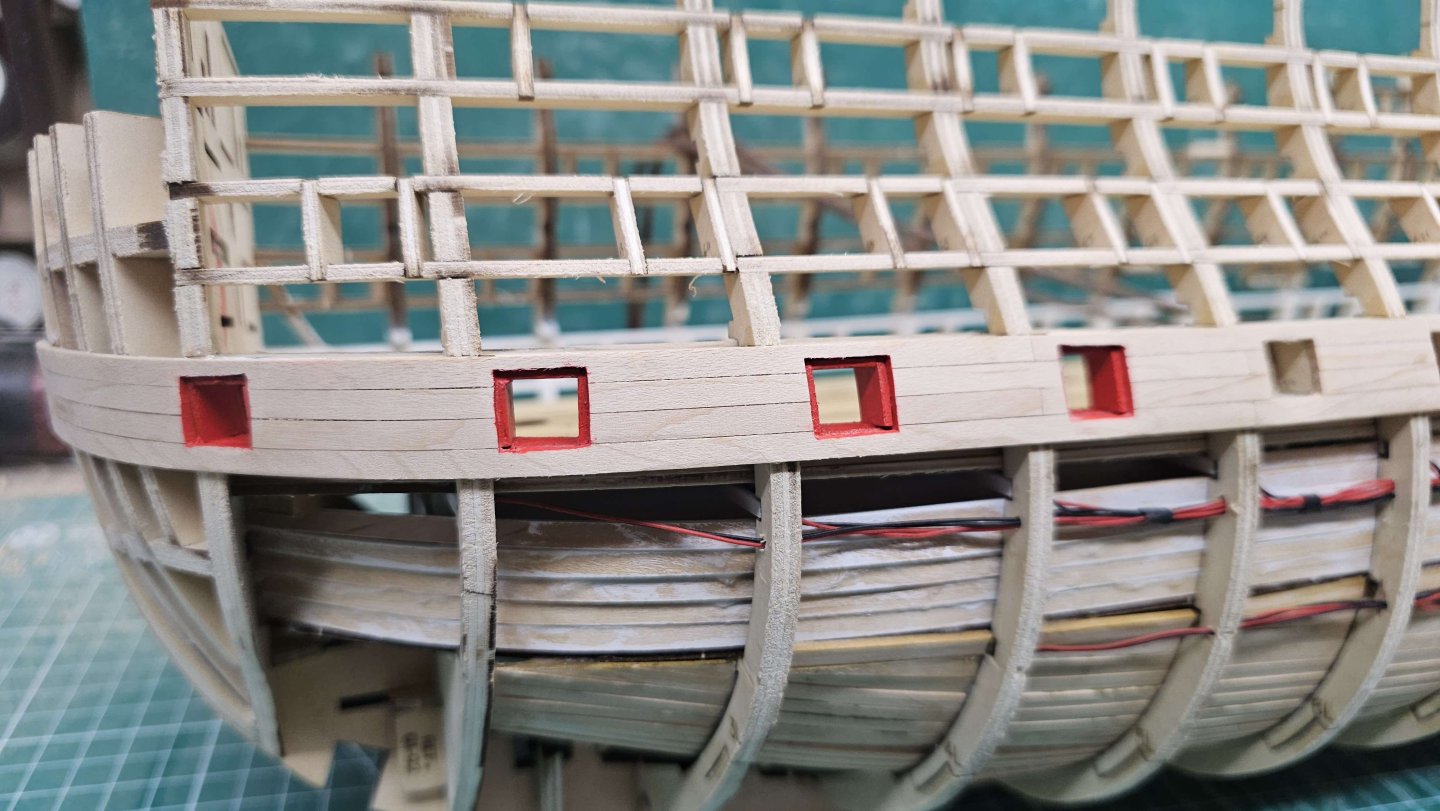
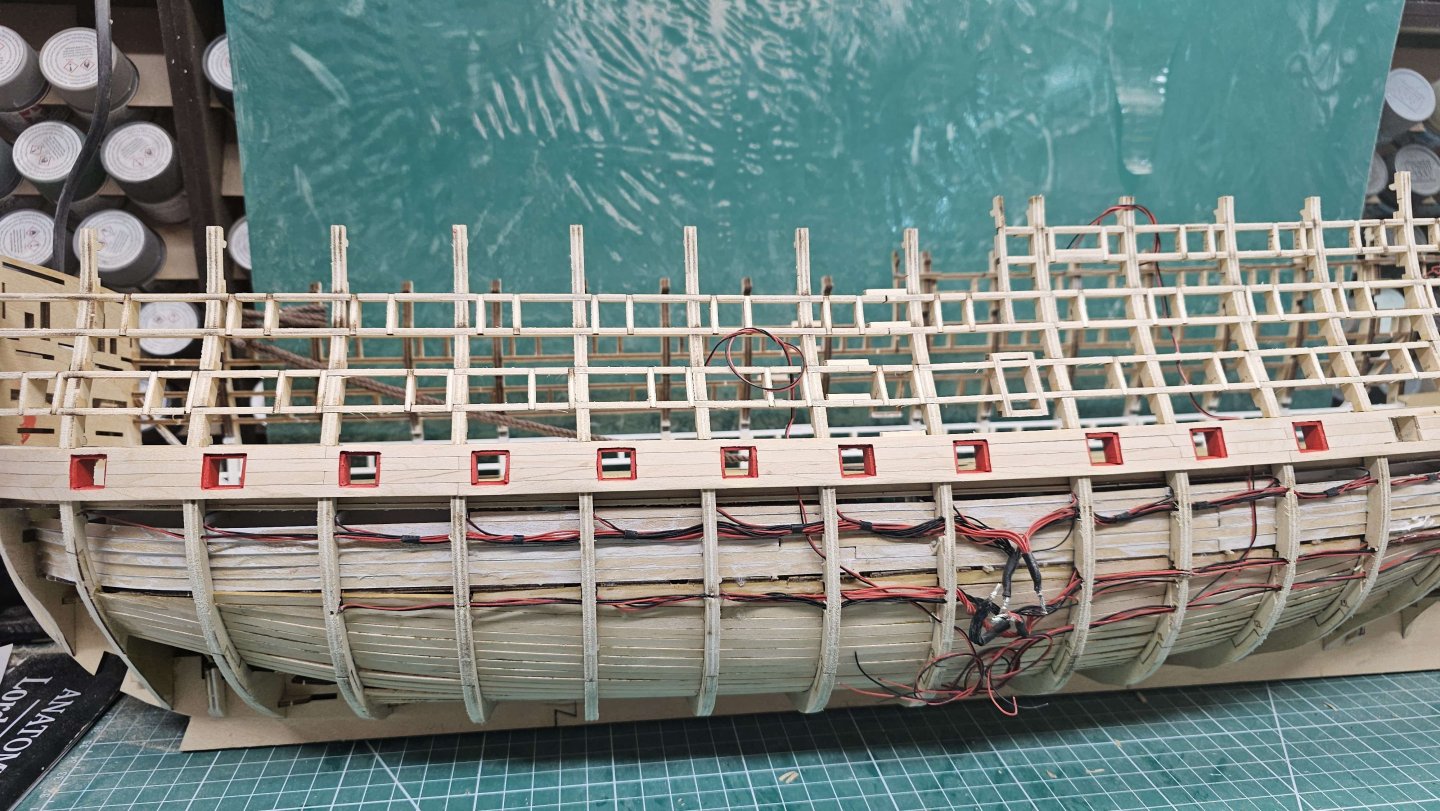
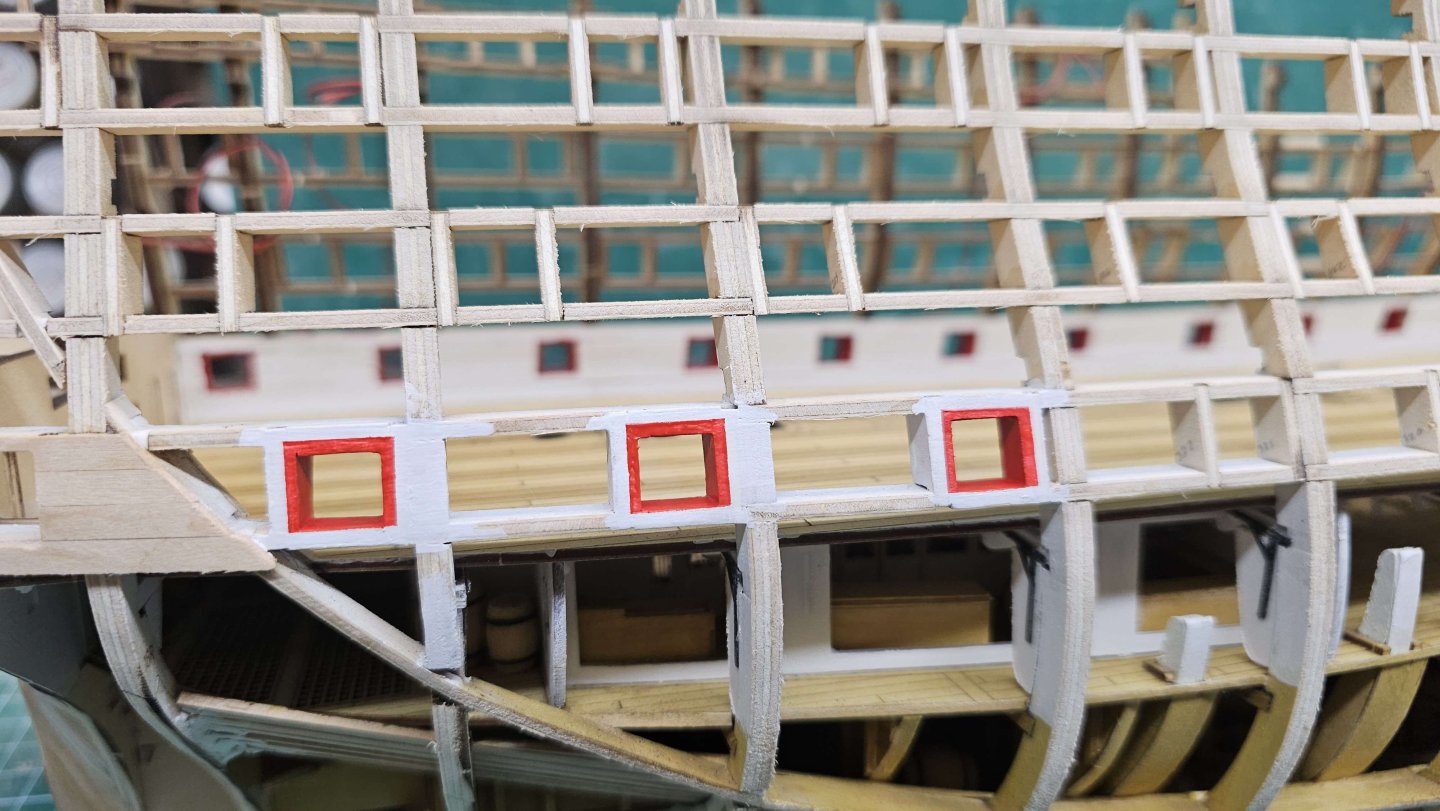
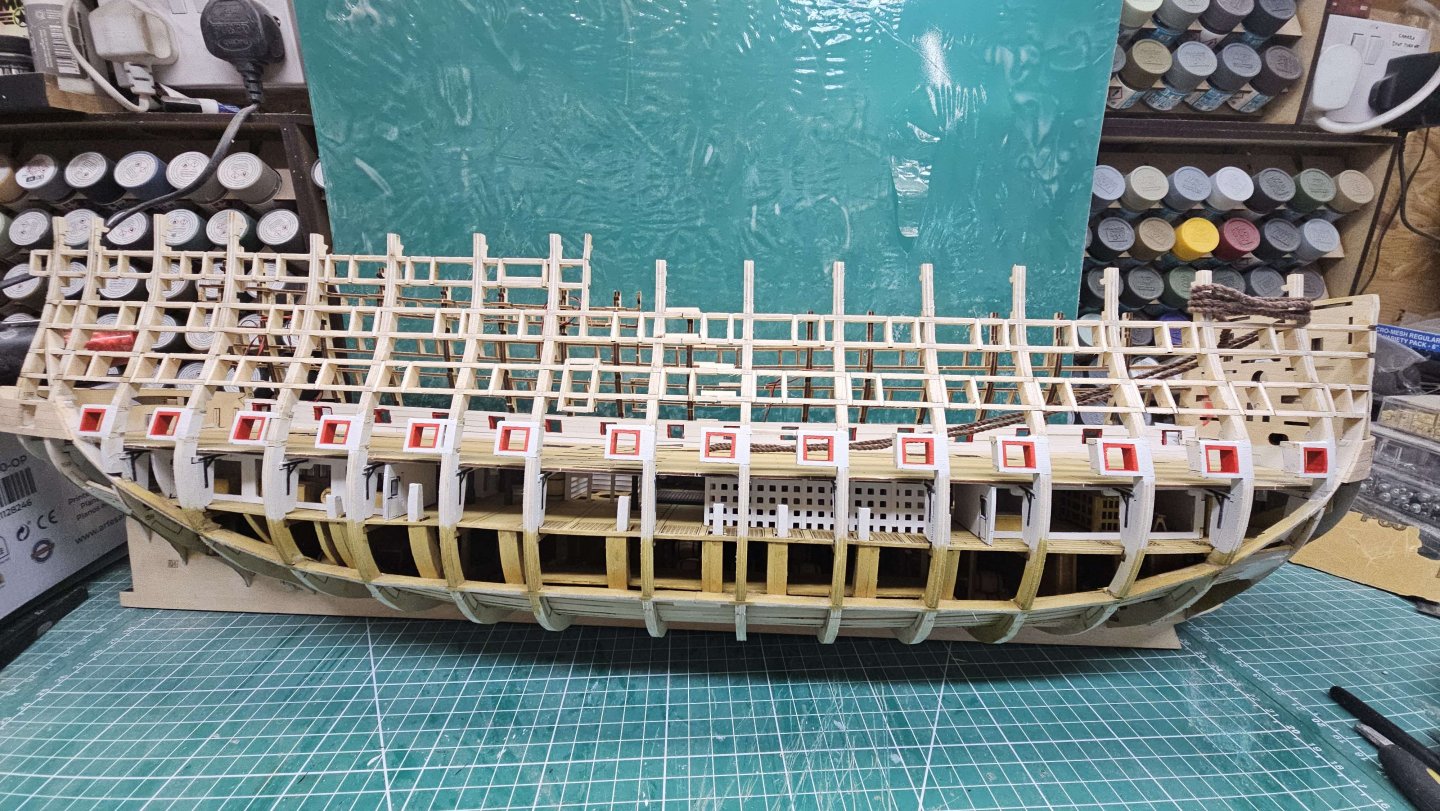
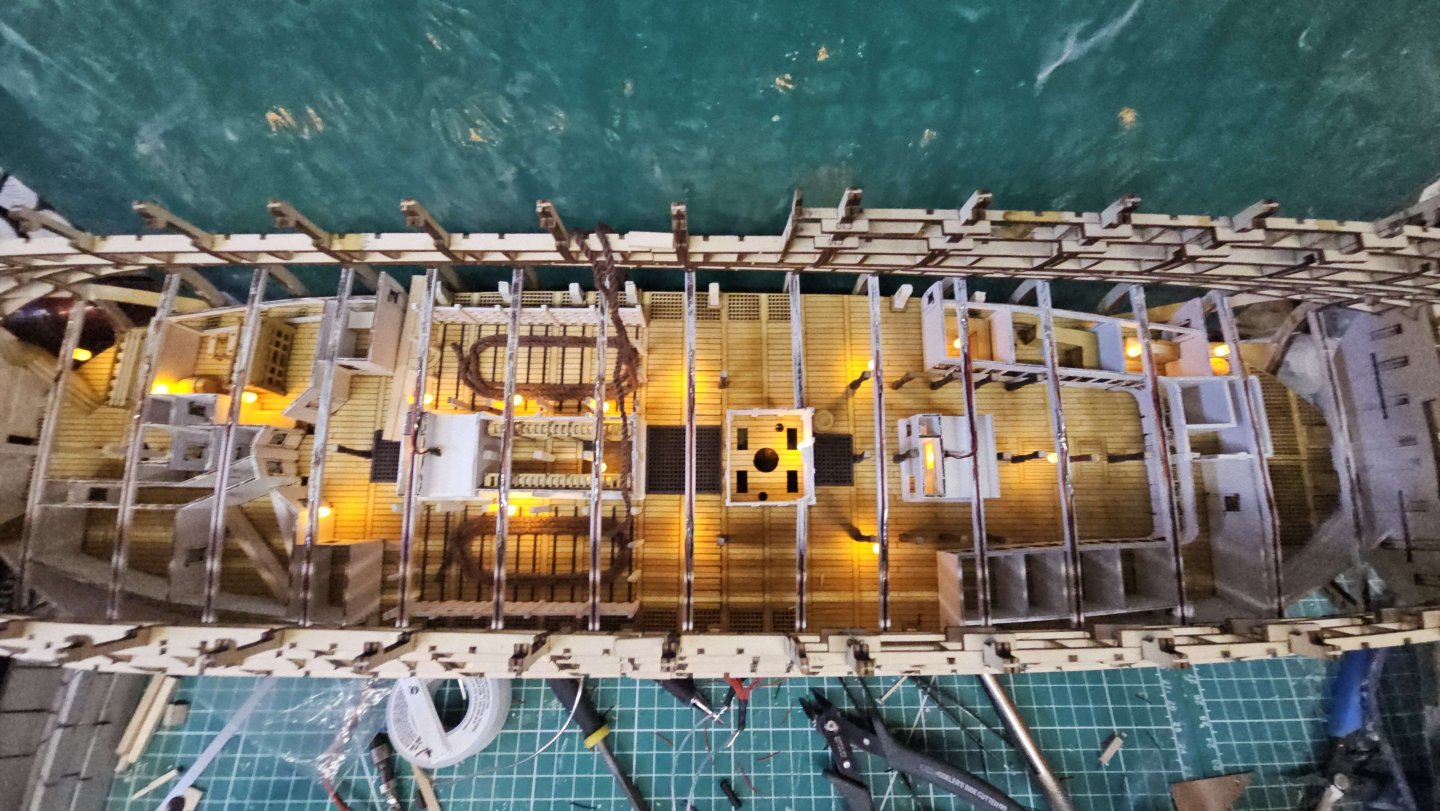
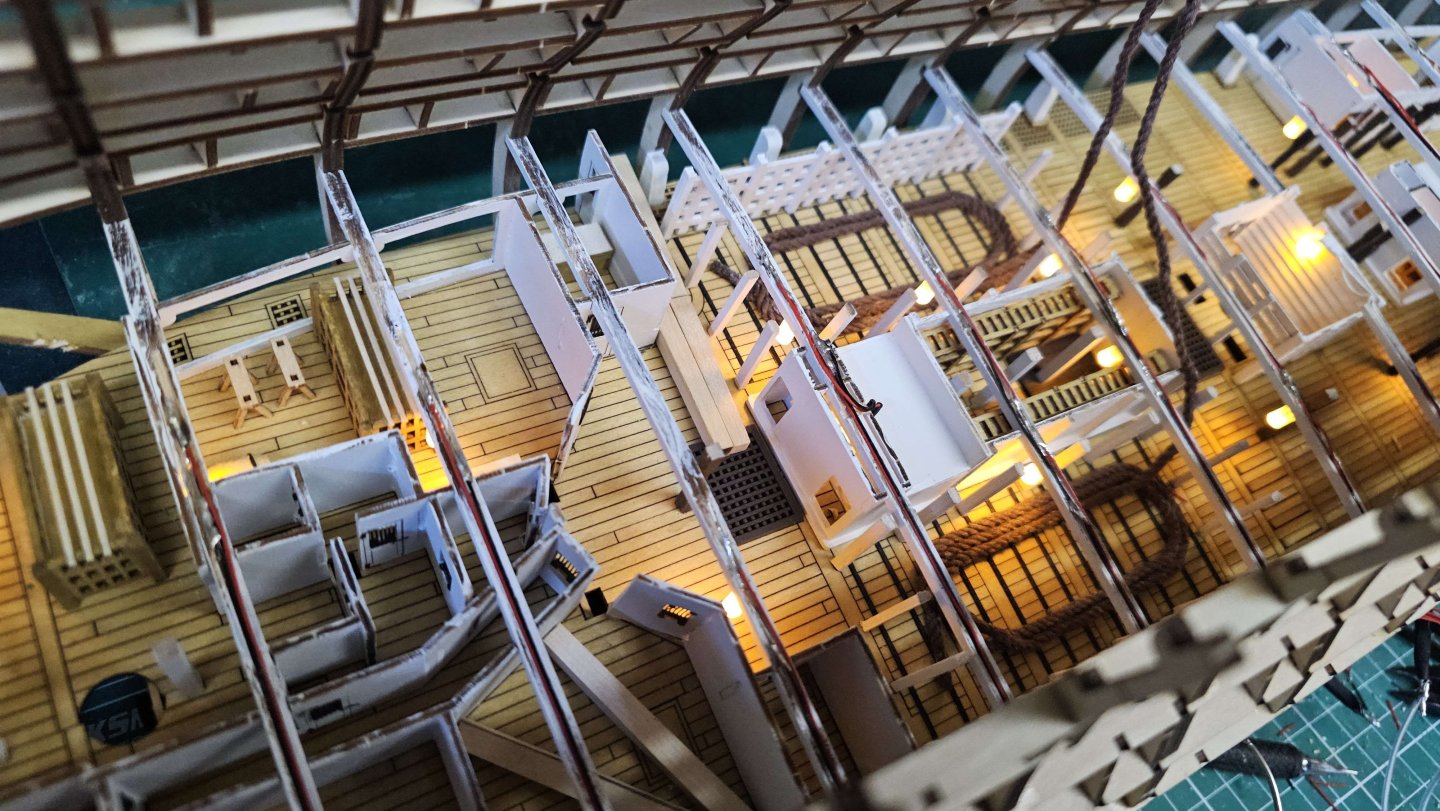
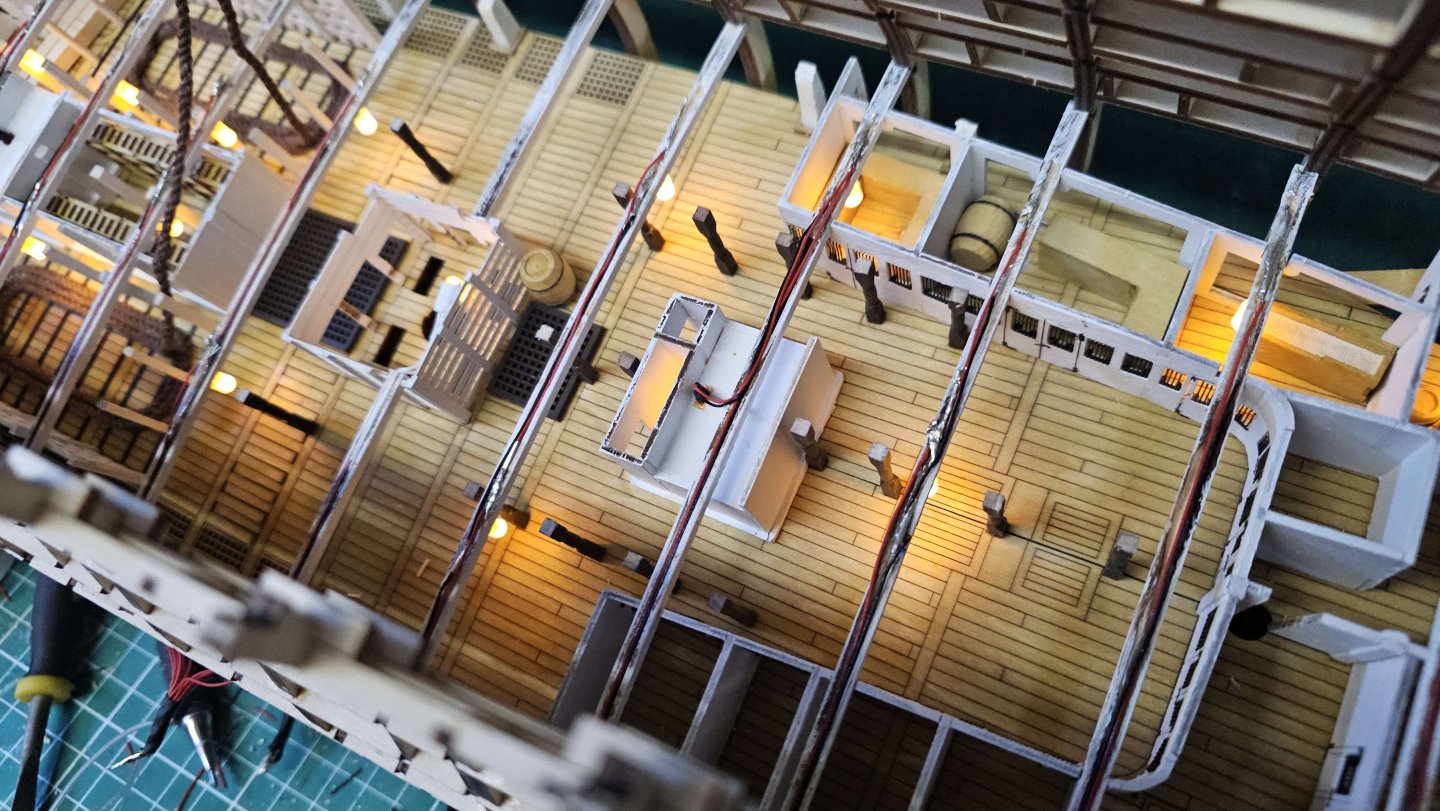
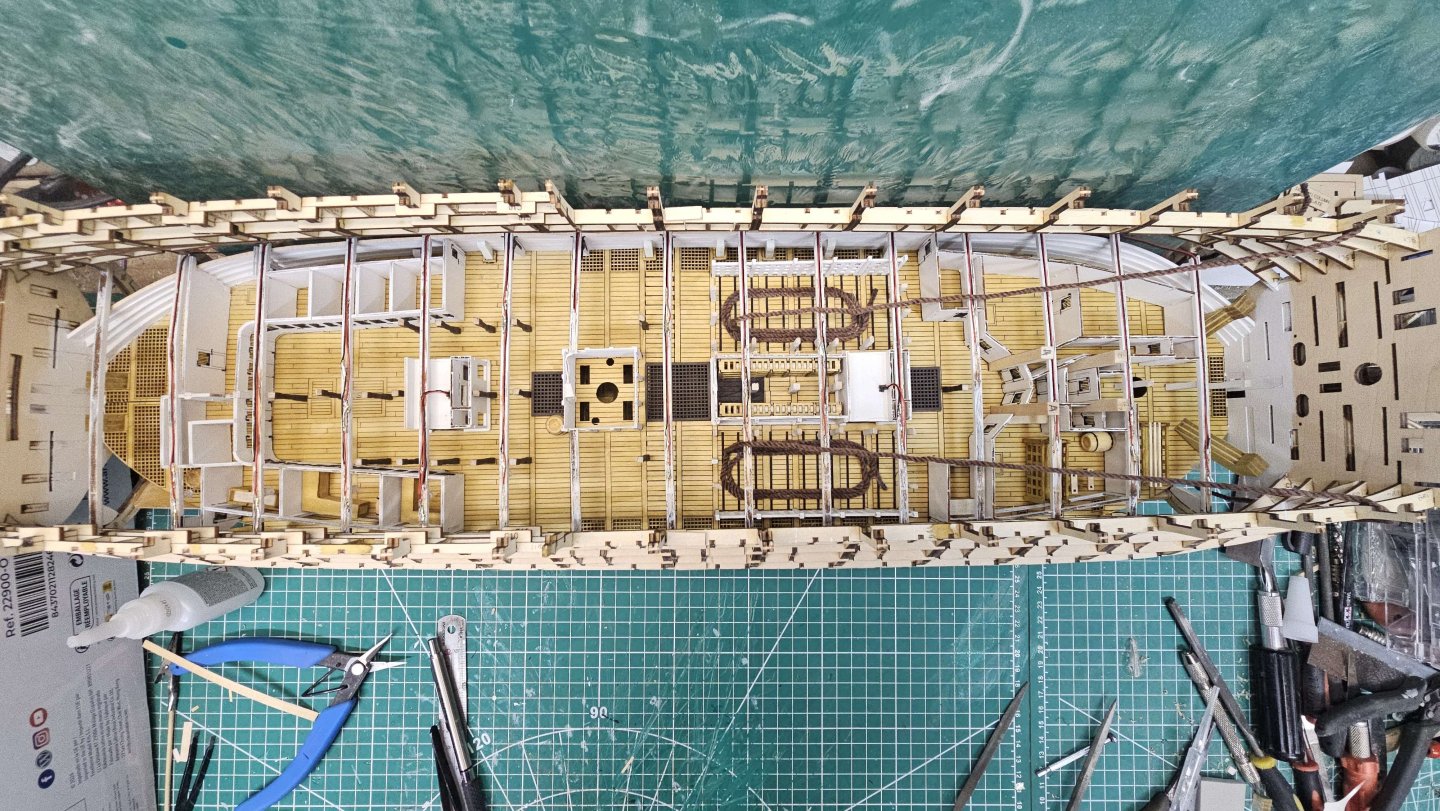
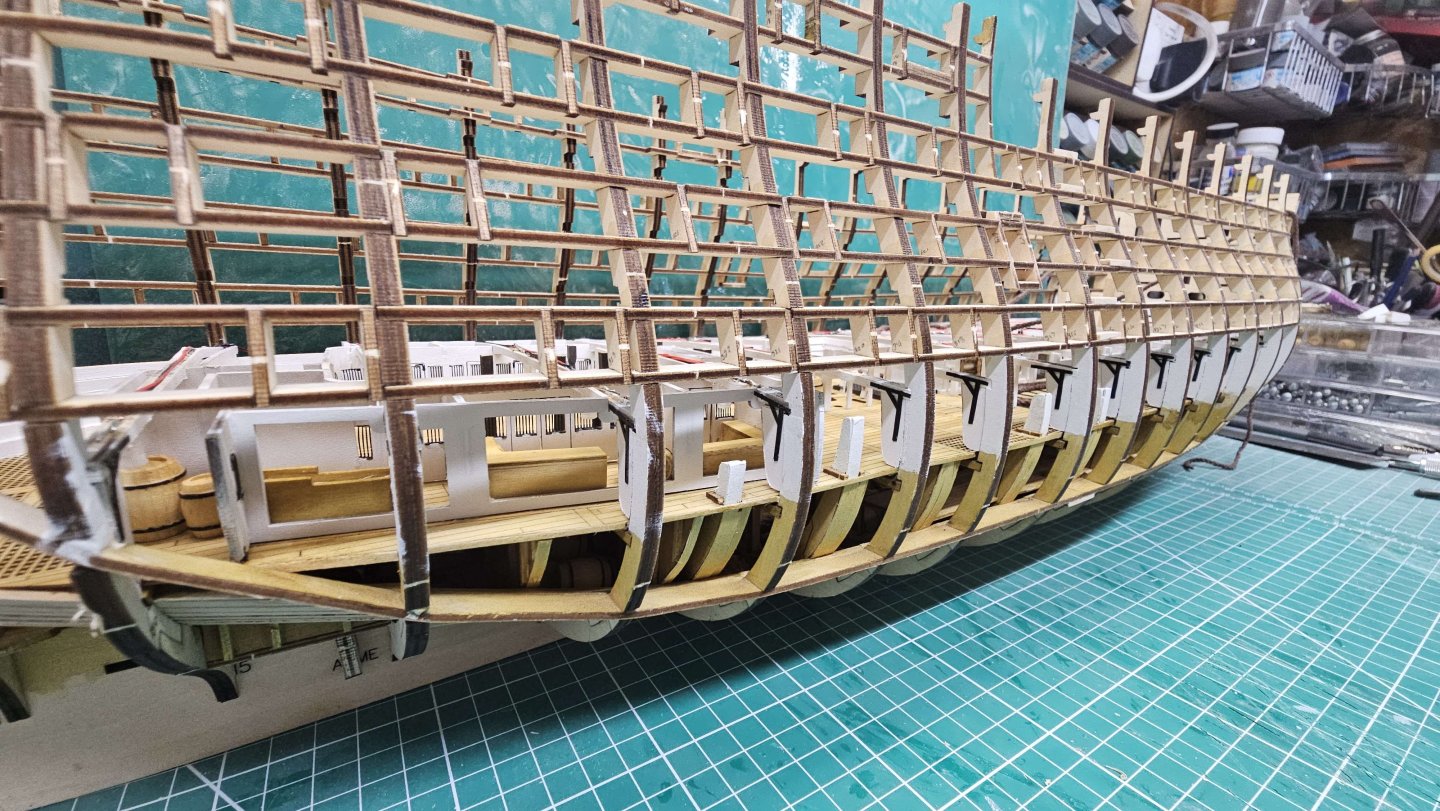
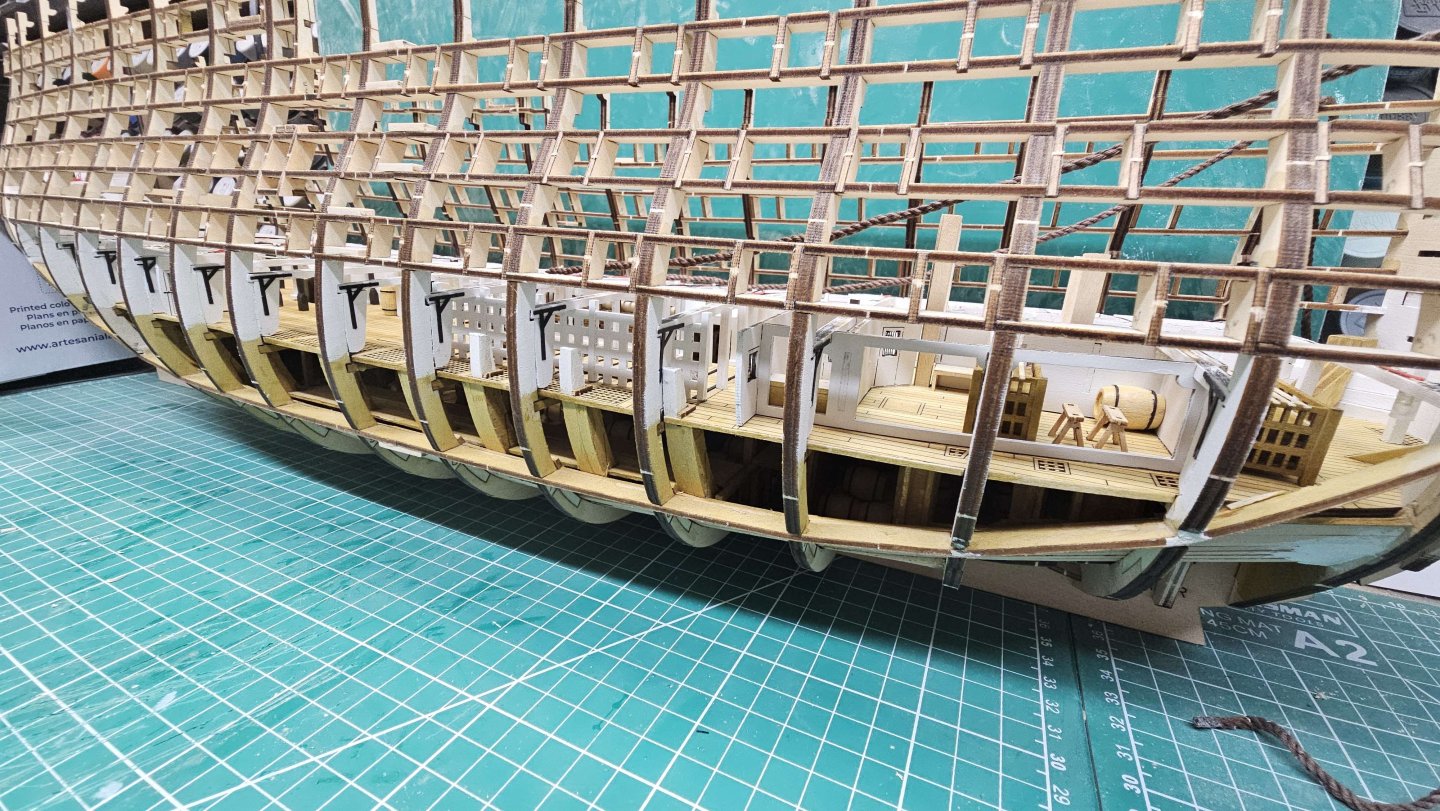
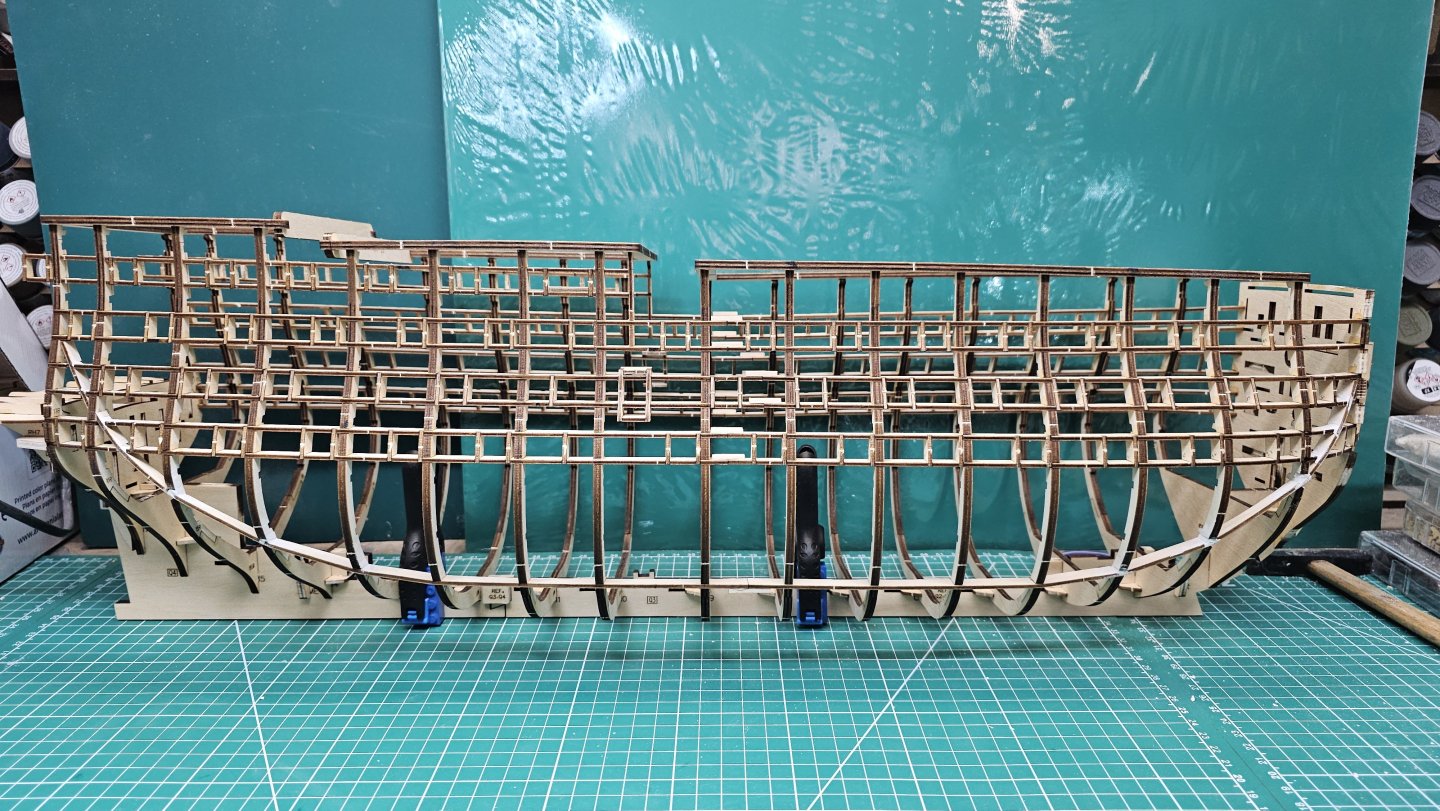
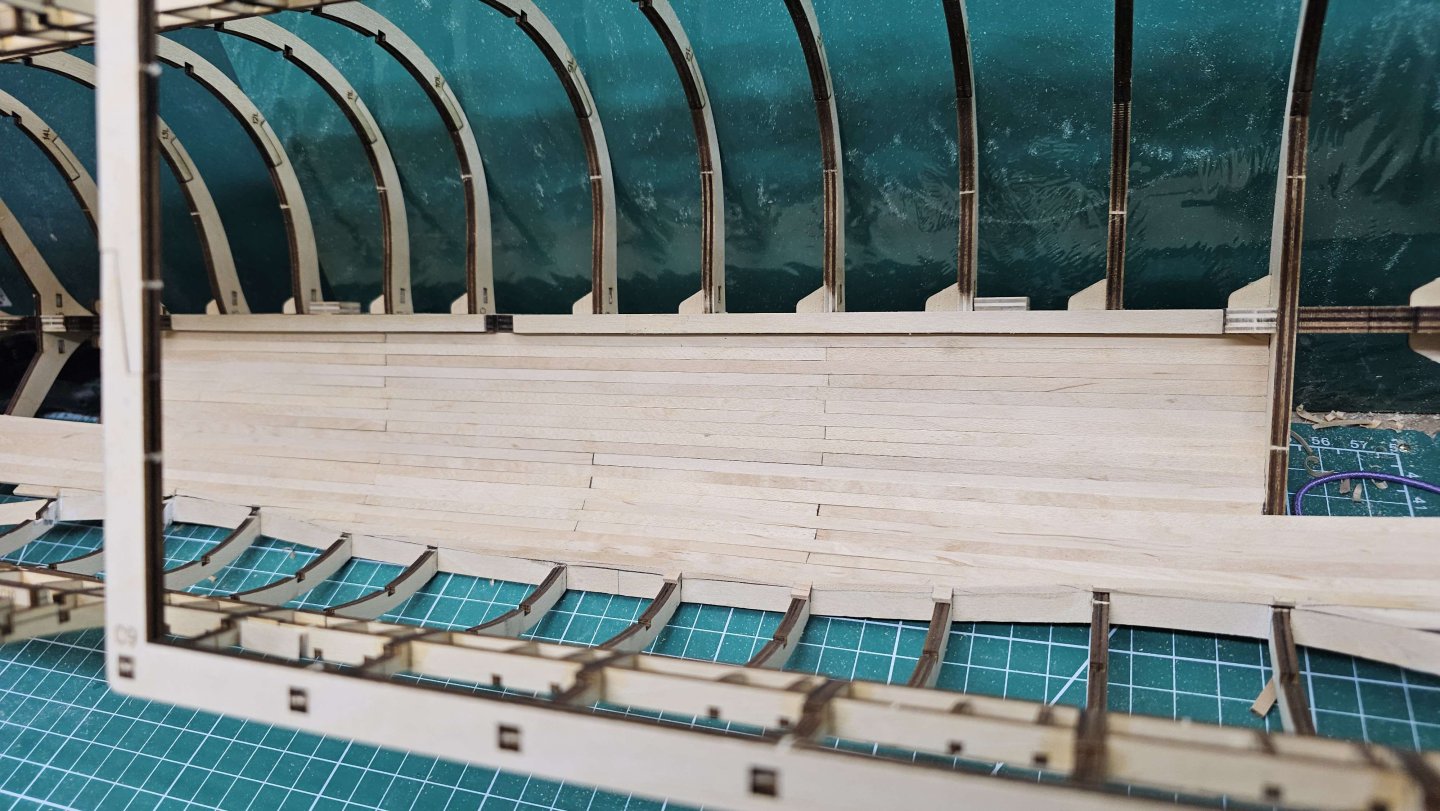
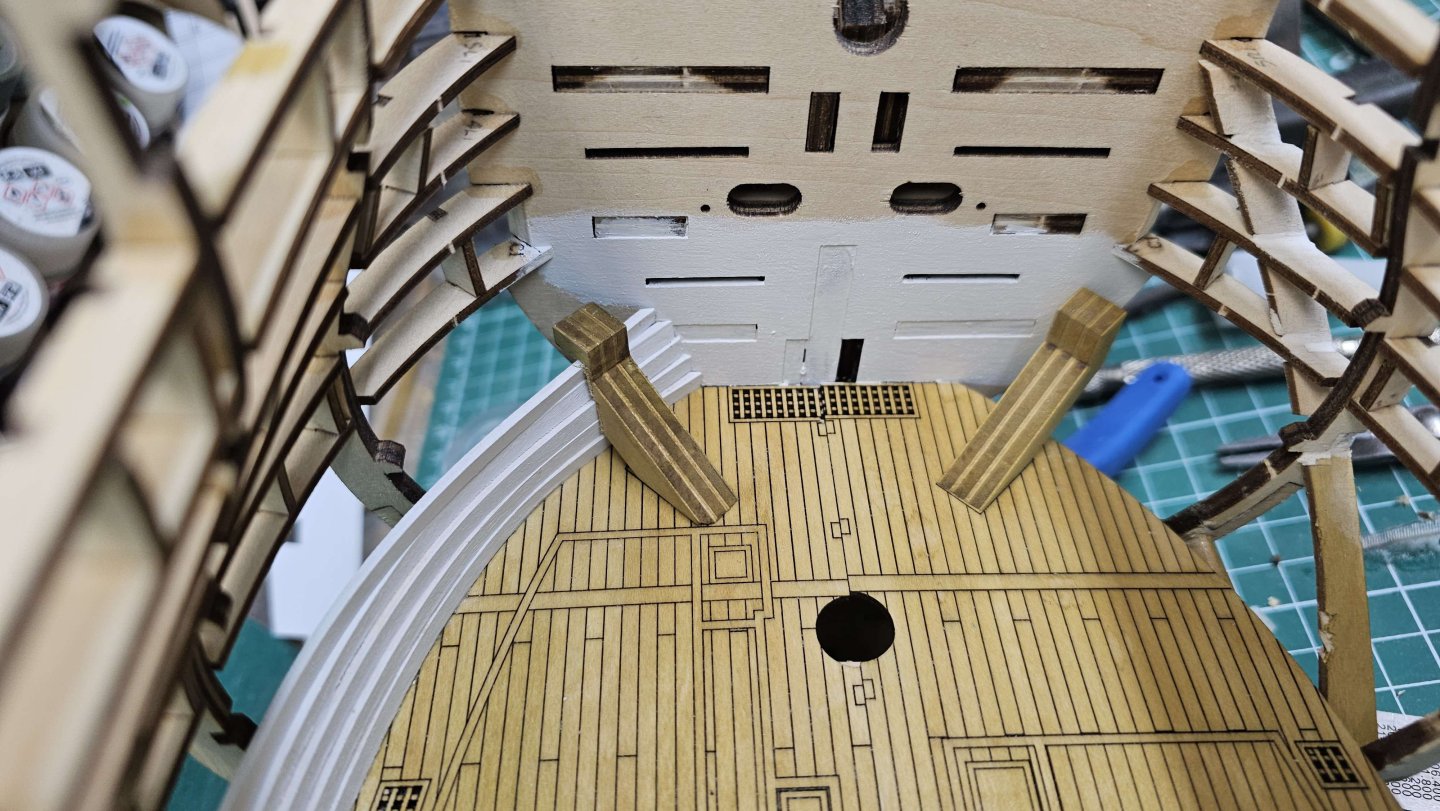
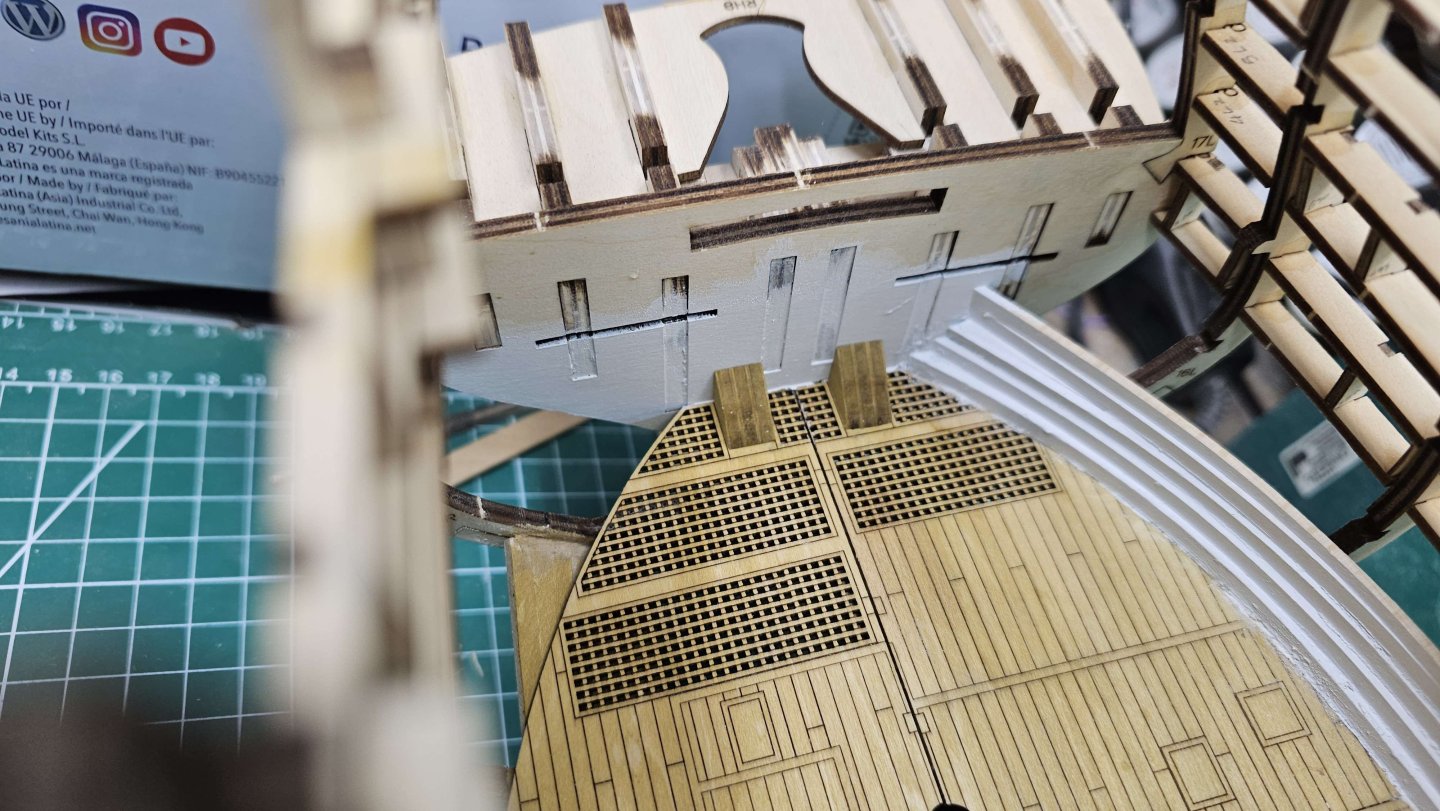
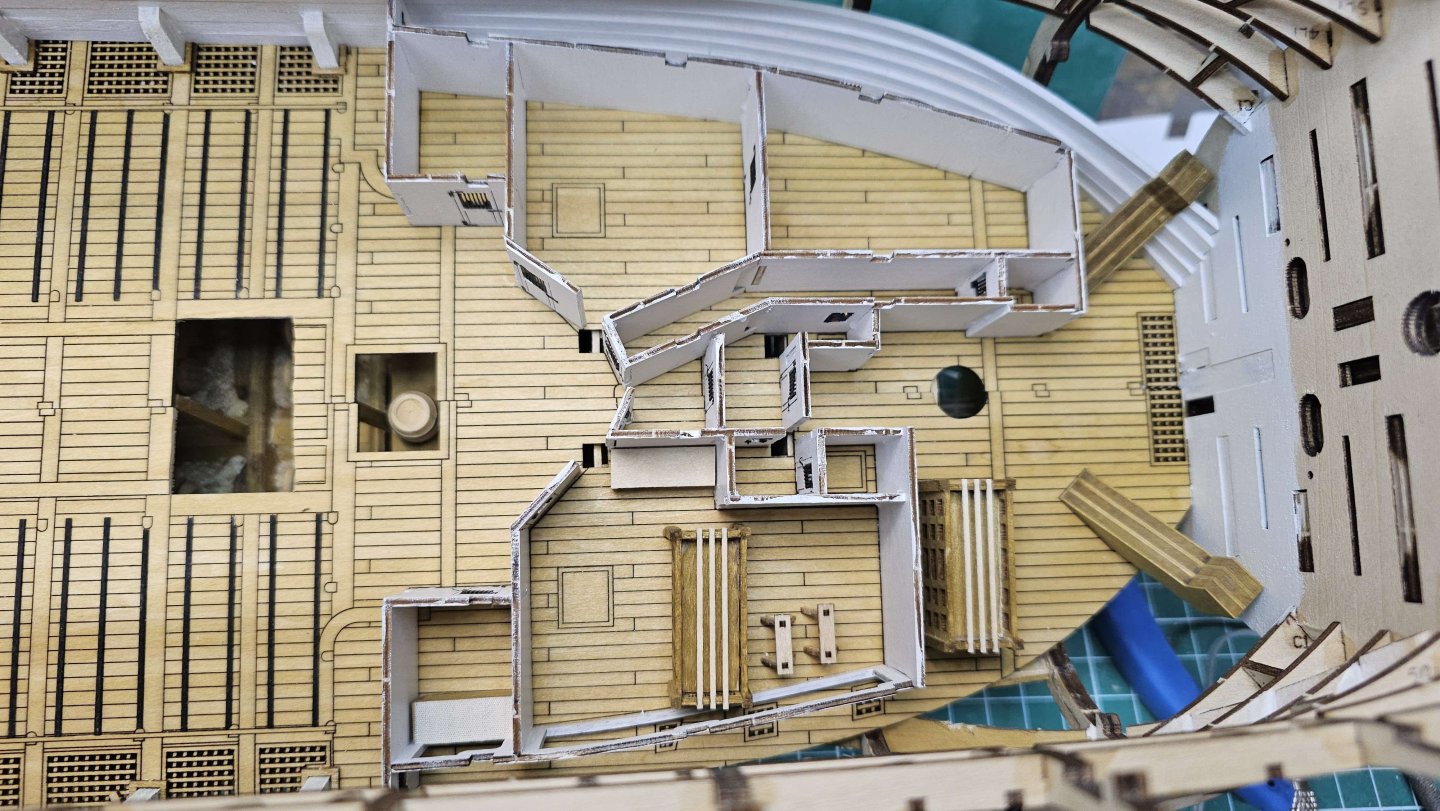
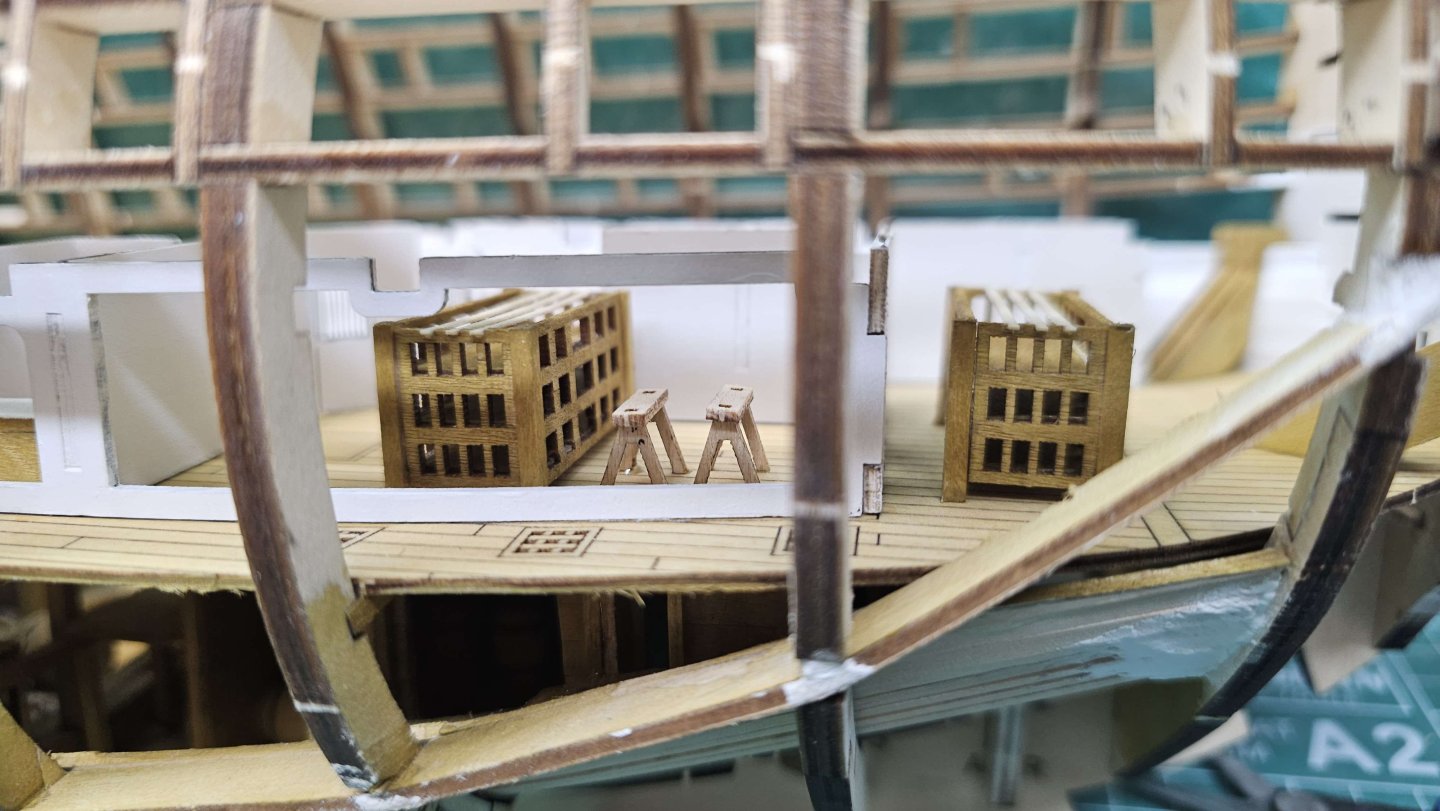
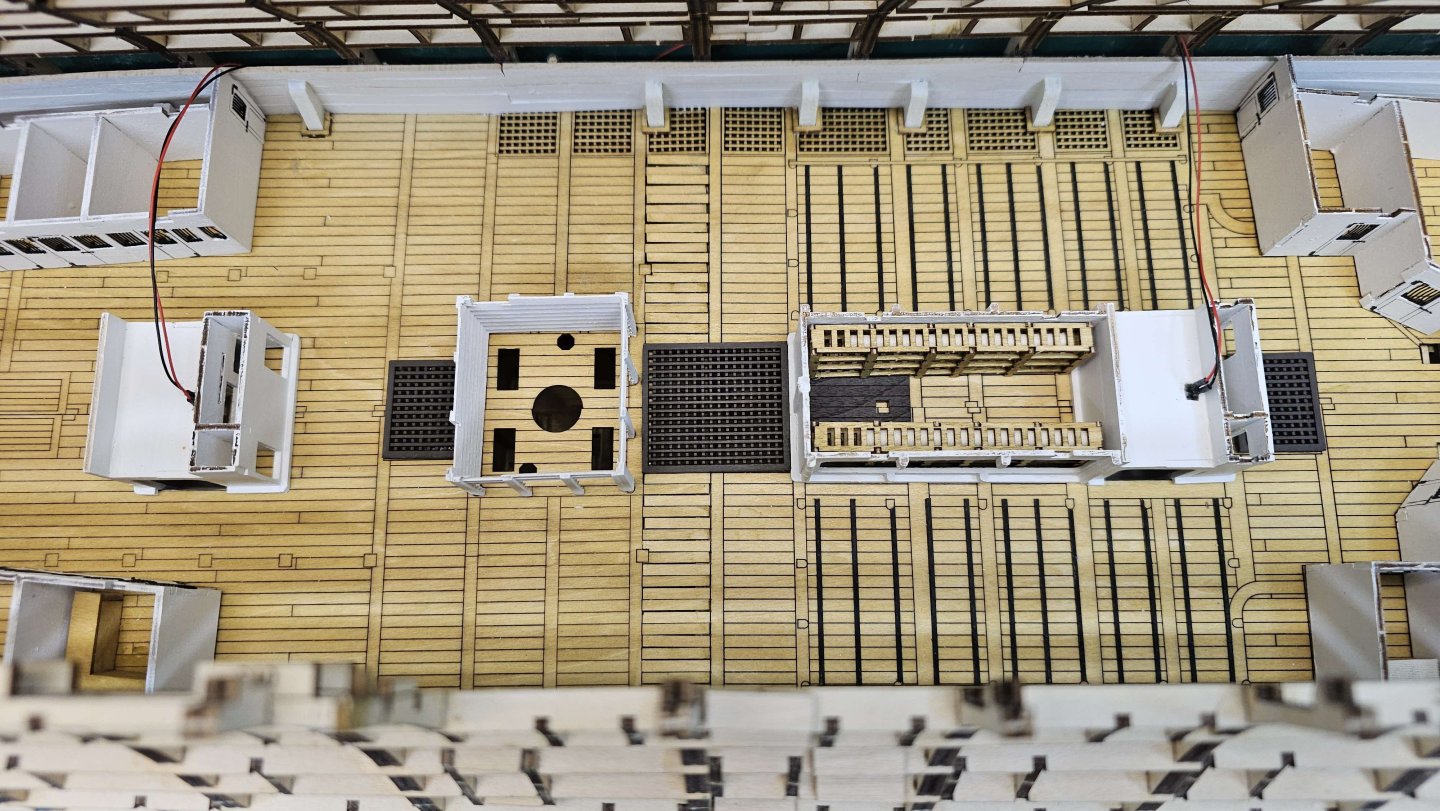
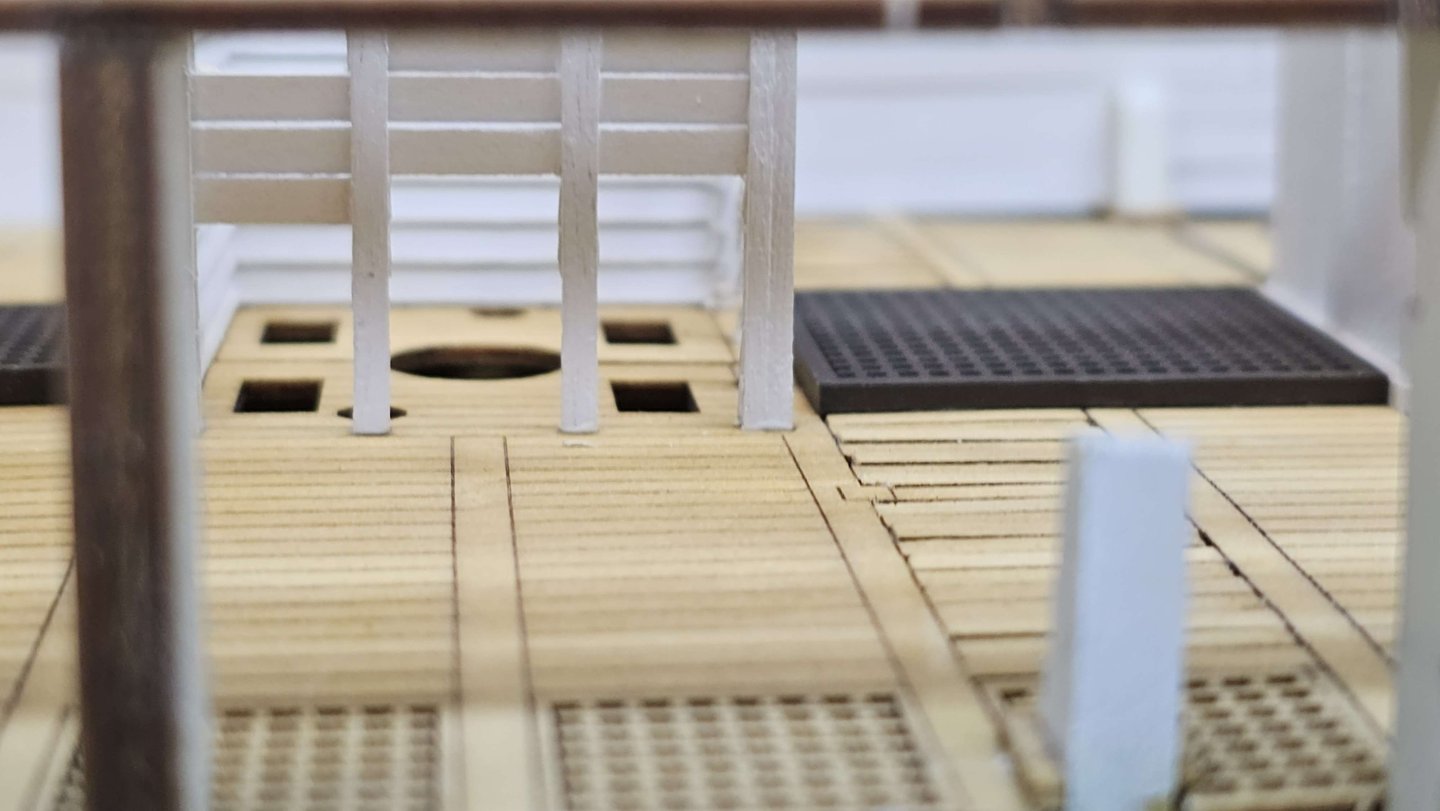
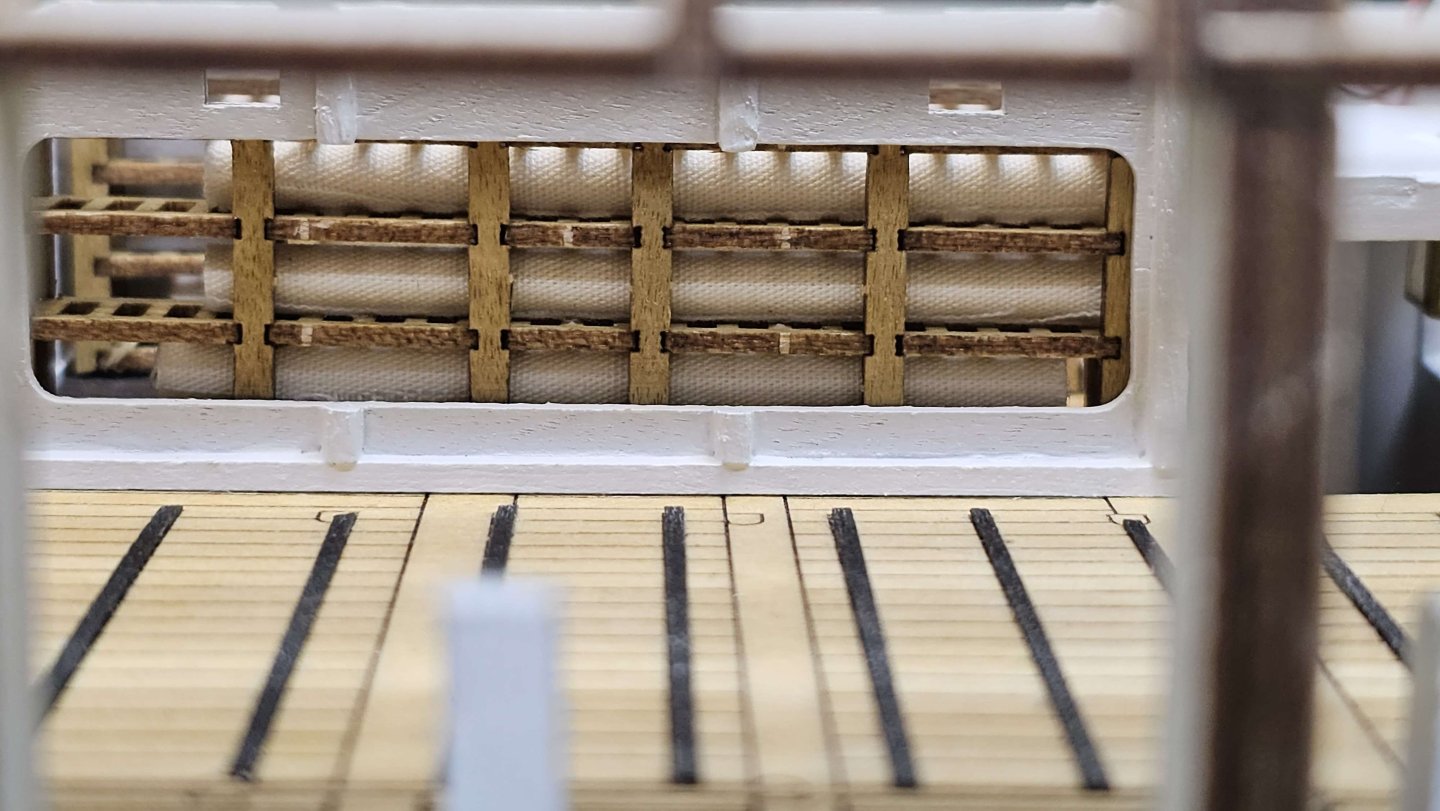
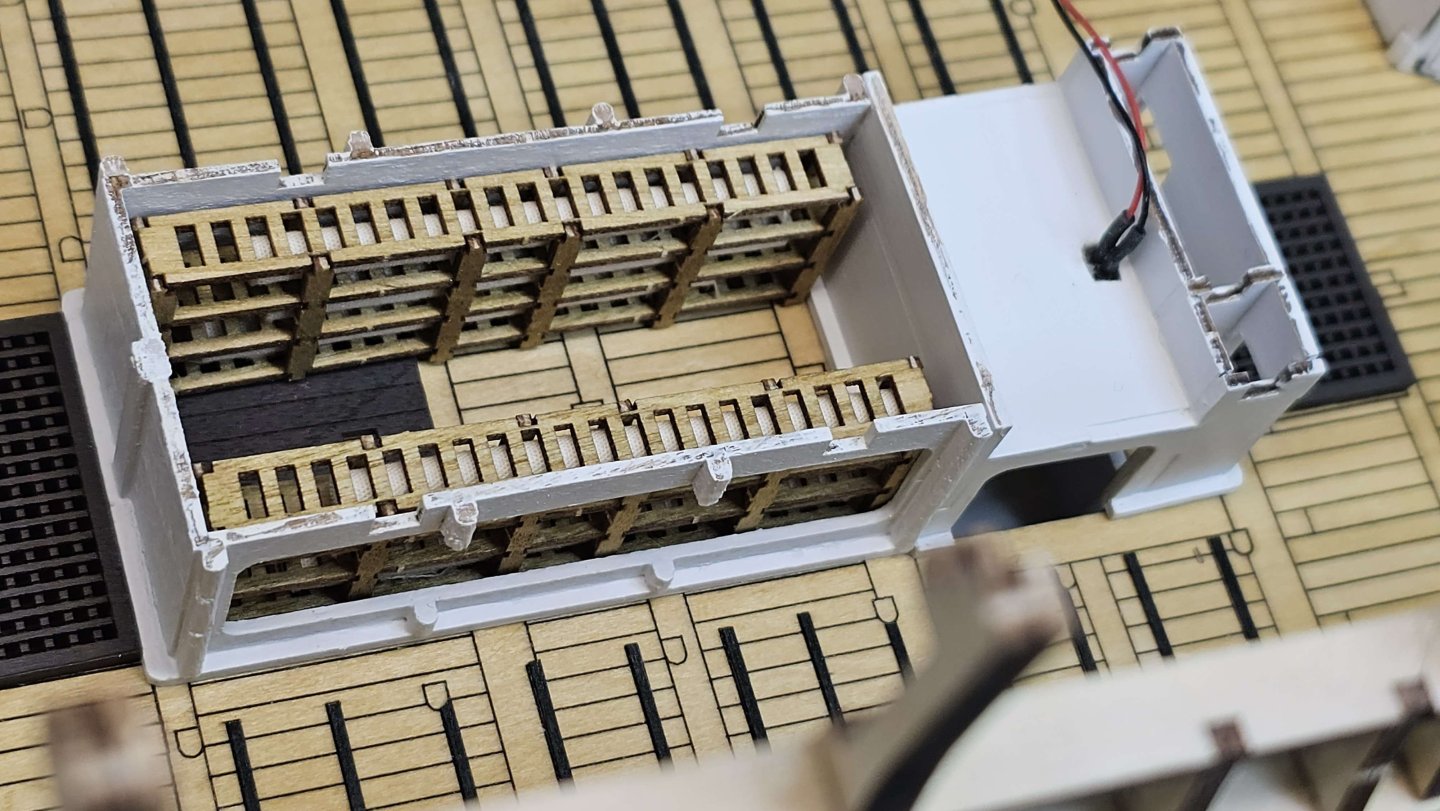
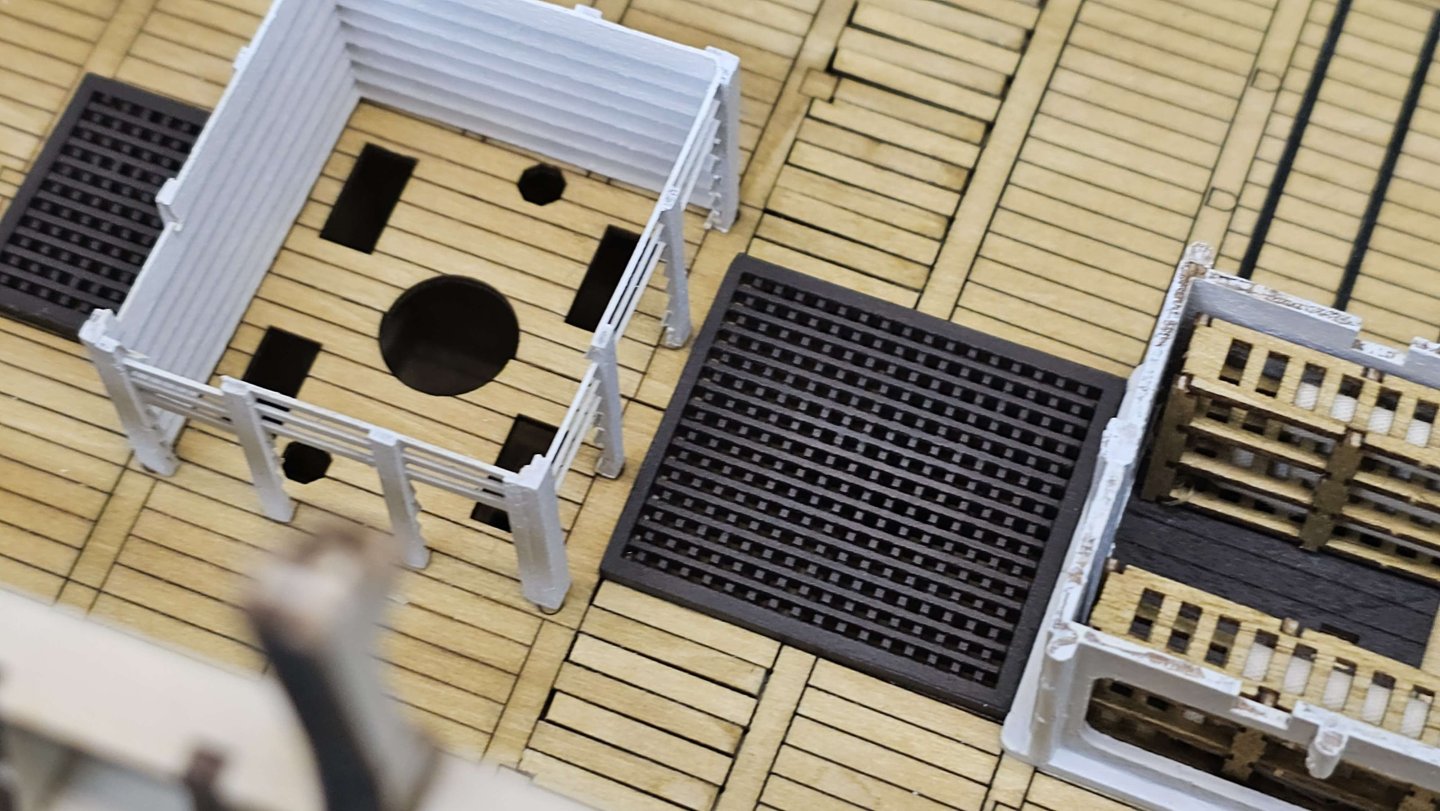
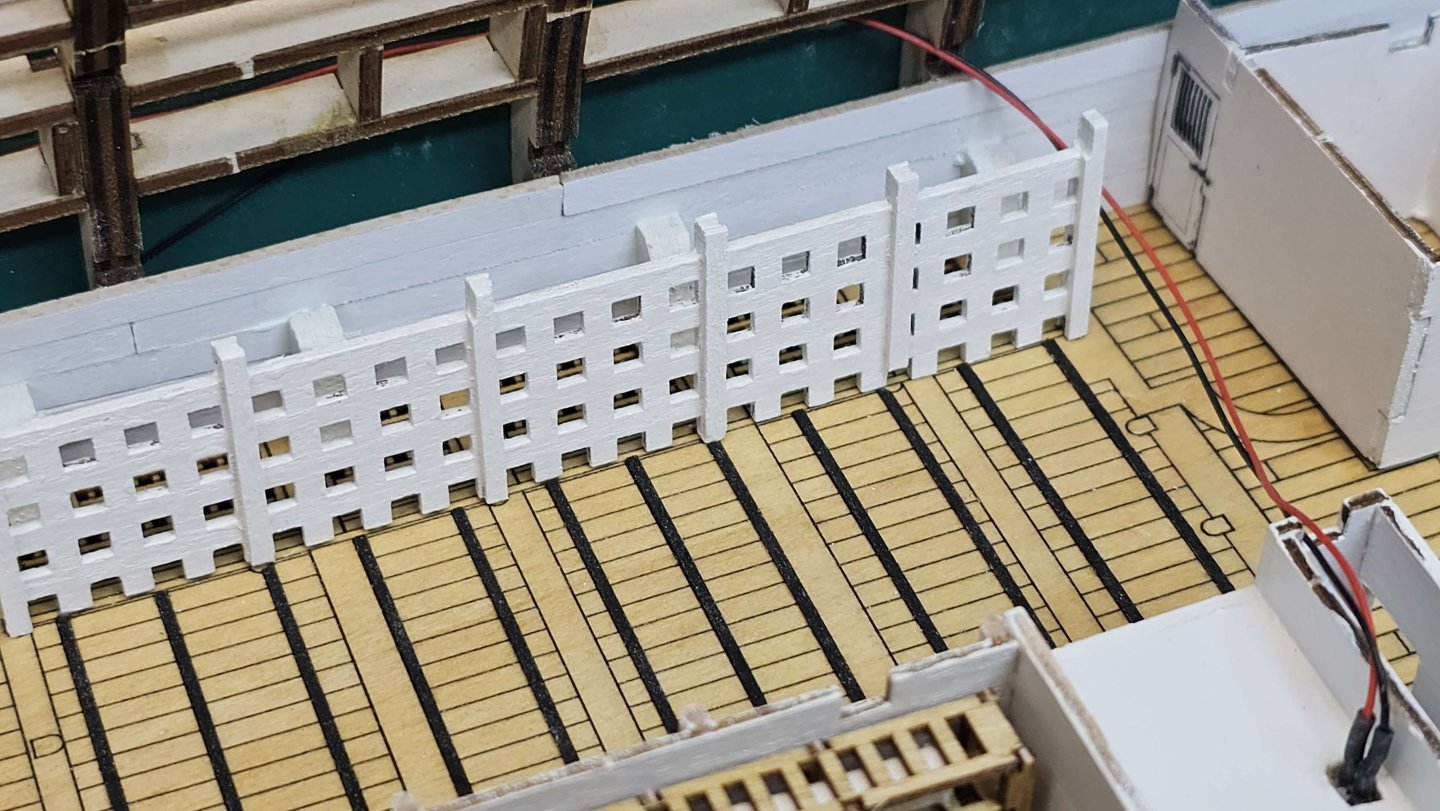
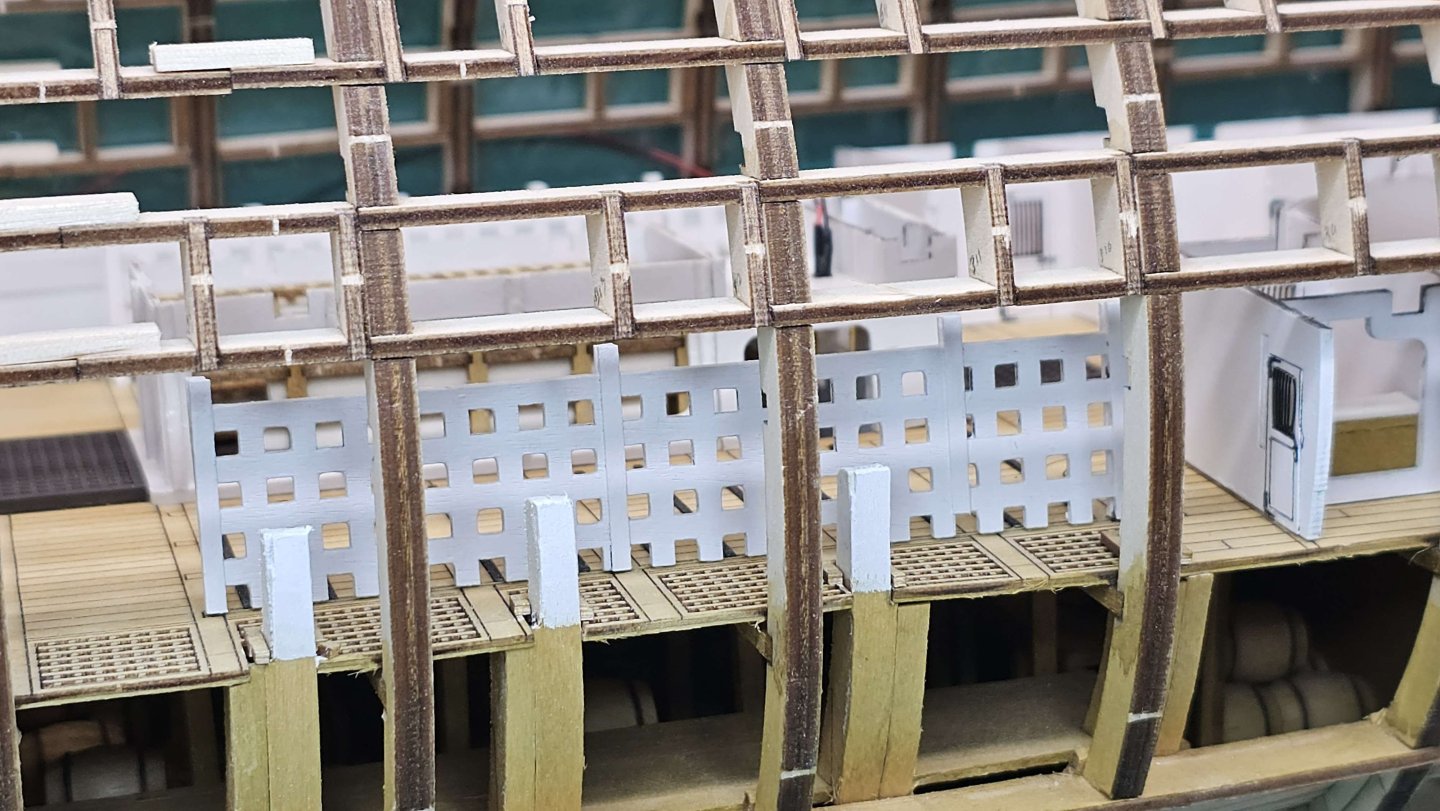
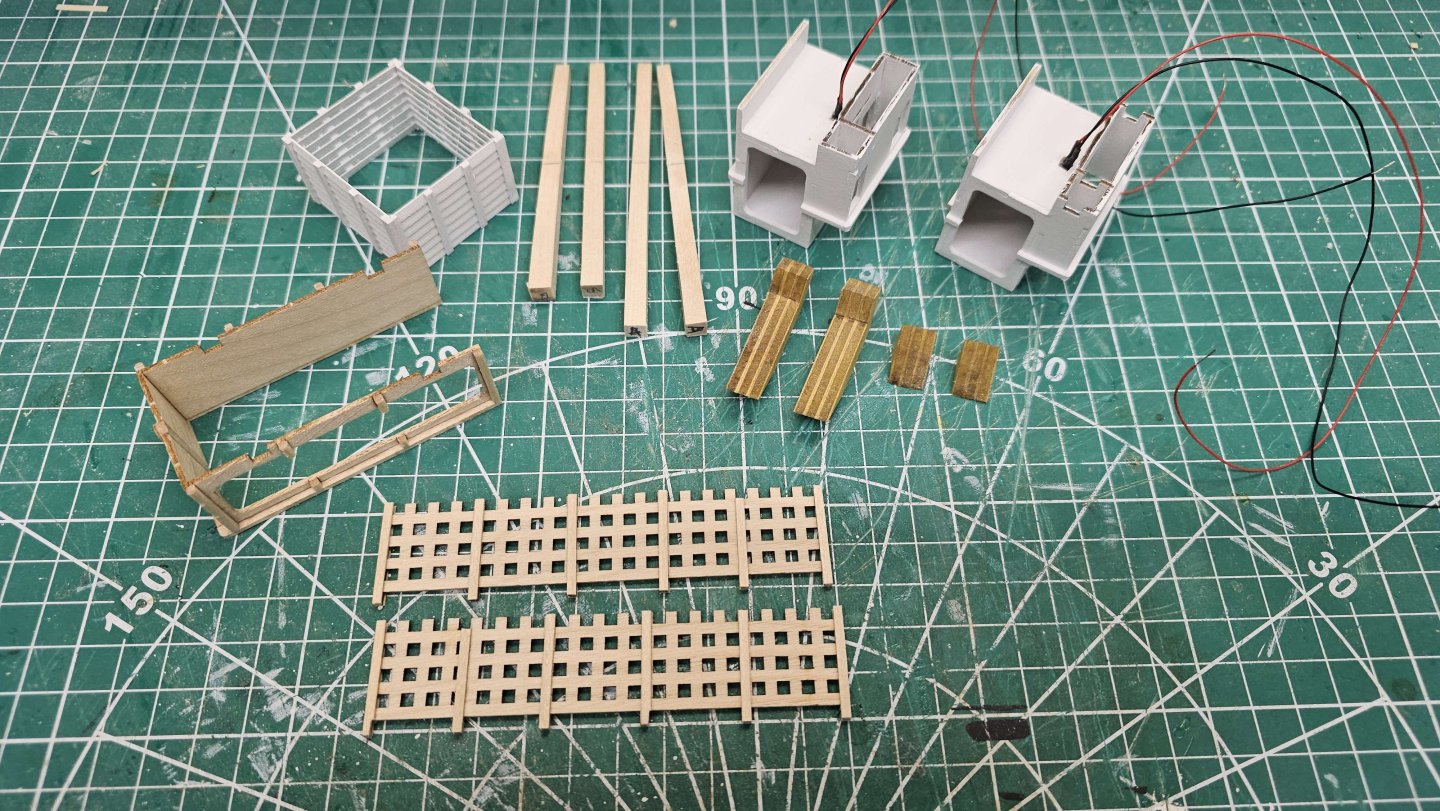
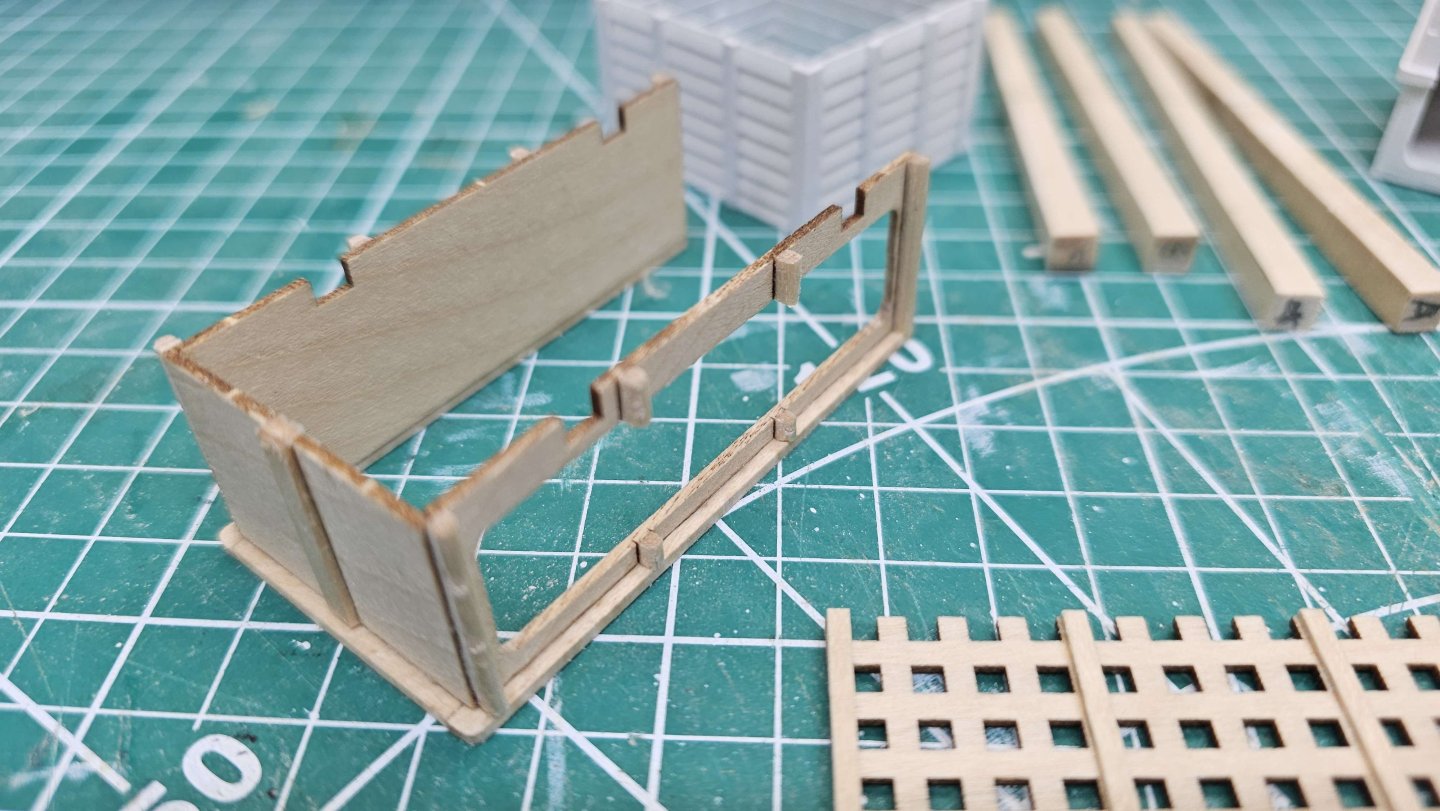
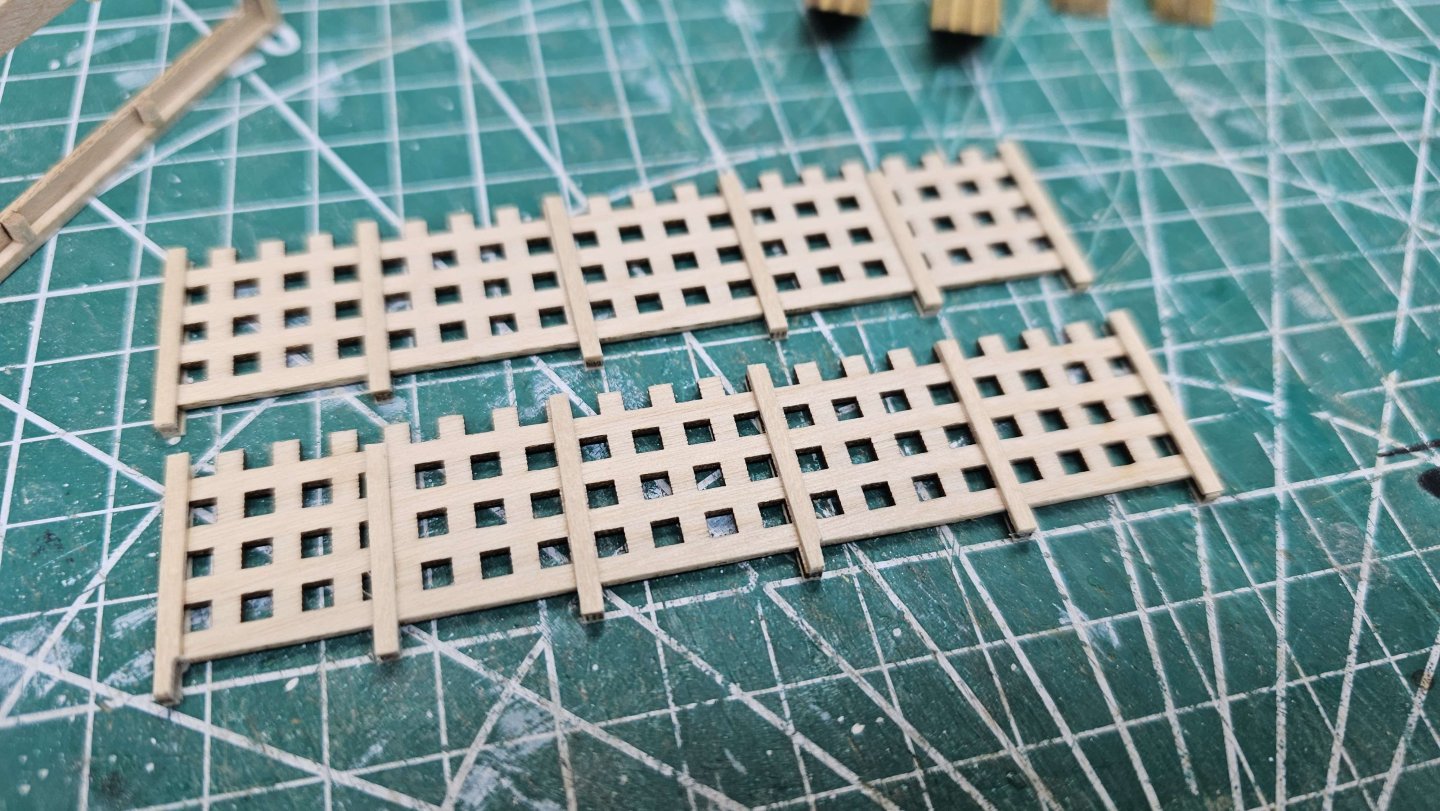
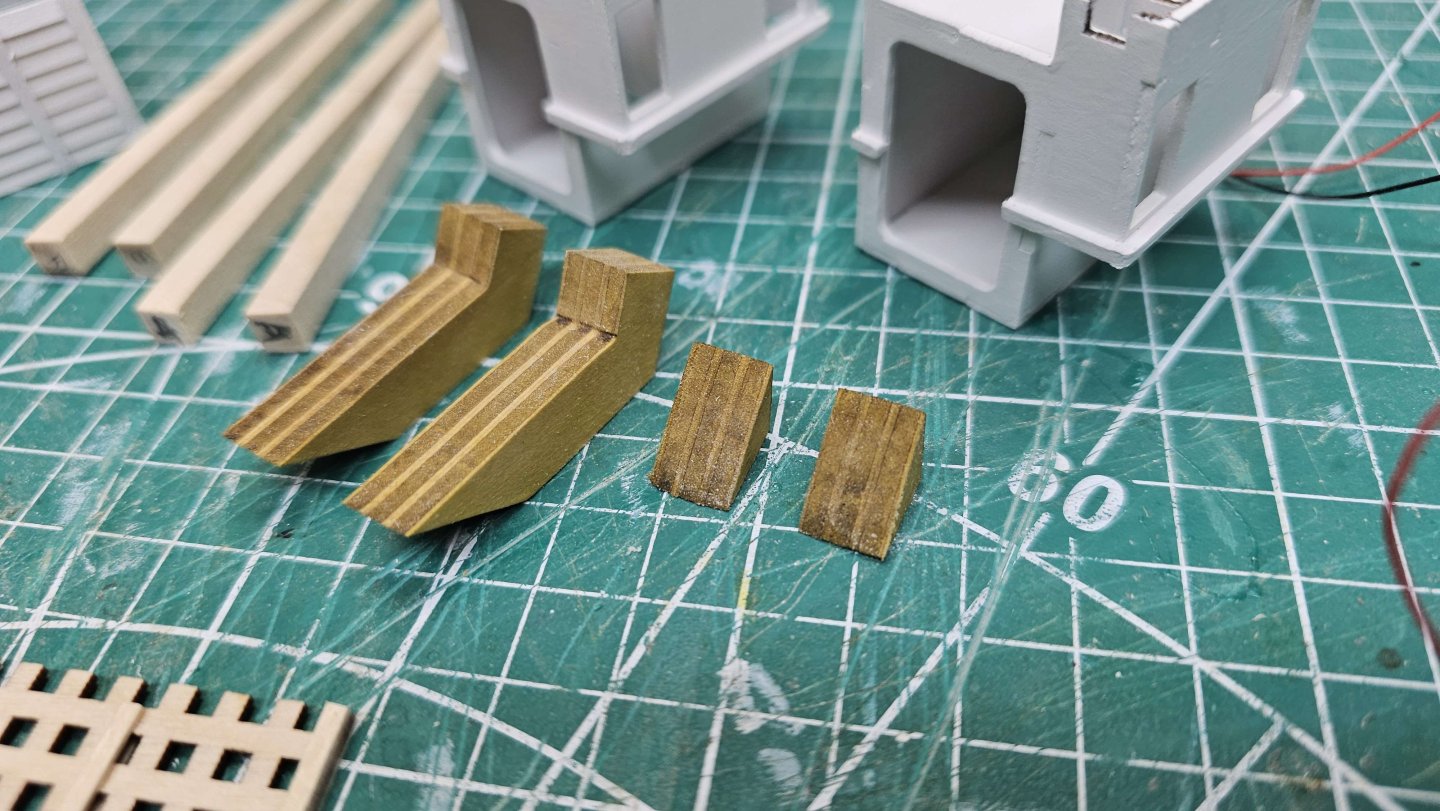
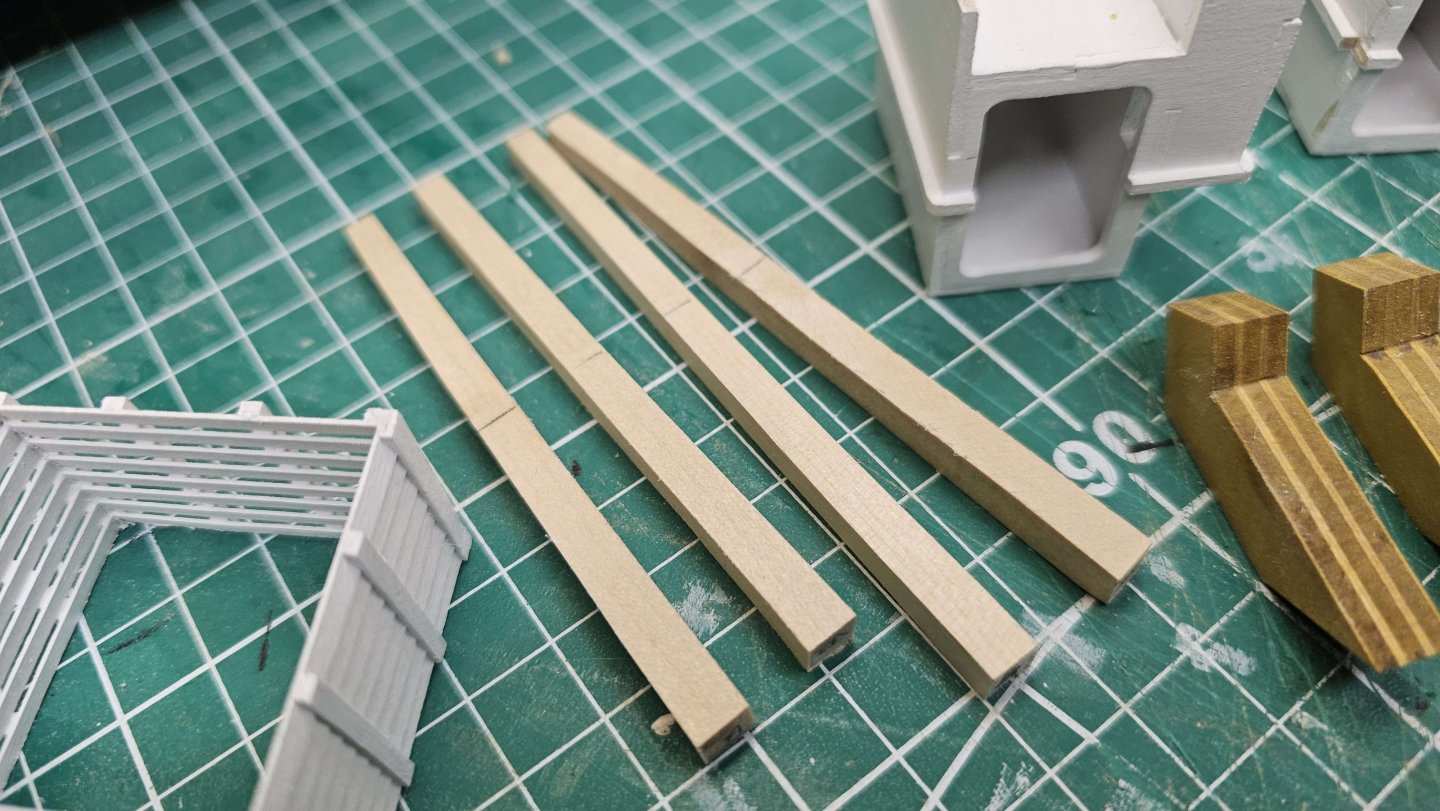
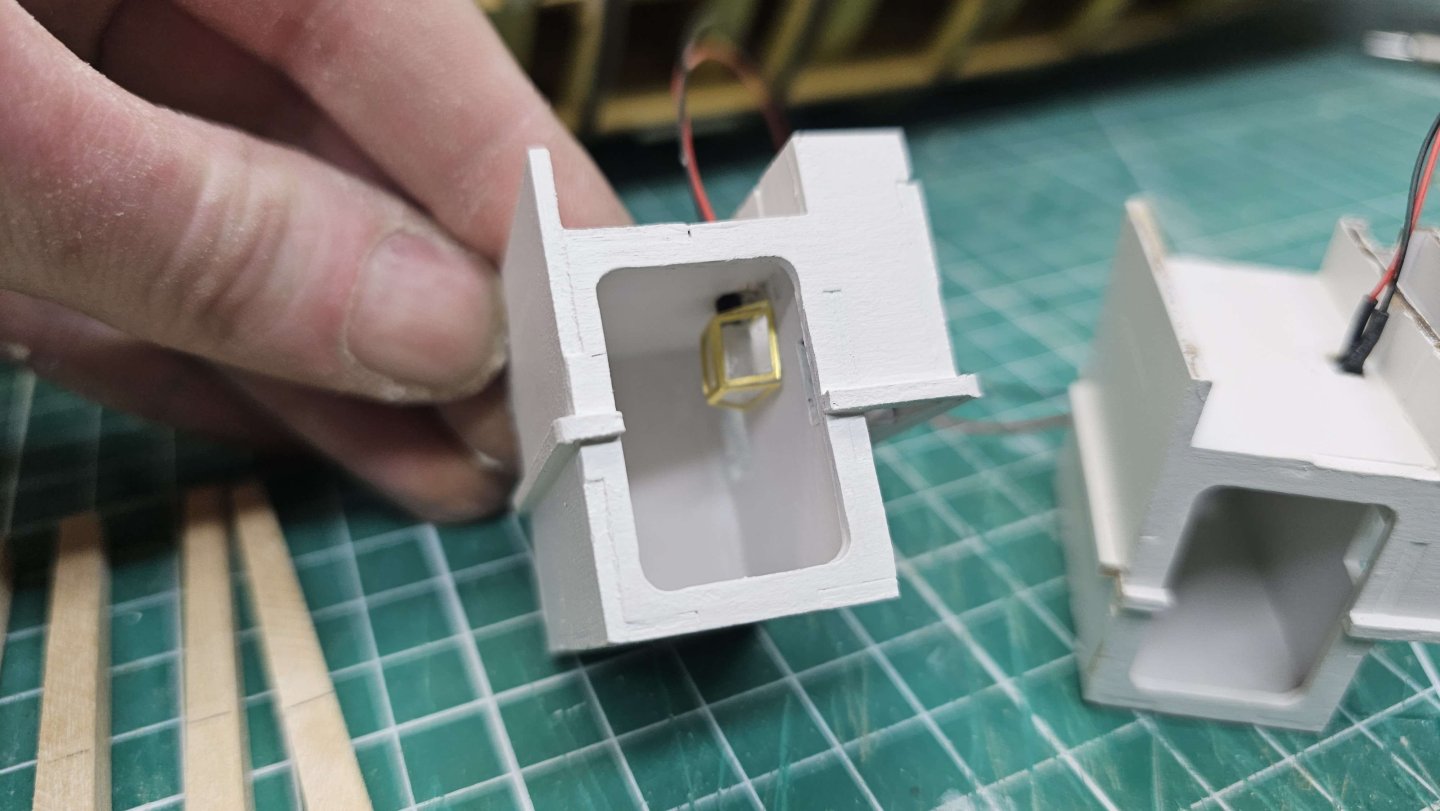
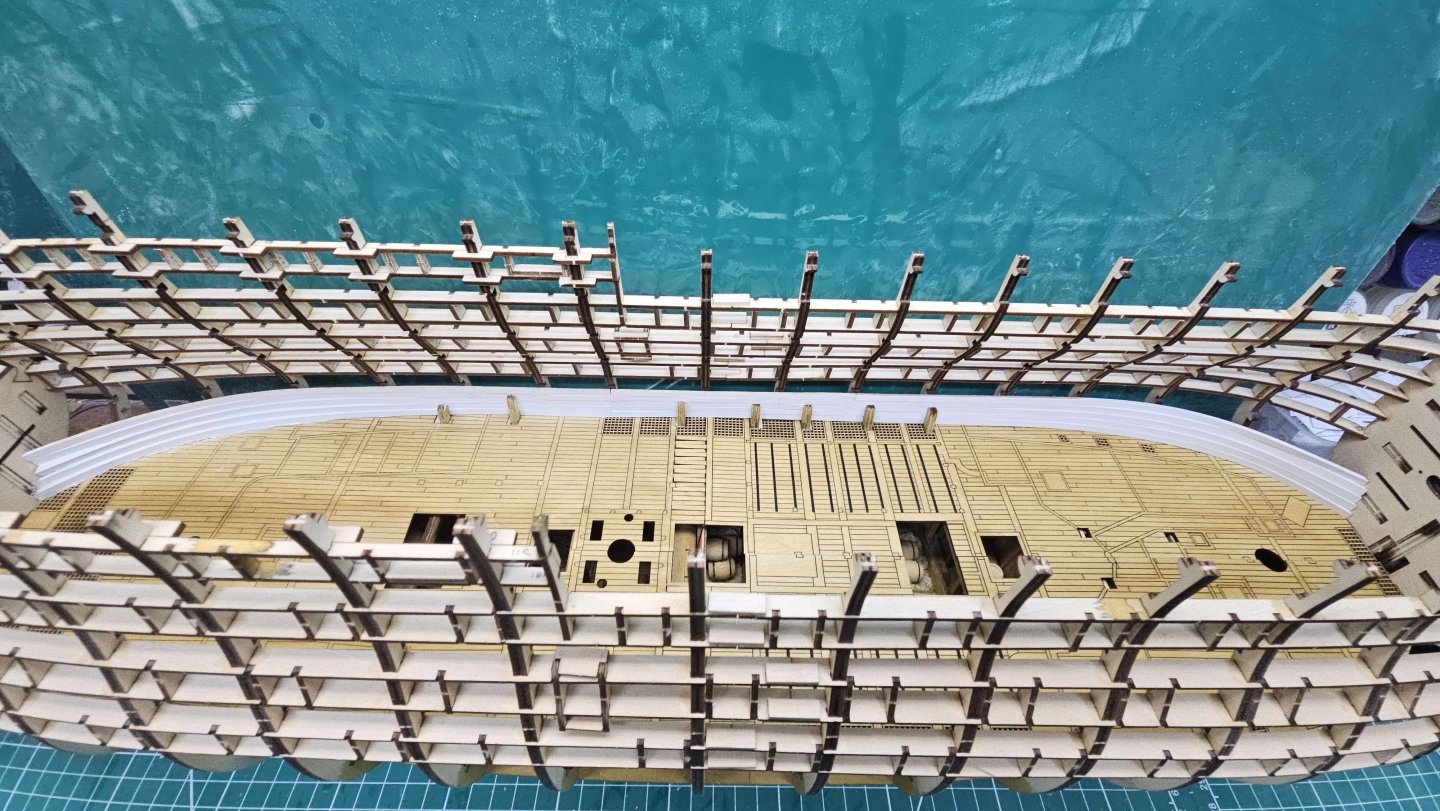
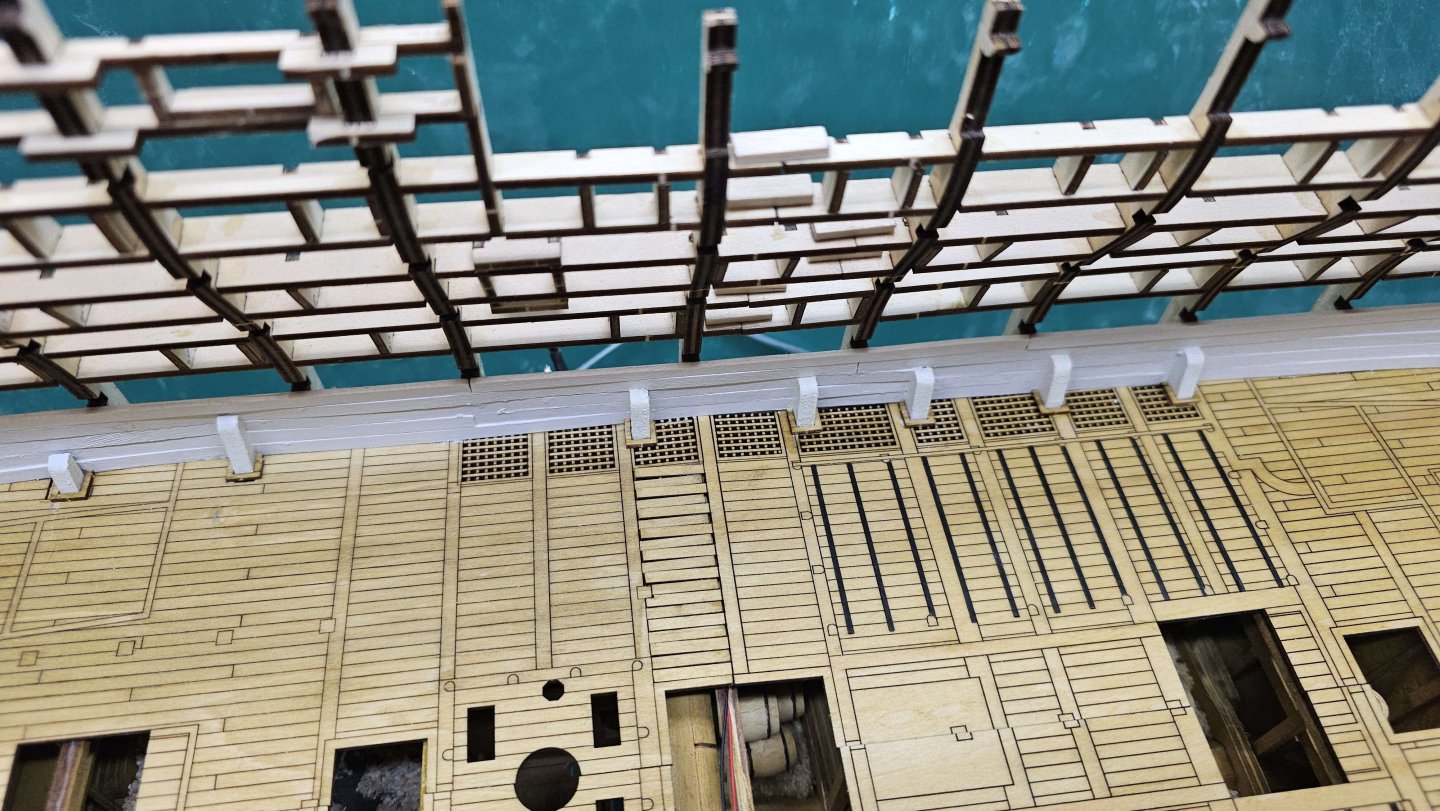
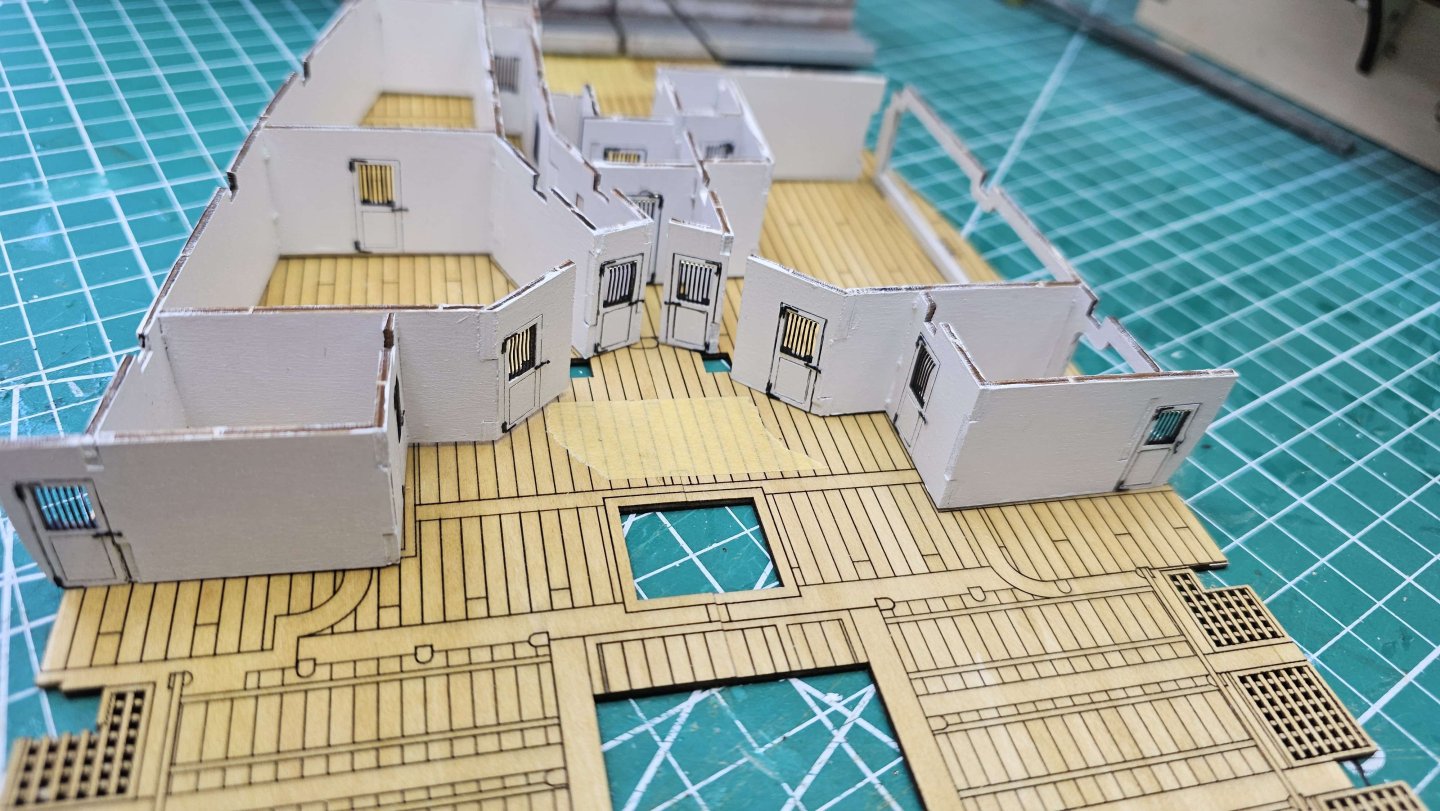
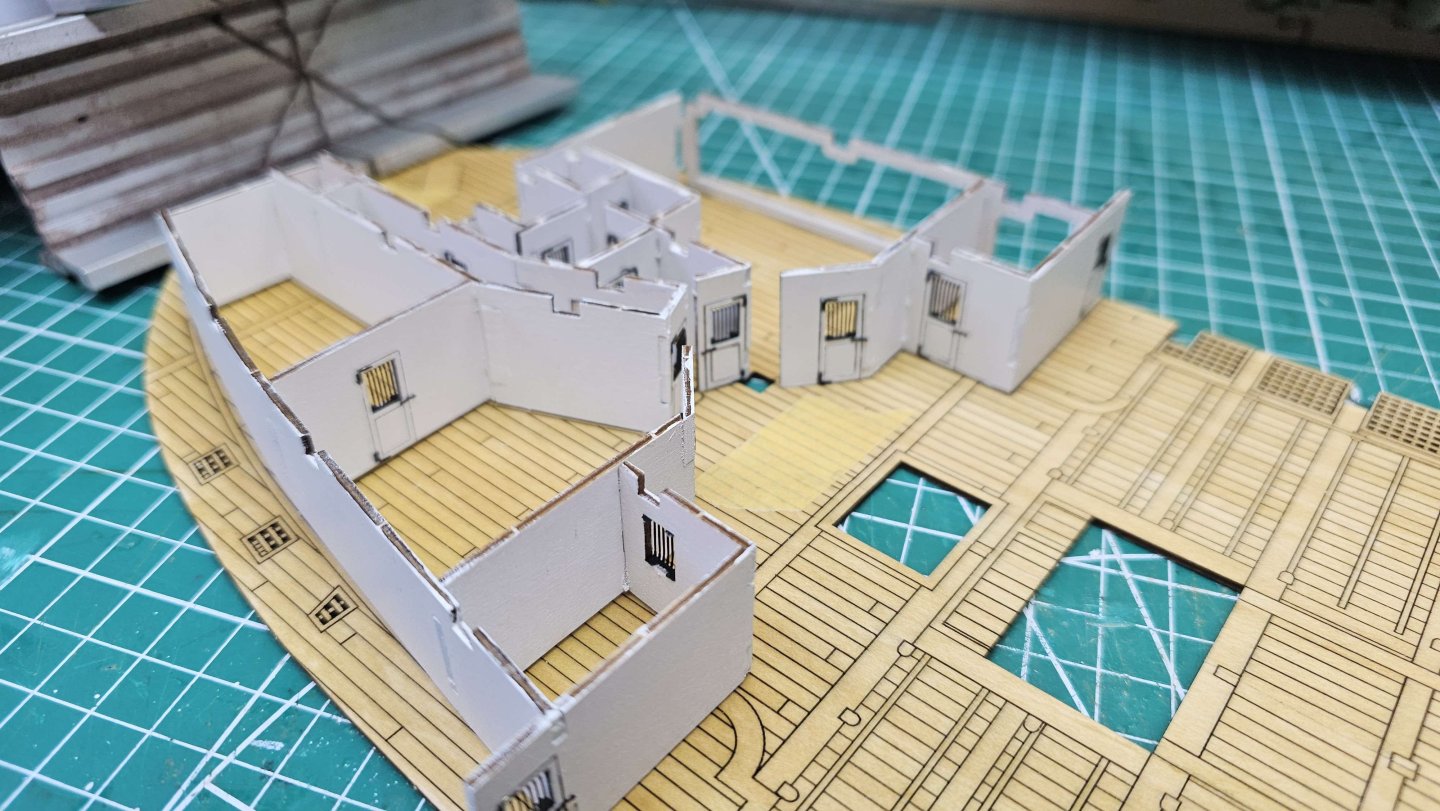
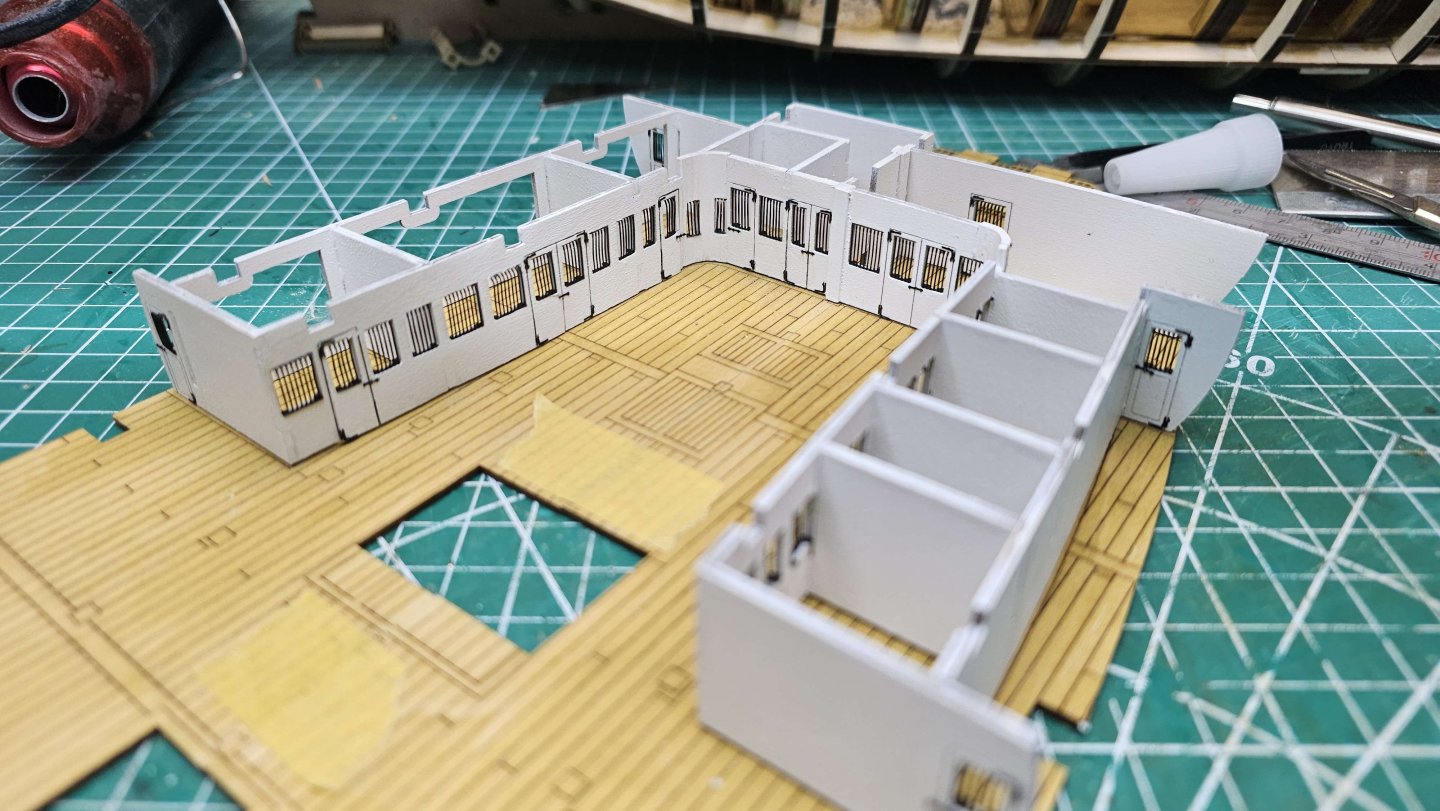
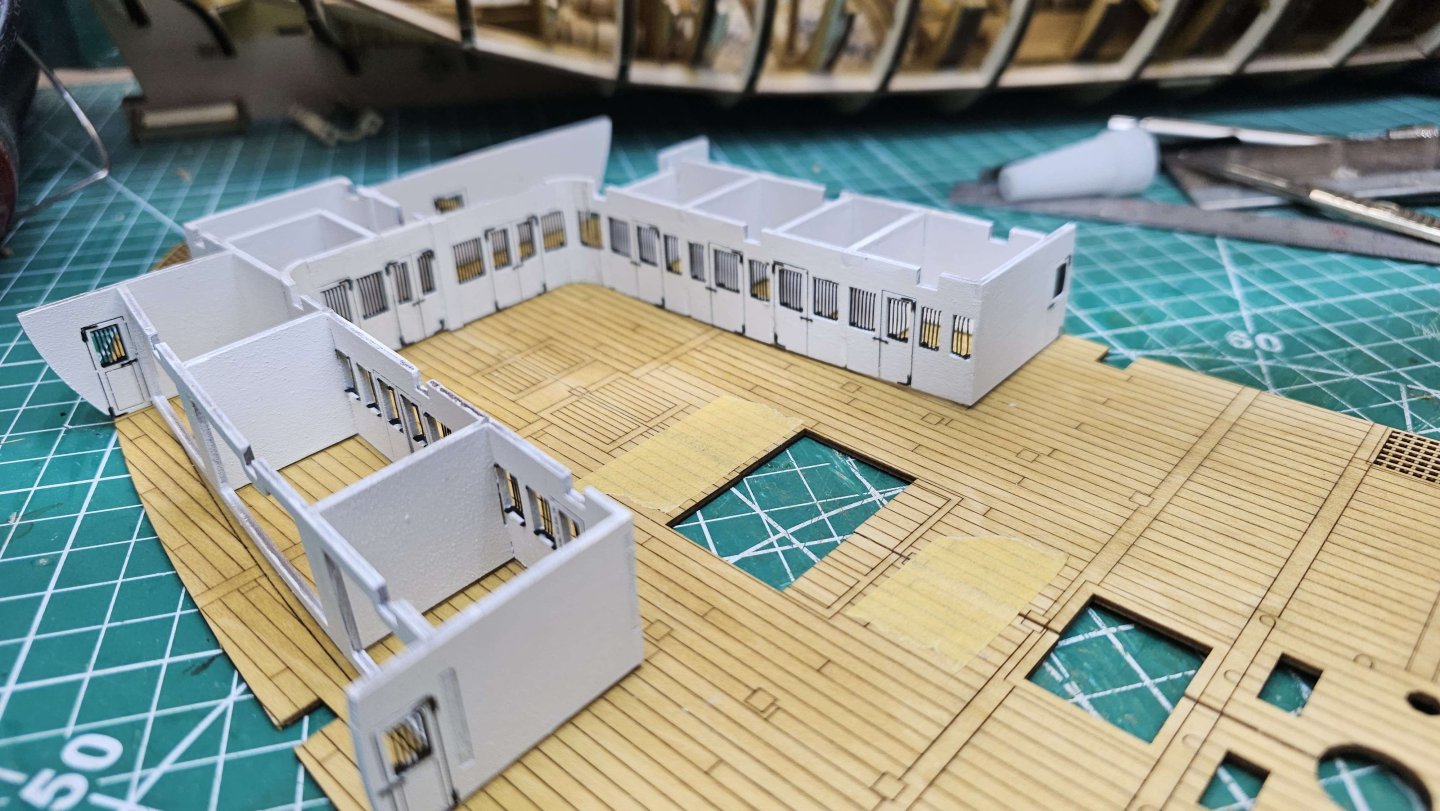
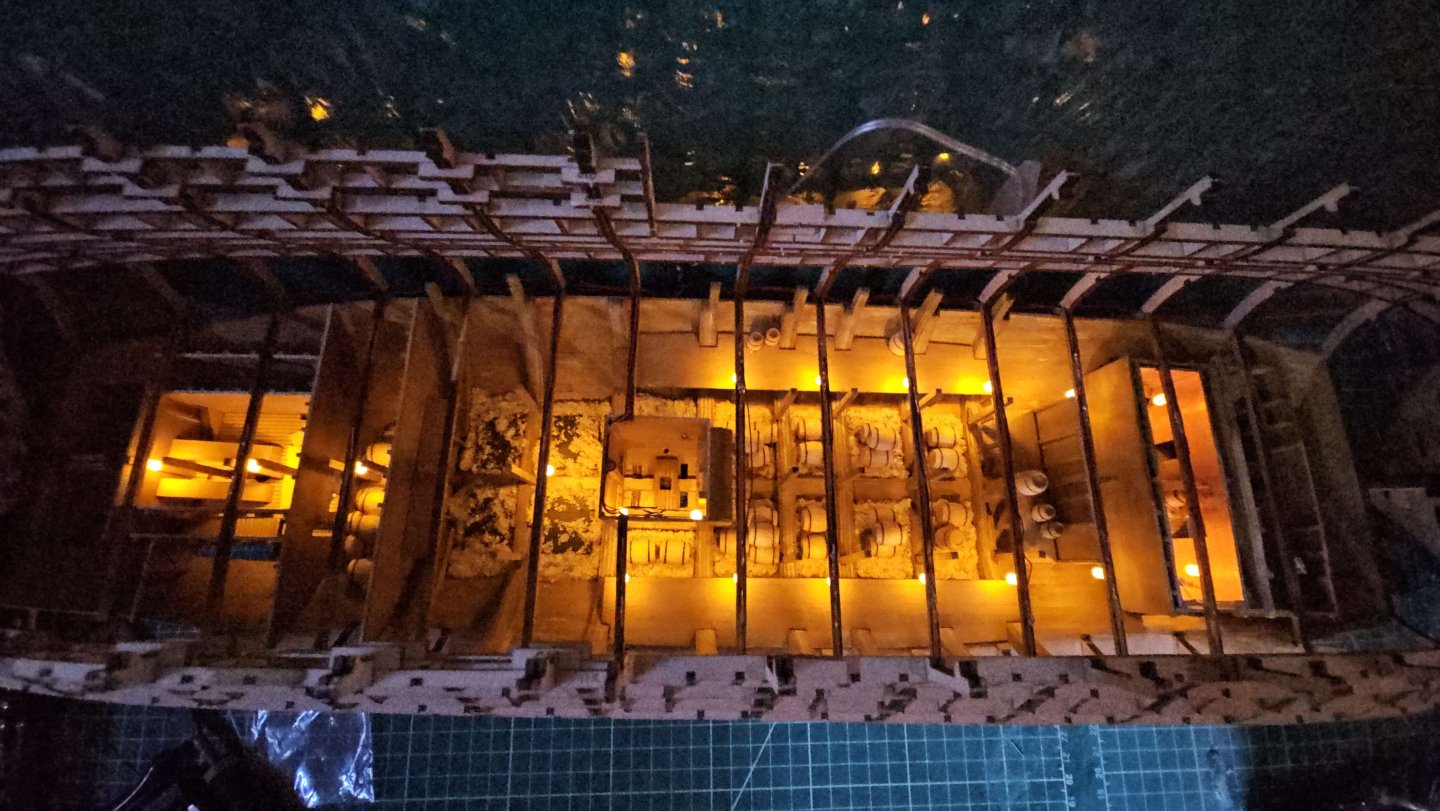
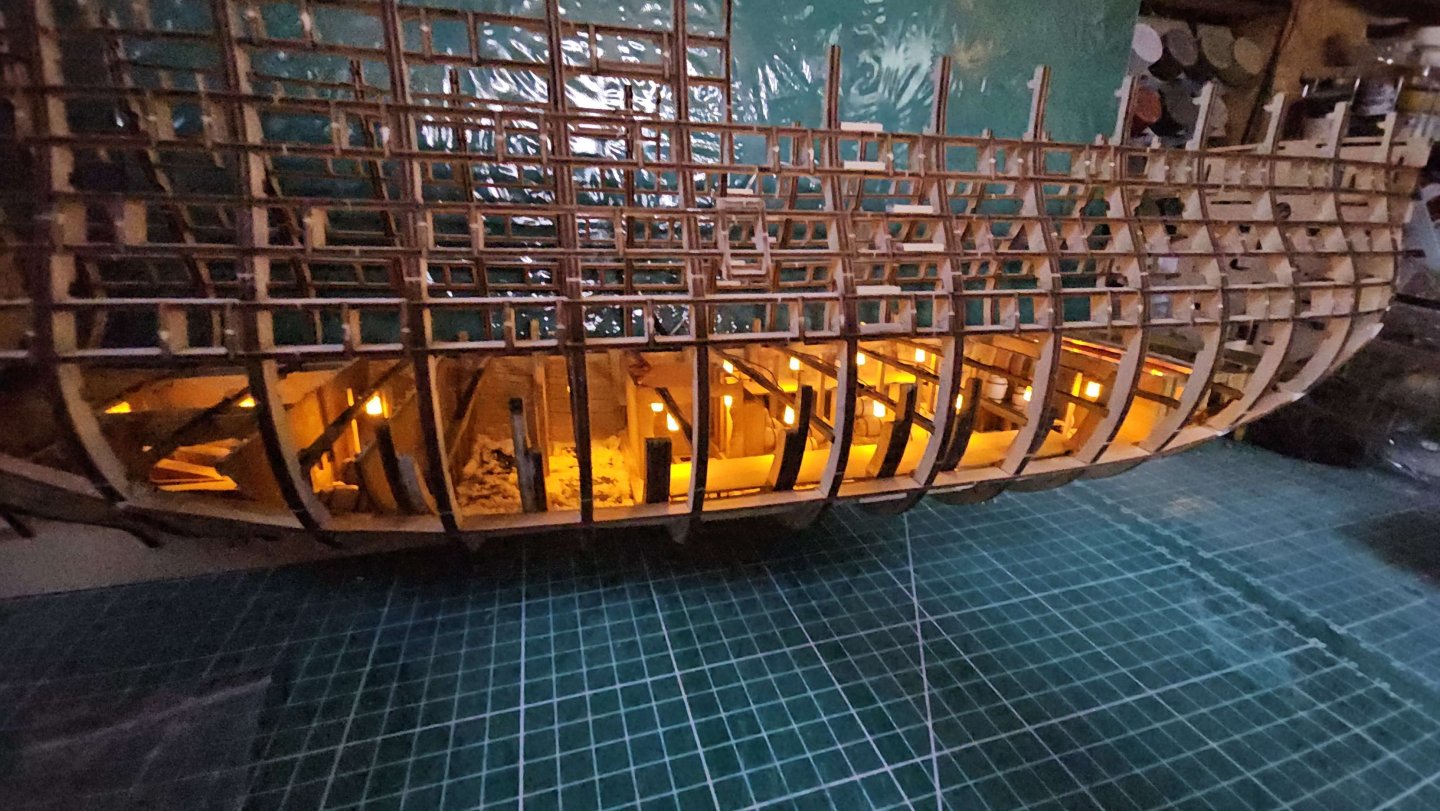
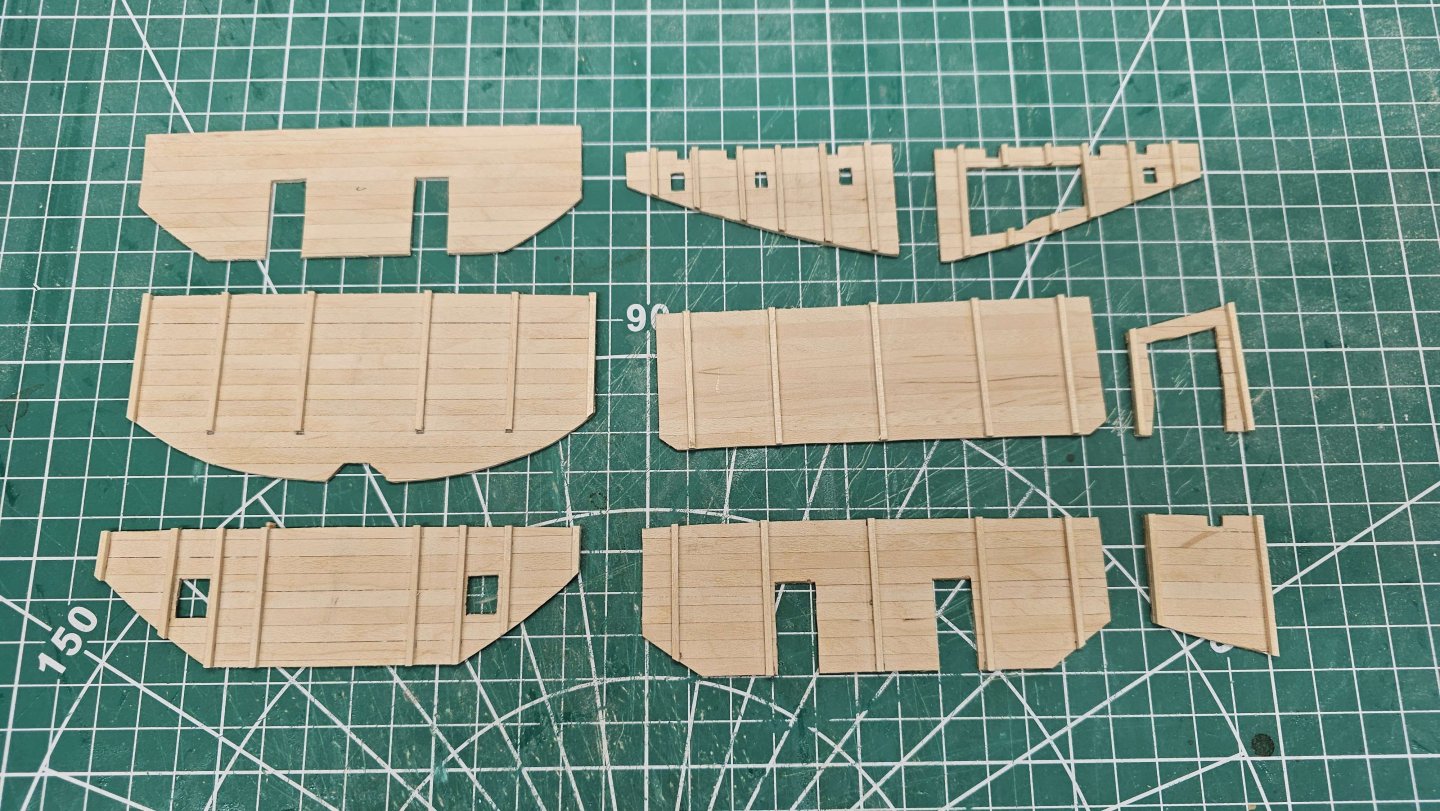
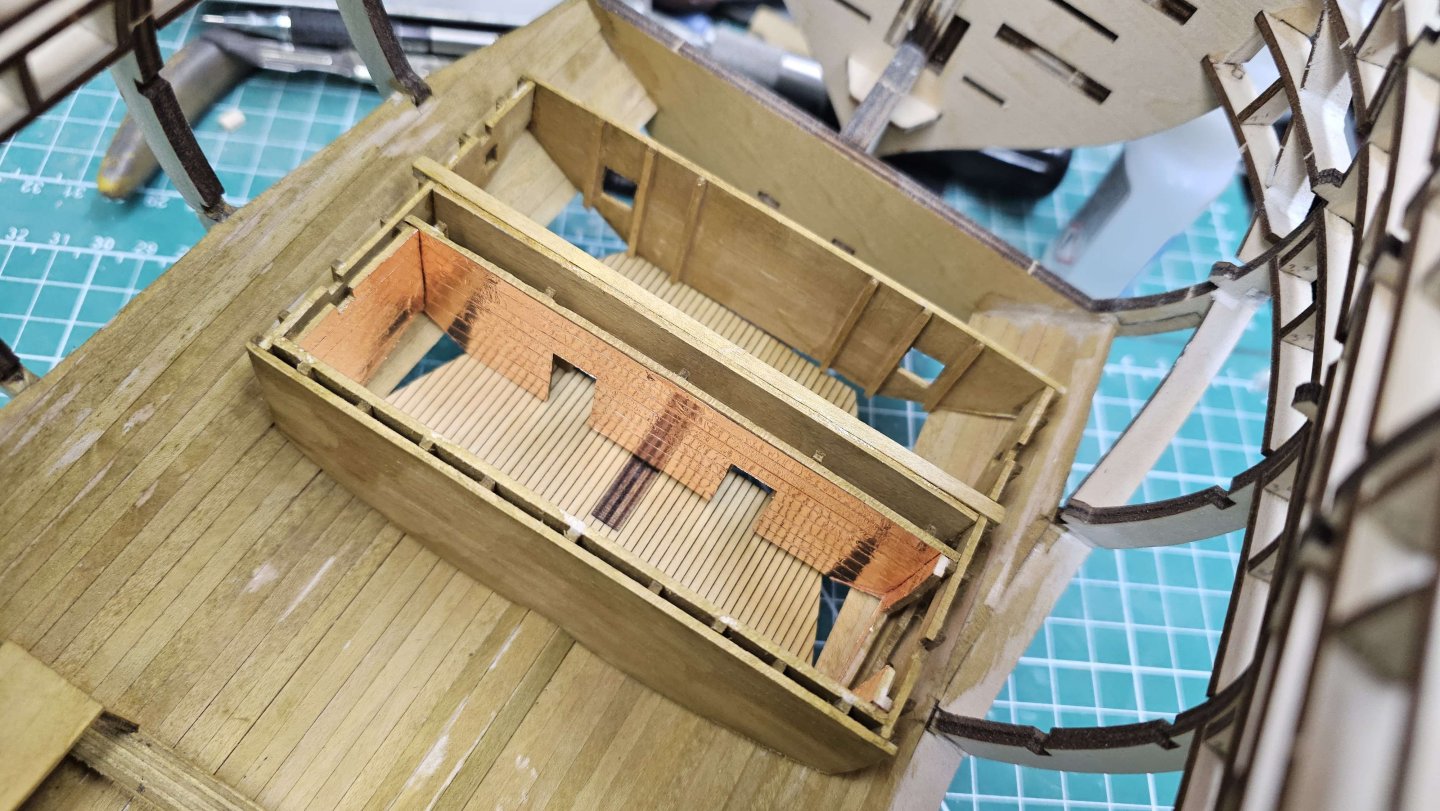
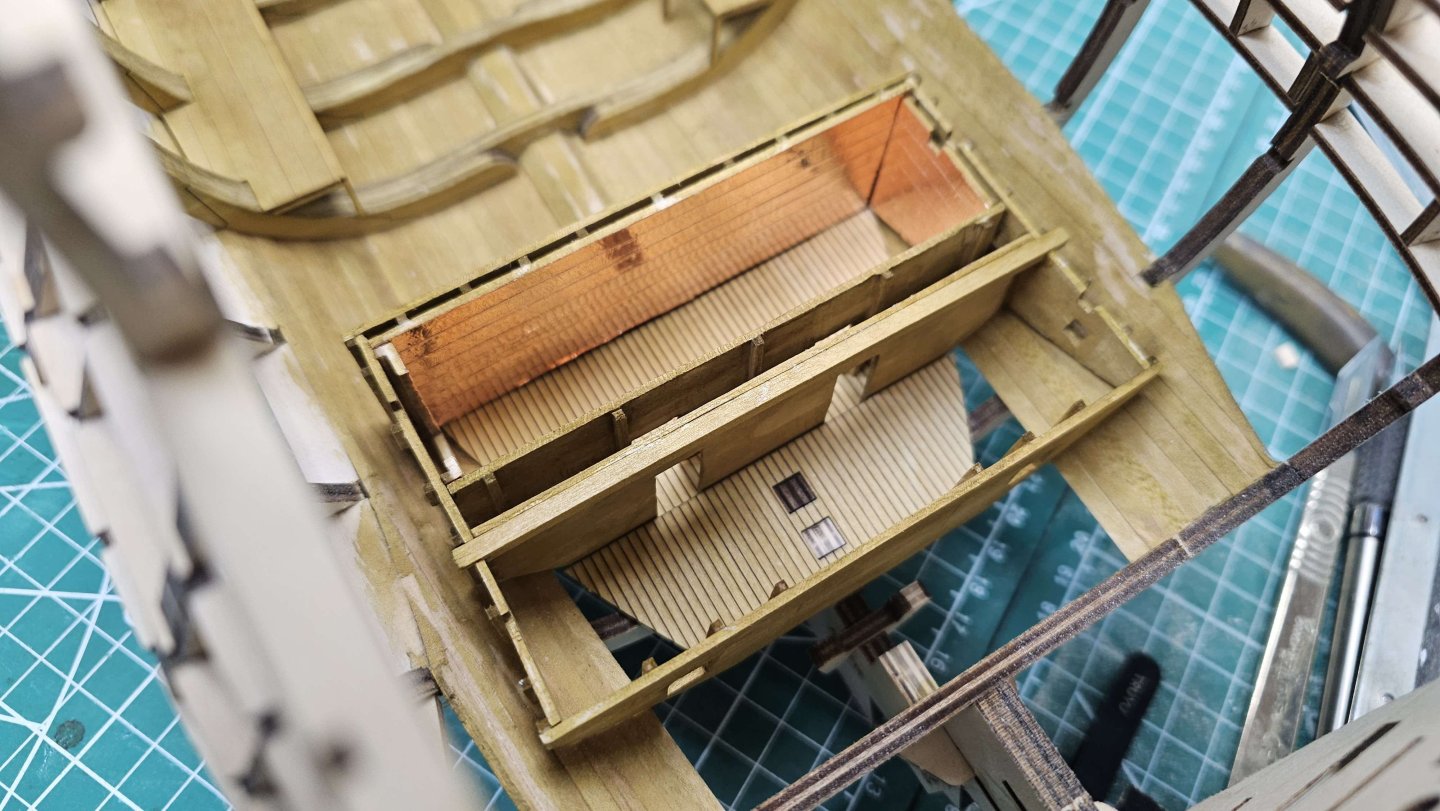
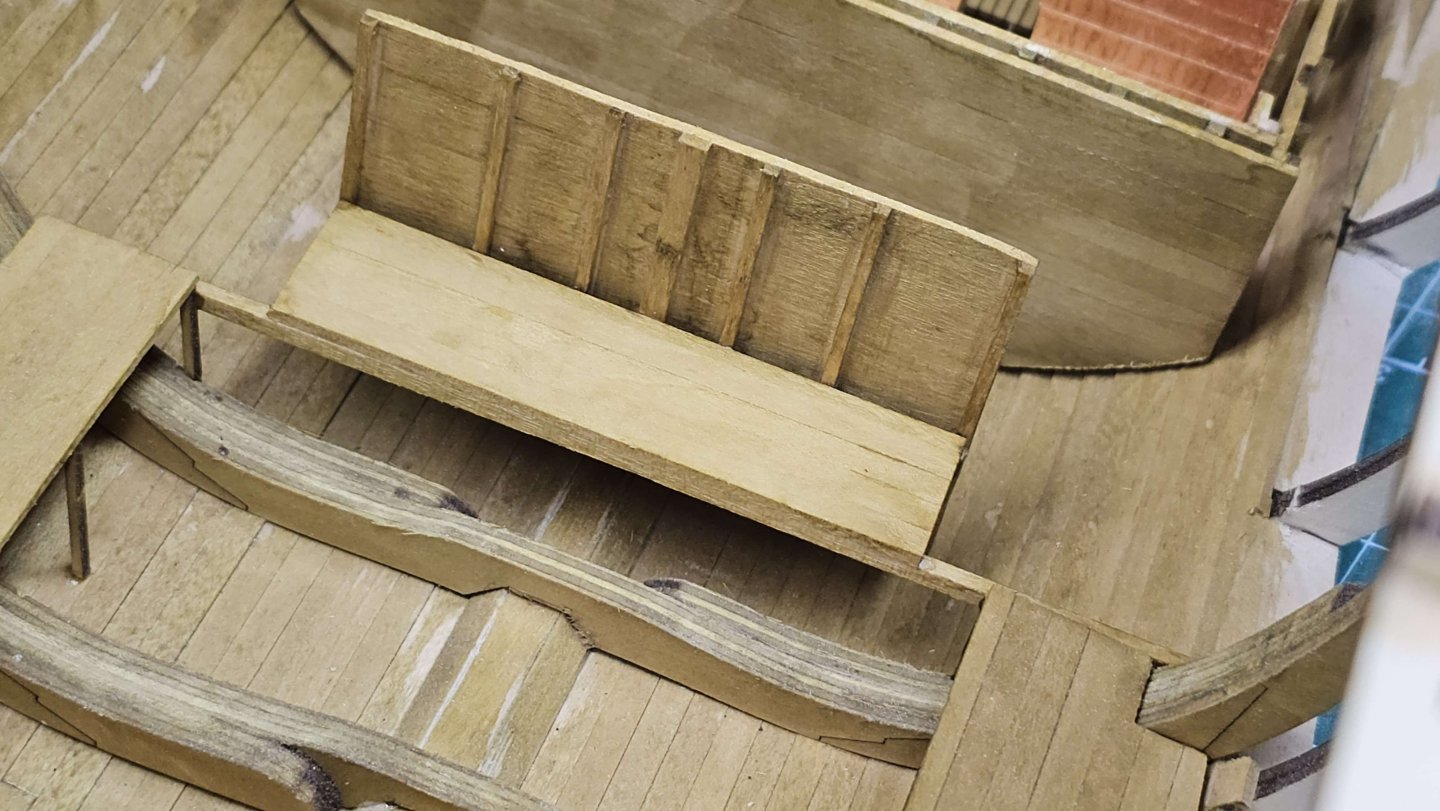
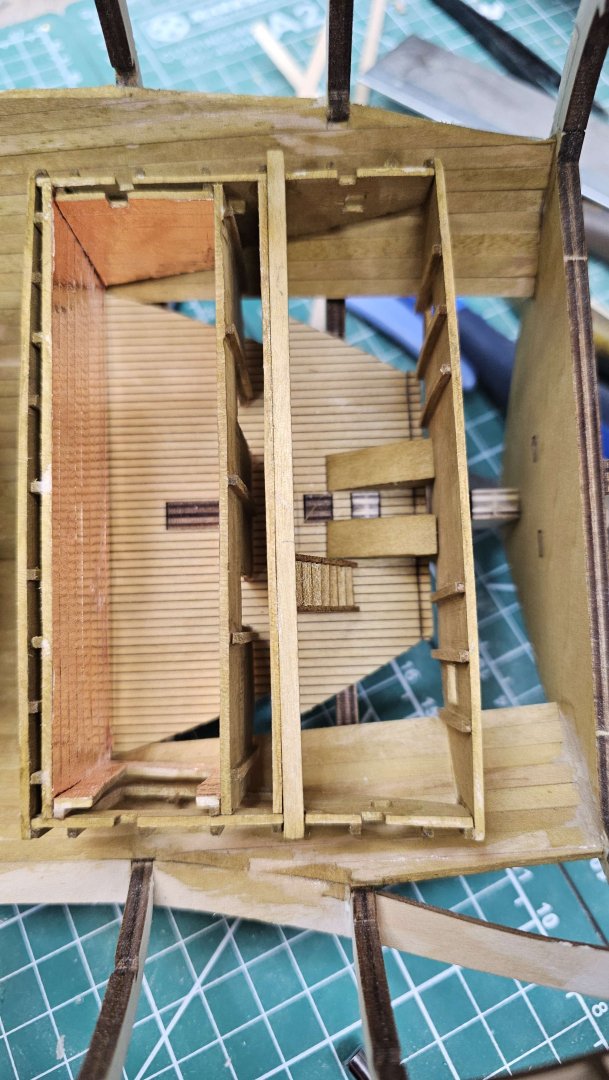
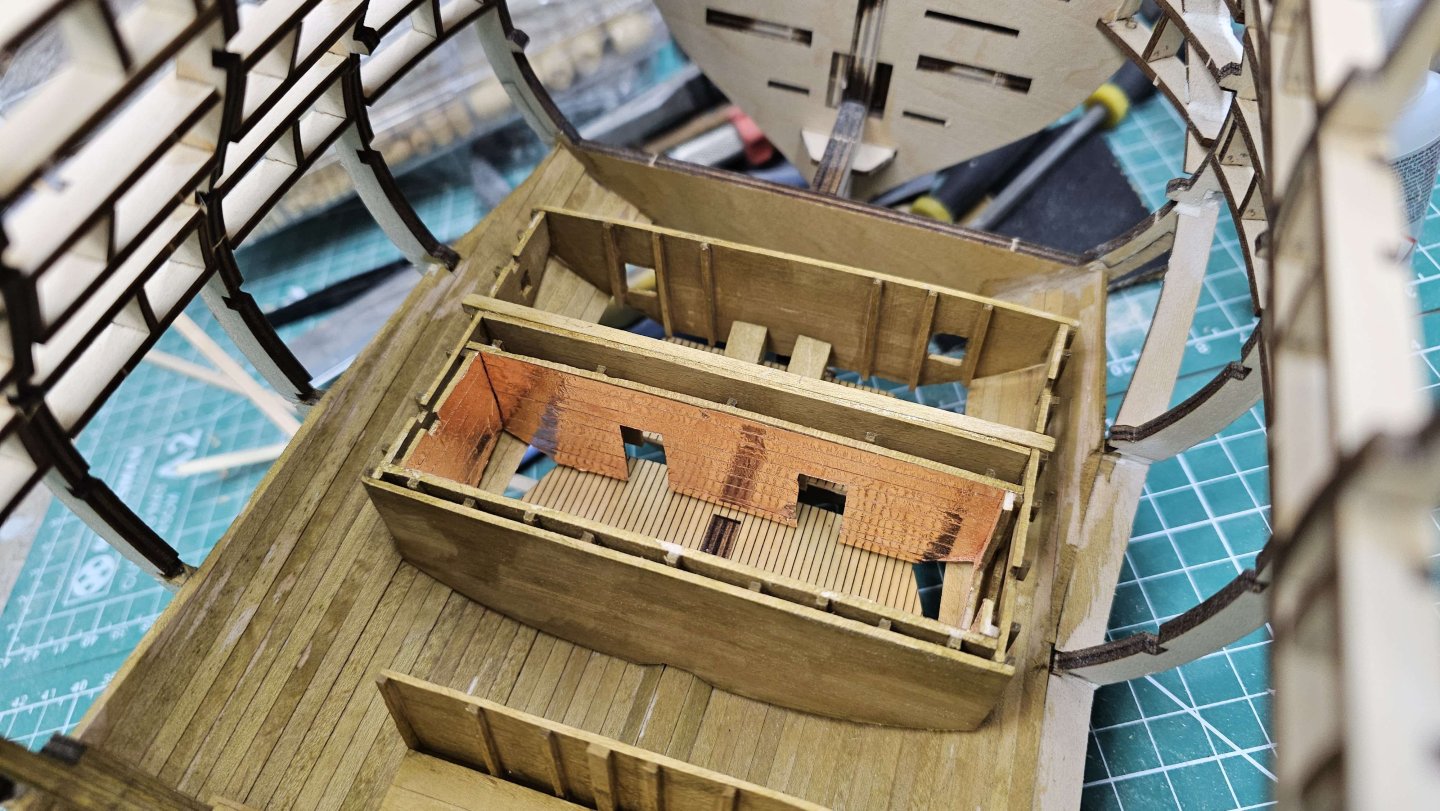
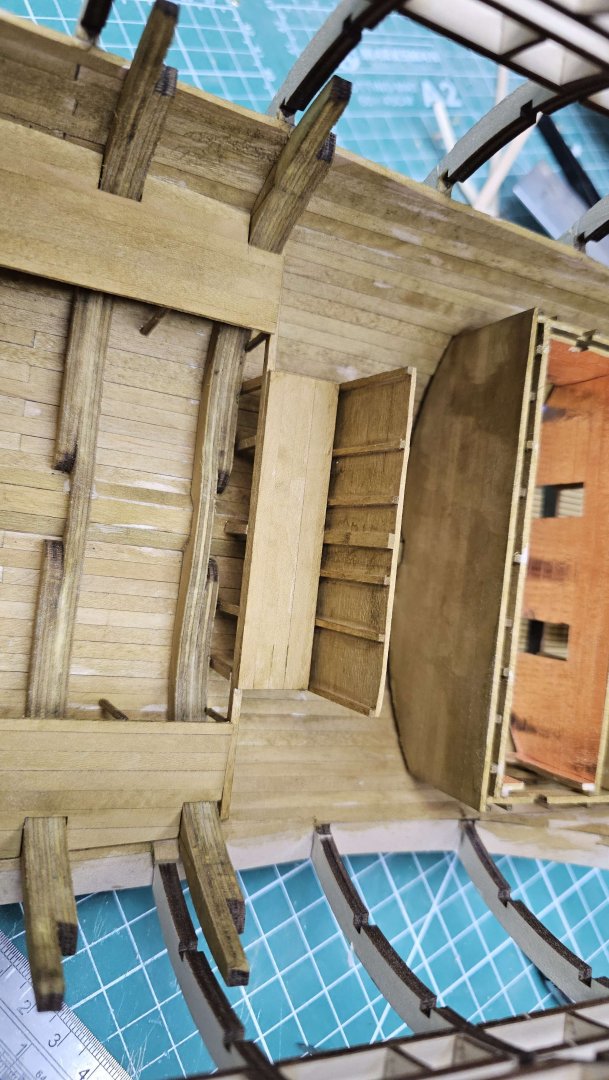
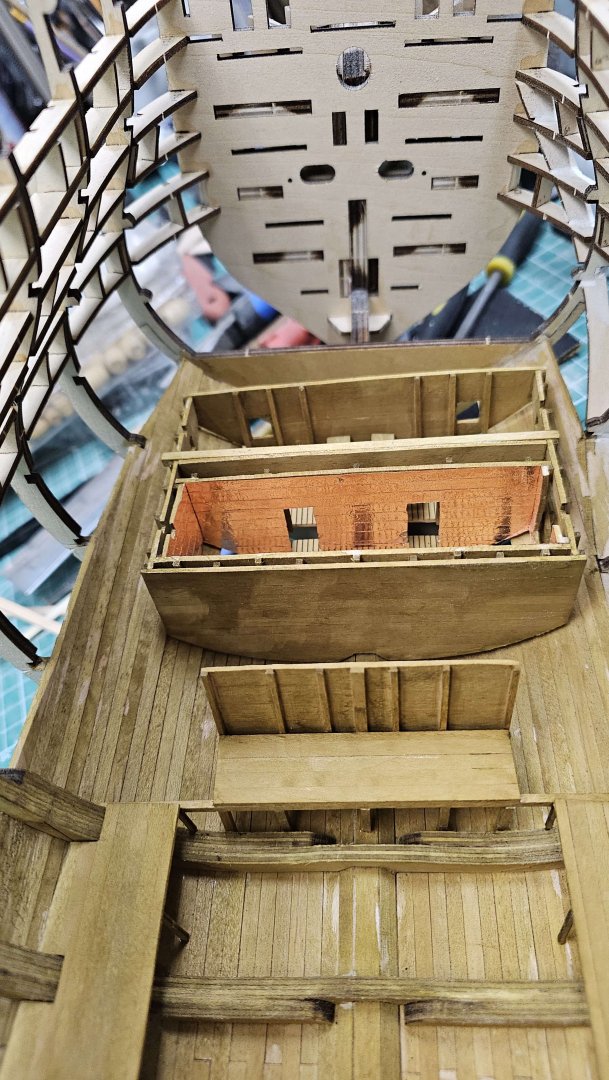
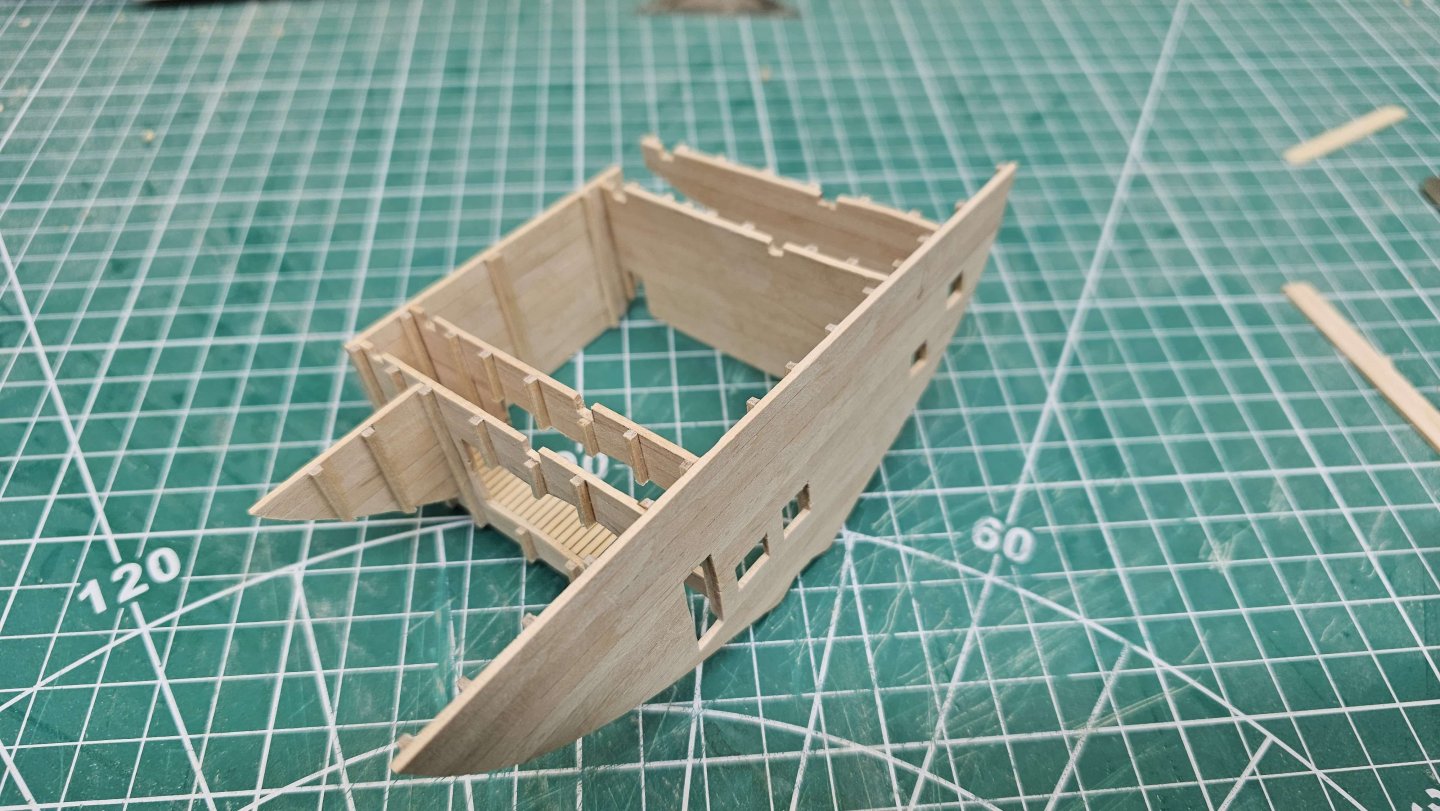
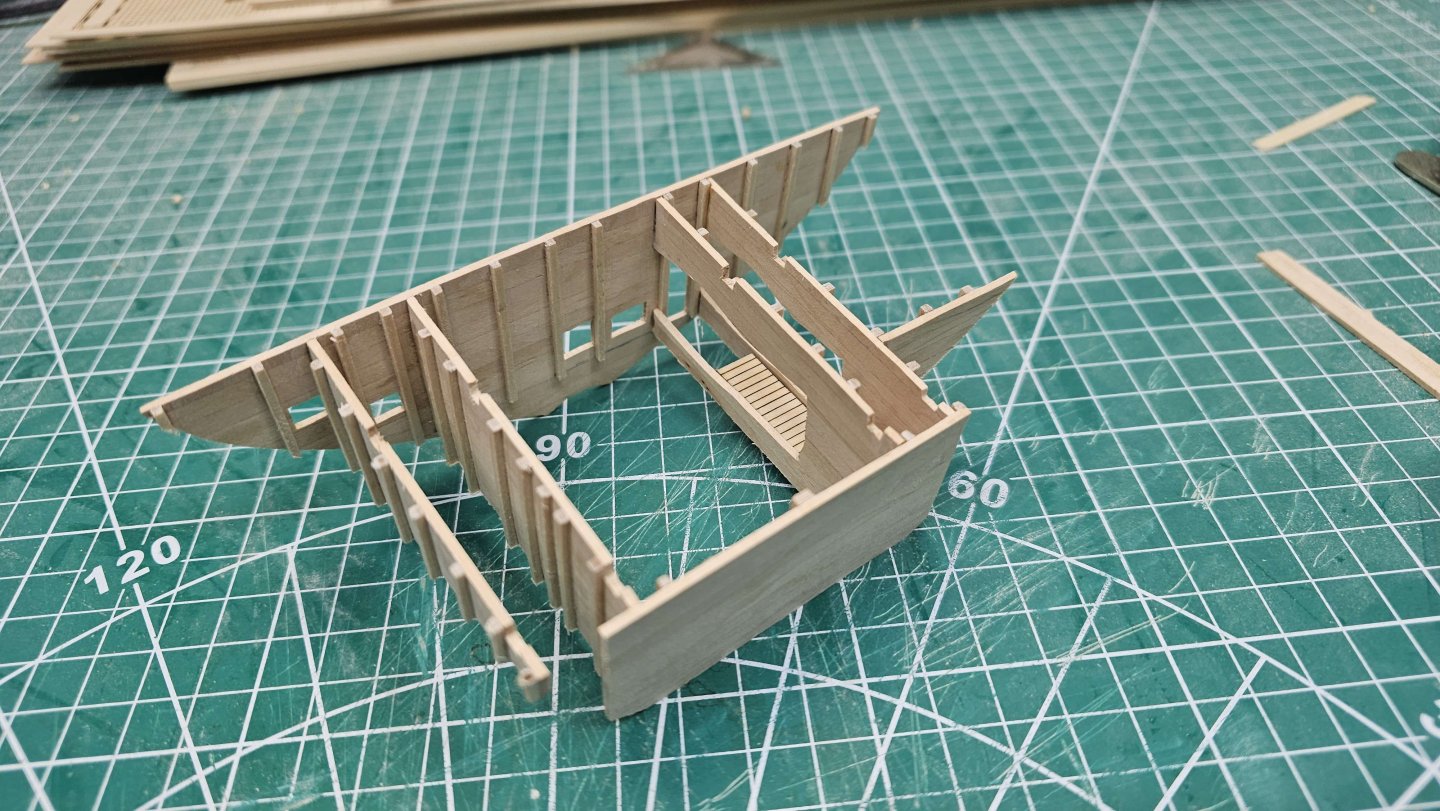
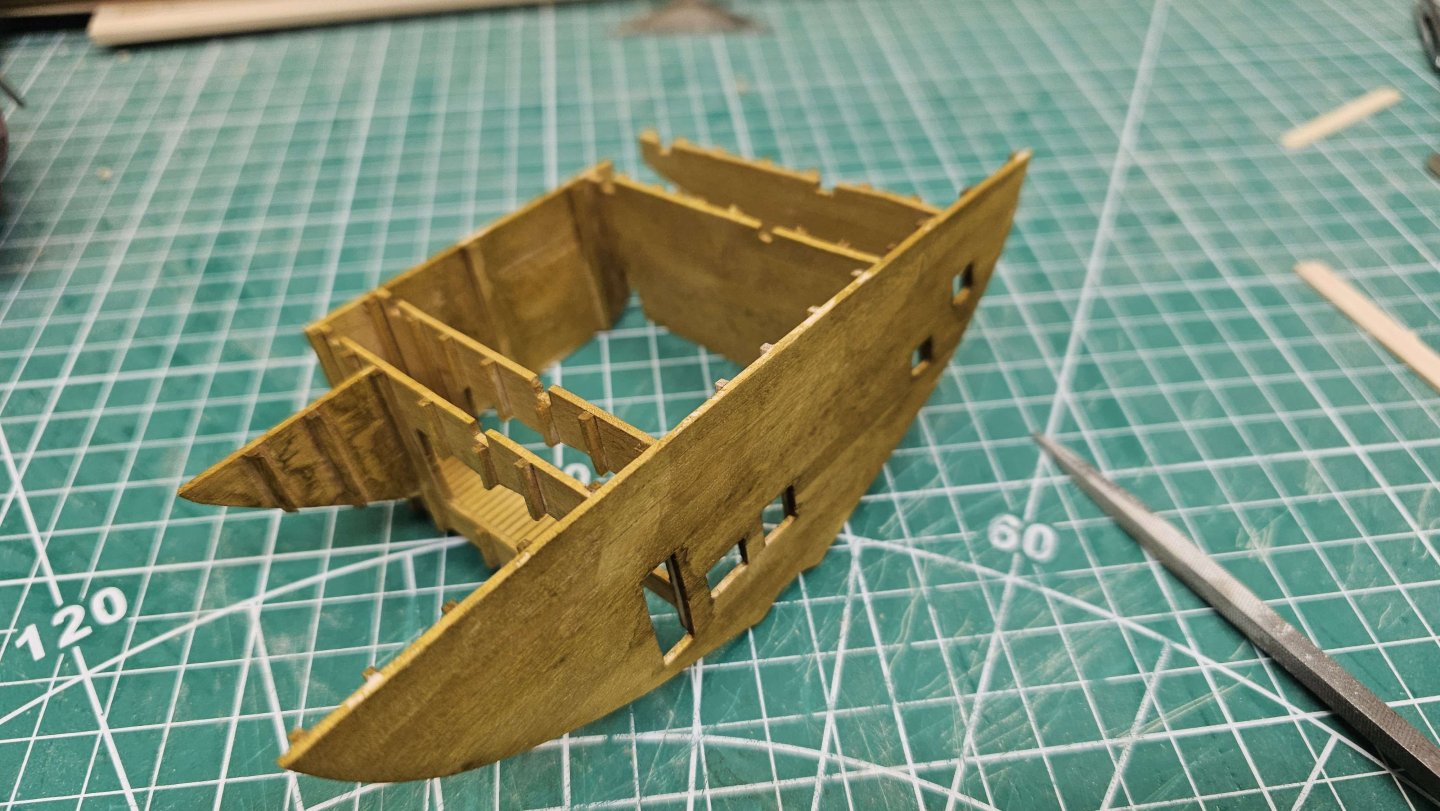
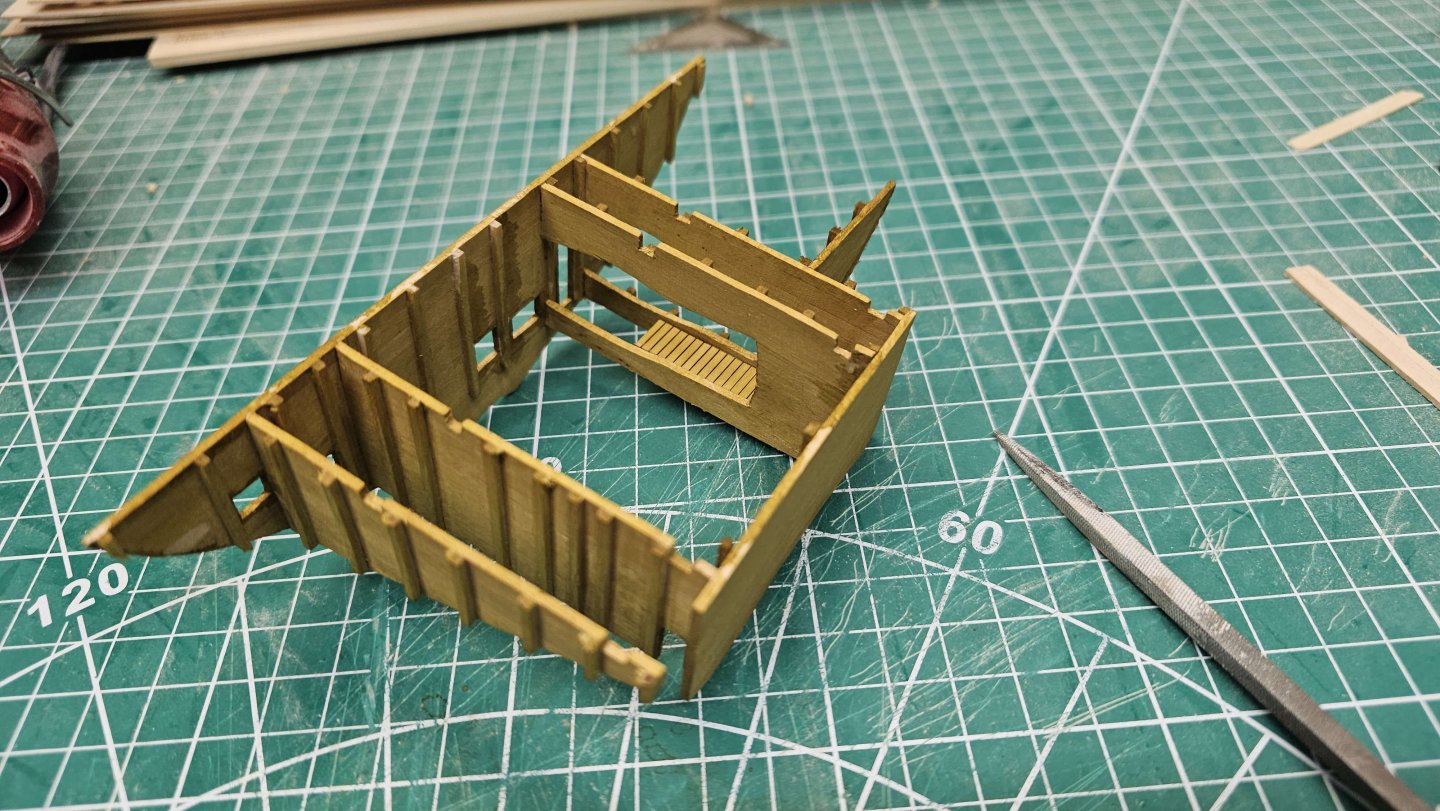
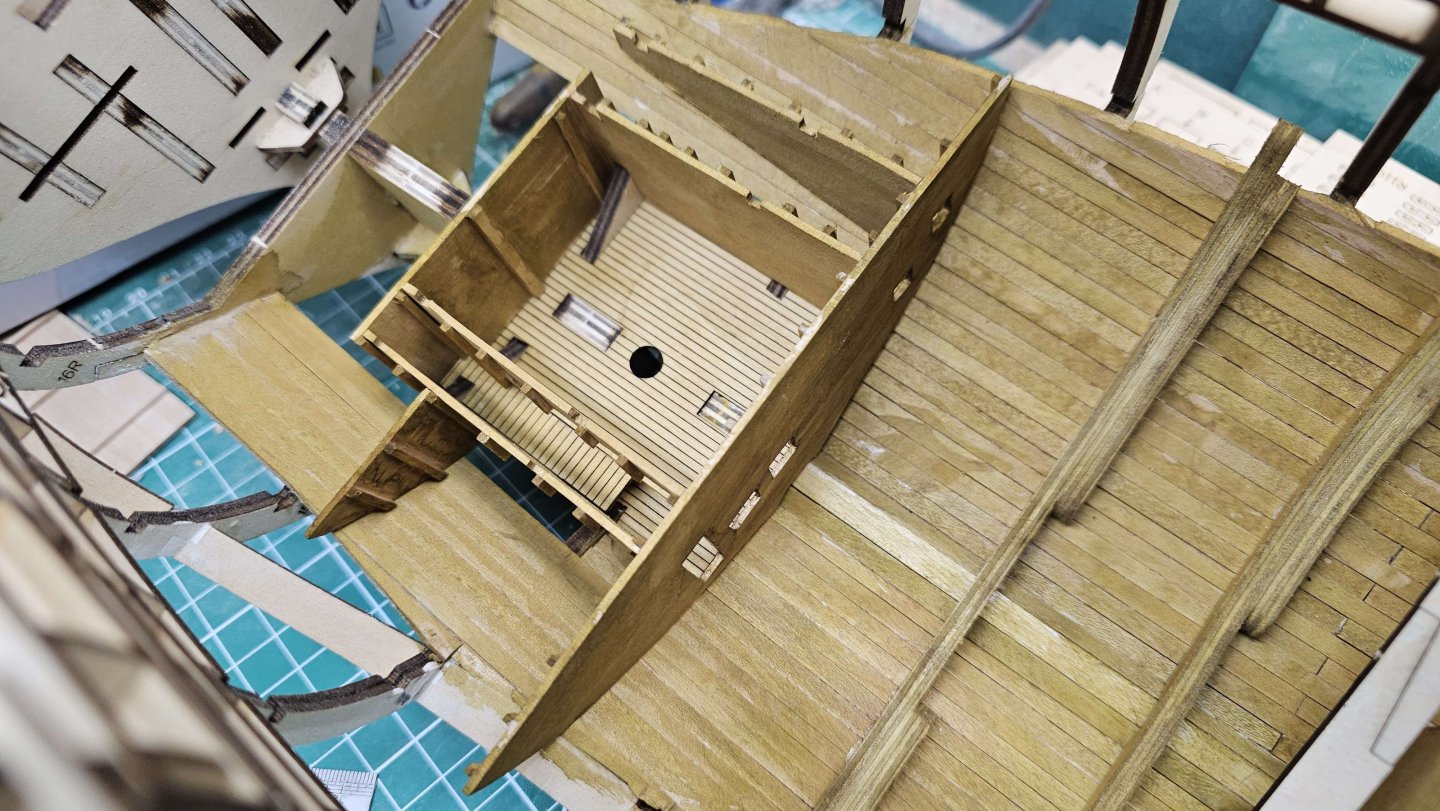
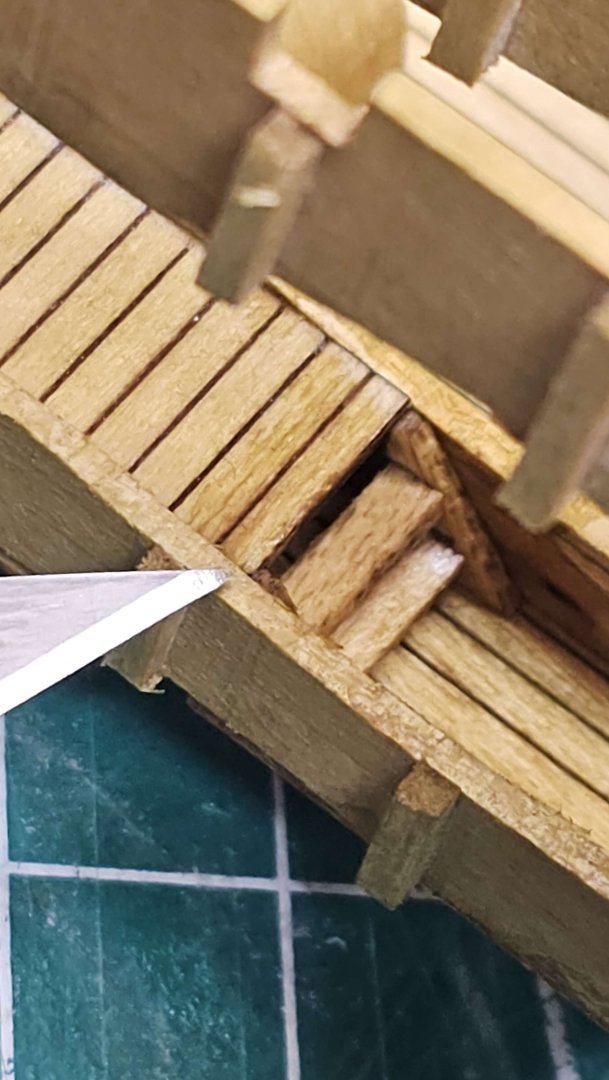
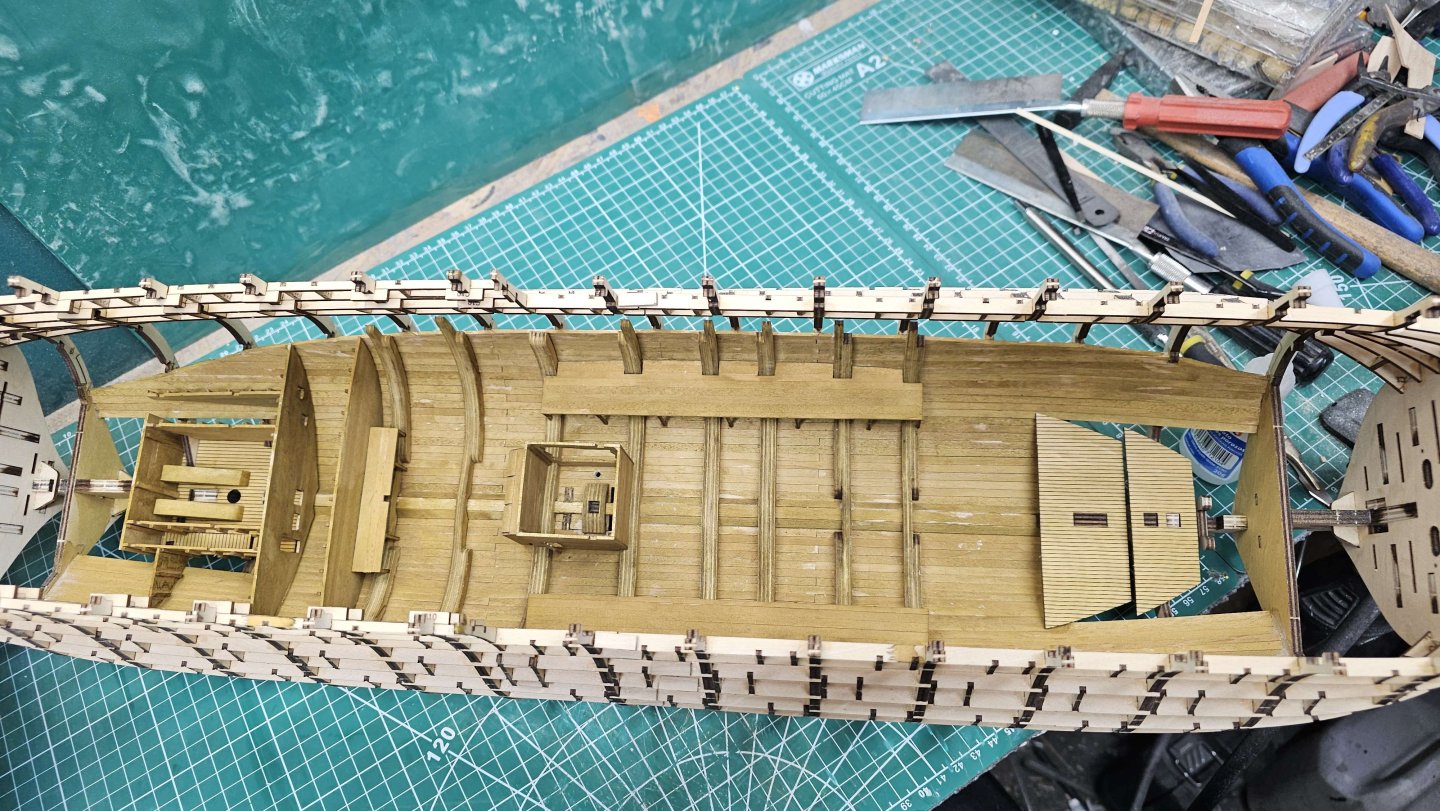
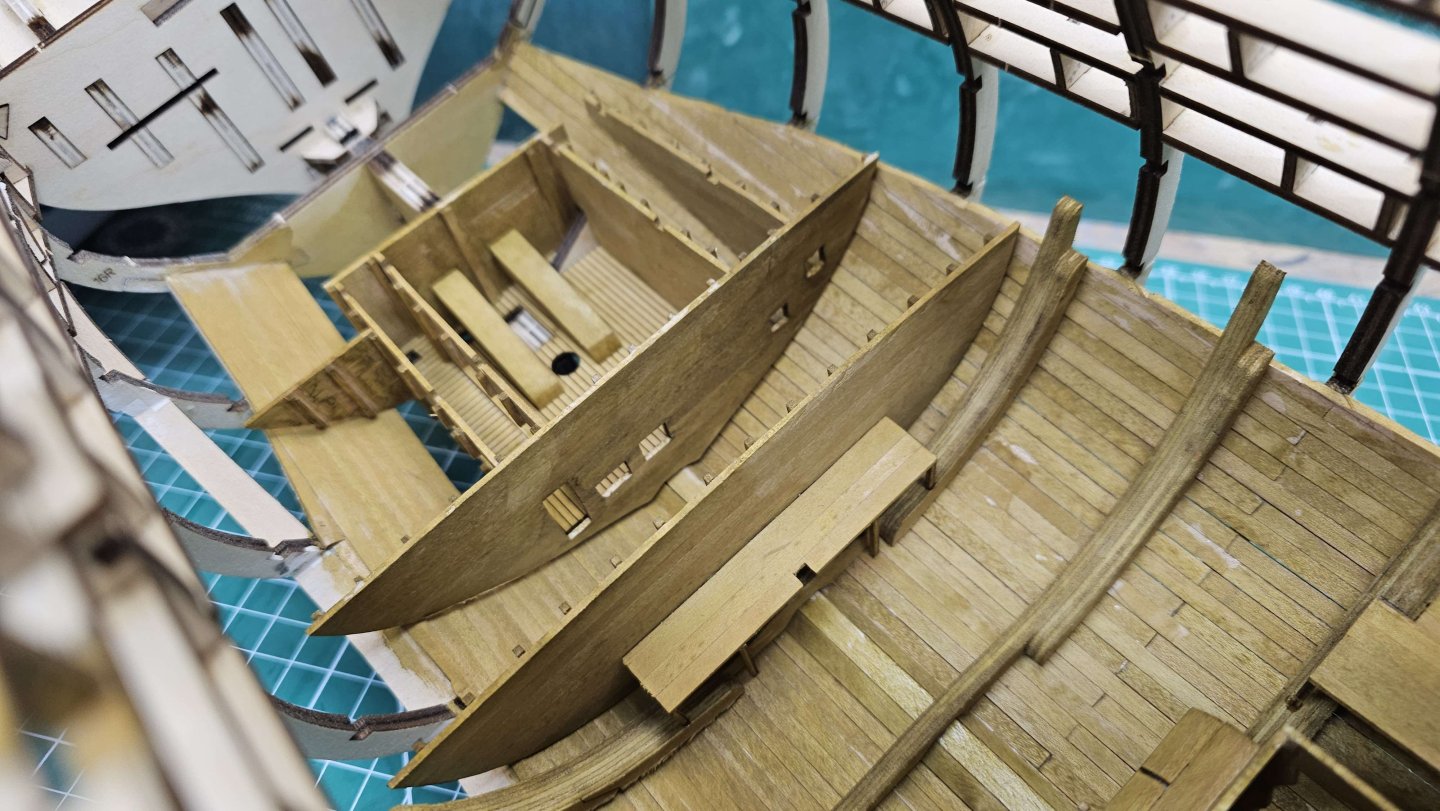
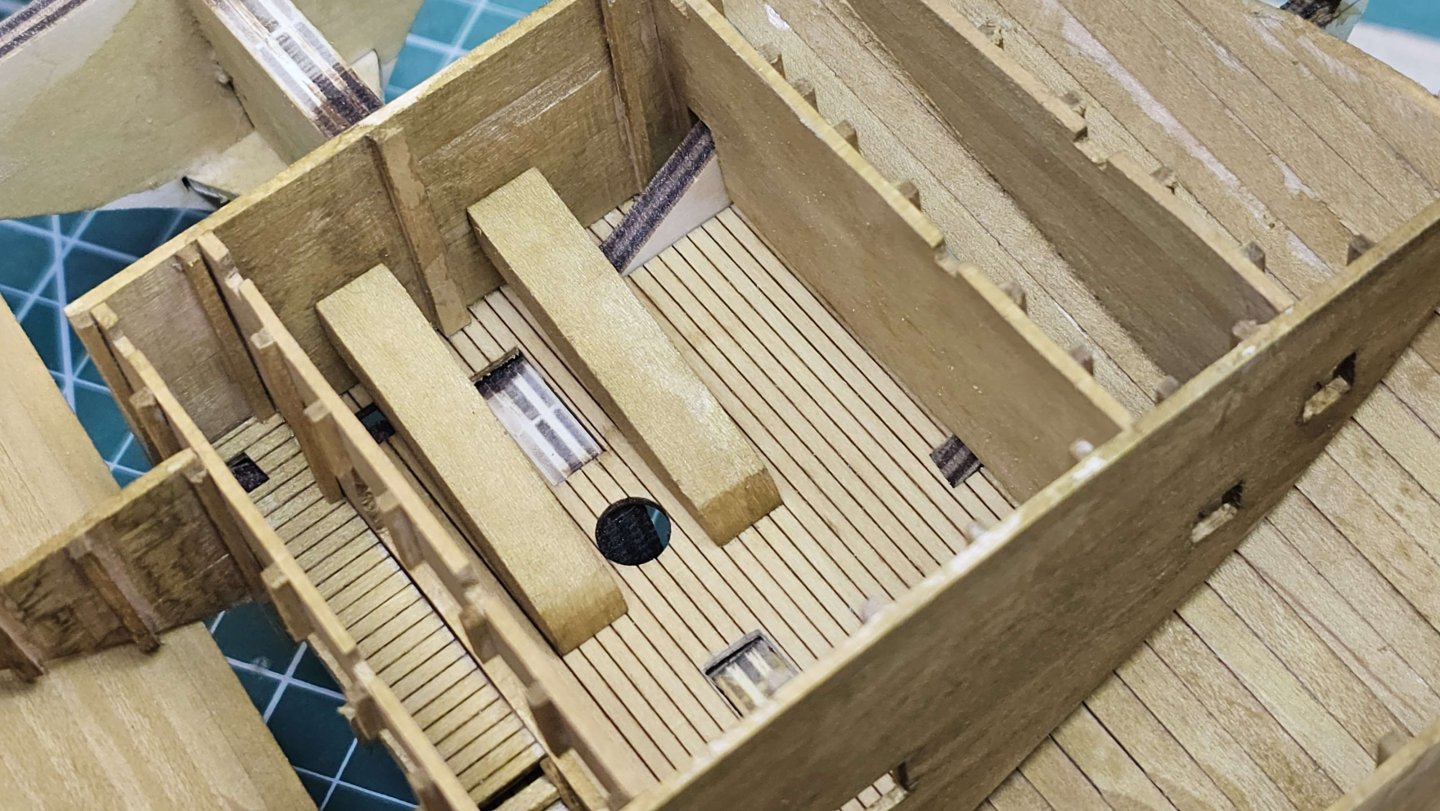
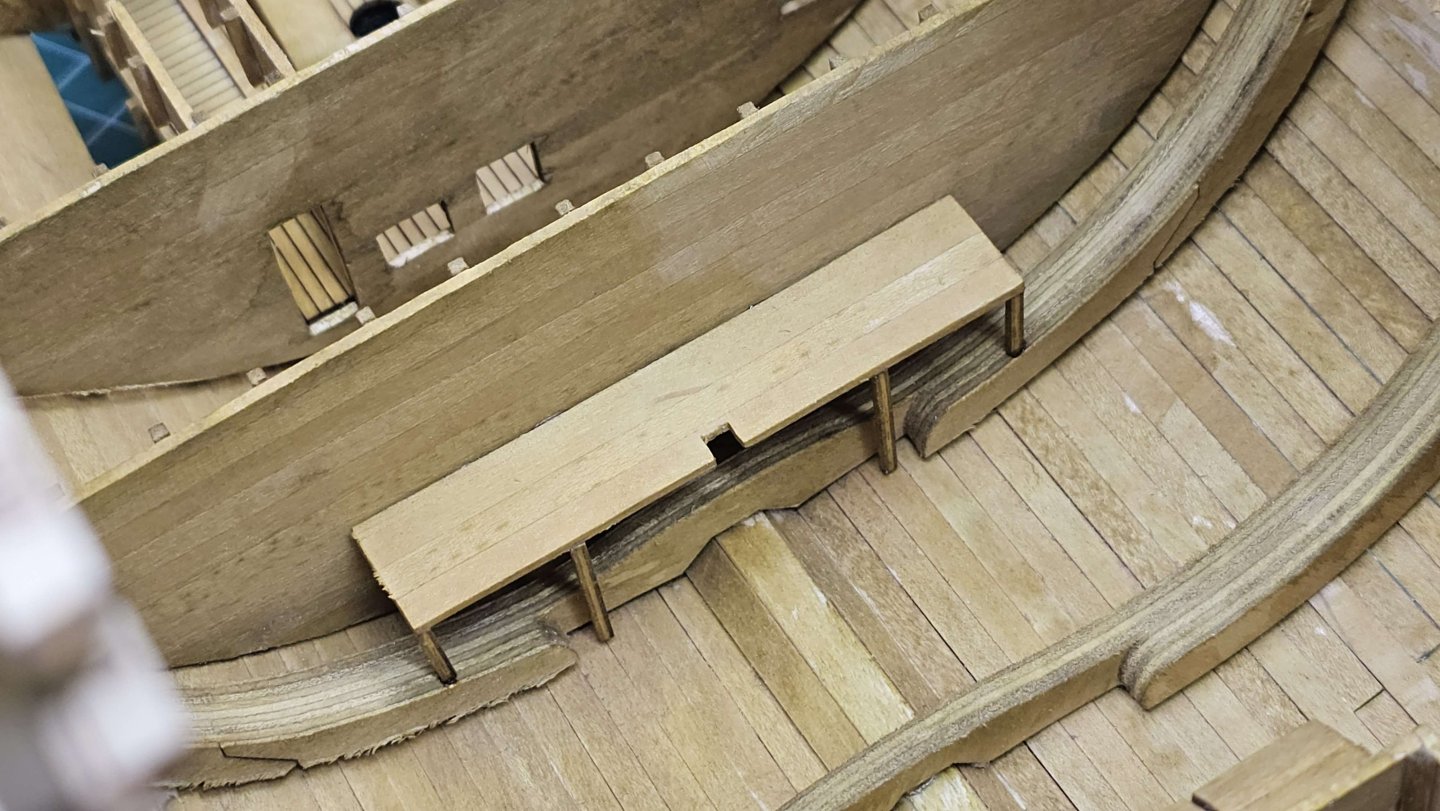
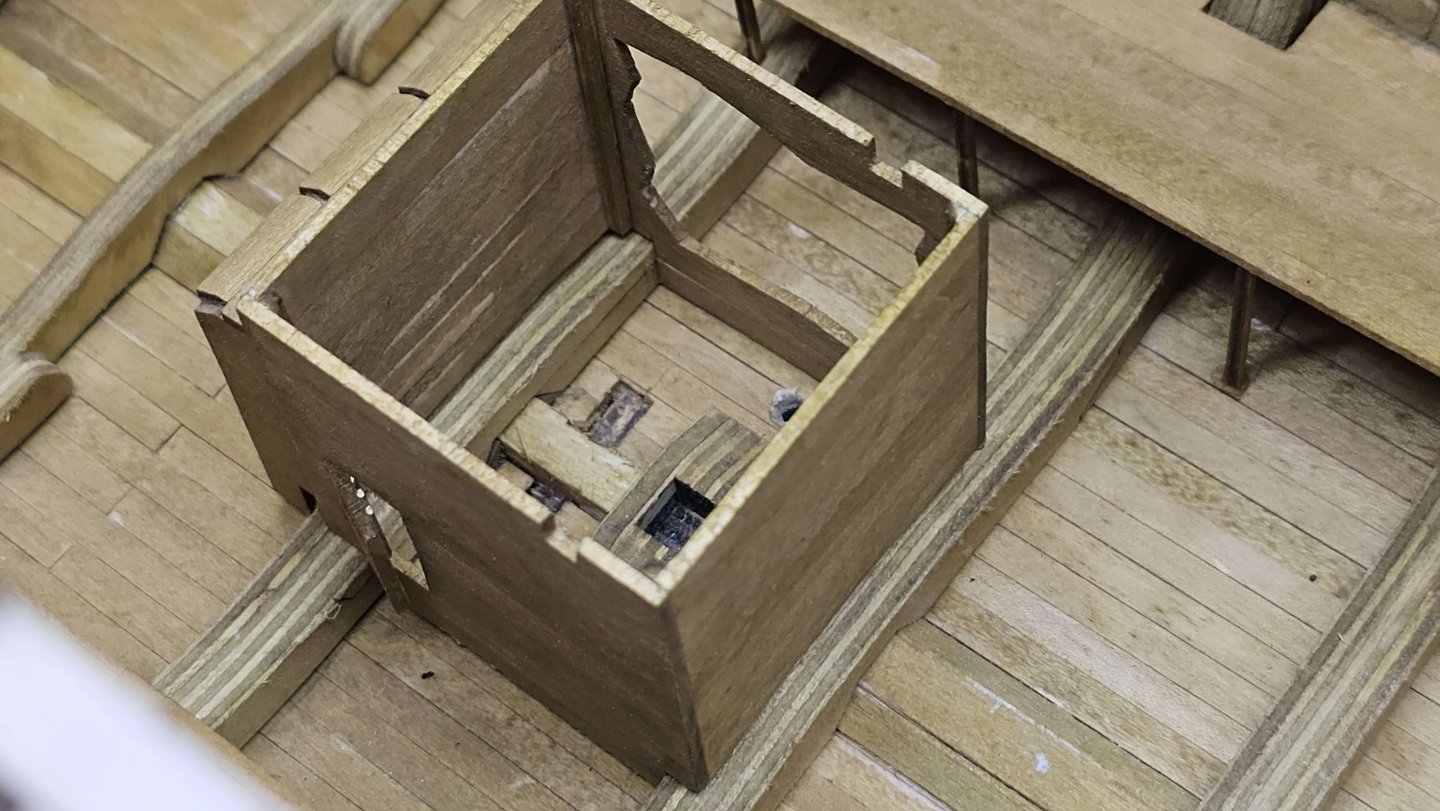
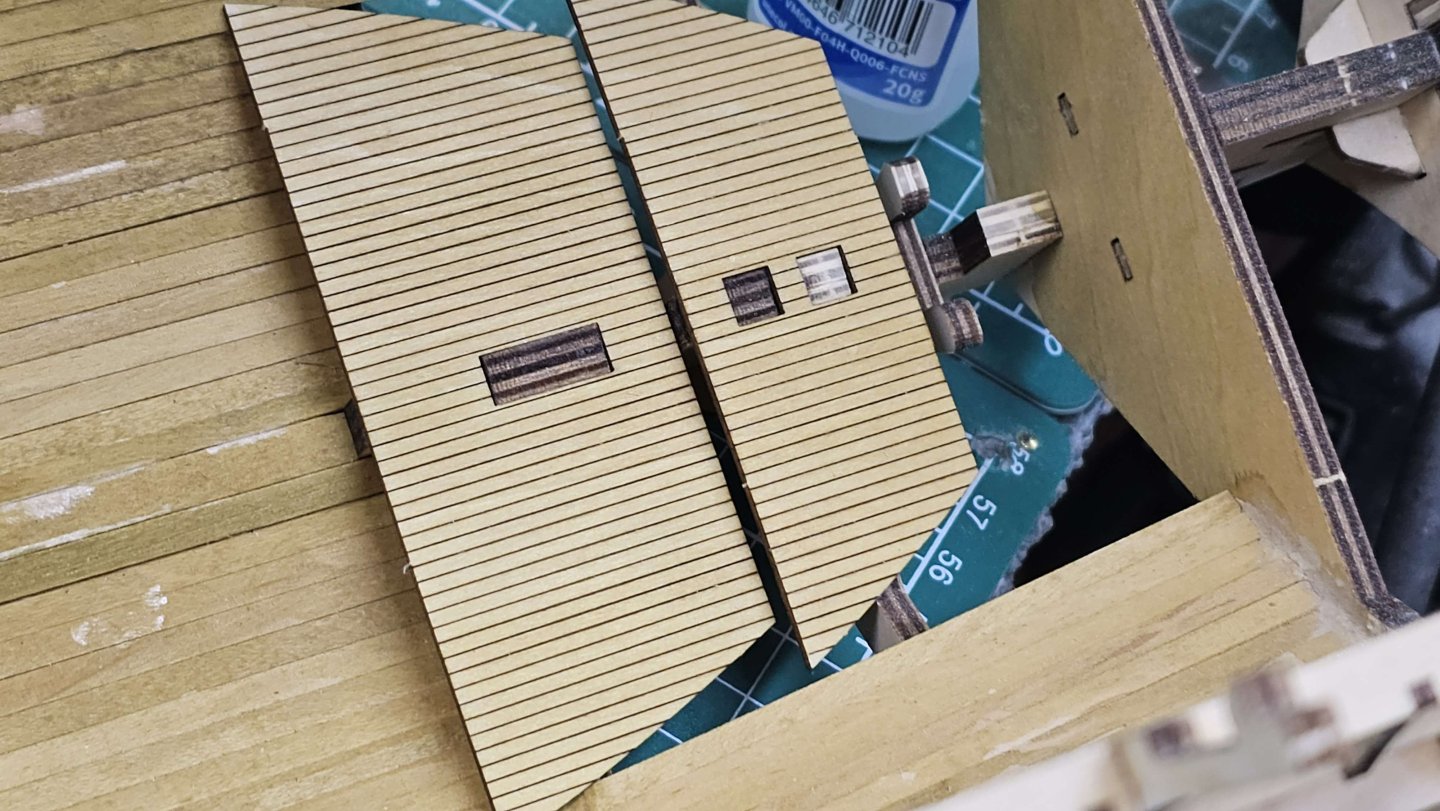
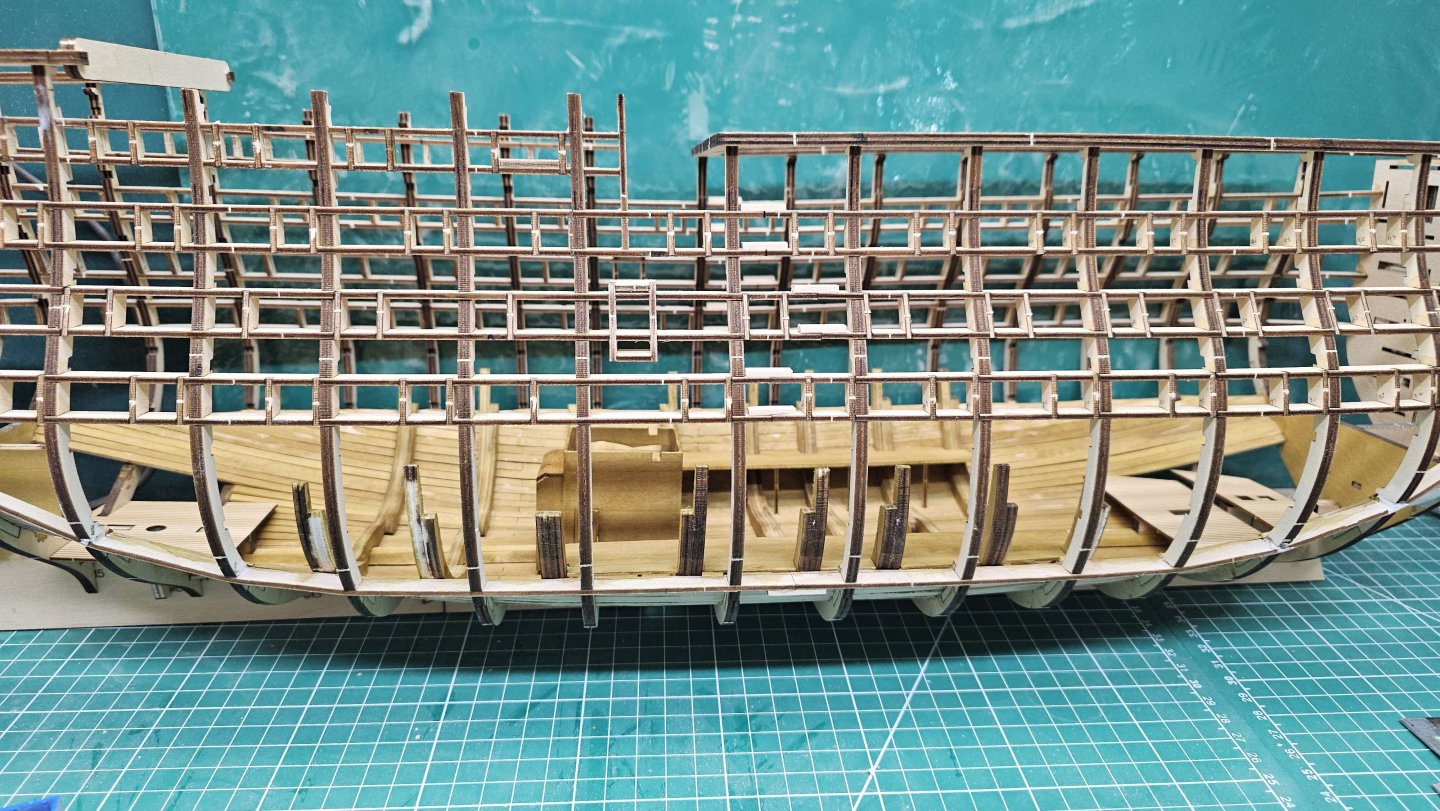
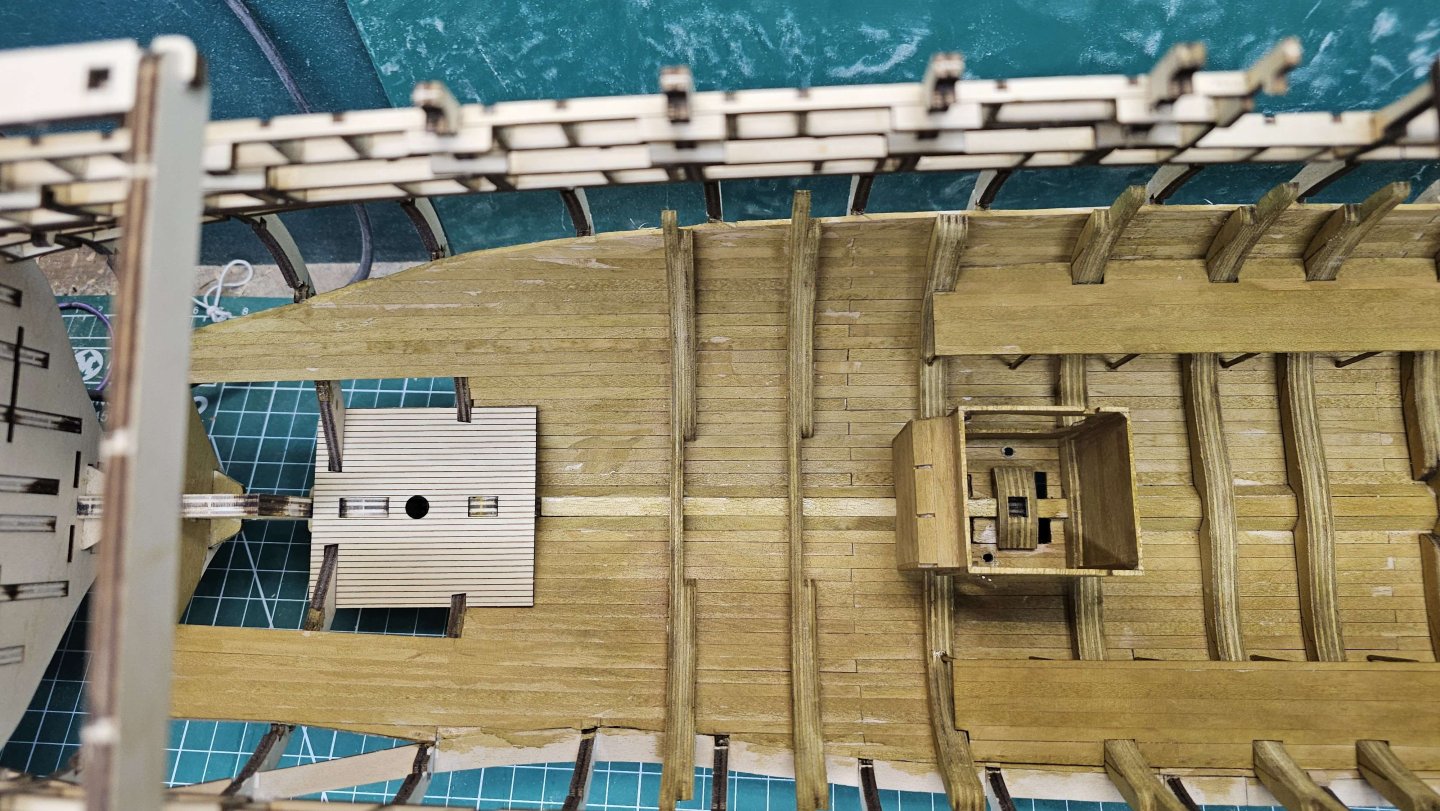
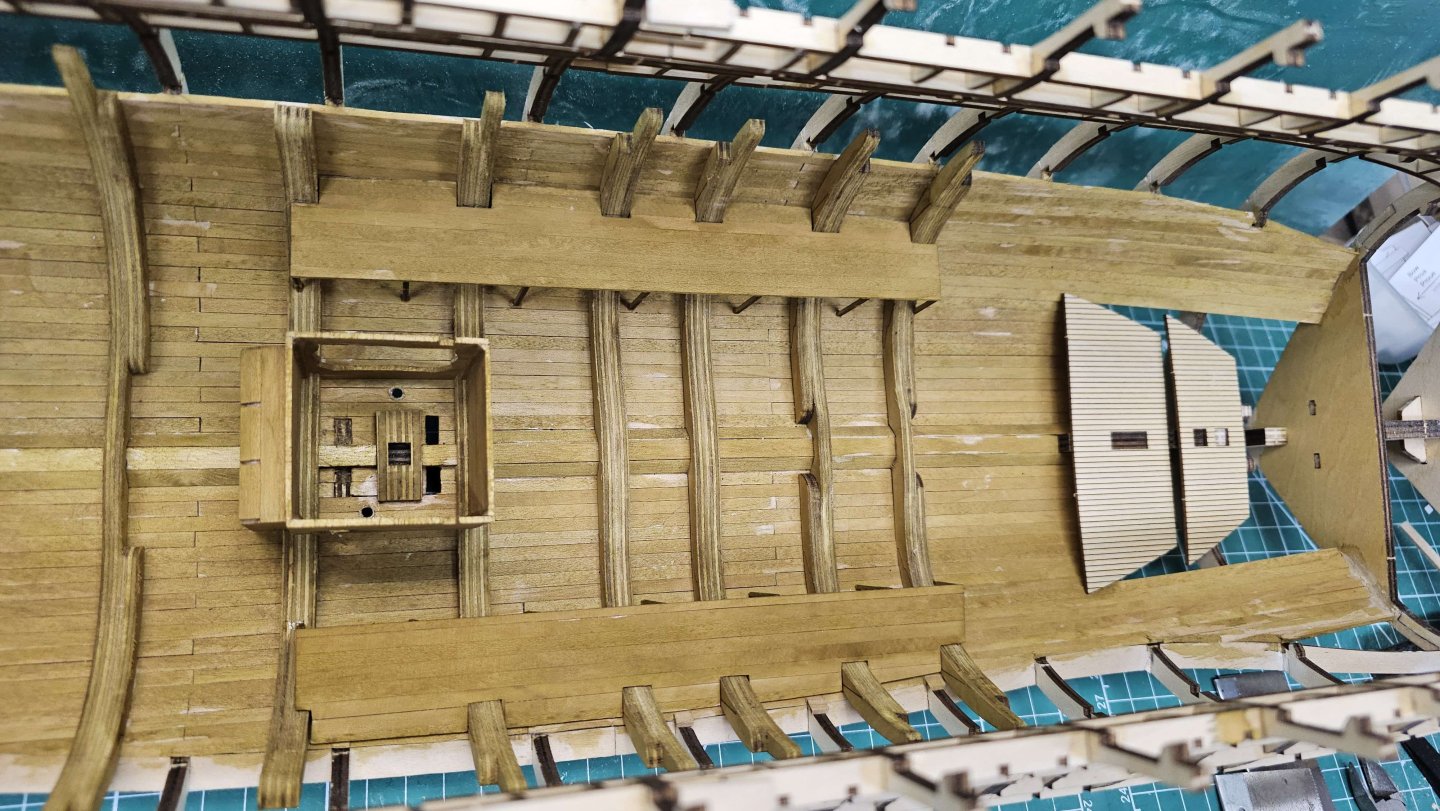
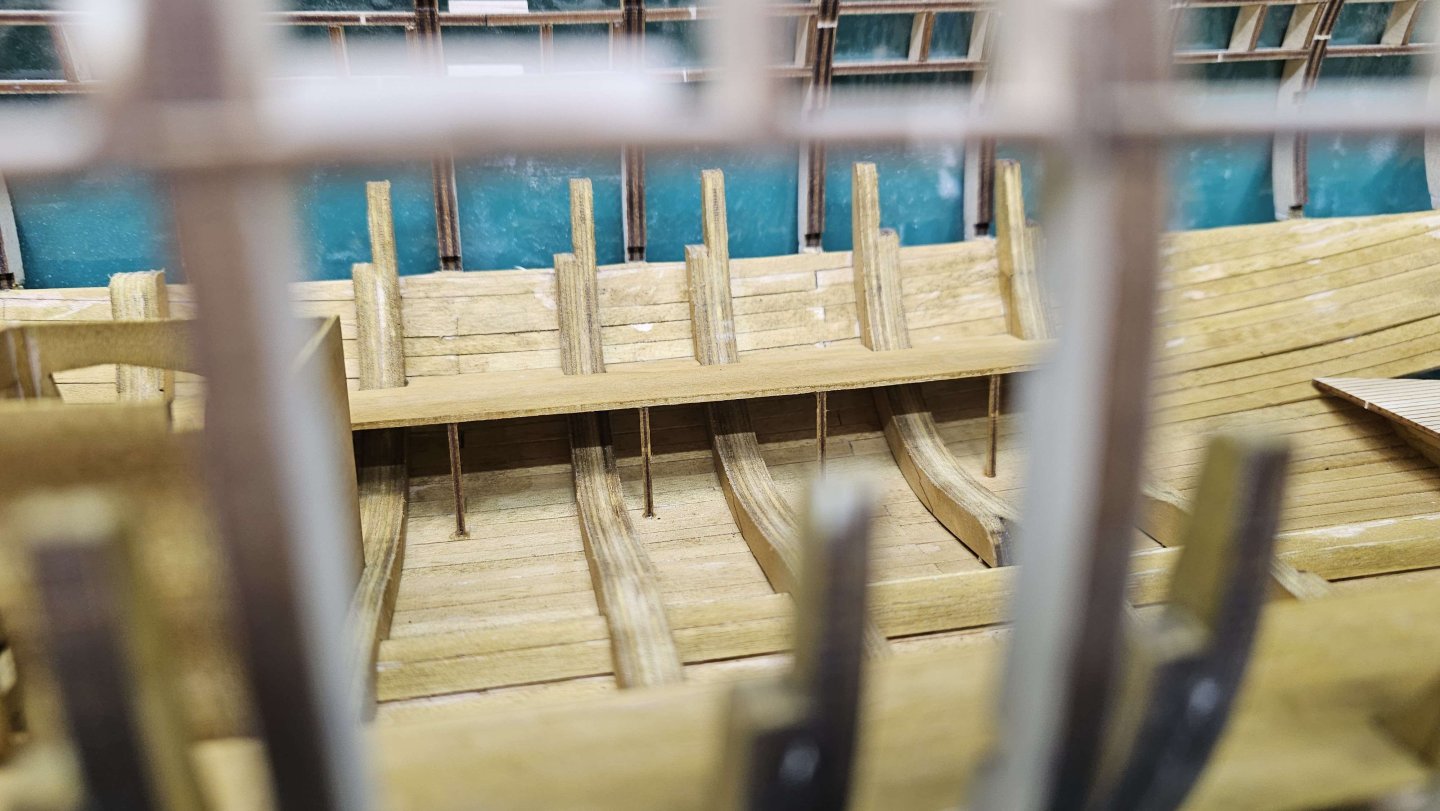
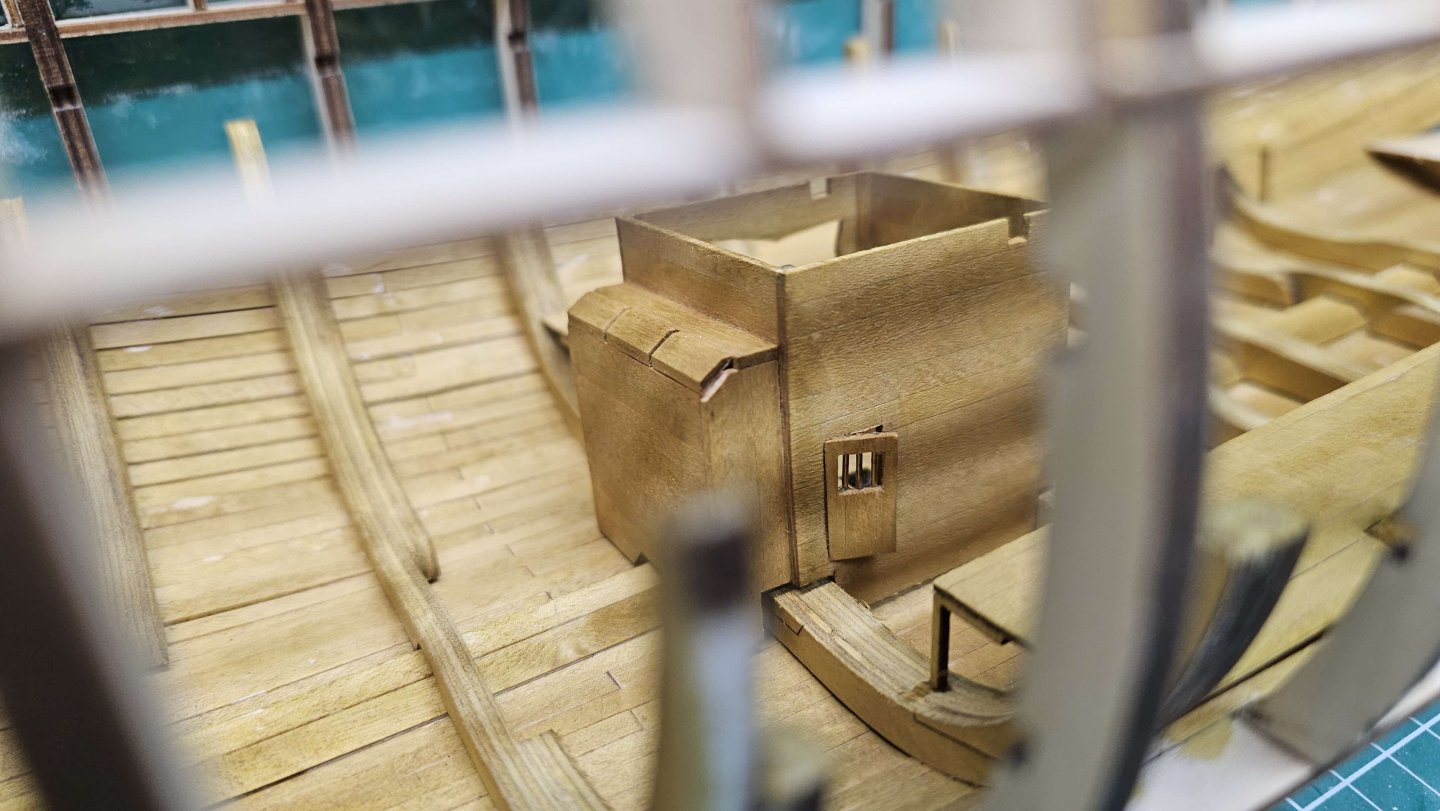
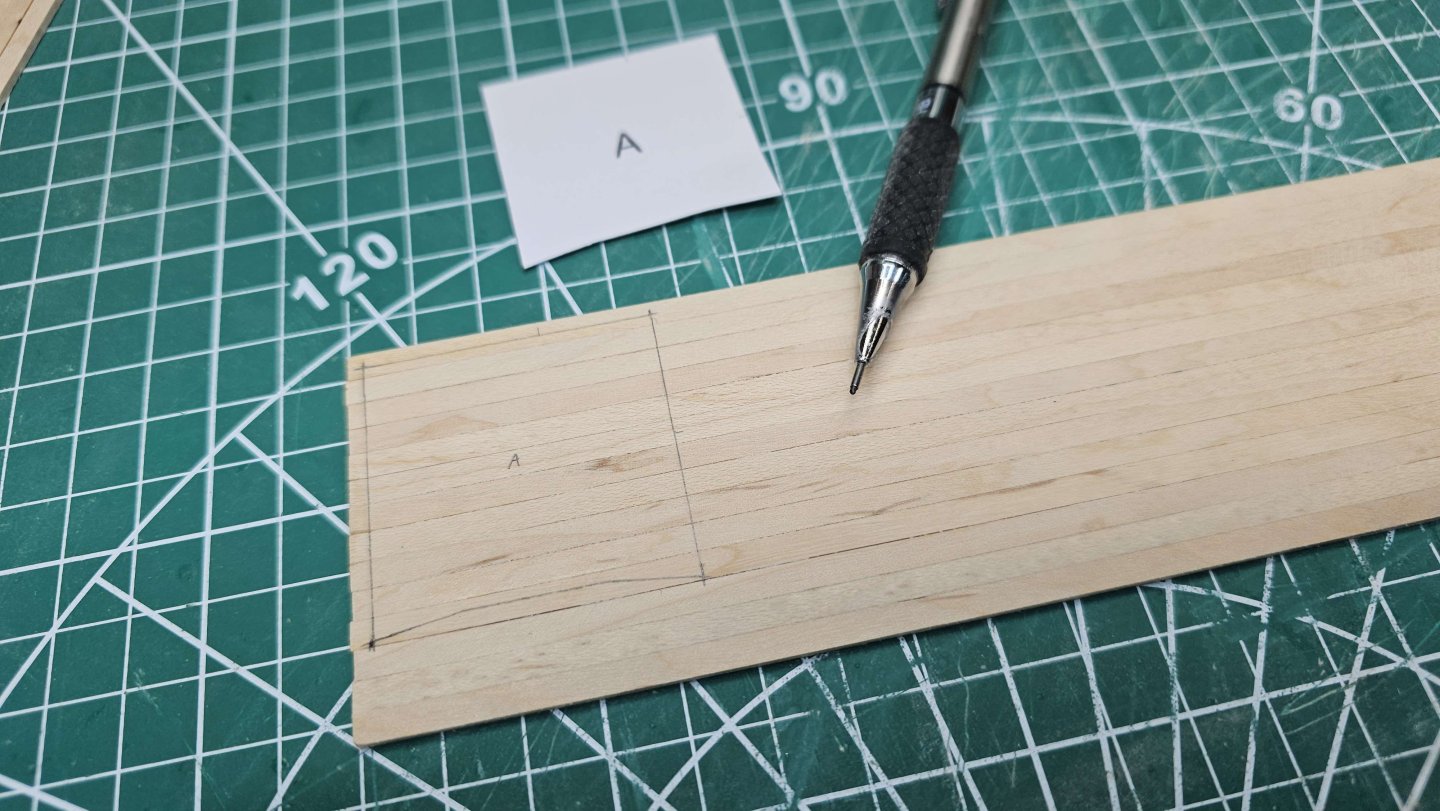
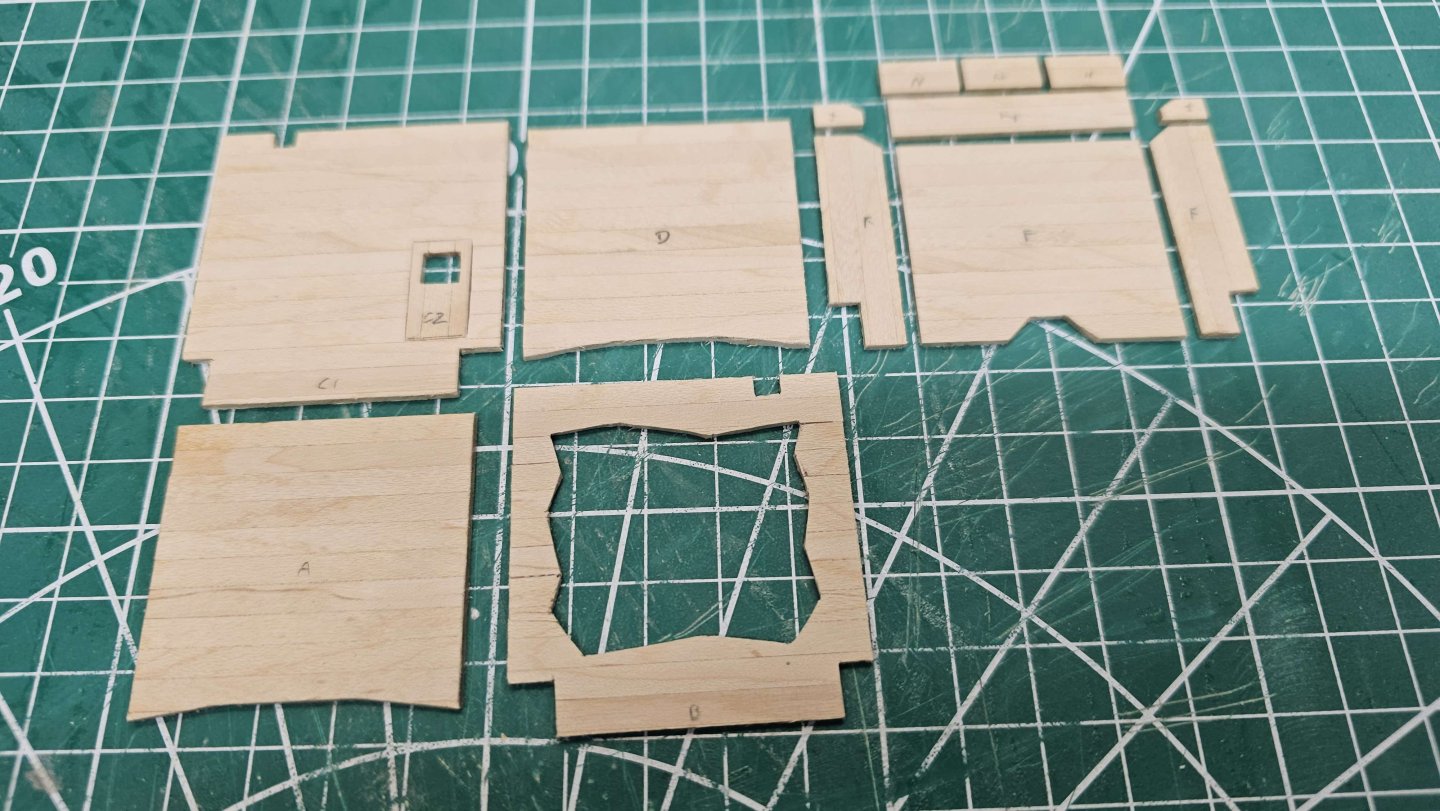
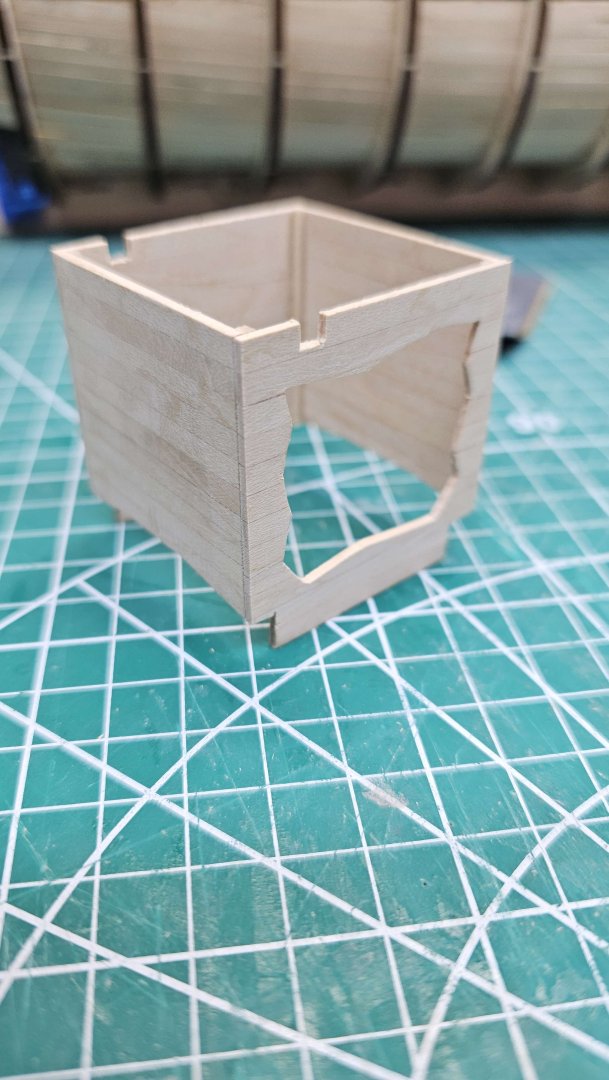
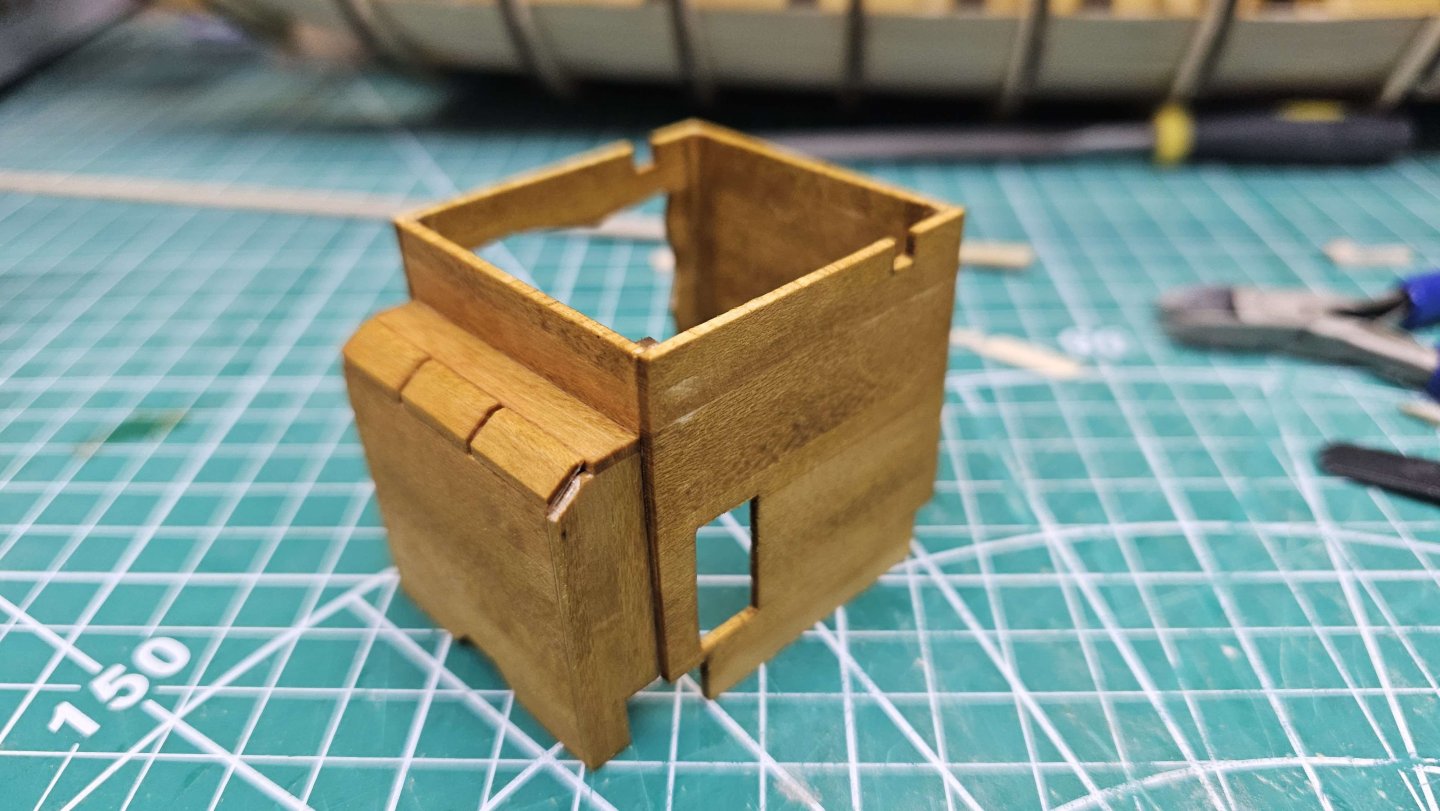
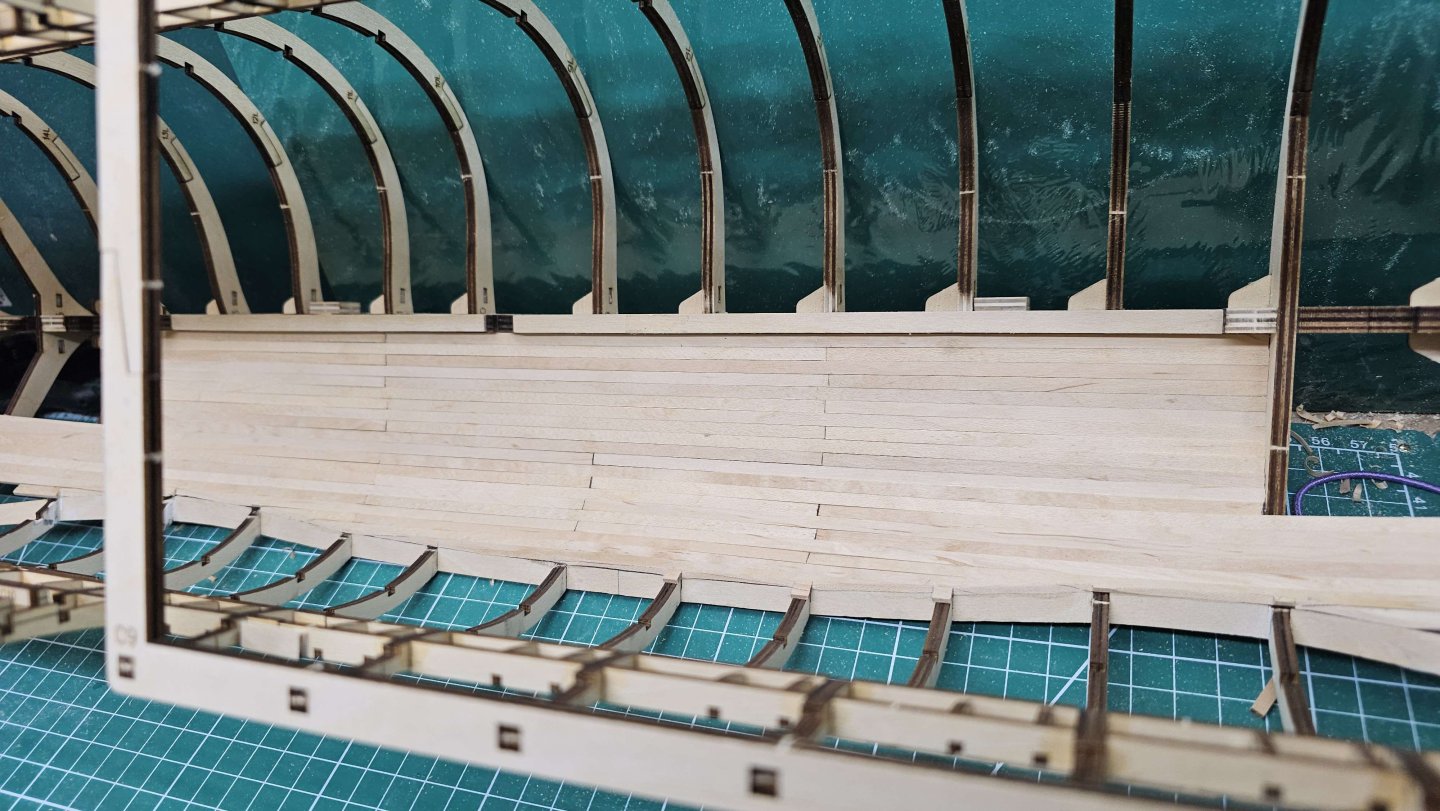
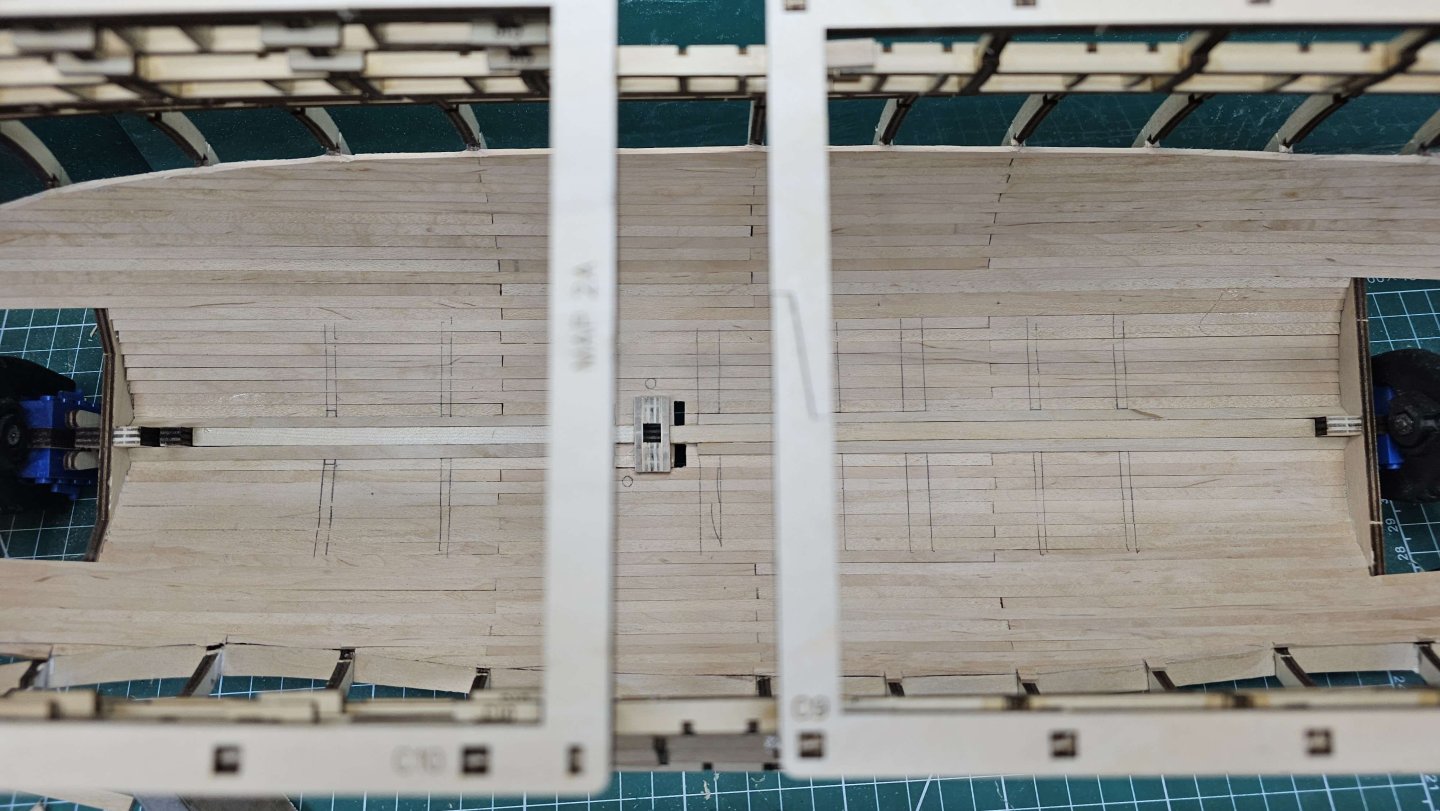
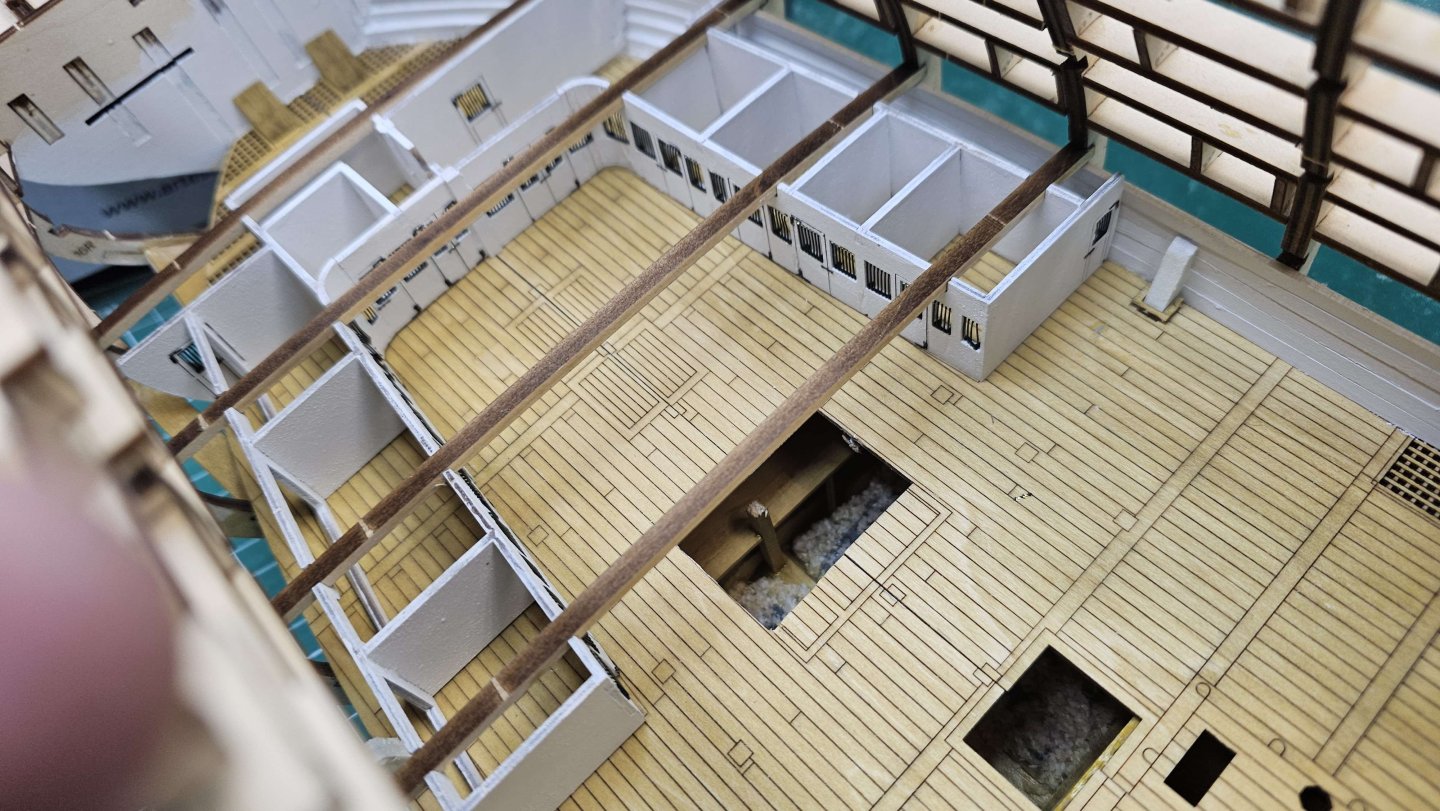
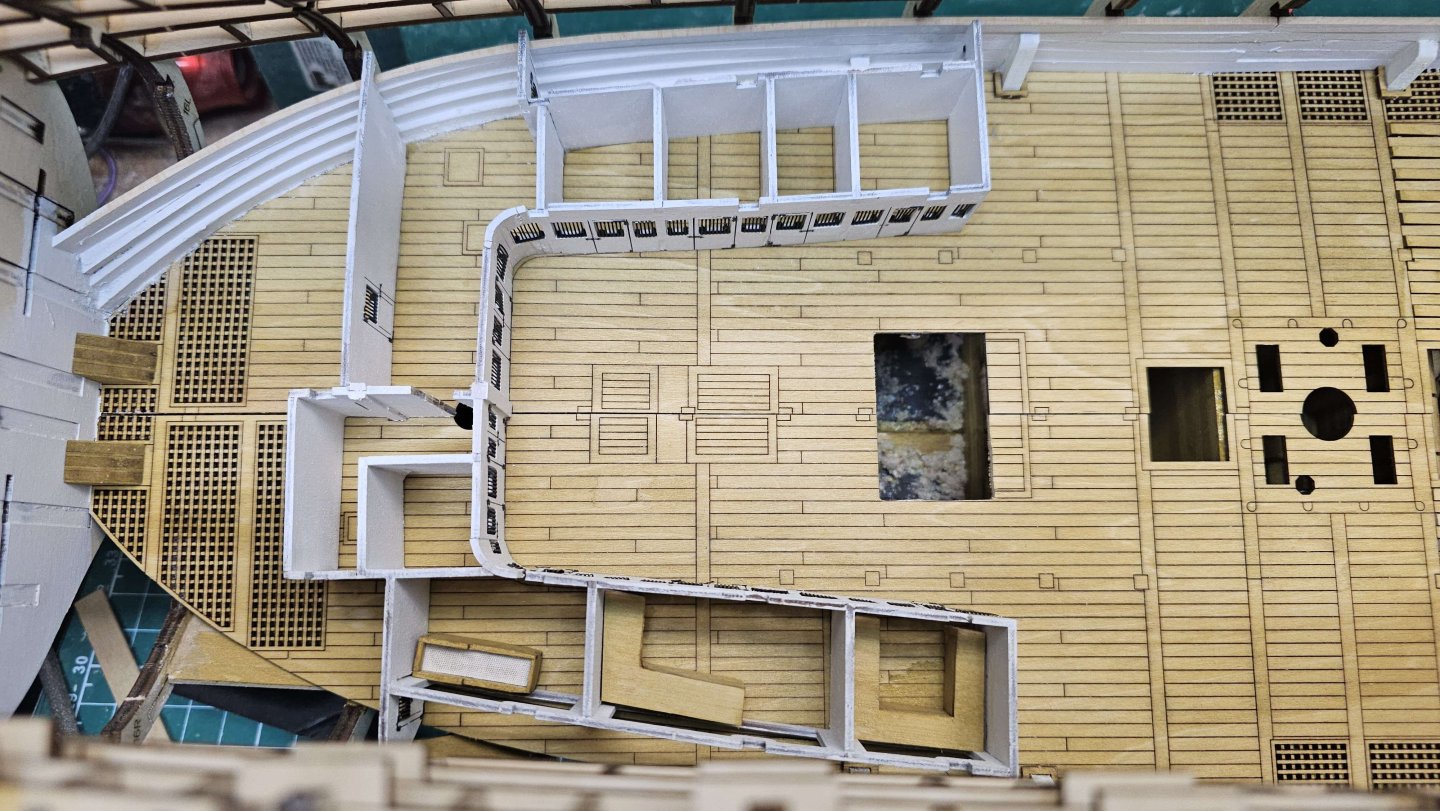
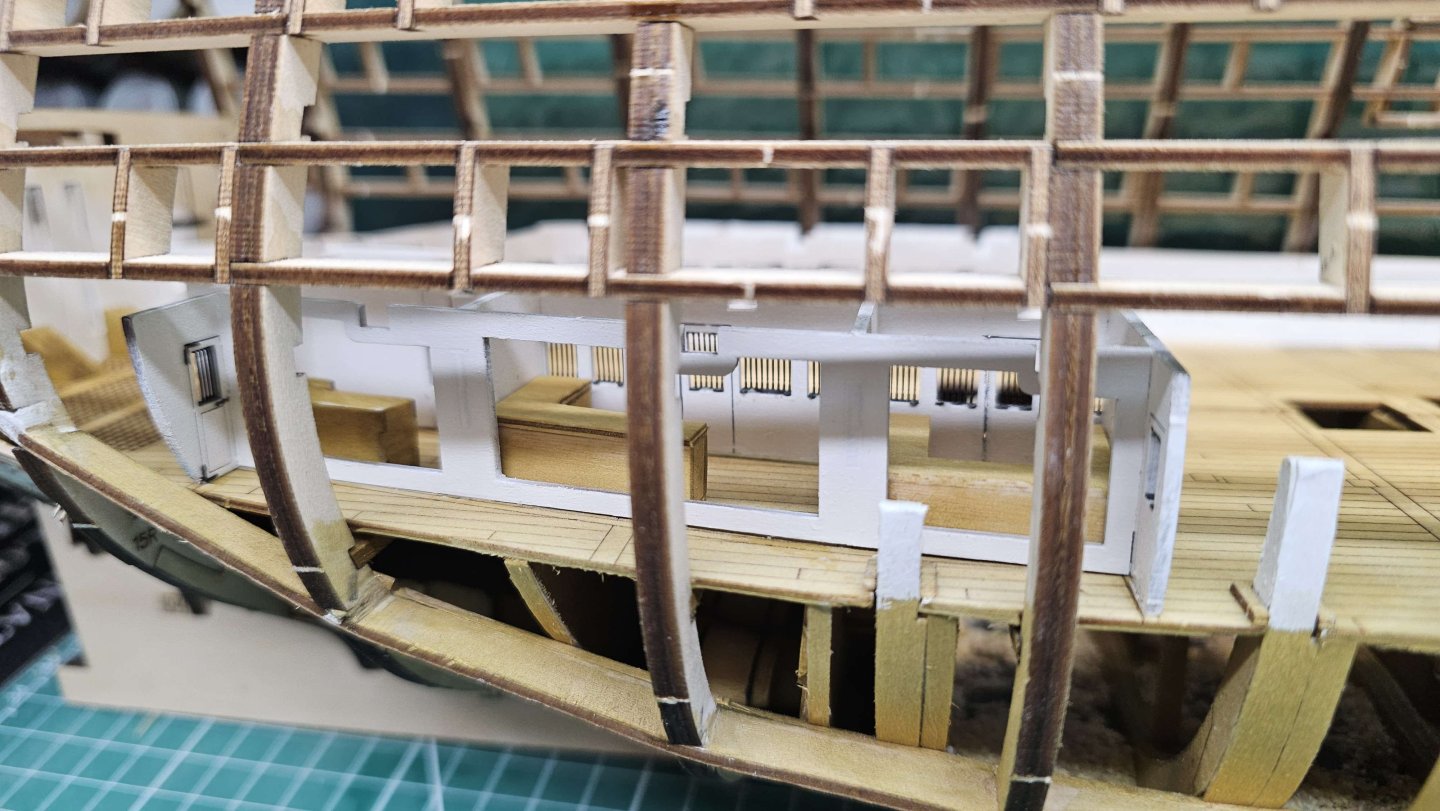
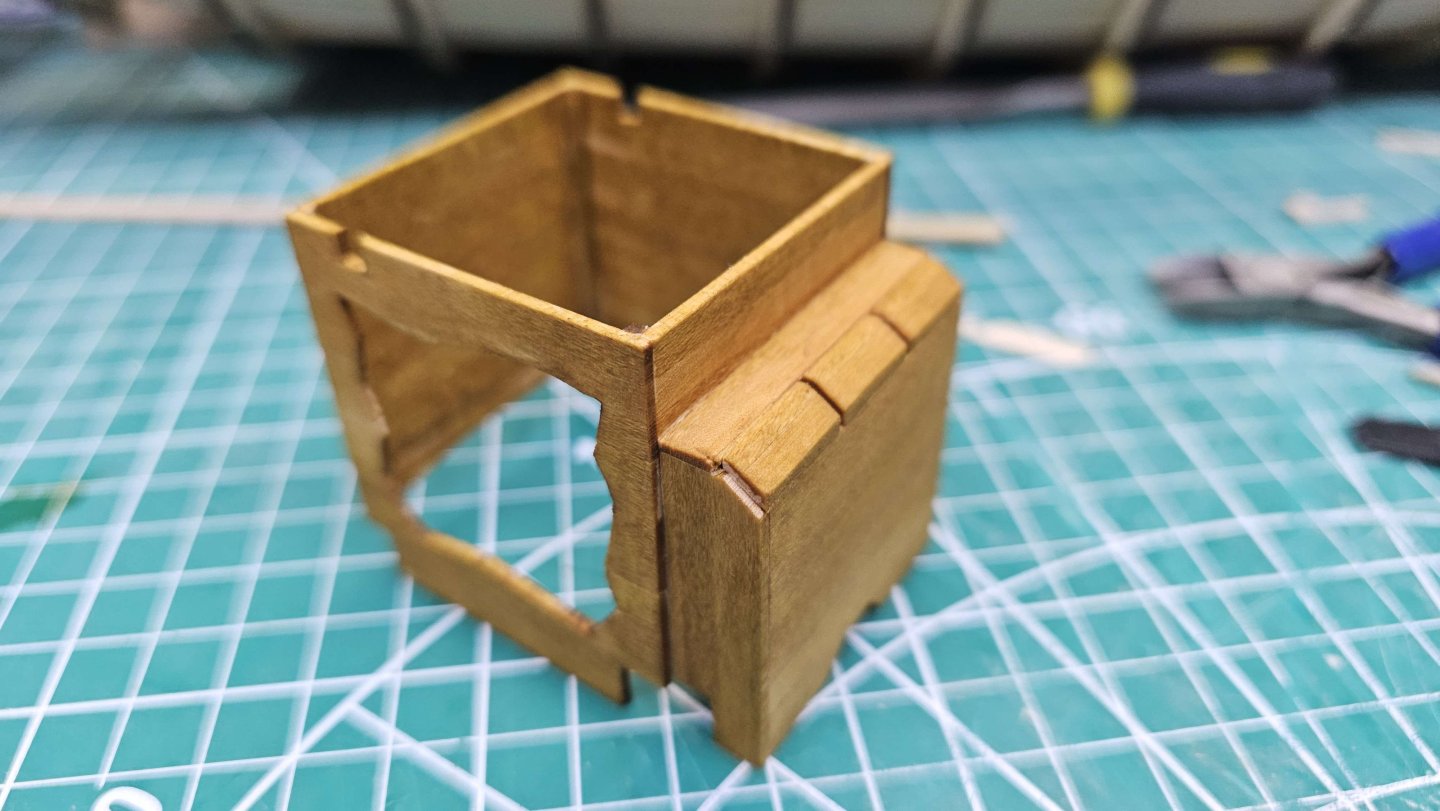
Video #4 Complete That was a wade. Plus I was ill for several days so didn't get much done. Cutting the templates was an utter chore. The boards kept breaking and I must have gone through well over 20 swann mortons. I plodding on and eventually worked throough. The rear hold compartment isn't get fixed in place, as I feel I may have to adjust the upper edges for the beams and deck to fit above. The inner free standing wall with the shelf is fixed in place, but it easier to get to if I need to adjust the top at all. Forward two deck parts aren't yet fixed into place. Progress pics below Thanks
-
Video #3 Complete This was a mission, had a number of minor issues. First, not happy with the stain on the hold planking, I just wasn't careful enough with removing excess glue, and it's a difficult area (for me) to be able to sand. Still, most of it will be covered up by cargo and ballast so it's not an issue, just annoying. The supports for the shelves for me, weren't as long horizontally as in the video, and I also had to shorten them vertically to allow the shelves to sit level. You can obviously work out what I did wrong! The panels for the pumphouse were a nightmare to cut, as in my previous post. I got there in the end though. I also had to do some slight adjustments to the slots for the rear deck piece. One major thing I did notice was that, despite using the paper templates, the cutouts in the shelves template didn't line up with the ribs, and that cannot have been something I got wrong as the rib placement template lines up with laser cut parts. So something is wrong with either the laser cut parts, or either of the templates. Again, not a hard fix, just glad I checked beforehand. Thanks
-
Evening all. Well, What a flaming nightmare this was! The "boards" they have you make is probably the most convoluted way of doing this. Why not just use ply formers and plank with veneer? The boards keep breaking whilst cutting, are very hard to cut, and just generally a pain in the *** to do. So following another build of this, I've ordered some 1.5 Birch ply boards, and will cut the remainder of the hold structures from that, and either scribe the planks or just use 0.1mm veneer on them. Anyway, onwards! Thanks
-
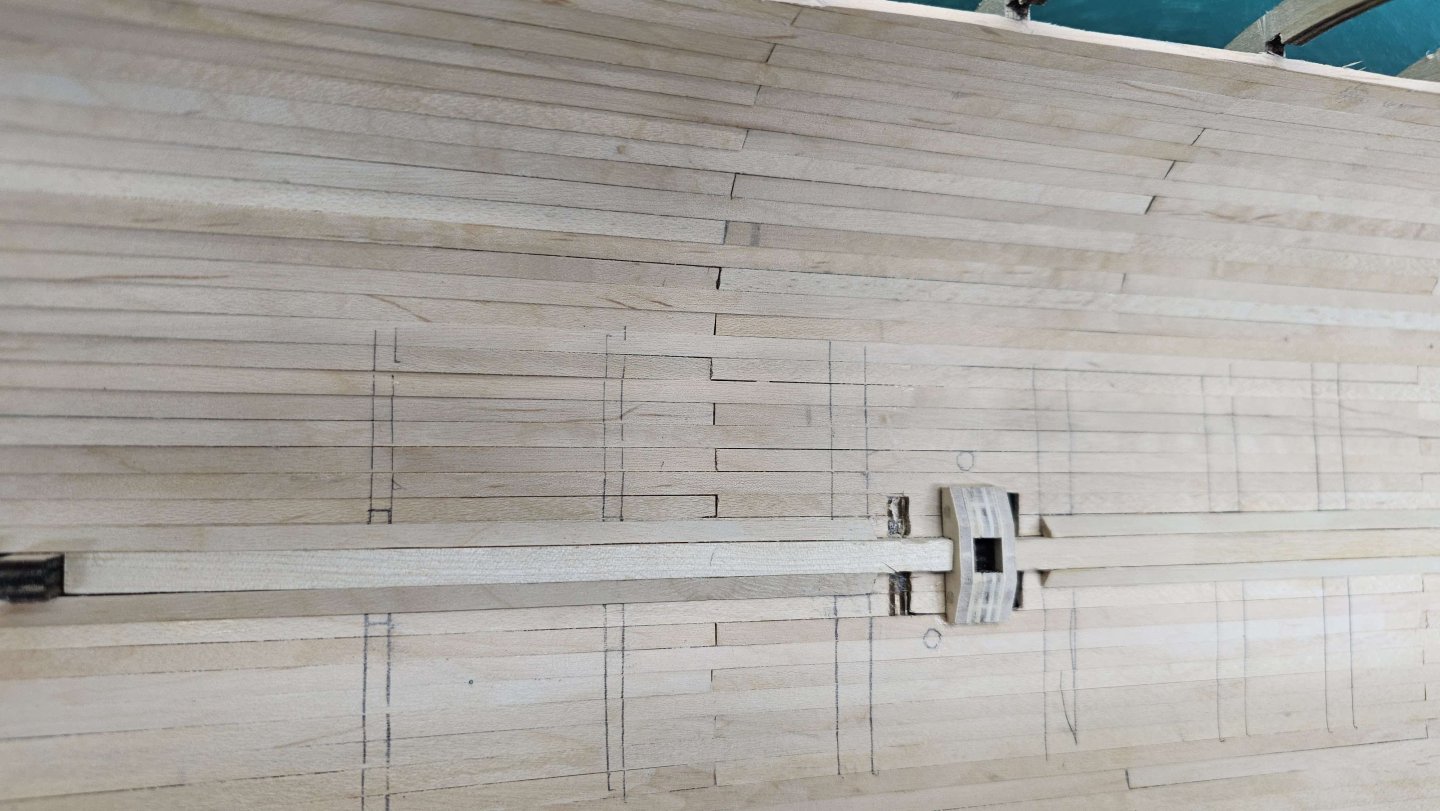
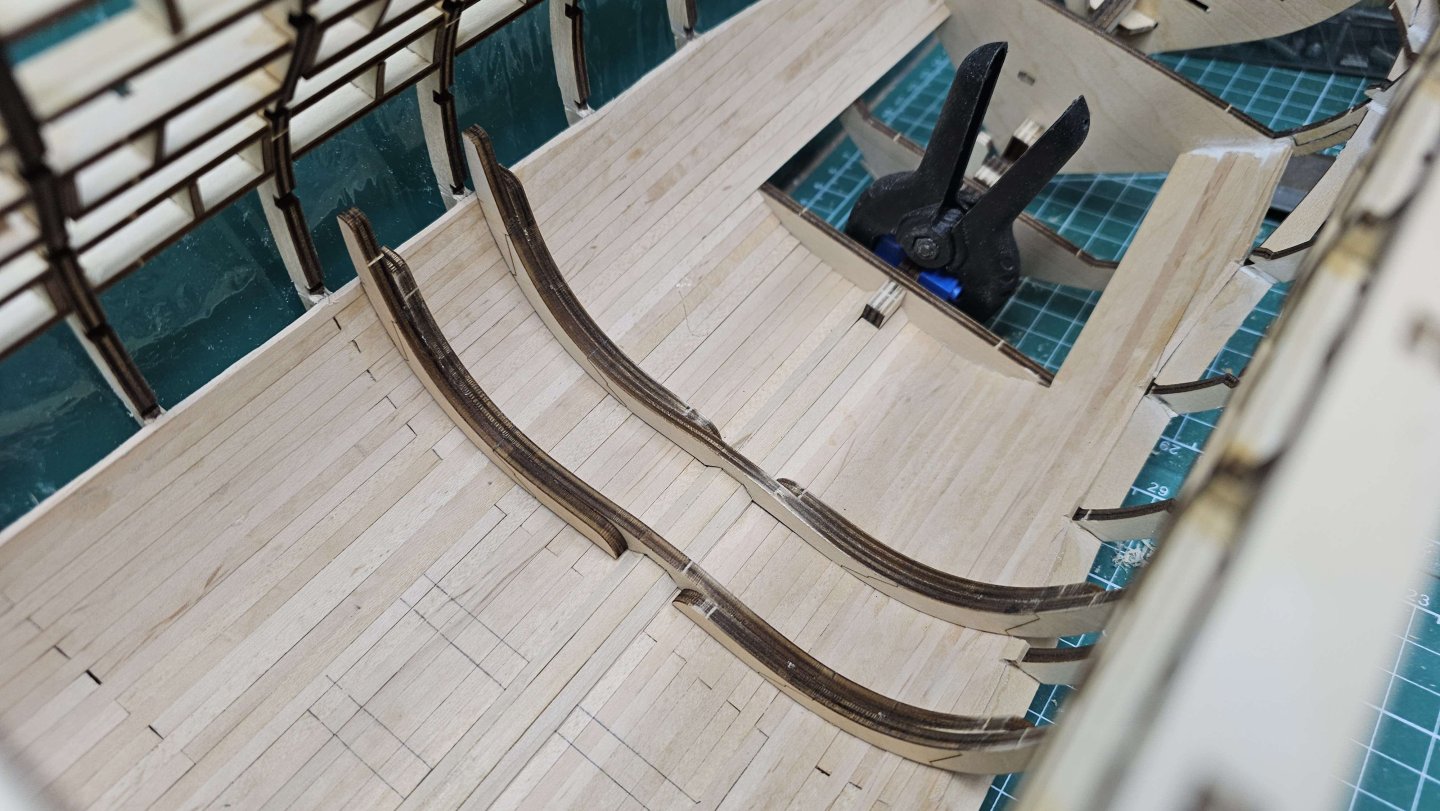
Hello all. Making some progress on planking the hold. Started off one the cutaway side, planking just over the edge then trimming and sanding back. Then repeated the same basic process on the other side up to the bottom edge of the slots for the first set of deck beams. Also used the various templates to mark out the position of the inner ribs as well as the base for the main mast. And finally made a start on fitting the inner ribs. Thanks
-
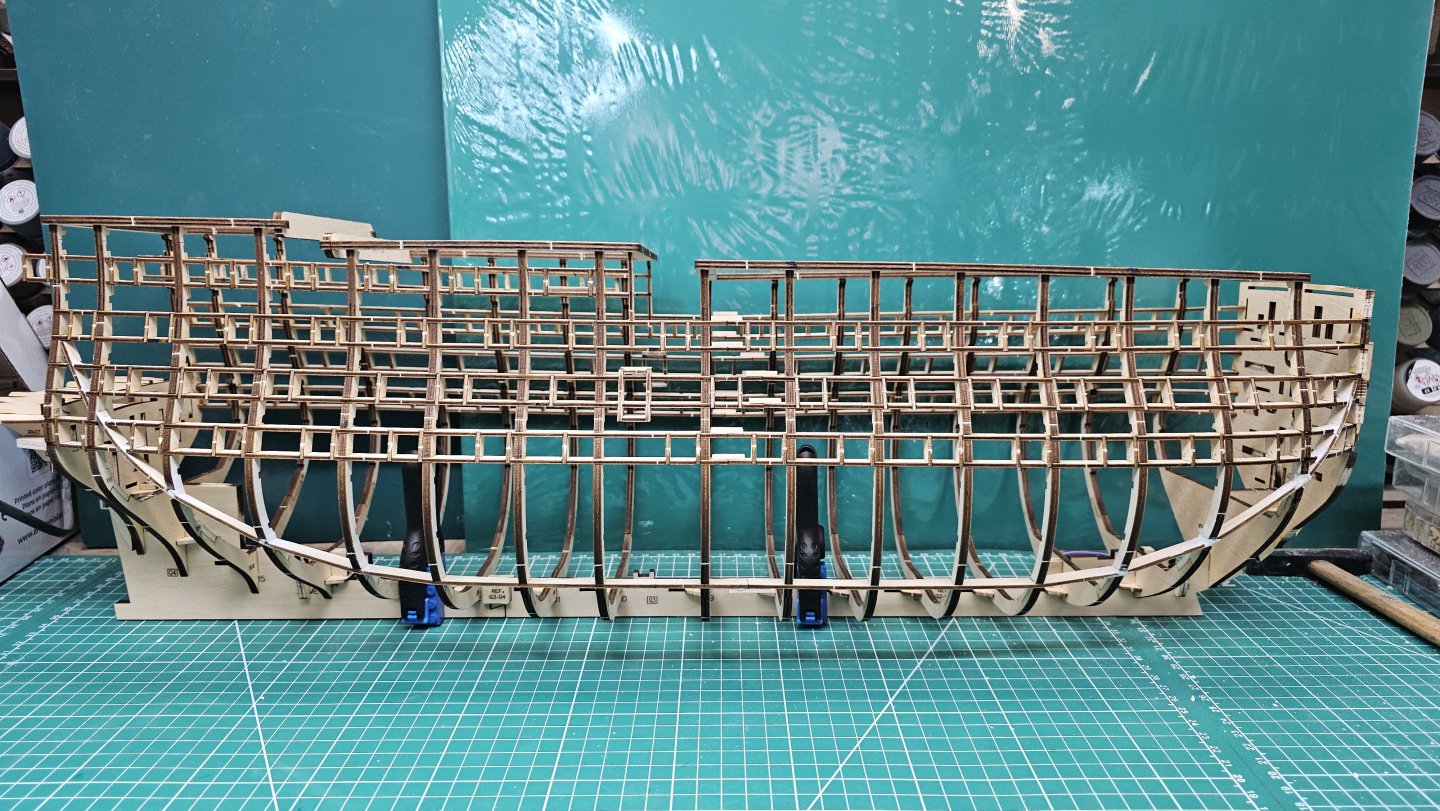
I know I was only going to post updates after each video was completed, but encountered a problem with this that I wanted to point out for anyone building this. But first, a few photos of the progress of adding the ribs: Now the first problem, managed to break a rib whilst fitting the brace that is meant to stop you from breaking ribs. Typical! And now the major problem The front bracing parts for the plank ends to mount on, well one got completely jammed for me, wouldn't come out, wouldn't go in. And by jammed I mean jammed to the point it snapped a thick metal file trying to see if I could lever it out! Anyway, that part is purely to provide an end point for the hull planks, so as long as the outer edge and top are in line it doesn't matter. Although it is annoying. So I sanded the excess down so it was in line. For anyone building this, parts RV1 and RV2 (both sides) sand down the entire piece on one side slightly, and it will slot in without jamming. The remainder are fine. (Sanding the slots won't be enough). Thanks
-
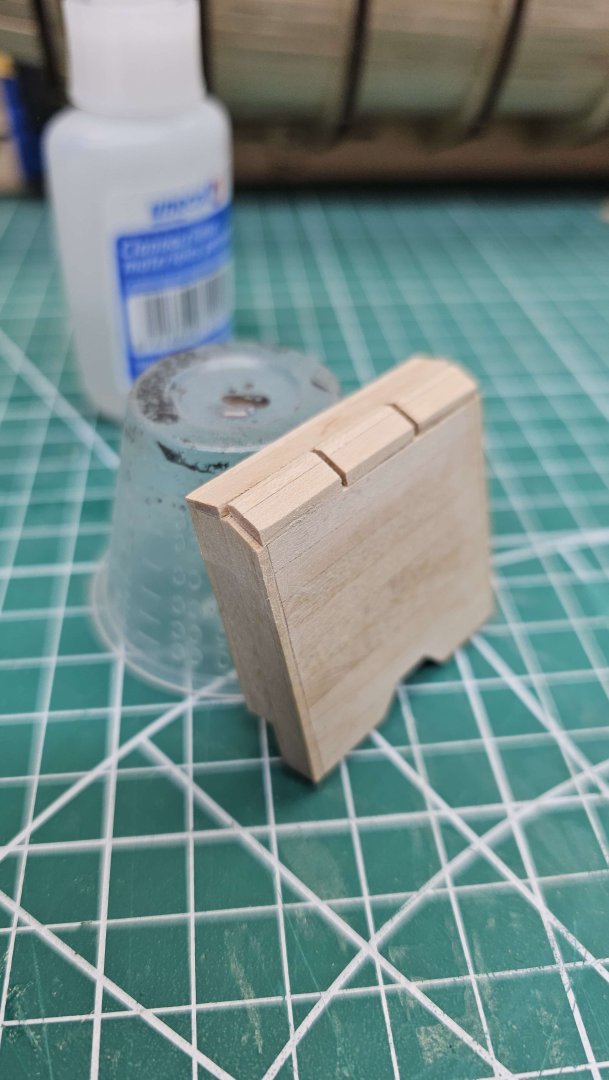
And so it begins! Greetings all. This will be my log for Artesania Latina's HMS Victory Anatomy version. It will be a fairly straight by the book build, I may modify a few things as I go but will note any changes I make. I have bought the LED set to go with it but passed on the figures, I personally don't like how figures look on a model. This is quite a short entry just to get started, moving forward I will most likely post after I complete each section of the video instructions, which I like but would prefer written/pictorial instructions to accompany them, but I digress. So first step was assembling the bow section to the first part of the false keel. The glue I bought from AL with the kit seems quite slow curing, so I've ordered a kicker for future use. When placing the bracing piece, after the first side had taken hold enough for me to move, for the other side I used some of the future bracing pieces to lift the two keel pieces off the desk so I could clamp the bracing piece(s) I'd just glued. (Pretty certain I could have found a shorter way of saying that, hmm) Historically (when it comes to ships) I never complete a build end to end, I usually swap projects, but for this one I intend (time will tell on this) to complete this one end to end. Thanks for popping by, As a side note, I feel the need to note this as I have in the past been (rightfully) judged: I tend not to read through others' logs and/or comment. I simply don't have the time for one (I have young kids, two of whom are Autistic) so my free time is quite limited at times, but also being Neurodivergent myself I literally feel stupid commenting praise or otherwise on others work. I know that sounds utter madness, my head is a very strange place at times. Please don't think bad of me for it.
-
Welcome. They are upto 70 now. New ones seem to get added every few days. I'm in two minds about the paint for the Vic. The kit and paint set takes into account new research which shows a peachy/pink colour was used and not pale yellow...however, there are historical notes (apparently?) that Nelson himself had her painted in pale yellow and dark grey, and give the model is as she was 1805, the more traditional black/yellow ochre would seem more appropriate... I'd be interested in others' thoughts on this.
-
Great review thanks. It does look an appealing kit...so much so I just spent over £1300 ordering it directly from AL, along with the lighting kit and some other bits and bobs. I declined on the sailor sets as I always personally find that look a little tacky, although the ones representing Nelson where he fell and the few attending to him was a nice touch. +
-
Hiya folks, Very quick update on this. I decided I agreed with Gregory and went about fixing the stern decorations. Initially I tried thinning down the kit ones but it became clear very quickly that wasn't going to work, and they were too short anyway. So I made my own from some scraps of wood and did my best to hand paint the swirls. I am absolutely appalling at brush painting by hand so these didn't turn out amazing, but I think overall they look ok. I also went back to the kit gallery windows, which now need some touching up. In between all of this, I got the rudder rigging into place. Thanks
-
I like the way that looks, hmm. I'd have two choices for doing that. I could either hack into the wood and sort of embed it, or, cut the castings in half so they are thinner and just fix them onto the back... Looking at the drawing you posted, the CC has a much greater curve to the base of the transom and the windows as well, so which is right?
-
Thanks. The issue with the photo you picked is it is an American recreation of the Bounty, which is quite different to how she actually looked. For instance, there were no gaps in the bulwarks, and the name was below the stern windows and not above, and a flatter top with no trim. (as shown in this 1790's painting by Robert Dodd). I actually don't personally like the two side decorations at all, so I am in two minds whether to remove them. The QG's as I said in my post were an attempt to replace the kit castings, which in this kit were pretty bad, although I think mine had too many divisions, I think it was 2x2x2 not 4x4x4. Personally I prefer them over the kits.
-
Good evening. I've made a little progress with this over the last week. Added: Bulwark frames. Stern windows and decoration. Side galleries (I decided I didn't like the castings that came with the kit so I fashioned my own. Not amazing but I prefer them better than the kit ones). Grating hatches. Fitted the rudder. That's all for now, thanks.
-
Morning folks. Small update. Well smallish. Rear bulwark patterns fitted and planked inside and out. Stern gallery pattern fitted and painted. I was going to plank this as well, but decided against it. And the rear trim/combings (not sure their term) fitted and blended to match the angle of the stern pattern. I was able to get this to look much better than my previous attempt where it just look stuck on as an afterthought, this time it looks like part of the ship. I also lined the gunports and the exposed leading edge of the bulwark. Thanks
-
Thanks Most of it is Tamiya. They are a few years old now and are fine. I airbrush 90% of the time anyway so I just thin as needed, but I haven't noticed any of it thicken up with time. The few Admiralty paints you can see in the background of my last post are a good 5 years old now, and they are all still perfect.
-
Hello. Main deck now done. I know in reality the deck planks would have most likely been laid in one single length, but I like the look of a 4 shift pattern. I used a graphite pencil for the simulated caulking, and after sanding smooth with various grades, I sealed it using a rattlecan Halfords Clear Lacquer which soaked into the wood, bringing out the grain and leaving it butter smooth. Why did I use a lacquer? Because it works. (This is where someone tells me it will look ok now but in 10 years time will turn purple with yellow spots lol) I will still polish with beeswax as soon as it arrives, once I ascertain if I will still be able to use adhesive for the deck furniture as not sure how that works. I also have some Danish Oil on order for a future build.
-
Update: I decided in the end to go with a white hull rather than copper it, although that remains an option for the moment. I had a battle with the white. For some reason I had half a dozen individual planks on each side seeming to leach colour through, despite being sealed beforehand. After a few coats of white I decided to use an automotive grey primer first and voila! No more leaching. Well, until I started with the white again anyway and there it was, old friend came back. In the end it took 6 light coats with an airbrush to get it to cover properly. I managed to get the main wale into the right place this time, although the yellow ochre trim has ended up slightly lower at the stern on one side, but nothing I can't fix later. I stained the upper section with walnut as the colour had faded with all the sanding and it was very light beige. Just a couple of minor waterline issues to fix at the bow.
-
Morning. I've made a start on the second planking. Had a few issues with things I forgot to do/didn't know how to do, but thanks to some help on here I think I am back on course. Garboard was too far forward. I didn't know how to edge bend planks (which I now do). Not the greatest job in the world compared to some who have been doing this for years, but certainly an improvement for me.
-
Yes, that makes more sense actually. The upper planking I've done stops at the bottom edge of the wales, so none of those above were tapered at all. I've also just came across this: How to do a Bluff Bow Planking Job. This shows a real life example with quite a lot of drops used. Whether or not this is how it was done historically is for others far more knowledgeable than me to debate, but it does give me hope that I can still rescue this. Thanks for this, this was what I was hoping to achieve in an ideal world.
About us
Modelshipworld - Advancing Ship Modeling through Research
SSL Secured
Your security is important for us so this Website is SSL-Secured
NRG Mailing Address
Nautical Research Guild
237 South Lincoln Street
Westmont IL, 60559-1917
Model Ship World ® and the MSW logo are Registered Trademarks, and belong to the Nautical Research Guild (United States Patent and Trademark Office: No. 6,929,264 & No. 6,929,274, registered Dec. 20, 2022)
Helpful Links
About the NRG
If you enjoy building ship models that are historically accurate as well as beautiful, then The Nautical Research Guild (NRG) is just right for you.
The Guild is a non-profit educational organization whose mission is to “Advance Ship Modeling Through Research”. We provide support to our members in their efforts to raise the quality of their model ships.
The Nautical Research Guild has published our world-renowned quarterly magazine, The Nautical Research Journal, since 1955. The pages of the Journal are full of articles by accomplished ship modelers who show you how they create those exquisite details on their models, and by maritime historians who show you the correct details to build. The Journal is available in both print and digital editions. Go to the NRG web site (www.thenrg.org) to download a complimentary digital copy of the Journal. The NRG also publishes plan sets, books and compilations of back issues of the Journal and the former Ships in Scale and Model Ship Builder magazines.