-
Posts
528 -
Joined
-
Last visited
Content Type
Profiles
Forums
Gallery
Events
Everything posted by FifeModels
-
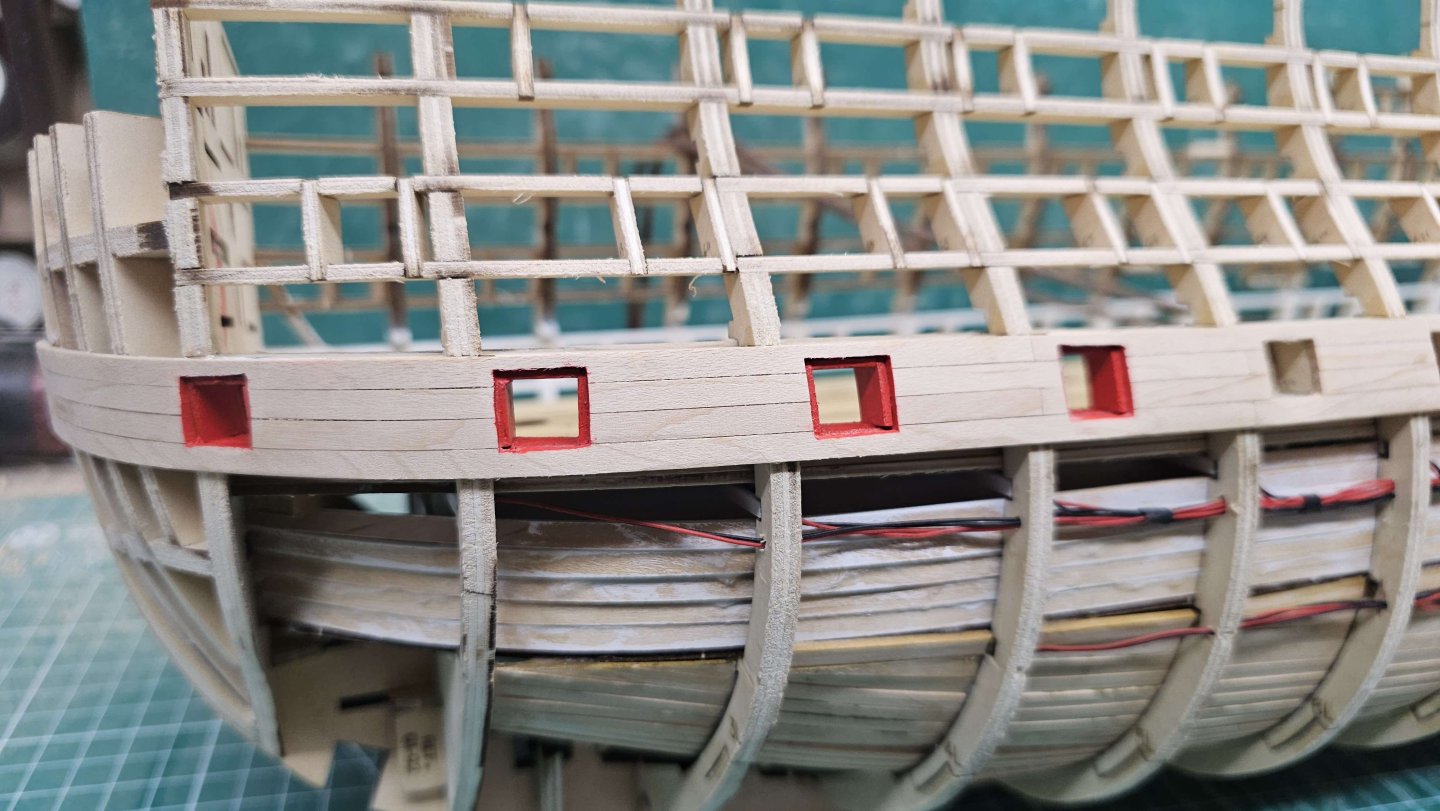
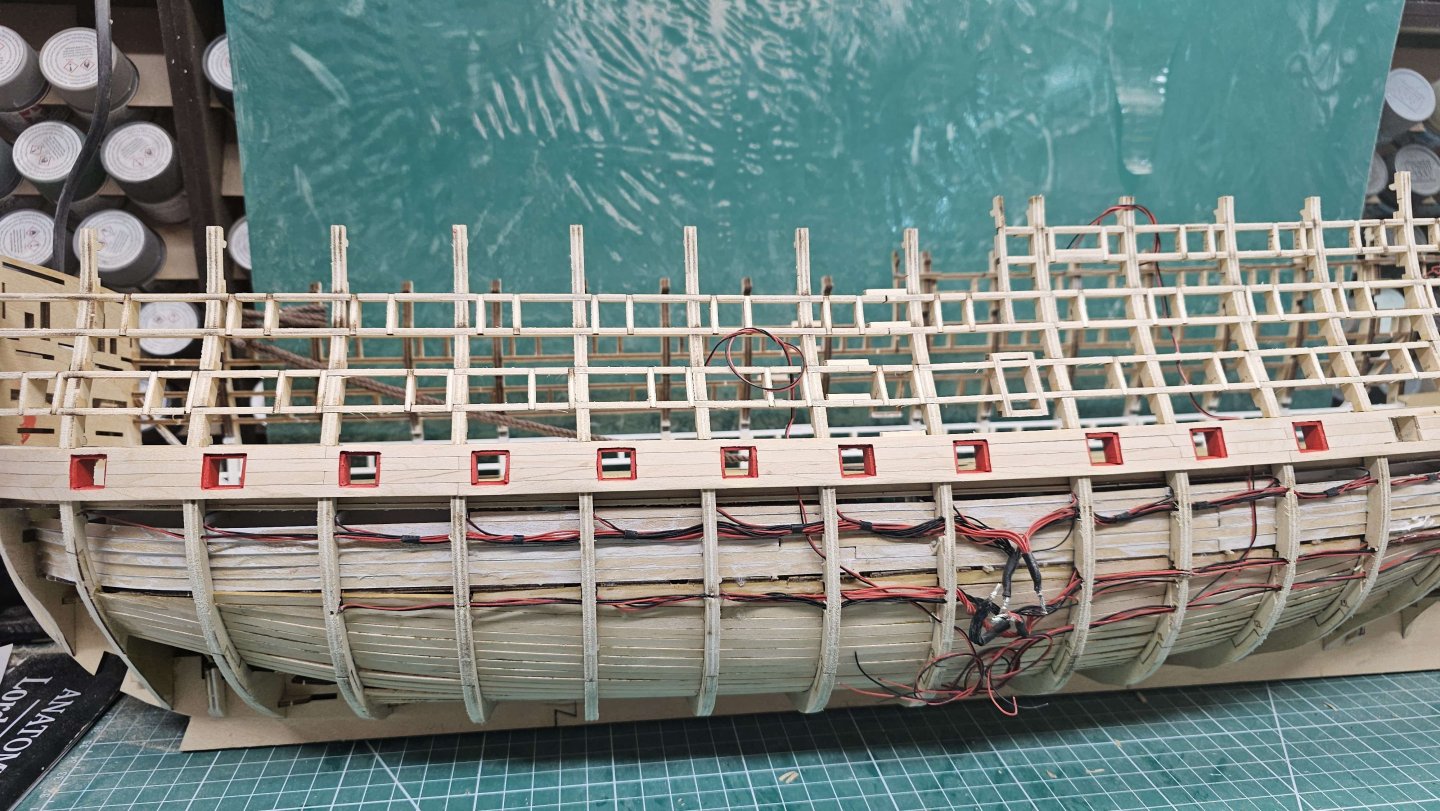
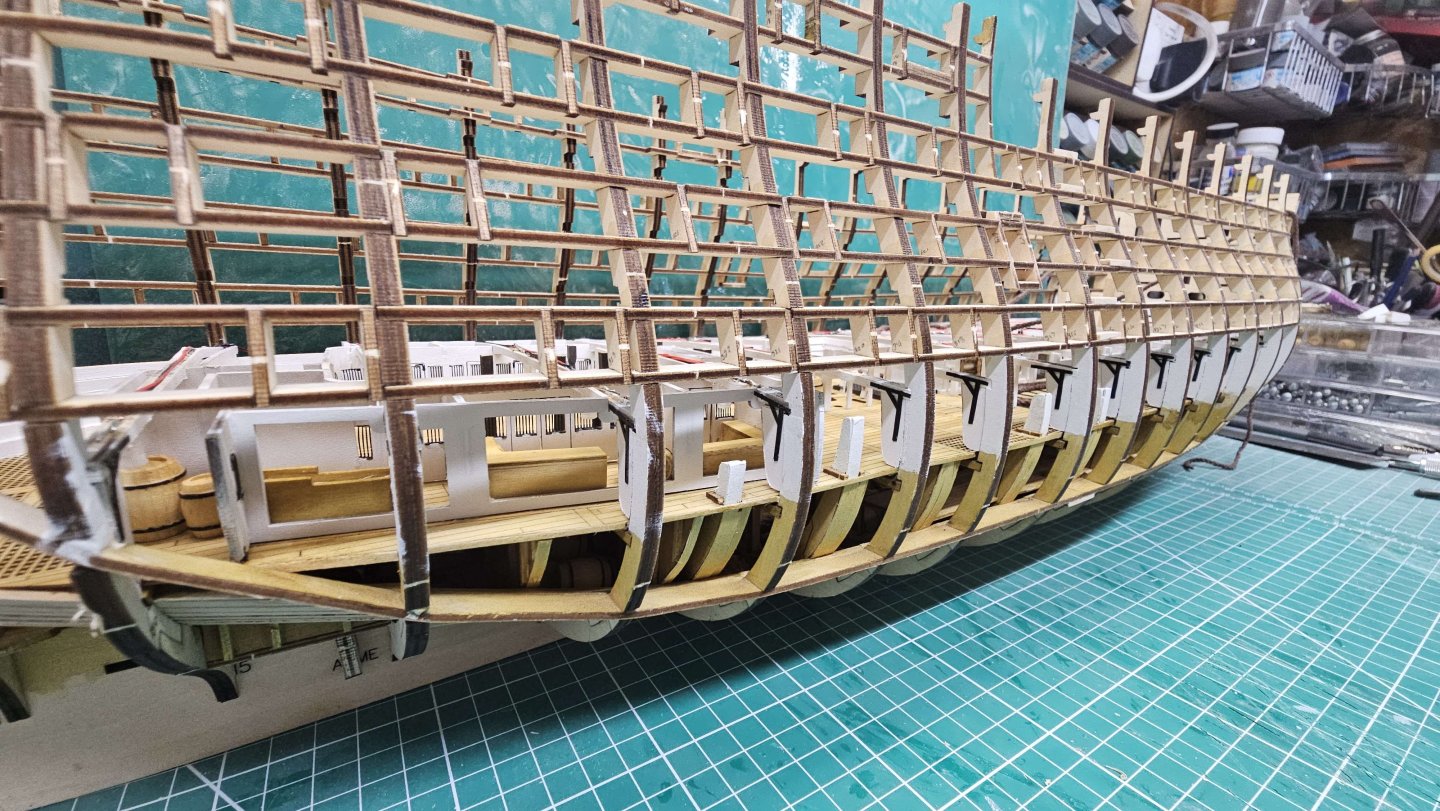
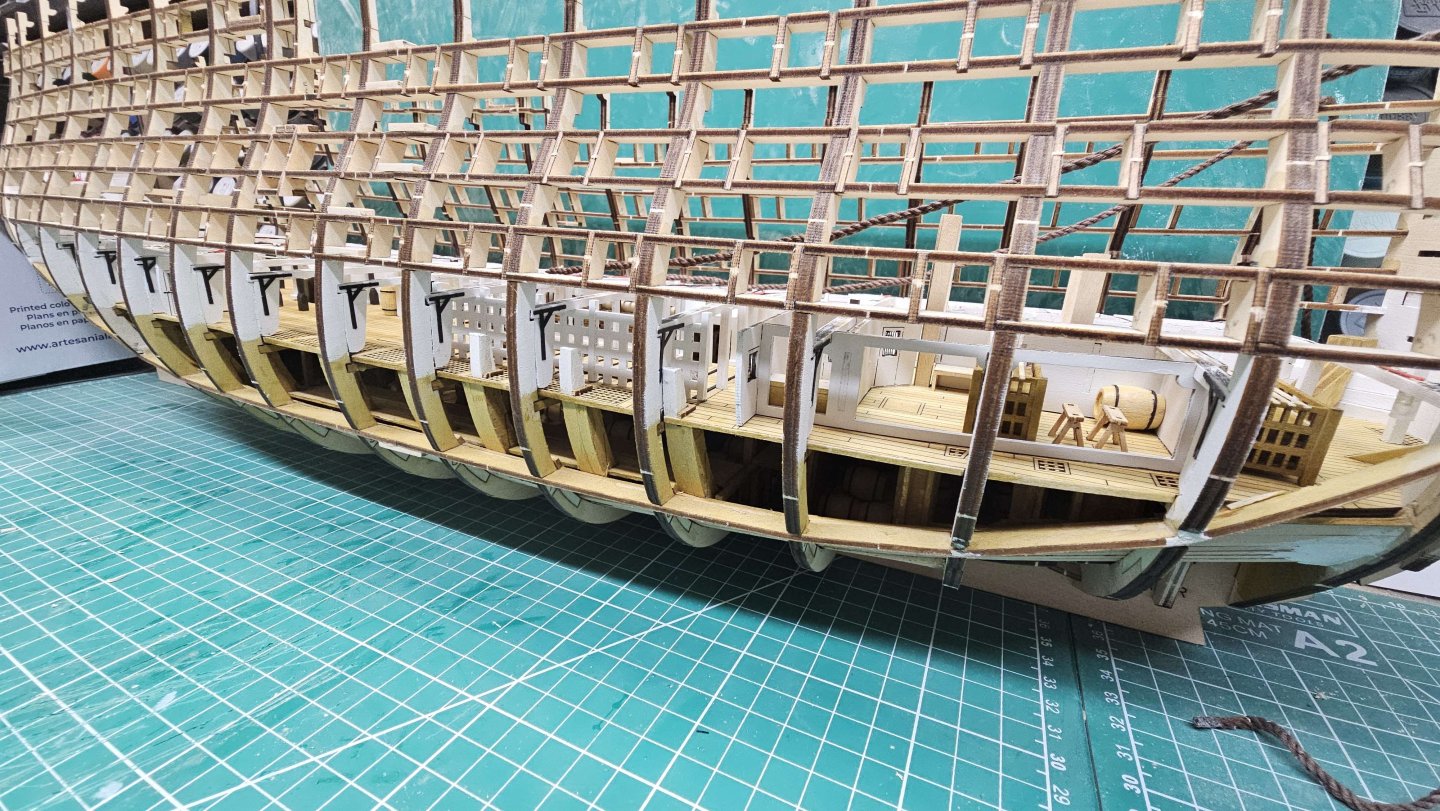
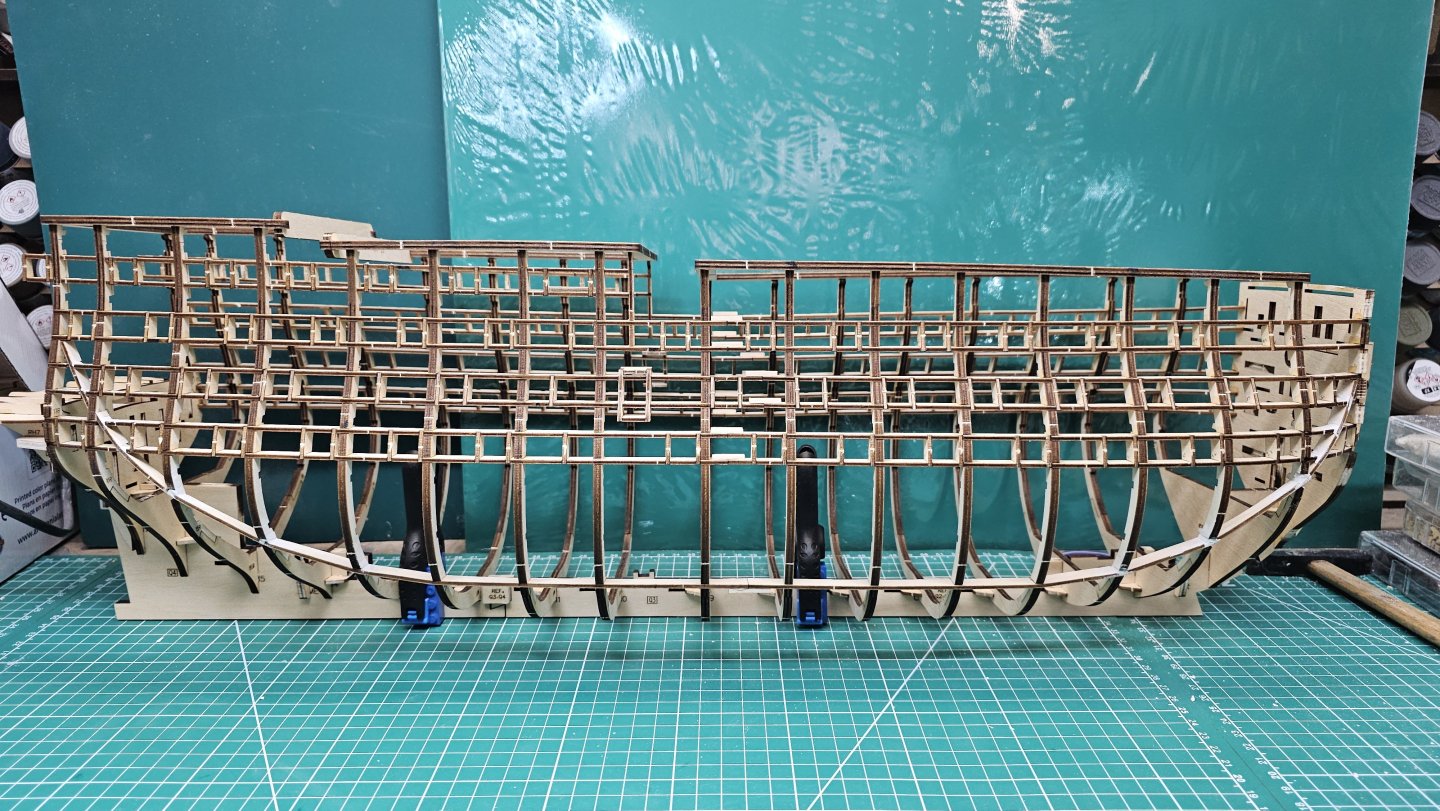
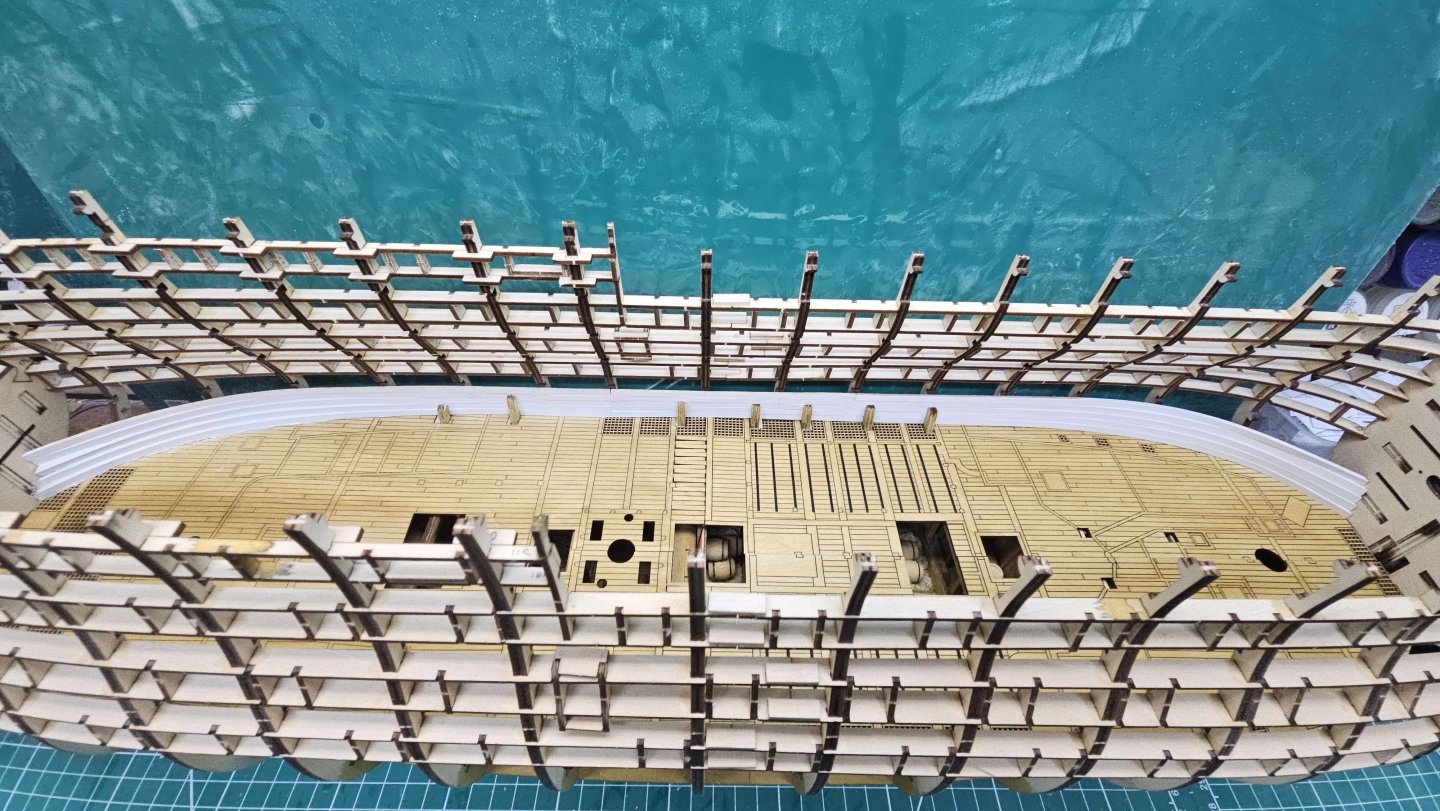
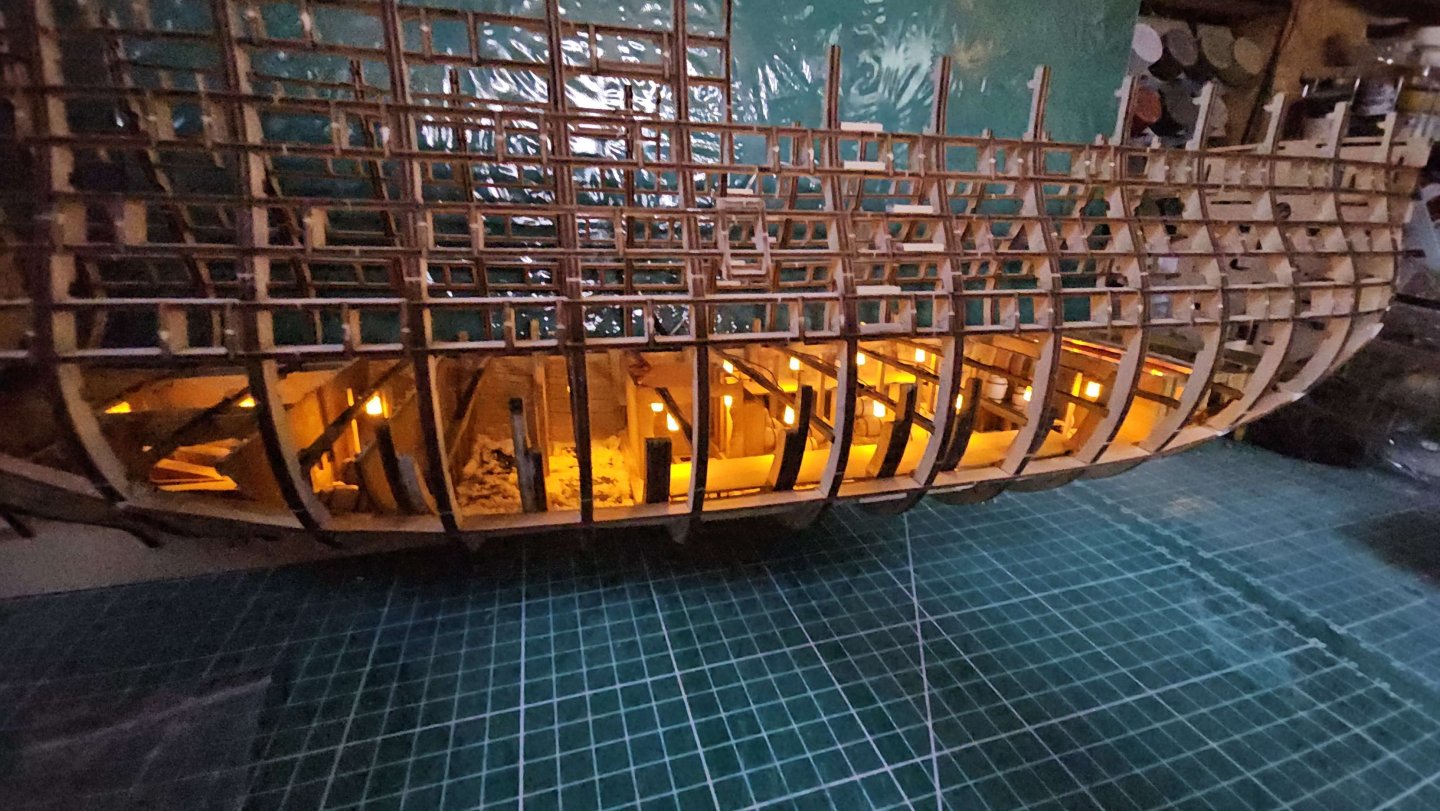
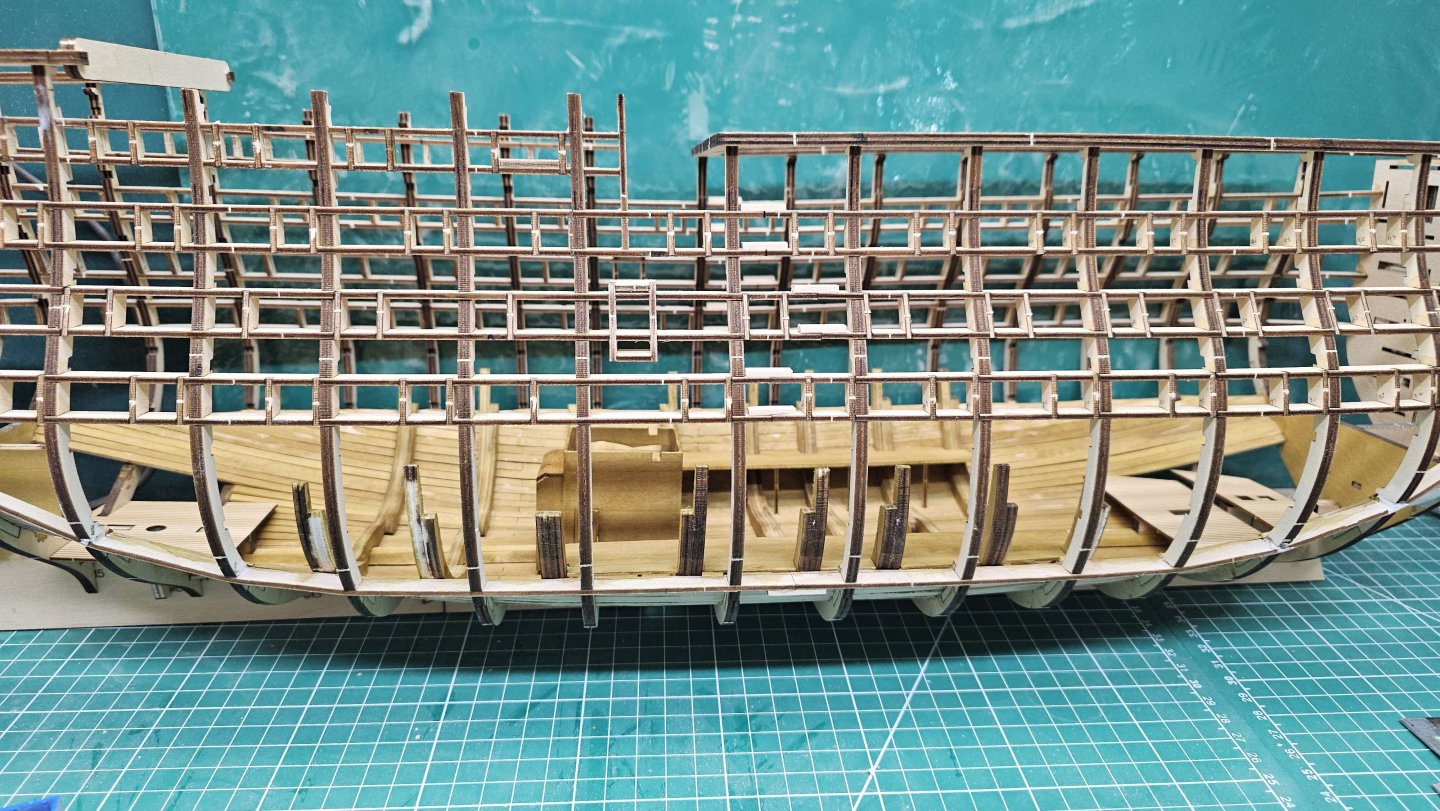
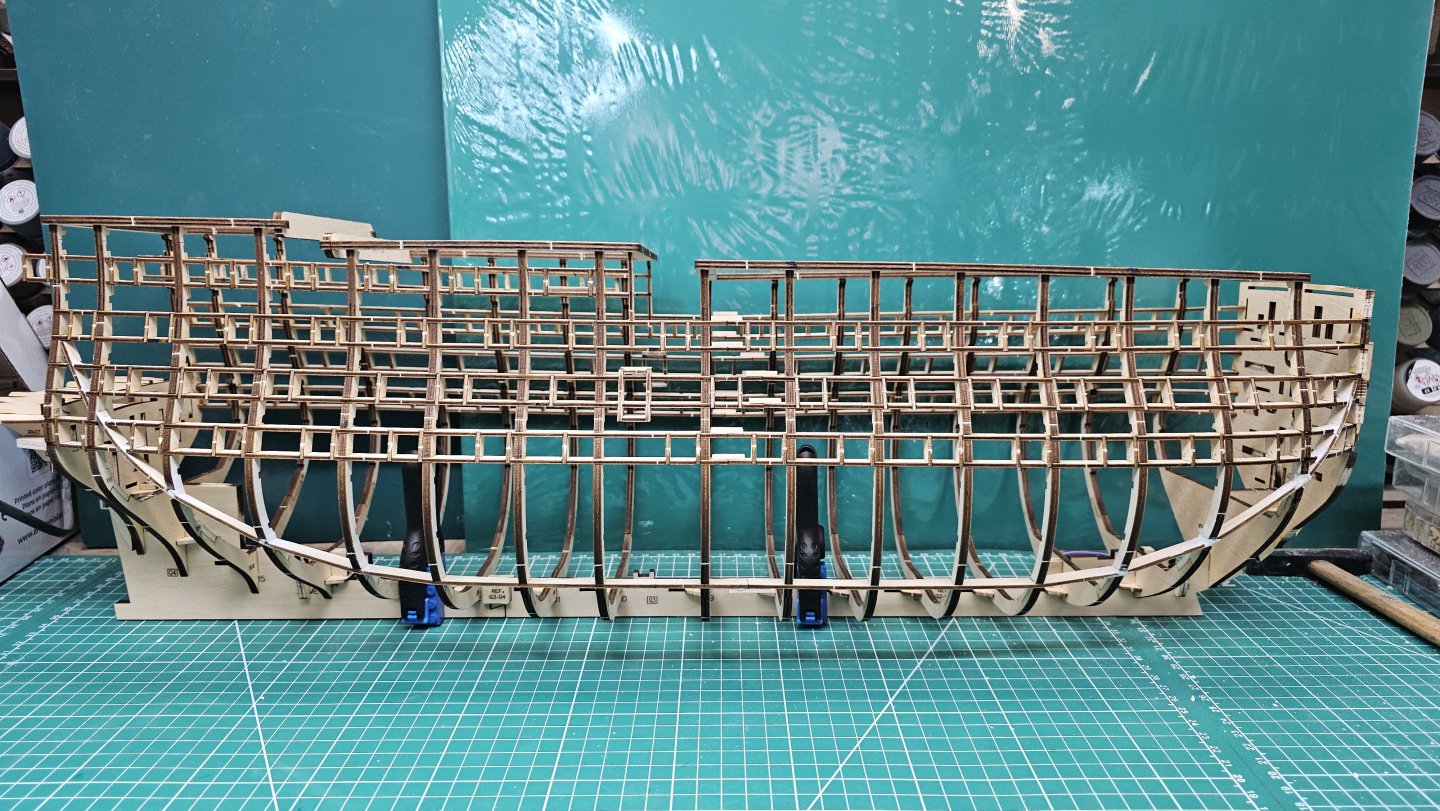
Video #16 Complete Hull frames are now faired ready for planking. Was probably the easiest one I've done to date. I used an orbital mouse sander to do the bulk of the work, and switched to a Dremel with the EZ-Clic sanding disc for the stern area and anywhere close to the keel. Then the first 4 layers of hull planking on each side. The wood supplied is amazingly pliable. I've not had to use a single plank bending method anywhere on this build yet.
-
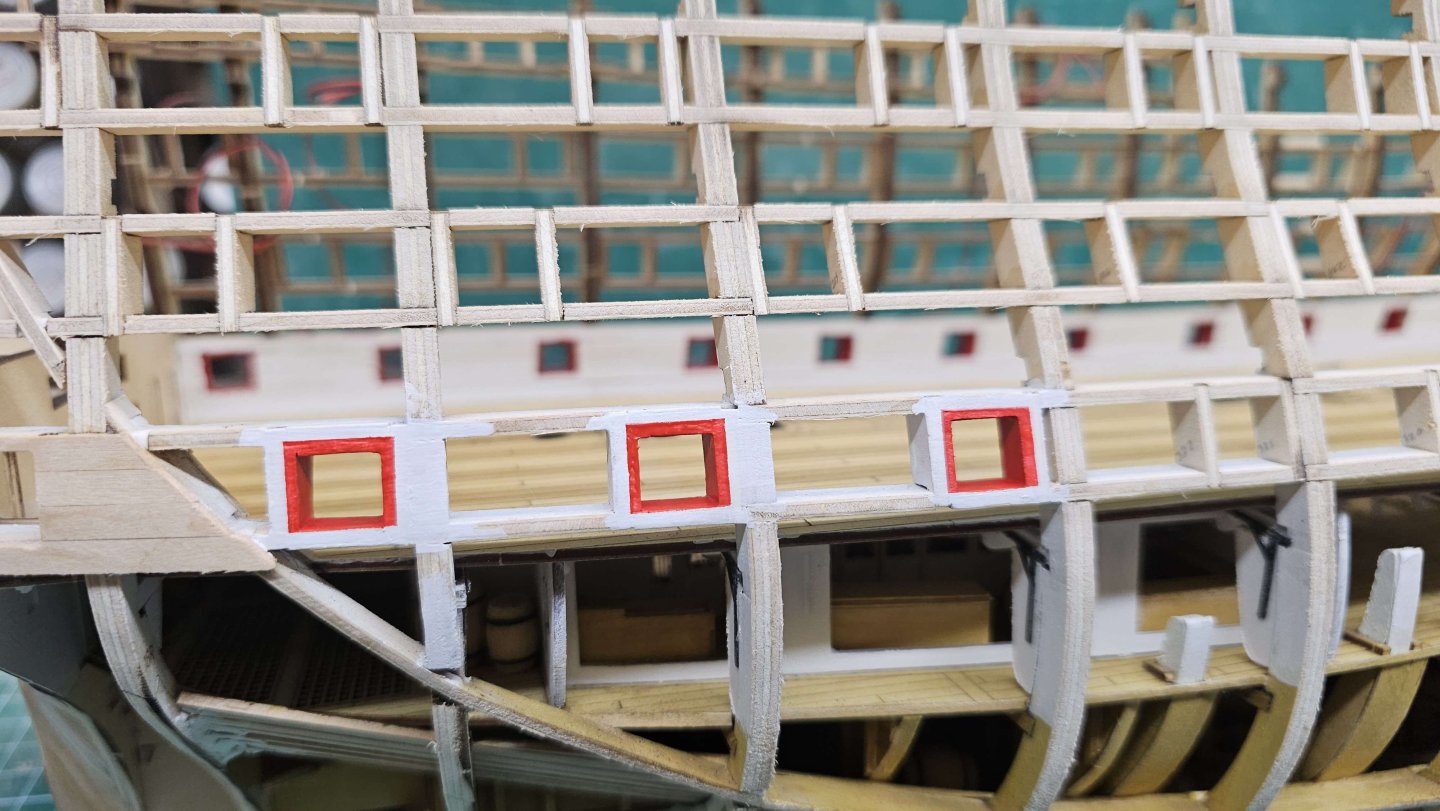
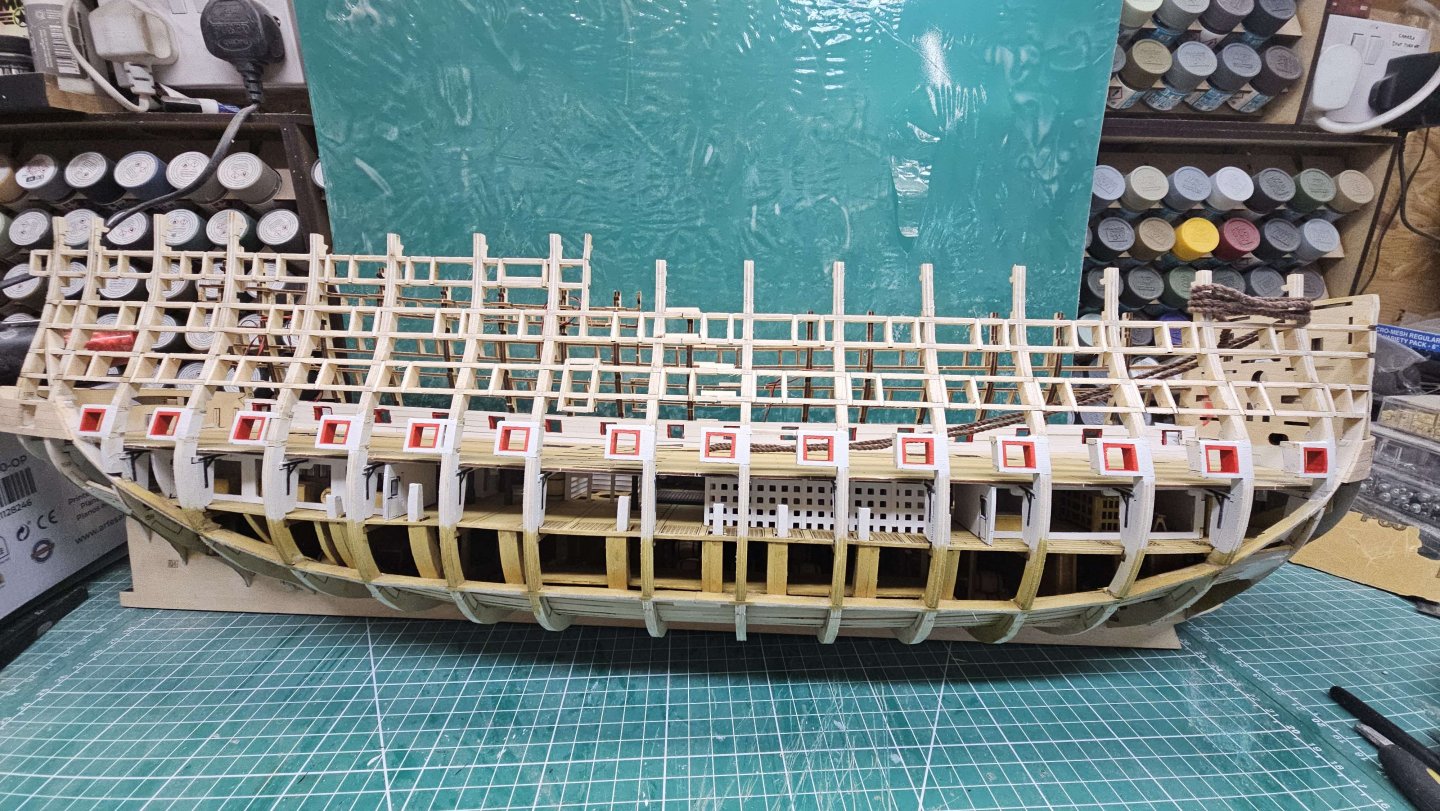
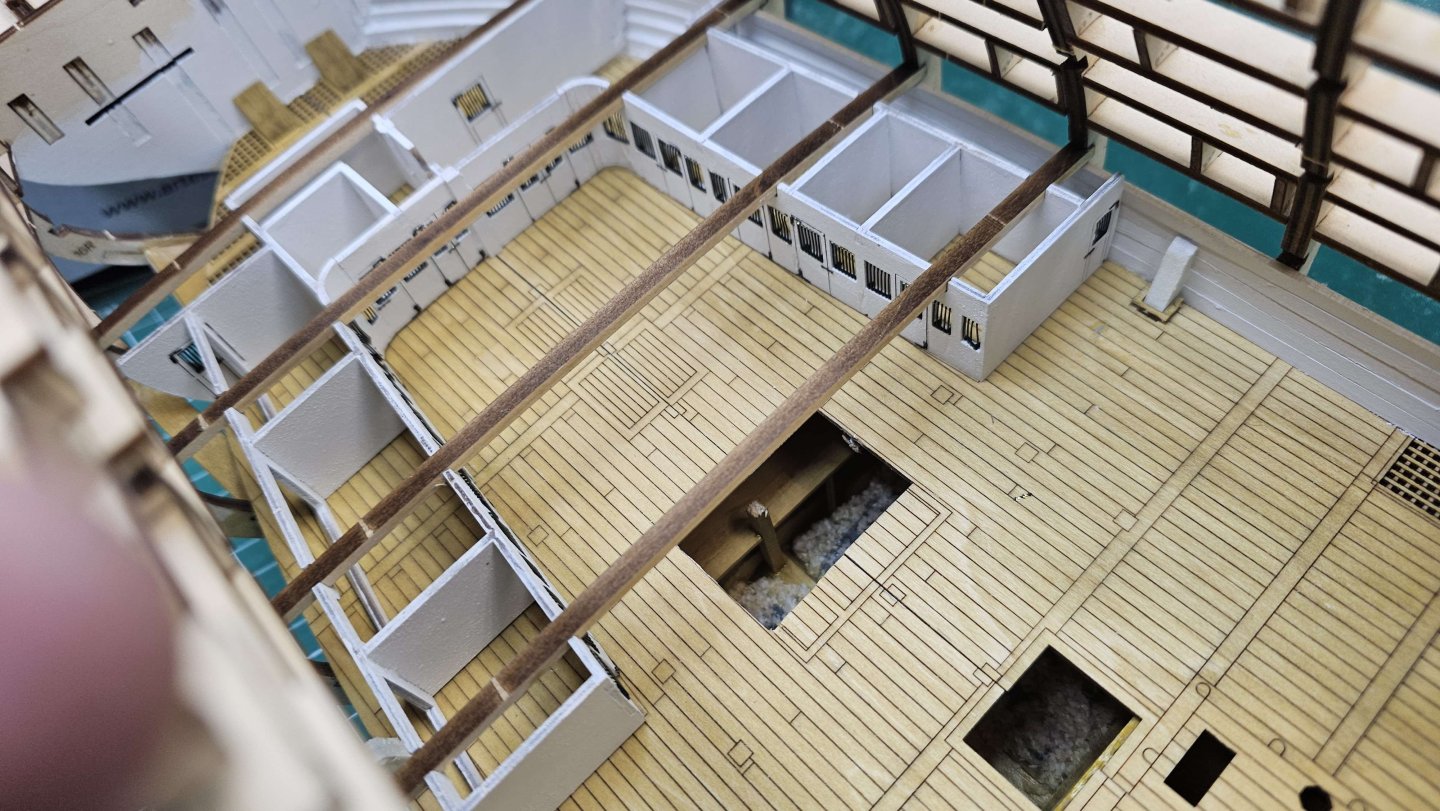
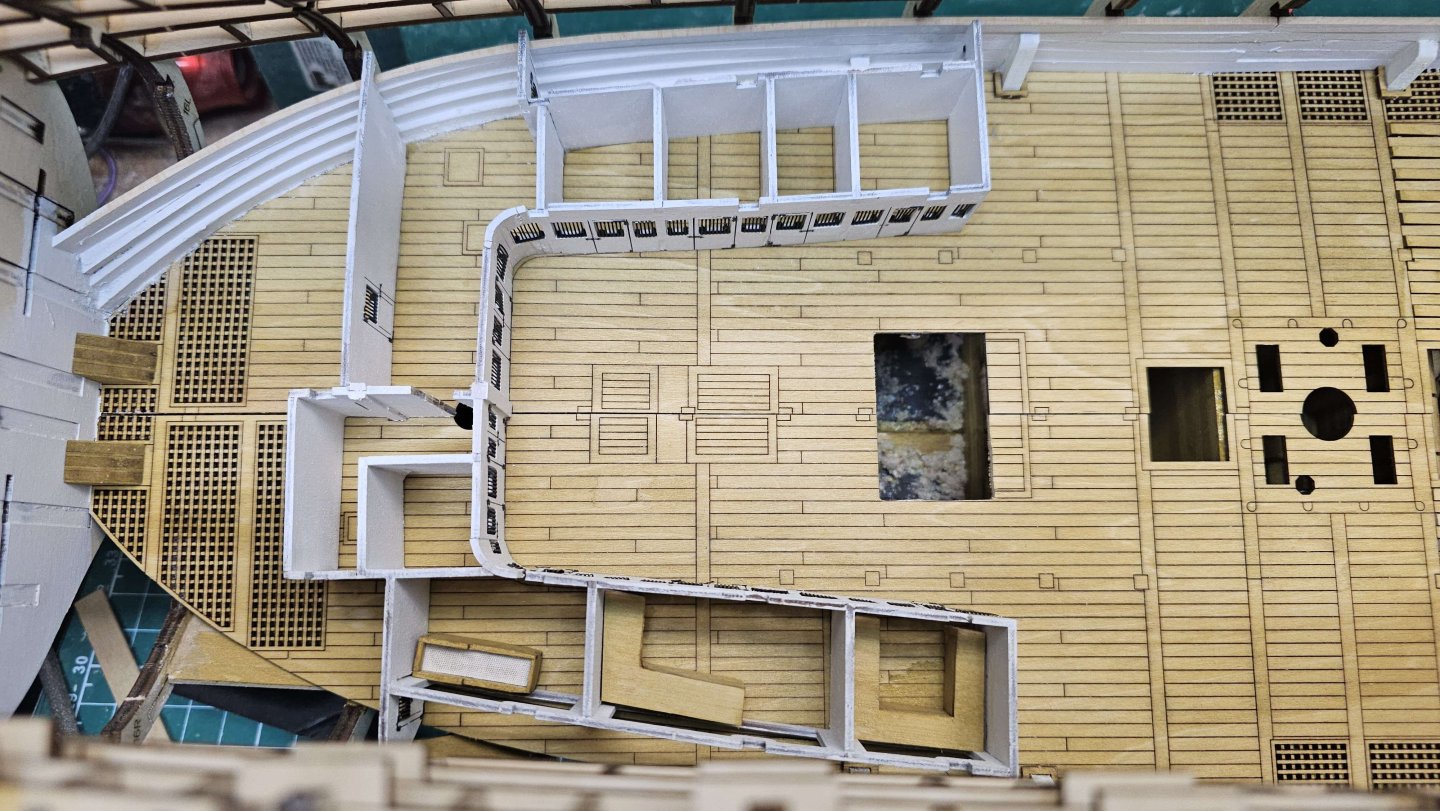
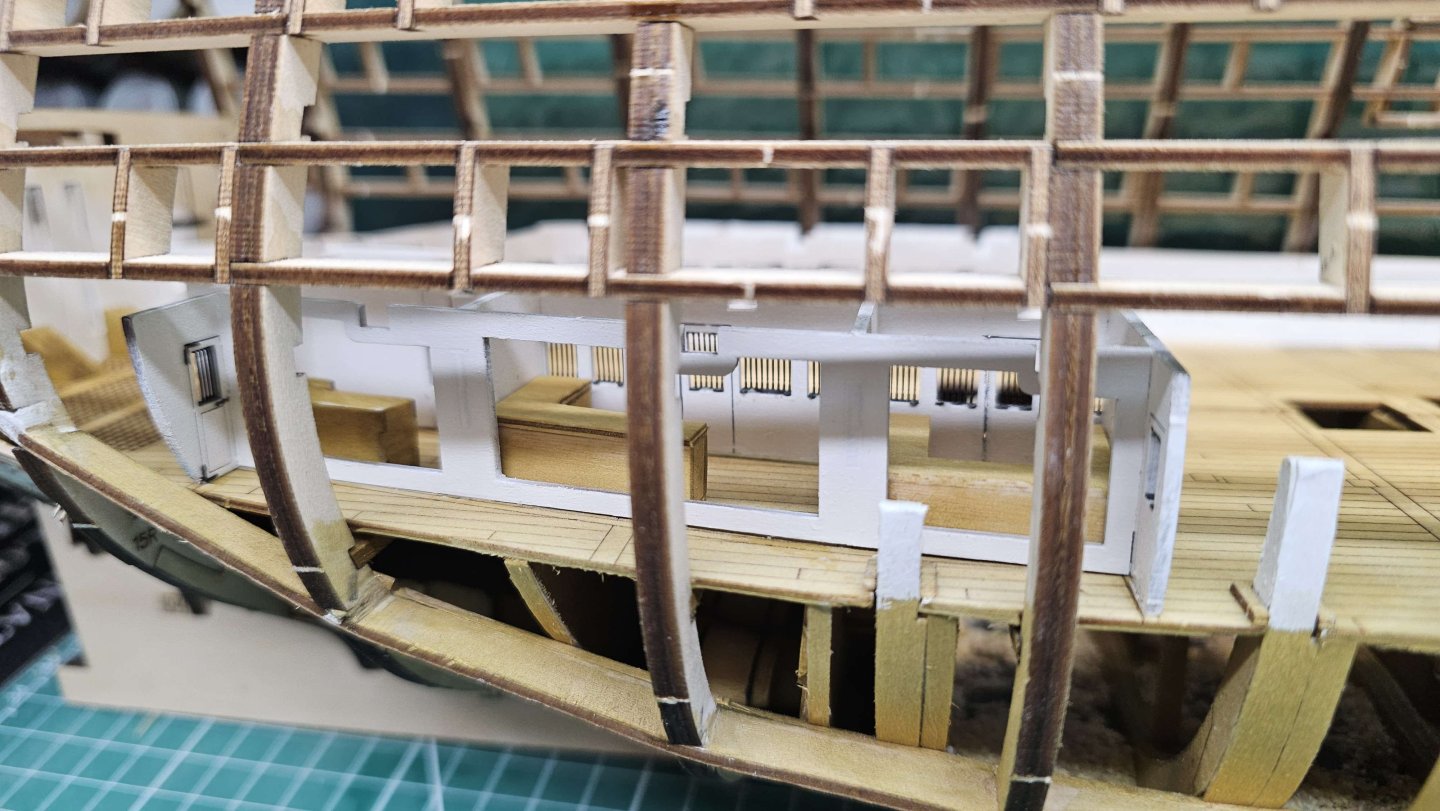
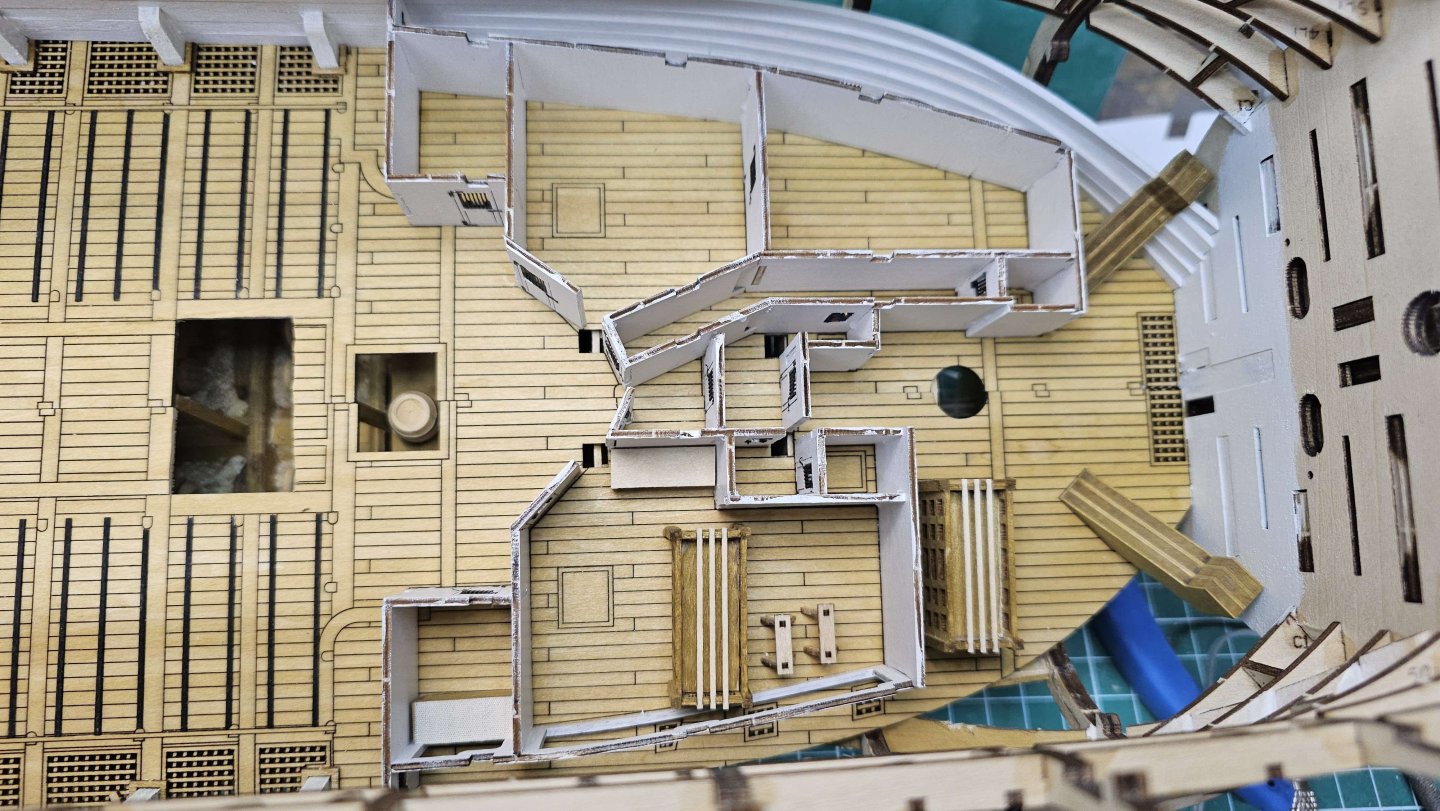
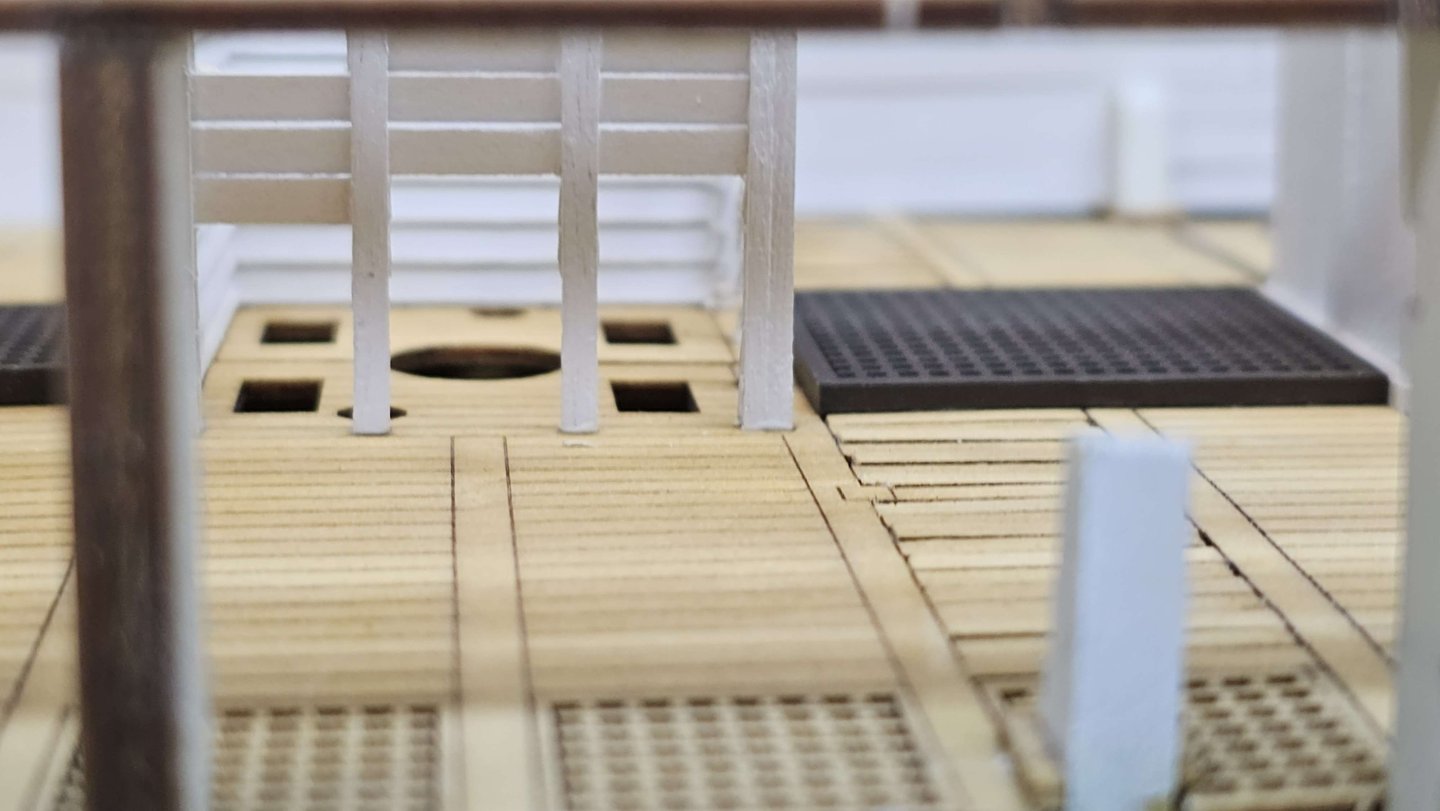
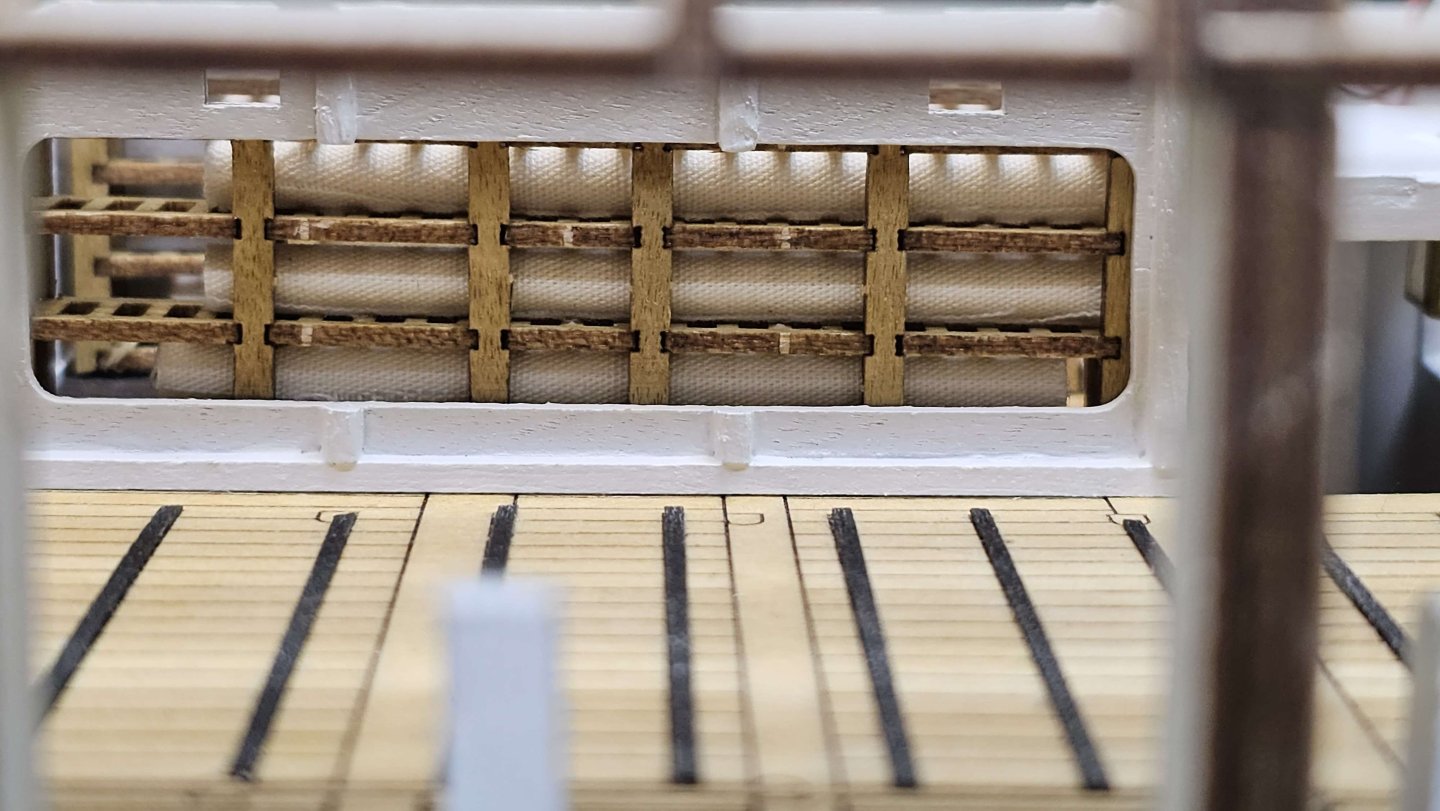
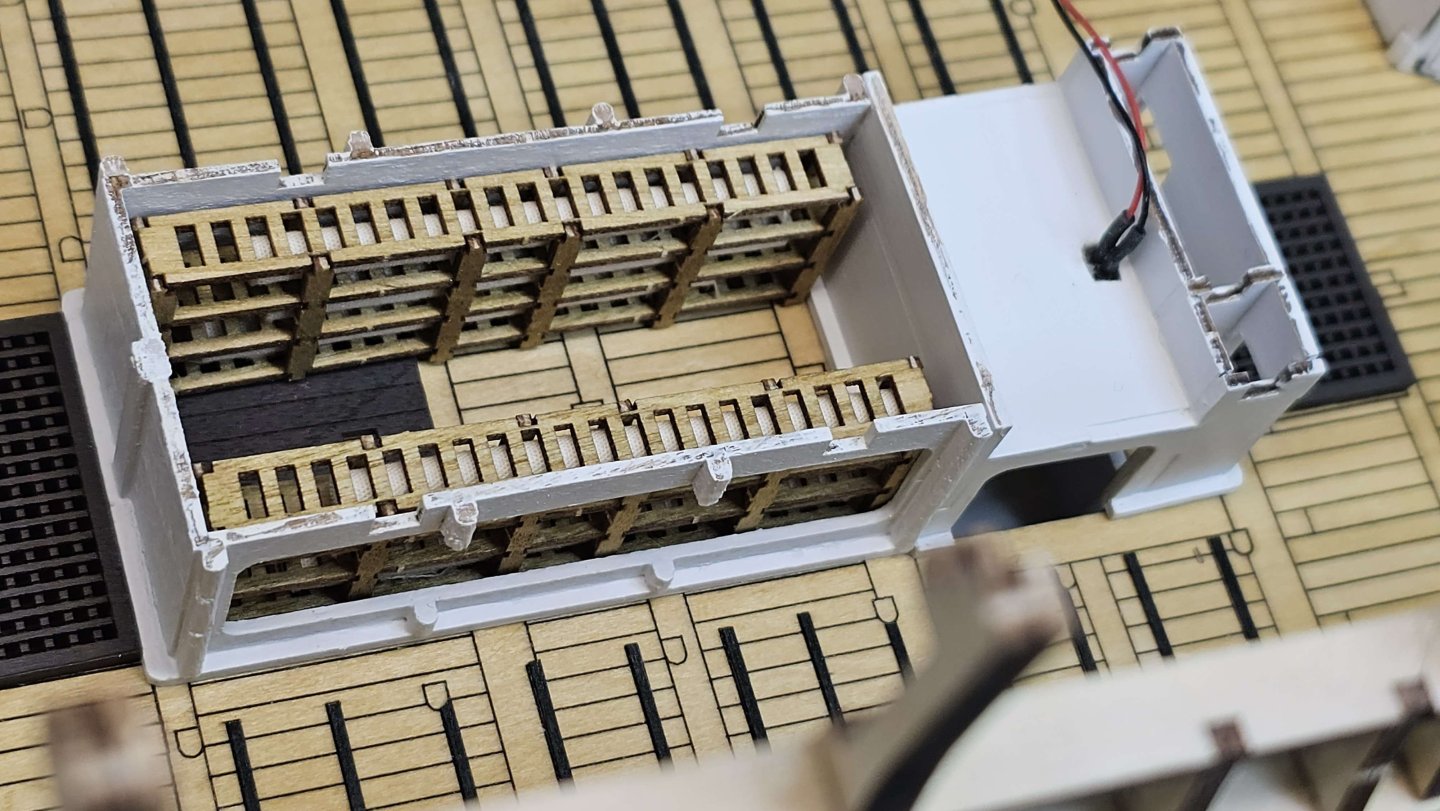
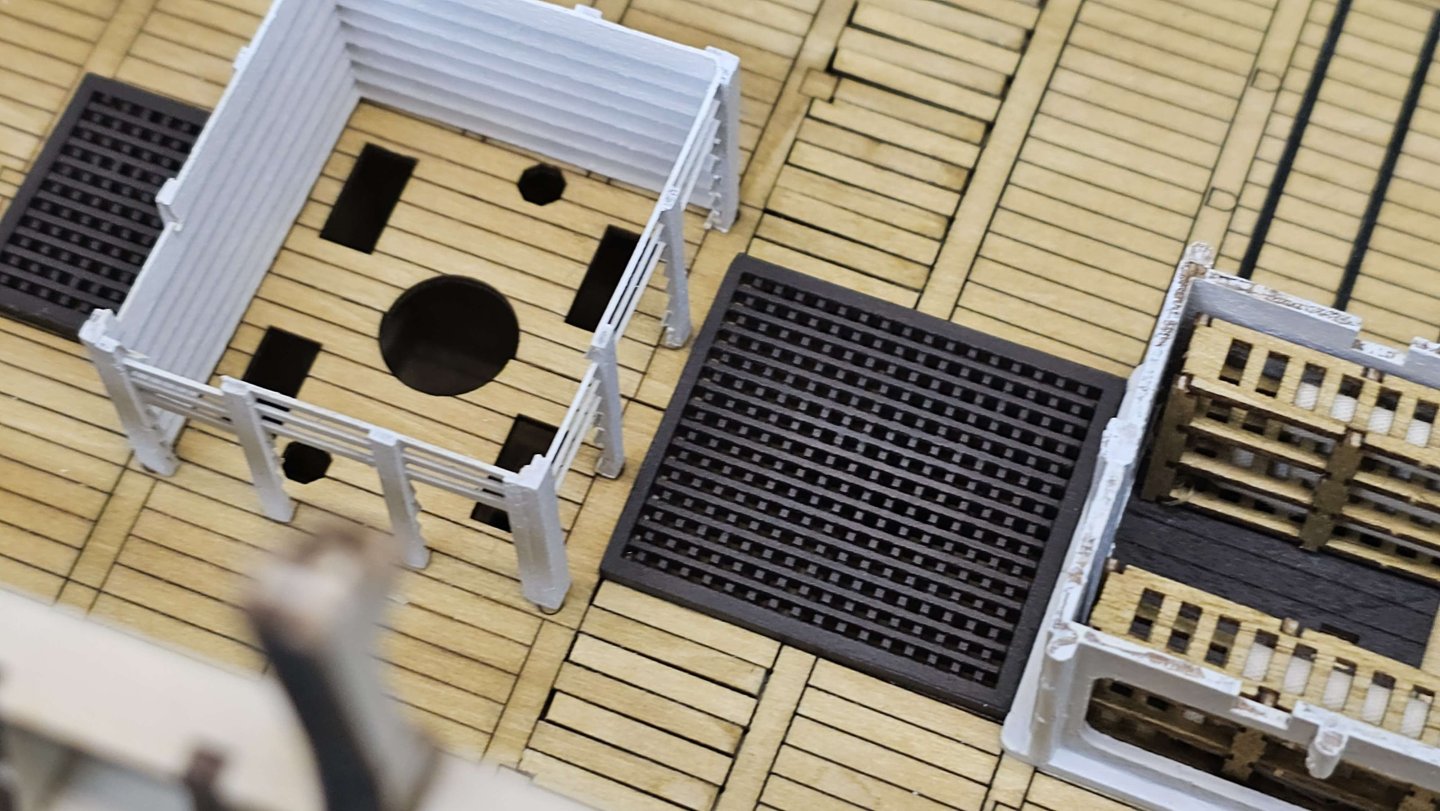
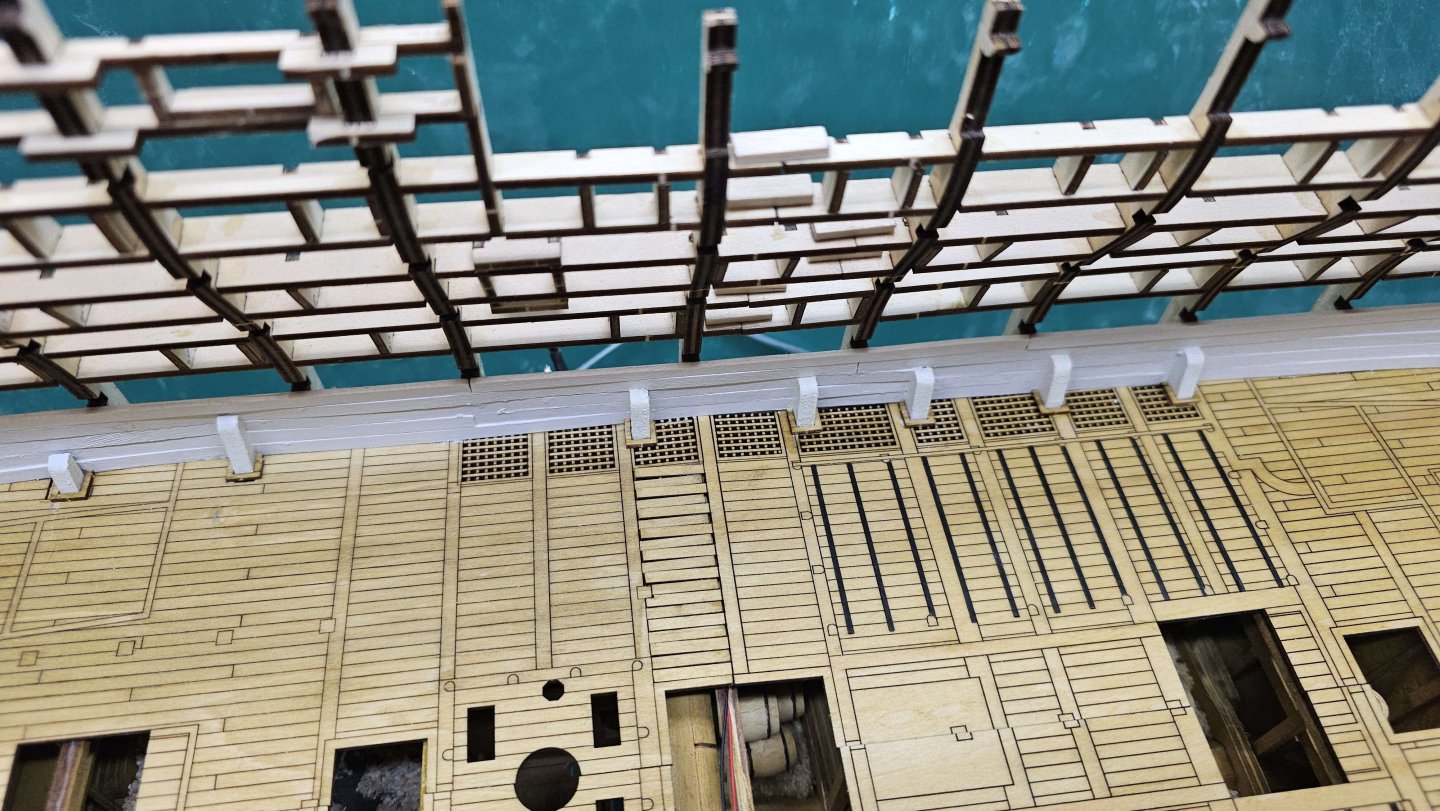
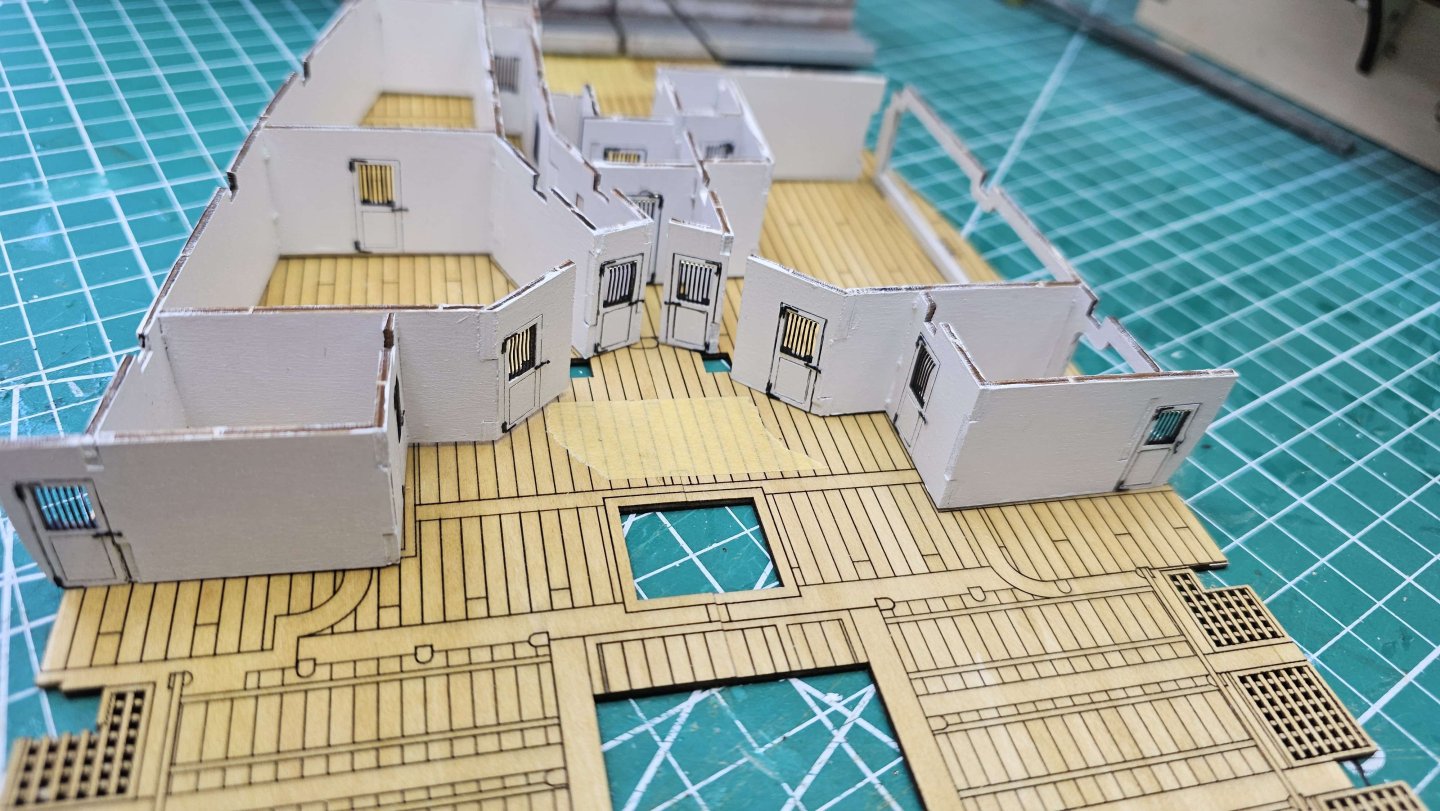
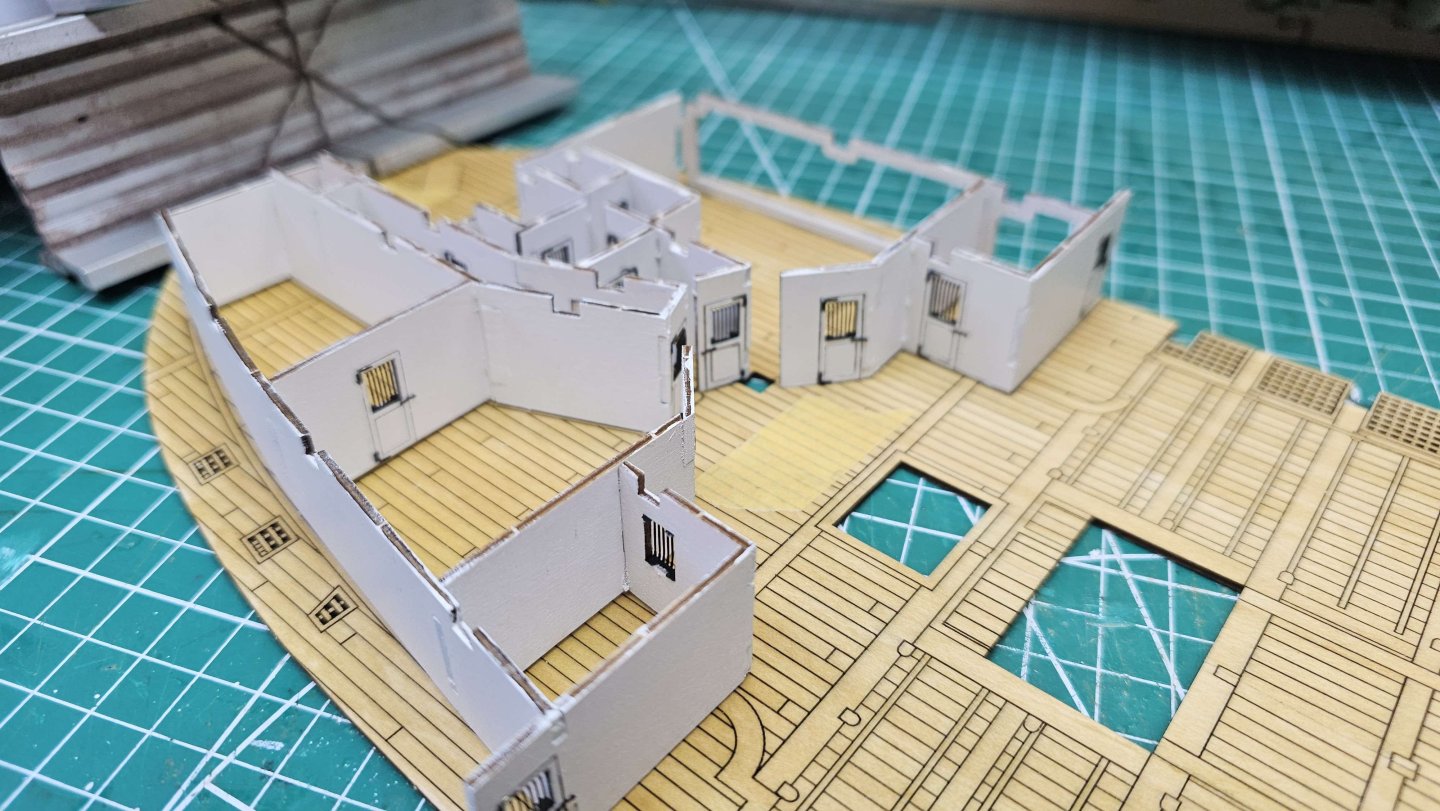
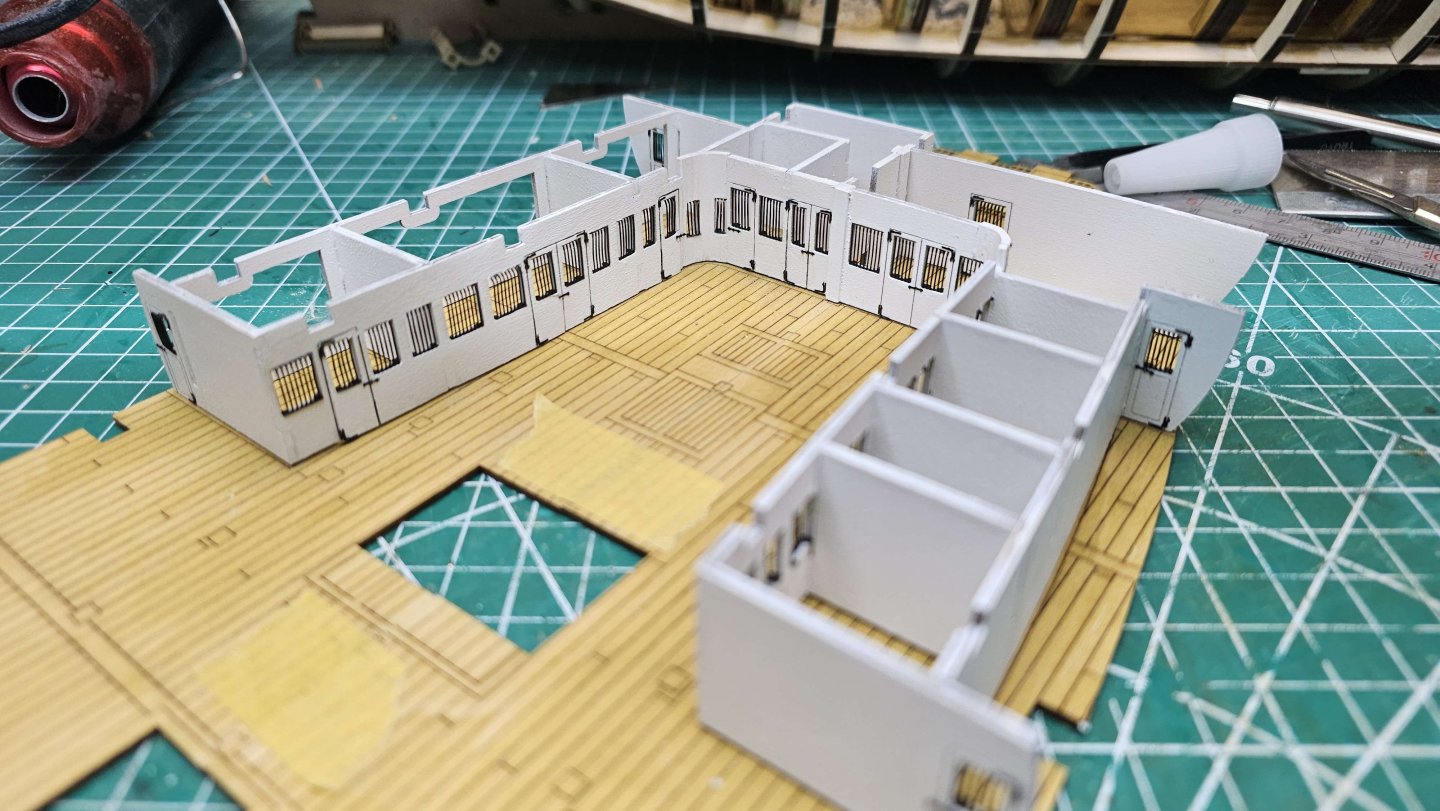
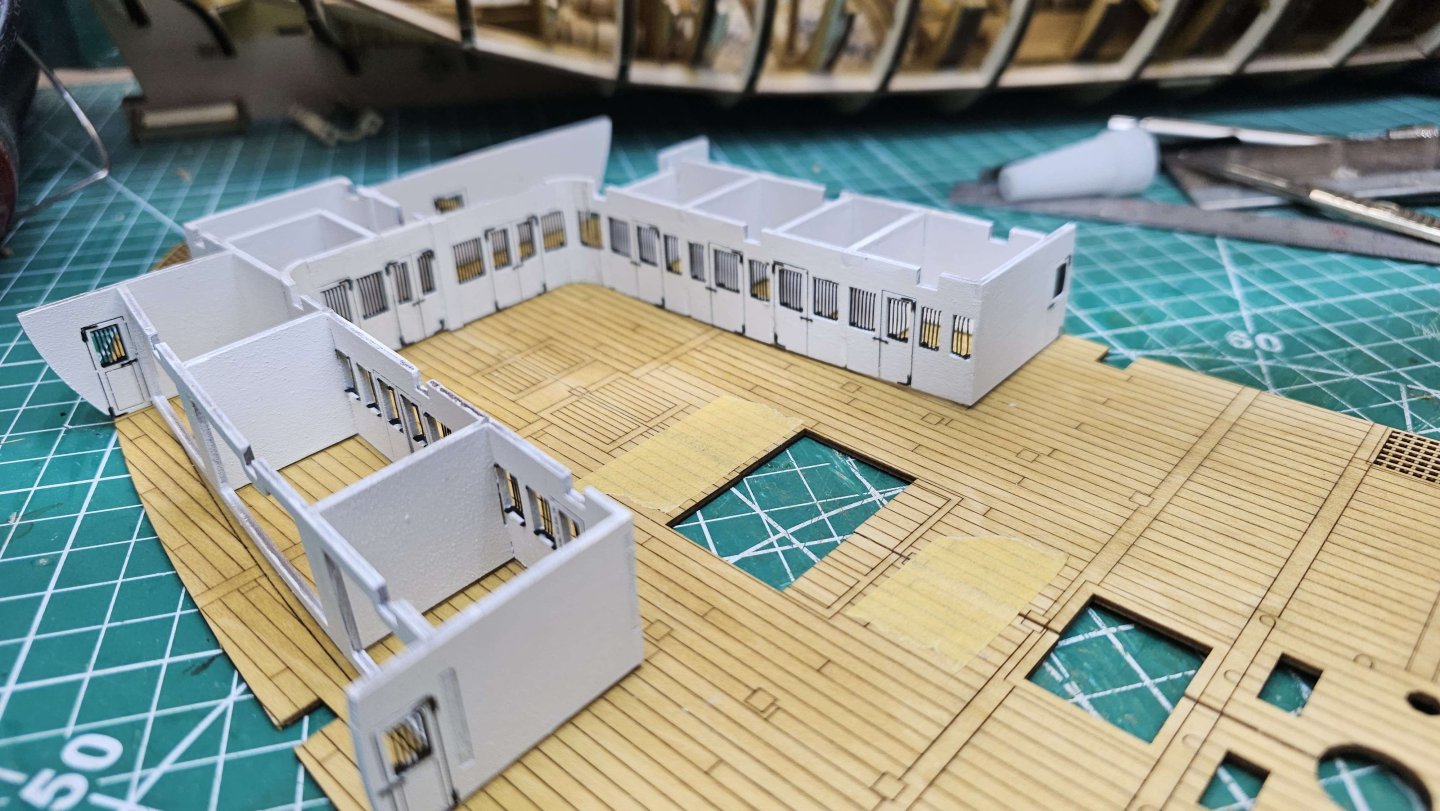
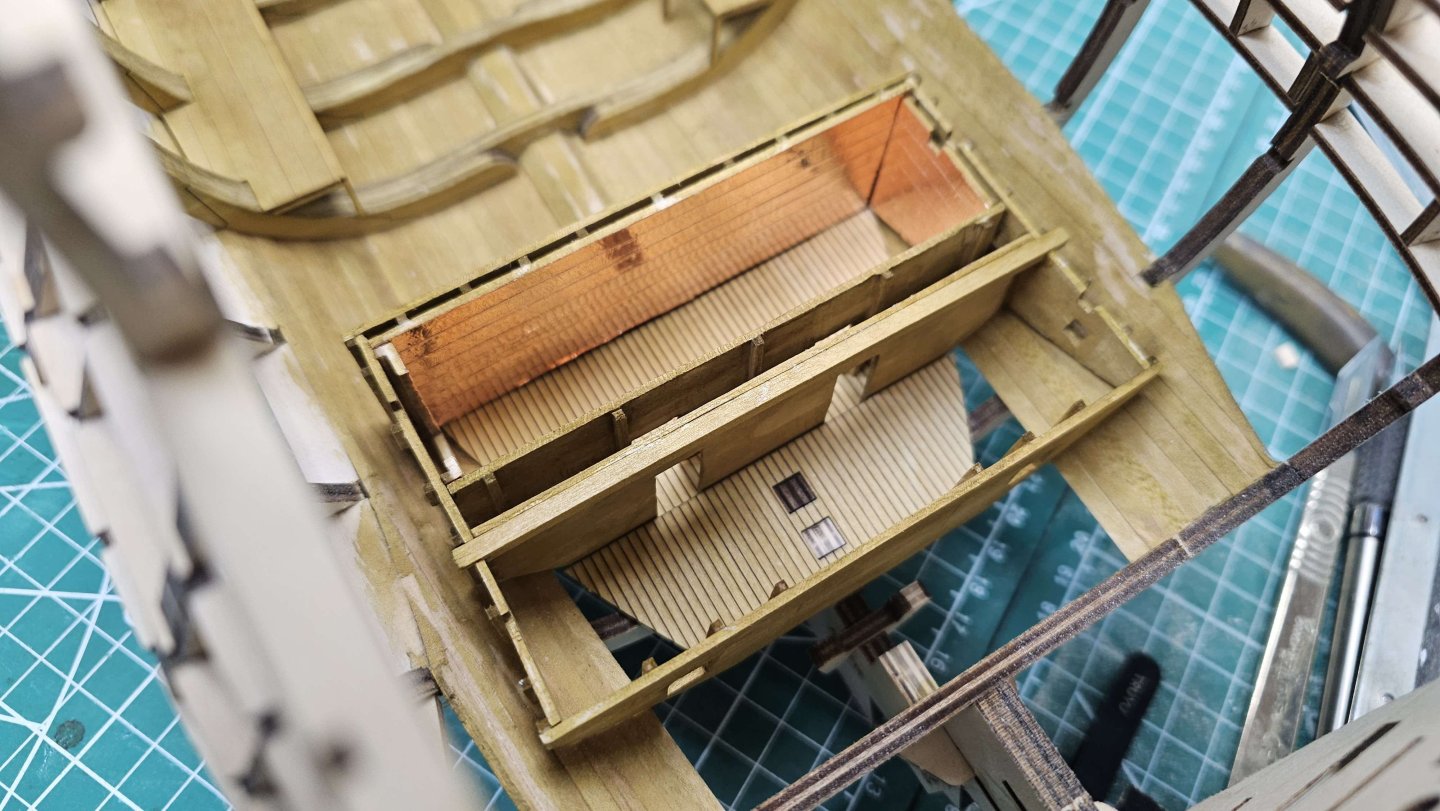
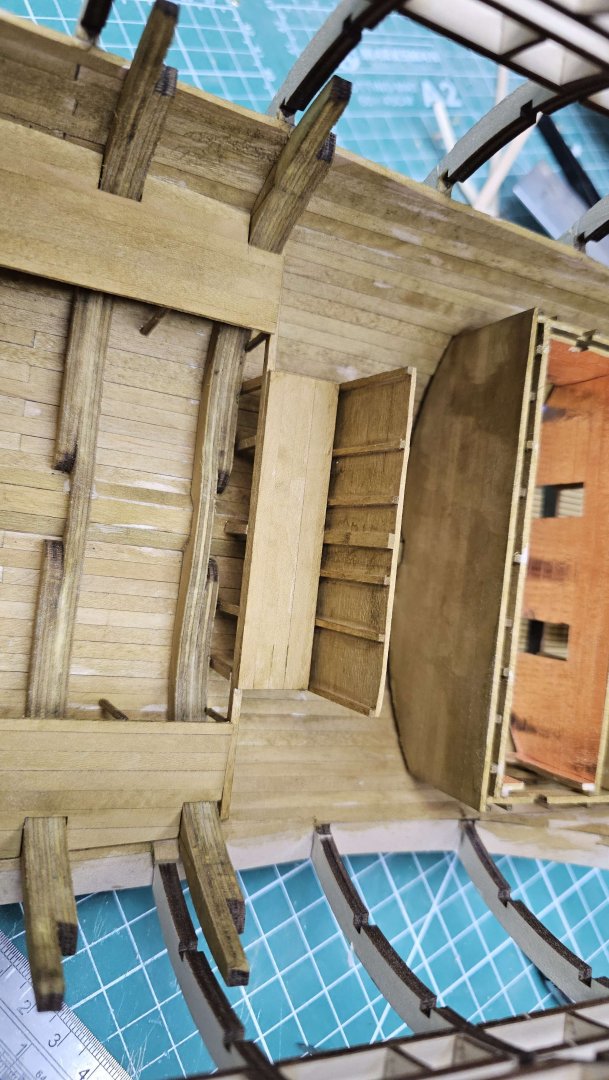
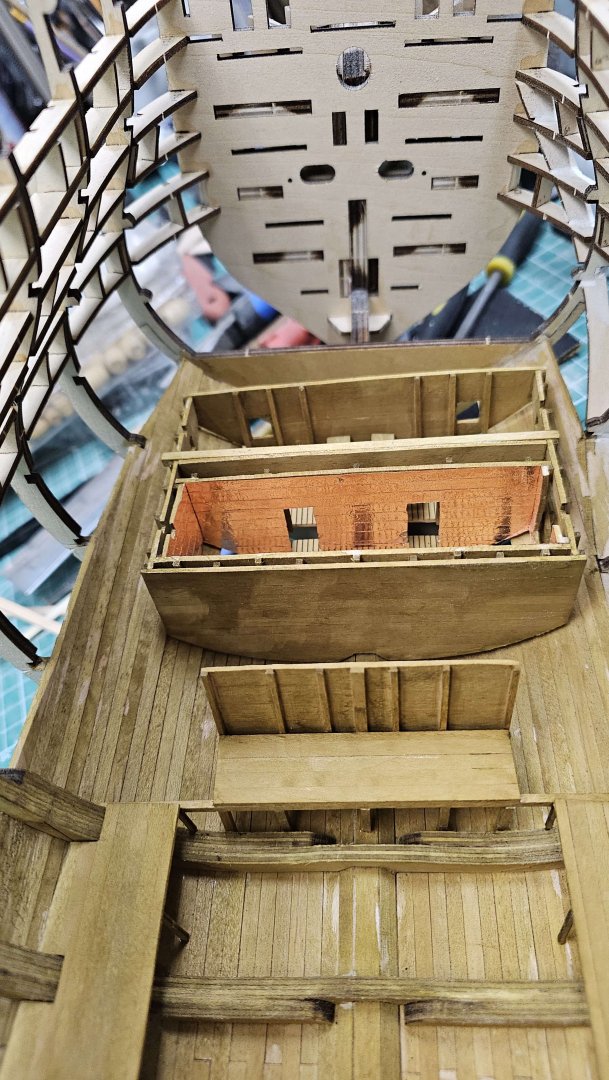
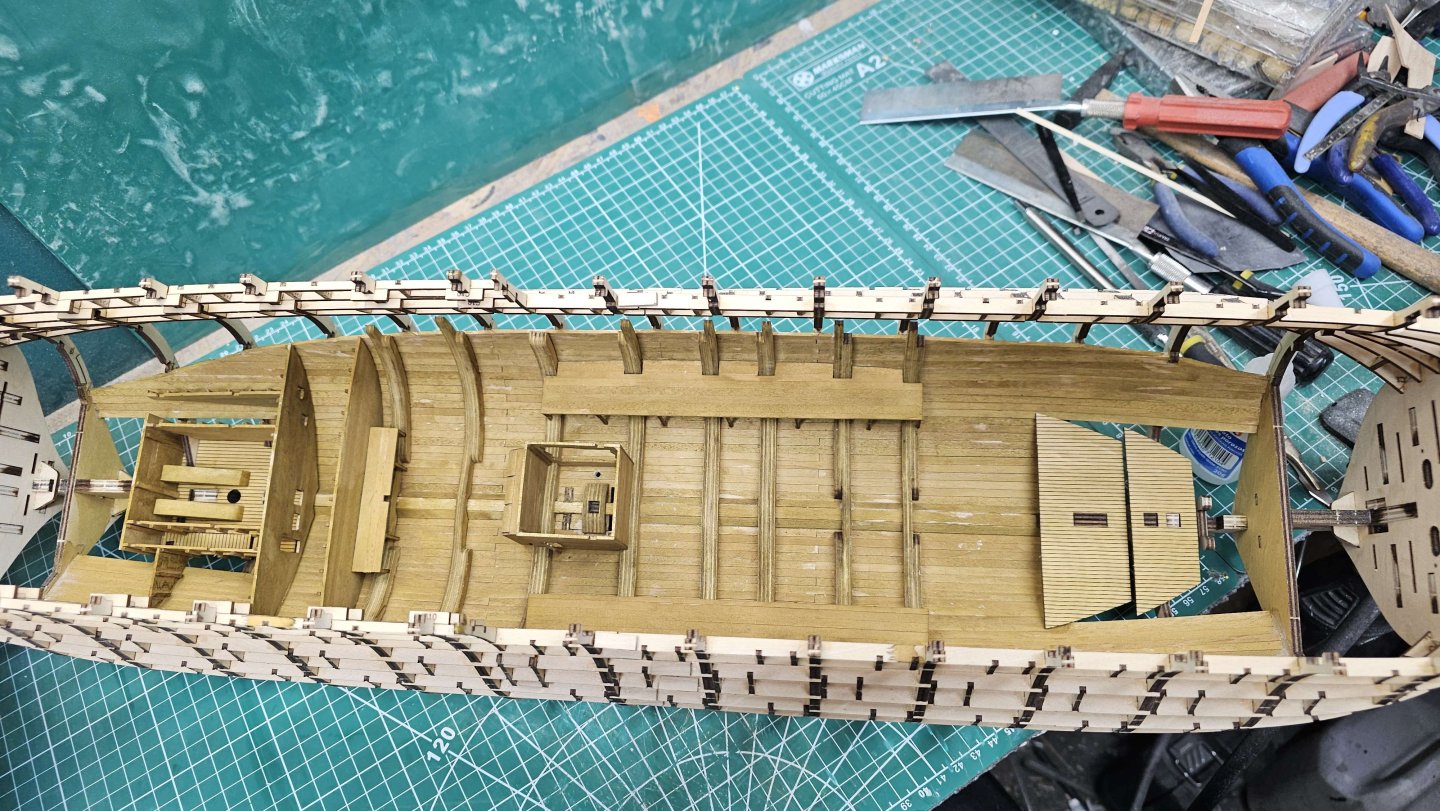
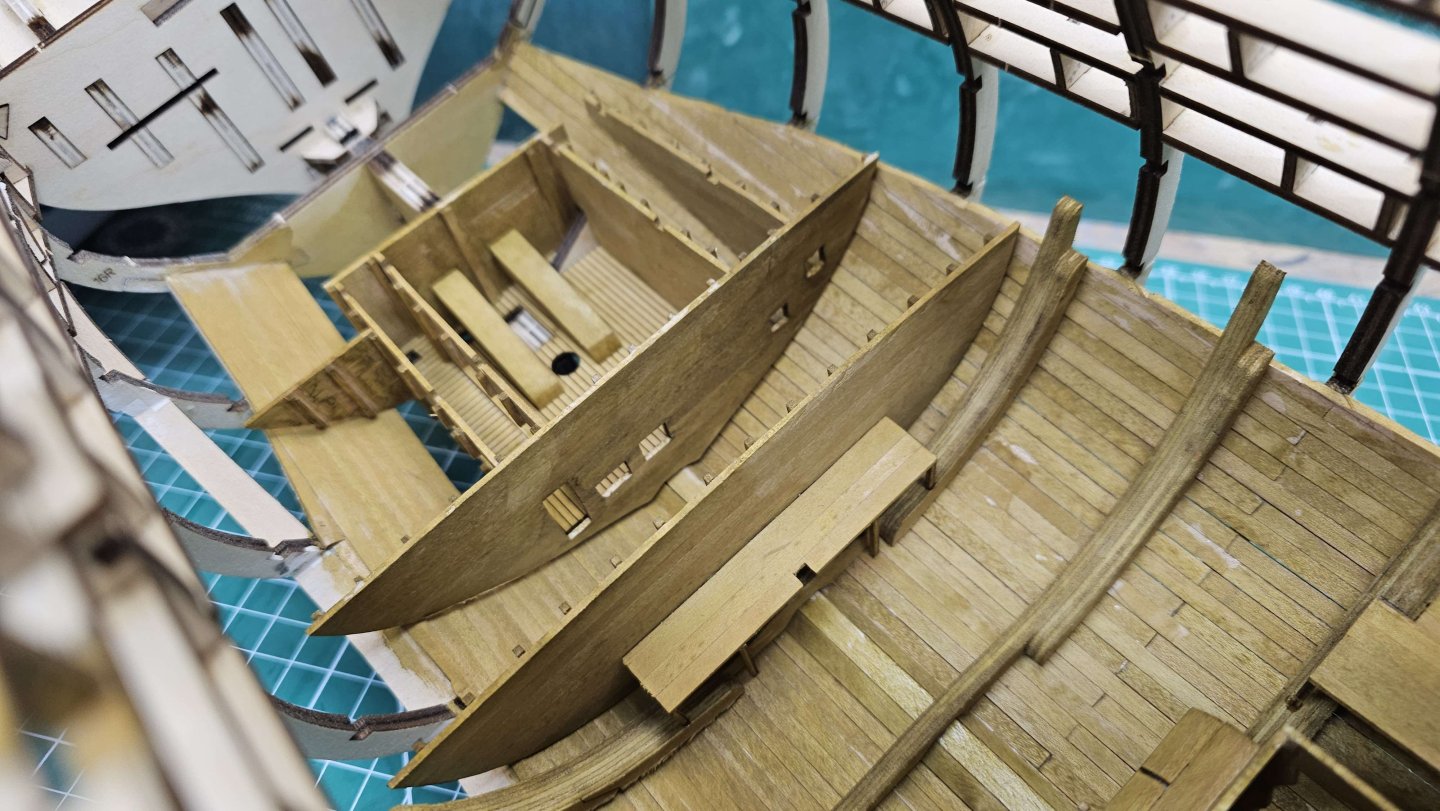
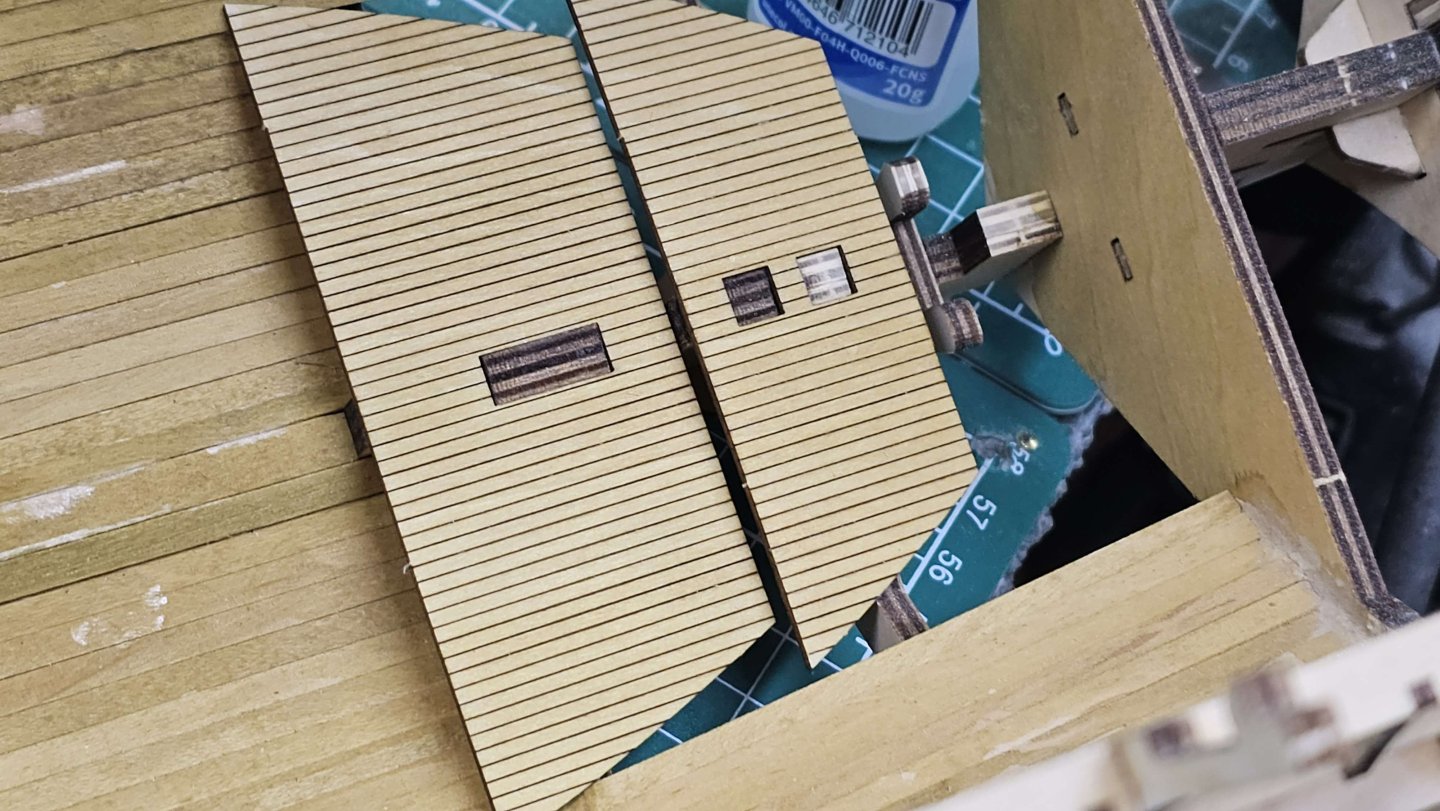
Video #12 Complete Video 12 was fairly straight forward. Mostly just fitting the items built in the previous video. Fitting the compartments was much easier than I thought it would be. I did have to adjust the stern wall to fit as I clearly didn't get the wall in the correct position, and the same with the beam at the bow.
-
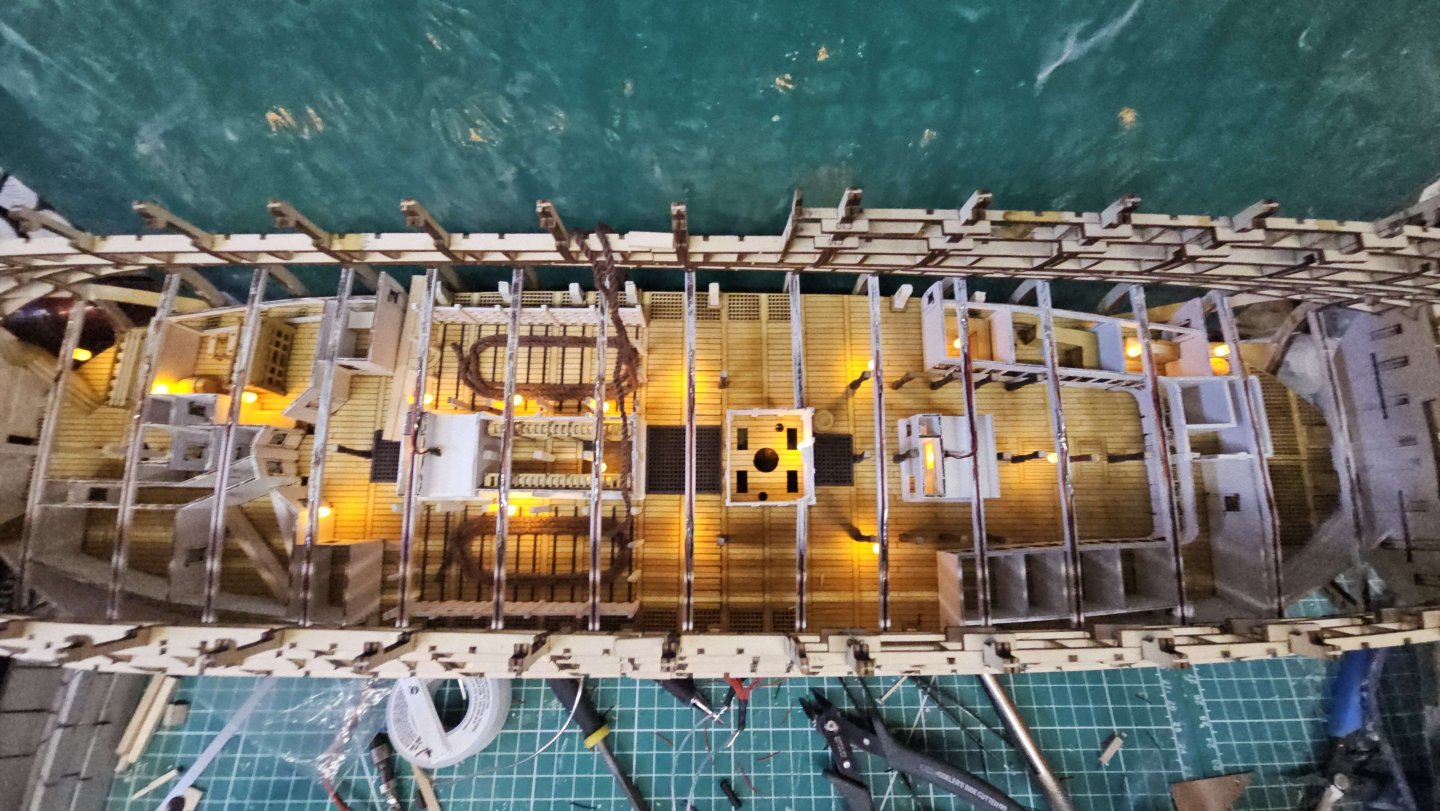
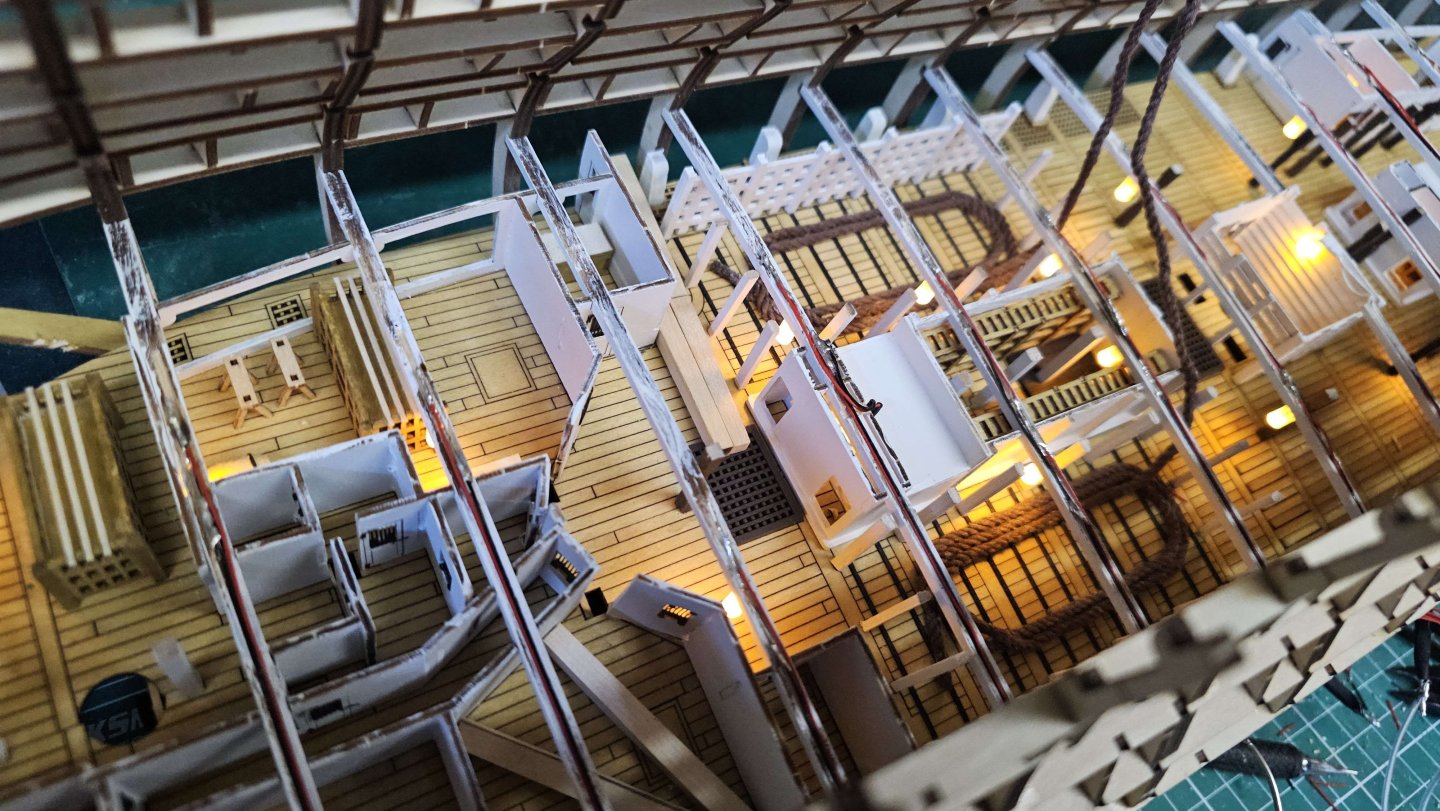
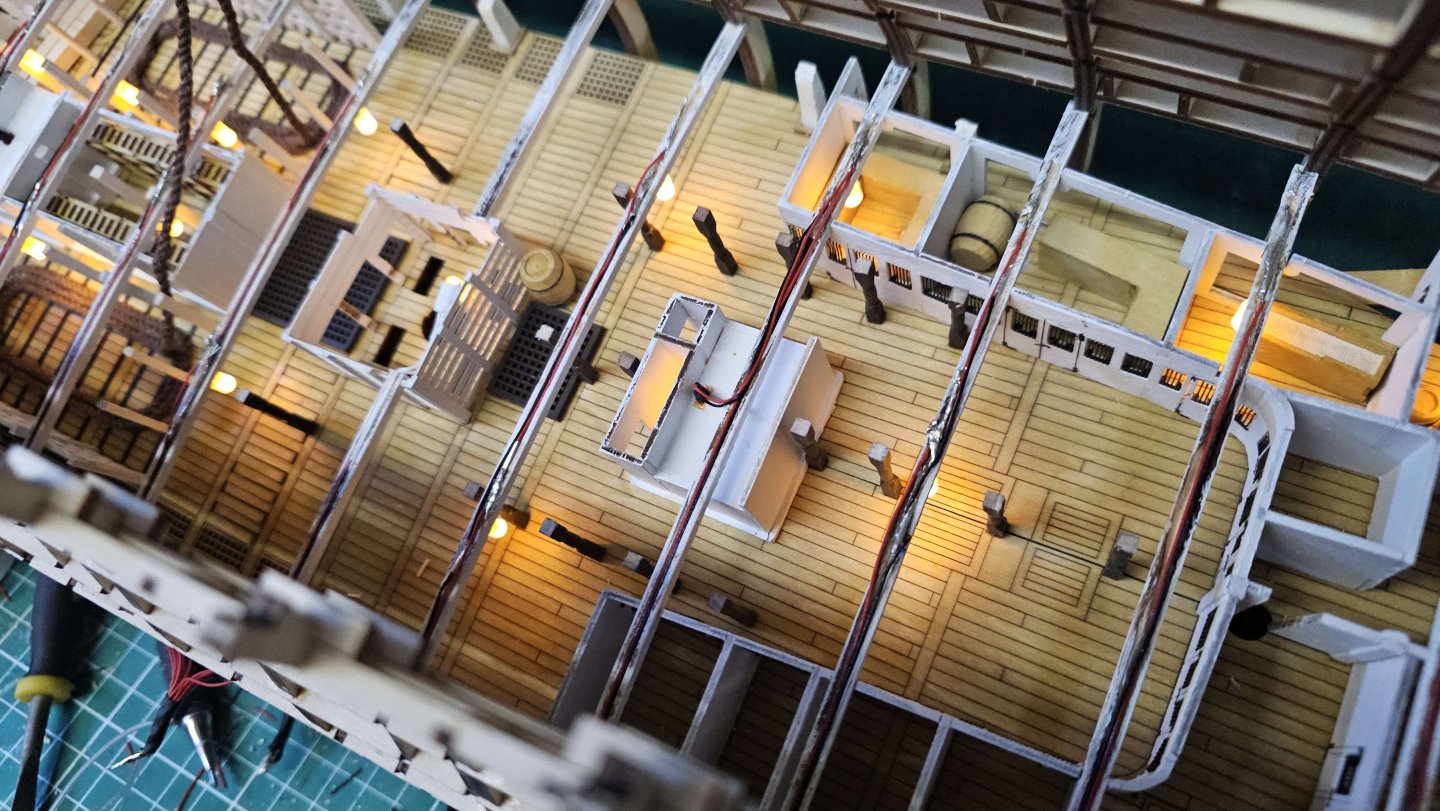
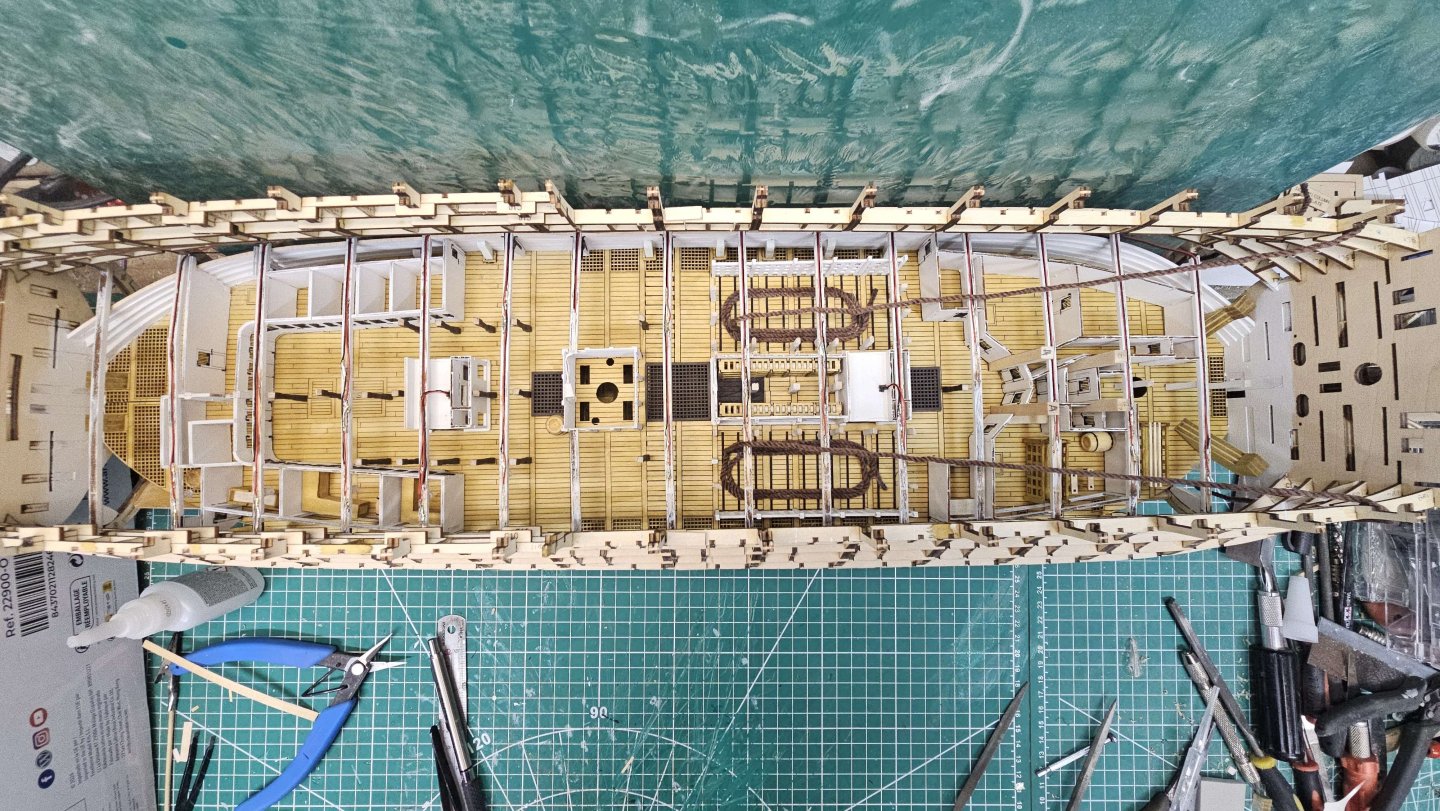
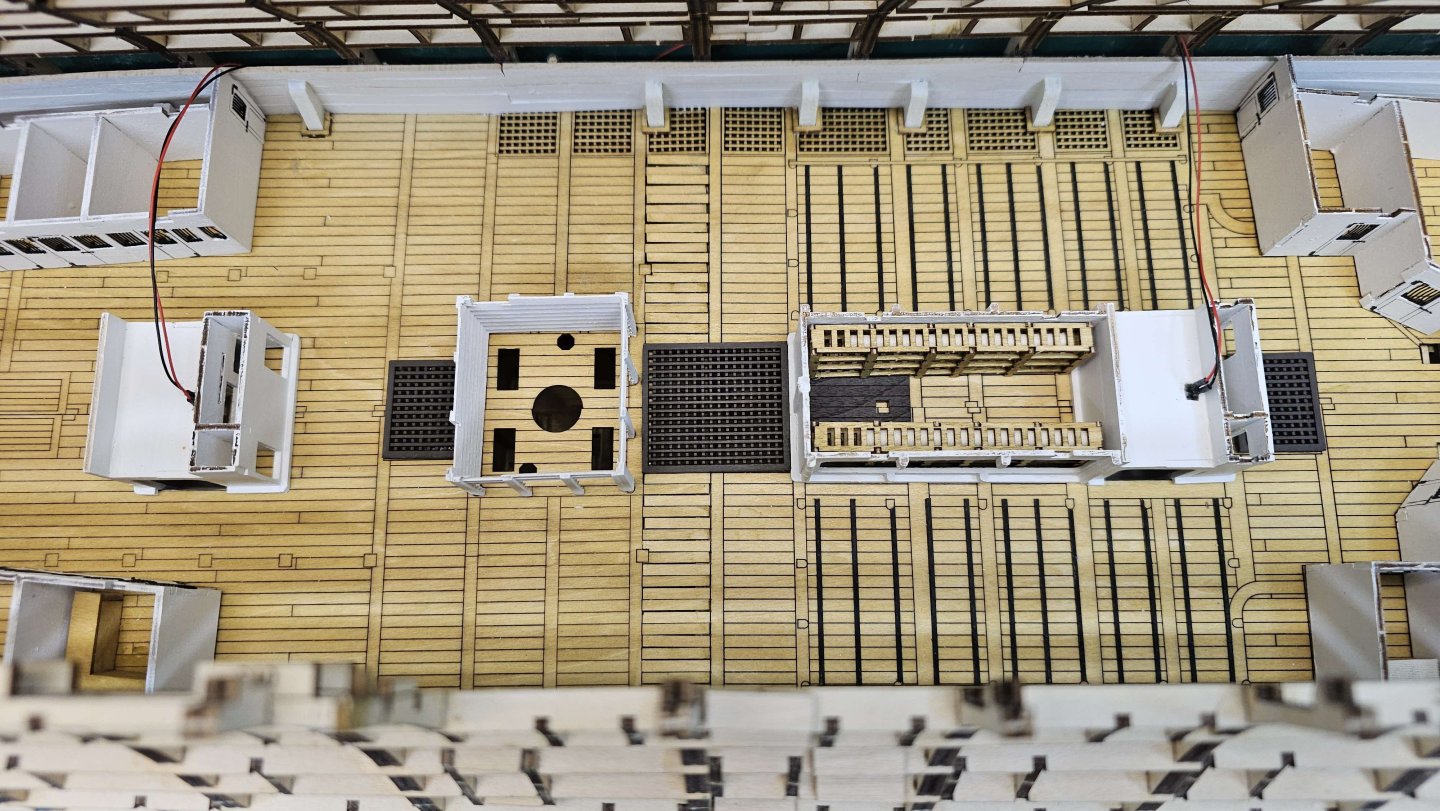
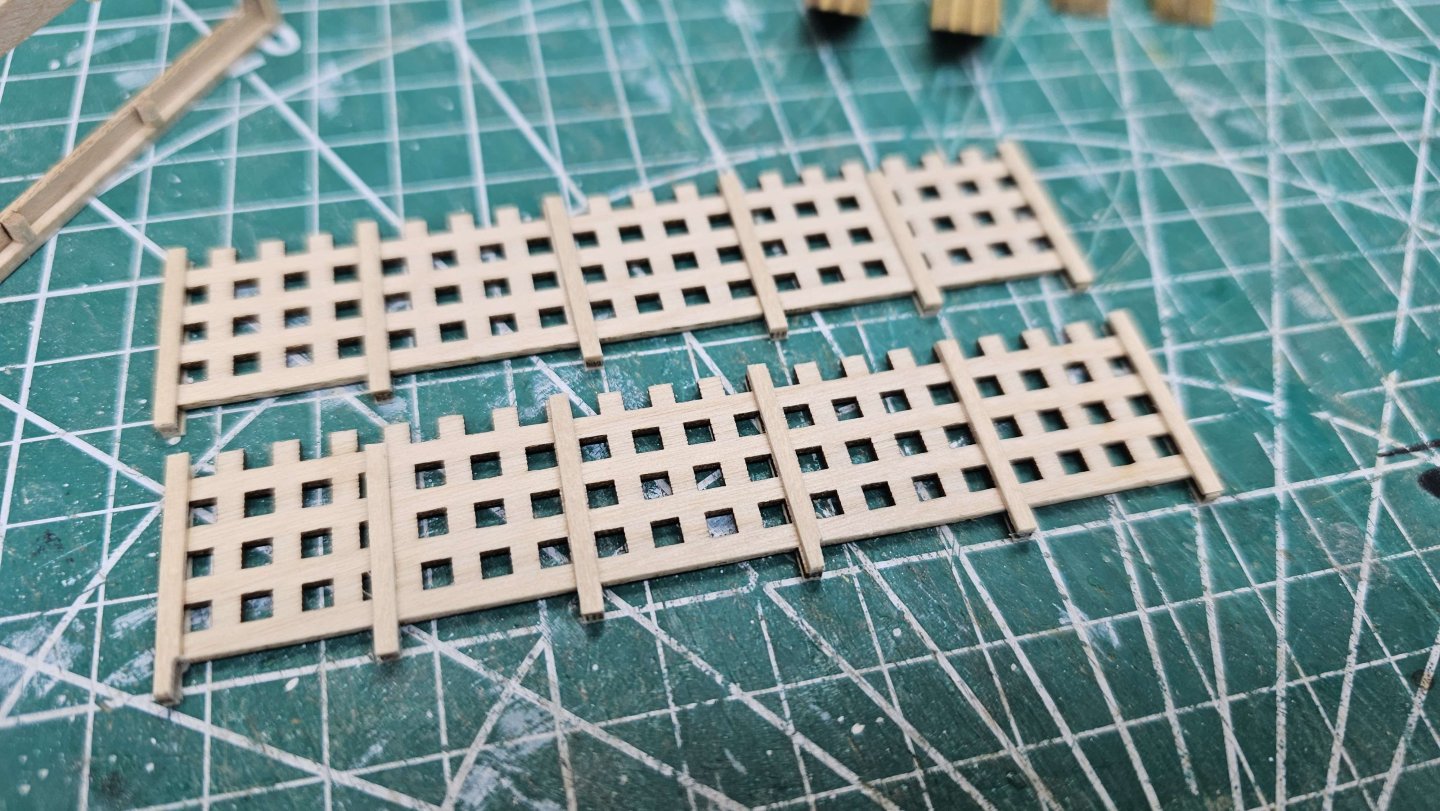
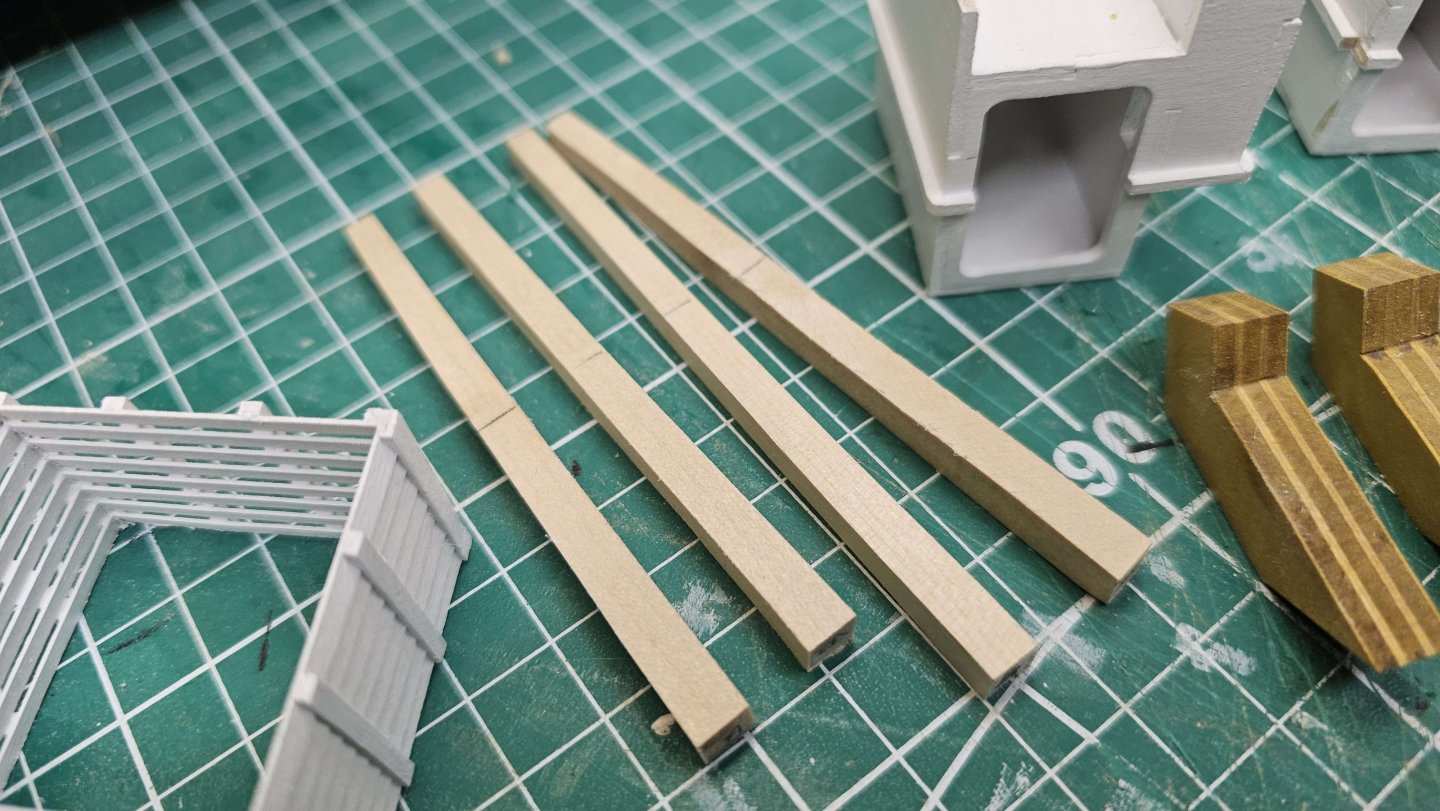
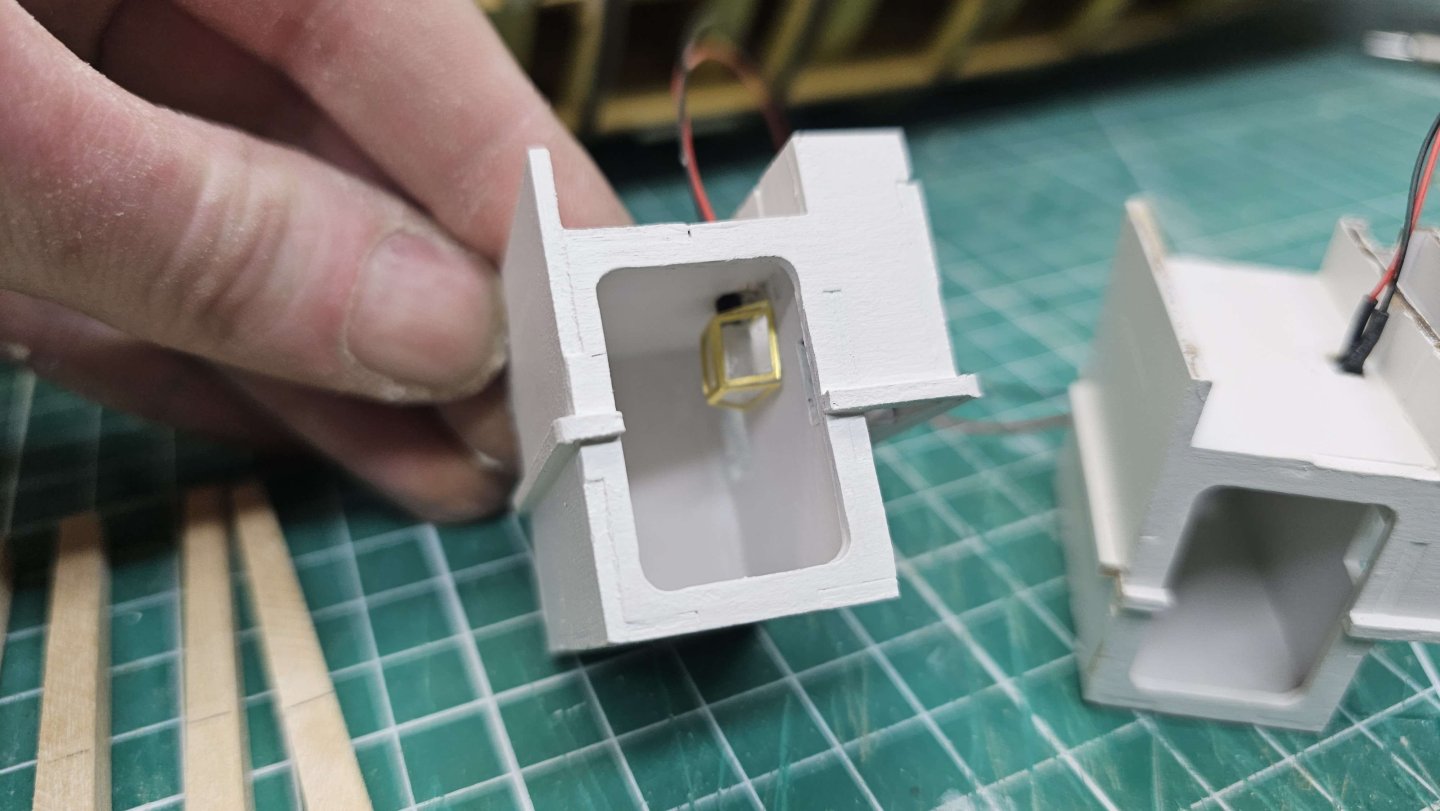
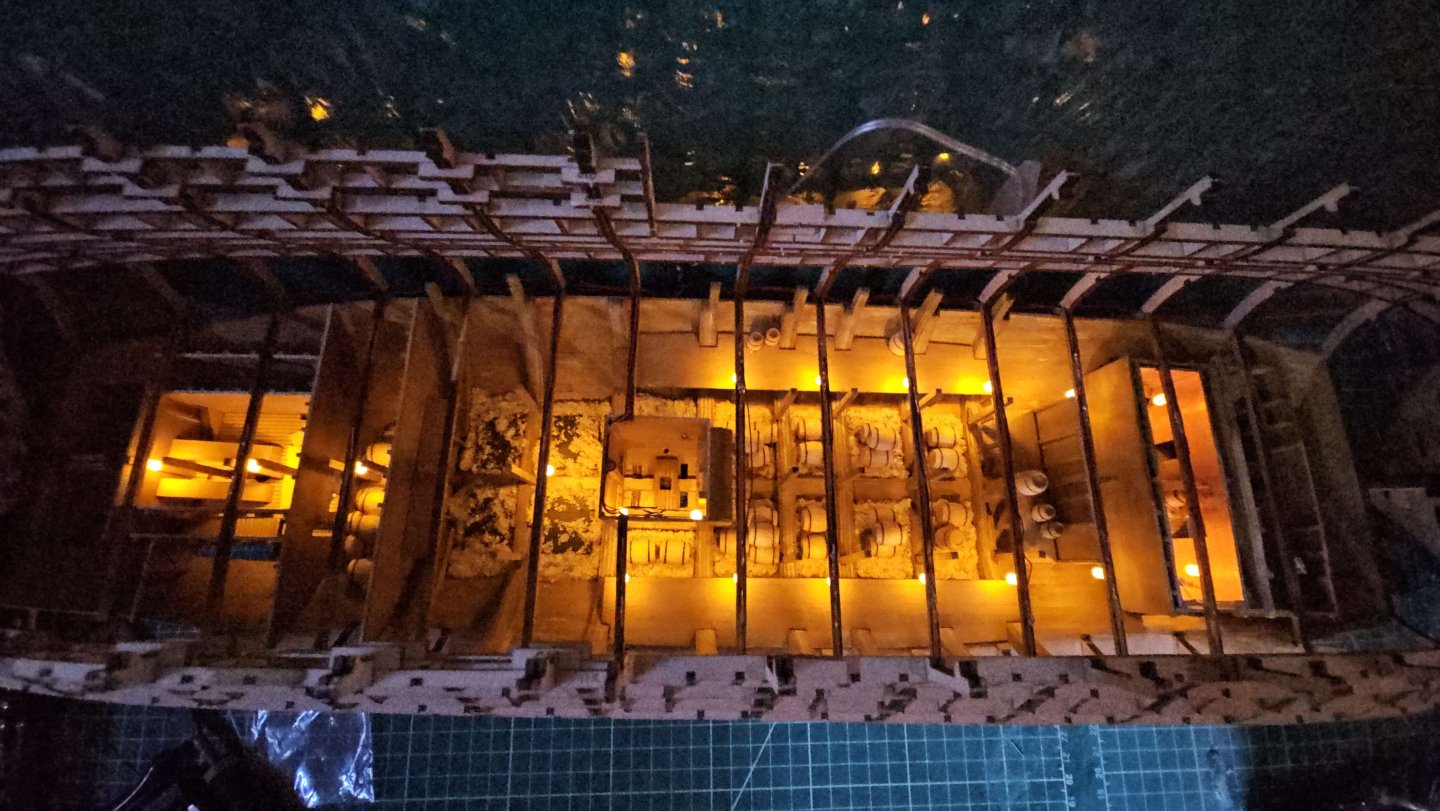
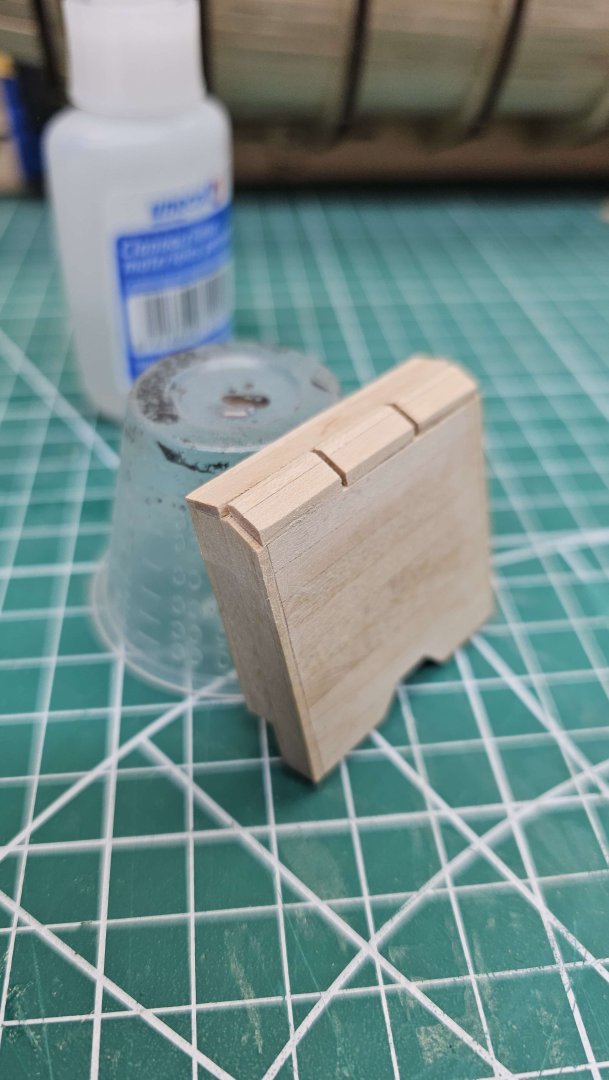
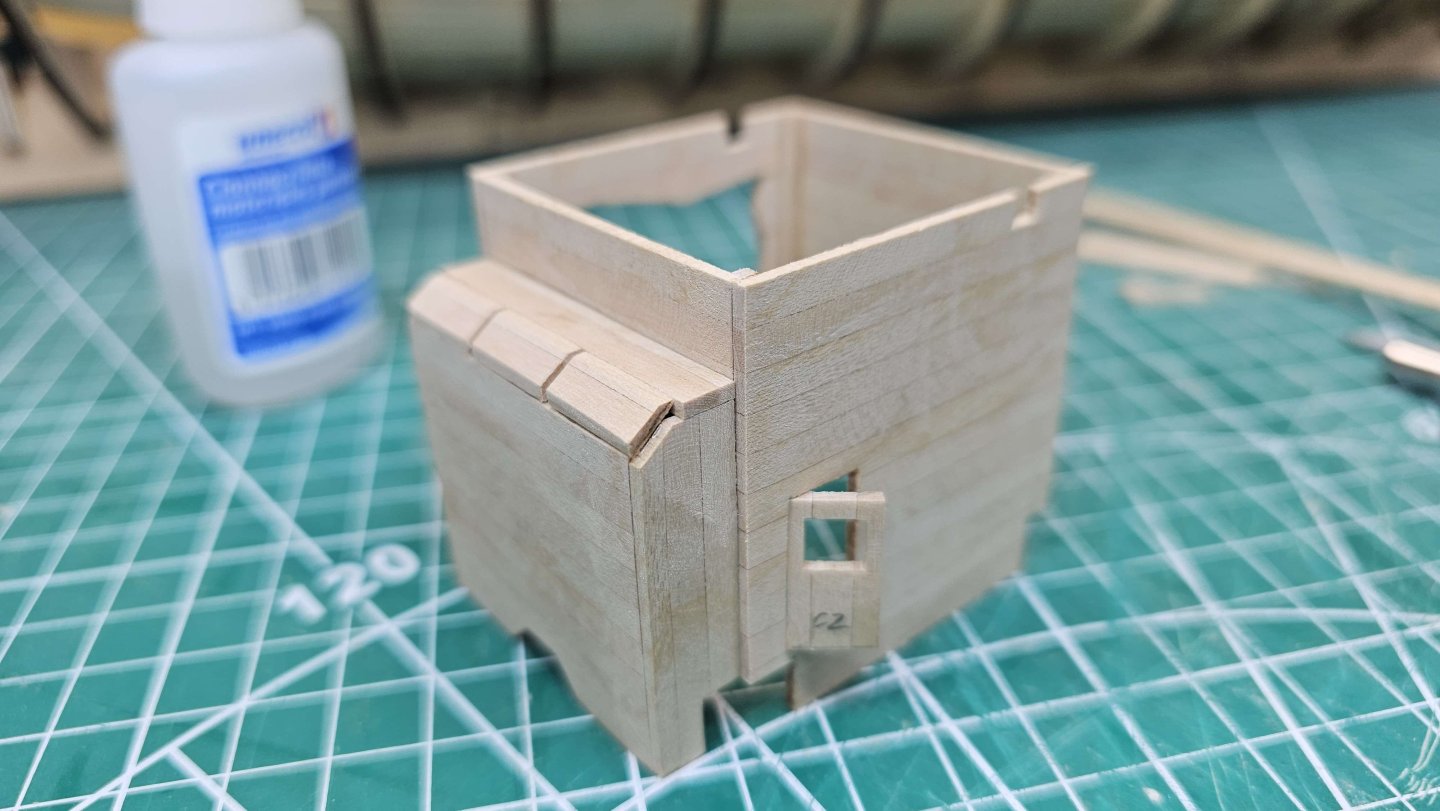
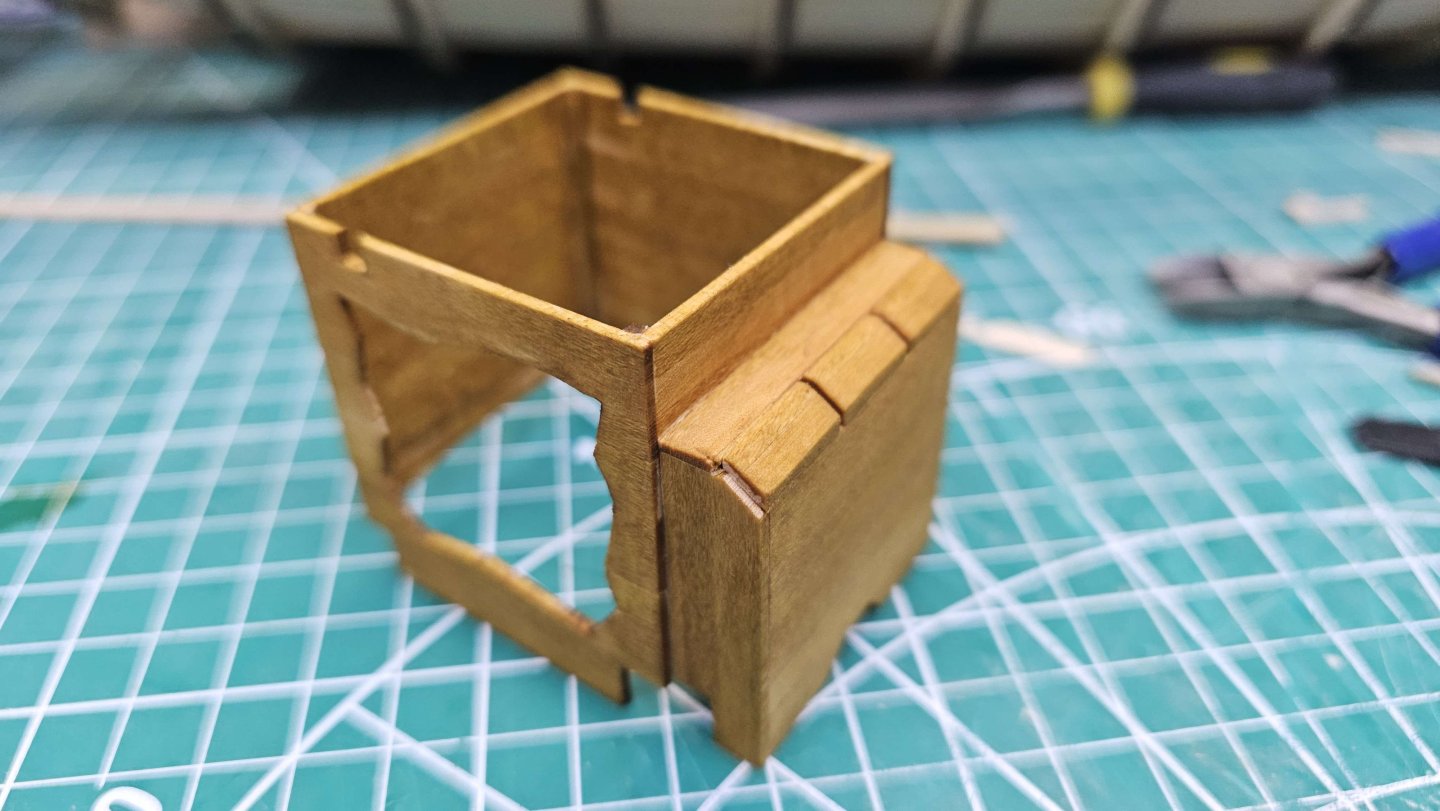
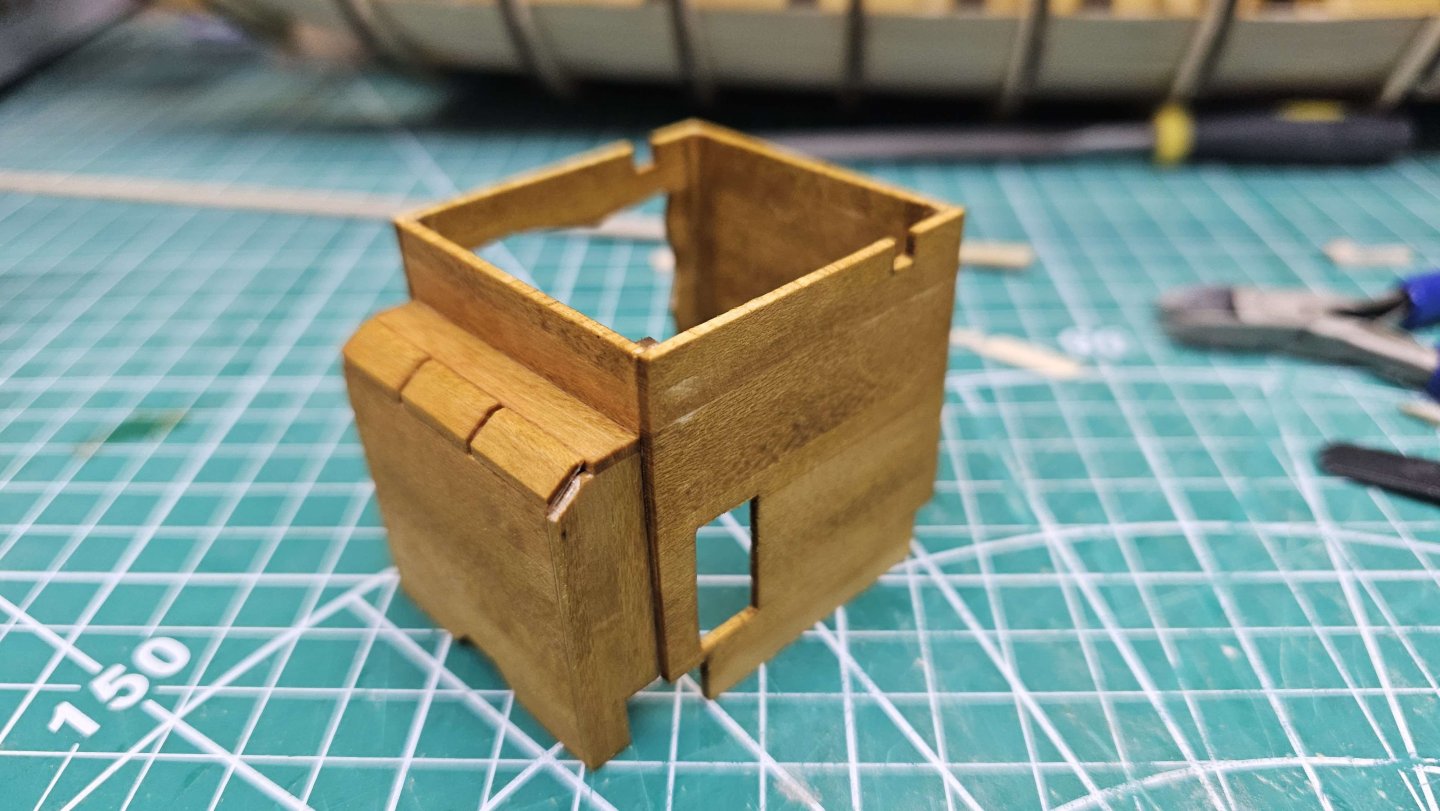
Video #7 Complete And video 7 is done. Pretty straight forward this one. The wood for the beams is quite soft so the tool for making a groove works really well, but even if you don't have that, the pointed end of a needle file will work just as well. In hindsight I would have piggybacked the wiring into the next set and so on just as with the upper decks, just so you don't end up with as many wires. I didn't paint the frame for the lanterns as my hands weren't cooperating the last few days. 066.mp4
-
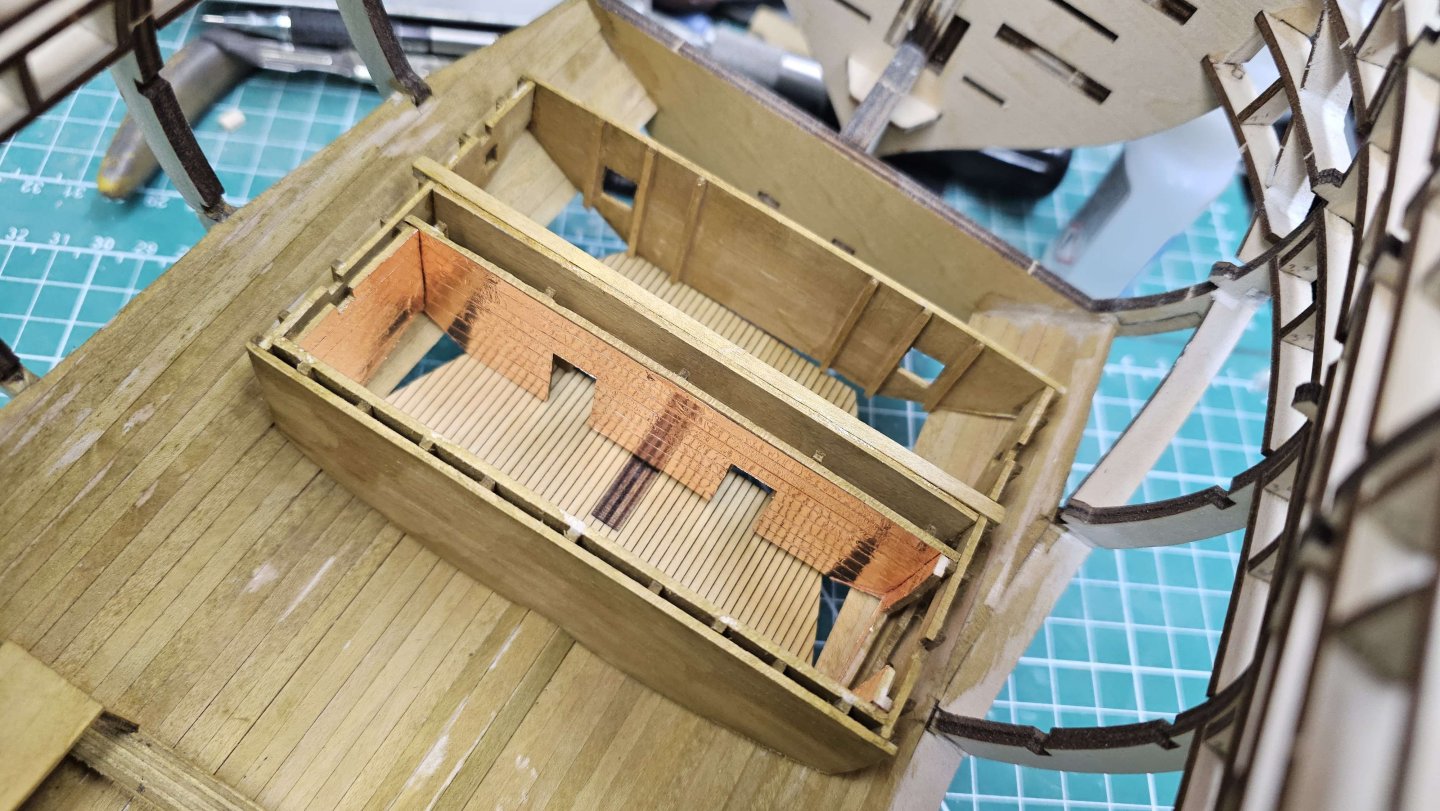
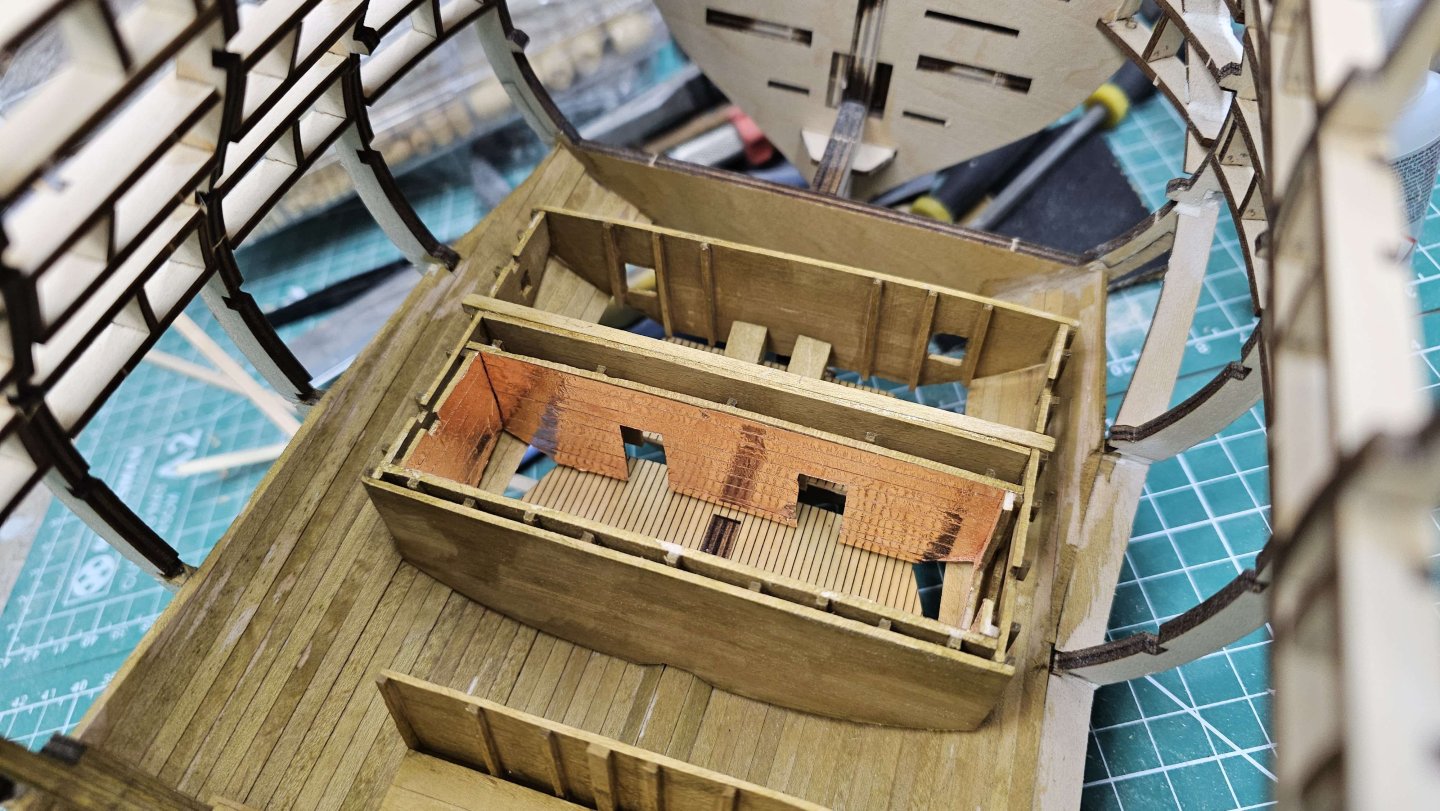
Indeed, it's been a while. Cost of the kit, well a company was stupid enough to give me a credit card with a £2k limit right about when this was released so, be rude to refuse an opportunity like that haha. As for the copper lined compartment...I have no clue. You are the historical naval expert, you tell me lol. I would guess it was for storing perishables or some such like?
-
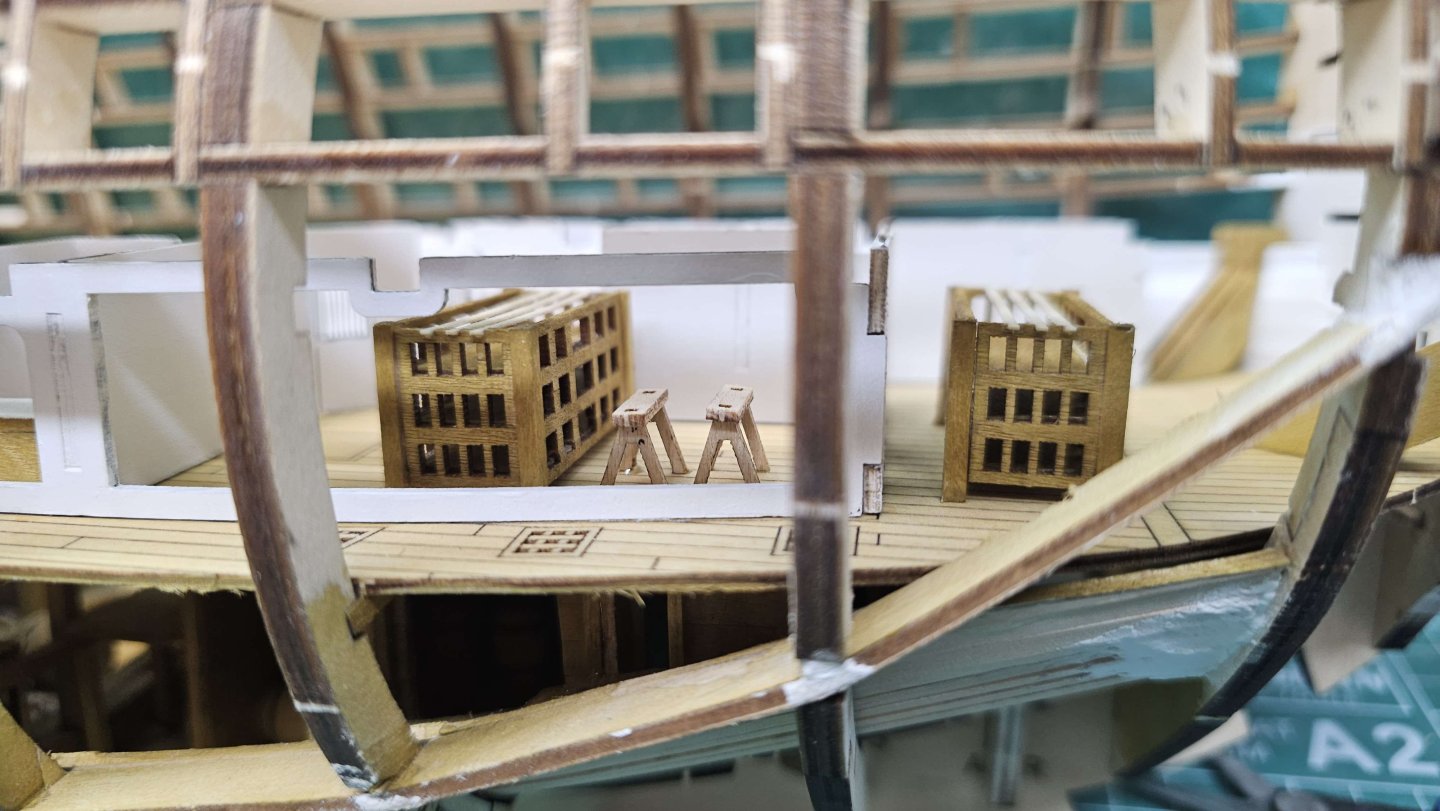
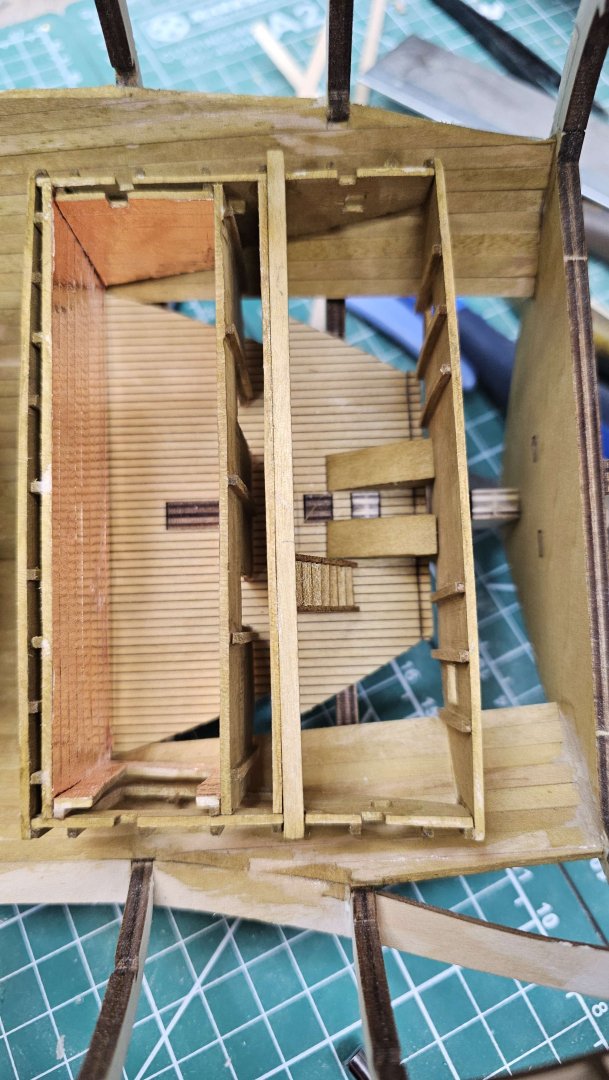
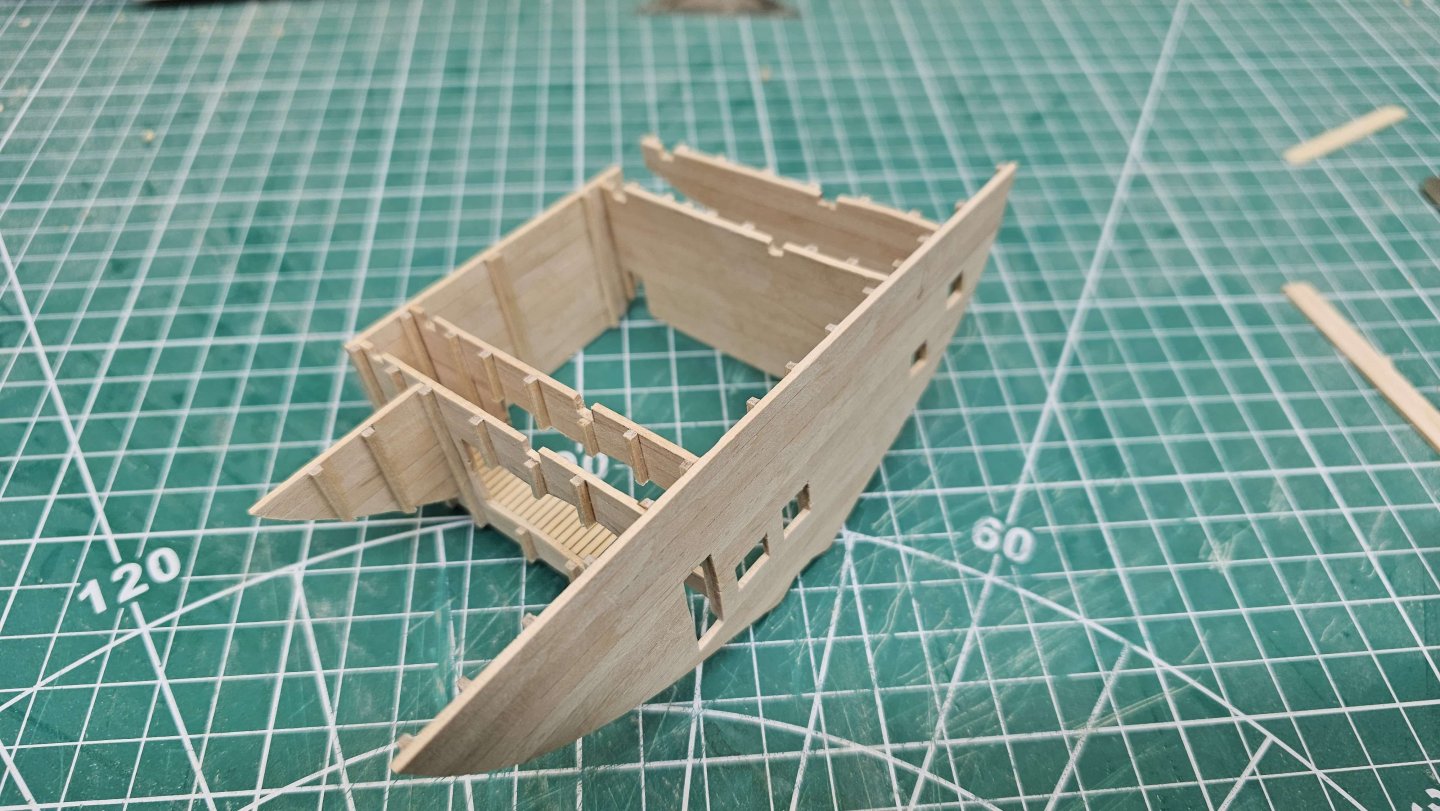
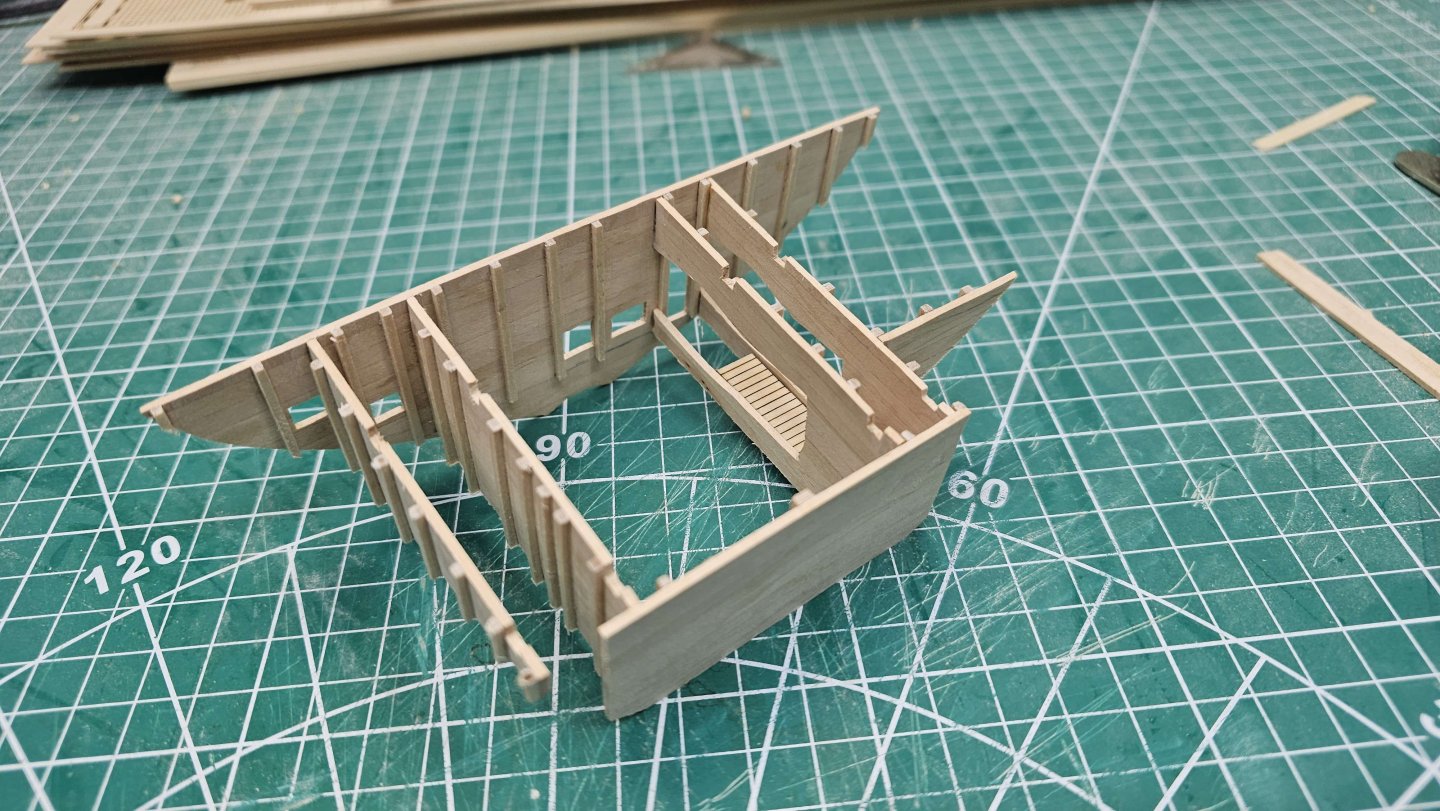
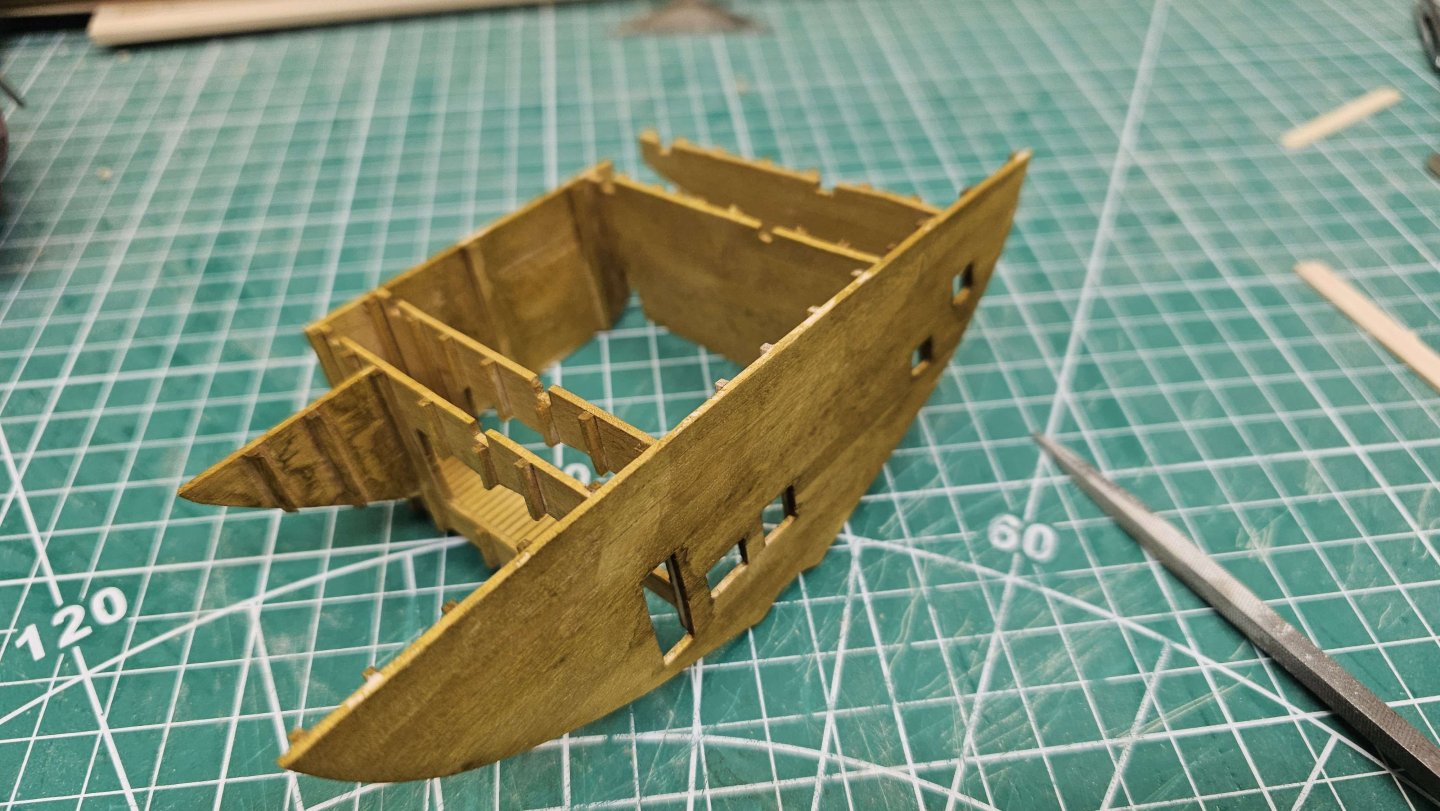
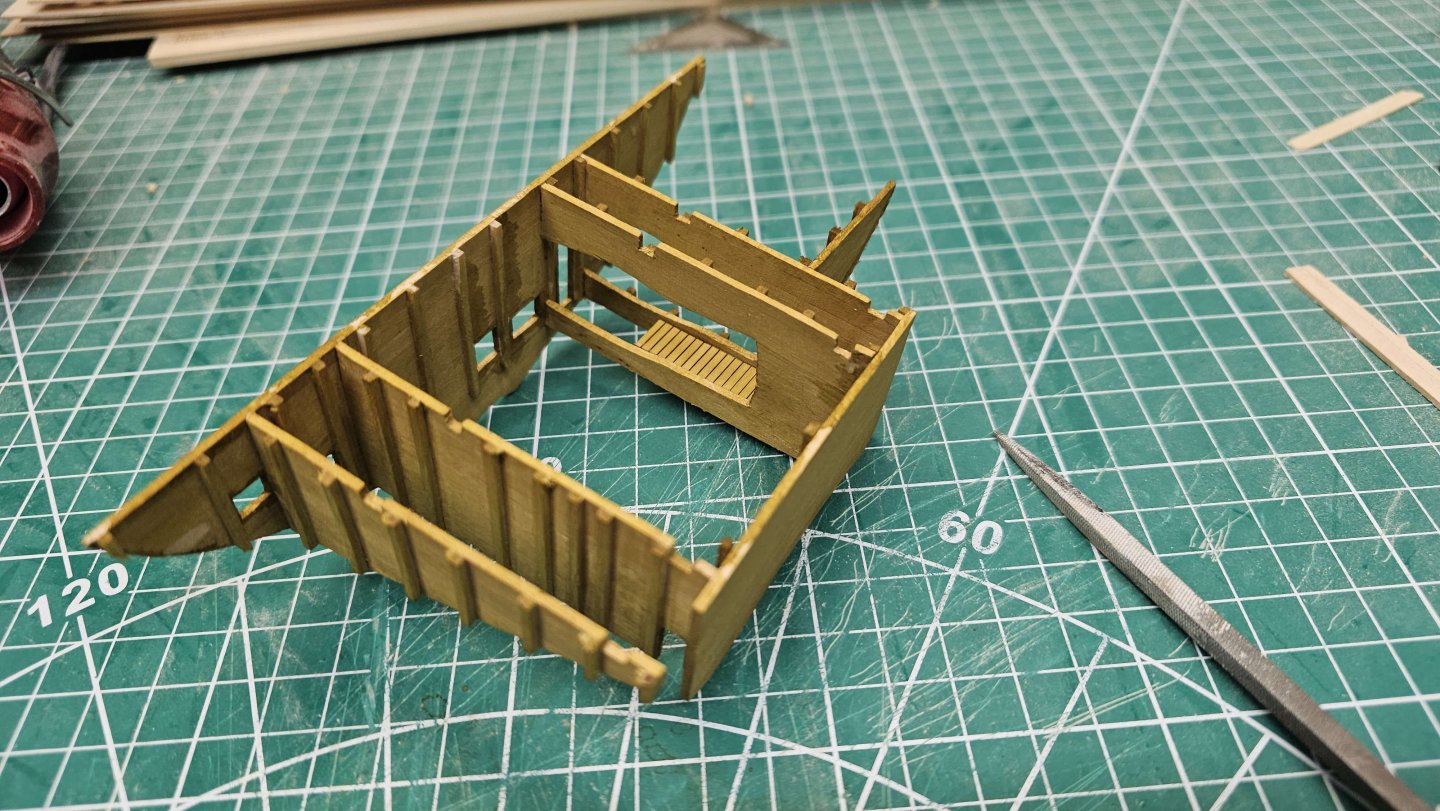
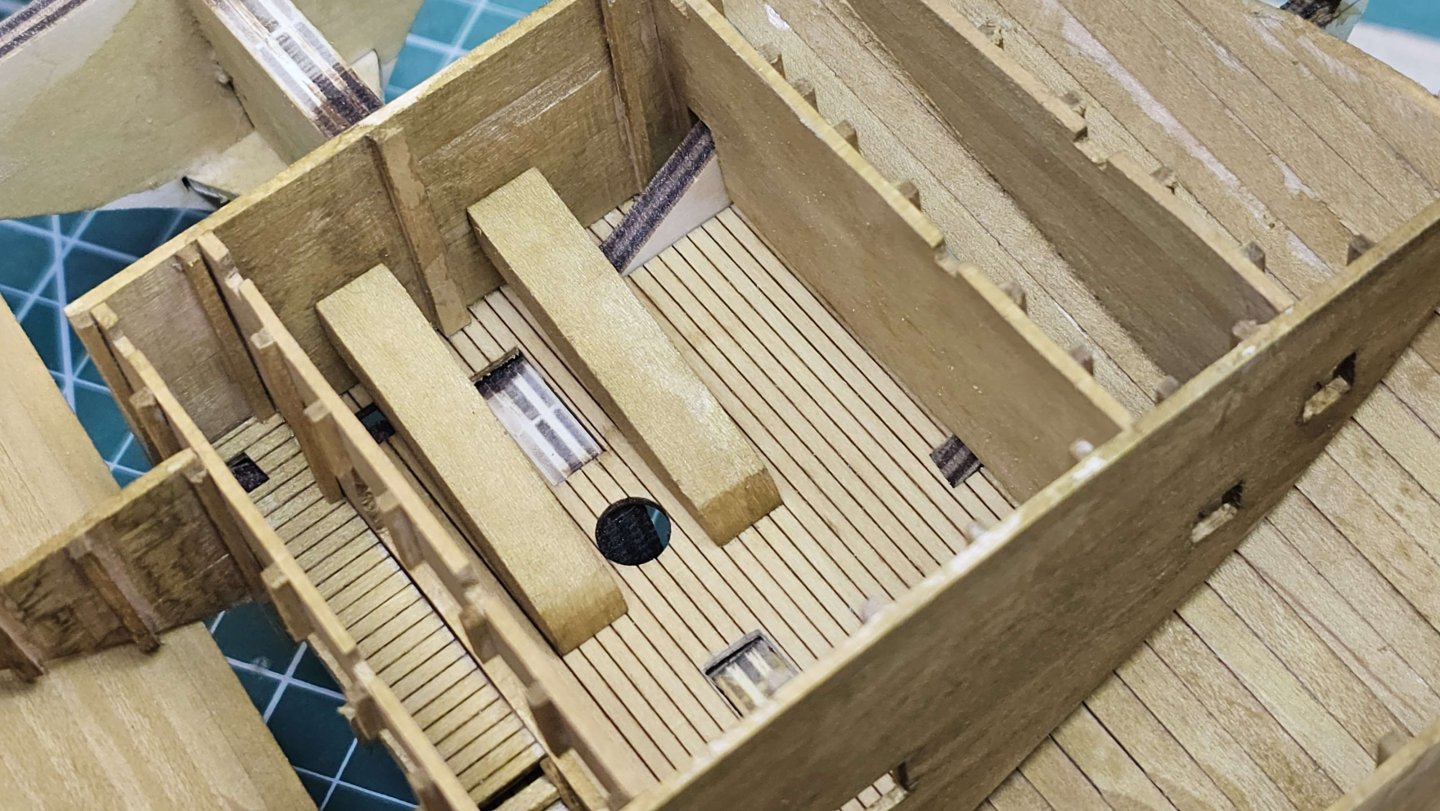
Video #5 Complete As with the last video, more of the same. Seemed a little easier making and cutting the boards, I seem to be handling the quirks of it now. Forward compartment didn't fit quite as well as the stern, user error I guess. As with the stern, not yet fitted into place to allow any adjustments I will need to make. Thanks again.
-
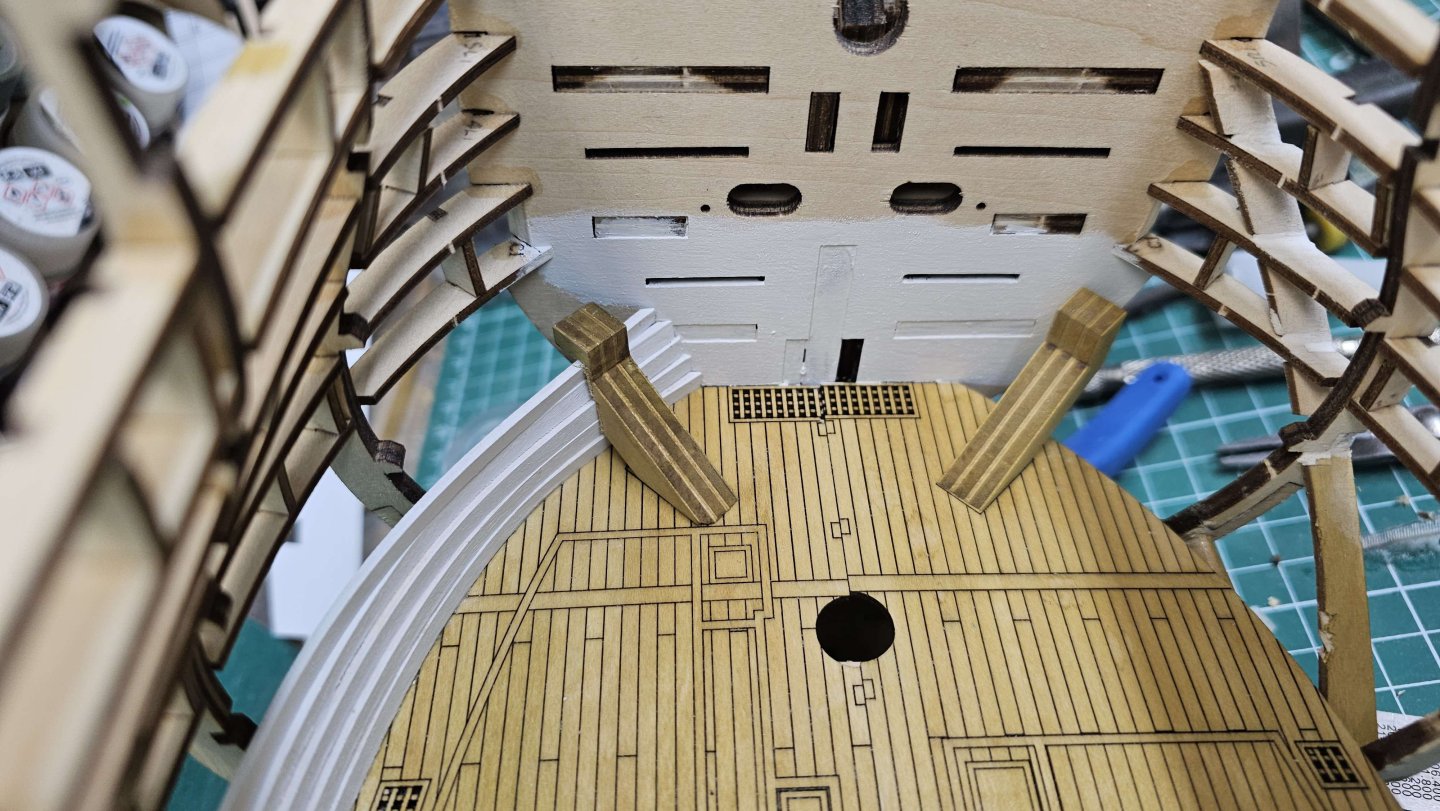
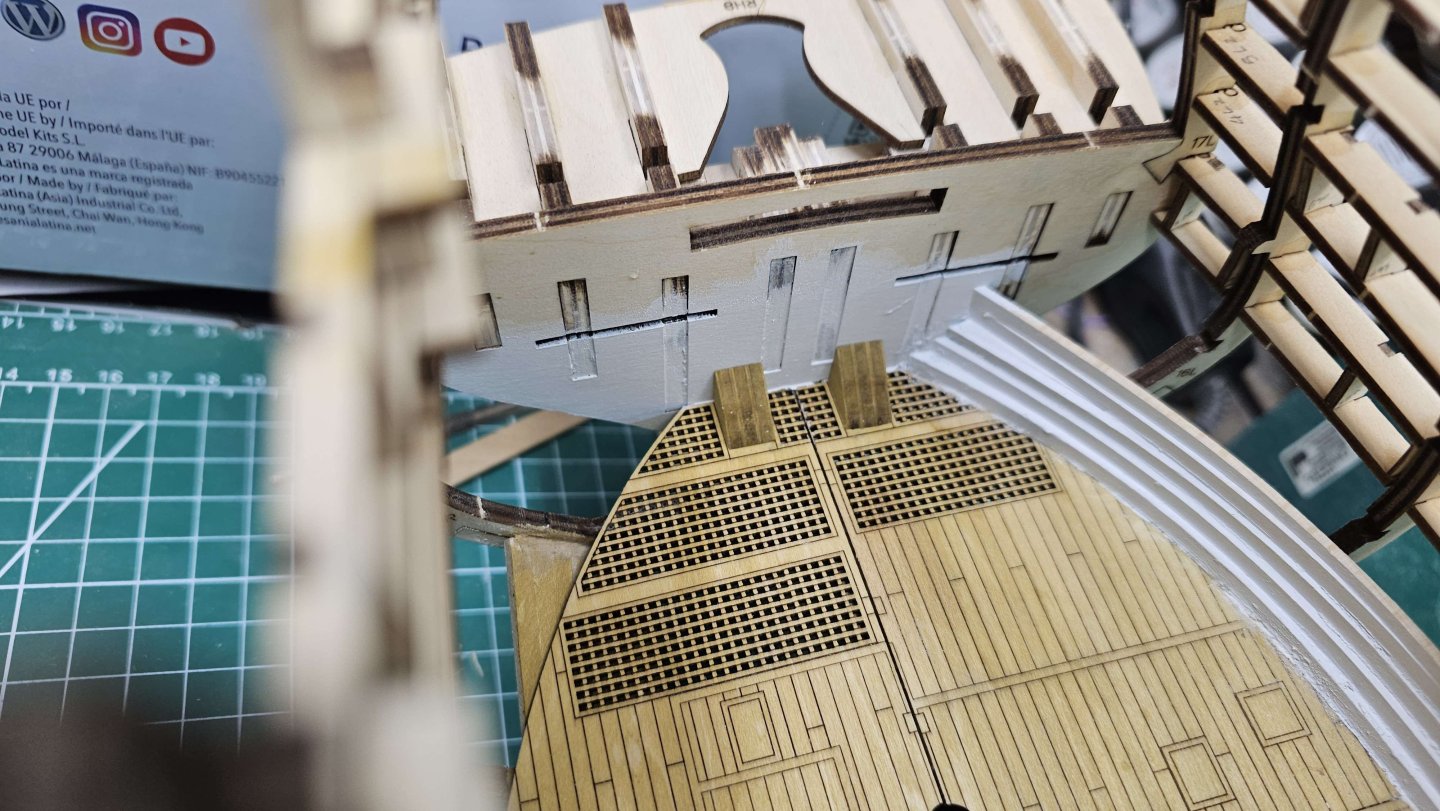
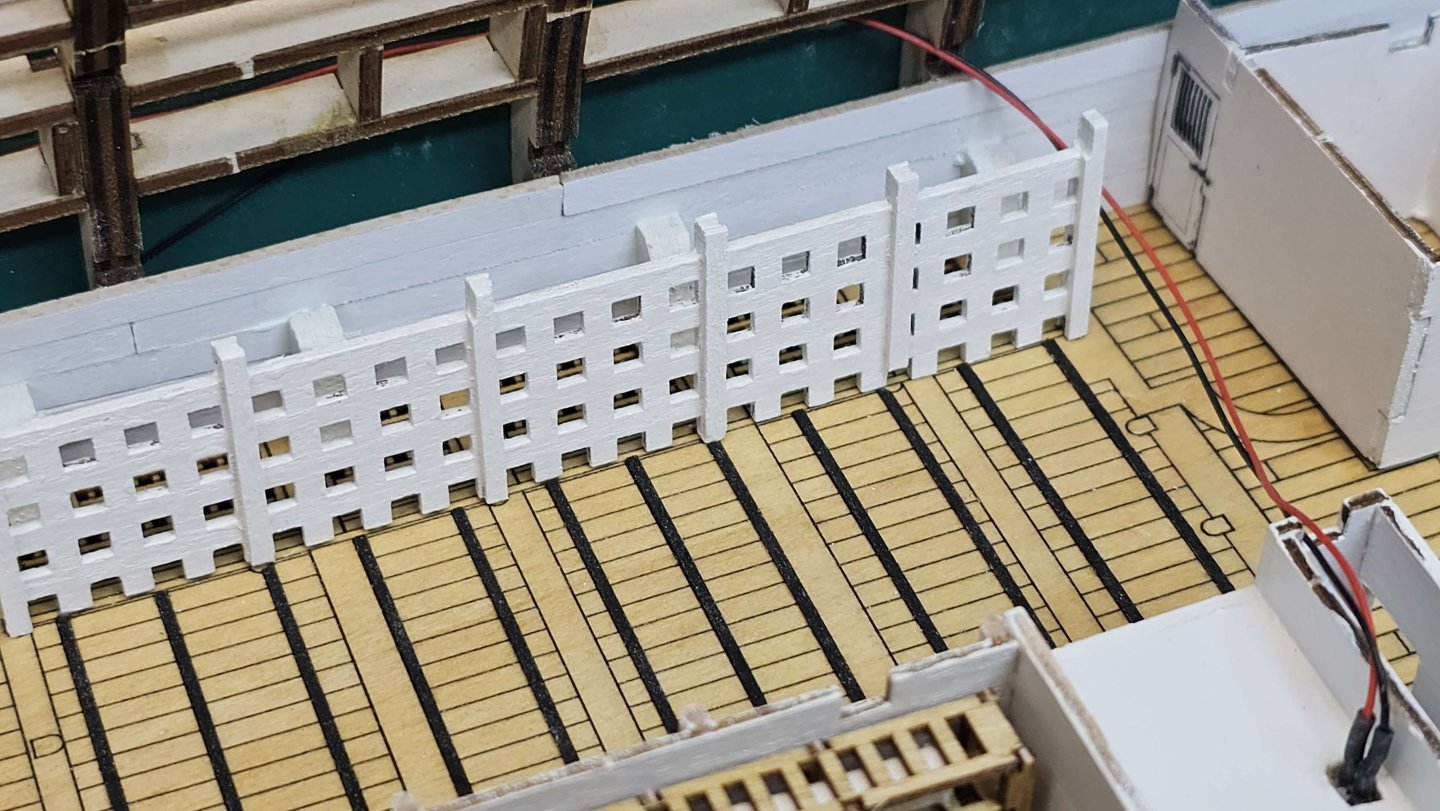
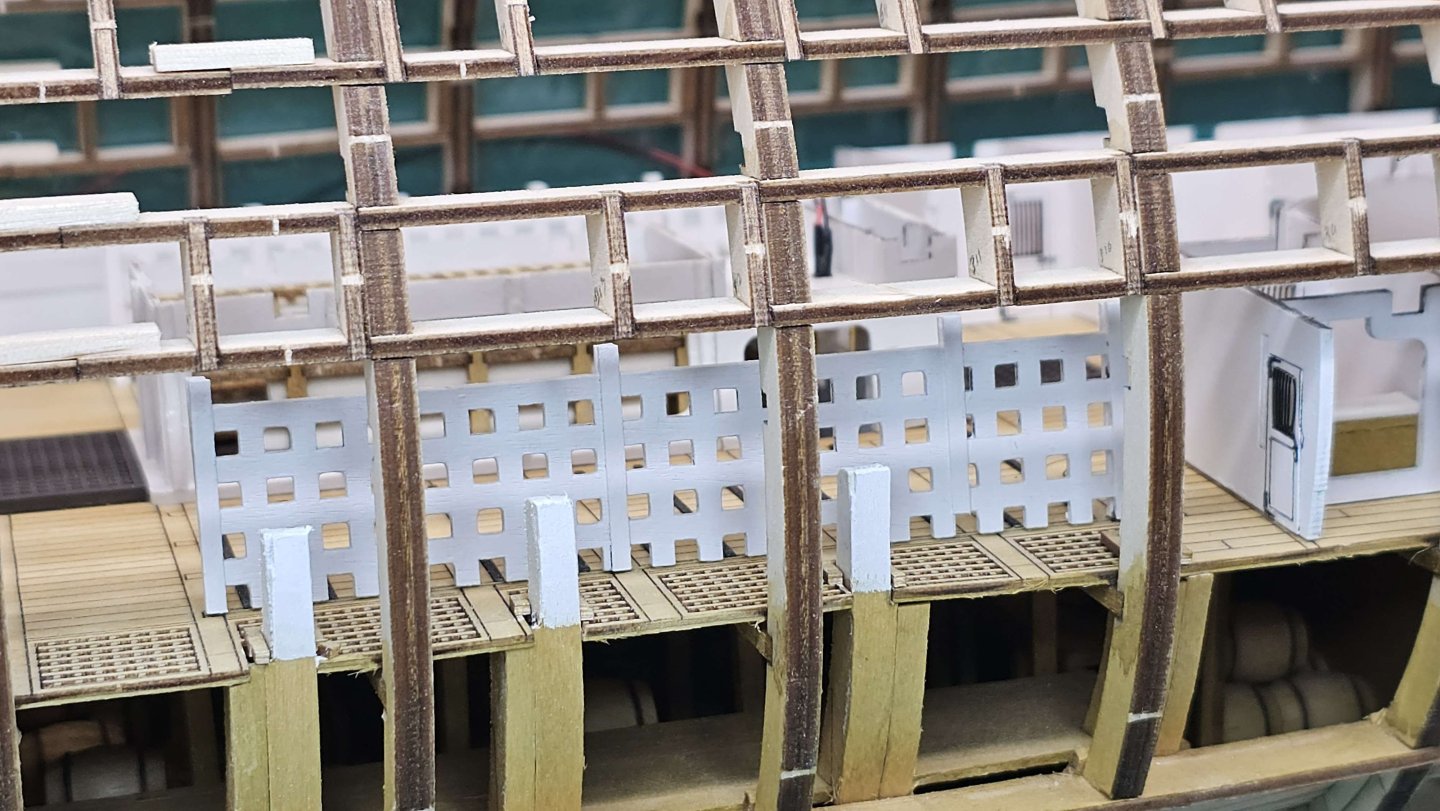
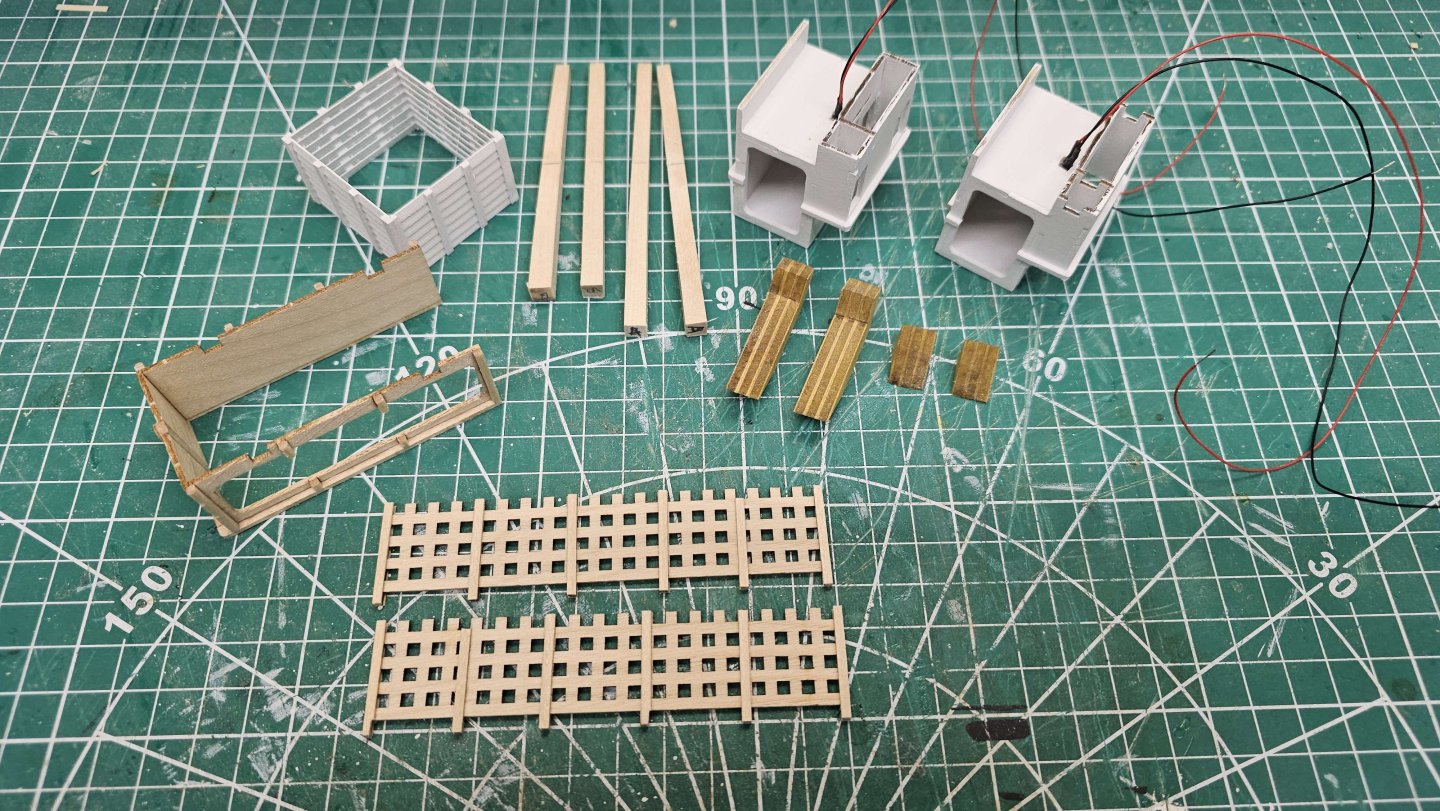
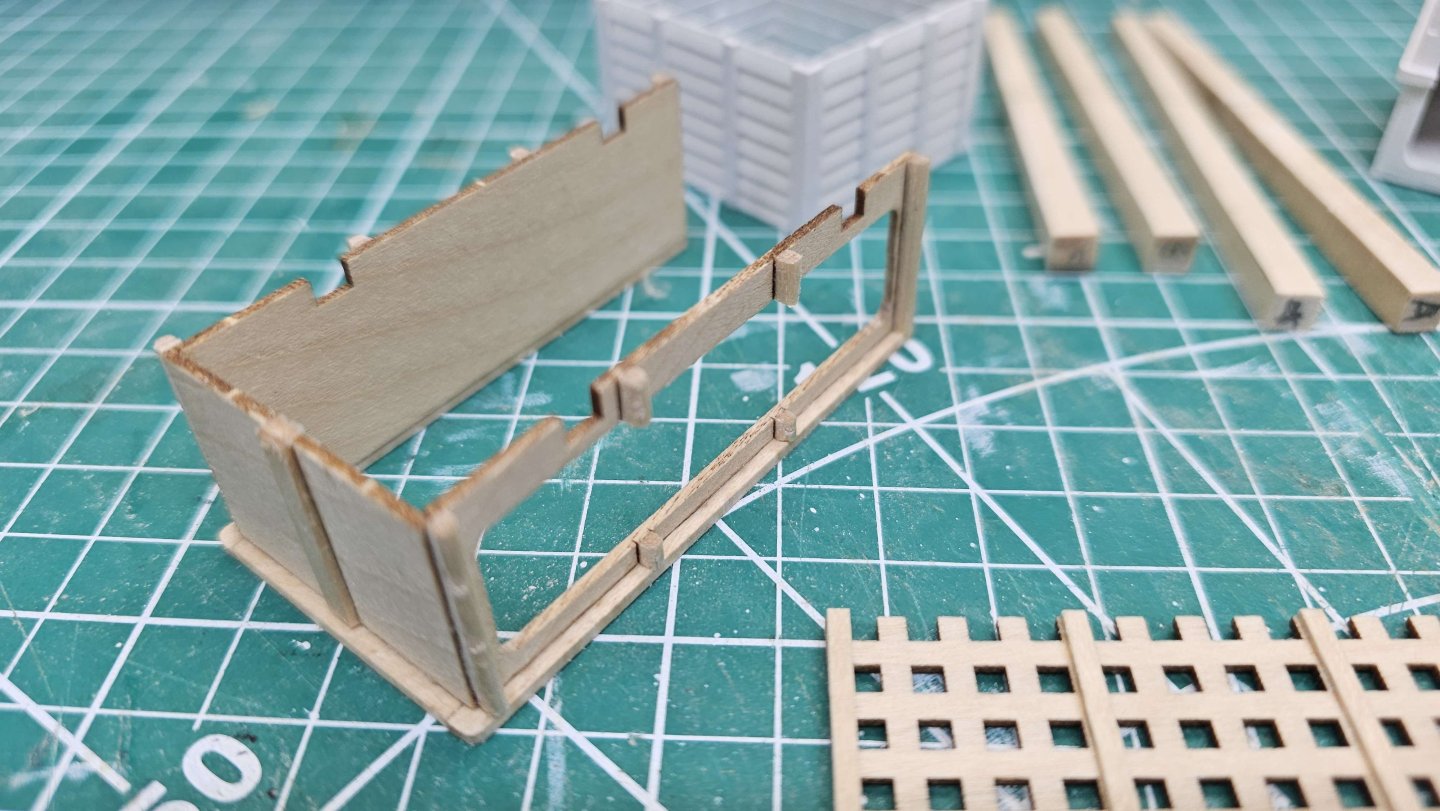
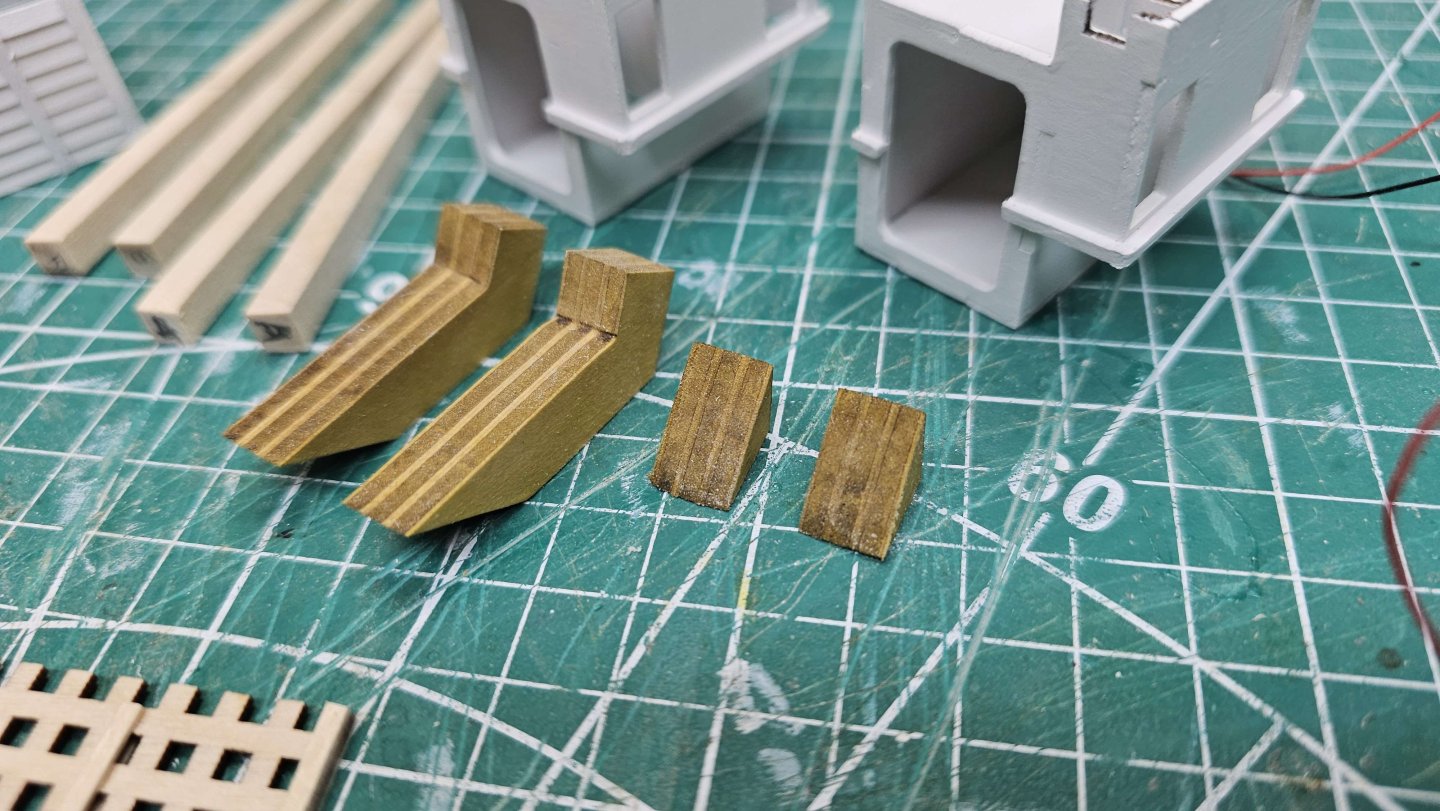
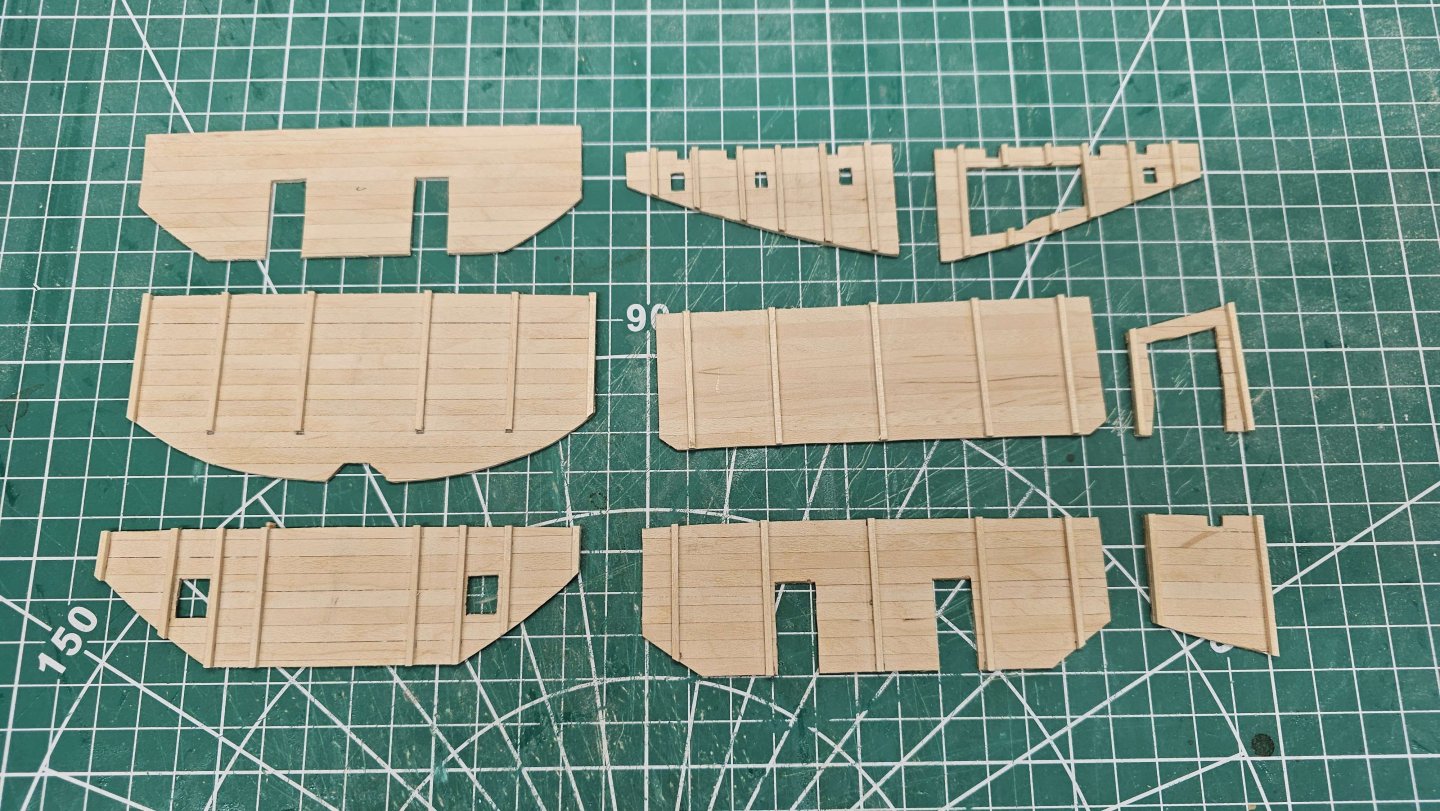
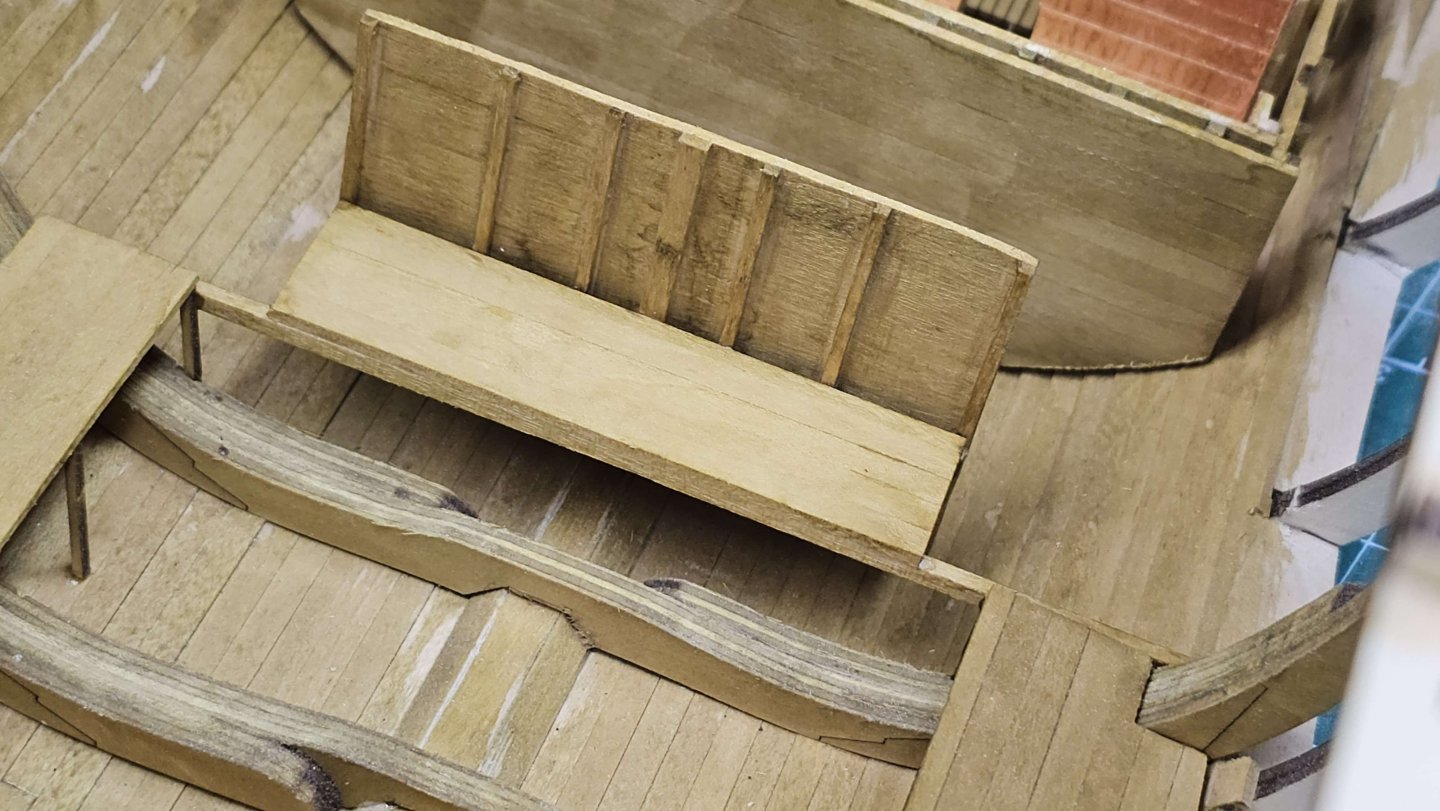
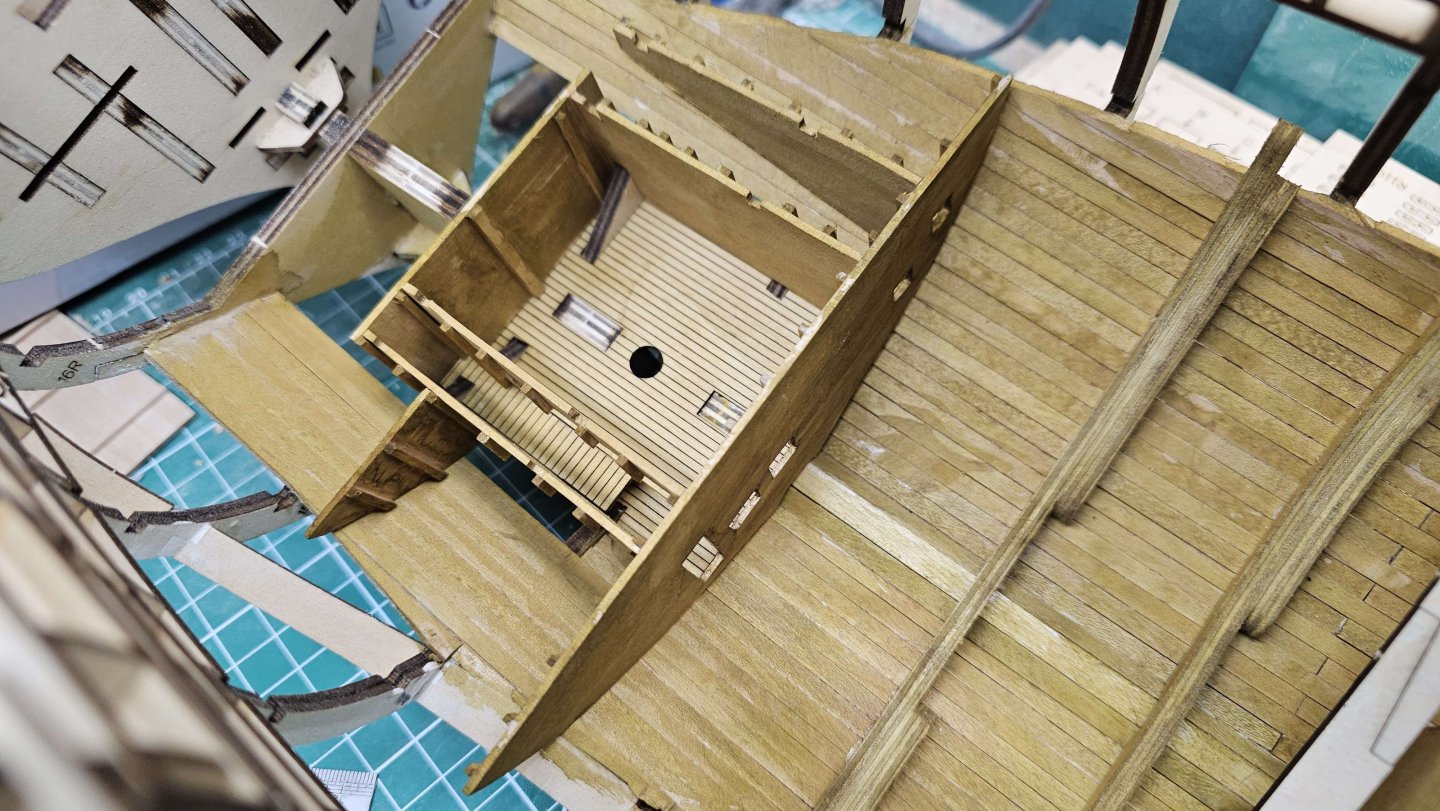
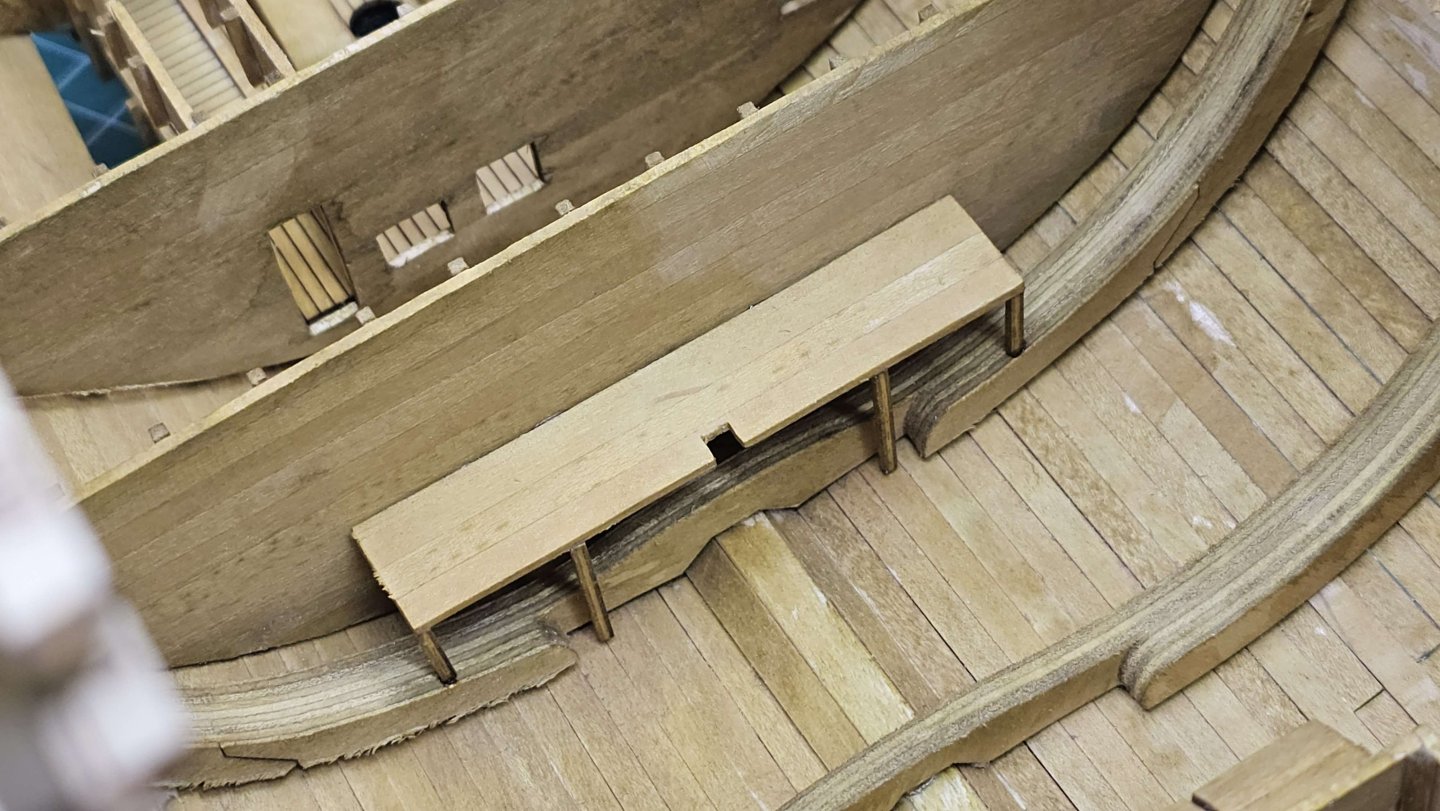
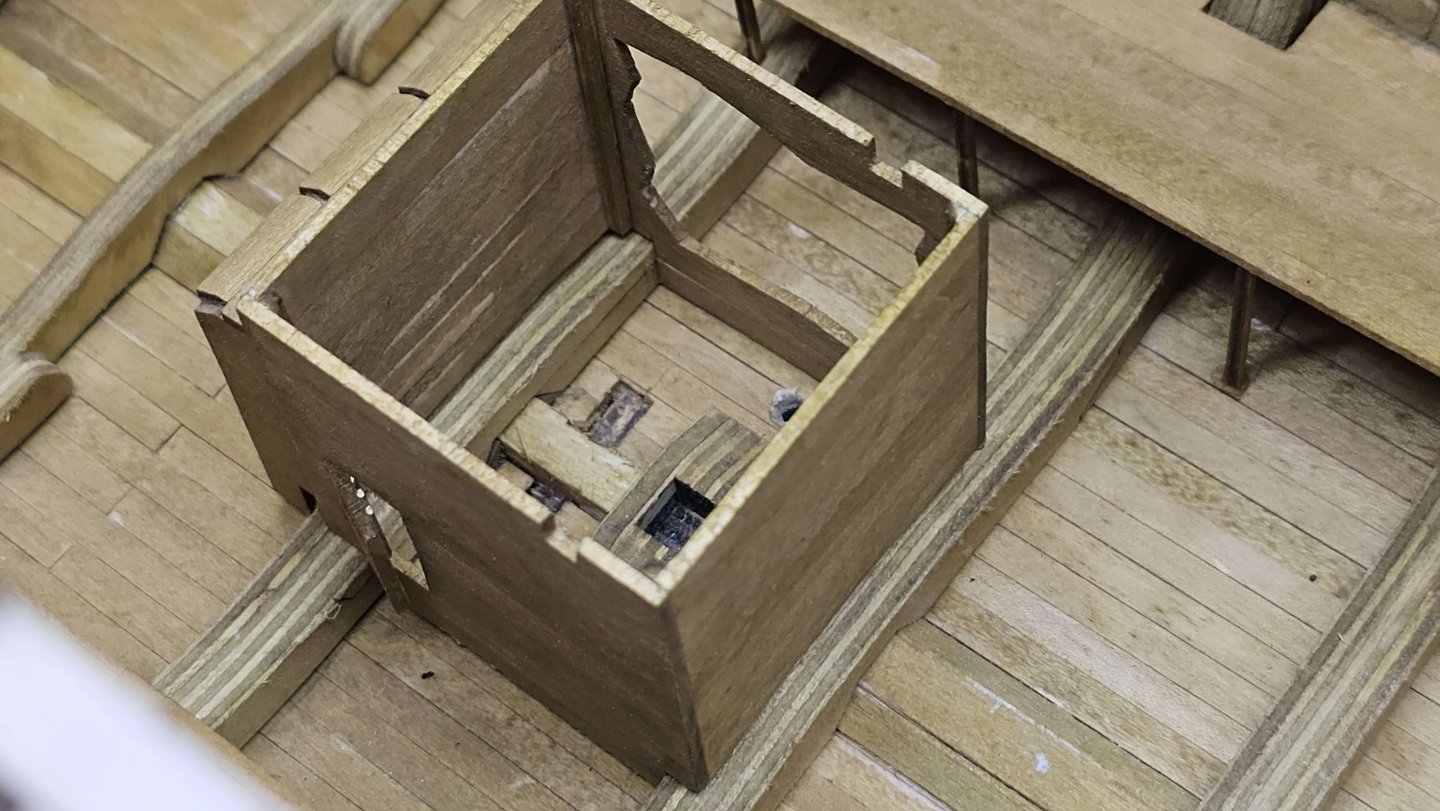
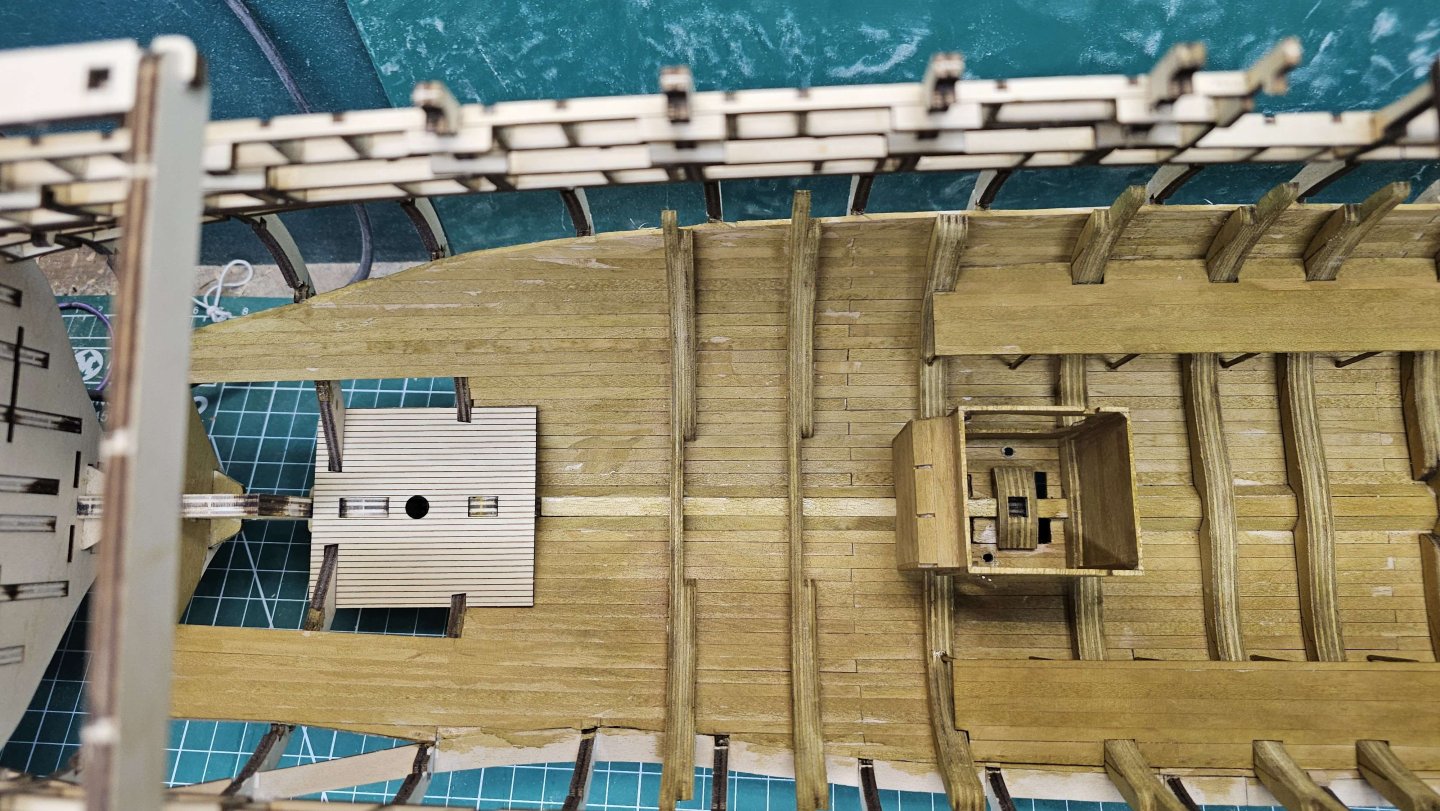
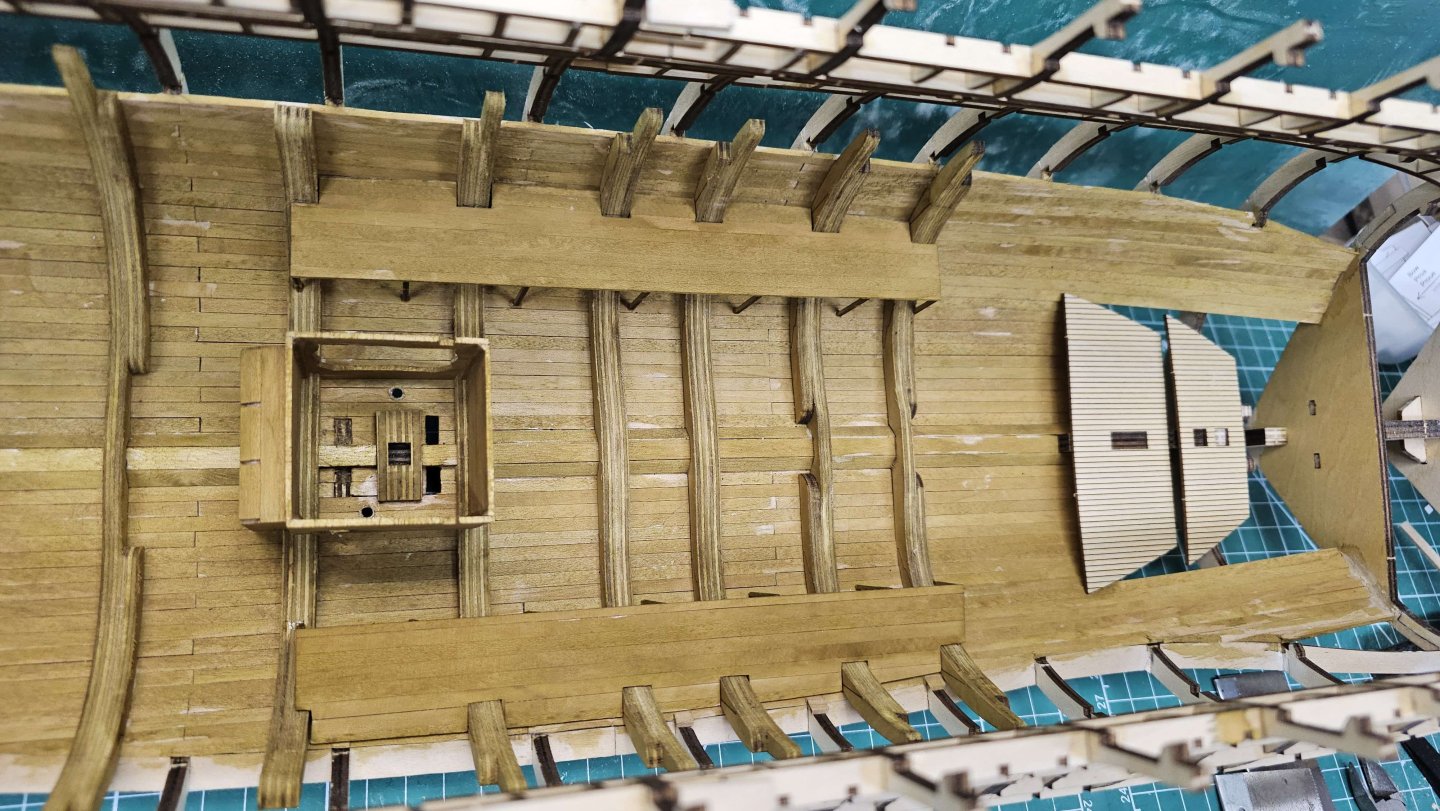
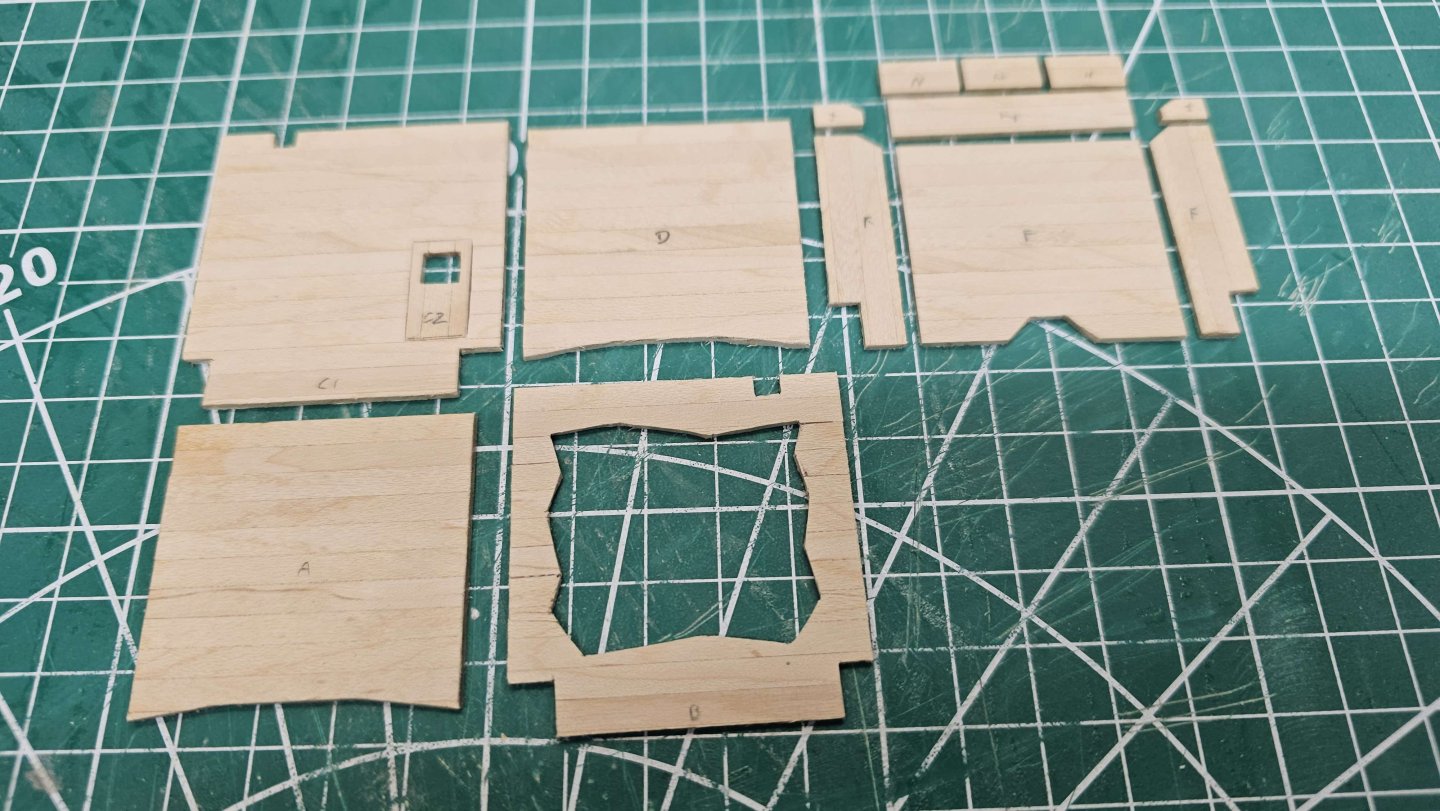
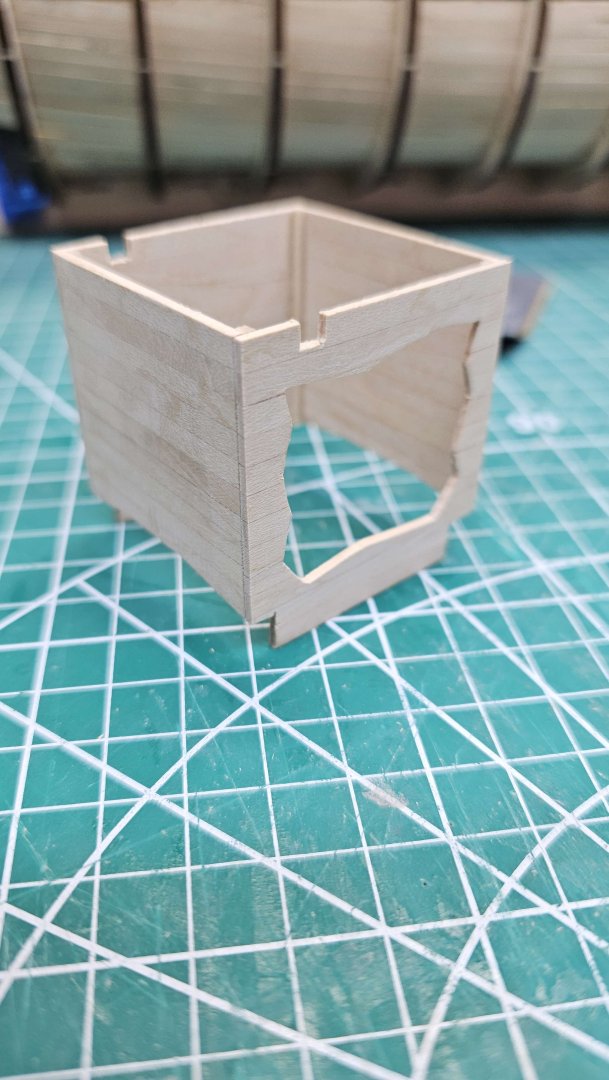
Video #4 Complete That was a wade. Plus I was ill for several days so didn't get much done. Cutting the templates was an utter chore. The boards kept breaking and I must have gone through well over 20 swann mortons. I plodding on and eventually worked throough. The rear hold compartment isn't get fixed in place, as I feel I may have to adjust the upper edges for the beams and deck to fit above. The inner free standing wall with the shelf is fixed in place, but it easier to get to if I need to adjust the top at all. Forward two deck parts aren't yet fixed into place. Progress pics below Thanks
-
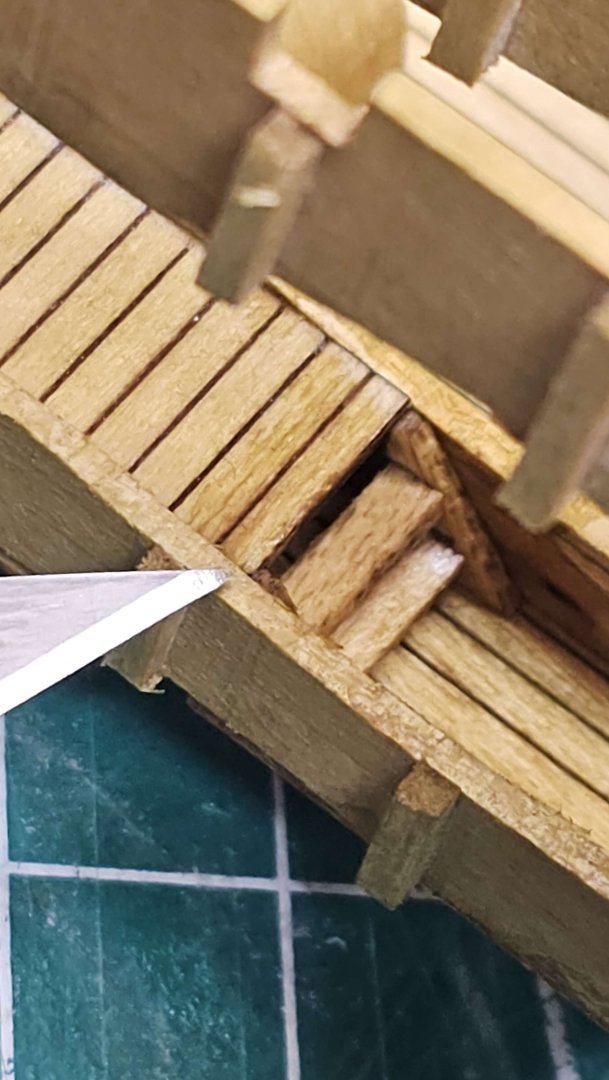
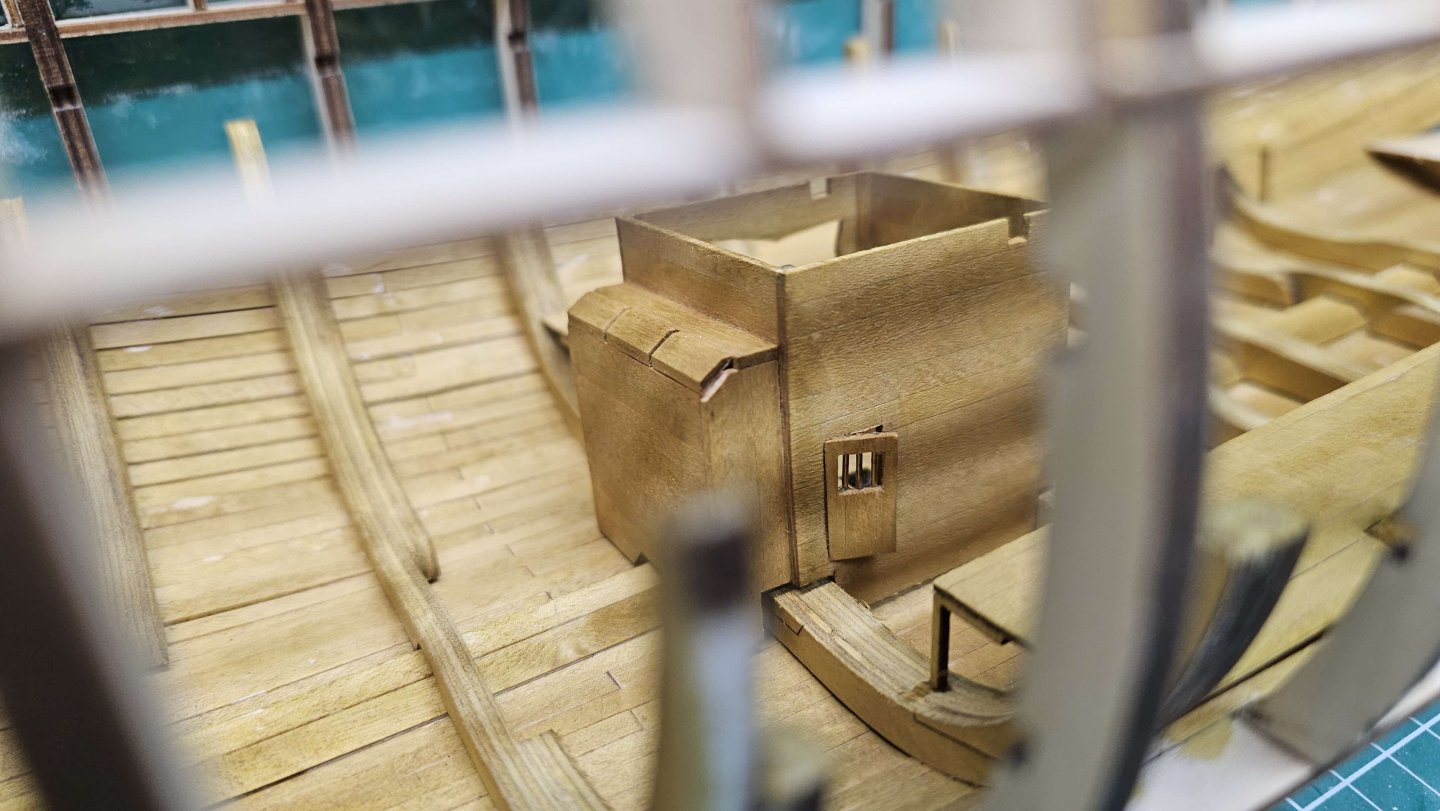
Video #3 Complete This was a mission, had a number of minor issues. First, not happy with the stain on the hold planking, I just wasn't careful enough with removing excess glue, and it's a difficult area (for me) to be able to sand. Still, most of it will be covered up by cargo and ballast so it's not an issue, just annoying. The supports for the shelves for me, weren't as long horizontally as in the video, and I also had to shorten them vertically to allow the shelves to sit level. You can obviously work out what I did wrong! The panels for the pumphouse were a nightmare to cut, as in my previous post. I got there in the end though. I also had to do some slight adjustments to the slots for the rear deck piece. One major thing I did notice was that, despite using the paper templates, the cutouts in the shelves template didn't line up with the ribs, and that cannot have been something I got wrong as the rib placement template lines up with laser cut parts. So something is wrong with either the laser cut parts, or either of the templates. Again, not a hard fix, just glad I checked beforehand. Thanks
-
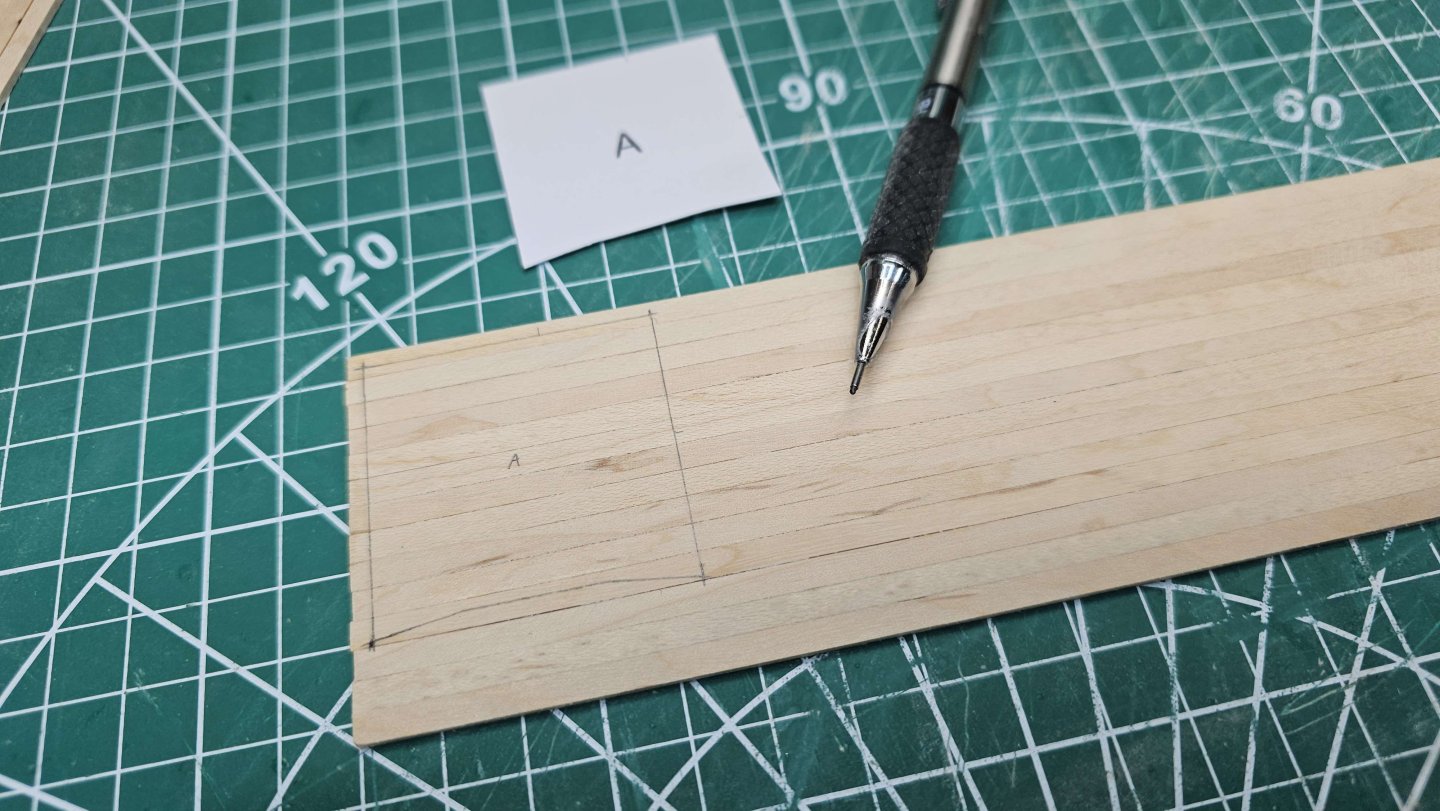
Evening all. Well, What a flaming nightmare this was! The "boards" they have you make is probably the most convoluted way of doing this. Why not just use ply formers and plank with veneer? The boards keep breaking whilst cutting, are very hard to cut, and just generally a pain in the *** to do. So following another build of this, I've ordered some 1.5 Birch ply boards, and will cut the remainder of the hold structures from that, and either scribe the planks or just use 0.1mm veneer on them. Anyway, onwards! Thanks
-
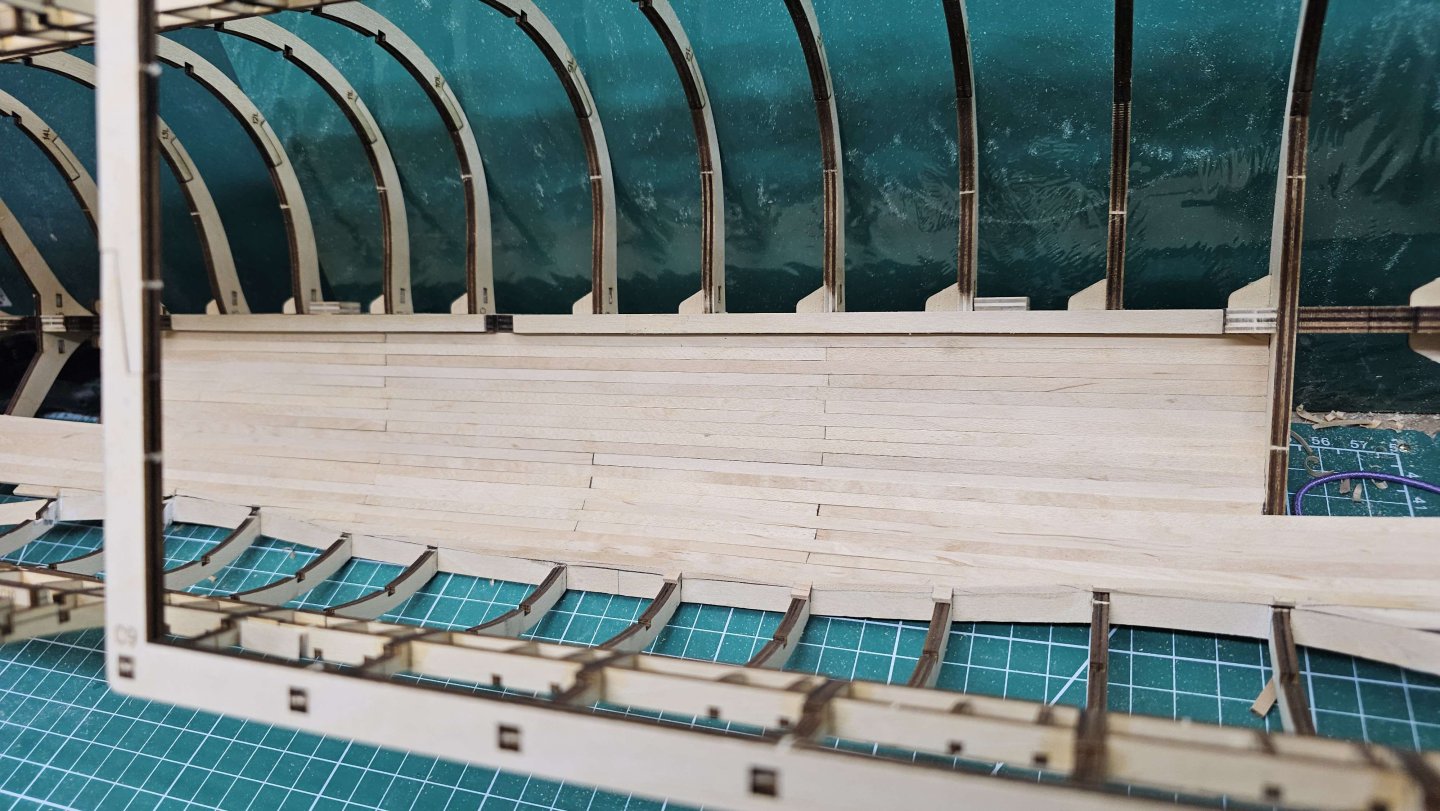
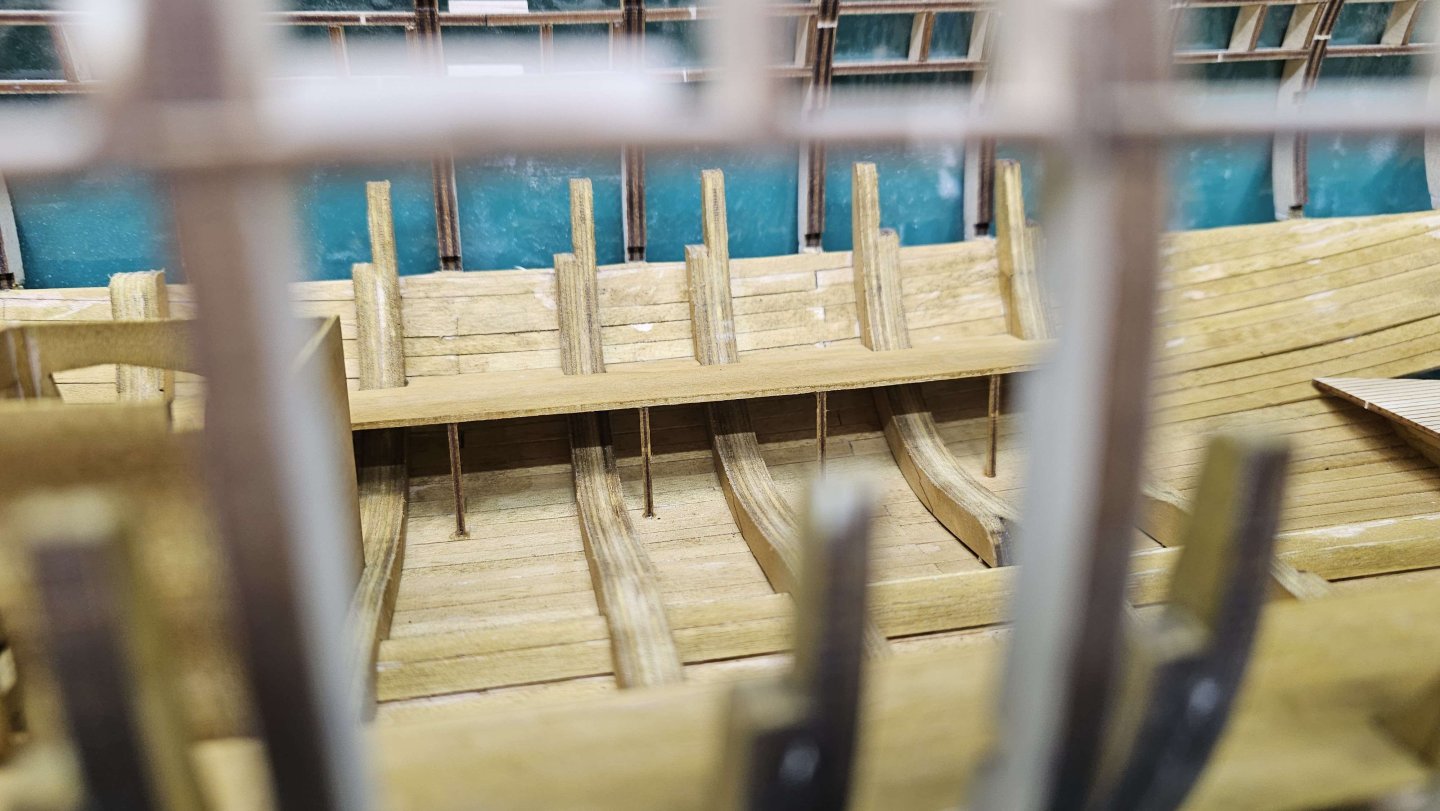
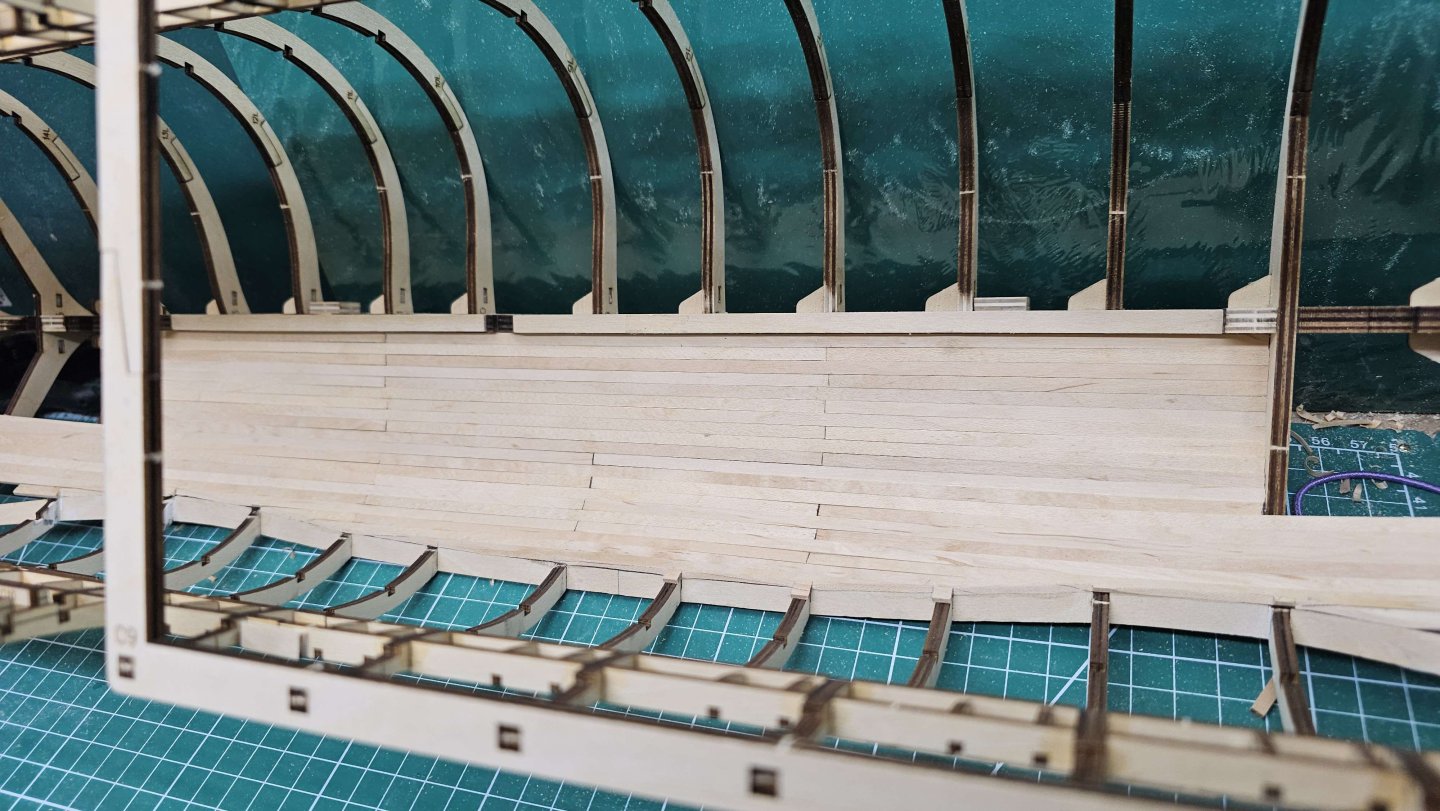
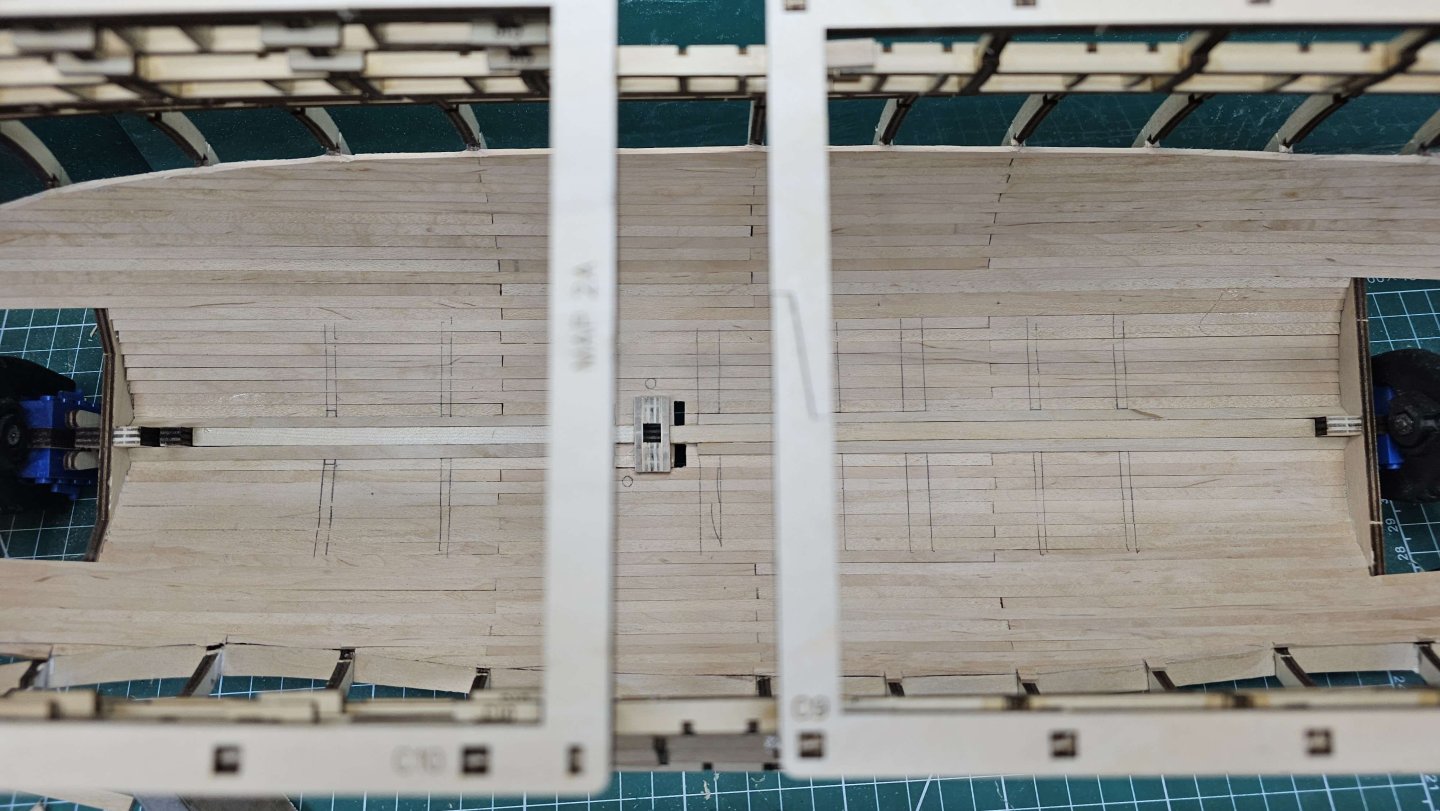
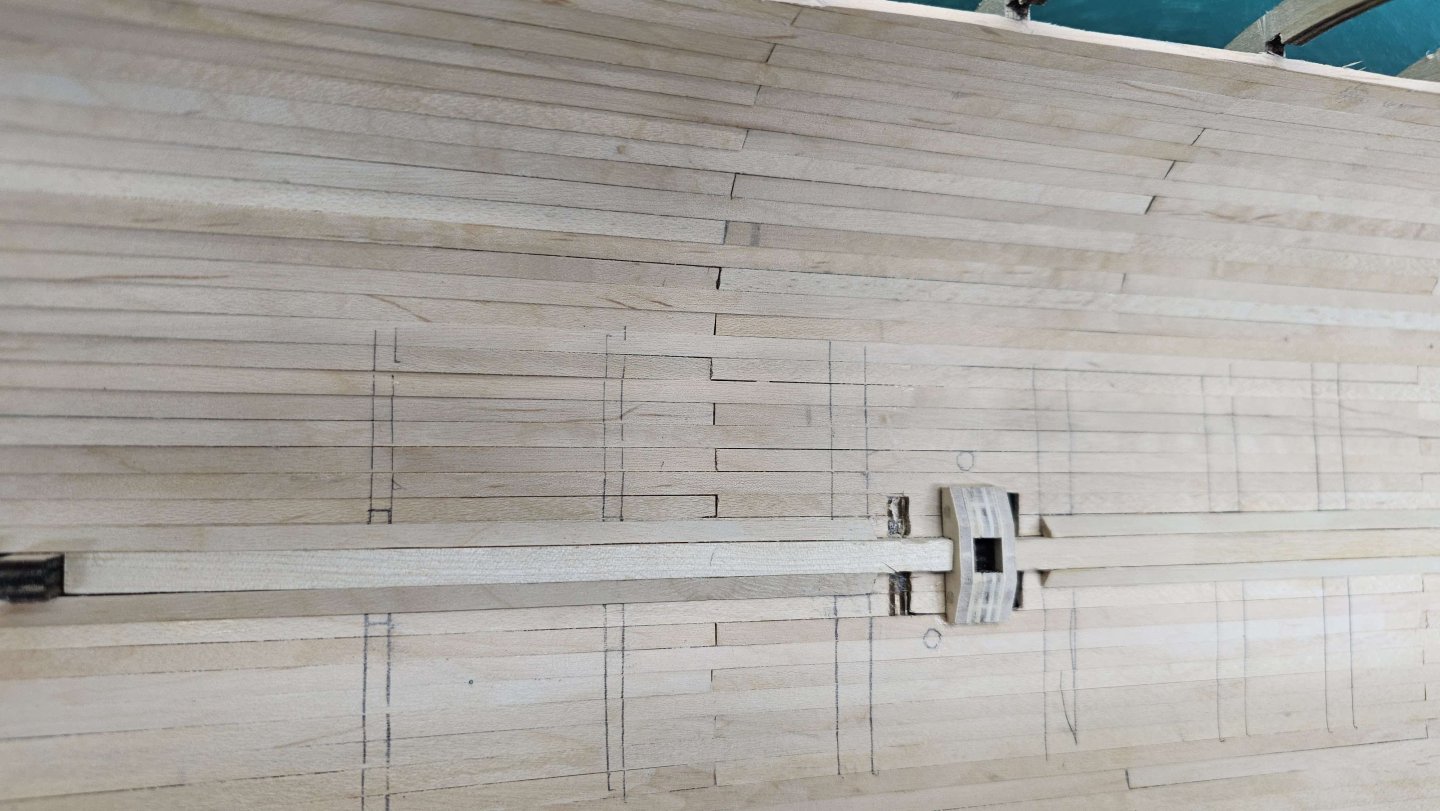
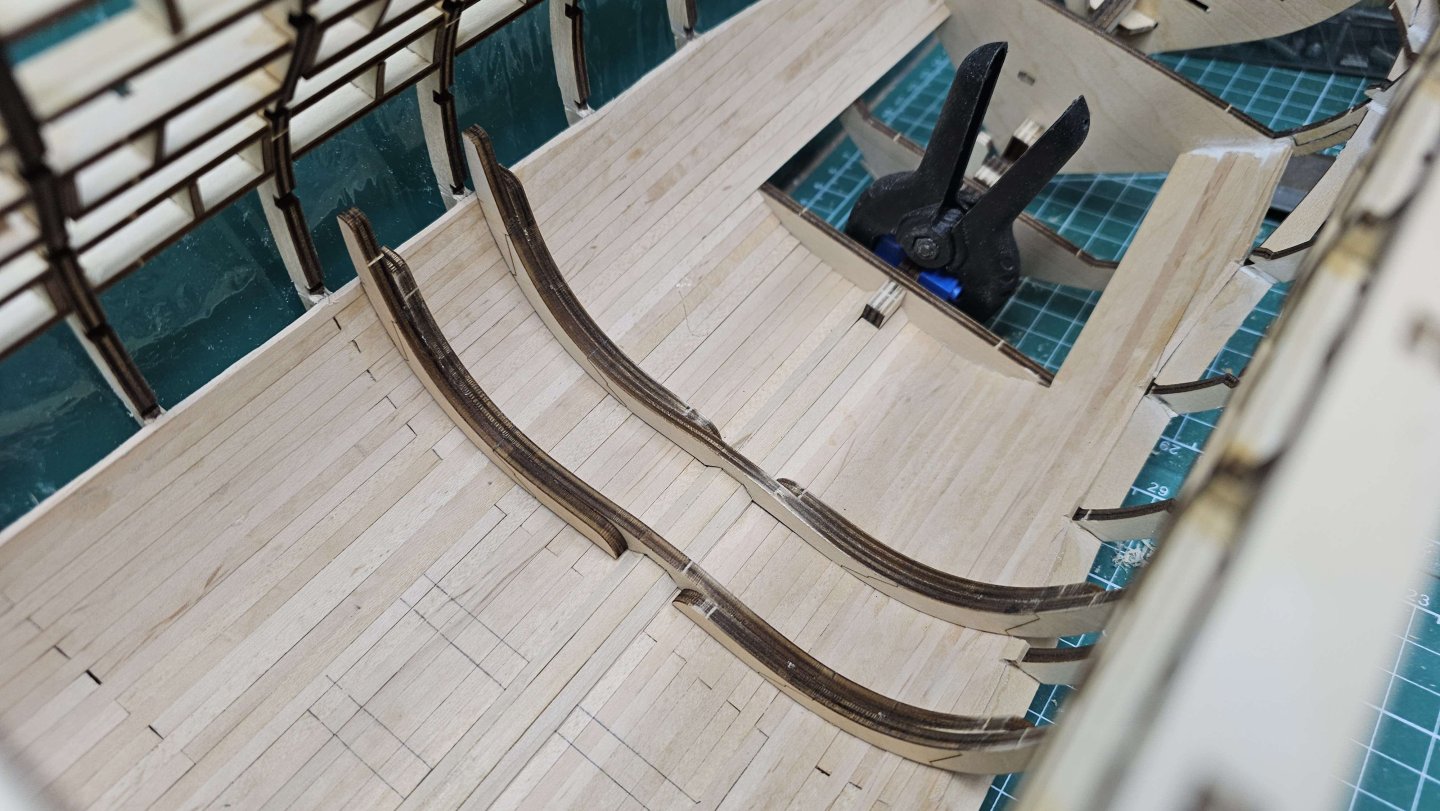
Hello all. Making some progress on planking the hold. Started off one the cutaway side, planking just over the edge then trimming and sanding back. Then repeated the same basic process on the other side up to the bottom edge of the slots for the first set of deck beams. Also used the various templates to mark out the position of the inner ribs as well as the base for the main mast. And finally made a start on fitting the inner ribs. Thanks
About us
Modelshipworld - Advancing Ship Modeling through Research
SSL Secured
Your security is important for us so this Website is SSL-Secured
NRG Mailing Address
Nautical Research Guild
237 South Lincoln Street
Westmont IL, 60559-1917
Model Ship World ® and the MSW logo are Registered Trademarks, and belong to the Nautical Research Guild (United States Patent and Trademark Office: No. 6,929,264 & No. 6,929,274, registered Dec. 20, 2022)
Helpful Links
About the NRG
If you enjoy building ship models that are historically accurate as well as beautiful, then The Nautical Research Guild (NRG) is just right for you.
The Guild is a non-profit educational organization whose mission is to “Advance Ship Modeling Through Research”. We provide support to our members in their efforts to raise the quality of their model ships.
The Nautical Research Guild has published our world-renowned quarterly magazine, The Nautical Research Journal, since 1955. The pages of the Journal are full of articles by accomplished ship modelers who show you how they create those exquisite details on their models, and by maritime historians who show you the correct details to build. The Journal is available in both print and digital editions. Go to the NRG web site (www.thenrg.org) to download a complimentary digital copy of the Journal. The NRG also publishes plan sets, books and compilations of back issues of the Journal and the former Ships in Scale and Model Ship Builder magazines.


