HOLIDAY DONATION DRIVE - SUPPORT MSW - DO YOUR PART TO KEEP THIS GREAT FORUM GOING! (Only 36 donations so far out of 49,000 members - C'mon guys!)
×


Meekes
-
Posts
25 -
Joined
-
Last visited
-
 Scott Crouse reacted to a post in a topic:
Polaris by Meekes - OcCre - 1:50 - First Build
Scott Crouse reacted to a post in a topic:
Polaris by Meekes - OcCre - 1:50 - First Build
-
ibozev reacted to a post in a topic:
Polaris by Meekes - OcCre - 1:50 - First Build
-
JacquesCousteau reacted to a post in a topic:
Polaris by Meekes - OcCre - 1:50 - First Build
-
Diver reacted to a post in a topic:
Polaris by Meekes - OcCre - 1:50 - First Build
-
vvvjames reacted to a post in a topic:
Polaris by Meekes - OcCre - 1:50 - First Build
-
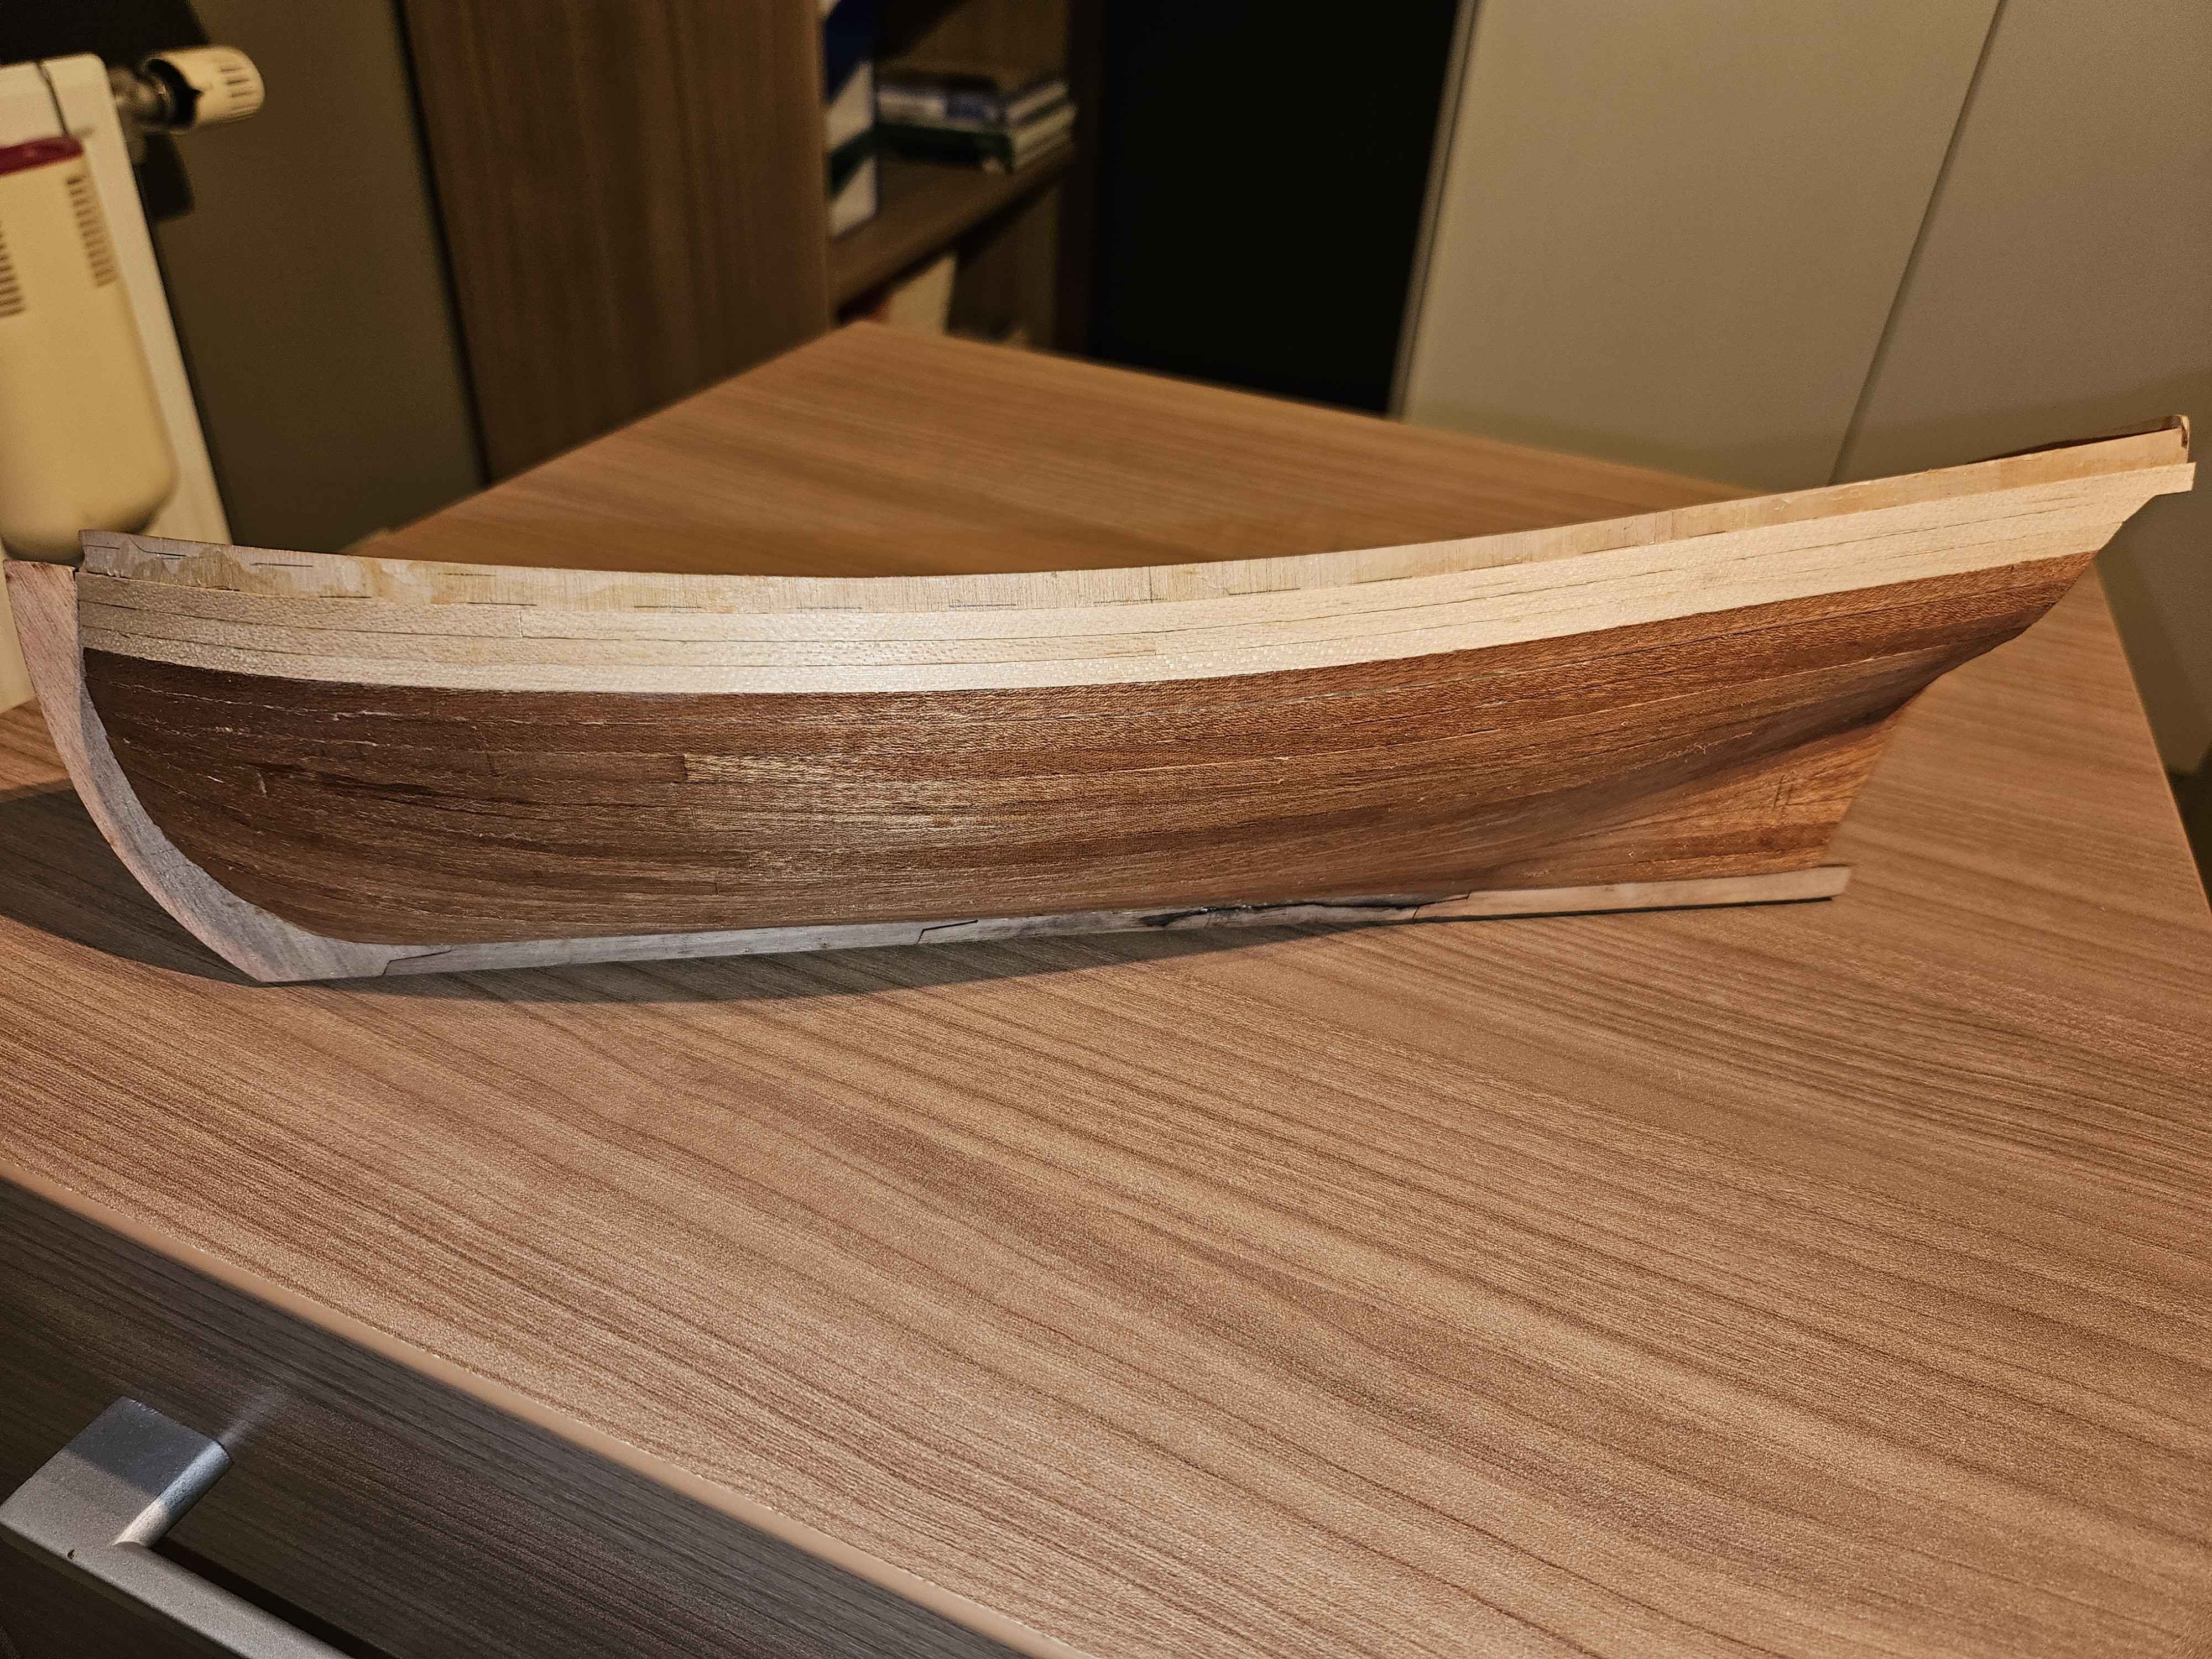
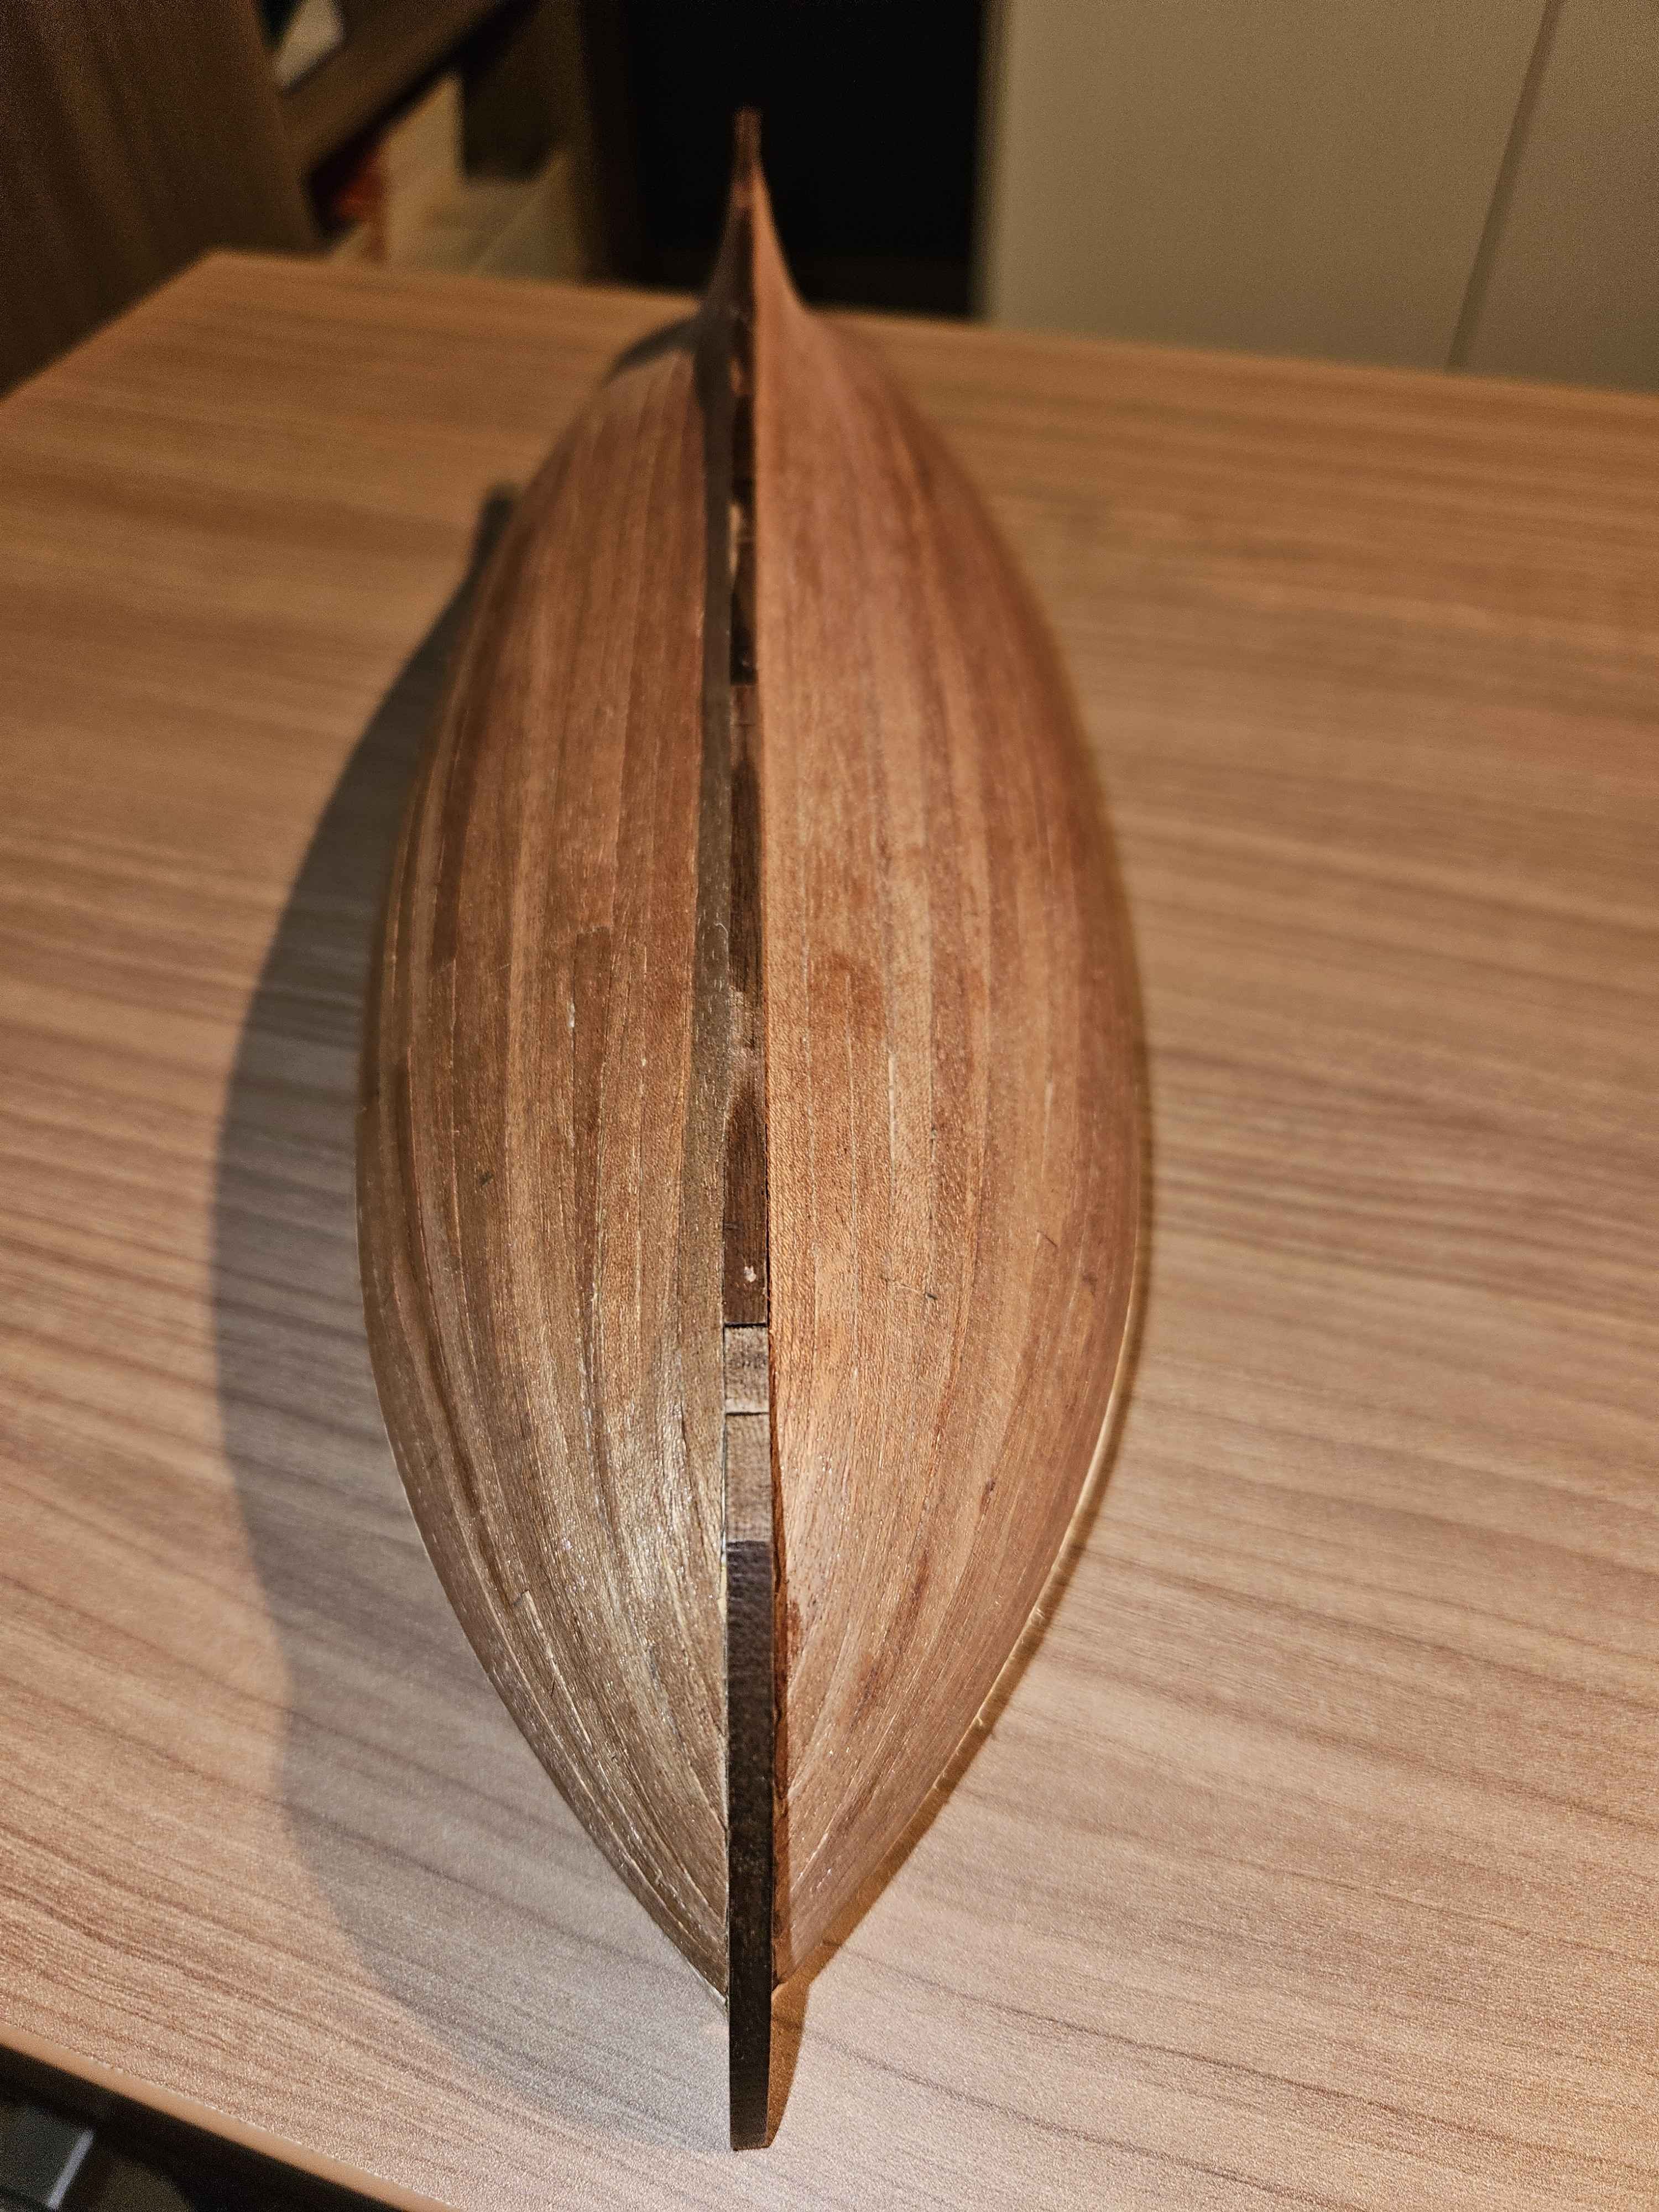
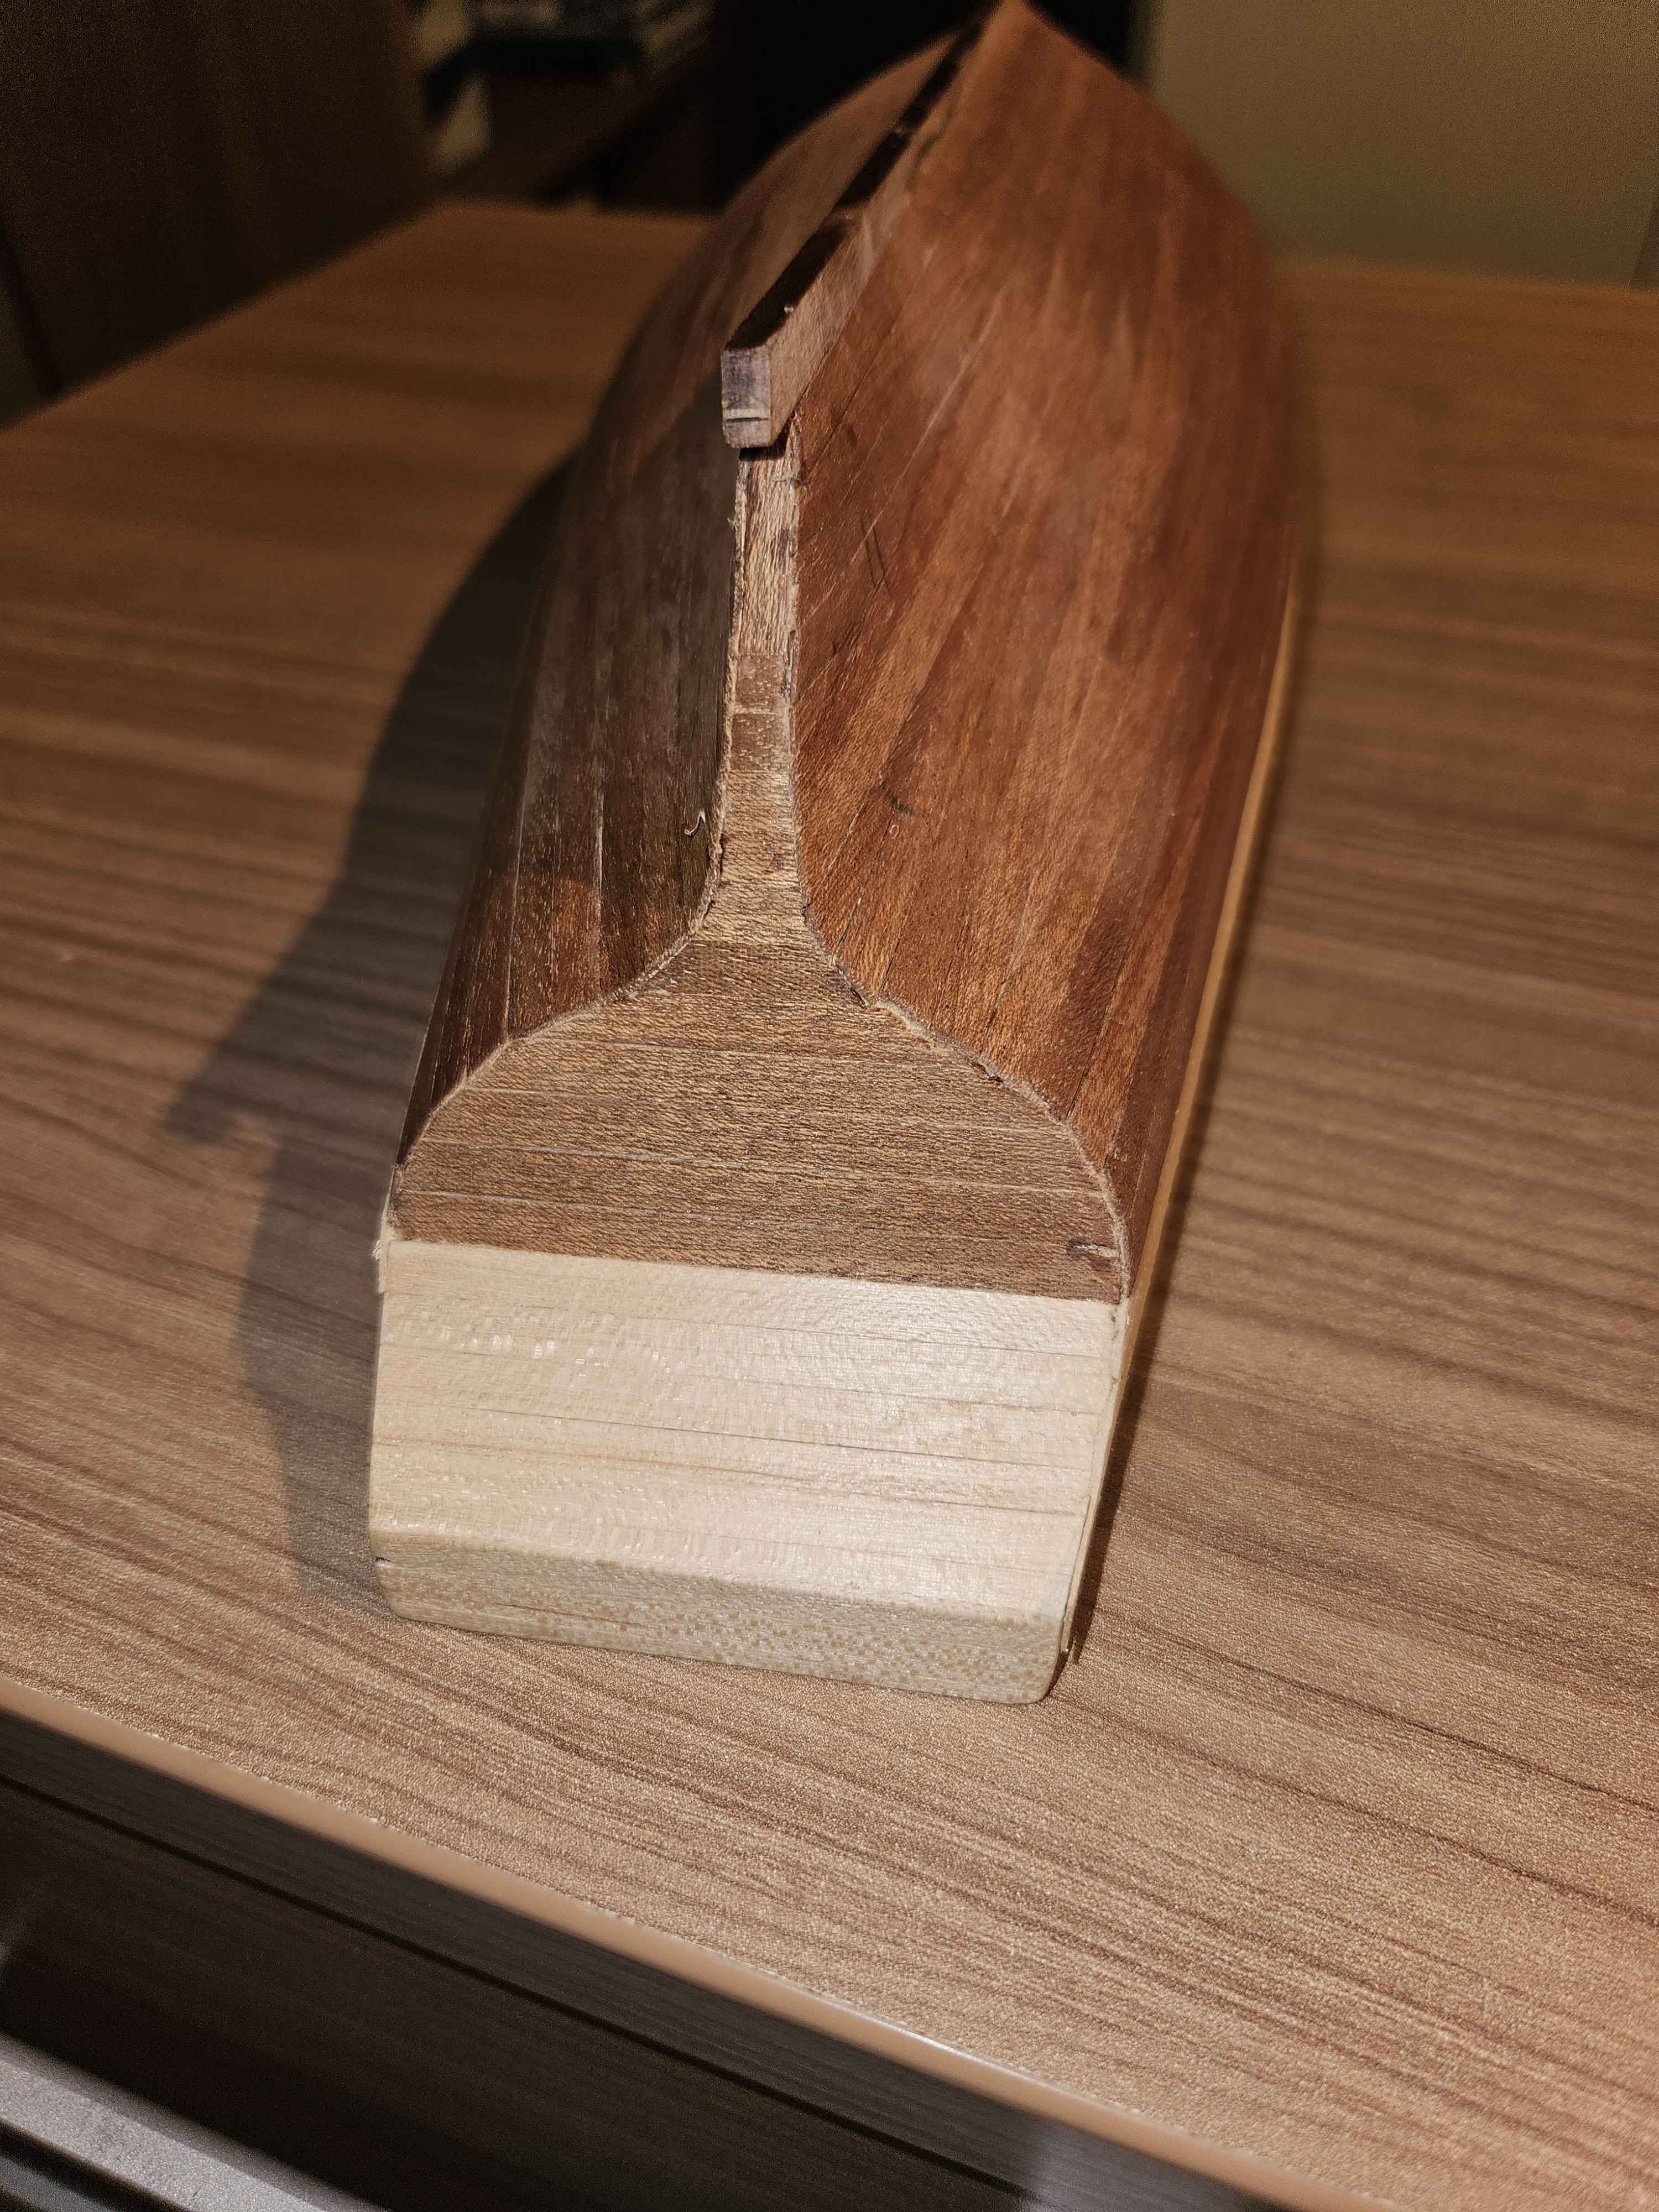
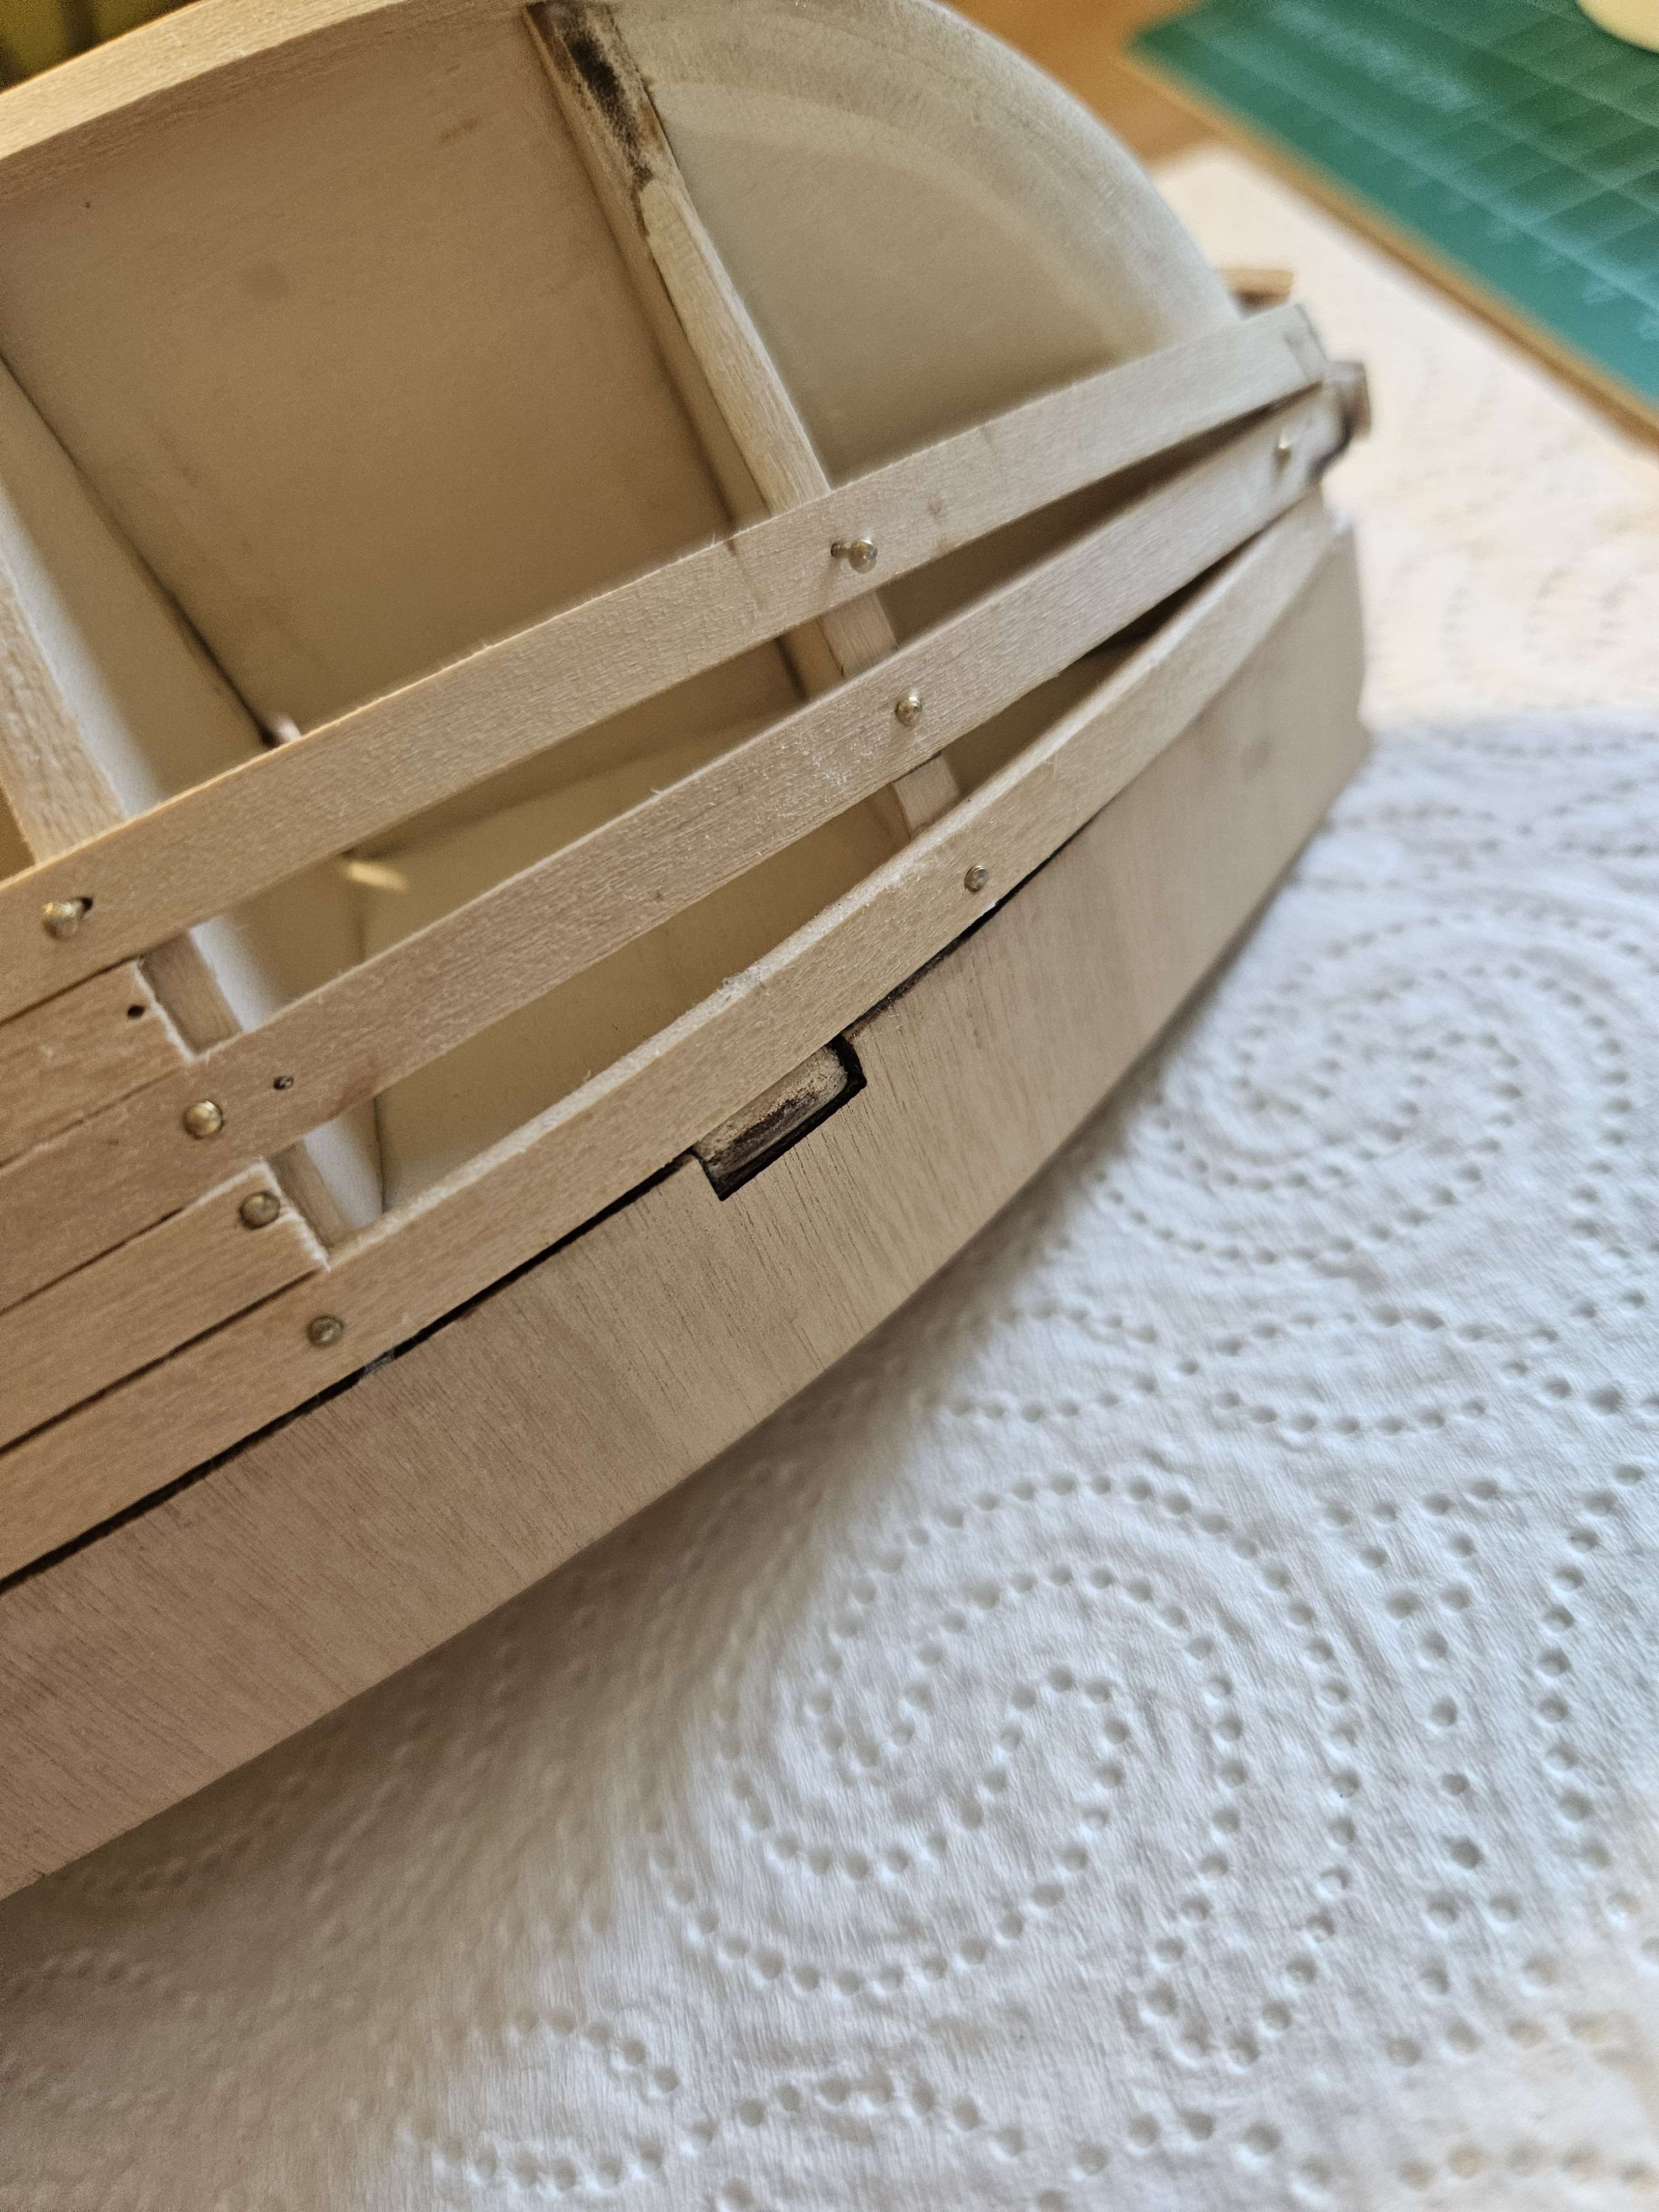
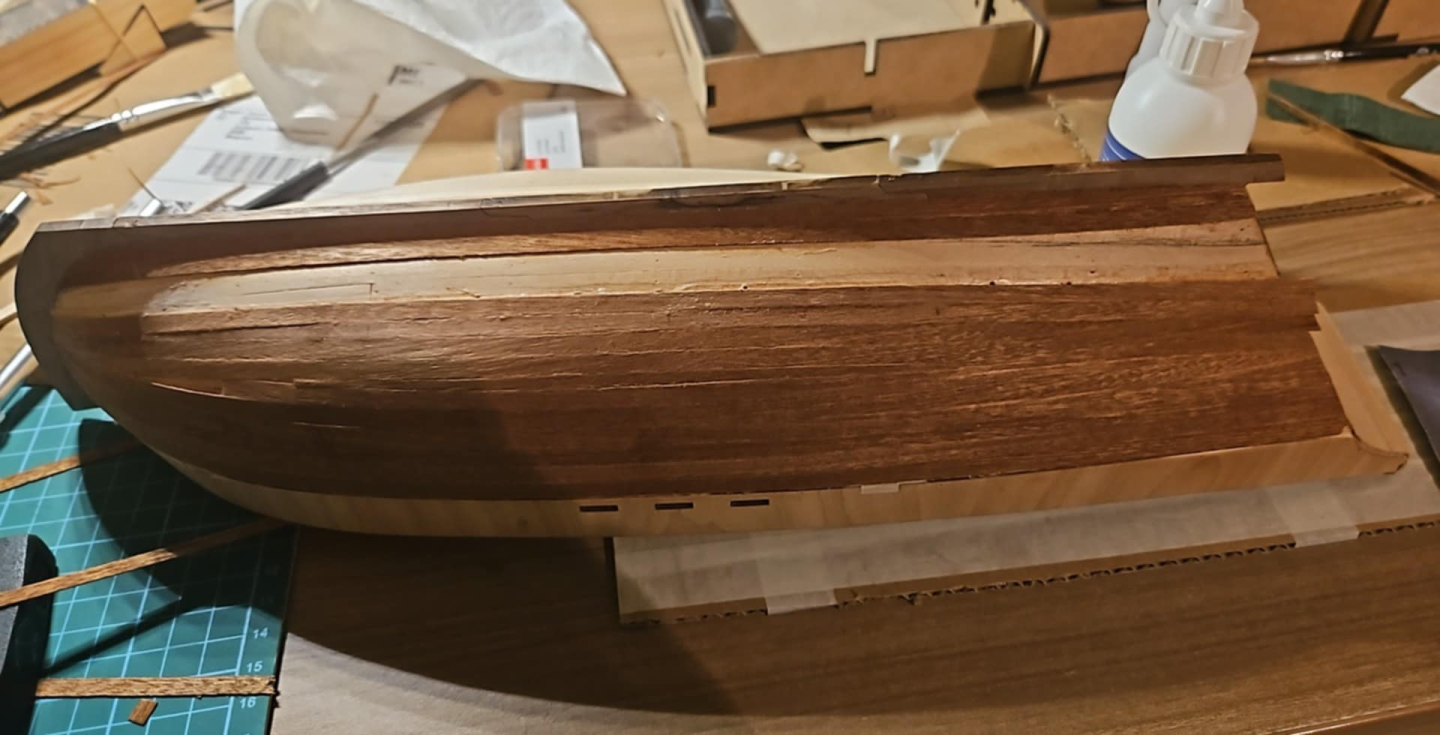
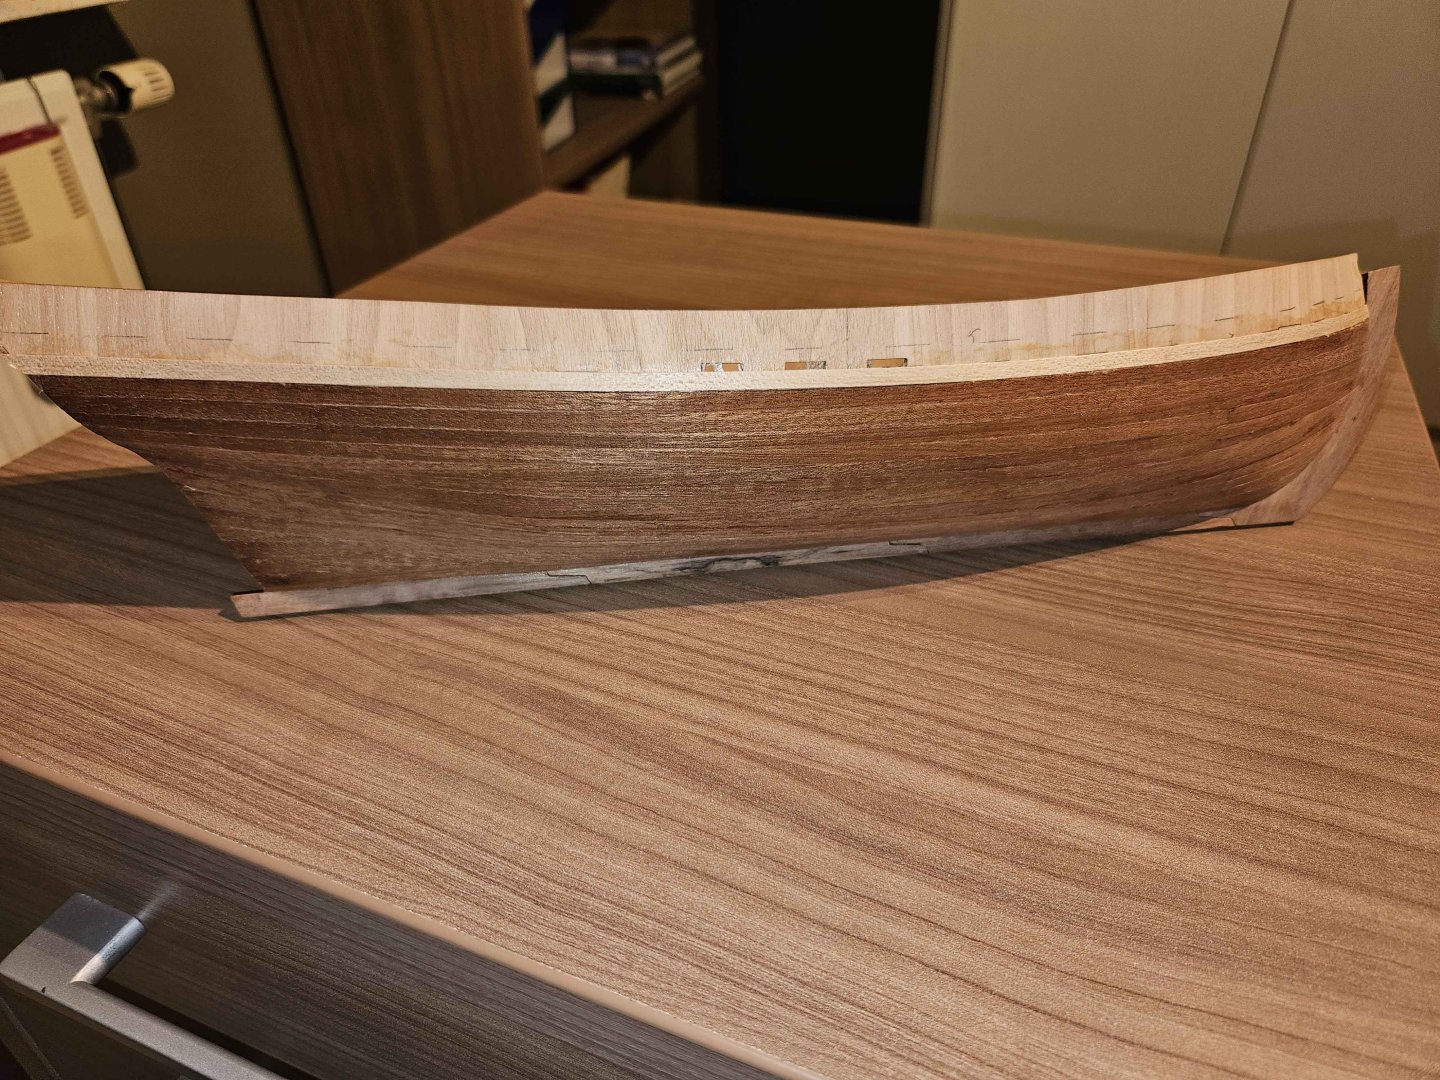
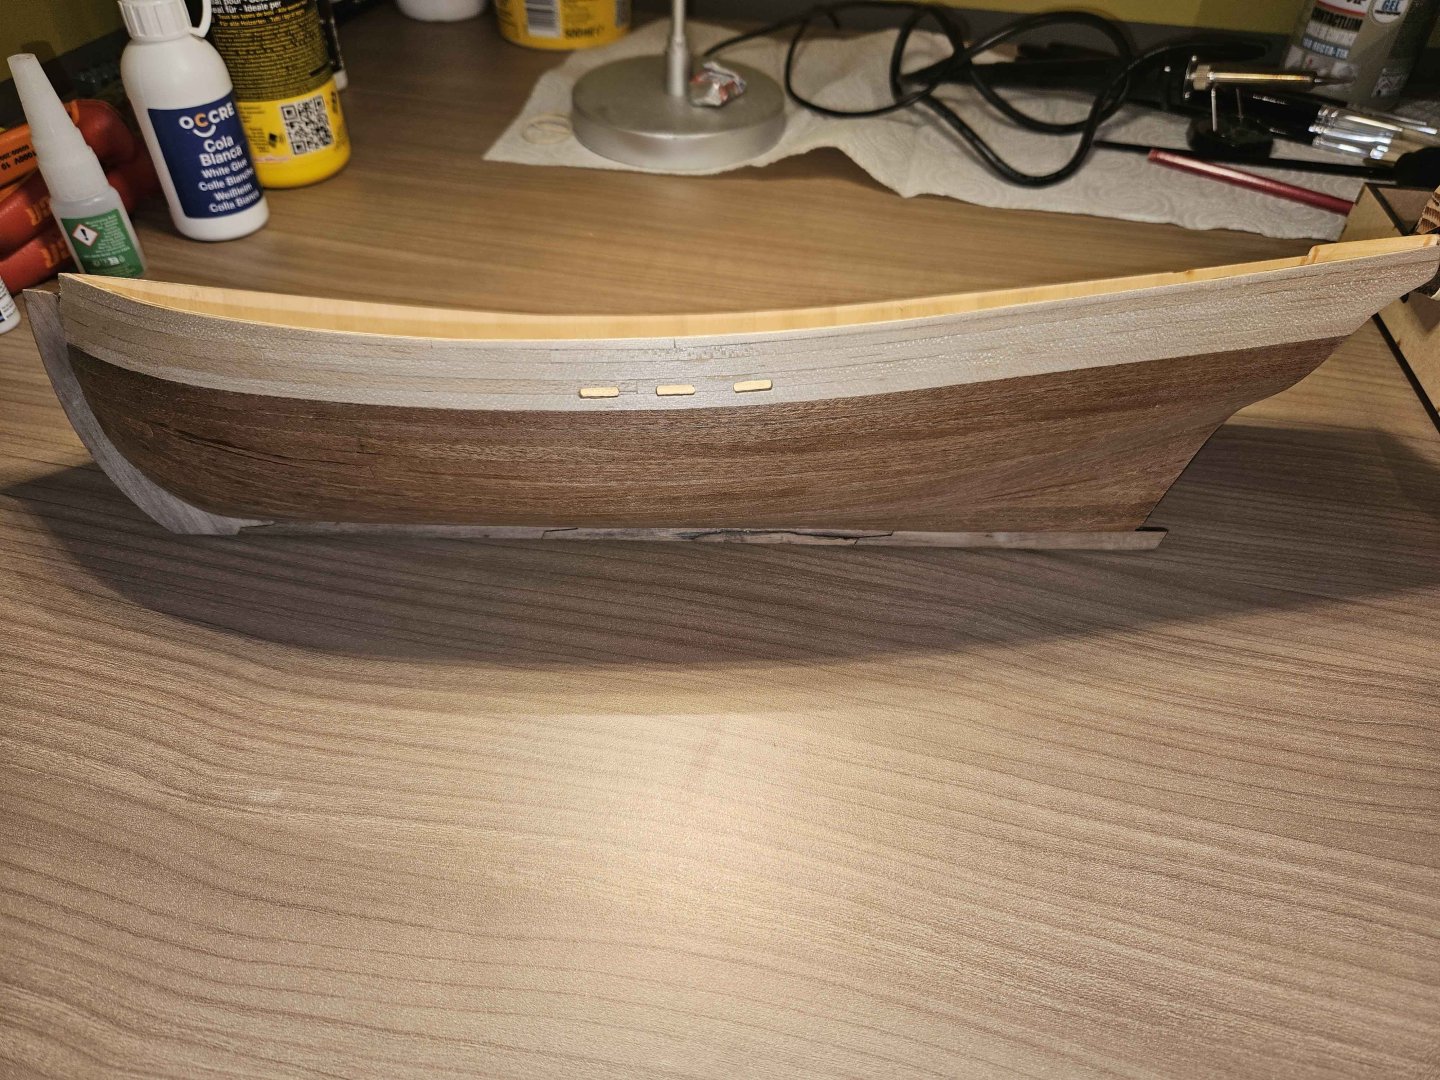
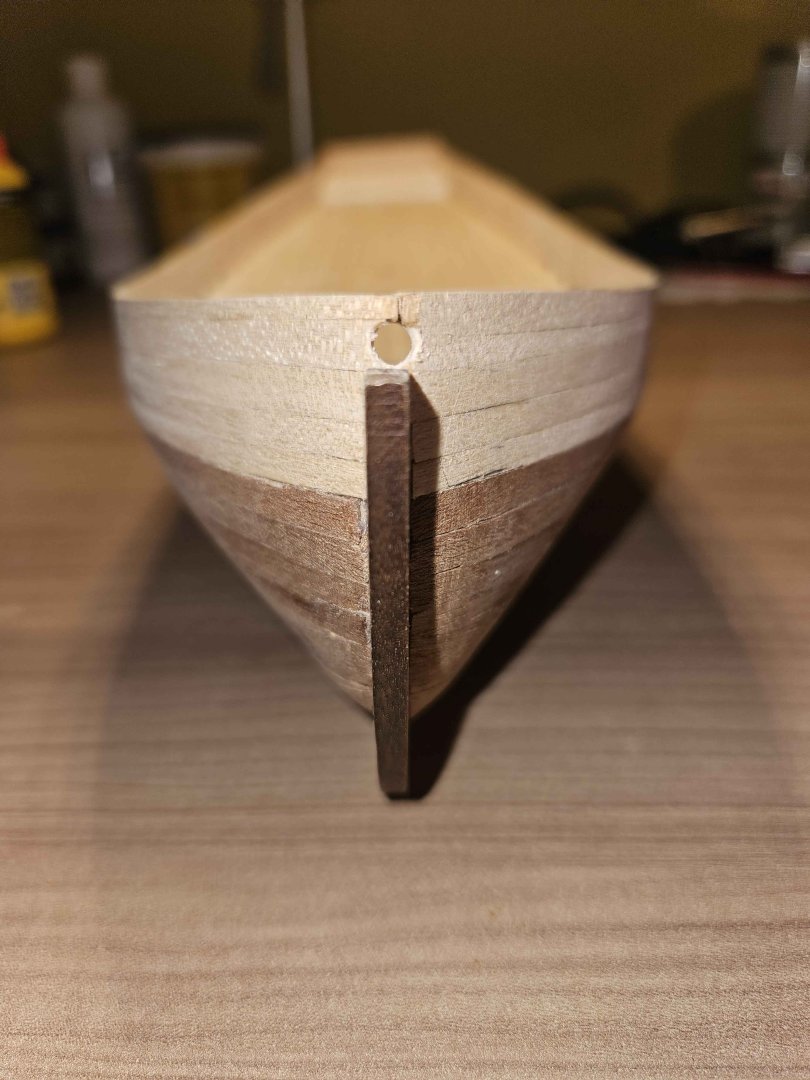
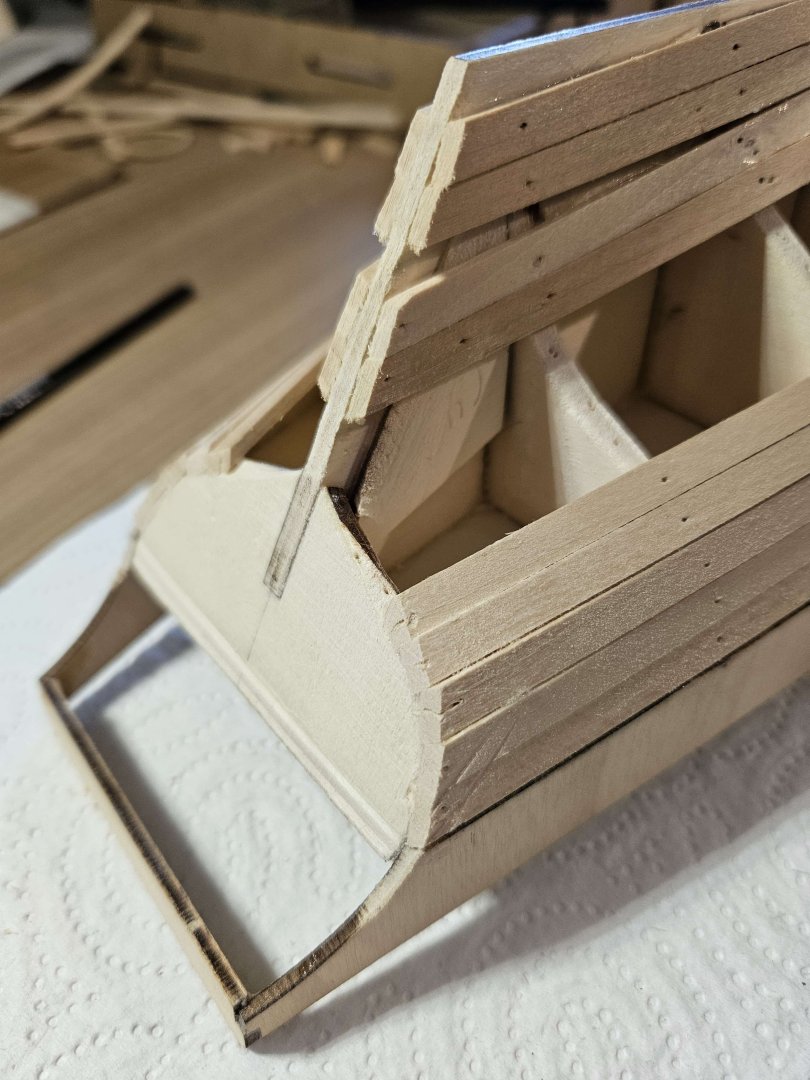
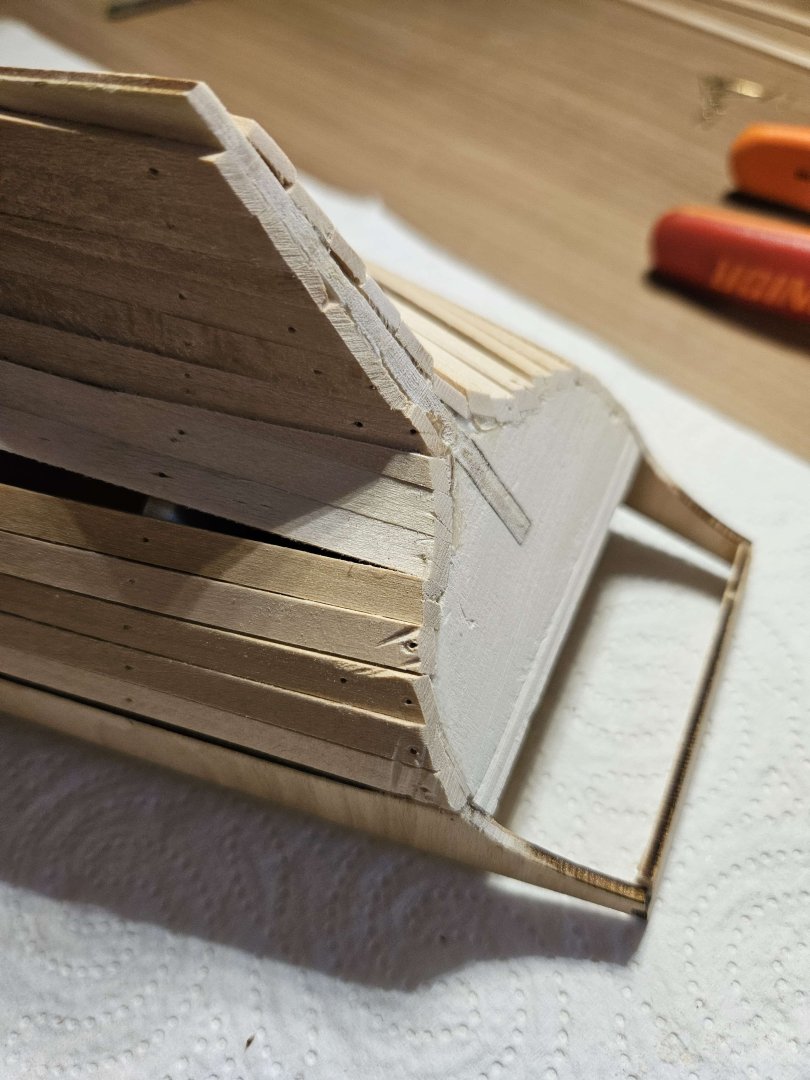
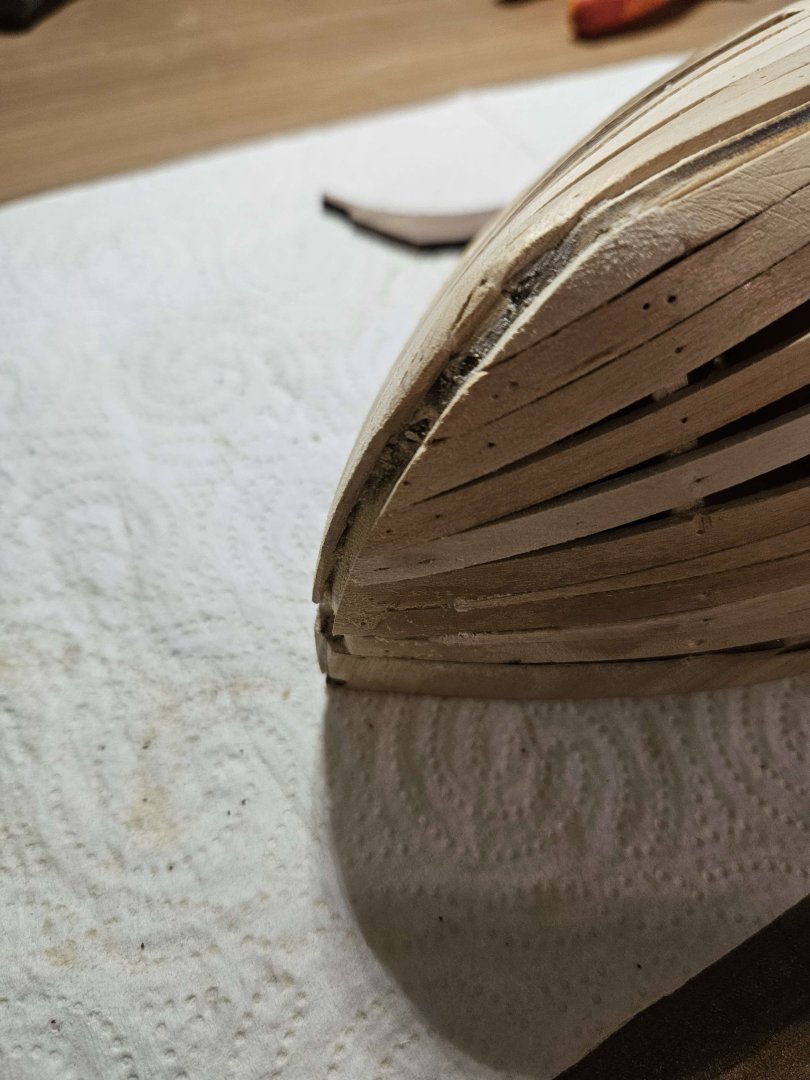
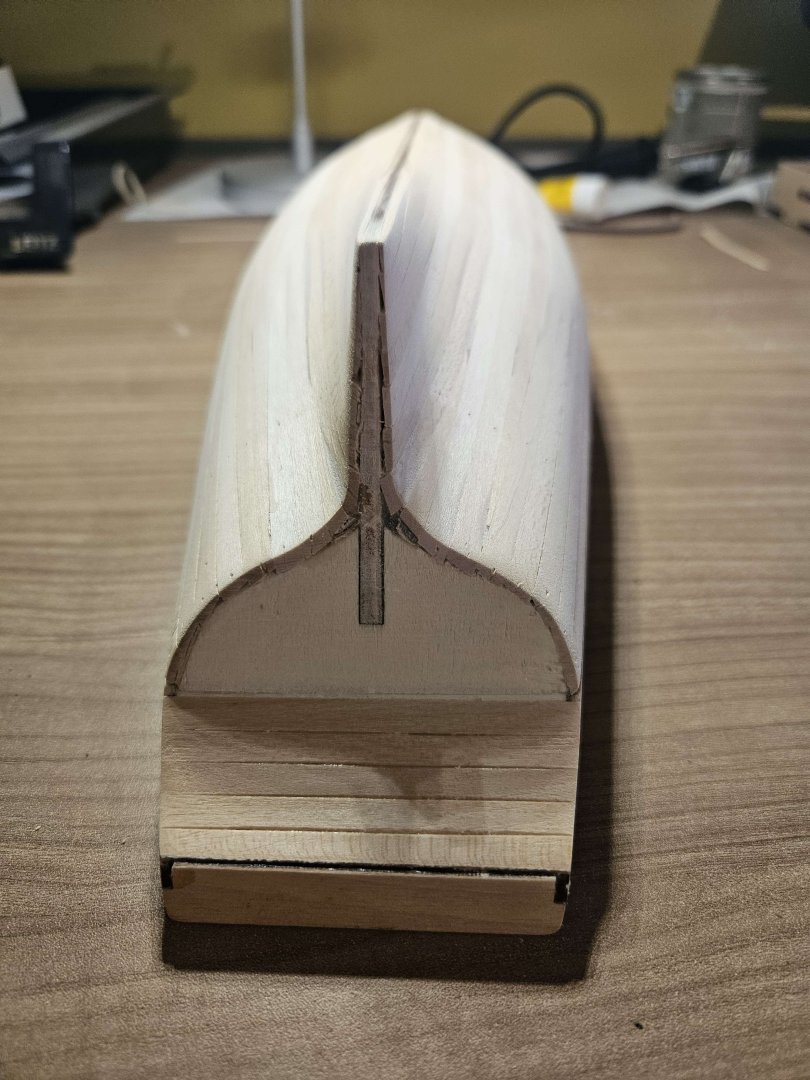
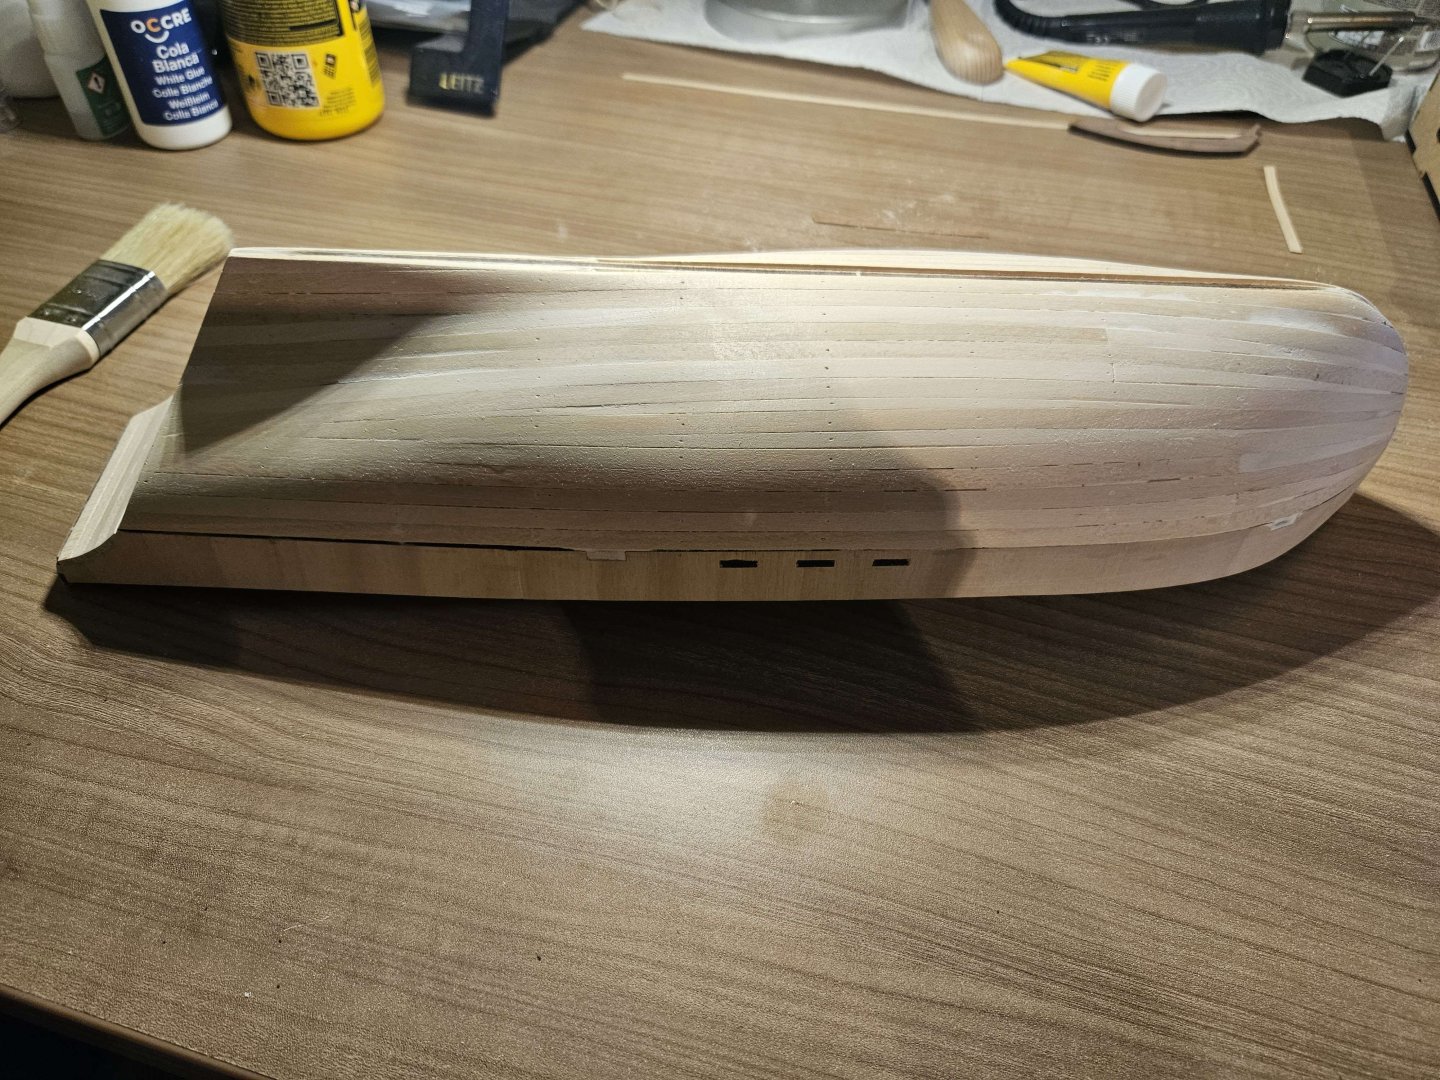
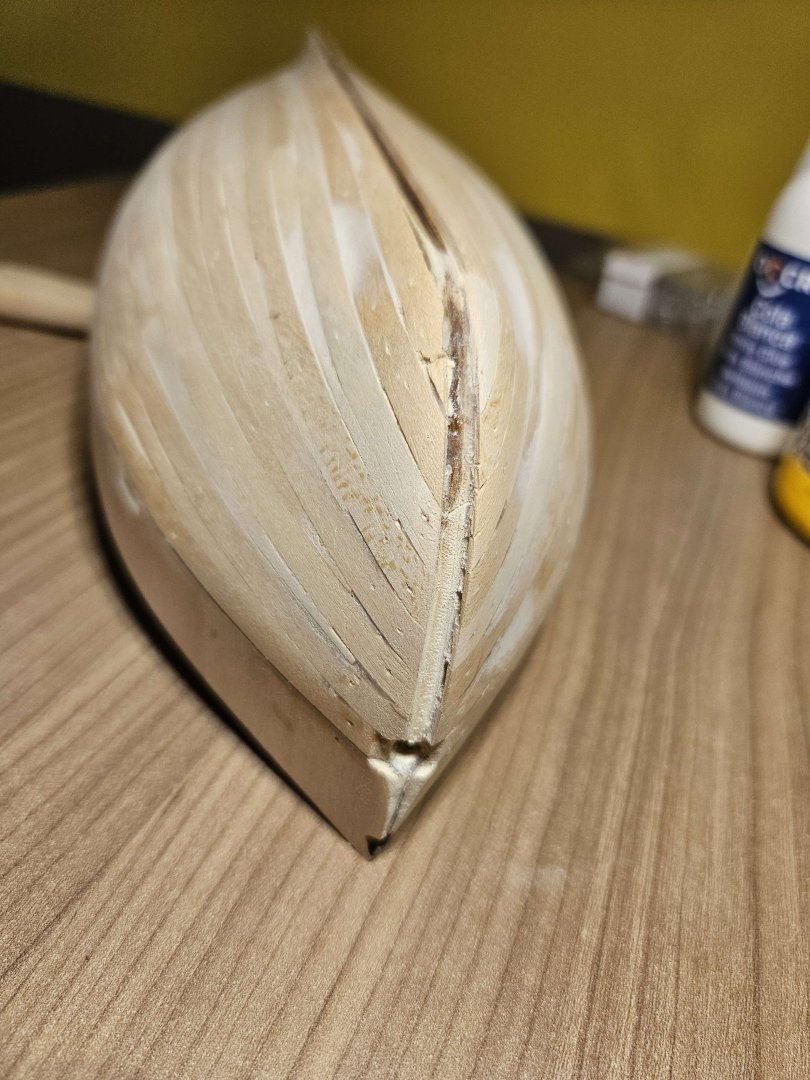
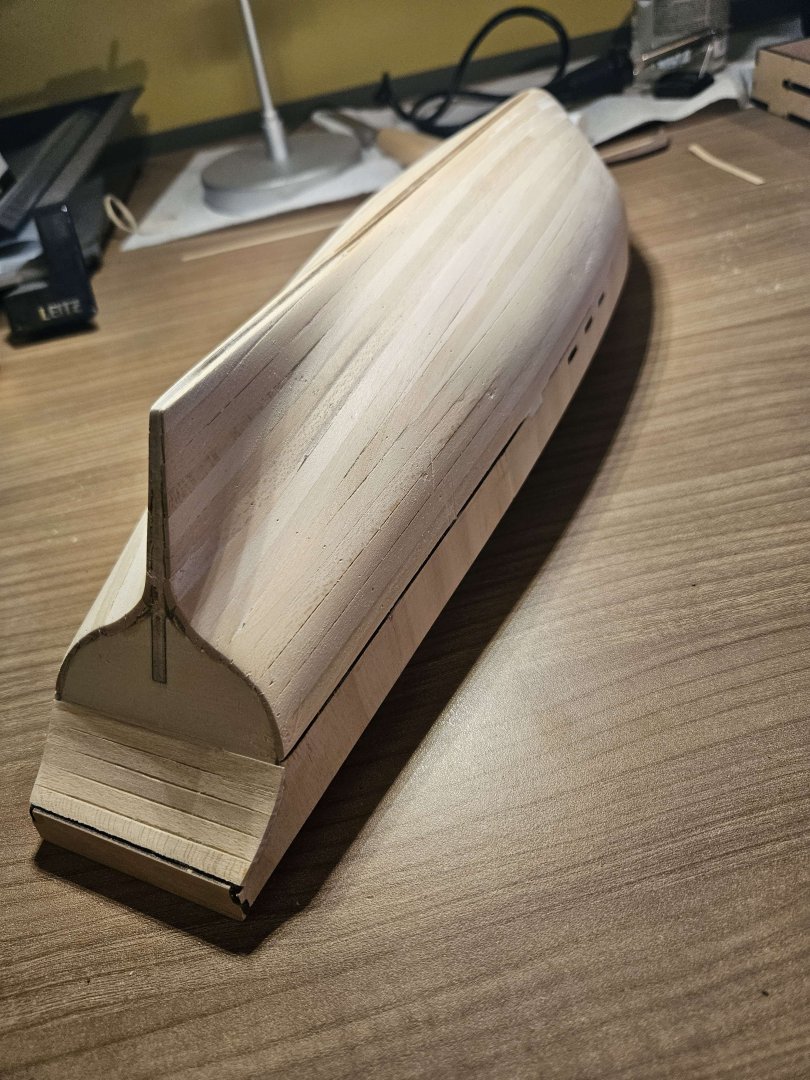
Another long time later, I can finally post an update! I’ve got to say, the second planking has been a real rollercoaster. There were plenty of ups and downs, mistakes and fixes, but once it’s done you’re a huge step closer to the detailing stage. To make fitting the second planking against the keel easier, I decided to glue the keel on earlier than the instructions suggested. This is where I made my first silly mistake: I completely forgot to stain the keel parts with walnut dye 😅. I’ll do this once the second planking is finished, and I don’t expect it to cause any problems. I started with the starboard side and, for some reason, decided not to follow the instructions and instead go my own “logical” way of planking. This turned out to be big mistake number two. It caused far more difficult placements and a lot of small pieces that needed extra cutting and sanding. In the end, this side took me about three months to complete. I was so worried about making mistakes that I ended up burning myself out a bit, especially while being very busy with work. Once the starboard side was finished, I switched to the port side, and this went incredibly smoothly. I managed to finish it in just a week by actually following the instructions. A fresh wave of motivation, along with more experience, made a huge difference. The next step was the second planking of the upper part. I struggled more with this than I expected, mainly because the planks really didn’t want to bend along the curves. In some areas I had to cut the planks in two to make things easier. It definitely isn’t as pretty as I’d hoped, but it’ll work. You’ve got to learn somehow, right? After that, I used small amounts of white spirit to remove leftover contact cement that was sticking out between the planks. This worked surprisingly well. I then sanded everything down to smooth it out. I can still feel some grooves, but I’m afraid to sand too much since the planks are so thin. My biggest mistake, and the one that will probably bother me forever, is that I rushed the placement of the front part of the keel. As a result it isn’t fully centered or straight. I really hope it won’t be too noticeable by the end of the build, but if it is, it will be a good reminder of a very important rule. Do not rush. Even with a few mistakes here and there, I’m very happy with the result so far. And thanks to some Black Friday temptation, my next build is already waiting… OcCre’s La Candelaria 😉


-
Meekes reacted to a post in a topic:
Polaris by Meekes - OcCre - 1:50 - First Build
-
Meekes reacted to a post in a topic:
How do you all choose your next build?
-
Meekes reacted to a post in a topic:
How do you all choose your next build?
-
Meekes reacted to a post in a topic:
How do you all choose your next build?
-
Meekes reacted to a post in a topic:
How do you all choose your next build?
-
Meekes reacted to a post in a topic:
How do you all choose your next build?
-
Meekes reacted to a post in a topic:
How do you all choose your next build?
-
robert952 reacted to a post in a topic:
How do you all choose your next build?
-
vvvjames reacted to a post in a topic:
OcCre Black Week
-
I hope to have the time to work on it again soon! I really want to have the second planking done this year still. It's really between the looks of the La Candelatia and the history of The Endurance for me. But yeah those mortars look stunning. I've got the work stand but don't have the organizer yet, tempting.
-
vvvjames reacted to a post in a topic:
How do you all choose your next build?
-
vvvjames reacted to a post in a topic:
OcCre Black Week
-
As the title suggests, I’m curious how everyone here picks their next model ship project. Do you go for something with strong historical significance? A vessel with a certain prestige or aesthetic that just speaks to you? Or do you choose based on the level of challenge, either because you want to push your skills or because you want something more comfortable and relaxing? I’m asking because I’m currently stuck between two kits from OcCre: Shackleton’s Endurance and La Candelaria. The Endurance has such a well-recorded and compelling history behind it, which makes the build feel like it would carry more personal meaning. But La Candelaria, on the other hand, is the more beautiful ship in my eyes even without its accurate history, though that also means it might be a bit more challenging. I’d love to hear how you all decide what your next build will be, and what factors matter most to you when choosing.
-
I'm currently in the same boat as you (pun intended) that i'm still working on my first build the Polaris and i'm tempted to already buy my second model while it's on sale. I just can't decide between La Candelaria or The Endurance!
-
Meekes reacted to a post in a topic:
L'Artésien 1764 by Cpt.Barbossa - 1:48 - 64-gun ship from plans by Jacques Fichant
-
vvvjames reacted to a post in a topic:
Polaris by Meekes - OcCre - 1:50 - First Build
-
Little update as it has been a long time. I've been stuck at the second planking, mainly due to live being busy but also because the second planking seems to really stress me out everytime i'm about to start on it because i don't want to make mistakes on the finishing and i don't find it the easiest. I know, it's my first modelship so mistakes are there to learn from, but i'm still a massive perfectionist so i'll have to get over it and get it done. More (actual) updates will hopefully come soon!
-
Thank you! i'm quite proud of how well it went for my first planking ever! I mostly did it by dry-fitting the planks with nails and sanding slightly to get it alligned very closely. I do need to try the lining off way some day
-
Meekes reacted to a post in a topic:
Polaris by Meekes - OcCre - 1:50 - First Build
-
Meekes reacted to a post in a topic:
Polaris by Meekes - OcCre - 1:50 - First Build
-
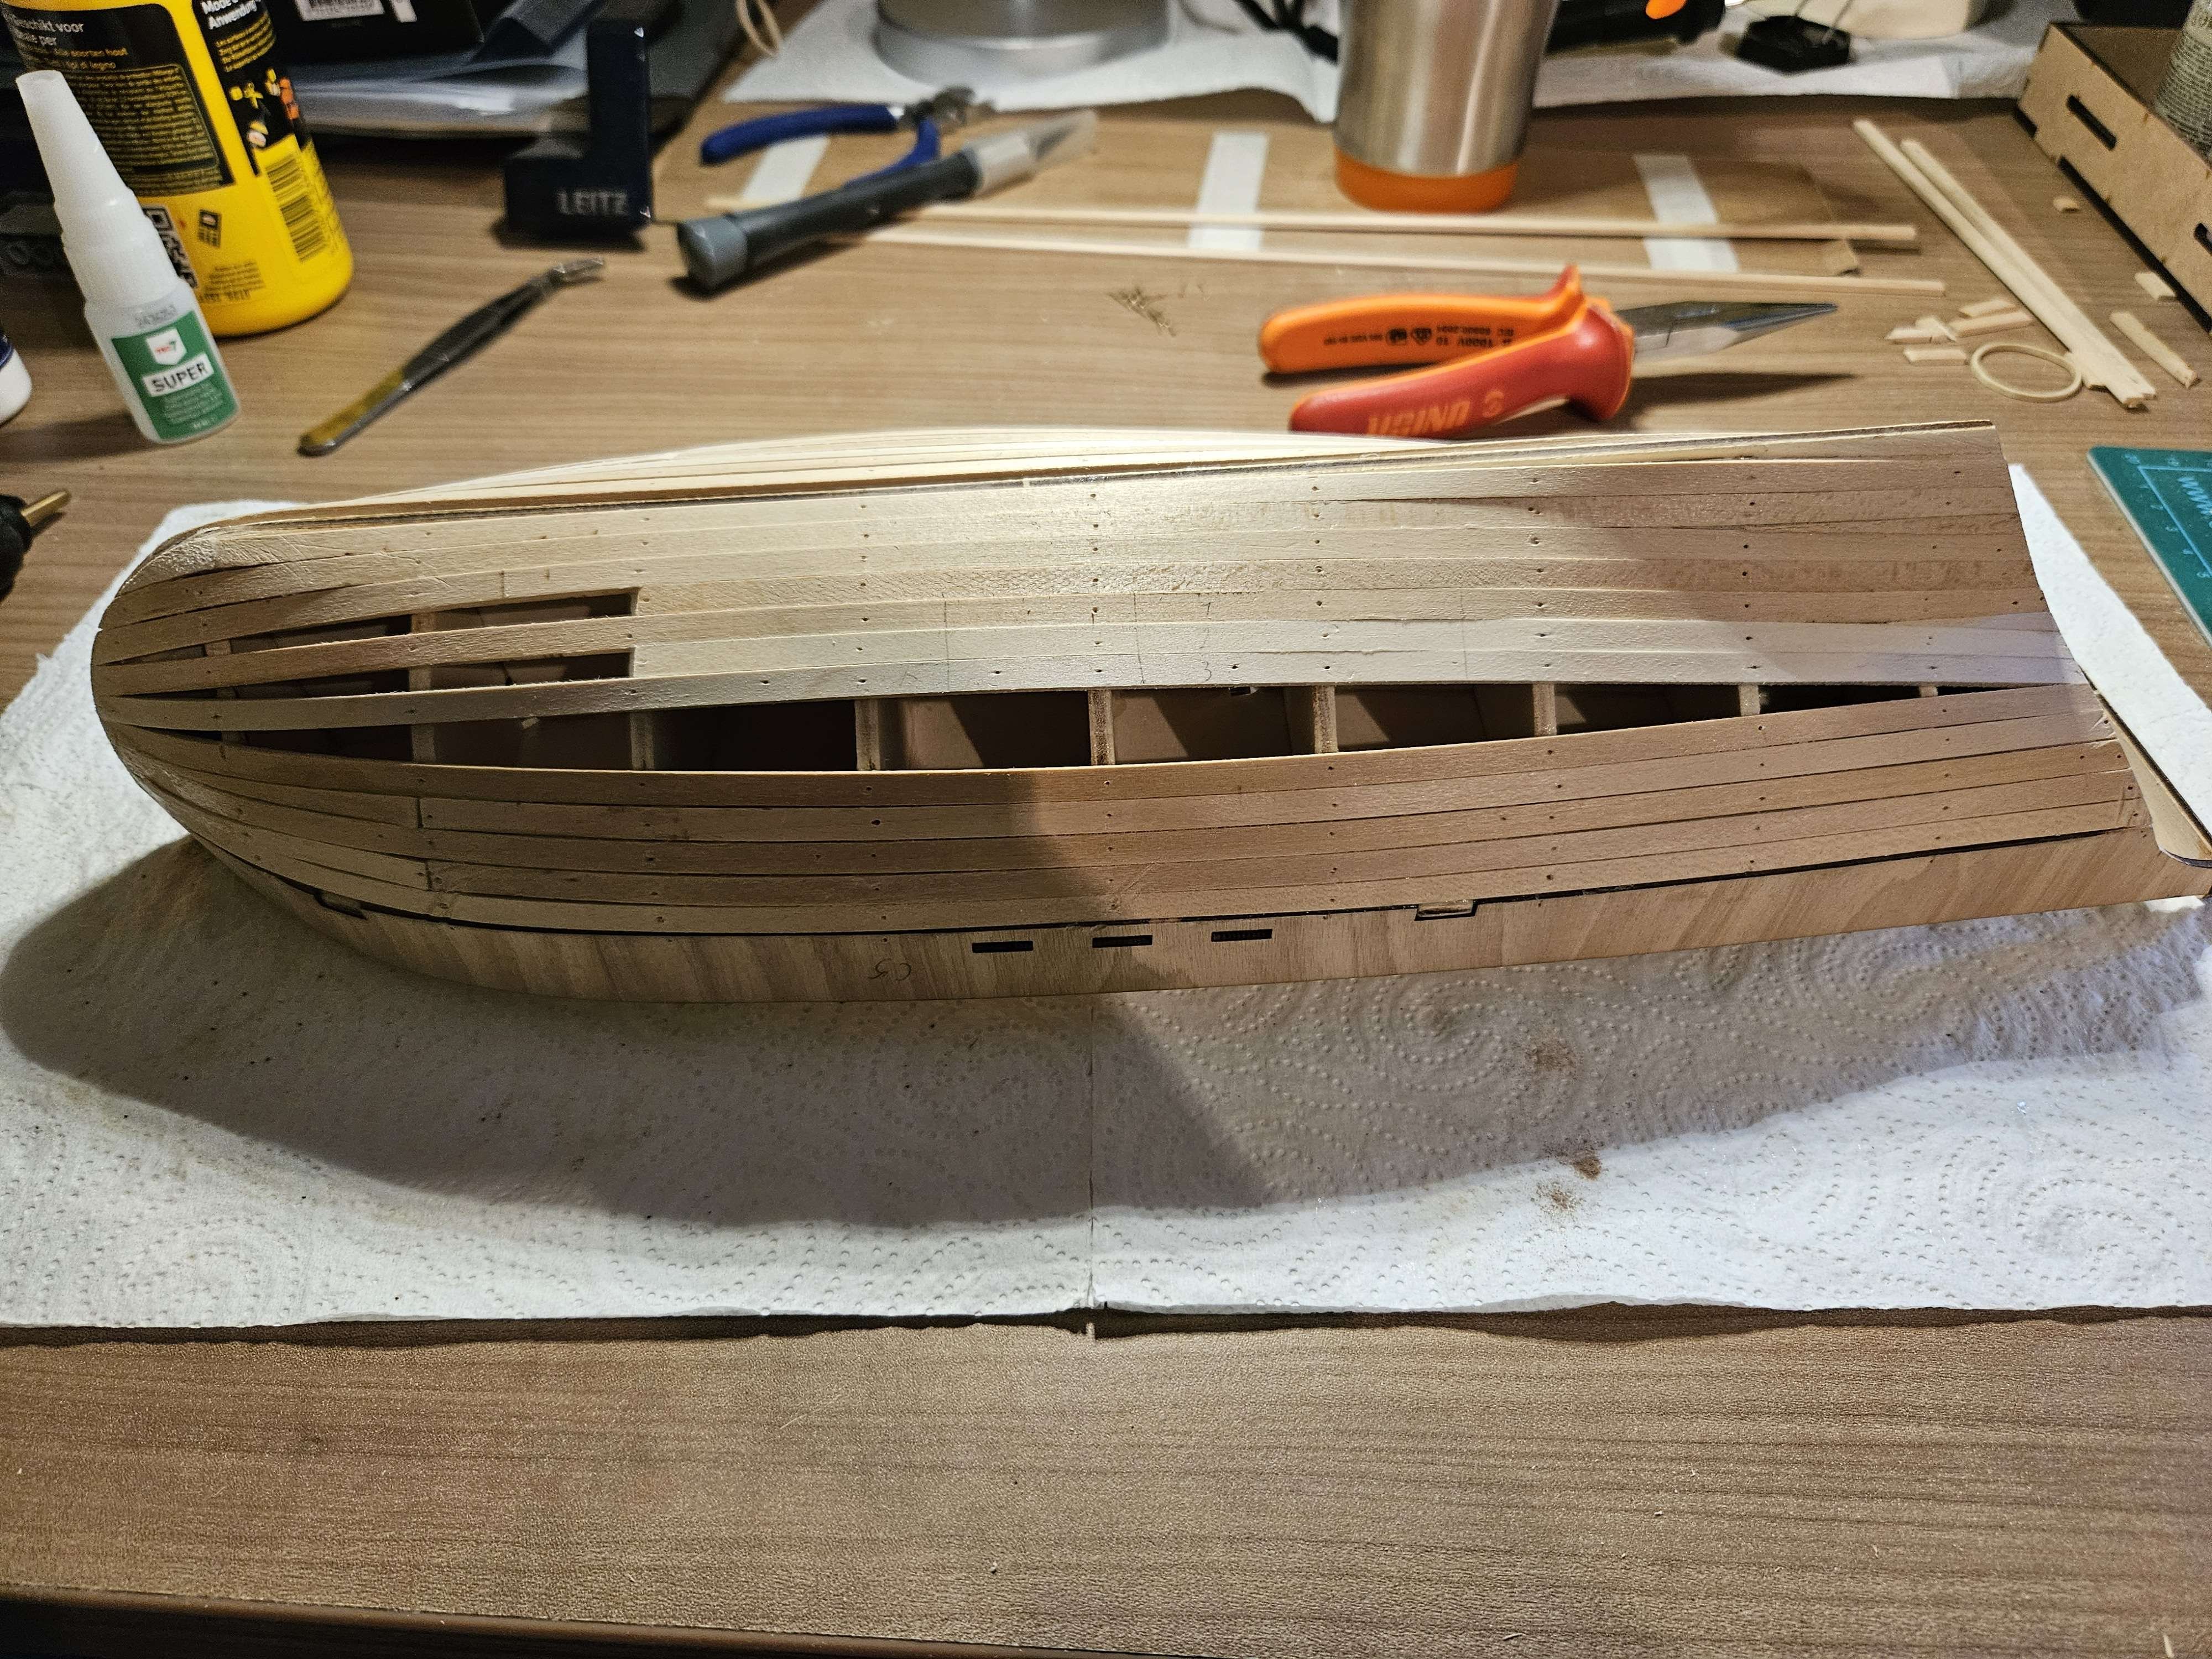
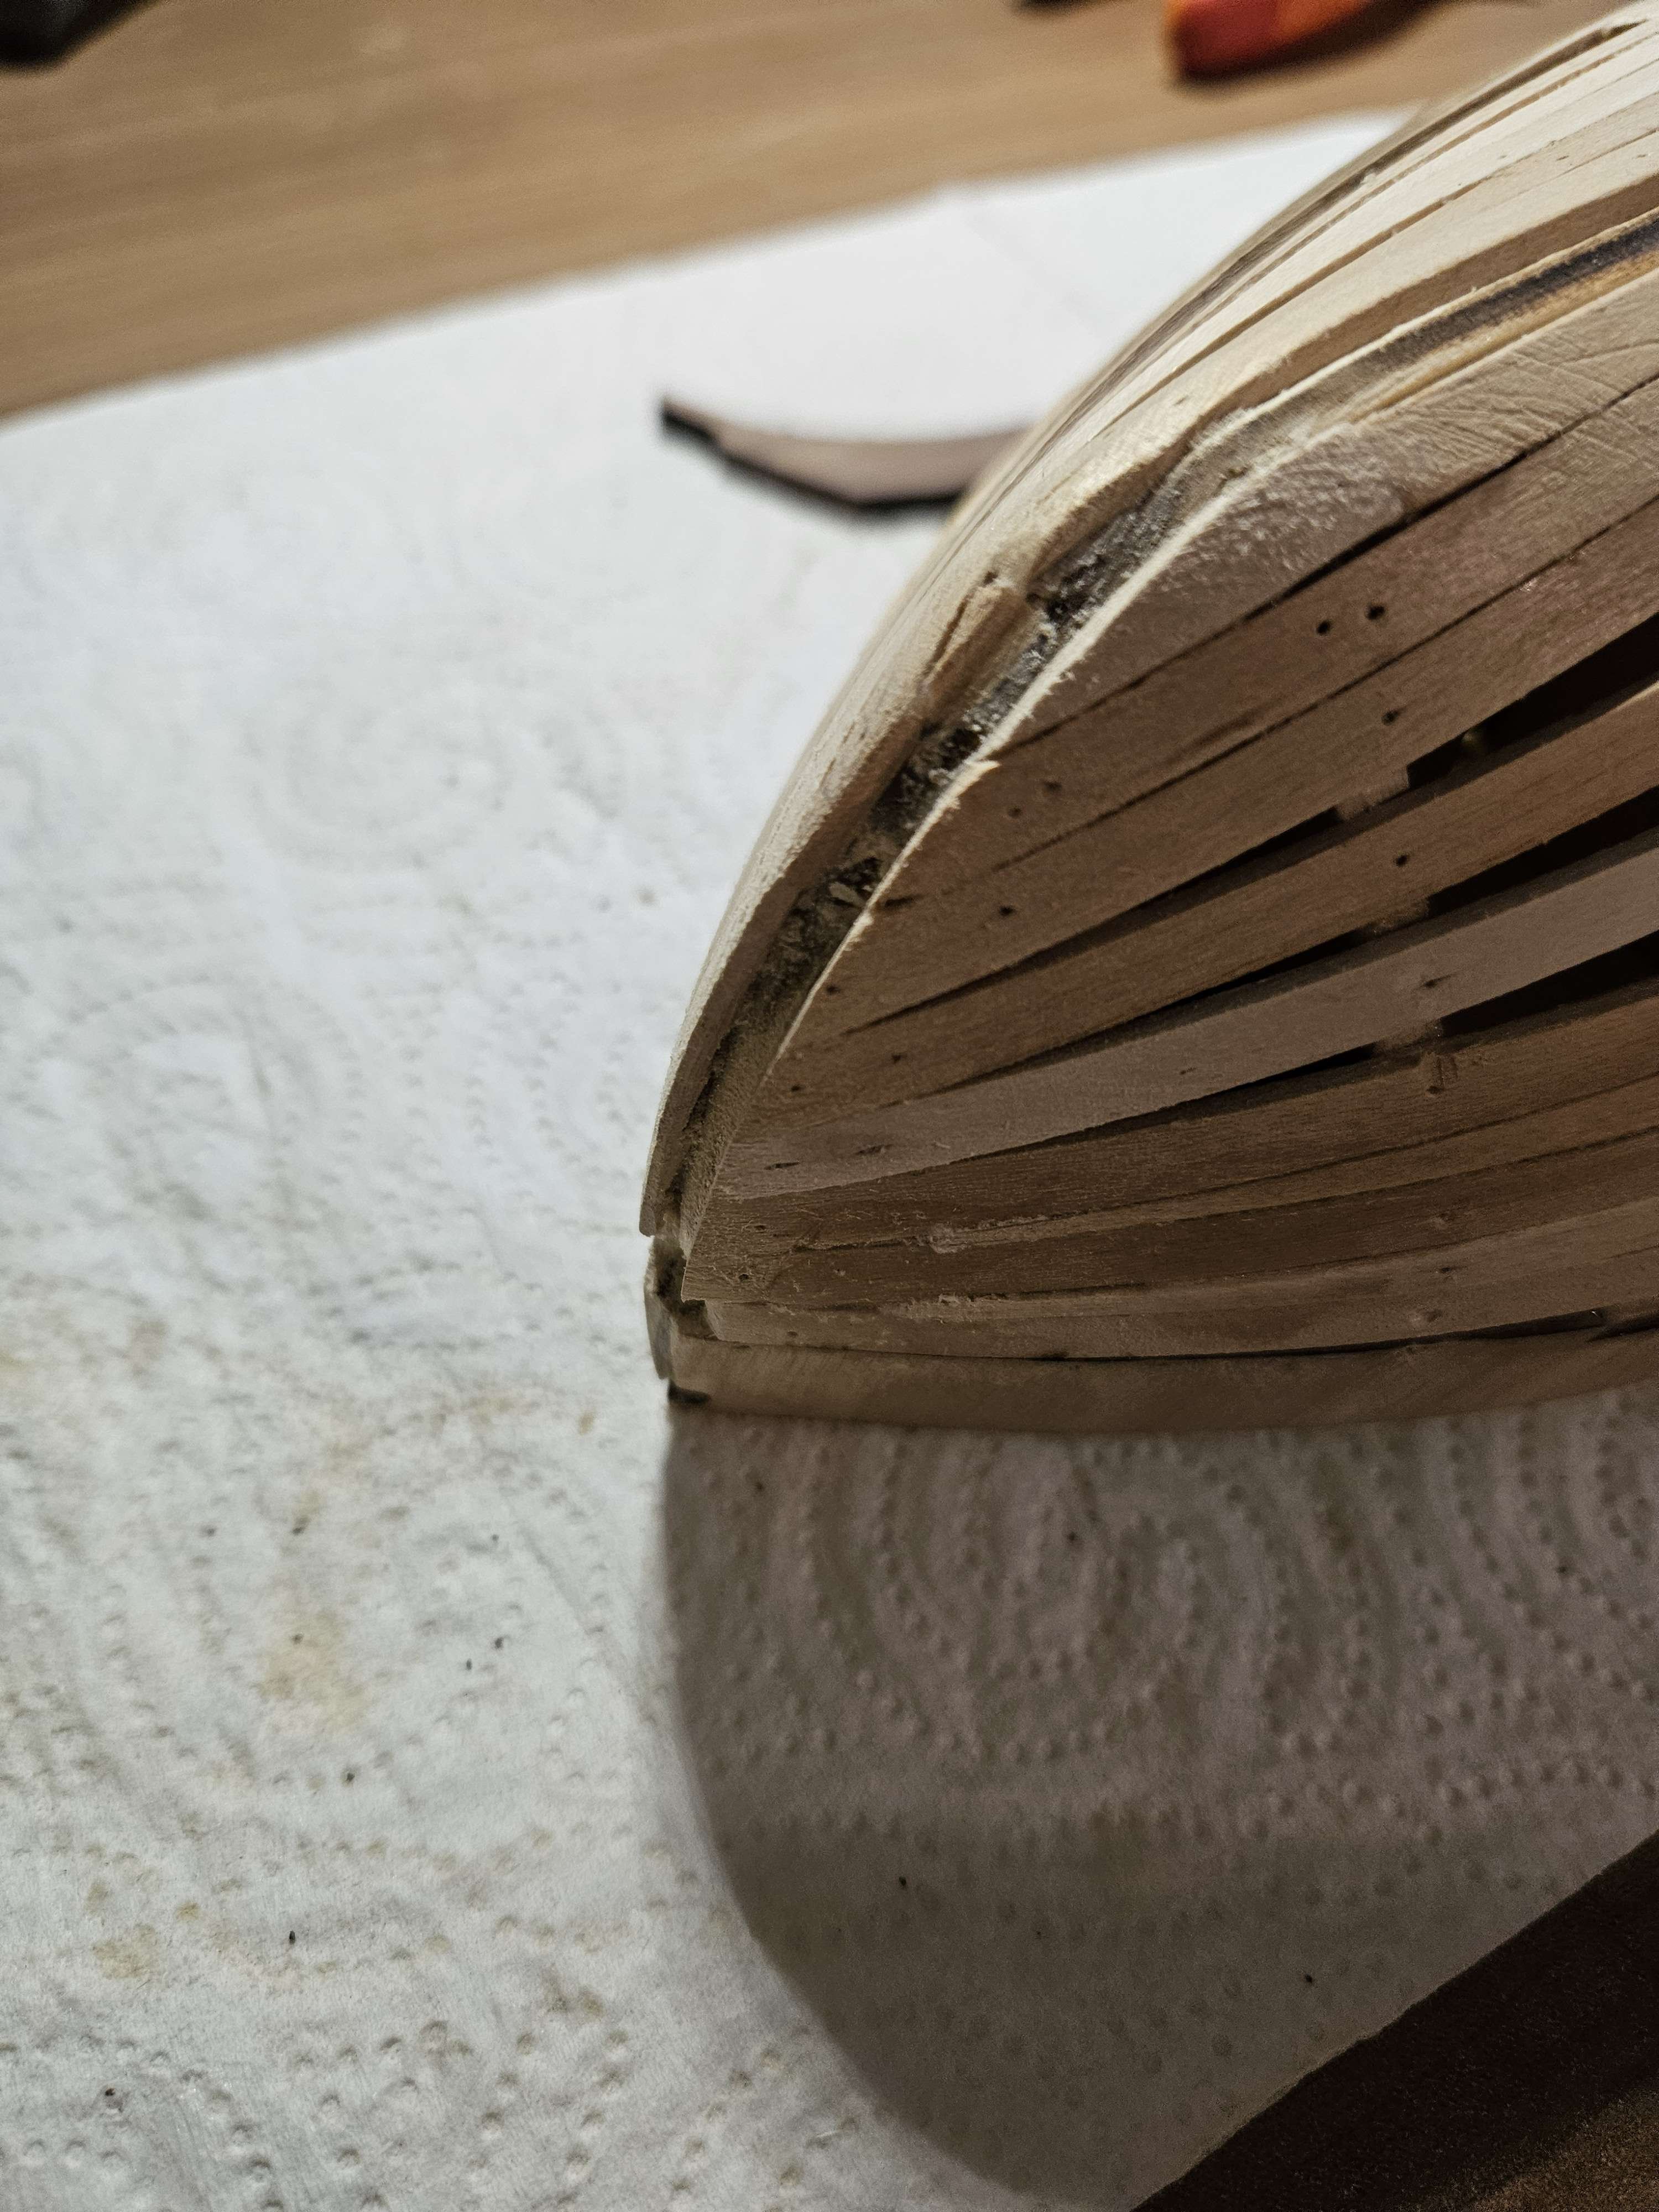
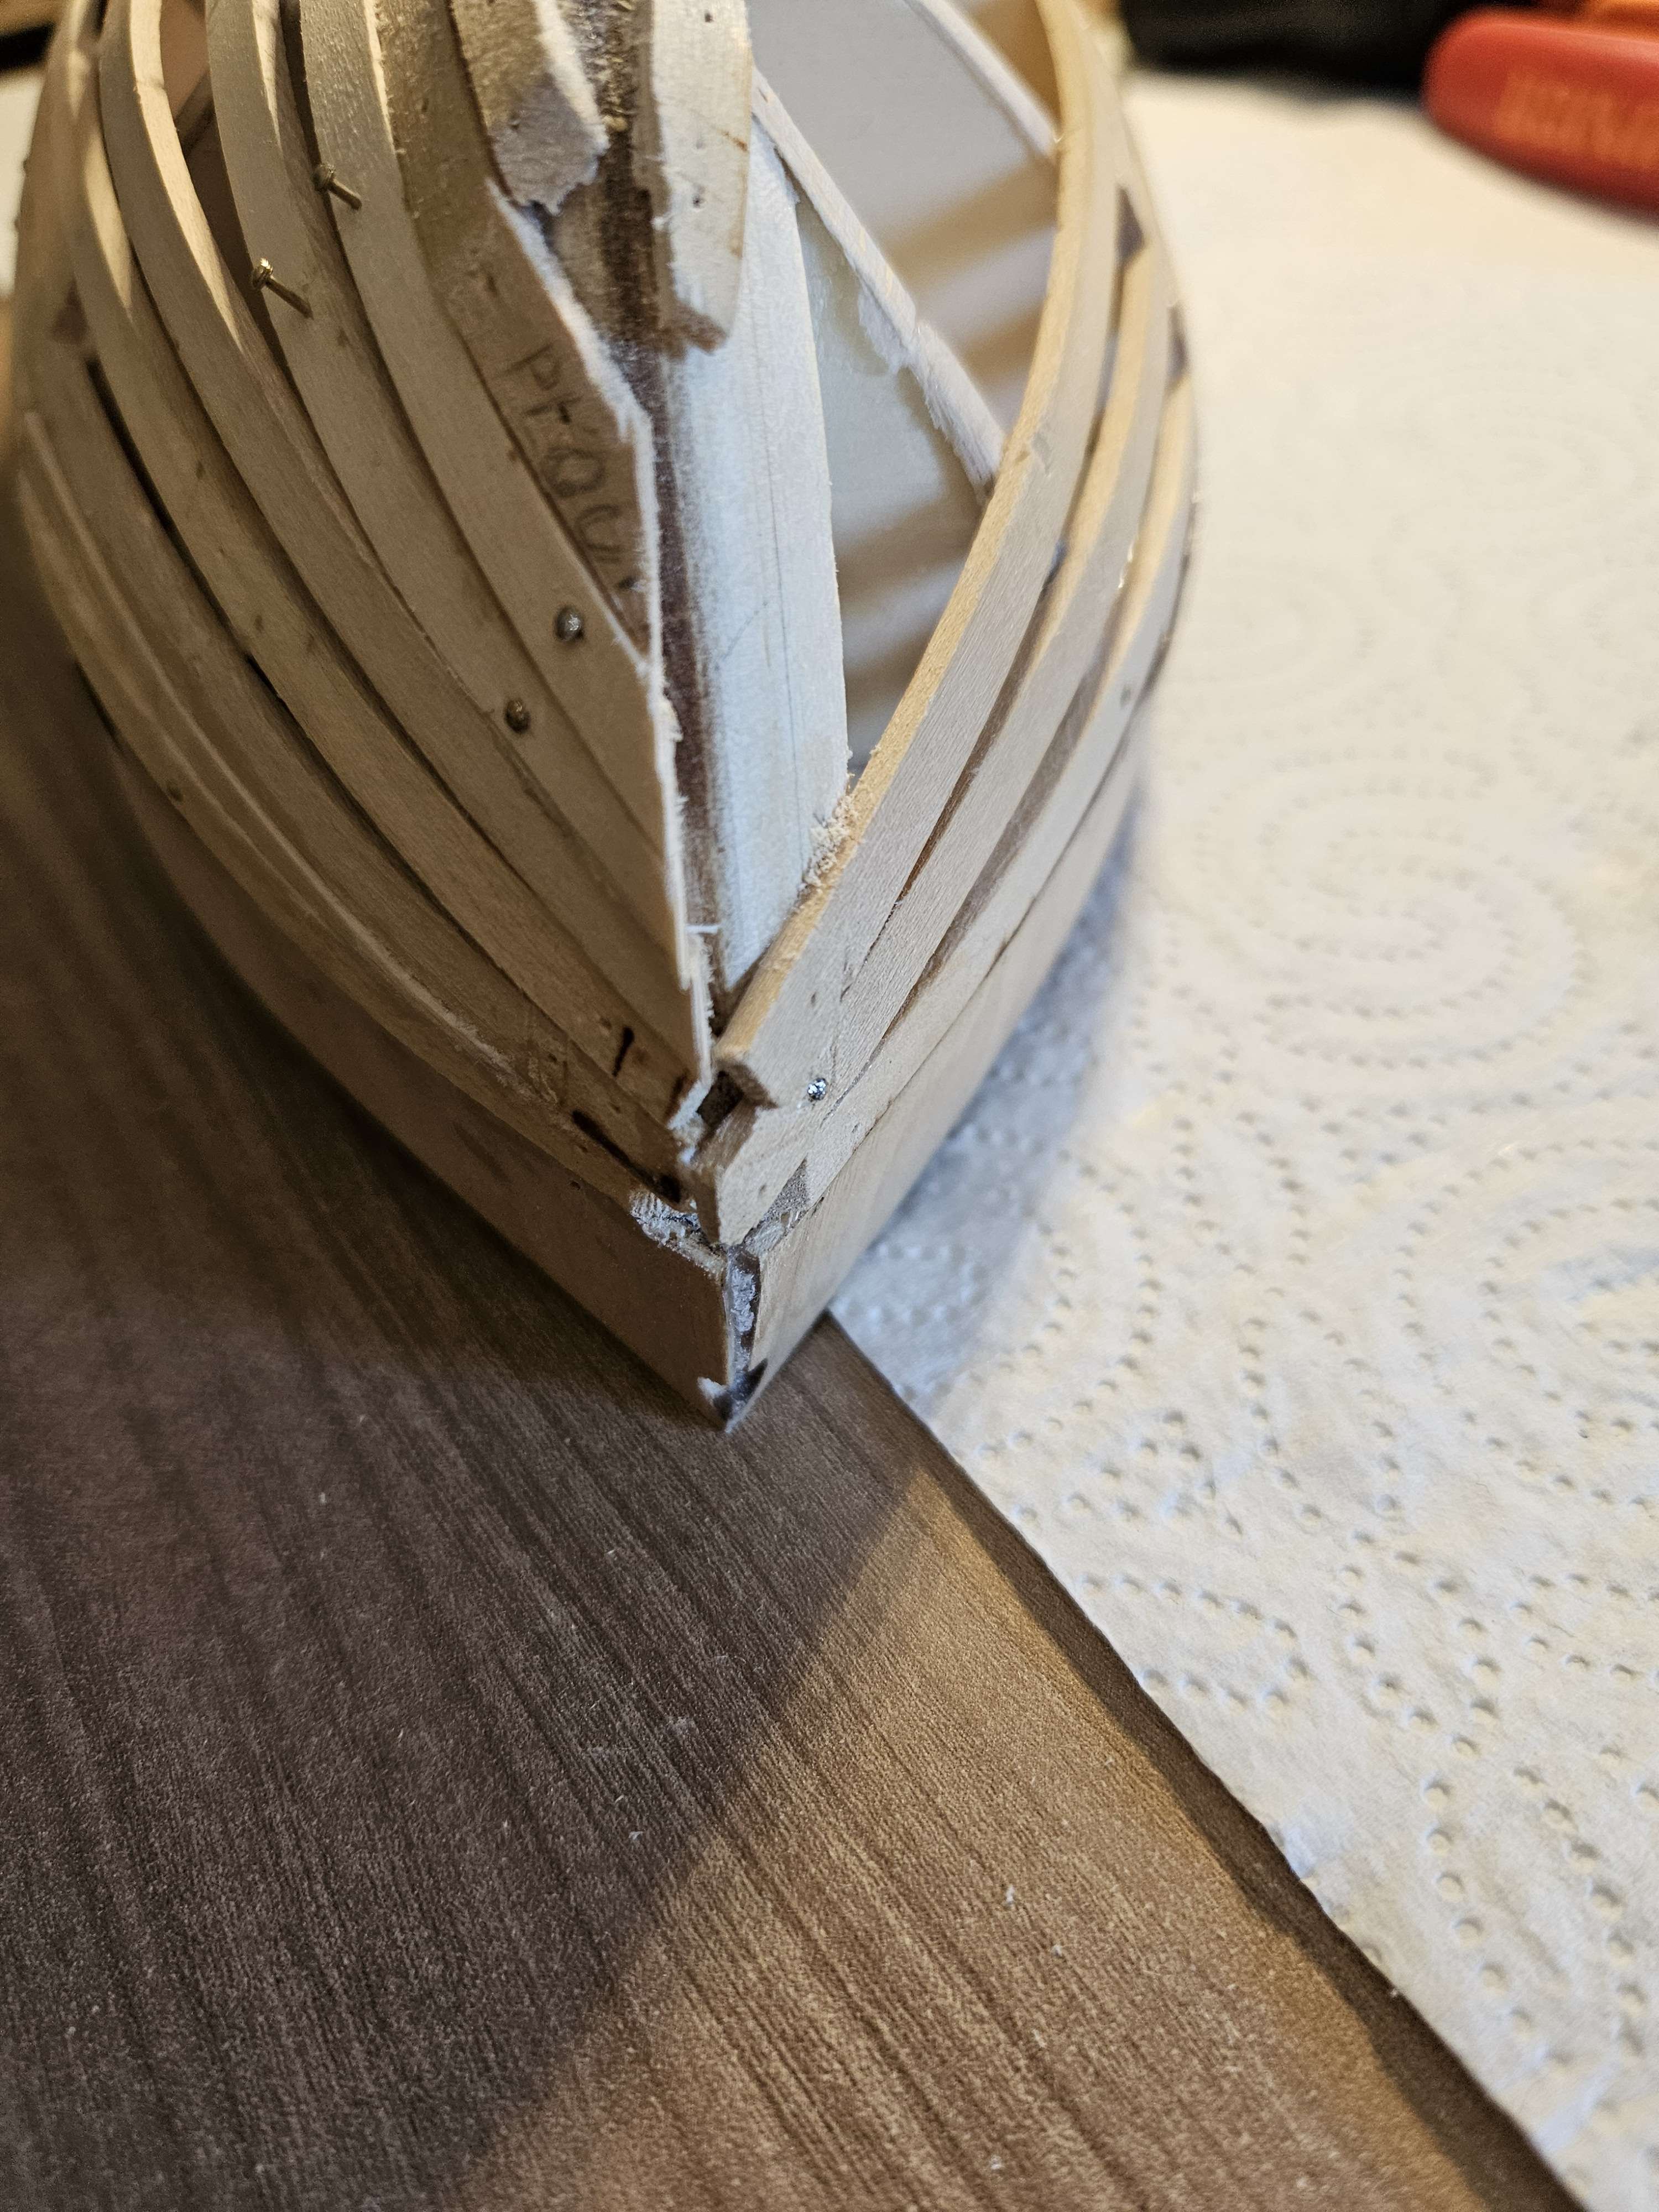
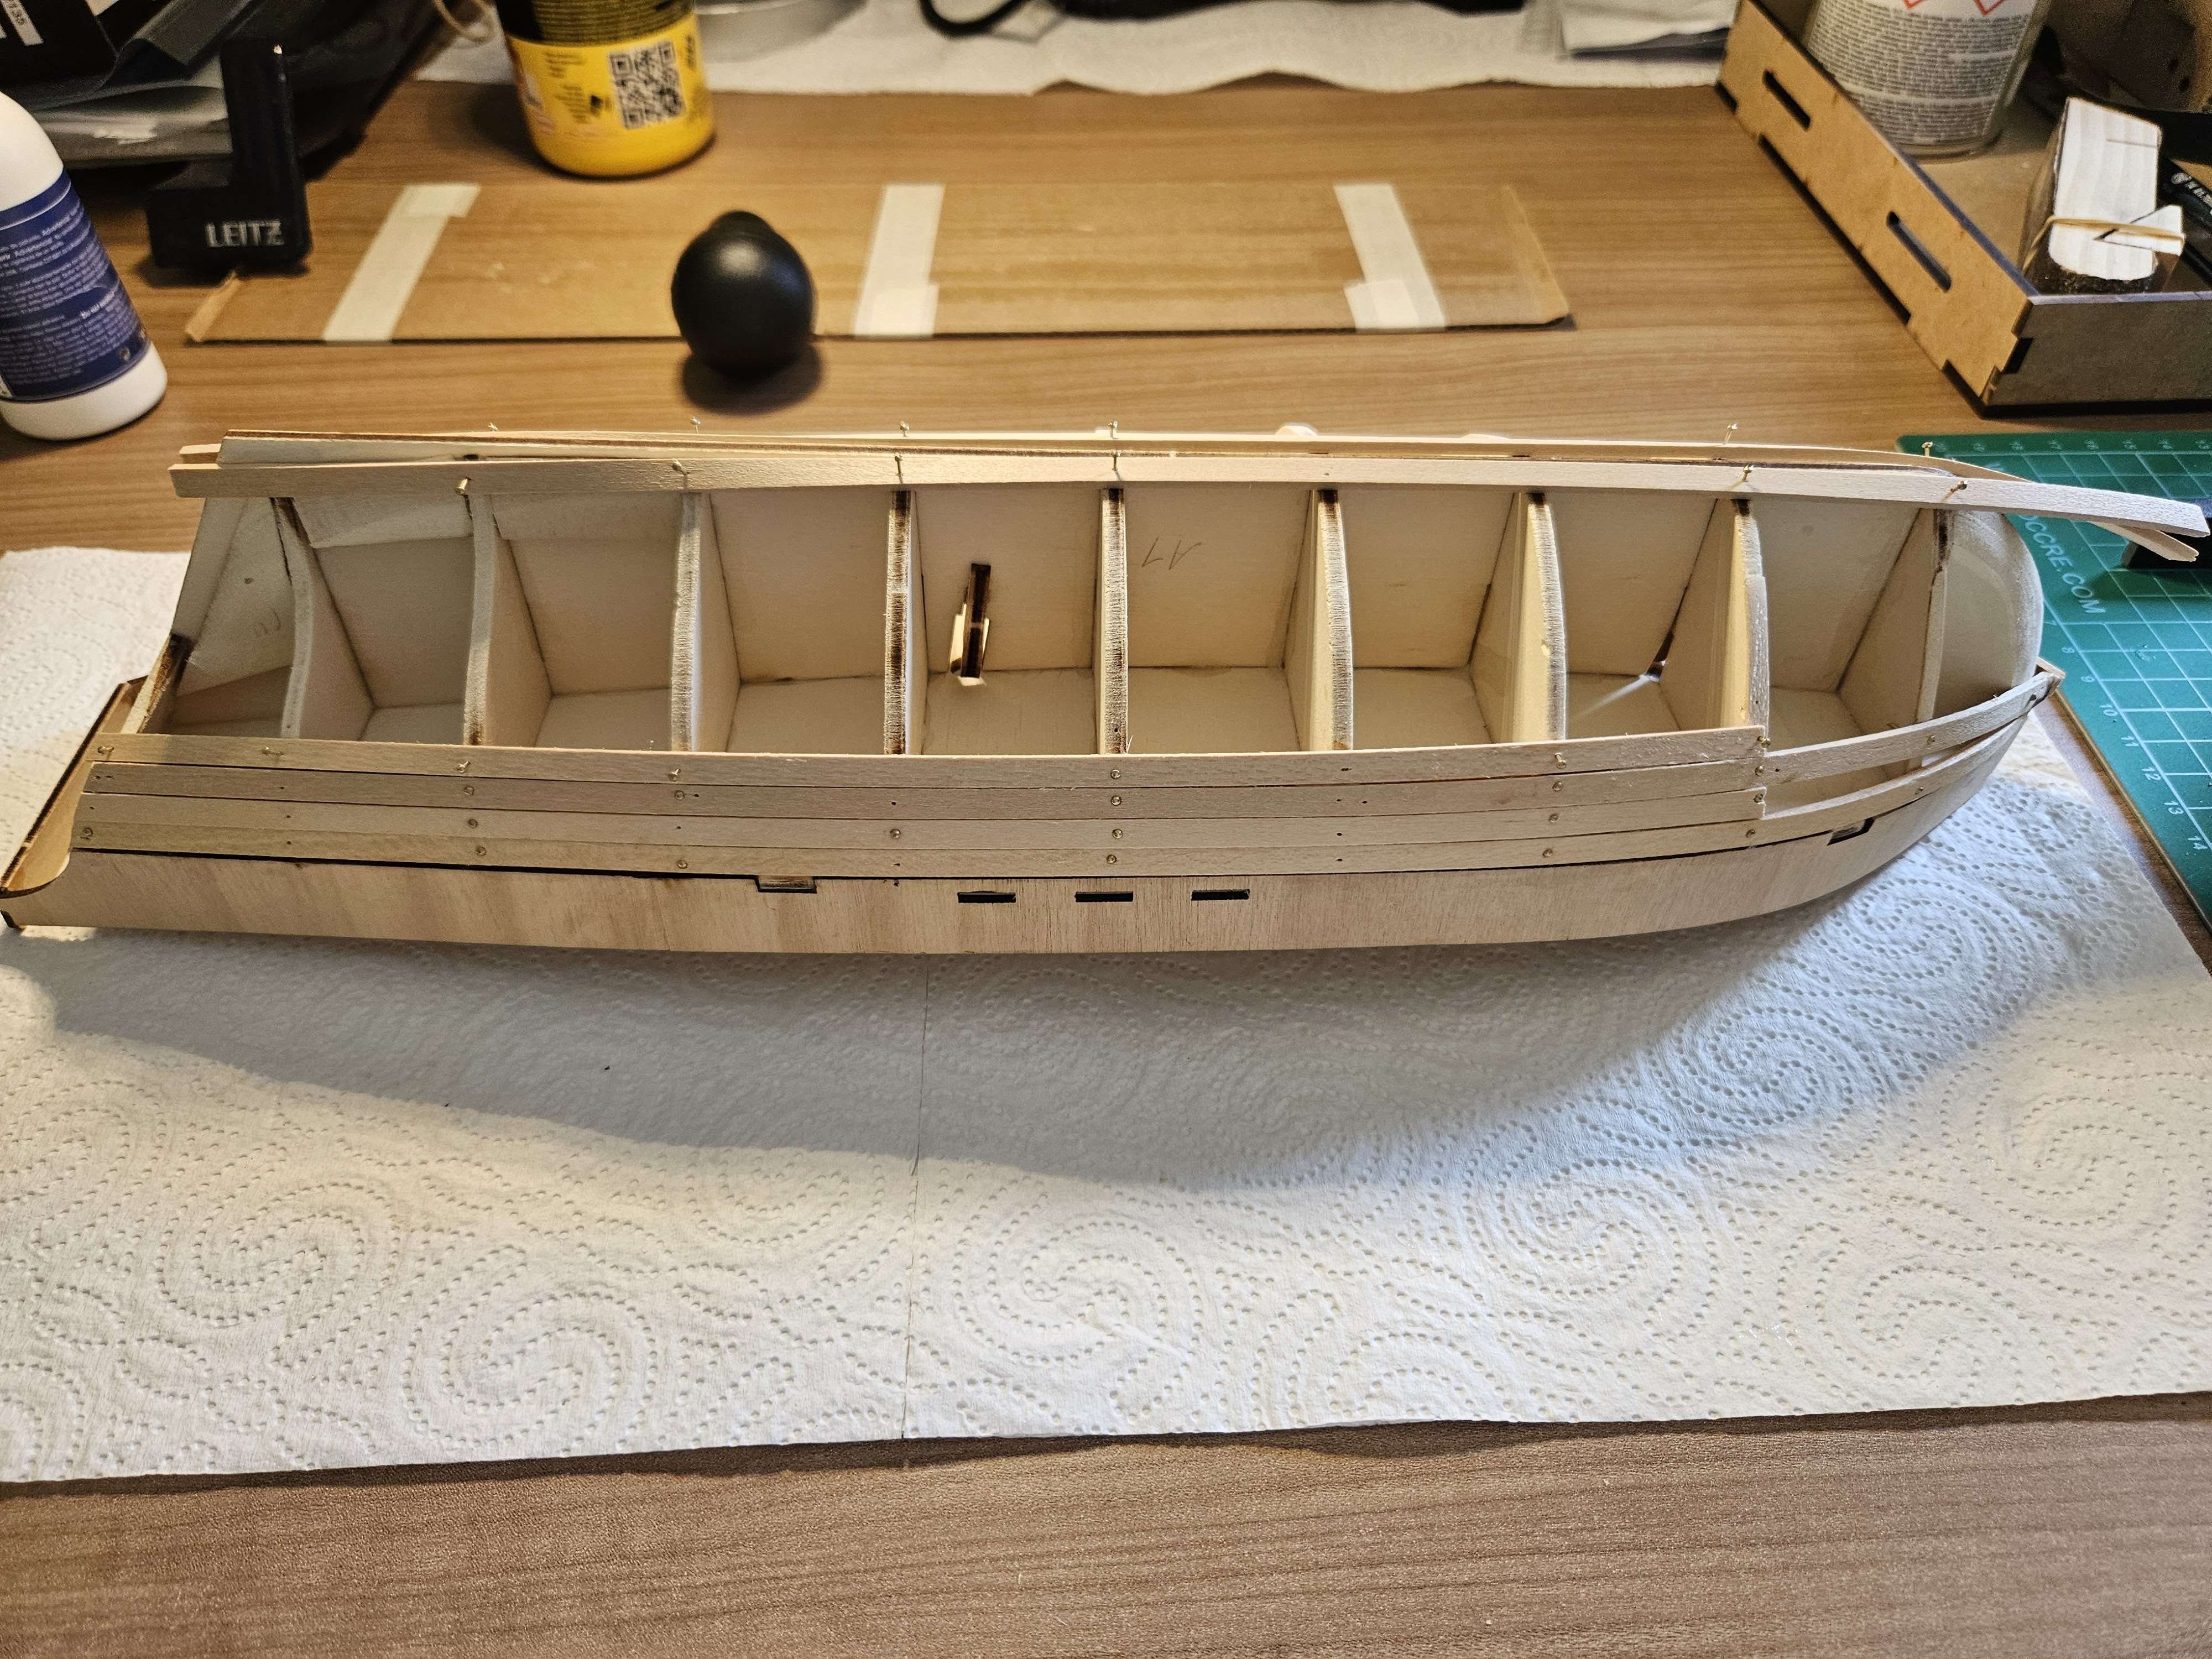
Nearly 3 months later i've finally finished fitting all the planks and sanding them down perfectly for the finishing layer of the second planking. It was tedious work but it still went fairly smooth! I didn't have any issues or made any major mistakes (the small ones i did make were easily fixed). With some putty i filled in any major gap and then sanded it down evenly to make it all as smooth as possible. So far i've been loving this project, my least favorite part definitely has to be the sanding though. 😅 Here's a small photodumb from during the planking and a small photodumb of the finished planking which has been sanded down. I look forward to gluing on the second planking, although it makes me nervous because mistakes here you can't really hide anymore. Photodumb #1 Photodumb #2, really happy with how it looks so far.


-
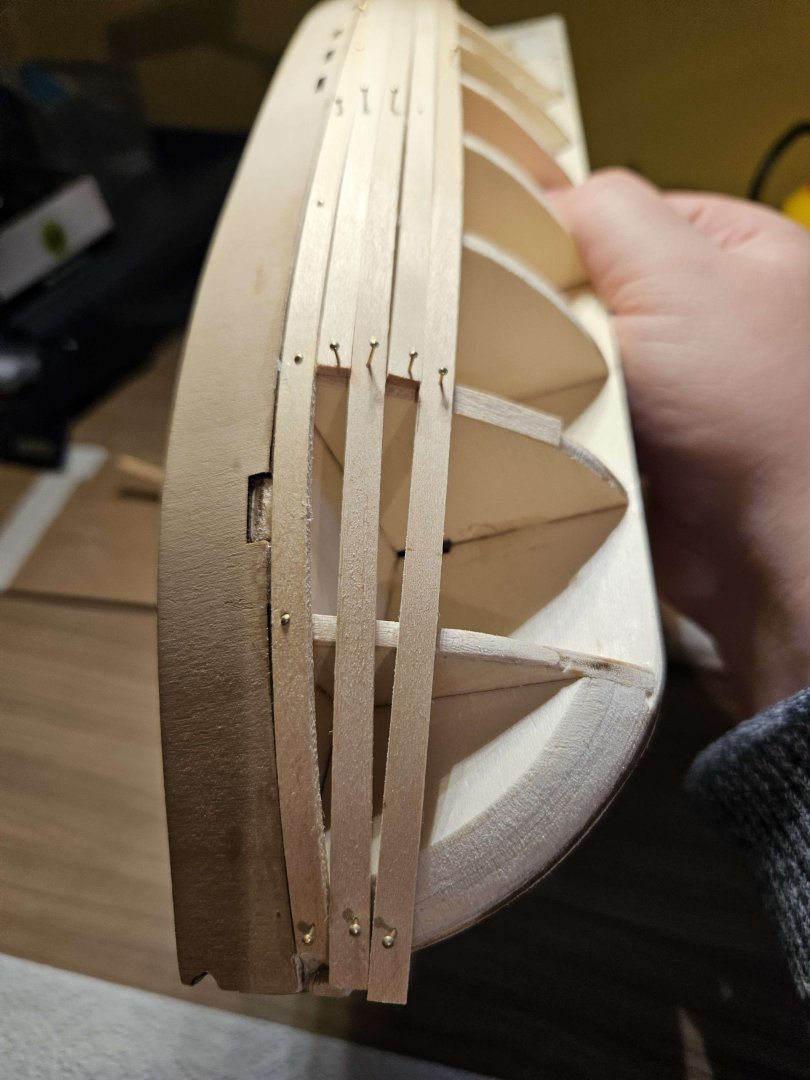
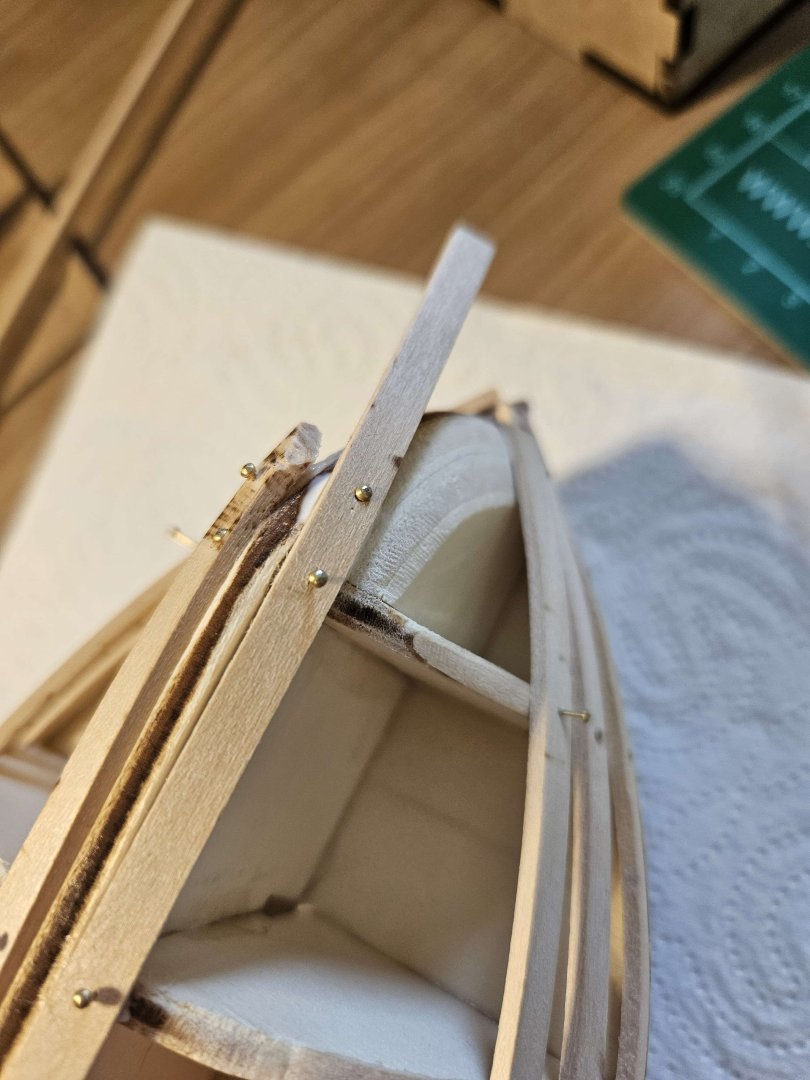
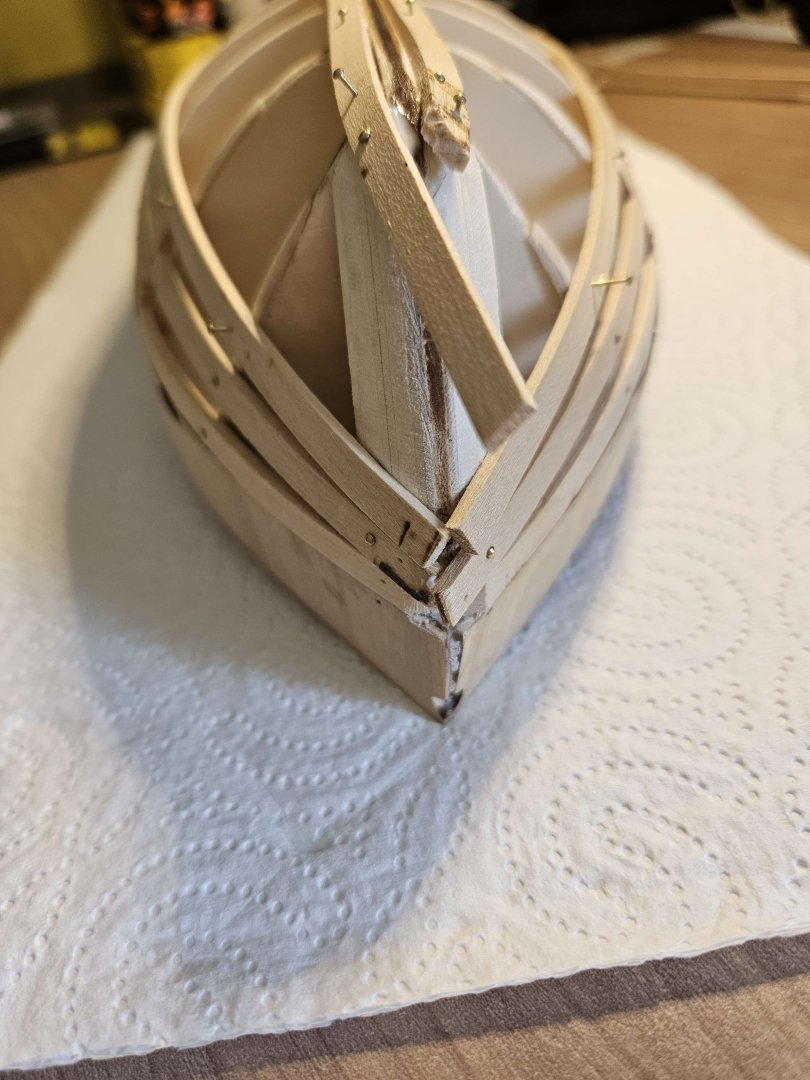
So it's been almost 2 weeks now and i've made slow but steady progress. To bend my planks i soaked them in water for atleast 5 minutes, bent them slightly around a can and then used a soldering iron to finalize the shape. I've glued on 4 upper planks and 1 lower plank so far on each side and currently have 1 dry-fitted with nails on each side. On the ribs i had to glue on a few thin planks from the cutouts of the deck to shape a few of them better as i found out i sanded a slight bit too much off. I'm well aware it's not the prettiest and far from perfect, but i hope i'll be able to hide all the imperfections under the second planking. The ends of the planks haven't been fully cut/sanded to the perfect fit yet but i felt like it'd be better to do that at the end when all planks are glued on.


-
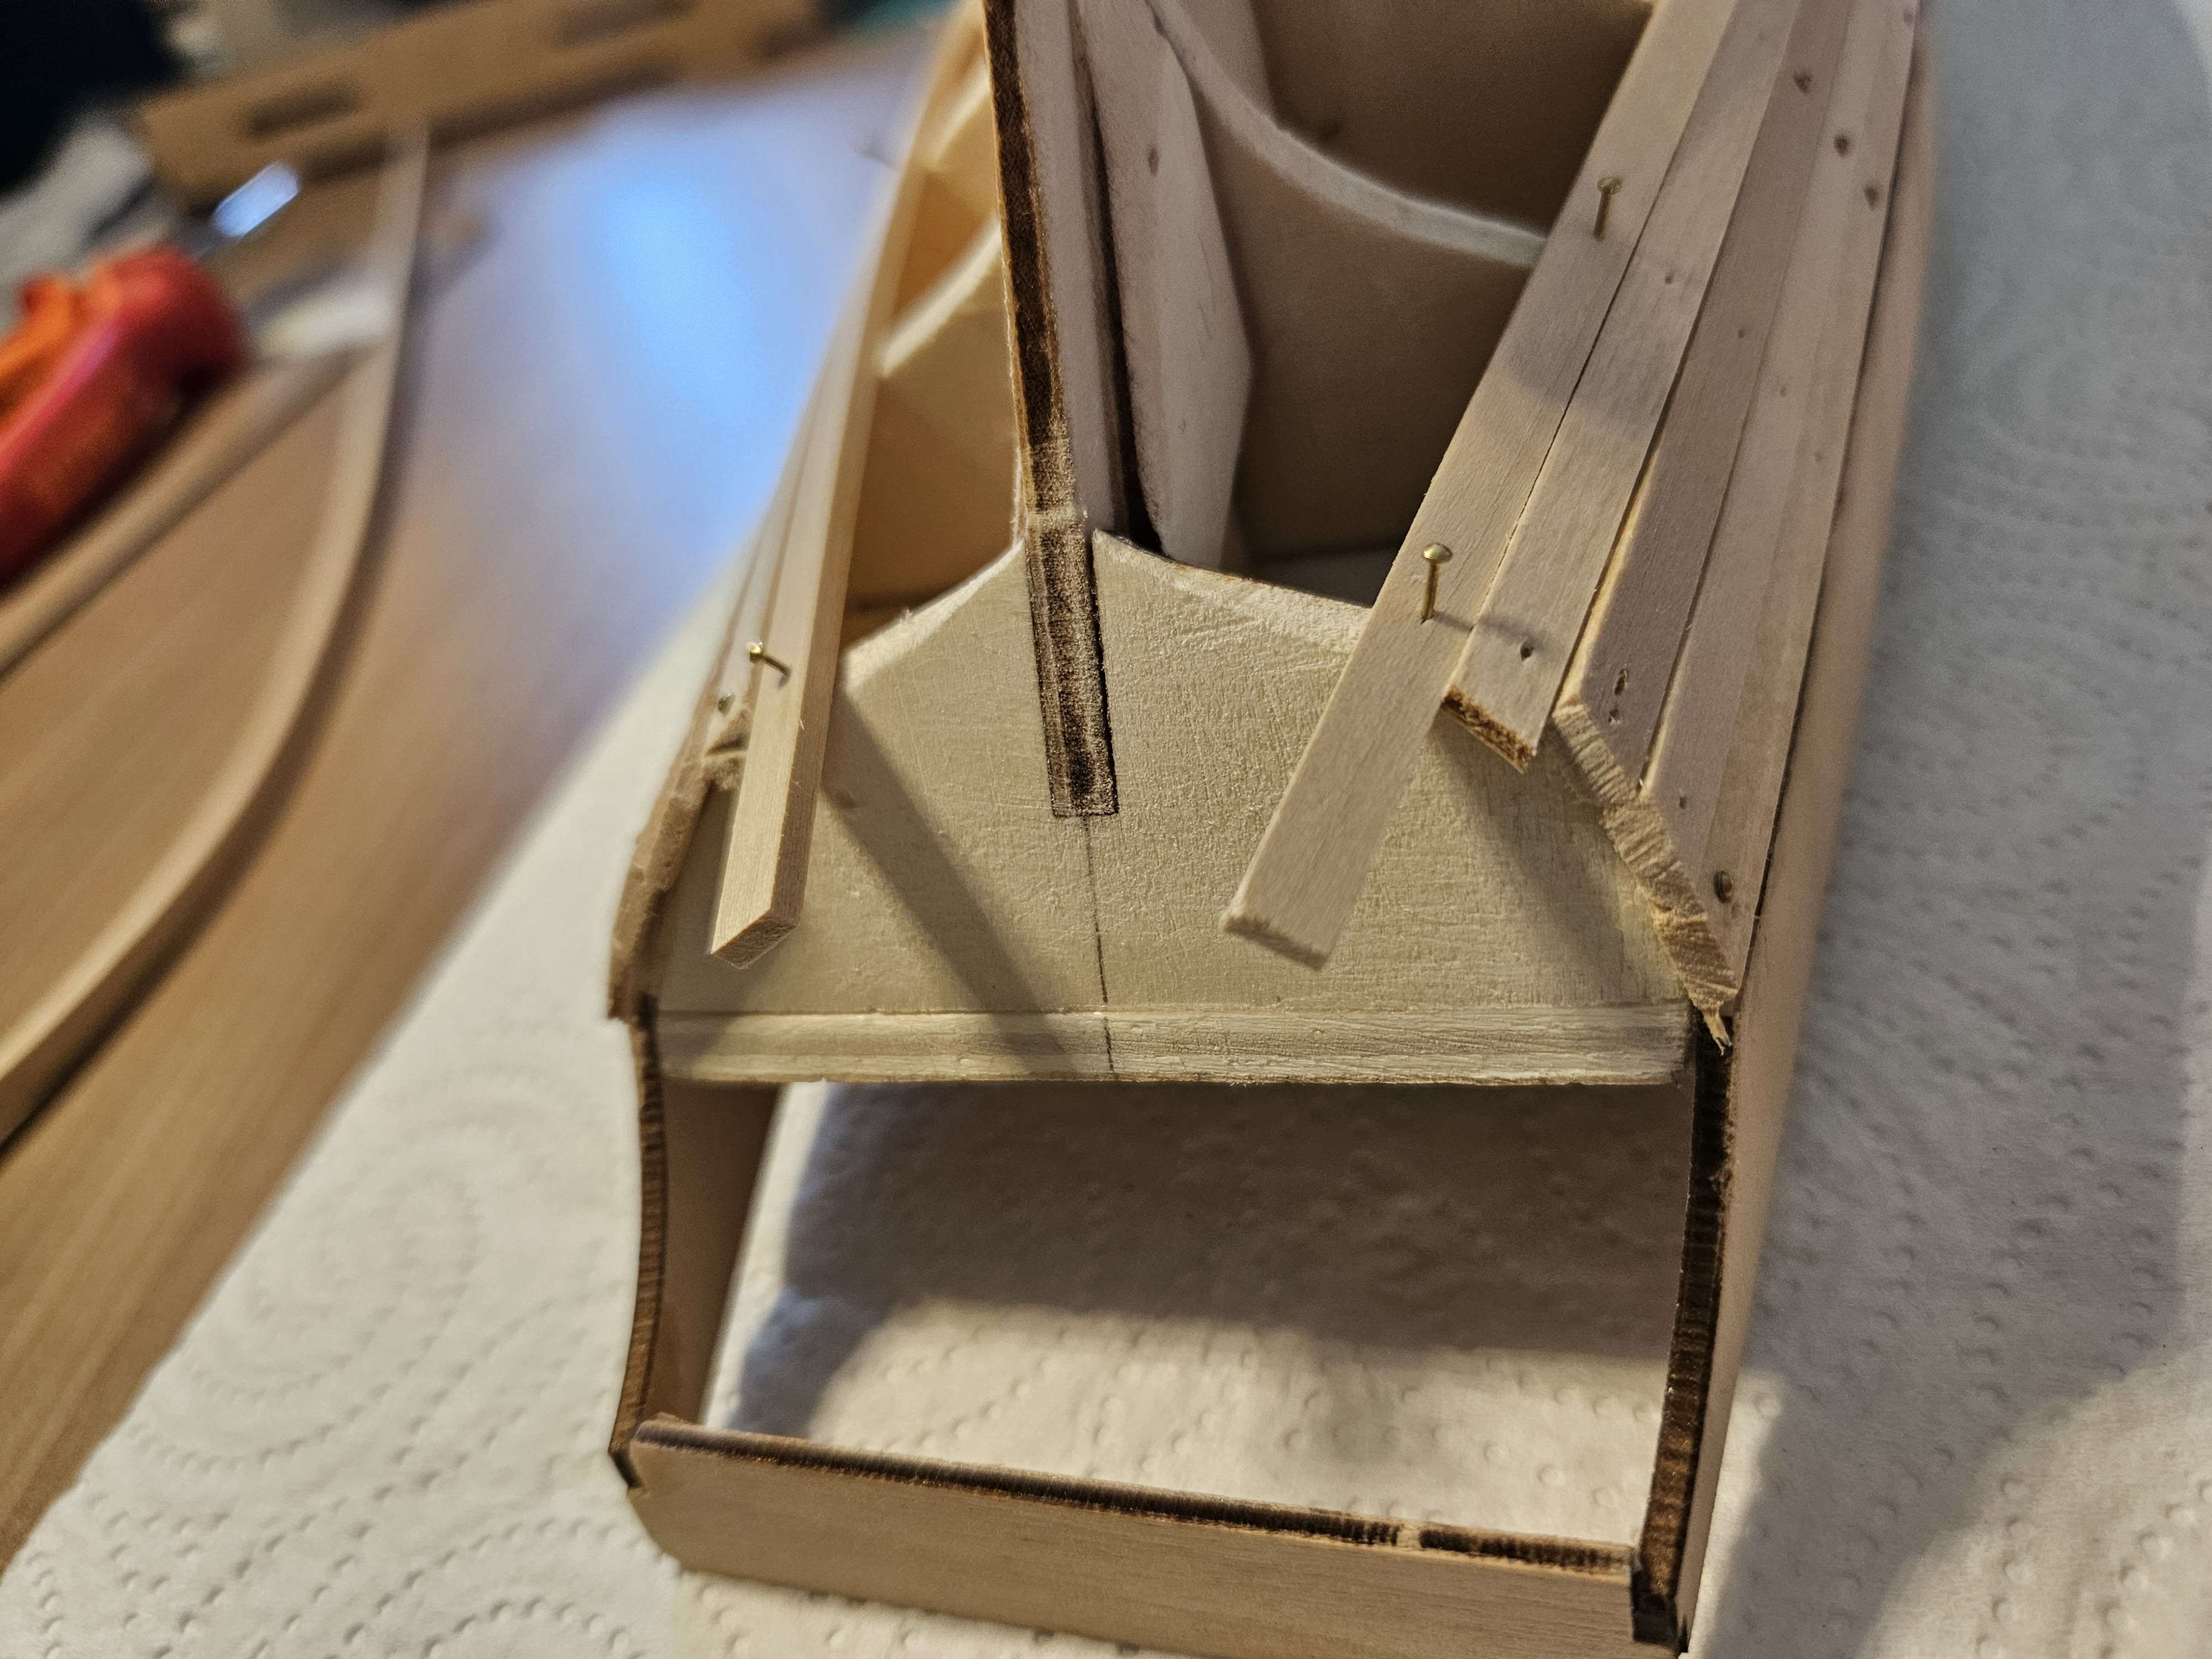
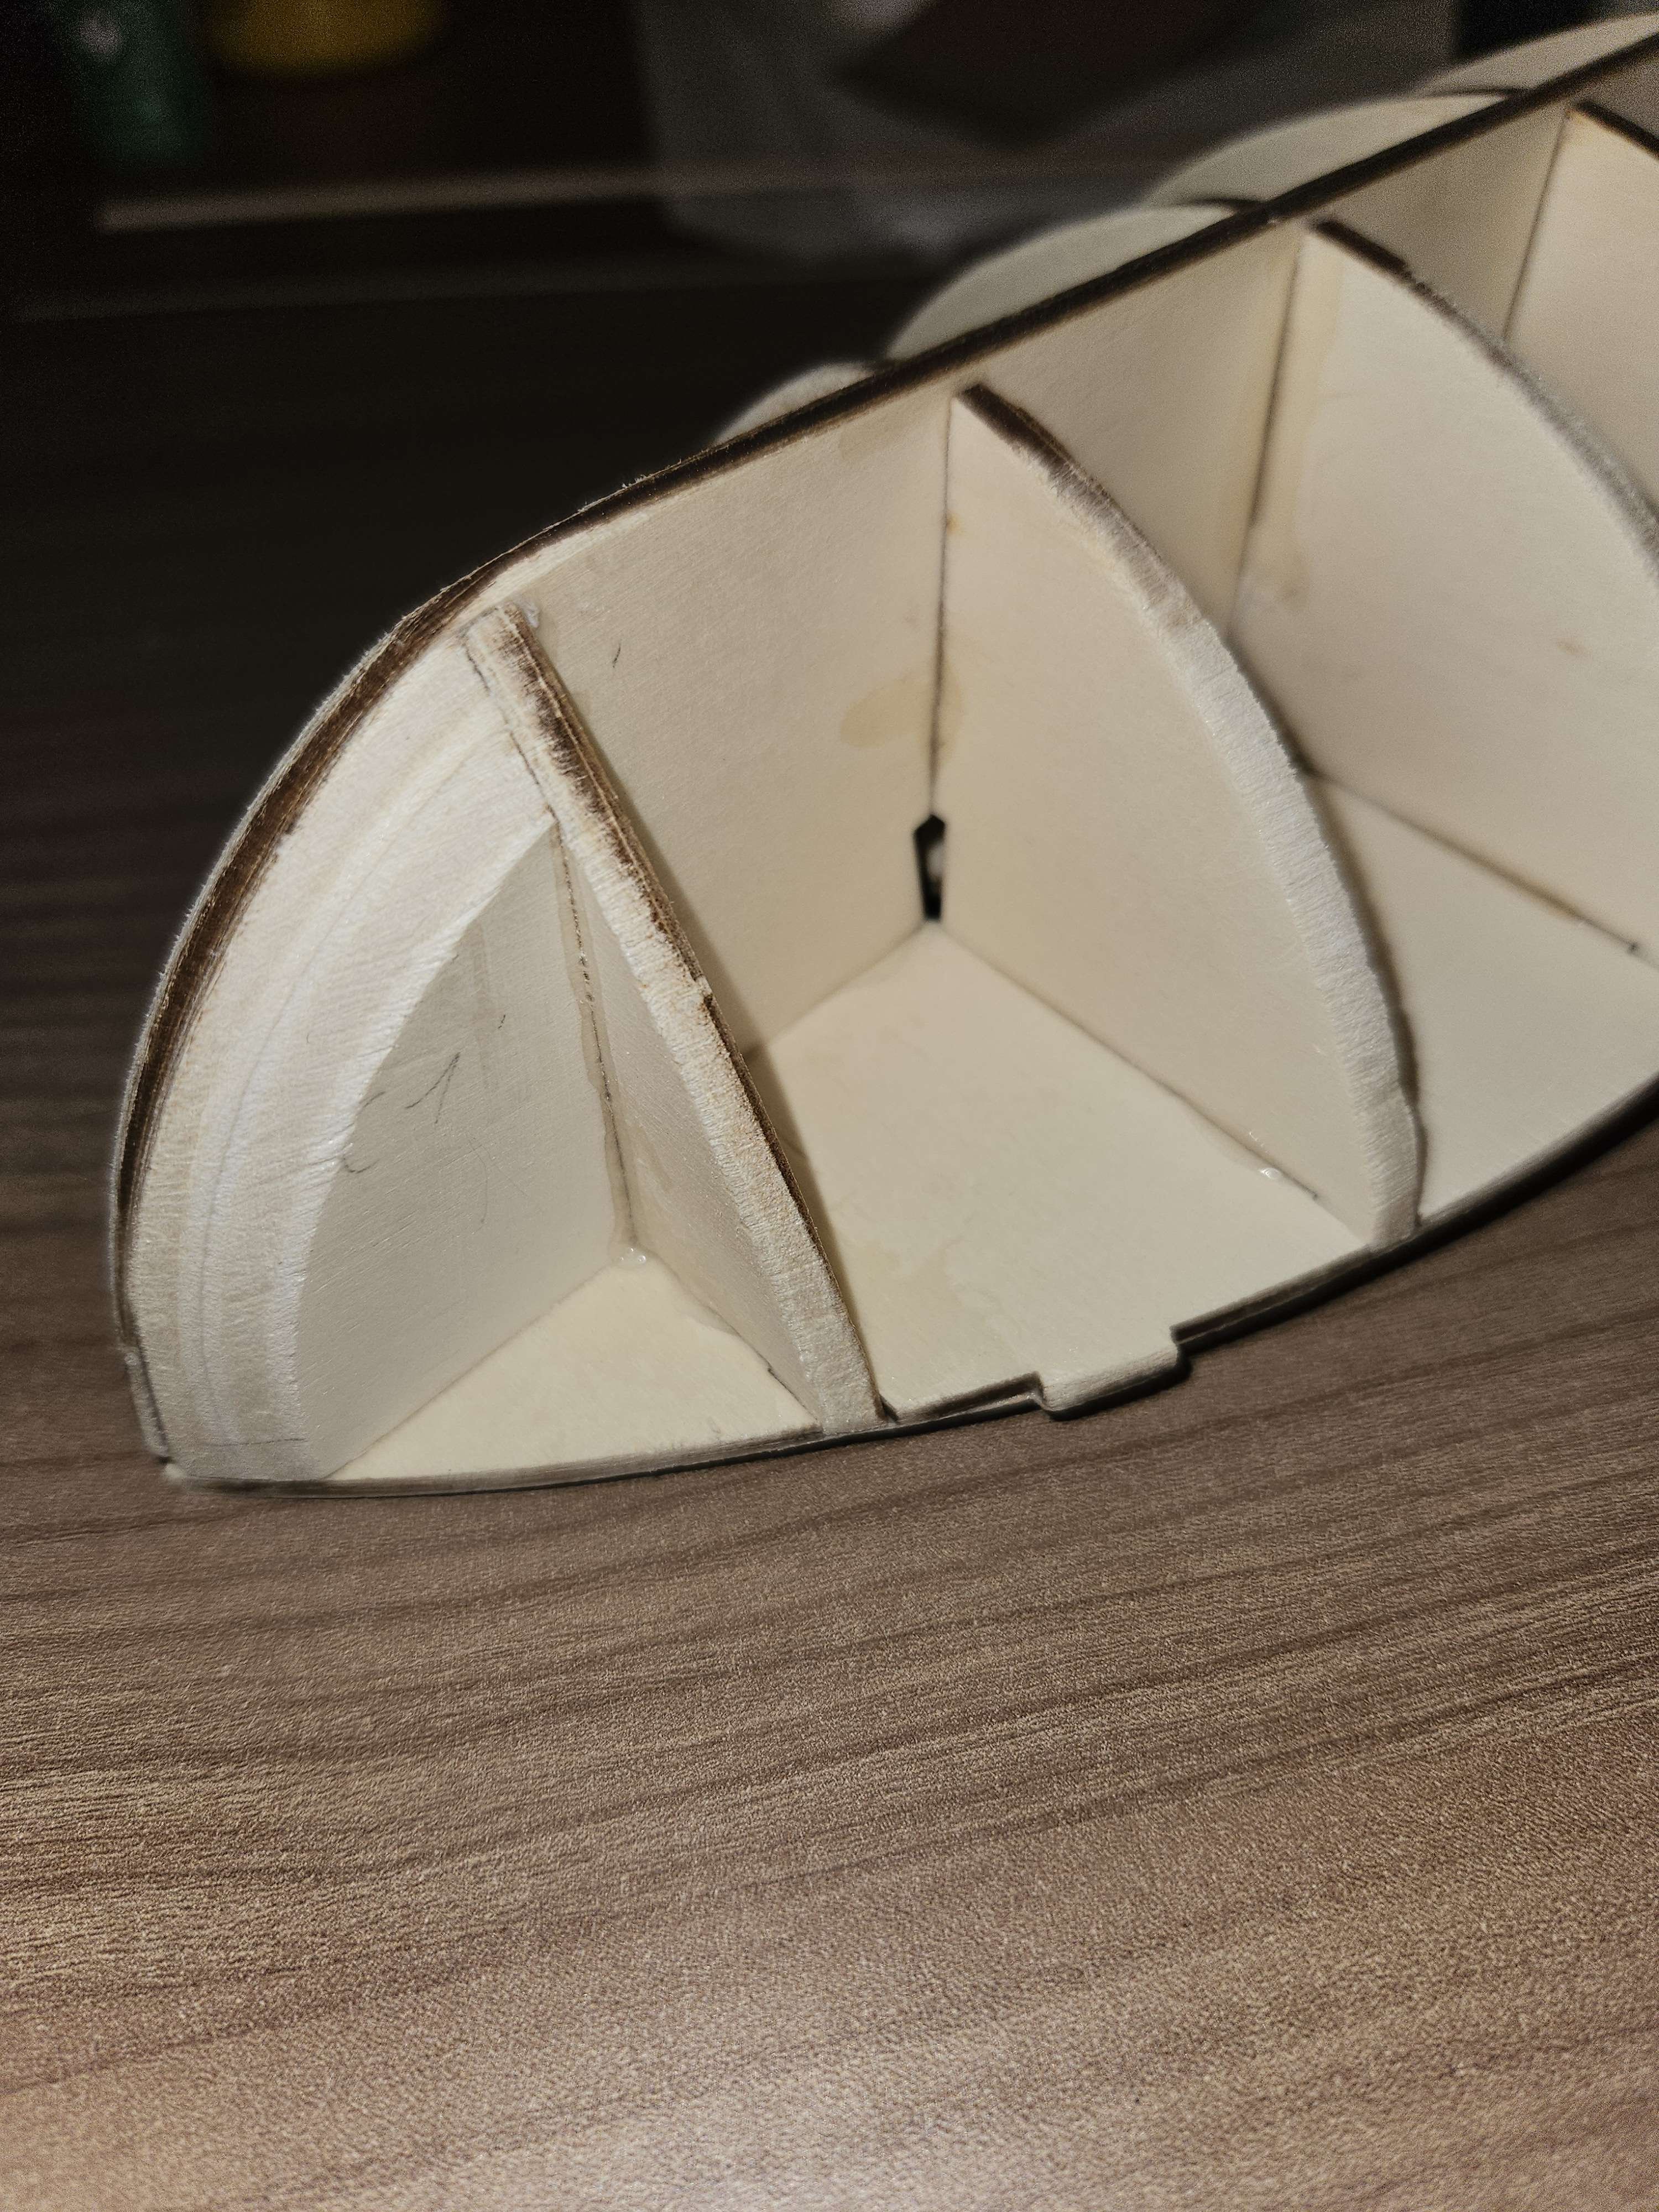
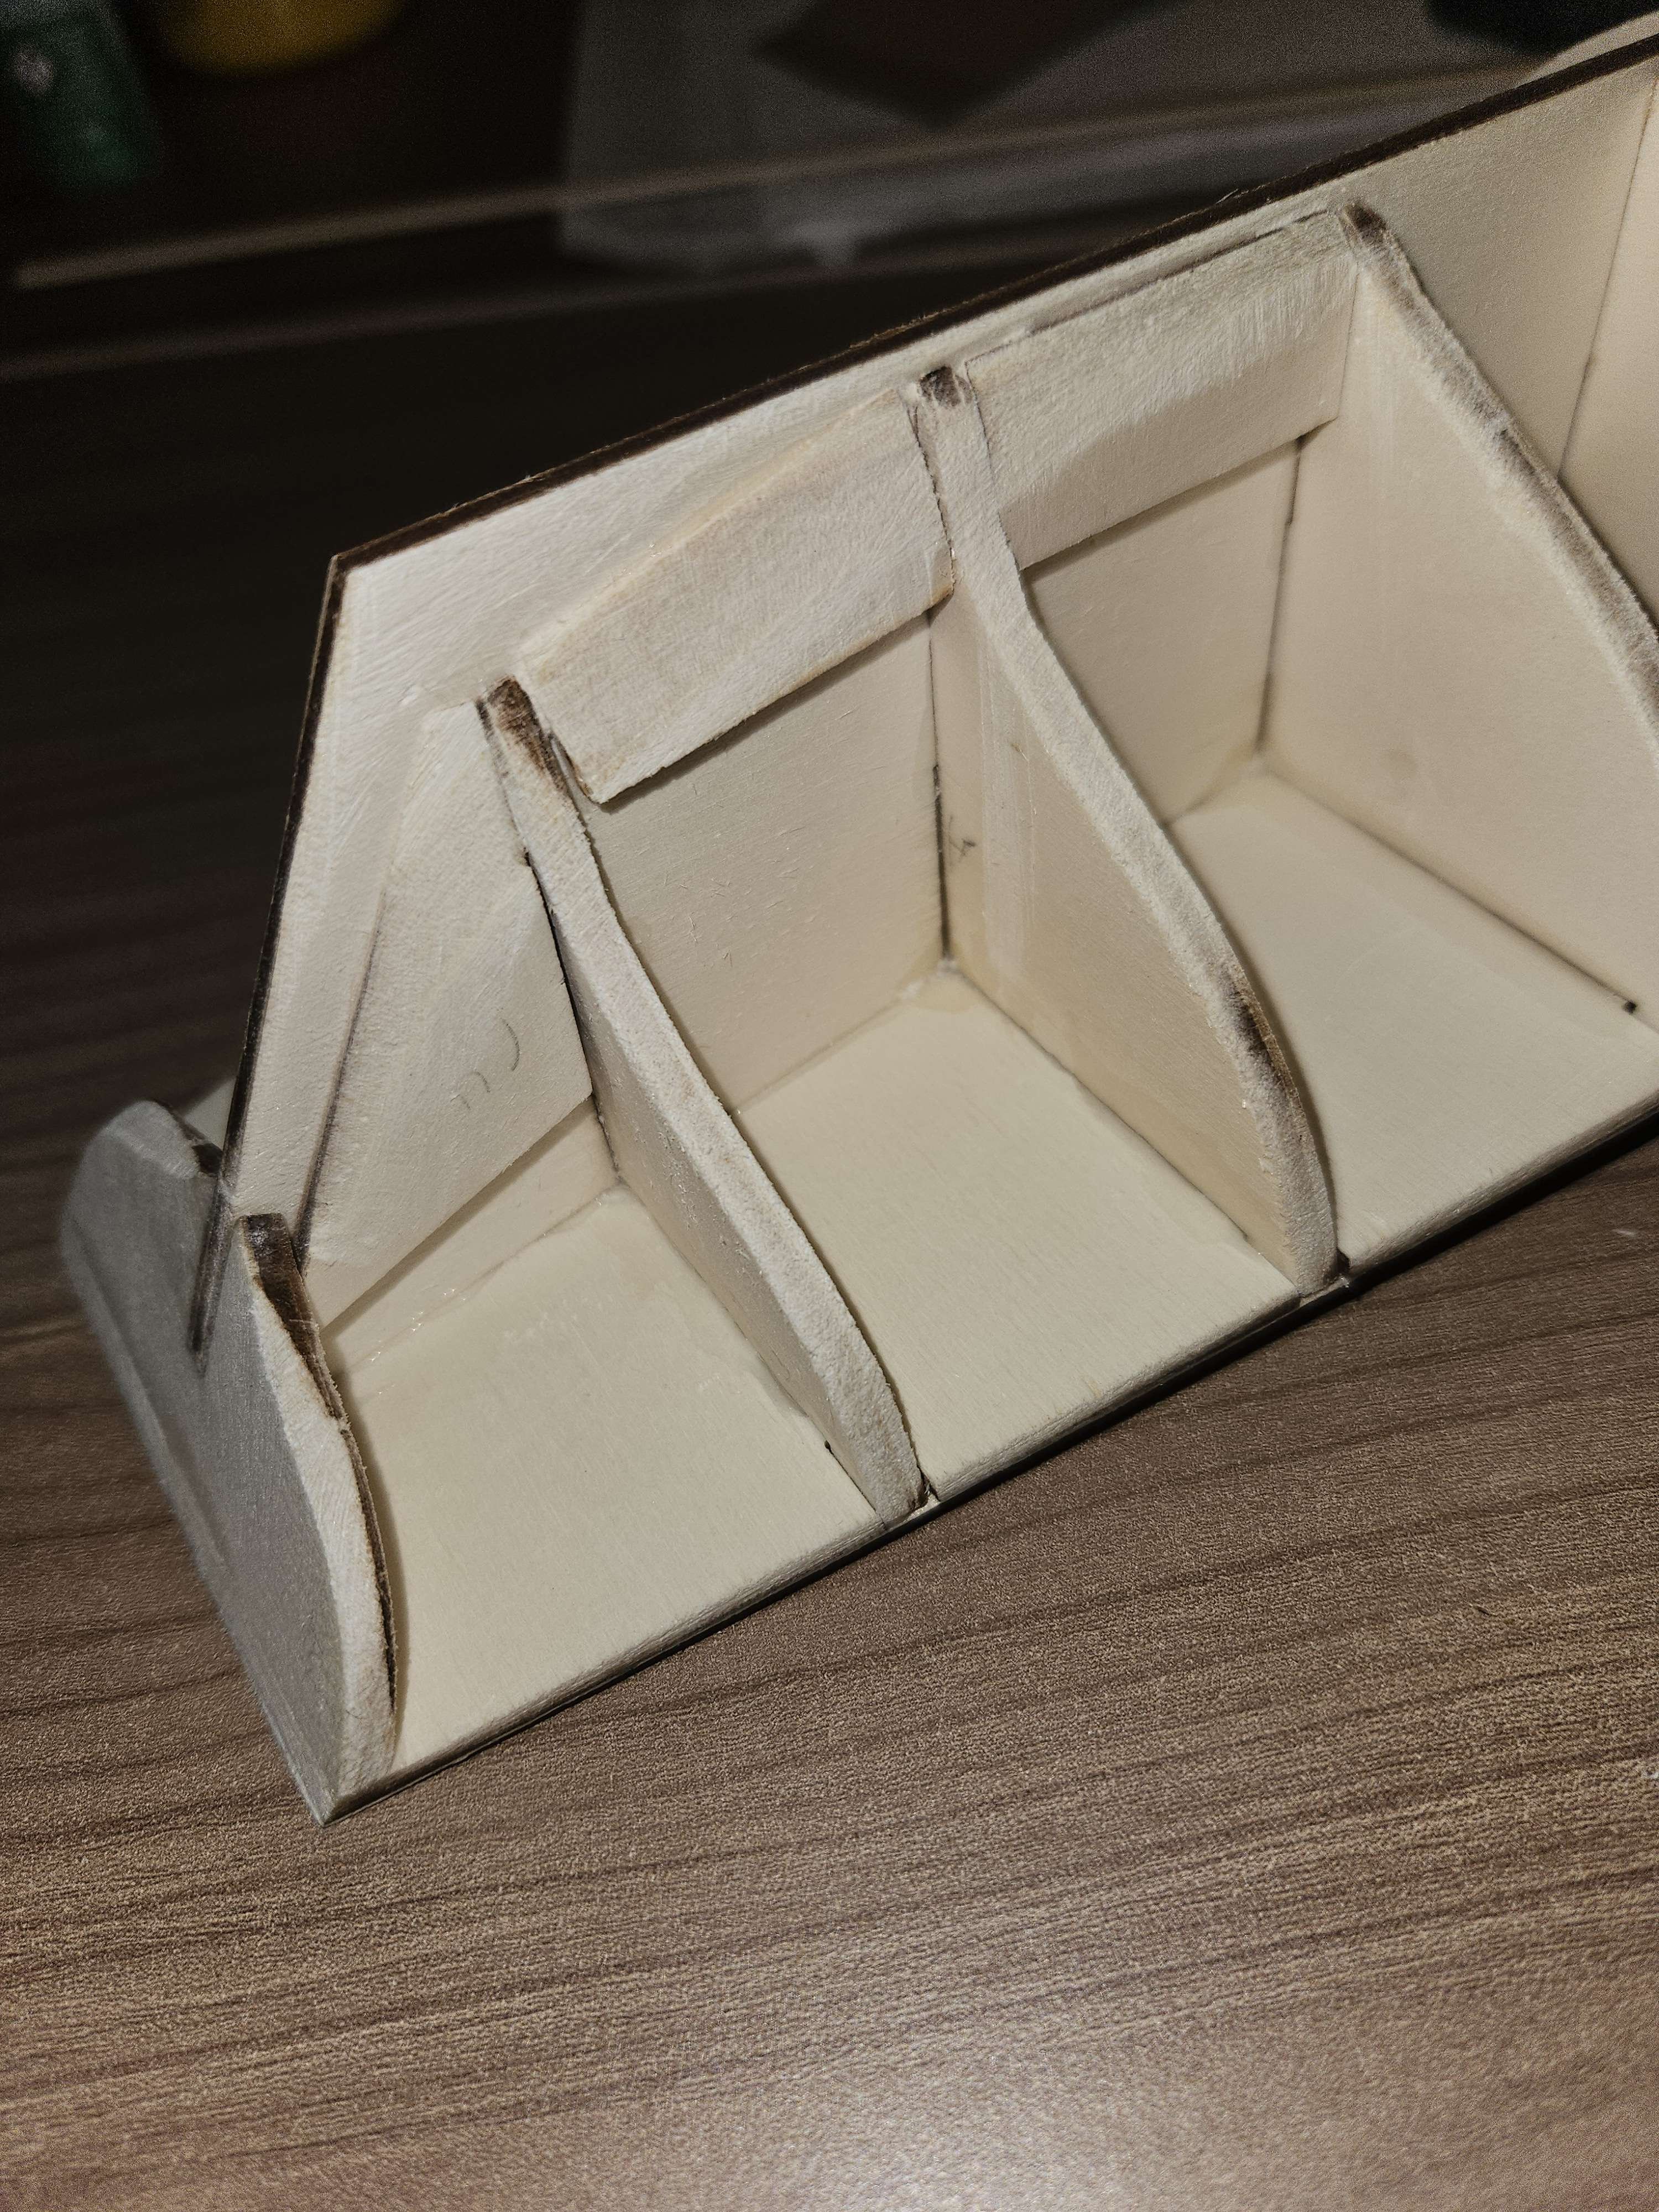
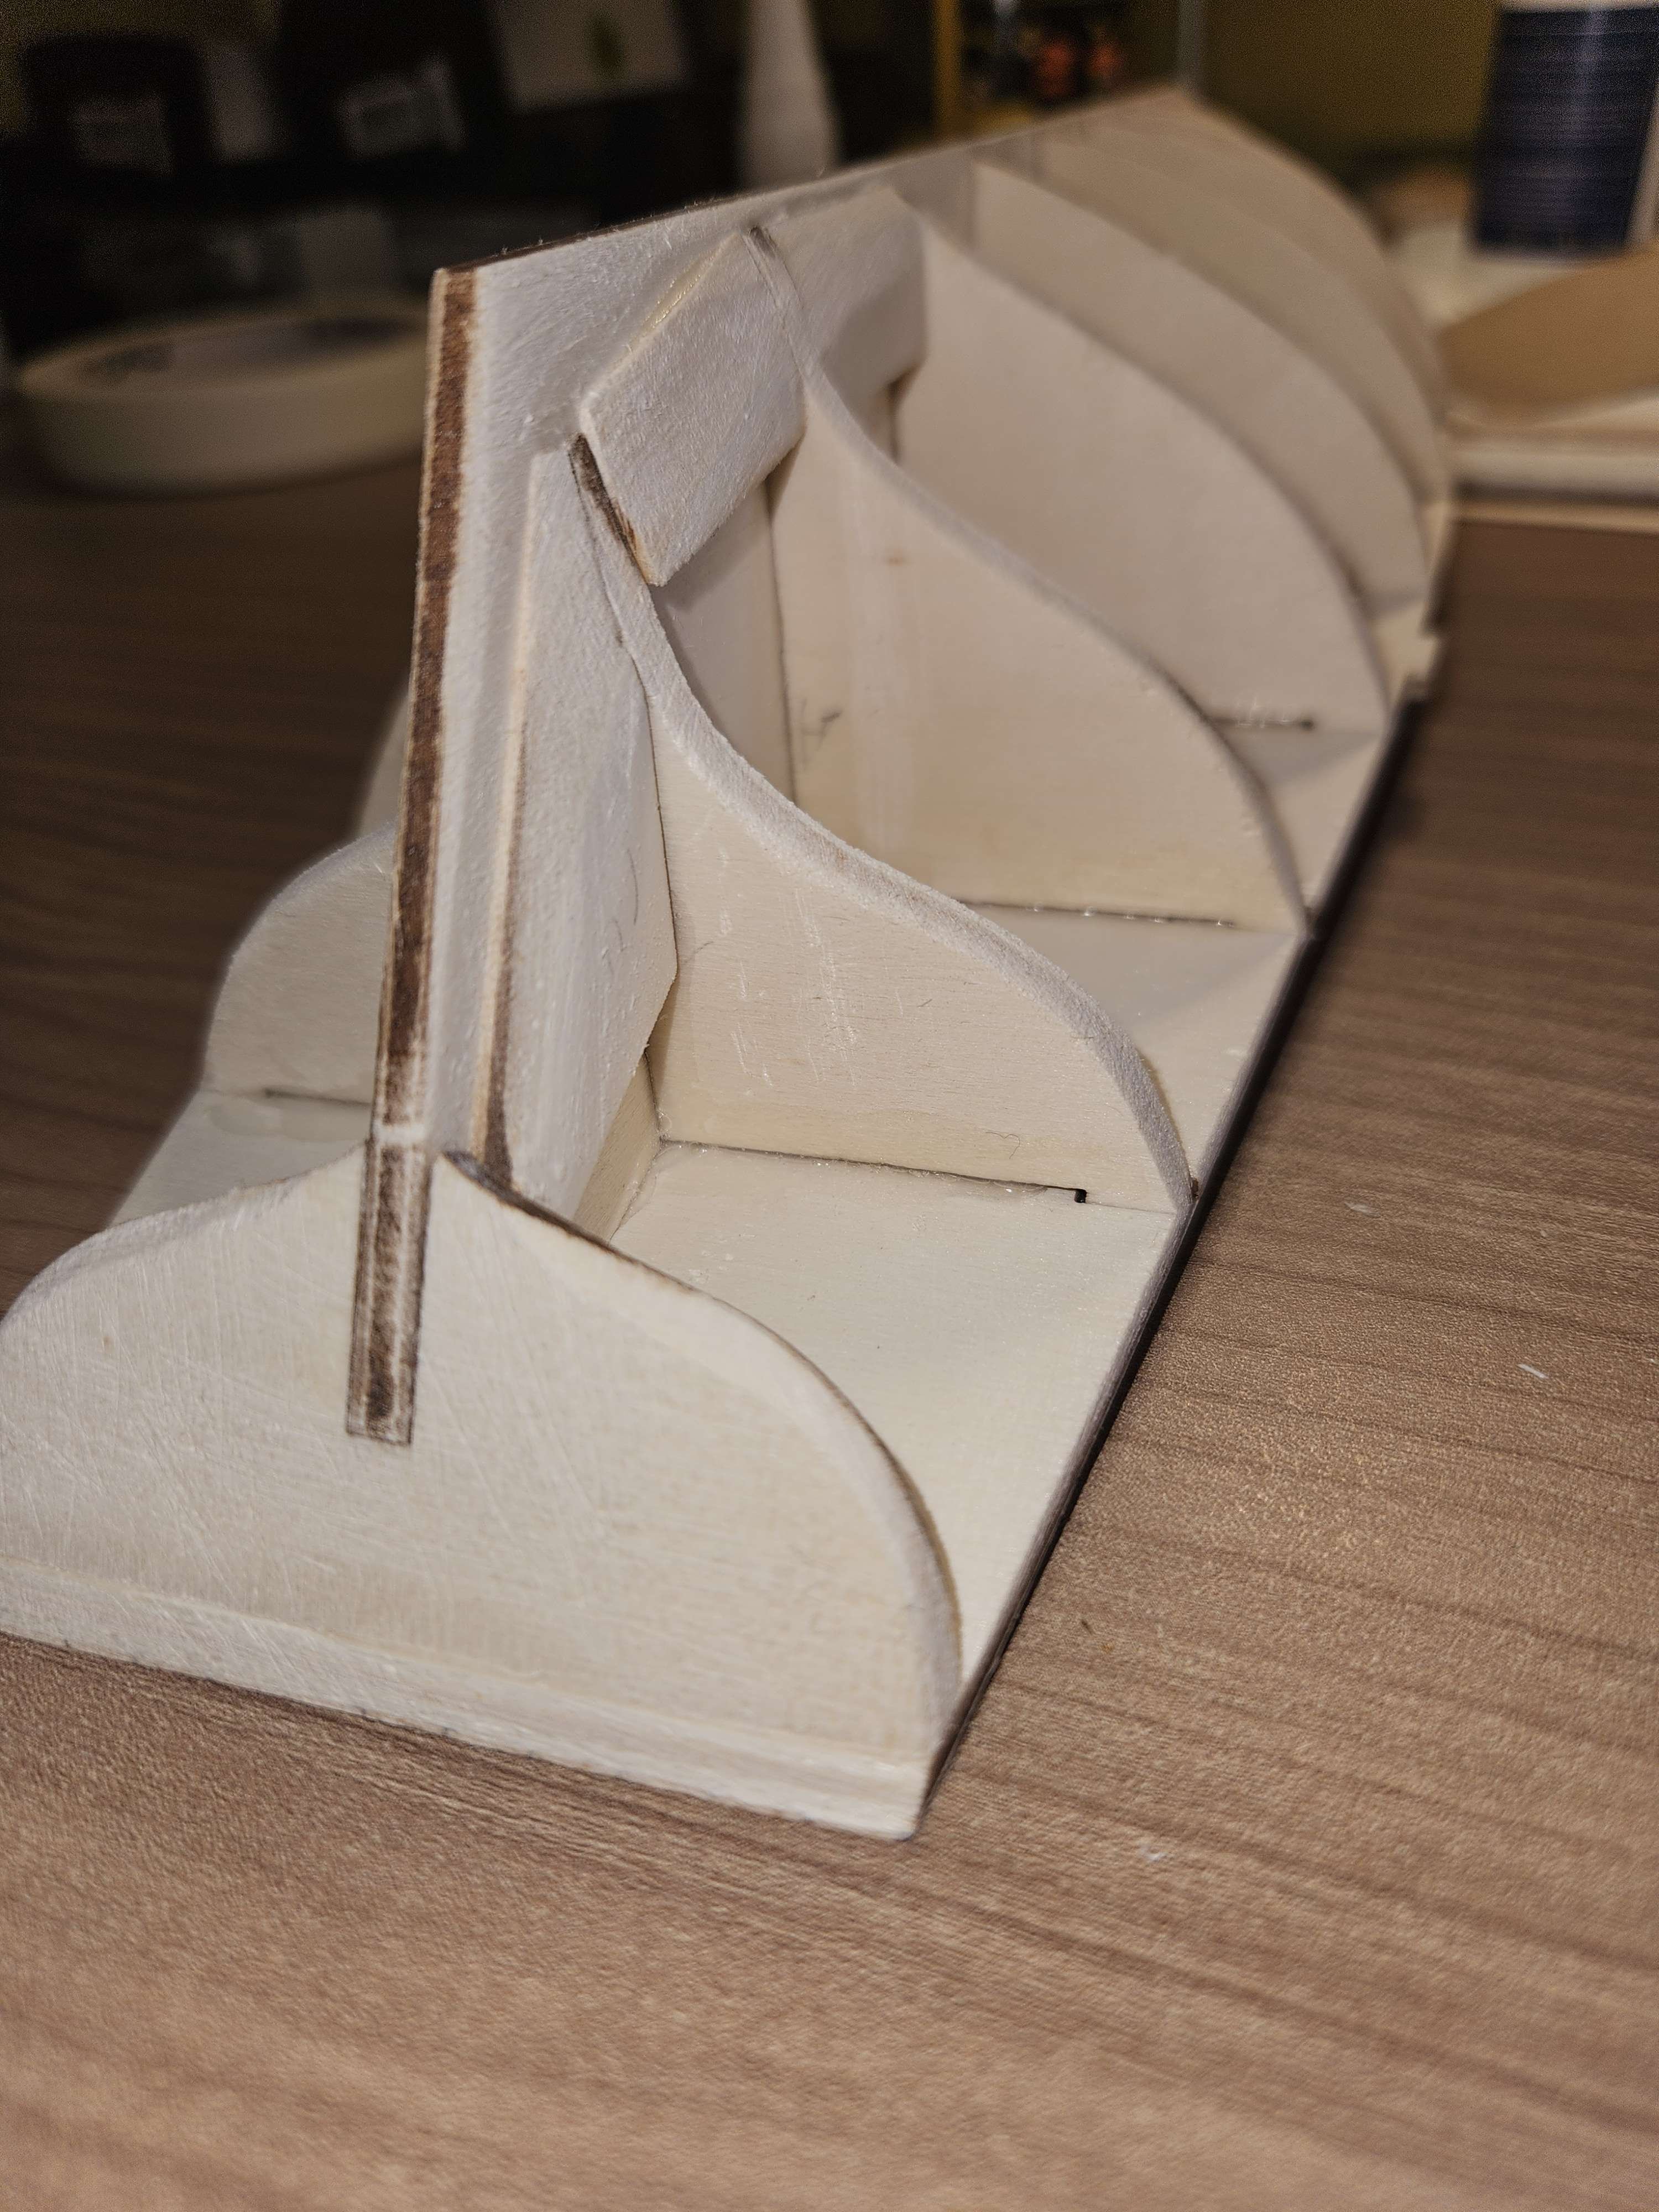
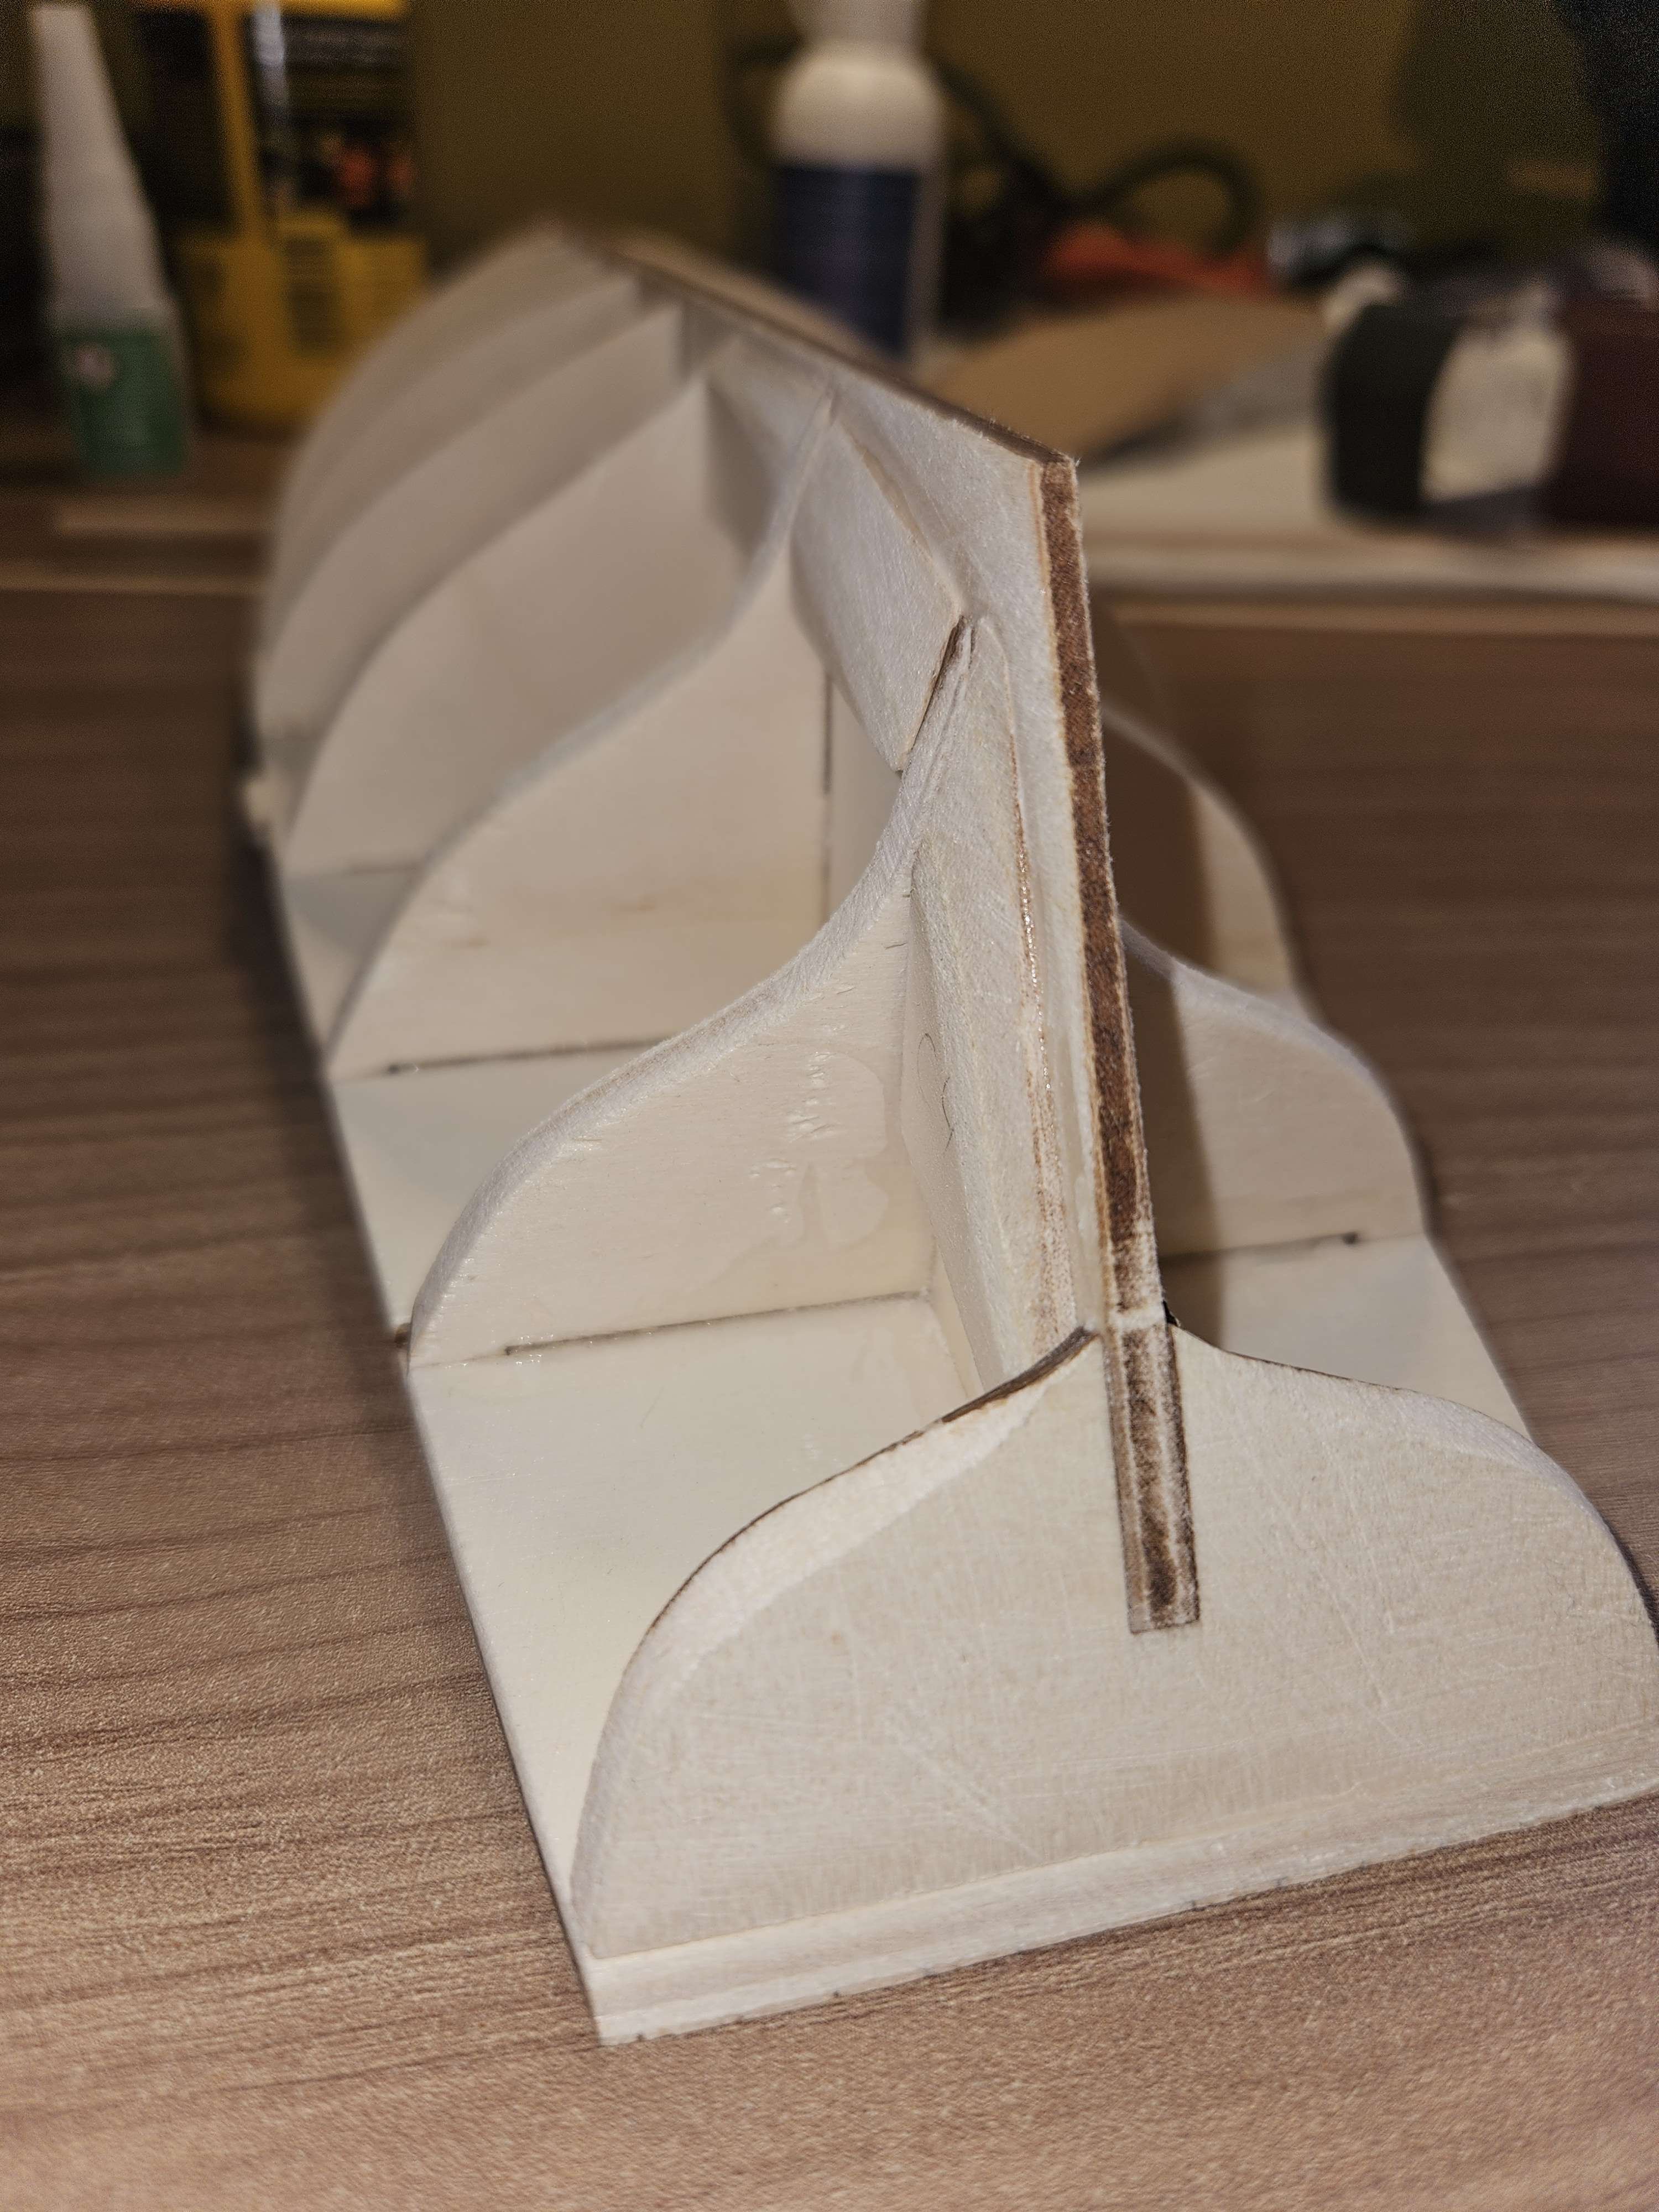
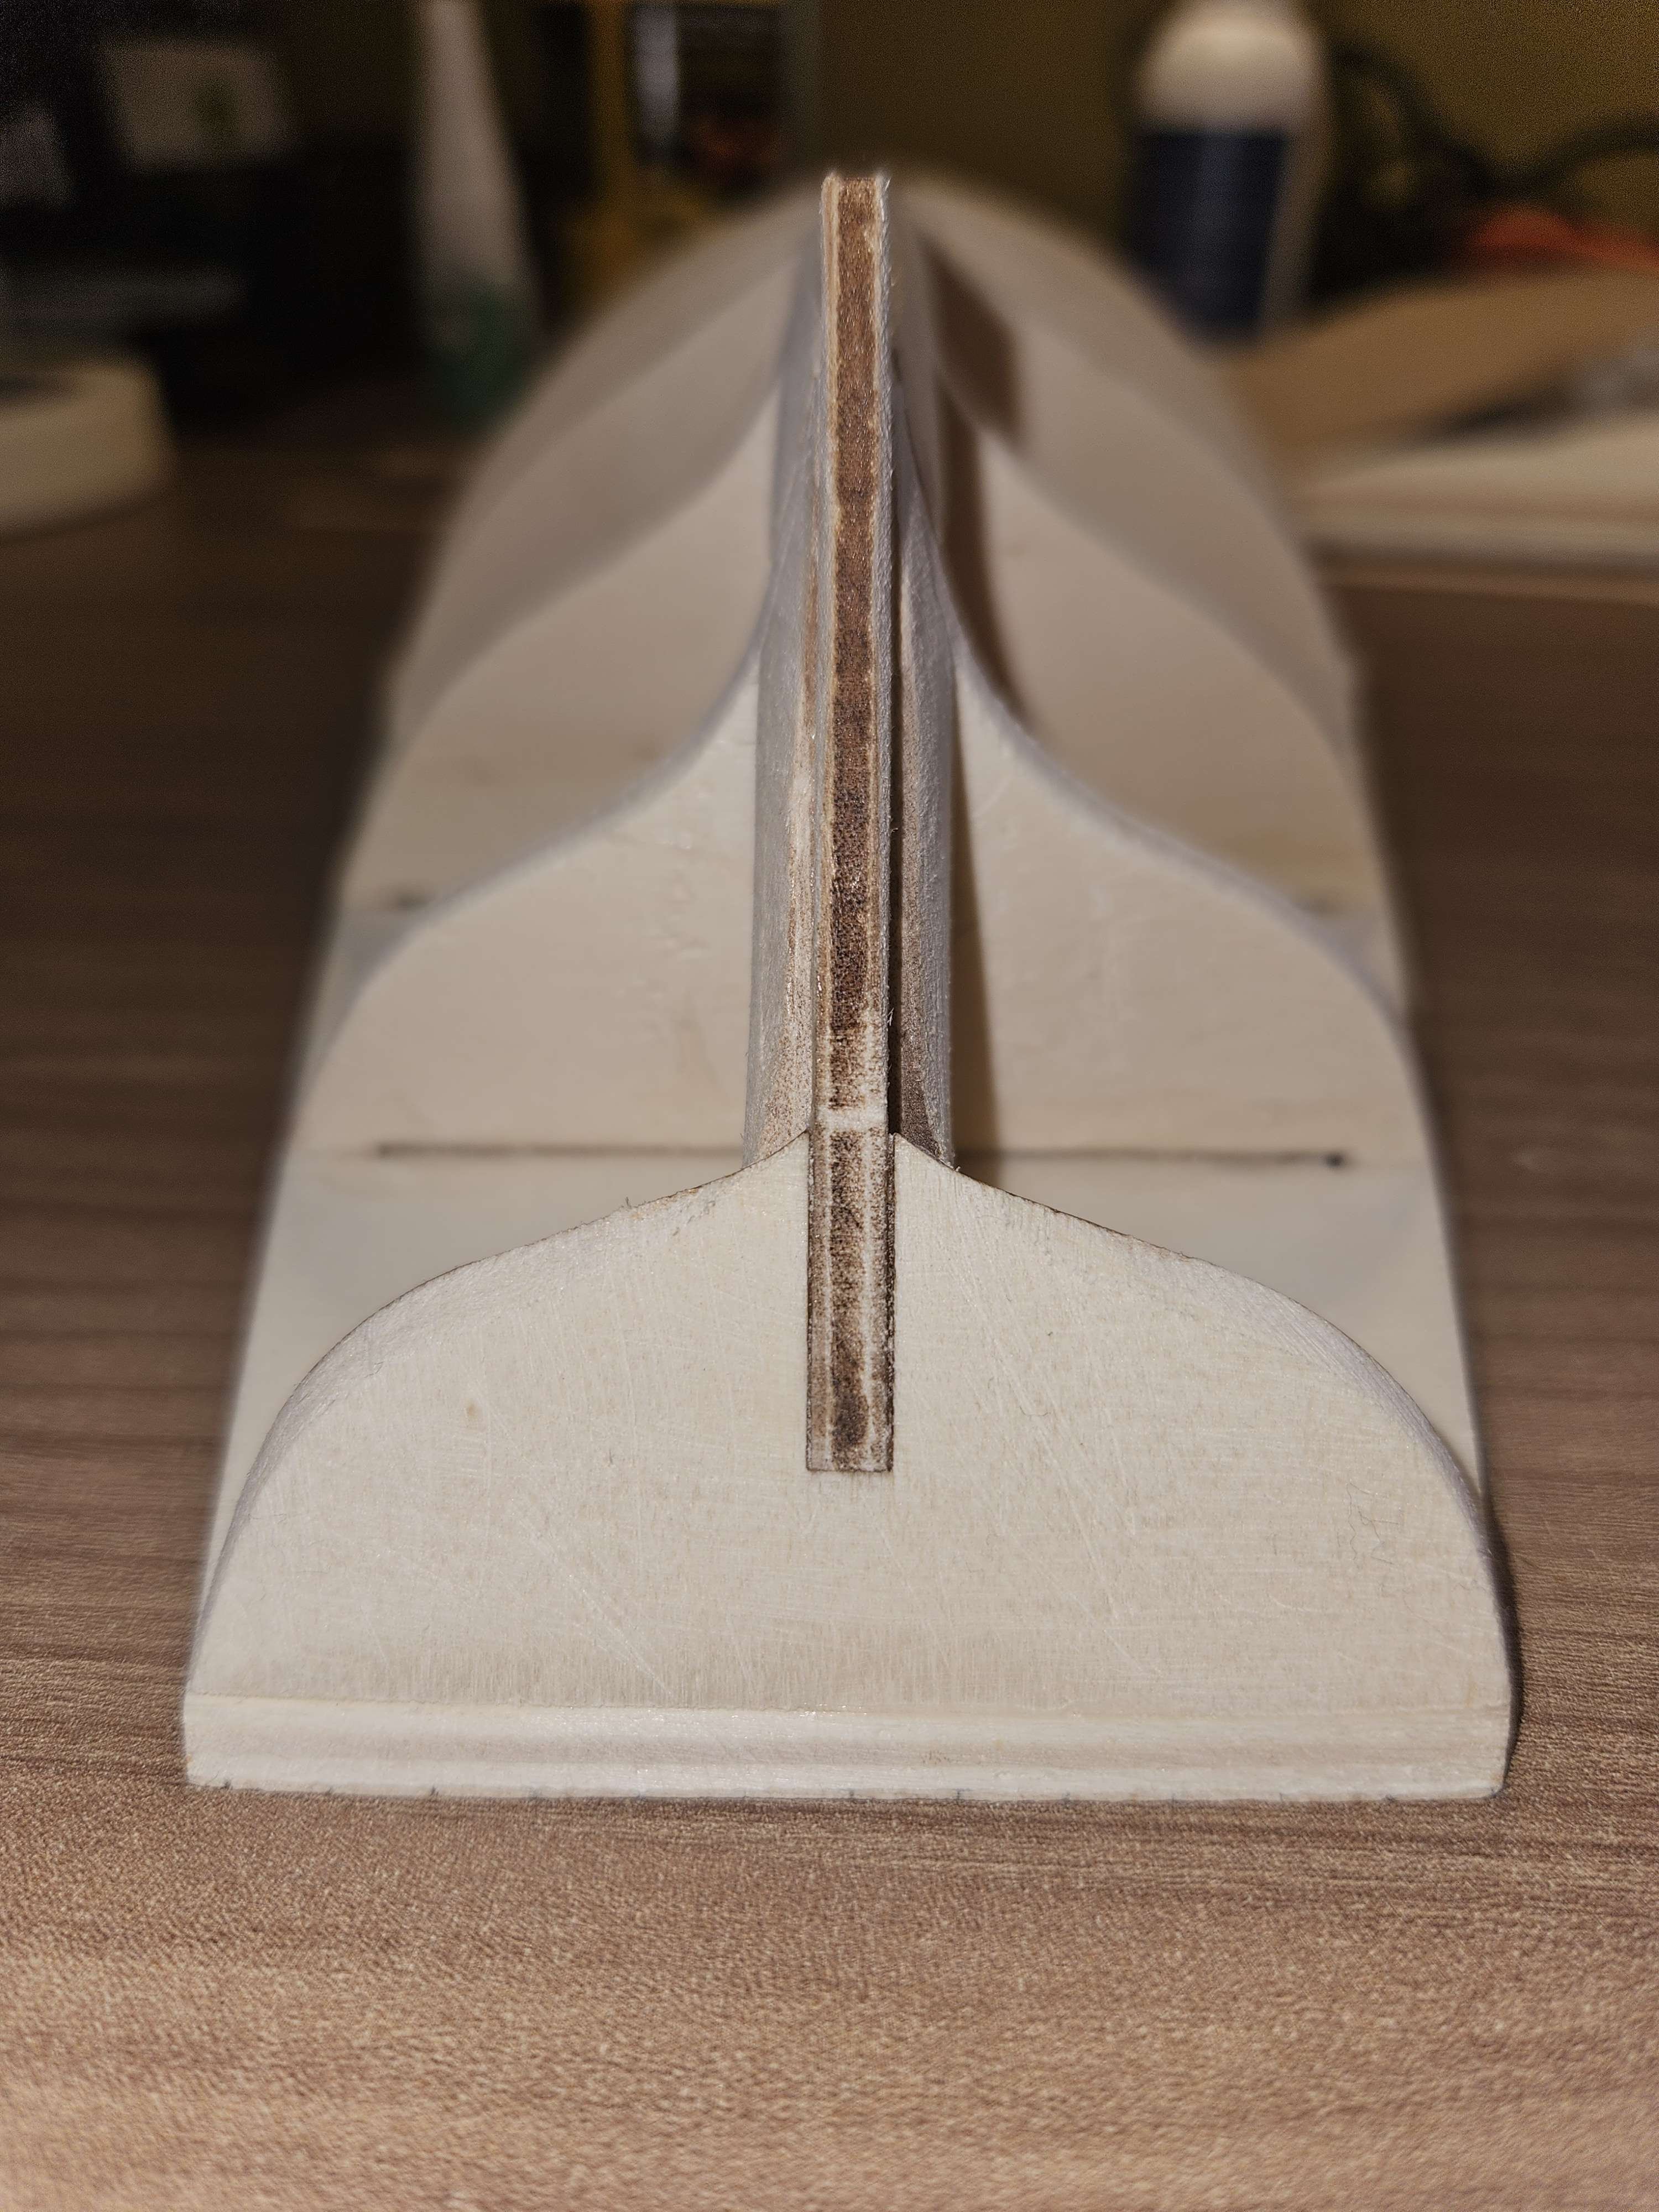
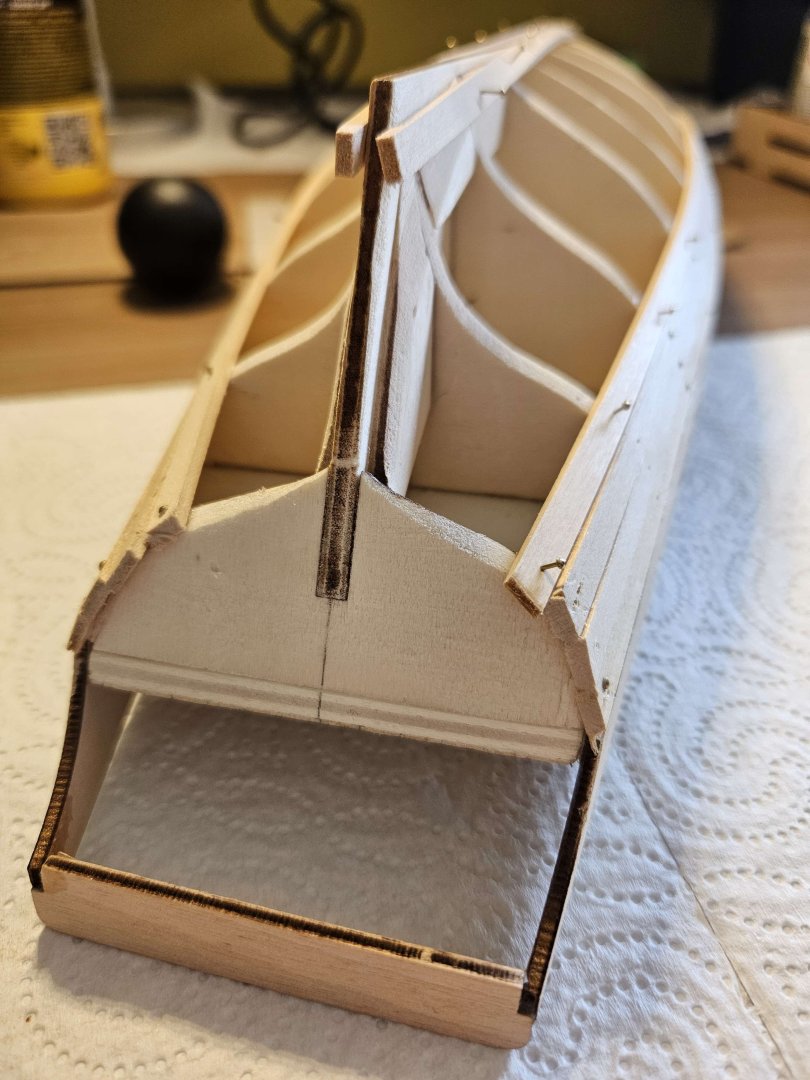
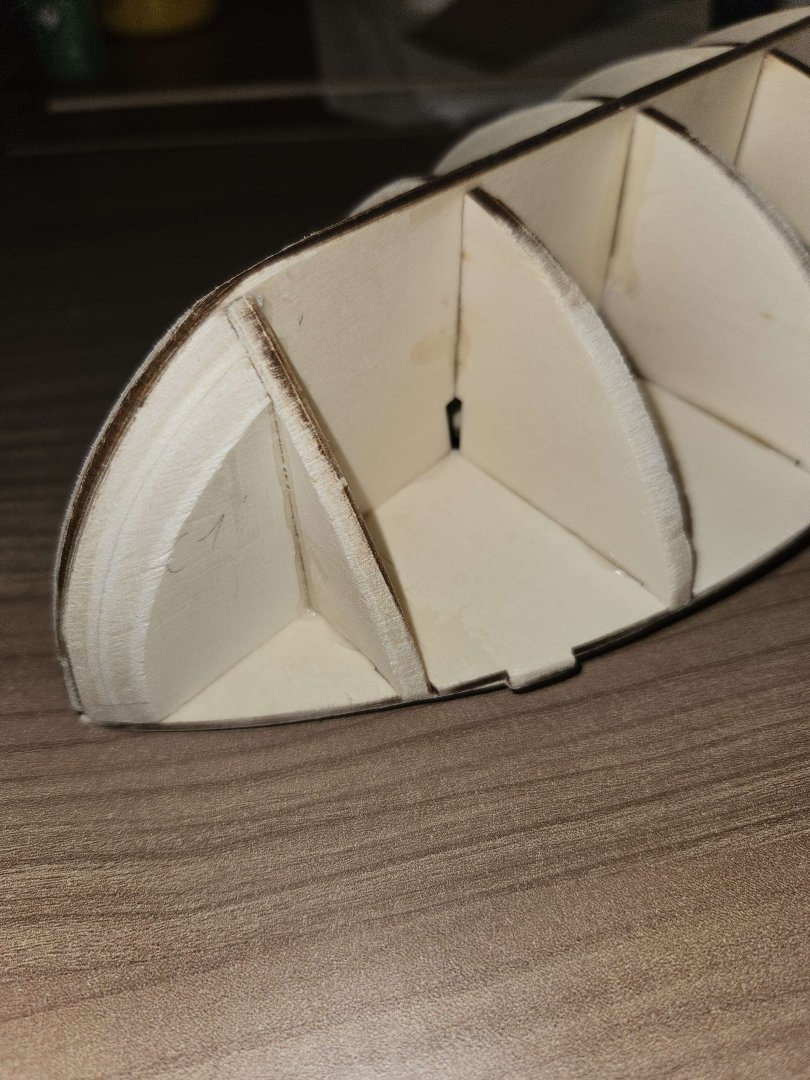
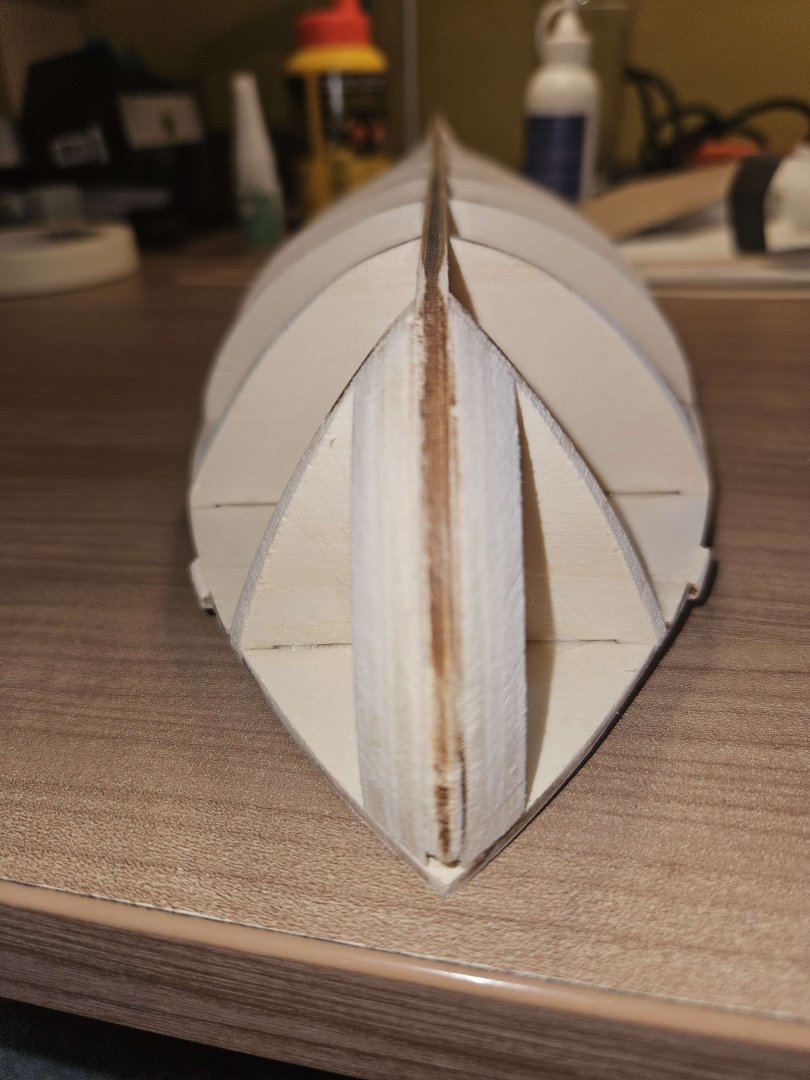
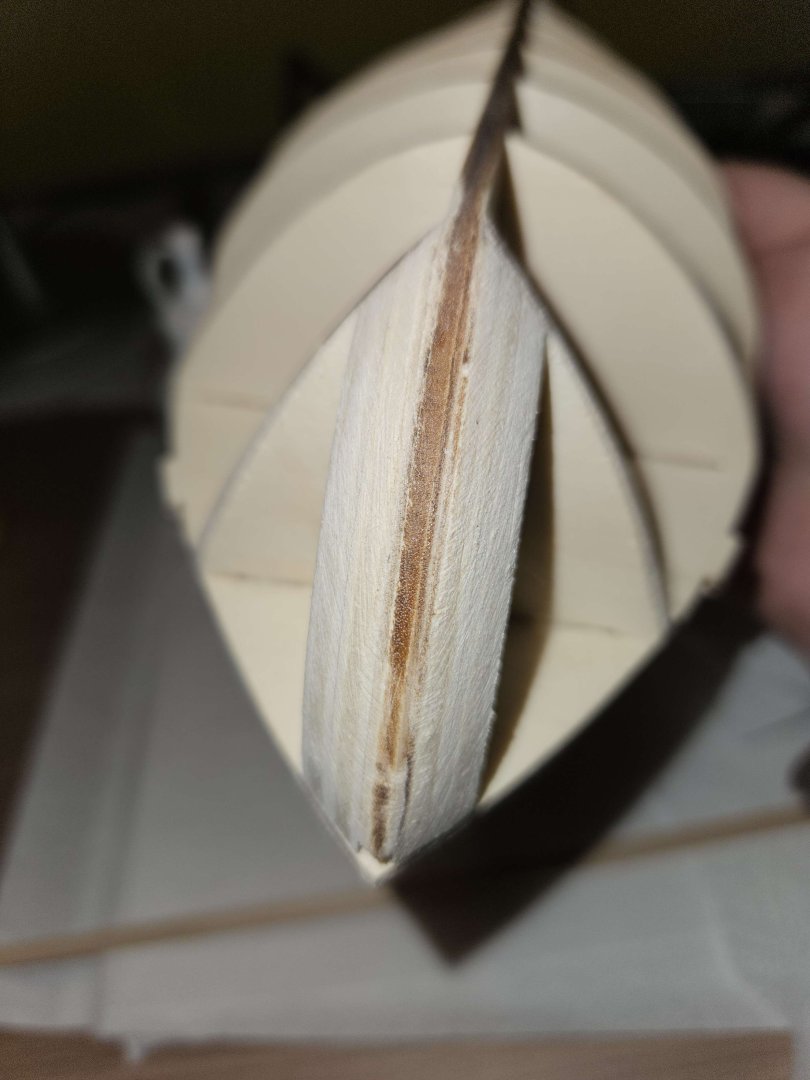
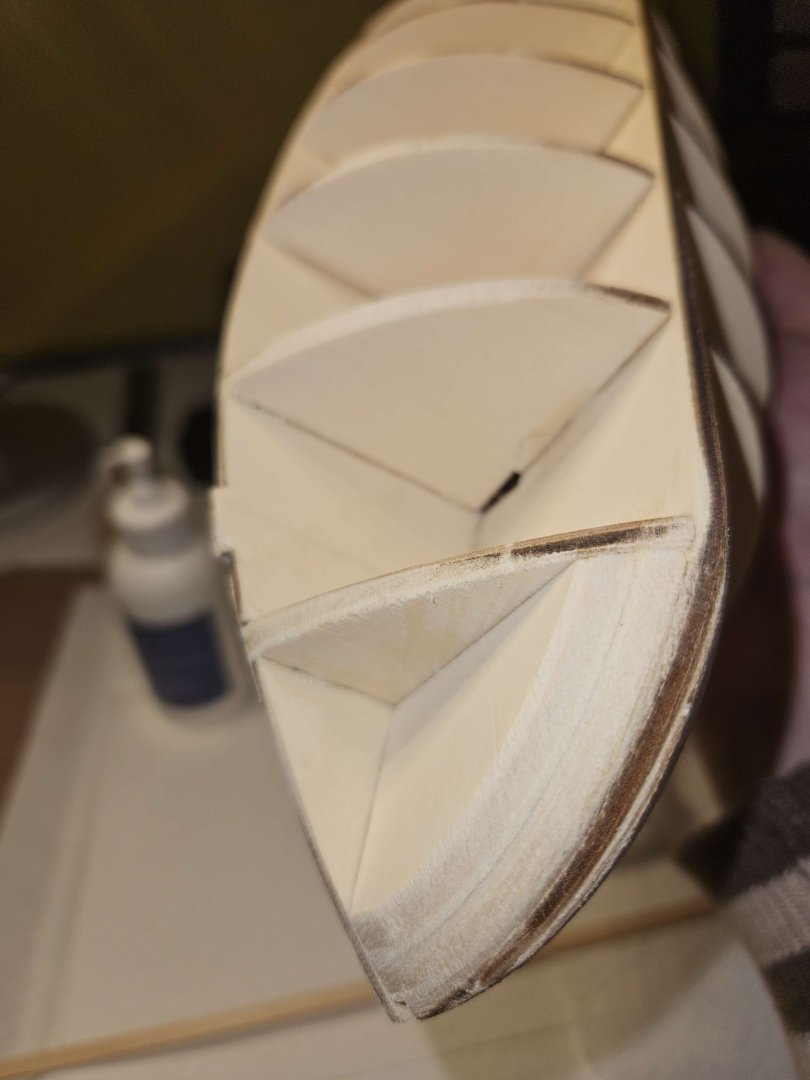
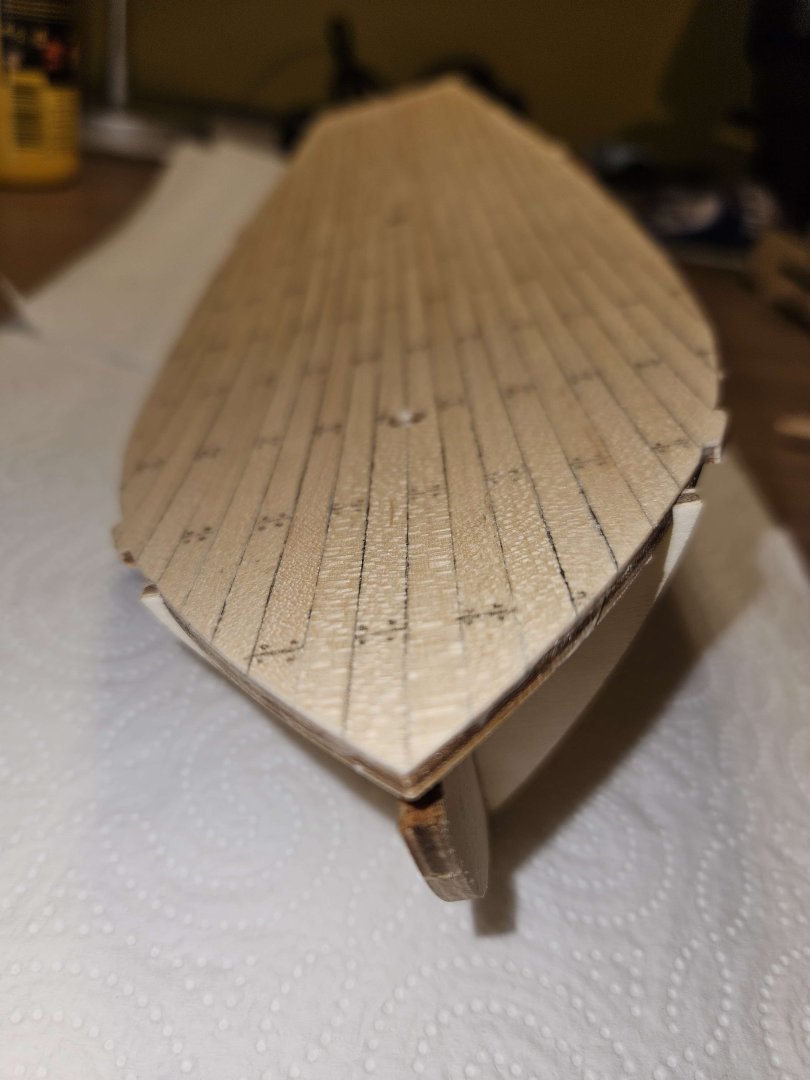
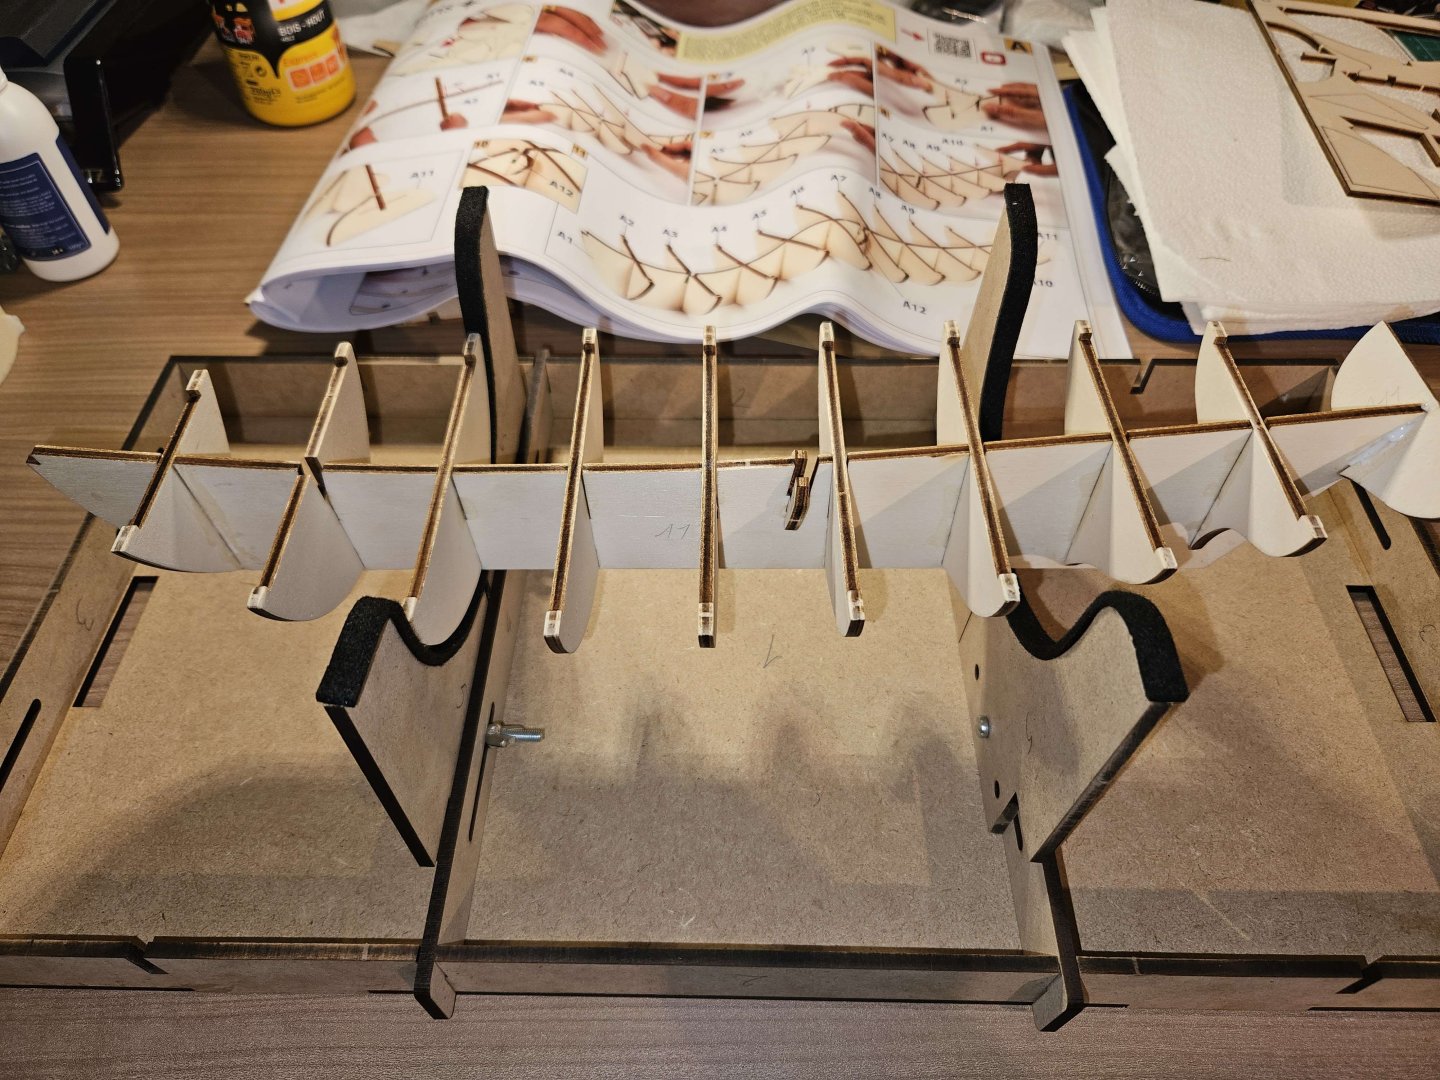
Alright time for a tiny update as i've been extremely busy. I've sanded the rest of the bulkheads so that, as far as i can see, the planks sit nicely flush on the bulkheads. I've got to say though, this part has been quite stressfull as i'm afraid i'll either have sanded too little or too much and will only find out during planking when it's too late. But, here goes nothing as i've probably just been overthinking it. Here are a few pictures from different angles, hopefully these will help some others in the future, or someone will spot something that i've missed or messed up. Bow side: Stern side: I do have to admit that the curved sander from OcCre has been amazing for the stern side, i've seen some smart ways to make your own curved sander but for any beginners that are thinking about getting this, i can definitely recommend it.


-
That's what i'm thinking aswell! I've mainly been following your finished build log as it's extremely detailed and the ship's very well made. I have a question for you though (and anyone else who can help), when sanding the ribs to make it flush for the planks on the hull. How and when do you know that they're sanded enough and in the right angle? I've been slowly working on it but when holding planks to it it seems that in one way or another the plank won't sit nicely flush on it and i'm too afraid to put more force as i fear i'd snap a plank.
-
Yeah right now it's the only real silly thing i've done, other than that i sometimes feel like i rushed something and could've made some details look better. And yeah, either something else will be covering it up or you just won't be able to spot it once the whole ship is detailed.
-
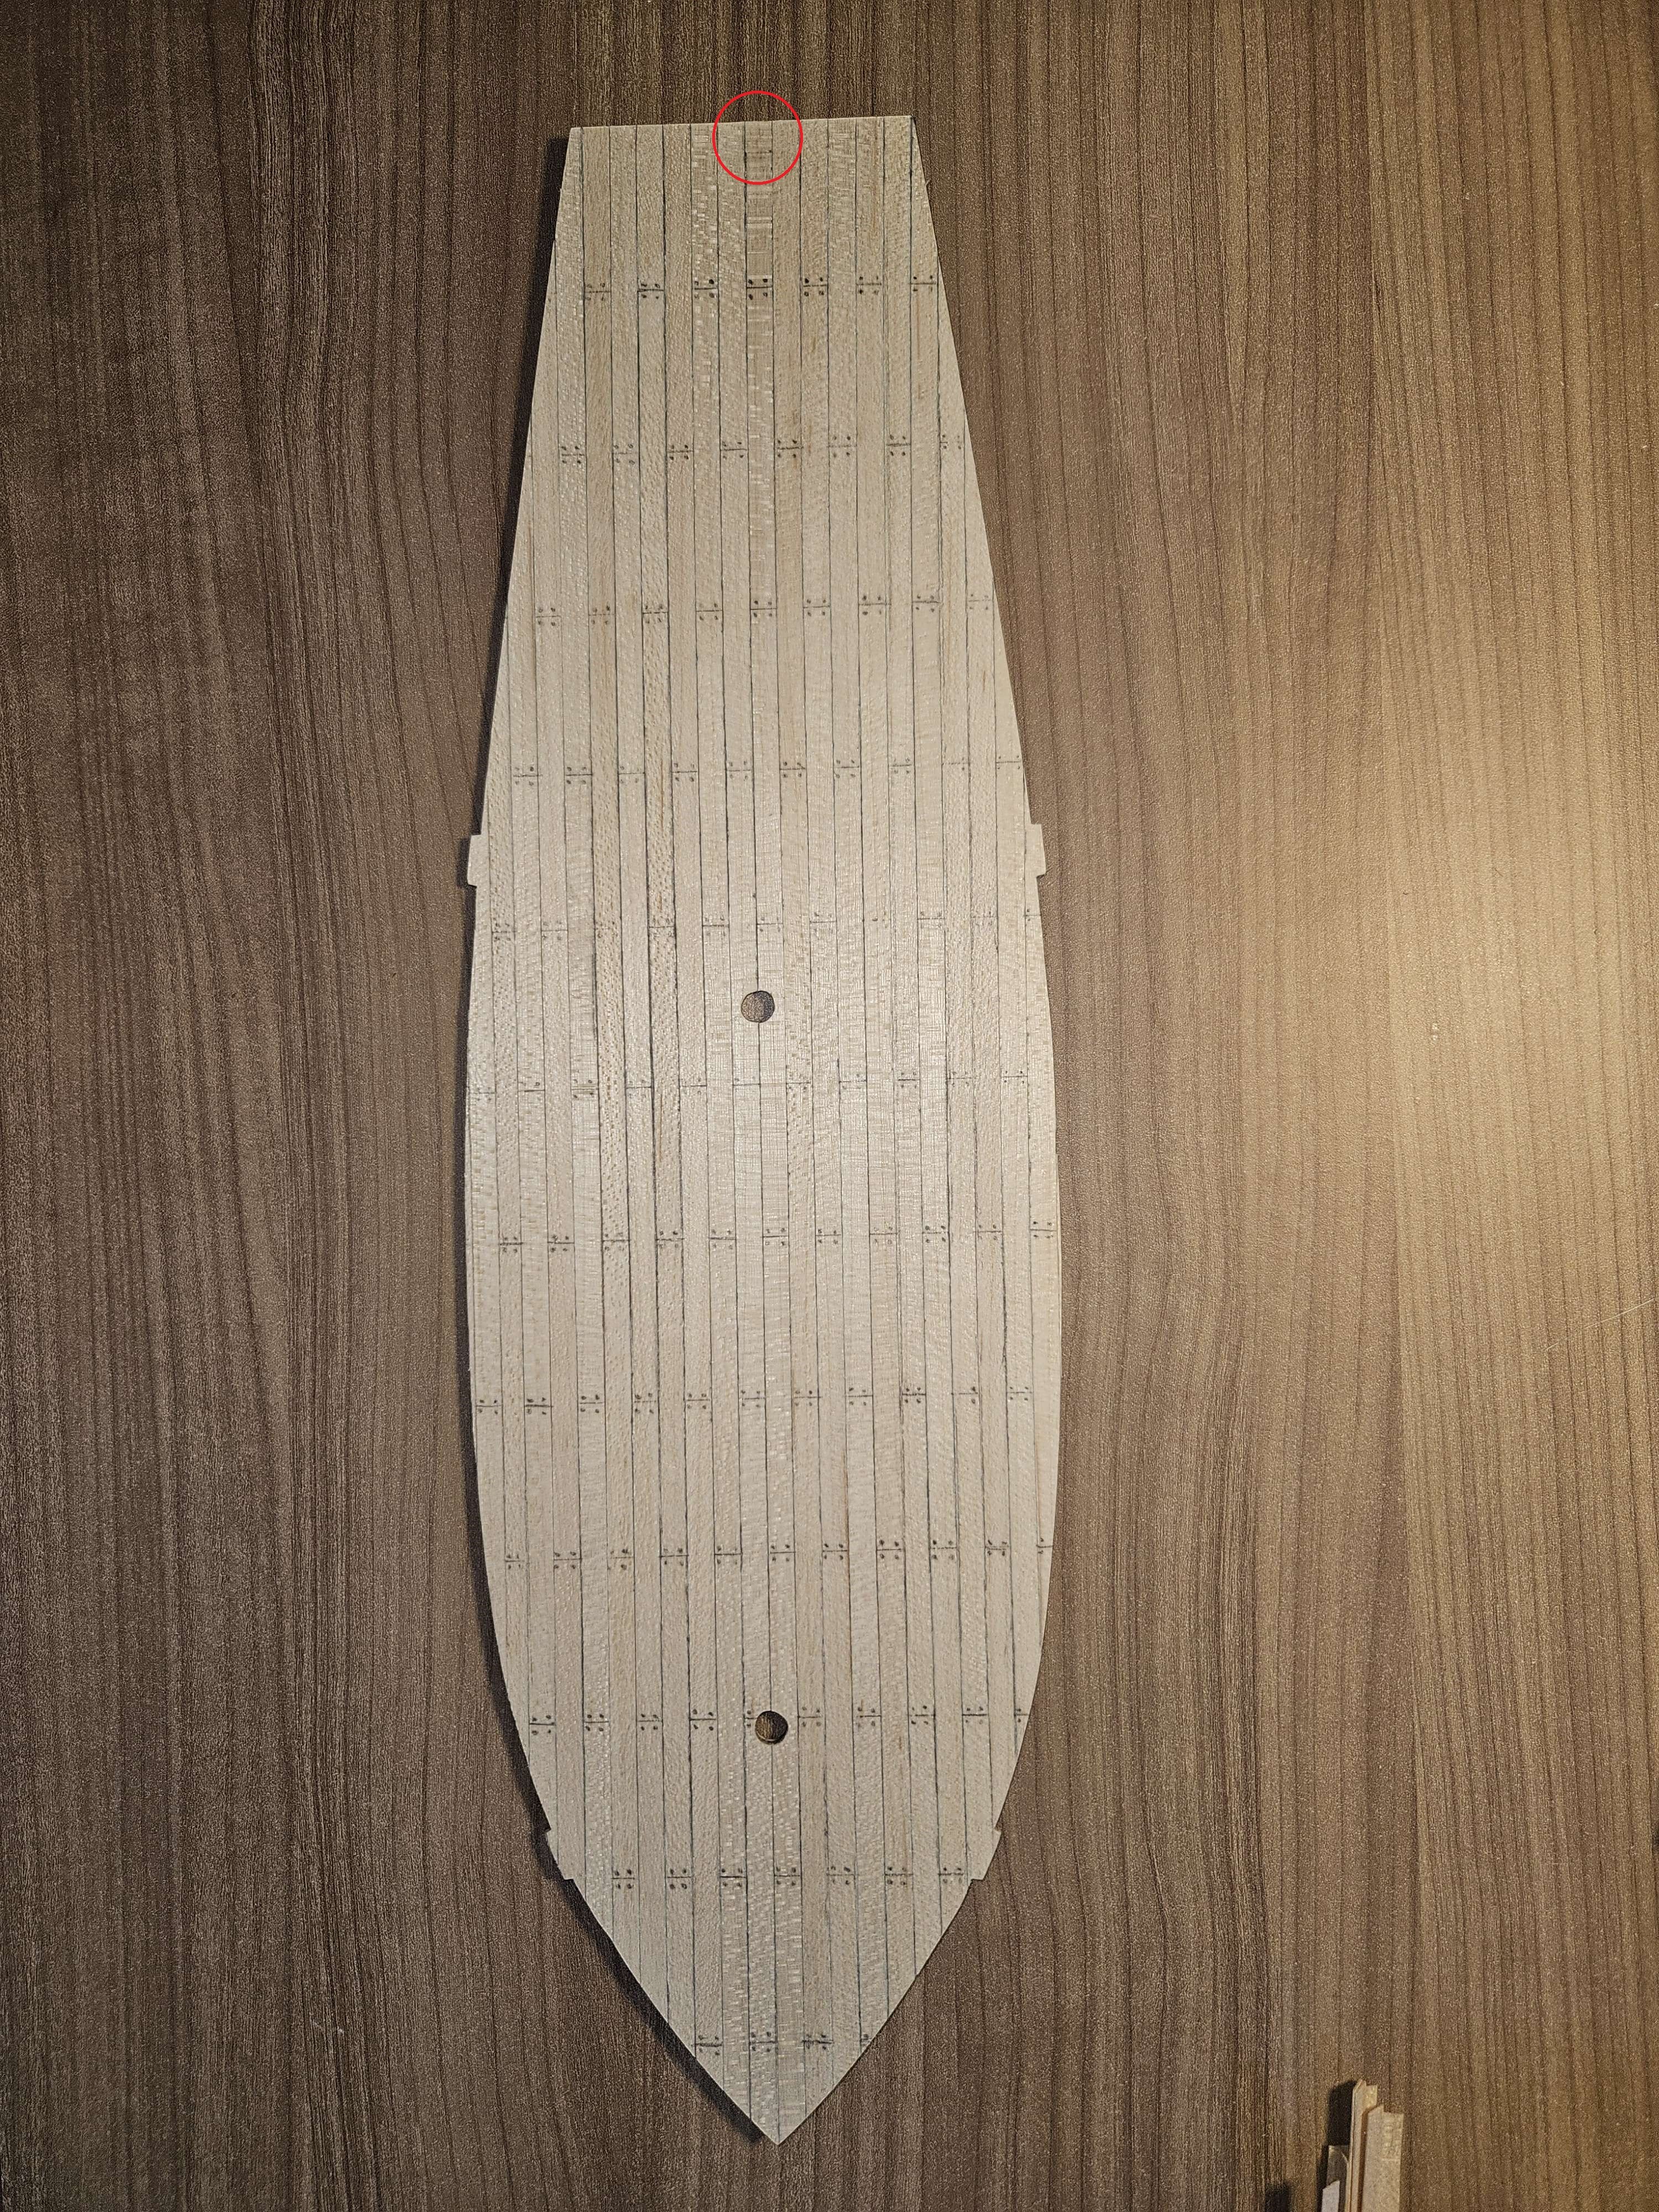
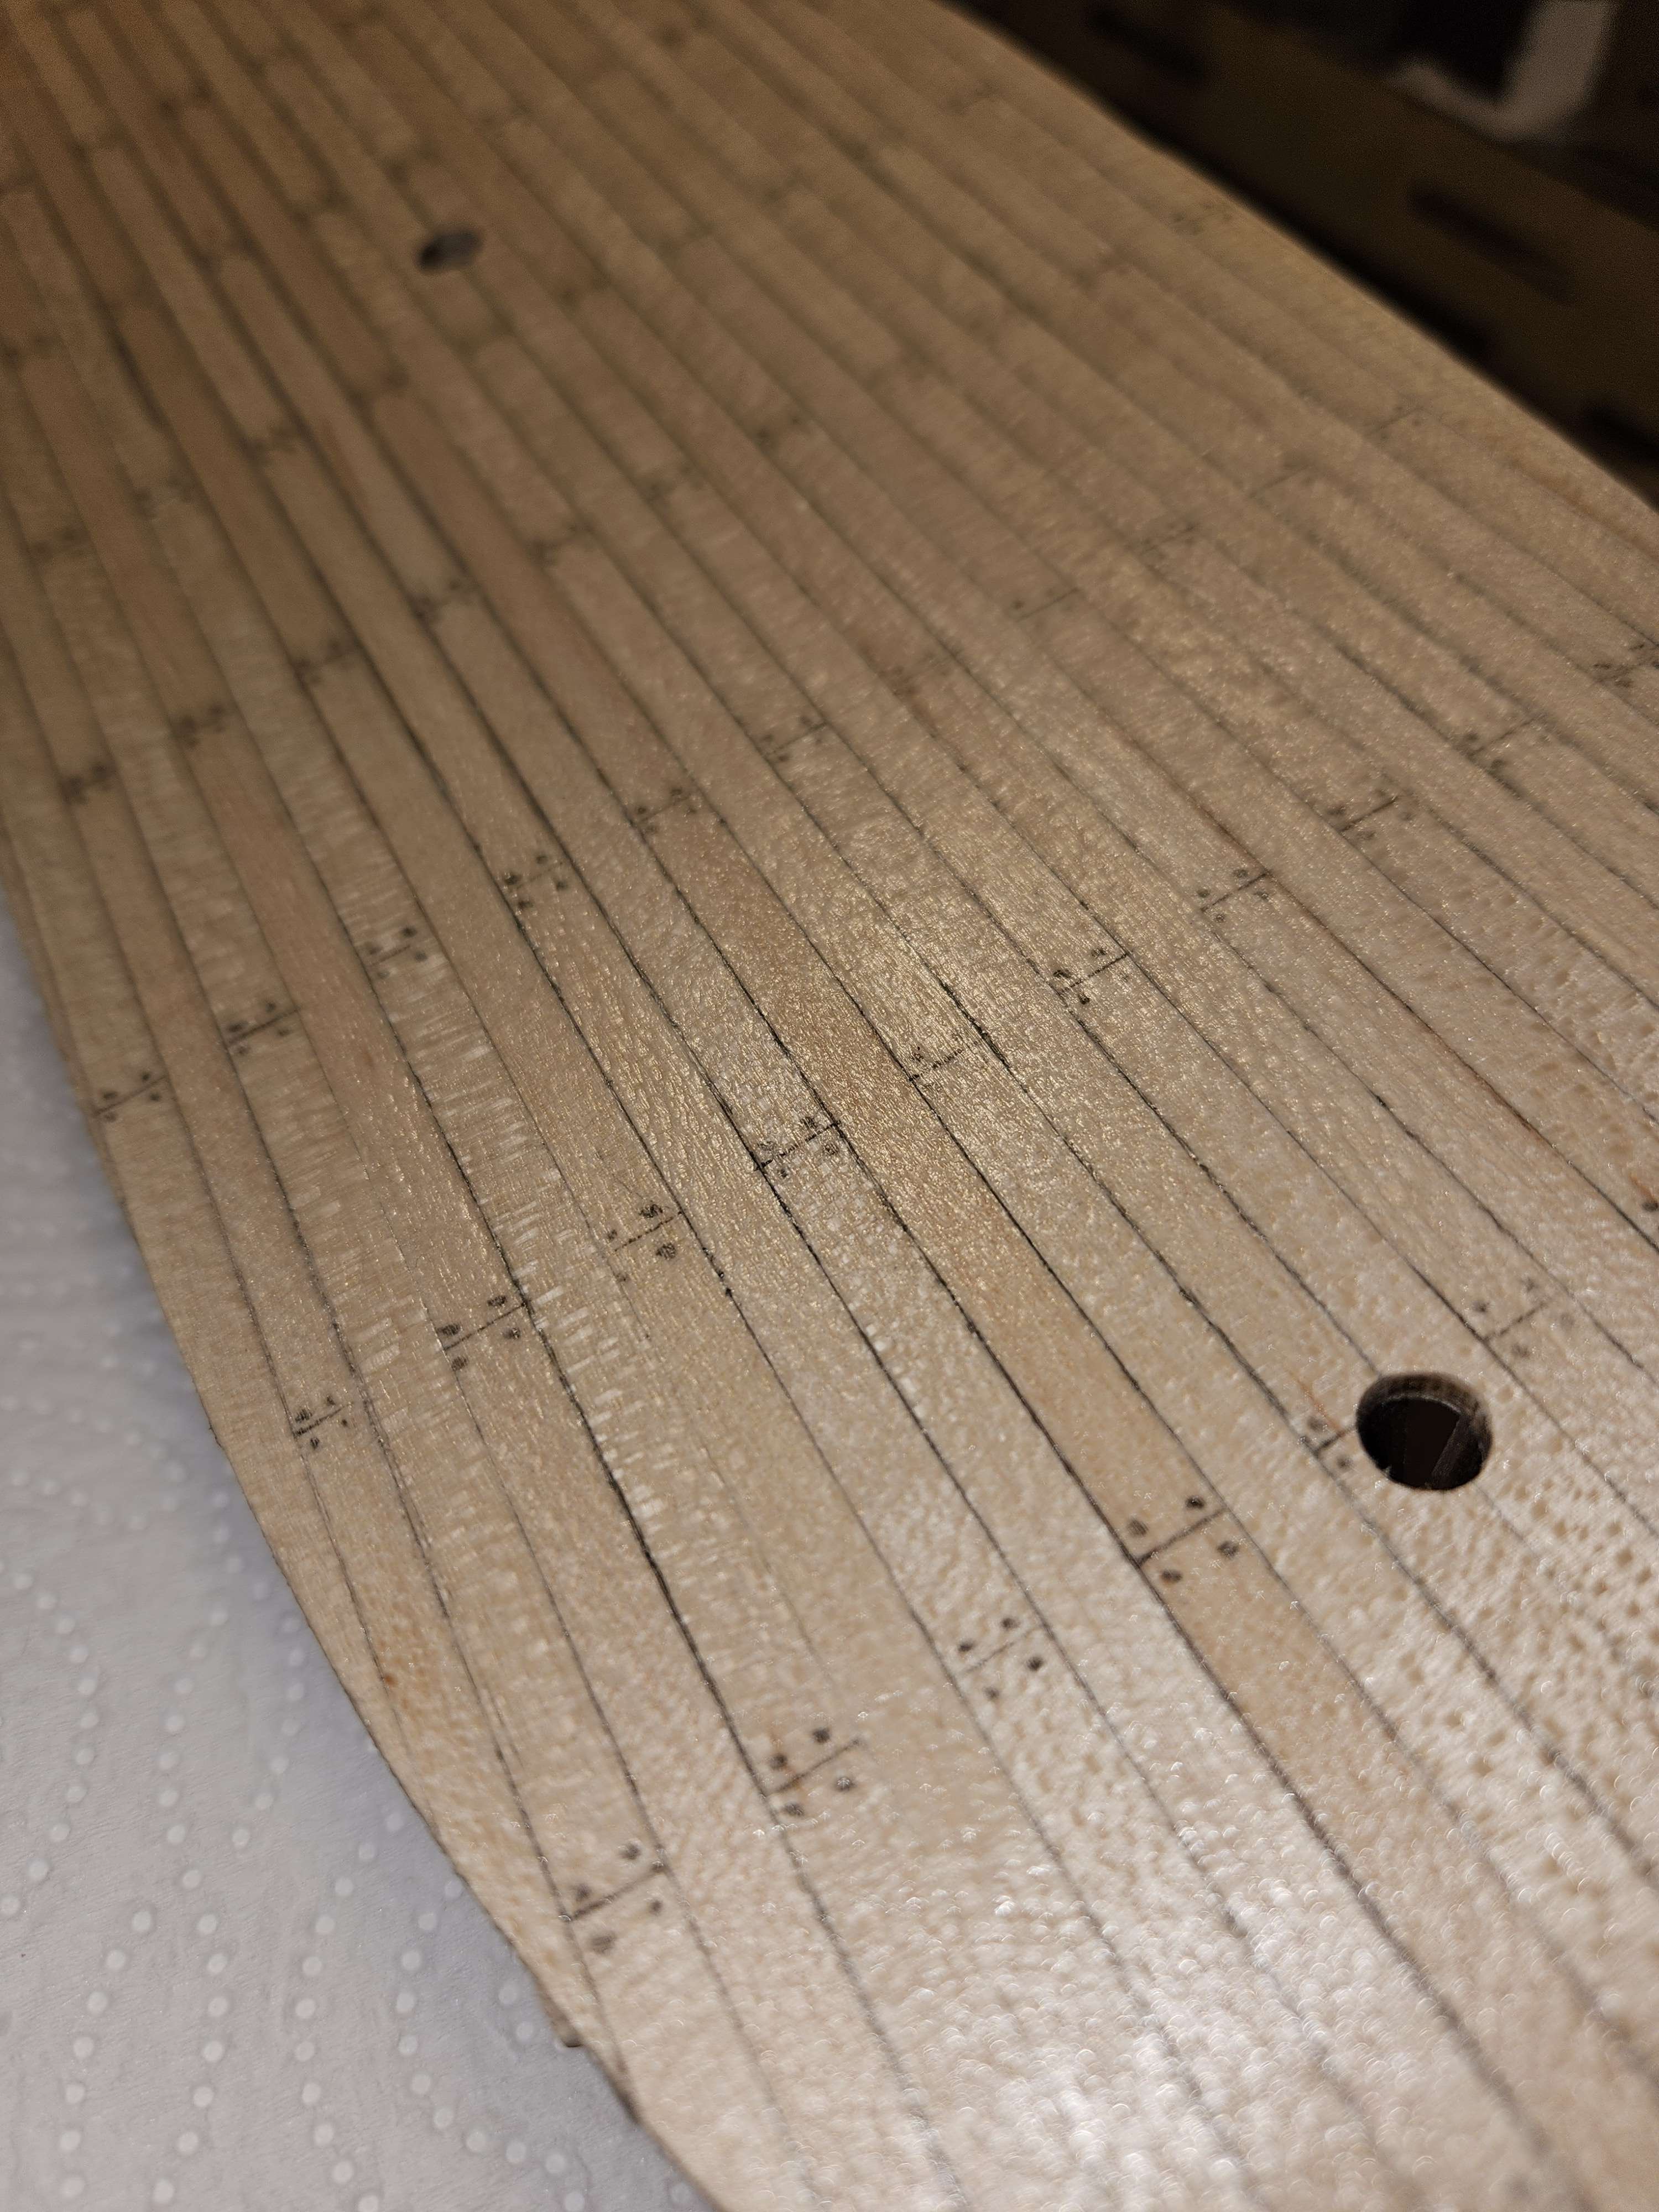
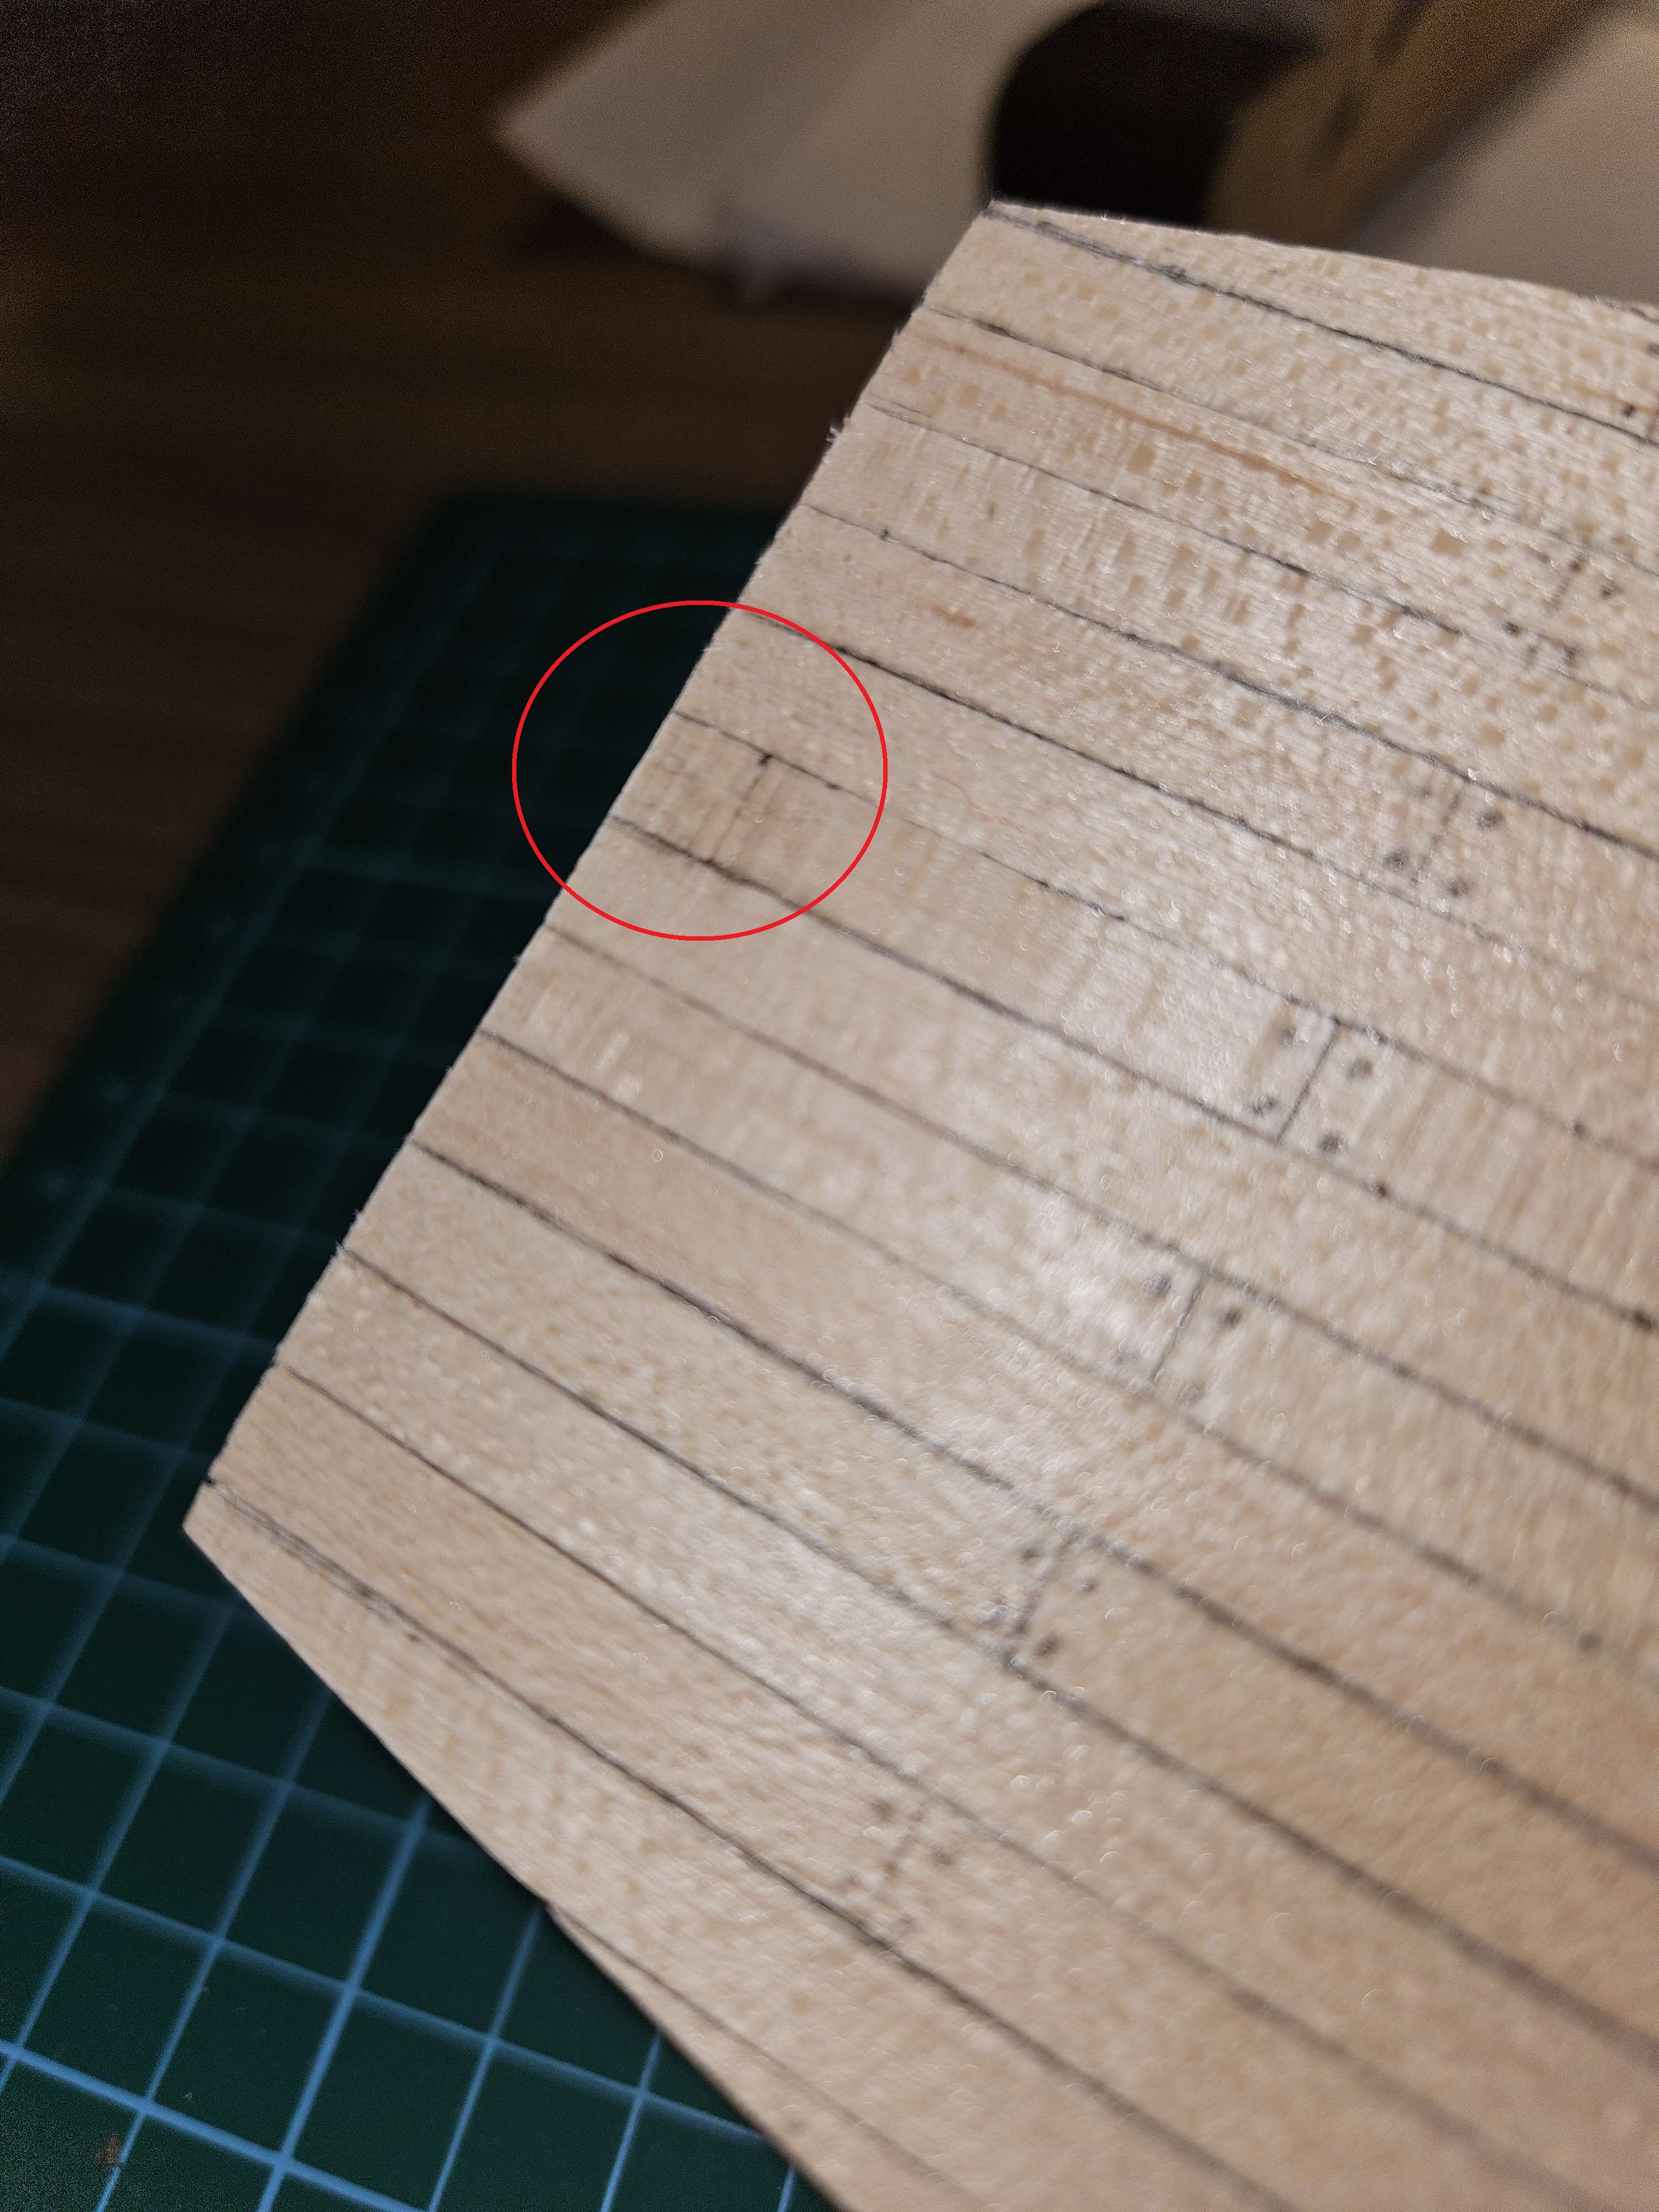
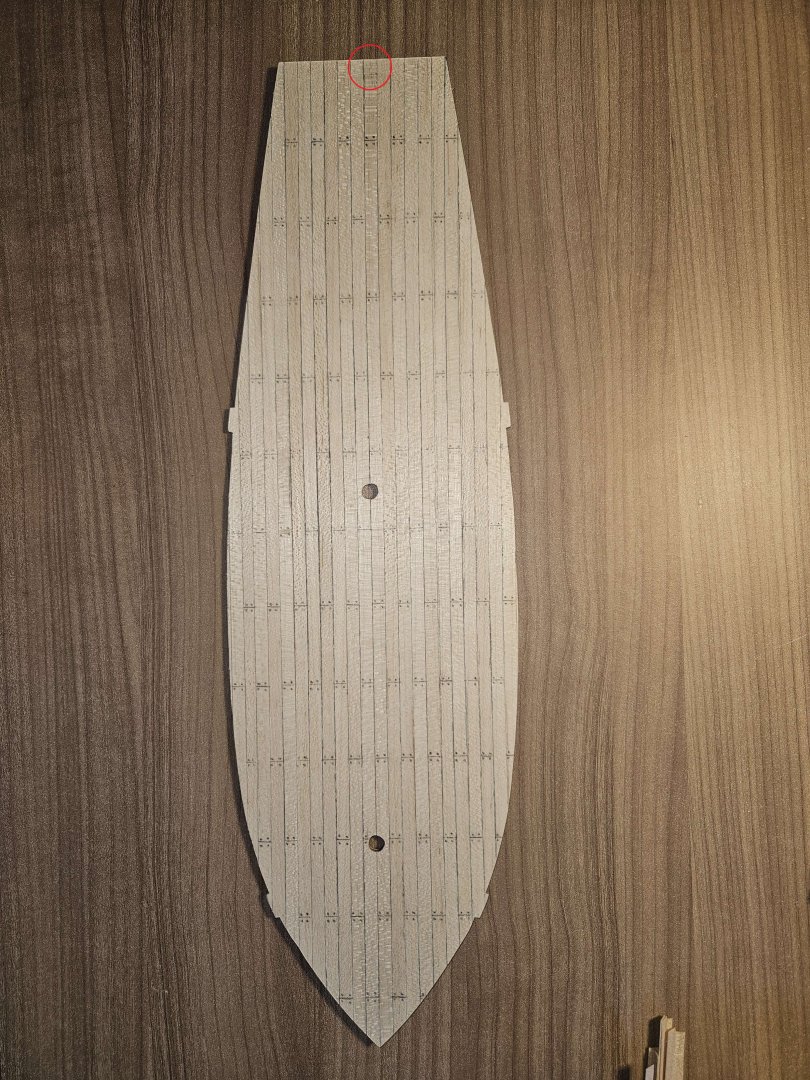
Some time later and i'm extremely happy with the progress i've made! When planking the deck i found out the majority of my planks were bending sideways, some even so much it would've been hell to use. I first looked for all the straight ones and then looked for the ones with partially straight planks or ones with just a very slight bend, these i would use the outer parts of the deck as i didn't need to use the whole length there. Then i started planking the deck using contact glue, first i drew a straight line in the middle so i could nicely place my first plank. And here, i made my first major (and very silly) mistake, i was so focussed on placing it perfectly on the line i didn't pay attention to the length and i reached short at the end! ouch... As the plank was already stuck on i decided to cut a small piece from another plank and glued it on the leftover part. Hoping it won't be too obvious to see in the end. I then drew on the lines and nails with a pencil and put on two layers of satin varnish. Sadly, i noticed afterwards that some of my pencil lines and drawn nails were badly visible or fully gone after the varnish. i tried to fix it up a bit more but not everywhere was as visible as before. oh well, not the end of the world. After that was one of the parts with stressed me a bit, although, afterwards i realized that wasn't necessary at all. I dry fitted the deck on the frame and with a bit more sanding i felt like it would fit quite easily. I put on some wood glue and pushed the deck on, forcing it on with my hands for a good 5 minutes untill i felt like it was stuck enough to let go, adding a drop of super glue at each rib to make sure it would definitely be properly attached to the deck. Overall i'm very happy with how it turned out. After the varnish i also found that the small part i glued on separately wasn't too noticable.


-
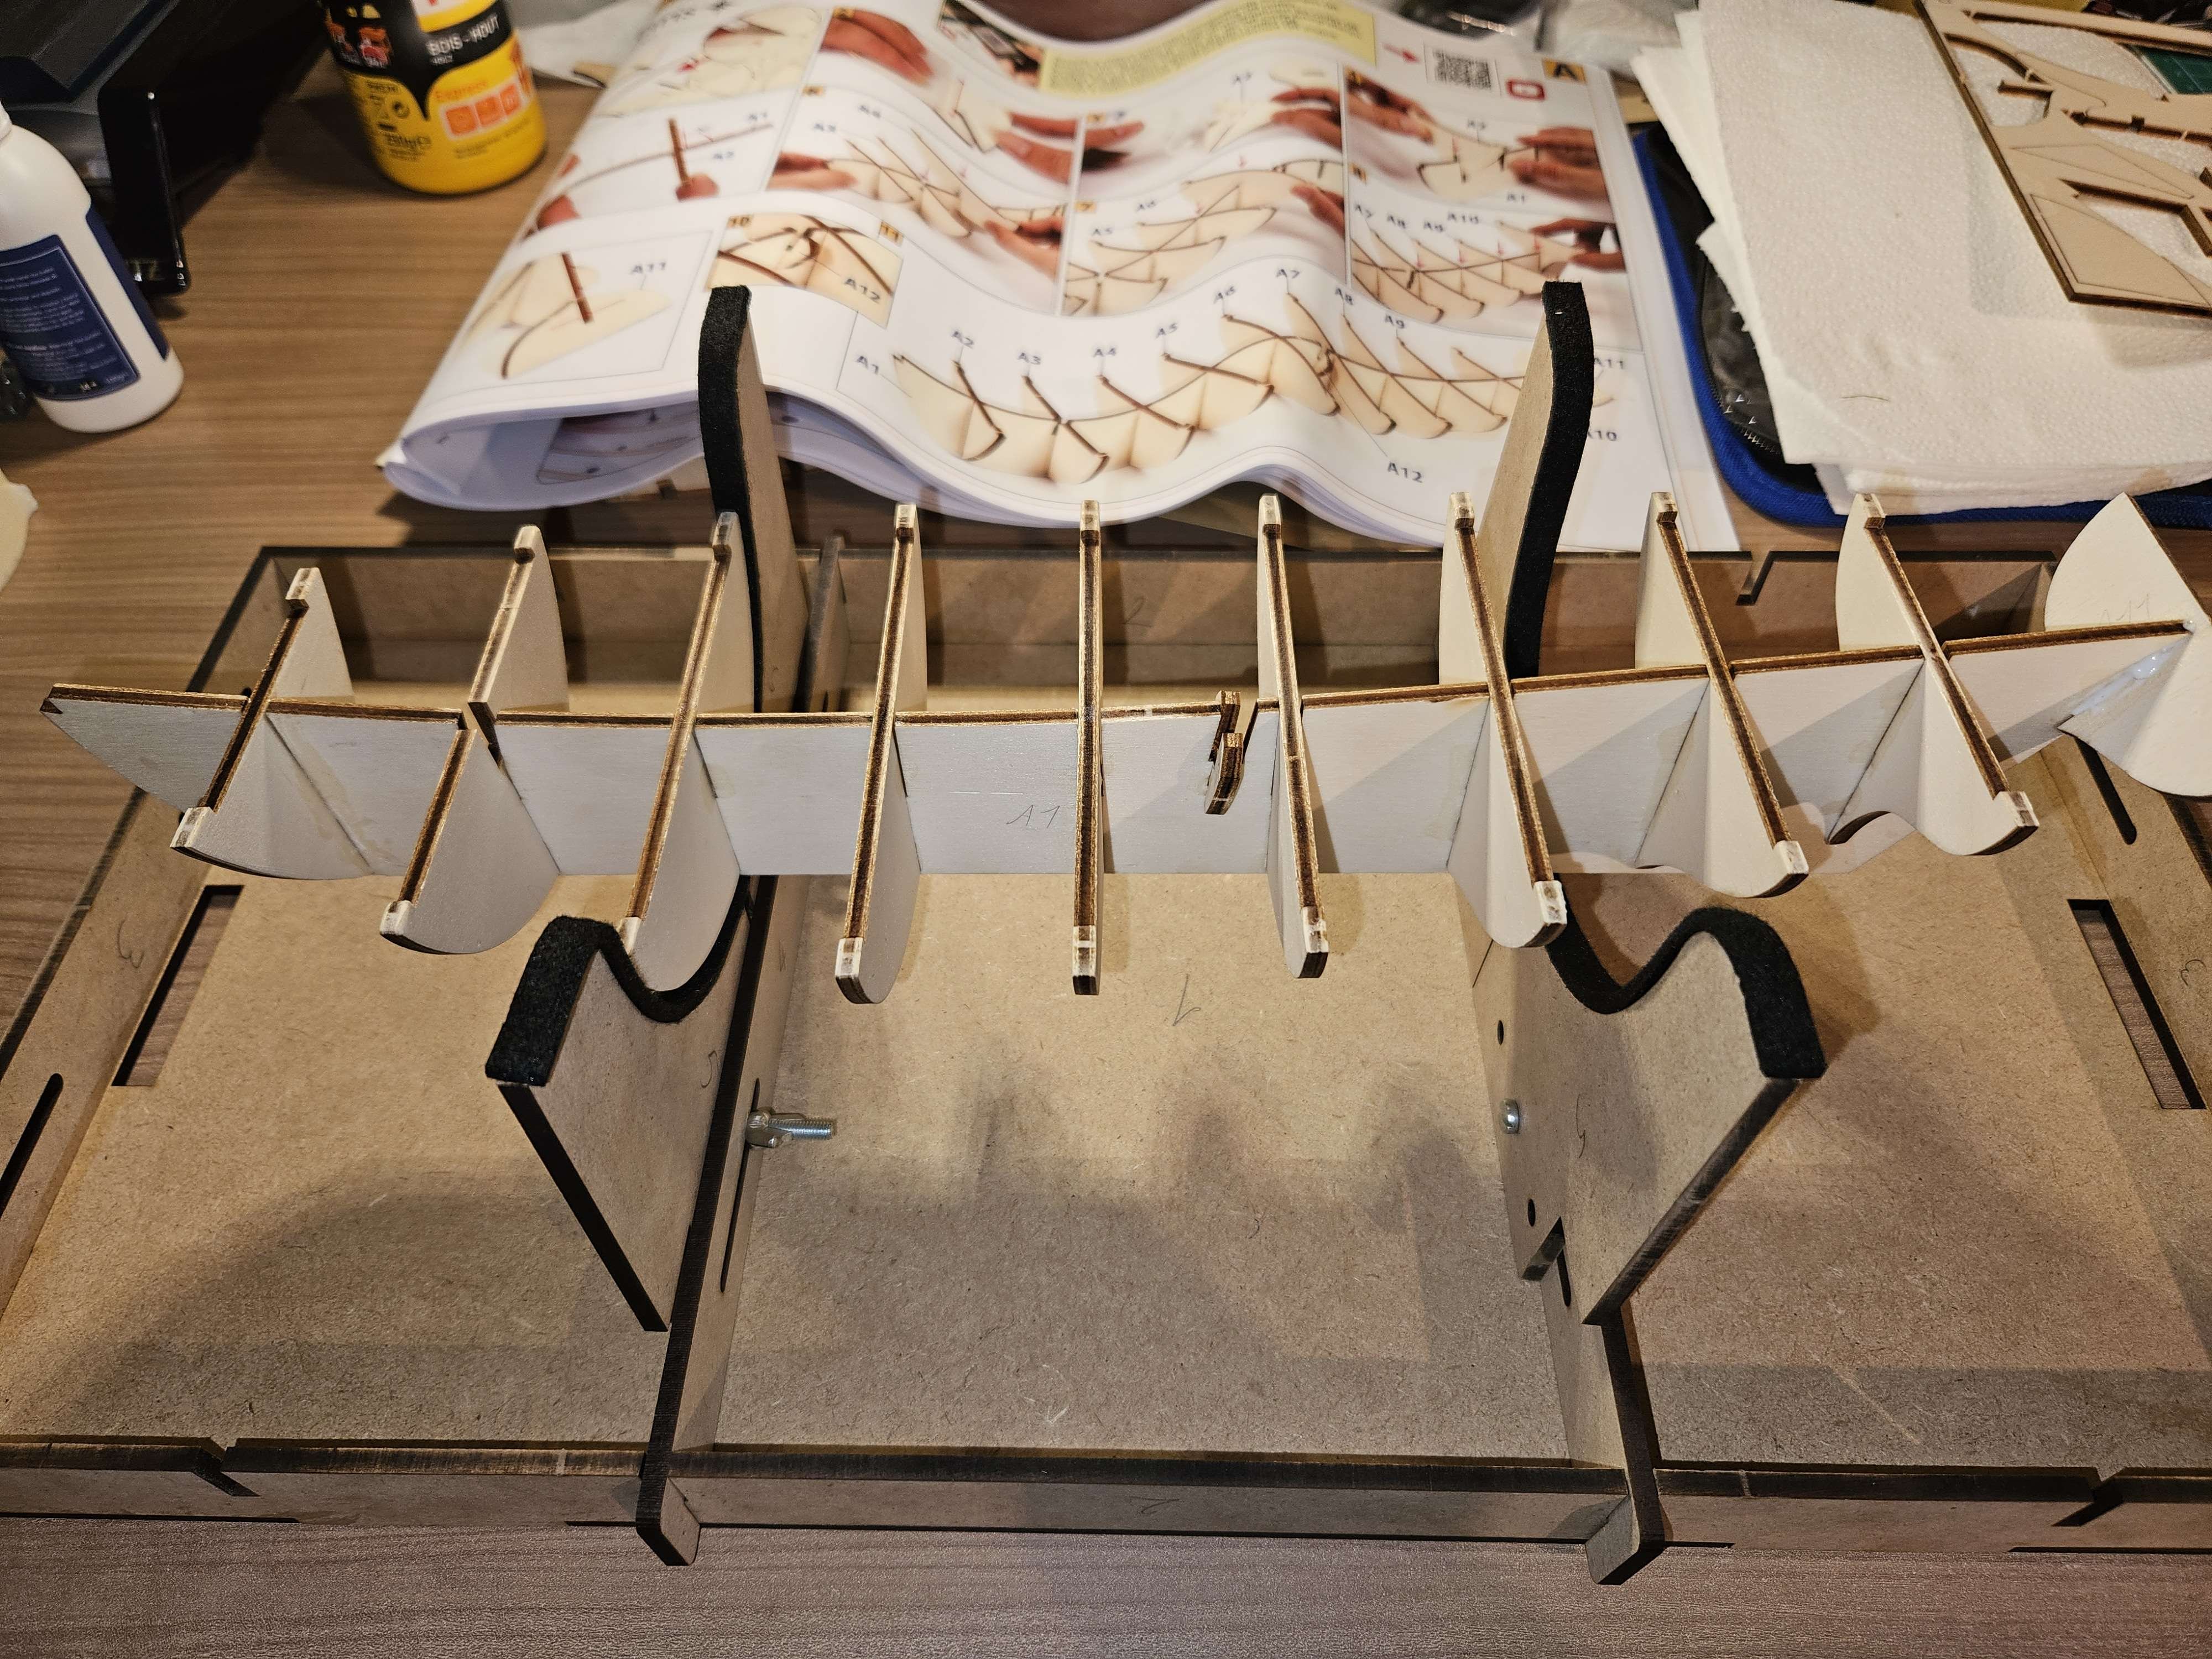
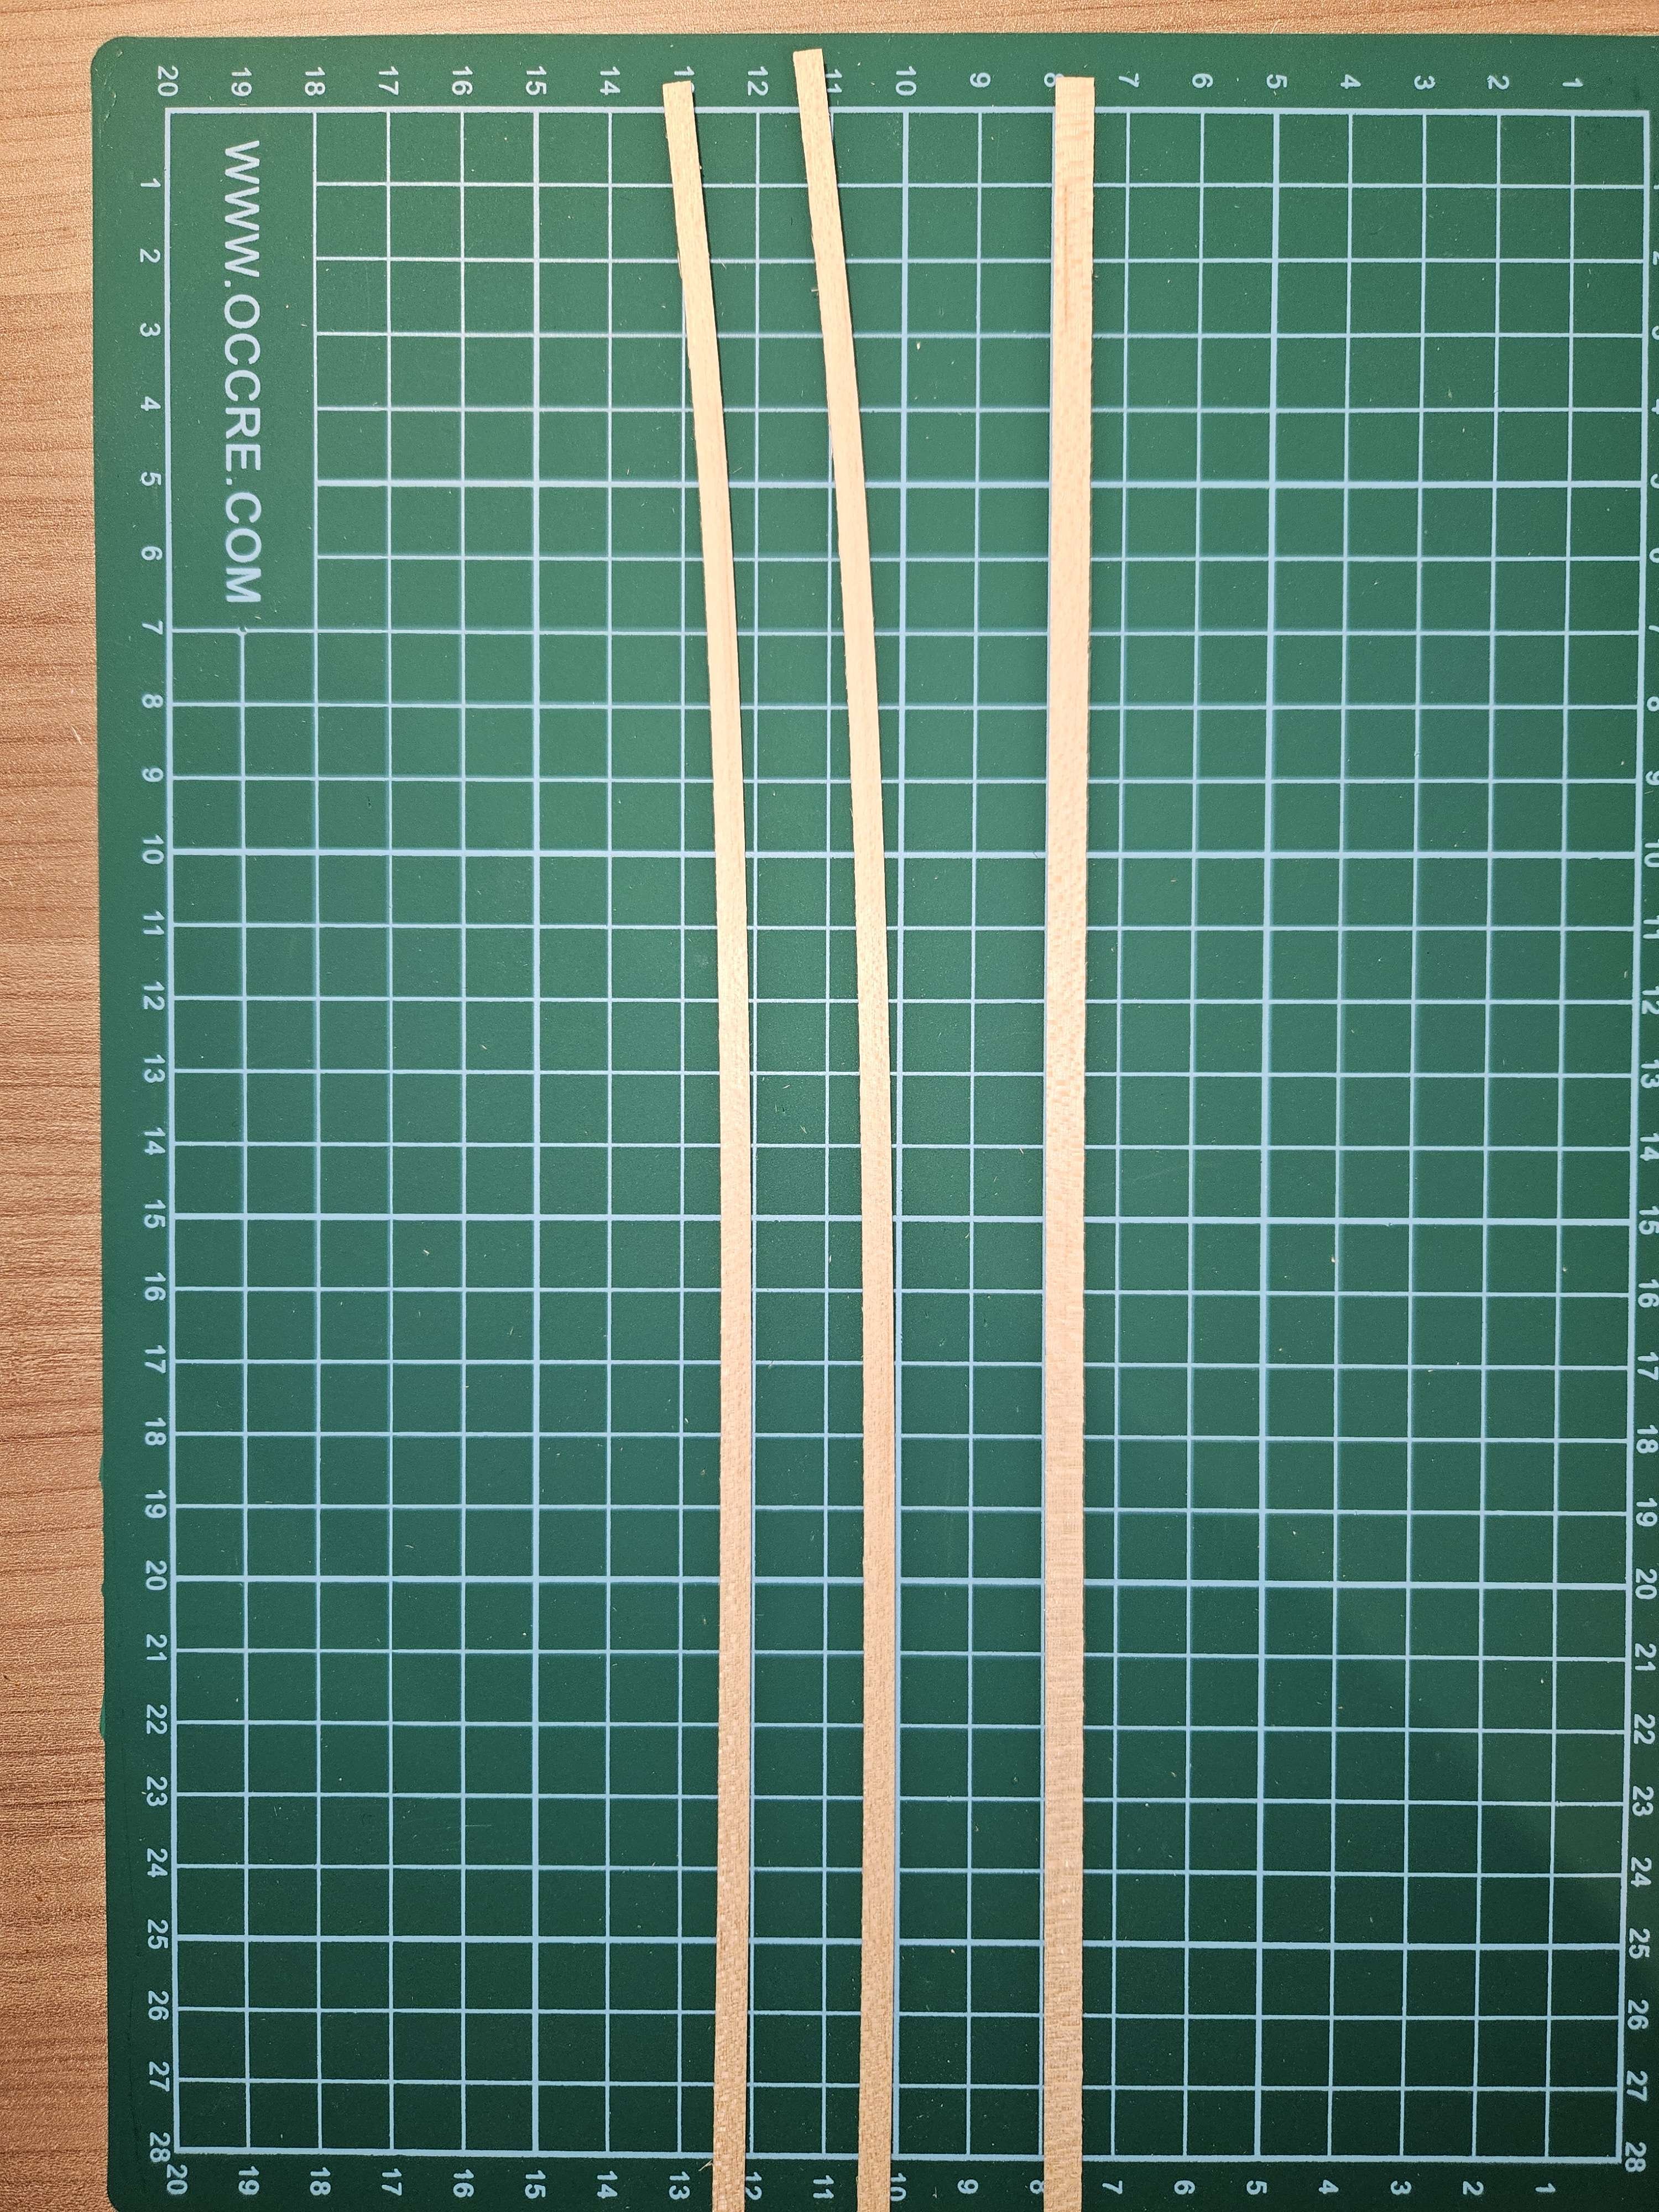
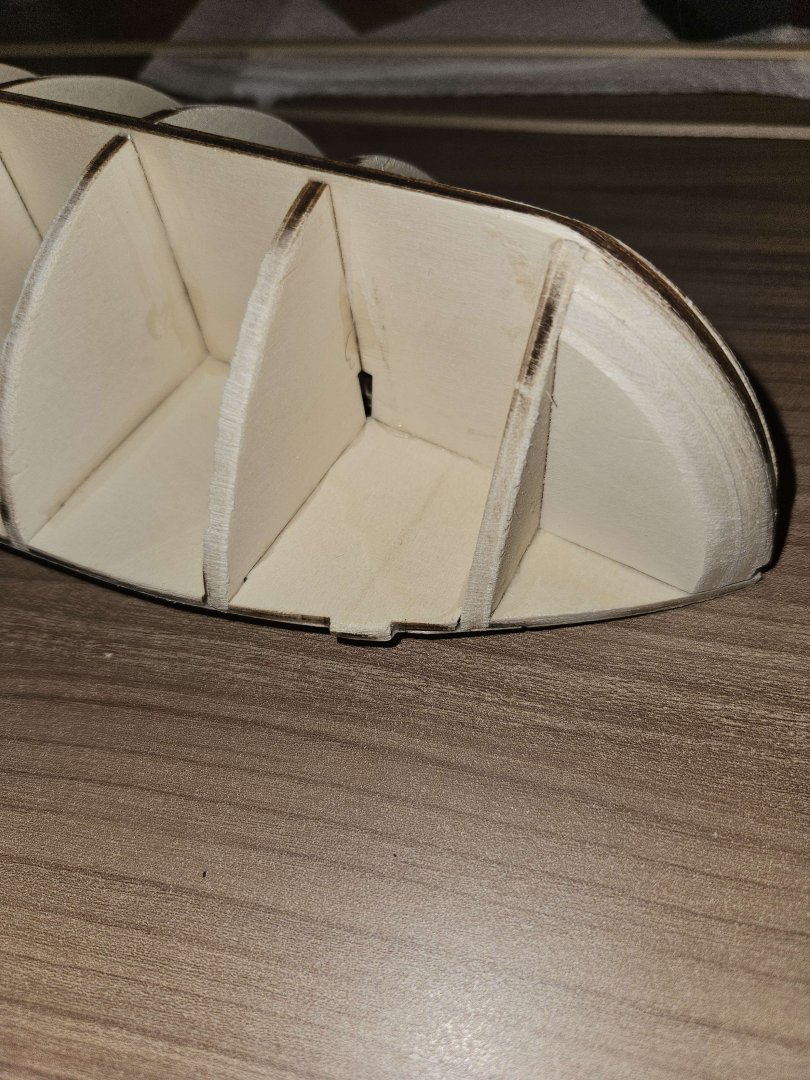
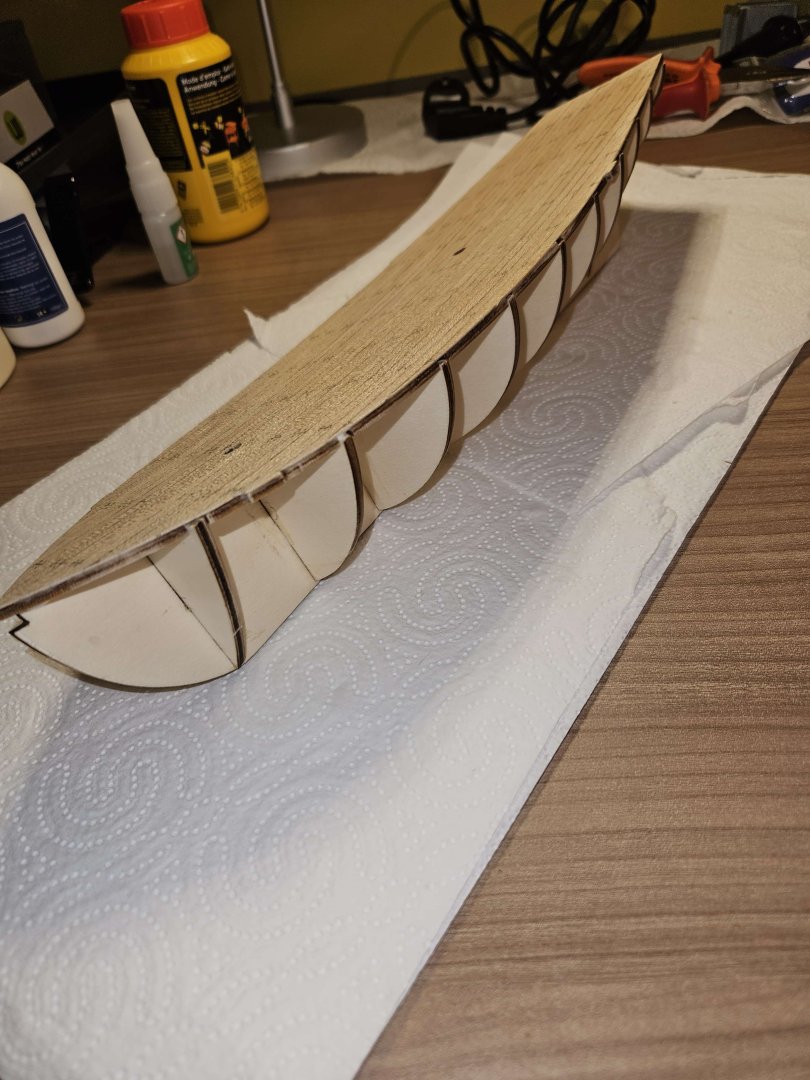
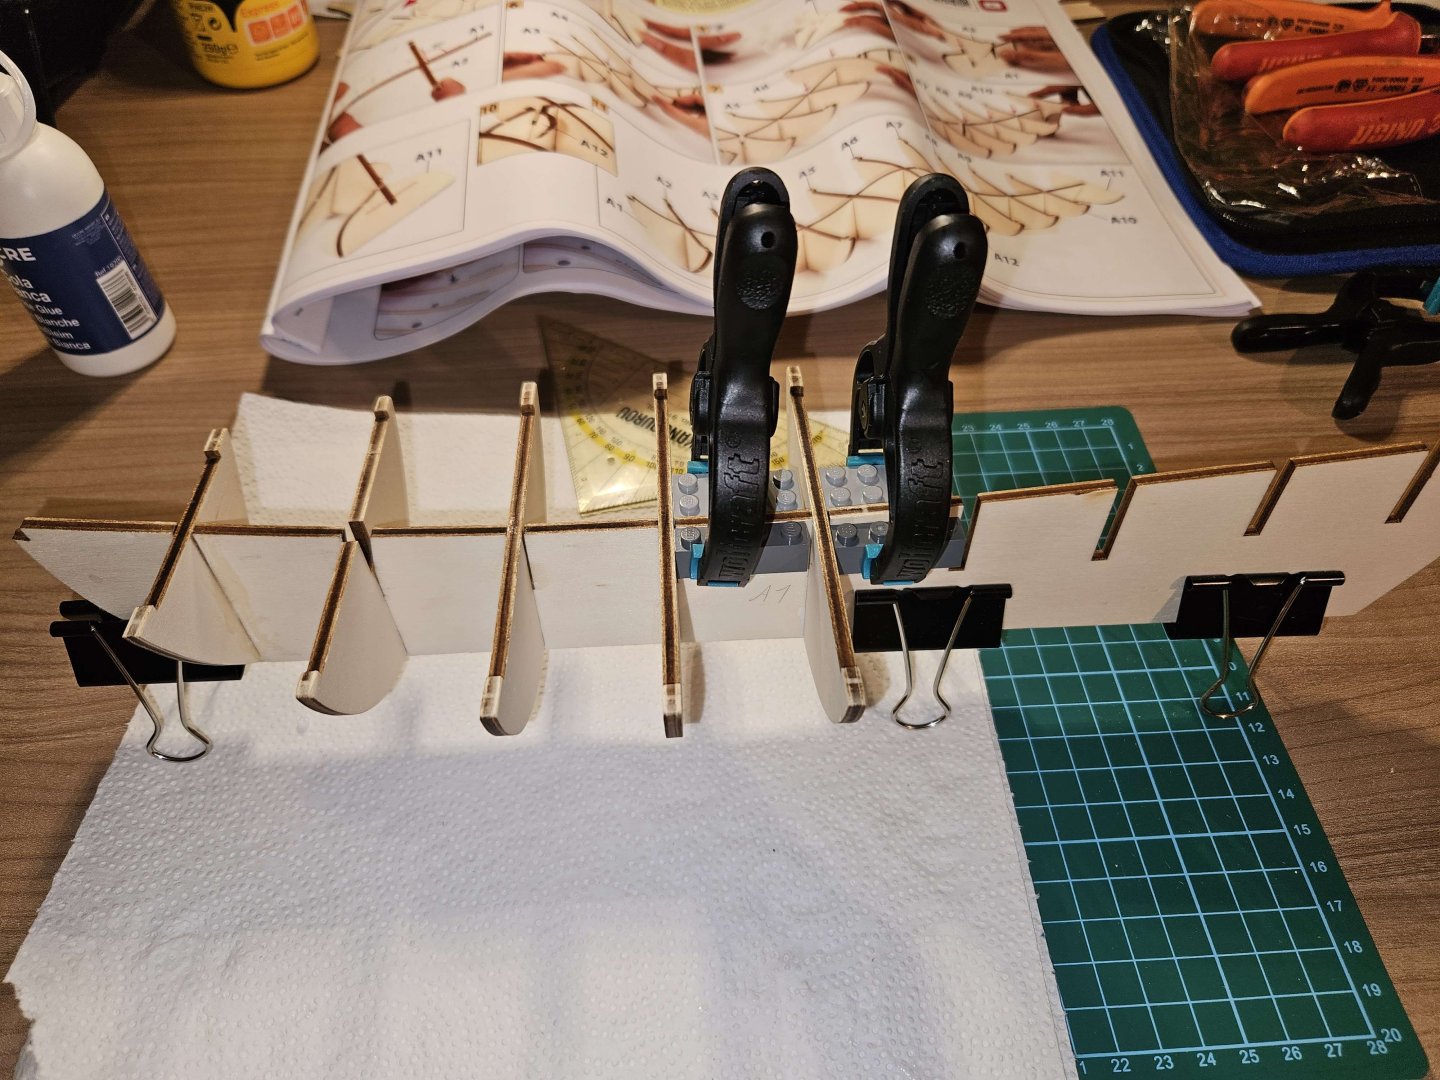
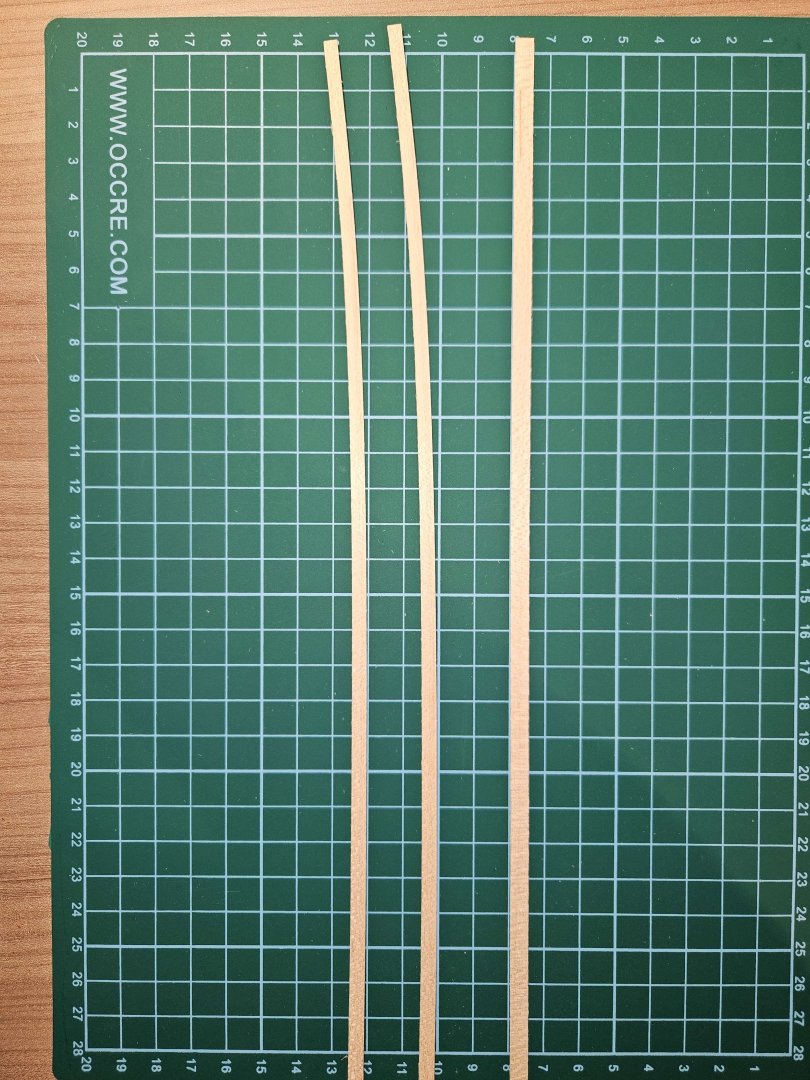
So, two days later and i've finished attaching the ribs to the false keel, this went suprisingly well and using lego blocks to keep it at a perfect 90 degrees went smoother than expected (honestly cutting each piece out and sanding them was the most tedious part and took the most time). The next step is planking the deck, but while preparing some of the planks i noticed some of them bend quite a bit sideways along the width. I haven't seen anyone else post about this so maybe it won't be an issue in the long run? Does anyone have any experience with something similar?
-
I have indeed read a few build logs before about this kit and i will definitely look at them again before each part! This forum is an ocean of knowledge so it would be silly not to use it.
-
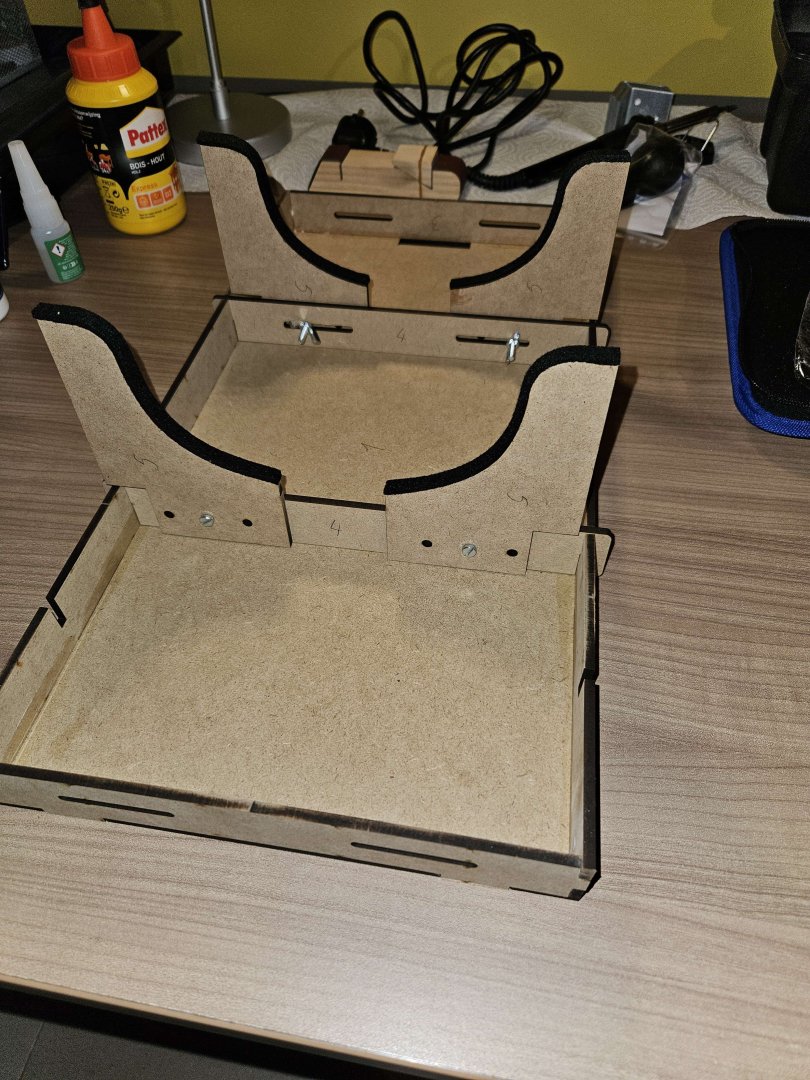
Some of you may have seen my roam around on the forums for the past few weeks looking for advice, inspiration and information... Well, here it is, my first build! After getting the Polaris by OcCre suggested to me the most i figured it would be stupid for me to not listen, so i went for the starter kit and also bought the paint set for the Polaris. A little about me, i'm a total inexperienced beginner when it's about model building but i'm eager to give it a shot and try my best to learn and adapt. My life is quite busy and filled so my posts and updates might be really slow and far apart from eachother but i will definitely try to respond whenever i receive a question or comment. Oh, and apologies if my vocabulary or grammar isn't the best at times, i'm from Belgium so my English isn't the best. First of to get atleast a little bit familiar with sanding, gluing and clamping in proper 90 degree angles i started with the OcCre workstand. I got this because i felt like i would end up using it quite a bit even if it's not during my first build, and i thought it would also be a fun way to get a tiny taste of woodwork before the actual build. After succesfully having built the workstand i do feel like i can i've learned some stuff that i will take with me on the build. Now onto numbering all the parts of the boat, cutting them from the frames and sanding them to get them ready!