TheFace
-
Posts
35 -
Joined
-
Last visited
Content Type
Profiles
Forums
Gallery
Events
Everything posted by TheFace
-
 Sheer plank on both sides is fully in, and the lines are looking good.
- 33 replies
-
- 6
-

-
- Model Shipways
- 18th Century Armed Longboat
- (and 1 more)
-
Sheer planks installed on the front half to bow both sides.

- 33 replies
-
- 6
-
-
- Model Shipways
- 18th Century Armed Longboat
- (and 1 more)
-
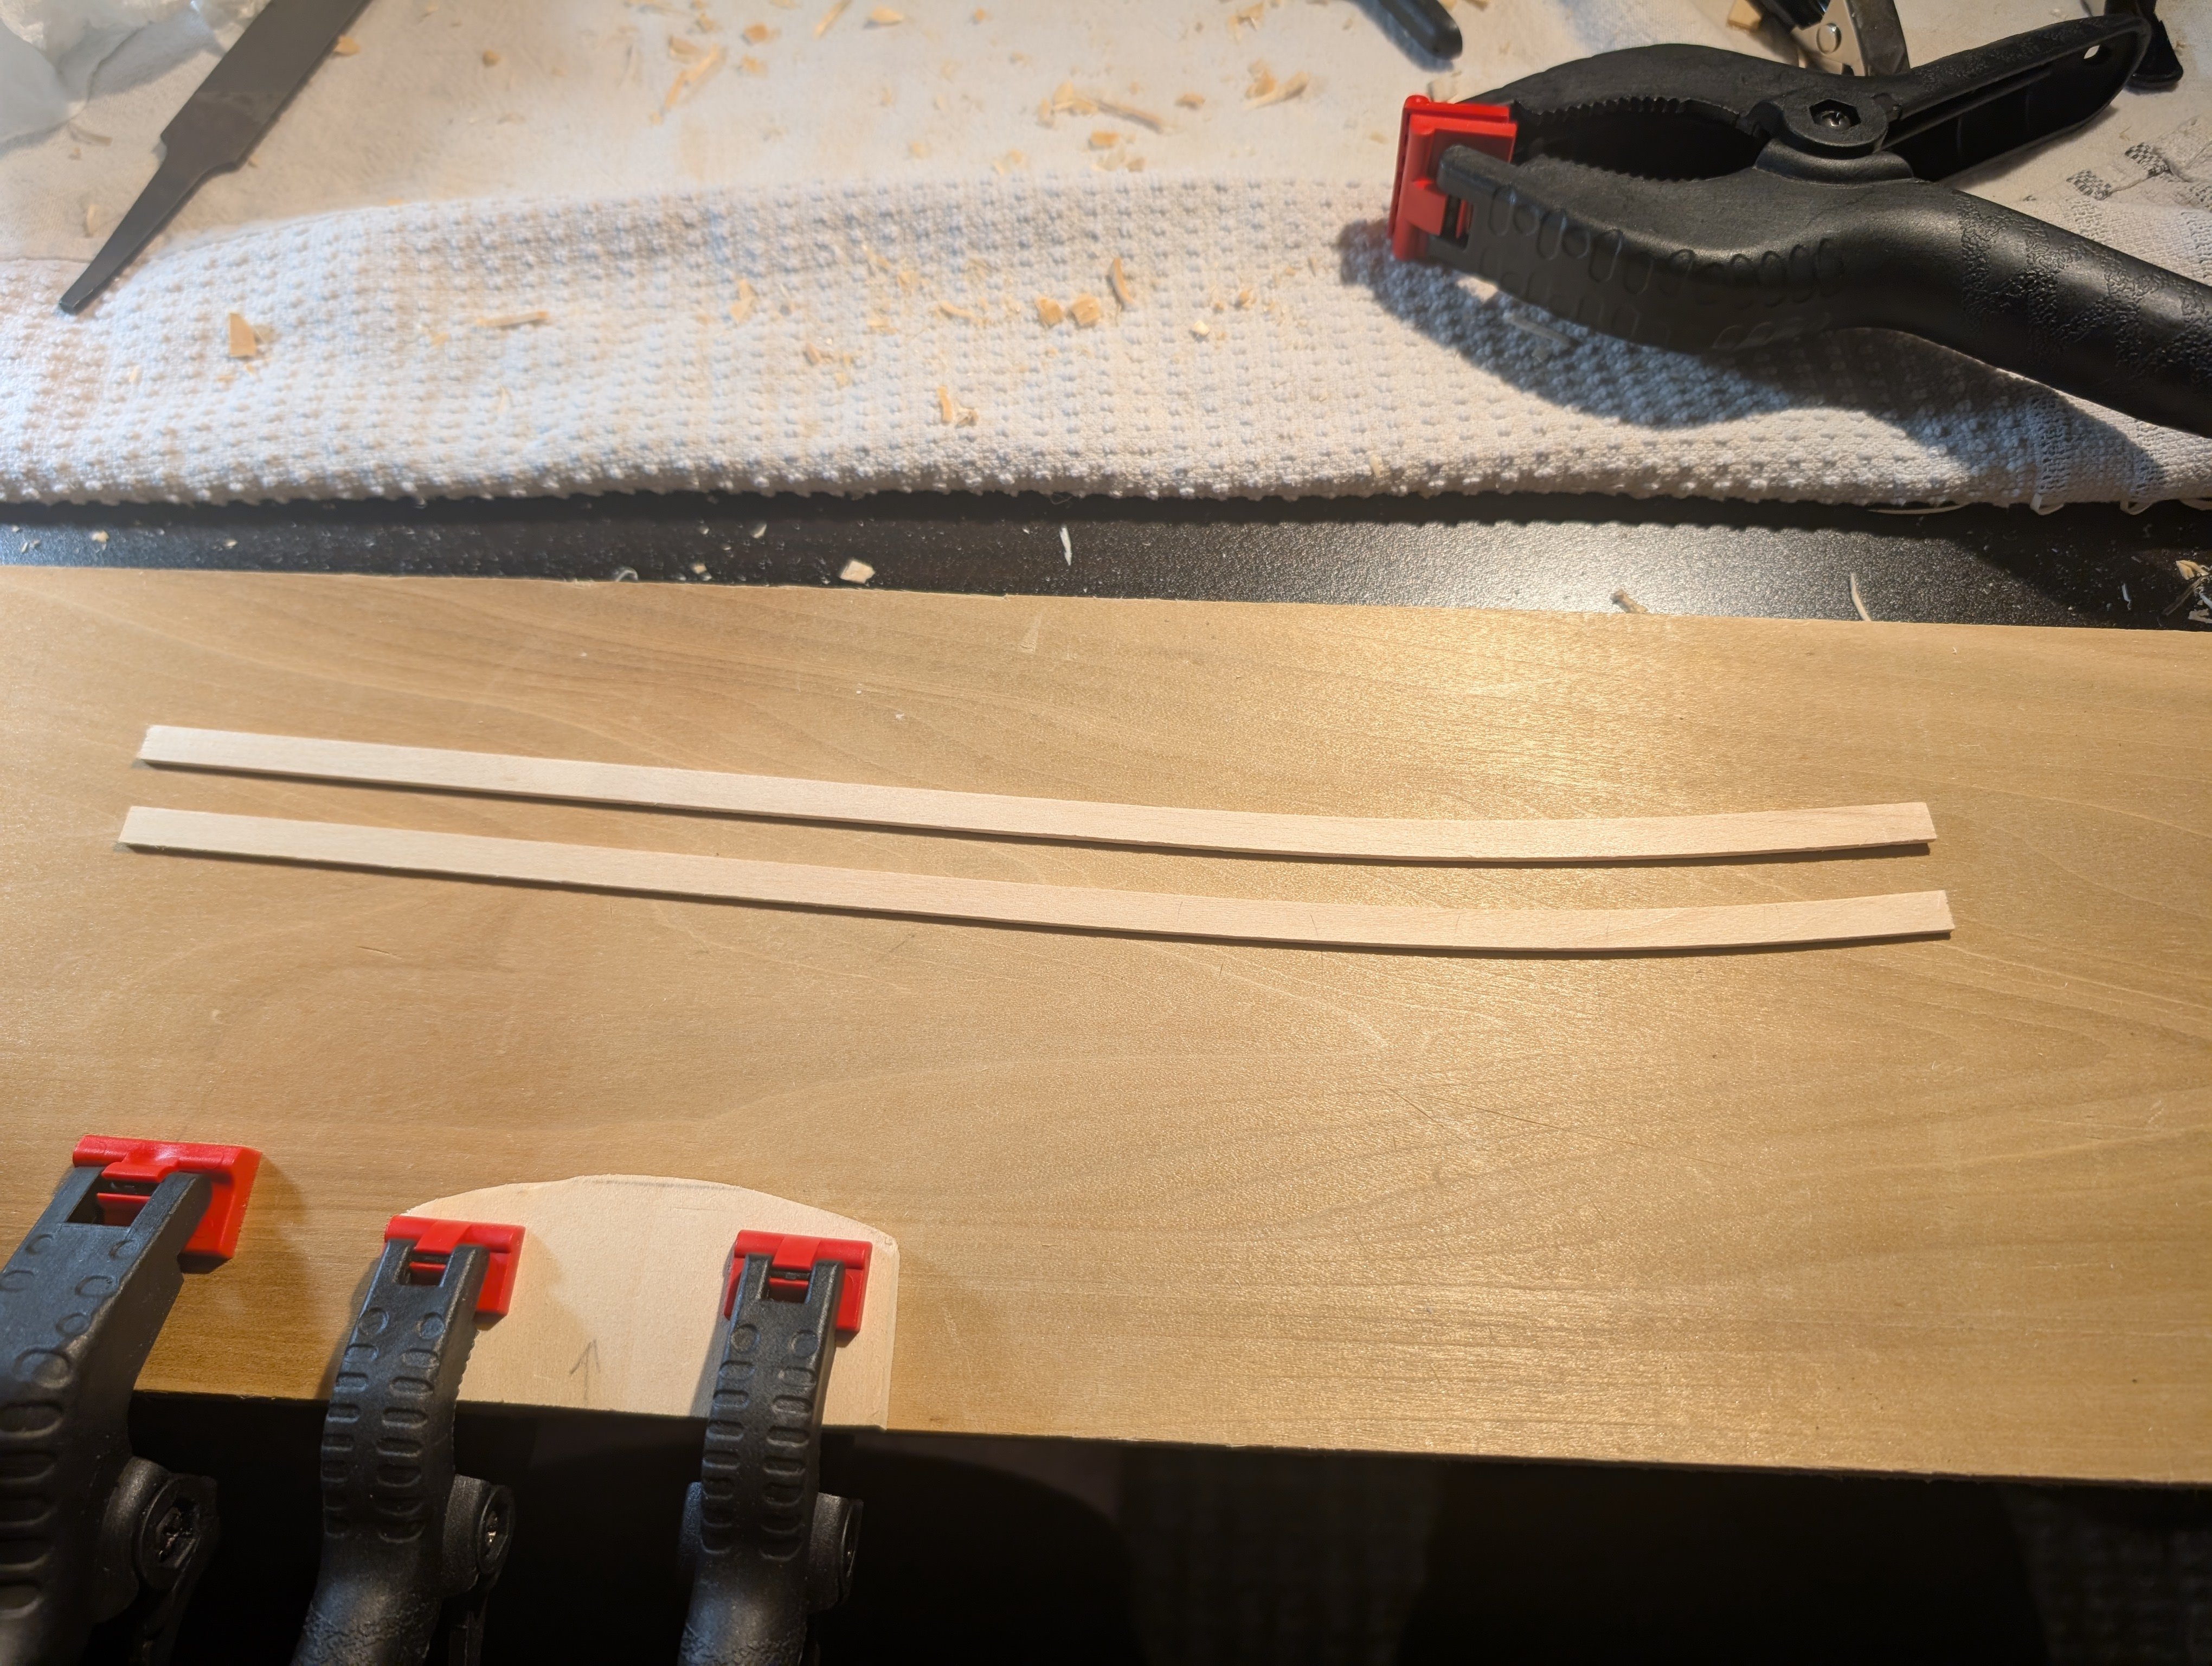
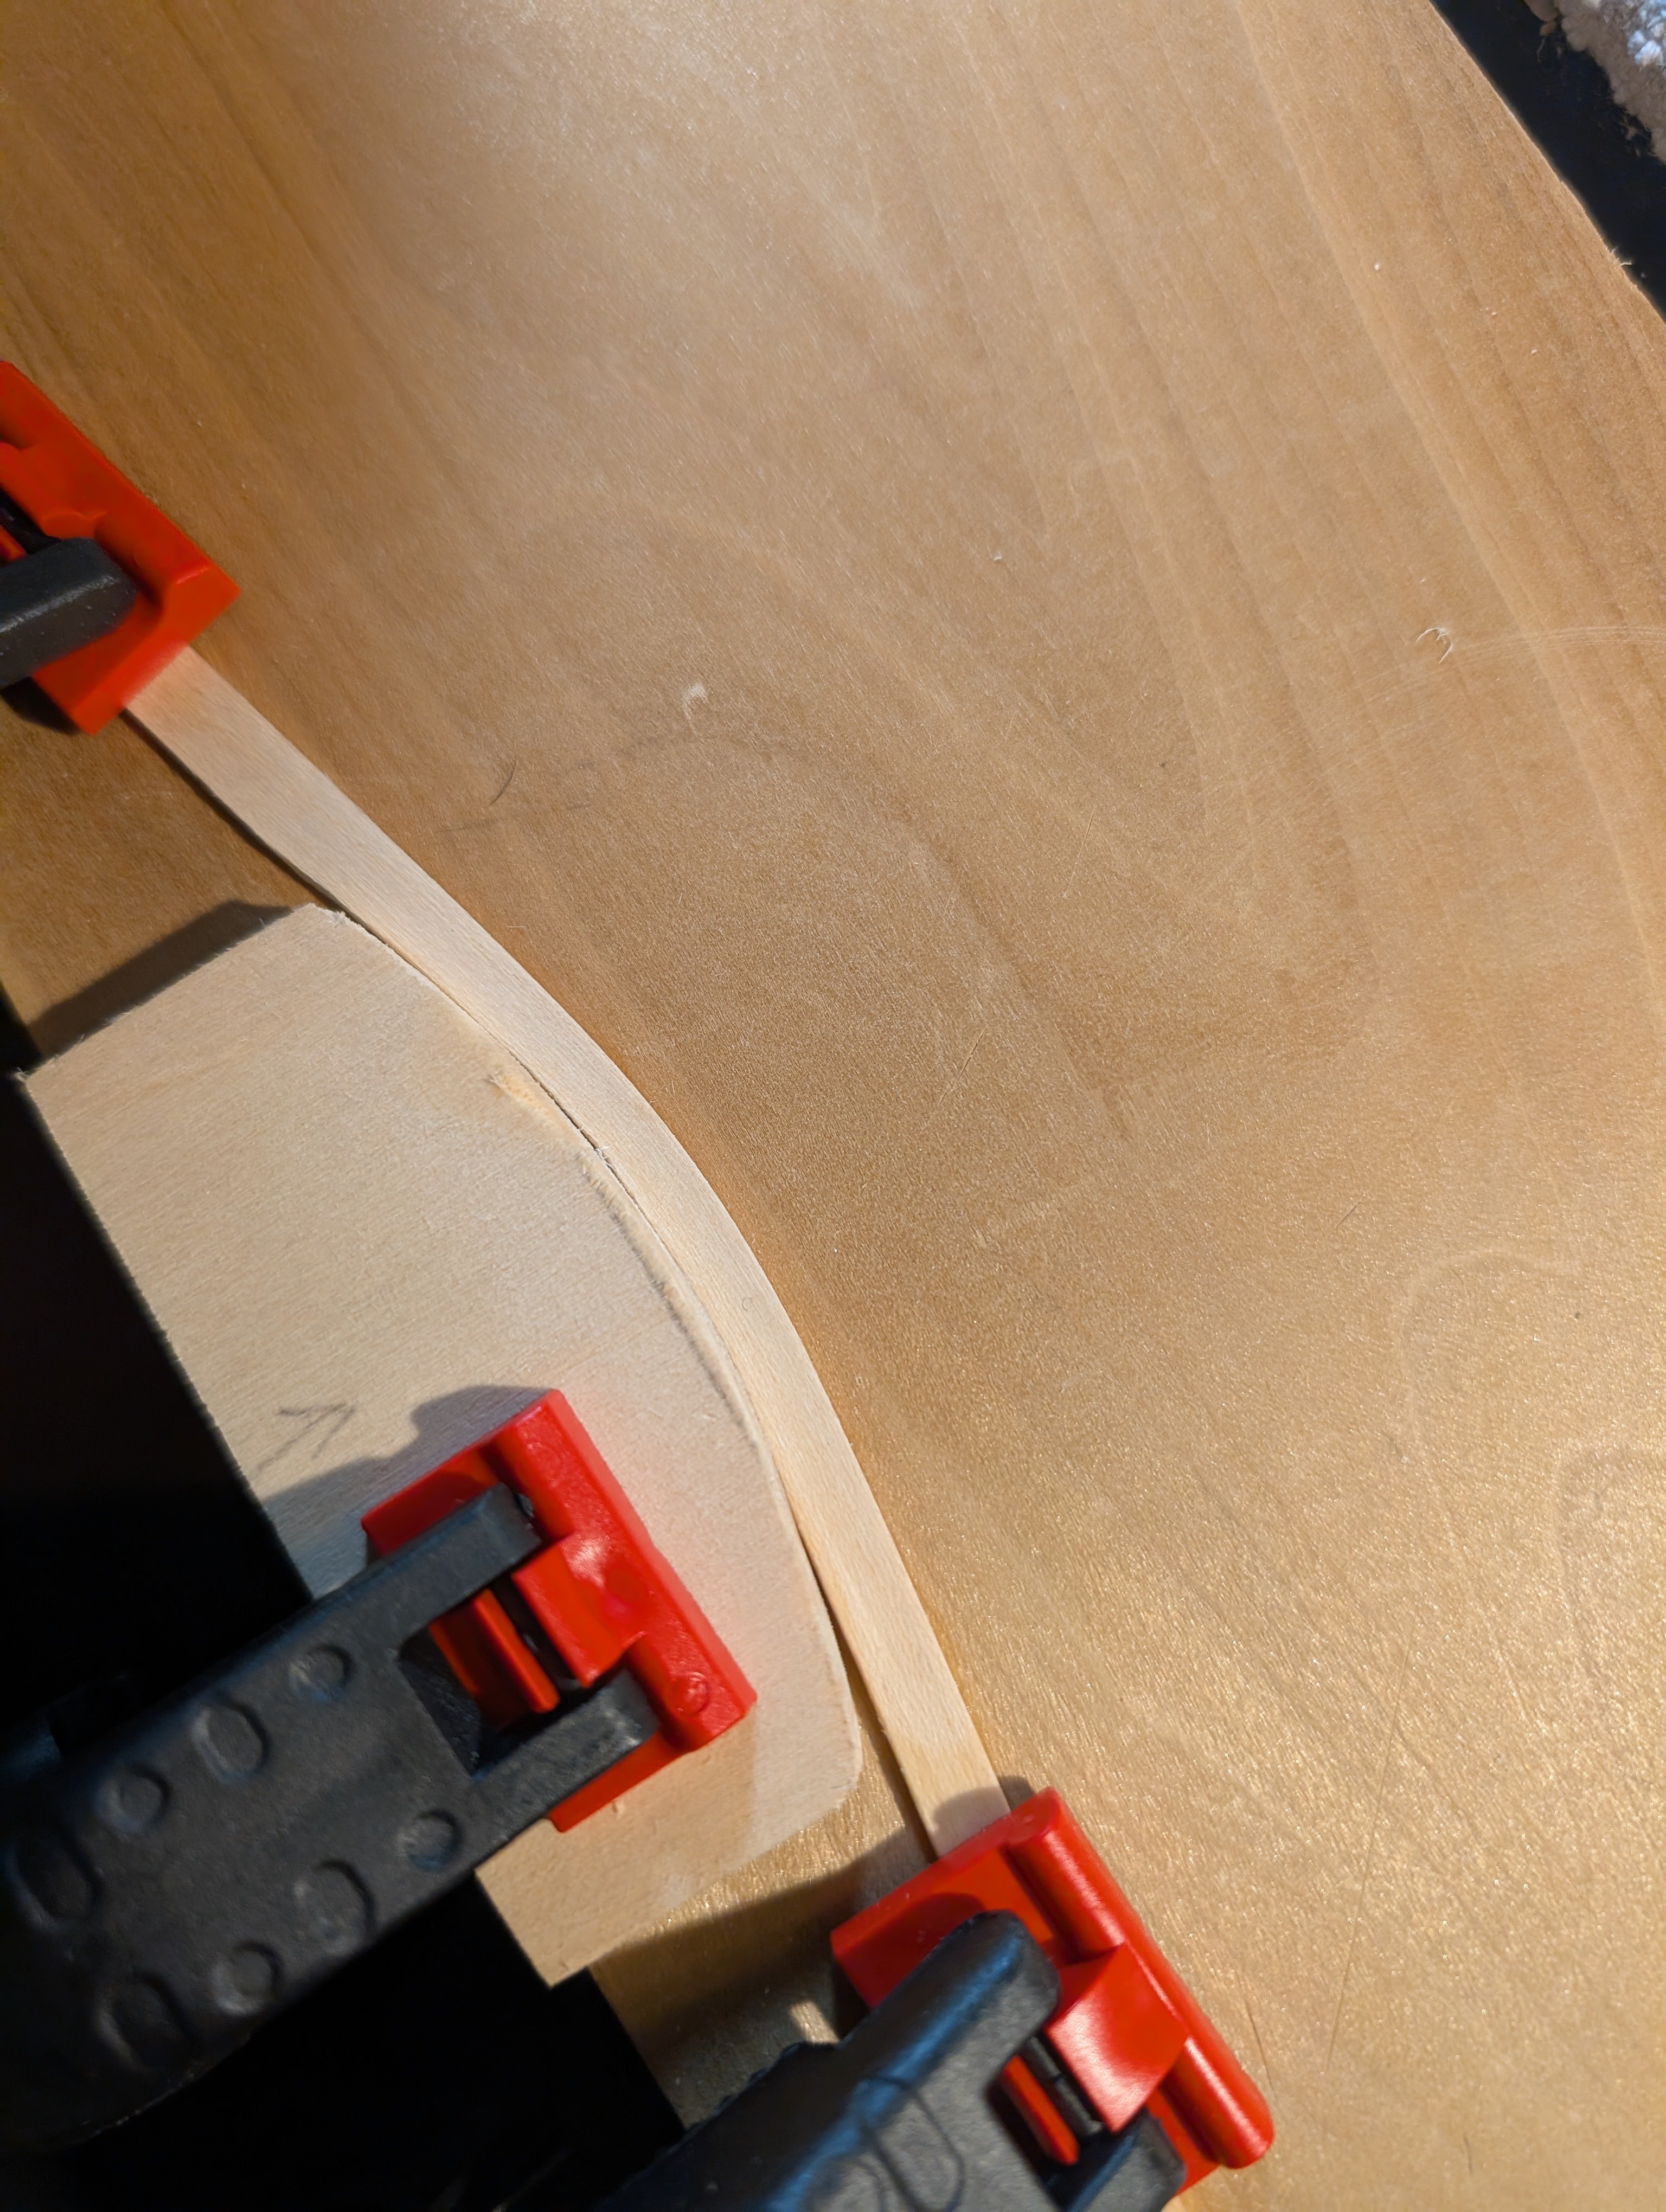
#4 sheer planks (bow end) bent and ready to install.

- 33 replies
-
- 6
-
-
- Model Shipways
- 18th Century Armed Longboat
- (and 1 more)
-
#3 strakes on both sides installed. I started with Chuck's method of planking with a jig and a clothes iron. I feel that this method is nice to get the edge curve, and the wood is ready to lay down after the shape is bent in. I don't think I would have had an issue with #2 strake having a slight bit of pinch had I used this method for #2. Stern is out of alignment now, mostly because the false keel cracked underneath, so some minor surgery was needed to repair it.


- 33 replies
-
- 4
-
-
- Model Shipways
- 18th Century Armed Longboat
- (and 1 more)
-
First two strakes installed. Not perfect but happy with the results.

- 33 replies
-
- 5
-
-
- Model Shipways
- 18th Century Armed Longboat
- (and 1 more)
-
I had to adjust the garboards slightly, but after adjusting the garboard, the first side plank #2 is in place. There is only a small odd spot toward the front that should sand out.


- 33 replies
-
- 3
-
-
- Model Shipways
- 18th Century Armed Longboat
- (and 1 more)
-
Opposite side garboard strake laid down.
.thumb.jpg.a081e032dc8725f4708fe7e17f4e6ff2.jpg)
- 33 replies
-
- 5
-
-
- Model Shipways
- 18th Century Armed Longboat
- (and 1 more)
-
Garboard plank prep and install on the first side is now complete.


- 33 replies
-
- 6
-
-
- Model Shipways
- 18th Century Armed Longboat
- (and 1 more)
-
Marking the top strake across the frames complete. Planning and marking for the strakes is next.
- 33 replies
-
- 5
-
-
- Model Shipways
- 18th Century Armed Longboat
- (and 1 more)
-
Yellow Cedar Barrel by TheFace - Syren Ship Model Company
TheFace replied to TheFace's topic in Non-ship/categorised builds
Off to the hardware store to get some conditioner and finish to apply. -
Yellow Cedar Barrel by TheFace - Syren Ship Model Company
TheFace replied to TheFace's topic in Non-ship/categorised builds
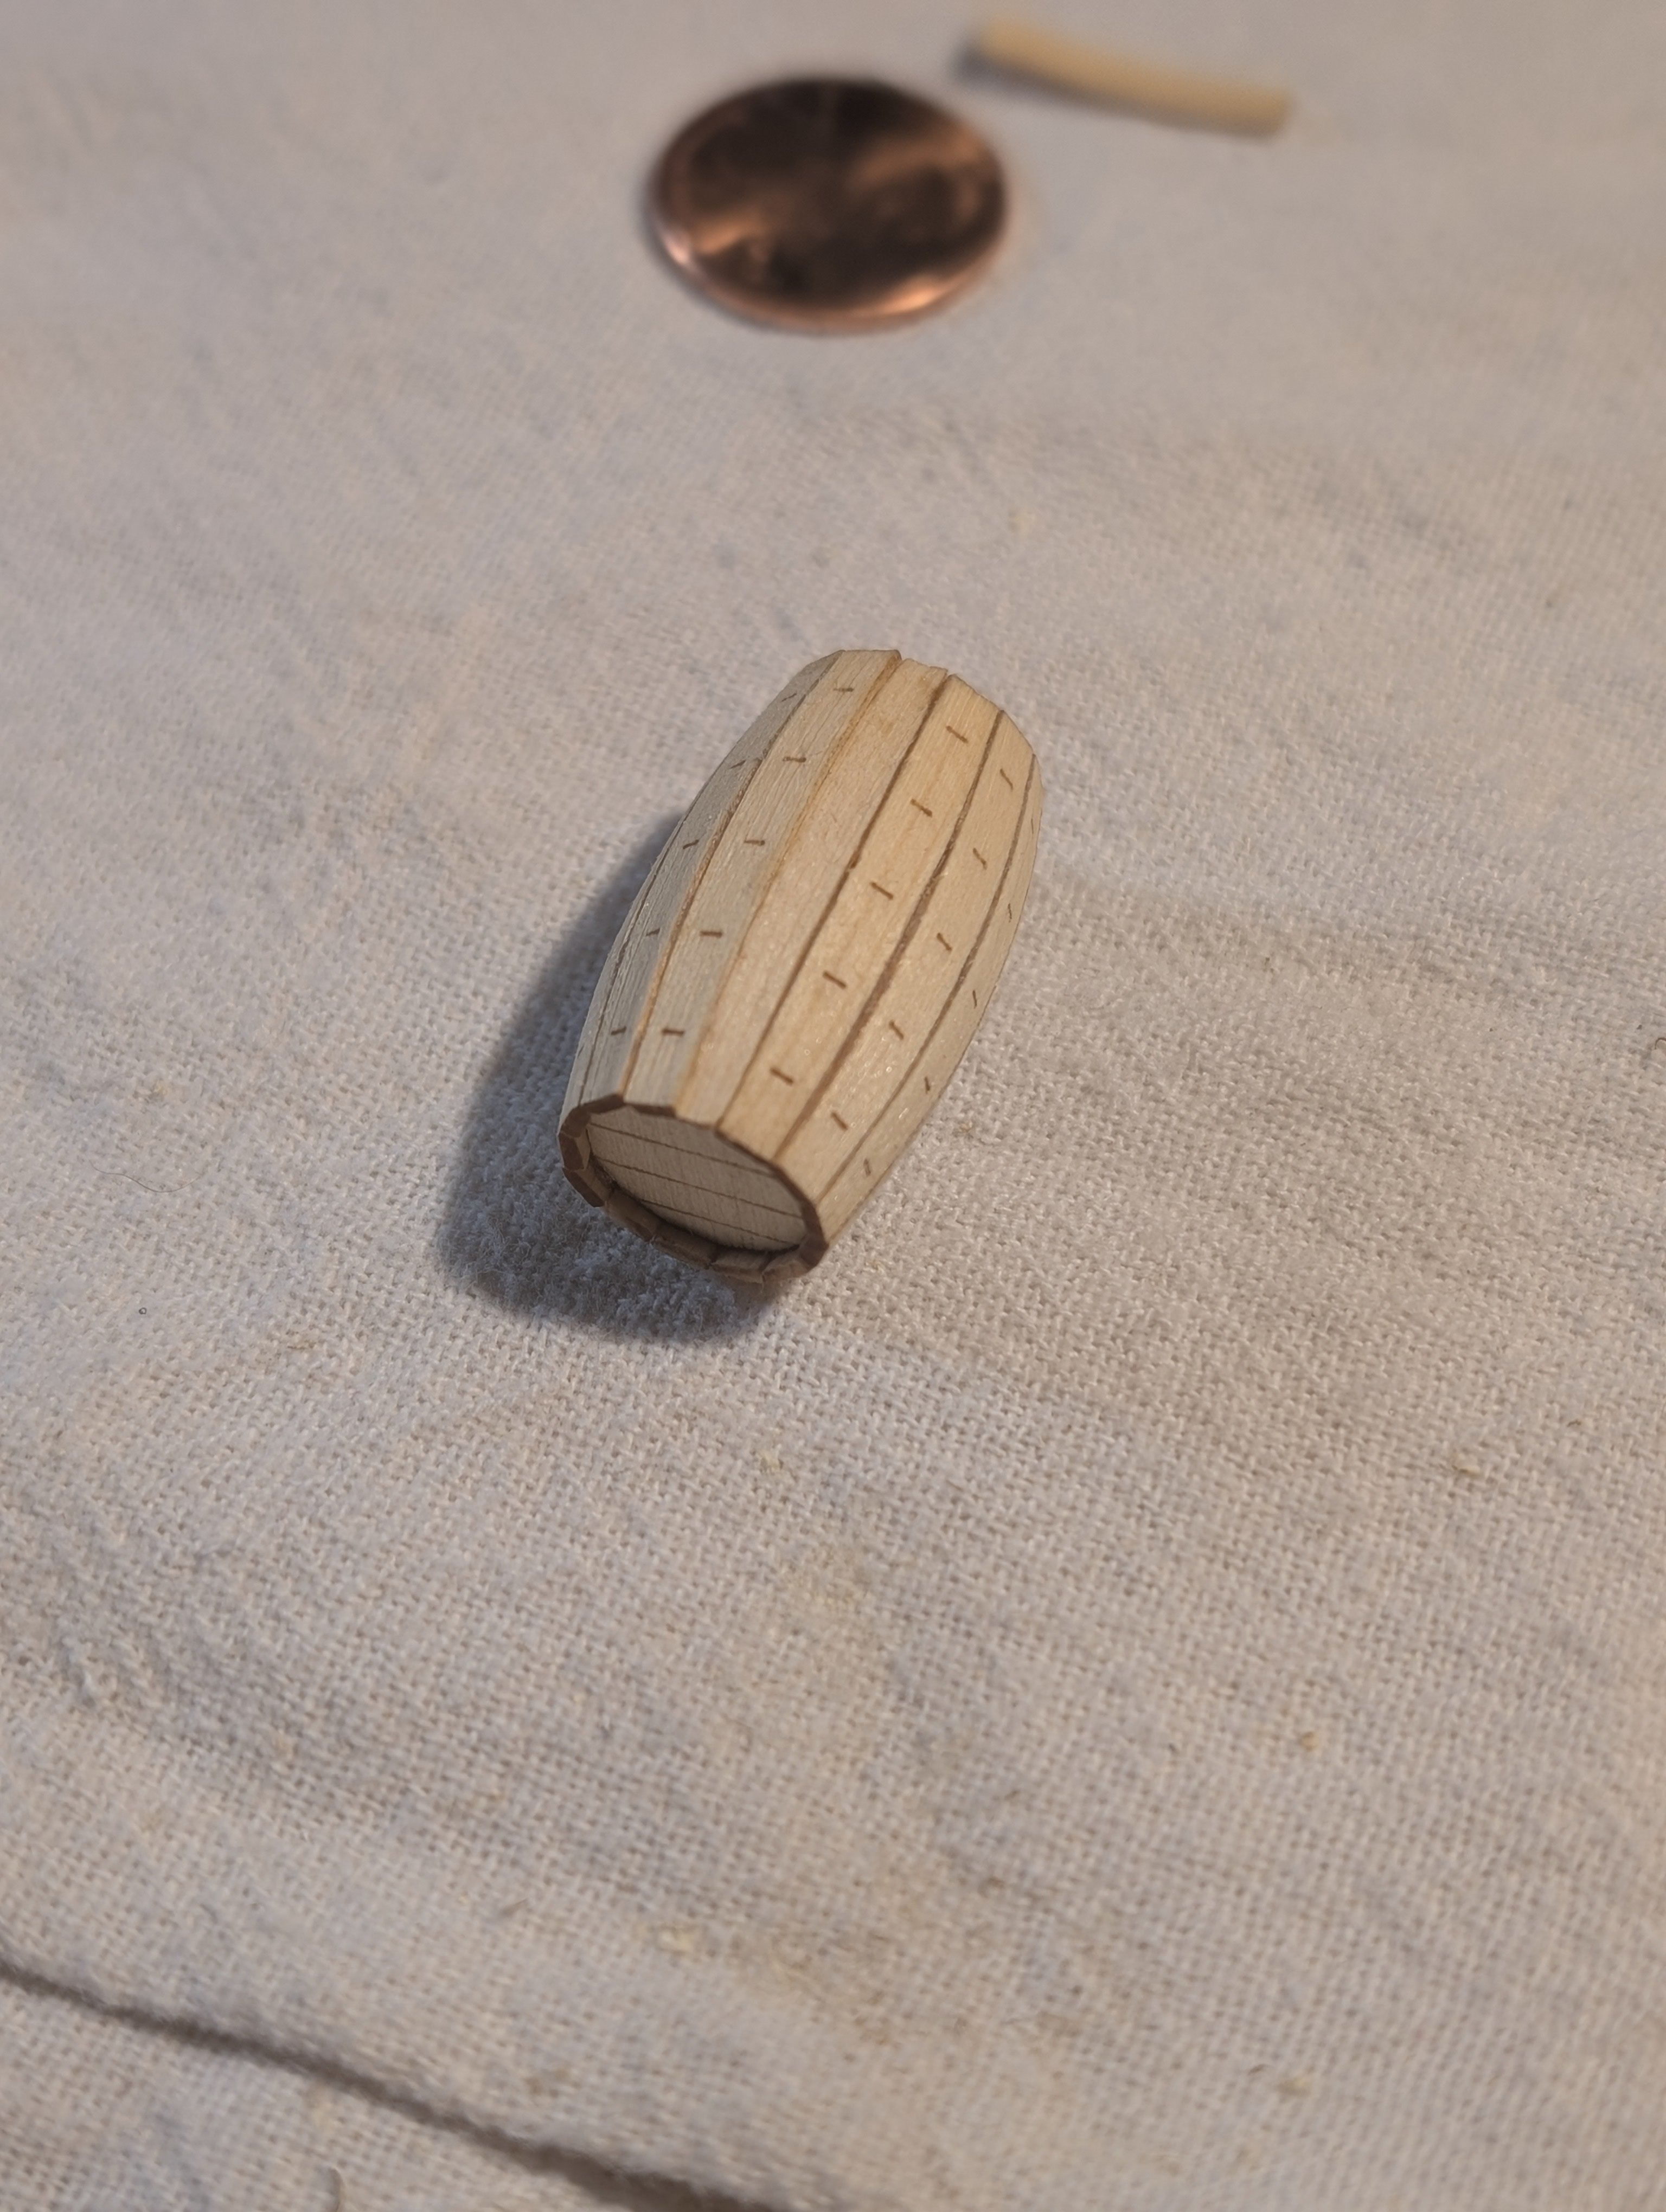
After sanding: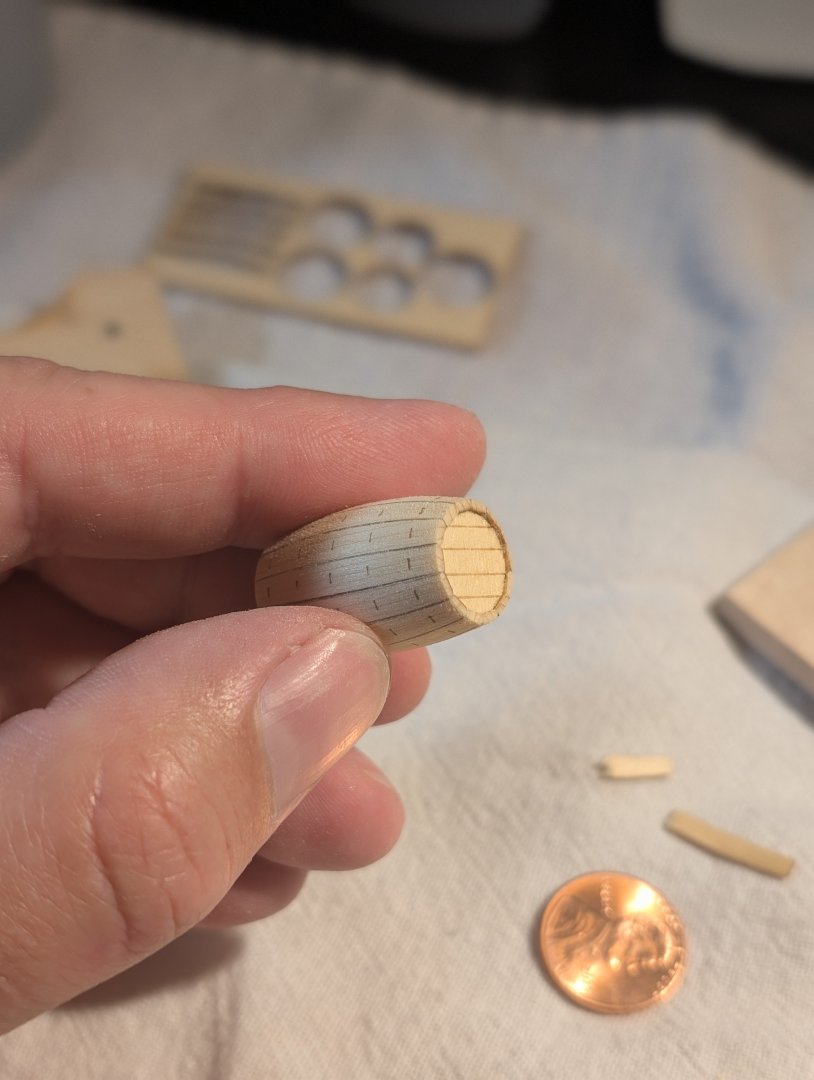
-
Yellow Cedar Barrel by TheFace - Syren Ship Model Company
TheFace replied to TheFace's topic in Non-ship/categorised builds
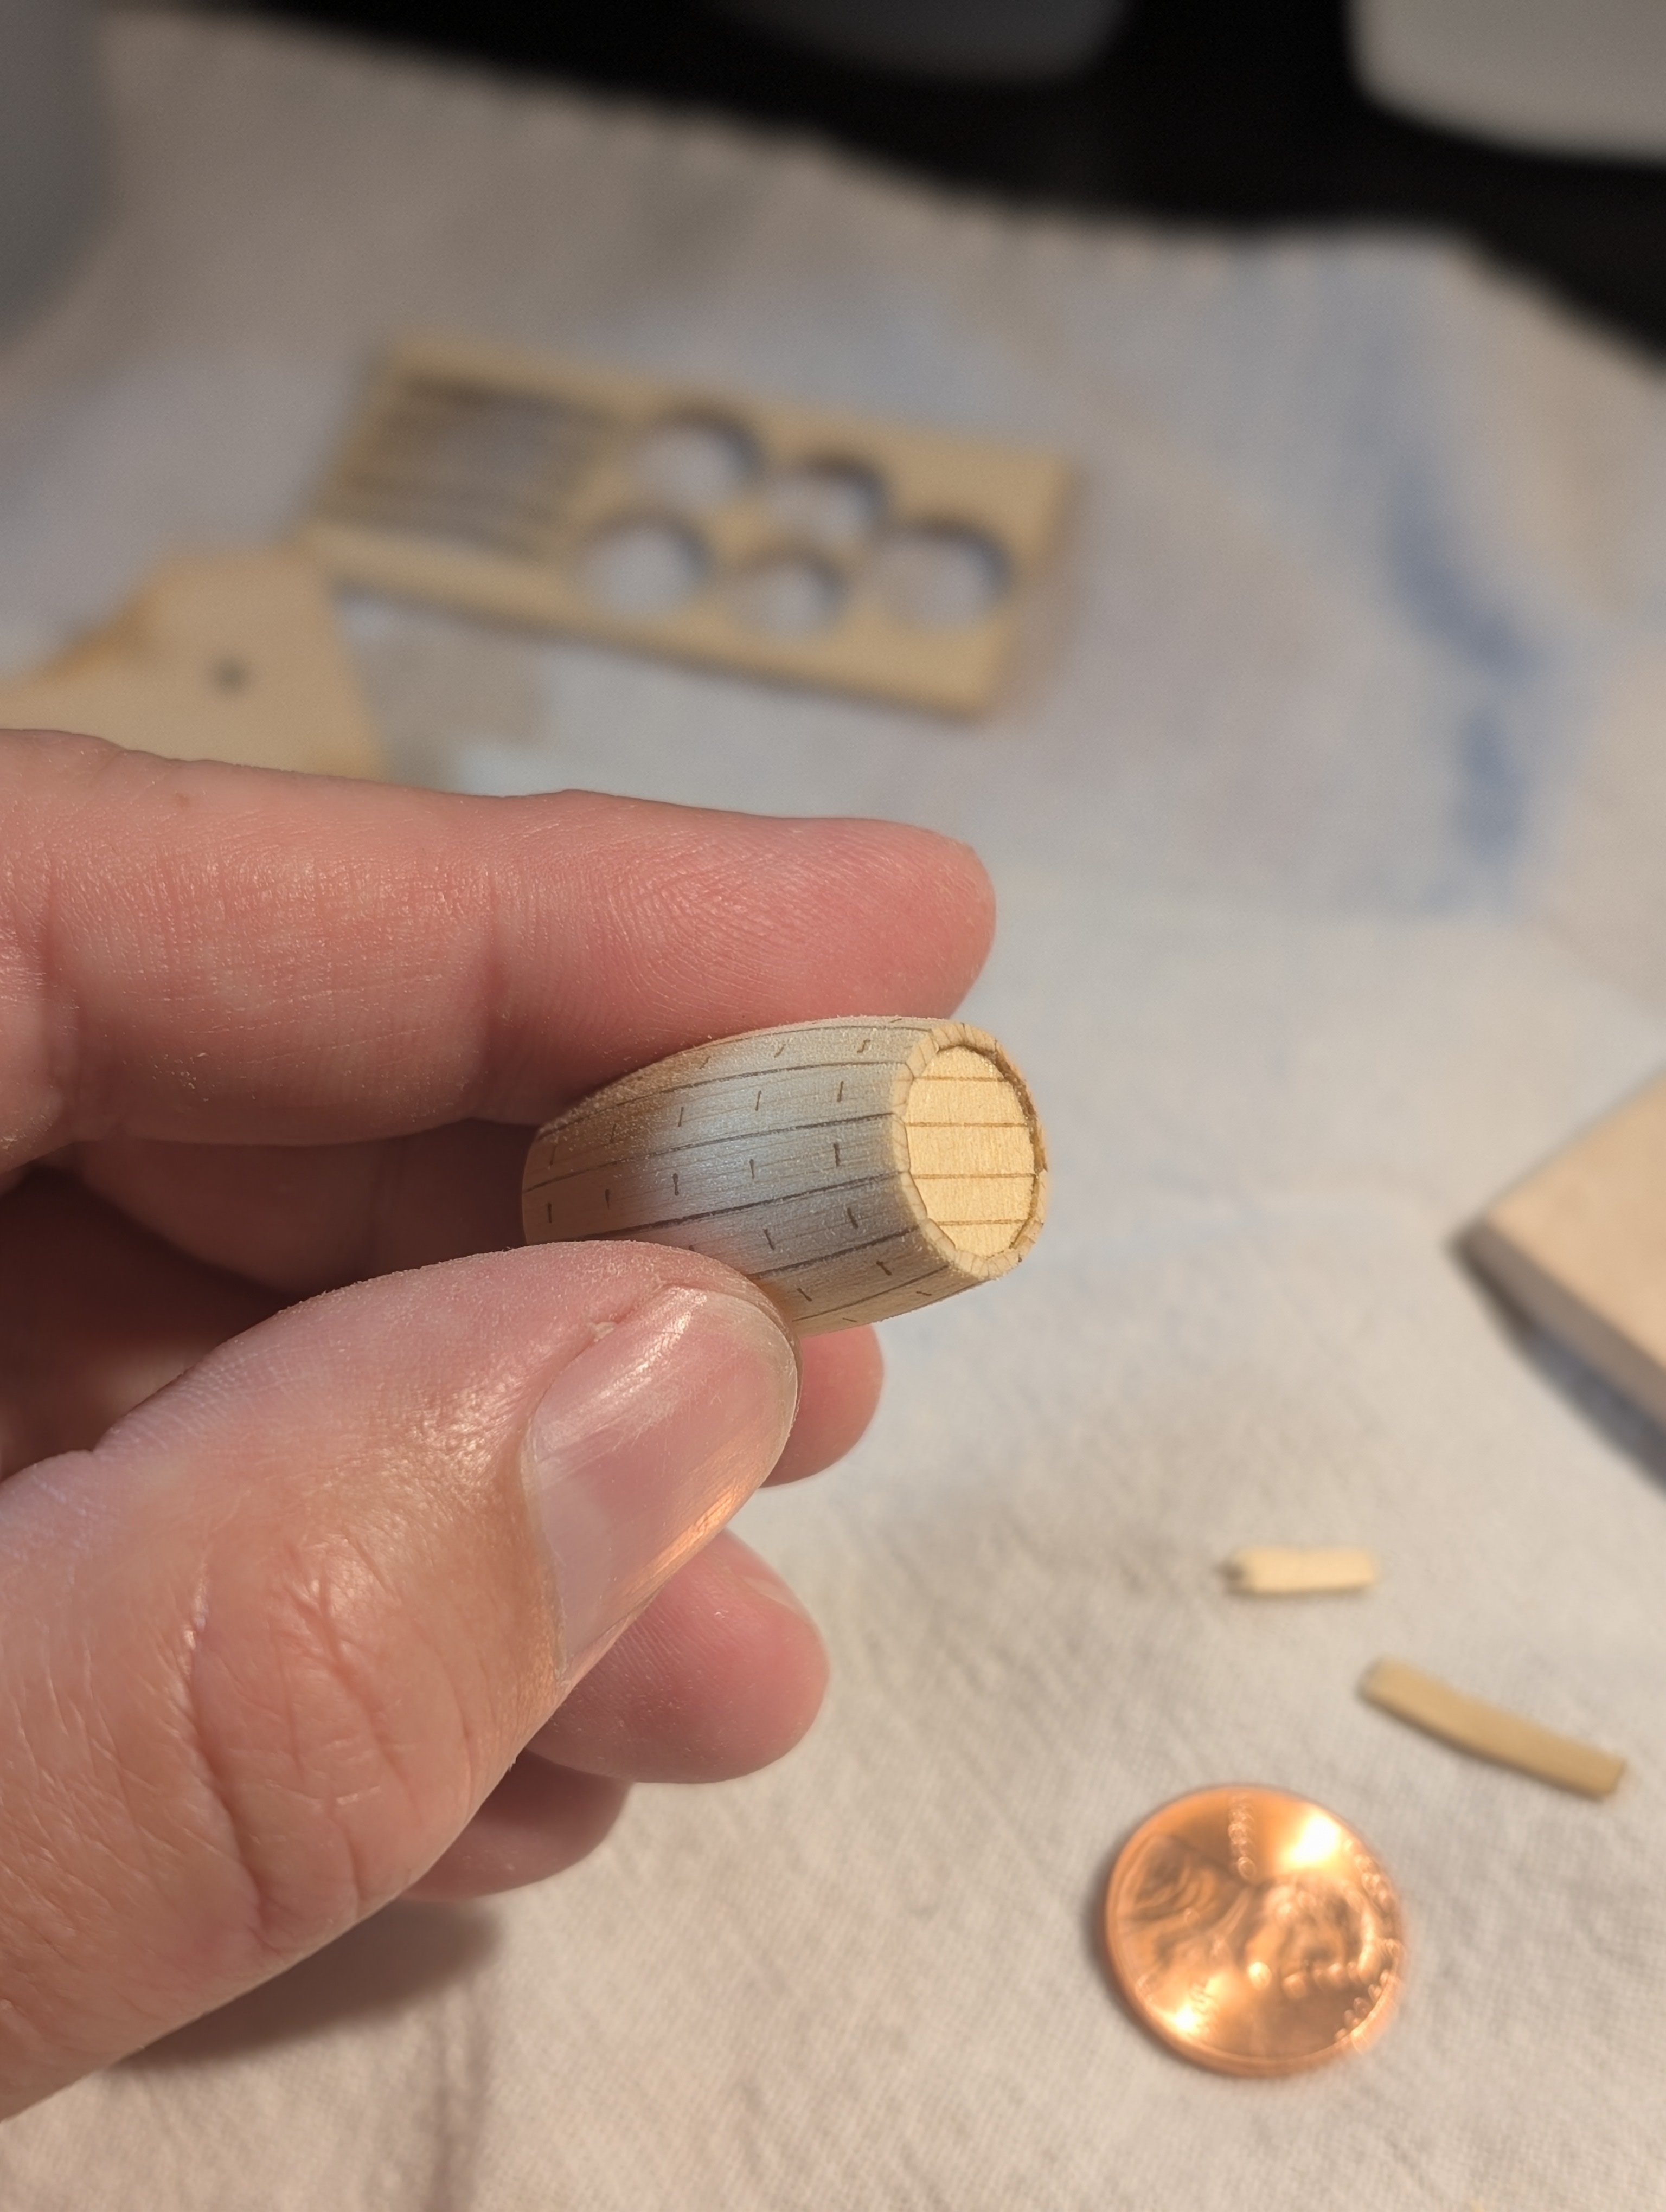
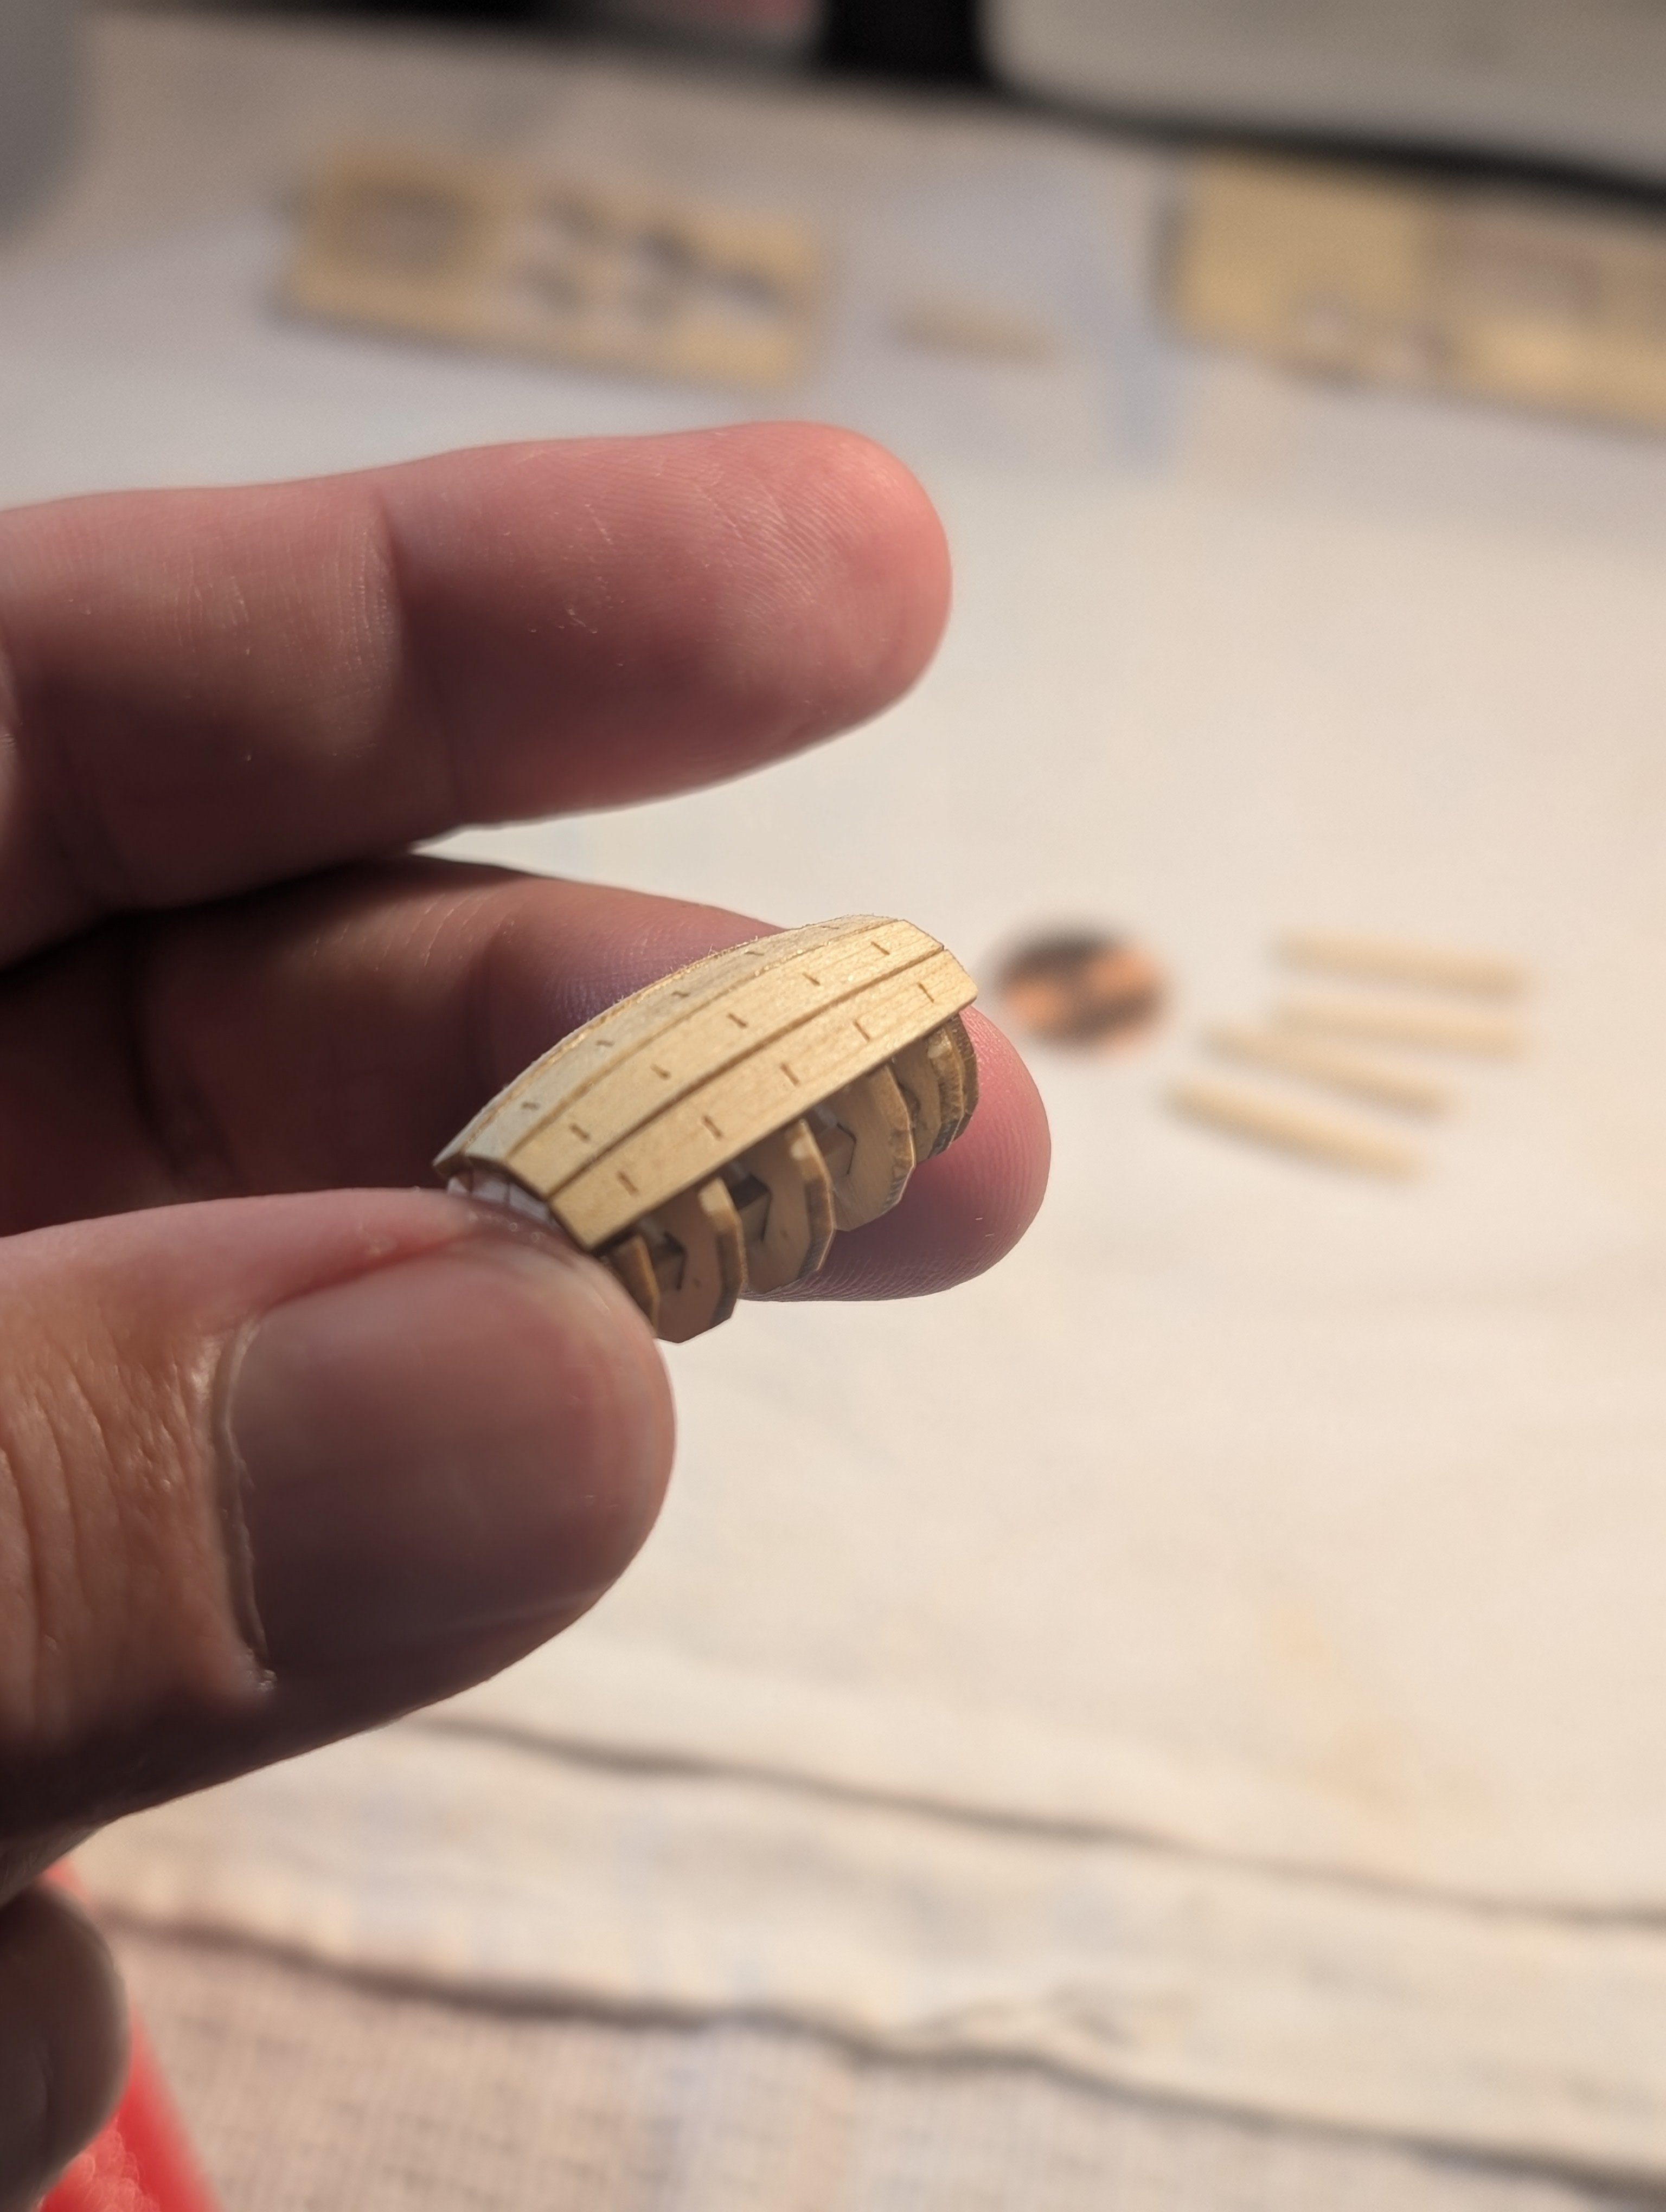
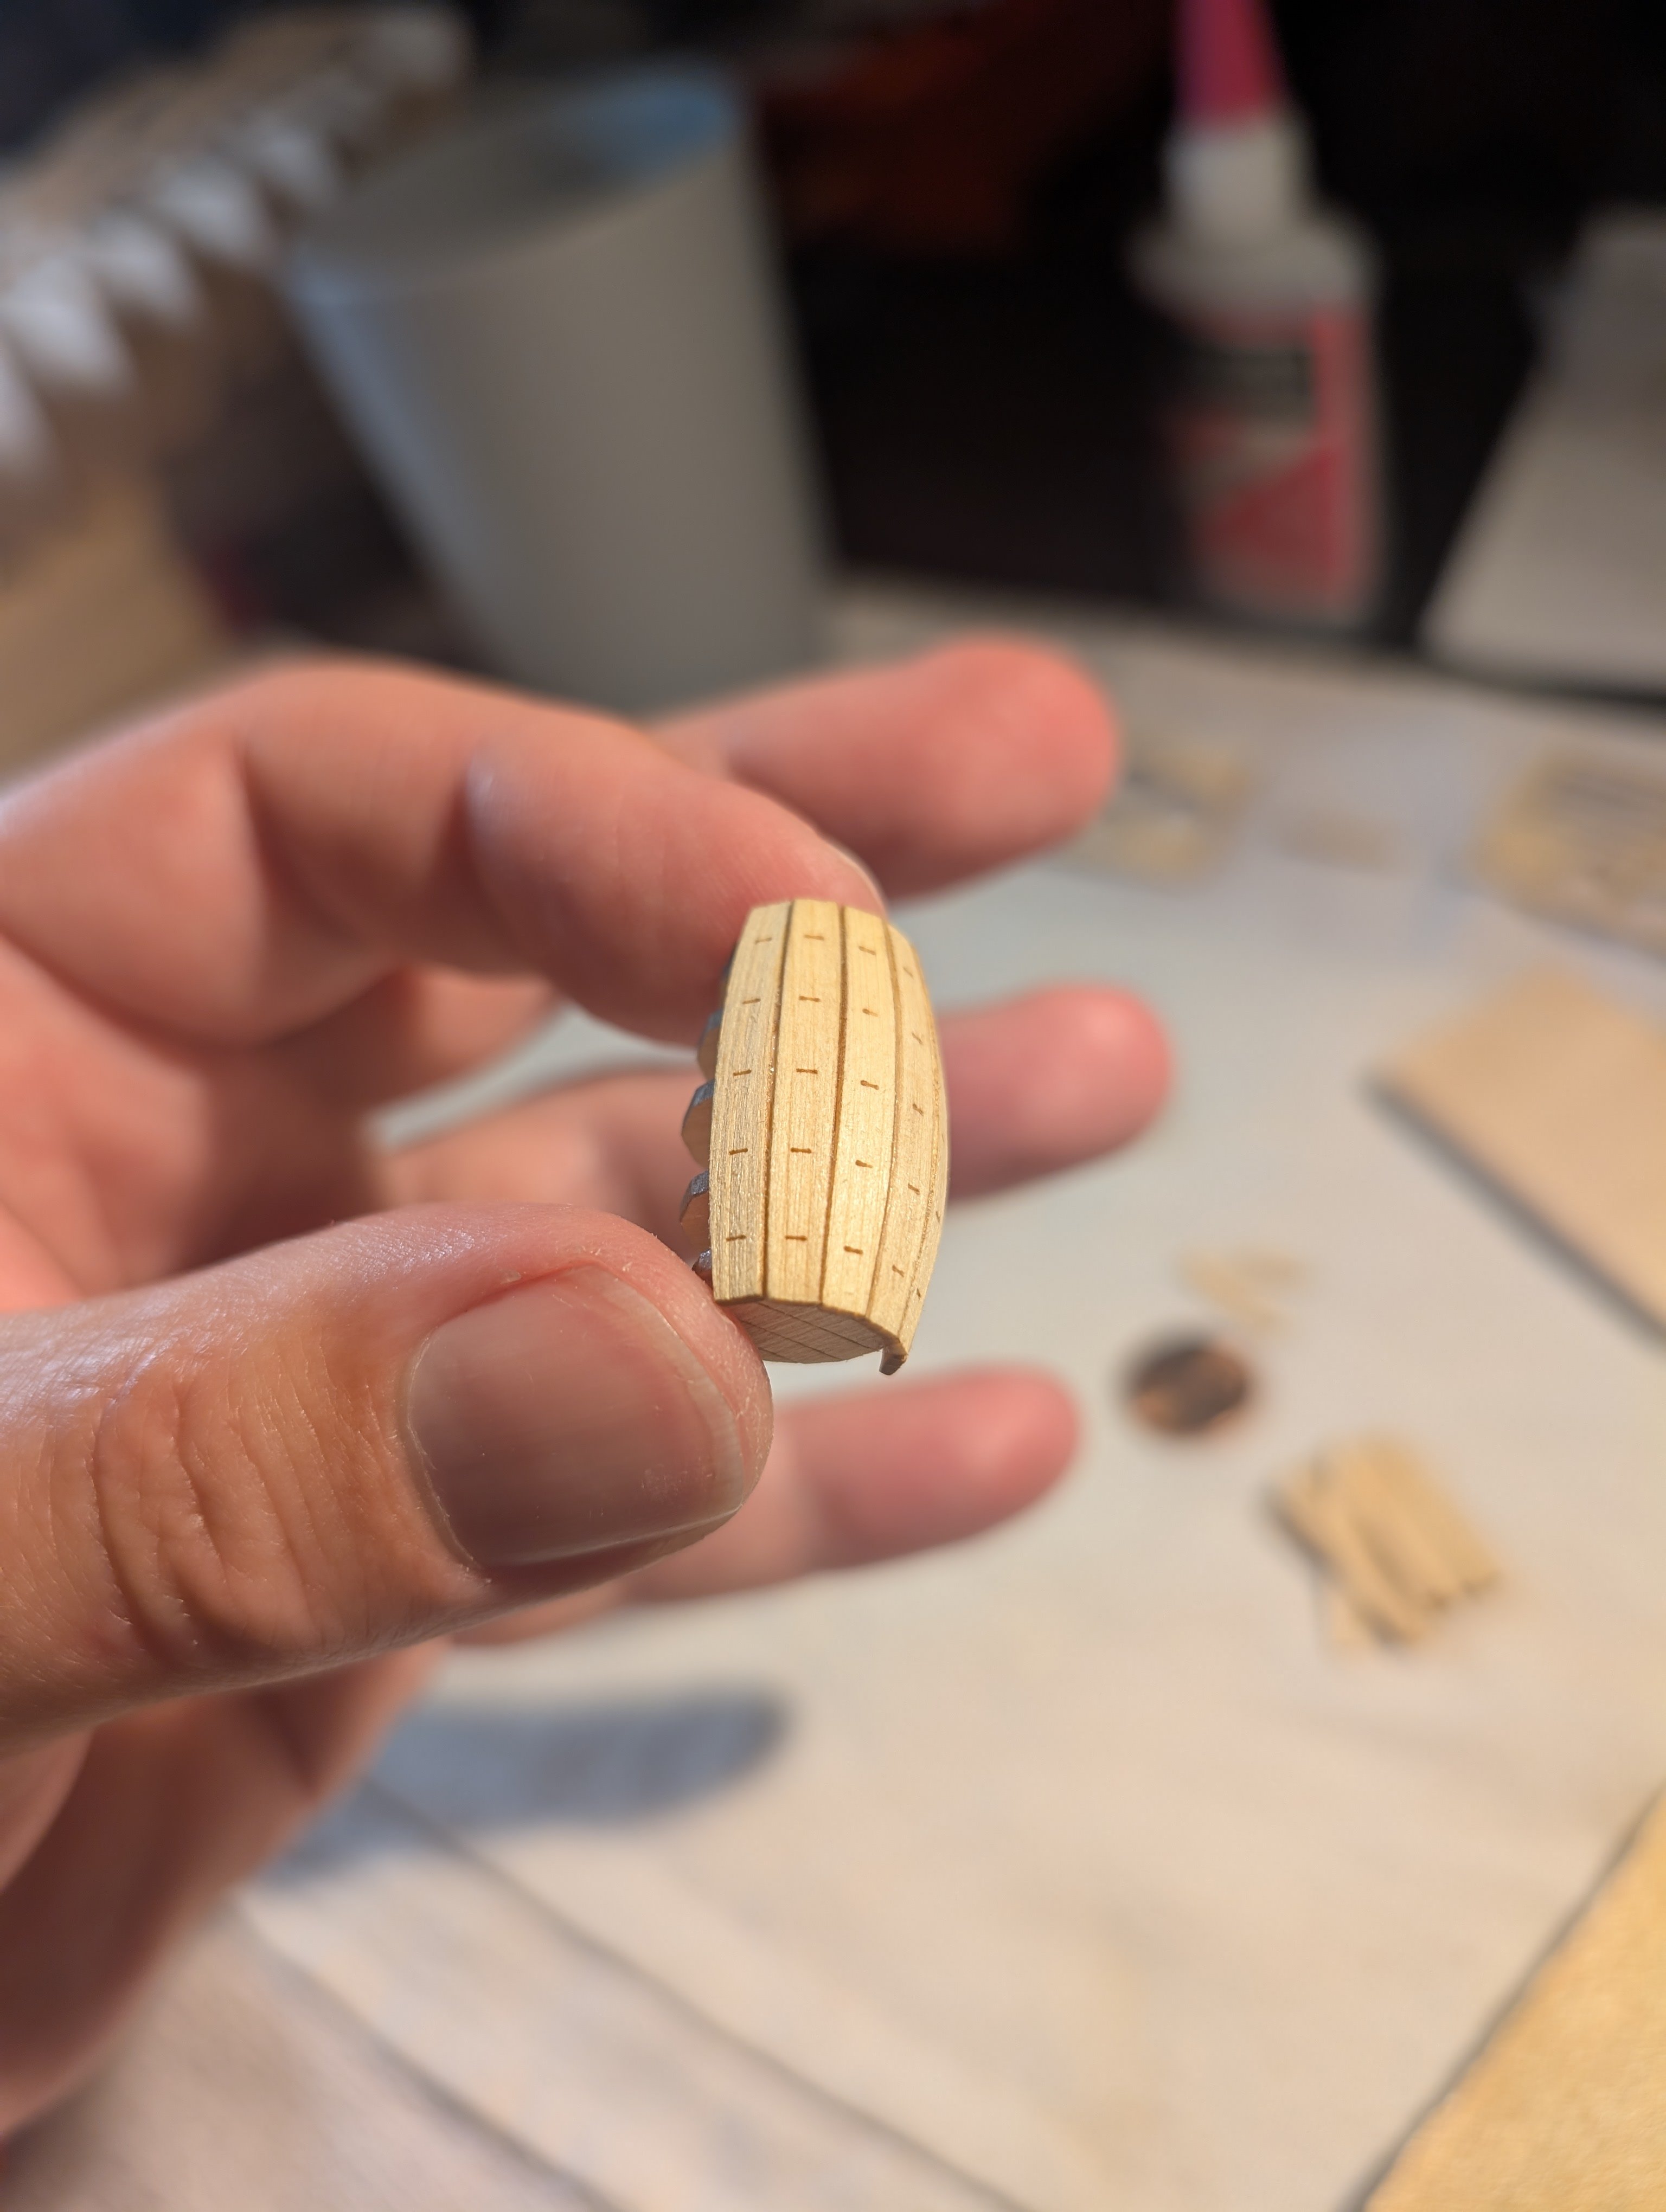
Full planking went well, and the last plank used one of the smaller spacers Chuck includes. The kit has 3 different size spacers to help with making the last plank fit really well.


-
Yellow Cedar Barrel by TheFace - Syren Ship Model Company
TheFace replied to TheFace's topic in Non-ship/categorised builds
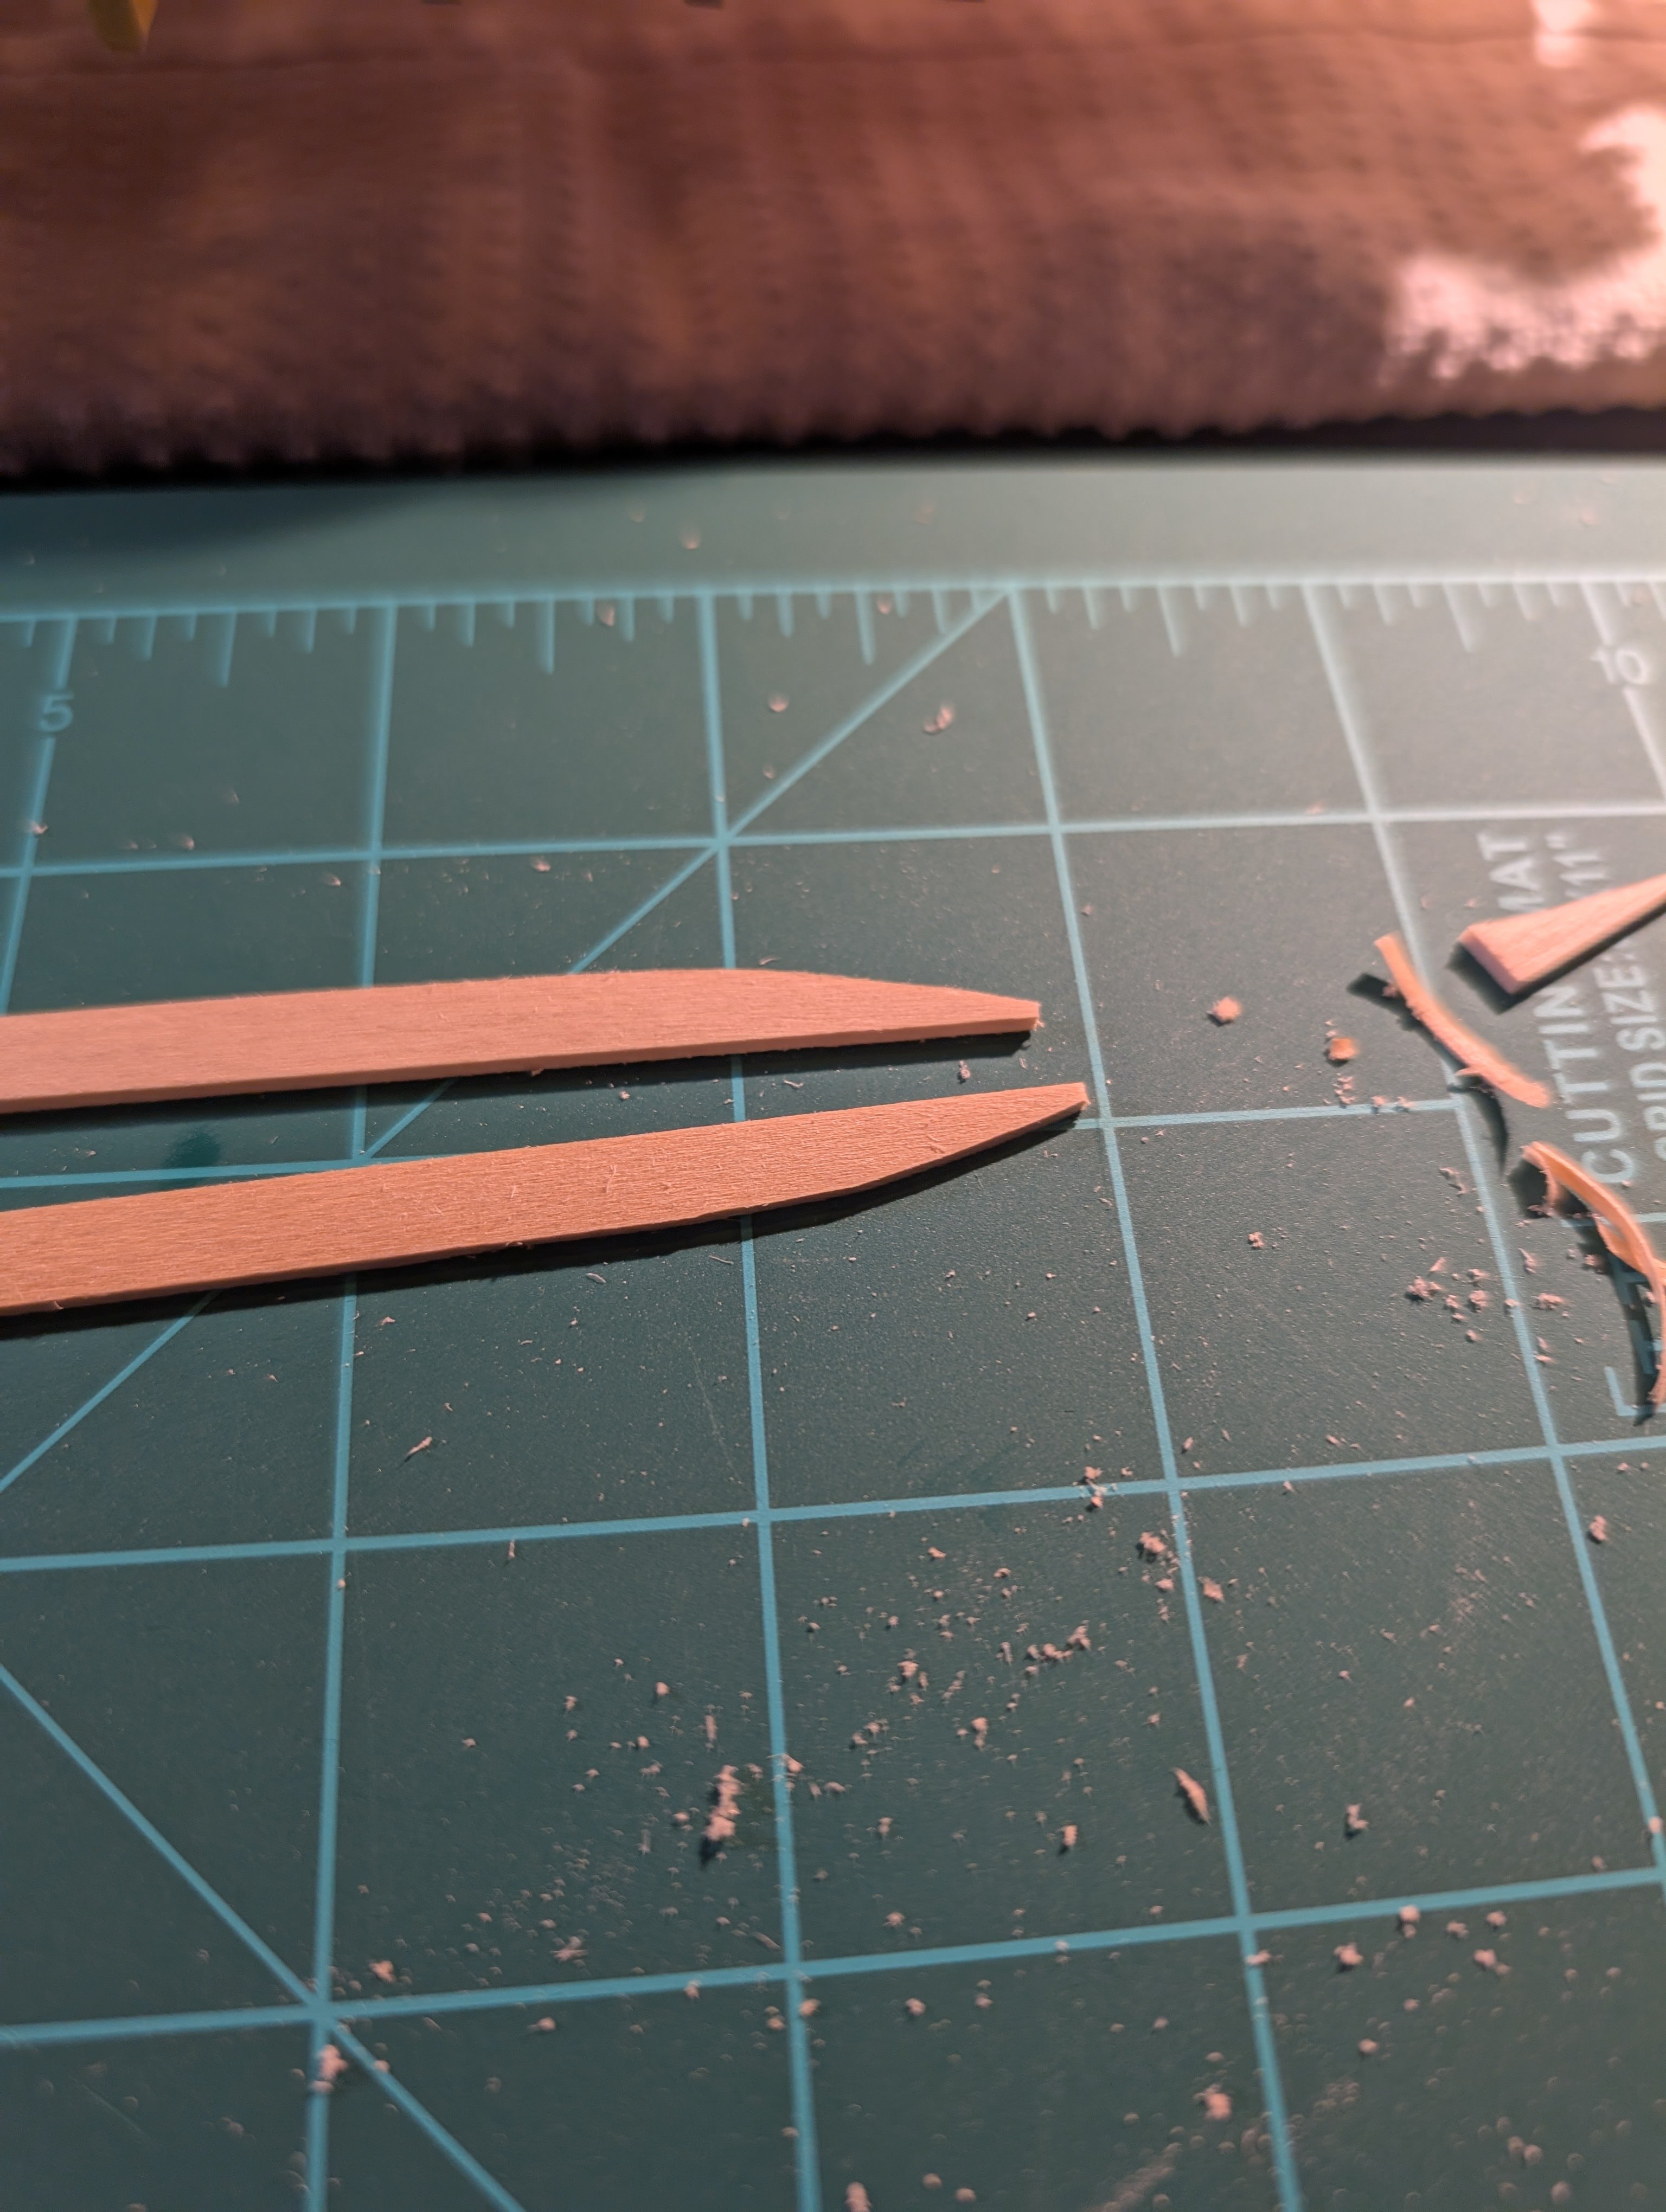
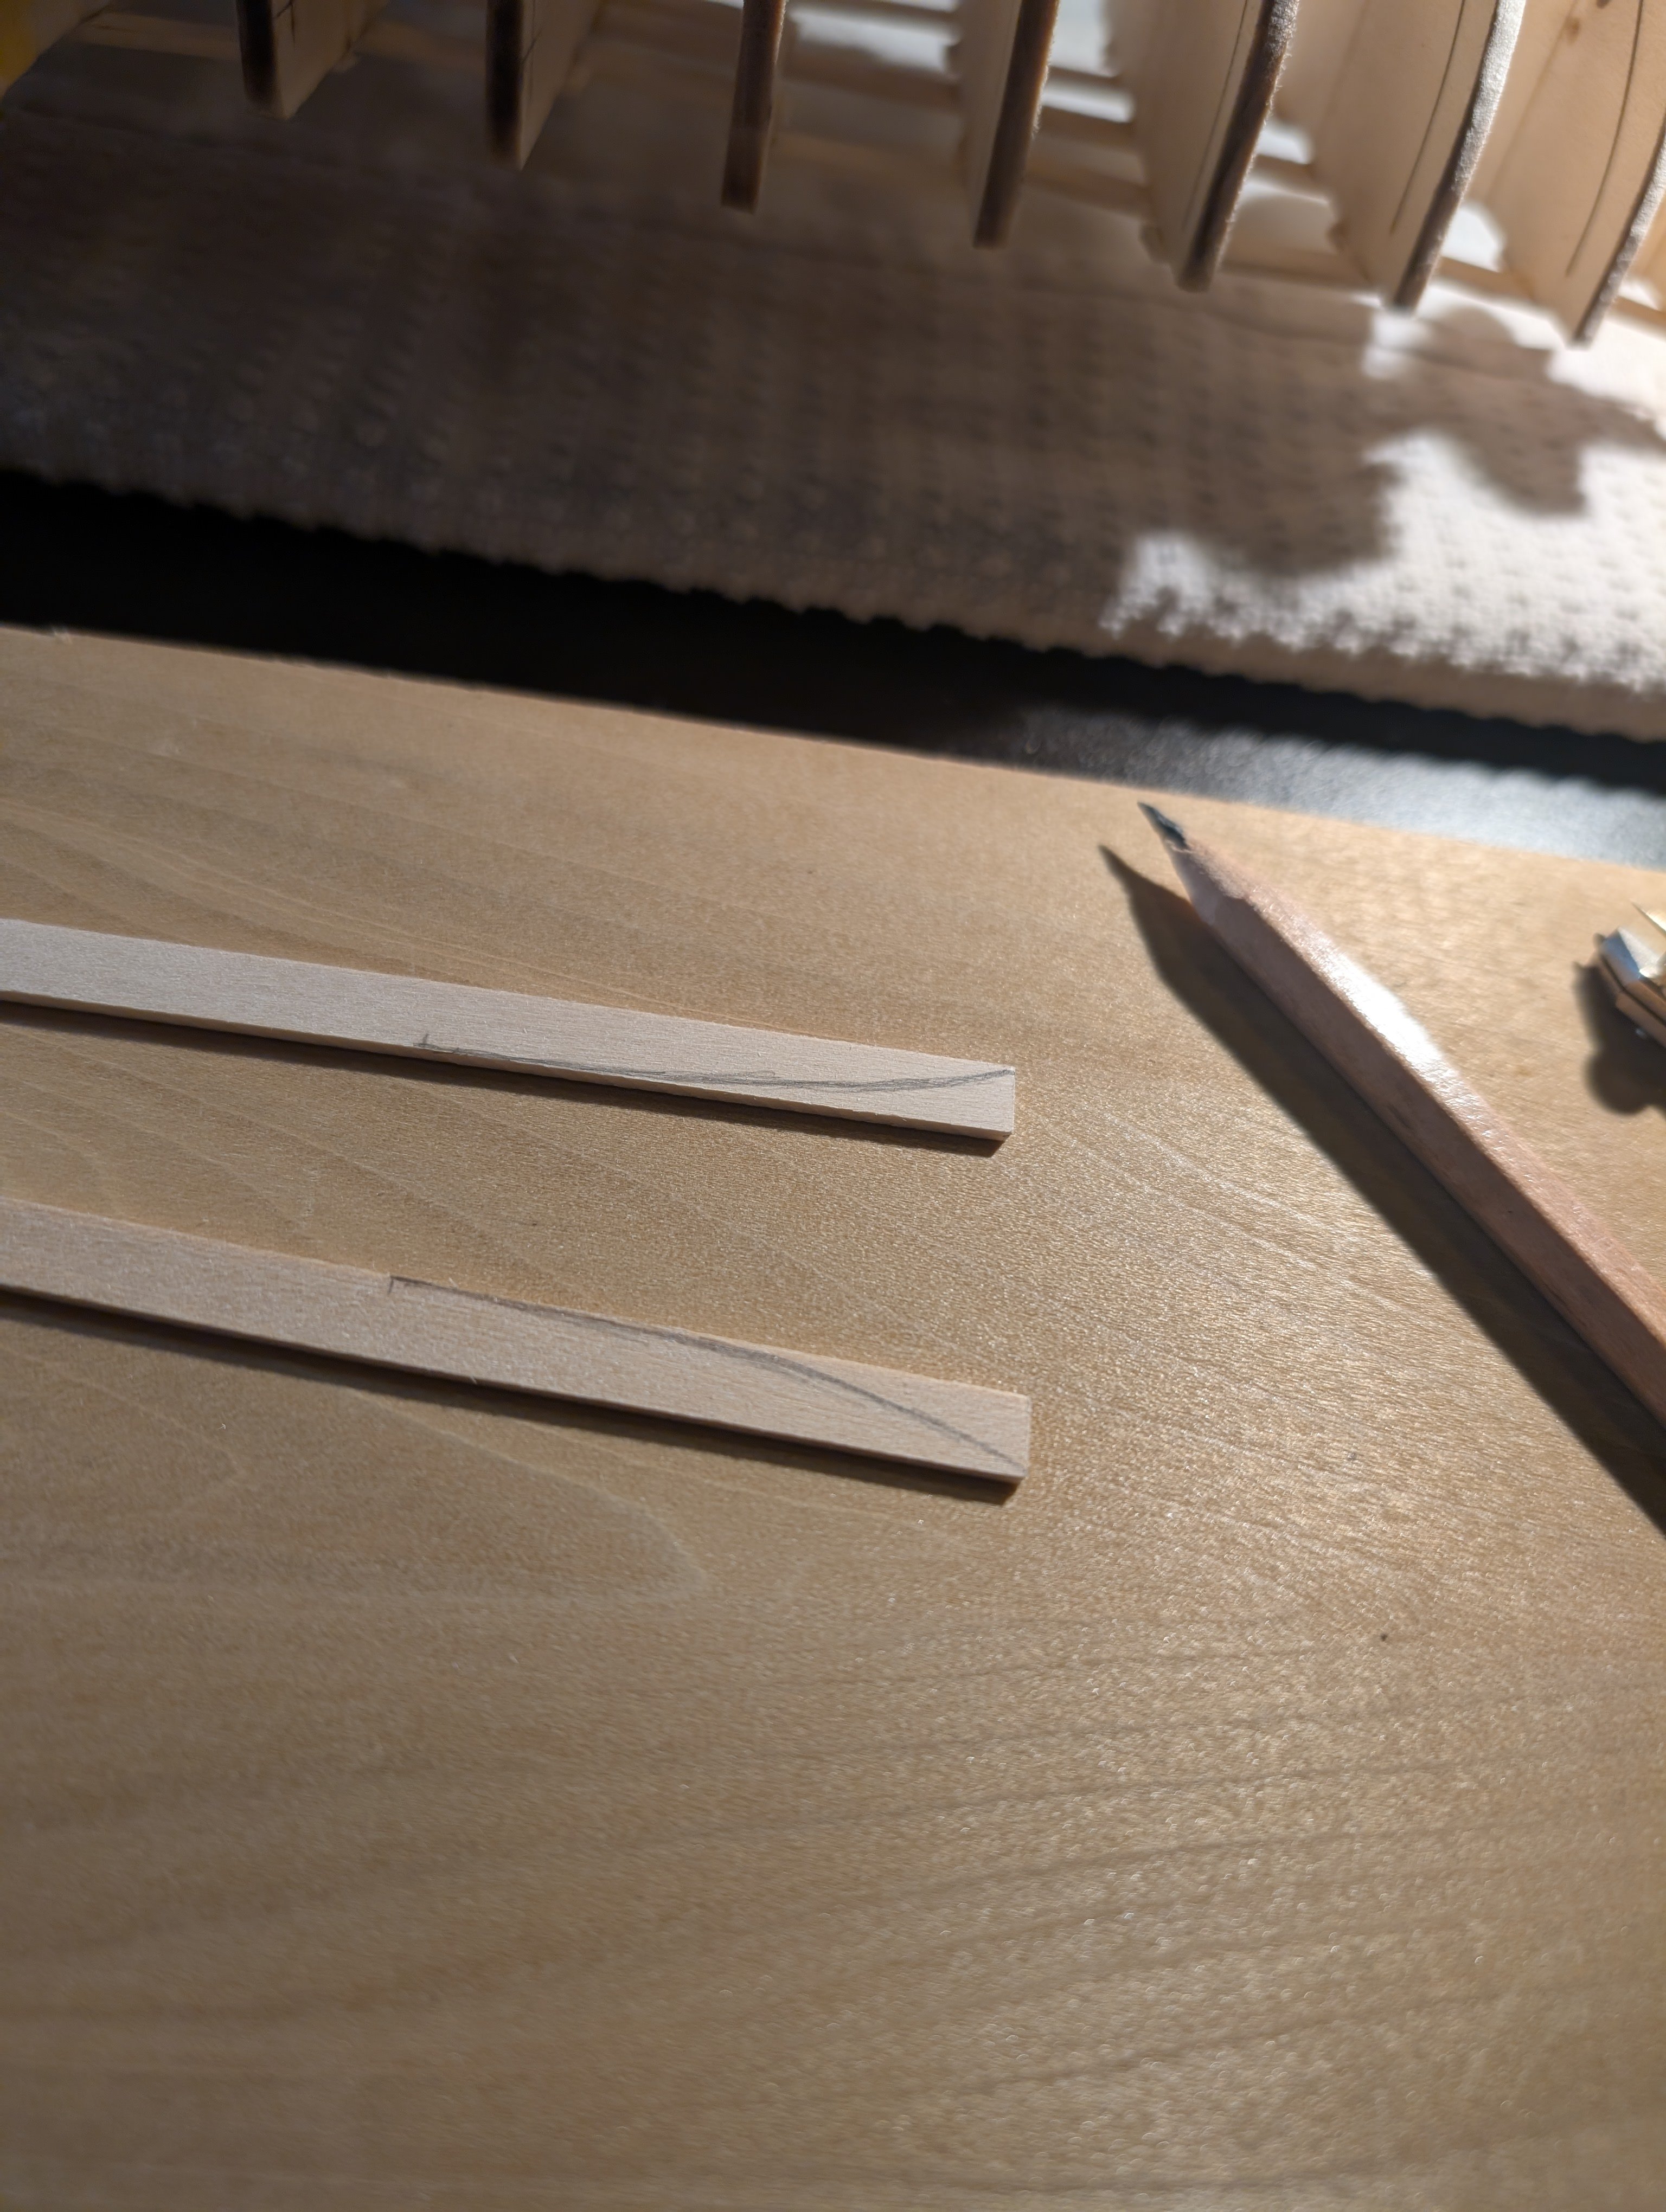
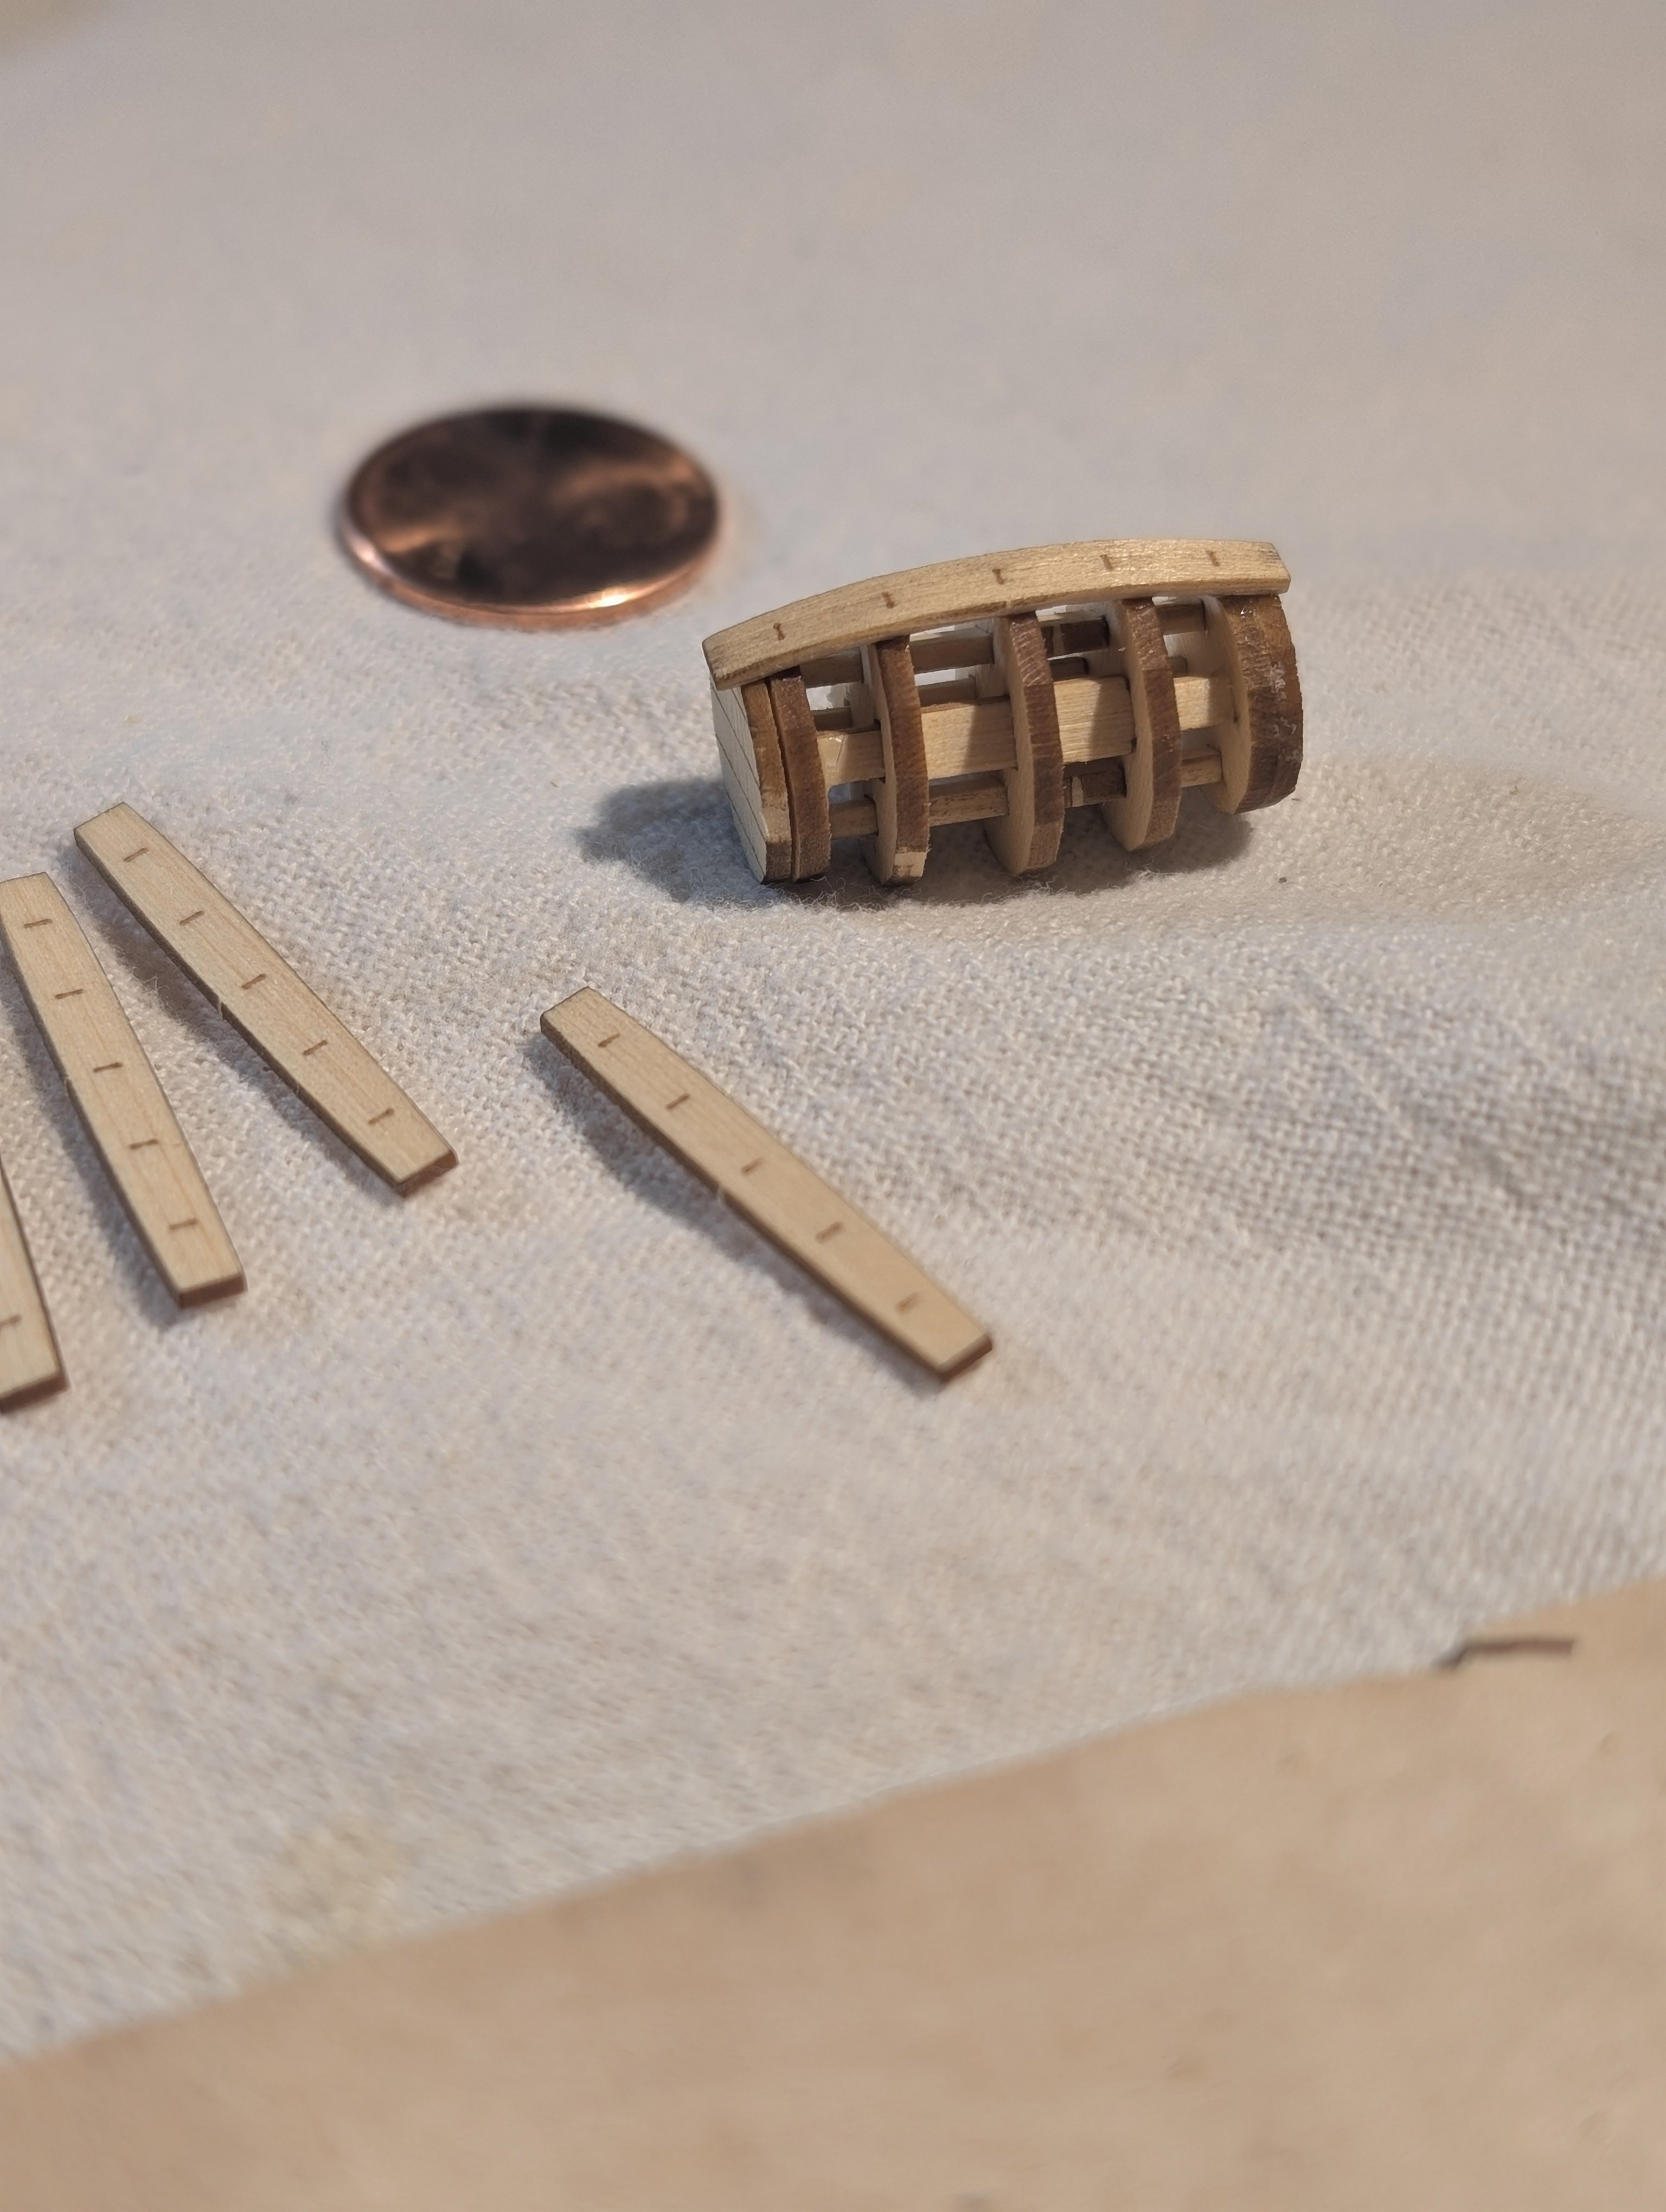
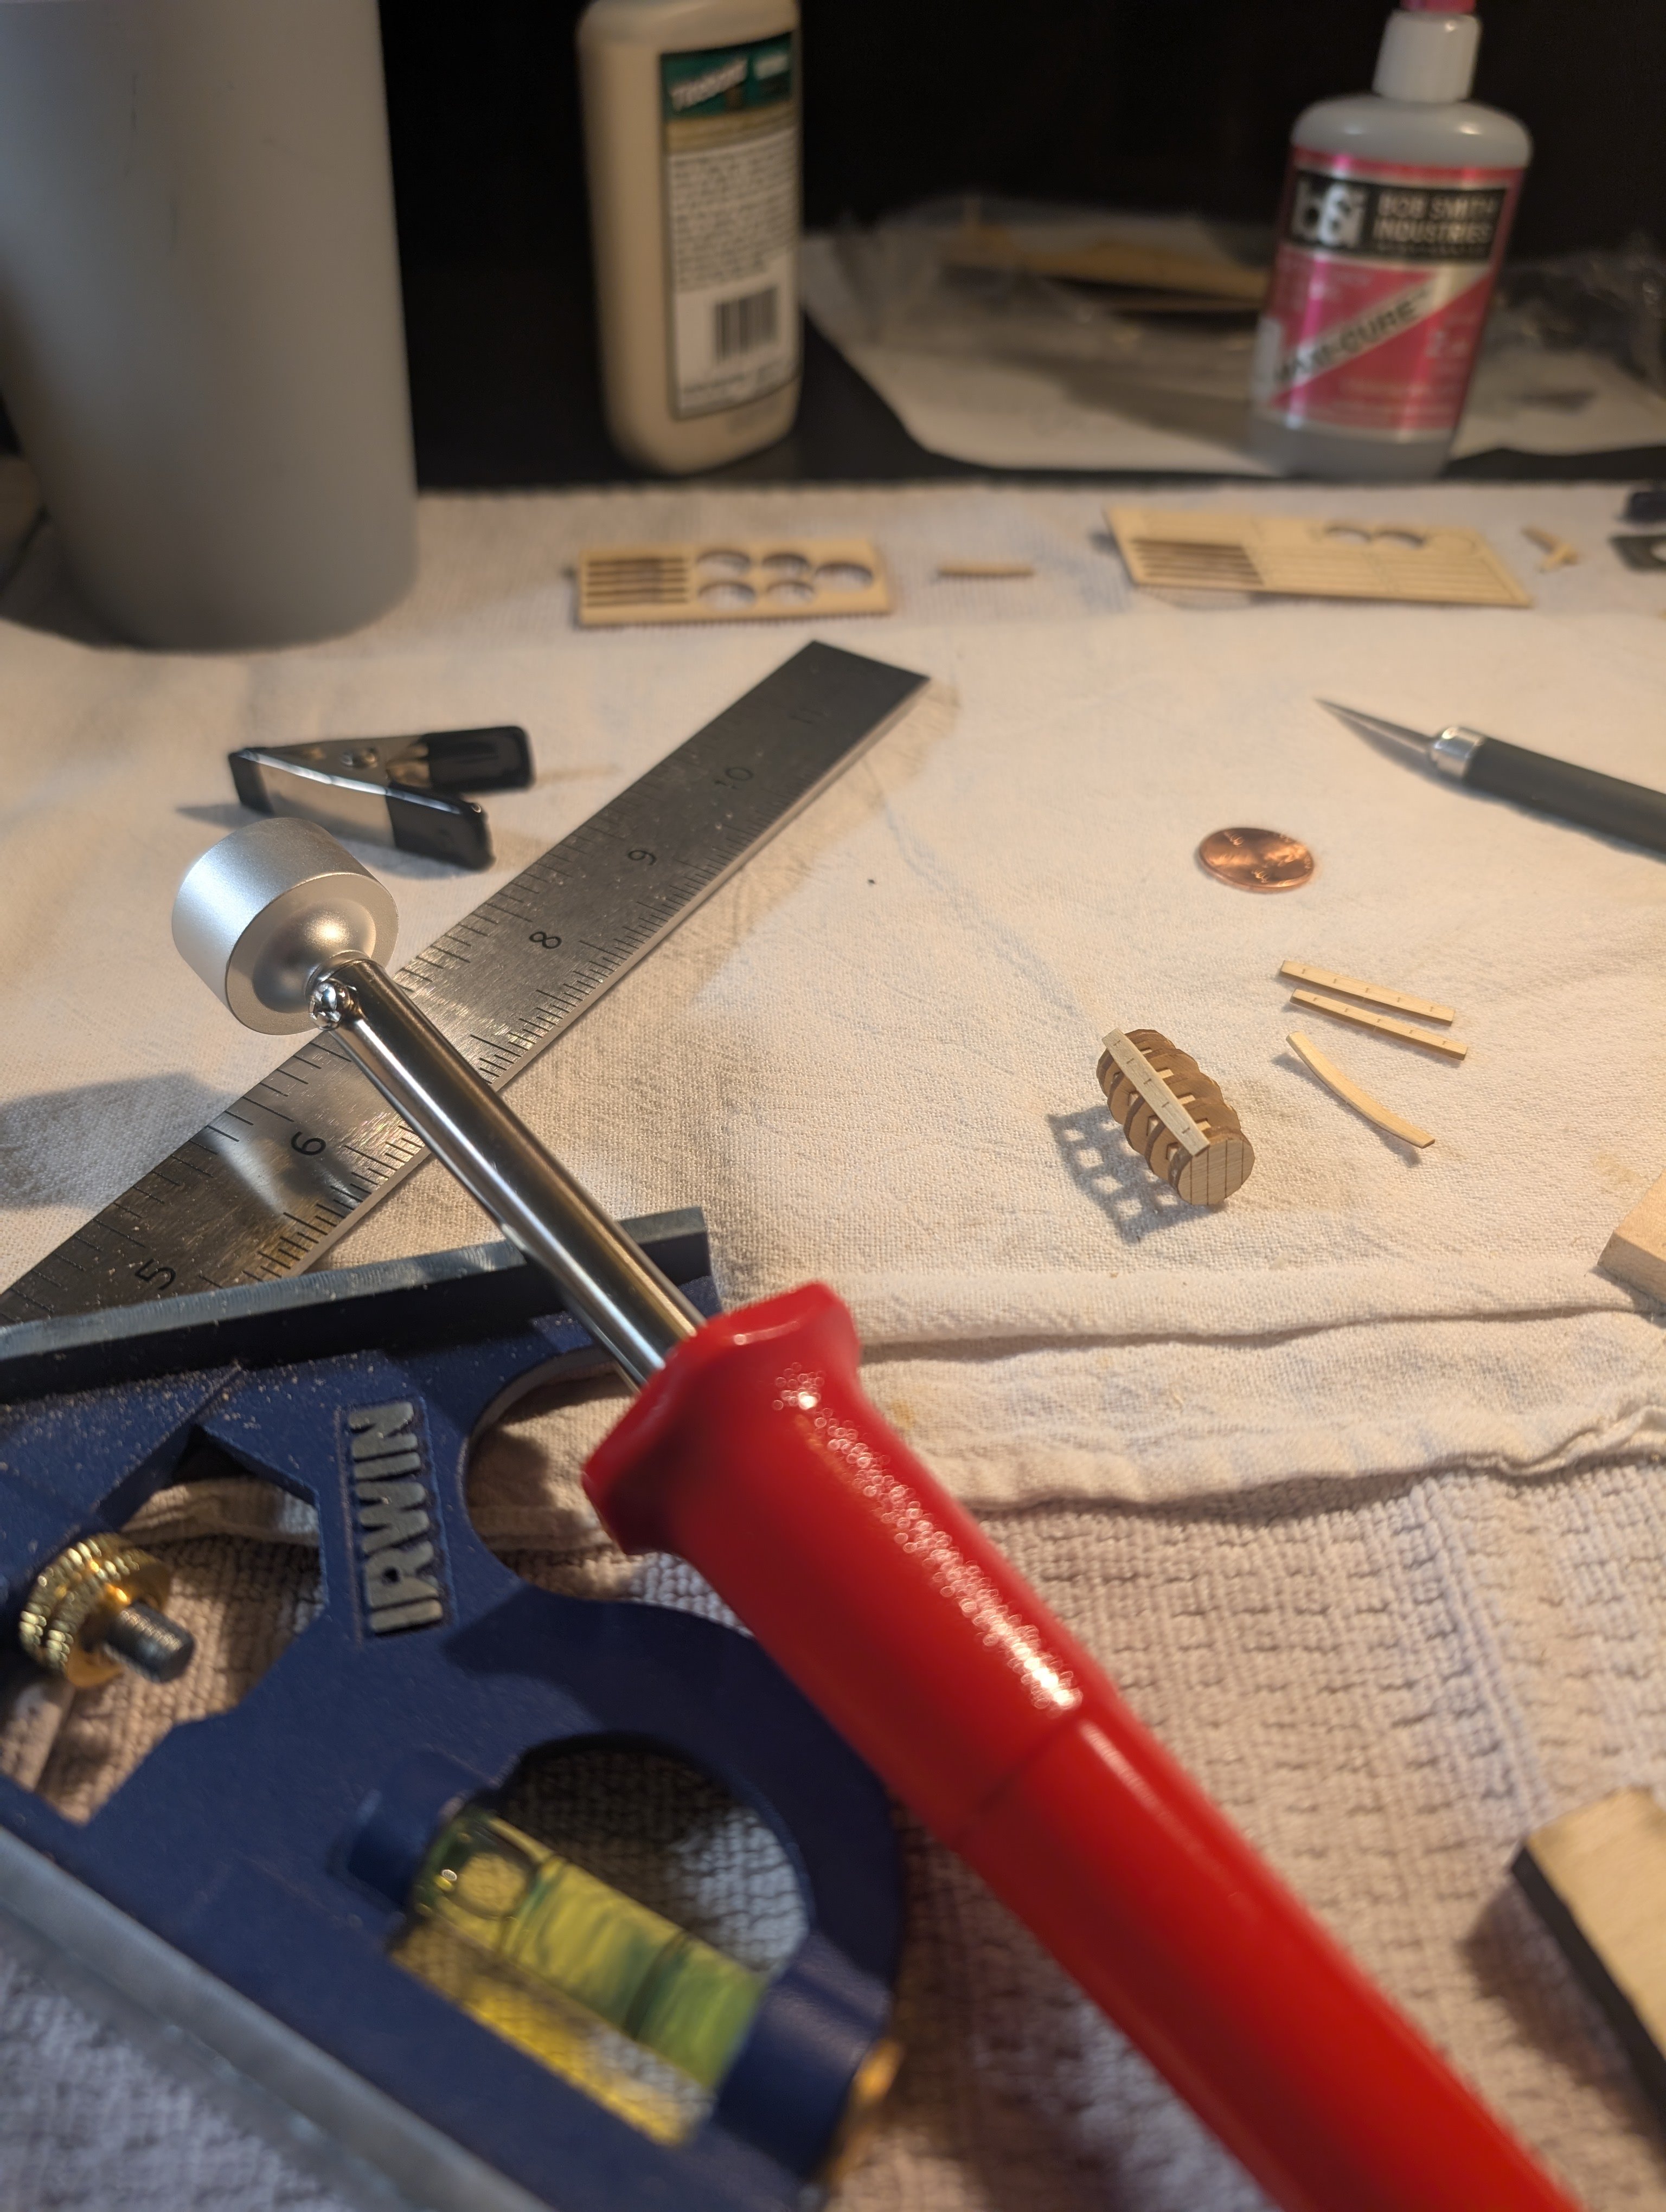
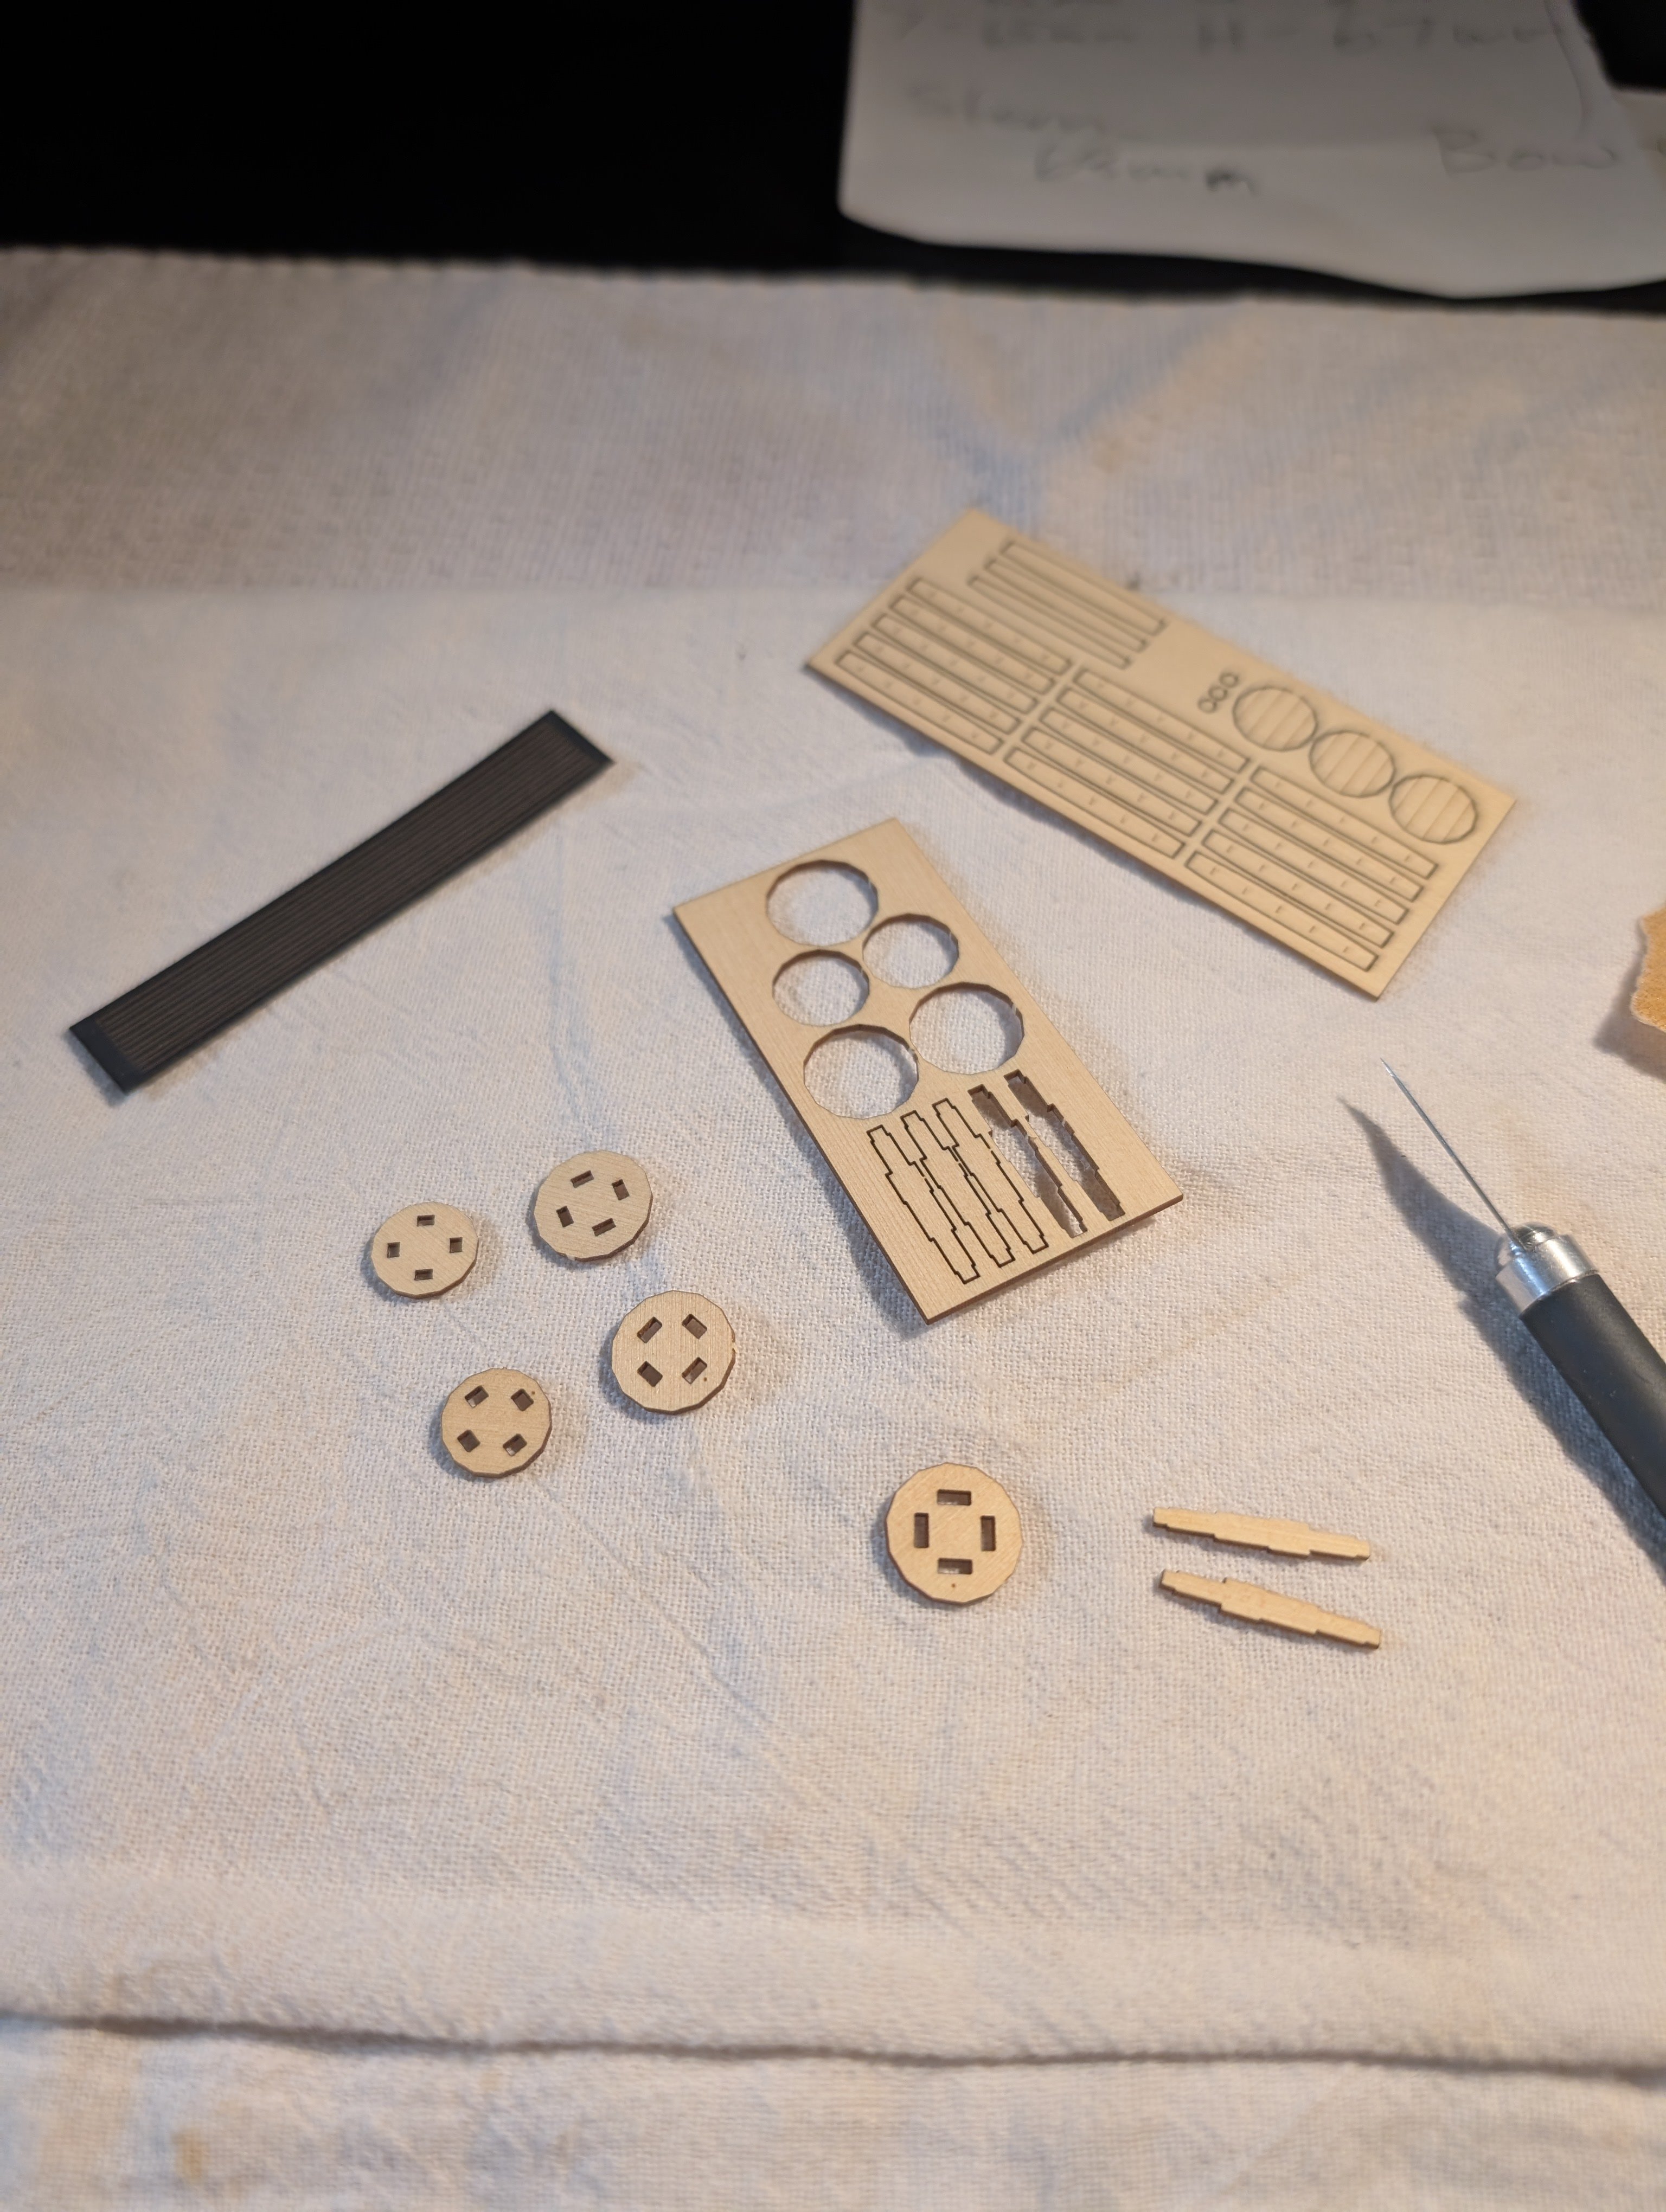
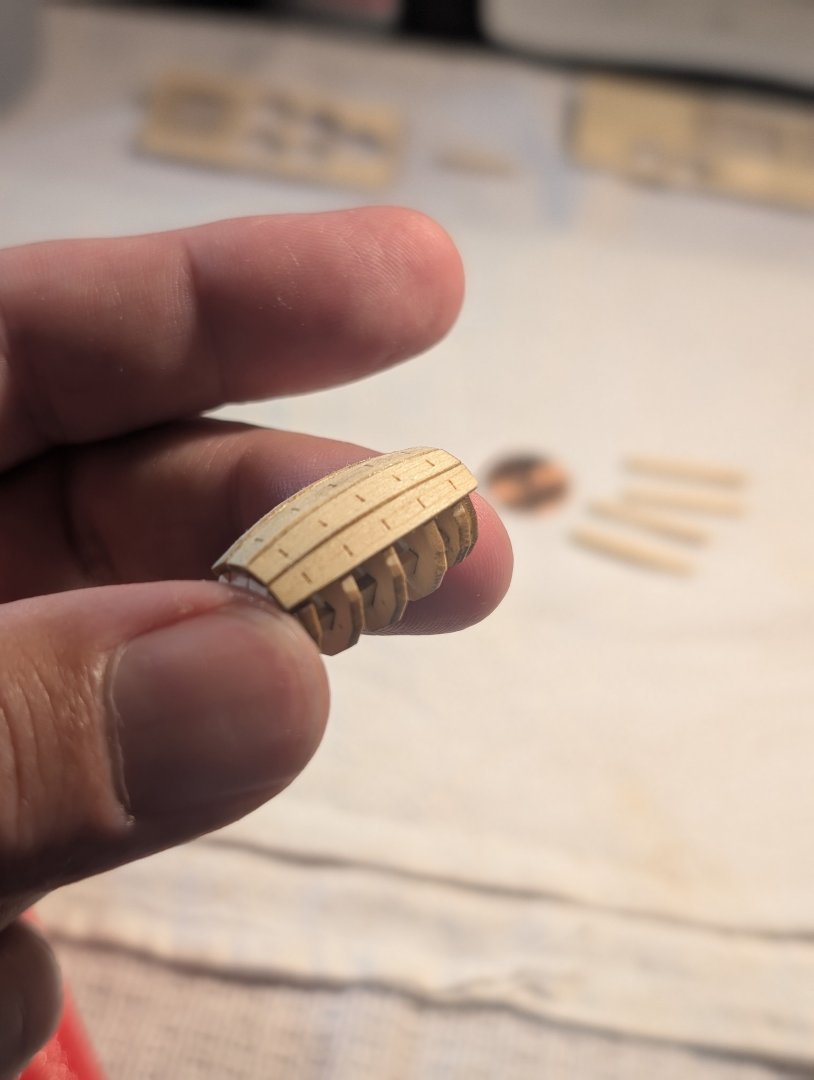
Next is planking the barrel framework. I used Tightbond on the edges, and thick CA dots on the frame connections. Plankes were given an angle to the edges with a #11 blade. They were bent using Model Shipways plank bender. Super easy and only broke one plank.

-
Yellow Cedar Barrel by TheFace - Syren Ship Model Company
TheFace replied to TheFace's topic in Non-ship/categorised builds
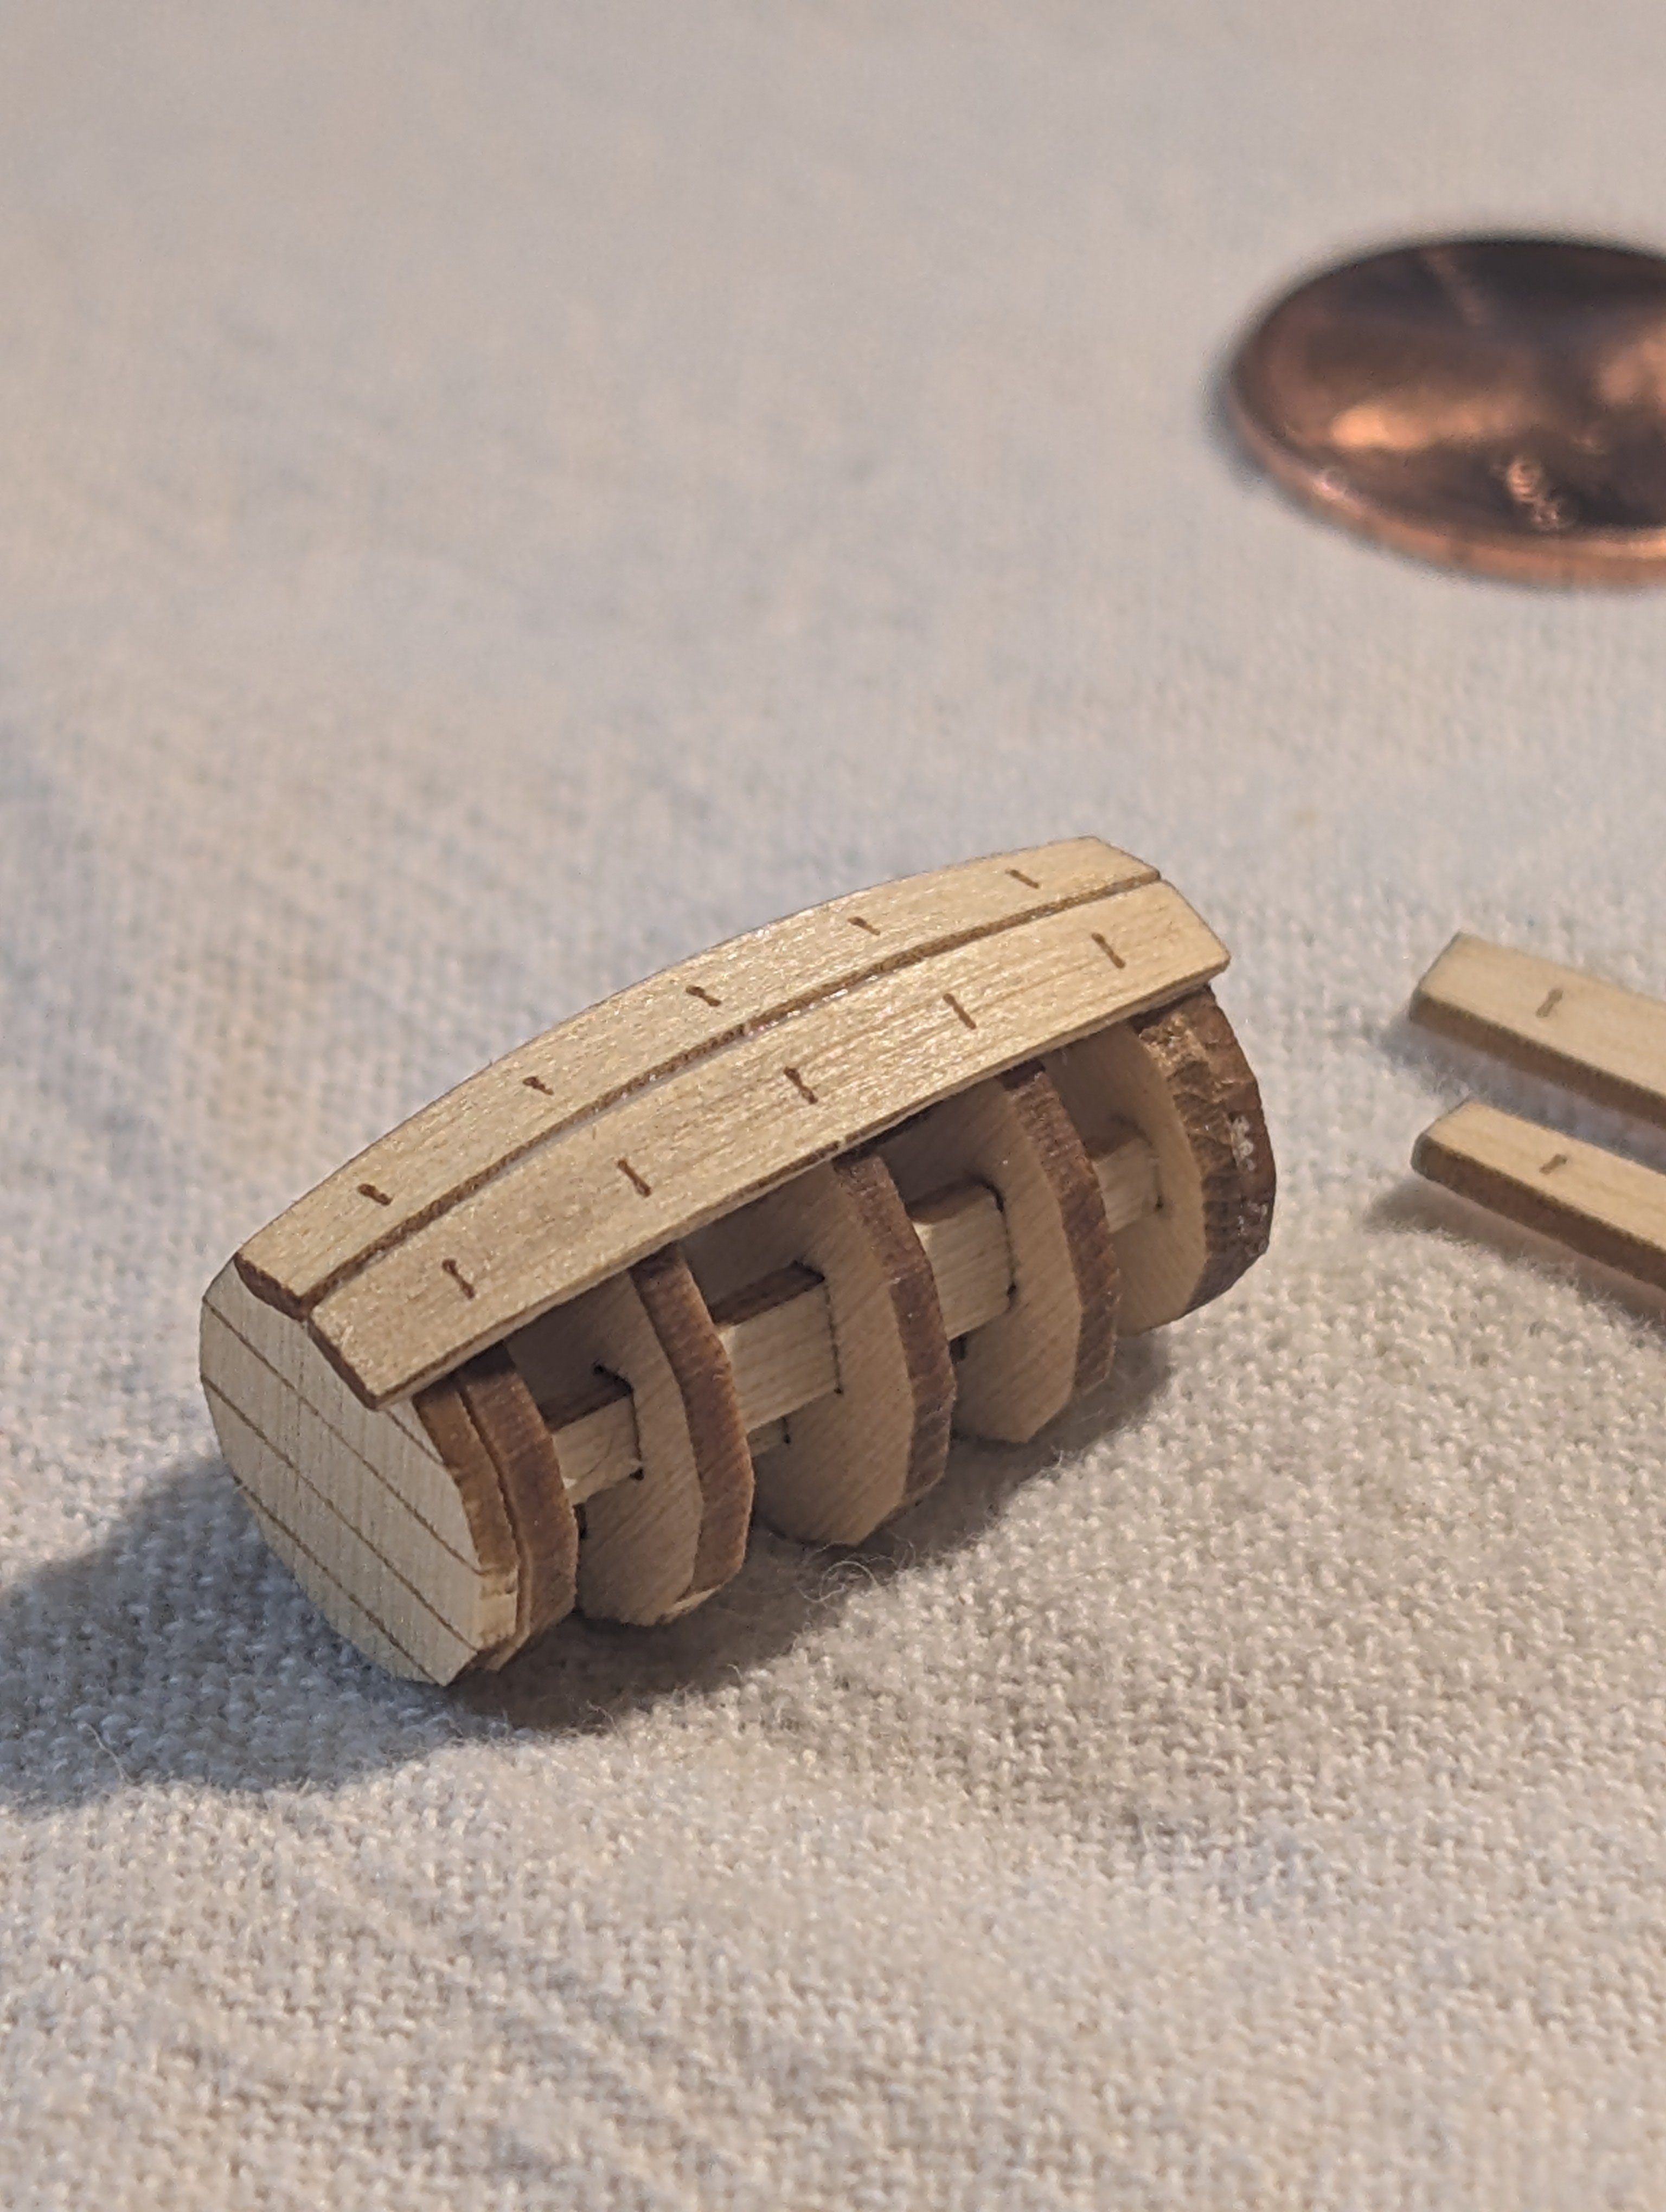
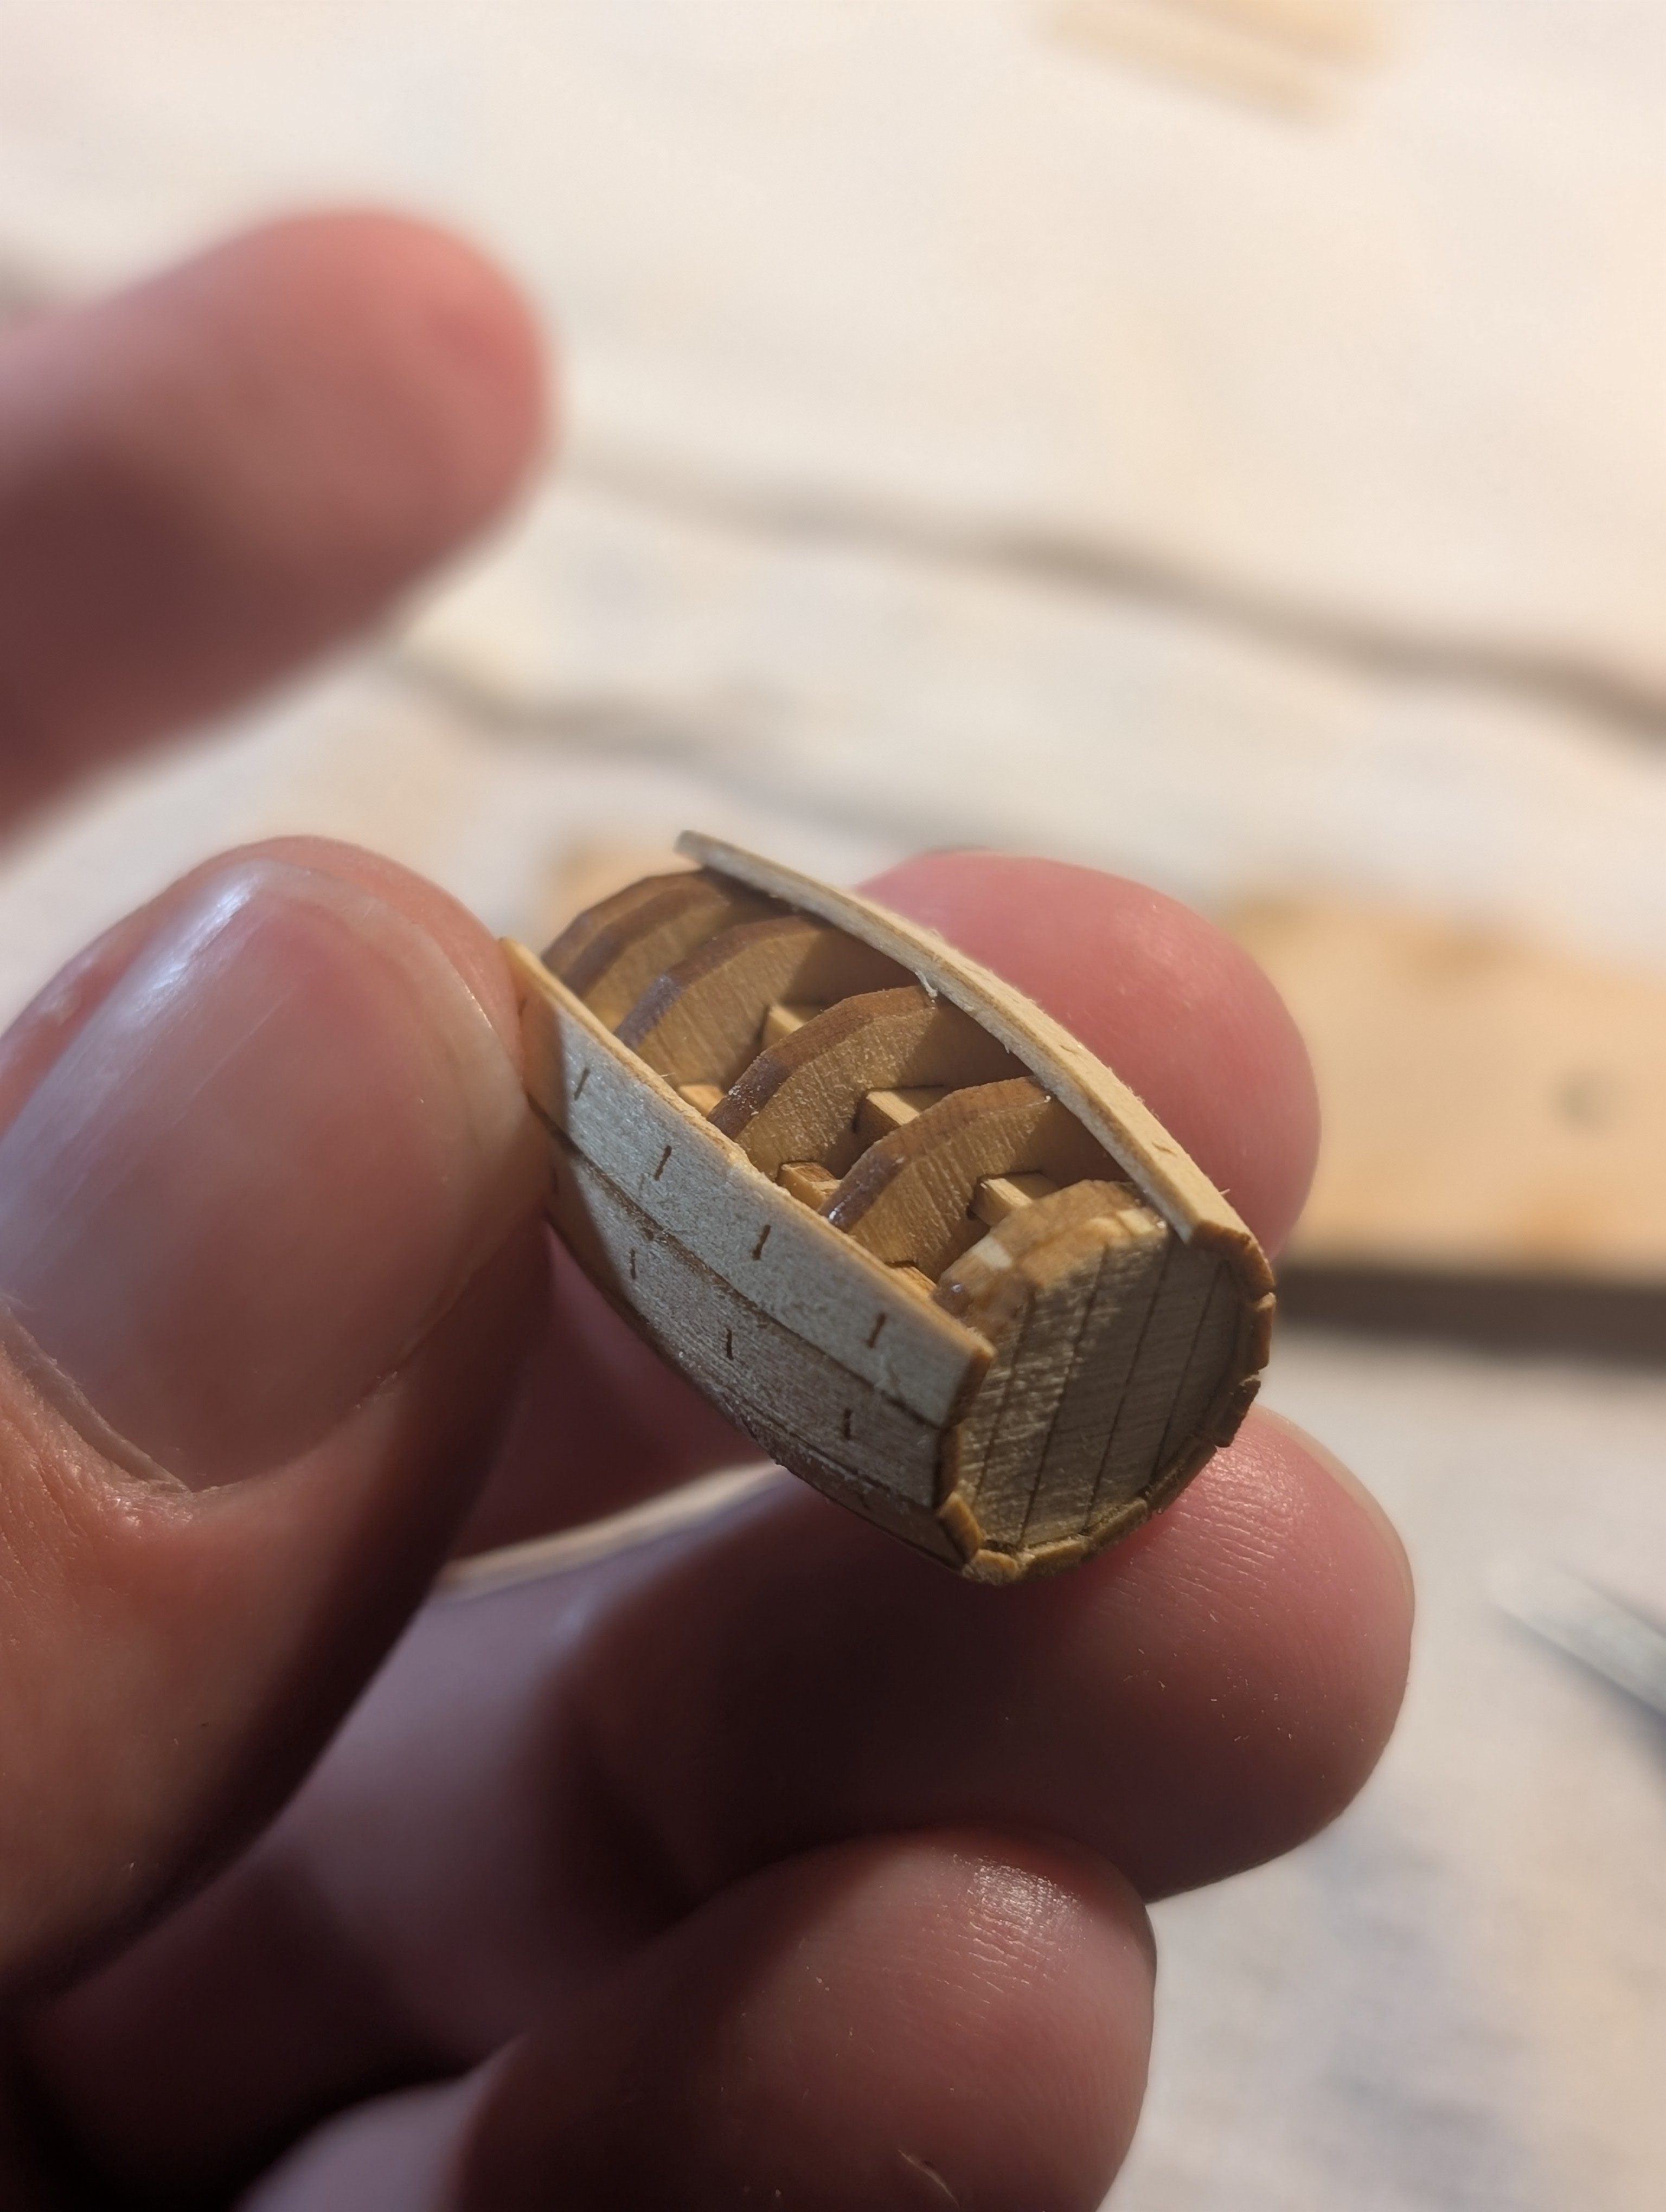
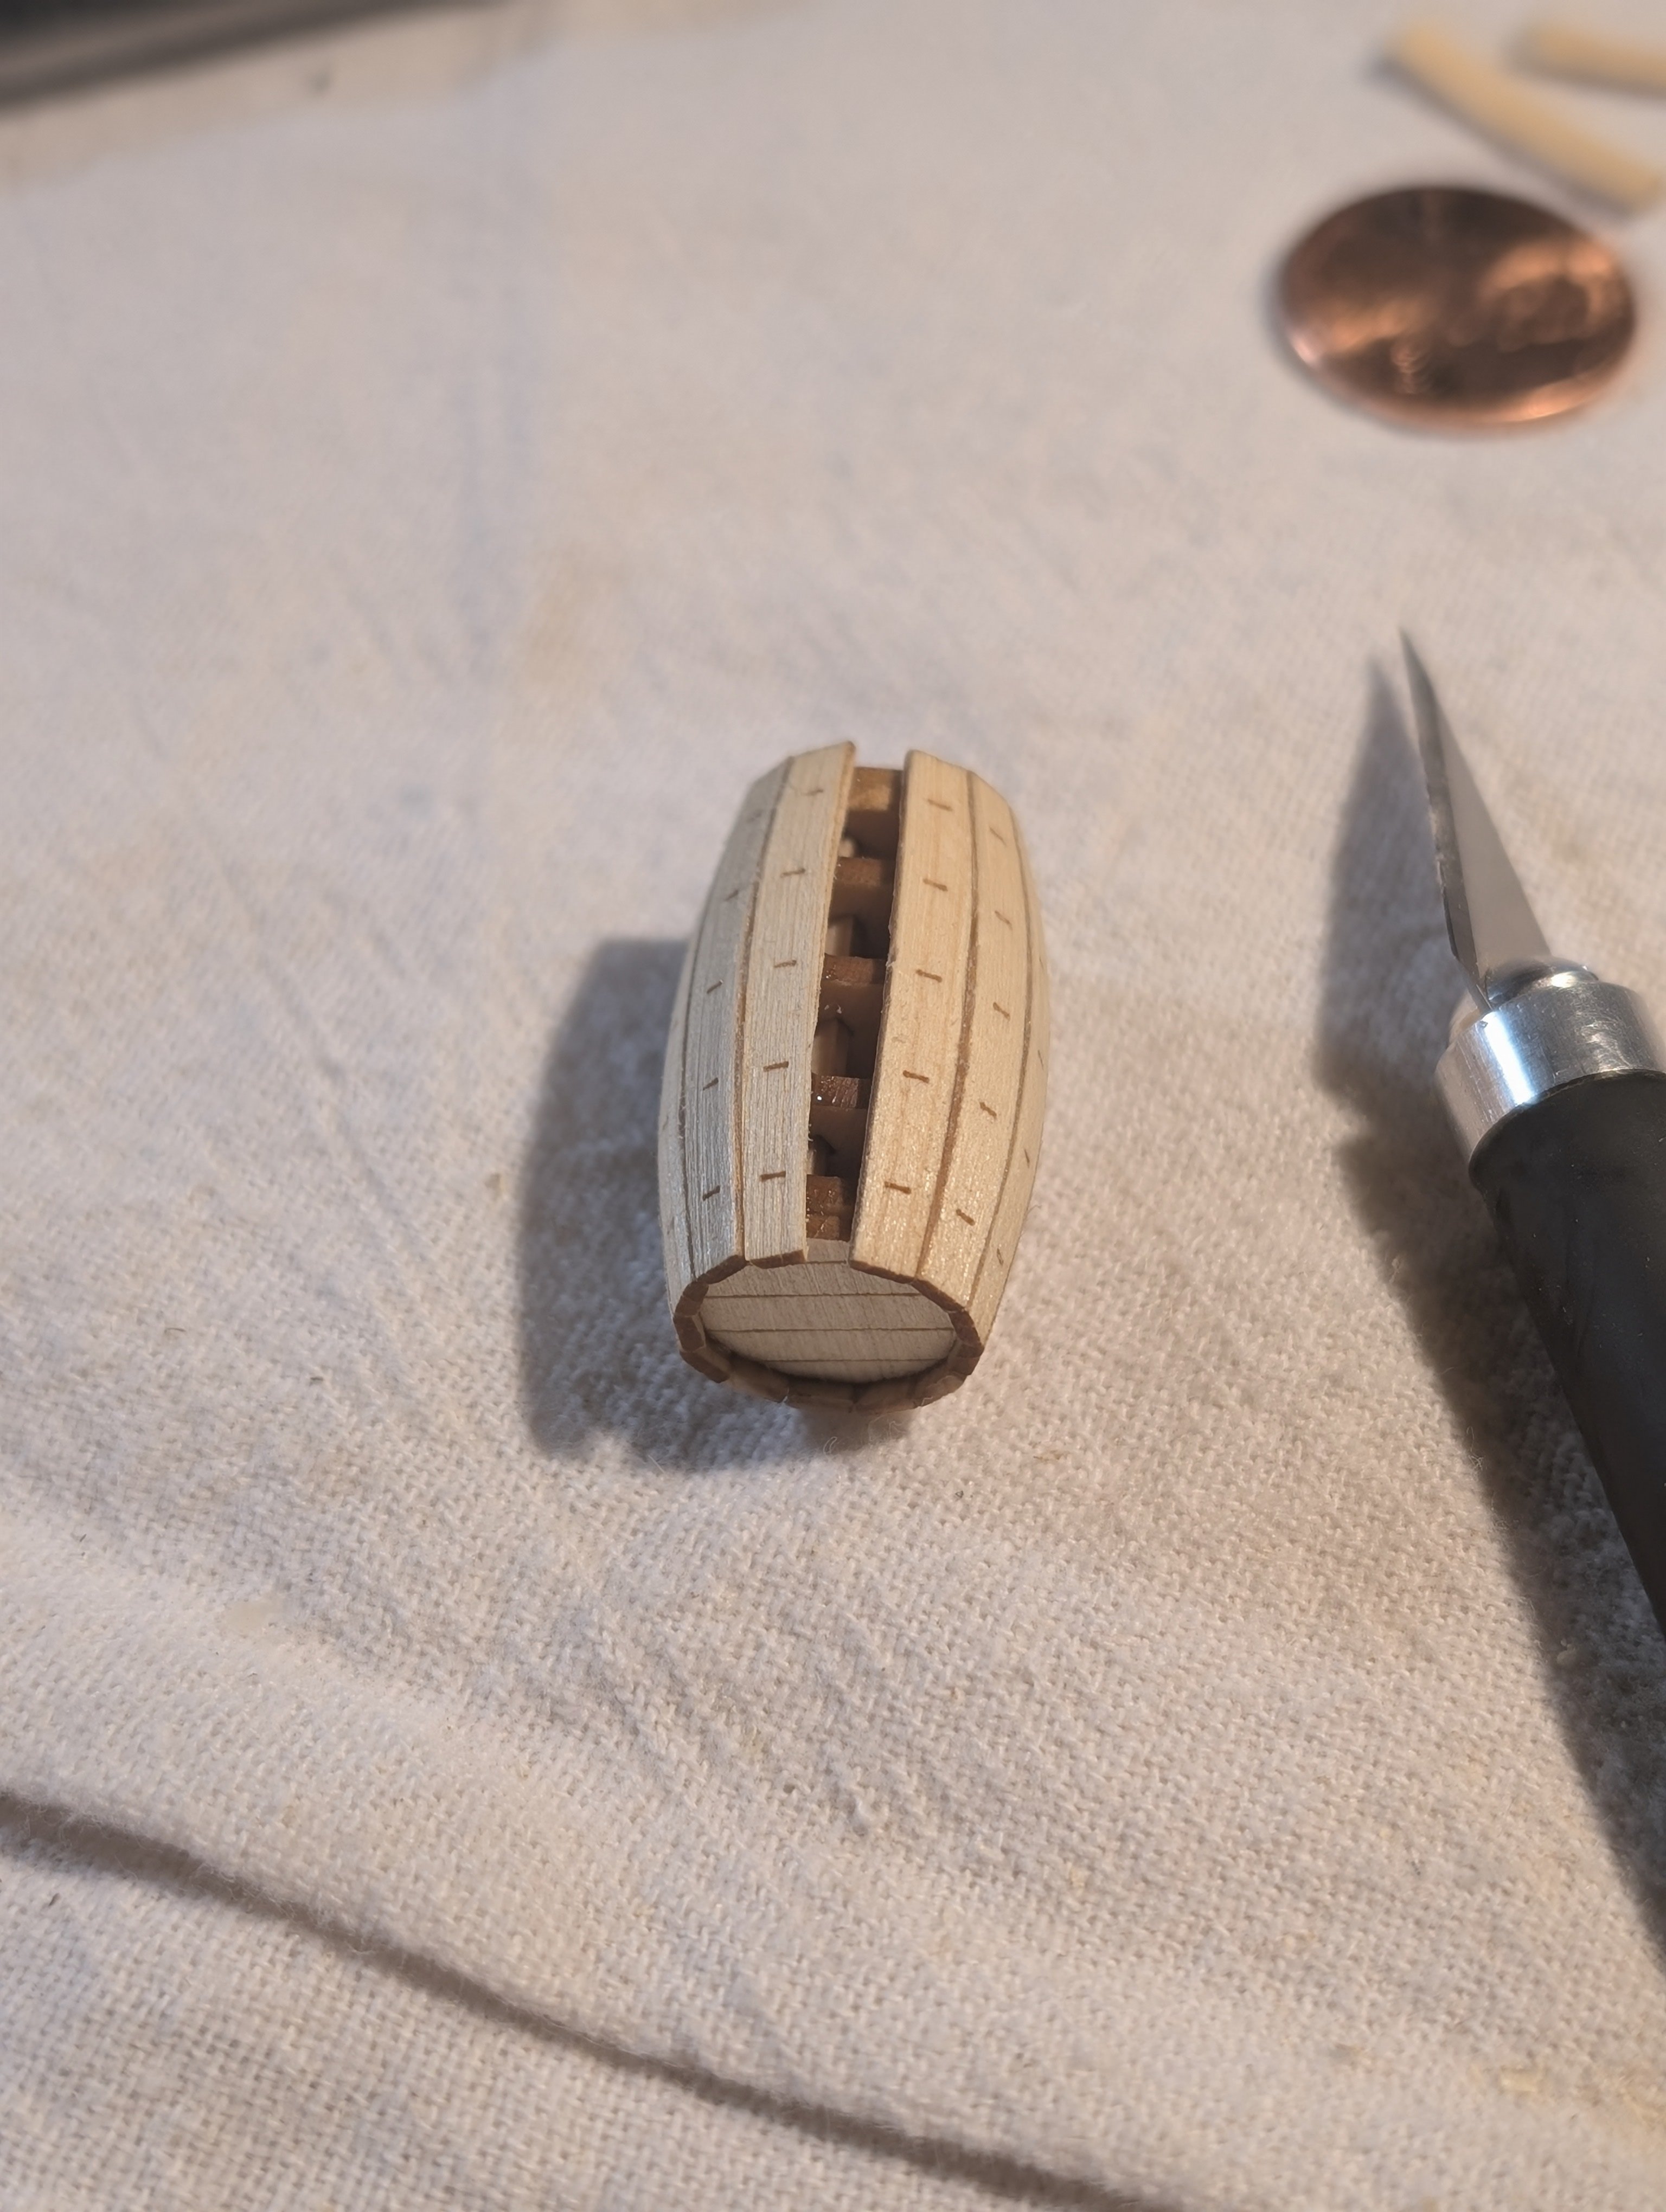
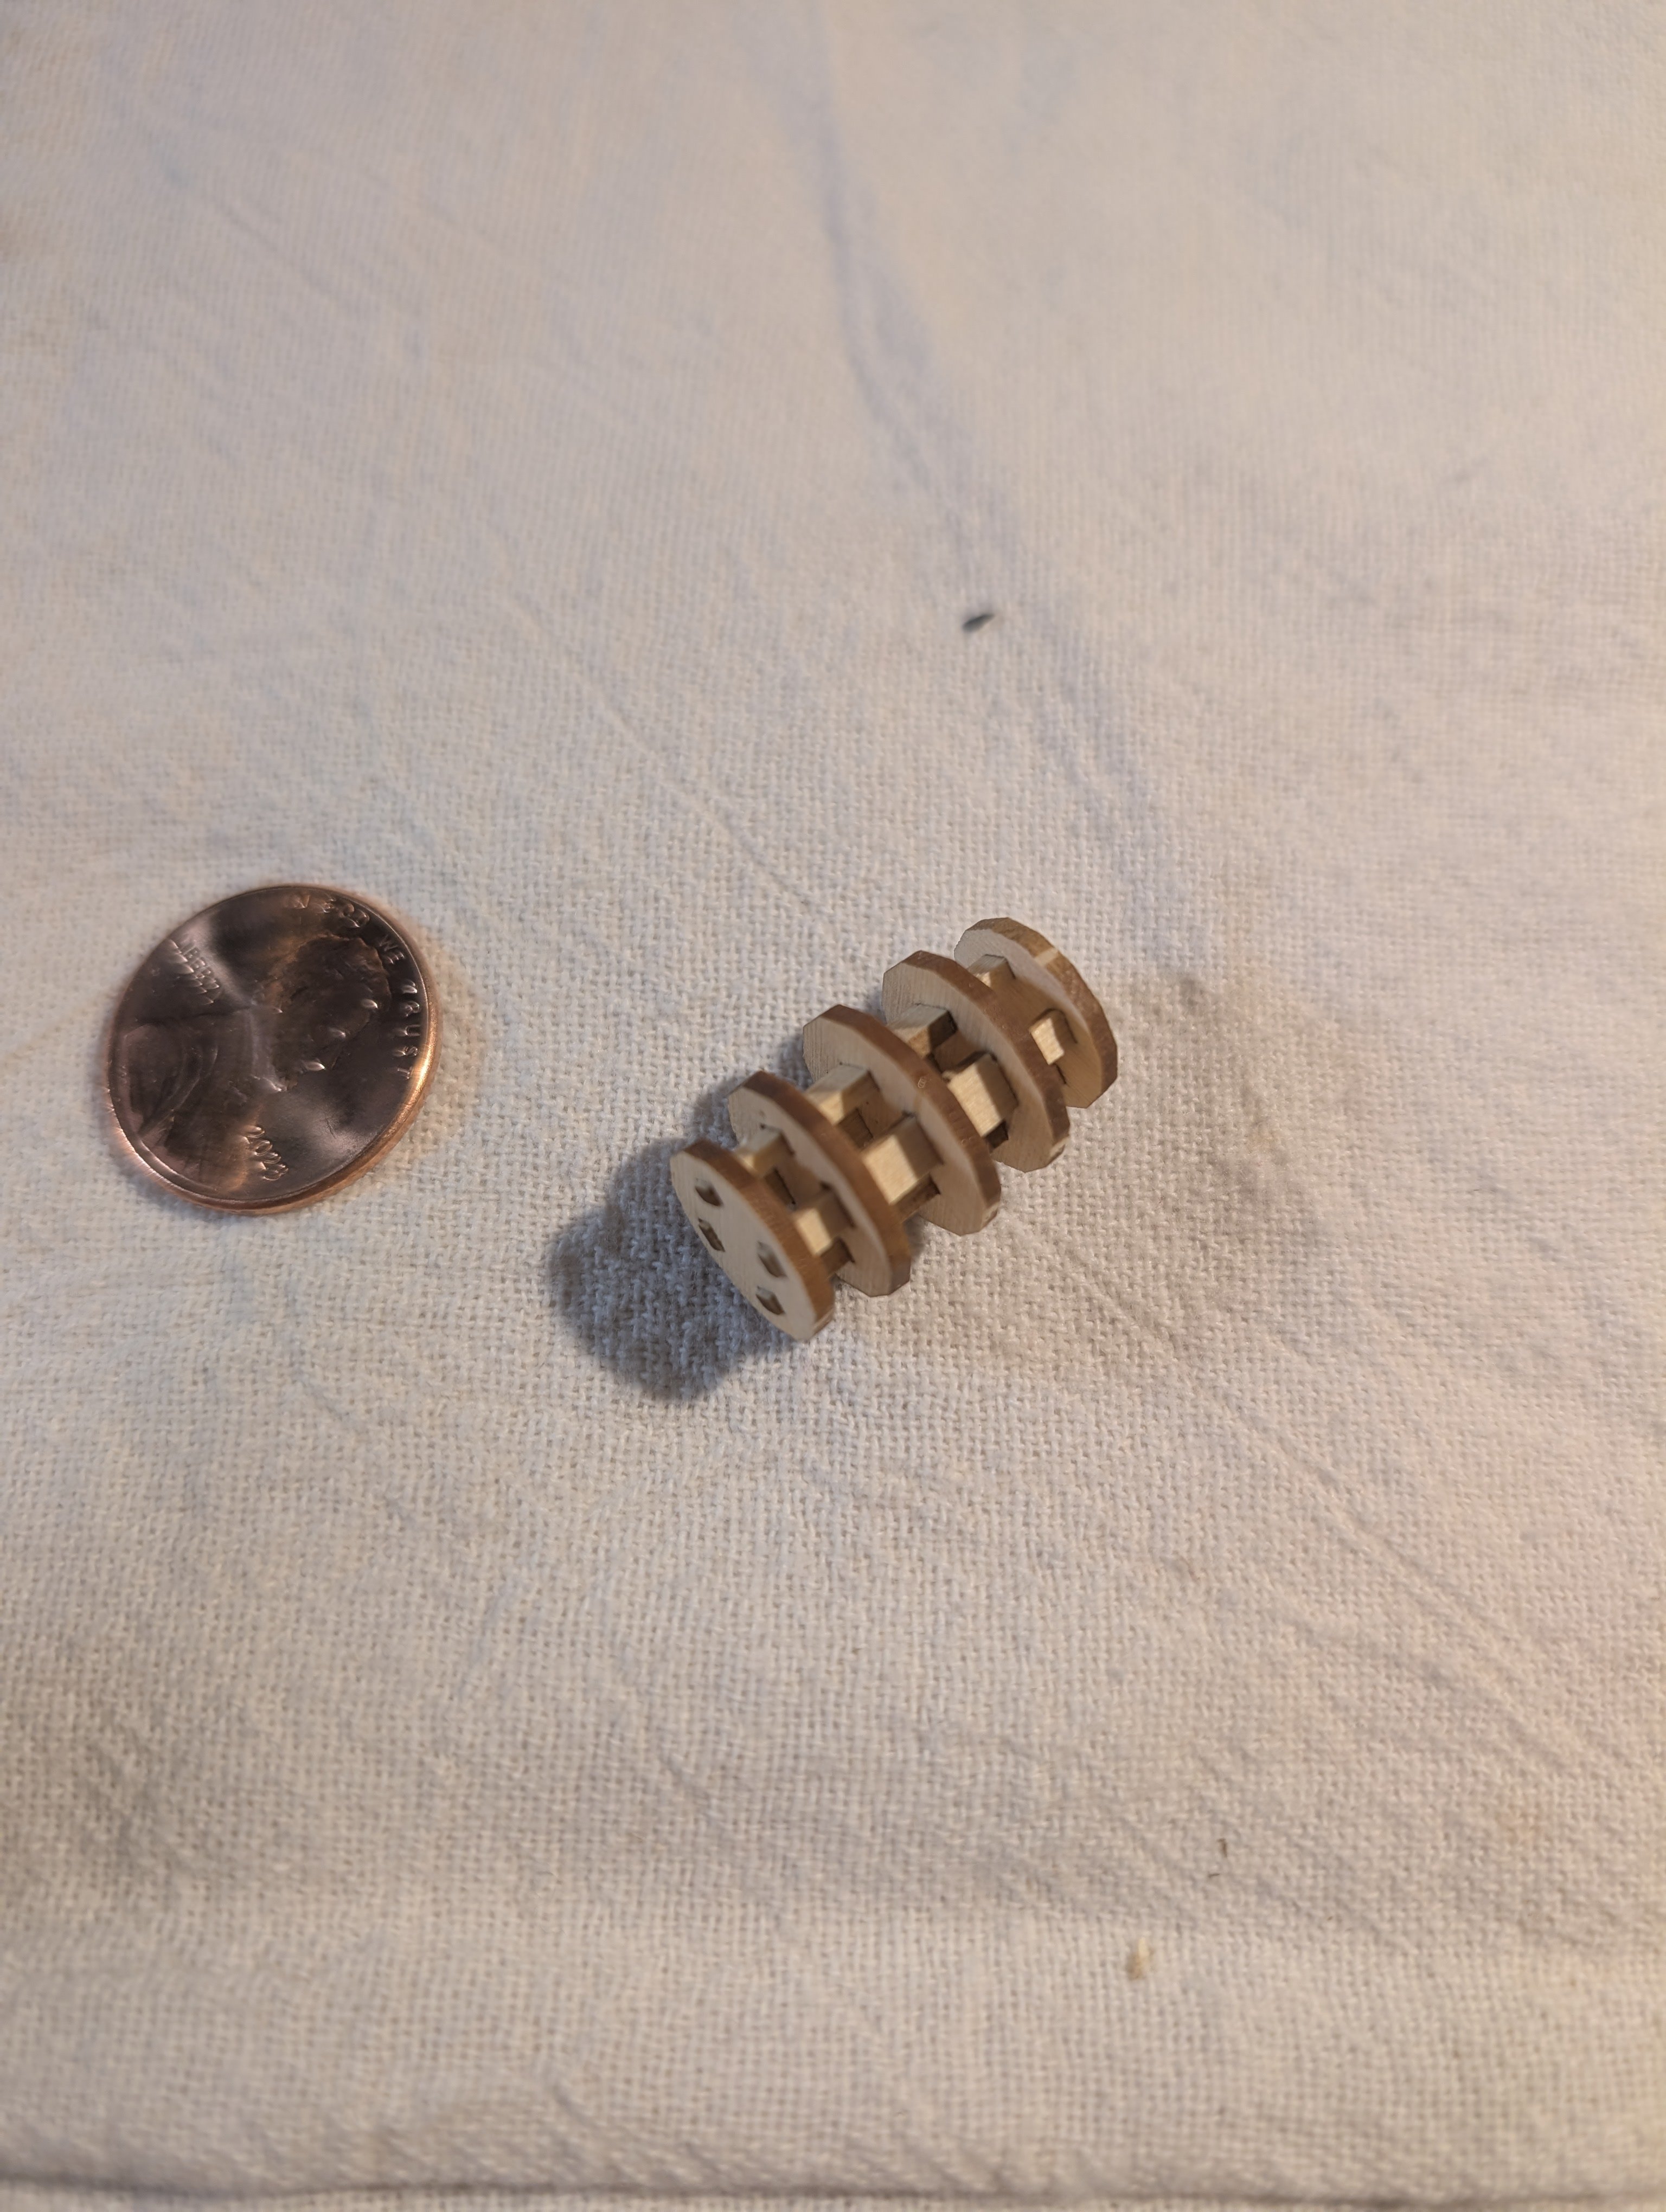
Once everything fitted together, I dry fitted and then glued the frames. Then the caps with the laser cut frame details glued on each end.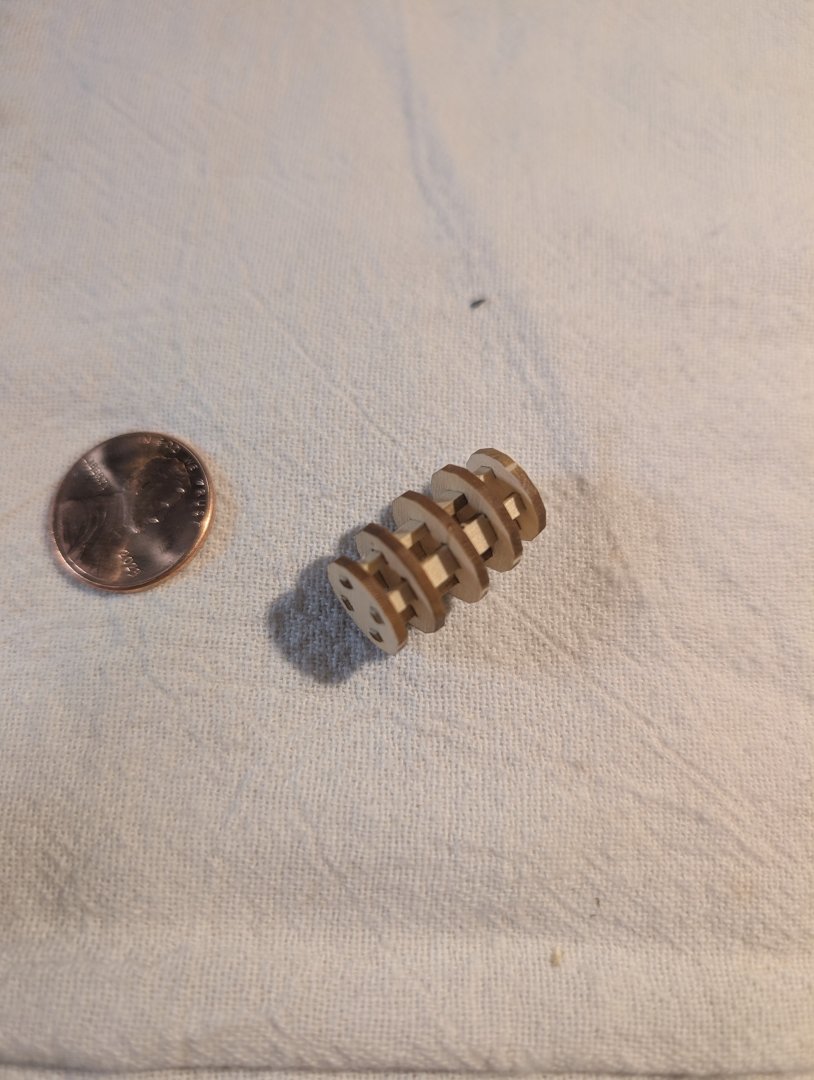
-
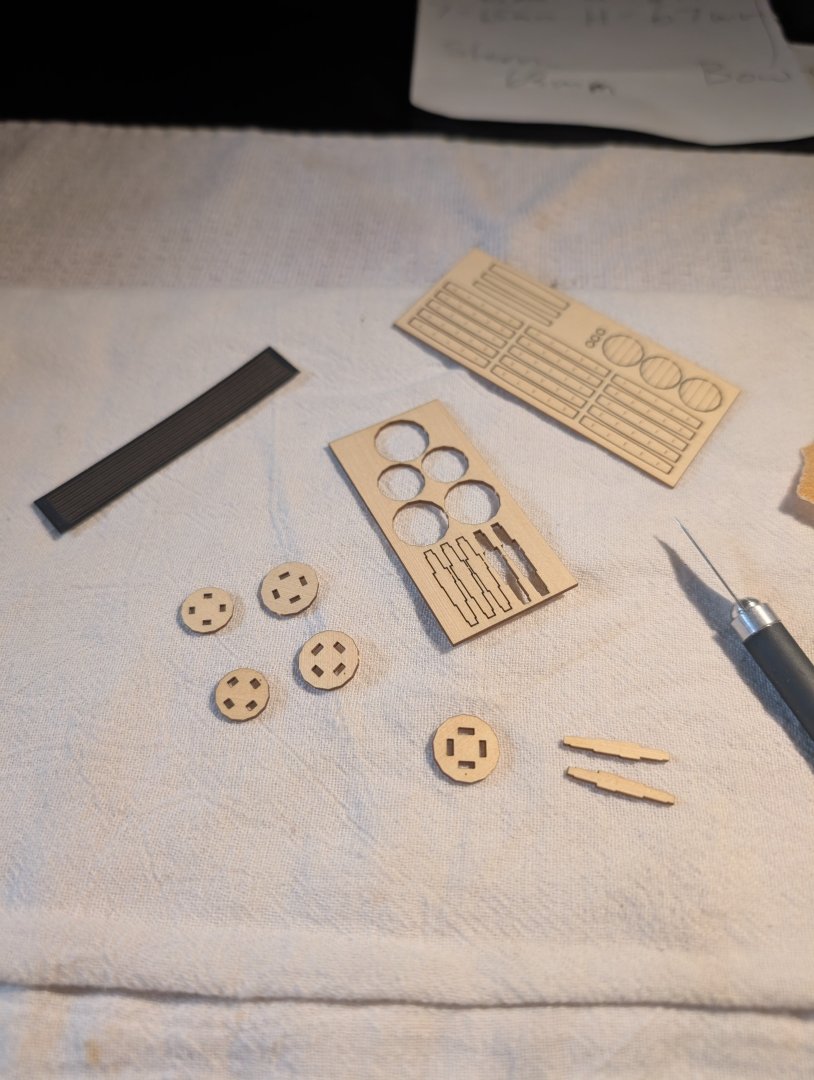
I thought I would add a small build log for this little kit from Syren. It's a wonderful little kit that requires only minimal cleanup and comes in yellow cedar. The yellow cedar looks great and also has the benefit of smelling wonderful. Instructions can be downloaded from the website. The first step is to remove the internal frame pieces and dry-fit all of them. Slight cleaning was done, and I chose to clean the straight frames instead of the cutouts on the round frame parts.
-
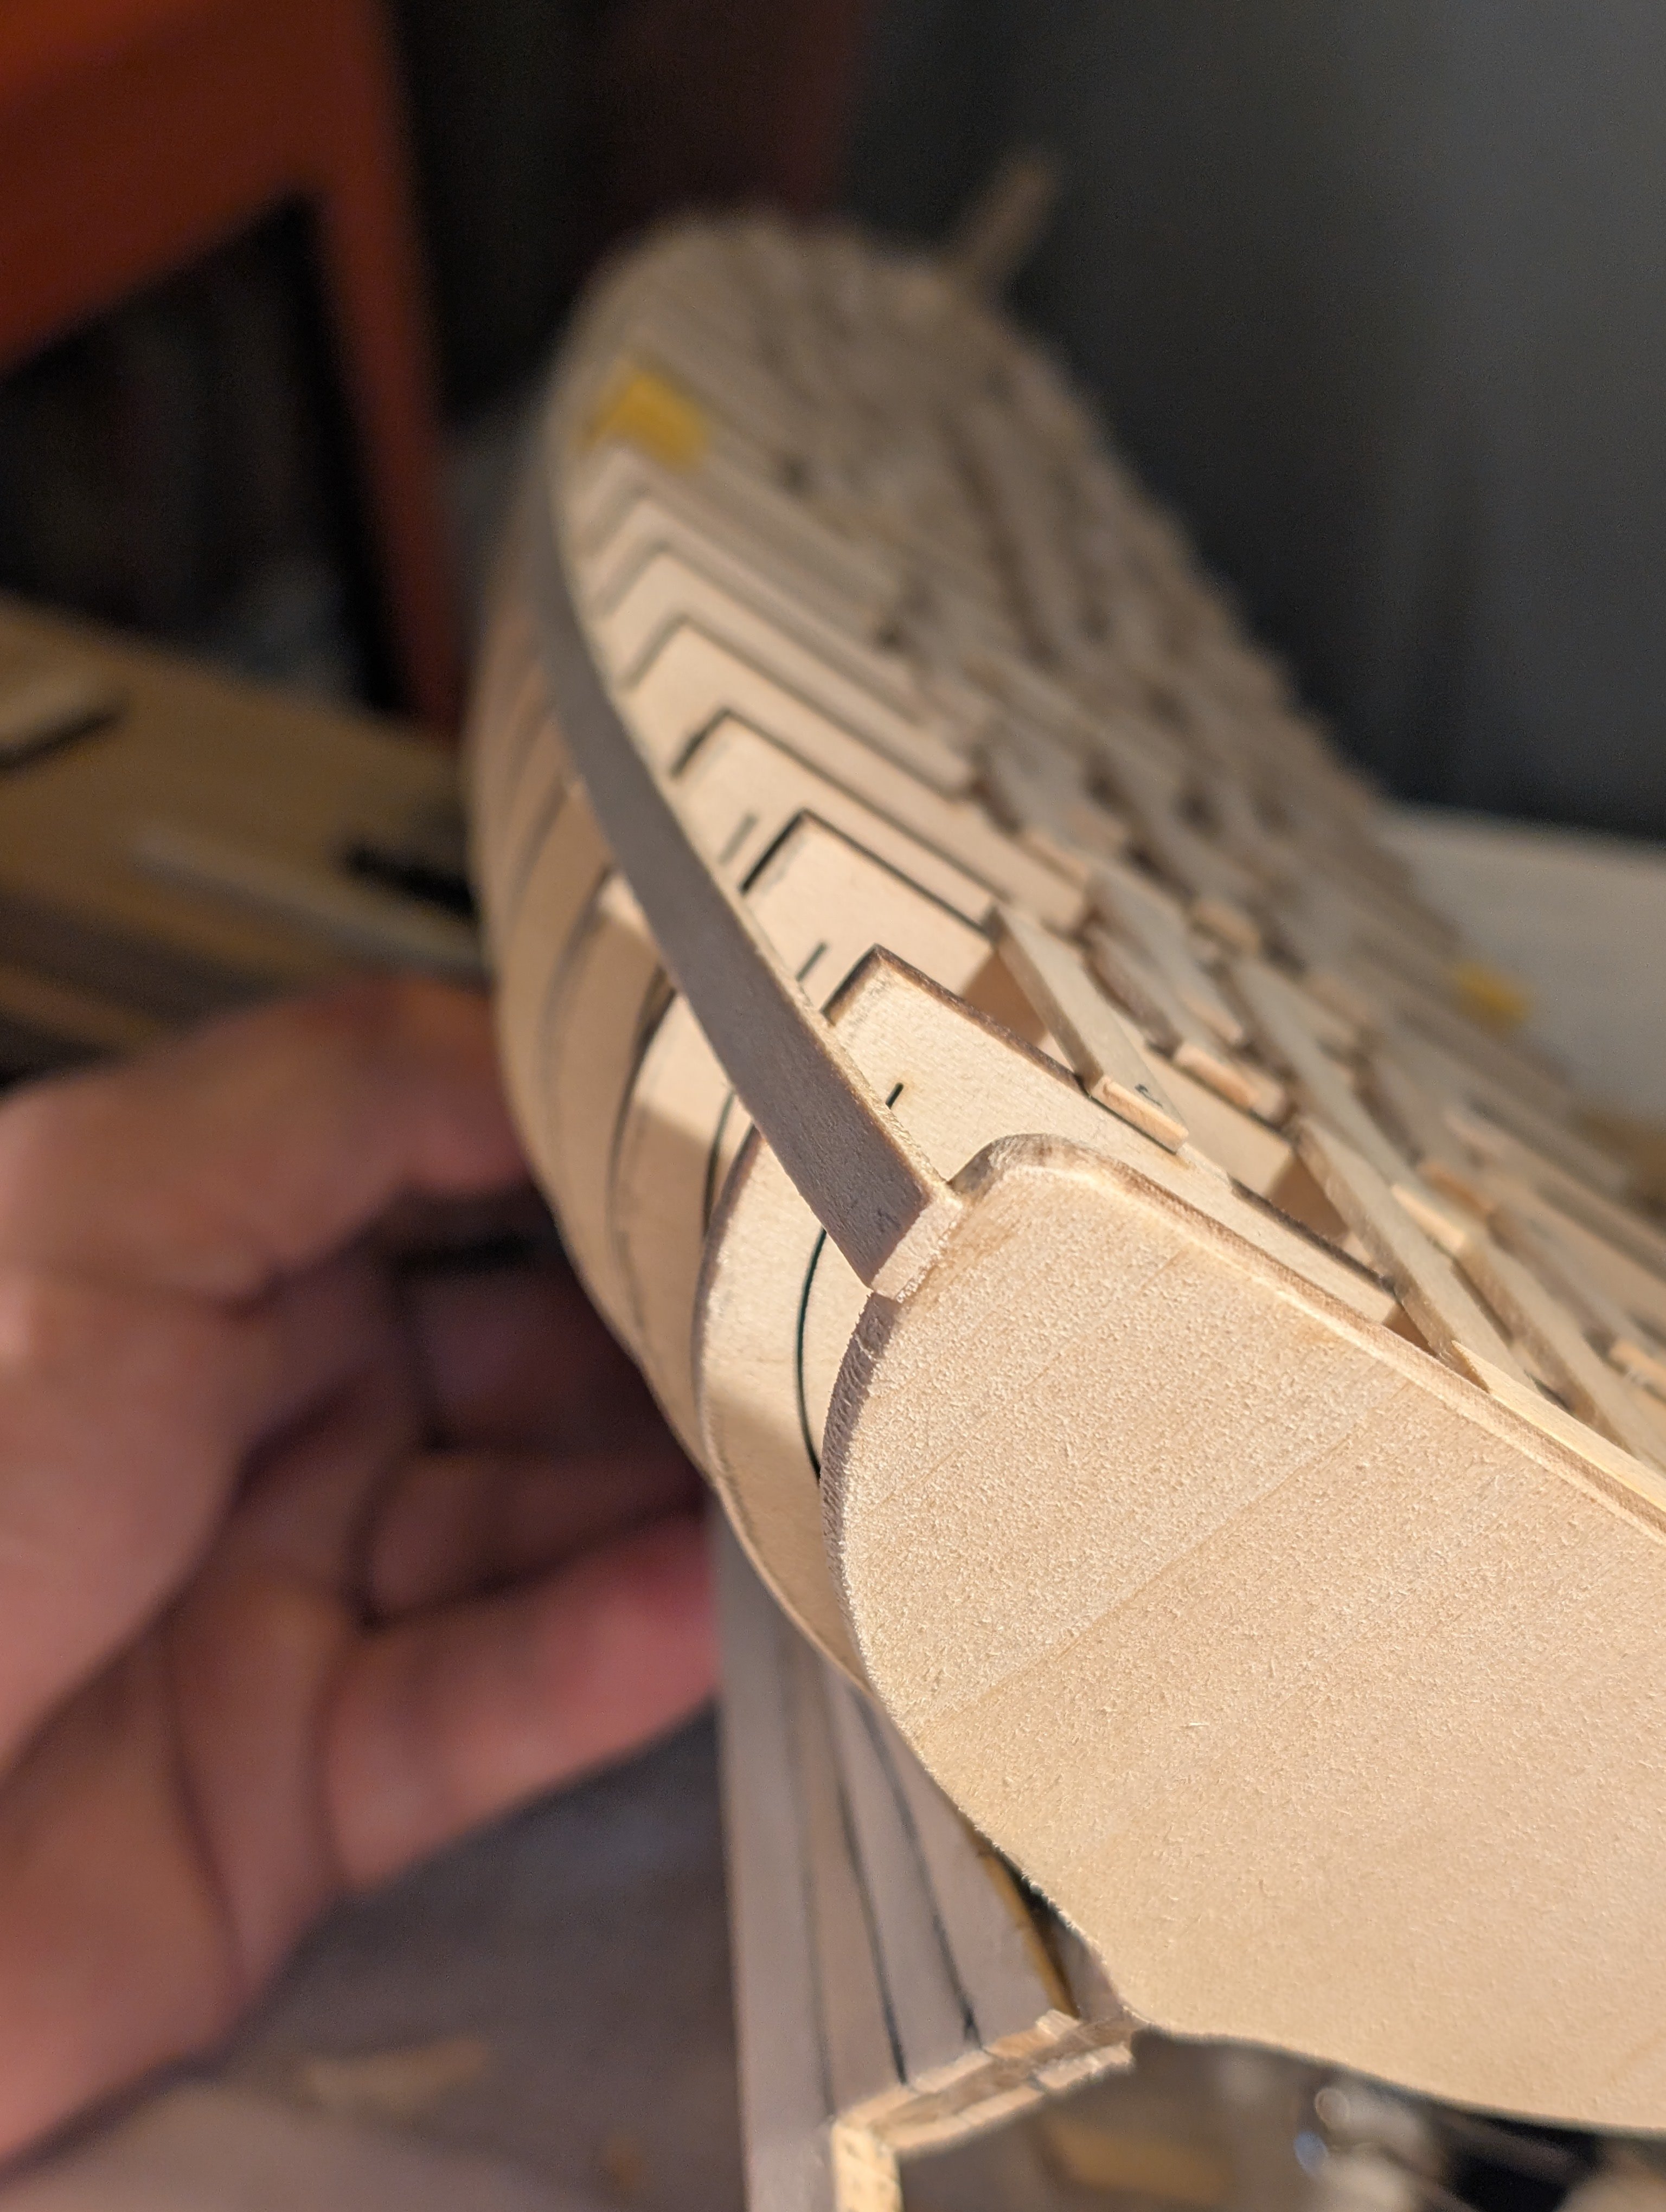
Bow filler pieces in process, then fairing is complete.
- 33 replies
-
- 6
-
-
- Model Shipways
- 18th Century Armed Longboat
- (and 1 more)
-
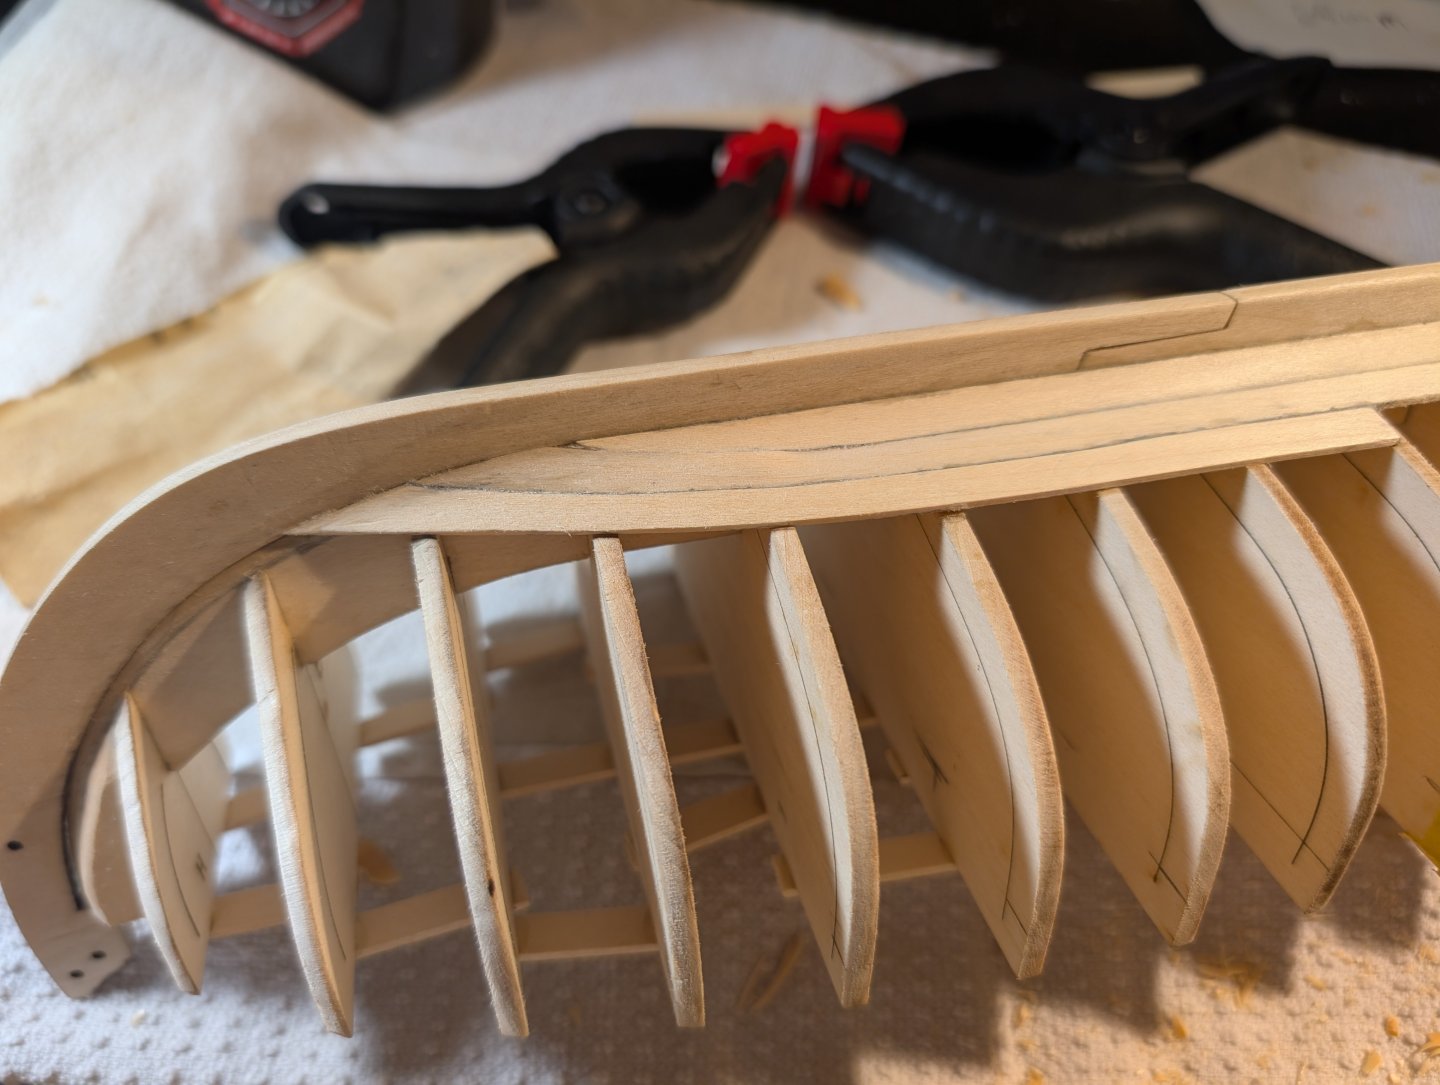
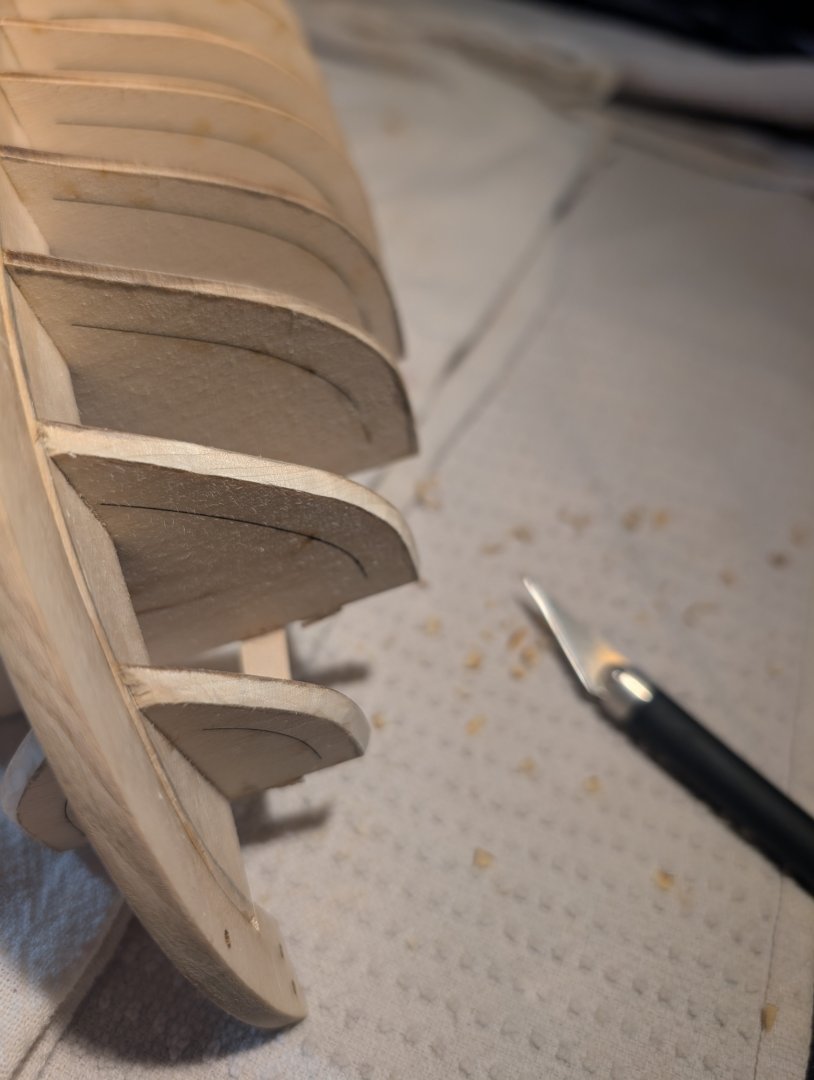
Fairing is coming along nicely, and I am to the last several frames toward the stern. I will probably have to shim a few of the frames, as they will create issues with the lines of the hull if I don't. All in all, this is a really good kit to learn and start with. Overall, the larger scale makes it less fragile than something smaller, it has a good amount of techniques that transfer to pretty much every build, and in the end, you have a single plank on frame kit under your belt, allowing you to immediately transition into much more difficult kits or scratch building right away after. IF you don't like planking, this kit will force you to realize this very quickly. As a trained graphic designer, this part of the planning for this particular kit is pretty exciting.
- 33 replies
-
- 3
-
-
- Model Shipways
- 18th Century Armed Longboat
- (and 1 more)
-
Thanks! I toyed around with getting the 3 boat series, but outside of the actual plank bending, I had done all of the techniques necessary before in some form or another in other applications, except bending wood. At the end of the day, I didn't want to go through the 3-boat series as it didn't fit into my area of interest, which is late 16th through the mid-18th century. Once the American Revolution is done, those ships don't speak to me in the same way. Also, the subject at least has to have one cannon; I am only interested in military or privateer stuff. I also felt the larger scale would be better over the 1/48 longboat, and I didn't want a kit with laser-cut strakes. I wanted to get some practice with single planking properly. The Corel Berlin kit on my shelf is single-planked. I am more interested in larger scales in general, aircraft models I only work in 1/48 scale and larger. With ship models, I doubt I will ever do something smaller scale than 1/48. I would rather work on a smaller ship or boat in a larger scale to allow for more detail. One thing that is important to me in any build is not to chase perfection. It's important for me to push techniques, to improve throughout the process.
- 33 replies
-
- 3
-
-
- Model Shipways
- 18th Century Armed Longboat
- (and 1 more)
-
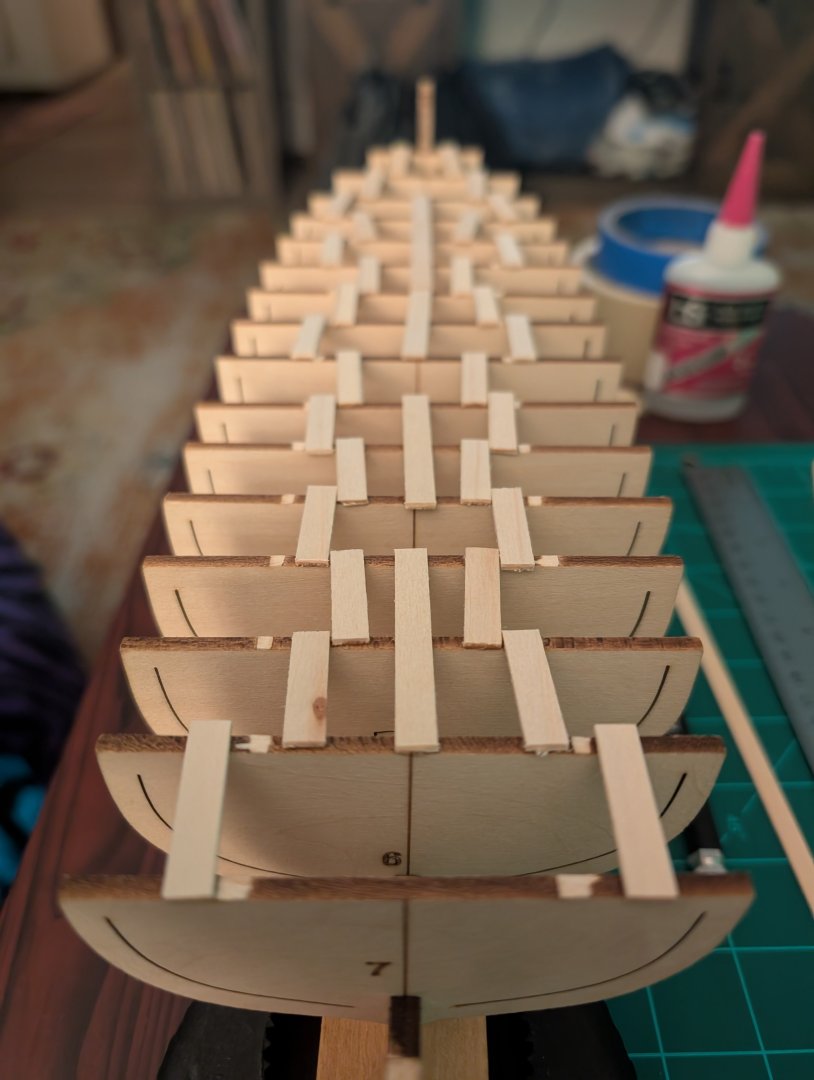
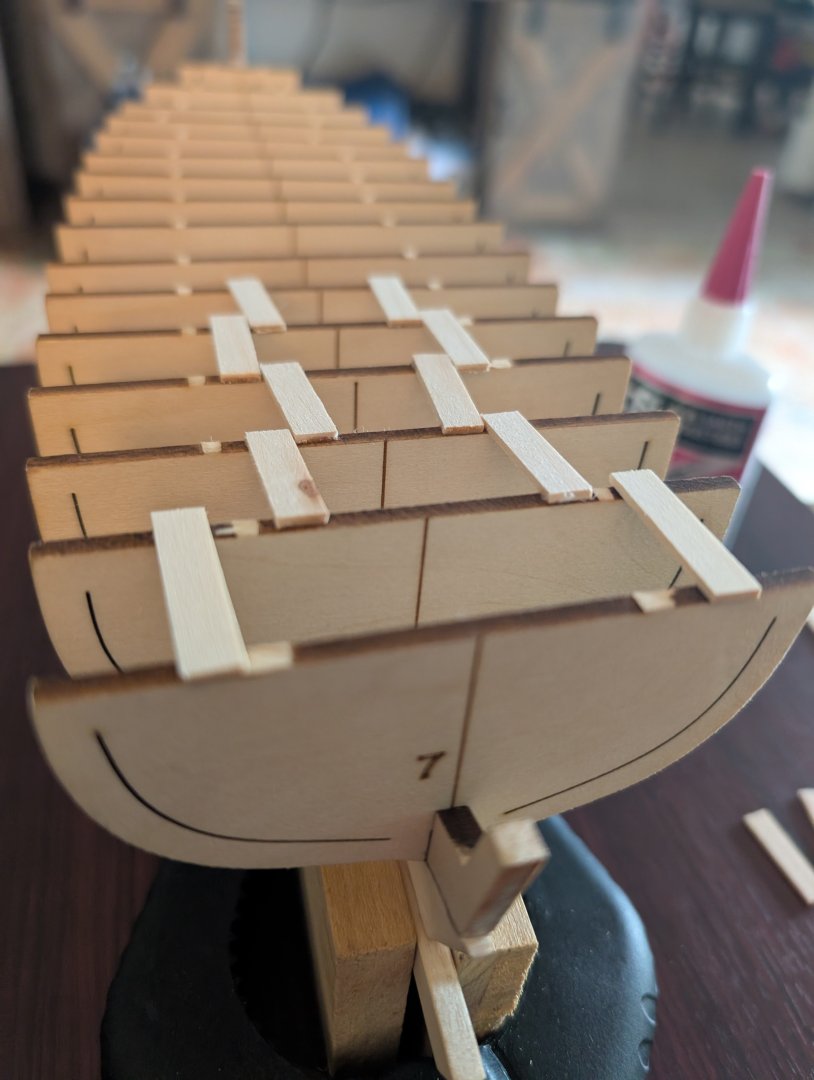
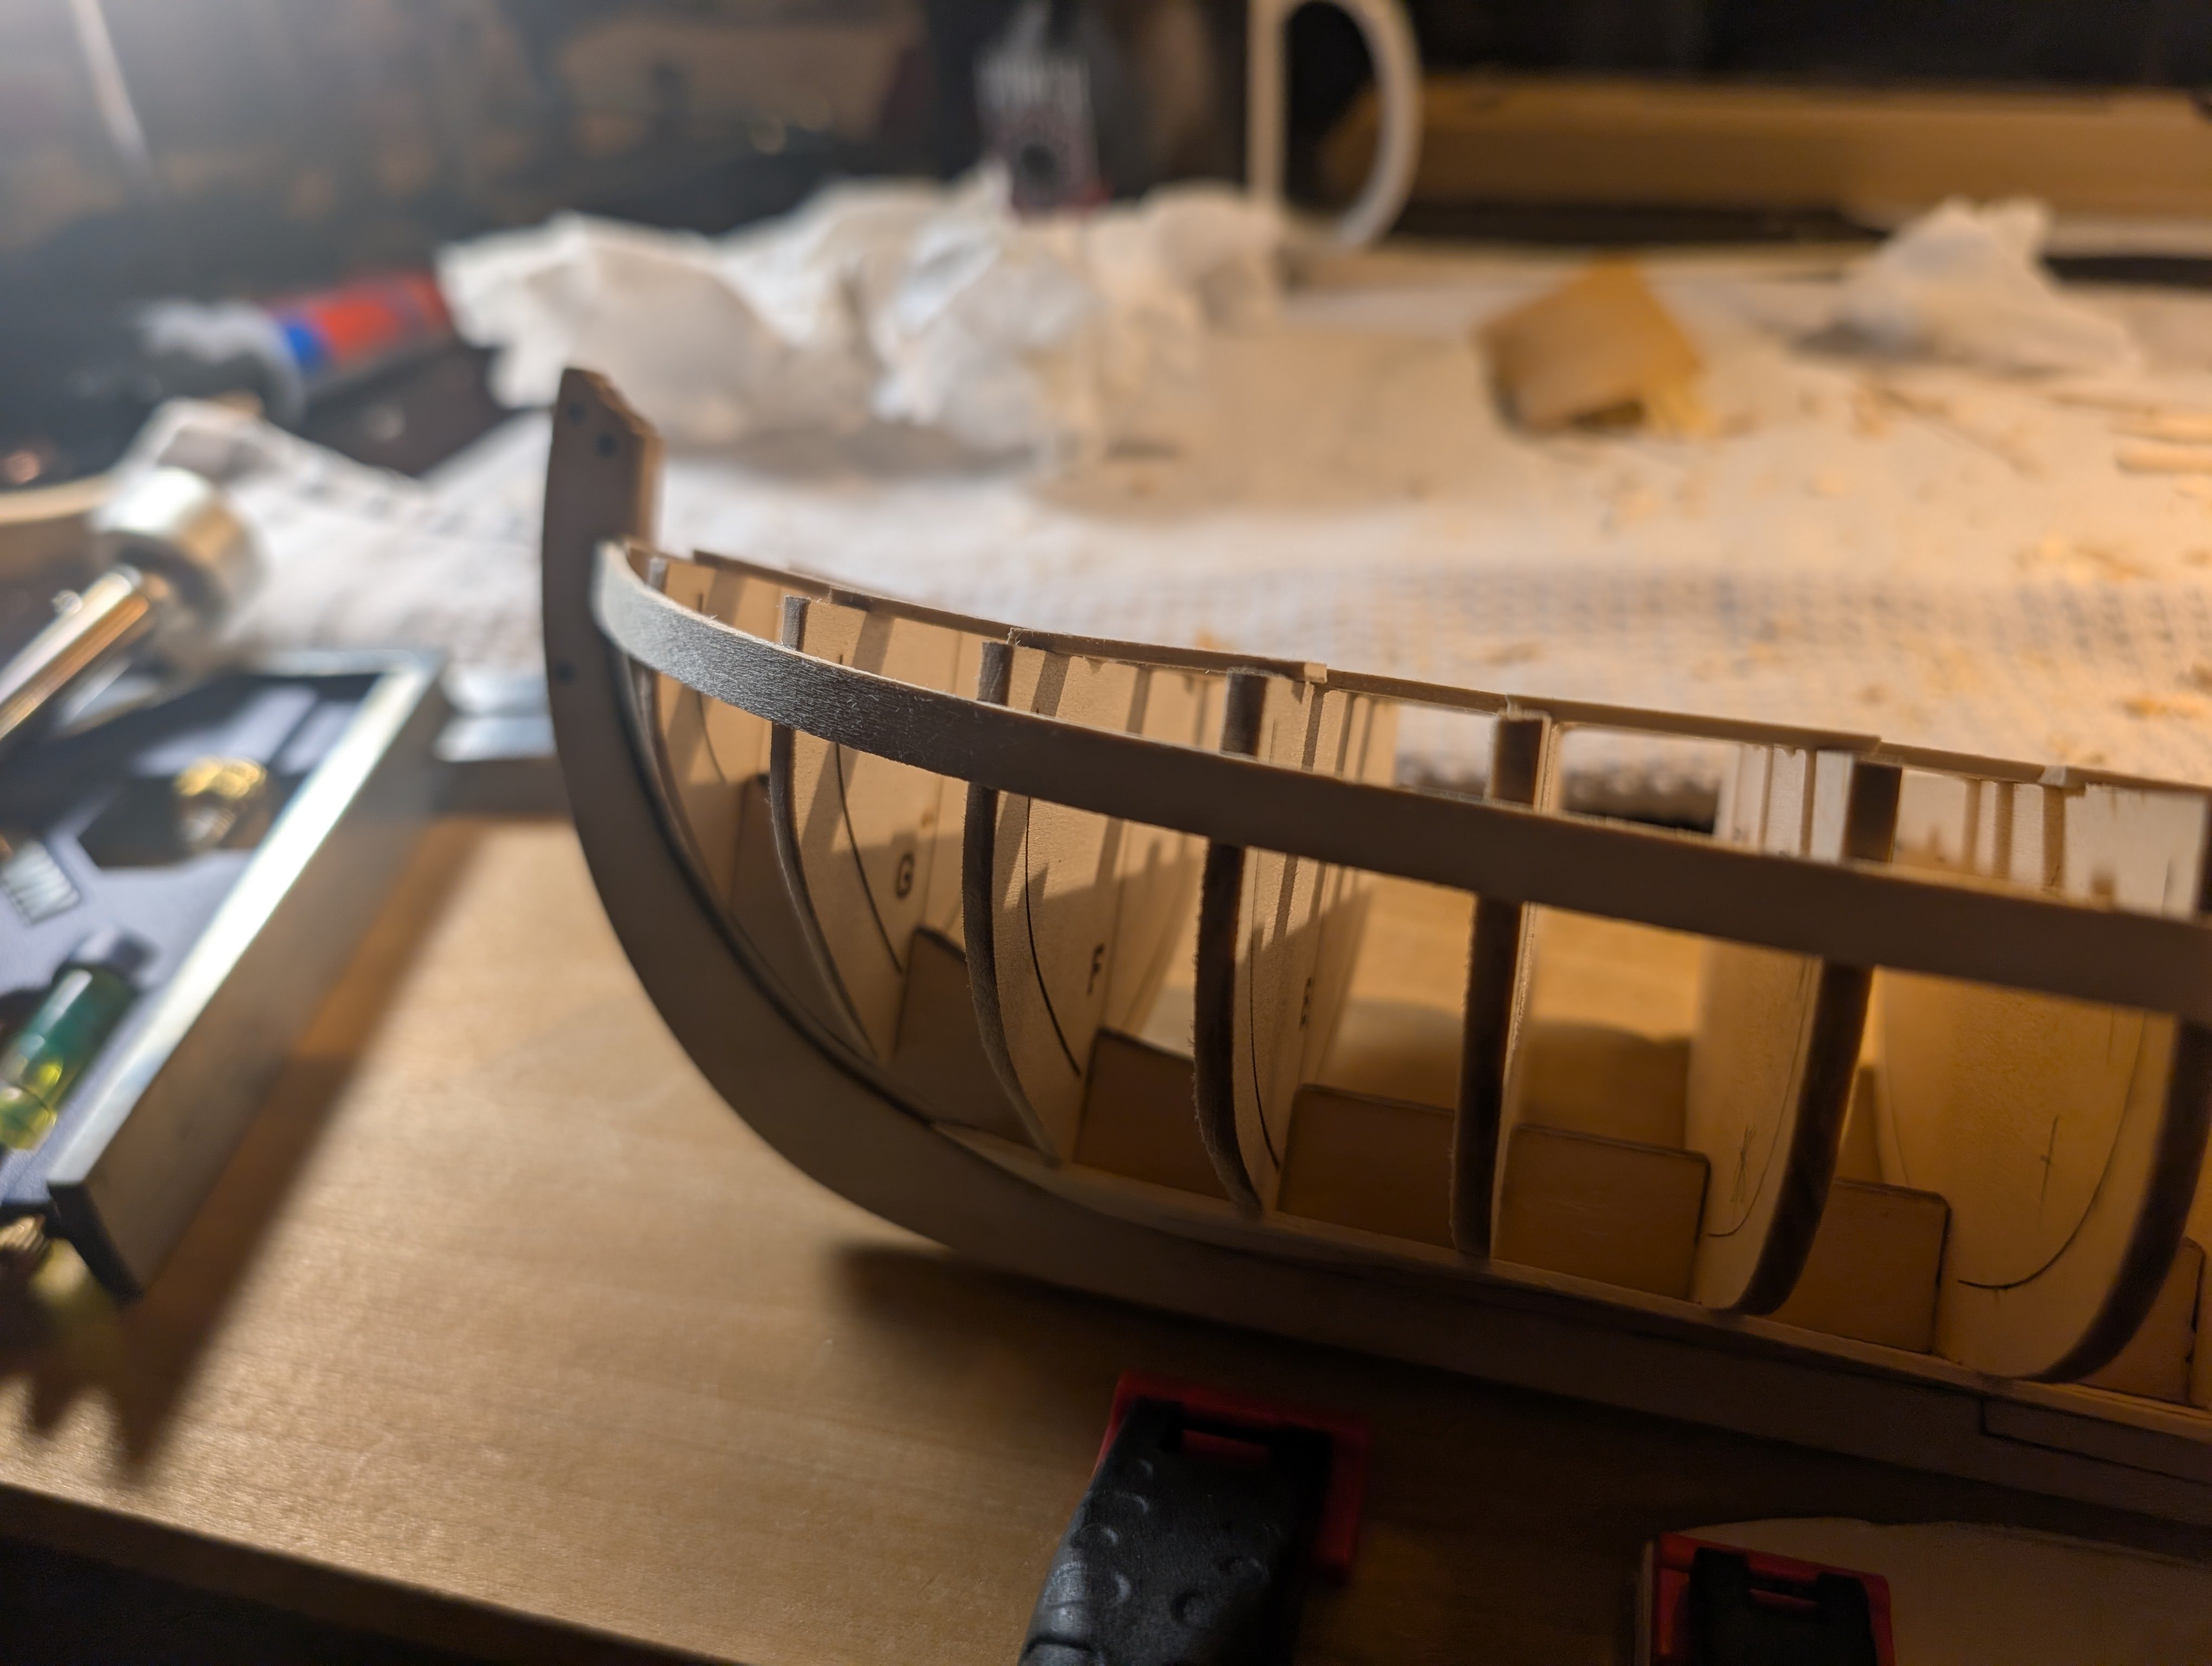
Here is the bottom of the cap to the keel measurements off of the plans for each frame, a good reference for anyone doing the kit and getting ready to plank (top edge of uppermost strake). 0 - 57 mm 1 - 57 mm 2 - 57.5 mm 3 - 58.5 mm 4 - 60 mm 5 - 61.5 mm 6 - 63 mm 7 - 65 mm Stern - 68 mm A - 57 mm B - 57 mm C - 58.5 mm D - 59.5 mm E - 60.5 mm F - 62 mm G - 64 mm H - 67 mm Bow - 69 mm
- 33 replies
-
- 7
-
-
- Model Shipways
- 18th Century Armed Longboat
- (and 1 more)
-
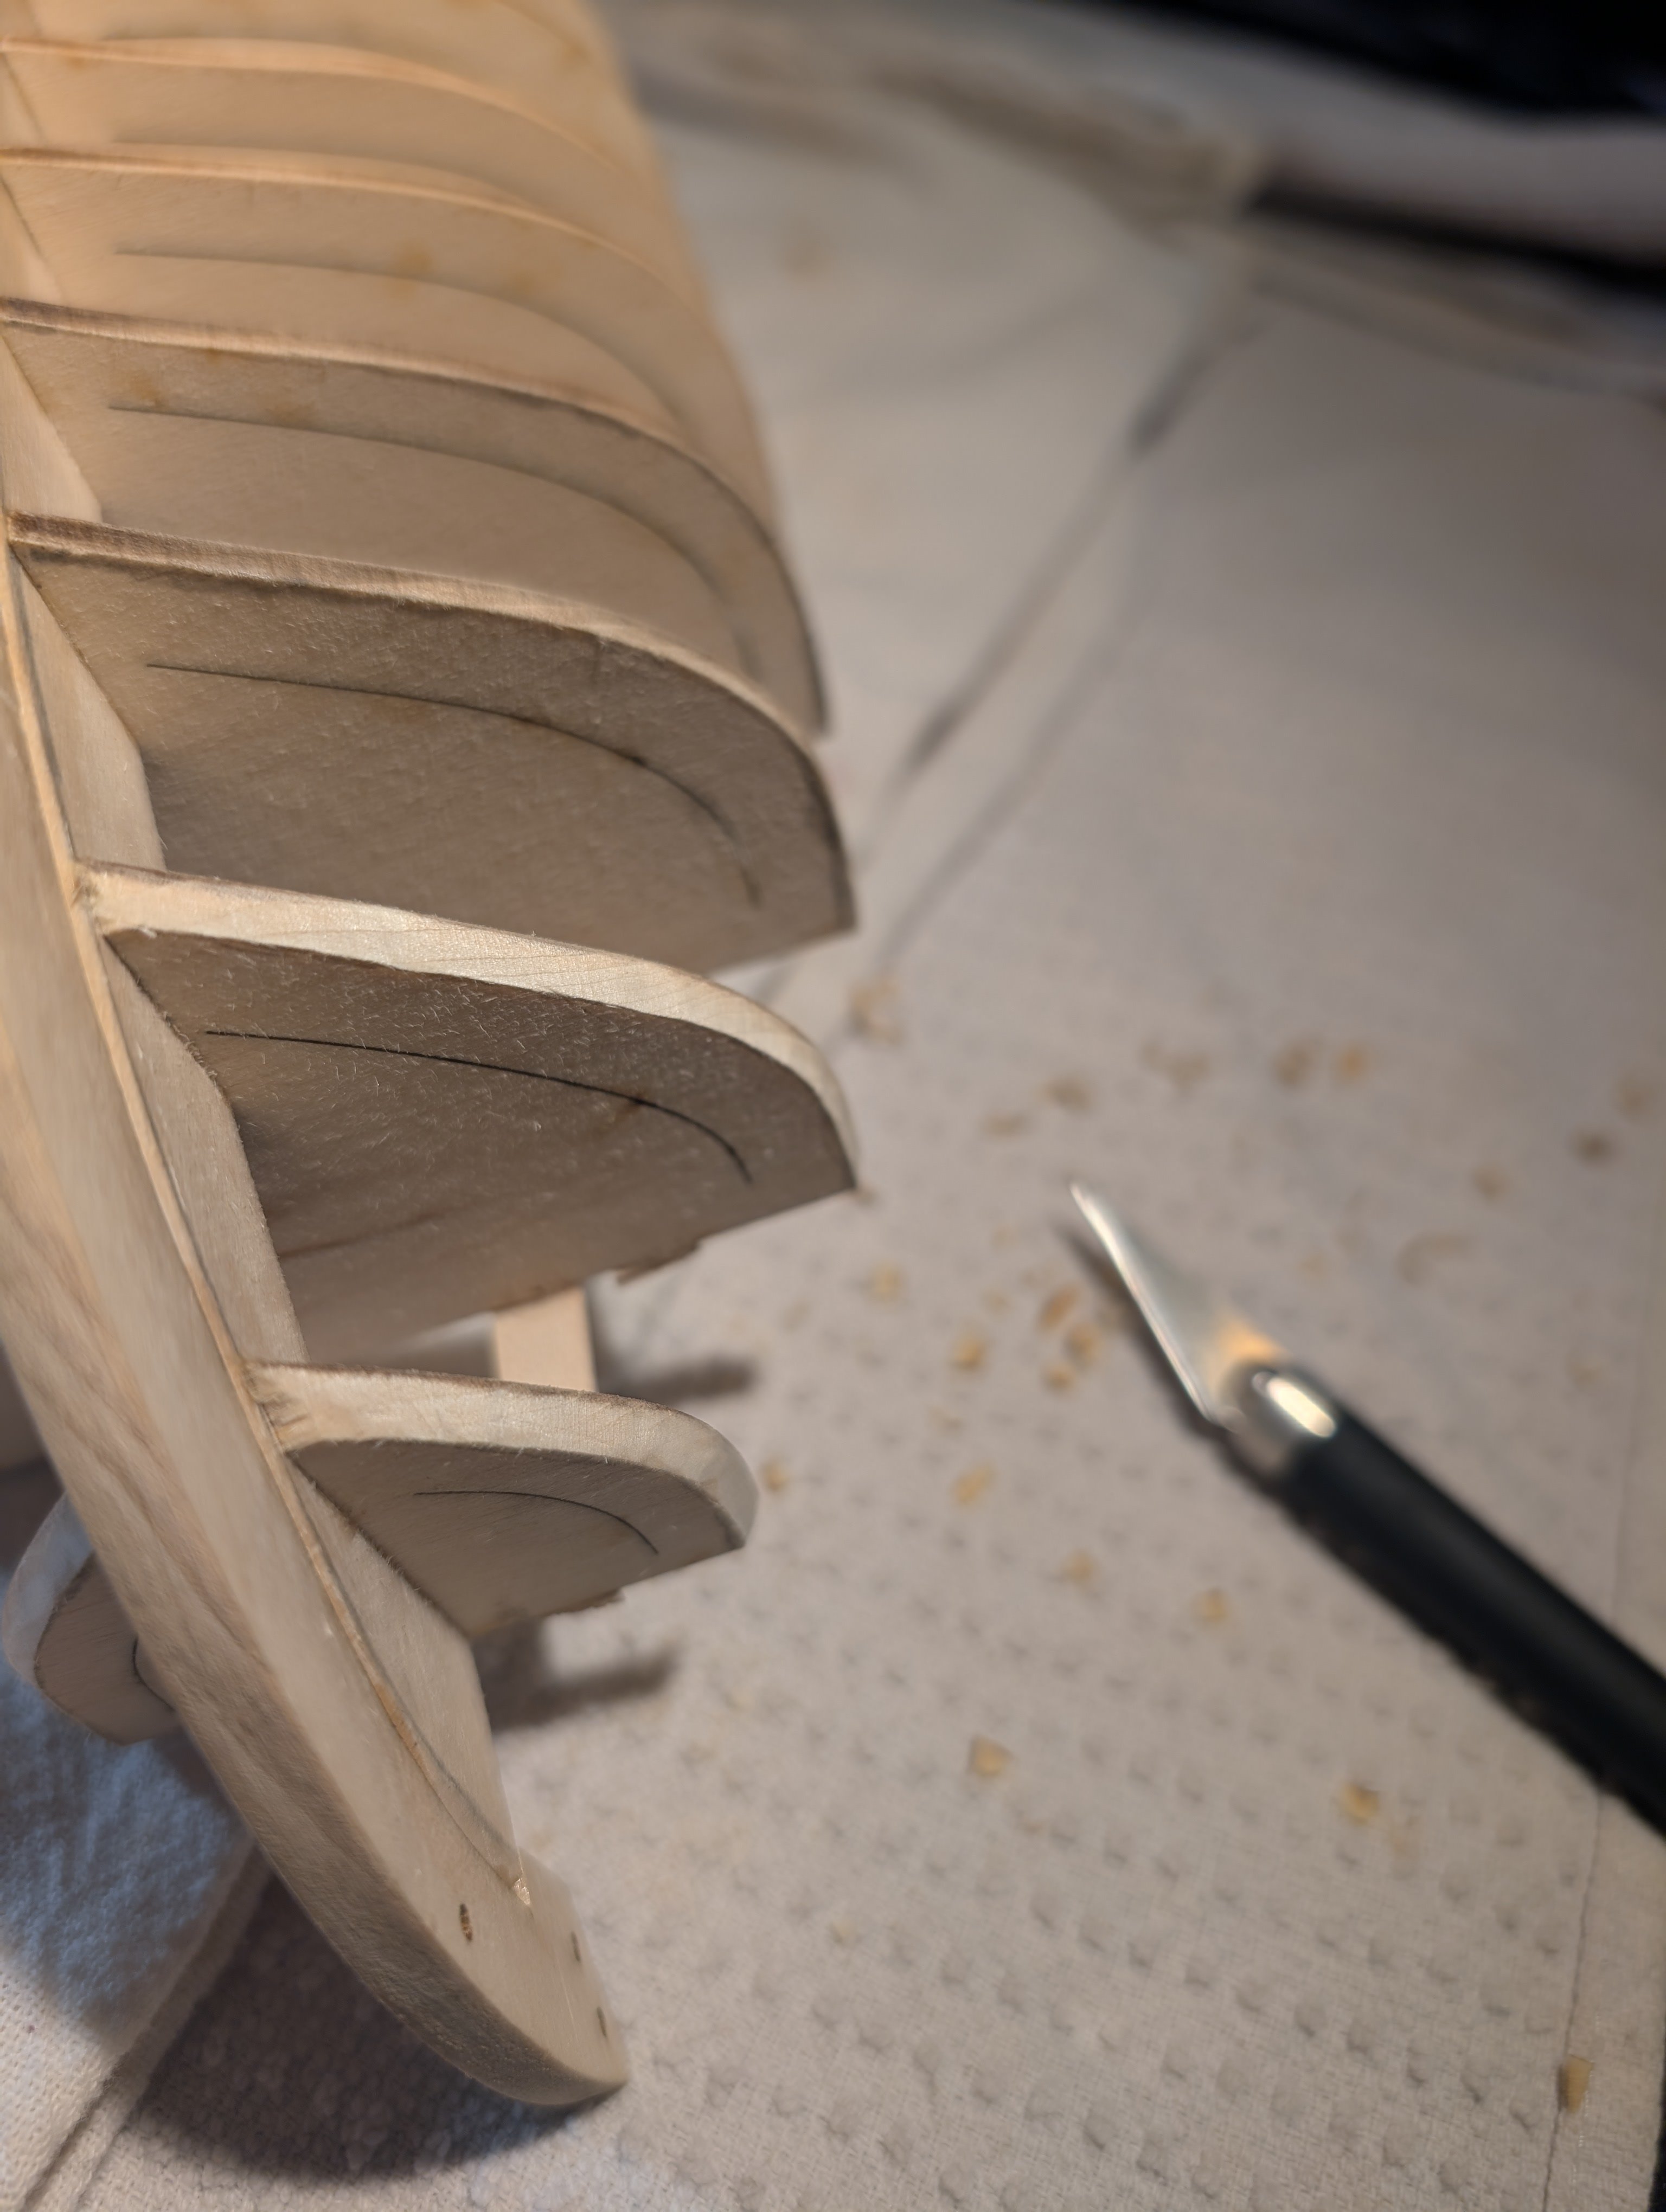
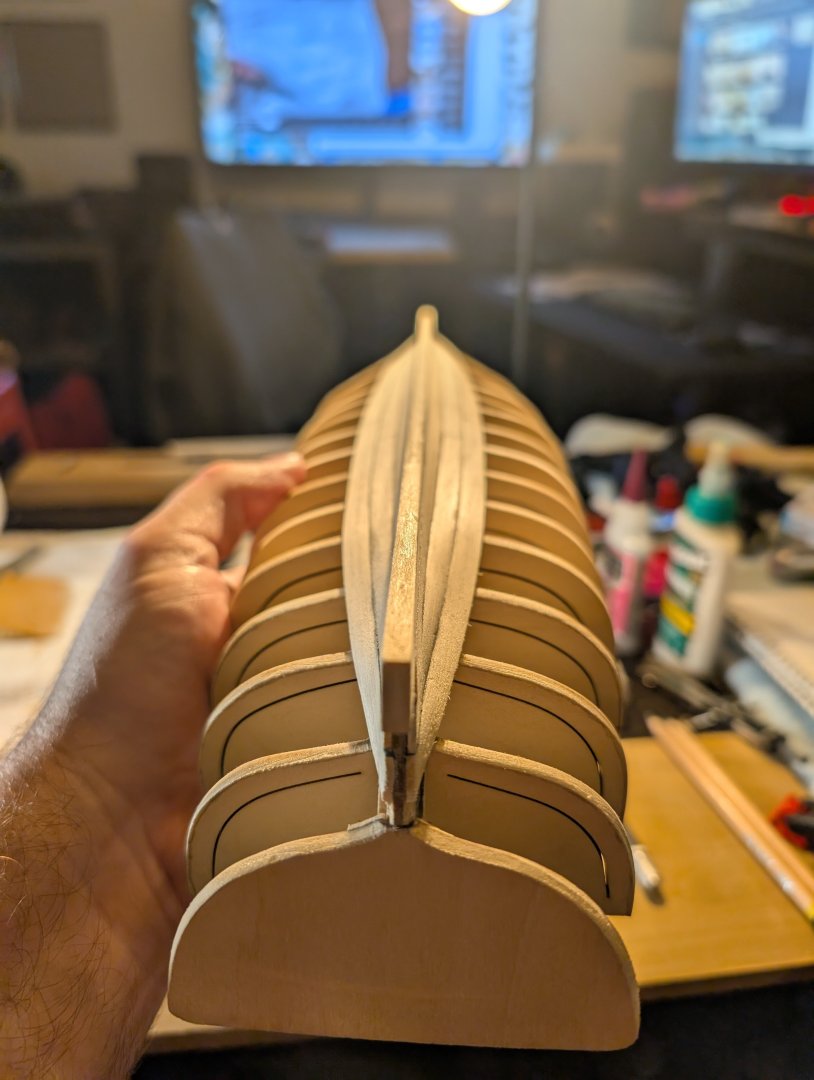
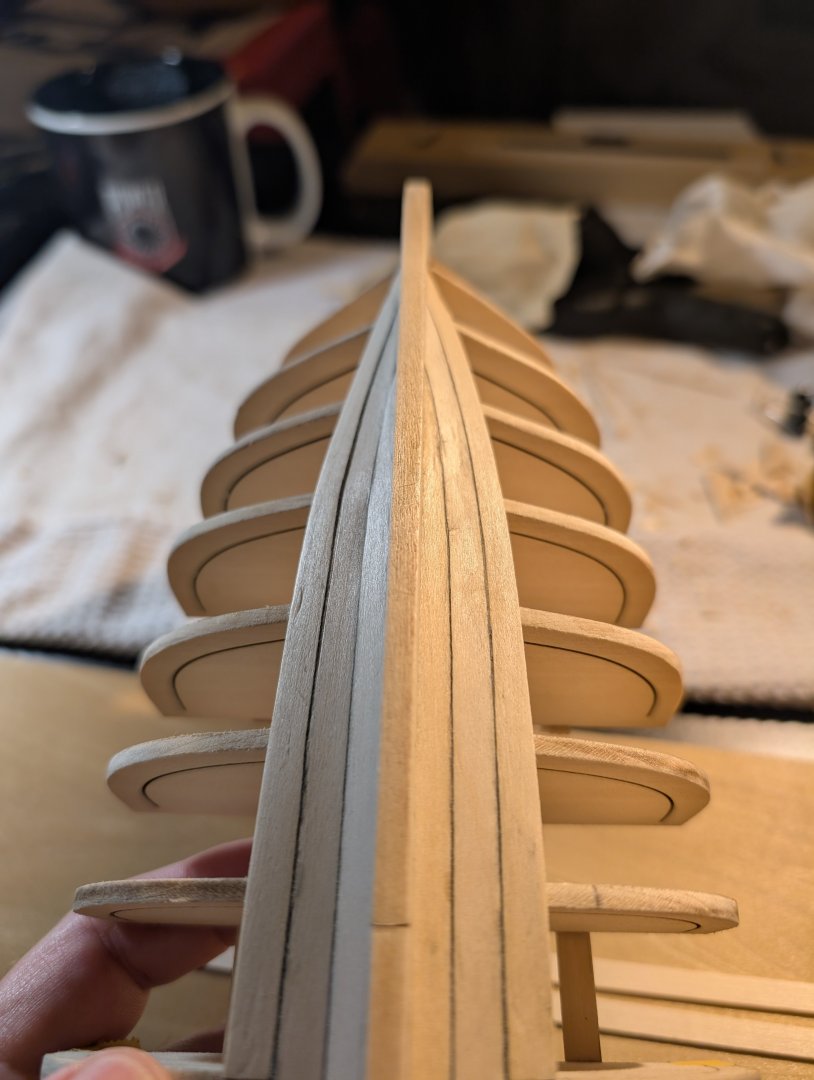
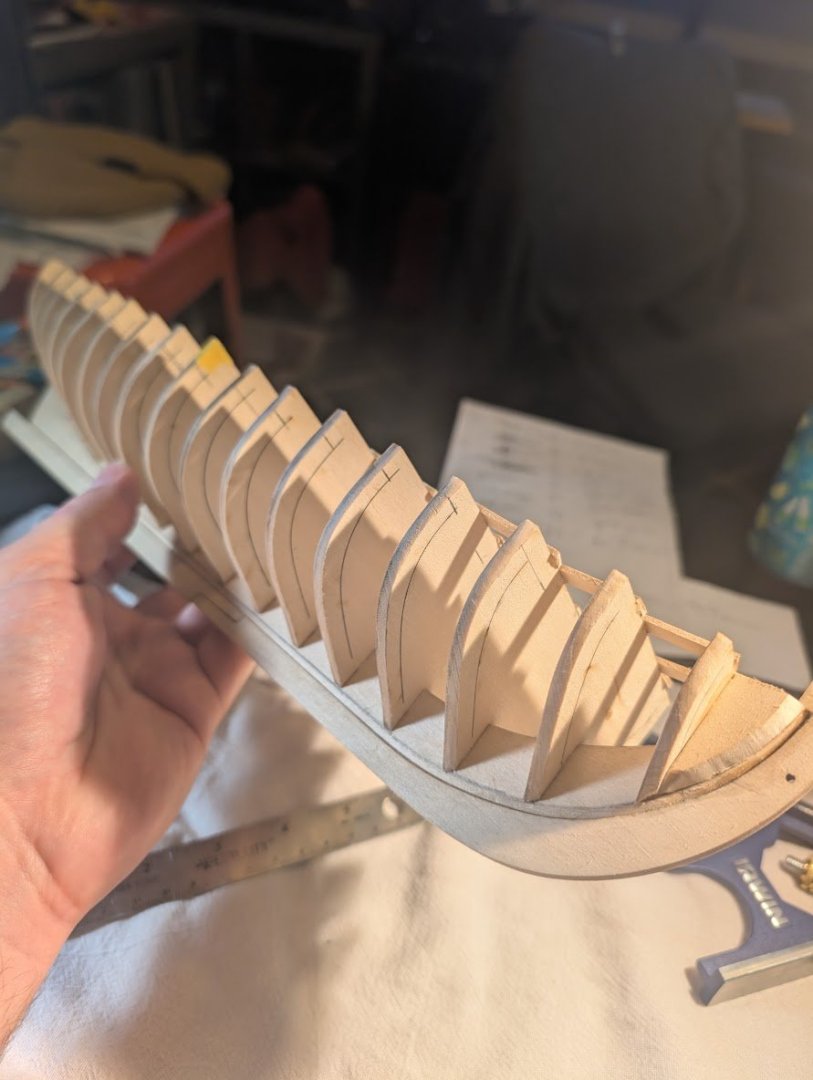
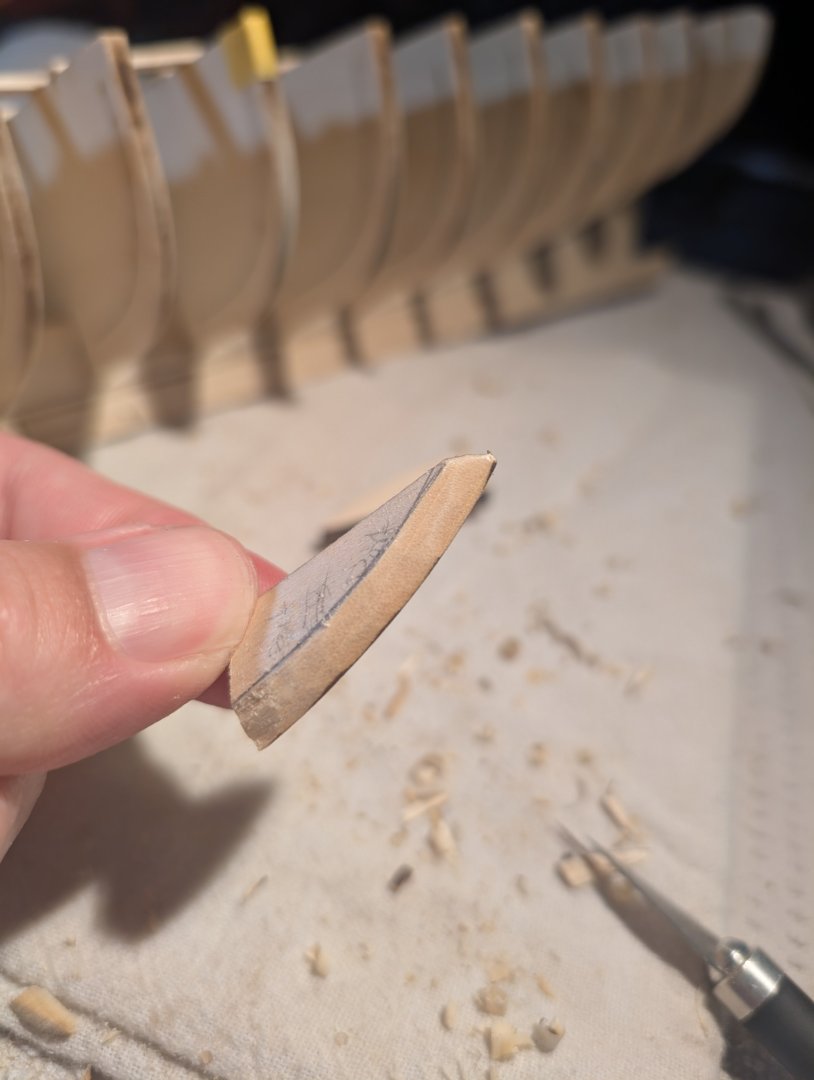
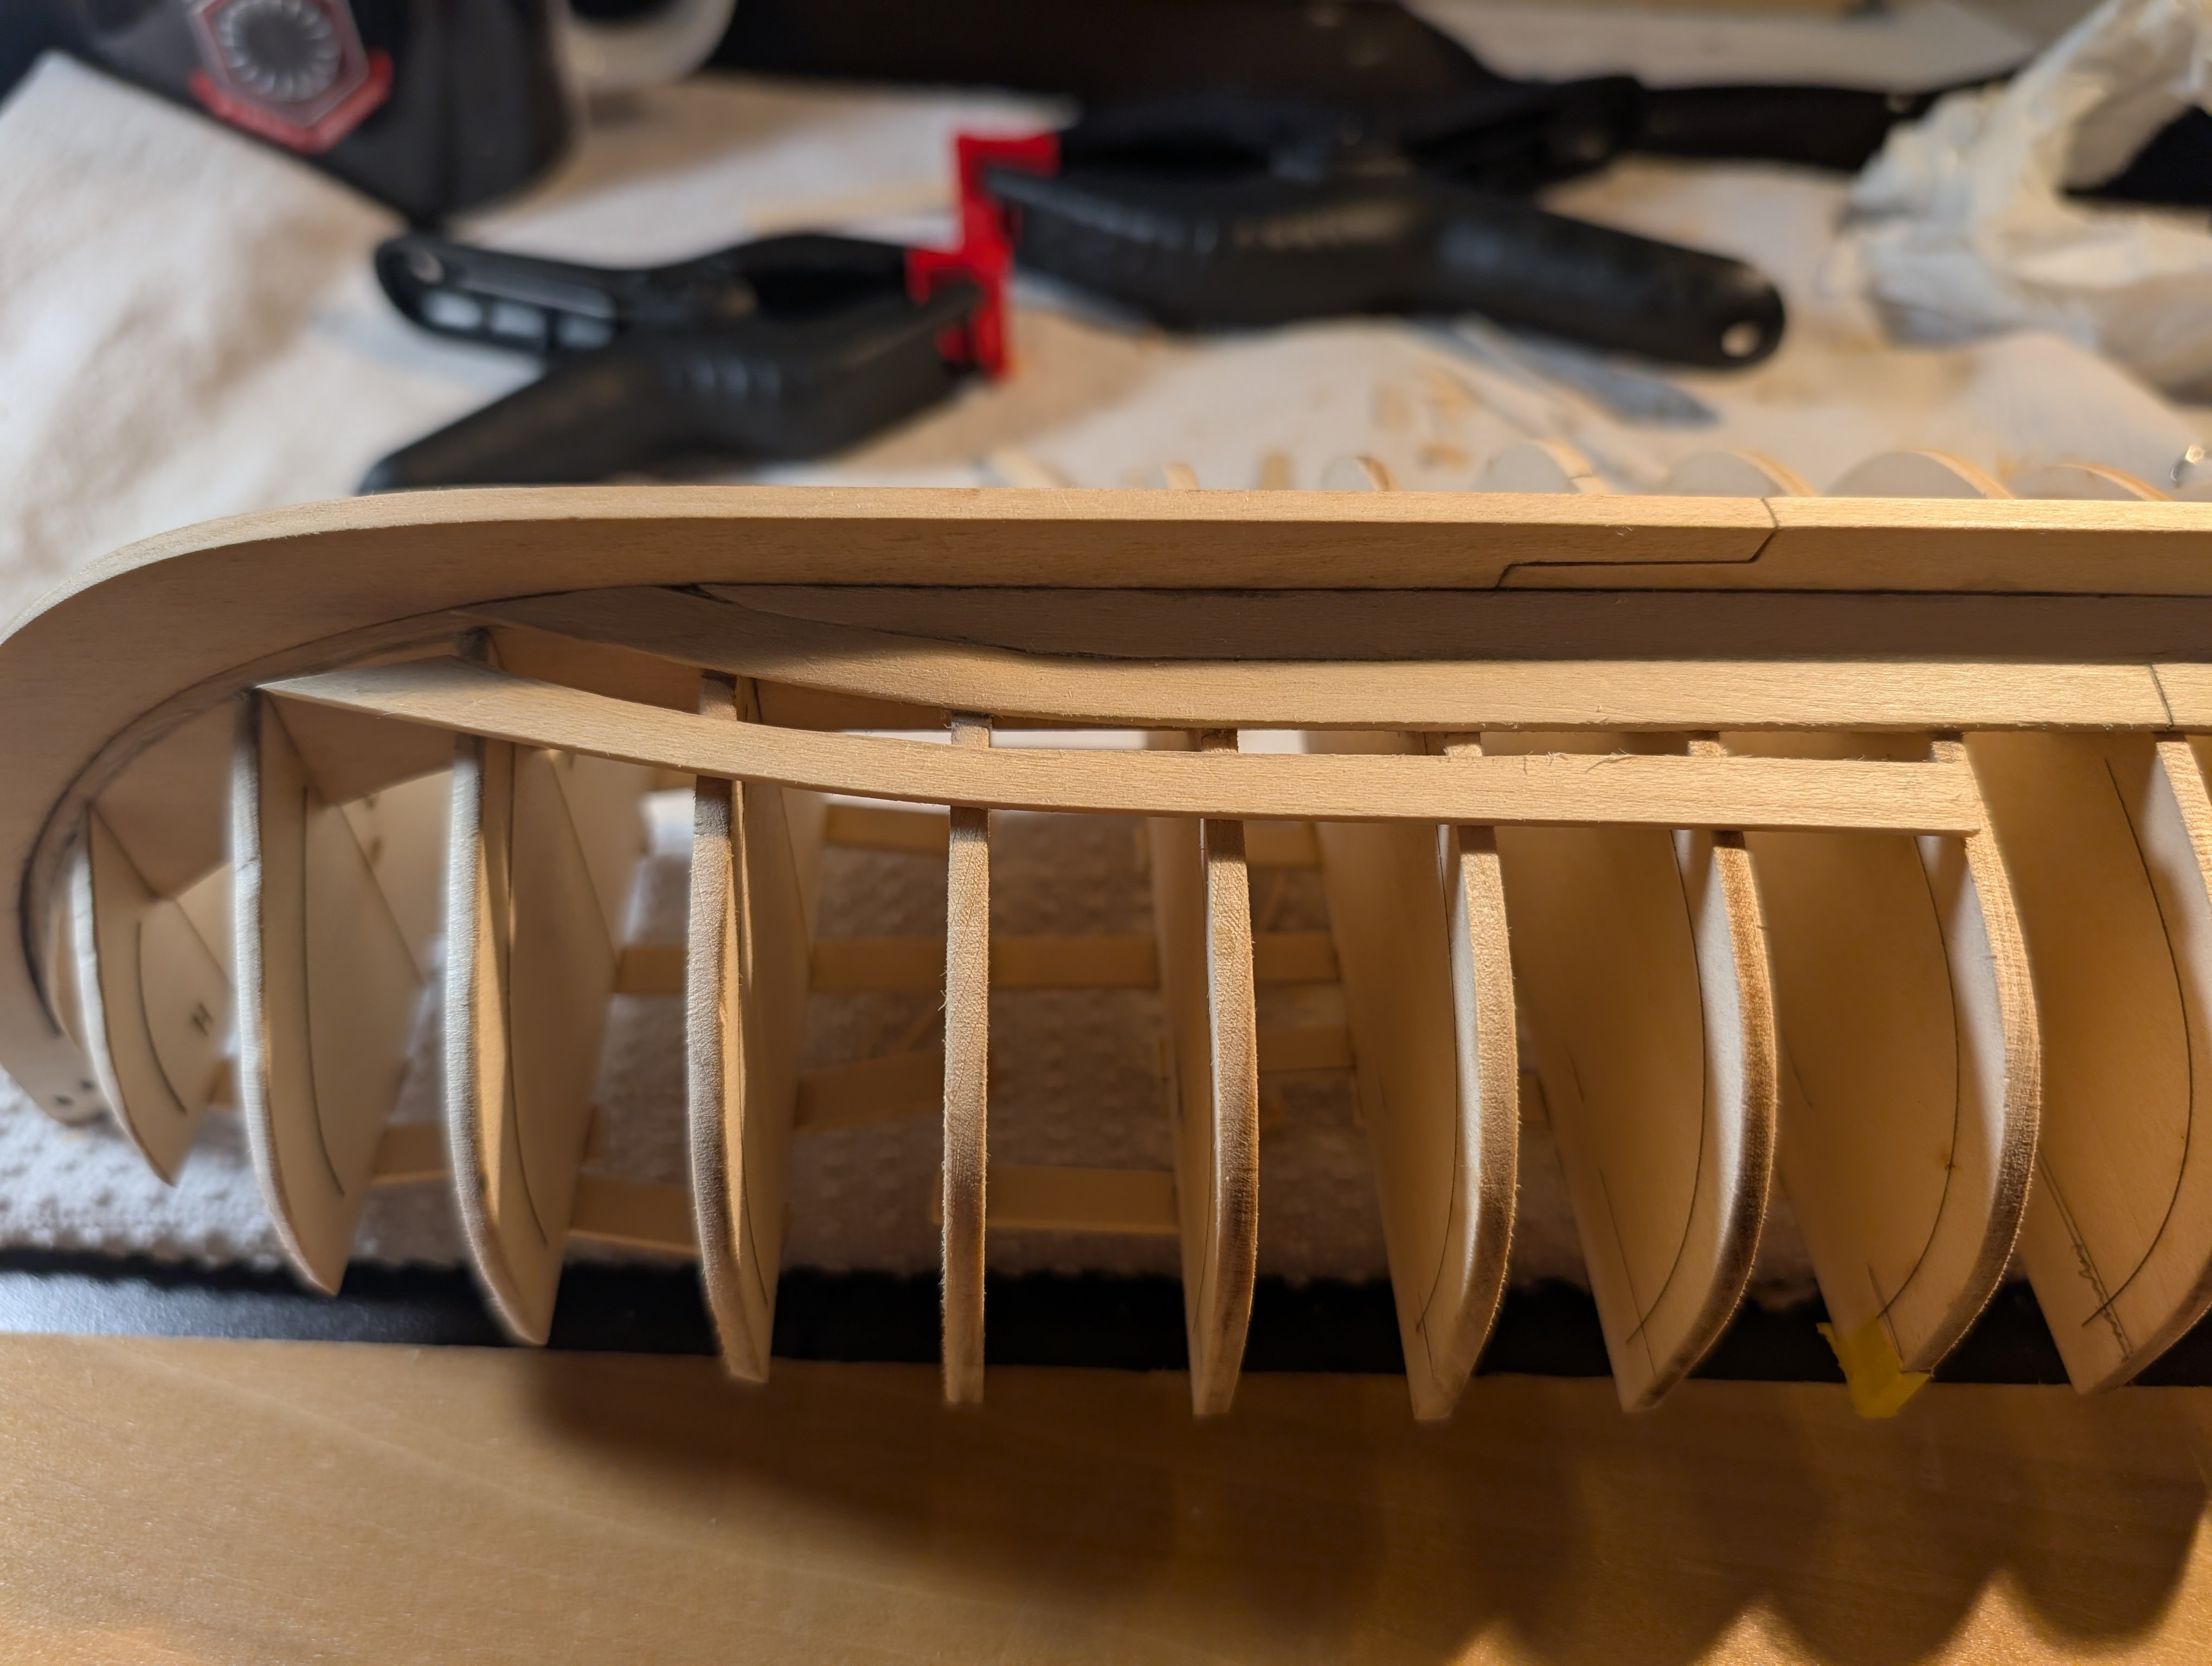
Fairing the bow frames. I have found using a fresh hobby knife blade to be the best here. The basswood is pretty soft so sanding or filing the majority of the shape just seemed like it would introduce more errors.
- 33 replies
-
- 6
-
-
- Model Shipways
- 18th Century Armed Longboat
- (and 1 more)
-
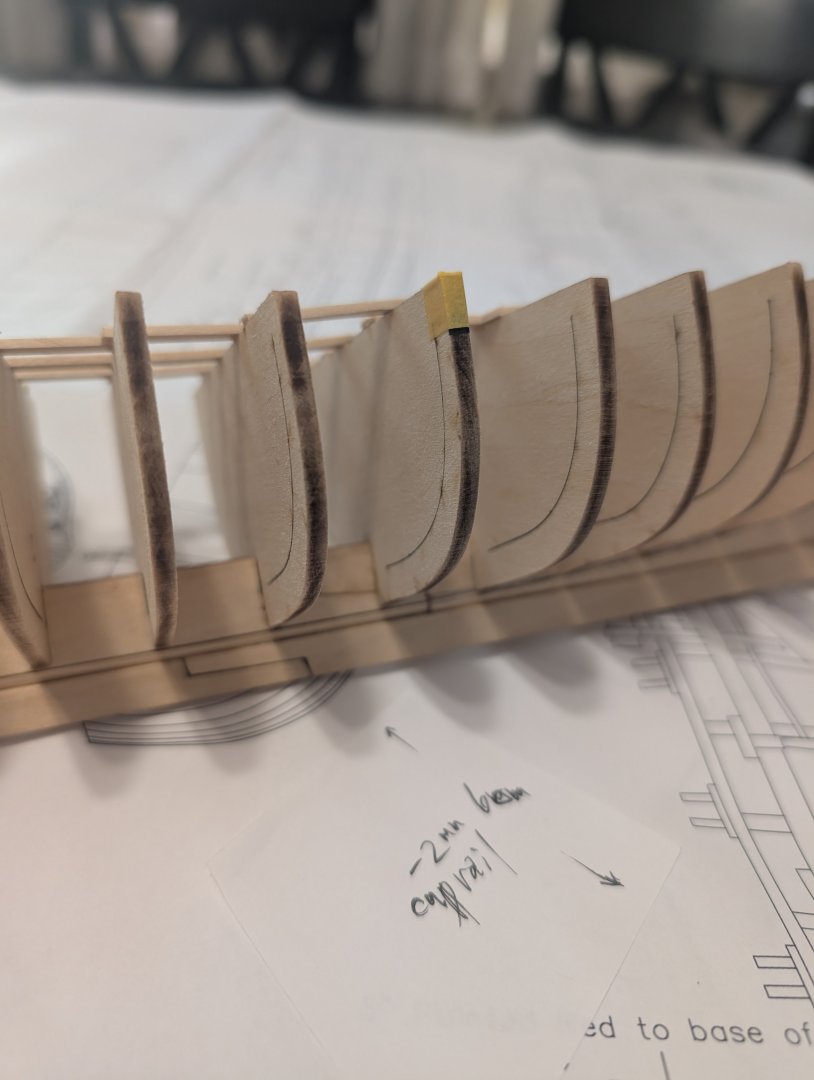
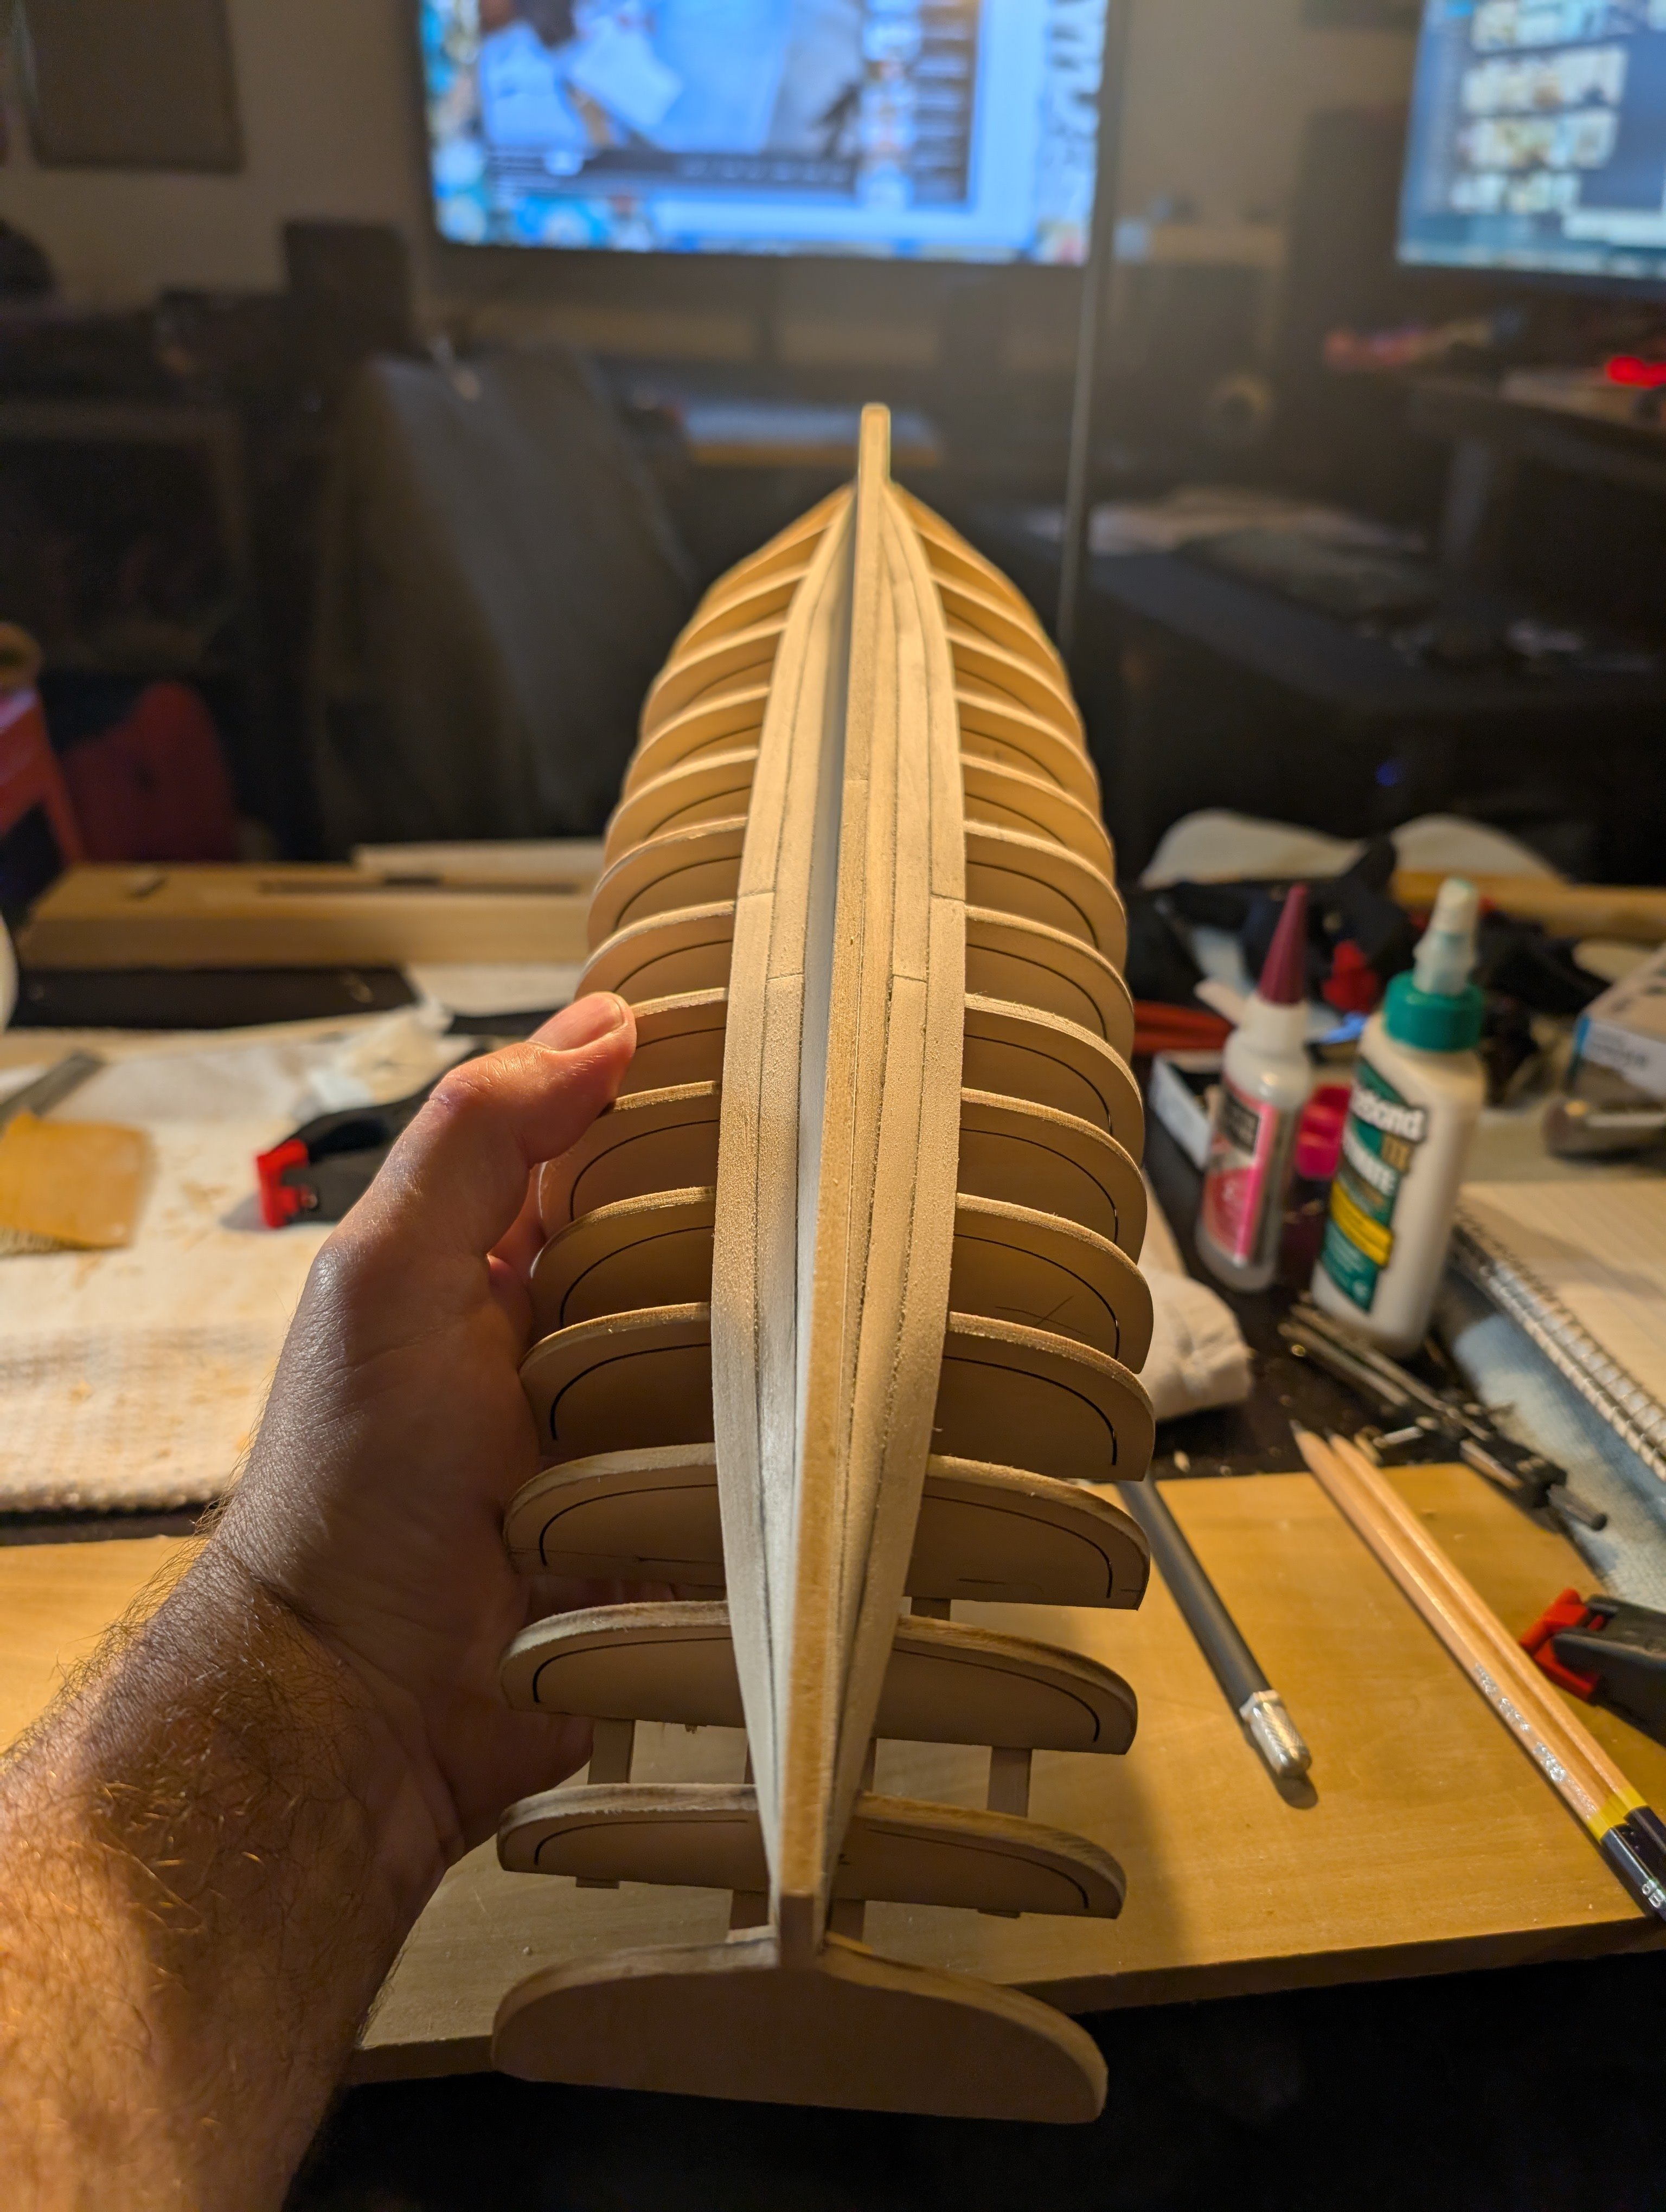
Started the fairing, and I also grabbed the length up to right below the cap rail for each frame.
- 33 replies
-
- 6
-
-
- Model Shipways
- 18th Century Armed Longboat
- (and 1 more)
-
Great build! Getting ready to plank my first time, really the only part of the whole process that is new for me. On the stain, you could try lightly sanding then doing a semi transparent stain over the top. It's usually used outdoors over old decks to even out the finish and still allowing the wood grain to show. Or you can even color via that technique.
-
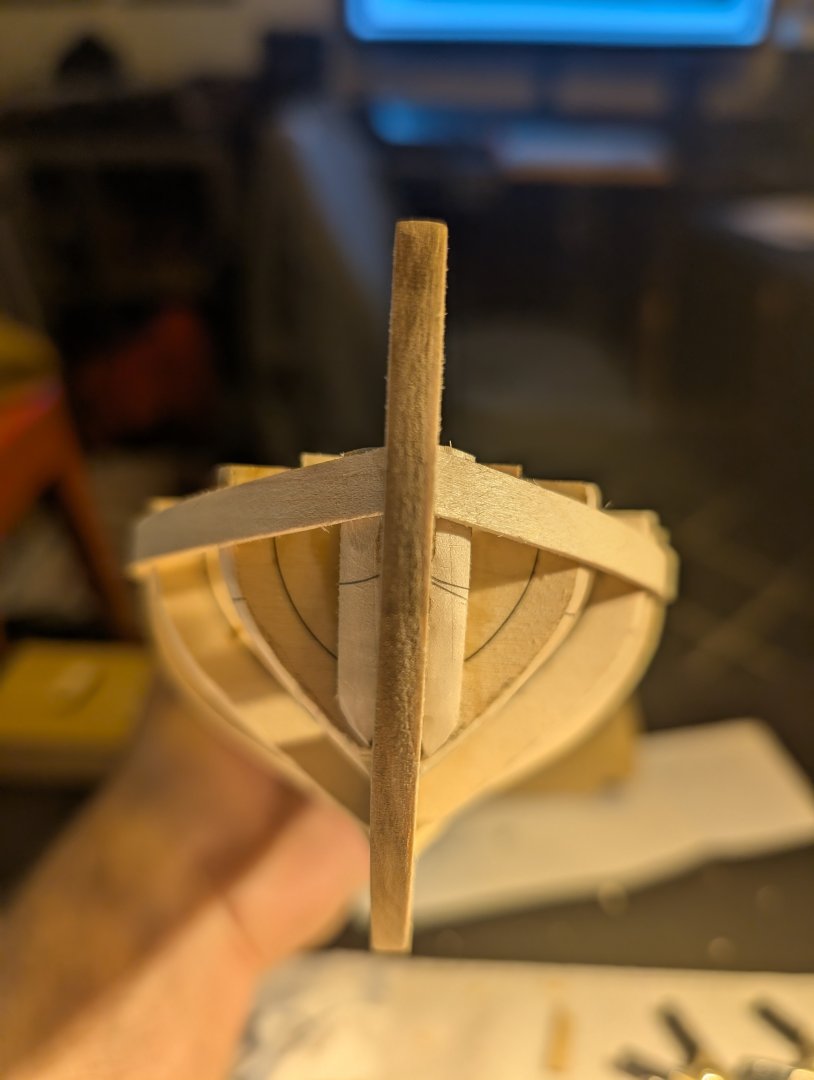
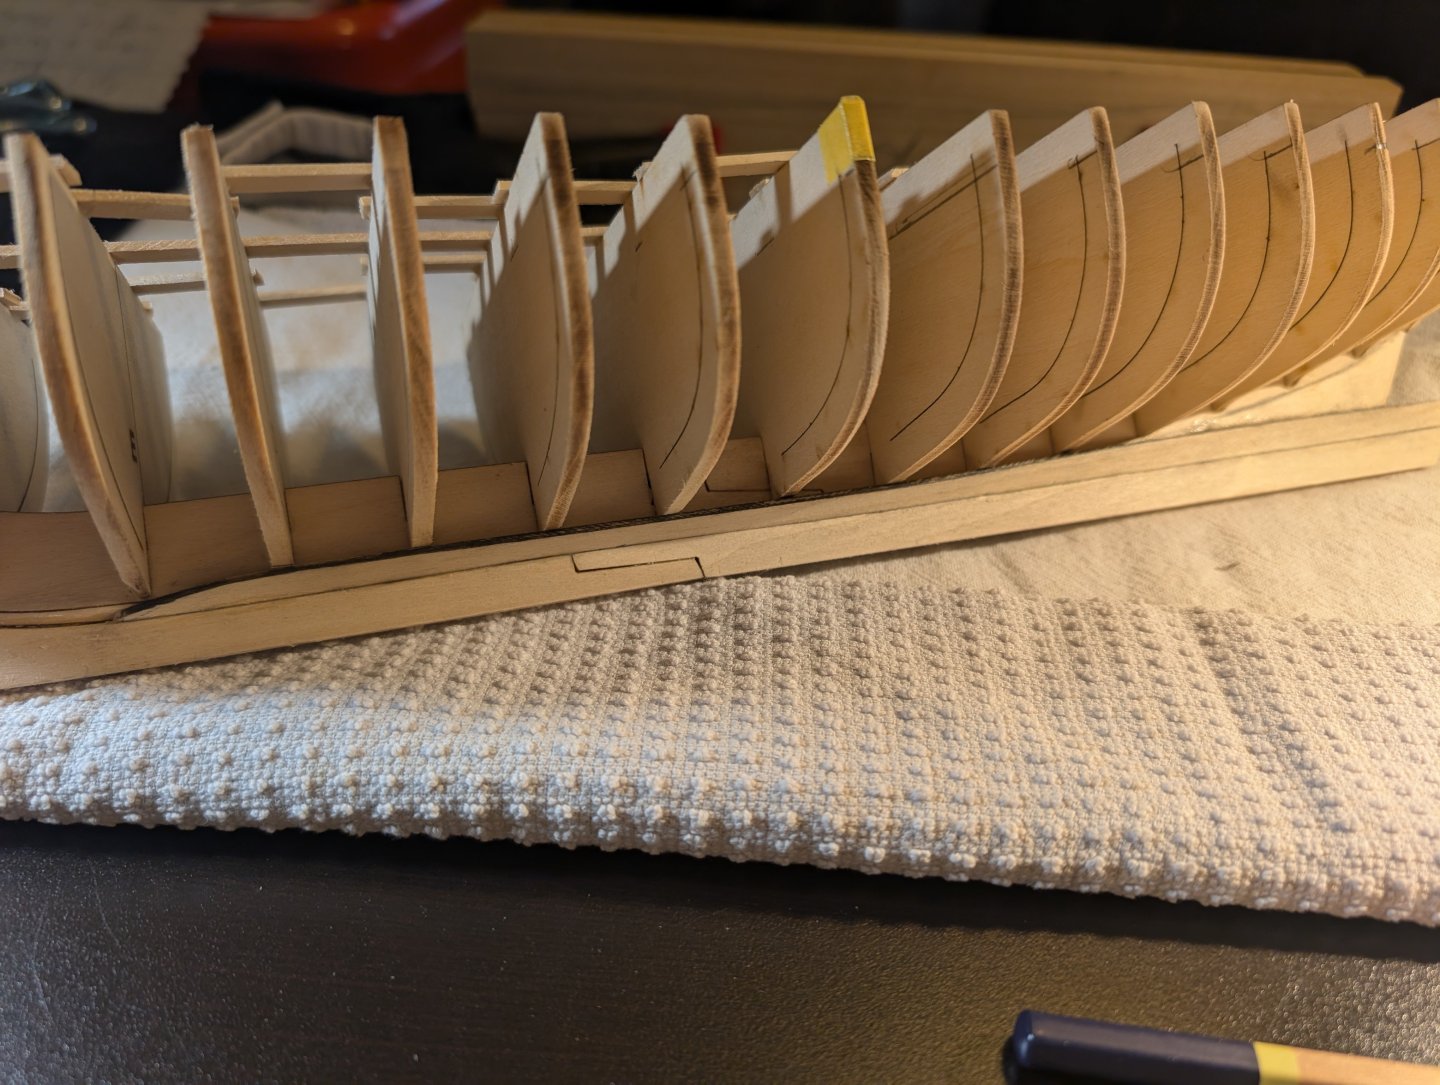
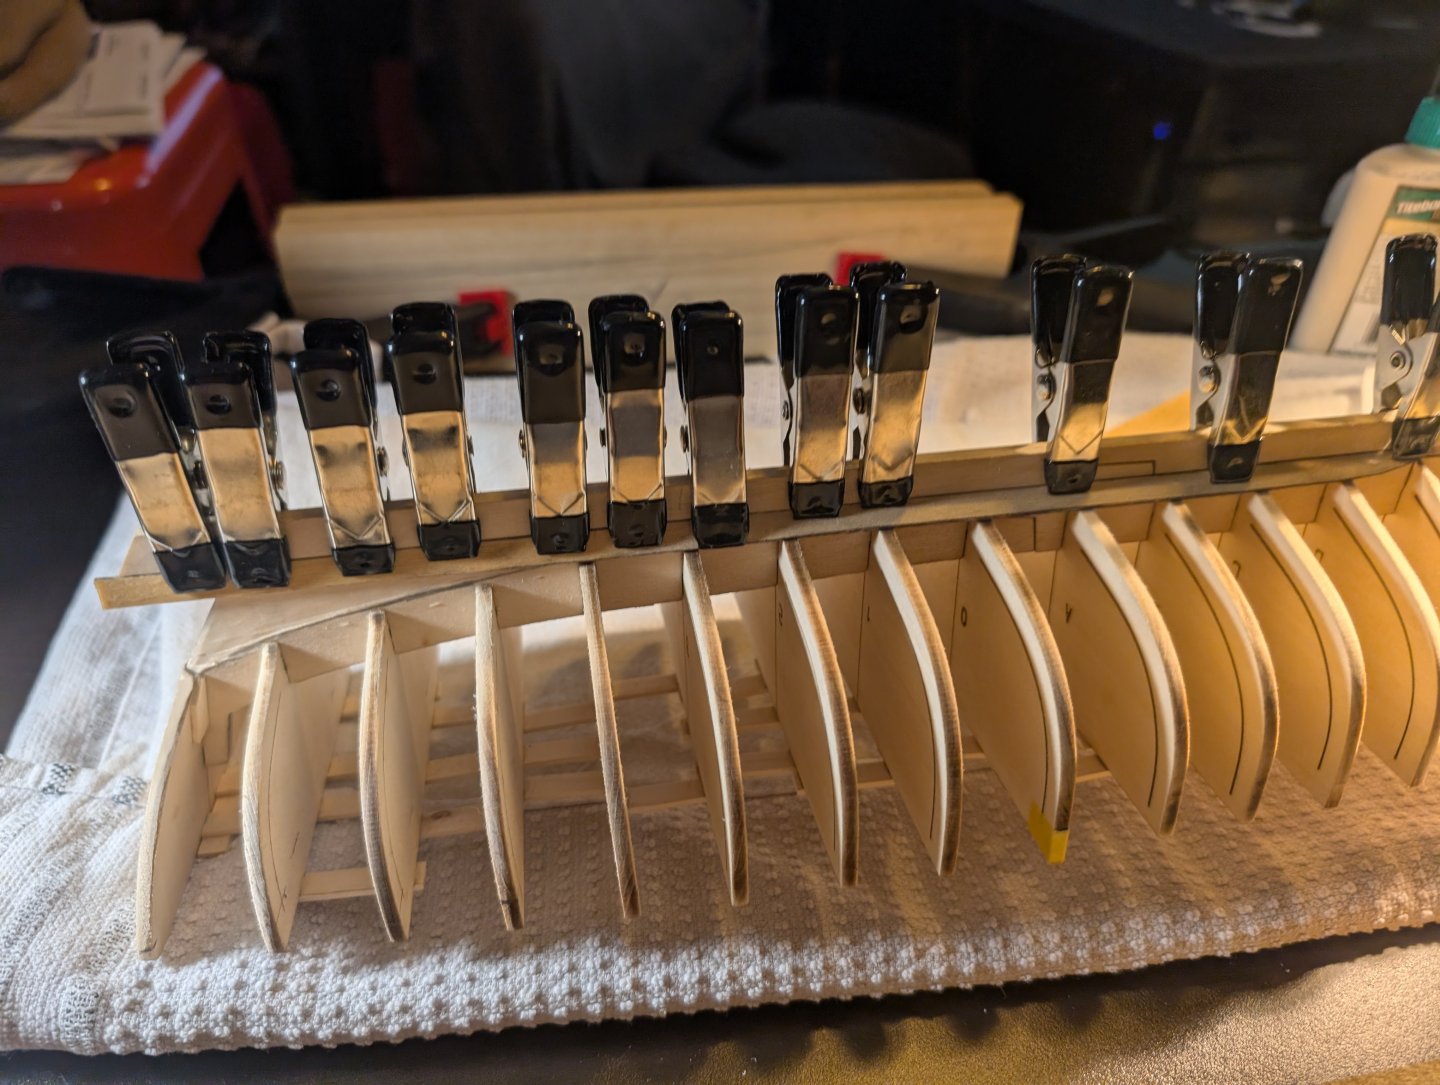
False frame support done (definitely overdid it). Next is the stern installation and then fairing the frames.
- 33 replies
-
- 5
-
-
- Model Shipways
- 18th Century Armed Longboat
- (and 1 more)
-
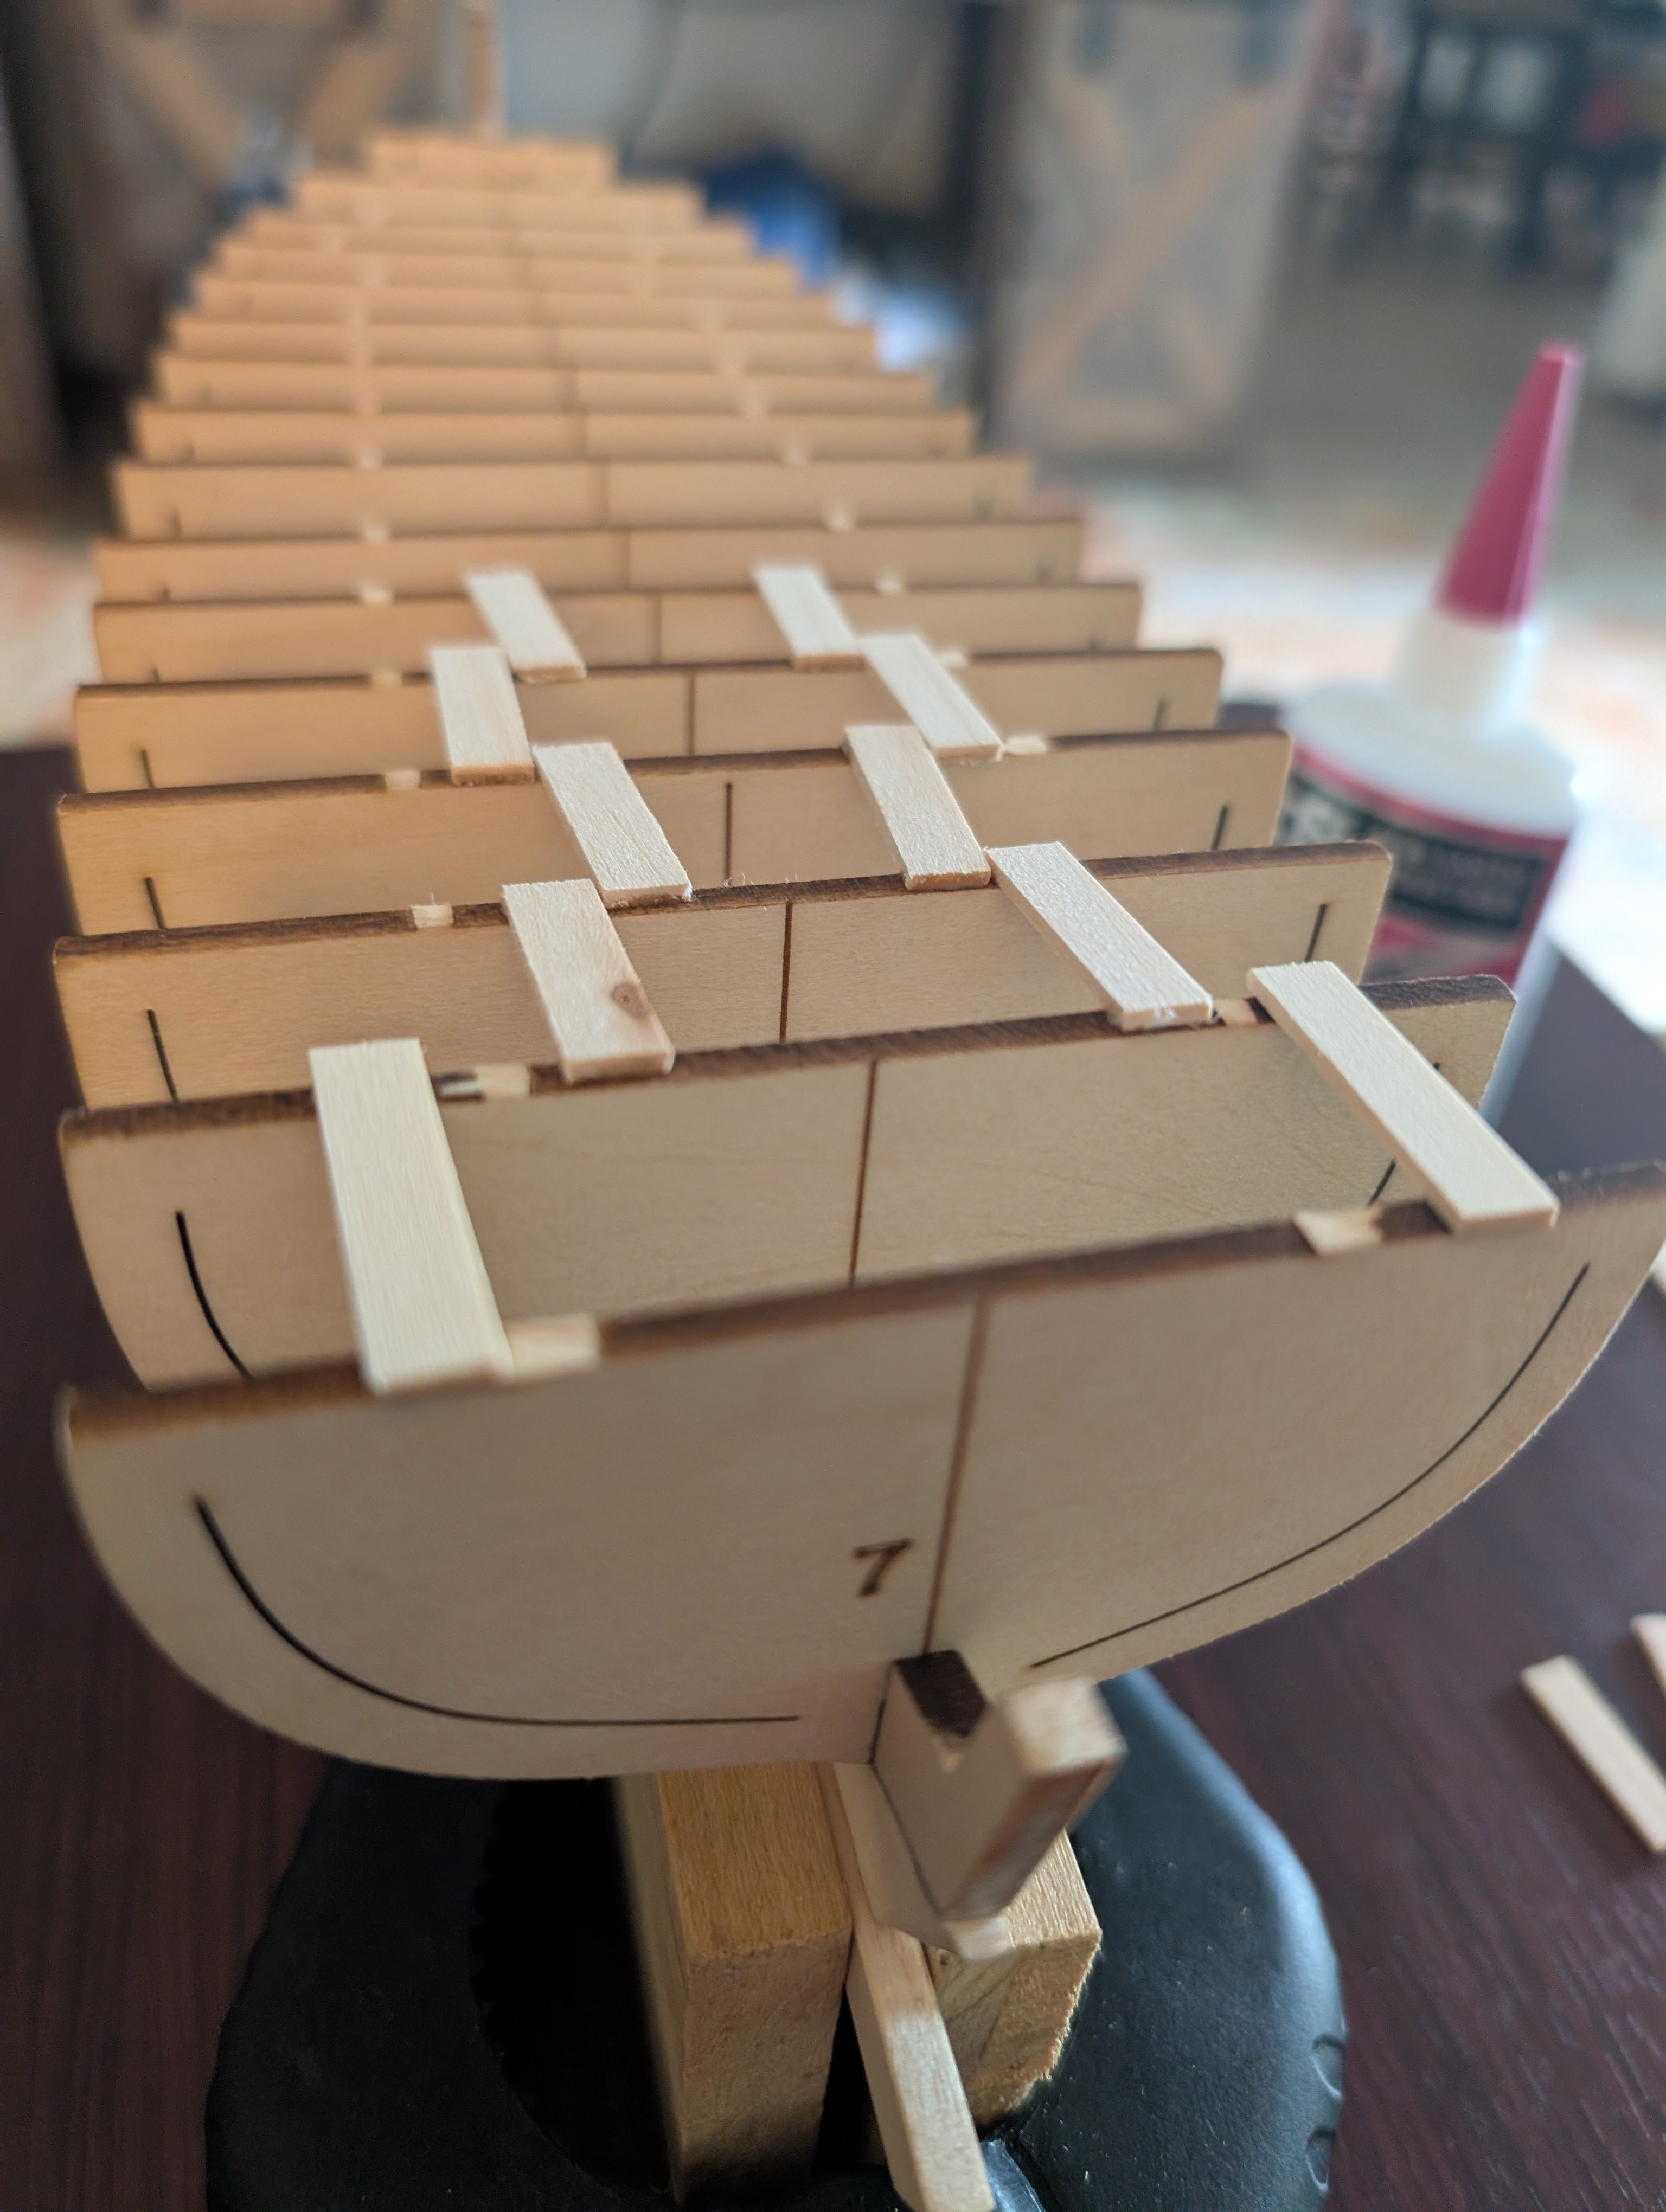
Using thick CA and strips to correct minor alignment issues prior to starting the garboard strake.
- 33 replies
-
- 5
-
-
- Model Shipways
- 18th Century Armed Longboat
- (and 1 more)


.jpg.1dde9b94ff80bce16465986aef4d243f.jpg)