


VolkerBo
-
Posts
39 -
Joined
-
Last visited
Content Type
Profiles
Forums
Gallery
Events
Posts posted by VolkerBo
-
-
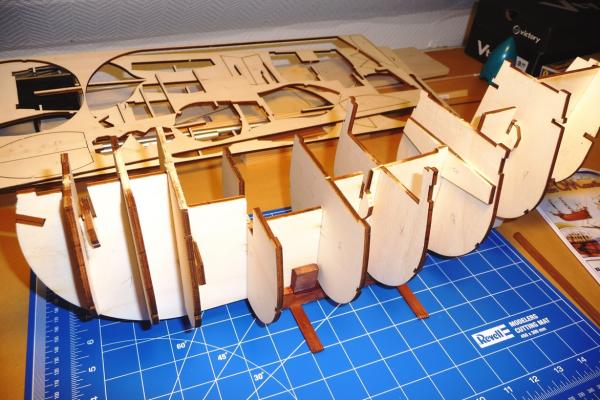
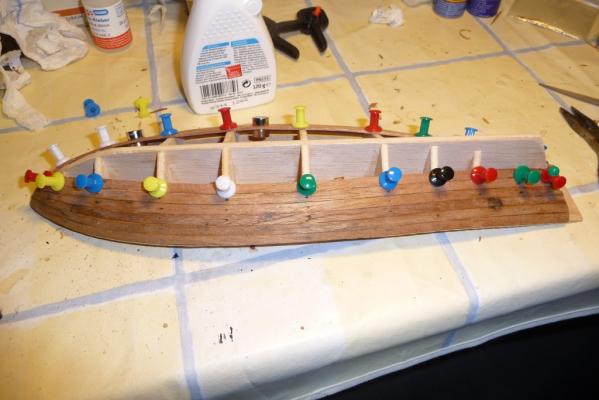
In the beginning was the keel...................
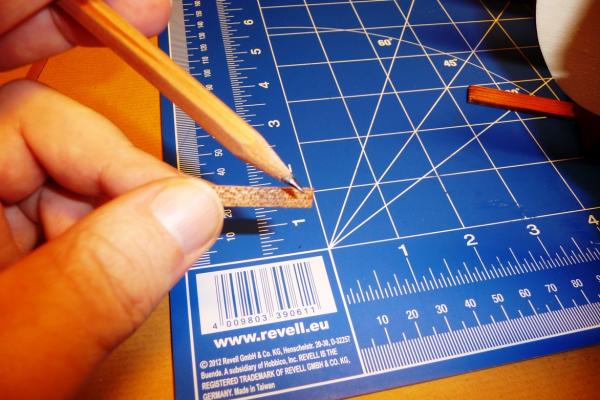
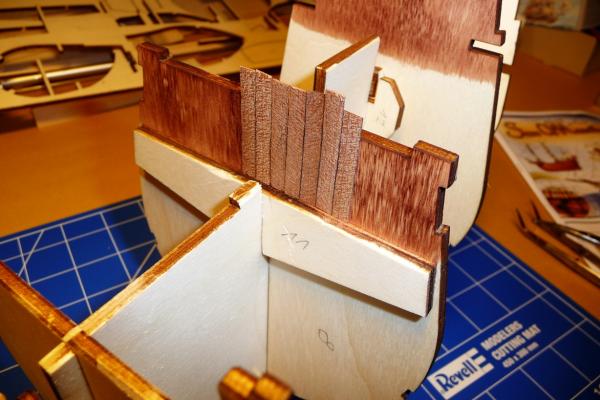
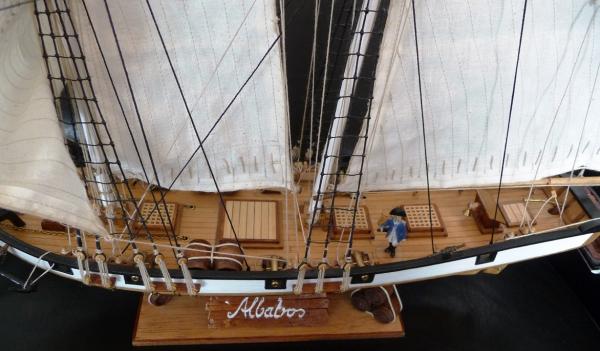
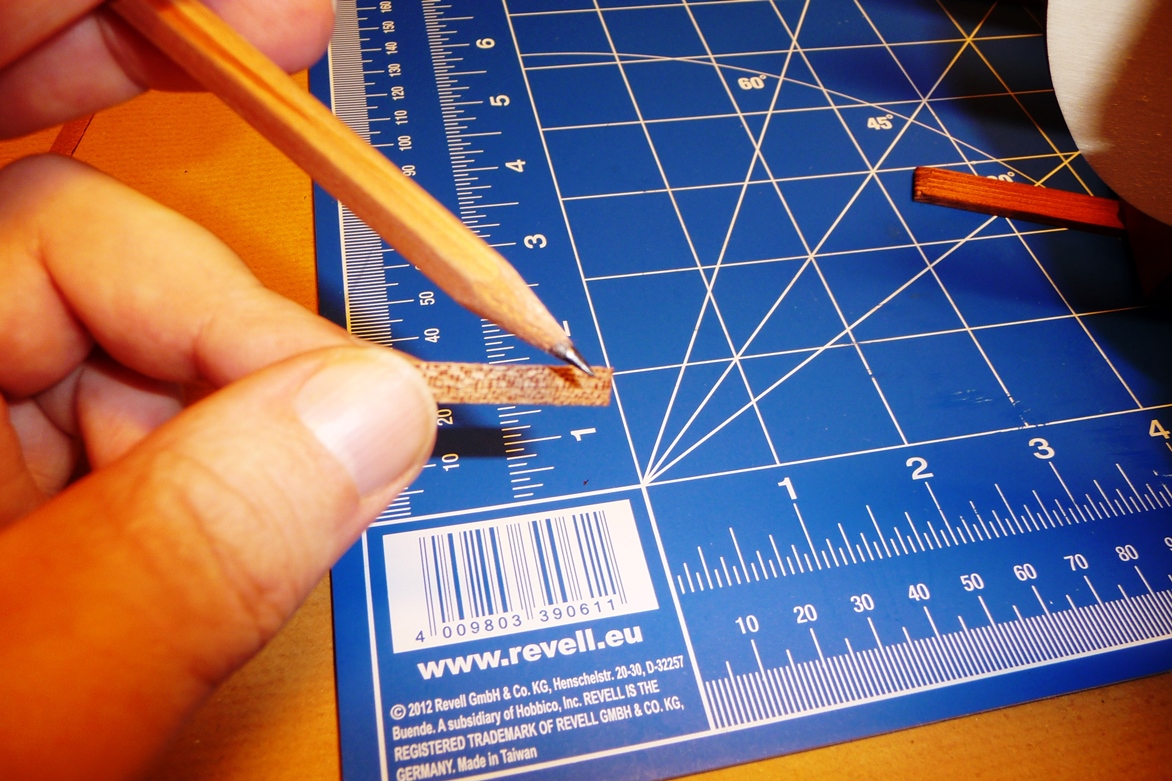
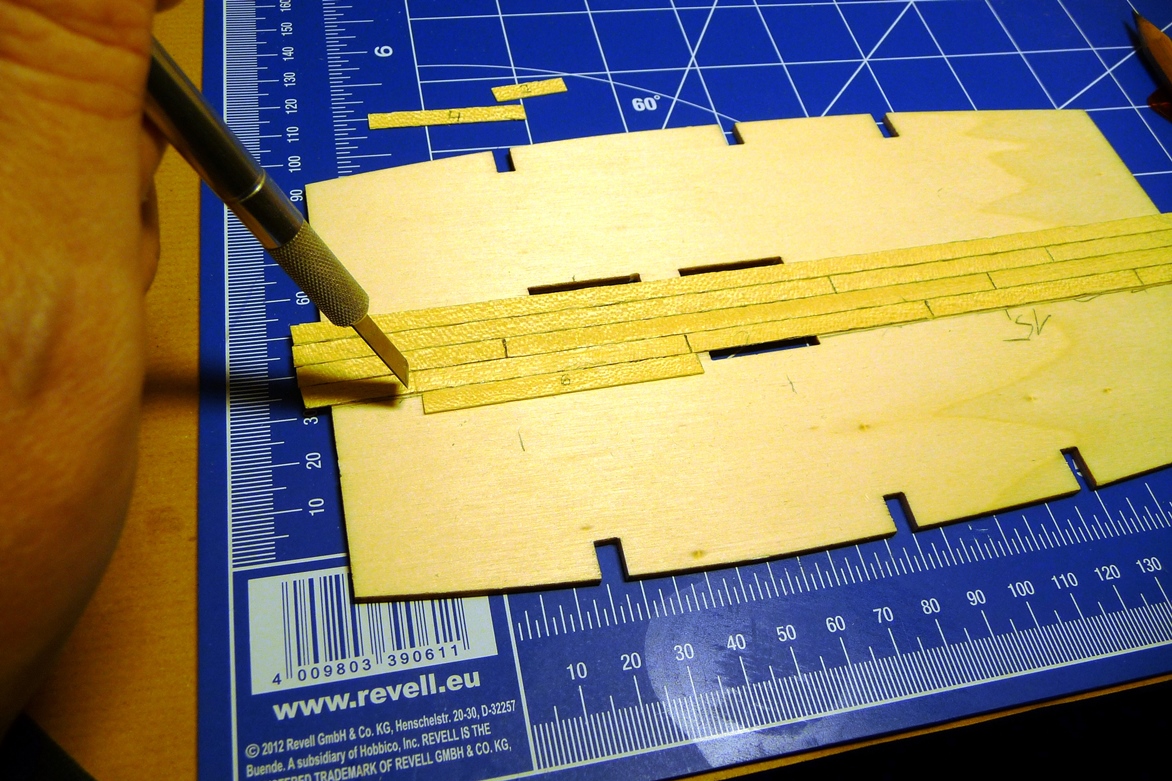
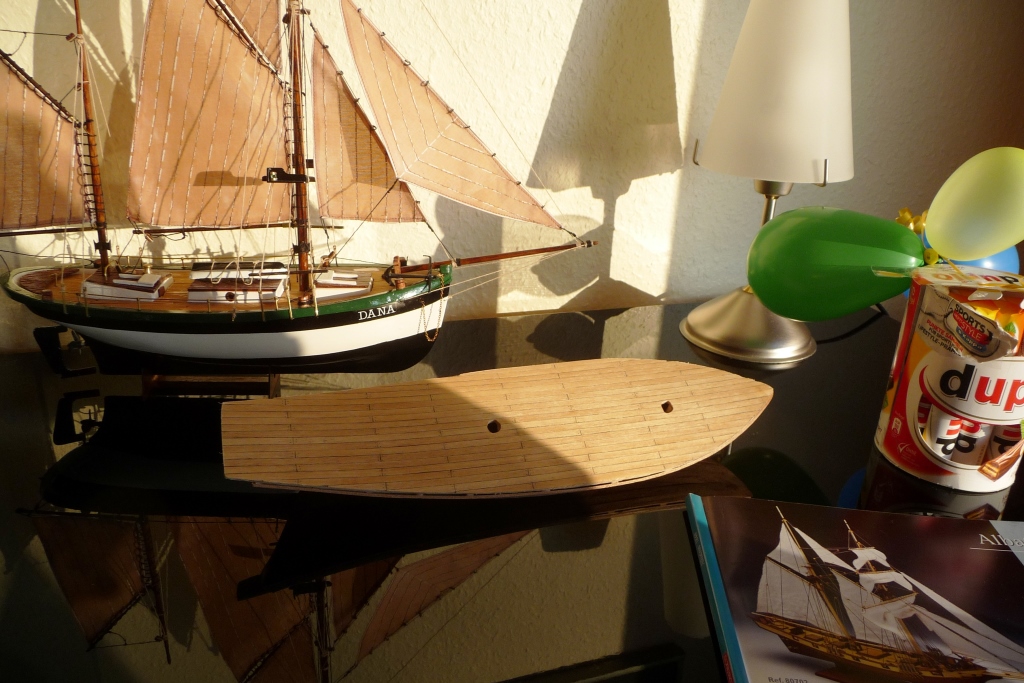
 I think the beginning always makes the most fun.I make the planks with a pencil darker. The deck planks are in one piece but i interrupt them later with some pressure from a scalpel.If I have painted the soft planks with clear coat, they become harder.Then I can cut them better with a small pliers.Have a nice weekend!Volker
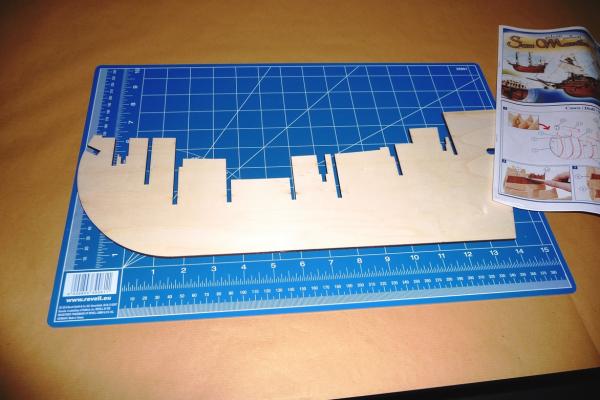

-
Thank you both and best regards to Schiedam.Next summer I'ii be in Edam/Volendam. I'll try again to sail.I'm looking forward.Volker
-
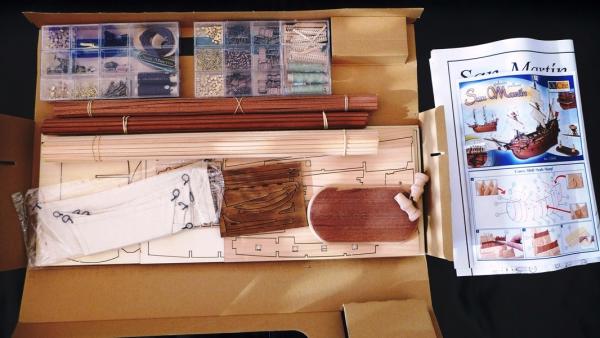
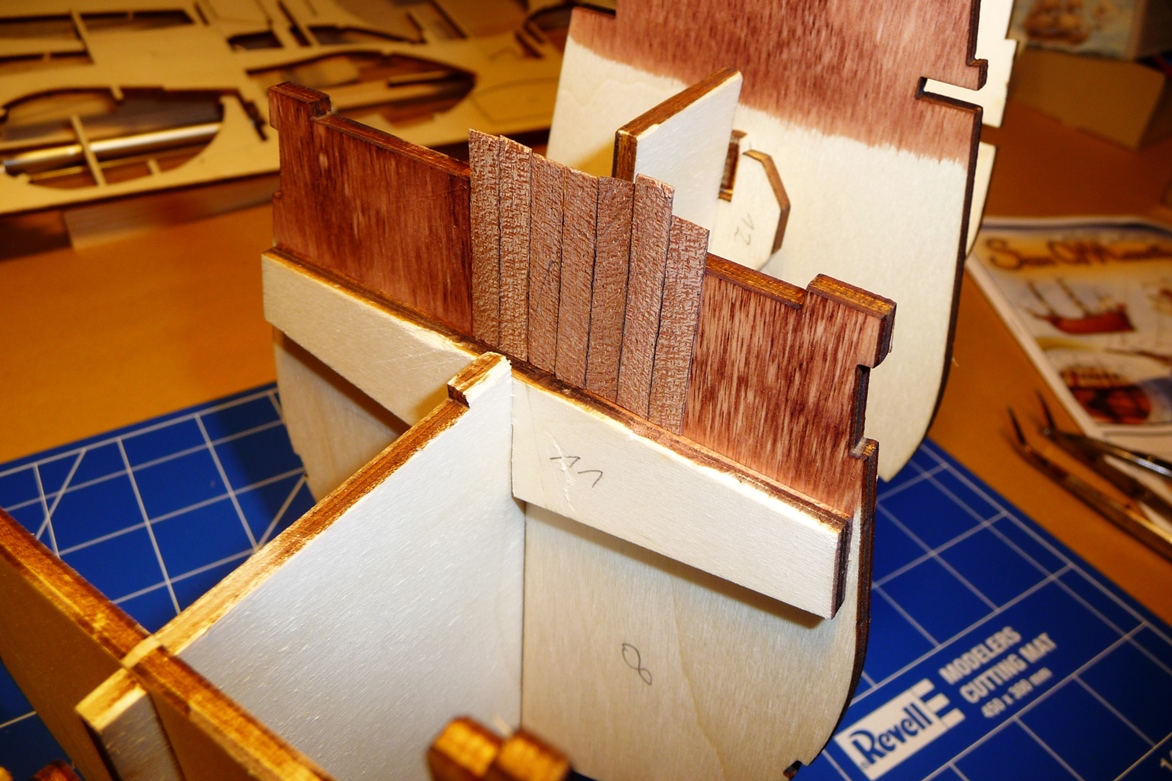
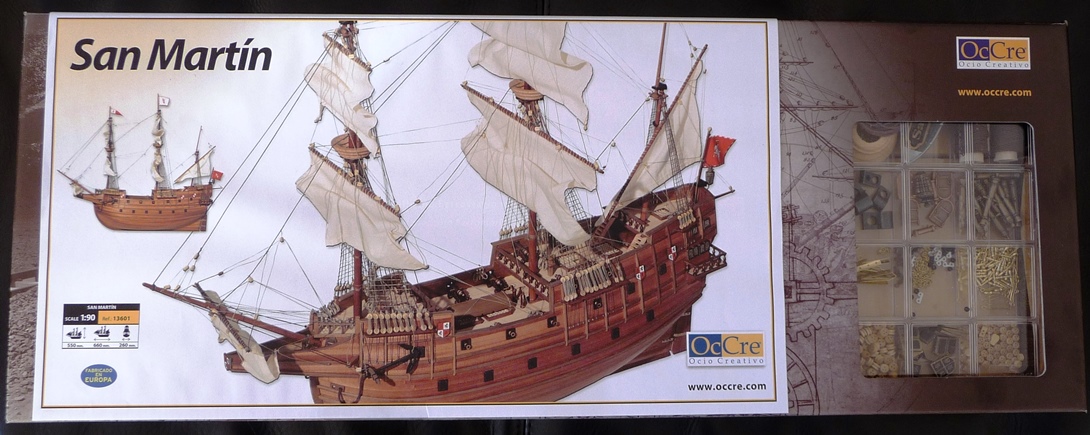
Hello to my second wooden ship,i opted for the "San Martin 1580" by Occre.The shipMy "Albatross 1840" was a modern sailing ship. In contrast, the "San Martin 1580" is a very archaic sailing vessel. It is an early form of a Galoene but also has similarity to the large carracks of former times. A short Galeon, very high side walls, only 2 square sails on the main mast and very high castles at the bow and stern are reminiscent of older ships.The bulbous shape is a nice contrast to modern ships.
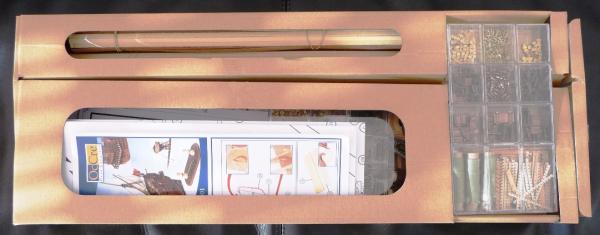
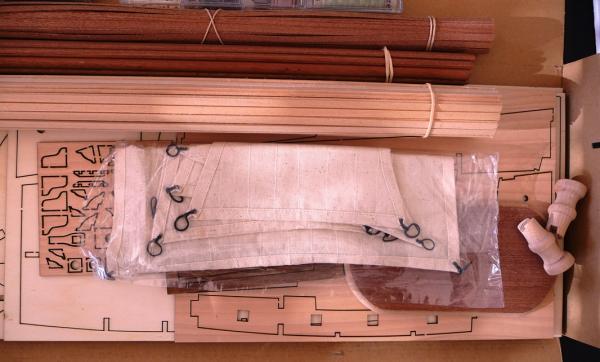
The kitI bought the kit for 140, - € by Mail Order.For this price, the kit is well equipped and clearly arranged.The manual is designed color and multilingual. The instructions ares good and also suitable for novice modellers but the instructions for the Albatros (Constructo) was a bit more detailed . (but only a little)I am very grateful for tip's and help.GreetingsVolker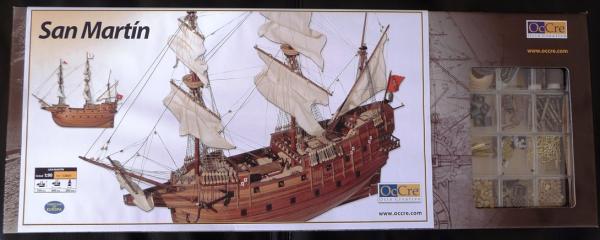


-
Thanks for the tip Volker. Right now I am still struggling with the planks on the hull, but I will apply that technique when I start sanding and smoothing it.
Natan
I had cut my Albatros planks, then soaked and clamped them wet on the hull.After drying on the hull I have checked the form and reworked if necessary, then glued.Sometimes I have to cut the planks as they were on the hull. It works not to bad. -
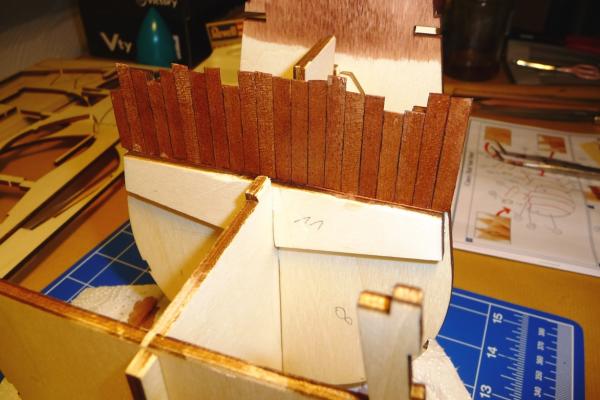
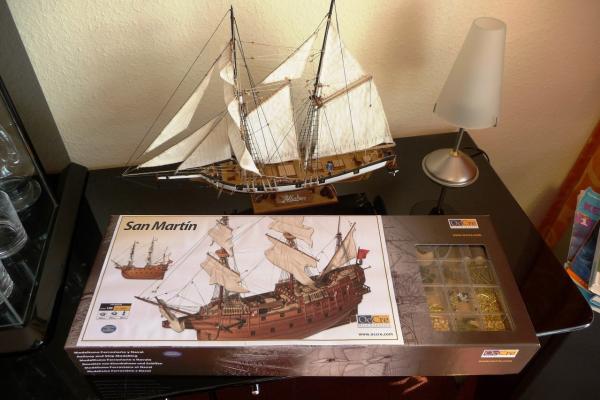
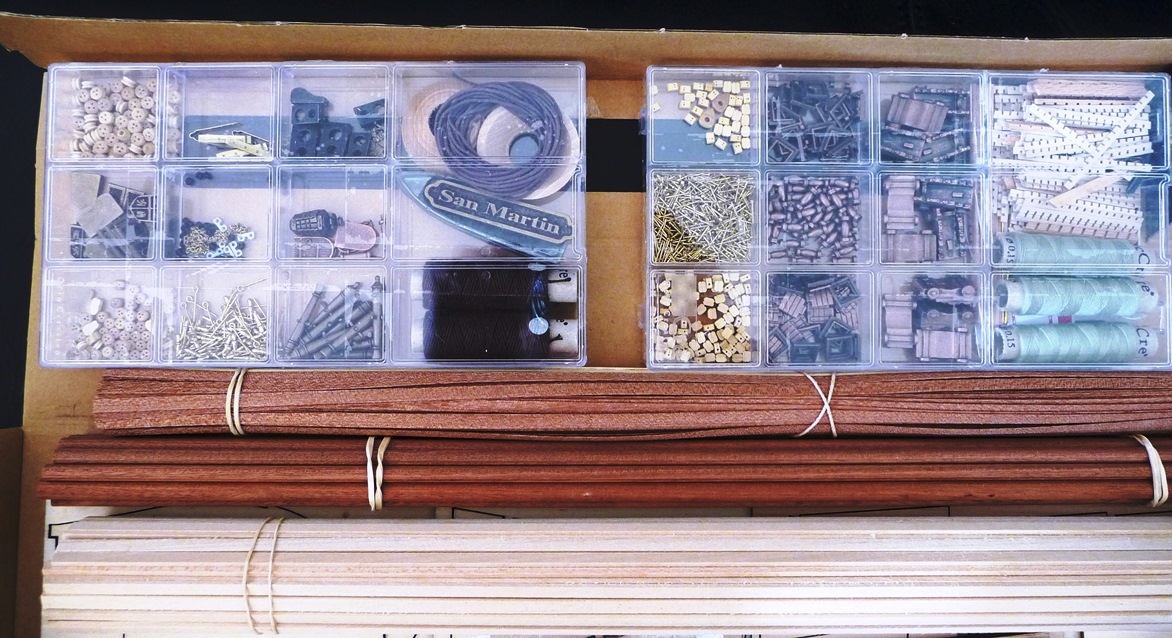
Hello,thanks for the nice comments.My new project *** San Martin - 1588 *** came by post
 and I can start now a new build log.It's a completely different type of ship and a completely different centurybut I am really looking forward to it.Thanks and greetings!VolkerNew build log San Martin
- GrandpaPhil and shawn32671
-
 2
2
-
Hello Natan,
this is a good start.I have a tip to the gaps between the planks.I made sawdust from the wood of the planks.I diluted white wood glue with water and mixed it with the sawdust.The result was a filler that covered the gaps invisible.This is a bit like cheating - but works well.
Good luckVolker -
Good luck to you with your projekt.
You've chosen a very nice model!
Volker
-
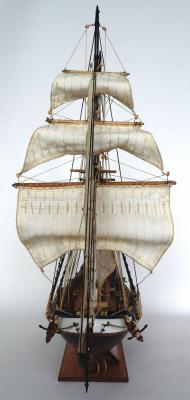
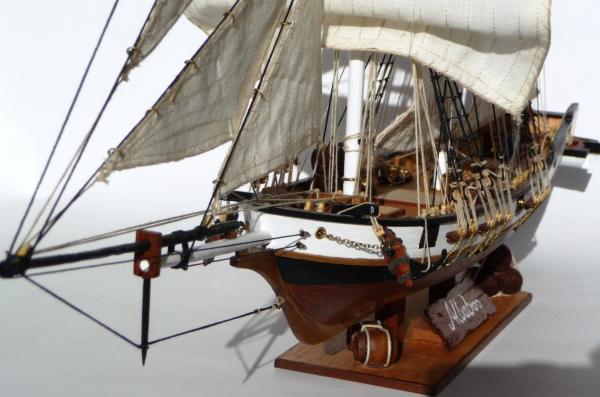
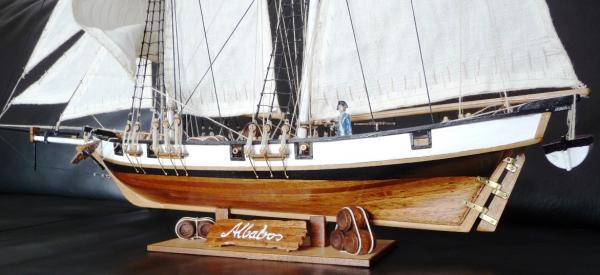
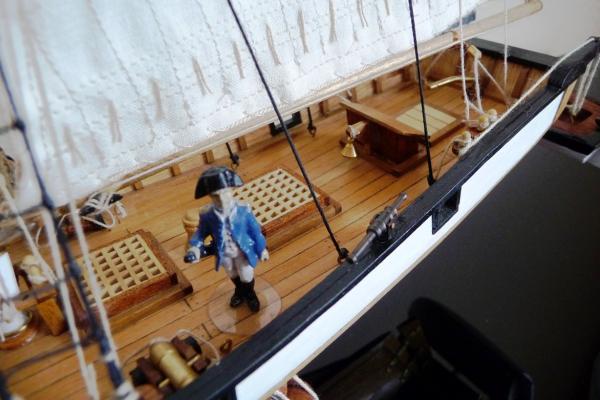
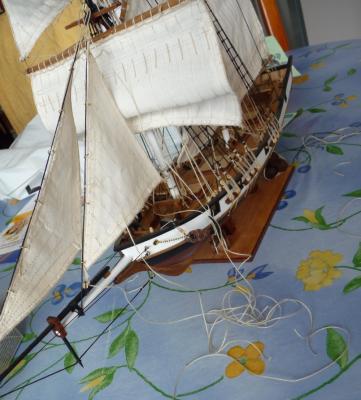
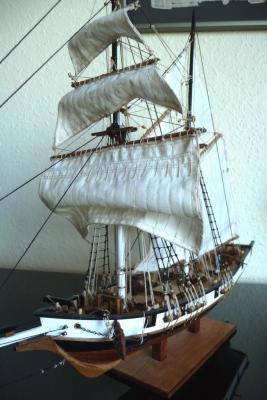
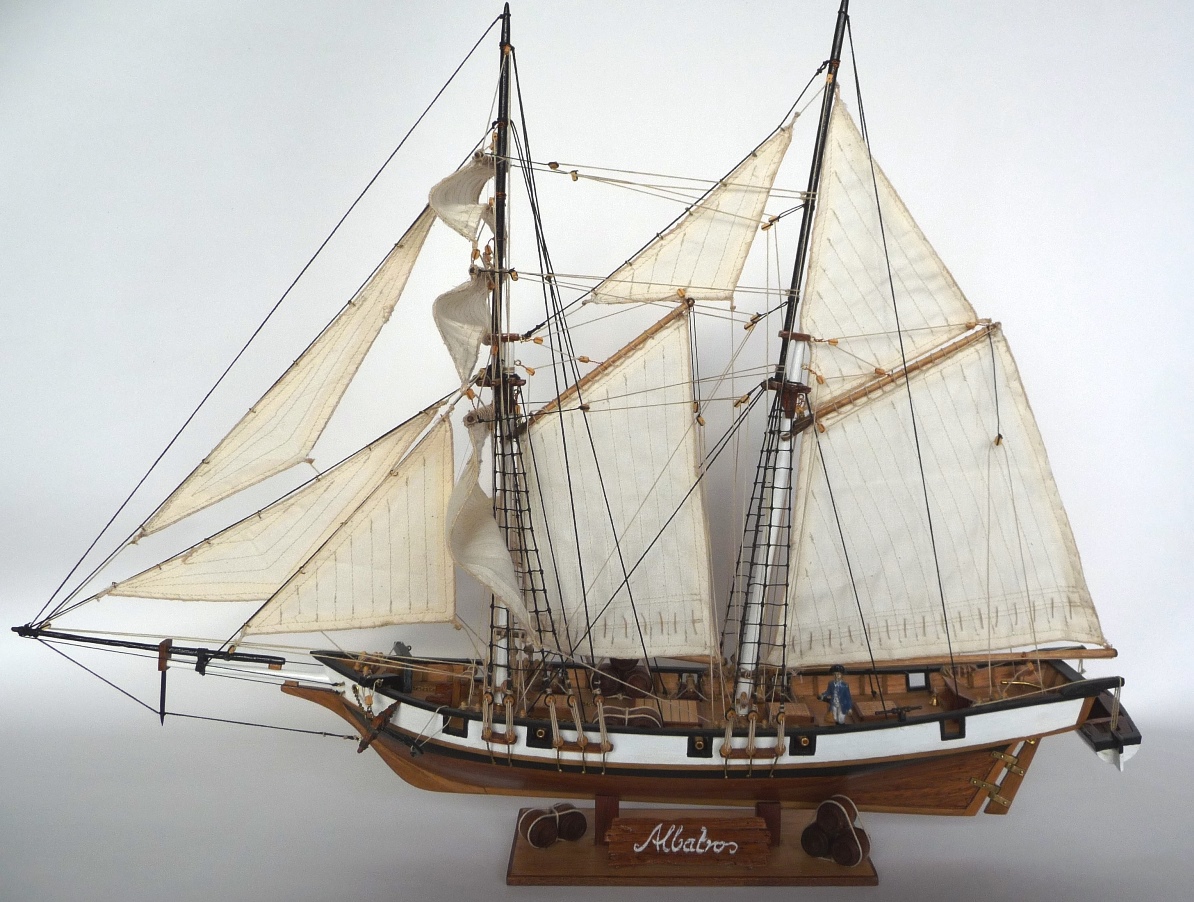
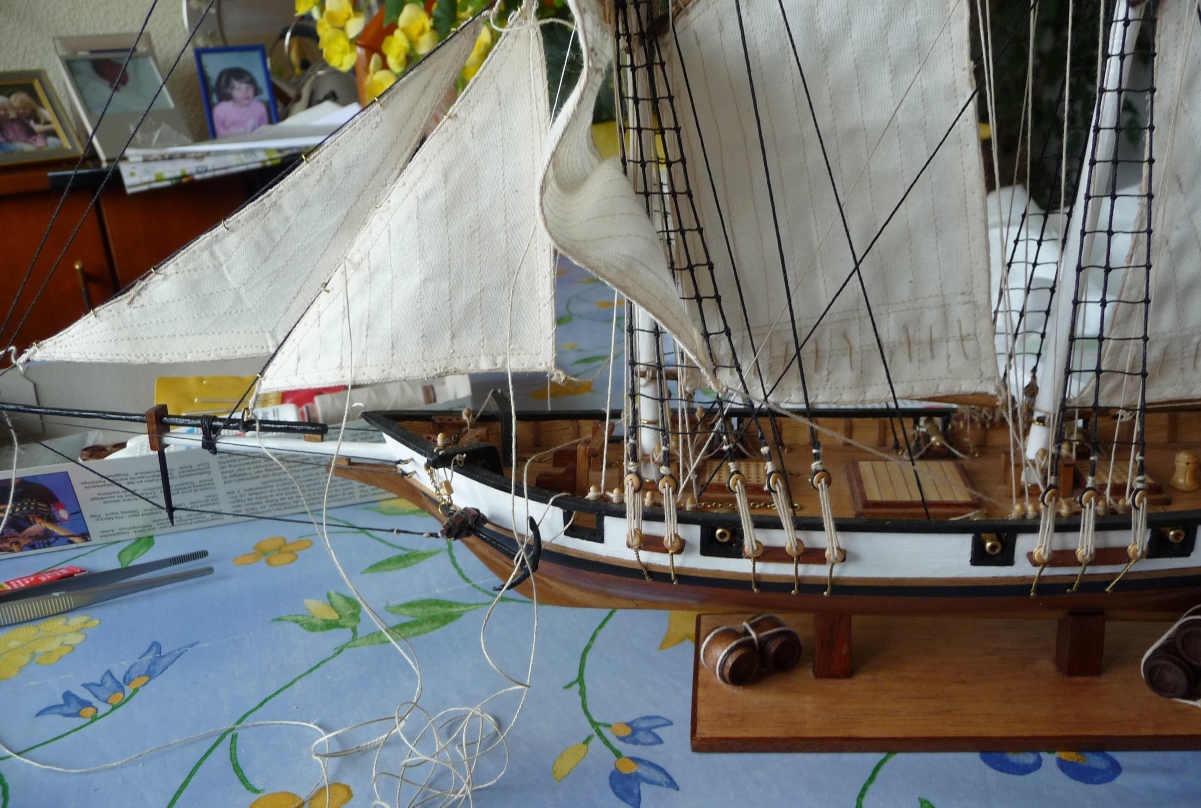
Hello to all,the final works on my first wooden ship are done.Each of you knows, how proud you are when you have done the job.I know it is a small ship but I feel like a king.
I have taken some photos of the finished state, which I set in the gallery.I thank everyone for the good tip's, the encouraging words and the nice inclusion in the forum.
 Until next project!Volker
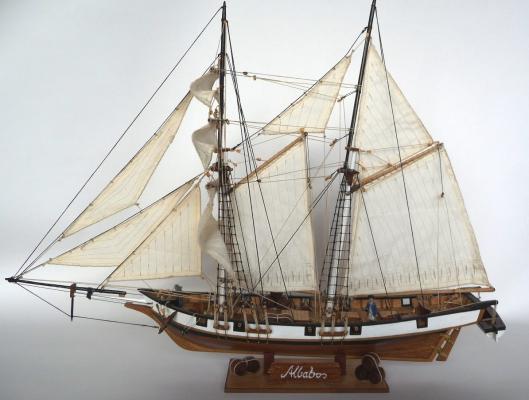


- shawn32671, ulrich and GrandpaPhil
-
3
-
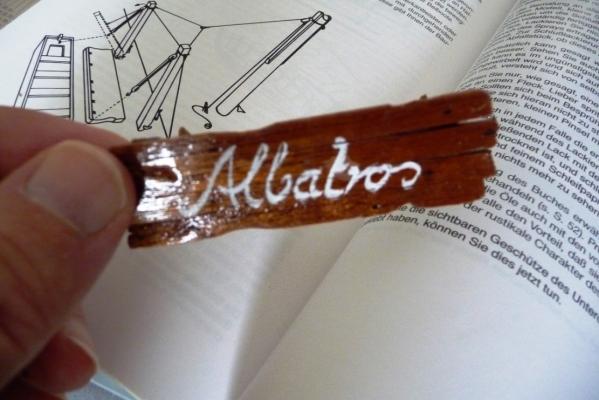
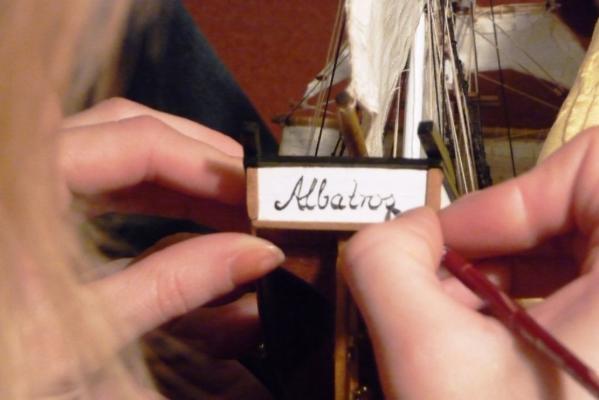
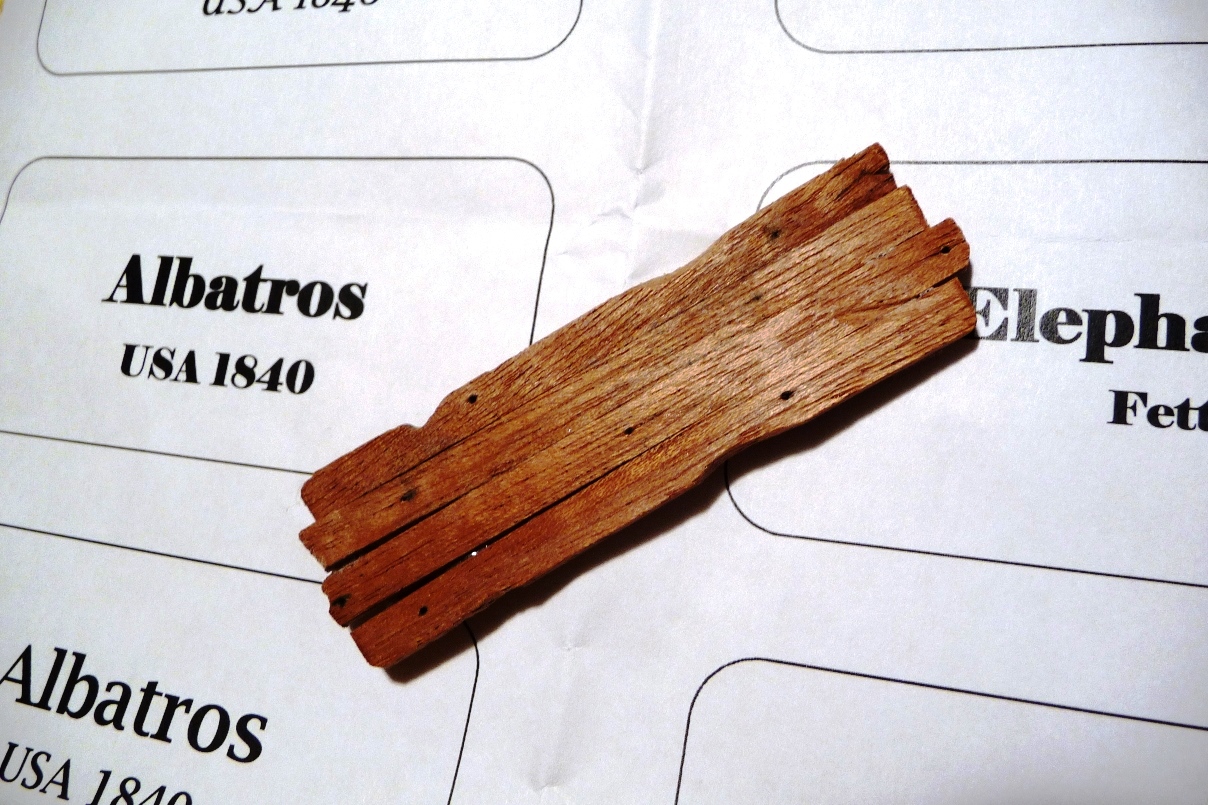
Name tag of the ship


- shawn32671 and cdogg
-
2
-
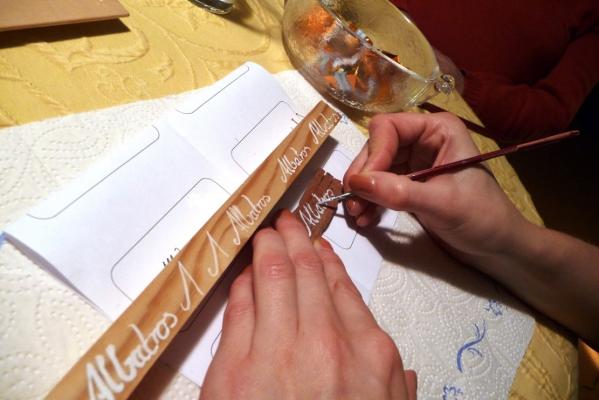
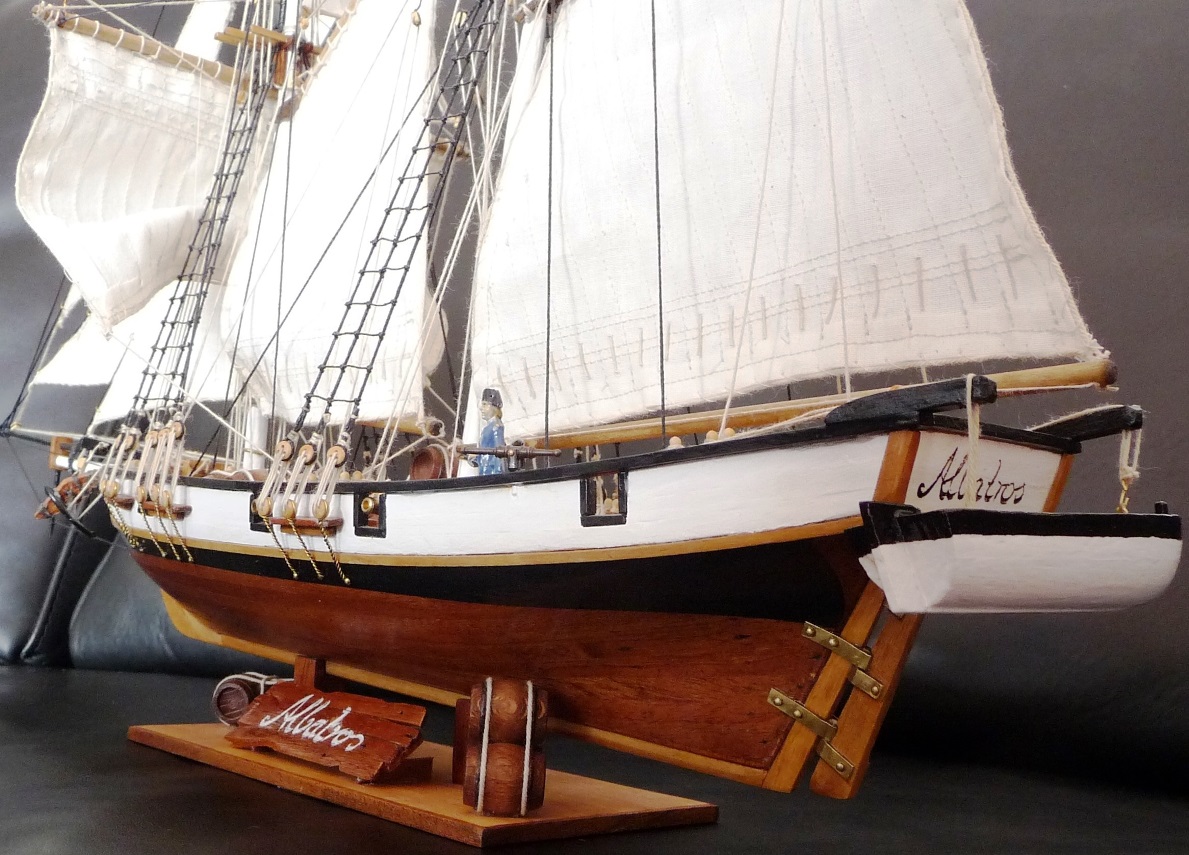
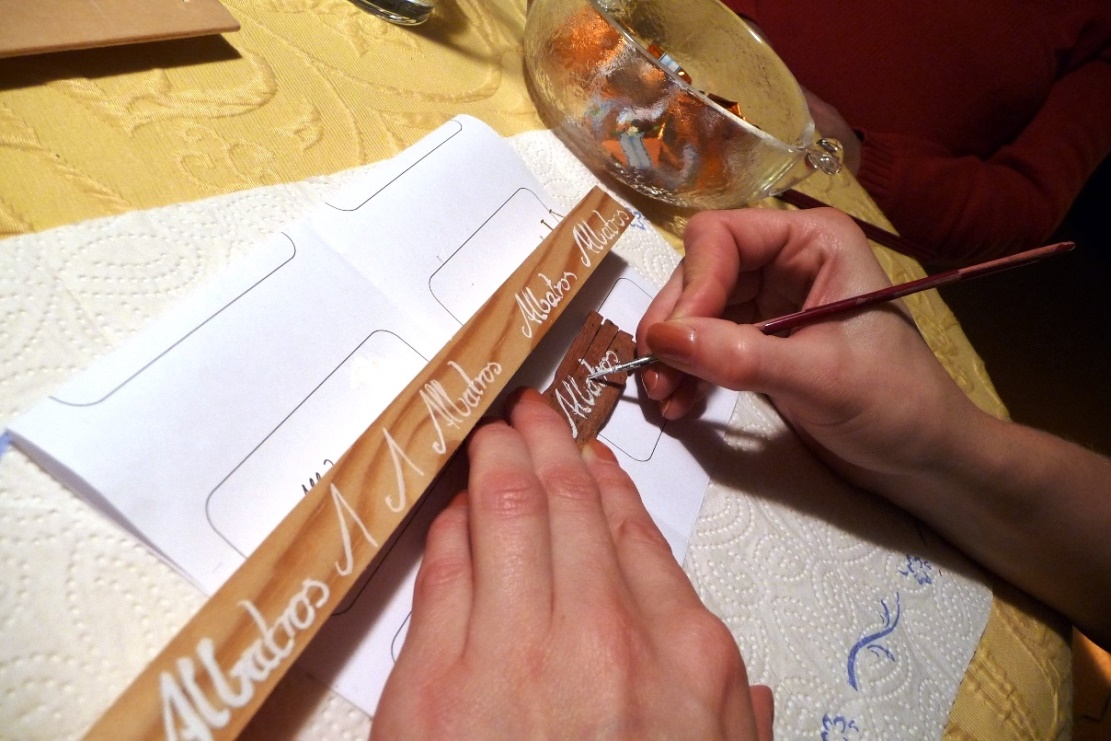
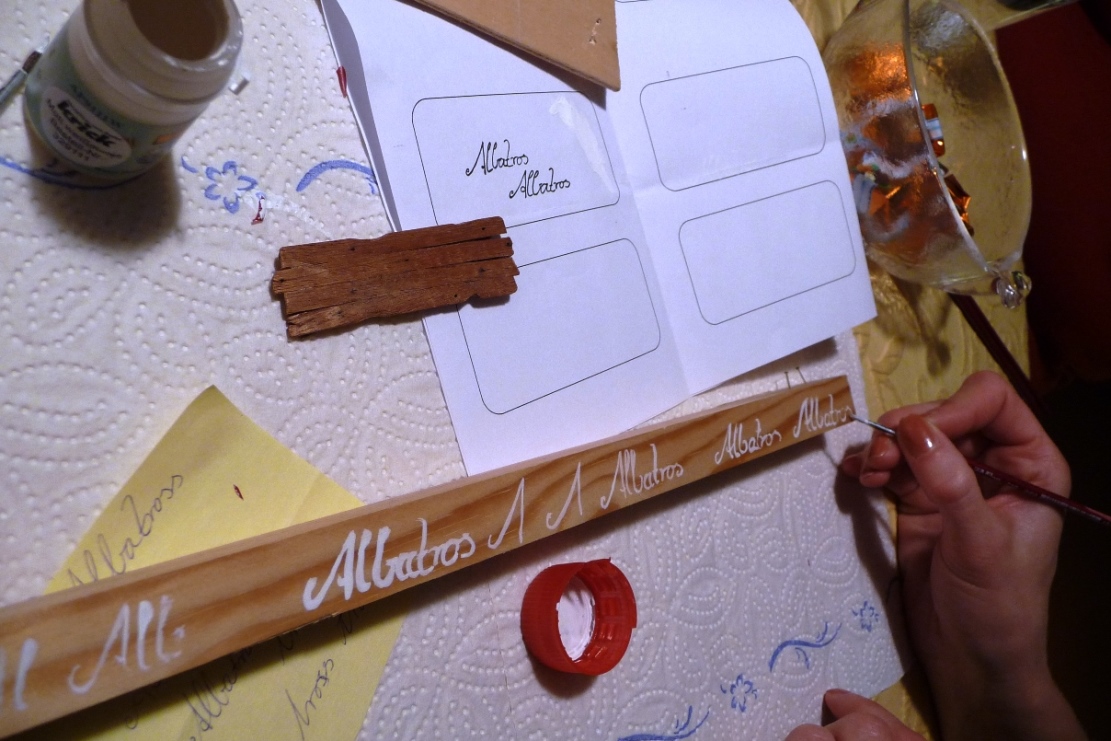
Hello to all,my niece Miriam helped me with the name tag.I did not have enough talent for this.I like the result very well!
 Now the ship is ready.This was the last step with my albatross.I'll take a few new photos of the complete ship in the next day's,also to set them into the gallery.The next ship is already ordered.
Regards from GermanyVolker
Now the ship is ready.This was the last step with my albatross.I'll take a few new photos of the complete ship in the next day's,also to set them into the gallery.The next ship is already ordered.
Regards from GermanyVolker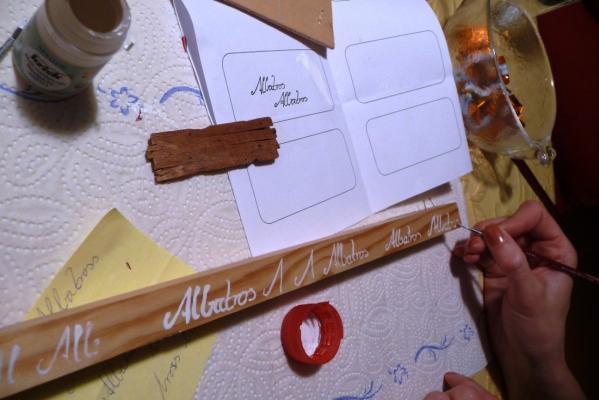
-
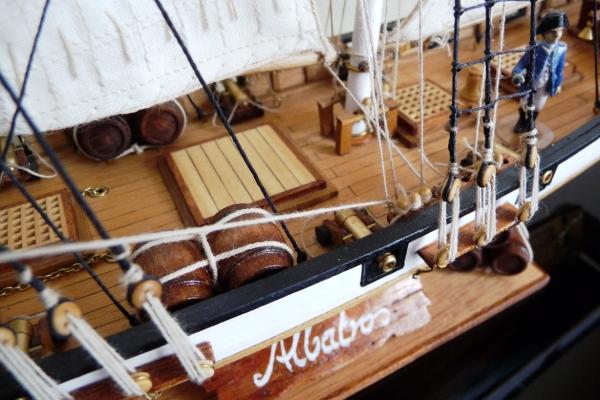
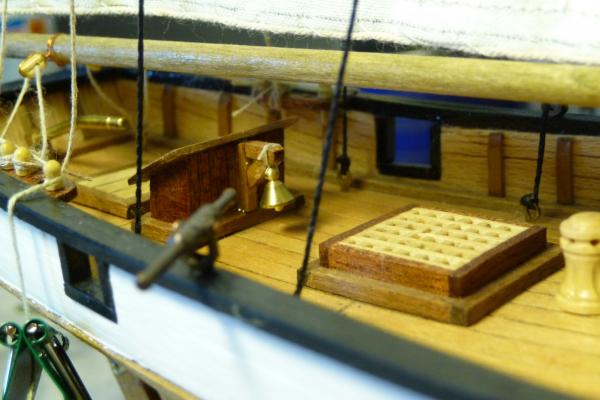
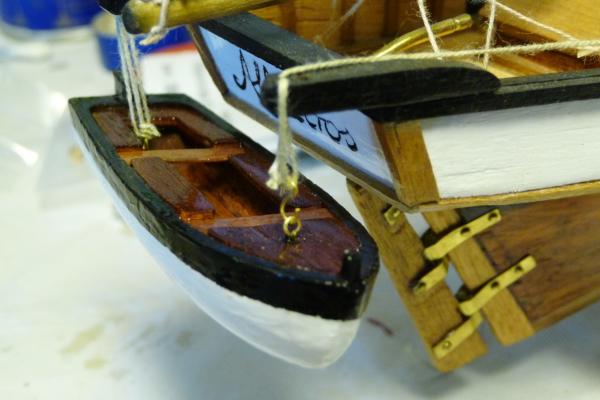
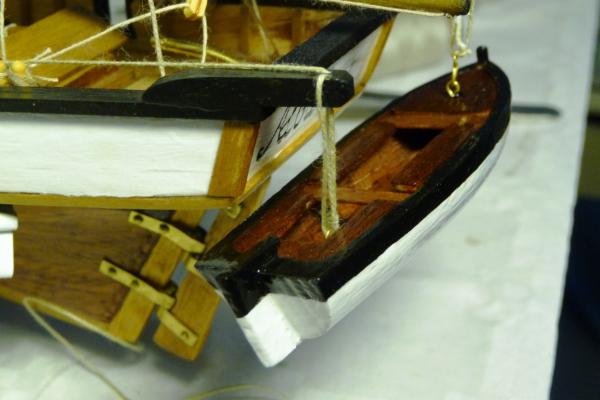
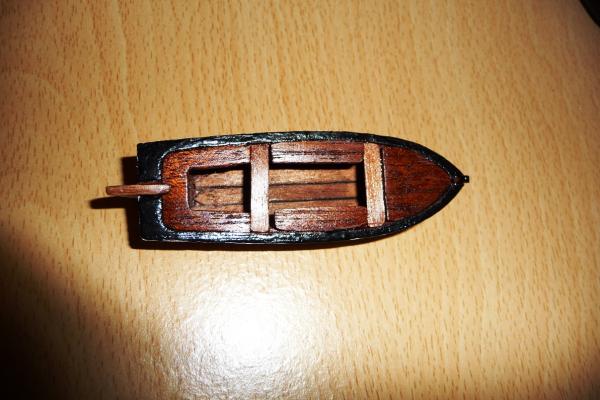
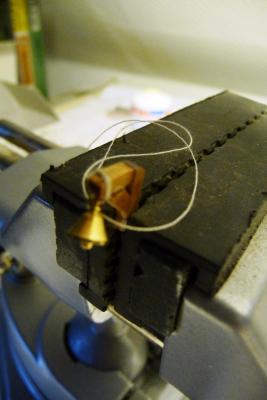
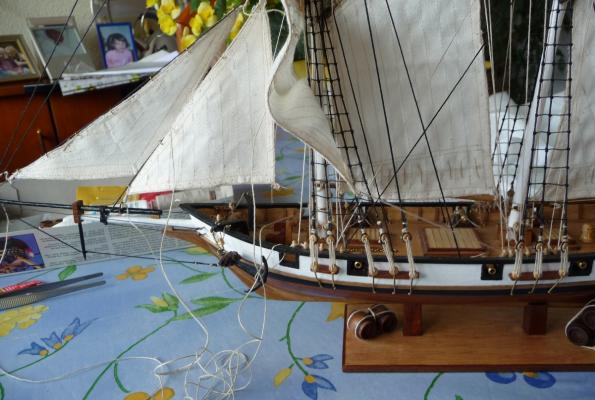
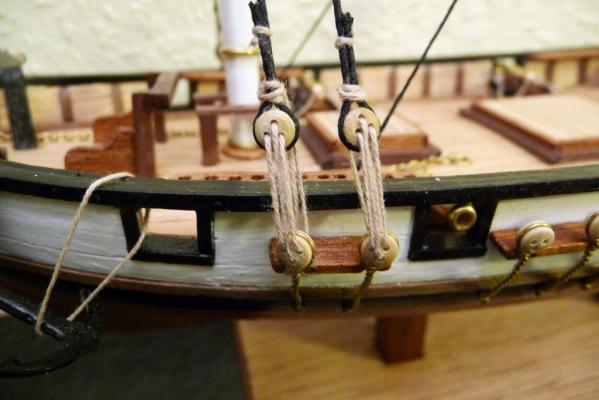
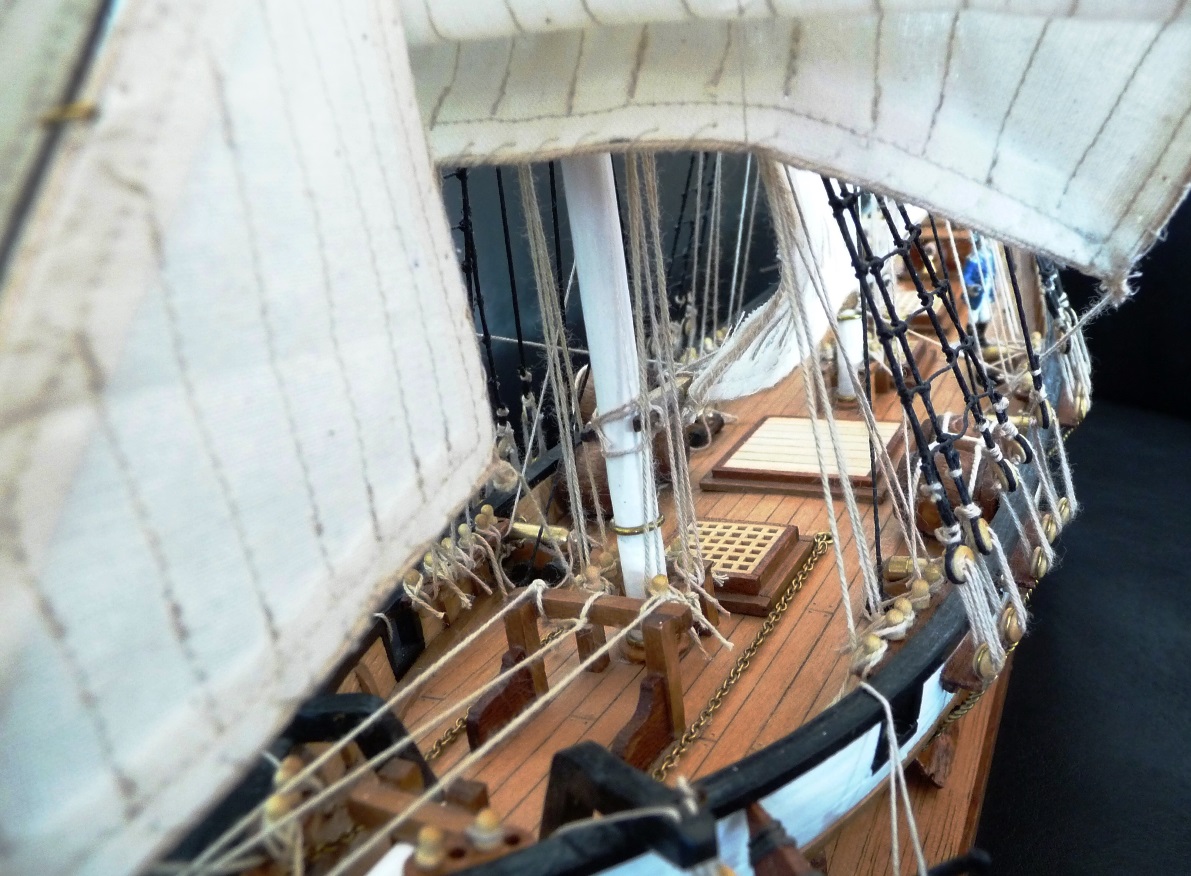
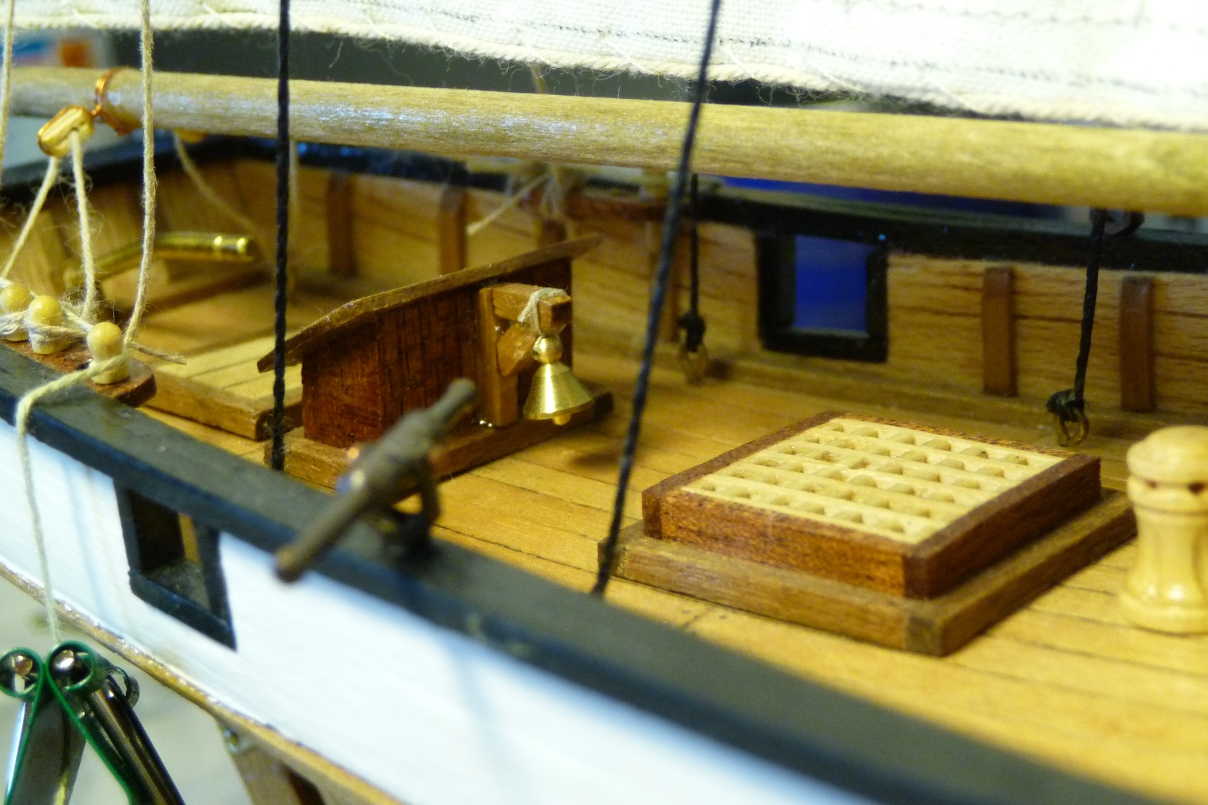
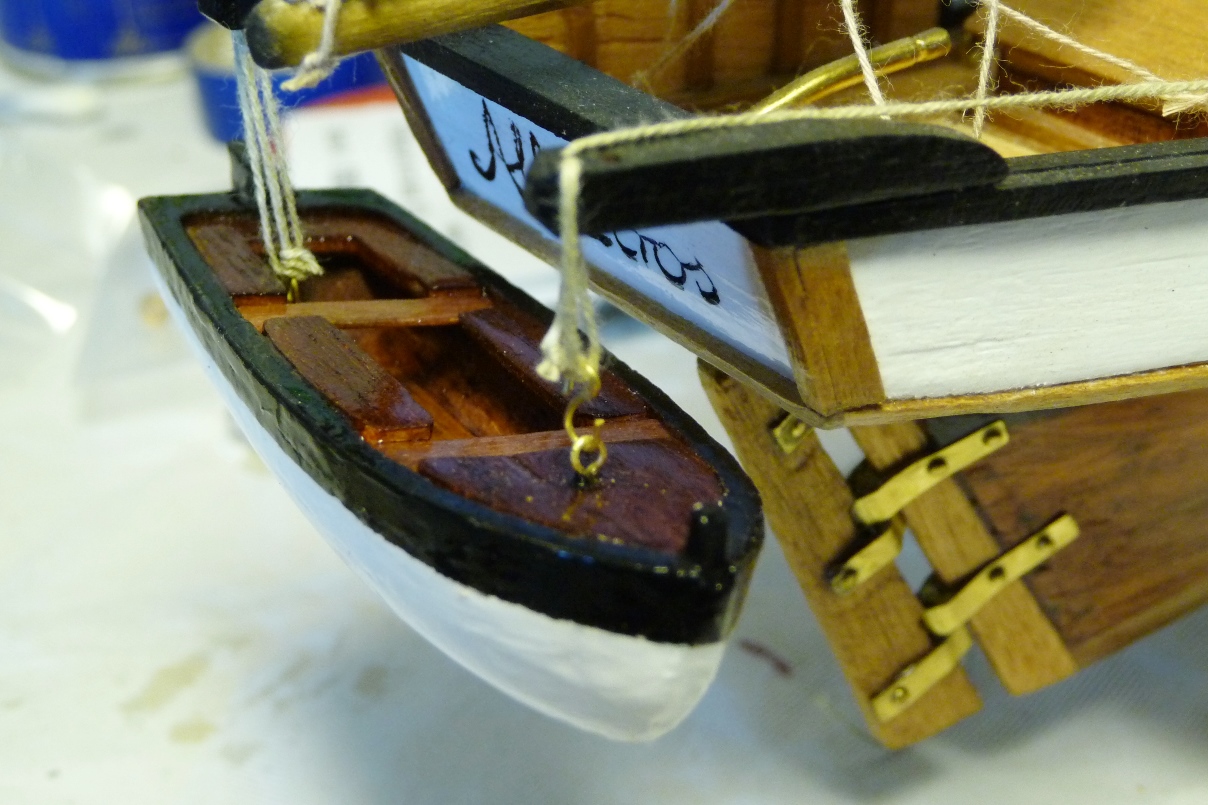
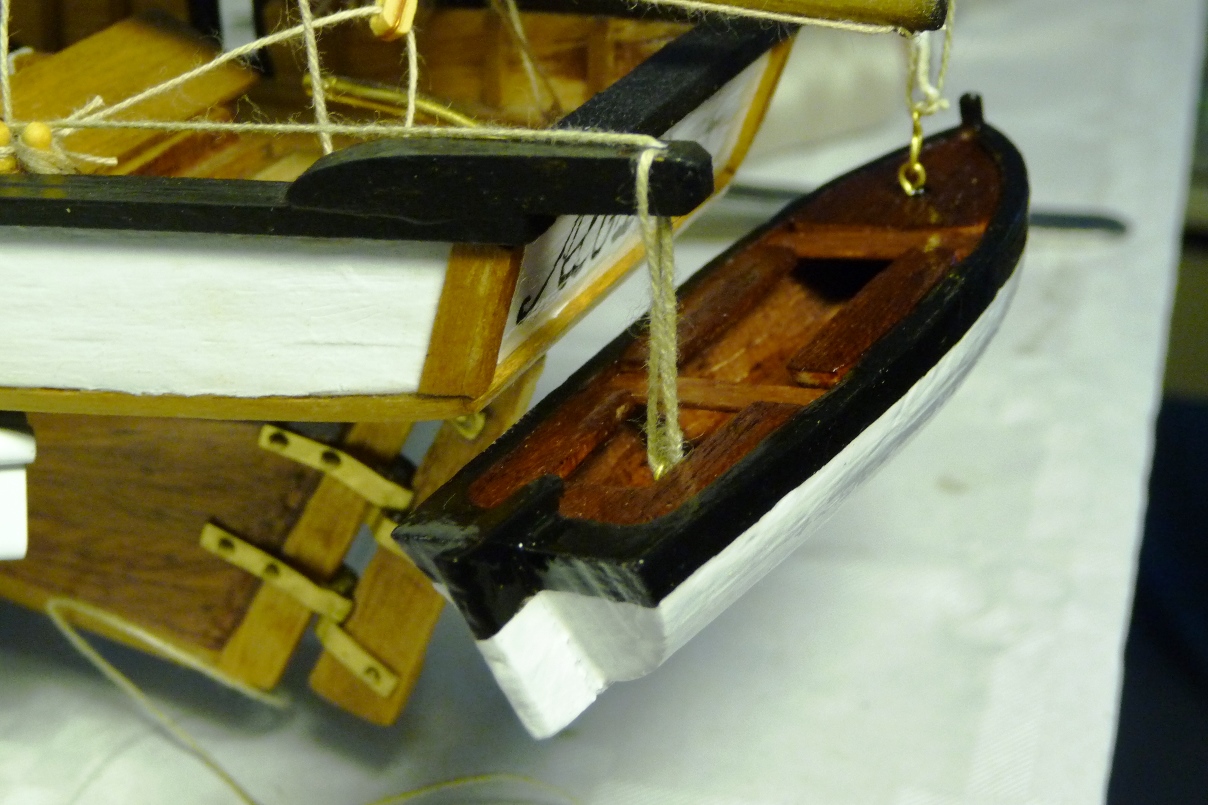
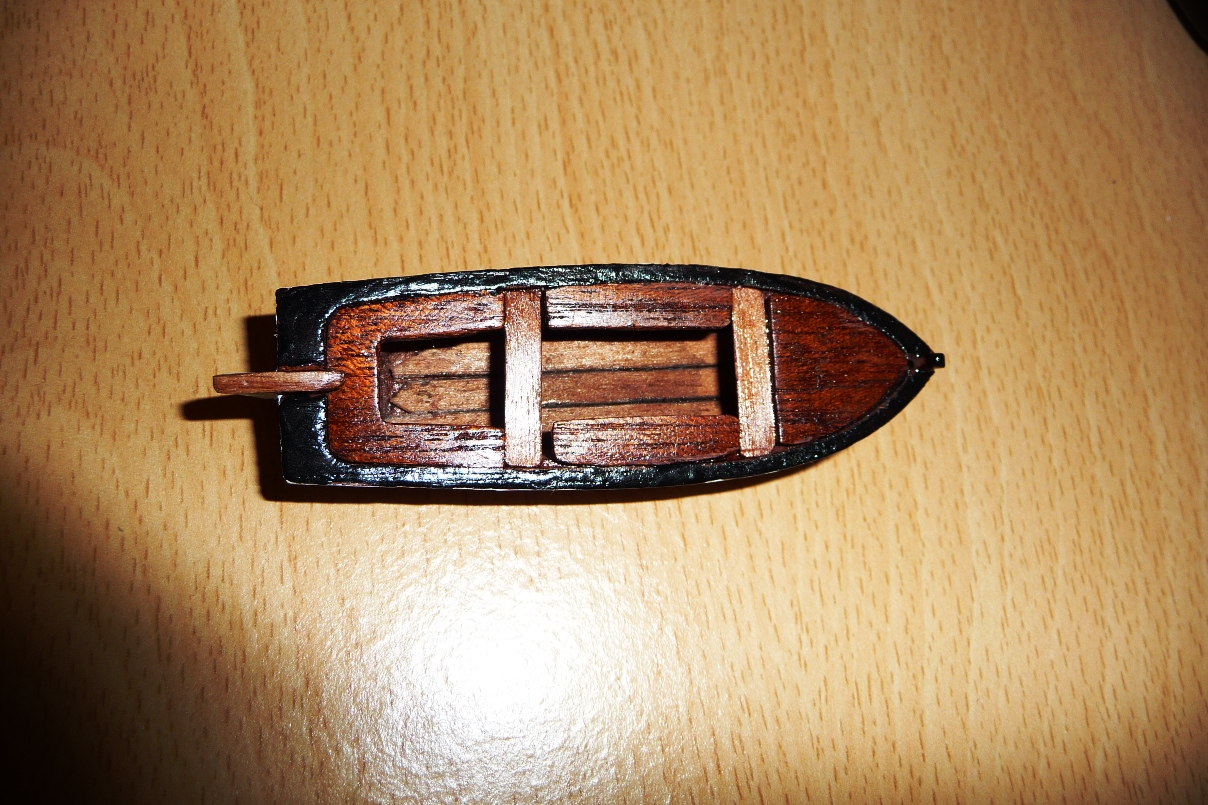
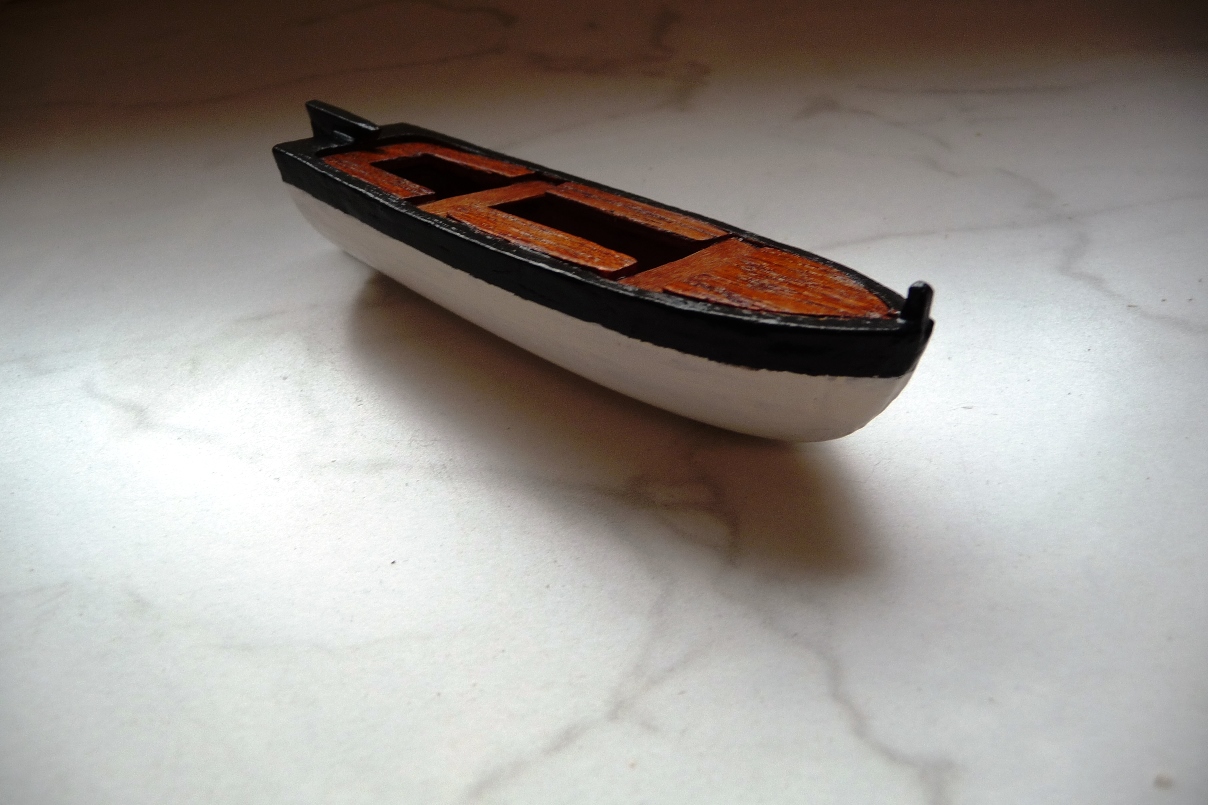
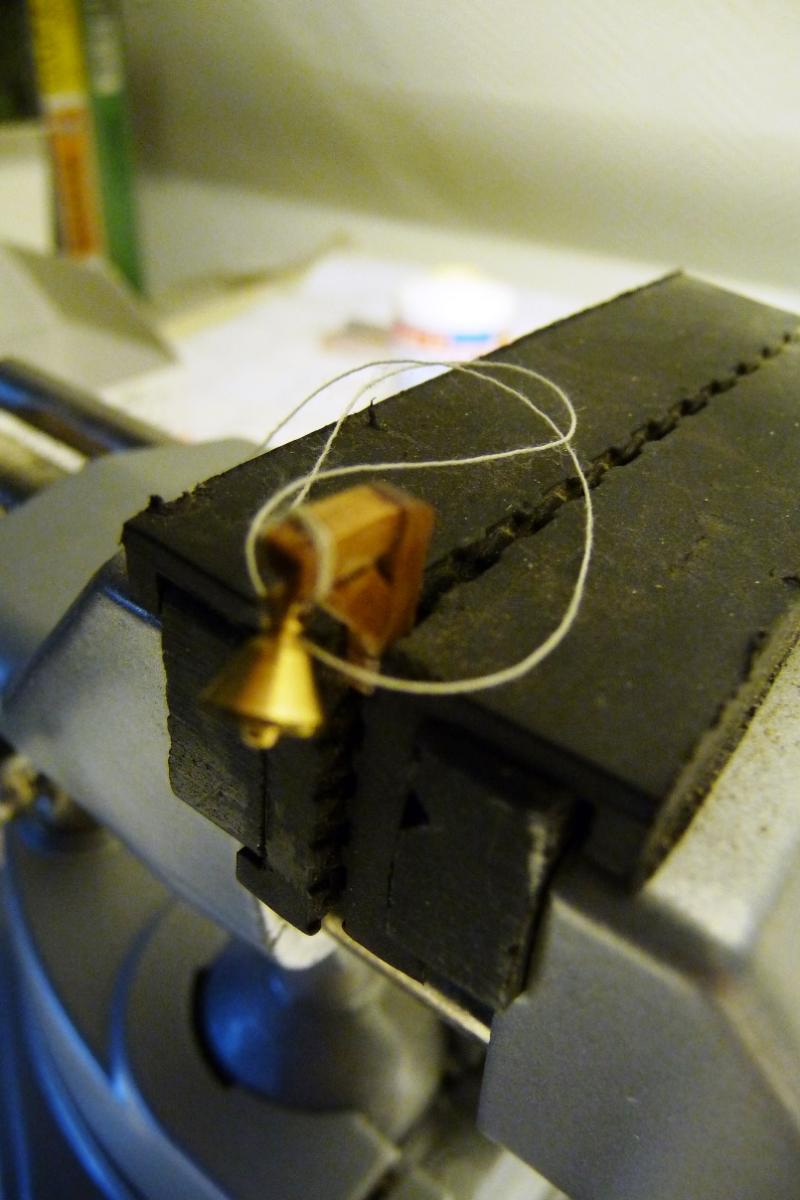
Hello,After a short search, I found a place for the bell. Every good ship needs a ship's bell.Also, the dinghy is ready now. Here the space is given.Now, the ship could depart ... .
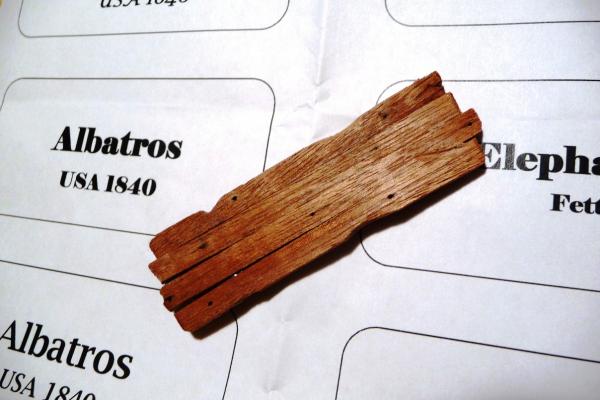
 I made a name tag of scrap wood for the albatross.But only i can not very write well.
 I first wanted to do something on the computer butthen my niece had offered to help me.Long for the long weekend!!Volker
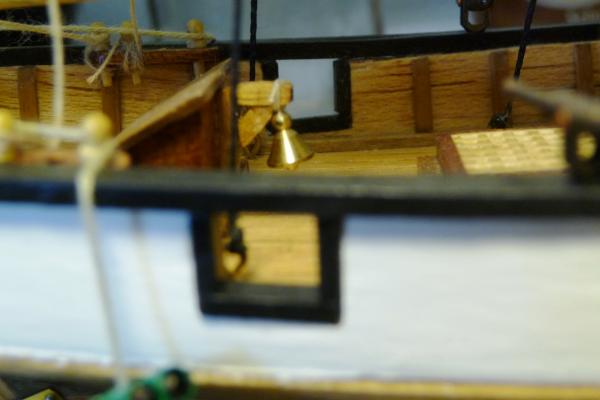
-
Hi Shawn,
you did a good job !!
It took more time as i thought !!

But someone wrote: ....... wood is patient.....
I'm sure that your vessel will look good in your living room.
Did you already found a place for it?
Regards
Volker
-
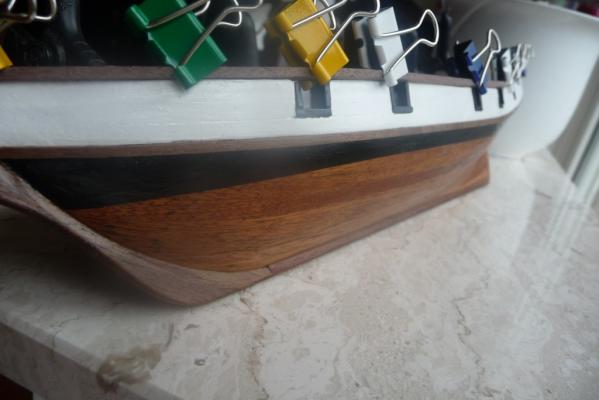
Hello to all,I thought that the albatross can still use a dinghy.In the color design (as with the albatross), I oriented on U.S. vessels from this period. USA with white stripes in contrast to England with ocher stripes.I also had a small bell left, for I still need a holder and a place.Greetings

-
Thank you Simon!
i long to see pictures of your Victory.
I also made a Victory. It was a plastic kit from Revell but only 18cm long.
20 years ago Revell hat a very little Victory and Constitution that i build, in the sales programm.
Waiting for your pictures

Volker
-
Hi Shawn,
i have seen the video.You're doing a good job with the sails.At my Albatros, the sails have lasted just as long as the rest.
T thought it never ends......................The next time I'll take already finished sail.
Long for more Fotos.Volker -
Hi Shawn,
your videos are very well done and your Albatos looks very nice. I think the Albatross is for beginners like us a good choice.It is a very nice boat and not too hard to build.
I look forward for more photos.GreetingsVolker -
Hello Shawn,
thank you thanks, that's very kind. Your video on YouTube is also very good !!
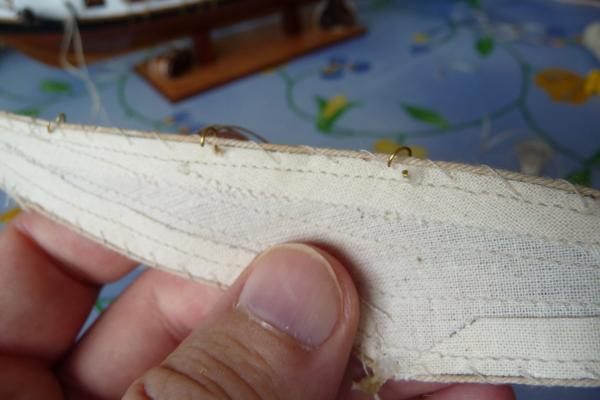
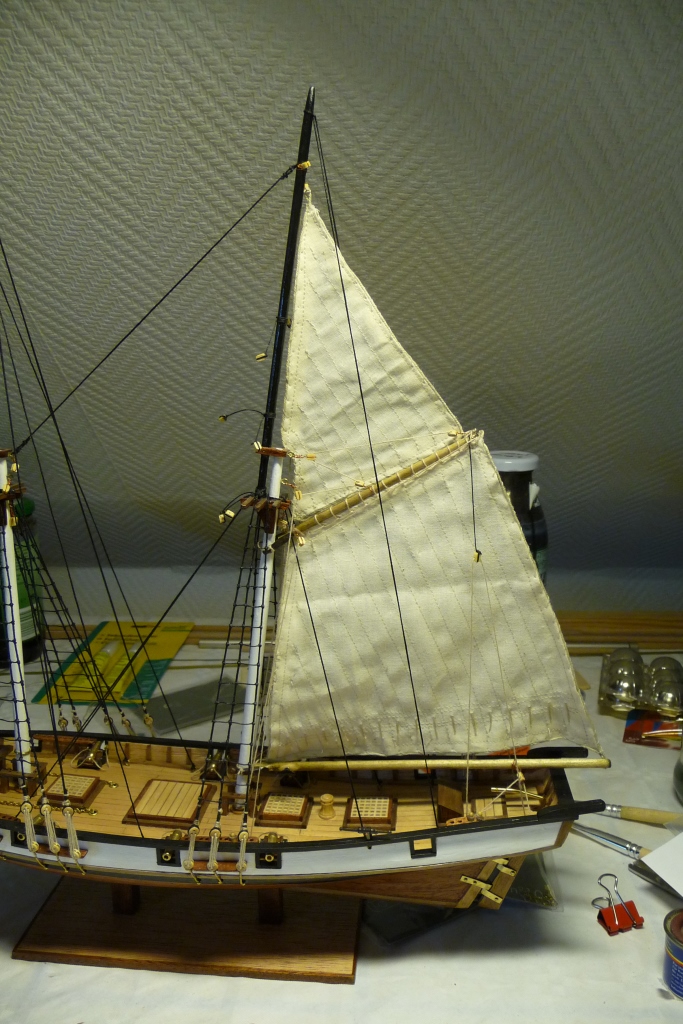
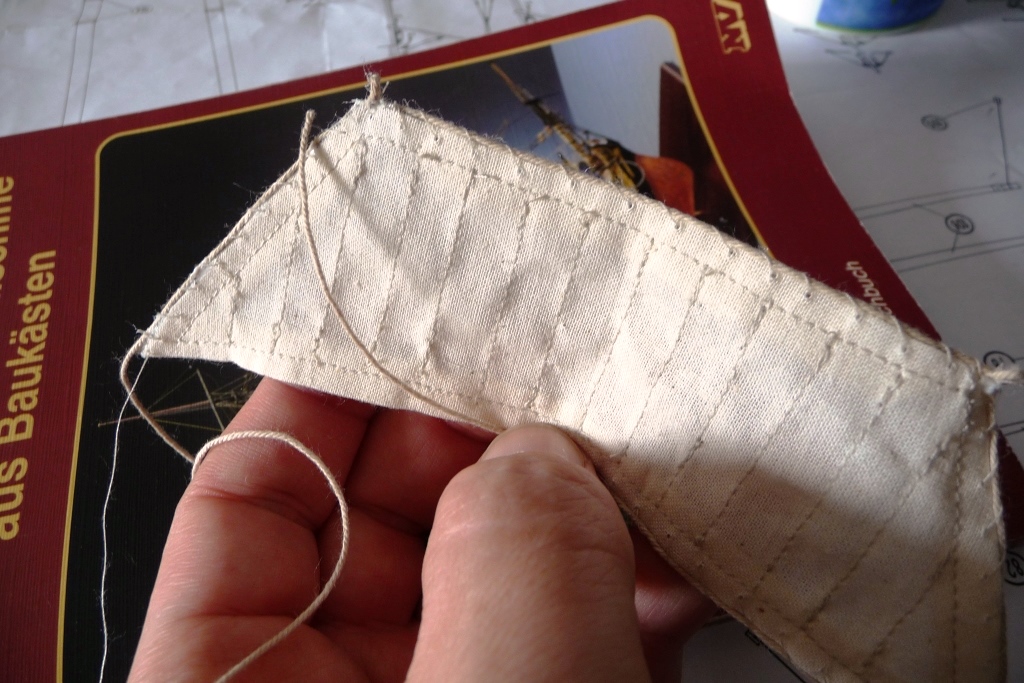
My wife sewed my sails but I had to fix the bolt ropes and clews myself. That took a very long time because I'm so clumsy in that.
It certainly was not my favorite work.
I found a little bit of time in the summer holidays to continue. Now I’m close to finish the boat.
The next ship is on my wish list for the next winter.
Best regards from Germany!!
Volker
-
Hello Ray,
i builded the same Albatros and i'm nearly finished.
I put the planks about 30 minutes in an old 1 liter bottle with water. After that, they were so soft that I could stick them with some needles and glue. At strengthening bends like the bow, I used carefully a small pliers to get a greater deflection . Here, although there are indentations in the wood, but go away again after sanding.
After 2-3 hours, the glue and the wood was dry and I removed the needles.
Greetings and much fun with your Albatros!
VolkerPS:
it would be nice if you could post a log of your progress.
-
Hello Volker,
You are welcome. I hope you had a great day.
Your vacation is coming up real soon now. I hope you have a wonderful stay in Holland.
My Half Moon, a real New Yorker. Sounds good to me.
Your compliment is much appreciated.
It is indeed difficult to decide which ship to build, There are so many beautiful ships to choose from.
Just choose a ship you really like and feel comfortable to build. I will wait patiently for your new build.
Take care and give my regards to your Admiral,
Anja
i will tell her

-
Hi Anja!
thank you for the congratulations. In 6 weeks we go to Holland and we are looking forward to it very much.Your Halfmoon already looks very good! She's a real New Yorker!Next autumn I will start again a new model. (but it is difficult to decide which model i should i take )Greetings!Volker
 -
Hello Anja,
yes i will take a few Fotos if i'm ready but i'm still slow
.In the Summer Holiday's we'll go sailing around Sneekermeer.
It's a good place for beginners like us.
.Best regards
Volker
-
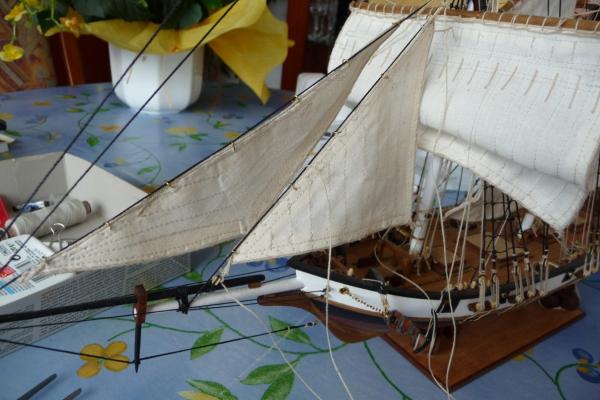
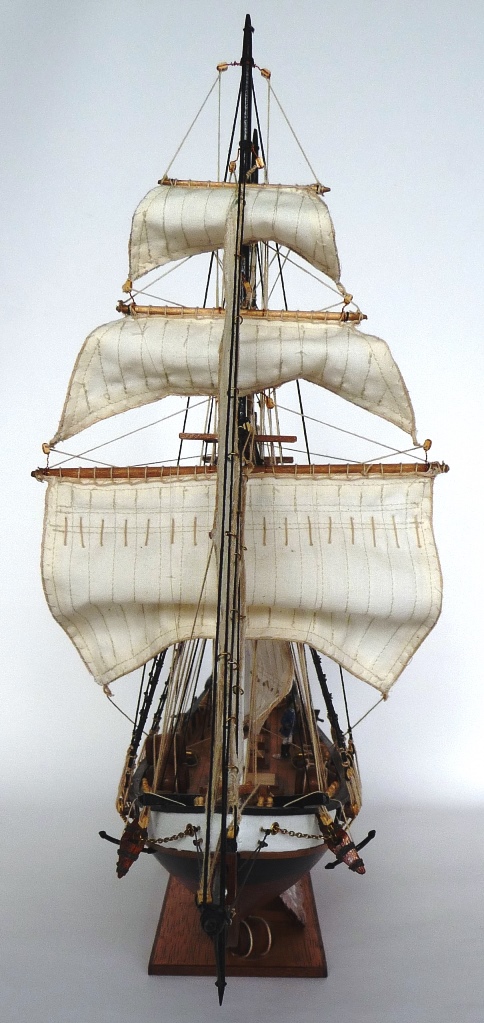
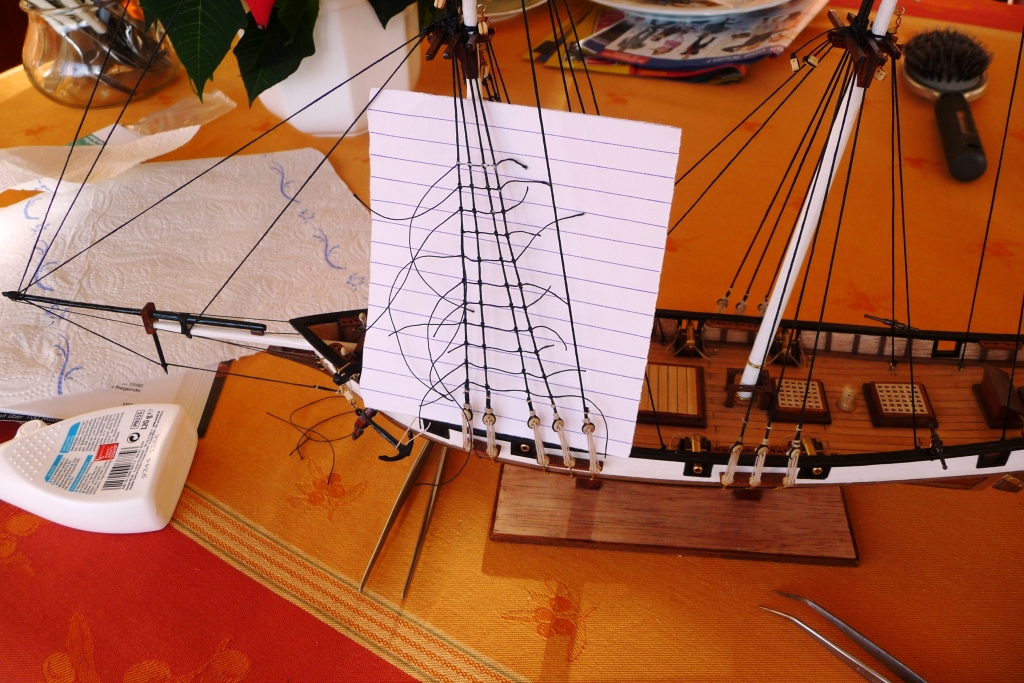
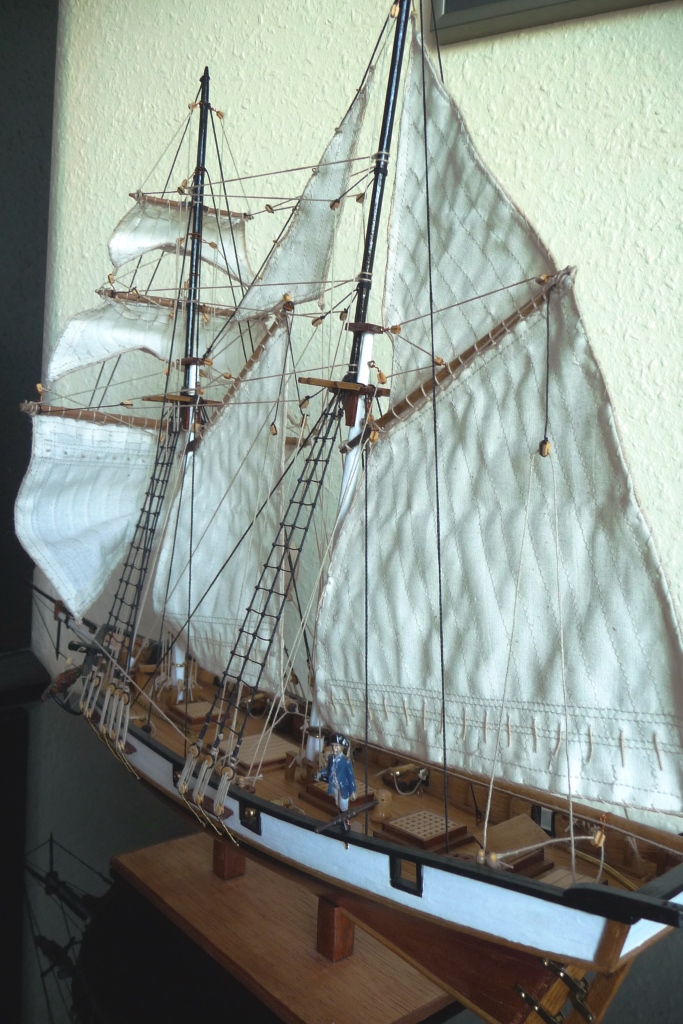
Hello to all,i, like many others lost my first log in the big collapse of the page.I post again a few pictures to show the progress.Now - after 2 winters, i'm almost ready.There are only a few litle jobs left and i still have 3 foresails to attach.It is very complicated to sew the bolt ropes on the sails.
 (This is not my favorite work.)
But I love it to study the construction reports for hours.
I'm glad that the page is back!!
Regards from Germany
Volker


- PierreJean and GrandpaPhil
-
2


San Martin 1580 by VolkerBo - OcCre - Scale 1:90
in - Kit build logs for subjects built from 1501 - 1750
Posted