


Jerry
-
Posts
1,753 -
Joined
-
Last visited
Content Type
Profiles
Forums
Gallery
Events
Posts posted by Jerry
-
-
Hello Dave,
With respect to choice of glues, I did exactly what you are planning to do. Metal to wood, CA...Wood to wood, PVA (Elmers white glue or Titebond). Also for your information, I sealed and varnished the deck before I attached any fittings. The glue will hold to the water based varnish. Most hobby shop varnishes are water based. Now the decking...I colored one strip at a time as I fixed it to the deck.. Remember, mark only one end and one side of each piece of decking plank. I hope you understand what I mean.
I hope you don't mind my late reply as I have not been feeling to well lately and have been spending a lot of time in bed. Looks like I picked up a bit of a stomach bug.
Best,
Jerry
-
Dave,
When using the permanent marker....hold the marker in one hand then lightly pass the plank across the side of the marker. Don't use the tip of the marker or you'll get too much ink. And as far as accelerator goes you'll find the spray bottle much easier than swabbing it. believe me I tried both and there's a big difference. But you do what ever make you happy.
Jerry
-
Good morning, Dave...A quick reply..
I don't put the CA on the entire strip (planking, wales, decking, etc.). I spot glue or I apply the CA about every 5mm. As I said, when the spray (accelerator) hits the glue...BINGO! it's set. Accelerator is available at Amazon. Have a great day,
Your friend,
Jerry
-
Dave
Hope this catches you before you get to bed. Look, the accelerator comes in its own spray bottle. It's a bottle about the same size as the CA bottle. 15 second CA is OK. You apply the CA and then spray the area with the accelerator. As soon as the accelerator hits the glue, the glue sets immediately. And then your wale is in place permanently. Get a good night's sleep because your problem will definitely be solved with the use of the accelerator. Evert decent hobby shop that sells CA should have the accelerator available.
Tata.
Jerry
-
Hello again , Dave...
Yes, I used CA glue and an accelerator on all the wales. The accelerator will cause the glue to set instantly and you should have no problem having the wales adhere to the hull. Your photos show your wales in place so you must have done something right to get them to "stick." I began at the bow and slowly worked my way aft. You are correct, white glue and CA don't mix. I didn't see any gaps in the stern of your model and as a matter of fact I think you did a great job on the stern planking and that's a shame because you won't see it at the end of the build. The stern will be covered with window paraphernalia. (I'm kidding you) I hope this helps you.
Best,
Jerry
-
It's morning here so good morning, Dave.
Well it certainly appears that you know what you're doing because from what I can see your planking looks as good as any I've seen. I also like the straight lines of your wales and the crisp shape of the rudder slot. All in all, you are doing one hell of a good job and you should be proud of yourself. I'm looking forward to see your decking and especially the rigging. Keep me posted.
Best regards,
Jerry
-
Hey Dave,
The sand and seal product you mentioned sounds fine but different from the wood filler I always use. I use Minwax wood filler. I use it because it is water soluble so it works well with my procedure of wood filling. The way I treat the hull is probably more radical than the 'normal" way of just filling in gaps and seams, etc. and then sanding the surface. I actually apply a fairly thick coat of the Mini Wax product over the entire hull. That's right, the entire hull. I then wipe and the hull with a wet cloth which thins the filler and cleans the surface where filler is not needed. This results in a smooth hull of its original color. Any large gaps will of course carry the color of the filler whose color is neutral. In some cases you may need to apply additional filler in deep gaps. and wet wipe again. This method was shown to me b y someone with years of experience who believe it or not, is older than I am. Hope this doesn't drive you nuts.
Best,
Jerry
-
Dave, you are too hard on yourself; from what I can see your planking is more than adequate. To each his own, if it were me, I wouldn't spend the money for the "slip." There are so many good and cheaper hull holders on the market. So keep going the way you are.
Best,
Jerry
-
No need to buy a soldering gun; you won't need one for this build.
jerry
-
-
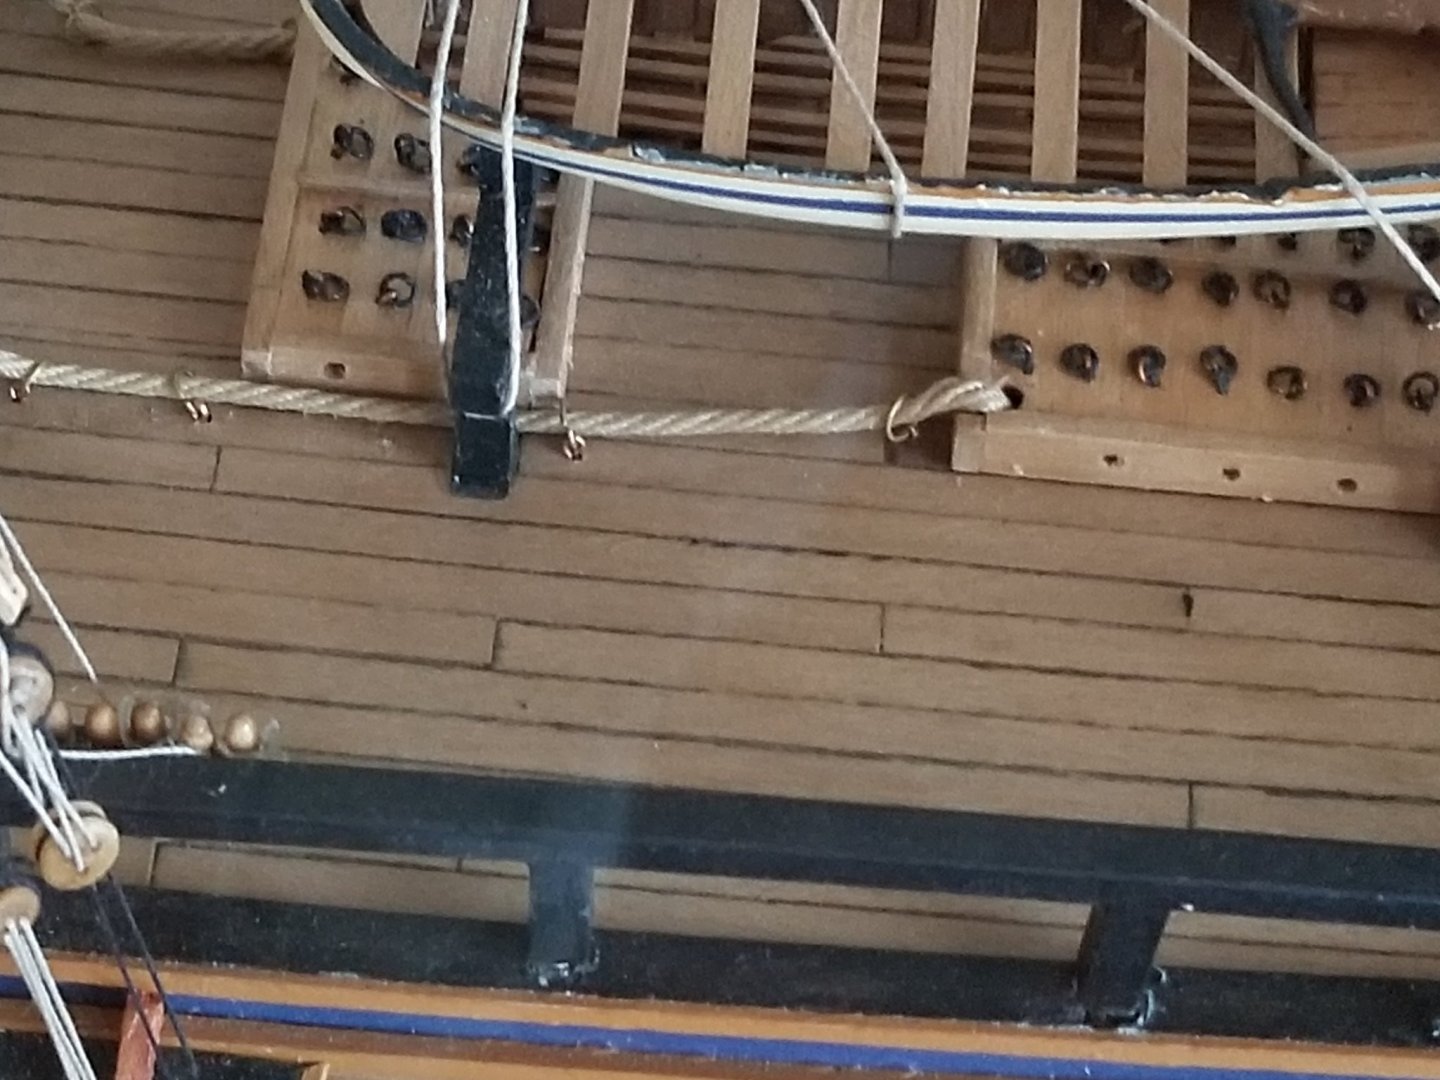
Sorry, Dave but unless my good eye is failing me, I only count 3 wales on my model. It's possible that there are more but I don't see them. Check page 3 of my Bounty log and tell me what you think. Now, regarding the deck planking: I ran a black marker along one edge of every piece of planking which gave the deck the illusion that there was material between each strip. Do you understand what I'm talking about? I can't remember what this material was called but it was some type of insulation. Make sure you mark one end and one edge only or the coloring will be too dark. Good luck and keep going on your very nice job.
Best,
Jerry
-
I did the wales after sealing and sanding. There's too much chance of nipping the wales while sanding if they are in place. Don't worry about the rigging and I believe you'll eventually find that to be the most enjoyable part of building the ship. Just make sure you install your masts and booms soundly as they are the foundation for your rigging. As for the deck planking, I have attached a picture of how I do my decks. Notice that the planks repeat position every four planks. I hope you understand what I mean.
Best,
Jerry
-
Wow, Dave! The planking looks terrific. You don't need any advice any longer. You've got the job down pat. Your work on this phase is as good as any I've seen. I know that about this time you're probably thinking how nice it'll be to do some other kind of operation on the ship than planking. You're well on your way now and i compliment you on a job well done.
Best,
Jerry
-
Good morning, Dave,
Yes, same time as New York. It's about 7 minutes after 8 am right now
Jerry
-
As I write this post it is approximately 2:00 PM Eastern Standard Time (South Carolina, East Coast)
-
-
Dave,
Age and memory don't go together. But Eureka! Charlene is 20 years younger than me and her memory still works. The rudder slot was cut as soon as the final planking was completed. Hope this helps.
Have a good night.
Jerry
-
Happy Monday, Dave.
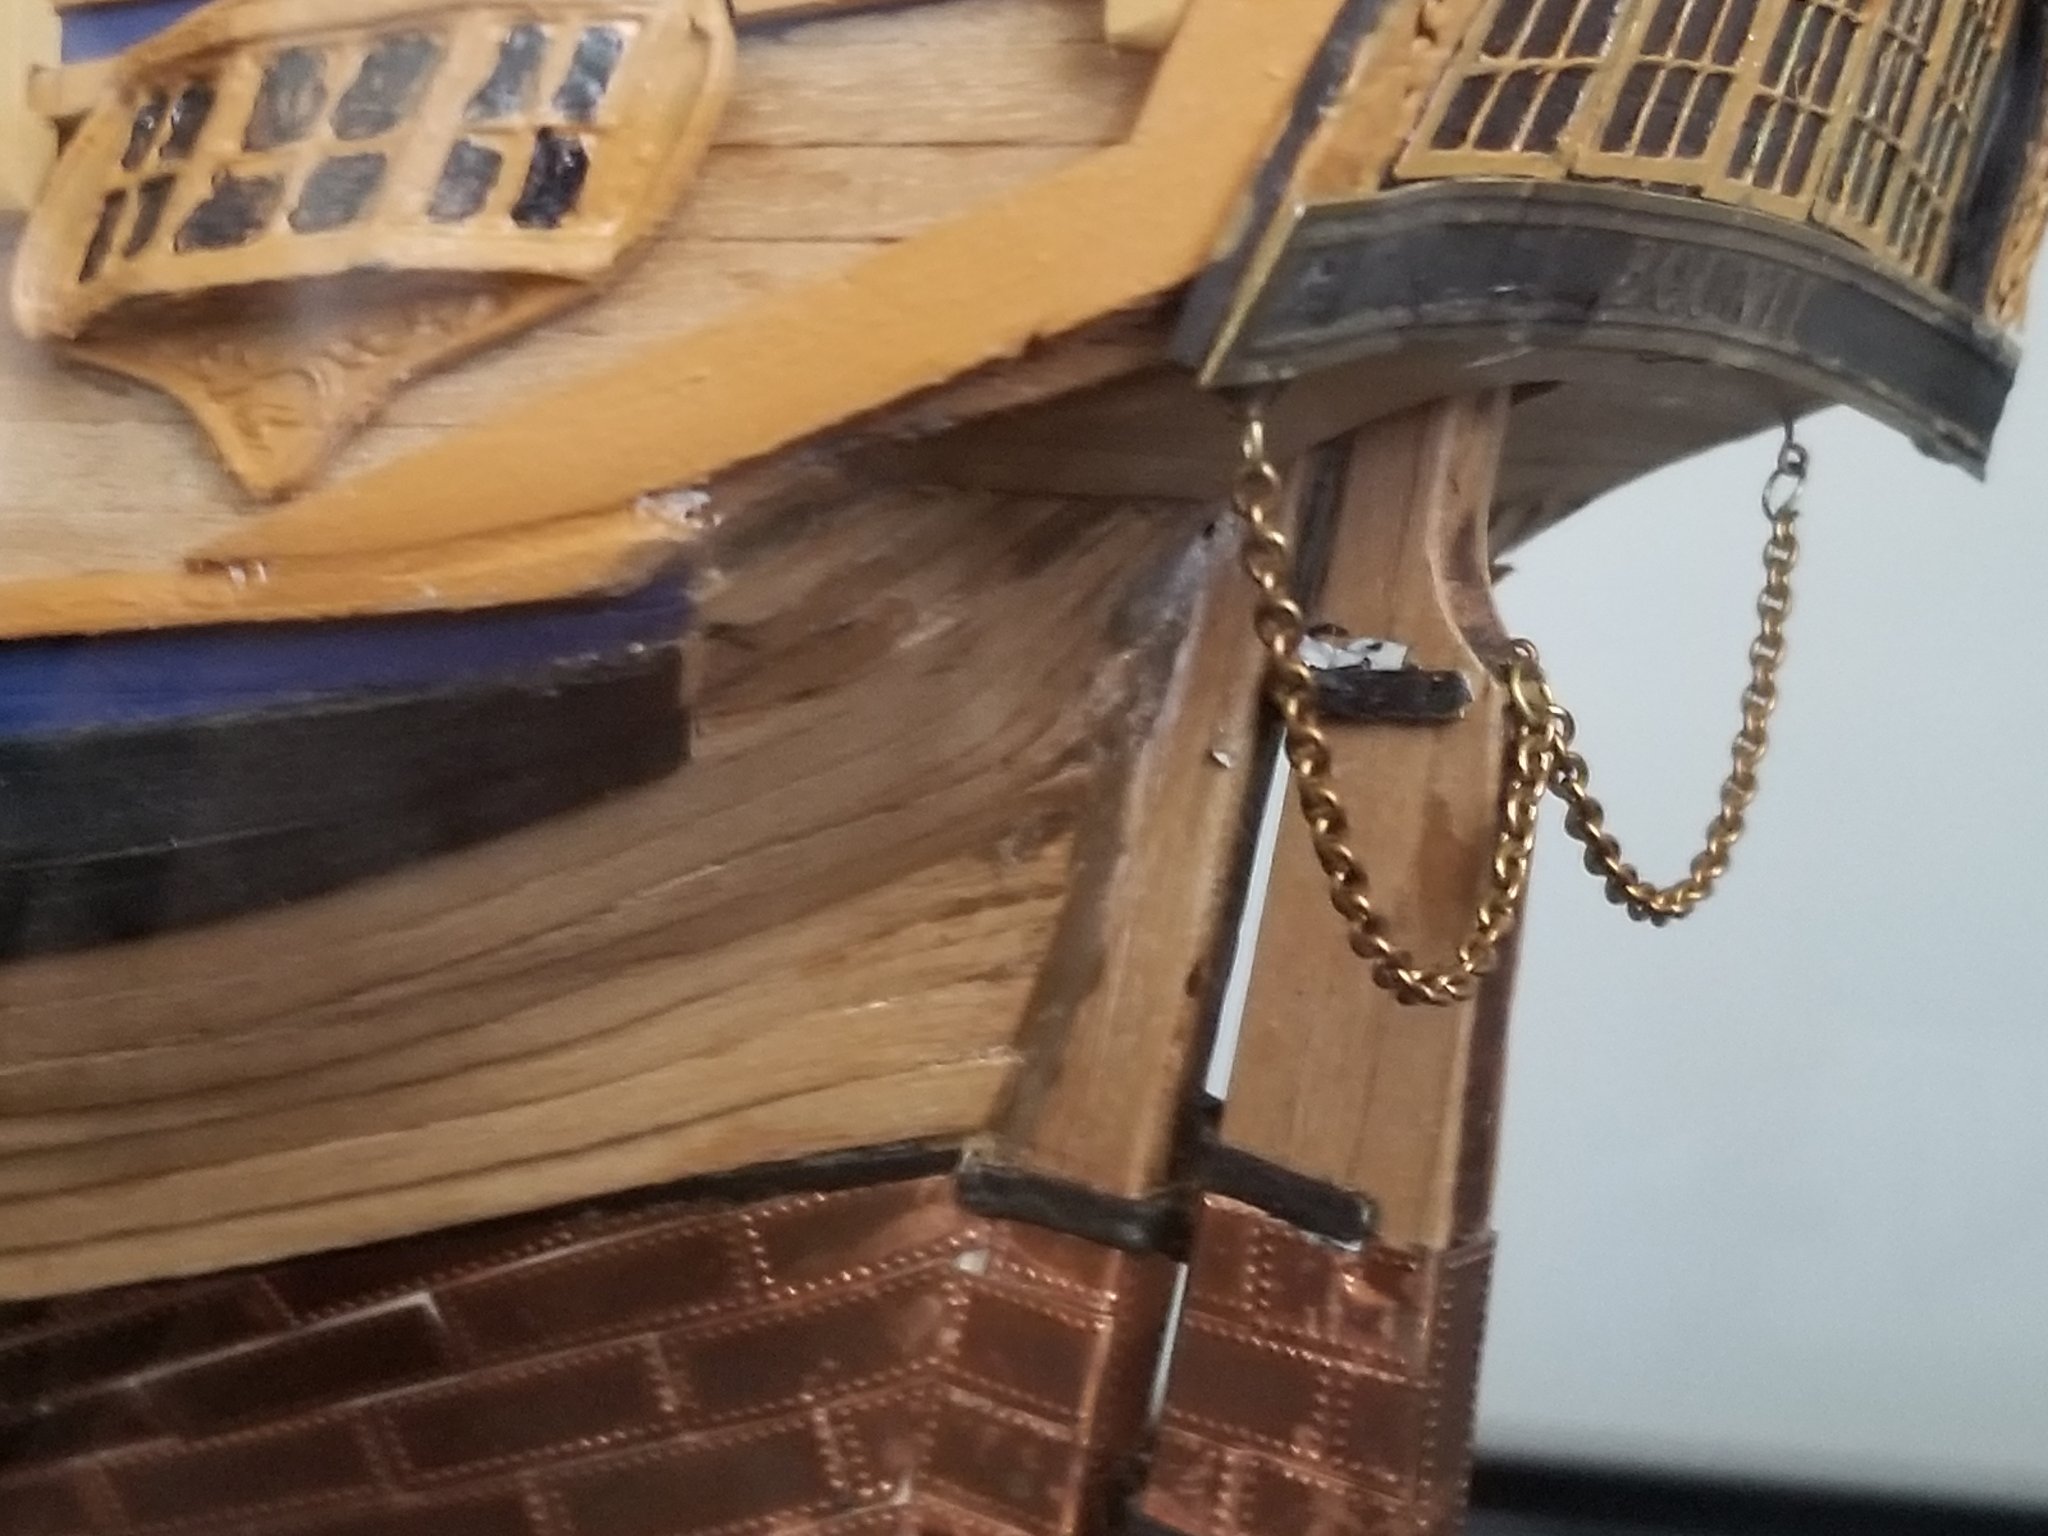
From what I can see you've progressed admirably. (No pun intended) You say that your first layer of planking is smooth and that's necessary before attempting the second layer. So you are indeed,ready to roll. As you say it is difficult to sand a 0.5 mm piece of wood so don't do it as when you complete the second planking you'll be lightly sanding again and that should take care of any rough spots. You did a very nice job on the first layer and I'm convinced you know what you're doing and will certainly finish with a fine model. With respect to the planking at bulkhead 15, I would plank the hull up to the transom and then do the transom afterwards so the transom planking will cover the ends of the hull planking . ( see attached photo.) Again, don't be concerned with interim sanding as that will be treated when you sand the completed second layer. I apologize if this sounds confusing but I hope you understand what I mean. Keep up the good work.
Best,
Jerry

-
Always remember that whenever you have a question, don't hesitate a second to ask me. I'm n ot an expert but I do have a few years experience and will more than gladly tell you what I know. Yes, Caldercraft makes an excellent kit although they are a little pricey. HMS Victory was about 900 British Pounds. But the kit was more than complete. By that I mean there was a lot of extra wood, especially planking. The hull is copper plated and I had a lot of extra plates which I used some on the Bounty. Now, regarding the planking question...The second planking, as far as I recollect, was very much the same in procedure as the first. Take your time do the proper soaking time and you'll look like a champ when all is said and done.
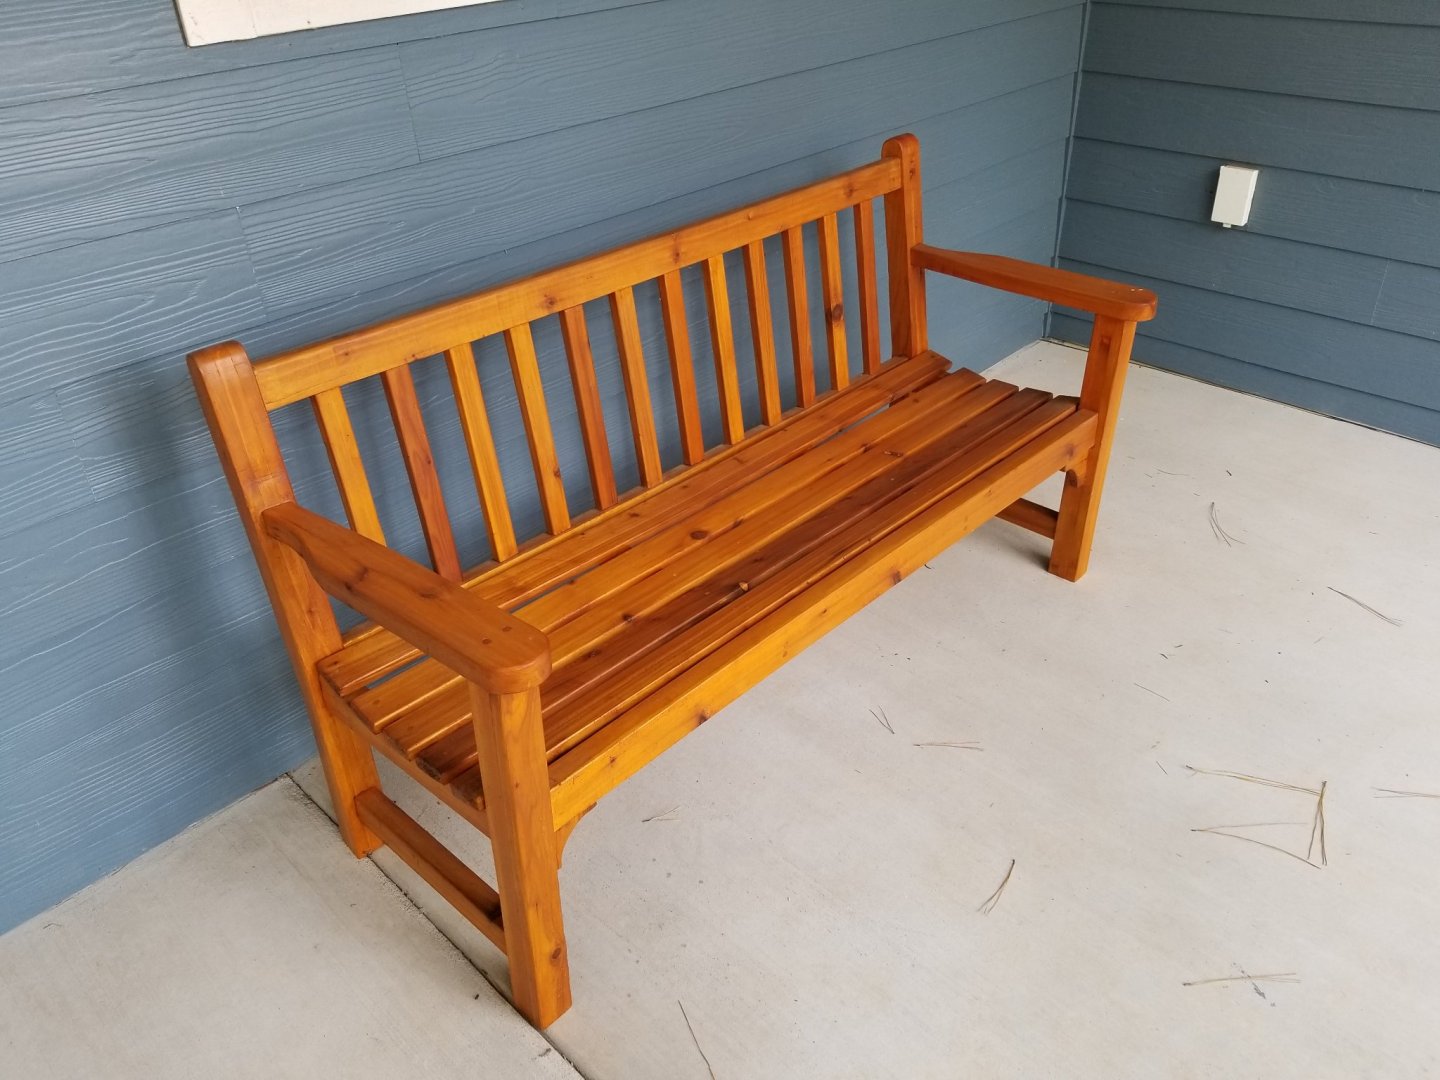
I am presently starting a new woodworking project in cedar in which I'm teaching the admiral how to use all the woodworking tools. Today she has learned to operate the radial arm saw and the table saw. We are making a garden chair and table to match the garden bench I built 2 years ago. Picture attached,,,Take good care and go S l o w l y....
Best,
Jerry
-
Good morning, Dave,
Nice work. Your planking looks excellent and it's obvious you've accomplished a very difficult phase of the build. Don't forget a light sanding before starting the second round. One reason the second application is easier is you now have a solid base to adhere to. No more spaces between bulkheads but a good overall base. Thanks for keeping me apprised of your progress and I look forward to seeing your future good work. By the way, there's a link to all of my logs at the bottom of every post I make in your log.
Again, I hope you and yours have very nice New Year,
Best,
Jerry
-
Harry,
I used CA and white glue throughout all my builds. You should have no problem gluing anything to the varnished deck when using CA, 15 second drying.
Let me know if I can be of further help.
Best,
Jerry
-
Good morning, Harry.
It's been a long time but I used a water based varnish sold in most hobby shops. I don't remember the brand but I do remember that it was water based. It dried quickly and allowed me to apply several coats throughout the day. I hope this is helpful.
Best,
Jerry
-
Hello Dave,
Looks to me like you now have the hang of it. Glad to see your fine progress.
Happy New Year,
Jerry
-
Okay, Dave,
If you're going to paint the hull it's extremely important that your undercoat is correct. That's where my method of wood filling comes to play. Also, the correct brand of wood filler is a must. We can talk about that later on. Have a good night,
Cheerio,
Jerry

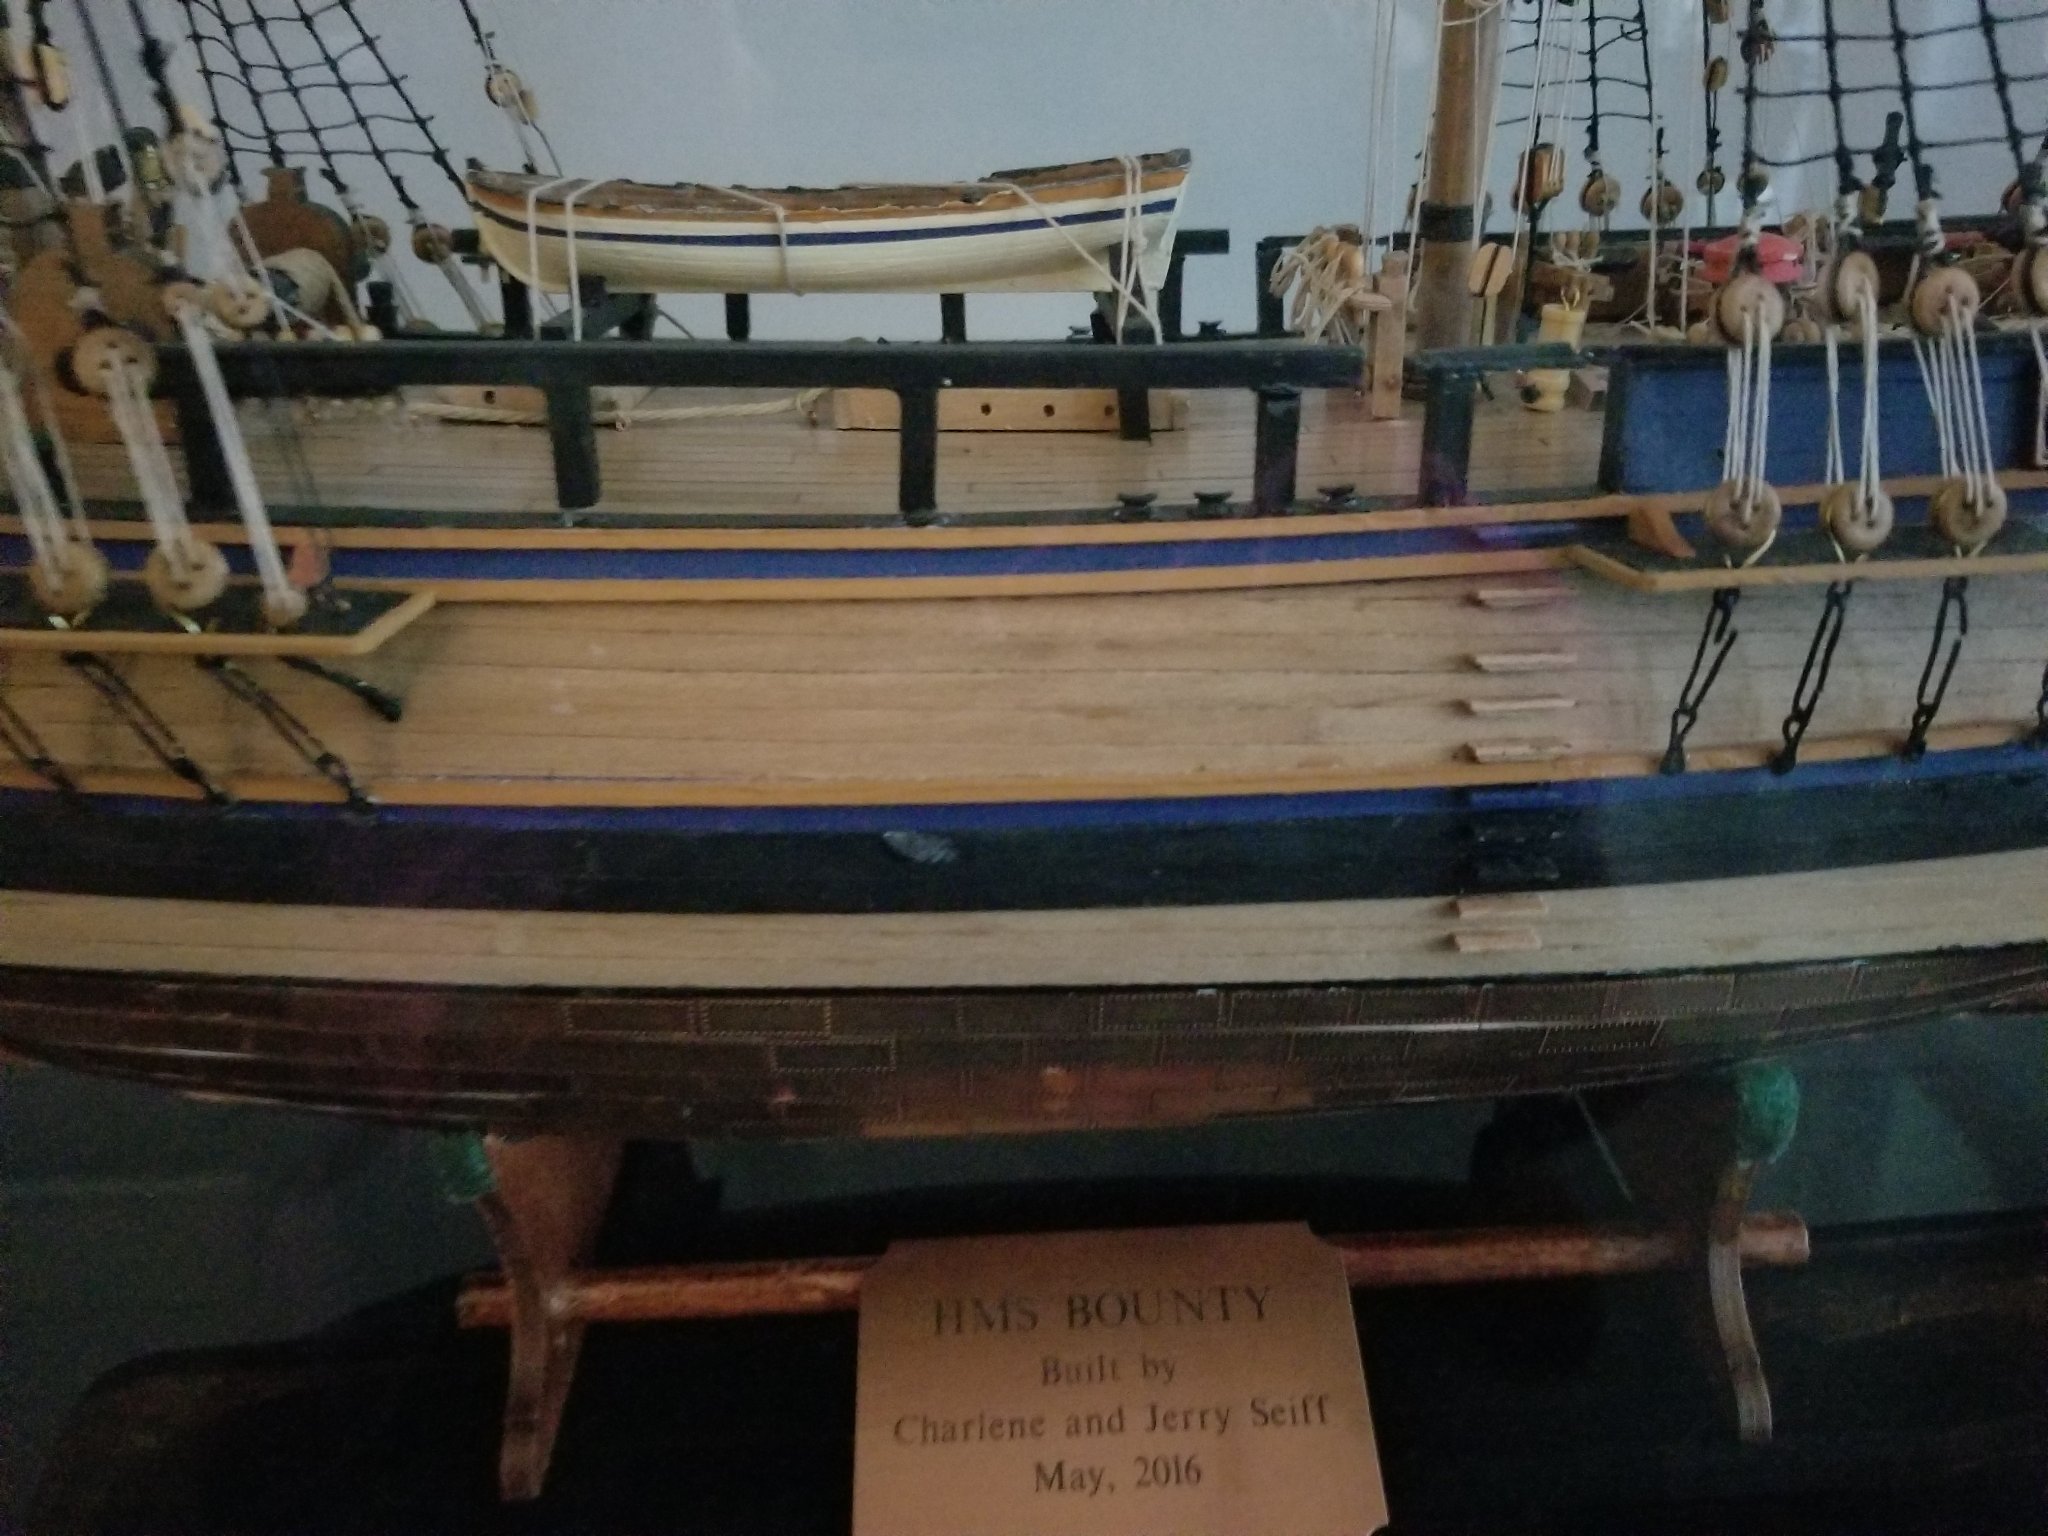


HMS Bounty by DaveBaxt - FINISHED - Amati - 1:60
in - Kit build logs for subjects built from 1751 - 1800
Posted
Dave,
Again I have to go by memory...I believe all I did was soak them And remember, use Cd and accelerator.
Best,
Jerry