


Jerry
-
Posts
1,753 -
Joined
-
Last visited
Content Type
Profiles
Forums
Gallery
Events
Posts posted by Jerry
-
-
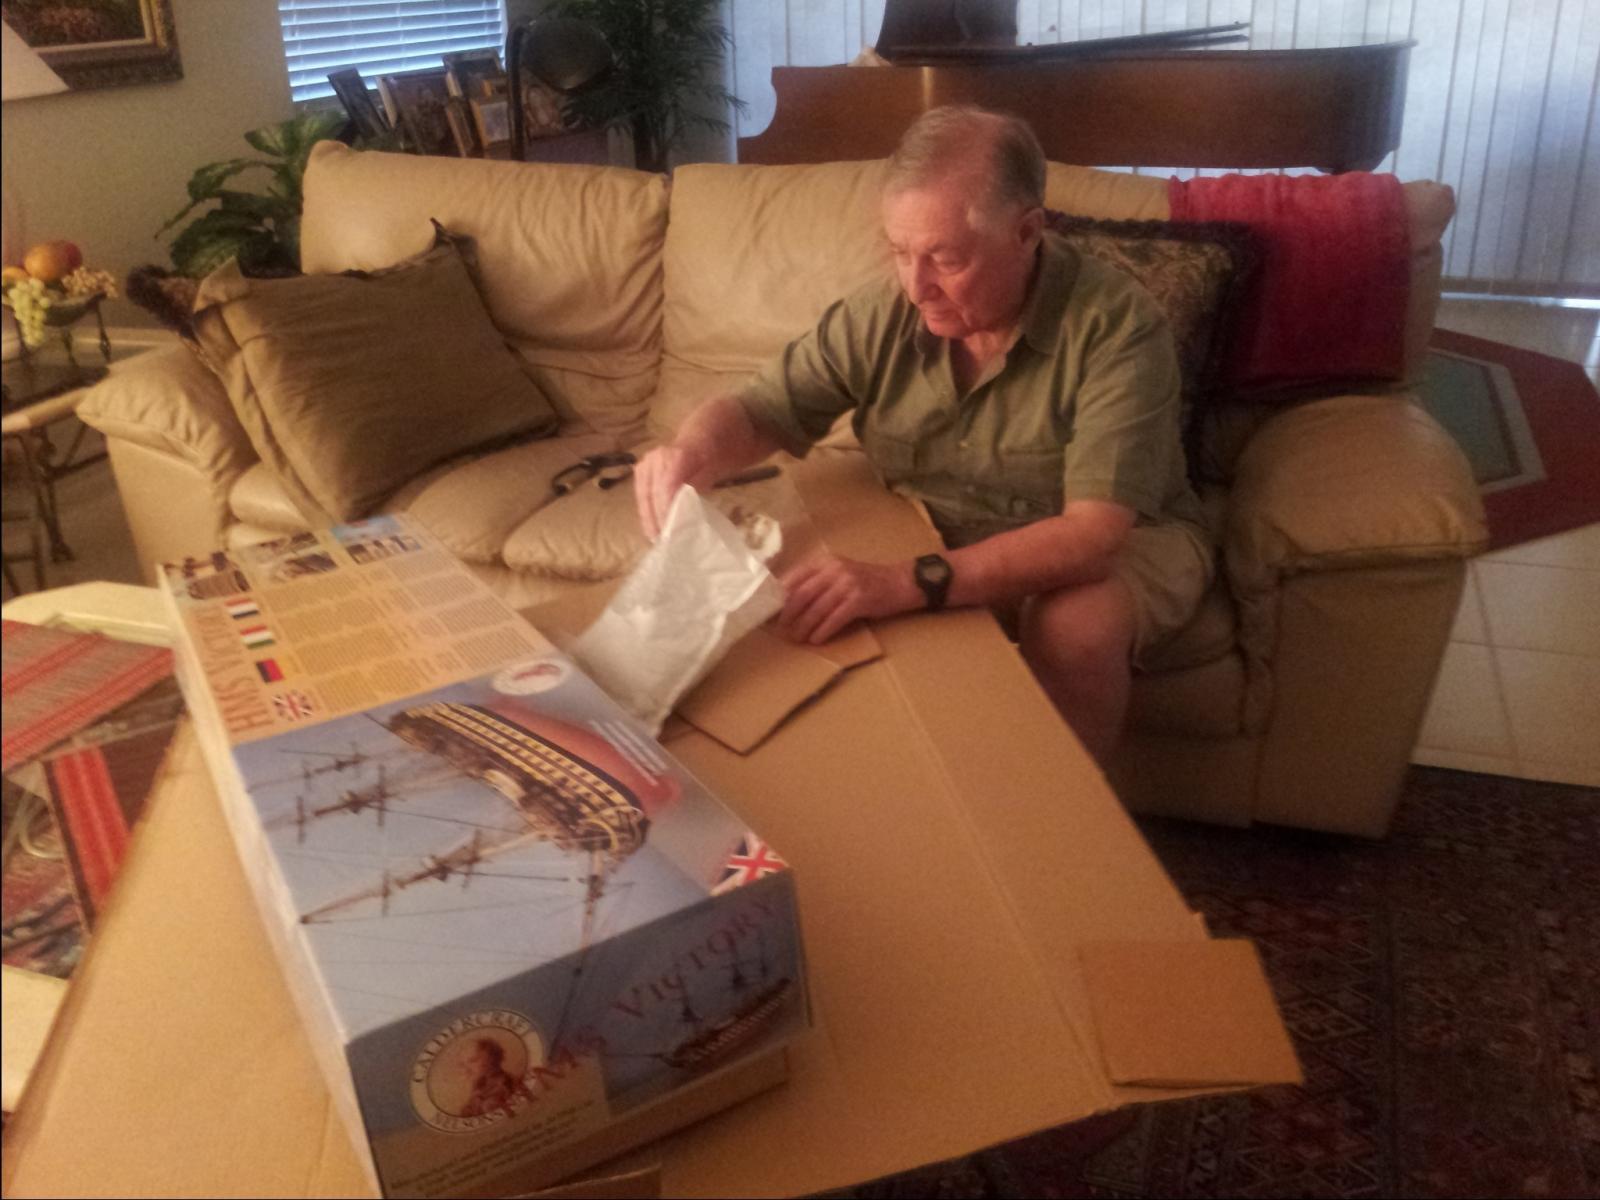
When I opened the first manual ( there are three) of HMS Victory, I saw Admiral Nelson's prayer which was right there on the very first page. On the same day that Nelson was said to have uttered this prayer, he was fatally wounded by a musket shot from the French Ship Redoubtable. My immediate reaction was "Oh my God!", what have I gotten myself into. Since I already spent about $1200 for the kit and had parts of it strewn all over the floor of my office, I figured it was too late to change my mind.
About 12 years ago I built my first and only ship model, Cuttysark,
 and when I finally placed the Union Jack on Cuttysark's rear stay, I know for sure that I said, "I'll have to have a screw loose to do this again." But when one is lucky enough to reach my age most sports are taboo, television sucks, there is no job to go to and even the grandkids are off on their own; I needed something to do; so, on February 22nd of this year, I began my build and what follows is a record by pictures and date, of what has been done so far. However, before I go further I'd like to give a shout to Dave (Shipyard Sid) and Kevin for their encouragement to do this and for their kindness and patience with my rookie endeavors. Also a big thank you to Derek S. for letting me use his log as if it were my own.
Feb 21, 2013
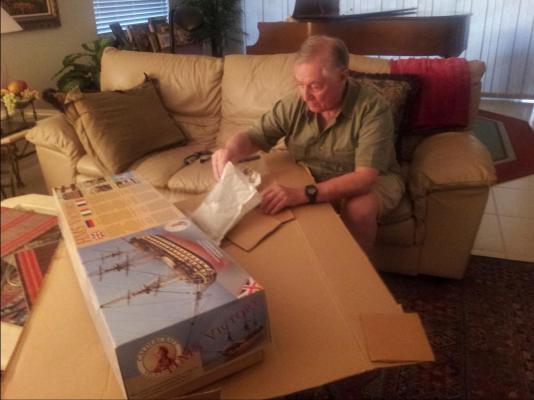
When I looked into the BOX... Boy! was I bewildered. So much stuff and weighing 36 pounds.
Feb 22
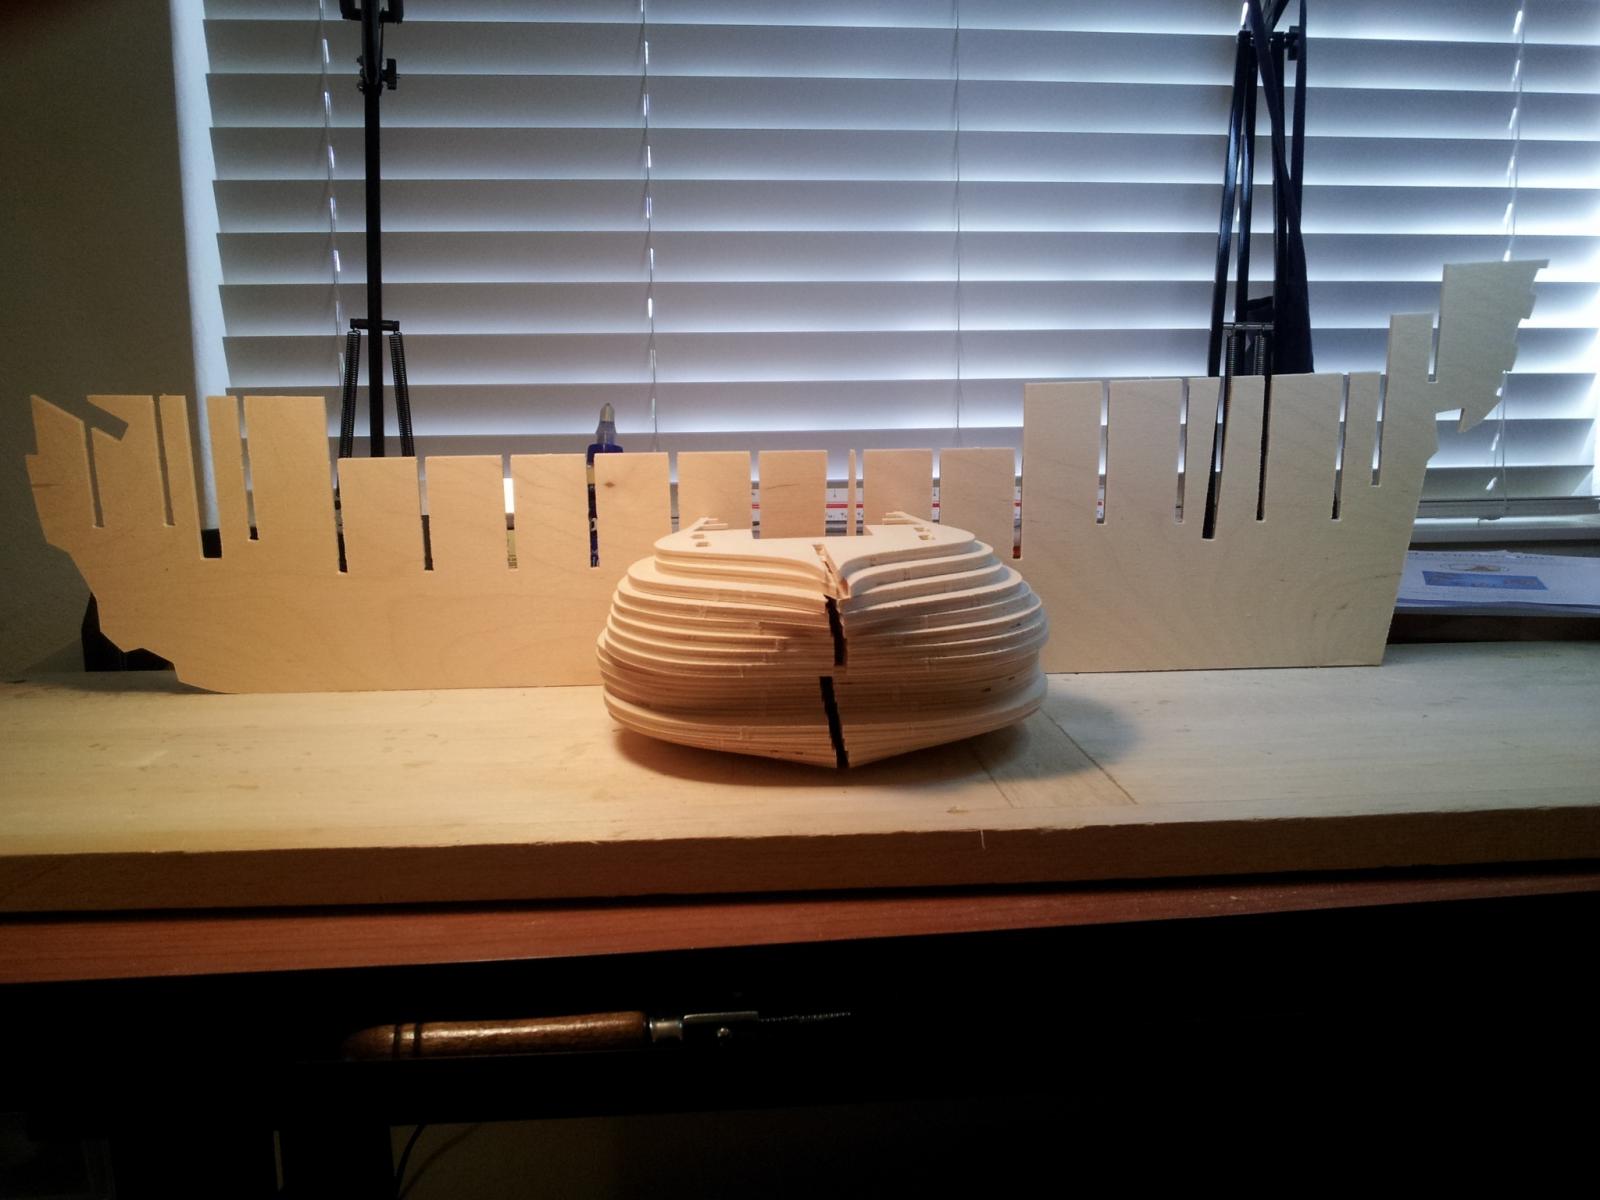
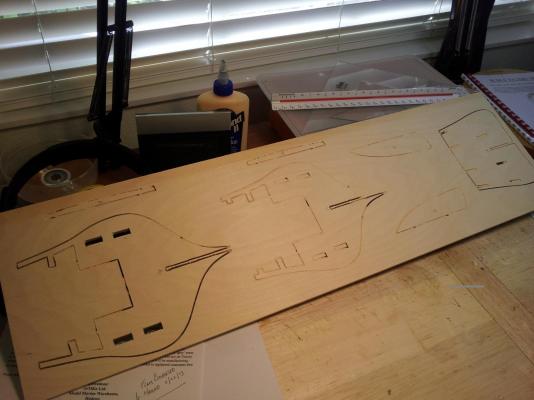 I used the saw blade to remove the bulkheads from the 5mm plywood
Feb 23
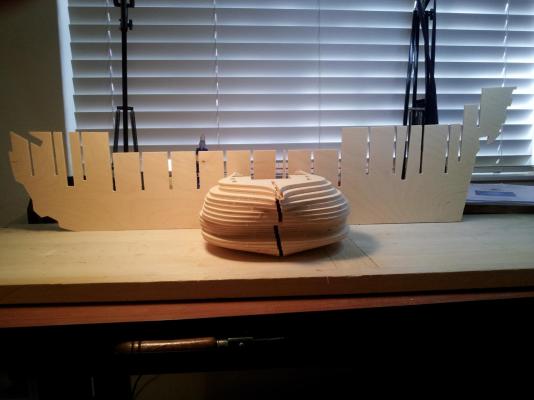
 First gluing, keelson and stem to keel
Feb 26
 Fitted bulkheads and middle gun deck to keel
Mar 1
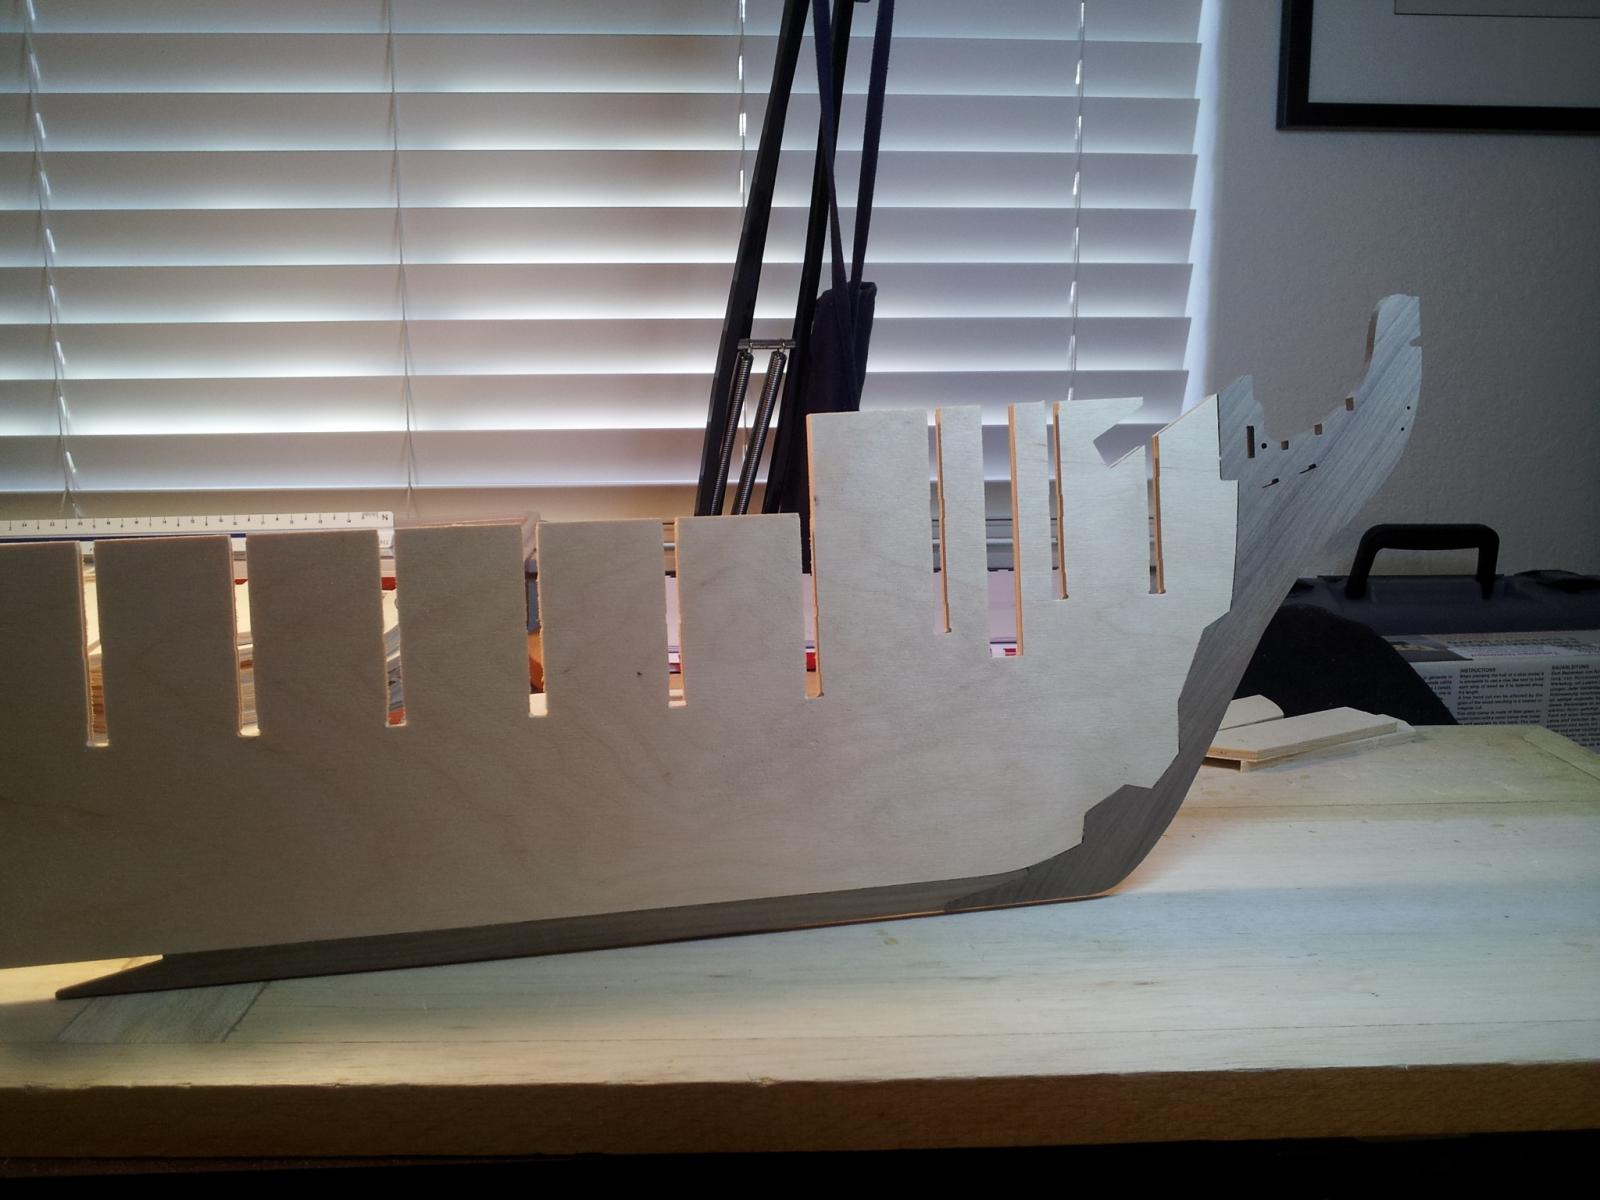
 With Barrel strips, stern extensions and bow forward supports
Mar 4
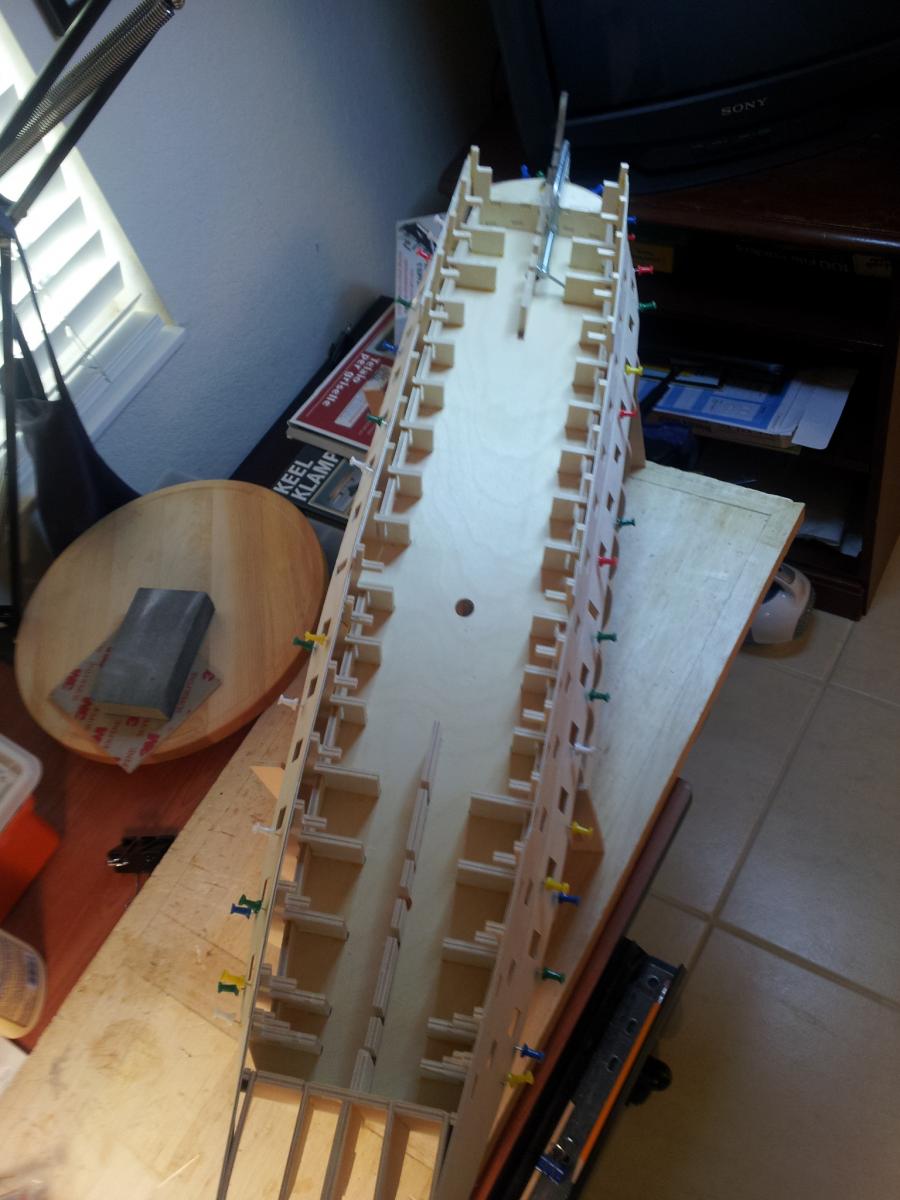
 Fitting first gunport patterns
Mar 5
 Adding gunport strips
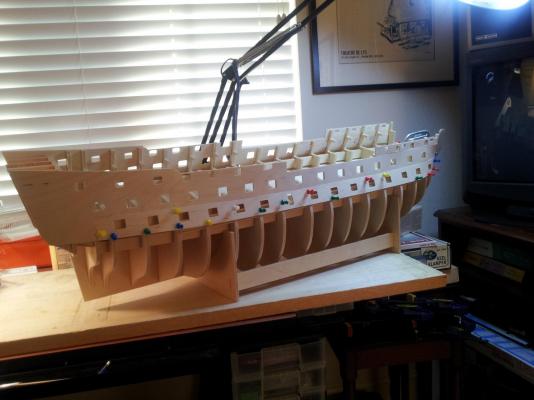
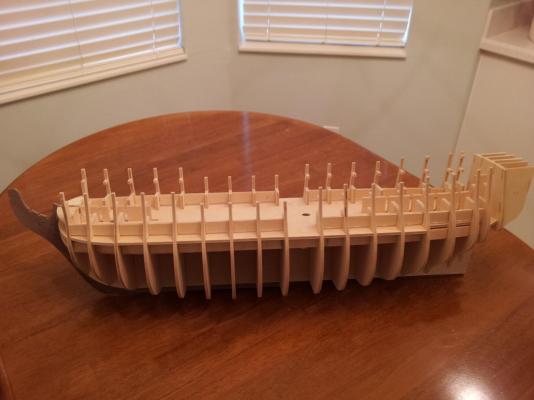
 With top and middle gunports
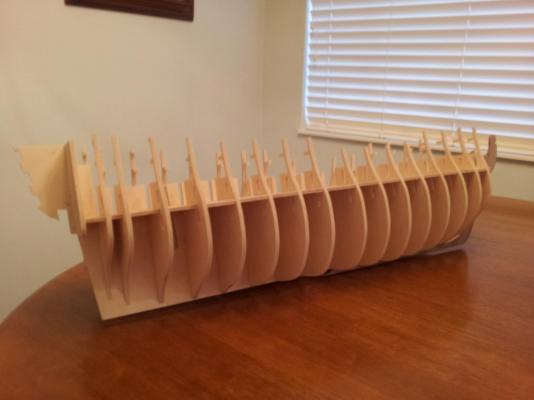
Mar 9
Start of first planking
Mar 13
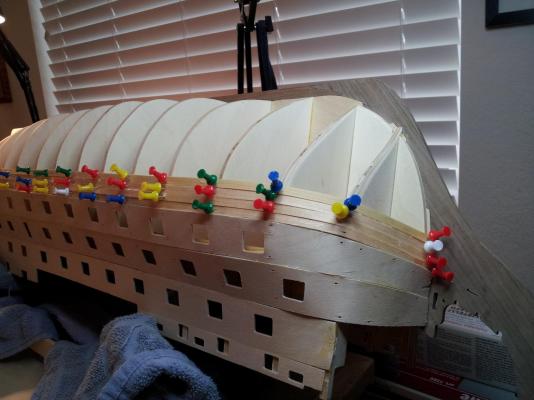
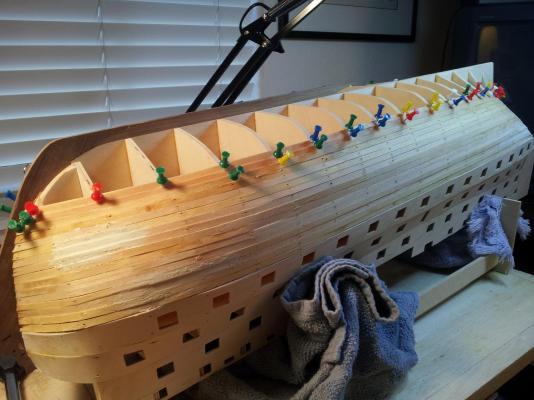 16 rows of first planking
 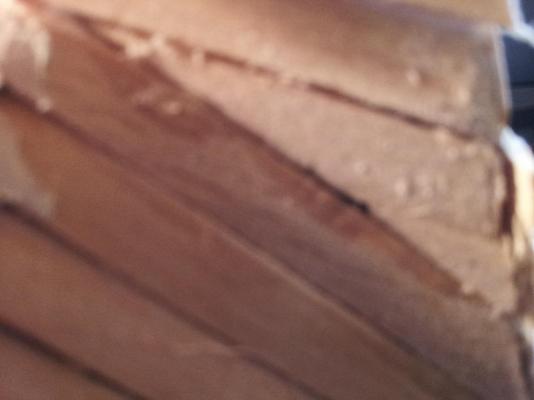 Close up of first stealer needed
- jct, Pygothian, CaptainSteve and 6 others
-
 9
9
-
OK, OK, I'm convinced! I'm working on organizing my build-log and hope to begin posting it soon. I appreciate everyone's encouragement and hope my effort is not disappointing. Now I need to figure out how to do it. Jerry
- Shipyard sid and Kevin
-
2
-
Hi Kevin..That's good to know. I plan to use three coats also. Thanks for the info. David suggested I post some pictures of my boat at its present state and I will do that a little later today. I appreciate everyone's interest in my situation. Thanks to you all.....Jerry
-
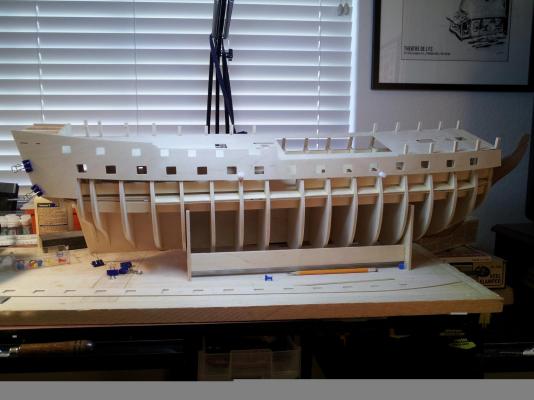
David, just wanted to let you now that I finished the balsa seating for the gunport lining. I plan to fill and sand a litle bit more of the hull from the top of the first wale to bottom of the third wale which I will then paint yellow ochre. It's a real dull color but that's what I was sent by Cornwall. After that I will fit the prepainted gun port lining. Hope you are well and enjoying your weekend. Jerry
-
Well, I guess I figured it out. Look above Mort
Jerry
-
 Hi Mort..
I'd like to post a picure of the tool I made for lining the gun ports but I haven't figured out how to attach a picture yet. Can you help me?
Jerry
-
Well, David..I just came back from my trip to the hobby shop (about 30 miles return) and have the balsa strips. Unfortunately they didn't have metric sizes so I purchased 1/8 inch square which is only about a tenth of a millimeter larger. I'm sure this will work. So, I'll build all the "seats", paint the hull yellow ochre, paint the gun port lining and then line the gun ports. Thanks so much for your great help.
Jerry
-
Thanks, David...I understand your idea fully. Great idea...now one has a seat to sit the linings on. I'll get some balsa and get to it. I'm going to paint the yellow first. I'll stay in touch. Again, many thanks. Jerry
-
-
Hi David...
Just wanted to let you know that I have taken your advice and have posted directly to your log. I sincerely appreciate your interest in my situation and certainly want to cooperate in the correct manner in using this site. As you know I've had several questions about the gun port linings as to prepainting them and installing them after painting the hull. I feel it will be better to paint the hull before attaching the linings. Of course, I may be wrong and hence my post to you. I'm also not sure as to how to establish the correct location for the black striping on the hull. Although most pics I see of this give the impression that the black stripes follow the wales, I read that this is not the case. Is it possible that I missed their location on the plans? Please advise and again thank you for helping this old man.
Jerry
-
Hi David...
Truthfully I have all I can handle just trying to keep up with the build. I did take pics as I progressed and at this stage of the project I have a file with 73 of them so if I did start a log I can show my progress.
There are so many questions popping up as I proceed. Now I'm at the stage where the manual calls for lining the ports and frankly I don't agree with the order of the manual. I think it would be better to paint the yellow ochre and black stripes first so that when the prepainted red ochre gun port linings are added there'll be a clean line between these linings and the 1mm space to the side of the hull. Also I guess I should paint the black to a little below the water line and let the copper plates cover any excess paint. I have noticed that each builder has proceeded slightly differently at this stage of the build. I am also dickering with the idea of a 1x1 mm or 1x2 mm strip to delineate the water line. I see that some builders have done this even though it's not to scale.
Also, I'm confused...Is your name Sid or David? Either way, thank you so much for your contributions to this site. I would never have gotten as far as I have without the contributions from you and the others.
Best,
Jerry
-
Kevin,
Thanks for your inteest but I never started a build log. I just can't make up my mind..LOL
Jerry
-
Derek,
Thank you very much for the answers to my questions. But most importantly, I wish your wife a speedy recovery and hope everything will be well again in your household.
-
Hey Derek,
I've been building HMS Victory for two months now and am at the gun port lining stage. I love the little tool that you designed and so I copied it using a couple of very small fish hooks. Upon testing it, it seems to work. I just can't imagine dropping lining pieces into the hull and never seeing them again. I appreciate your log very much and have learned a lot from it. When lining the ports, did you use regular or super glue? It seems to me that super glue would be necessary if you want to dislodge the tool within a few seconds. And did you prepaint the gun port linings before installing them? I hope to hear from you as I'm anxious to get going again. Thanks for all the information in your wonderful log
Jerry
-
Hi Gil,
I'm Jerry and I just started bilding HMS Victory like yours. I have a question that I hope you will answer for me. Did your bulkheads fit the slots of the keel immediately or did you have to trim (sand) the slots to make the pieces fit? Thanks for your answer or anyone elses answer who may read this.
Jerry
-
Hello Yon,
I am enjoying your posts and appreciate your taking the time to let newbies like me see your progress. I'm waiting for deliveryof my Victory from England and realize how posts like yours and others will help me so much. Thanks again and the best to you. Jerry
-
Hi Rosmarie...I am new to this forum and have enjoyed looking at your pictures and beautiful job of the HMS Victory. I'm waiting for my kit to arrive from England and surely will be watching your posts for all the help I can get. Thank you so much for taking the time to log your build as it surely helps everyone. Have a great day. Jerry
-
Hello, Gil... Thank you for running a log. I am new to this site and am now anxiously awaiting delivery of my HMS Victory (Caldercraft) kit. I look forward to following your build and to learn everything I can from your experience. I so much appreciate this site and can't express how much interest I have mustered since discovering it. Good luck to you.
Jerry


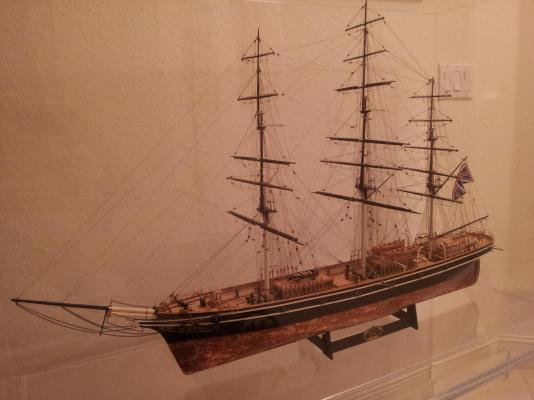
HMS VICTORY by Jerry - FINISHED - Caldercraft - Scale 1:72 - 1805 version
in - Kit build logs for subjects built from 1751 - 1800
Posted
Hi David..
I haven't started to paint the hull yet. I plan to do this tomorrow. Gunport linings after that. Thank you so much for your good wishes and for being my first responder. have a good night, my friend.
Jerry