


jarero
-
Posts
200 -
Joined
-
Last visited
Content Type
Profiles
Forums
Gallery
Events
Posts posted by jarero
-
-
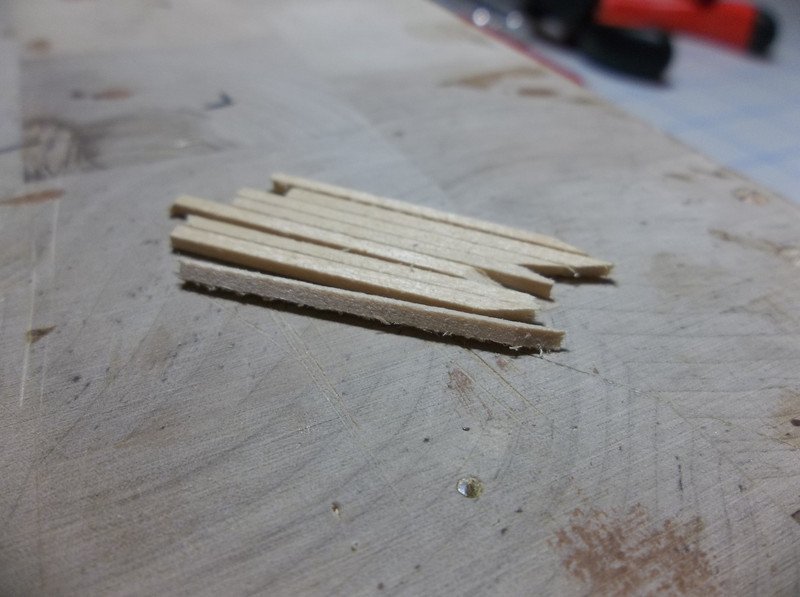
In addition to the oversight of sanding prior to cutting I bet that I should have painted the wood first as well. It probably would have only required some touch up after assembly instead of trying to paint each of these awkward little buggers.
-
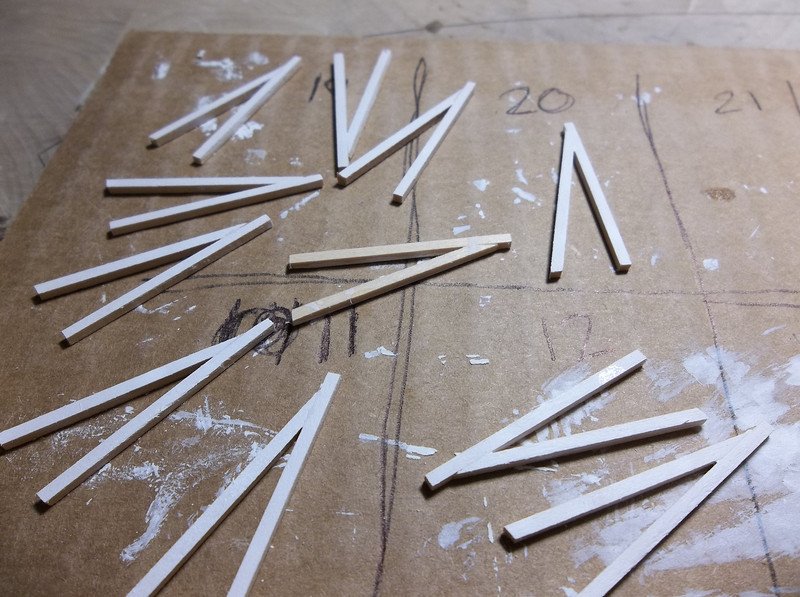
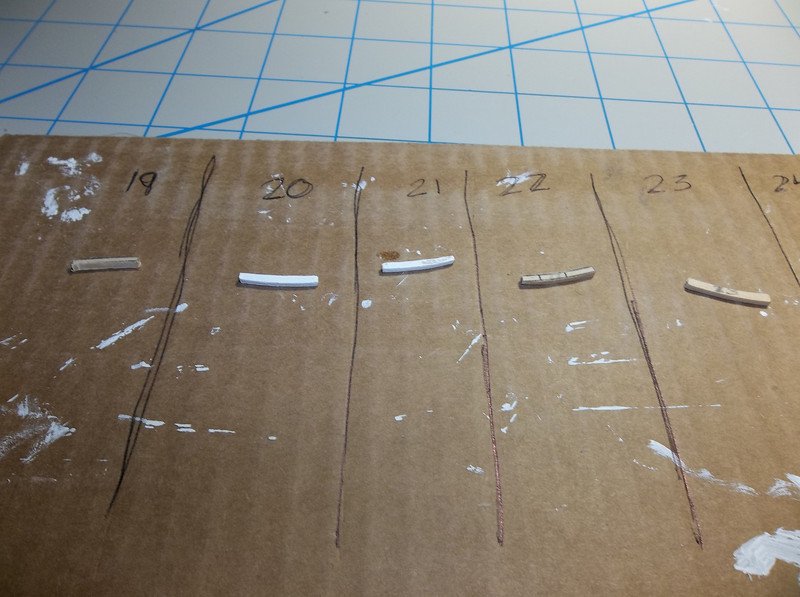
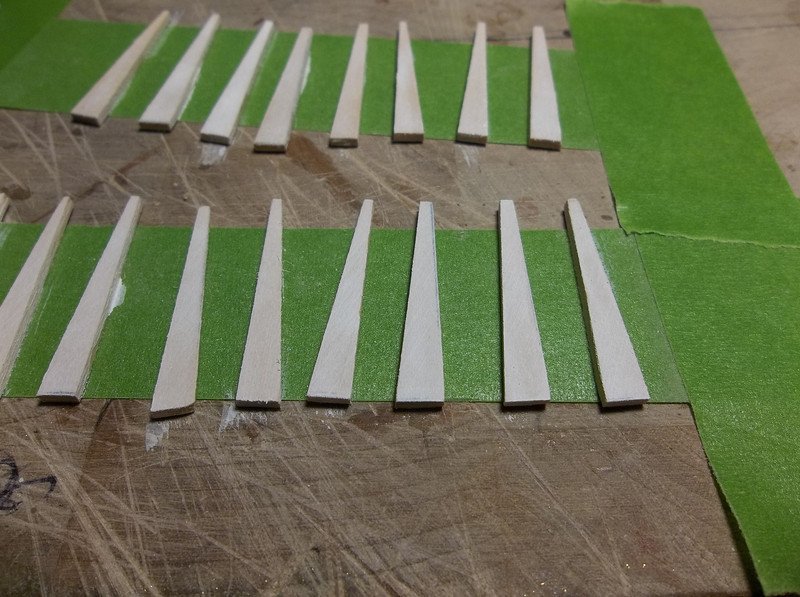
Time to make the 22 deck braces. I made a photo copy of the templet included on the drawings and went to work cutting out the 44 pieces needed:
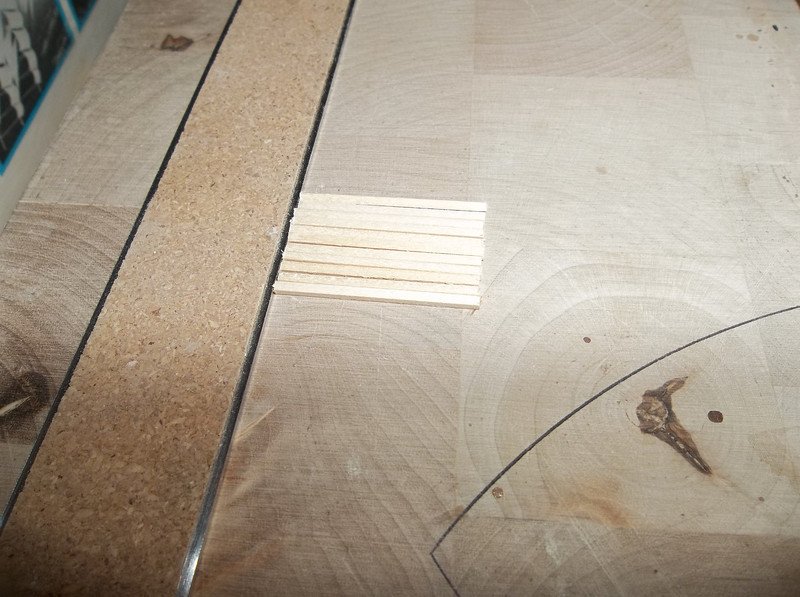
Notice that these need sanded? Common sense would tell you that you should sand the entire piece of wood before cutting it up into a billion tiny pieces. So what did I do? I waited until after they were cut, brilliant!
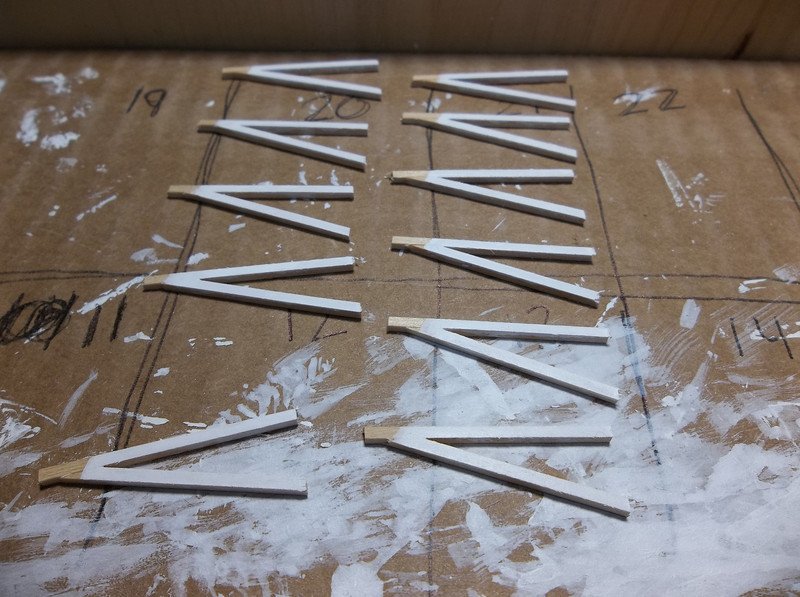
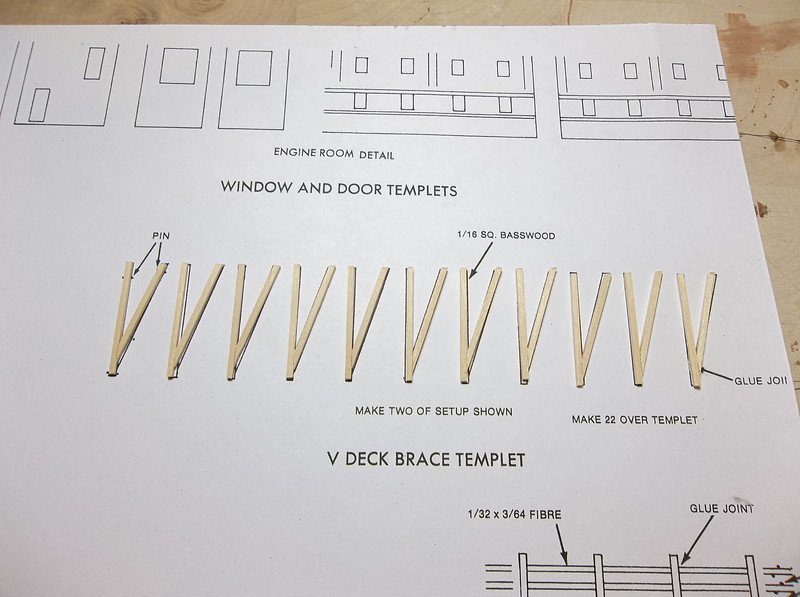
Then I laid them all out on the template and glued them together:
-
Jared,
Looking fine!
 And I agree that the stain is going to keep looking better as more is added although it looks good now. I have yet to mount my Bob. Not sure why, just haven't got around to it. I drilled the holes very early and then set the mount aside somewhere.....
Keep up the great work!
Cheers,
Jim

Thanks Jim. I am glad I mounted it when I did because the bottom of the hull was taking a beating otherwise. If I hadn't mounted it I would have had to come up with something to protect the bottom.
Looks good, isnt it amazing what finish does to a piece of wood. At least The Bob has an easy cradle to construct

Thanks Keith. Yep, super easy construction on the stand!
-
What a beautiful well built boat. It is amazing how much different it looks from other paddle steamers that are painted. When I get around to doing another steam boat I think this is at the top of my list!
-
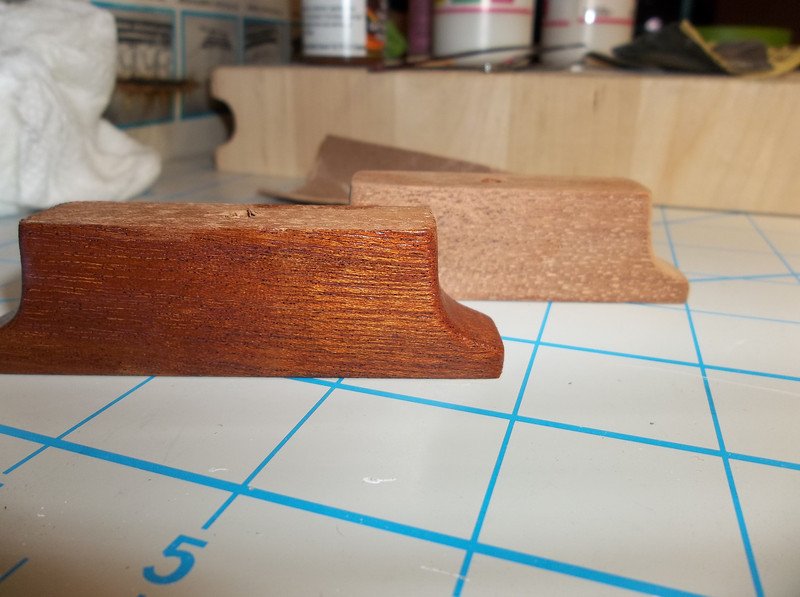
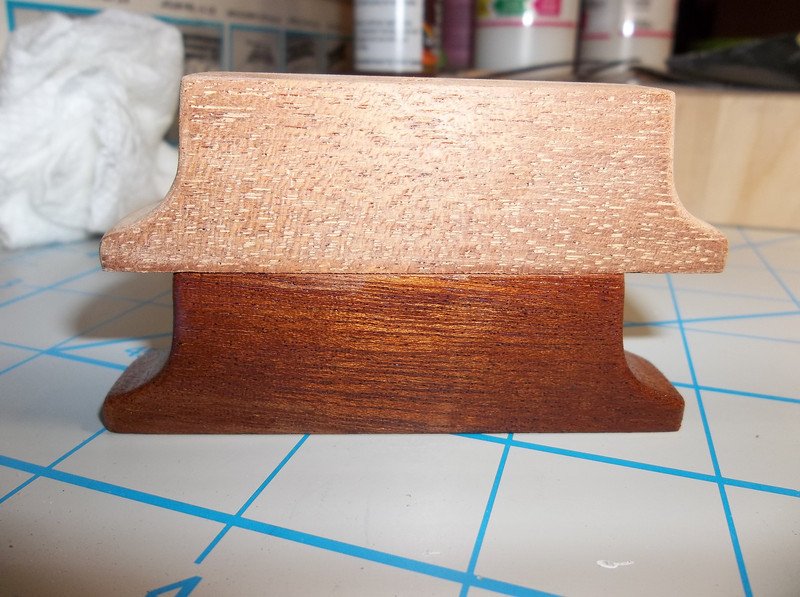
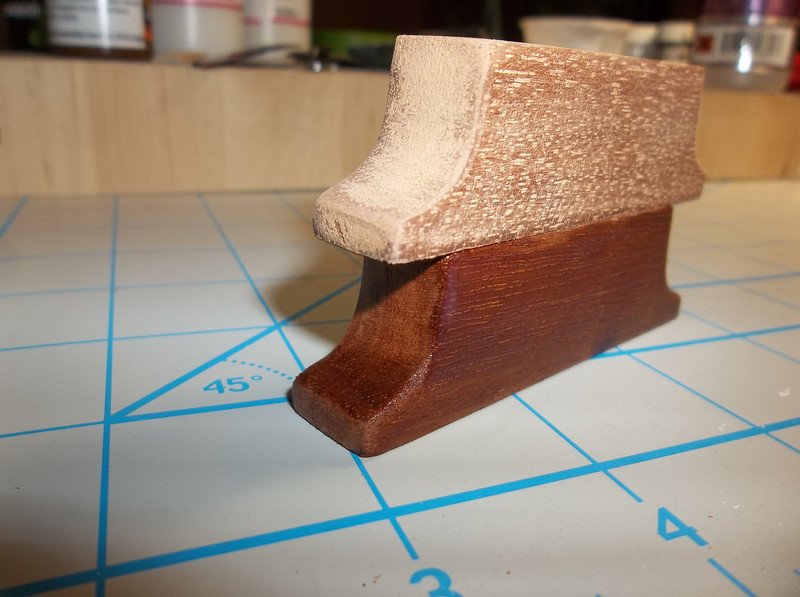
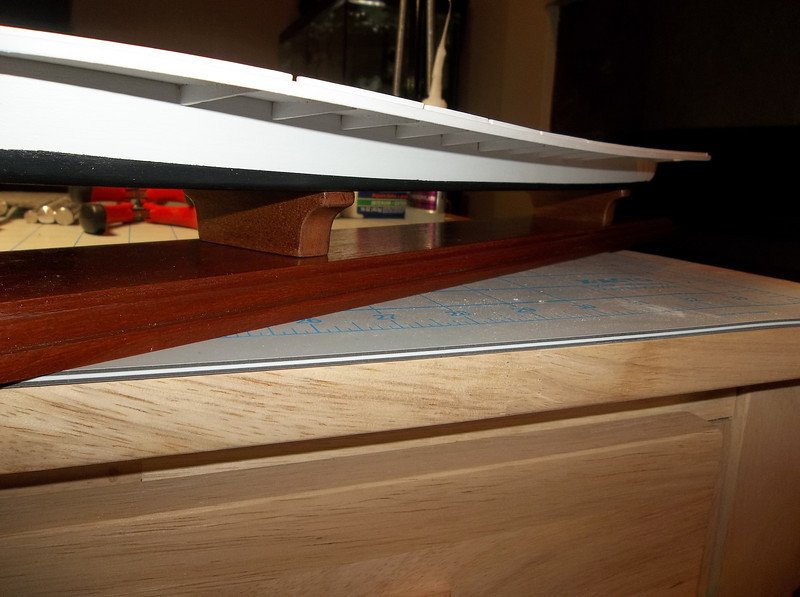
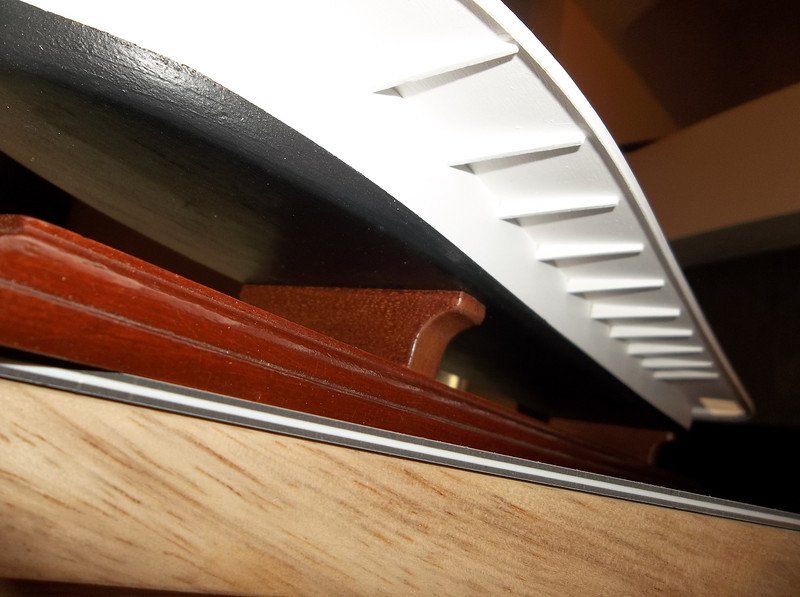
Time to mount the boat to the display. I had to final shape, sand, and stain the pedestals:
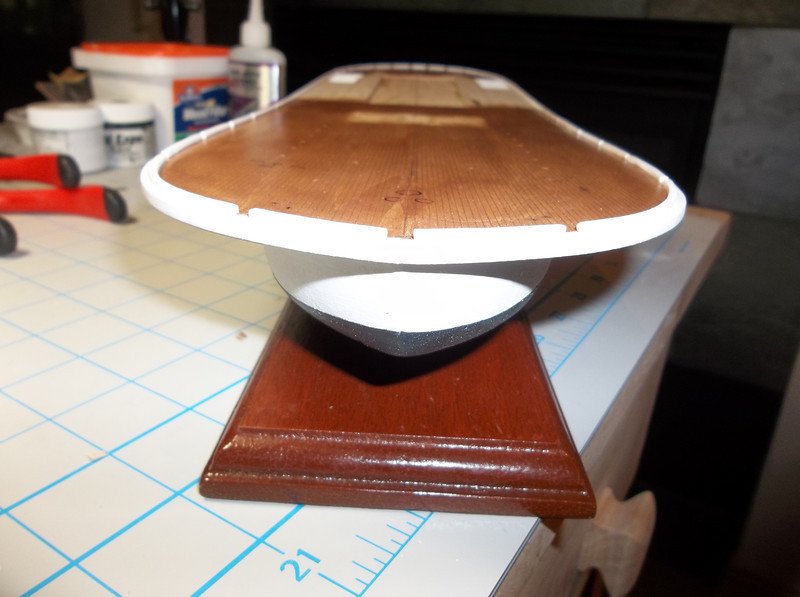
And now mounted to the base:
-
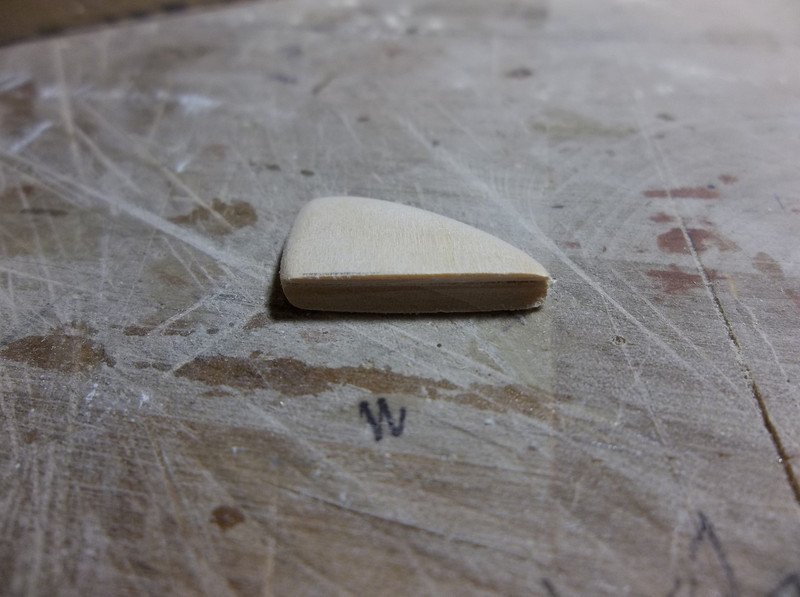
Time to build the rudder...
I took two pieces of 1/16" wood that I cut out at the correct shape on the drawings and glued them together. Then I shaped the edges and added a round channel to the back side of it and added a small section of a dowel.
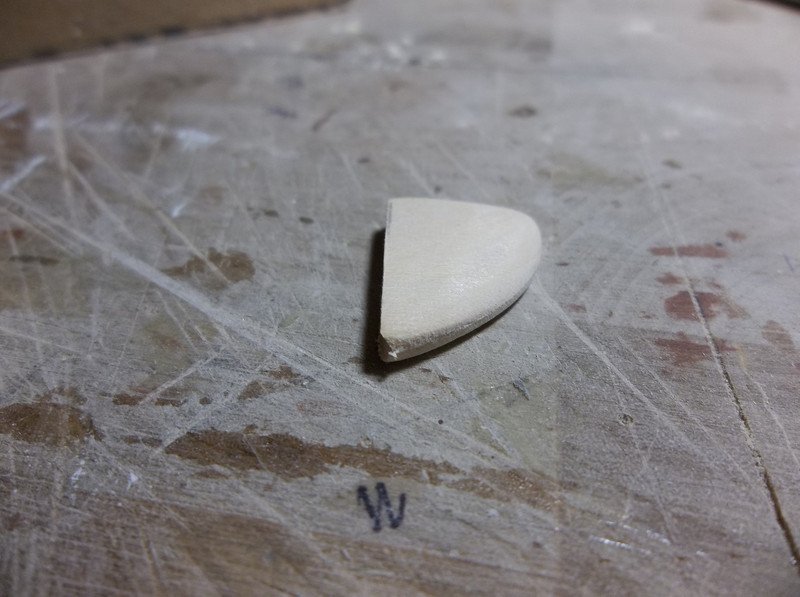
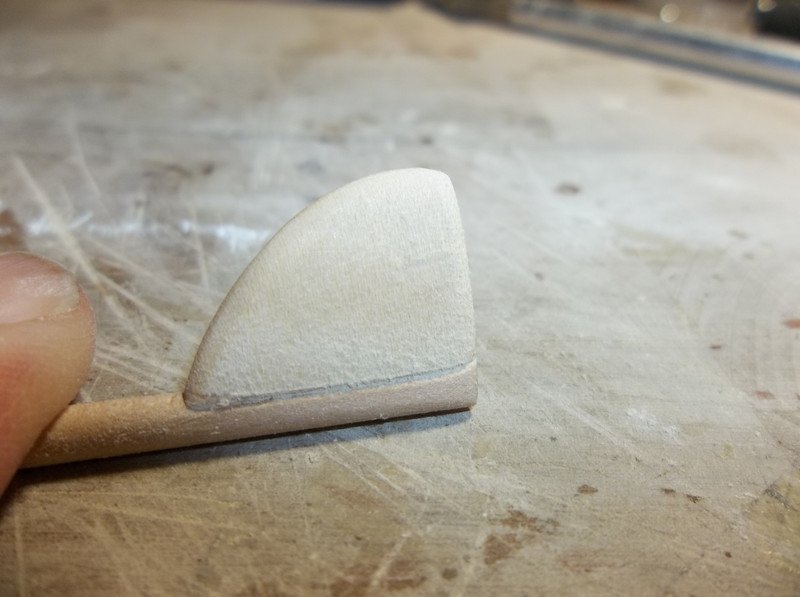
It then was painted white and installed. You will have to take my word for it since I must not have felt it necessary to take a picture at this point.

-
I think it looks fine.
Wood grain is just something that you can't scale. Plus I agree the deck furnishings will break up the grain lines some what. Either way I like the warmer dark stain better then the unstained.
I also like your numbered paint board idea. Your moving fast on this one, lots of progress to see. She's taking shape nicely.
Thanks Keith, like I said I have been getting used to it but it doesn't hurt to hear another opinion that says I haven't ruined it! I still would do it different if I could start over but that is part of the learning experience.
Sadly I am not moving near as fast as my posts would suggest as I am catching up the log to get to present day. There is a moderator on the forums here that has been at me constantly to start my log (guess I should have listened).

-
I can see the usefulness of each of these however if I had to pick one hands down it would be the pin vise!
I assume you are just looking for a drill for general every day model building and not a specific task?
-
Thanks Wayne!trippwj, on 24 Apr 2013 - 08:55 AM, said:
Coming along very nicely, Jared! Thanks for posting these!
Now we move on to my next BIG mistake with this build...
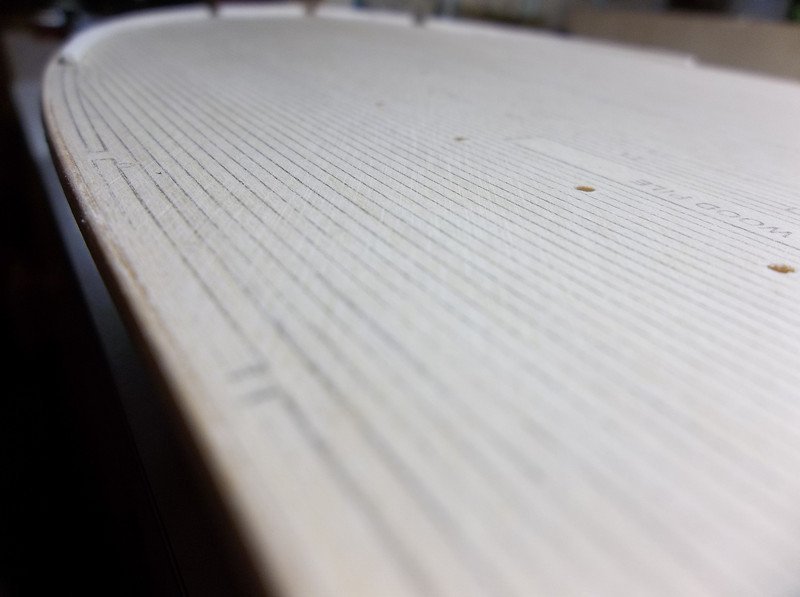
The instructions said to put a clear coating on the decks like a varnish. I tried this in a couple of test areas that would be covered later and it just looked so lifeless and terrible. I figured that some stain might help it out some so I also tried a couple of test spots that I thought looked nice in comparison. The problem started once I saw the stain over a larger area and realized not only was it way too dark but it emphasized the grain of the wood which is not something I wanted to see when working at this scale. You will be able to see what I mean with the pictures. In the end I wish I had used a very, very light stain and then a flat varnish. It has grown on me a little as I have worked on it but it is still far from ideal. I am hopeful that the grain will be less evident as I add more and more parts to the deck.
-
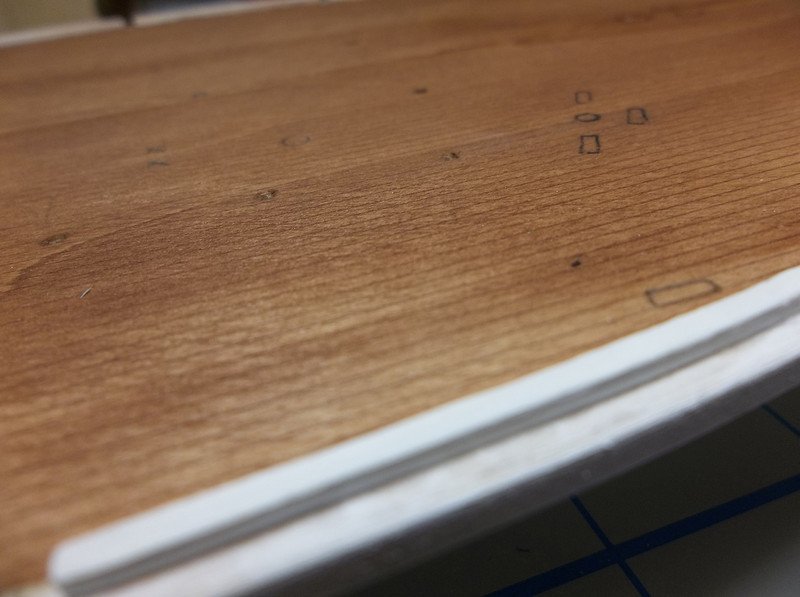
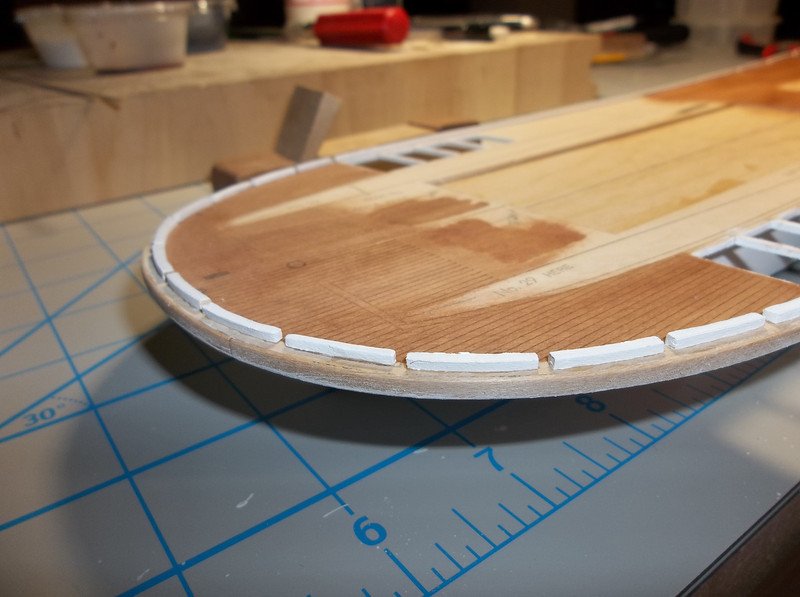
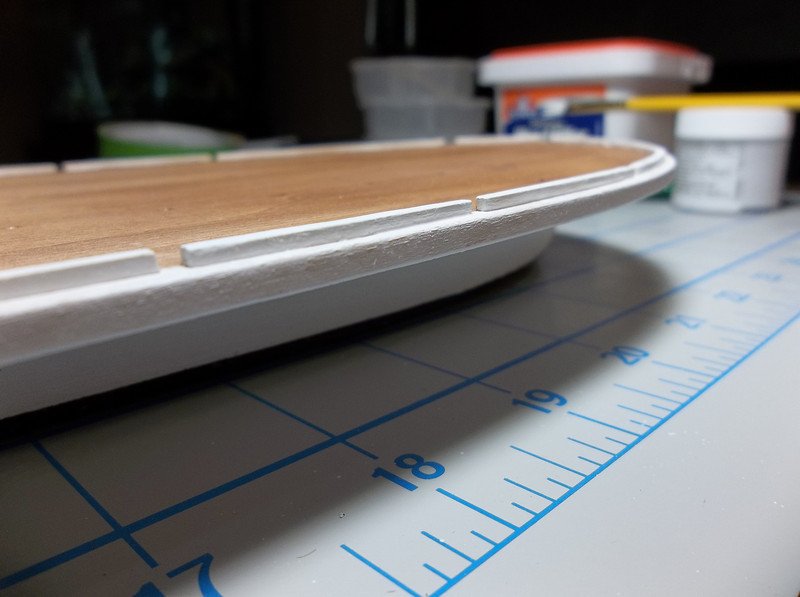
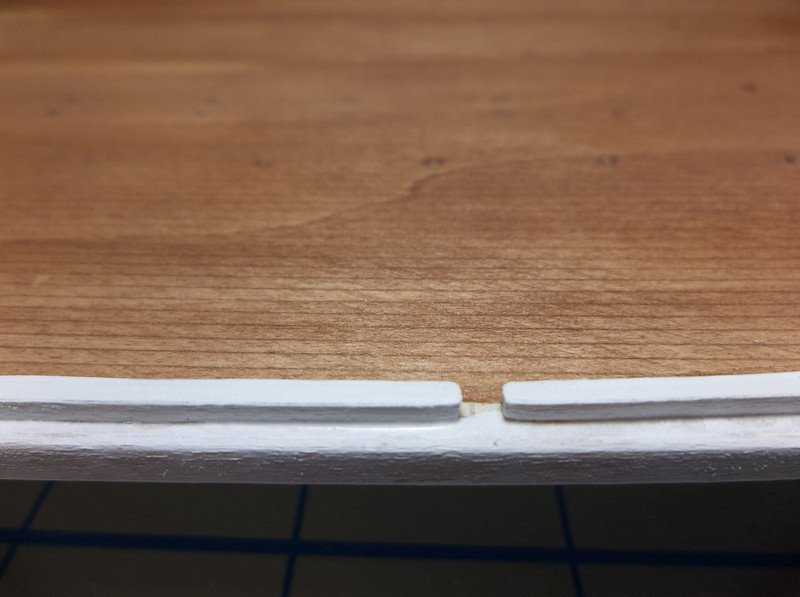
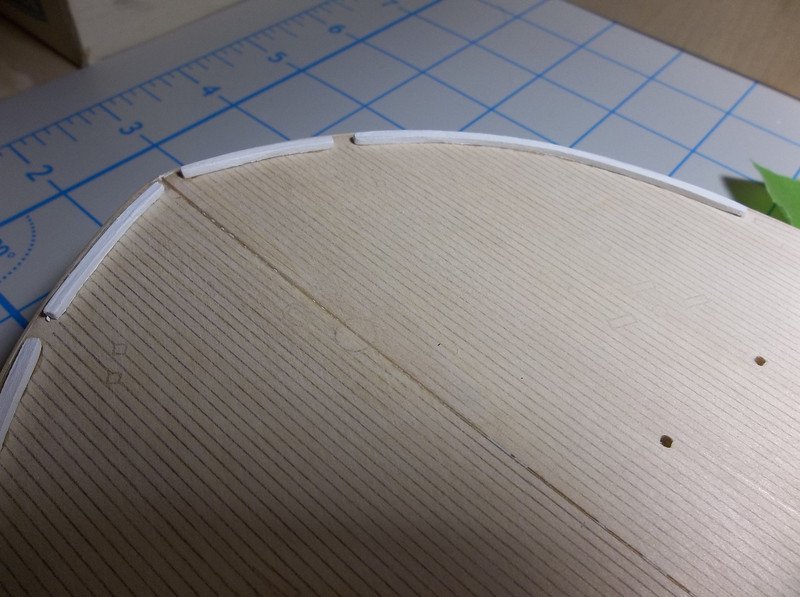
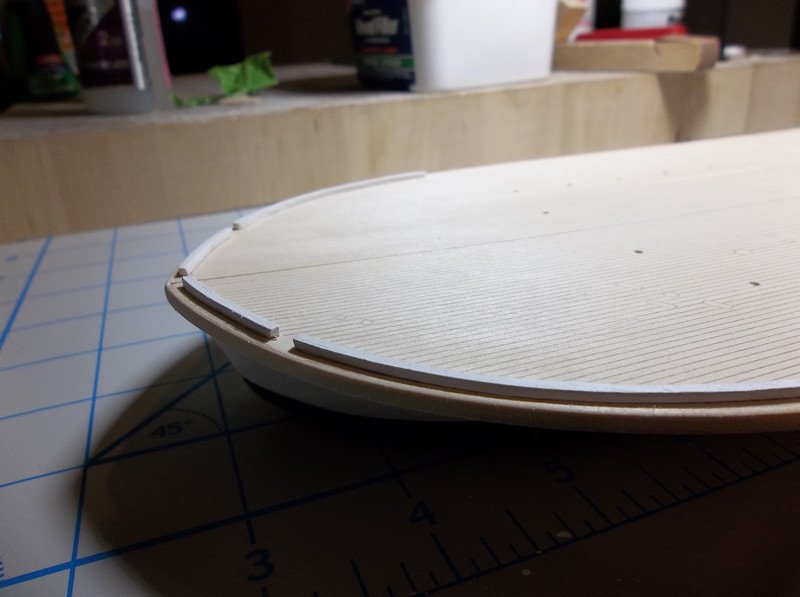
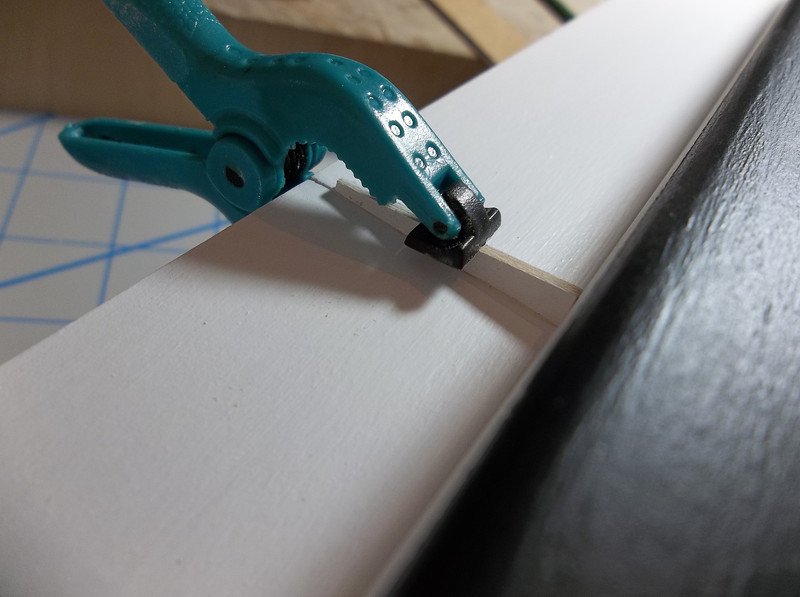
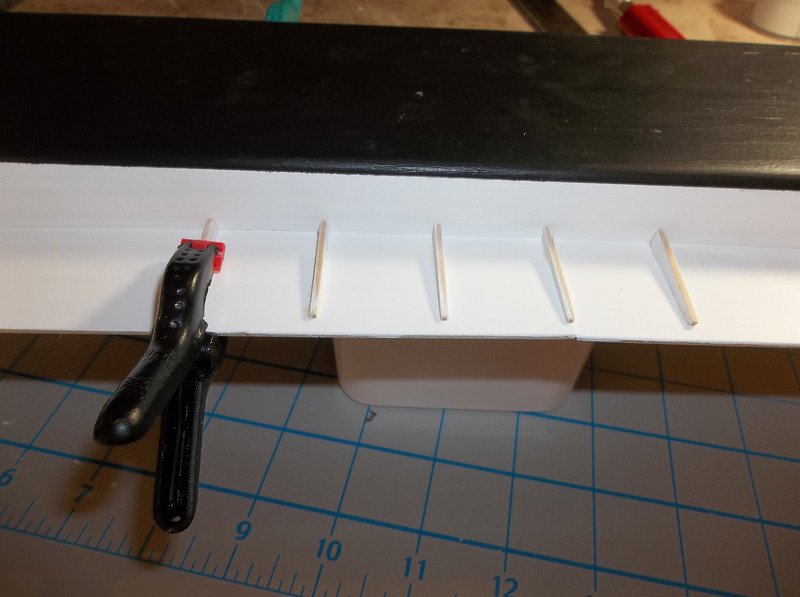
Installing the lip around the main deck using the 24 curved pieces I cut out earlier plus the use of some 1/16" square basswood for the straight sections. I used the cargo posts as a guide to help verify they would fit in the gaps when they are installed later:

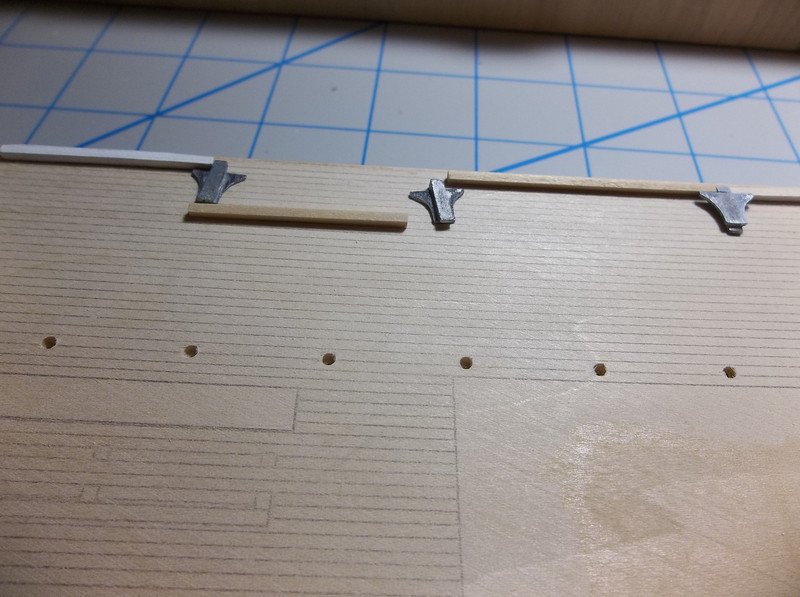
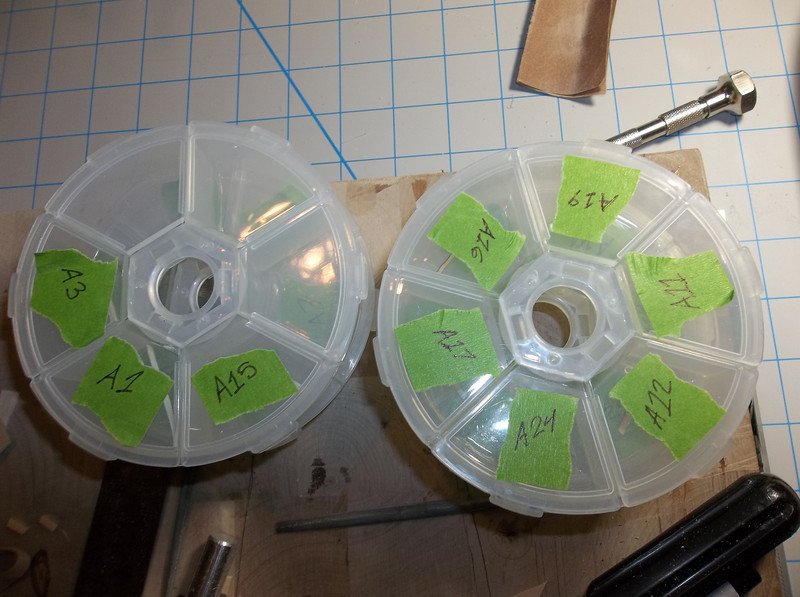
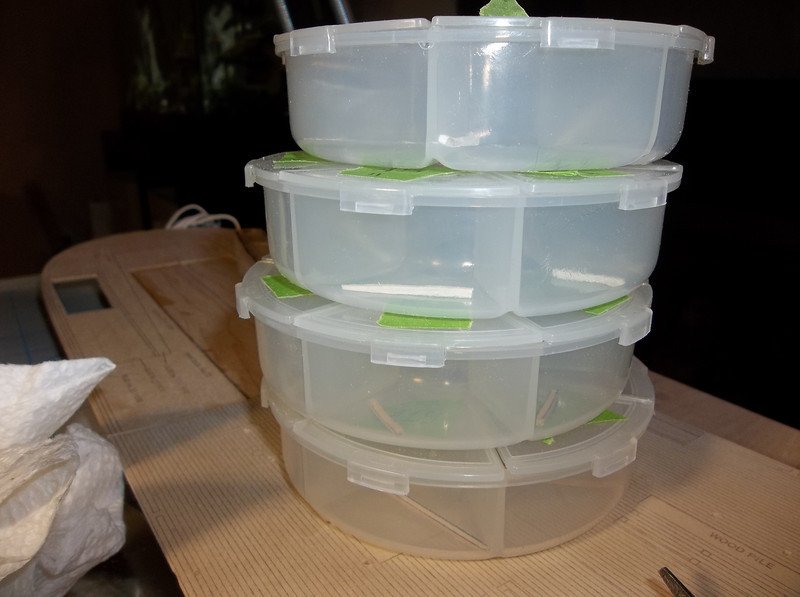
Trying to keep the pieces organized during paint:
-
Ok, on with the show.....
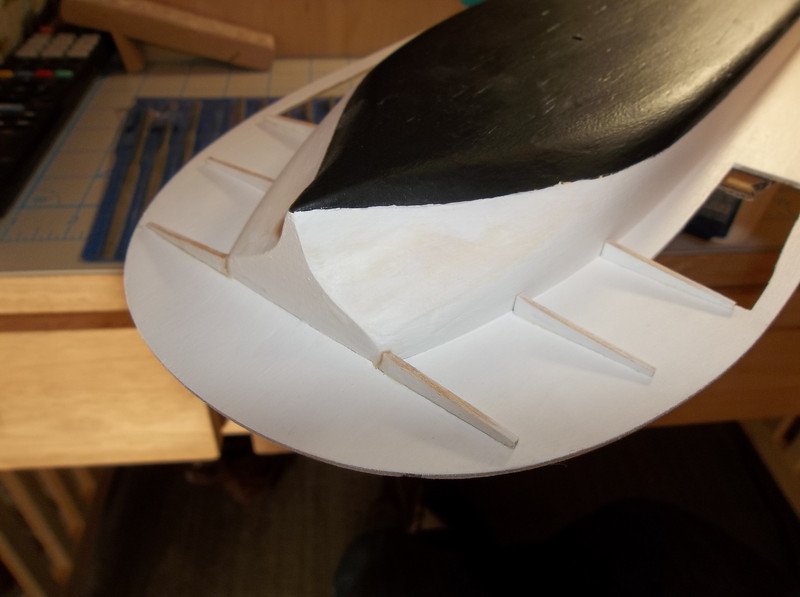
Installing the deck support beams:
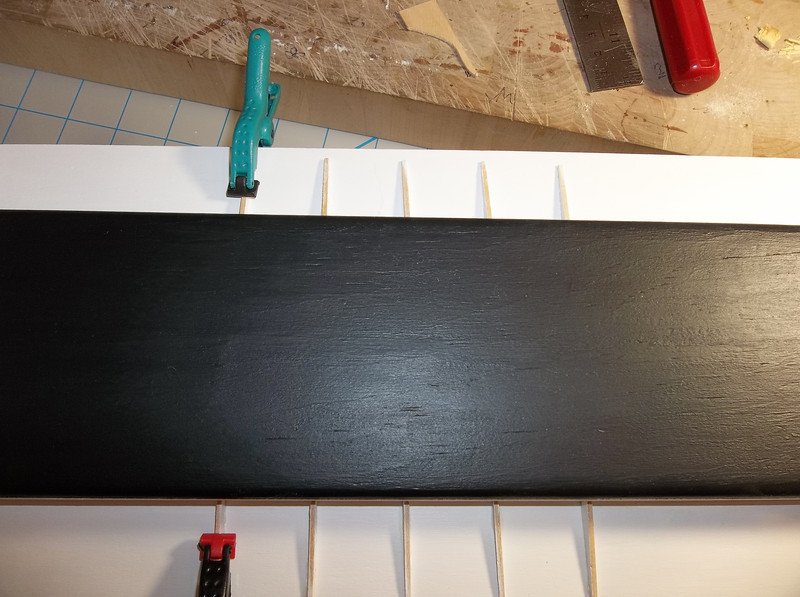
Done!
-
You may have the strength not to buy kits but does Sarah. If I recall she had 20 something on her wish list.
and Sarah put the Pug on Guard dog duty watching the HL and the chihuahua watching Jarero,
Its a funny thought, rather the fighting over who get the remote or the last brownie, it'll be who gets to build the next kit. First one done is a rotten egg, ready set go

We have to be strong for each other! Right now we "only" have 5 kits that aren't started yet.
We definitely don't fight over the remote or the last brownie and we have the kits divided up already but we do fight over the glue or tweezers or dremel or..... I think we need to buy more tools
 .
. -
MSW is an amazing place. I was just dealing with the very same issue of painting some cast metal pieces and the paint kept flaking off. I came here looking for answer and once again got more than enough info to go back and tackle it again like a pro. Thanks to all who make this a great place!
-
Thanks Jarero,
I am looking at your suggestions but would need a UK / Europe supplier I think due to the shipping charges from the USA.
In addition to my initial question does anyone have views on the AL HMS Bounty Jolly Boat kit?
Mike.
No problem Mike. I am not sure about a supplier for the UK but I'm sure someone will have an idea. My wife built the that Jolly Boat kit as her first model and she had a lot of fun with it.
Here is a link to here build log for it:
Oh and there is definitely some history behind that little boat!
-
Jared,
Worry not...the Bobs cannot harm one another......Something to do with ectoplasmic displacement..........
:D :D :D :D Jim
I think that holds true as long as you don't cross the streams?
Guess I need to face up to the challenge of planking that hull...have been putting it off for "a few" months now...
Dang - that shipyard there must be getting pretty crowded about now!
I have it bookmarked and ready when you are!
The shipyard, in a short span of time, has gone from empty to a nice collection of wood sticks in boxes tucked in the closet. "I will have the strength not to buy any more kits....I will have the strength to not buy any more kits....I will have the......"
-
Not sure the cannons from the HL would be any match for that mortar Jim used on his....
Well in that case I could stick the Bob's traditional approach by dumping all the cargo and making a run for it!
-
Regarding scale. . .
I looked up the overall length of the Robert E Lee-285' Since your model looks to be about 2' long, that does work out to 1:142
Ya know Jered, it's close to scale of Sara's Harriet Lane, and the period is similar. Does Sara have any spare parts you can use??

Harvey
No spare parts left over that I am aware of, although I could sneak down to the docks late at night and help myself to some parts. I wonder how those canons would look on a river boat?
Promise not to tell her about my plot to plunder?
-
This looks to be an interesting build - a very strange scale, but guess that's what you get for buying an old kit?
Nice recovery on the repair job - look forward to watching this one progress.
Thanks Wayne. Oh and hurry up with that Ranger build since I need a good build log to follow on that one (another birthday present).
Jared,
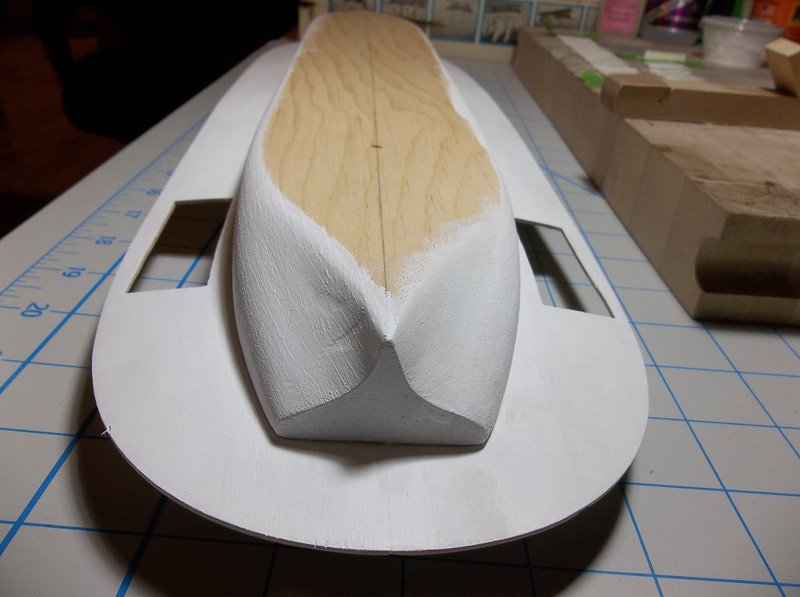
Out of curiosity, is your main deck flat? I had to layer some progressively shorter pieces and then sand them in order to put a slight slant in the bow and stern main deck....
My paddlewheel section was open to the edge and I had to add the bracing on the outside.
Jim
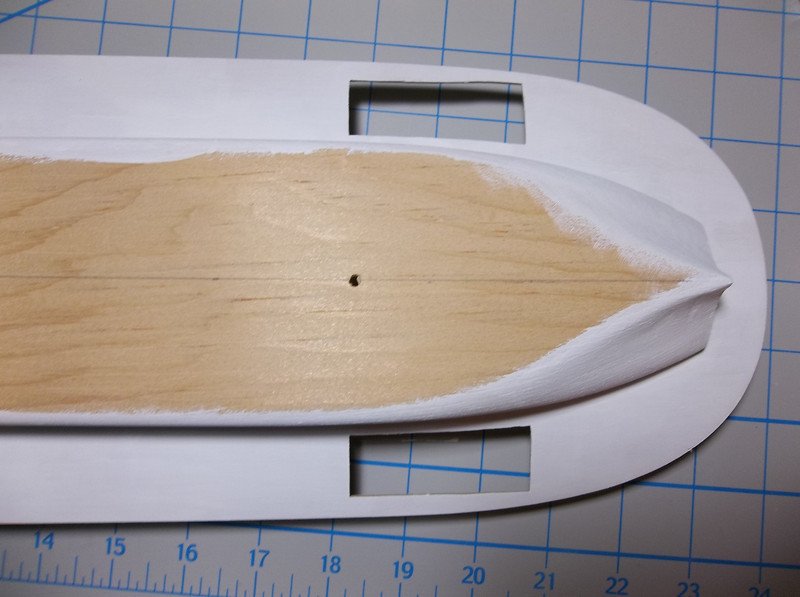
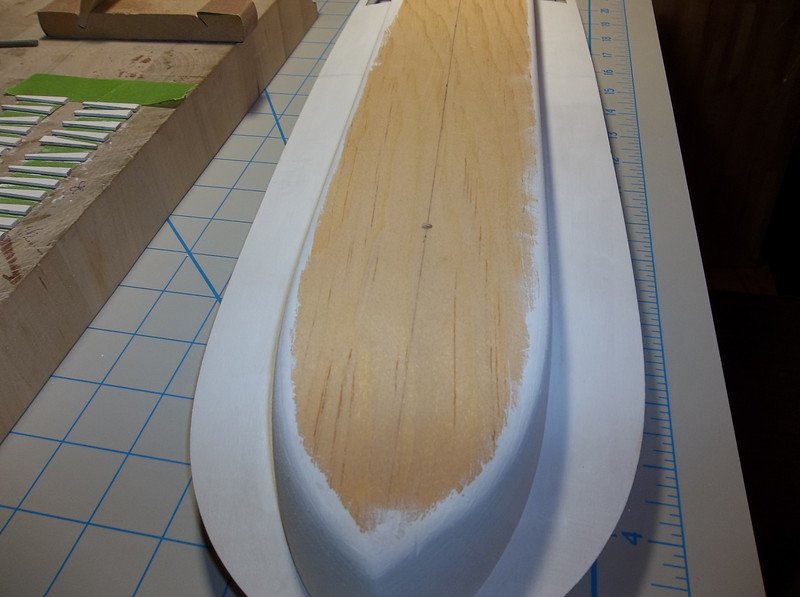
I had to add the contour to the top of the hull prior to gluing the main deck pieces down. There wasn't anything in the instructions that spelled out this step but a side profile drawing of the hull clearly showed it was contoured.
-
Jared, If I might make a suggestion.? You could get the windows and doors printed on acetate. The type used for overhead projectors. You can get it done at Staples etc.
The 'glass' effect is very good if you surround them with a wooden frame and much neater than trying to make the mullions from wood at that scale.
Dan.
Thanks for the suggestion Dan. I have already attempted a number methods and created some prototypes but none yet with your method. I will give it a shot and see how it looks.
-
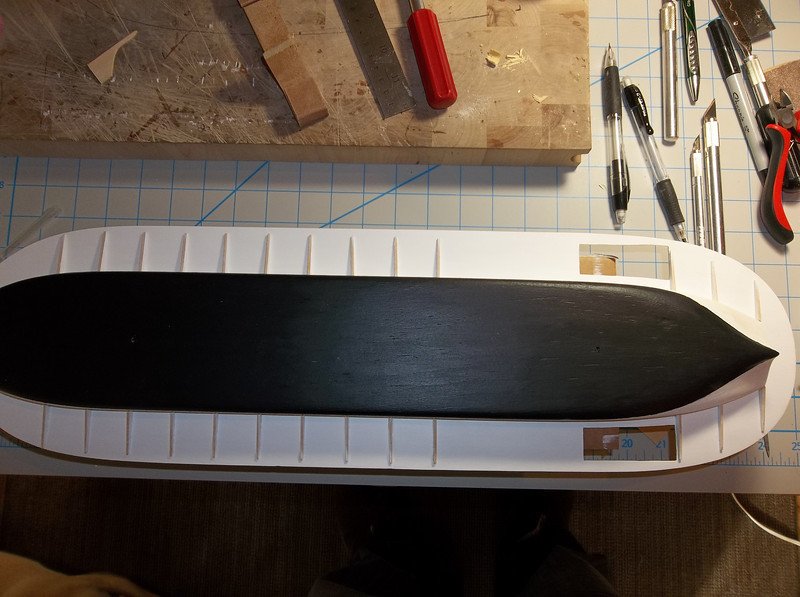
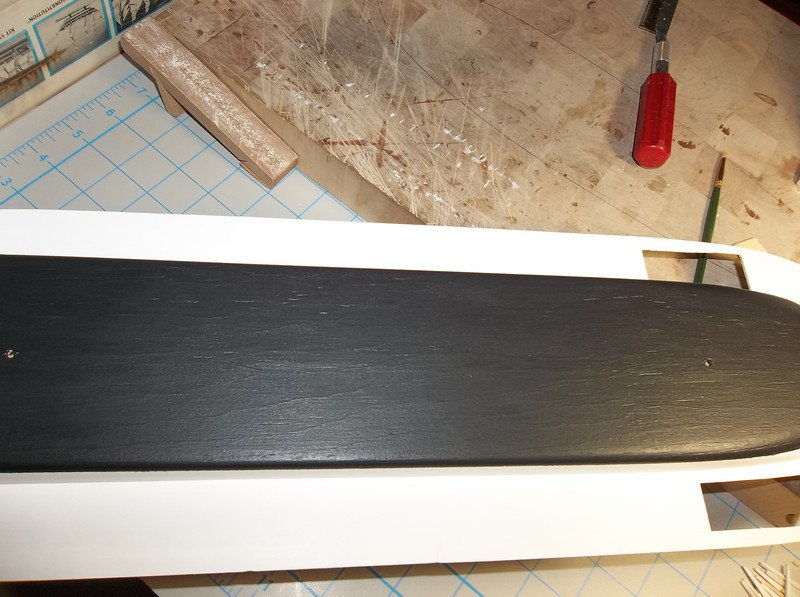
Now on to painting the hull and bottom side of the main deck...
You will also notice that I have drilled the holes for mounting the boat on its stand at this point:
-
Well after righting my boat since capsizing it I got back to work making some parts for the deck.
I had to cut out 24 of these small curved pieces that are used to make a lip around the outside edge of the main deck:
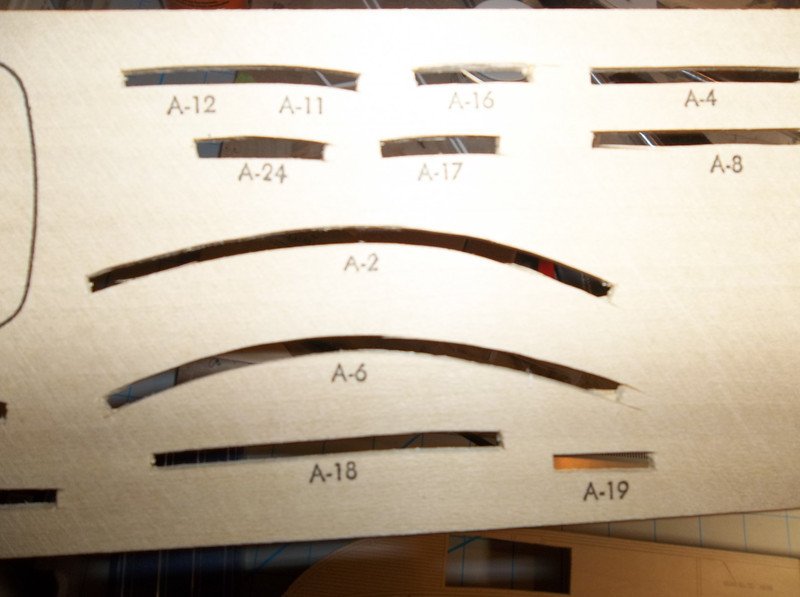
Staying organized:
For the straight sections of the deck the instructions said to use 1/16" square basswood. In retrospect I should have used the straight square basswood for the curved pieces that I cut out by just bending it to the shape required. More on that later when they are installed.
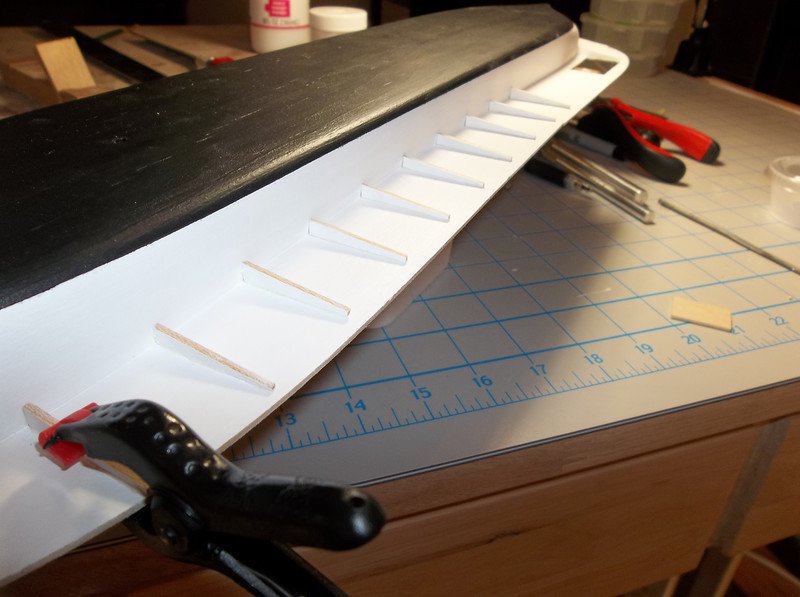
Now on to the deck support braces that will be mounted on the underside of the main deck. I have to wonder if these braces carried one heck of a load since there is suck a large overhang of the deck from the hull.
These were cut out of one of the pre printed sheets in the kit:
-
Jared,
Scale is a bit confusing......
my Bob is shown as 1/160 (very close to 'n' scale.....)Yours appears to be almost identical.....

Hmmmmmmmmm...........
Jim
It is a bit odd seeing as how the length of the two completed models are almost identical yet they are different scales? Maybe steamboats stretch with use and you are building the younger non-stretched version? Makes sense to me!
-
I can't speak to the historical accuracy but I would think the Model Shipways Pinnacle would fit the bill:
http://www.modelexpo-online.com/product.asp?ITEMNO=MS1458
Although if you are willing to try a 1:50 scale then I would go for the longboat since you get Chuck's amazing instructions with it:
http://www.modelexpo-online.com/product.asp?ITEMNO=MS1457
Just a couple ideas. I'm sure others will chime in with some options for you. Good luck!
-
Jared,
What scale is the model? I thought somewhere it said 1:120, but I thought I saw it also say it's 1:96.
Good comeback on the repair. Scribe or draw a few lines in on the new piece and it will be hard to tell it was damaged.
Thanks,
Harvey
Thanks Harvey, I will have to try that and see if it helps camouflage my boo boo.
I thought to myself when I looked at the box cover, Who uses 1/8" to 1.45'.
Where did the 1.45' come from? thats unusual, or at least it seems to me to be, usless its a metric conversion scale?
comes out 3.175mm to 441.96mm so not likely and 139.2 would still be and oddball ratio.
anyway you slice it, its small. have the macro and penny handy.
I have no idea how they came up with that oddball scale but it must have made sense to someone? Maybe they made the box first and had to figure out how to make the kit fit inside?

Robert E Lee by jarero - Scientific Models - Scale 1:139
in - Kit build logs for subjects built from 1851 - 1900
Posted
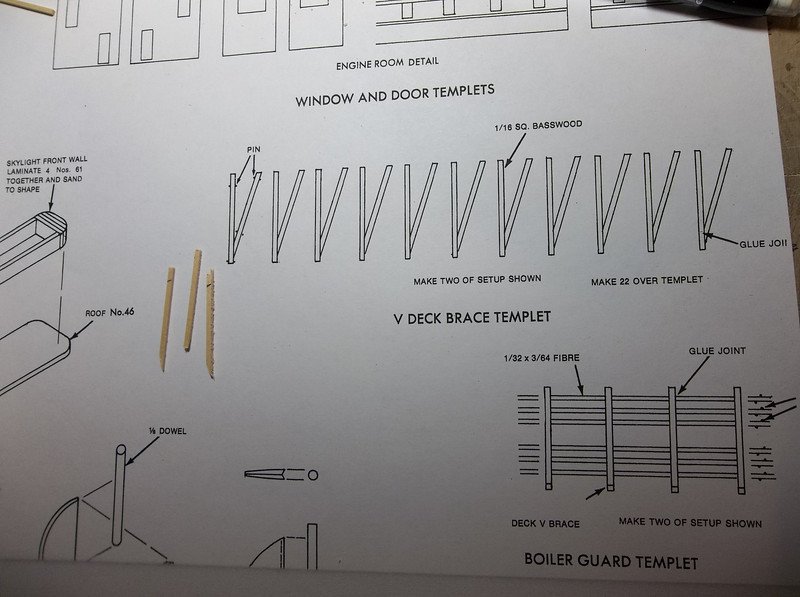
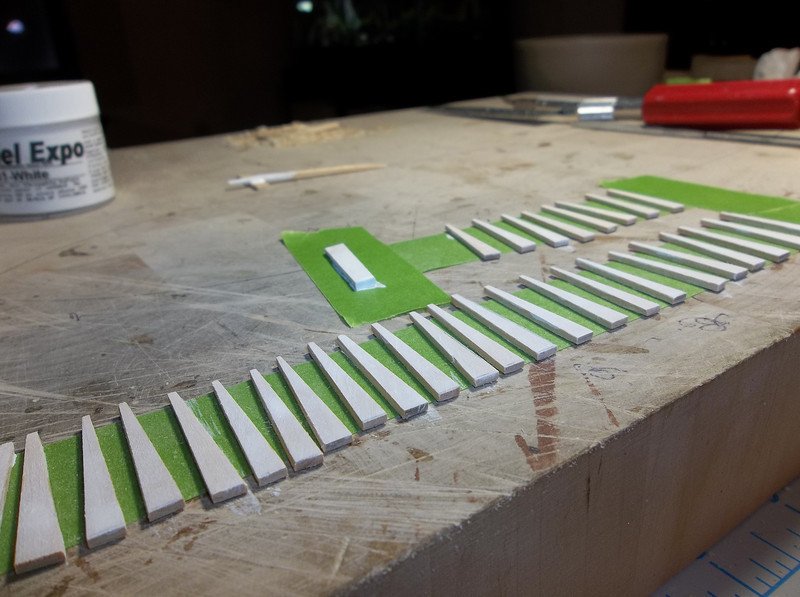
For those that are curious what the instructions are like with this kit (and presumably other Scientific kits) he is an excerpt of the next step of the build:
Again using a photo copy of the template from the plans I cut out the fibre strips included and taped them to the template:
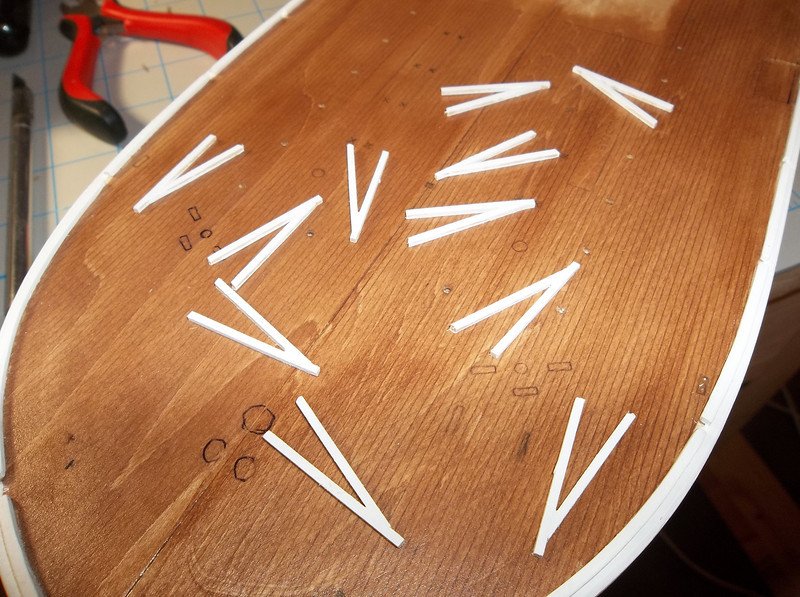
Then I glued some of the deck braces that I just made to the fibre strips: