dan evans
-
Posts
36 -
Joined
-
Last visited
Content Type
Profiles
Forums
Gallery
Events
Everything posted by dan evans
-
nice job on the paddle wheels. very creative way of spacing. I used the wood block method but it was a little clunky. Also like your window and door treatment good scale.
-
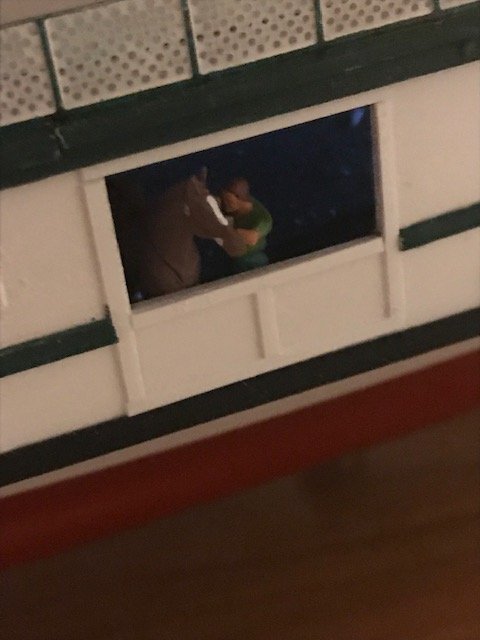
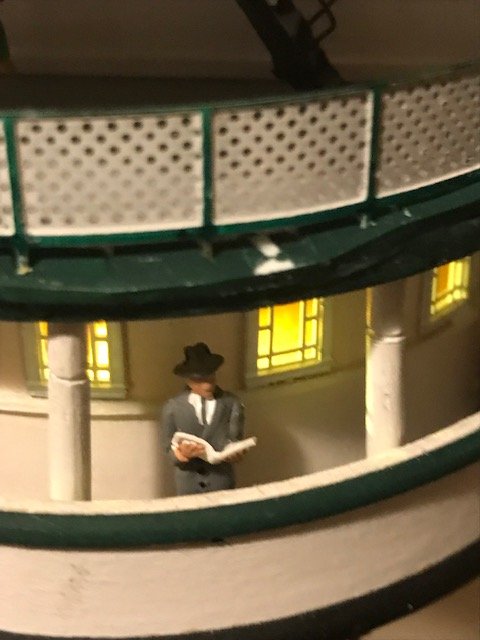
Because i have opened up the area around the engine room i had to be creative with building crew quarters. I didnt have much space so I built the illusion windows and space. I also wanted to continue the brass rail on the interior of the engine room, plus using the green railing where passengers might be veiwing the rocking engine.
-
Your paddle wheels look great . Have fun making the boxes. Lots of soaking . good luck Dan
-
John I suggest you use tamiya masking tape when you start painting the red and white on hull. it is very flexible and you will need it. Also it gives a tight line when painting the hull. Good luck. Dan
-
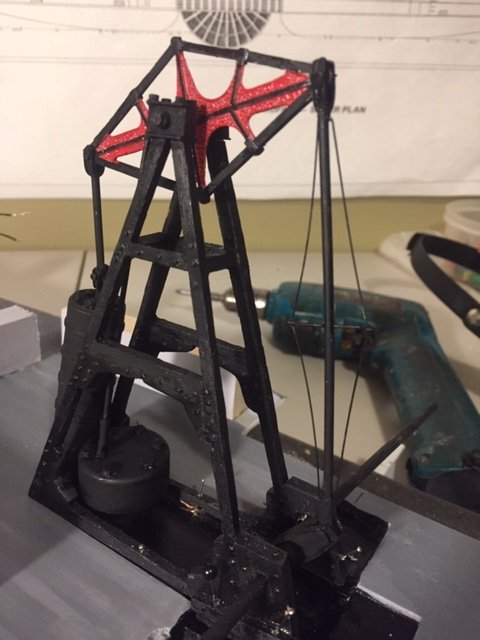
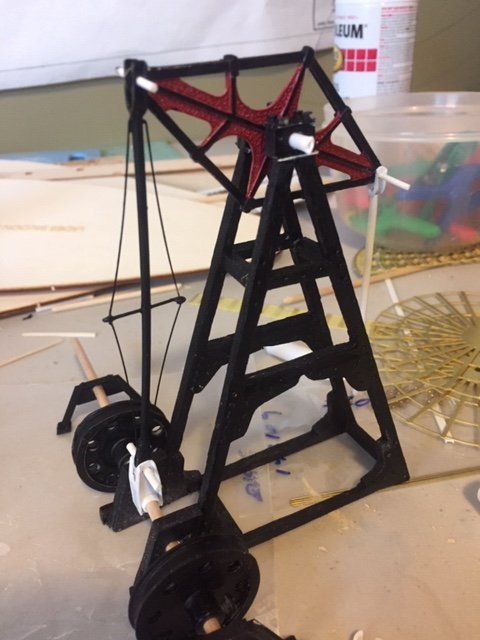
hi Norm i decided to go with the red based on several photos of walking beam engines. It seems they are either red or green. they have black edges .
the victorians were realy into that color scheme.
If you google walking beam engines you can see several in action quite remarkable.
-
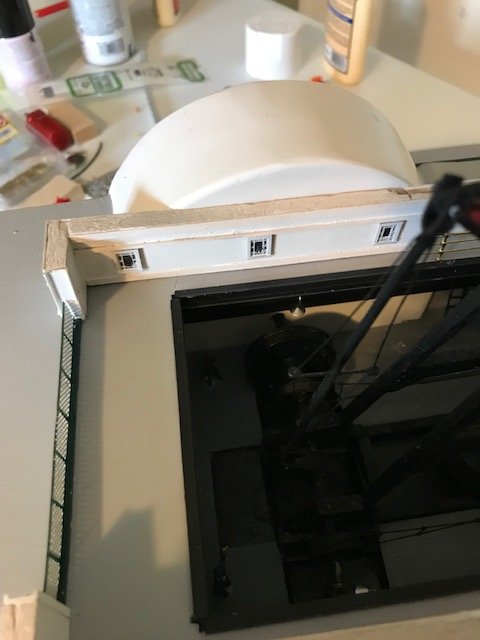
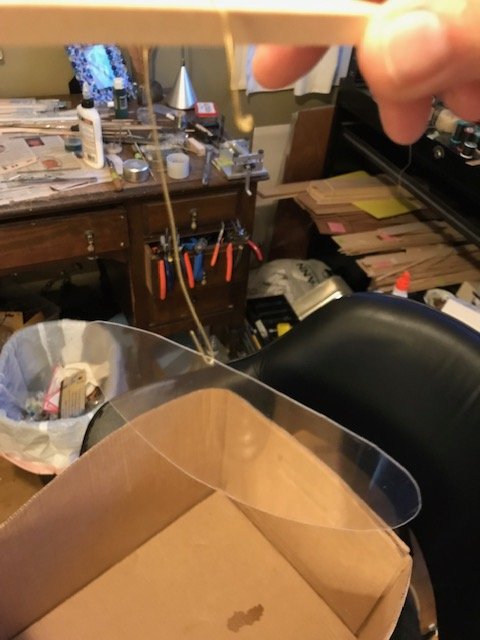
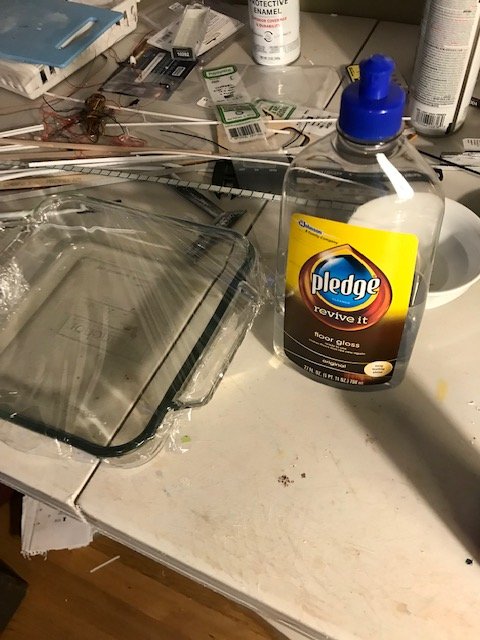
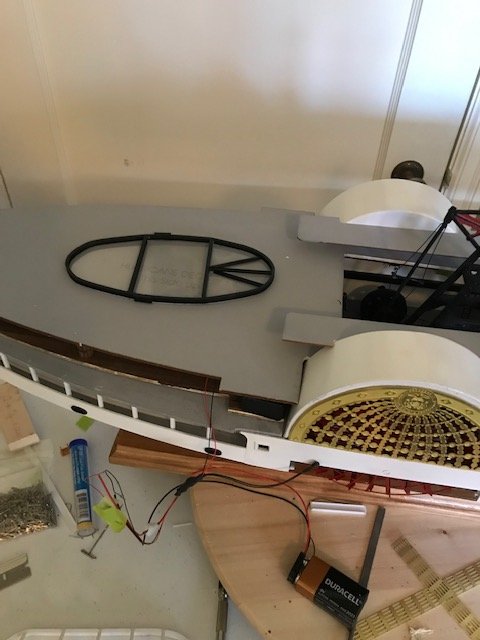
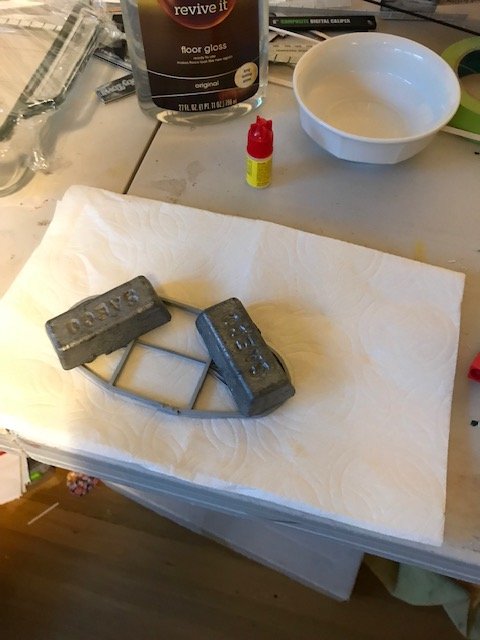
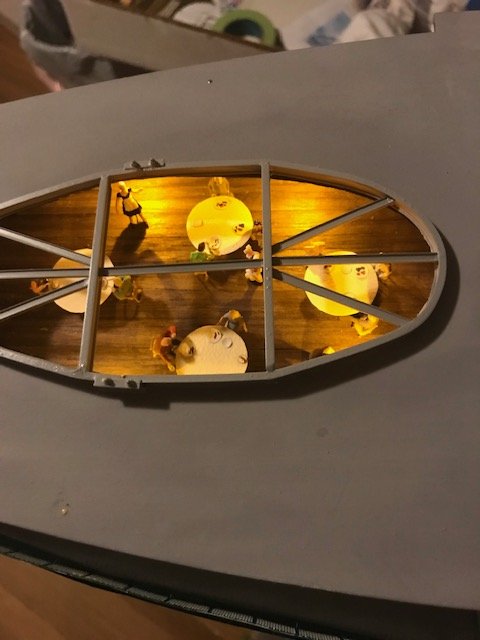
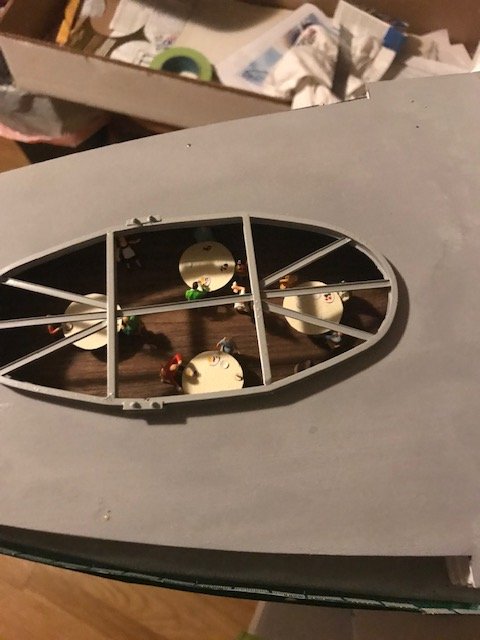
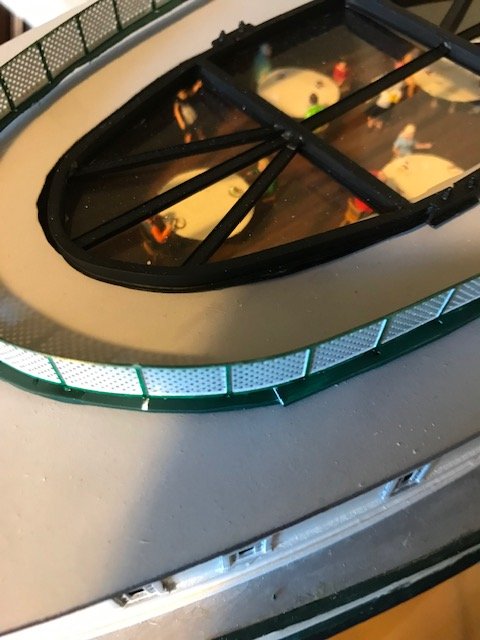
Clearing the sky light. I decided that the wooden sky light provided by the kit was too boring , so I went and built a frame out of plastic I beams. The frame is oval in shape with some bolts and nuts added for realism. The next part was to create a clear plastic window. I heard from some friends how pledge future wax make plastic canopies on aircraft appear crystal clear. So i decided to dip the oval plastic into Pledge. it worked wonders and made the plastic look like clear glass. One other problem was securing the plastic windows to the frame. Super glue on the edges works but you have to careful so it doesn't craze the plastic .
- 29 replies
-
- 3
-

-
- portland
- BlueJacket Shipcrafters
- (and 1 more)
-
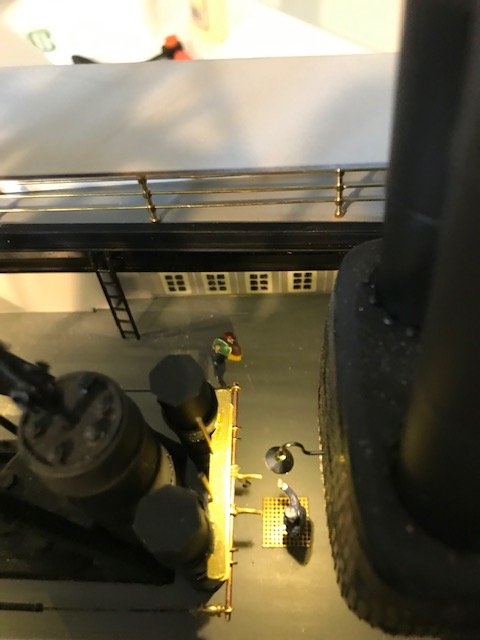
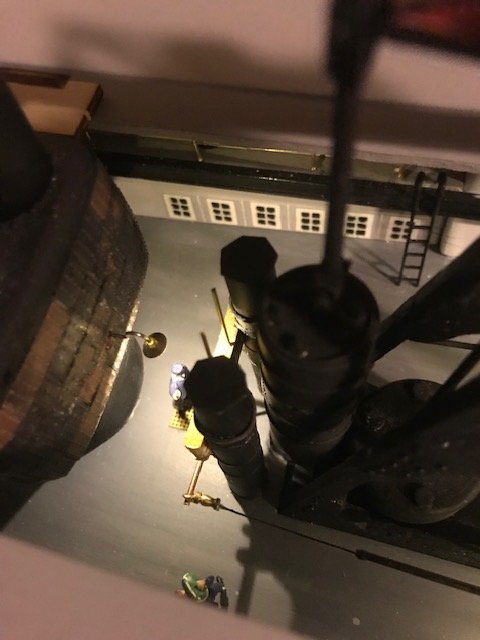
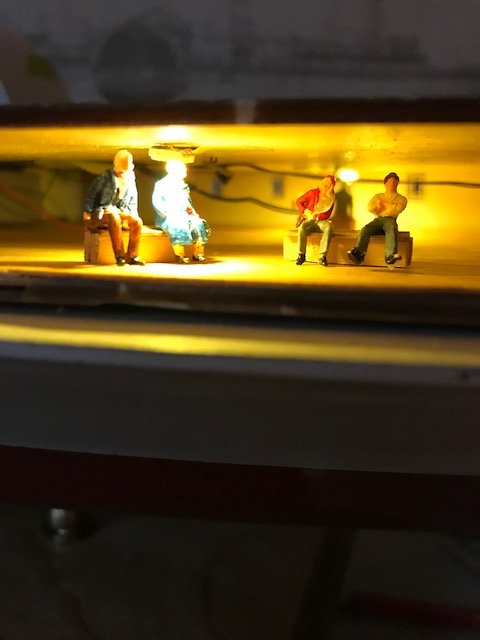
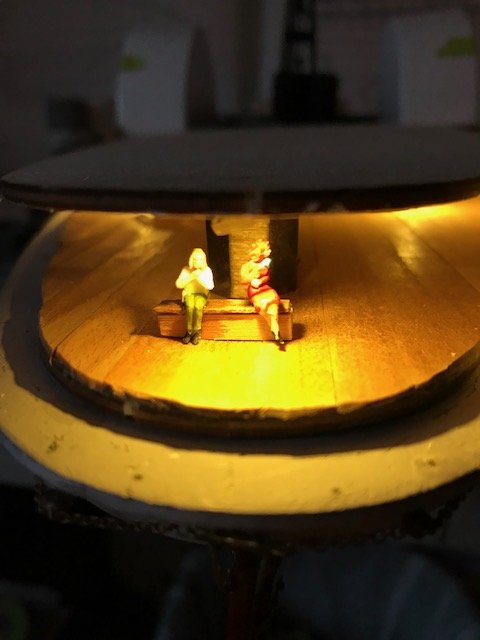
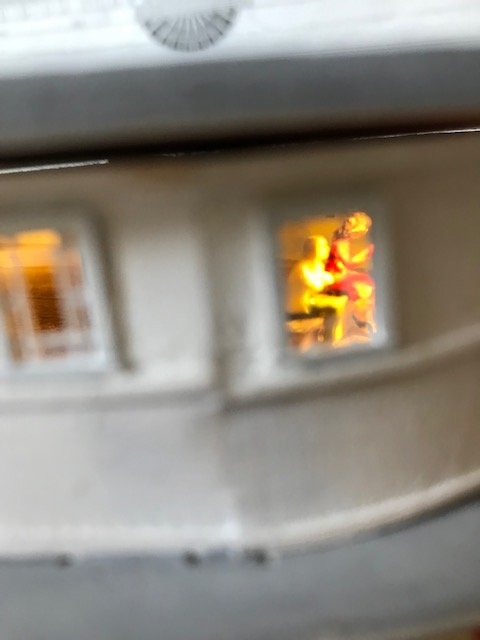
Lights on Lights off this entry will show how led lighting works on this ship. i decided to illuminate the engine room and also create a sylight the looks down into the dining area. Enjoy!


- 29 replies
-
- 5
-
-
- portland
- BlueJacket Shipcrafters
- (and 1 more)
-
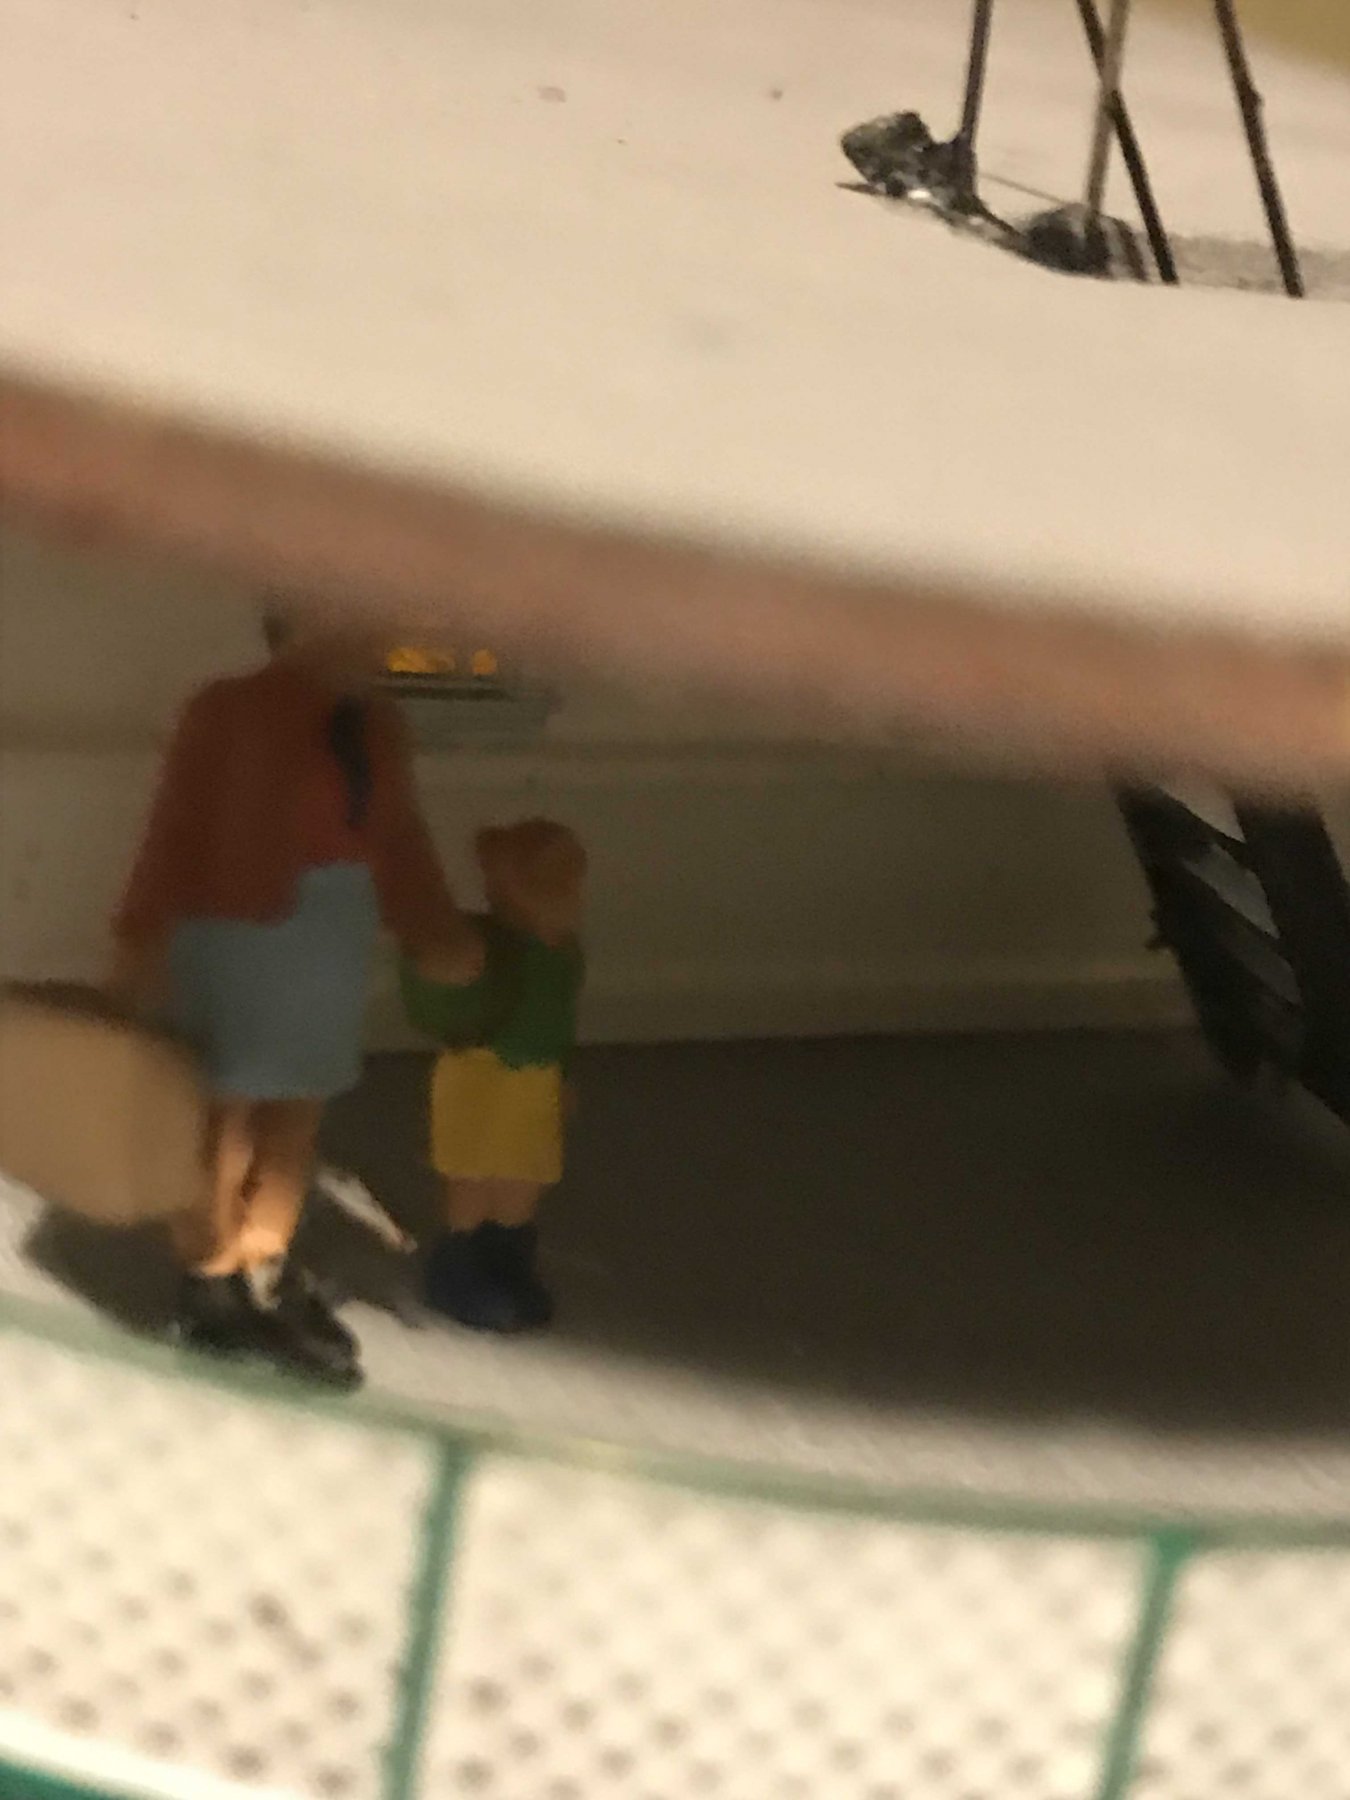
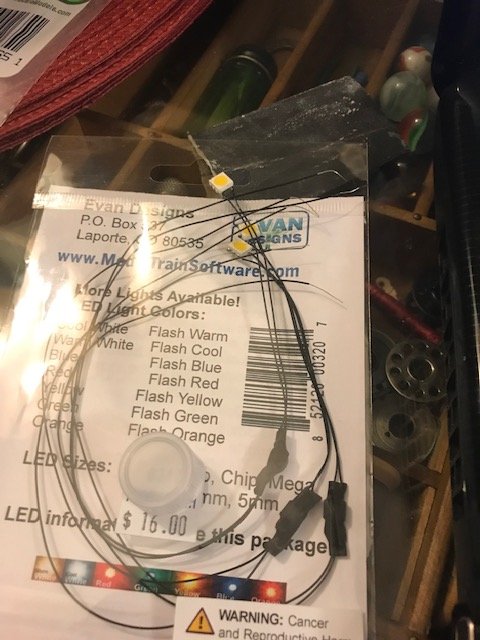
Lighting the Portland I wanted to put light s in the interiors of the Portland. I found a great source for LED lights Evan Designs Of LaPorte Co. This company produces a variety of sizes and colors for lights. Some are as small a period in a sentence others are several mm 's They have a beautiful industrial light with metal shade that is HO scale. These lights were used to illuminate the engine room. the dinning area and ladies salon were illuminated withchip style lights. Finally all these lights are powered by a 9 volt battery and turn on with a infra red remote switch. Warning take the battery out of the switch when not using the lights. Other wise the remote will drain your battery.


- 29 replies
-
- 5
-
-
- portland
- BlueJacket Shipcrafters
- (and 1 more)
-
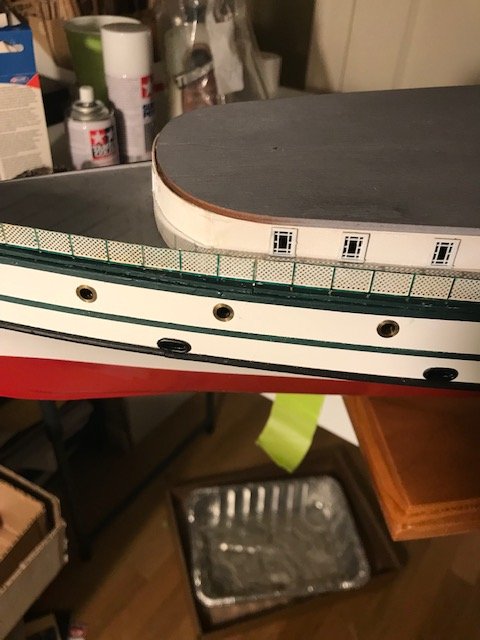
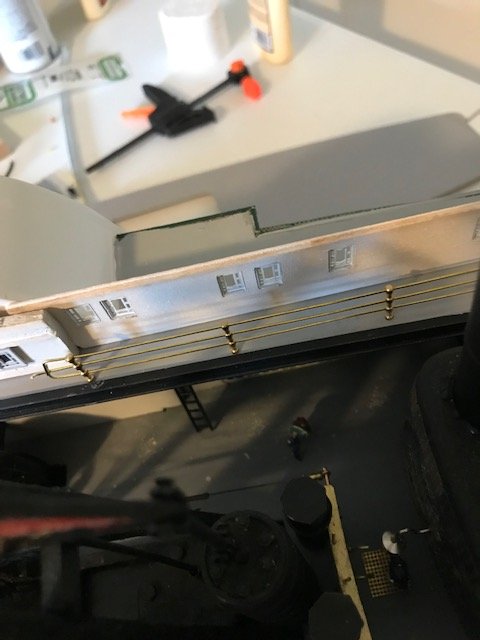
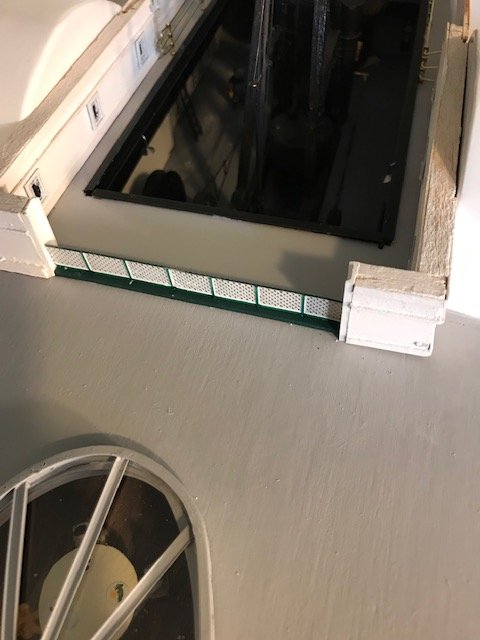
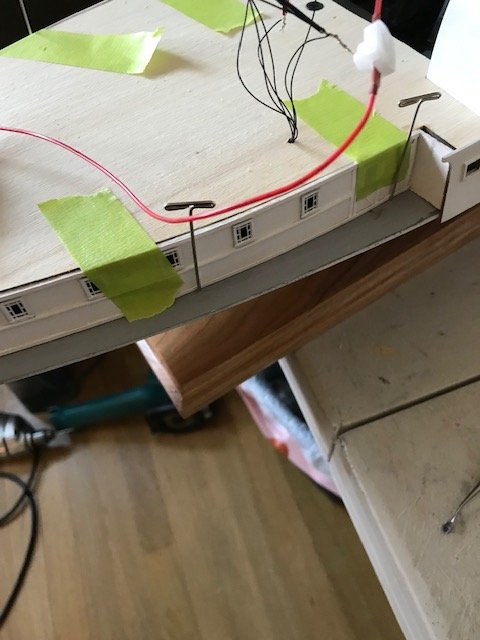
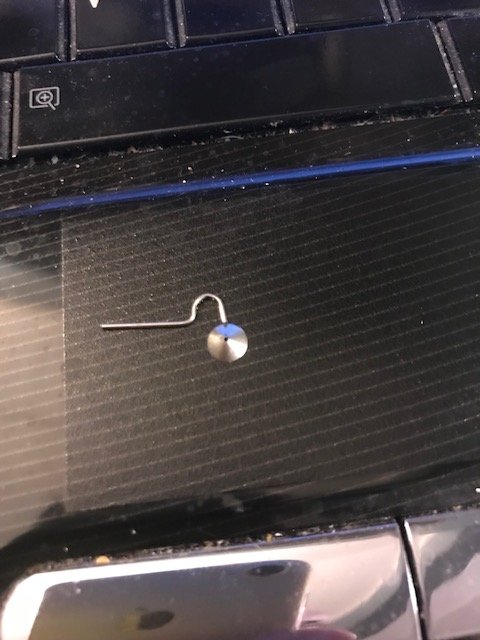
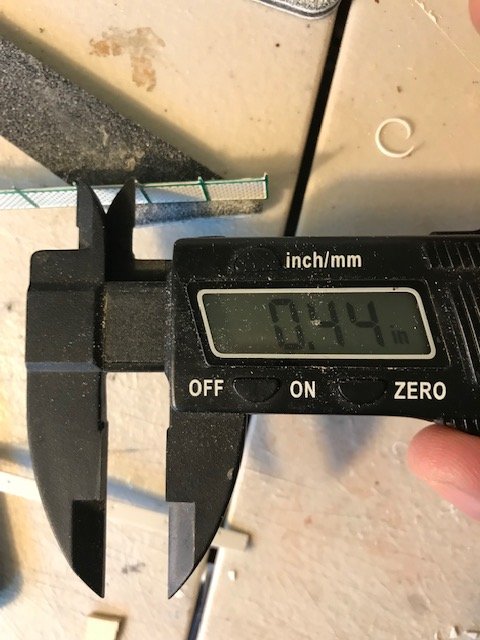
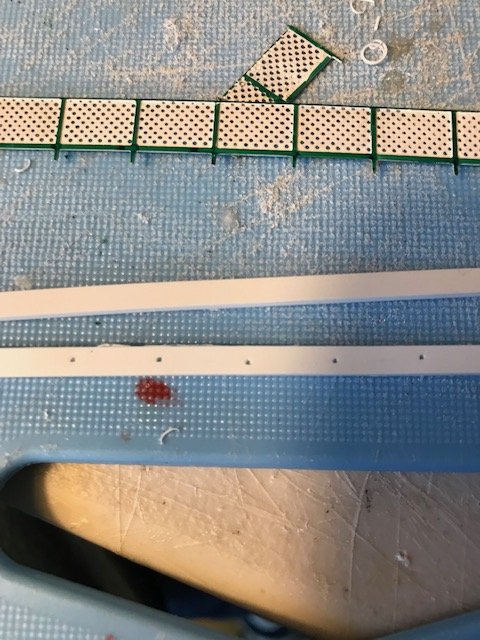
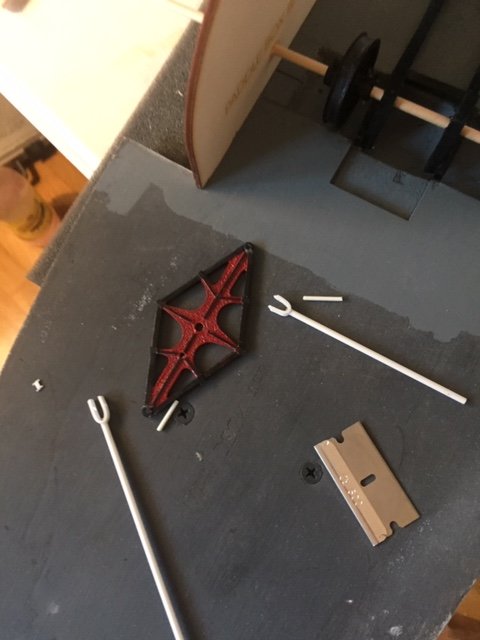
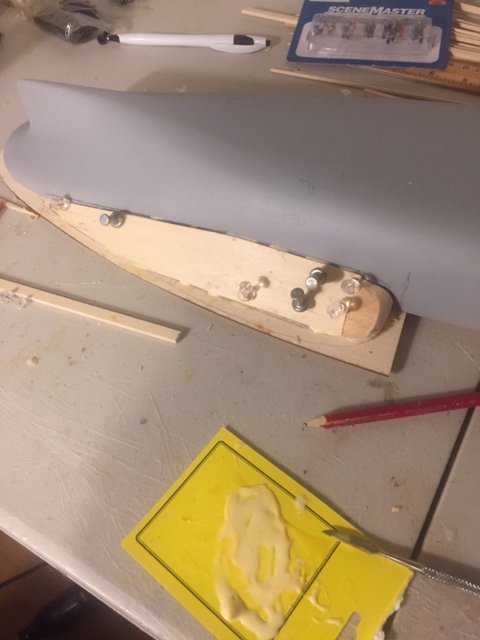
Problems with photo etch railings I thought i would share this in case any one else is running up against this problem. They suggest drilling holes to mount the railing into the deck. Thats great except the space between the pins varies. This drove me crazy. I would first drill the holes the same distance and of course the pins didint fit. Go back fill the hole and redrill them using a template. Still had problems. The solution I came up with was to mount the railing on some 5/32 " evergreen plastic. I took the plastic and pushed it on to the pins. The pins are sharp enough to peirce the plastci plus I have some to glue to the deck. I then removed the inner edge of the plastic. Painted it green and thenput it back on the rail. Using a small hammer I taped the pins into the rub rail and glued it to the deck using tight bond and clmps . It gives a tight edge alnog the deck line. Even with the curve I was able to fit the plastic by cutting small v 's in the curved edge. I hope the pictures explain it better. good luck.


- 29 replies
-
- 5
-
-
- portland
- BlueJacket Shipcrafters
- (and 1 more)
-
Hi I just started posting pictures from my Portland. I see your in the Dallas area. I have a daughter in Plano that I visit often. You have many build to work off . I added lighting and different window treatment. I also expanded the opening of the engine room to show its workings. I hope this gives you some possible ideas to increase the detail.
Dan
-
great job on your postings . I wish I had this when i was in the build. Also good use of detailed pictures. I am almost done with my Portland . Looking forward to how yours turns out.
-
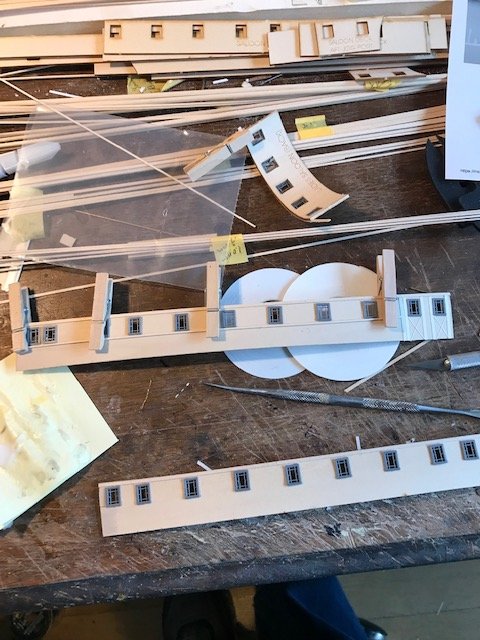
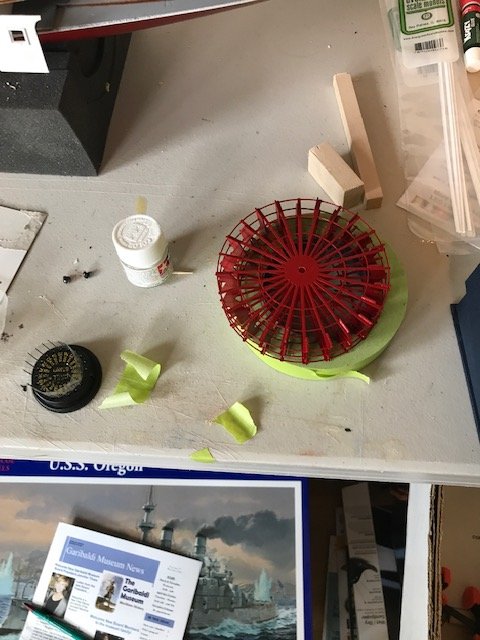
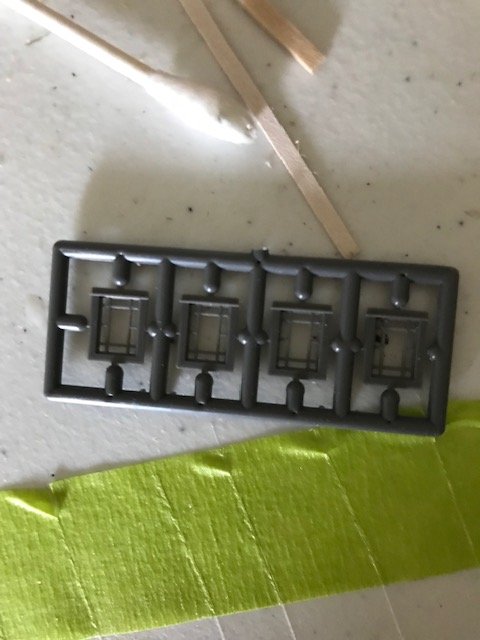
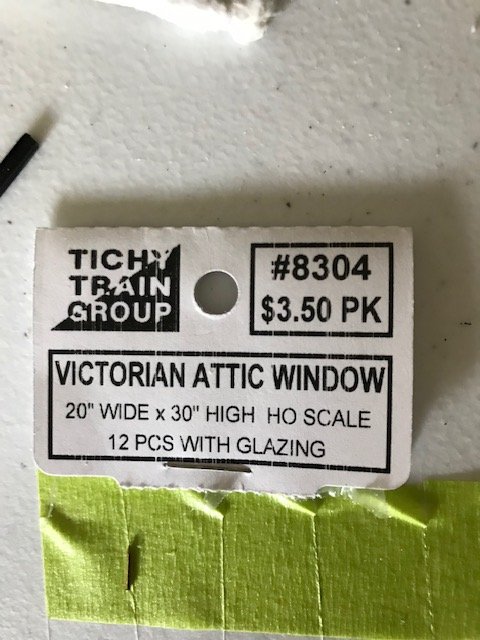
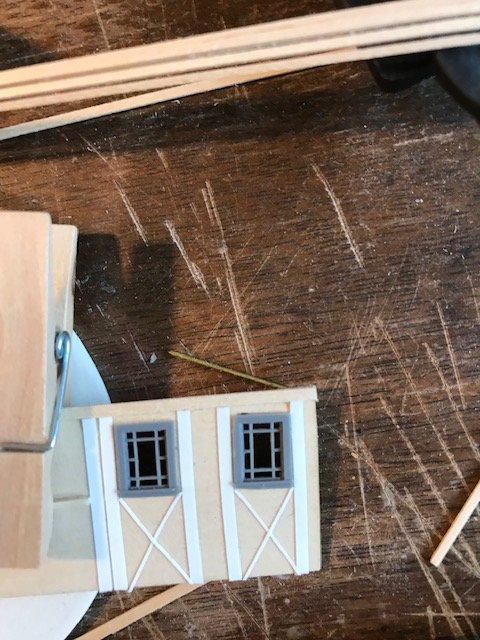
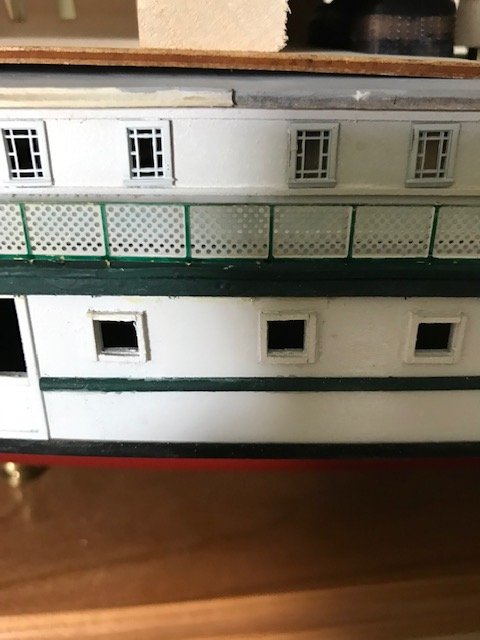
Windows and paddle wheels. This entry is about the construction of the paddle wheels and windows. the wheel are very nice in the kit. The brass is accurate and the paddles fit well. One has to be careful with the wood on the paddles. It is very thin and the slots crack easily. Now the windows are pretty simple. The instructions call for wood trim around the outside and then painting red curtain on acetate on the insdie. The wood seemed out of scale. i found a source for HO scale windows. They come from Tichy products and are ina Victorian pattern .This is the company that produces the windows.Here are some of the windows.Here are a couple of windows in place . I think they look better than a wood frameThis shows the frieght windows (wood frames) compared to the plastic windows.This pictures shows the wood detailing. i chose to use less wood and keep it simple.This show the wheels in place.After painting the wheels look pretty good.

- 29 replies
-
- 7
-
-
- portland
- BlueJacket Shipcrafters
- (and 1 more)
-
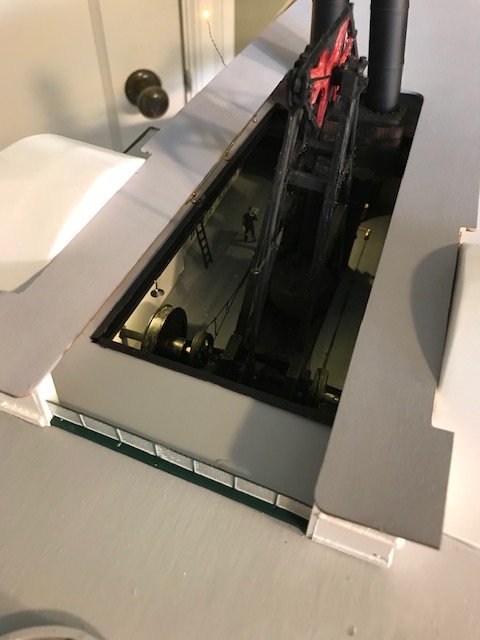
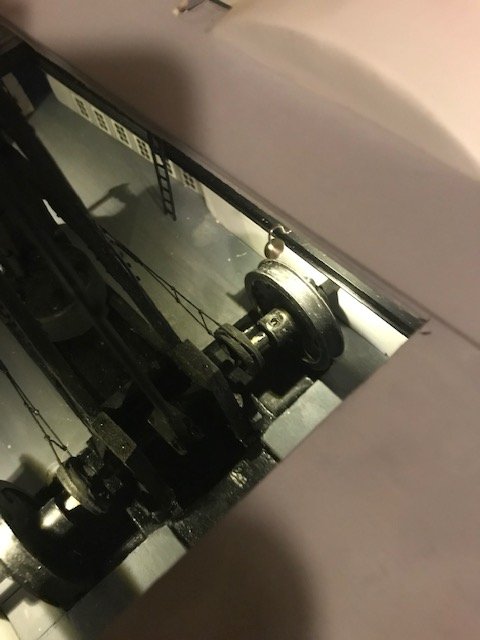
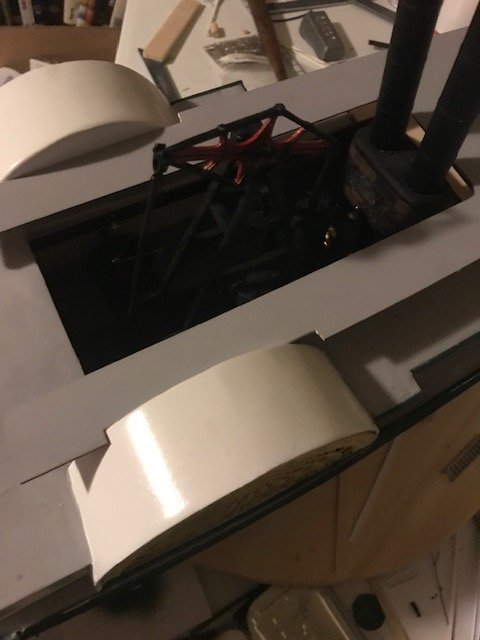
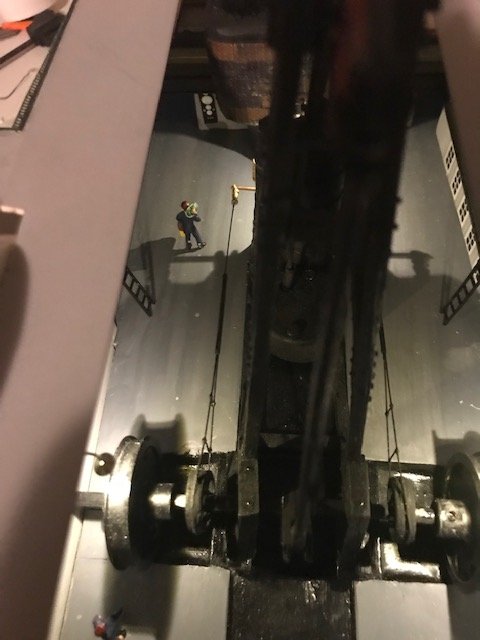
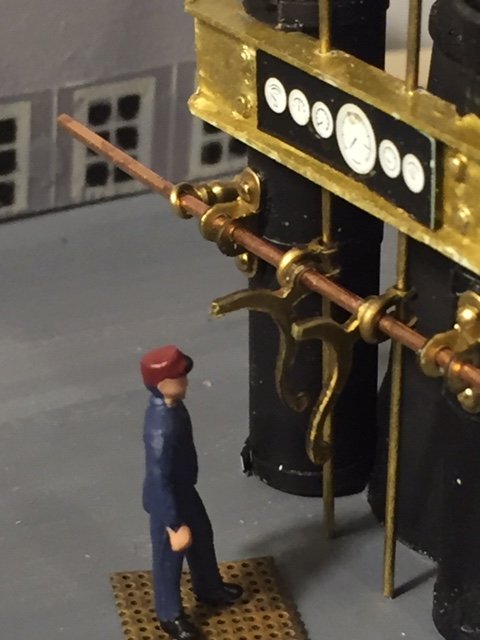
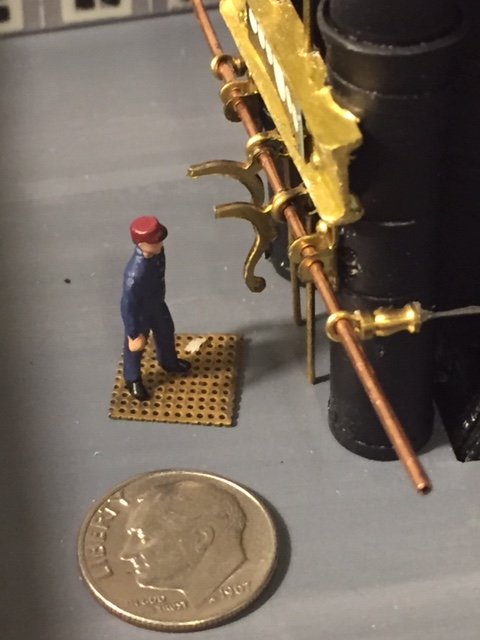
Building the engine room. Using the book Paddle Wheel Steamers and their Giant Engines as a reference I decided to recreate the engine room. The walking beam engine had control with levers. It also had large gauges for steam and water pressure. Those were added to the engine along with an engineer. This ship is 1/87 scale so HO train fiqures work well. enjoy!


- 29 replies
-
- 5
-
-
- portland
- BlueJacket Shipcrafters
- (and 1 more)
-
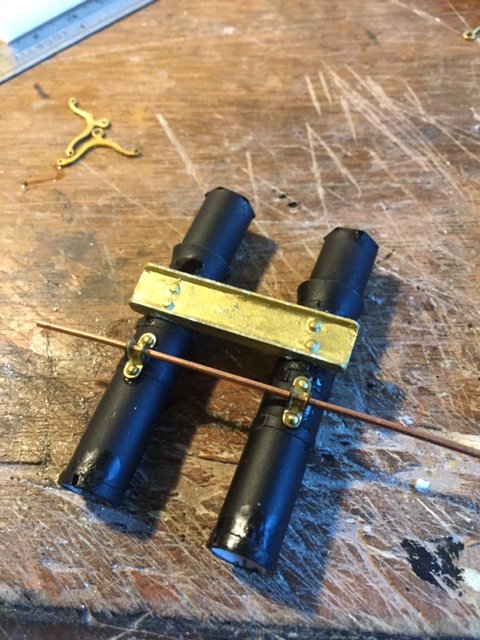
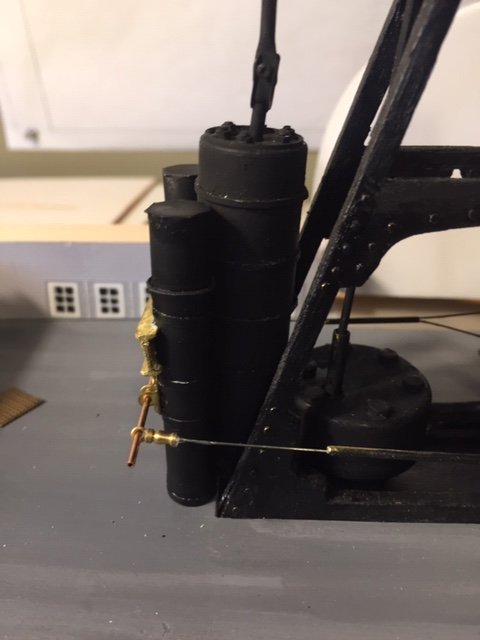
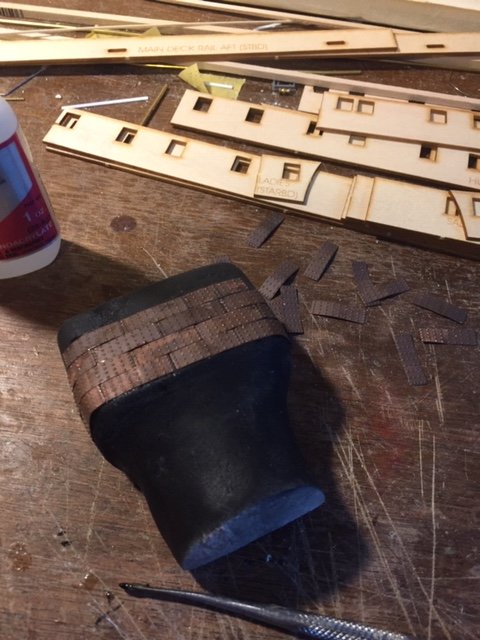
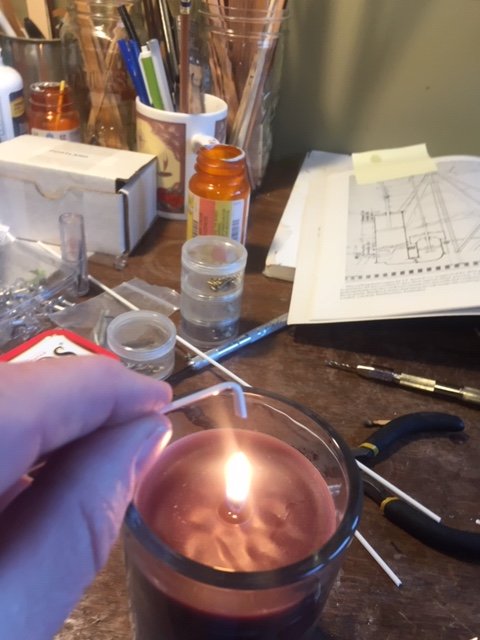
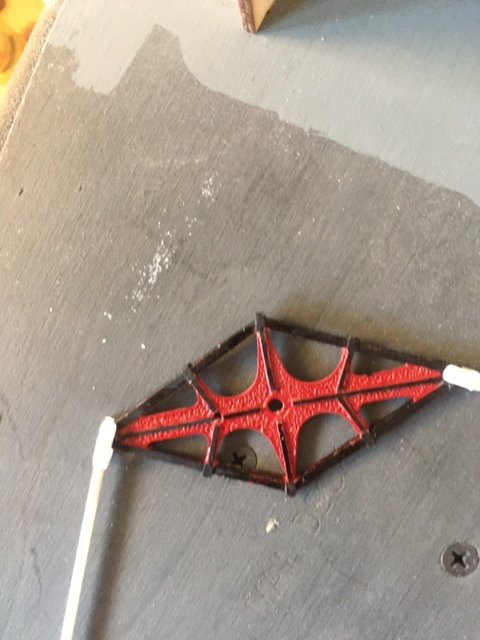
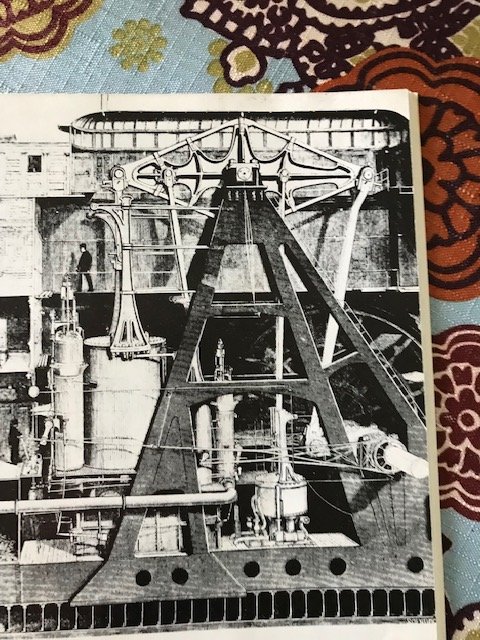
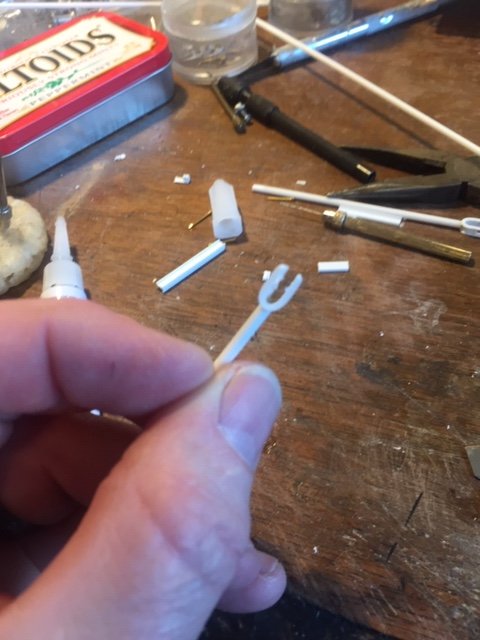
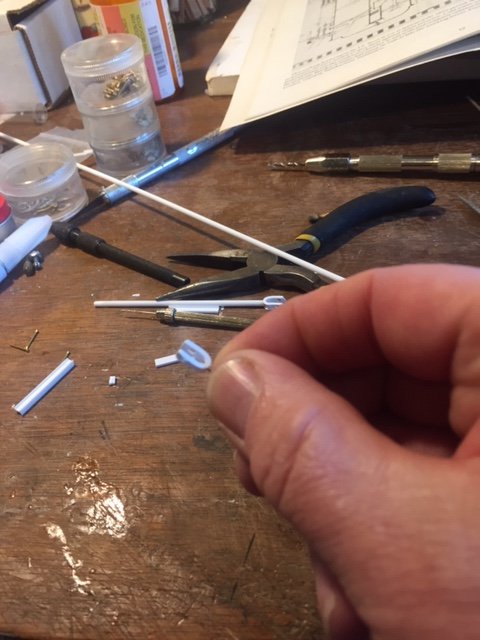
Building the Walking beam engine. The blue jacket kit only gives a detailed walking beam made out of brass. They provide wood and and brass rod but little else. The plans show a decent engine structure but this is the jewel of the kit. I found this book on the internet. Paddle wheel steamers and their Giant Engines. It gives details about the history of these amazing engines. The Portland kit has a small opening , so I decided to expand it and recreate the engine room. Evergreen plastic was used to create the rods and cranks. i even used some erector set wheels to make fly wheels. The structure frame is wood with nail and plastic nuts added. The piston is made from a chap stick tube ,while the condenser is a cork from a Tequilla bottle. Other parts on the engine were created from some extra brass parts left over from other kits. The plastic was fun to manipulate with heat from a candle.


- 29 replies
-
- 6
-
-
- portland
- BlueJacket Shipcrafters
- (and 1 more)
-
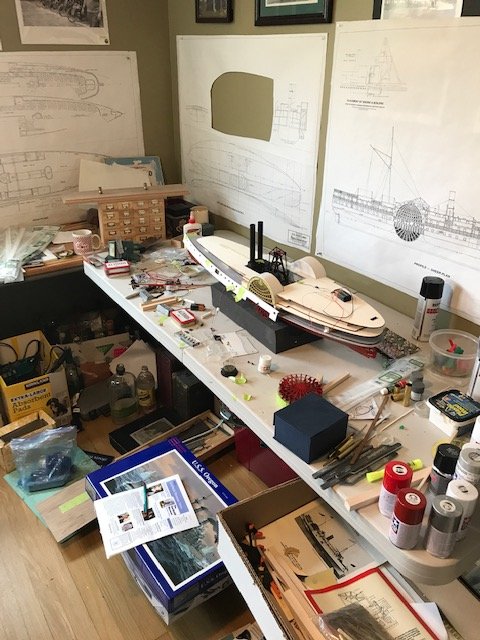
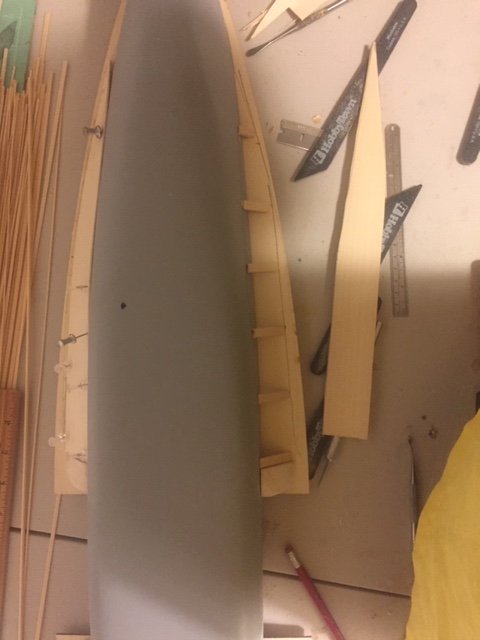
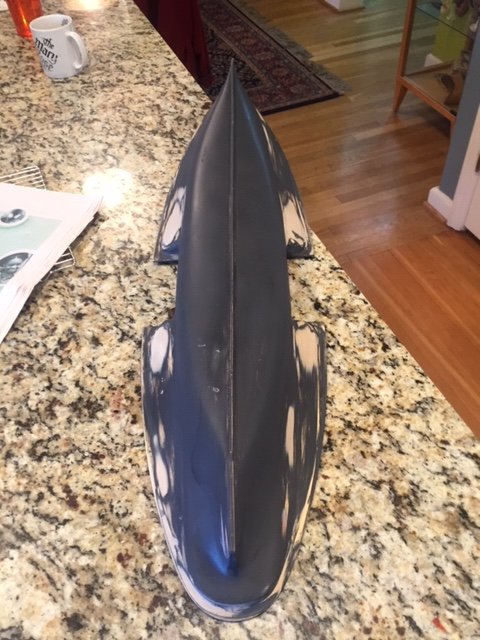
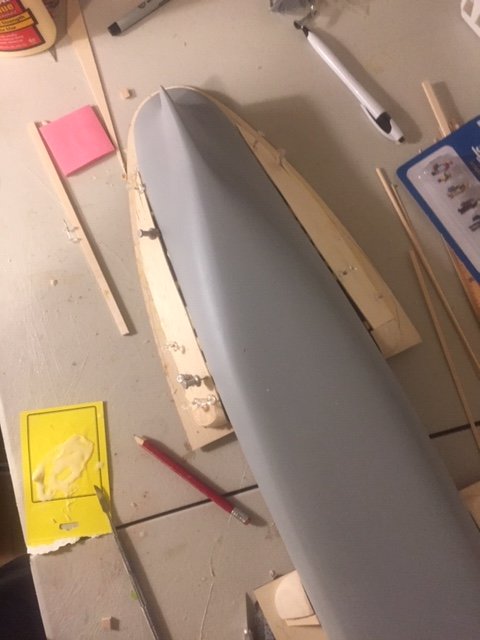
I started building the Blue jacket model of the Portland 6 months ago. During that time i kept photographic records but was too busy to post. right now I am about 90 % complete. My past build are the Sultana, the Philadelphia, the Niagara, the Mary Rose. i belong to a ship building group in Portland Oregon. I have been building for about 5 years. Our group has a blog called Ship Class where we post the progress of our group . If any one is interested its http://woodenshipclass.blogspot.com/ In this first entry I will post the progress of the hull. The Portland is a solid hull. The shape is pretty good with a little sanding and priming it can be made ready. the instructions are a bit vague. It suggests using planking for the sponsoons. I decided to use wider bass wood. It was faster and easier to fill. The hull was primed several times until a smooth finish was obatained . I used rustoleum on the hull but quickly switched to Tamyia paint .. The rustoleum took to long to cure. and ended up crazing if I didnt wait a week or more between coats. Crazy.


- 29 replies
-
- 4
-
-
- portland
- BlueJacket Shipcrafters
- (and 1 more)
-
Is anyone working on Bluejacket's 'Portland?'
dan evans replied to RFP's topic in Wood ship model kits
Hi Rob, I am working on a build of the Portland for about 6 months. I decided to replace the windows with HO Scale windows from Tichy. Also I illuminated the engine room and opened it up to expose the walking beam engine. I will try to attach some photo s to this post.