dan evans
Members-
Posts
36 -
Joined
-
Last visited
About dan evans
- Birthday 03/05/1950
Profile Information
-
Gender
Male
-
Location
Portland Oregon
-
Interests
Aviation, History ,Science, automobiles
Recent Profile Visitors
-
 ccoyle reacted to a post in a topic:
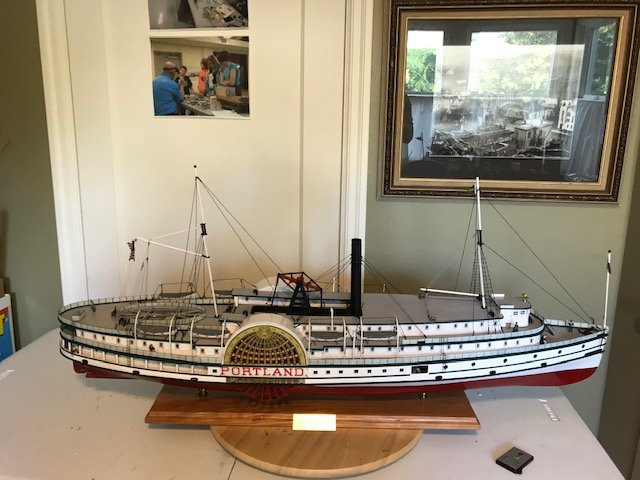
Portland by Dan Evans - FINISHED - BlueJacket Shipcrafters - Side Wheeler
-
 Knocklouder reacted to a post in a topic:
Robert E Lee by lazyguy - FINISHED - Scientific Models - scale 1/8" = 1.45'
-
 Kurt Bainum reacted to a post in a topic:
Portland by Dan Evans - FINISHED - BlueJacket Shipcrafters - Side Wheeler
-
 Racer31h reacted to a post in a topic:
Portland by jbelwood and norm1116 - BlueJacket Shipcrafters - abandoned
-
 GrandpaPhil reacted to a post in a topic:
Robert E Lee by dan evans - Amati - 1:150
-
great job i am building the Robert E lee but it is an Amati kit. Thousands of tiny planks.
- 11 replies
-
- robert e lee
- Scientific Models
-
(and 1 more)
Tagged with:
-
 Blue Pilot reacted to a post in a topic:
Portland by Dan Evans - FINISHED - BlueJacket Shipcrafters - Side Wheeler
-
 GrandpaPhil reacted to a post in a topic:
Robert E Lee by dan evans - Amati - 1:150
-
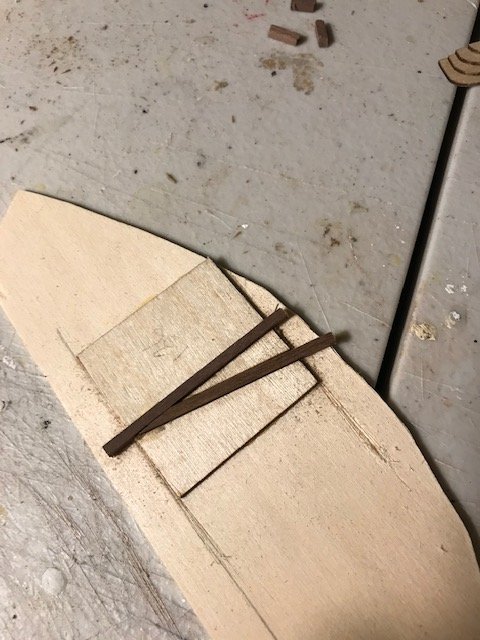
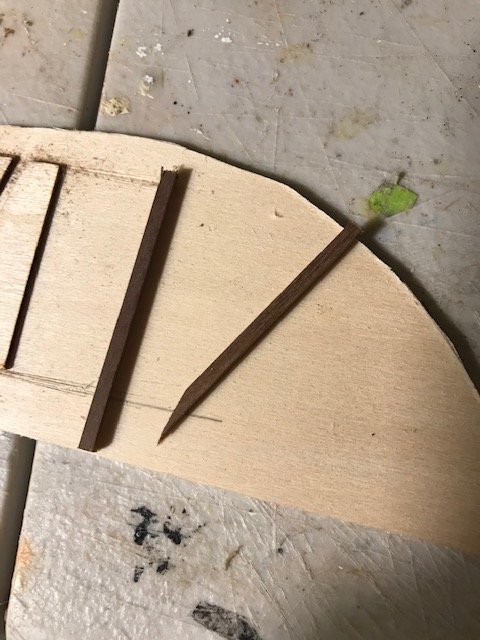
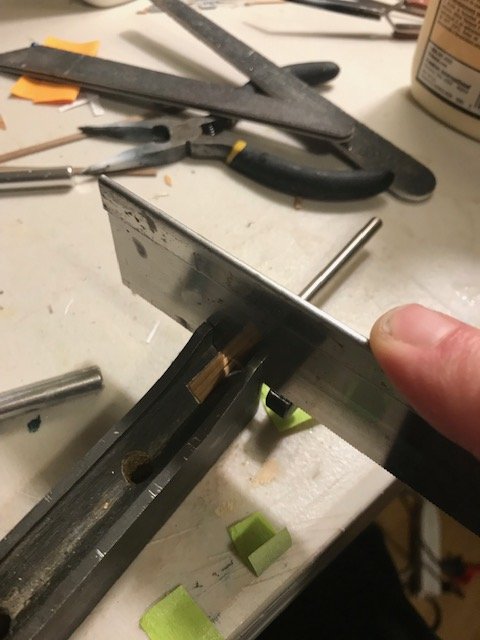
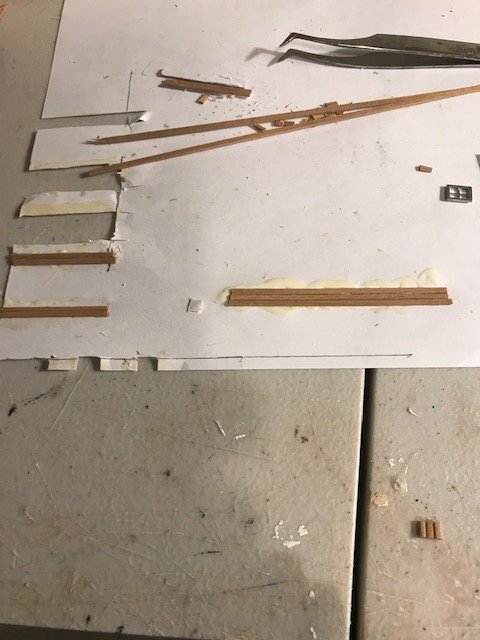
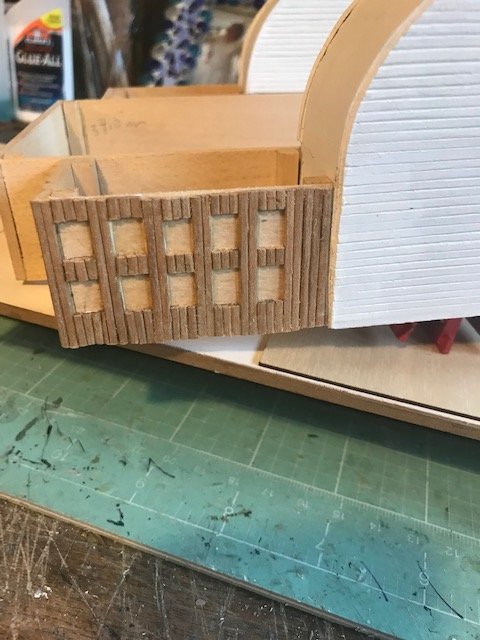
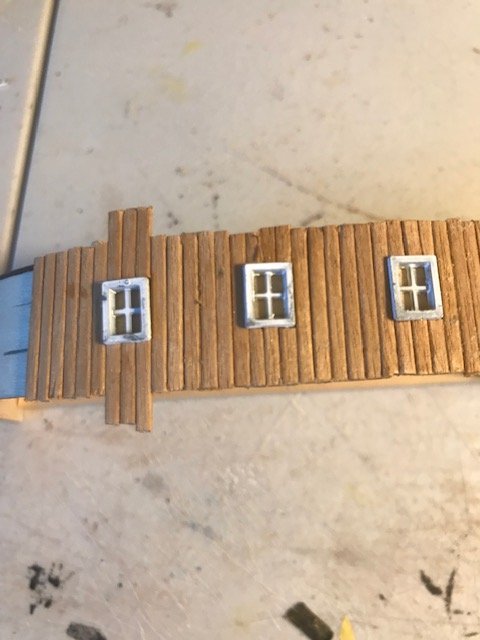
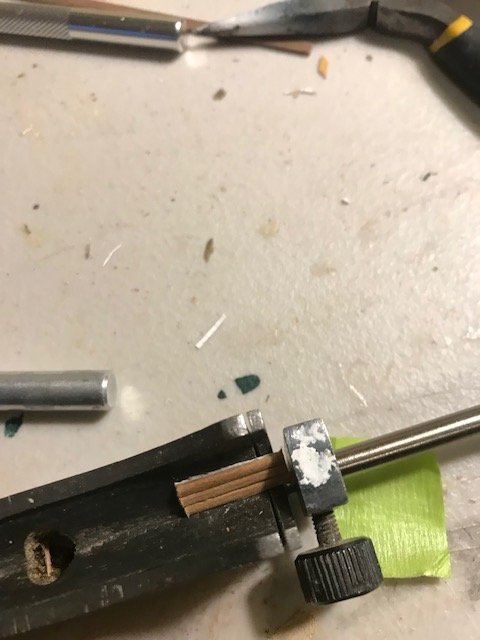
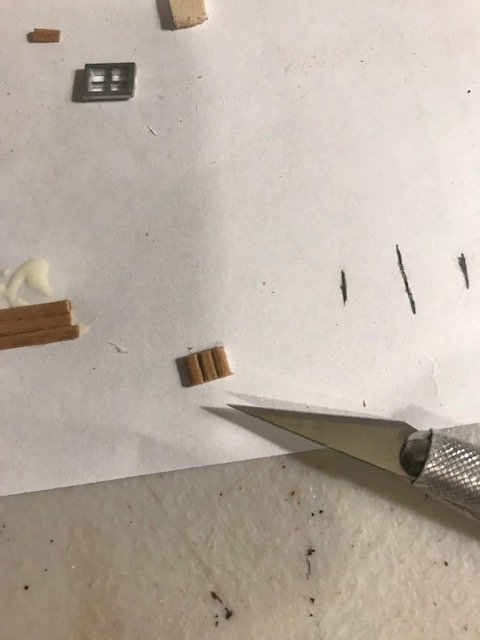
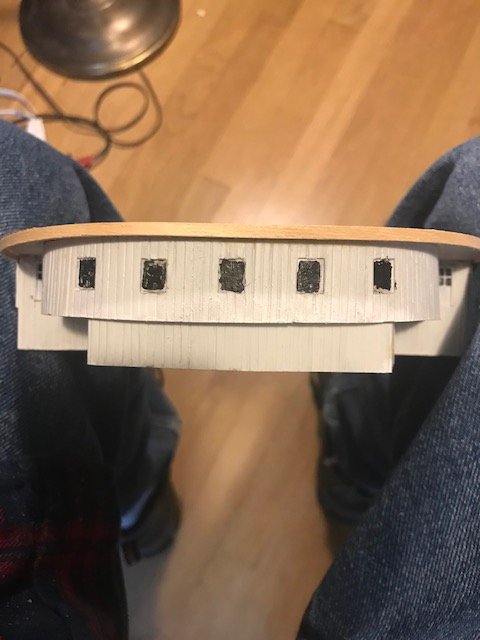
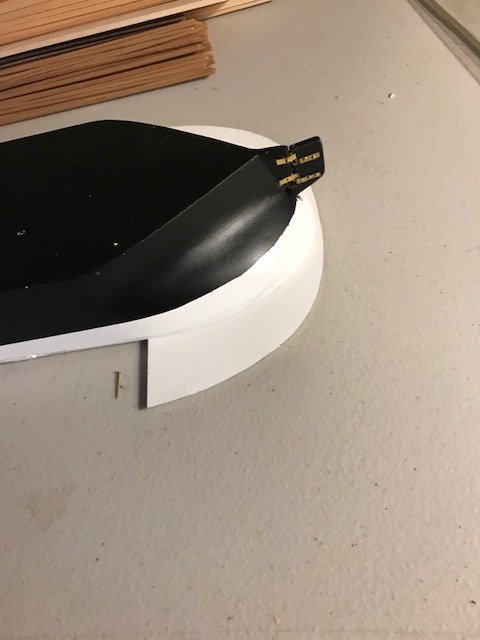
I have not added to this blog in weeks . Recently I came up with a way to create the panels in a faster way. the strips are very small and are hard to line up on the boxes. So what I do is glue the strips to paper in two and three strip bundles. then i use a cutting jig to cut as many pieces that I need to go around the windows. This keeps the strips in line and looks better. I hope this helps anyone taking on this model.
-
 GrandpaPhil reacted to a post in a topic:
Robert E Lee by dan evans - Amati - 1:150
-
 GrandpaPhil reacted to a post in a topic:
Robert E Lee by dan evans - Amati - 1:150
-
 GrandpaPhil reacted to a post in a topic:
Robert E Lee by dan evans - Amati - 1:150
-
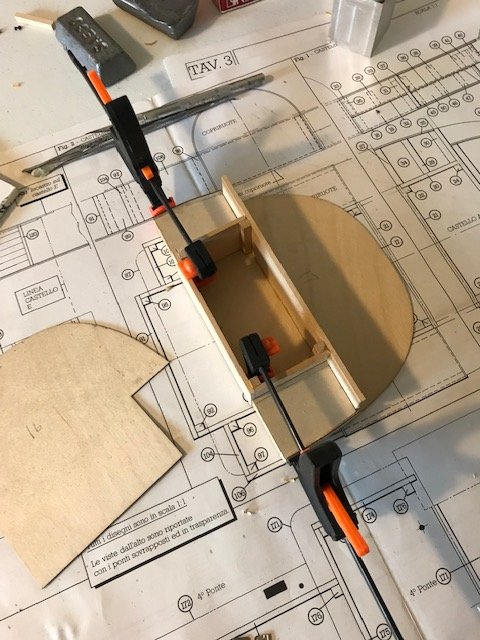
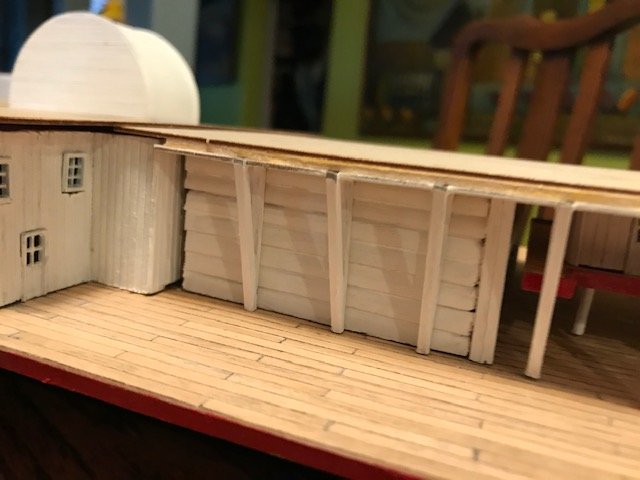
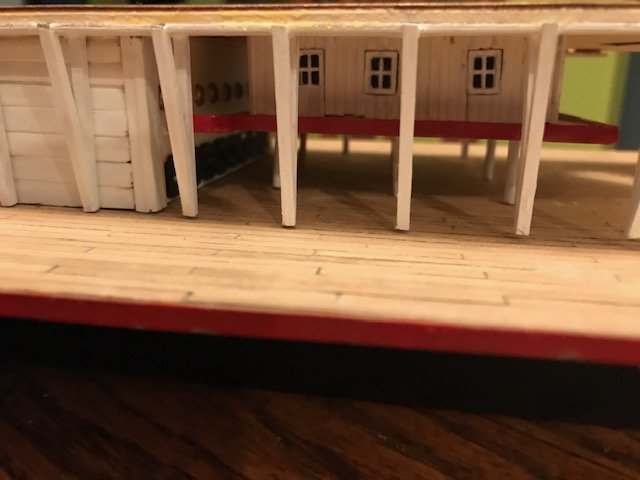
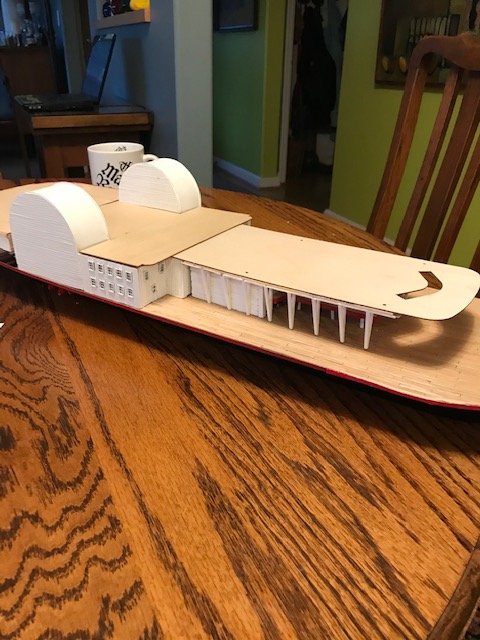
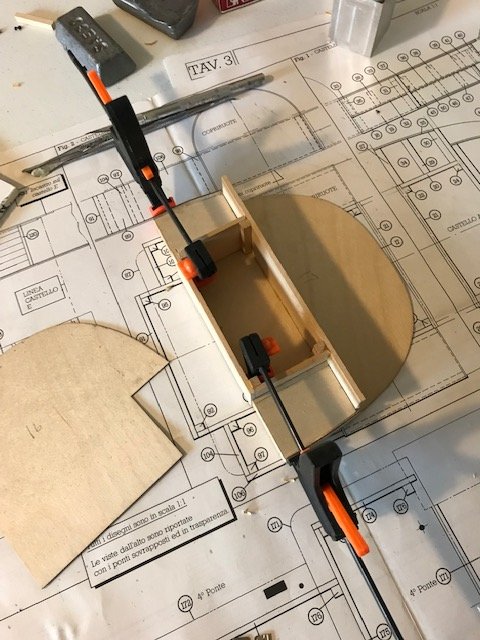
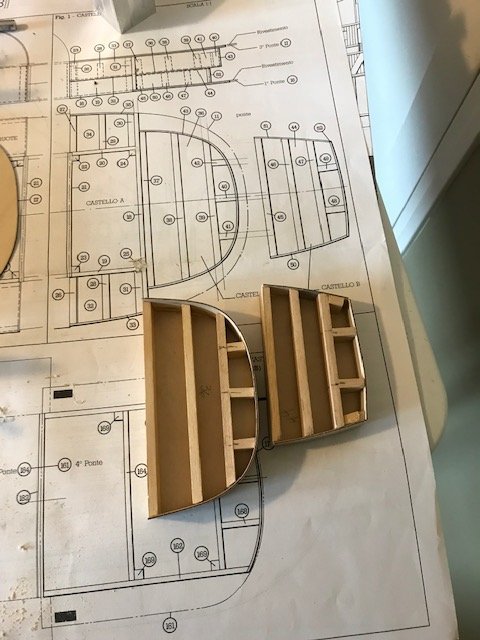
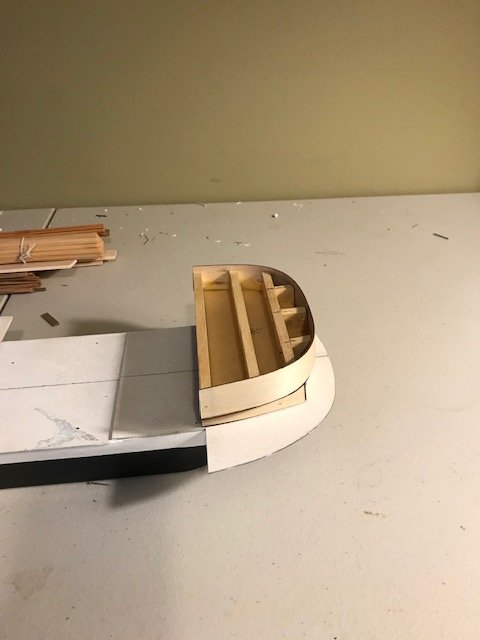
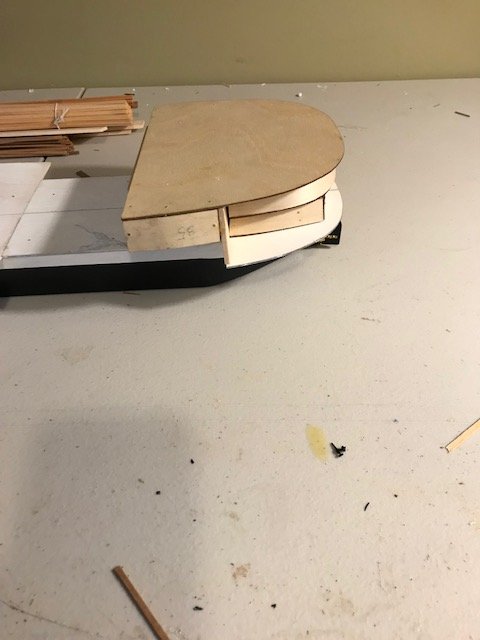
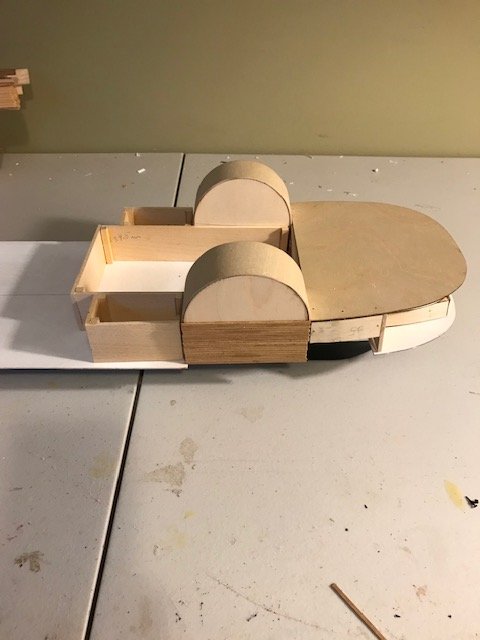
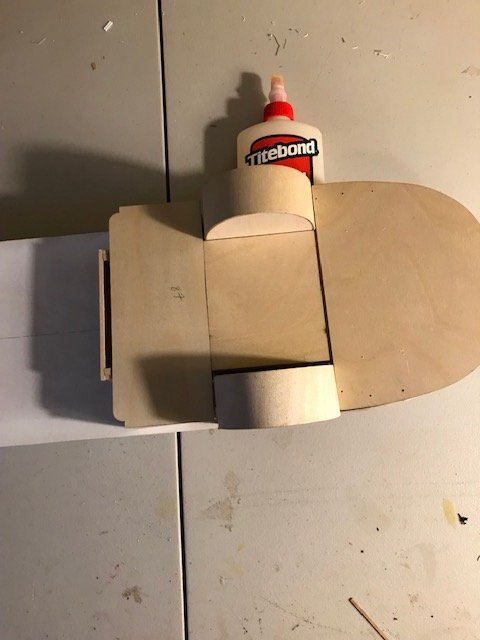
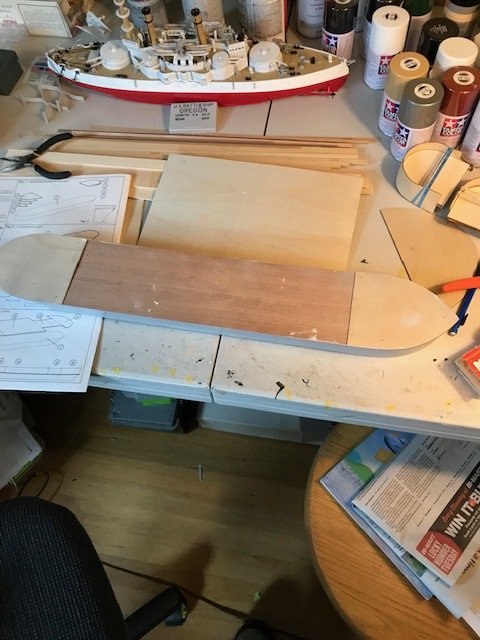
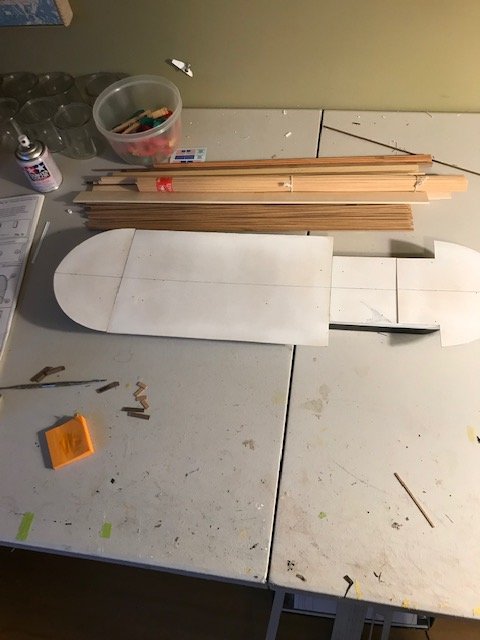
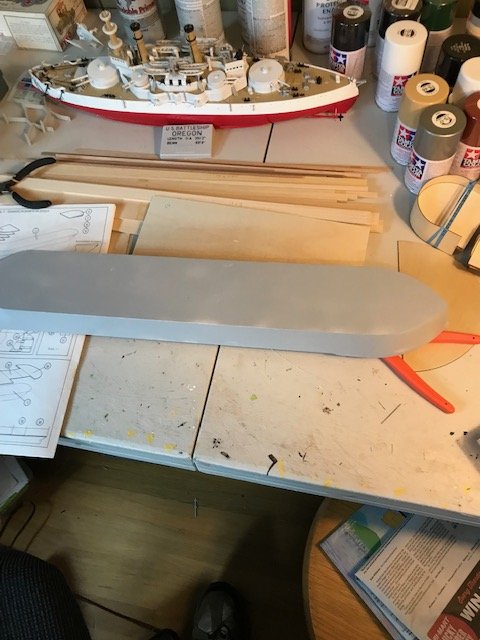
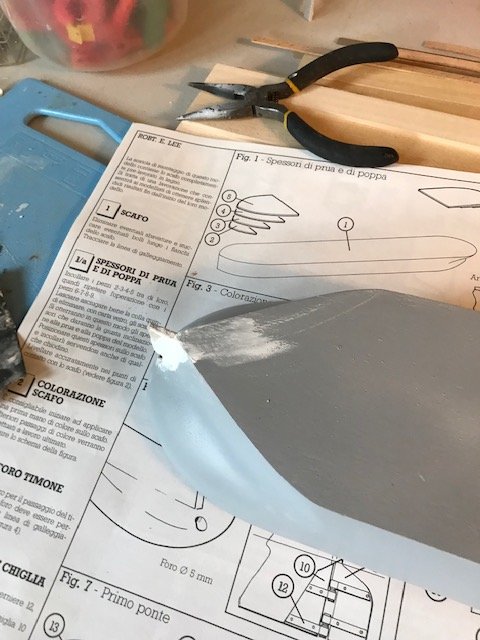
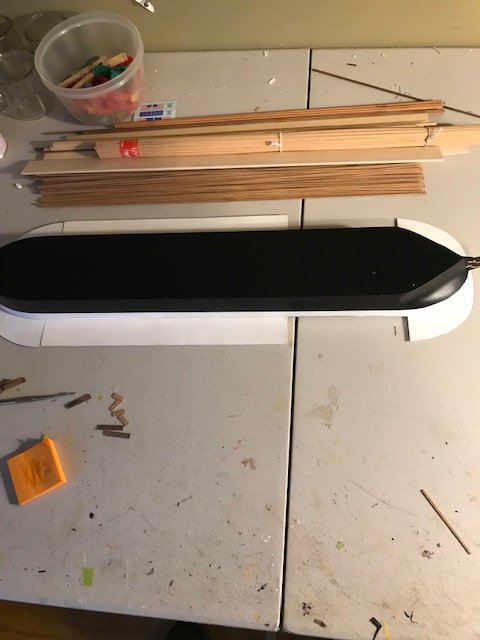
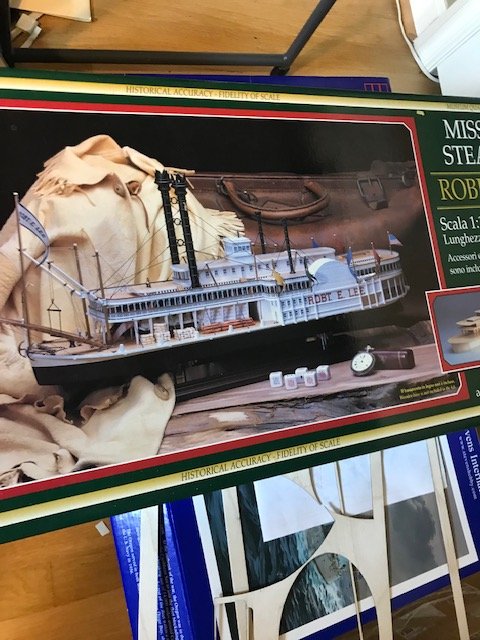
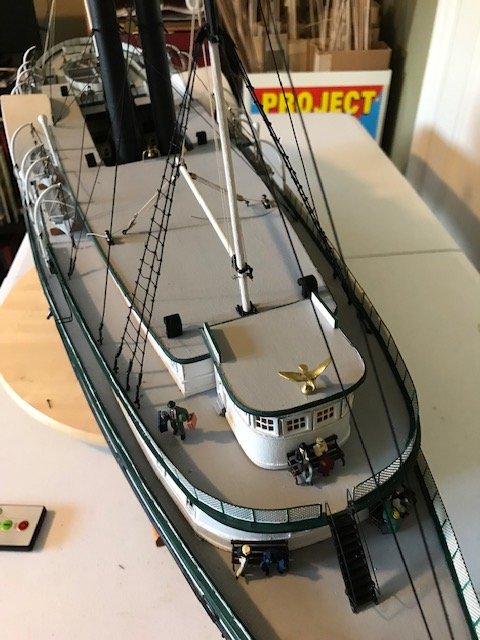
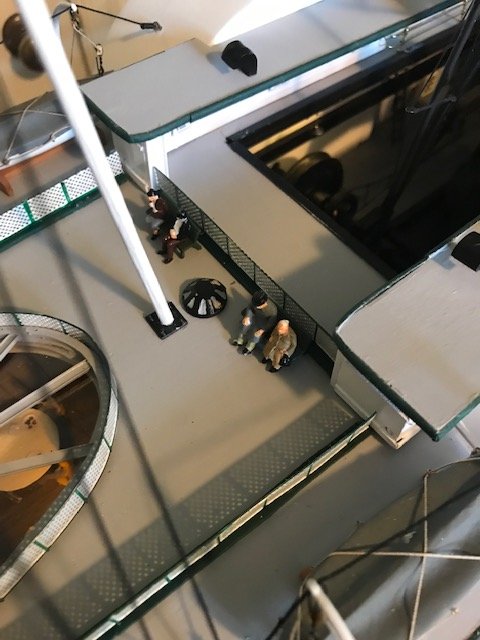
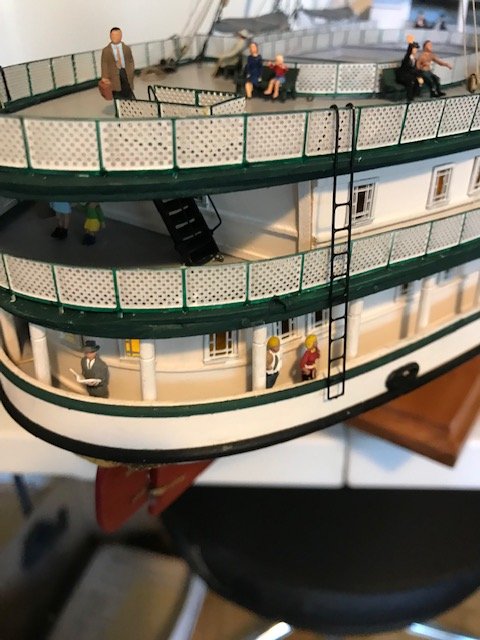
After finishing the side wheeler Portland i decided to build a smaller model of the Robert E Lee by Amati. The kit is very detailed with great metal parts and good plans. There is a english and Italian plan set. The drawing are in Italian but you can cross reference from the english to Italian. The different decks are built as individual boxes. The bluejackect model had slab sides which made it rather difficult at times. This is my 8th wooden ship . I woould recommend this kit to anyone wishing to build a paddle wheelr.
-
- 29 replies
-
- portland
- BlueJacket Shipcrafters
-
(and 1 more)
Tagged with:
-
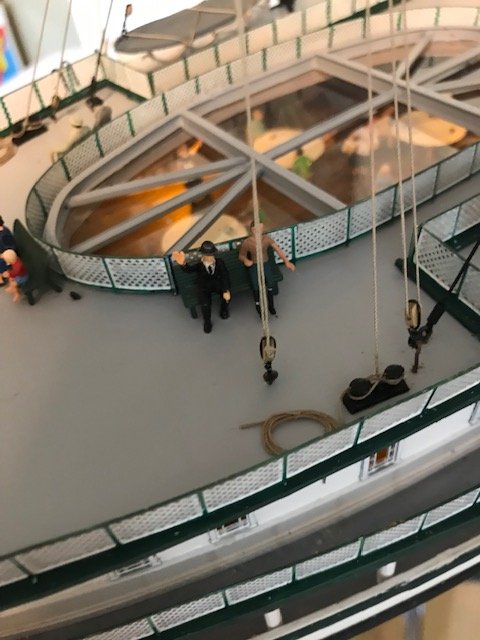
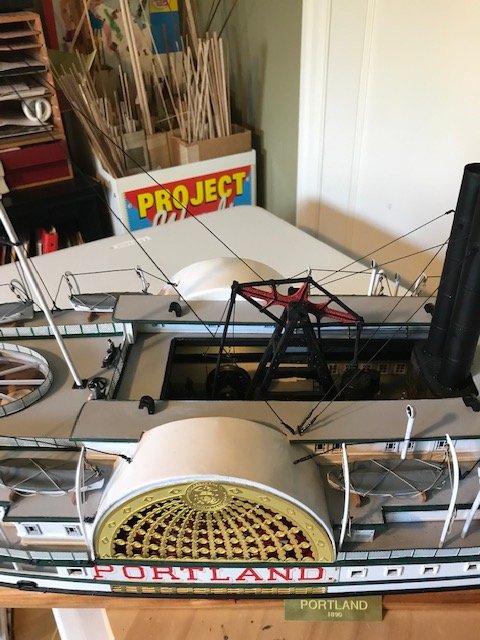
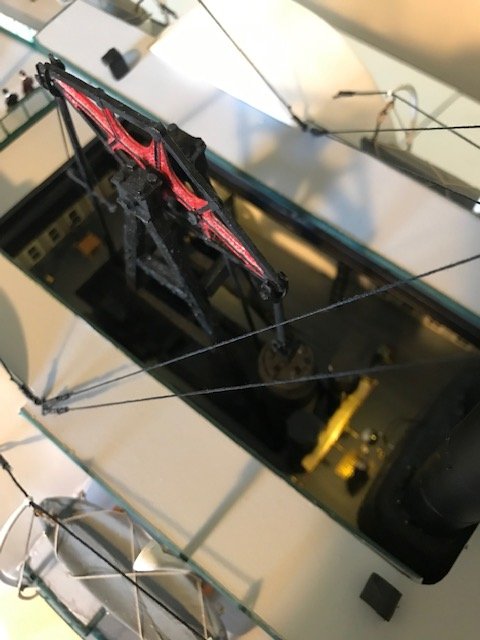
hi Norm just got back from Lake Tahoe. As to the walking beam engine. I think it is one of the most interesting aspects of the ship. The opening looking down is rather narrow. If you leave that way it will limit the veiw of the engine. on my building I cut away some of that to allow the veiwer a clearer picutre of the engine and the room. I used a lot of wire and scrap peices from erector sets and old ships. I also used evergreen plastci to form the crank levers. the only thing i used from the kit was the brass walking beam which I thicken with plastci strip. You can go as crazy as you like Good luck
-
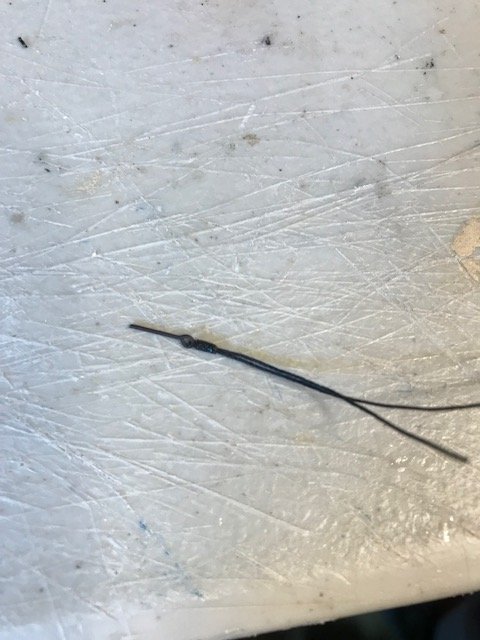
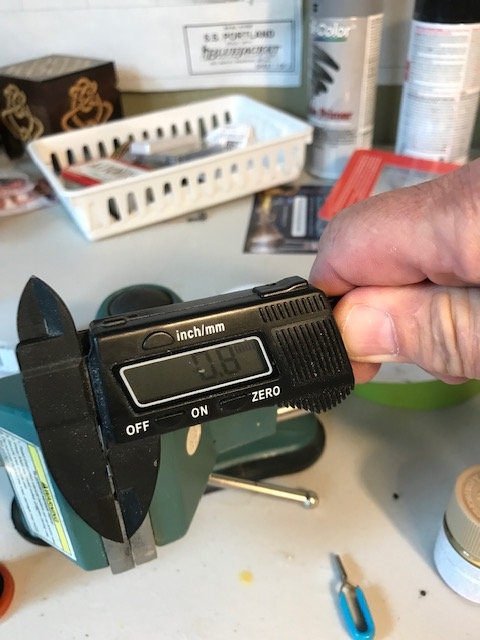
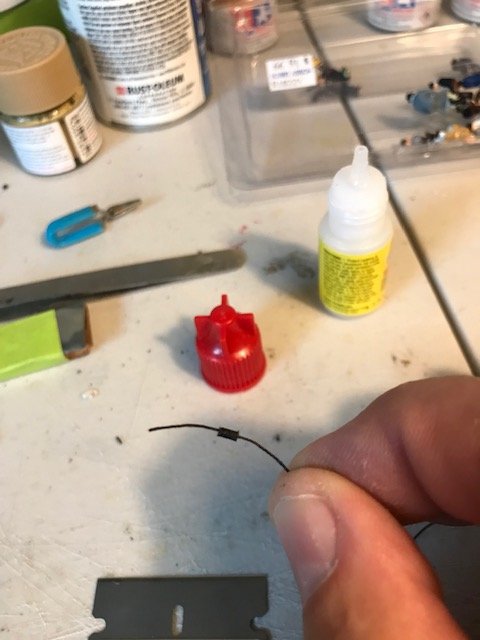
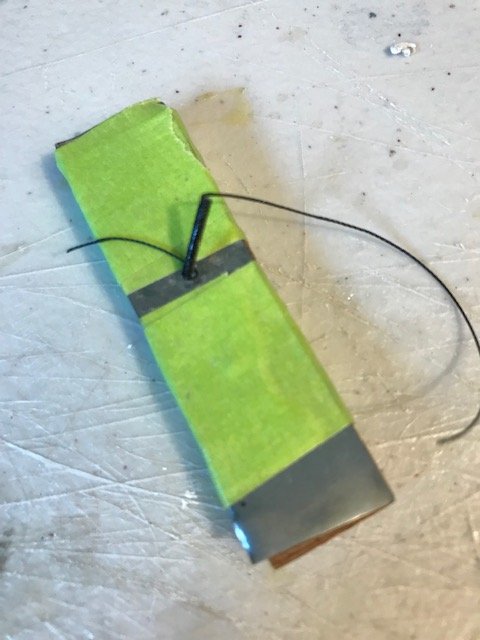
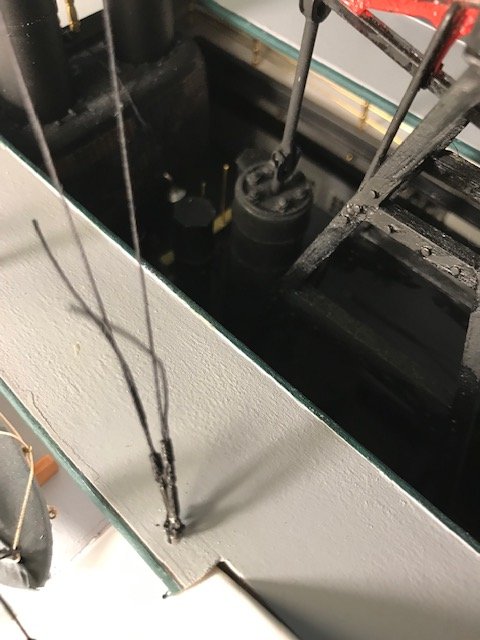
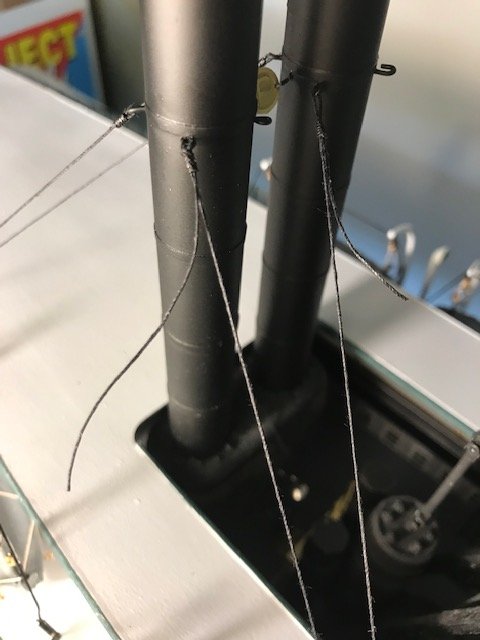
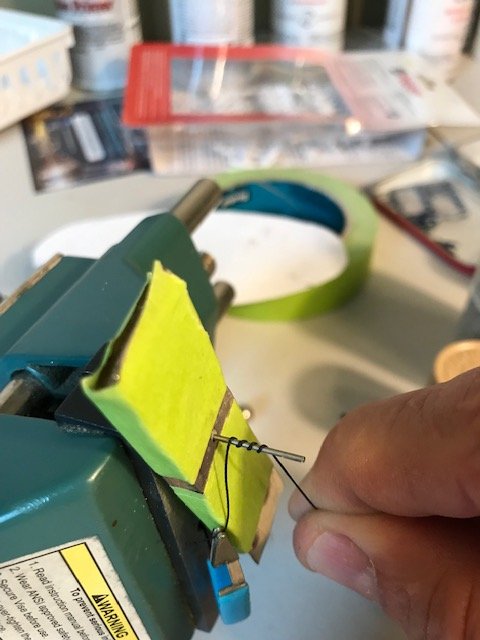
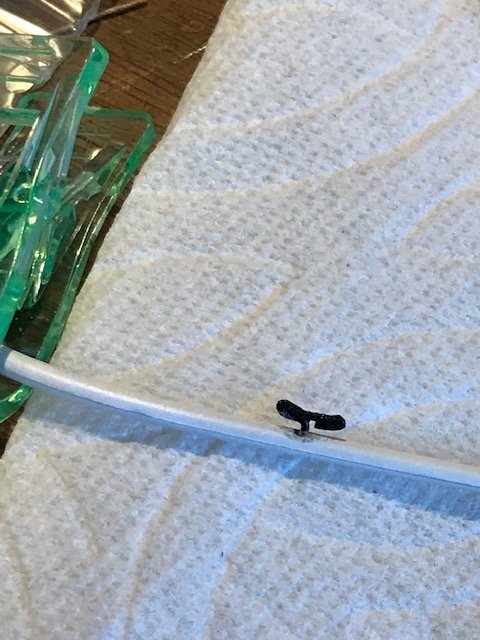
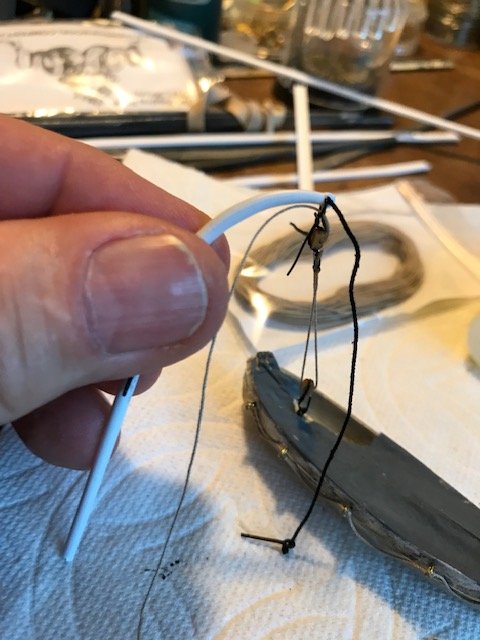
i started rigging the upper deck. I use a technique for making seizing that might save time for other builders. What i do is measure the thickness of the line i am going to use. Then i find a drill bit that is 2x or more the size of the line. I put this bit in a vice and then drill a hole in some scrap wood and slide it over the shaft. This will be used to pull the siezing tube off the the shaft. Next i wax the shaft so the glue doesn't stick to the shaft. Then i wrap some thin thread around the shaft until its completely covered. I also use small clamps for weight to keep the line from unraveling. Next i put some thinCA glue on the tthread . This stifffens the tube. In about a minute I pull it off. You can the tube with its ends . These are trimmed off . The tube is then cut into what lenght i want. The line is coated at then ends to stiffen it and then is threaded into the tube making a loop. this is put into an eye blot and adjusted as needed . The finsihed tube is secured with a small amount of CA.
- 29 replies
-
- portland
- BlueJacket Shipcrafters
-
(and 1 more)
Tagged with:
-
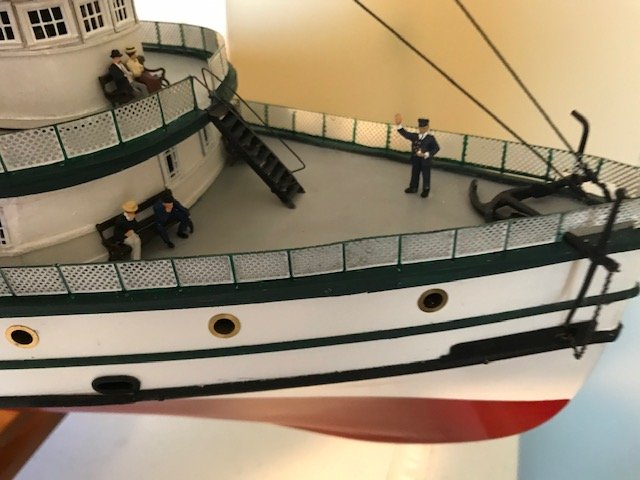
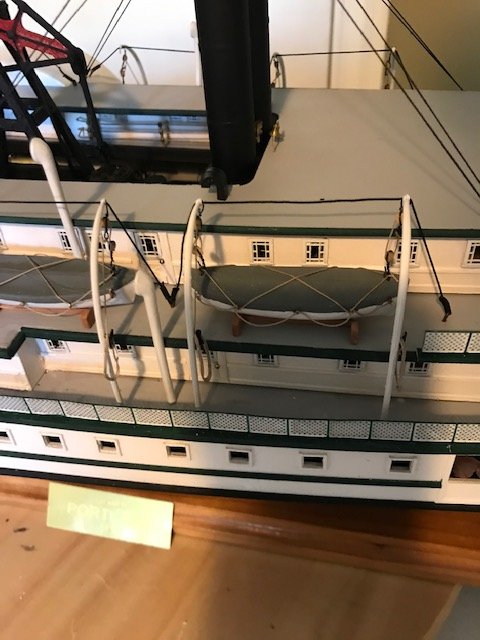
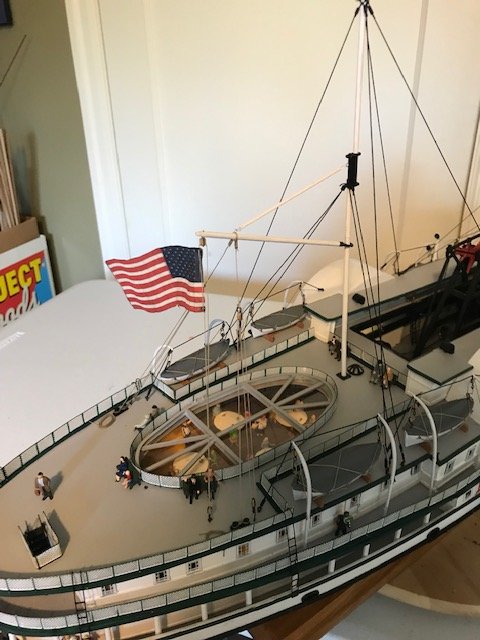
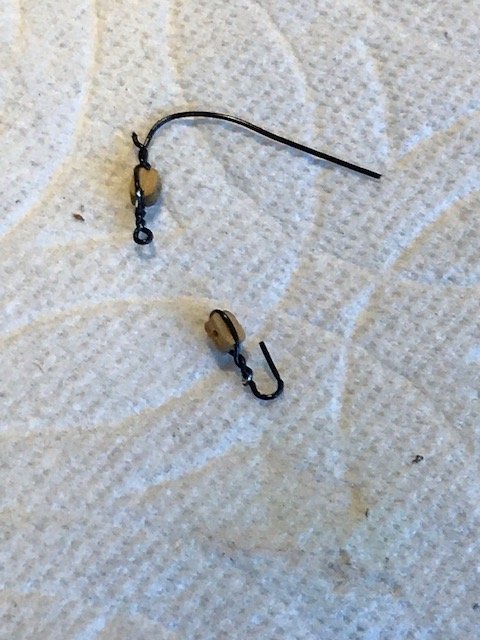
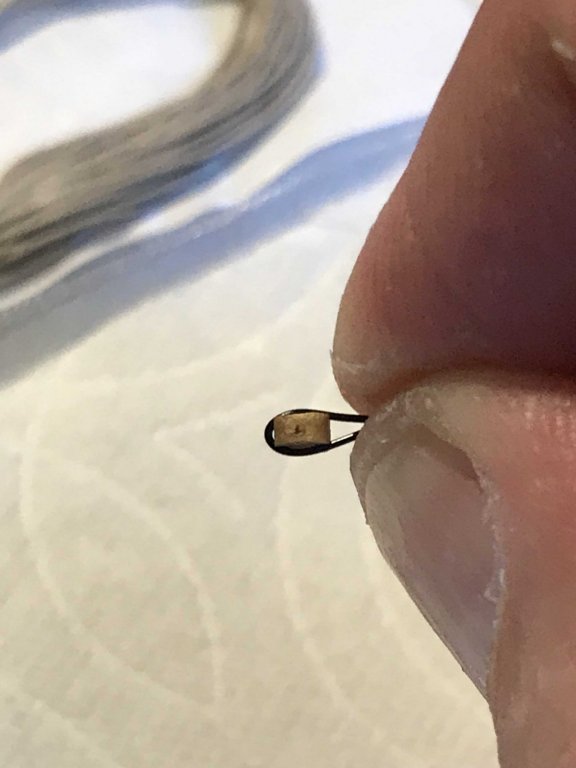
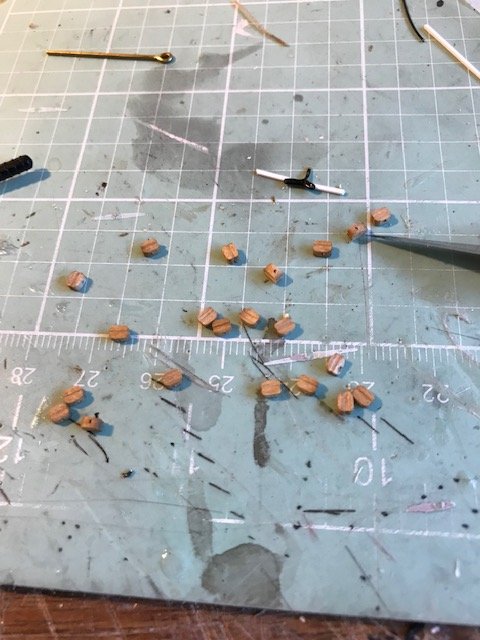
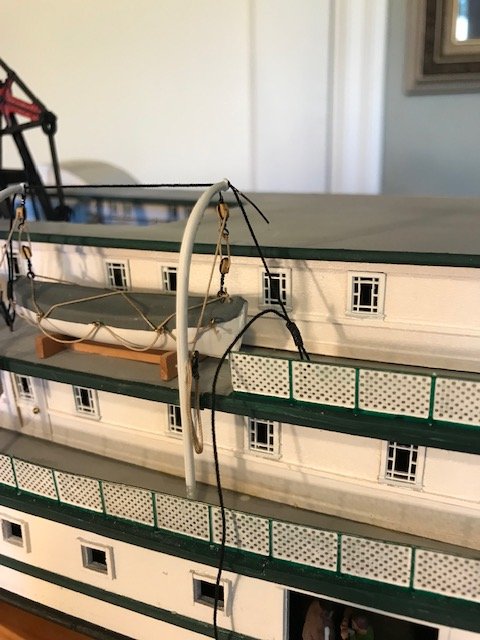
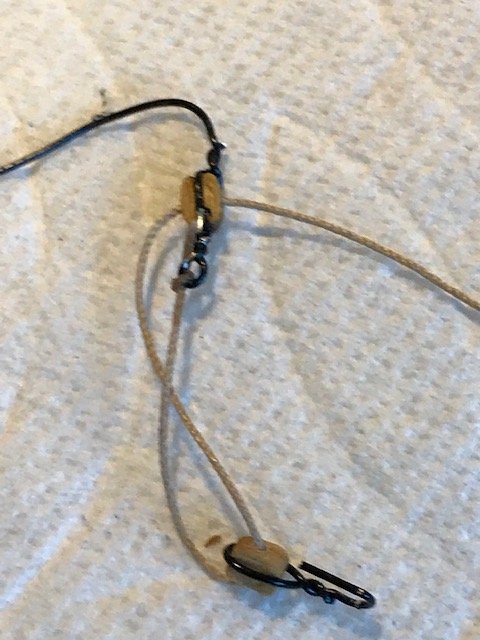
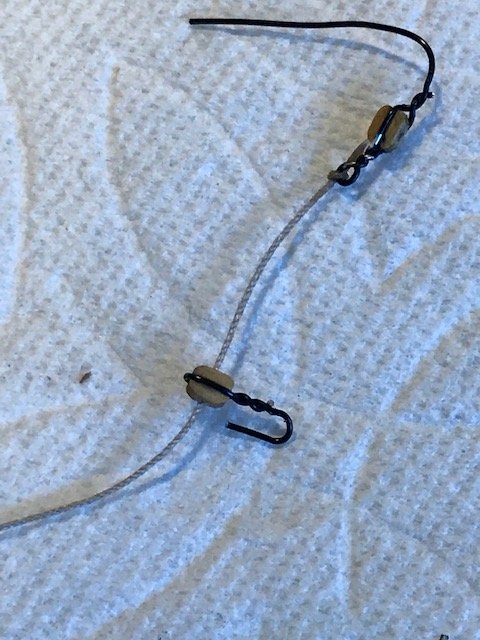
I started rigging and placing the life boats last night. One thing i did not like was the metal single pulleys I replaced them with scale size wooden pulleys i had from some other build. There is a line that support the davits and the pulleys also pass through that same hole in the davits. To attach the pulleys i used a thin black wire. the top pulley is attached to the davit and ring is at the bottom. You can make these by twisting wire. the bottom pulley on the boats has a hook attaching it to the boat. I also made cleats for the davit to tie the rope coils to. these were made from wire filled with glue and painted . Hope you like the effect.
- 29 replies
-
- portland
- BlueJacket Shipcrafters
-
(and 1 more)
Tagged with:
About us
Modelshipworld - Advancing Ship Modeling through Research
SSL Secured
Your security is important for us so this Website is SSL-Secured
NRG Mailing Address
Nautical Research Guild
237 South Lincoln Street
Westmont IL, 60559-1917
Model Ship World ® and the MSW logo are Registered Trademarks, and belong to the Nautical Research Guild (United States Patent and Trademark Office: No. 6,929,264 & No. 6,929,274, registered Dec. 20, 2022)
Helpful Links
About the NRG
If you enjoy building ship models that are historically accurate as well as beautiful, then The Nautical Research Guild (NRG) is just right for you.
The Guild is a non-profit educational organization whose mission is to “Advance Ship Modeling Through Research”. We provide support to our members in their efforts to raise the quality of their model ships.
The Nautical Research Guild has published our world-renowned quarterly magazine, The Nautical Research Journal, since 1955. The pages of the Journal are full of articles by accomplished ship modelers who show you how they create those exquisite details on their models, and by maritime historians who show you the correct details to build. The Journal is available in both print and digital editions. Go to the NRG web site (www.thenrg.org) to download a complimentary digital copy of the Journal. The NRG also publishes plan sets, books and compilations of back issues of the Journal and the former Ships in Scale and Model Ship Builder magazines.


