


SteamWake
-
Posts
22 -
Joined
-
Last visited
Content Type
Profiles
Forums
Gallery
Events
Posts posted by SteamWake
-
-
Right now I am holding the back end of my ship together with my hands to get it glued tight together.
 I can't clamp it tight enough. No room for clamps. Desperate times call for desperate measures.
WOW! It is hard to type with one hand.

Heh that's what rubber bands are for silly!
Not that I have ever done that
-
Probably way to late for this but using "thin glue" I just put a drop in the gaps and let capillary action do the rest, hopefully you have them clamped and they can hold their position for 20 minutes or so. I use the liquid cement almost exclusively.
You're painting looks great. I am glad you like the acrylics. They take a little more care and sometimes a second coat but all in all they seem a little more 'organic' somehow.
As I said somewhere before sometimes acryrls do not stick to plastic very well so a coat of enamel primer may be in order. In any case when gluing plastic models its bare plastic to bare plastic. If there is any primer or paint on the surfaces to be joined scrape it clean, #11 blade or needle files works well.
Anyhow enjoying watching your build. Good luck and have fun!!!
ps; I think the putty they are talking about is this stuff!
http://www.micromark.com/SQUADRON-GREEN-PUTTY-46-OZ,6412.html
Be very careful with it!
-
Maybe I am out of place but I found that strips of sandpaper glued to block of wood using contact cement to work quite well!
-
Yea I like to paint most things first then glue.
I really only use the dental pic to get the hole started, I then drill the hole out with a #11 xacto blade to clean it up. Think of the pick as a center punch

A tip, acrylic does not stick to plastic very well, I wash them thoroughly in soapy water with a tooth brush to get rid of the mold release oils, then I let them dry and 'dust' them with primer. Good old automotive enamel grey primer works well and its cheap...
Just make sure to scrape the paint and primer of off surfaces to be glued together, a #11 blade and or needle file works good for that. Remember if its to be glued together raw plastic to raw plastic. Depending on how much solvent glue you use it may take up to 24 hours to cure...
Most of all patience, good luck and look forward to the build log!!!
-
Right now I am just being creative at where to attach the bottom parts of the sails
Welcome to the world of modeling! Sounds like you have the right attitude
Why not just tie the bottom parts with thread? I don't know the model so just an idea. All the plastic sails on my Conny have been tied on with thread.
BTW, I saw you used the candle/dental pick tool, have any issues with the dang carbon getting everywhere? I smudged a couple of sails and the stuff will NOT clean off!. While I'm thinking about plastic sails, I found that spraying them with dull coat helps a lot with the 'real' look. I had a can of 'spoiled' clear matte spray that absolutely ruined many hours of work on painting minis but worked great on the plastic sails. If you do that make sure you test it on a piece of scrap to make sure it isn't going to melt the plastic, that would be bad

To me the 'hull' is the roundish part that sits in the water, also usually includes the decking, possible cannons, capstains etc. Pretty much the structure of the ship excluding the spars (masts), yardarms, ratlines, etc.
I know they sell model scale 'rulers' for model railroading, might find something for other models.
Here are some examples, maybe try Amazon etc... http://www.bing.com/images/search?q=scale+model+rulers&qs=n&form=QBIR&pq=scale+model+rulers&sc=1-18&sp=-1&sk=
-
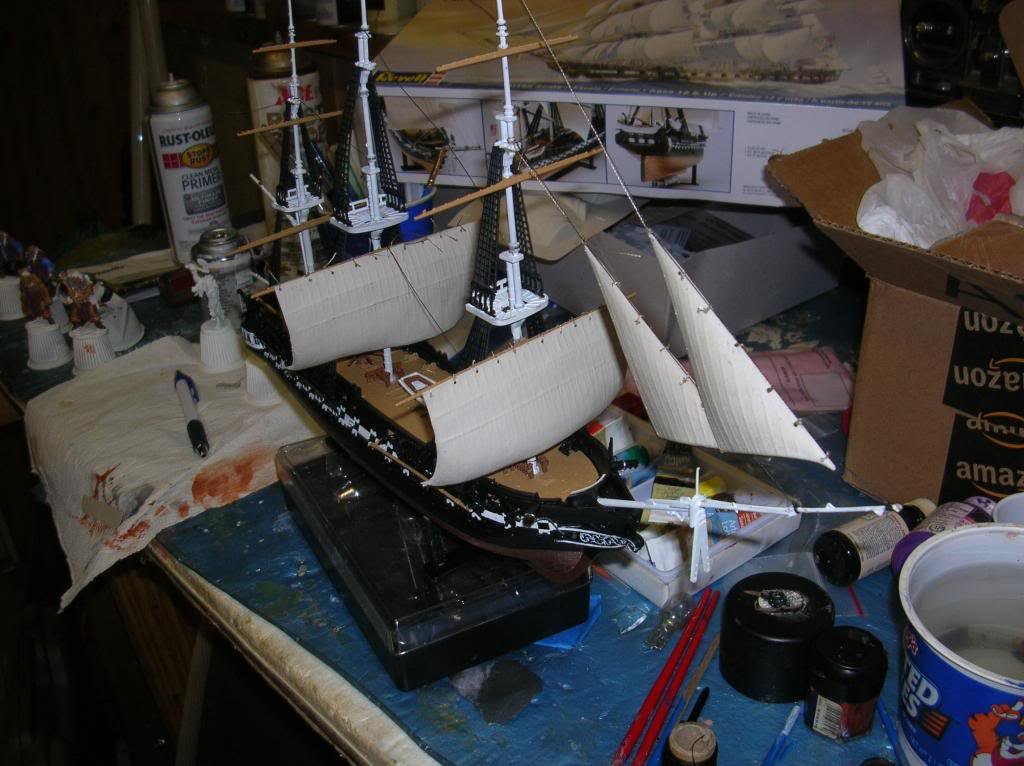
So here is what I ended up doing, mother is the necessity and all that
I got all the sails tied on and decided that gravity could help me instead of being my nemesis...
I hung the model from the stern by a piece of string and gently encouraged the sails into 'position'
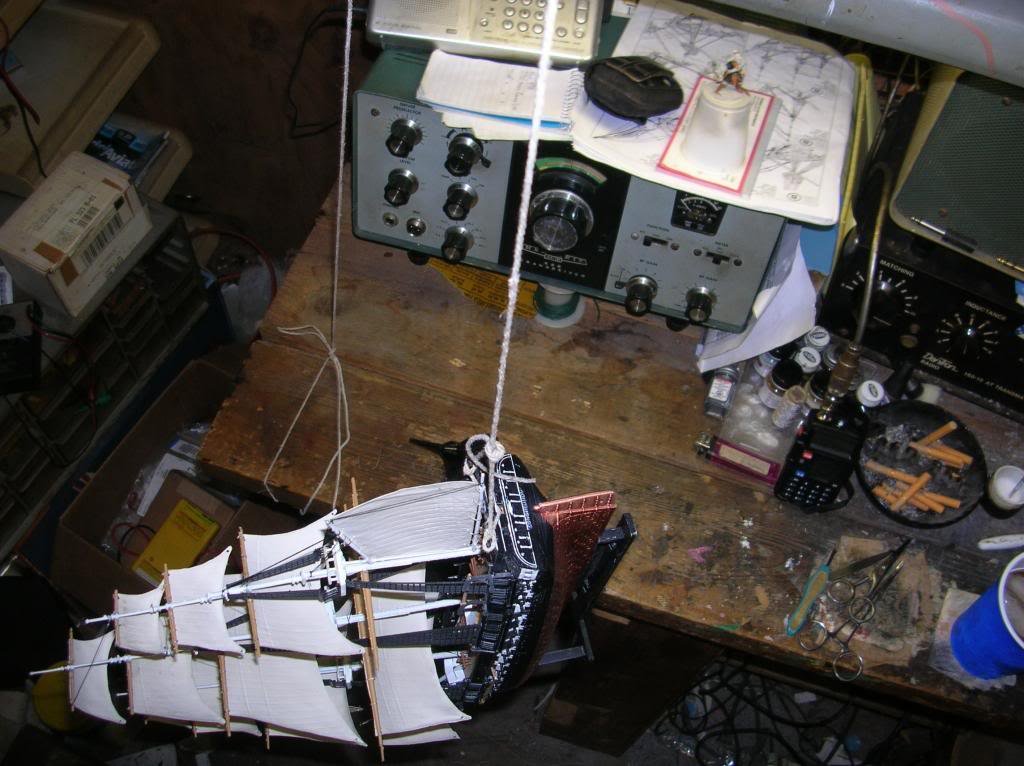
I glued them with model cement, epoxy or even hot glue might work too.
I will let it hang like this overnight, let you know how it works out tomorrow!
ps; Sorry about the nasty ashtray and antique radios

-
I am not a seasoned boat modeler by any means but....
I've been using a dental pick which I heat with a candle, only downside is the candle flame will leave carbon residue which is easy to get on the sails themselves. Sometimes I need to tidy up the holes with a #11 blade used as a drill of sorts. I suppose a tiny drill in a pin vise would work better but I go with what I have.
As far as the order I start with the lowest sails and work my way up. Whatever order gives me the easiest access for tying knots. On that same note I start in the middle and work outward.
- Kimberley and avsjerome2003
-
 2
2
-
Huh end result looks like an over/under double half hitch.
Never seen that one, thanks!
-
Kimberly, here is a thread discussing what I think you want!
http://modelshipworld.com/index.php?/topic/3964-tying-tiny-knots/
The use of rosin is an interesting idea.
-
CA tends to look clunky, leaves residue in un wanted areas, hard to undo, I have been using the watered down elmers for now until I can get a rosin block.
-
Thanks, the pilot boat looks great!
I am surprised there were no comments about my orderly workbench!!
Oh yea catch the "Giant" miniatures in the background, that's another 'hobby' of mine painting miniatures...
Actually that's just where I store my 'stuff' workbench is on other side of the shack, but its not much more orderly
-
-
Very cool many thanks, might I suggest googling "Surgical instrument ties" as "Instrument ties" comes up with a bunch of neckties with instruments on them
Here is a good one I found, Lo and behold I've been holding the hemostats wrong after all these years !!
-
Yea CA has it's uses but I wouldent even consider it for rigging, it tends to leave behind that nasty white powdery looking residue. Besides sometimes you have to undo a knot and you would be stuck.... stuck.. get it?? LOL I crack me up.
-
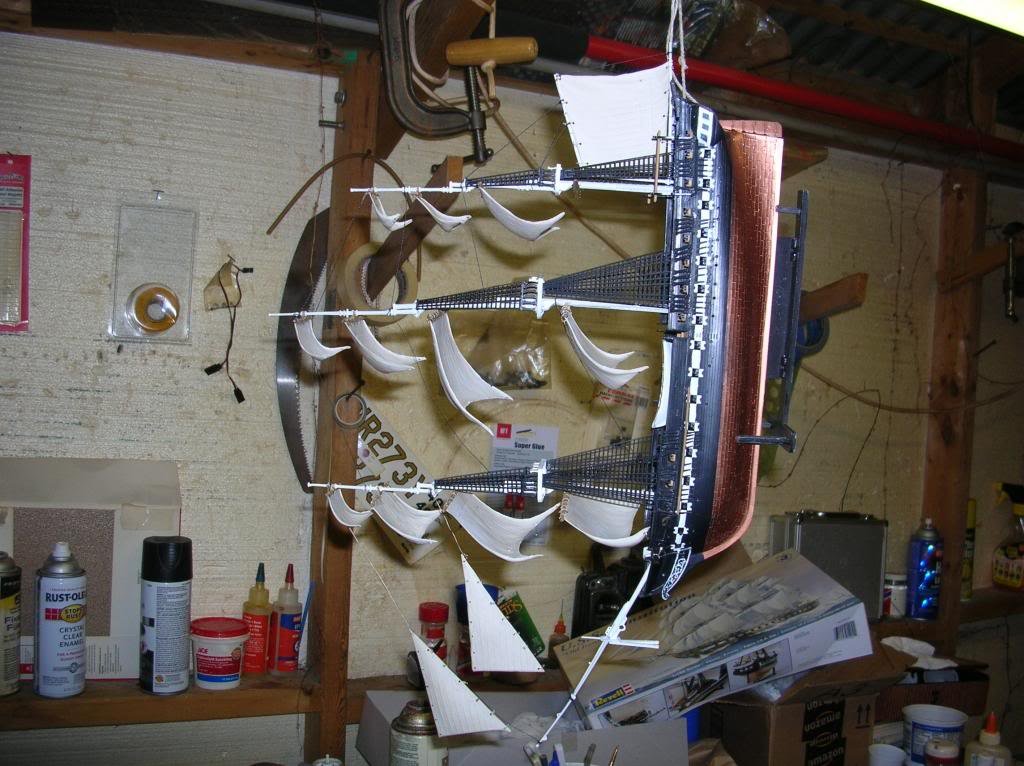
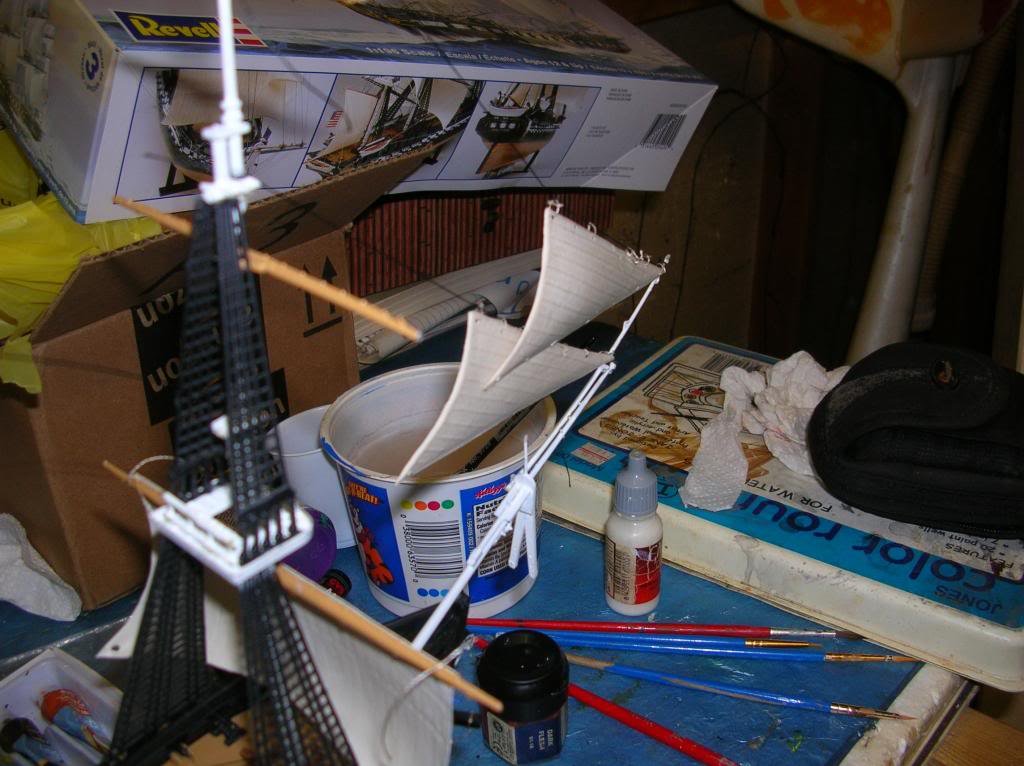
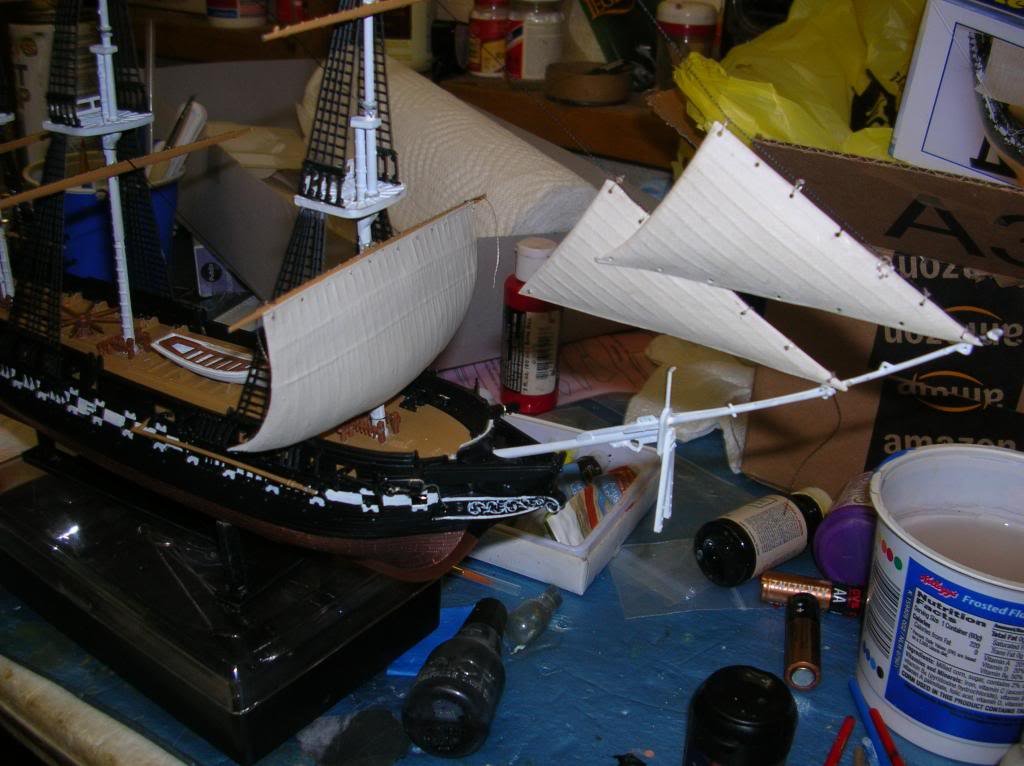
Well I got the jibs hung the right way... LOL looks a little better!
-
Hello again friends,
Topic pretty much sums it up. I know knots, square, double half hitch, bowline, etc. but when it comes to tying them with tweezers I am a bit befuddled.
I also have issues with the knots staying tied.
If you could point me to hints, tips, tools, and tricks I would be very great full !
-
Well I might try some of the suggestions above but since I have a lot of the sails already tied on I'm going to continue down that path.
I will post some more pics soon but need to get a sharp pair of nail scissors. The one I am using now does not cut cleanly and I have a few knots unravel and come apart.
Ive been treating the knots with watered down white glue but they are still coming apart when trimmed closely. I think it may be the thread that came with the kit. Its some sort of synthetic, rayon maybe, It doesent hold knots well even when 'glued'.
-
LOL upside down.... sigh... if you look one of the headsails has holes on both top and bottom. I guess they both will now.
In hindsight I should have gotten two of these kits, I may still order another one and overcome some of the faults at my first attempt.
Yea I think for the mainsails I might be able to glue them into position thought about that.
Thanks for the tips!
-
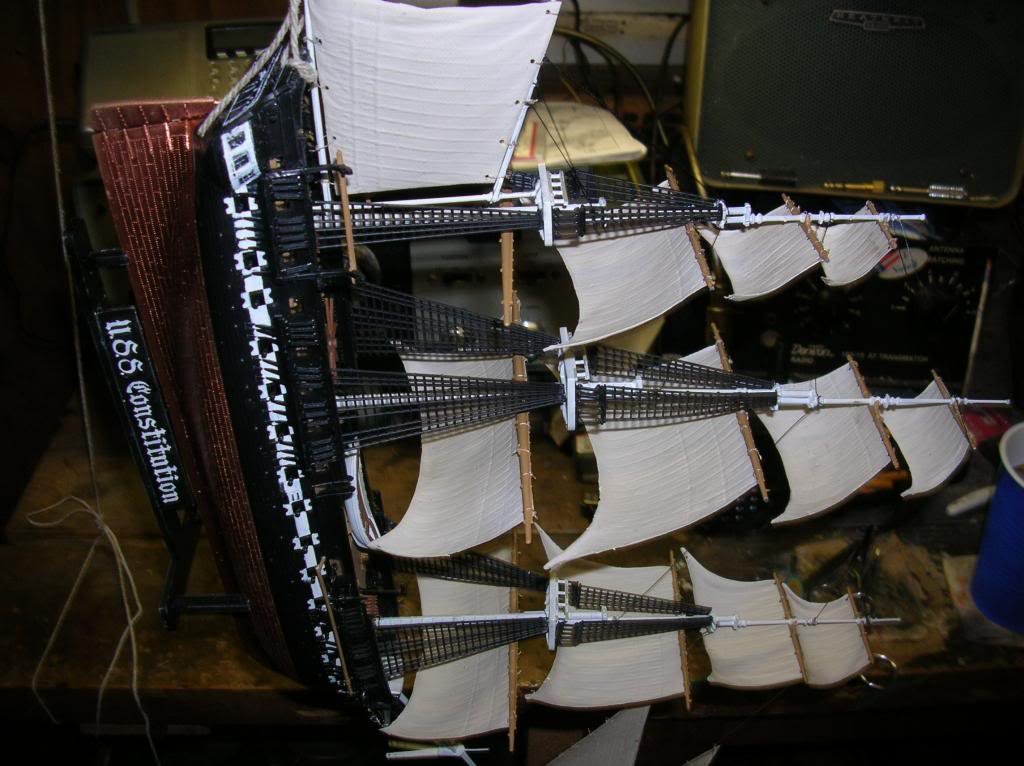
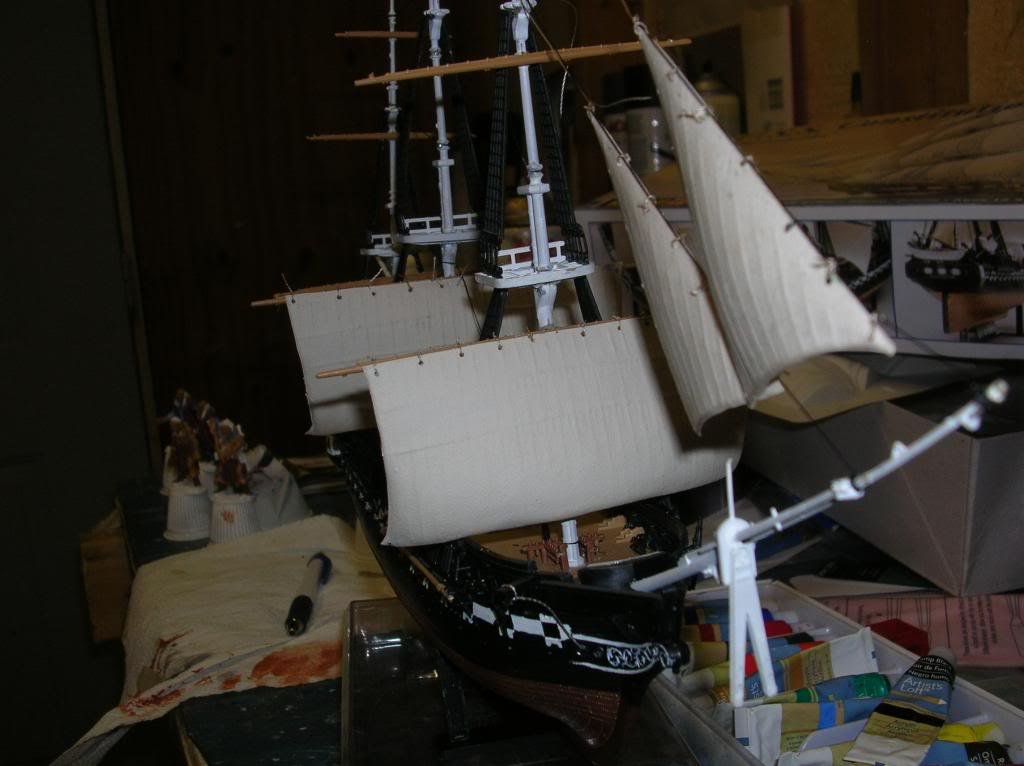
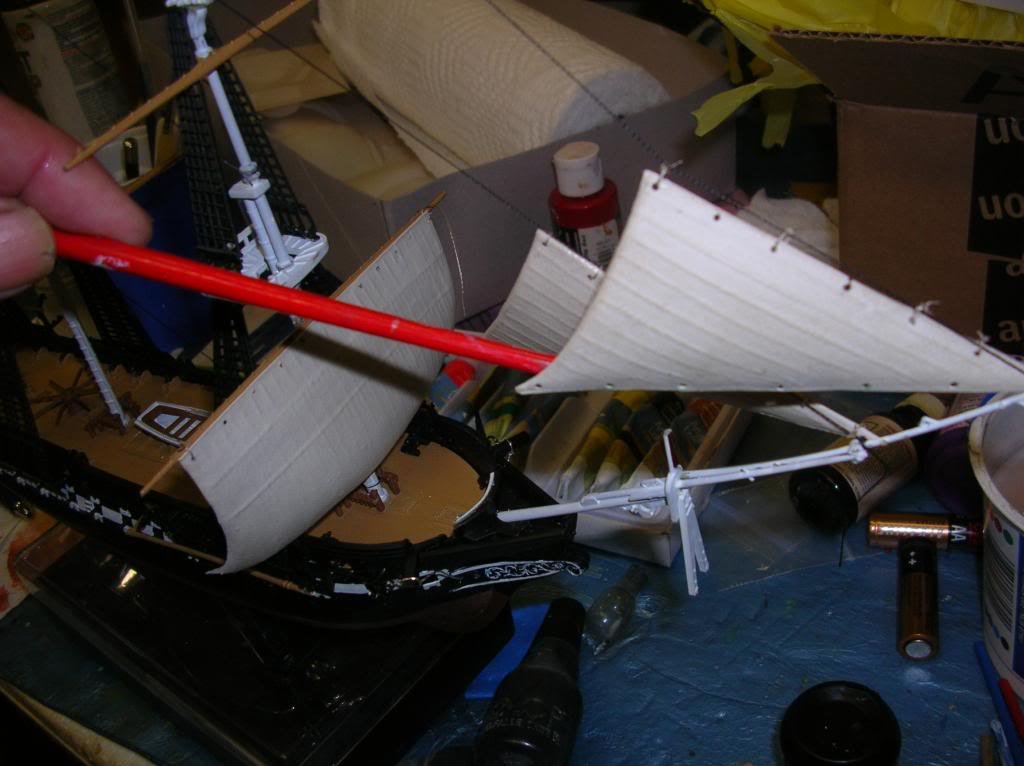
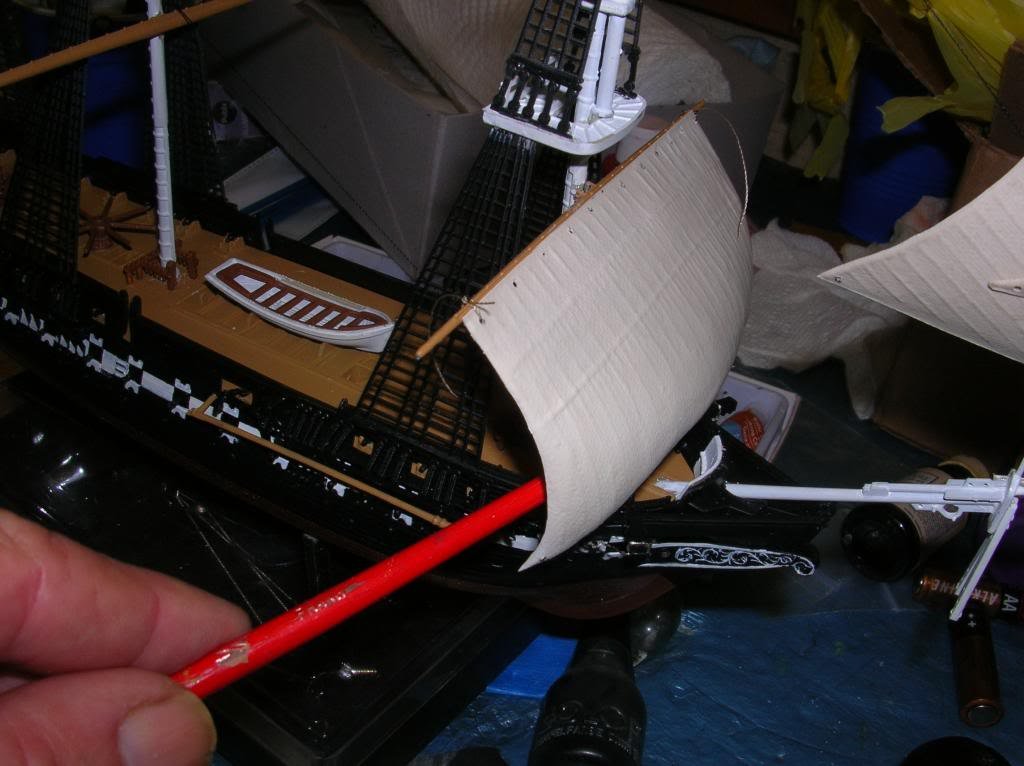
Well the sails are already 'shaped' (vacuum formed plastic) but they just hang and don't look natural. Here Ill post a pic or two...
They just hang there...
I used a brush handle to approximate what I want them to look like...
-
Yea I thought about that but the wire would not really look like 'sheets' is there any 'how to's' here about using fine wire for rigging?
BTW I browsed your build log and it looks awesome. I am especially impressed with the painting!
-
Hello everyone and greetings as this is my first post in these forums.
I am working on a plastic model ship (Revells 1:190 USS Constitution) and things are going fairly well and I am up to the rigging.
I don't really know what I am doing but am making progress.
My question is how to make the sails look as they are 'full' with the wind? They just sort of hang on the lines espically the foresails or 'jibs' they hang straight down with gravity. Is there any tricks to propping them outward as they would be under sail?
Many thanks in advance.
Tom


Santa Maria by Kimberley - FINISHED - Revell - PLASTIC - 1:90
in - Kit subjects built Up to and including 1500 AD
Posted
Congrats on seeing it through! She looks great and the rigging looks fine!!
You did an outstanding job on your build long you should be proud. I will have to do one some day but my Conny is more than halfway done now.
I think we started around the same time but I am dragging my feet
Anyhow congrats and look forward to your next project.!
PS I saw you asked about the crosses on the sails and in browsing around I stumbled over this on Flicker, think you might like it.
http://www.flickr.com/photos/sonypic/4992531237/in/photostream/