Check out our new MSW Sponsor Innocraftsman
×


tongaman
-
Posts
11 -
Joined
-
Last visited
Content Type
Profiles
Forums
Gallery
Events
Everything posted by tongaman
-
Thanks again Ken for the tips. I'll have to pick up some pins and get started. Got a little finish work on the hull first.
-
Ken, Thanks for the advice on the wood glue. What is your method of holding them in place while drying, pins? I started putting blocking under hatches etc then realized they would be attached to the deck and not having to deck around them. I stopped but did put blocks under pin rail location and a few others that would need more support. Will definitely check before deck starts to make sure I got them all, thanks. Bob
-
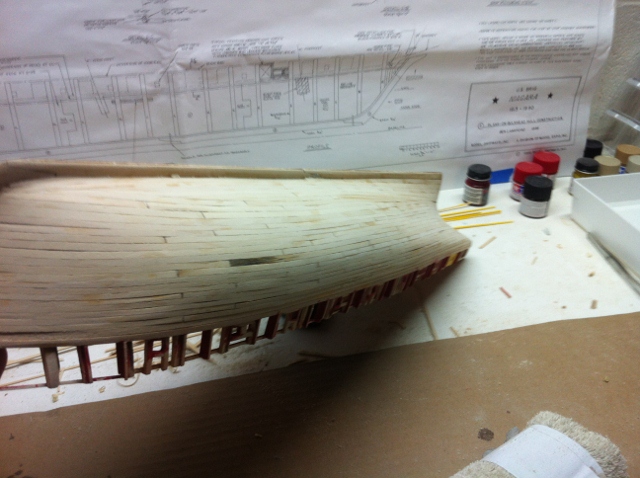
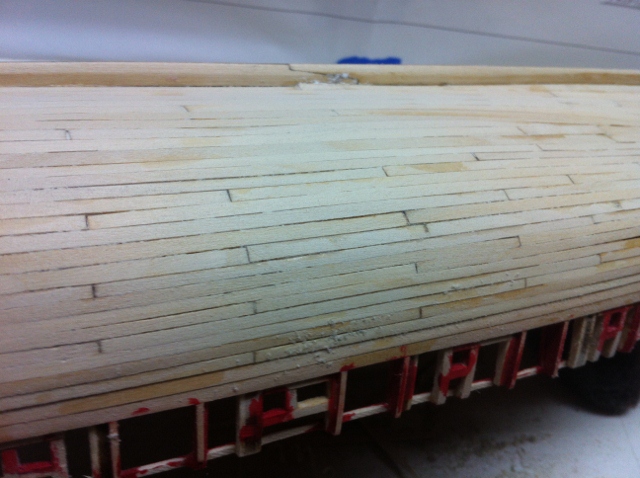
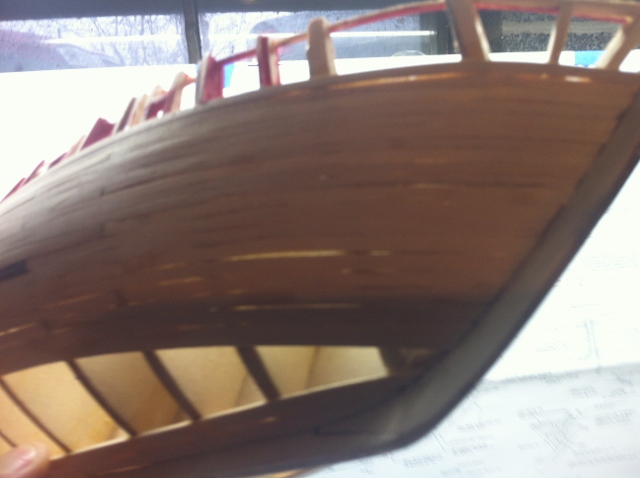
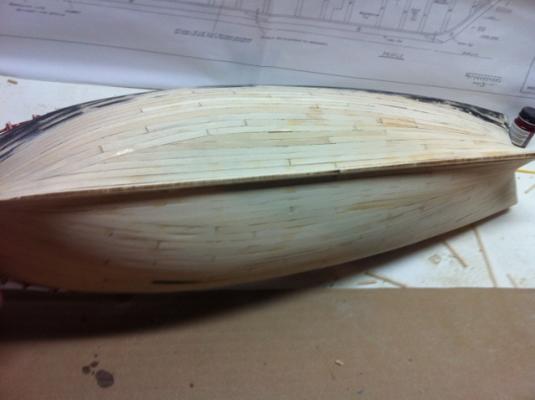
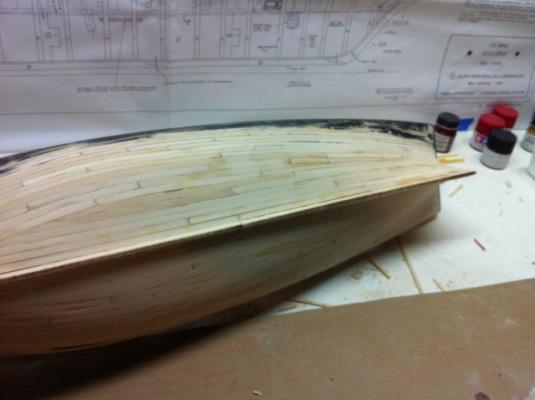
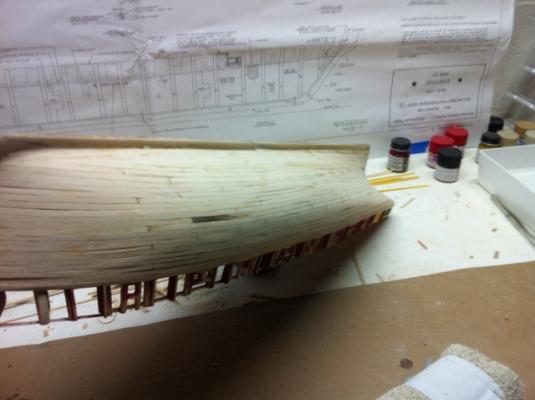
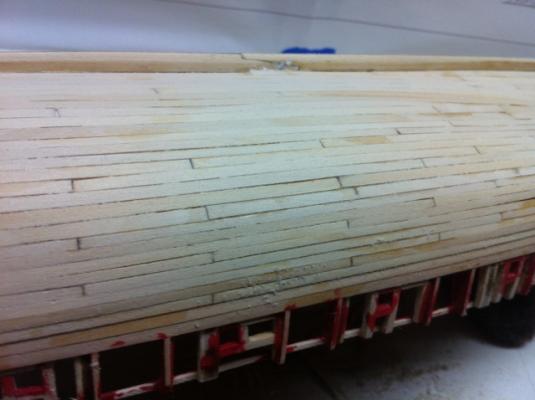
Back to business and planking the hull. As I think I mentioned I didn't taper the planks as an original hull would have been. For this, my first build, I went the easy way out. There were a few little tapers that inevitably need making but it came out fairly well. I gave her a quick sand to get the nasty high spots out and next step is some filler in chosen places. Probably going with some type of wood filler that is thinned out. I want the hull to have some texture like an original ship would and not be absolutely perfect. The hull was planked first as a trial horse for my skills. Figuring that it would be painted and could hide some sins, it came before planking the deck. This will need to be much cleaner and more precise. To get the 'caulk' lines in the deck I was going to use a dark brown artists charcoal and rub on the edges. I haven't done a test piece but that was the thought. I did a test with just pencil on the edge and it was OK but wanted a bit more color. Any suggestions out there on best method? Also I am seeing issues with glue and stain. What is the best approach? It will obviously need sanding so I am thinking it really doesn't matter which glue, CA or wood glue. Bob
-
Bob, Nice job. I see the shaving and tapering of planks really makes a difference. Keep up the good work. Bob
-
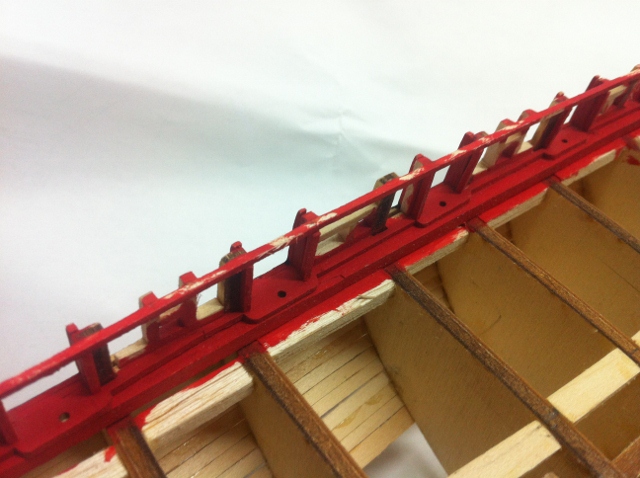
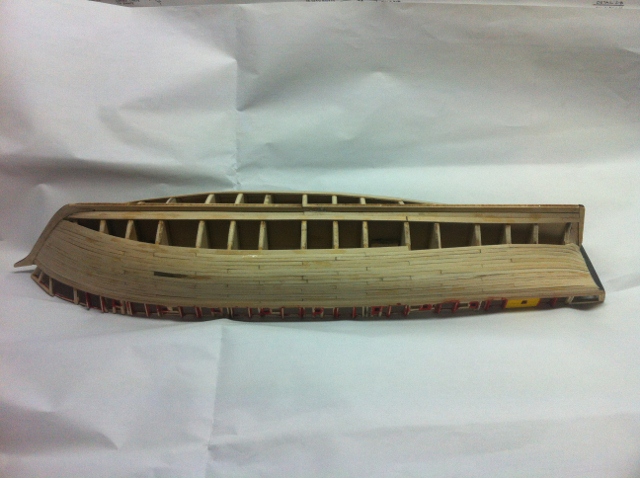
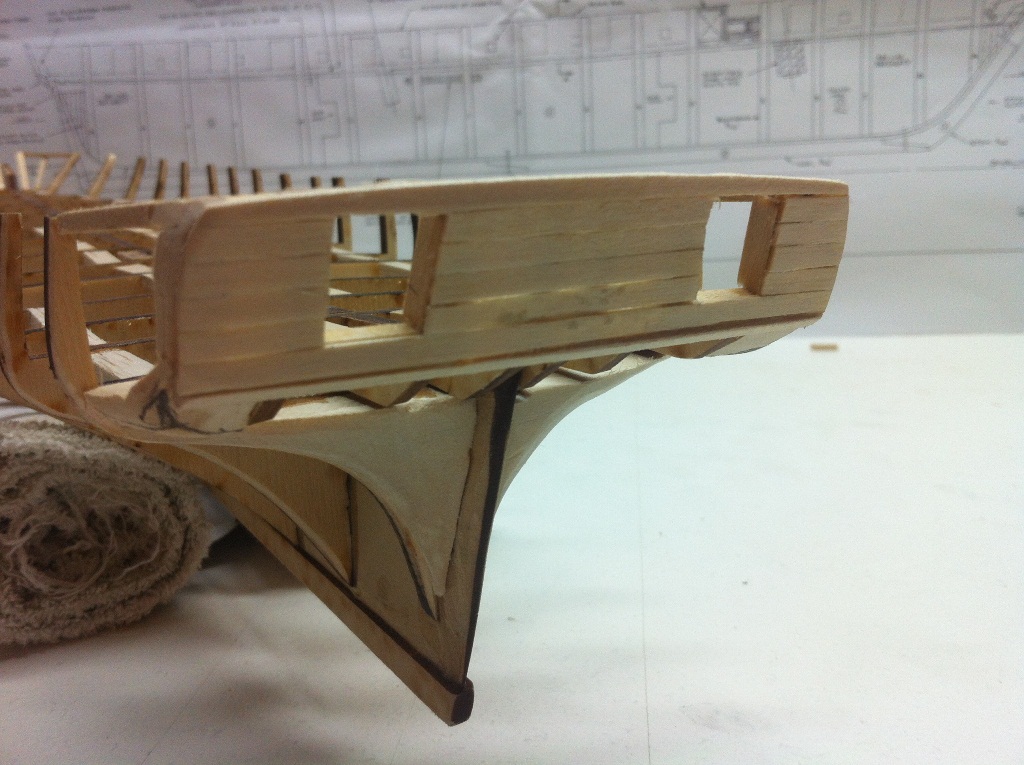
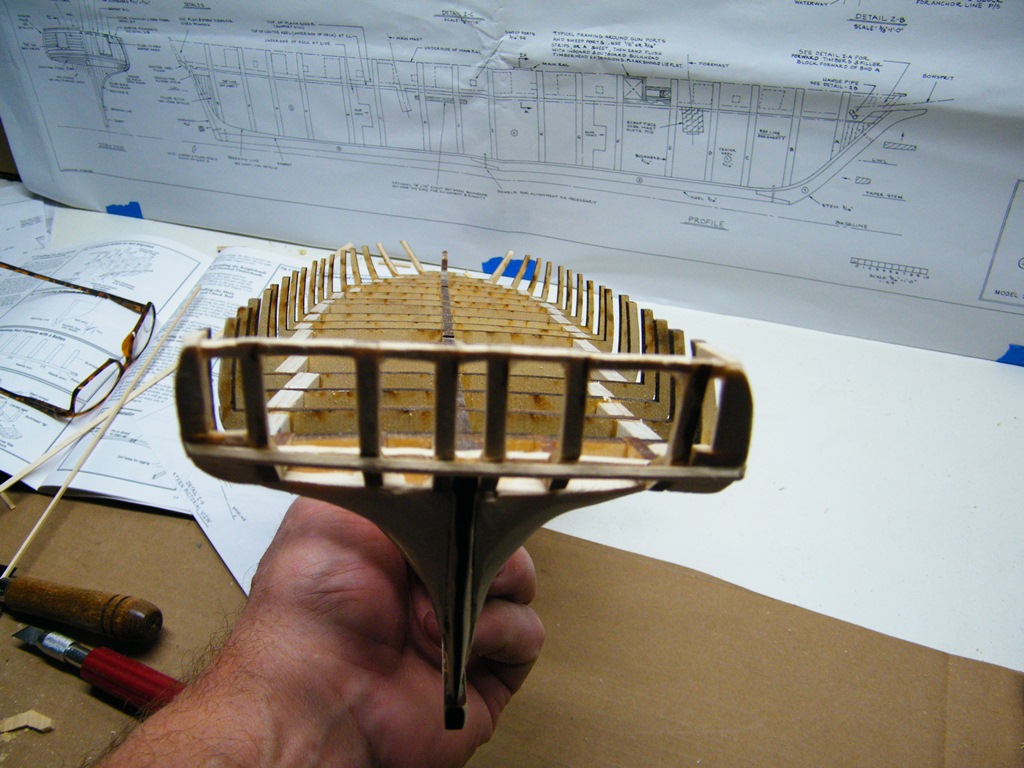
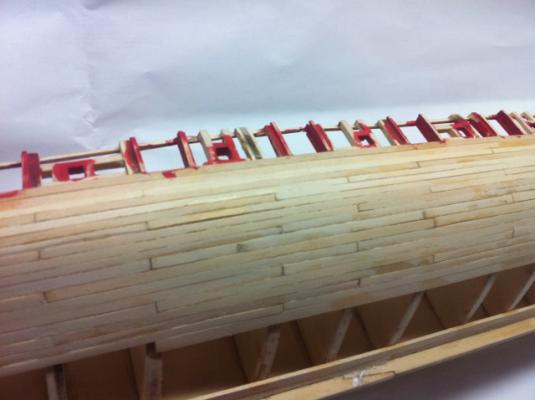
First, I hope all had a great Christmas and look forward to a prosperous New Year. Being my first build and log I have failed in keeping the log updated since I was very busy building and kinda got lost in my work. I took some pictures that should be attached that updates my progress. Highlights include building out the gunports and framing the openings. A little red paint on the waterways and ports and began the planking of the hull. During a break I did the topside planking on one section as a test and to see if painting the planks prior to gluing is better. Absolutely it is. I will need a few coats on them and my hand is not that steady to cut in the fine edges. Santa brought an air brush that I haven't put into action yet but I am anticipating a much better paint job going forward. Planking the hull has been an adventure. I am keeping to the 4 bulkhead rule with the length of the planks and I think it gives it a more authentic look. There are some gaps in the planking that I will have to fill somehow but don't want to use a woodfiller on the whole hull. Having the planks show individually looks better in my mind but the larger gaps will need something. Opinions on sawdust and glue or filler will have to be tested to see what is best. Also I am not following the planking details exactly. This may come back to haunt me sooner than expected as I get to the keel. Boards will need to be shaved and trimmed to fit the rounding of the hull and I think it will be fine for this model since it is only for my shelf. It may pose some challenges in keeping the narrow pieces anchored on bulkheads or at a minimum glued to each other. These questions will be answered after New Years.


-
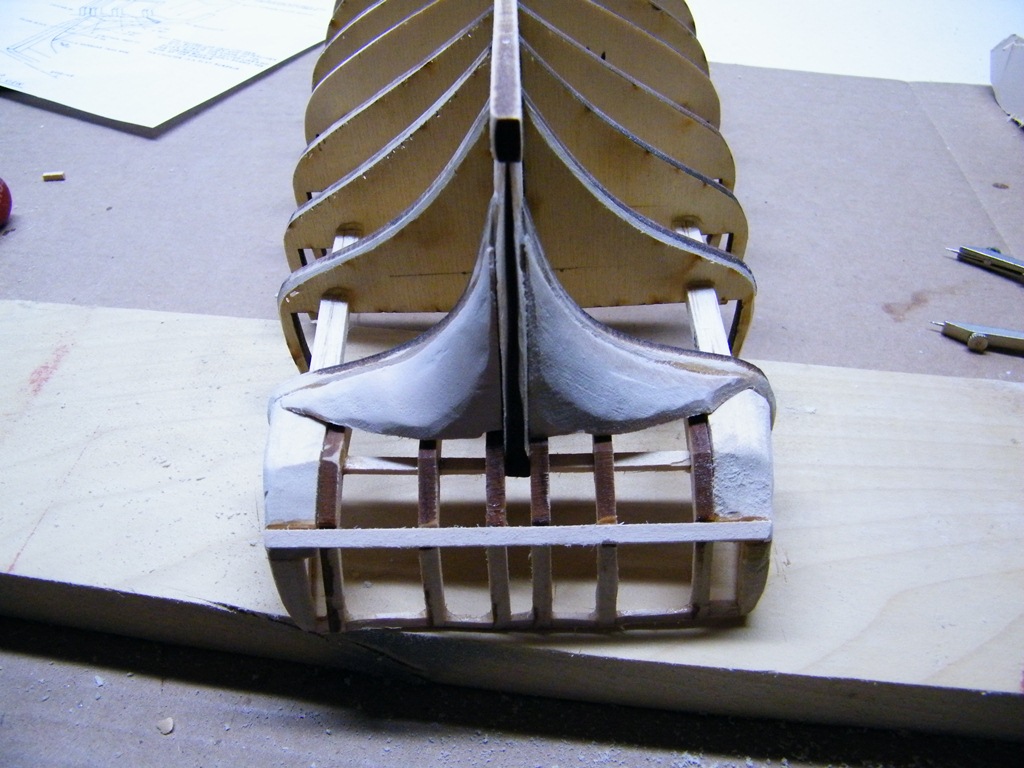
Since the last post I did some finishes to the stern and stern gun ports, planked that portion and did the framing for the bow. The bow spacers came out much better than the stern pieces, probably should have done those first. Blocking for the hatches and one of the masts is started.


-
ZyXuz, Thanks for the tip, I resized but one by one, for some reason it wouldn't allow me to batch. The pics are attached. I took another look at the stern and it will definitely need reshaping before planking. A little more work but very doable.


-
Sorry for the lack of pictures, my camera takes huge fine pixel picture and I'll have to figure a way to make them smaller for uploading. Tips anyone?
-
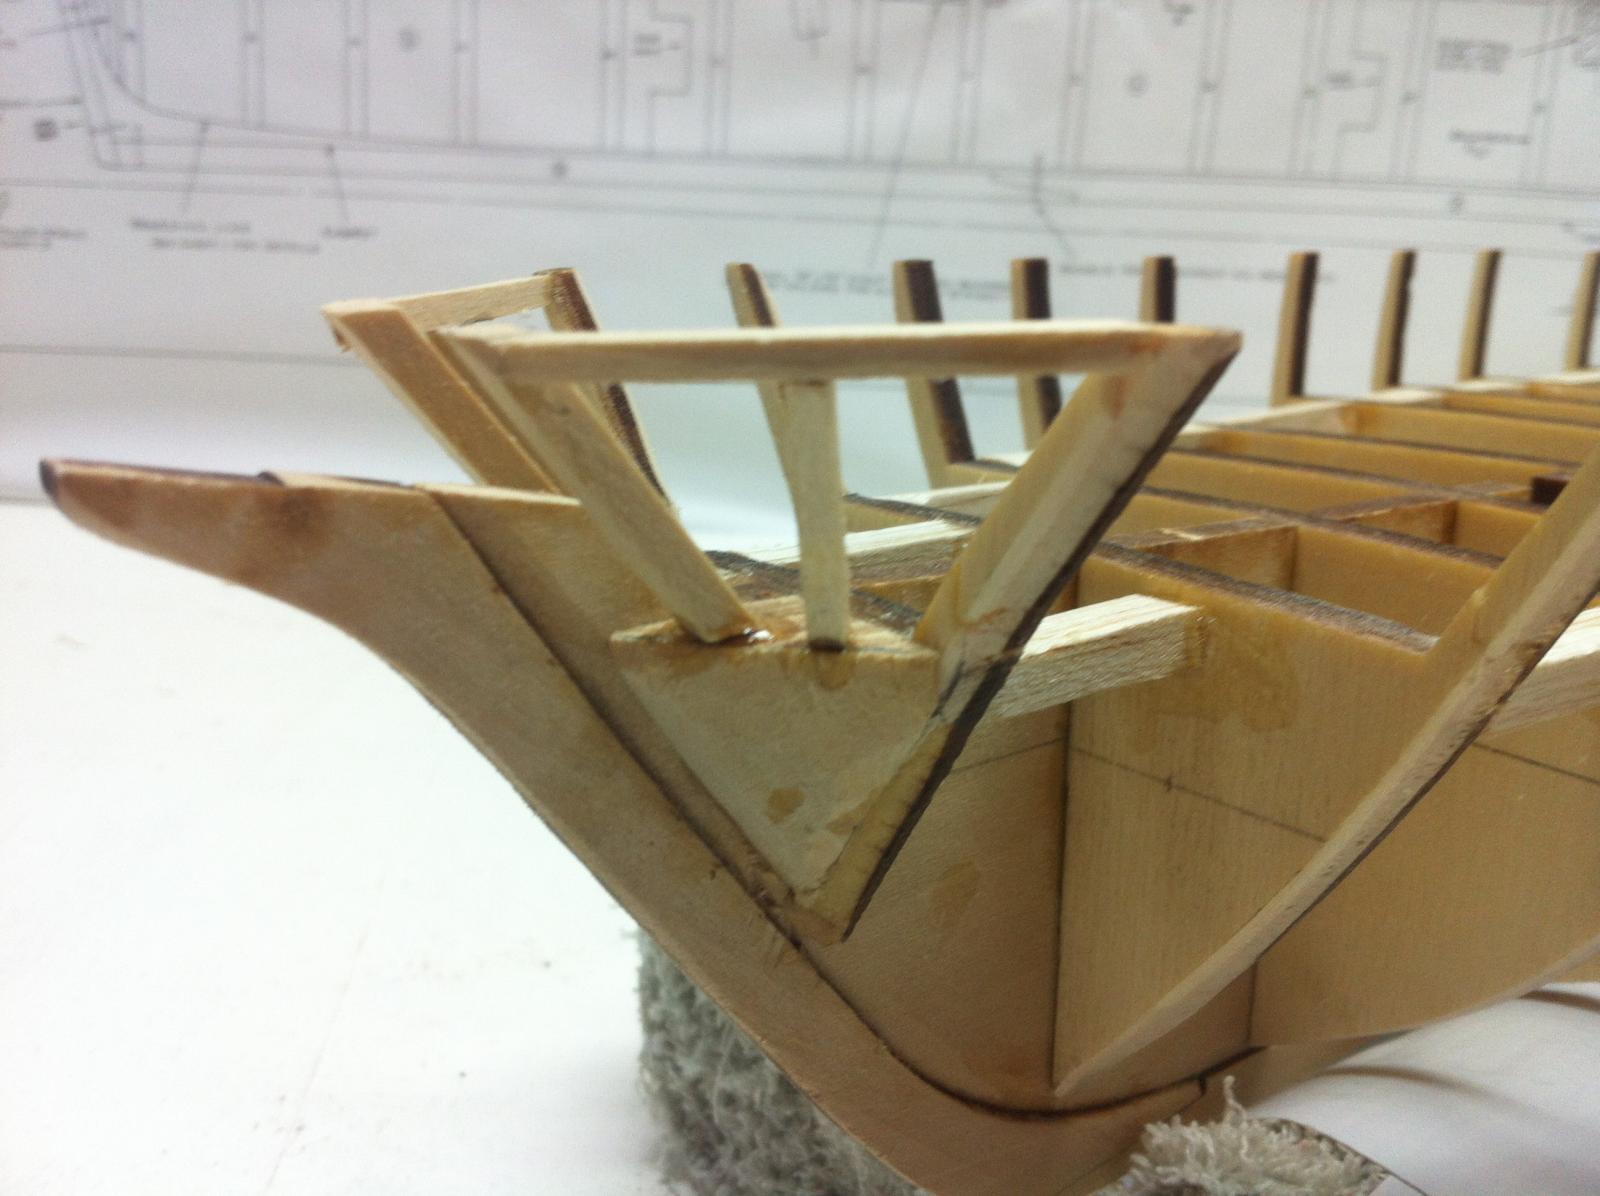
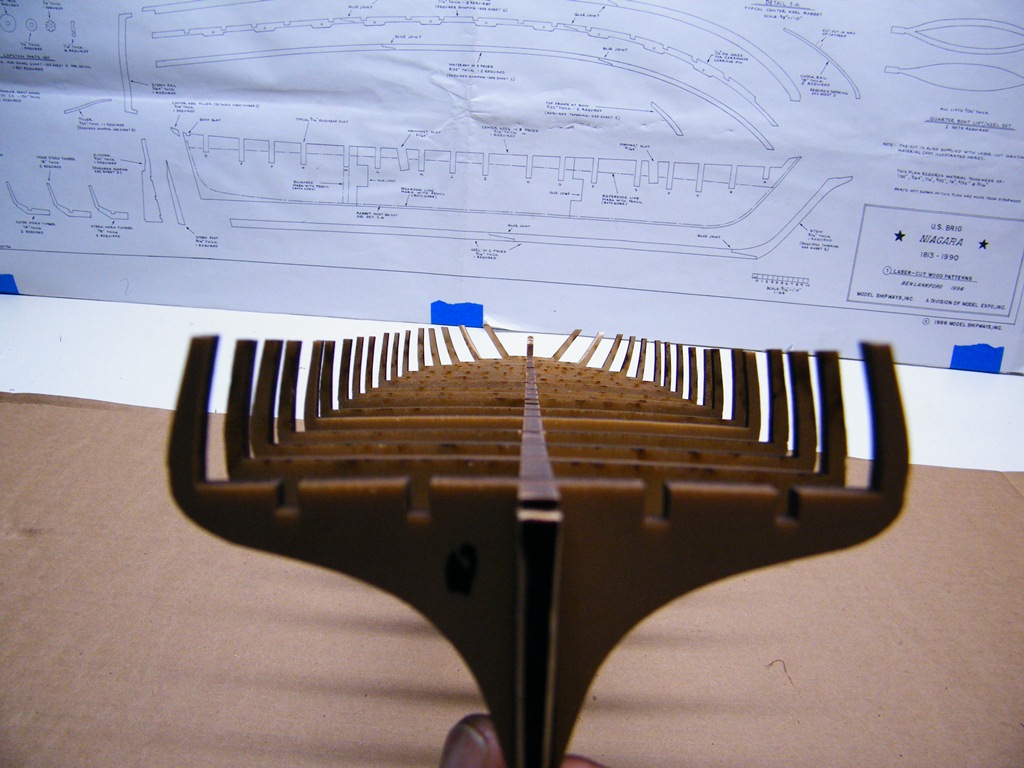
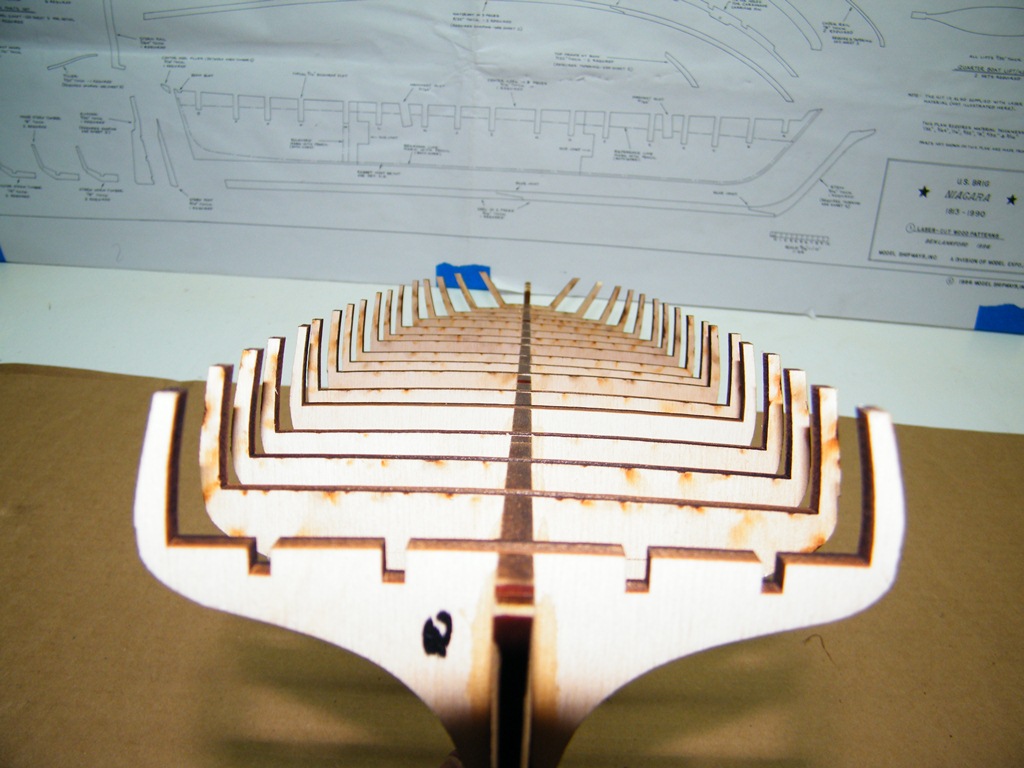
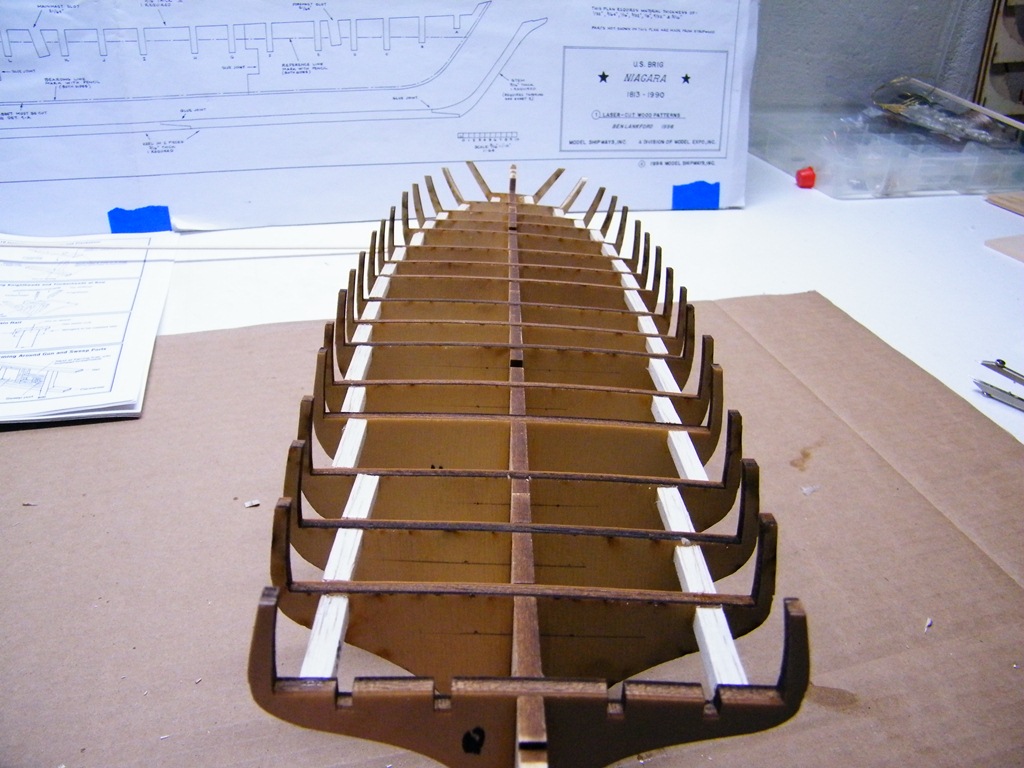
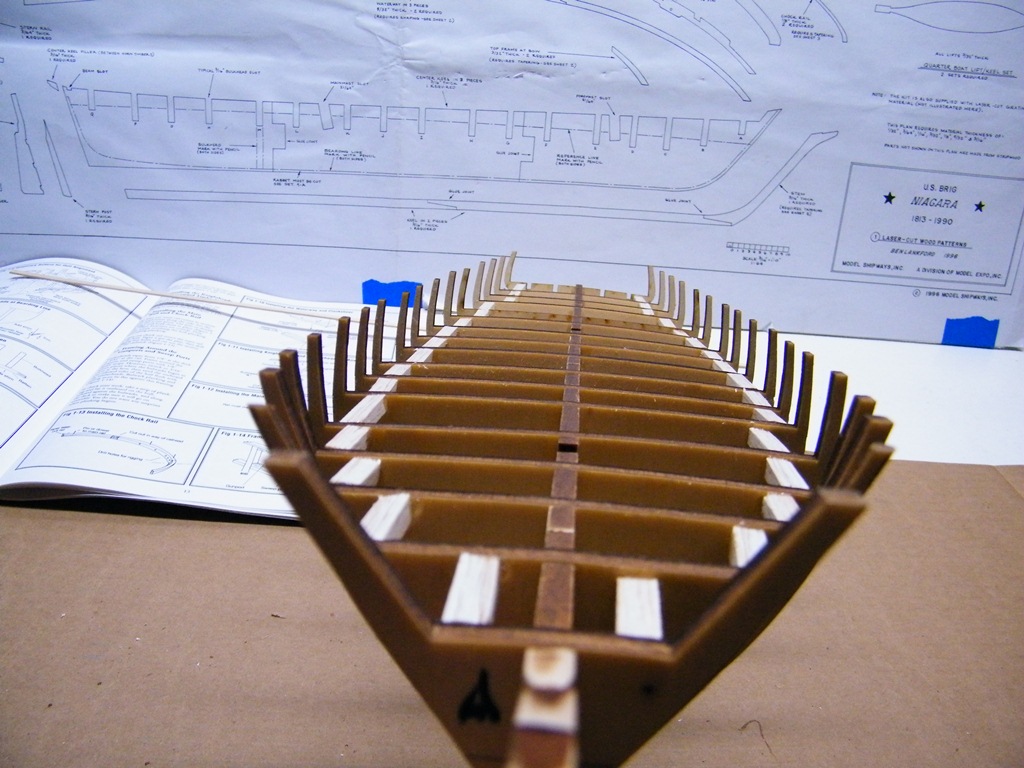
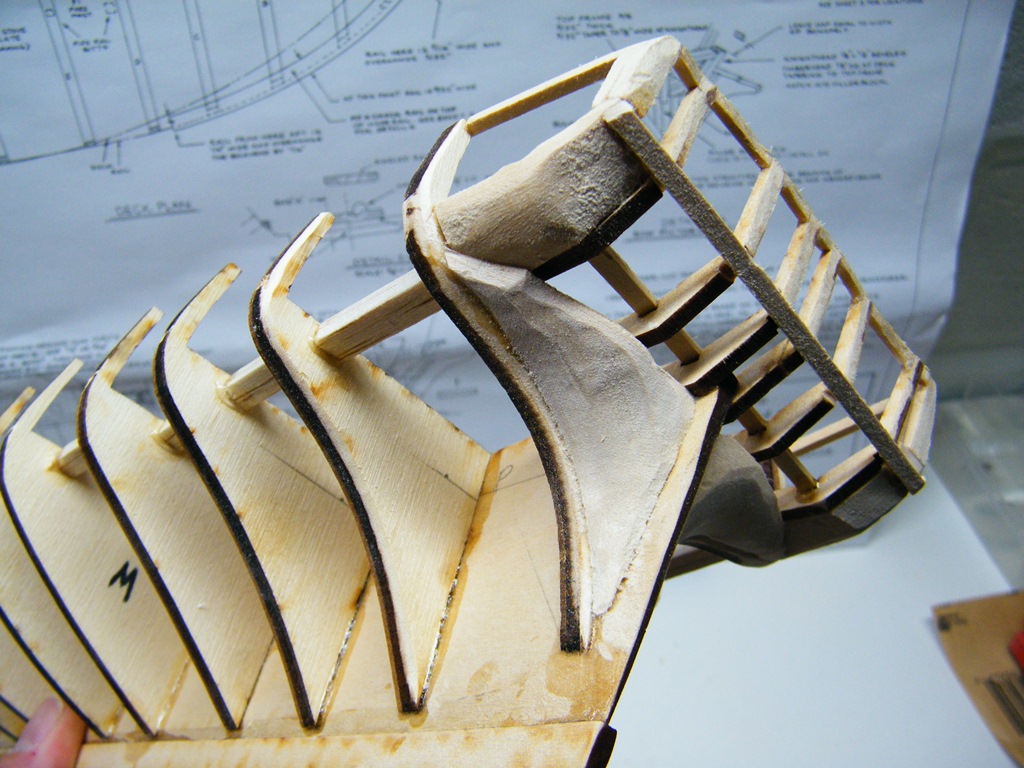
This is my first venture into model shipbuilding after building some RC sailboats and it will be a challenge. I started the build after reviewing a lot of the others here on MSW and I want to thank all those builders for some very good tips. Not only did it help in starting but made me realize that anything can be done. You see I am a perfectionist with only an apprentice skill, a struggle that will need to be tamed throughout this build. I built a rack for the wood after a great tip by greatgalleons and that made the workshop very manageable. Then on to the keel, bulkheads. So far so good. The stern stanchions gave me some trouble, not in attaching them but keeping them from getting broken. I snapped 4 of them in rough handling and sanding. After walking away, very ticked, I reset the next day, did a little repair work and began the stern fill blocks. As some of you have said this 3D work is a little challenging but I got through it. There will definitely need to be some infill between the pieces to make the transitions smooth since the repairs were a tiny bit off kilter and my fill blocks not perfect. DSCF1445.pdf
-
AJ I dove in this morning on the stern and noticed a couple of misaligned pieces. In the next 5 minutes i managed to break 4 of the stern pieces! I think I need a gentler hand and more power tools! Walked away to rejoin the fight another day. Aargh! Patience is a virtue I am getting my arms around. This may be a longer build than I anticipated.
-
Hi greatgalleons, I just picked up the Niagara and have started my own build, hoping to post it soon. Your build is going great, I hope mine comes even close to the great work you are doing. This is my first build of this sort, have built some RC sailboats in the past. The one thing that strikes me is your go get'em attitude and for not following directions all the time, that is generally my strongpoint/weakness. I've gotten the bulkheads in and working the transom area and your log has been a grat help as have others here. Thanks and I'll be watching.