shane762
-
Posts
36 -
Joined
-
Last visited
Content Type
Profiles
Forums
Gallery
Events
Everything posted by shane762
-
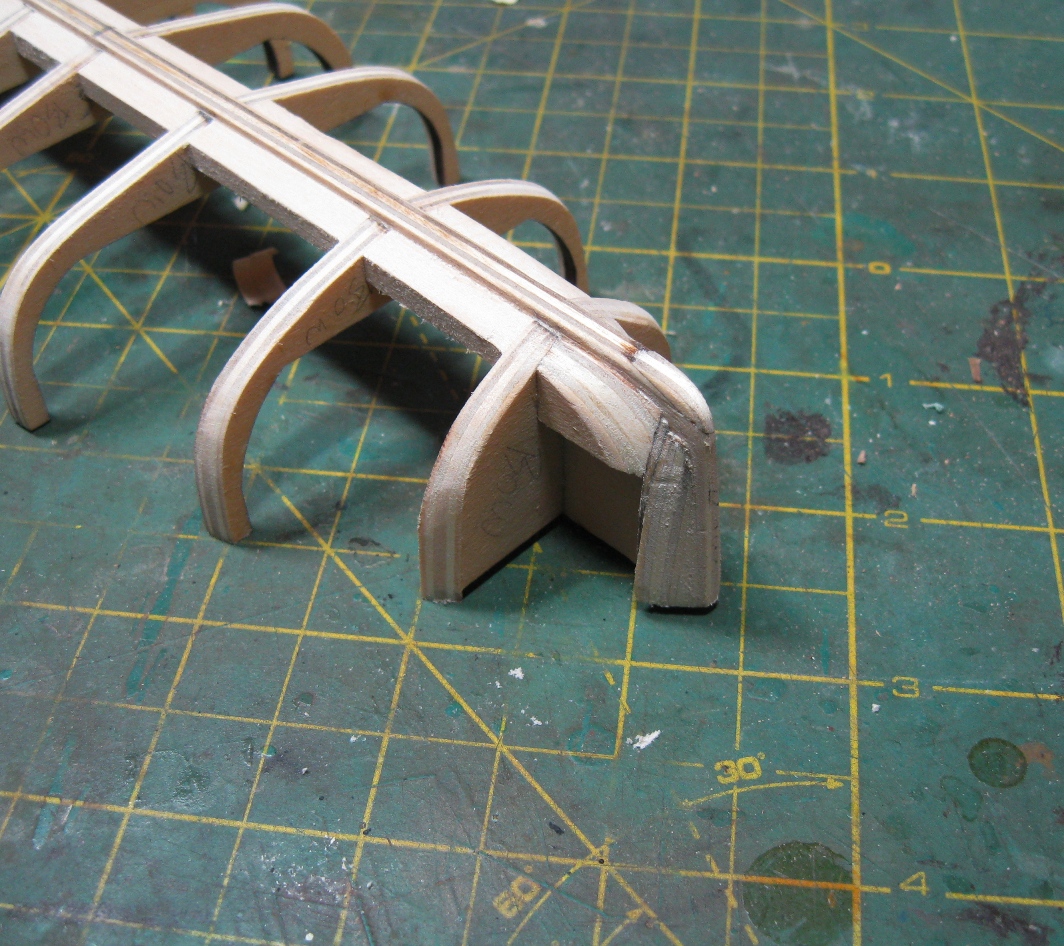
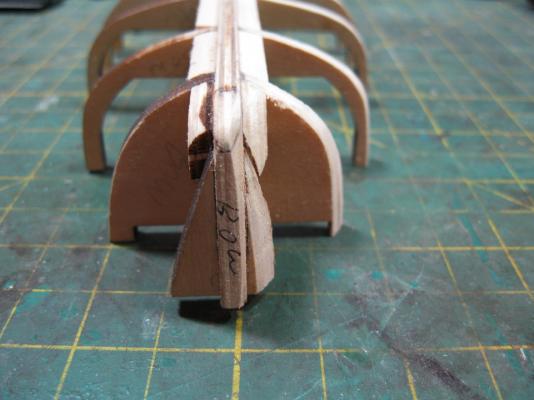
 So the frame is fare. Or at least a lot more faired than when I started. I'm a little nervous that I don't have the contour of the stem and stern quite right but I'm pretty sure I can work with it. I've also cut the keel pieces but as I said before I think I'll leave them off until the planking is finished. The next thing to do is to start fitting the garboard strake. It's certainly a more straightforward fit than on a larger vessel but the wood strip the kit came with is thick. 1.5 mm thick. If I was so cheap/broke I'd pony up and buy some new wood but I'm going to see how I can make out with these. Looks a bit like a fish skeleton
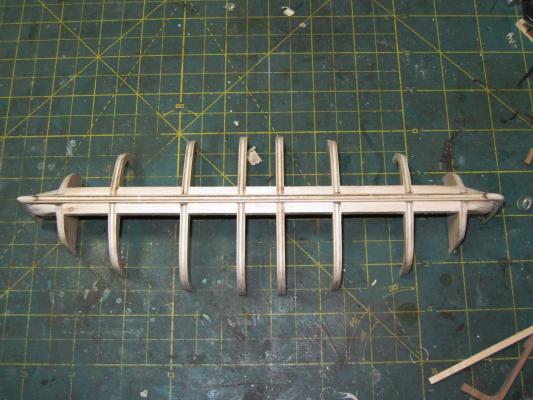

-
I like the pictures taken before the glue starts flying. My first wood ship build was a Model Shipways Skipjack. They make some great kits and it looks like you're off to a great start. This kit is top of my list for my next build. Well this one or the Amati HMS Vanguard. Of course until the Admiral and I find a house with enough room to swing something that size around in I'm having to stick with smaller builds. Good luck.
-
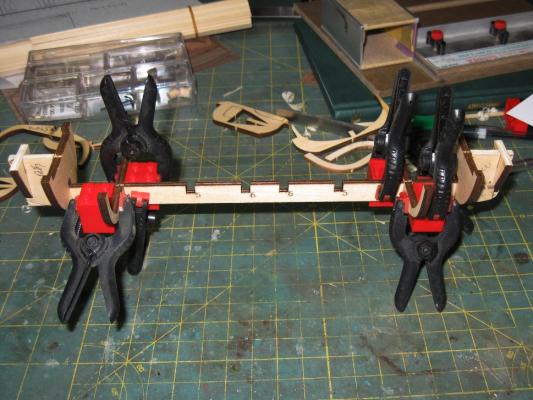
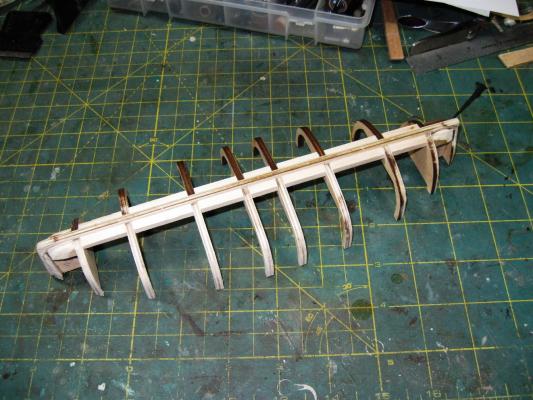
So after tinkering on the boat through the week I've managed to assemble and reinforce the frame. Even using Legos I still managed to glue up a couple of the frames cockeyed but some alcohol and patience and they were fixed. Now I've started fairing the frames. It's proving to be a bit trickier than fairing the frames on my last build, the Caldercraft badger. I think that I needed to redesign the bow and stern frames a bit more before I glued them up. Still, they're coming along. I want to get everything pretty well faired before I add the keel and stem and stern posts. . Once I'm just too likely to break them off half a dozen times if I don't wait. It does make it harder to visualize how all the planks are going to come together without it though. I've largely decide to mark the boat as number 14. I've always found fascinating the story of Officer Lowe and his return to look for survivors. Of course the only difference between it and any of the other boats will be the very small numeral 14 on the bow and the stern. I am thinking of recreating a small area of deck and just the edge of the Titanic's hull to serve as the display stand. I had also considered scratchbuilding the davits but I decided I didn't want to go quite that far.
-
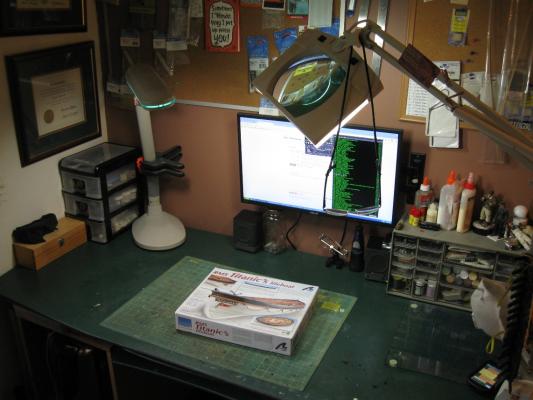
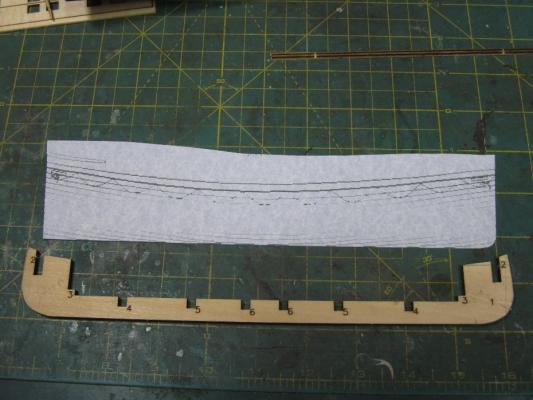
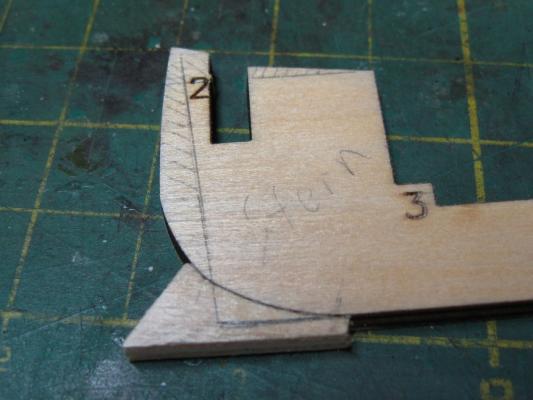
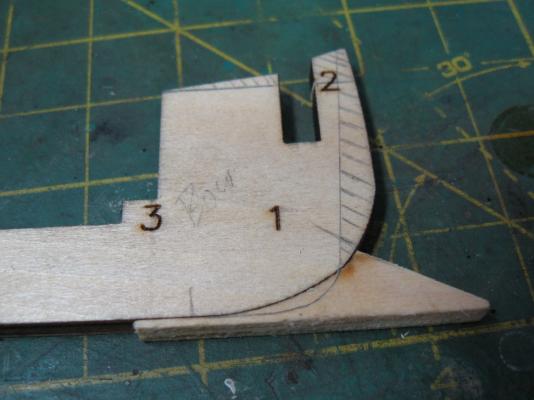
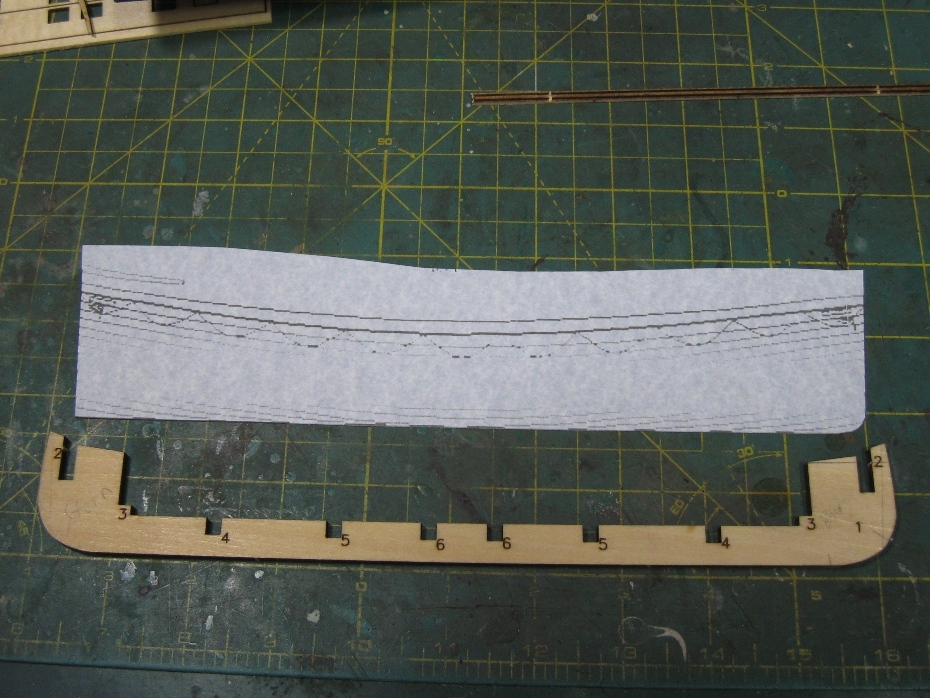
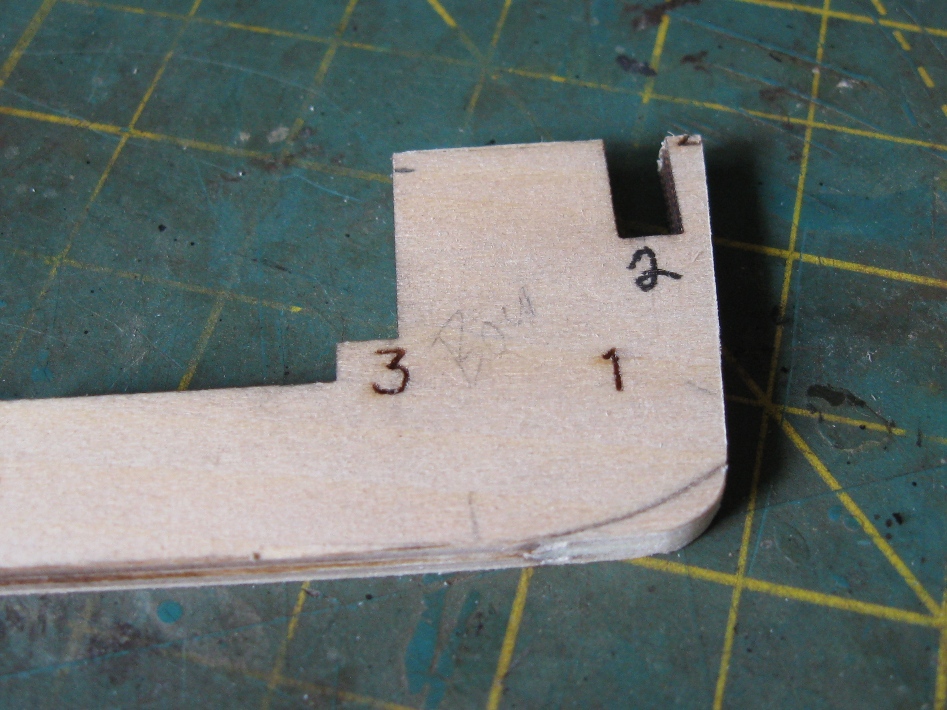
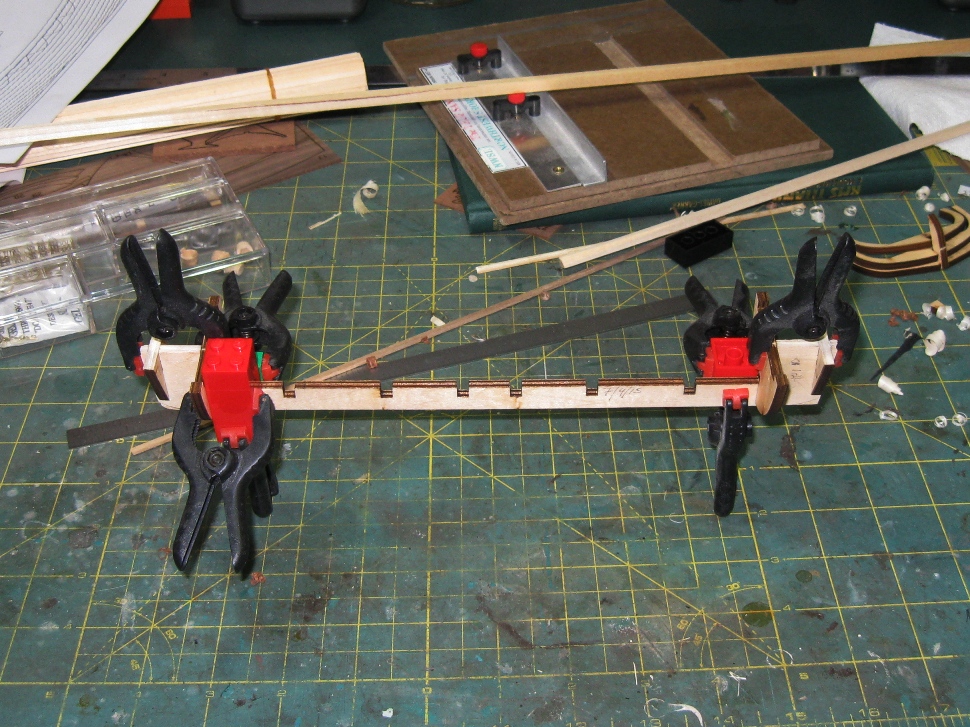
So this is the beginning of my first build log which will cover my third wooden ship (well boat in this case) model. I’m building the 1:35 Artesania model of the Titanic’s Lifeboat. I’ll be modifying the kit quite a bit because as Monkeyman discovered in his build of the same kit, Artesania’s model is more “inspired by” than a “model of” the craft in question. Speaking of Monkeyman’s build: I already owe him a great deal of thanks as he found and pointed out some of the biggest errors in the kit so before I even opened the kit I was able to start planning some corrections. A lot of the beginning stage will just be me copying his good work I hope he doesn’t mind. My desk not having any idea of the devastation about to hit it. The contents of the box laid out for perusal. I printed out to scale a side view of the boat on heavy paper. Here it is to compare with the kit’s internal keel. They should look pretty similar but don’t. The kit piece is too long and the wrong shape. Here are the bow and stern with extra material added and excess material marked to be cut away. Here is the bow cut to shape. Two of the frames clamped and glued in place. I’m using legos to make sure they stay good and square. The next night was a two steps forward one step back sort of thing. Once I removed the blocks and clamps I realized that I had set one of the frames catawampus. Once I fixed that I set two more frames and now I'm calling it a night.