Search the Community
Showing results for tags 'chinese'.
Found 2 results
-
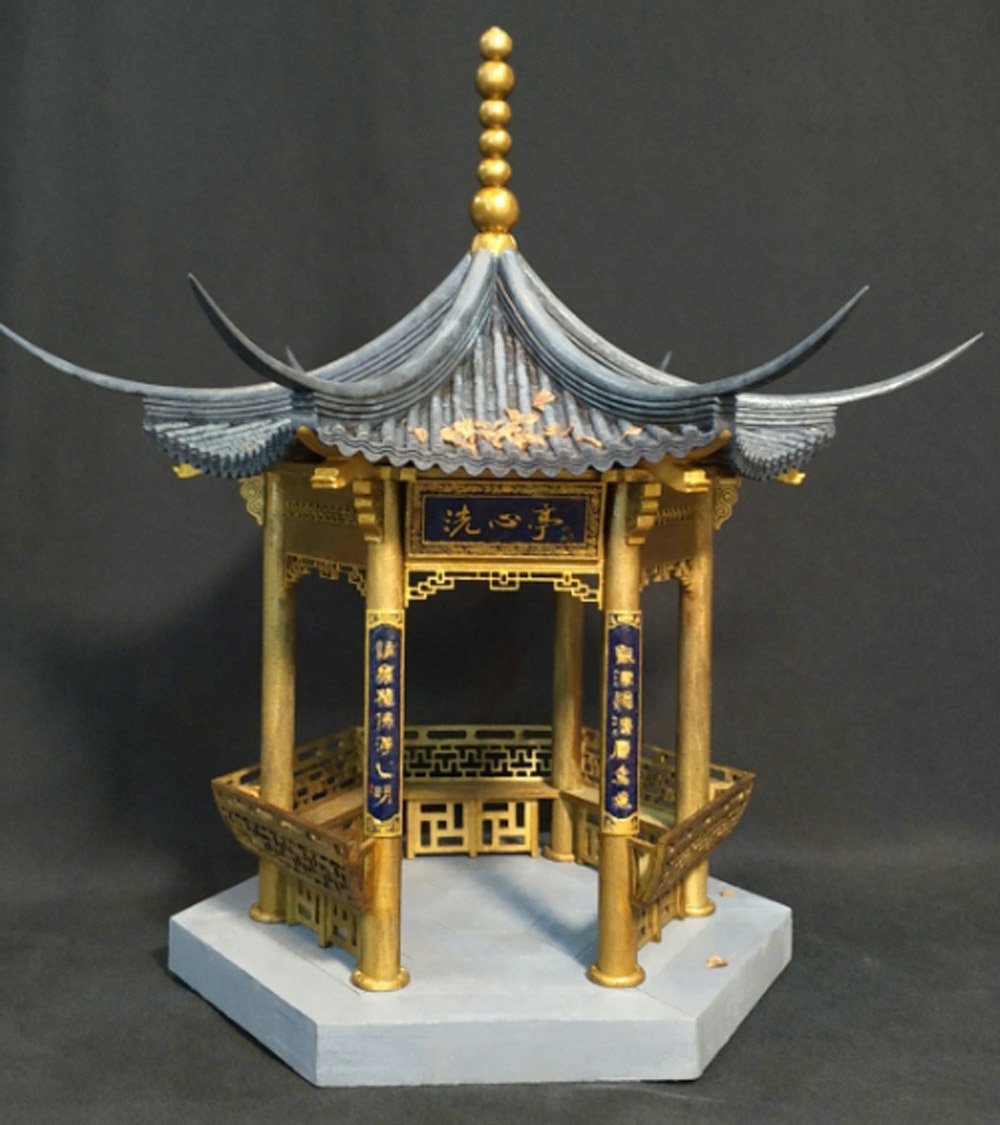
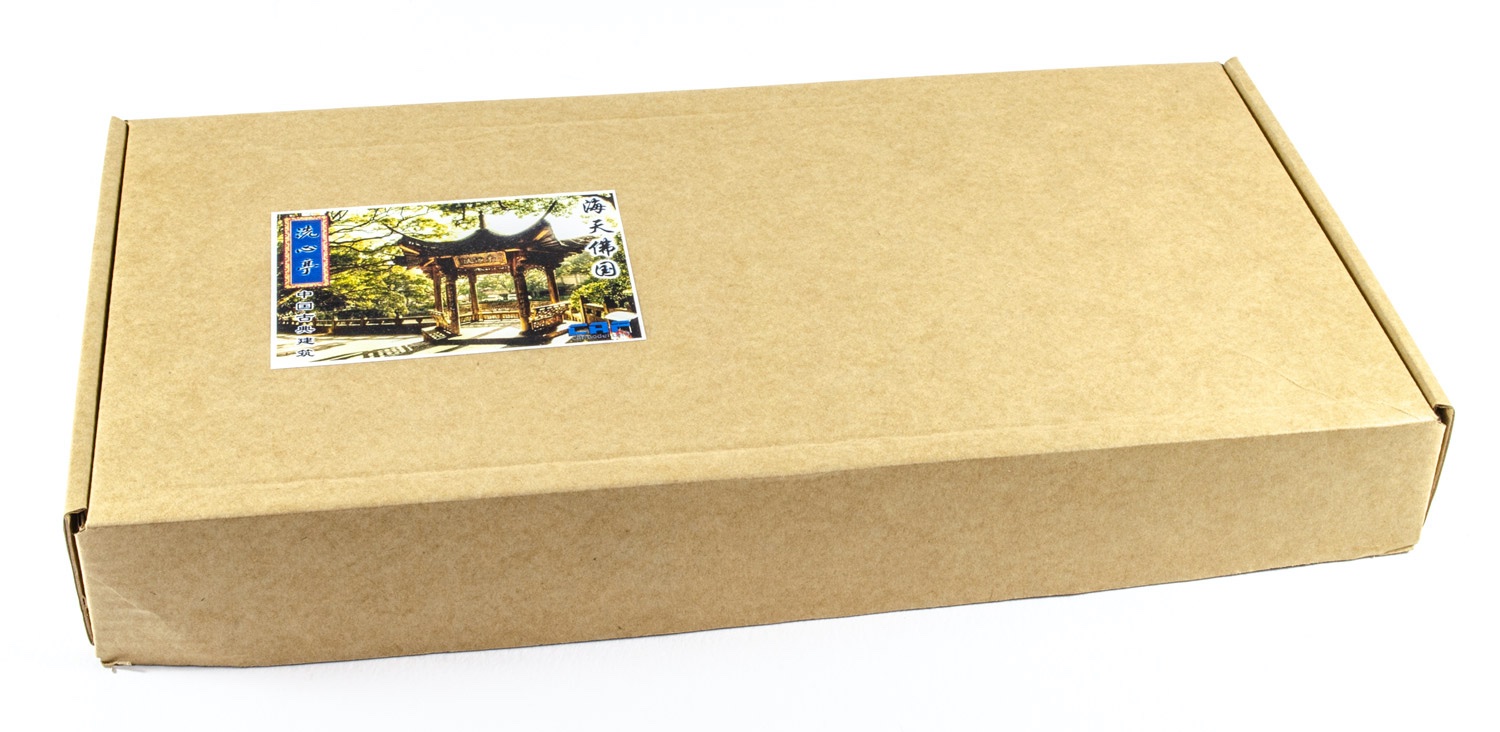
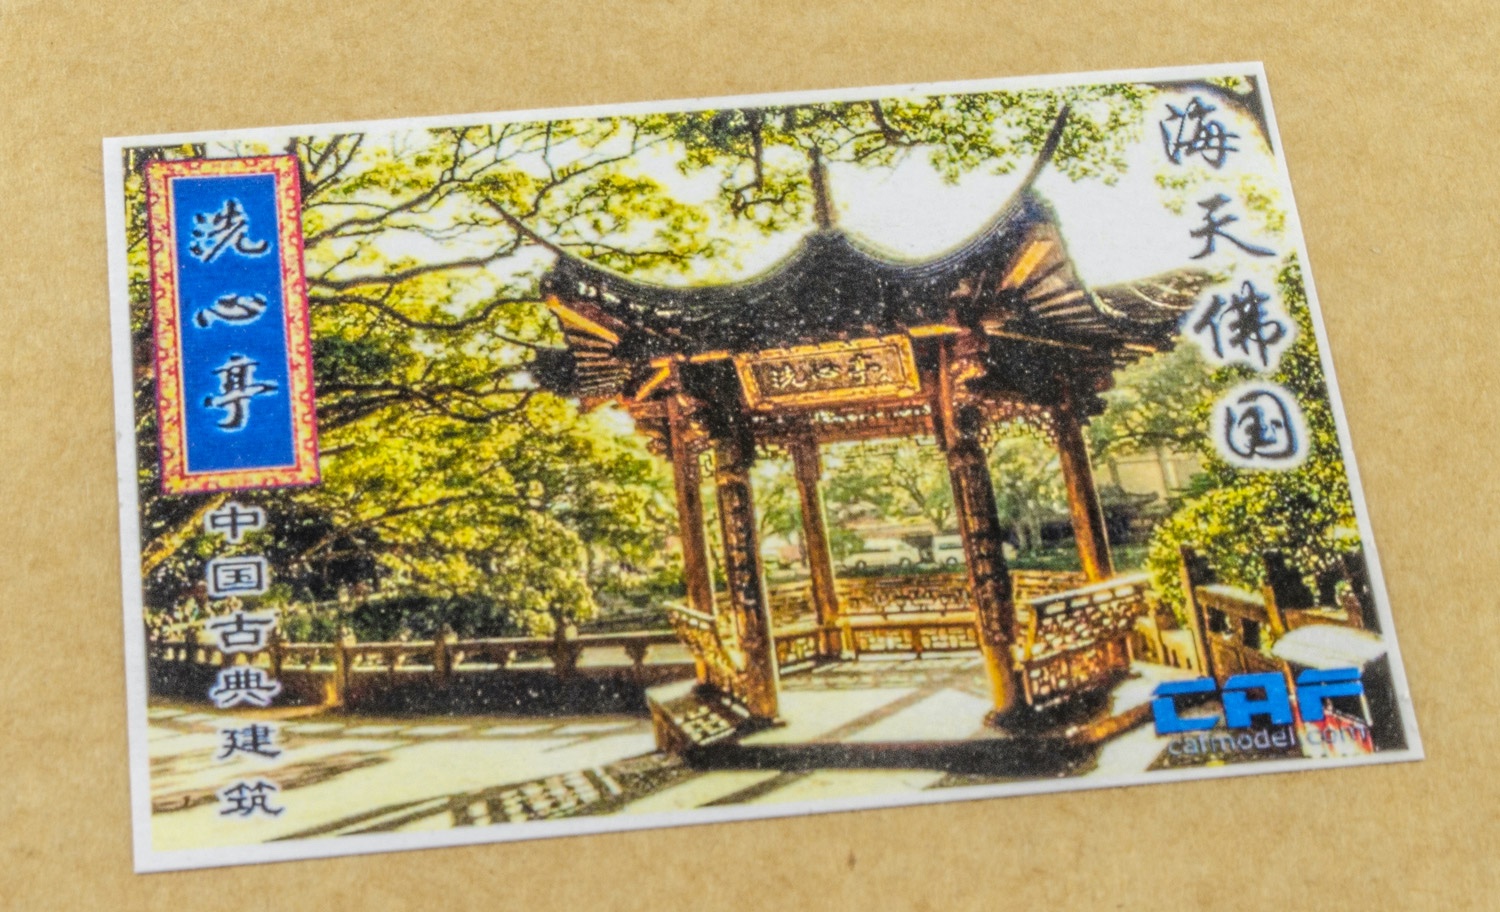
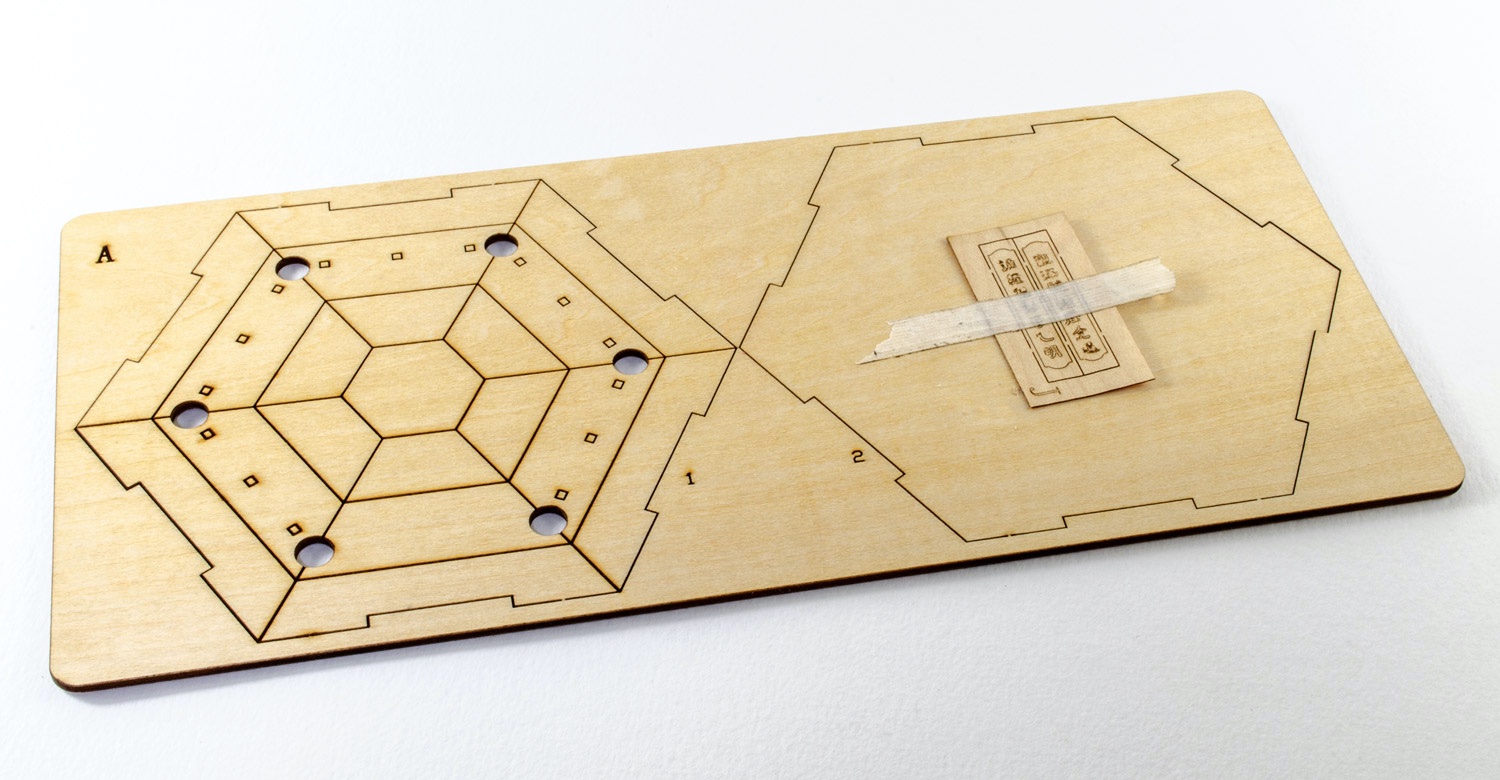
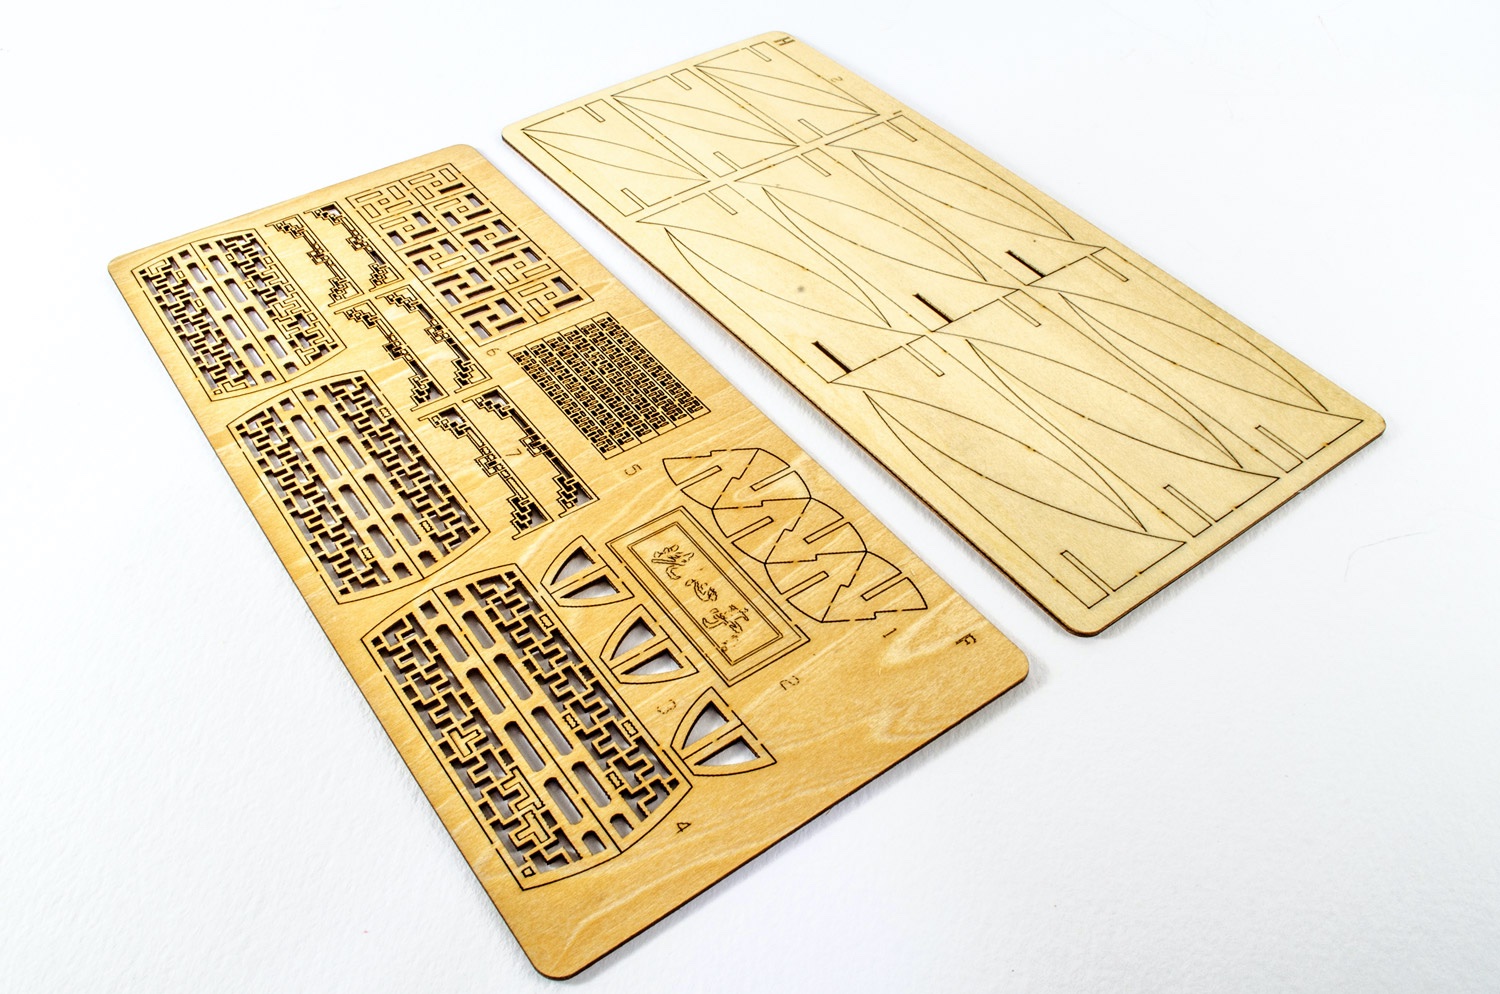
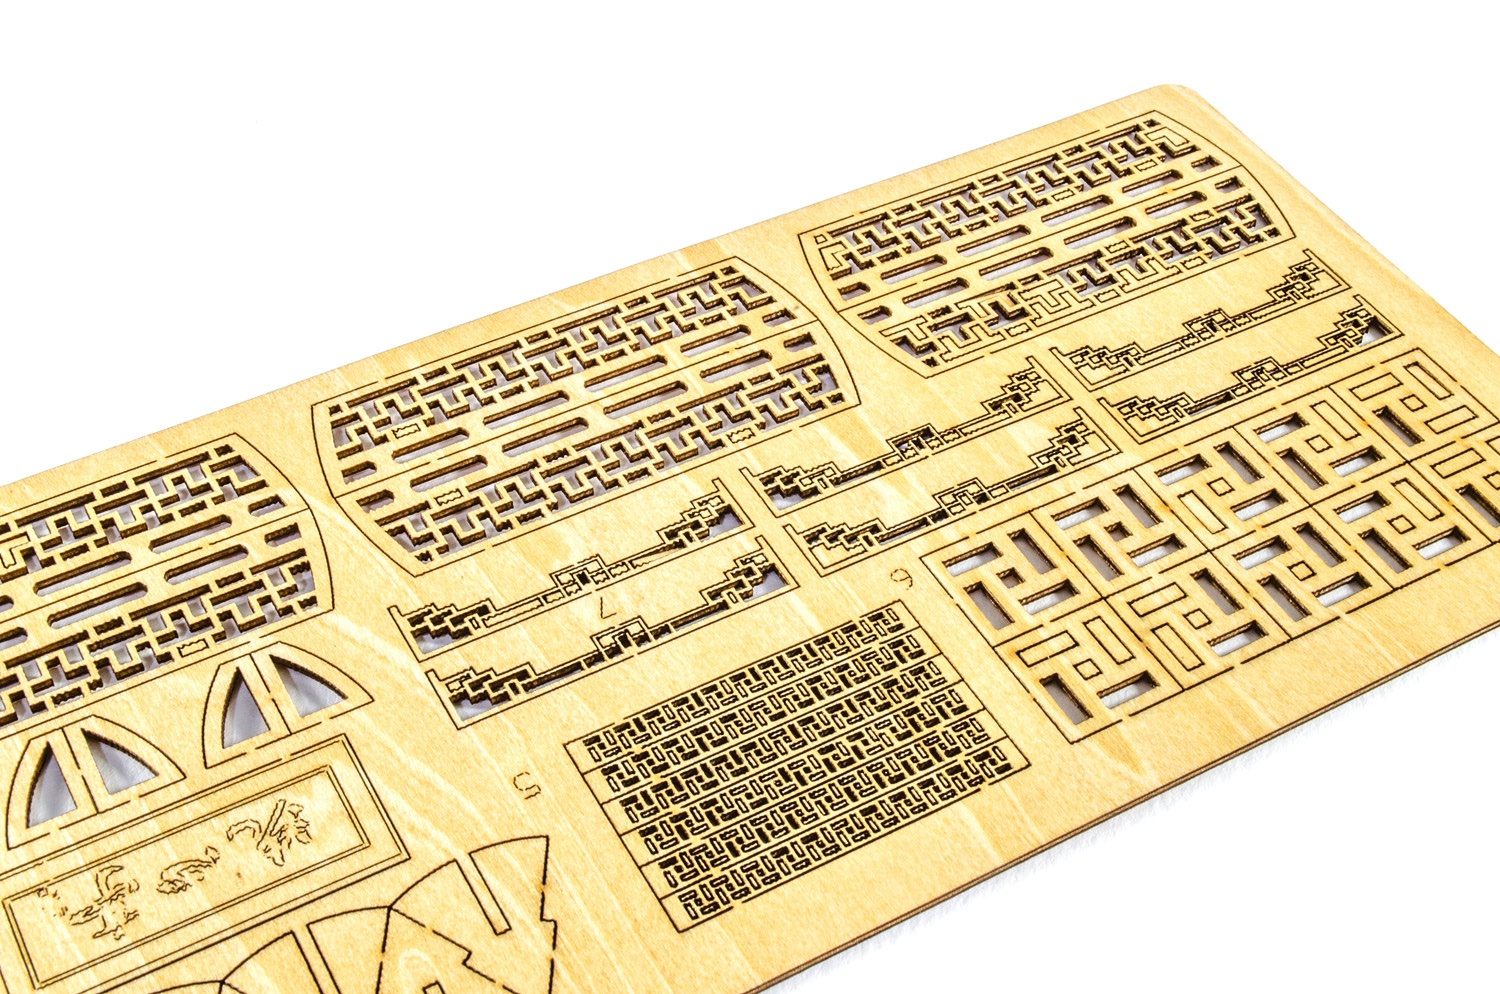
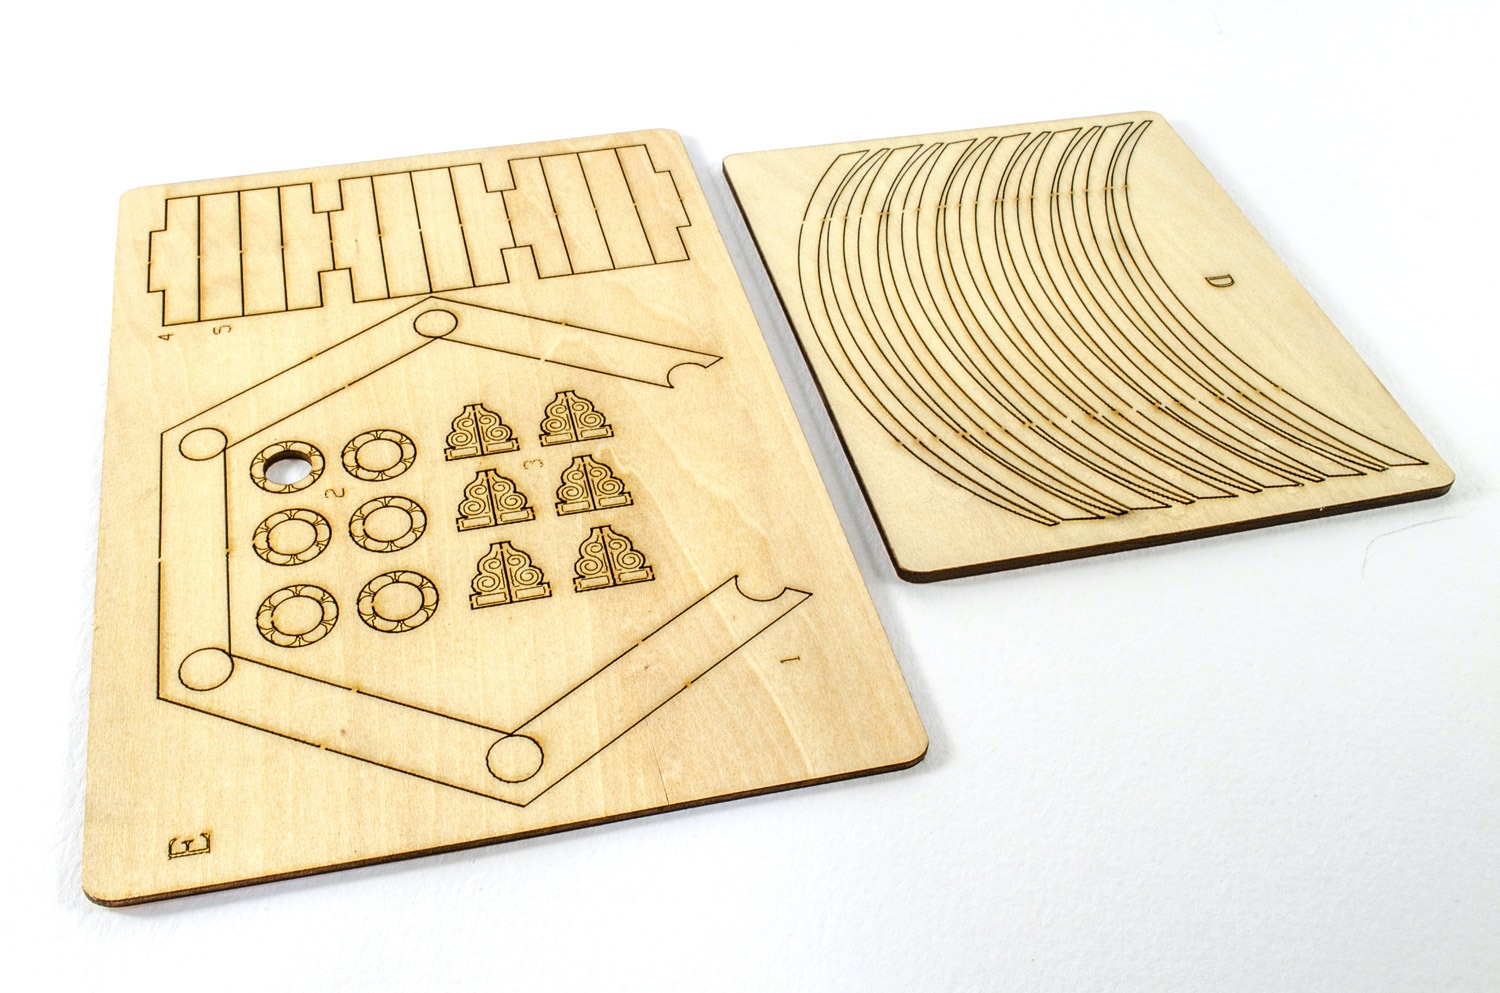
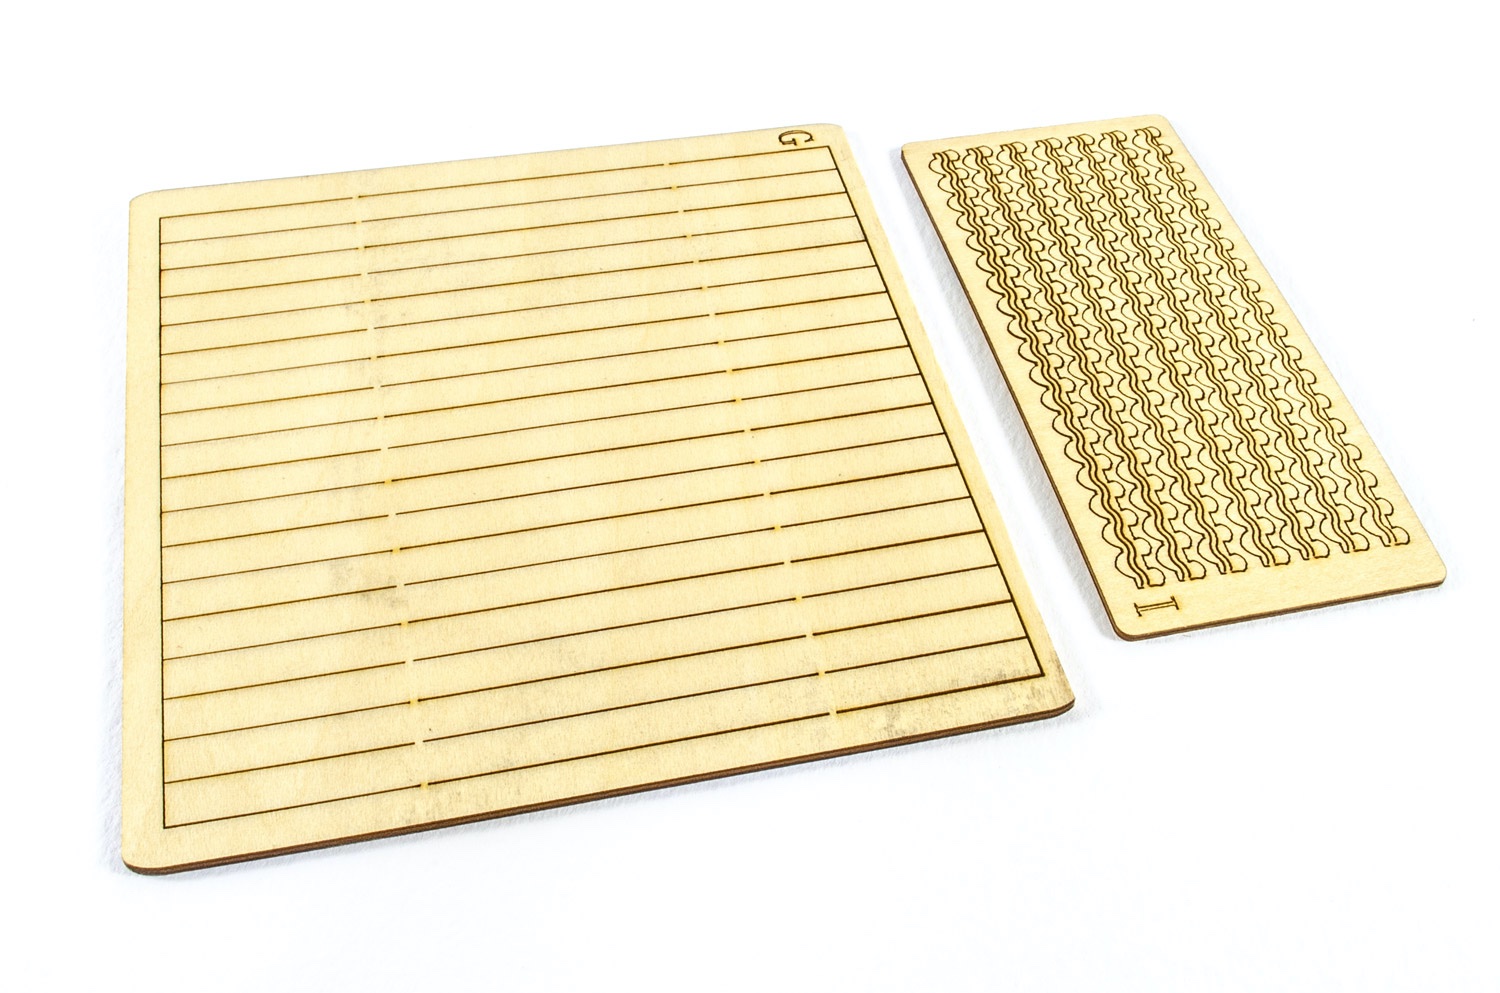
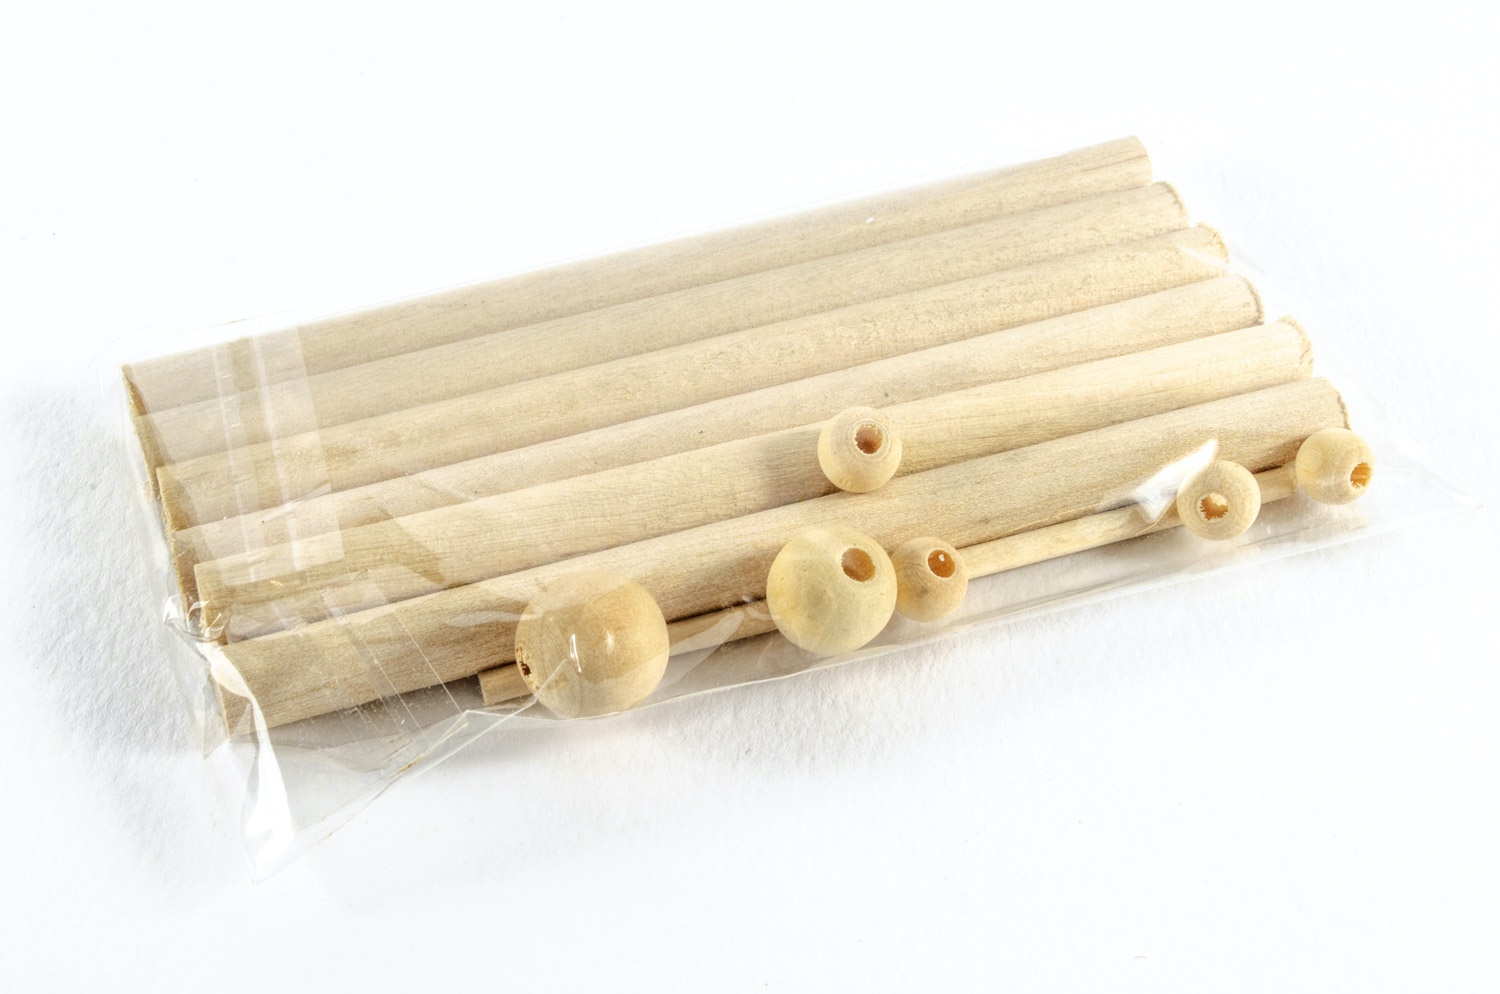
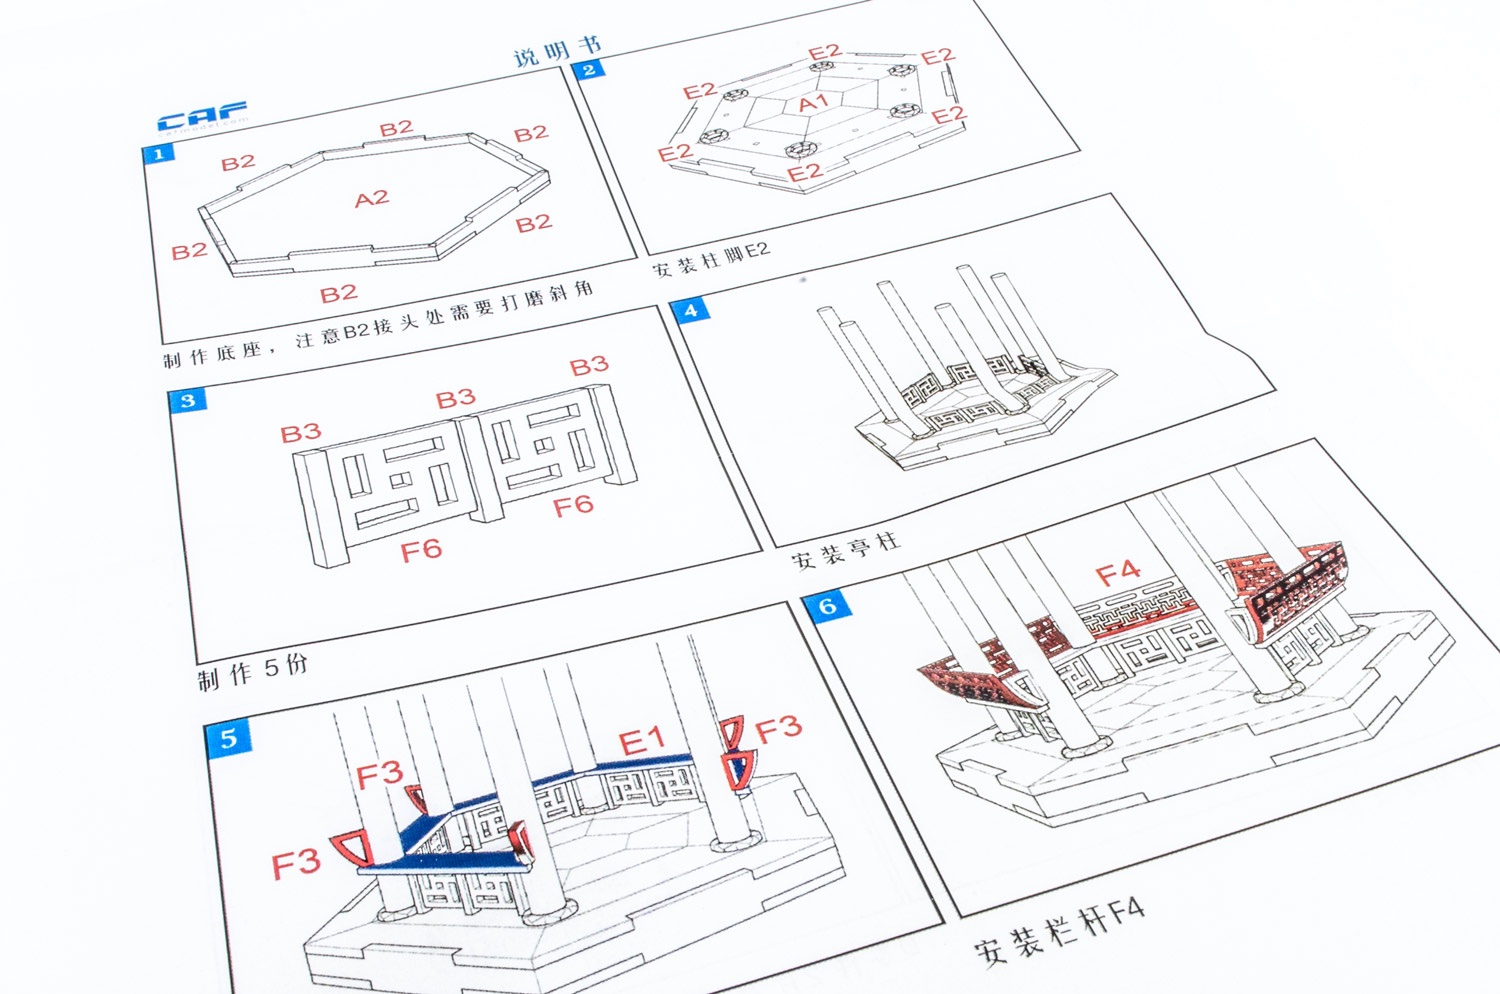
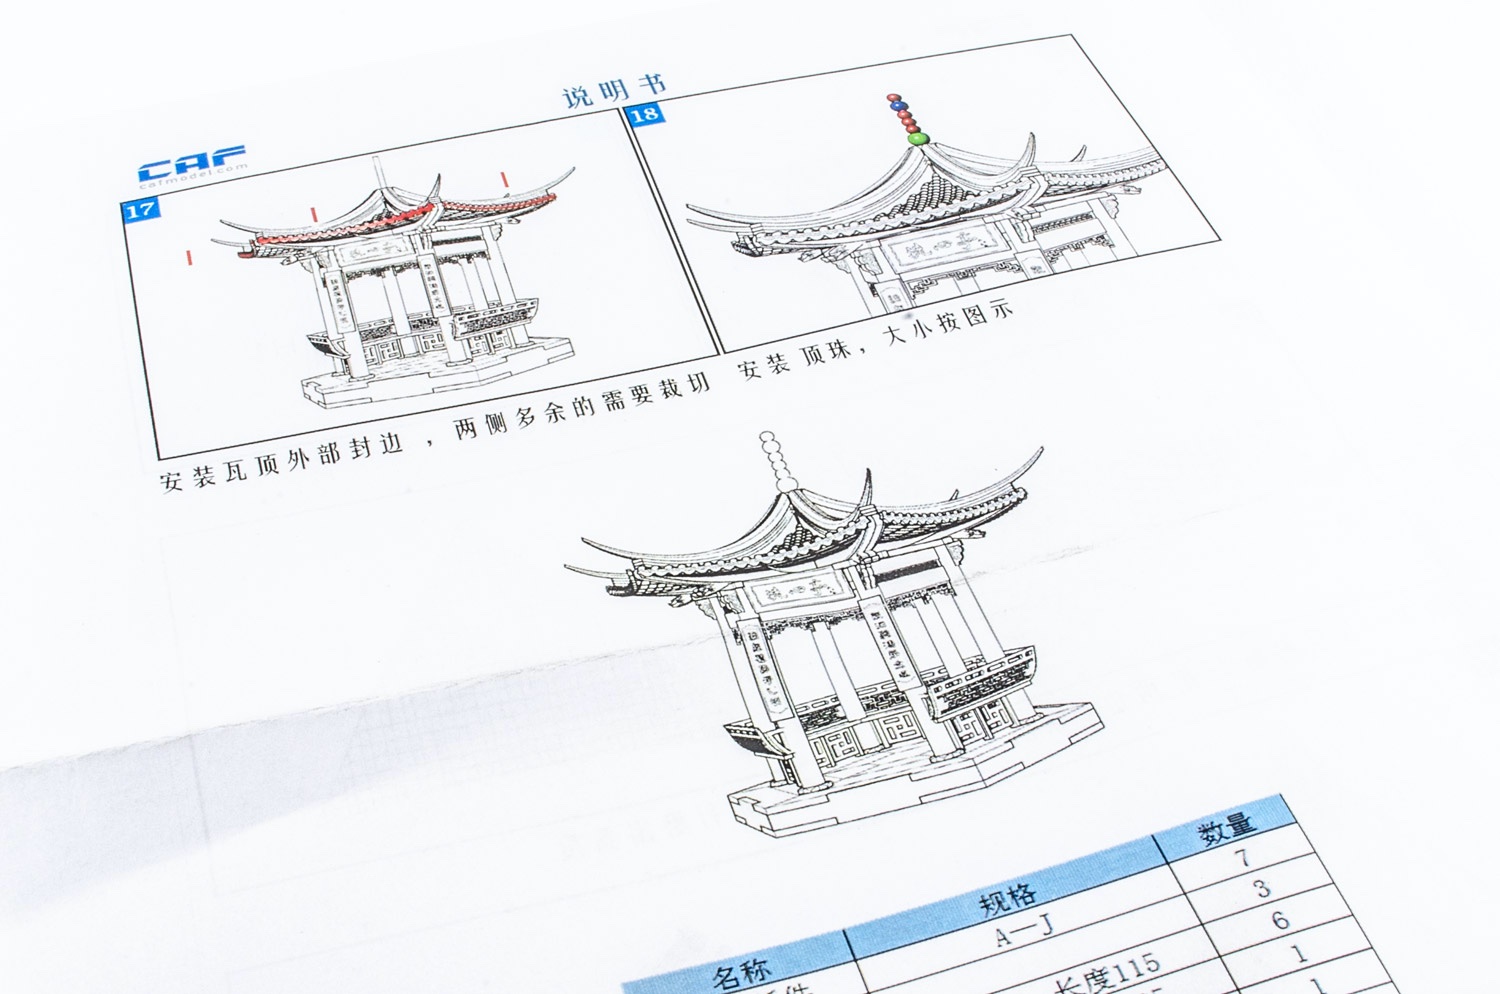
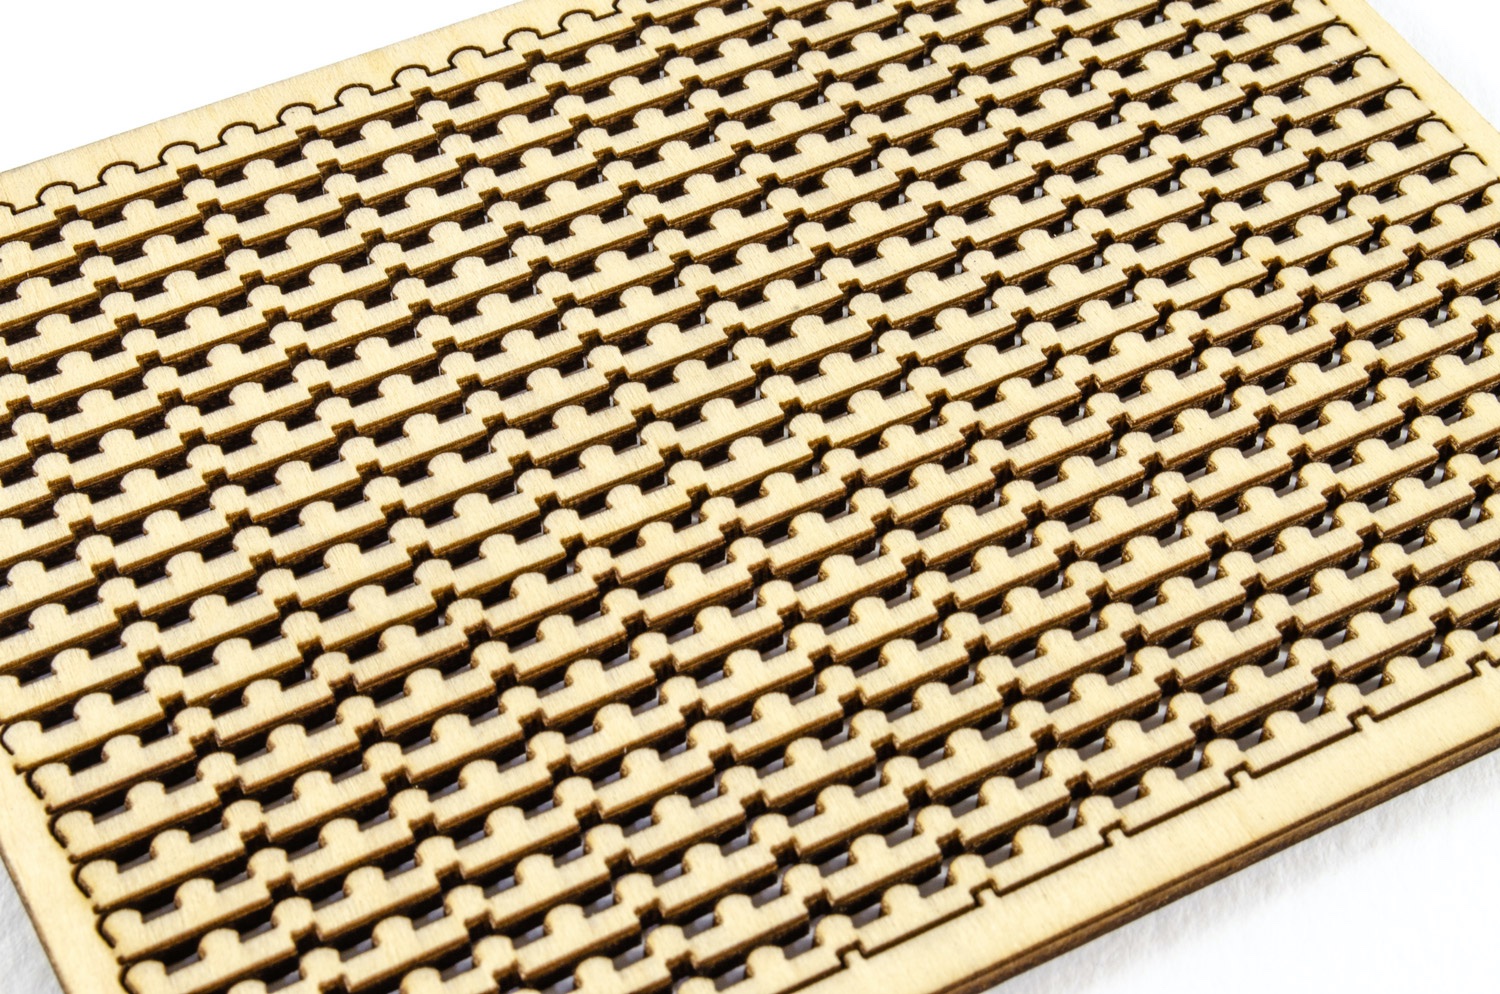
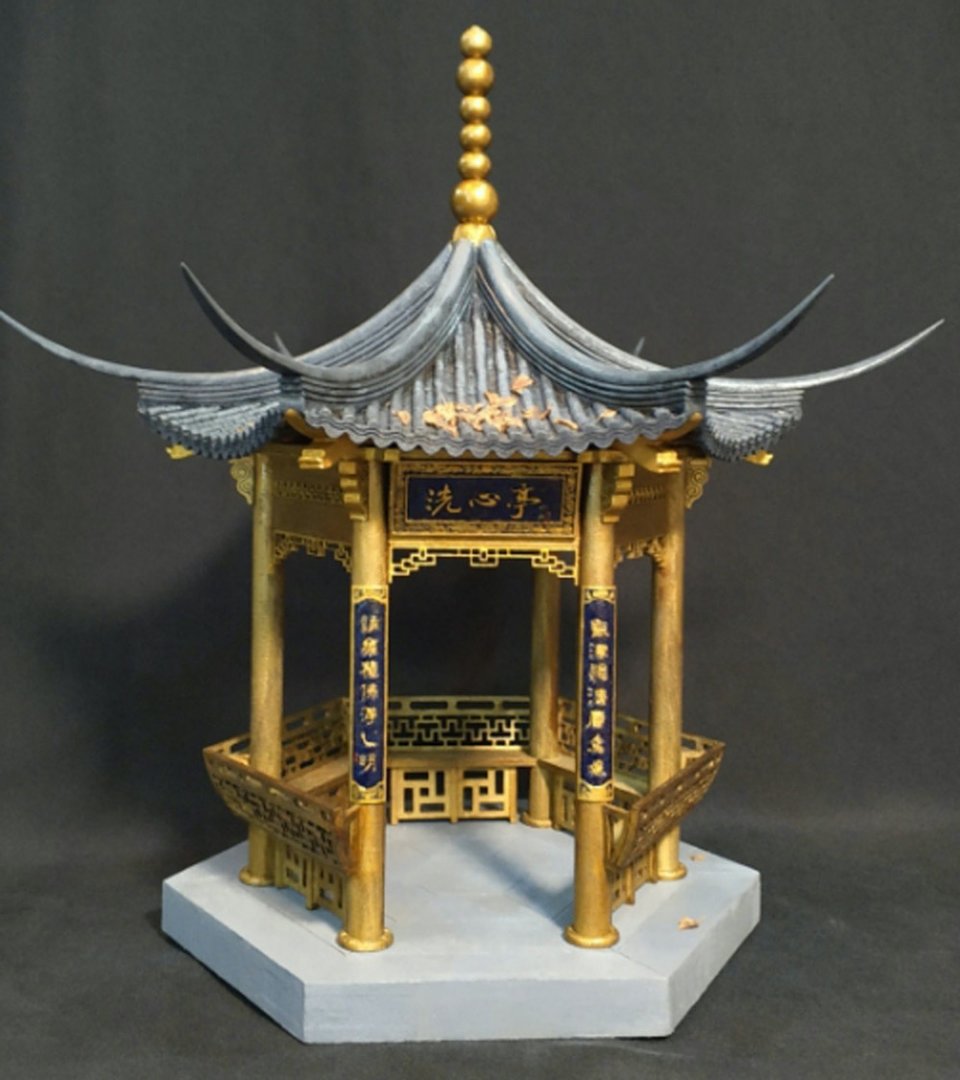
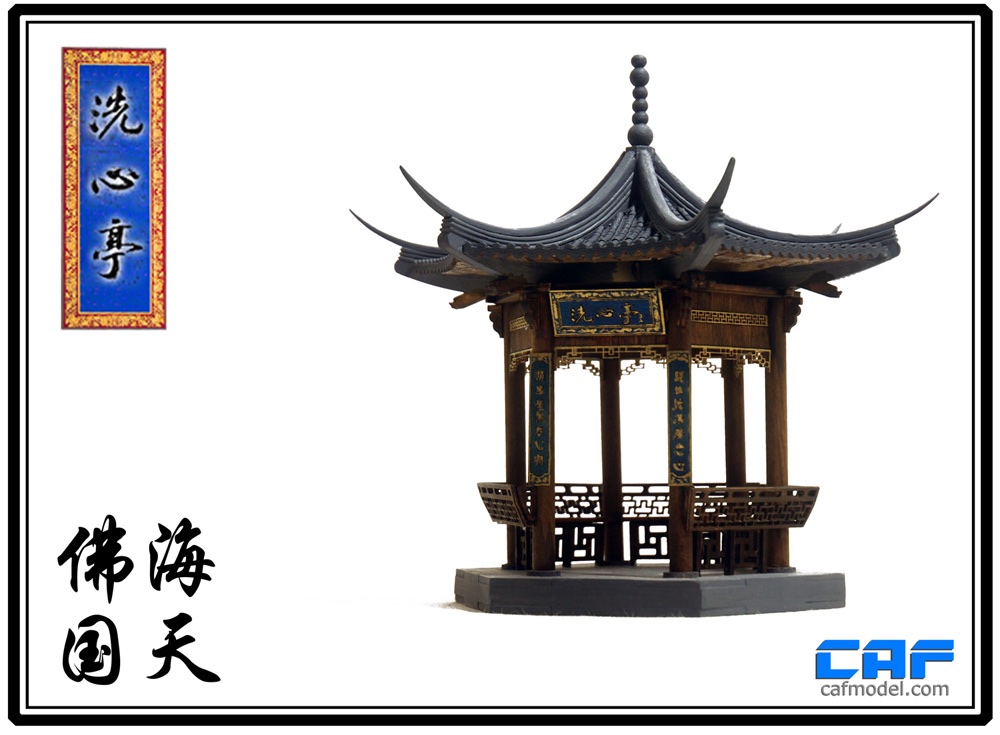
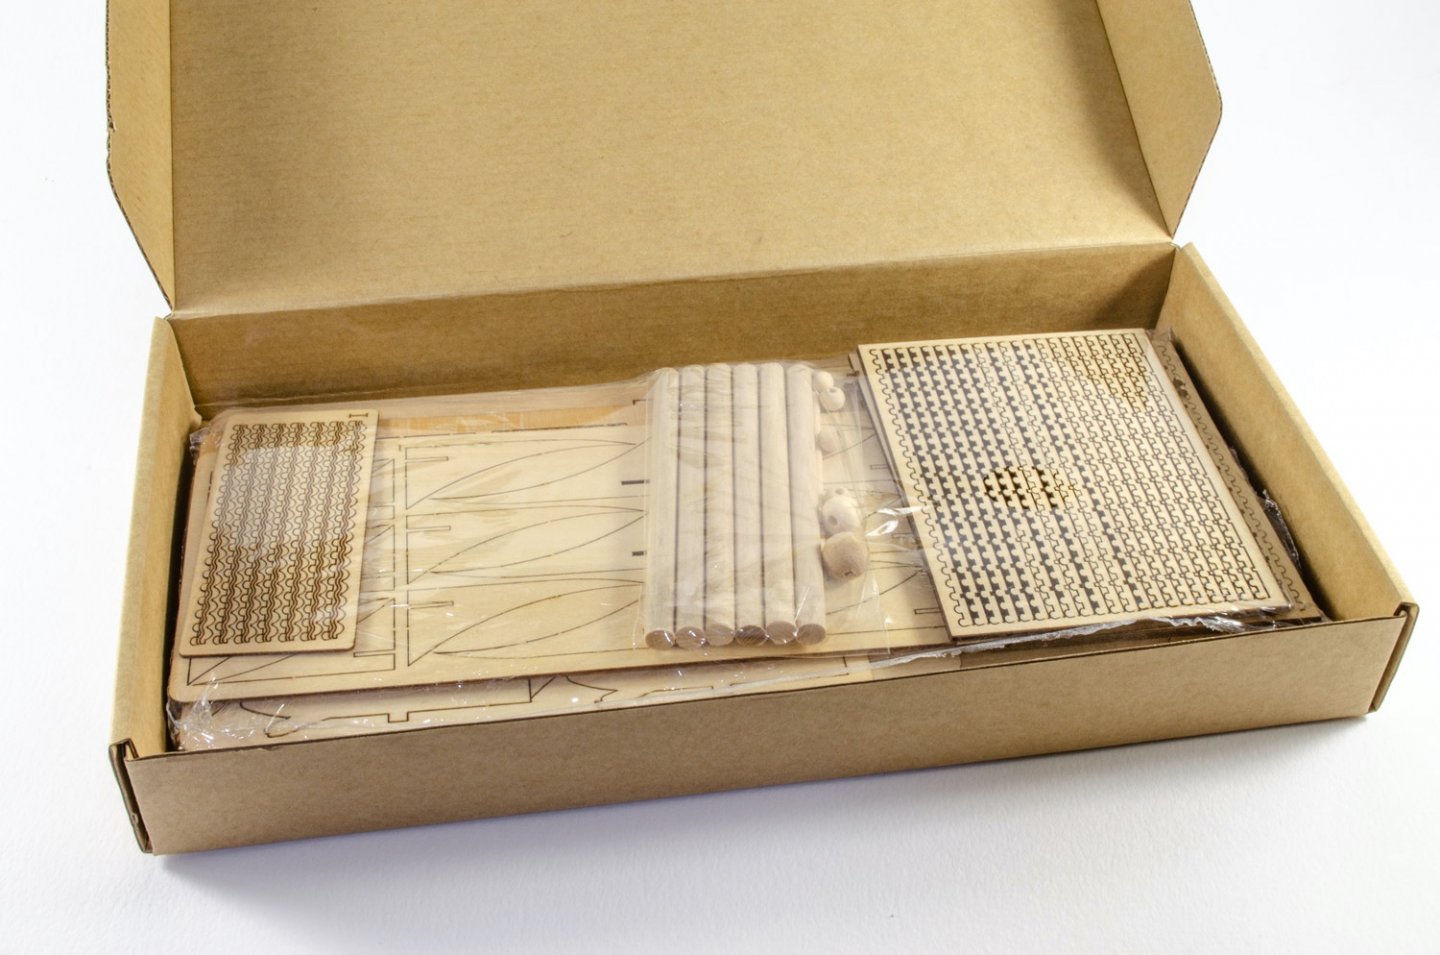
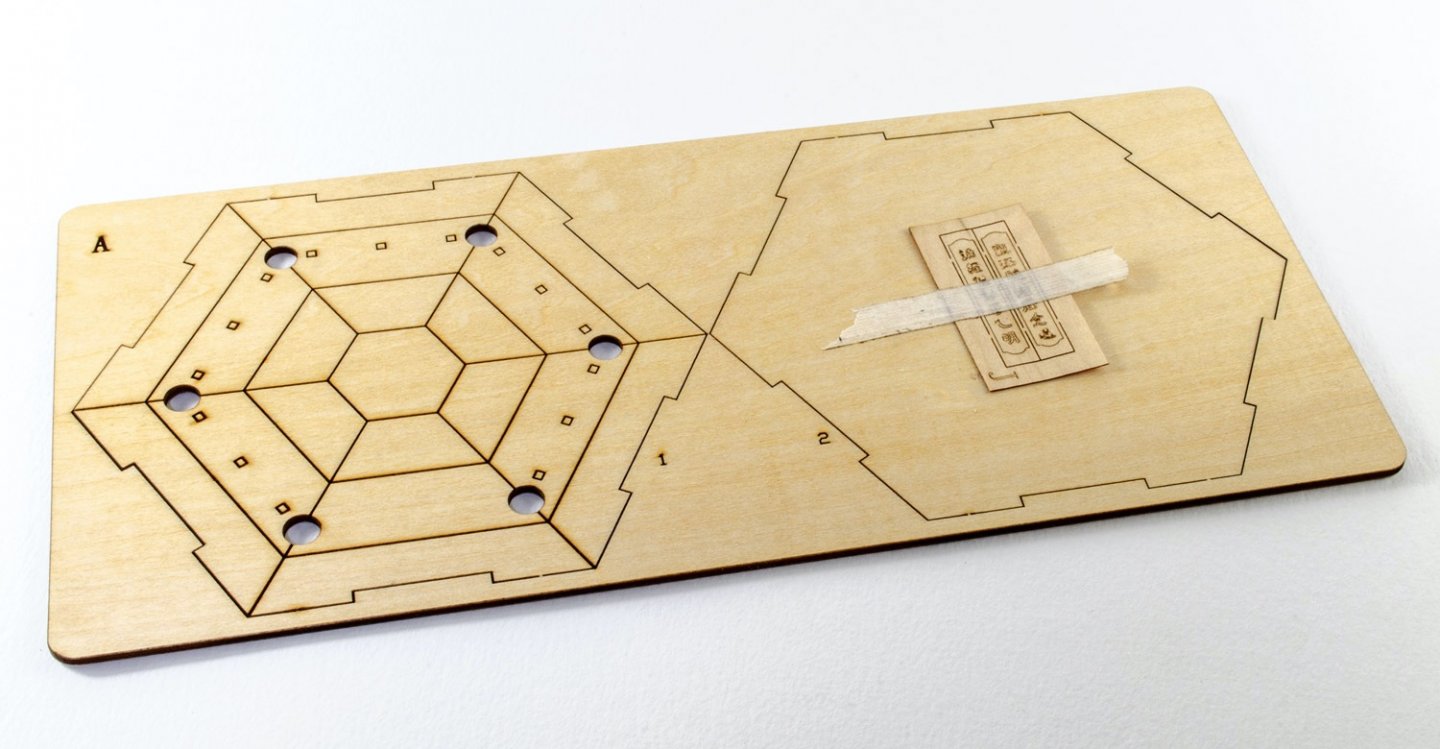
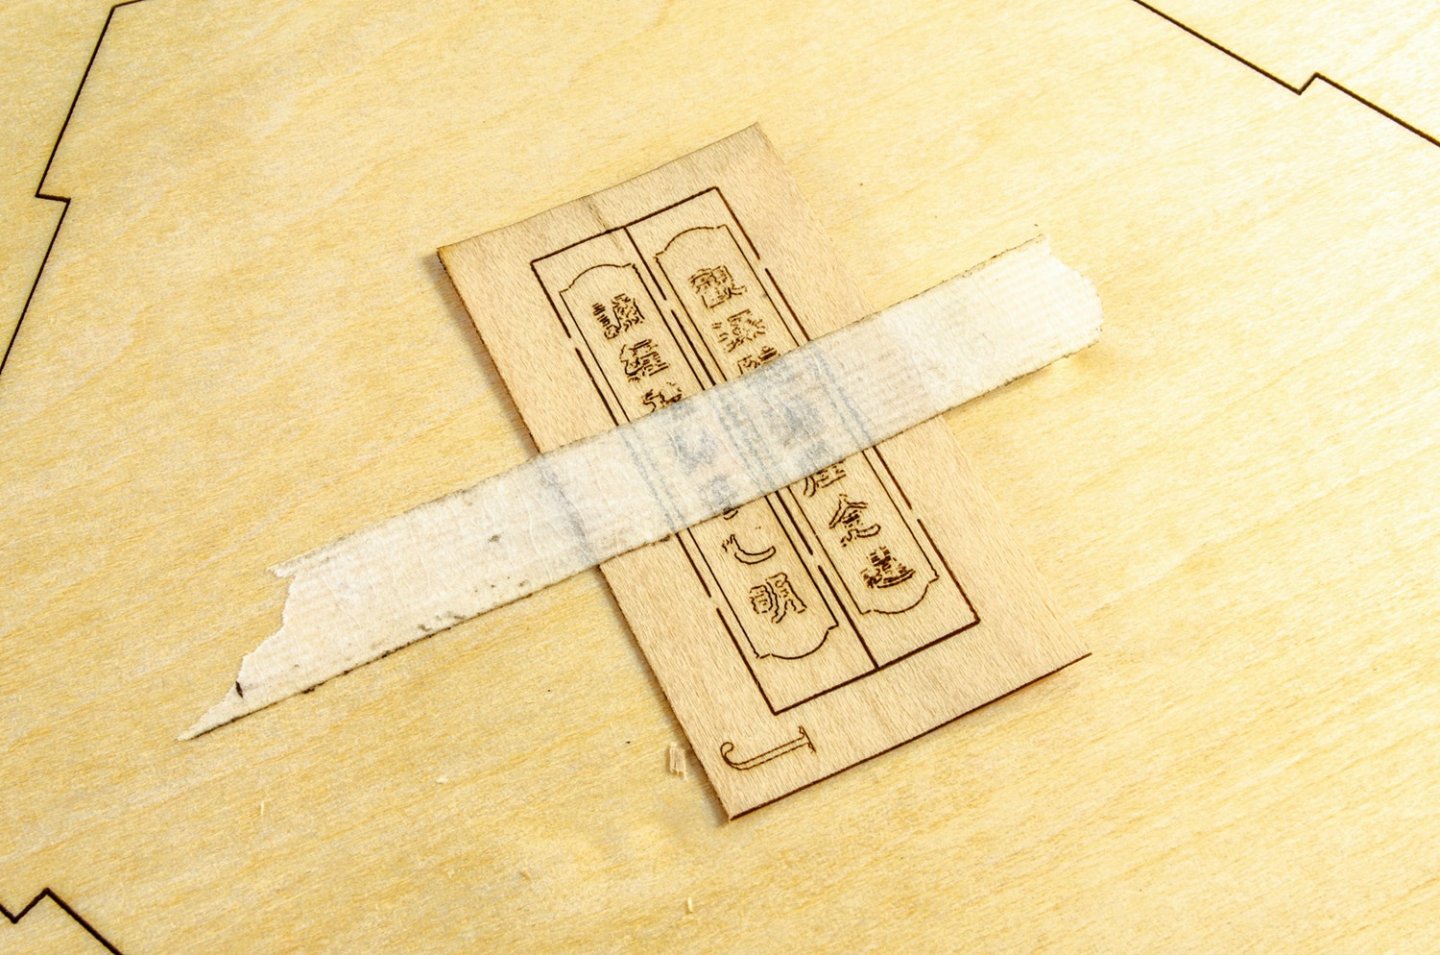
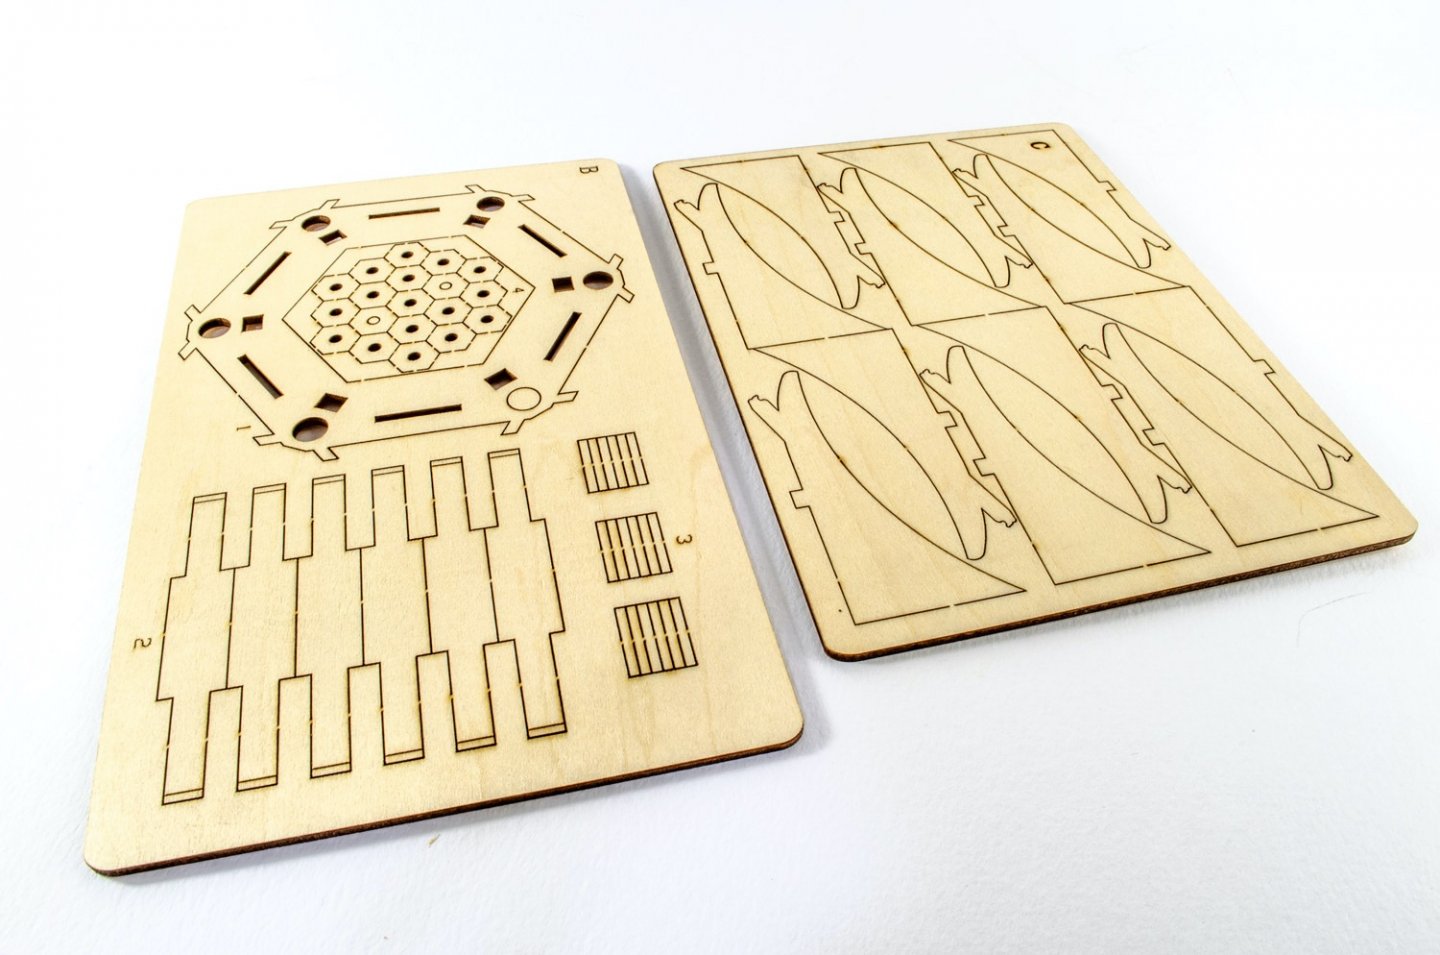
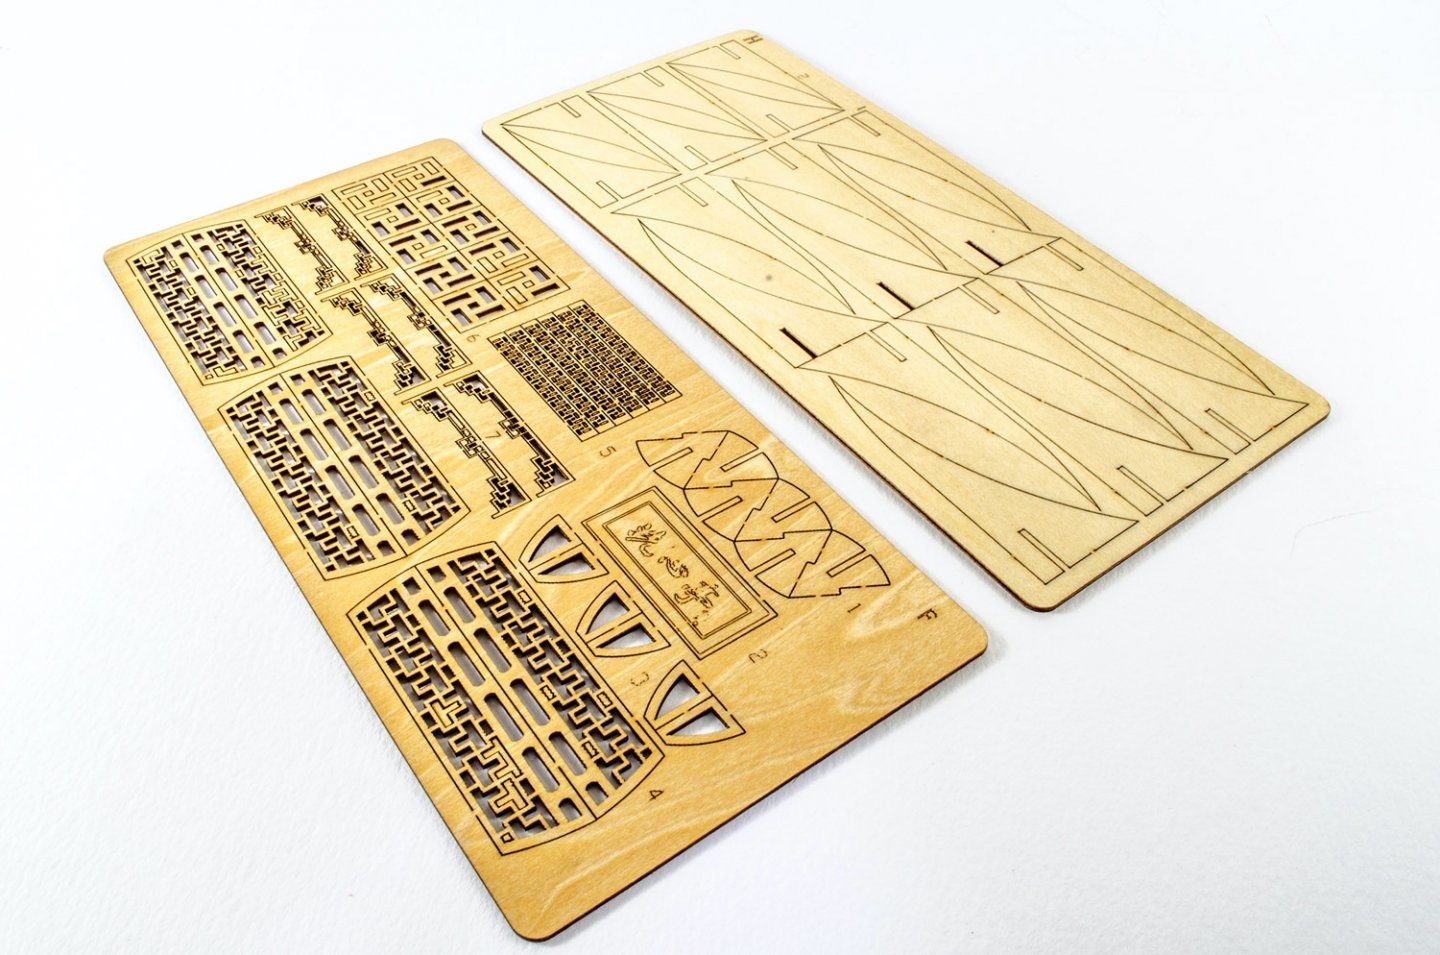
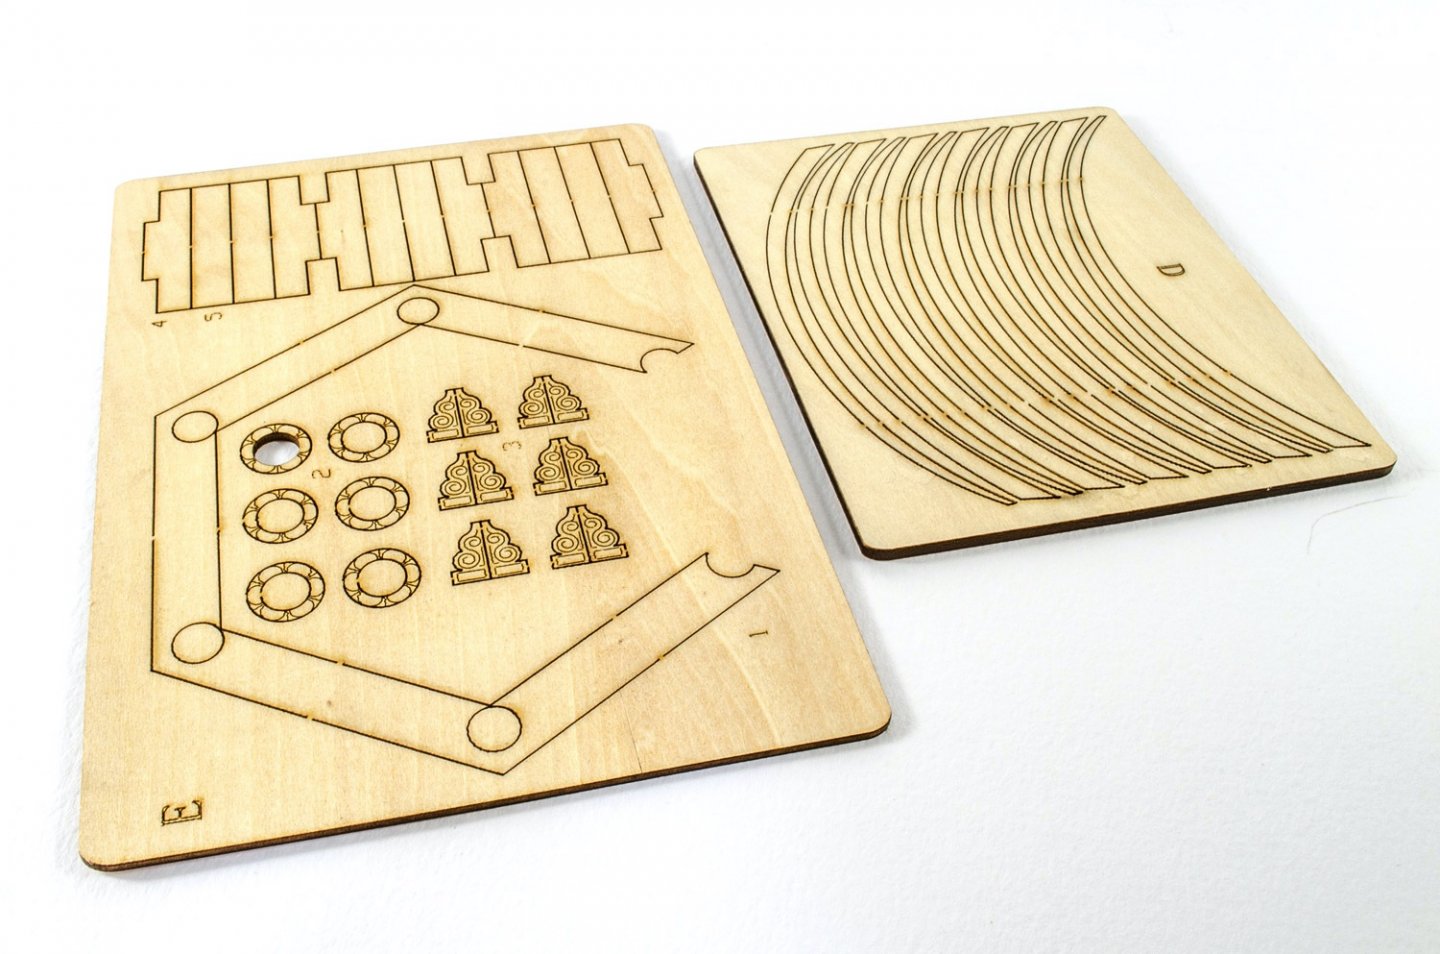
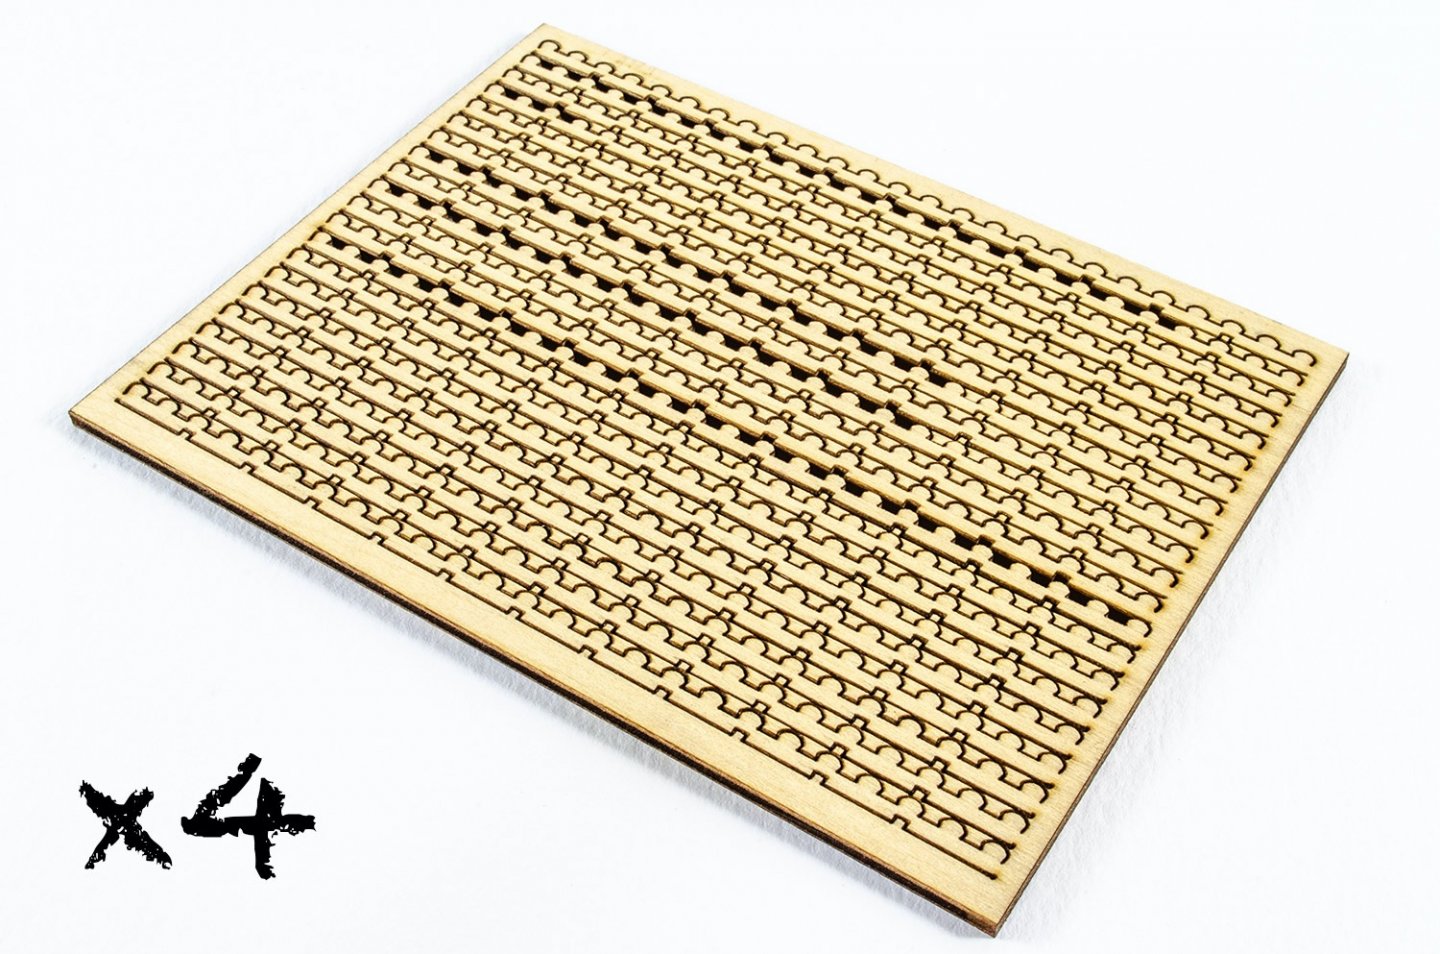
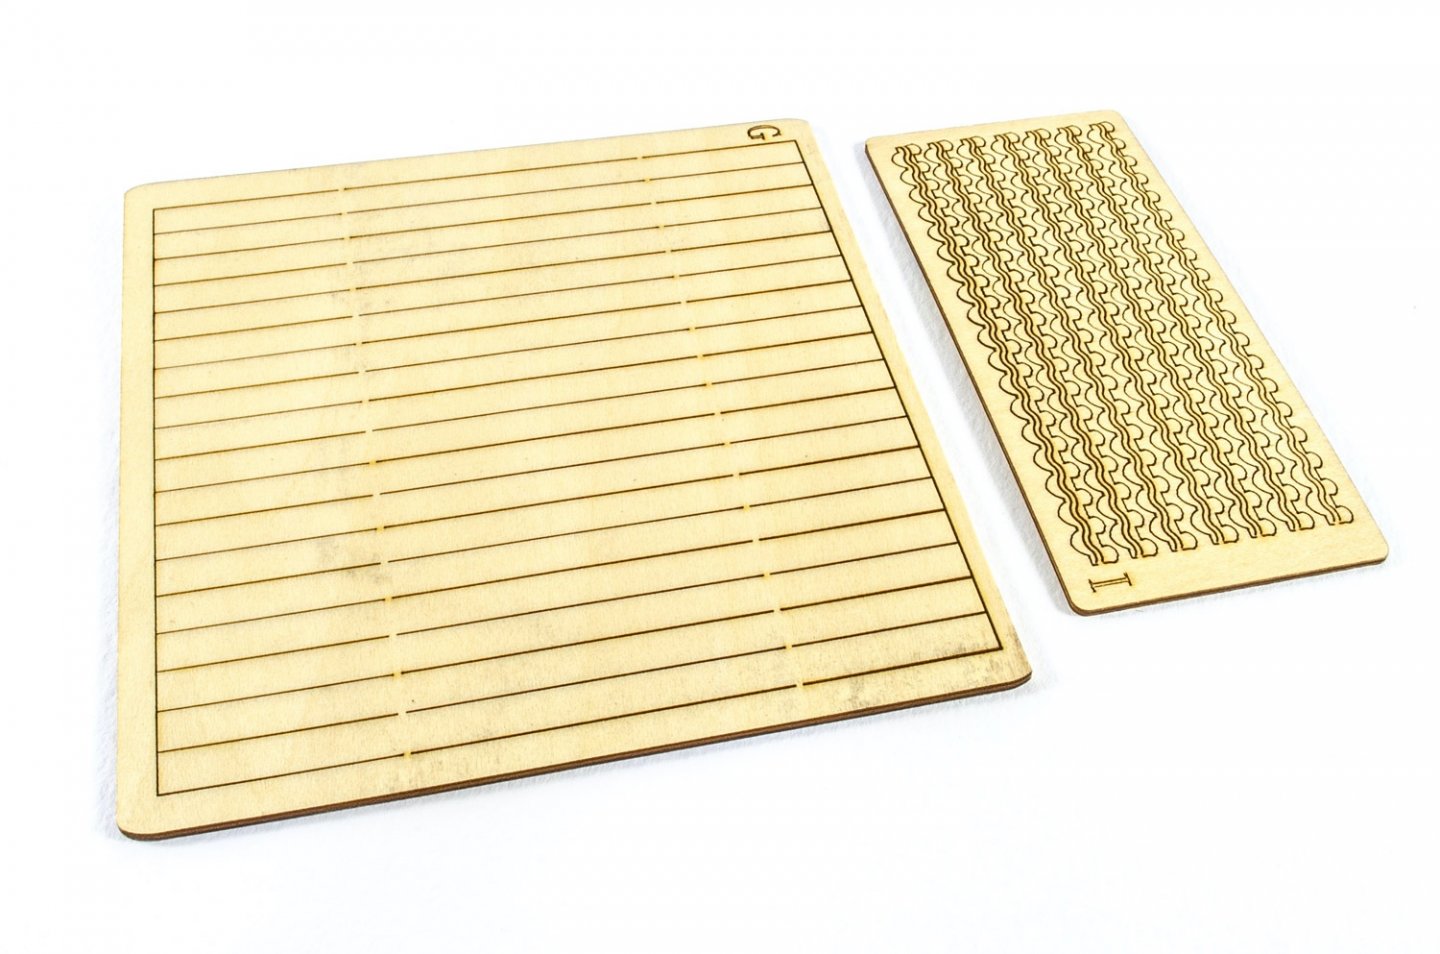
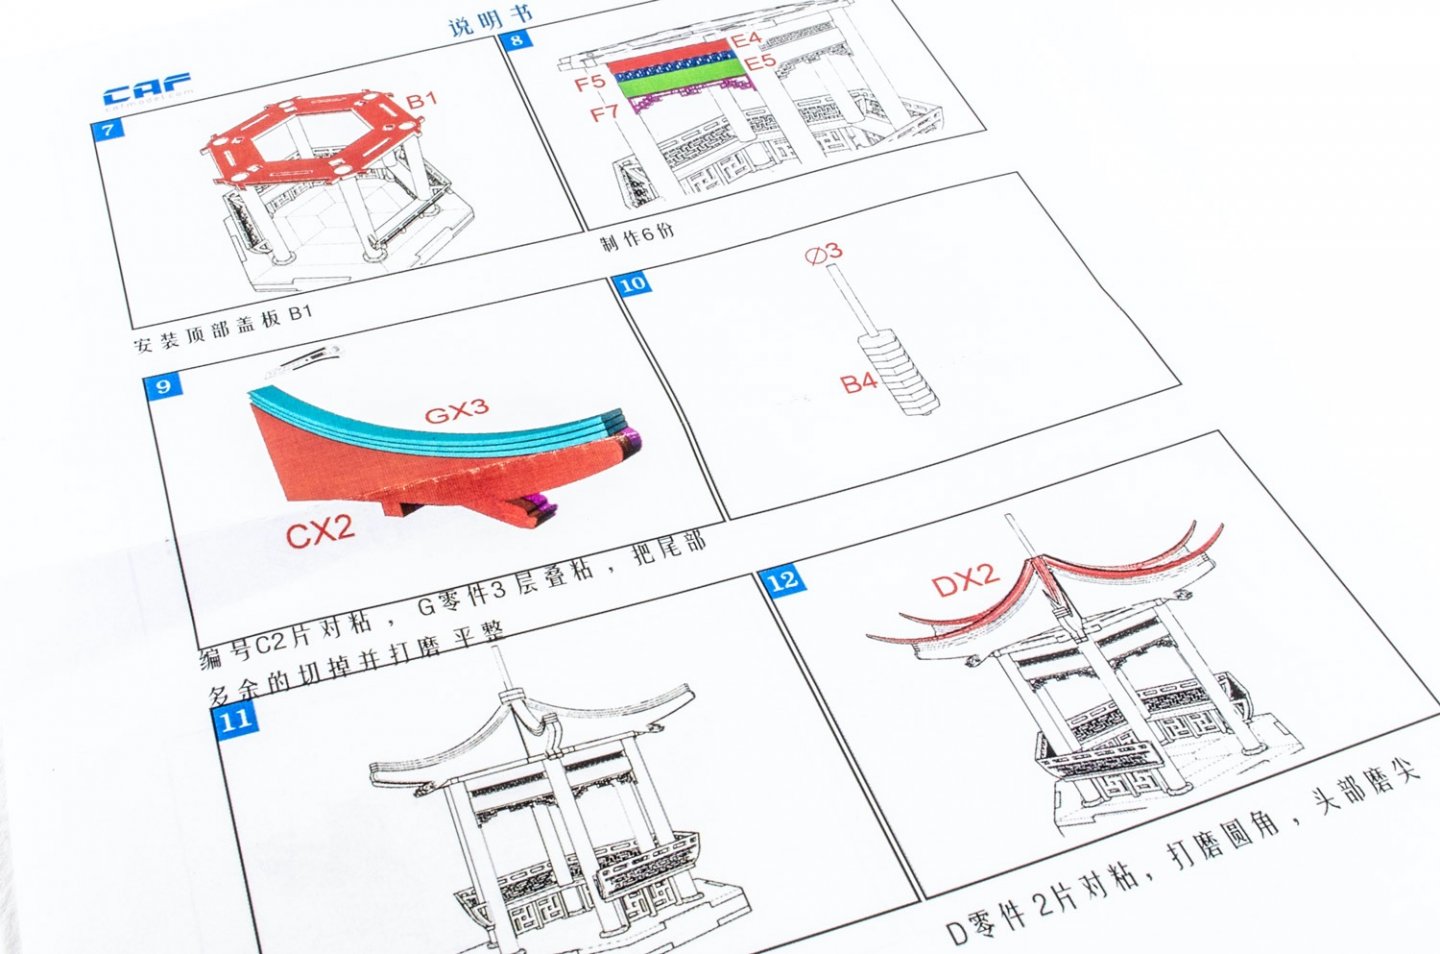
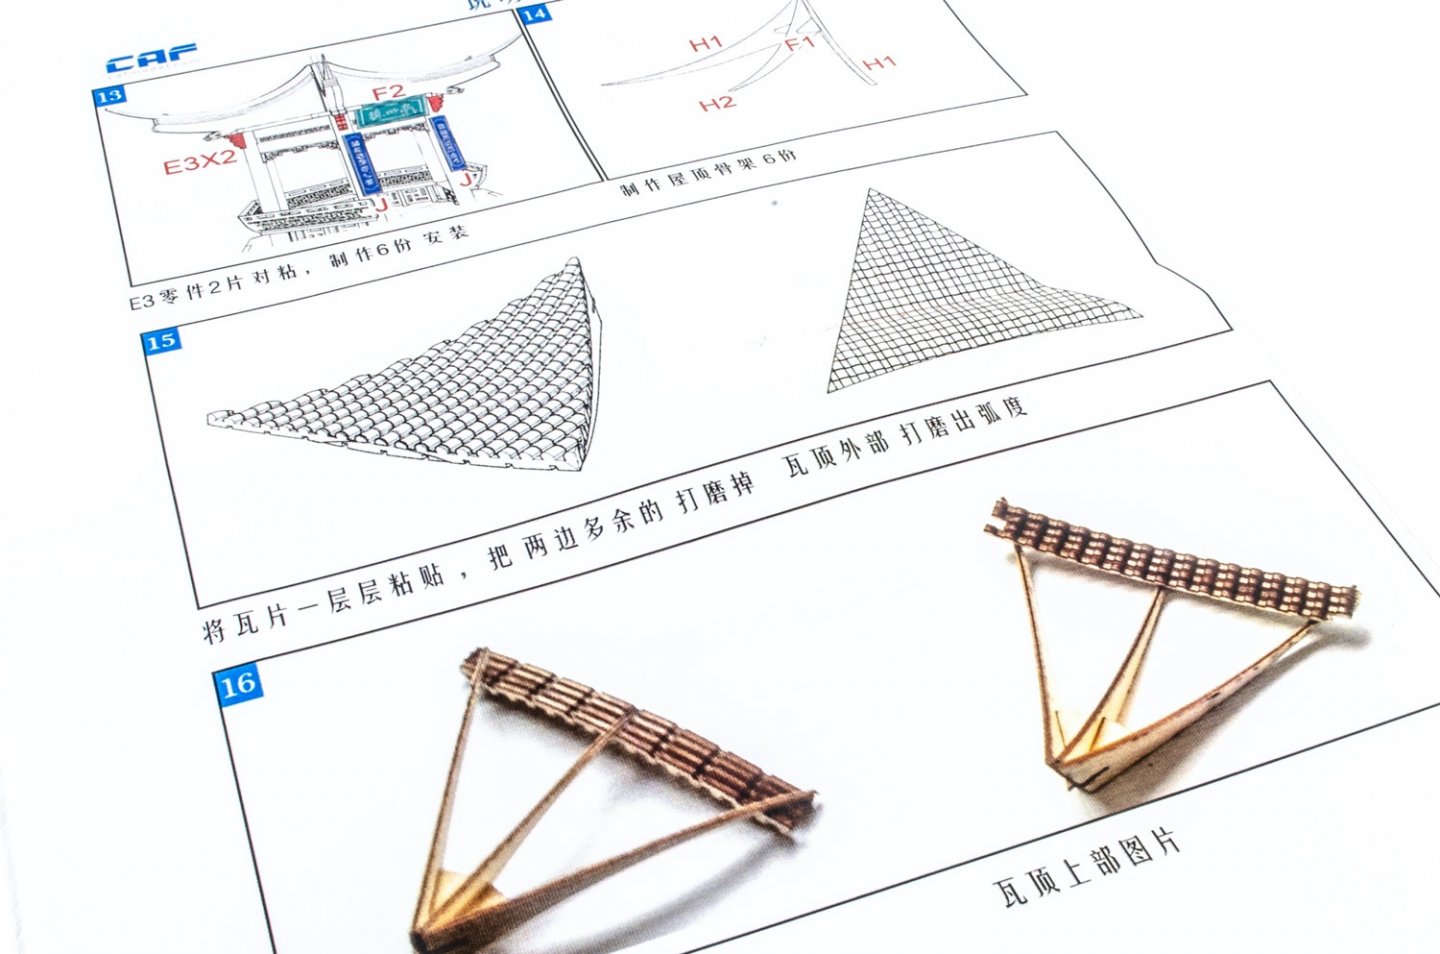
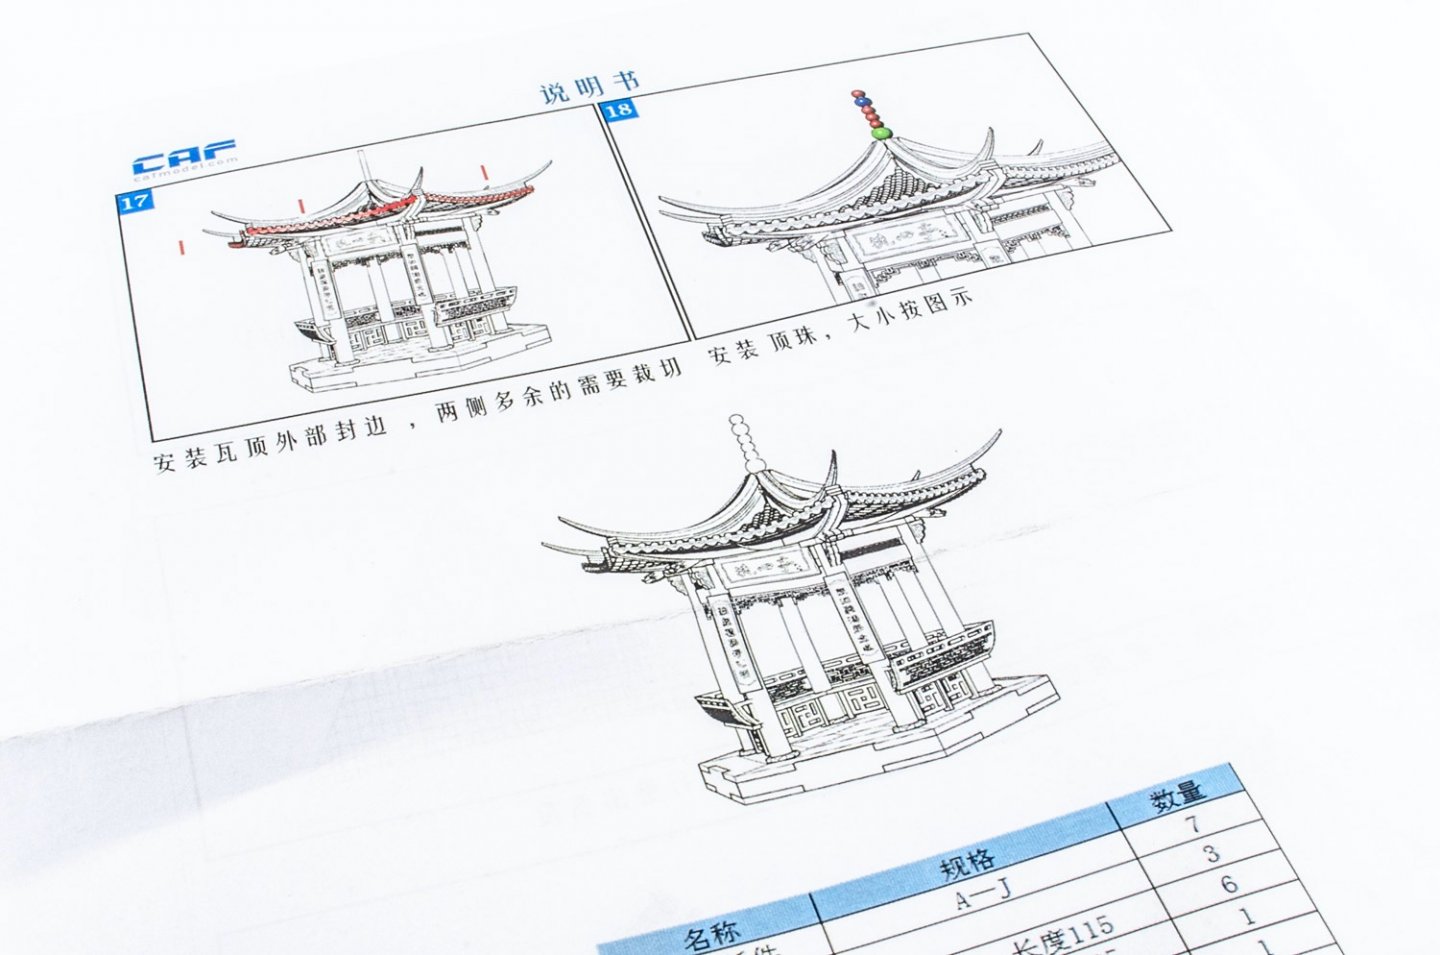
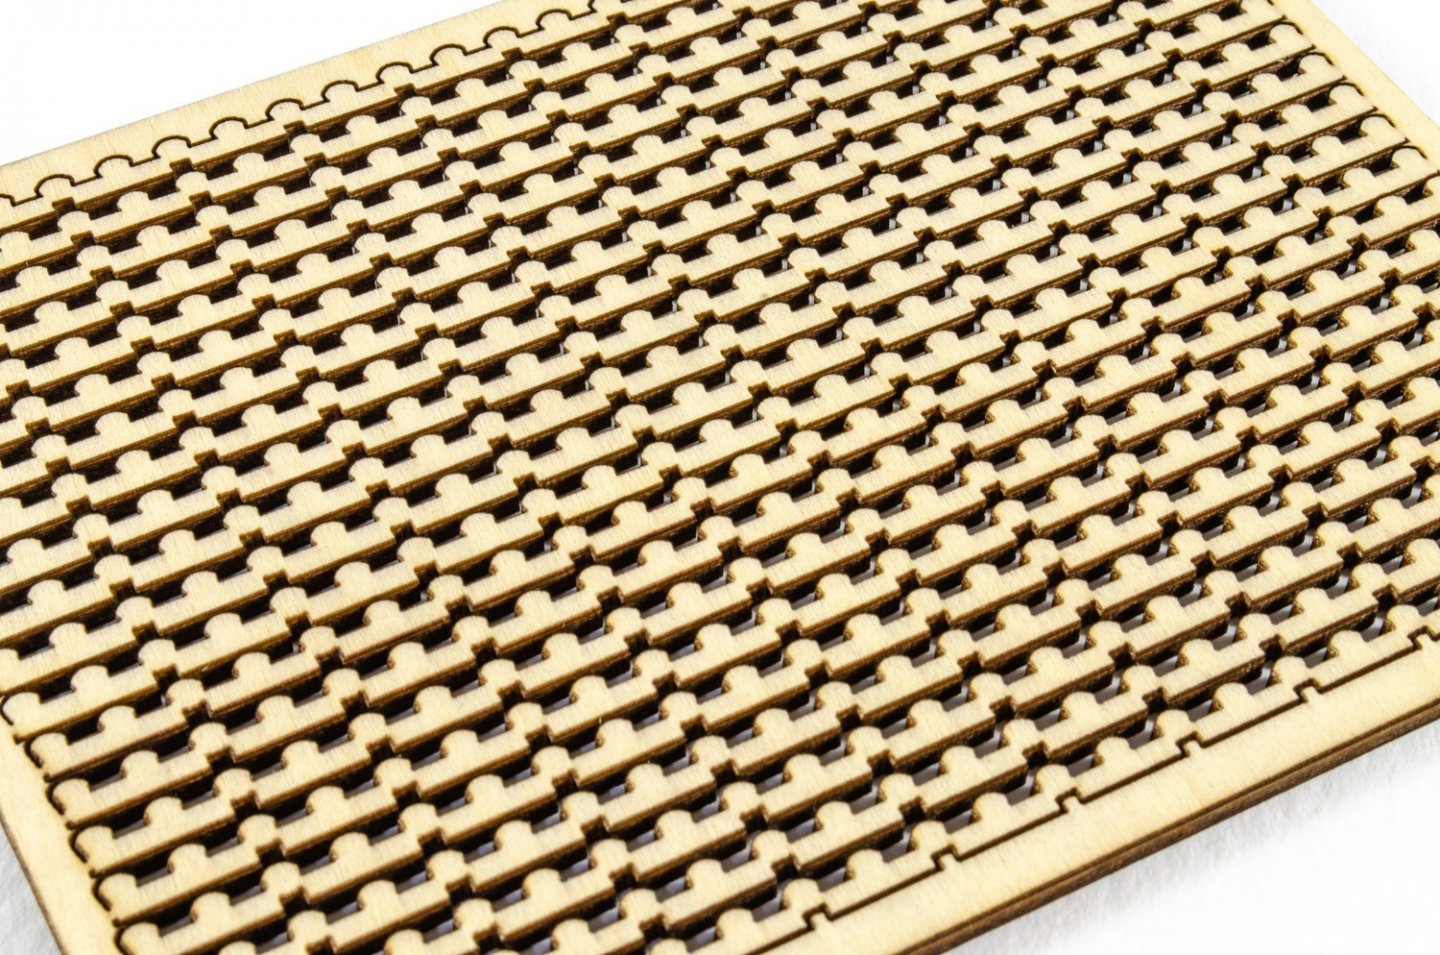
 Ancient Chinese architecture XiXing Pavilion CAF Model Available from CAF Model for $32.00USD plus shipping The kit I love architecture from the Far East, having visited quite a lot of it when both times I've visited Japan. Some of the structures in old Kyoto are stunning, as they are in Osaka and Tokyo. I could lose myself in them for hours on end. Sometimes it's hard to believe some of these are around 1000yrs old. The same applies to China. I've always had a hankering to visit and see the cultural side of things. This little ancient Pavilion kit from XiXing (presumably in the Guangdong Province of China) is just the sort of thing that really appeals to me. I'm not sure of the actual scale, so here's a drawing of the completed model, with dimension: Th kit itself is packaged into a small box measuring 33xm x 17cm x 4cm. Inside, thirteen sheets of very nice quality, laser-cut/engraved ply, are sealed in a shrink wrap cellophane covering, along with a bag containing dowel and wooden balls, and two sheets of instructions. A small label is applied to the box lid to show what the box contains, and a piece of packing foam stops everything from rattling around in transit. Construction starts with the large hexagonal base. You can see the two principle parts for this here and that the wooden pillars will be easy to locate because of the pre-cut holes. That should remove probably the main cause of possible error in the main structure, especially as there are infill walls and benching that need to precisely sit between the pillars. All parts could possibly benefit from a light coat of varnish and a little sanding to protect them from paint soak if you decide to add some colour to your finished Pavilion. Tacked on top of the lower base are the signs, laser etched and cut in very thin veneer. These will wrap around the pillars on the entrance to the pavilion. On top of your pillars will sit the crown of the pavilion, before the roof is fitted. That is the other hexagonal part. This can be seen here, with the corresponding holes for the pillars tops. The hexagonal parts within it are for the 'spire' section, whilst the '3' parts are the infills between the wall sections which skirt the bottom of the pavilion. Between the base sections, you will need to add the side parts, seen here. There is an engraved line on them indicating the bevel needed where the walls meet. The other sheet contains the roof frame parts. The very ornate sheet shown here holds the parts for the wall sections, bench backs and the fancy trellis work that adorns the pavilion, just below the rood section. Most of the infill parts are gone, but there's just a few more I need to tap out lightly. More roof frames are seen on the other sheet. These two sheets contain the pillar bases, semi-hexagonal bench seating, decorative scrollwork, and infill panels around the top of the pillars. Again, another sheet contains some of the parts for that elaborate roof. One sheet here contains the beams which sit atop the four main roof frame sections. These will lie three-deep and need to be flushed to the ends of the frame sections. The other sheet here contains parts that finish off the edges of the tiled roof panels. Now, talking of tiled roof panels, these FOUR sheets hold the strips which, when assembled, create that characteristic roof finish you see own many ancient buildings in the Far East. There is some infill between these sheets which I removed, as you can see here: The last contents here are the dowels for the pillars and also the spire, plus the wooden balls which slide onto the spire in decreasing sizes. Instructions The Pavilion appears to be quite straightforward when it comes to the various stages, although I will use my phone translate app to make sure I don't miss any vital bit of information as I build. The instructions are printed on two sheets of A4 paper, double-sided, and also in colour to help identify the various components. Construction is completed over 18 stages, with all parts clearly numbered. Conclusion In all, this is a very nice, and also quite inexpensive kit from CAF, and it should provide many pleasant hours of construction. The photos of the finished build show the timbers painted in gold, with a grey roof and light grey base. Whilst the model can be left in bare timber, I do think a paint job would be the best option to highlight the details and male it more authentic. Sometimes, we all need a little side project, or perhaps a little something between our current shipyard work, and this little kit will certainly do that whilst sticking with wood and building something which looks beautiful when completed. Quality is excellent and the whole design looks nicely thought out. Finished Model My sincere thanks to Tom at CAF Model for sending this lovely little kit out for review on Model Ship World. To purchase, click the link at the top of the article.
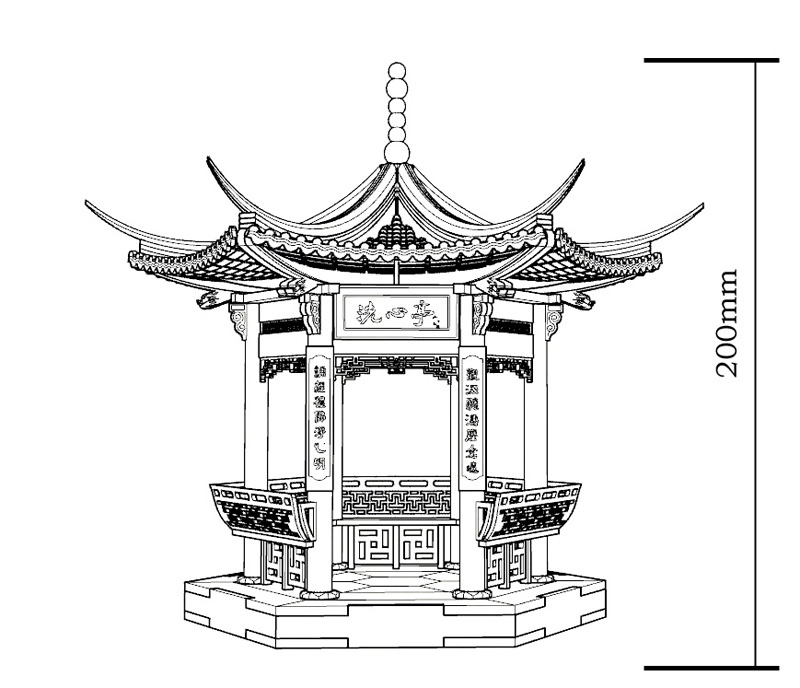


-
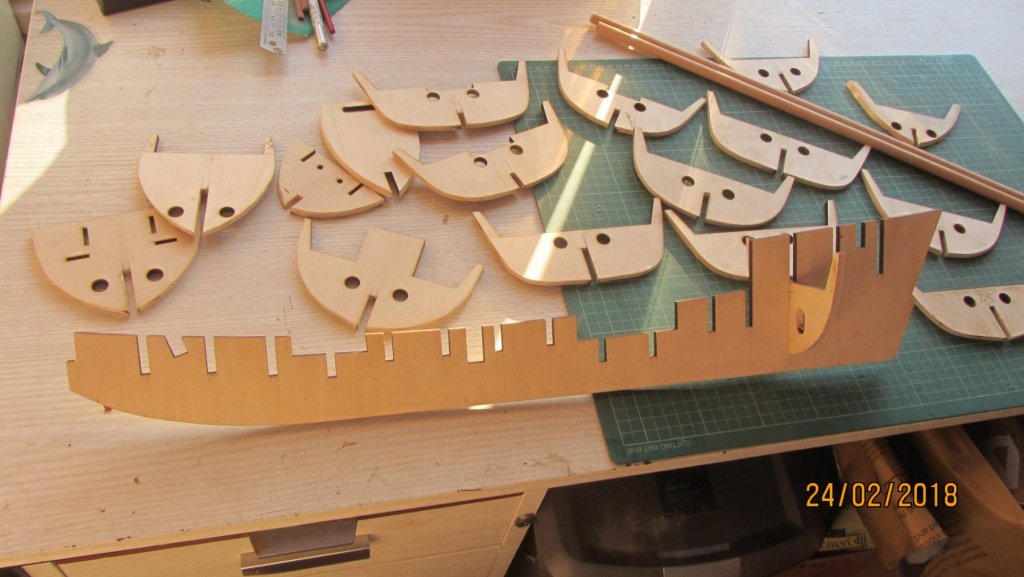
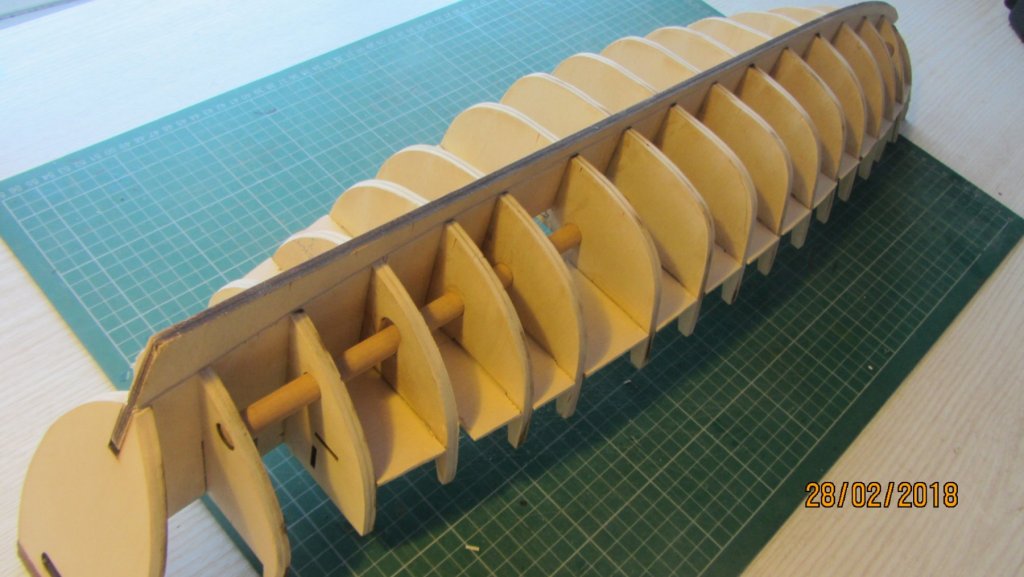
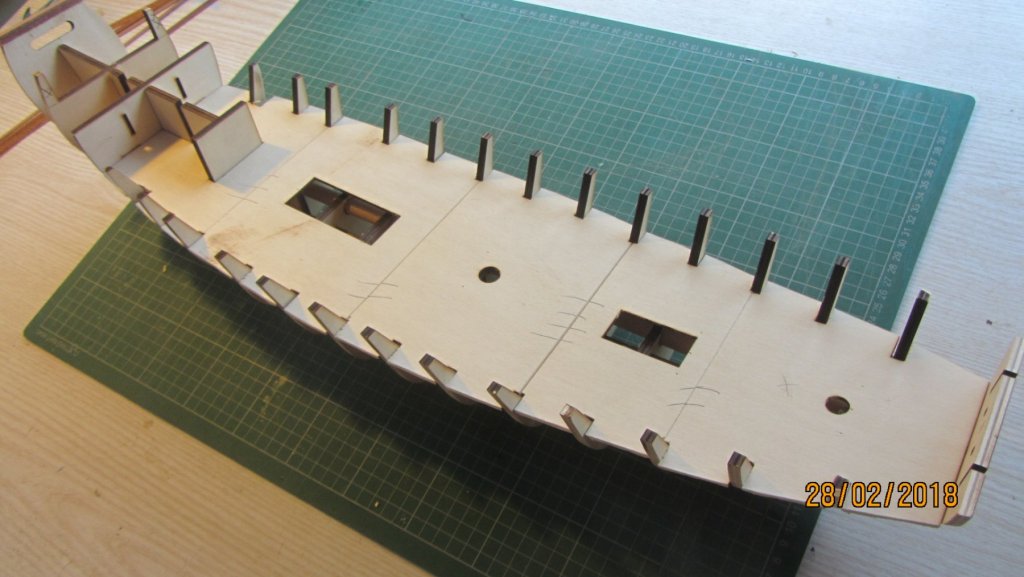
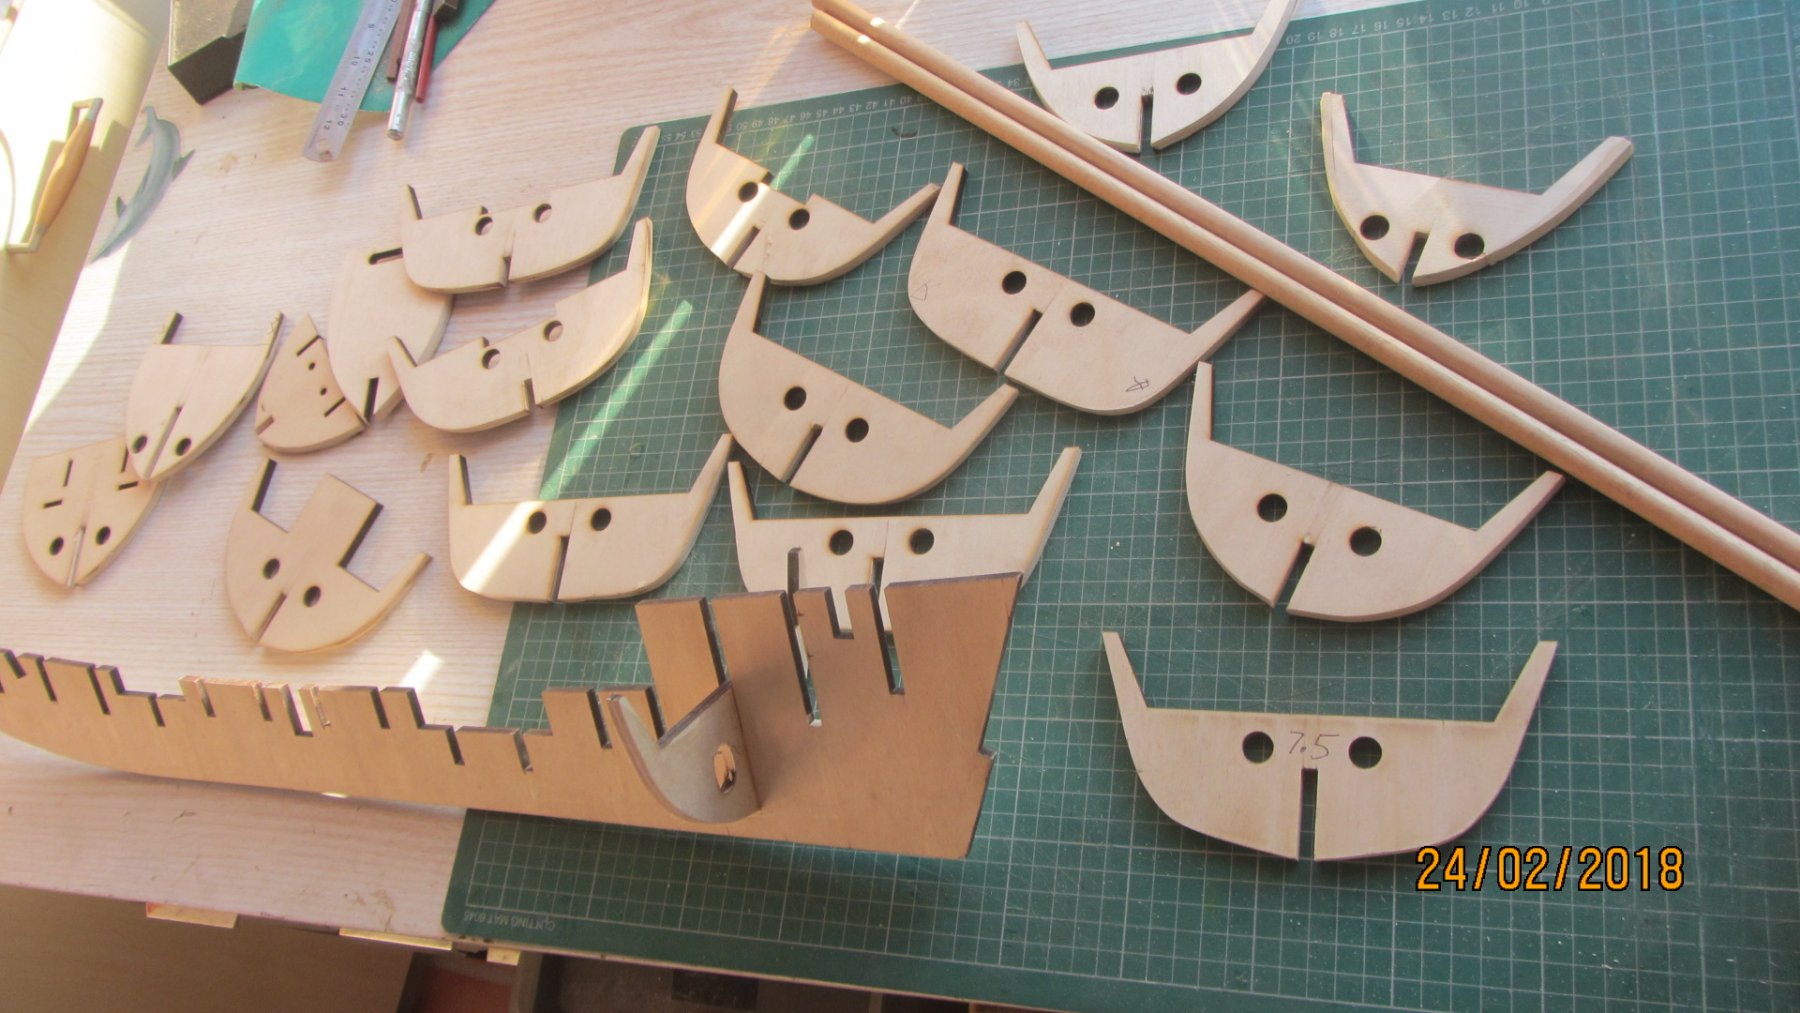
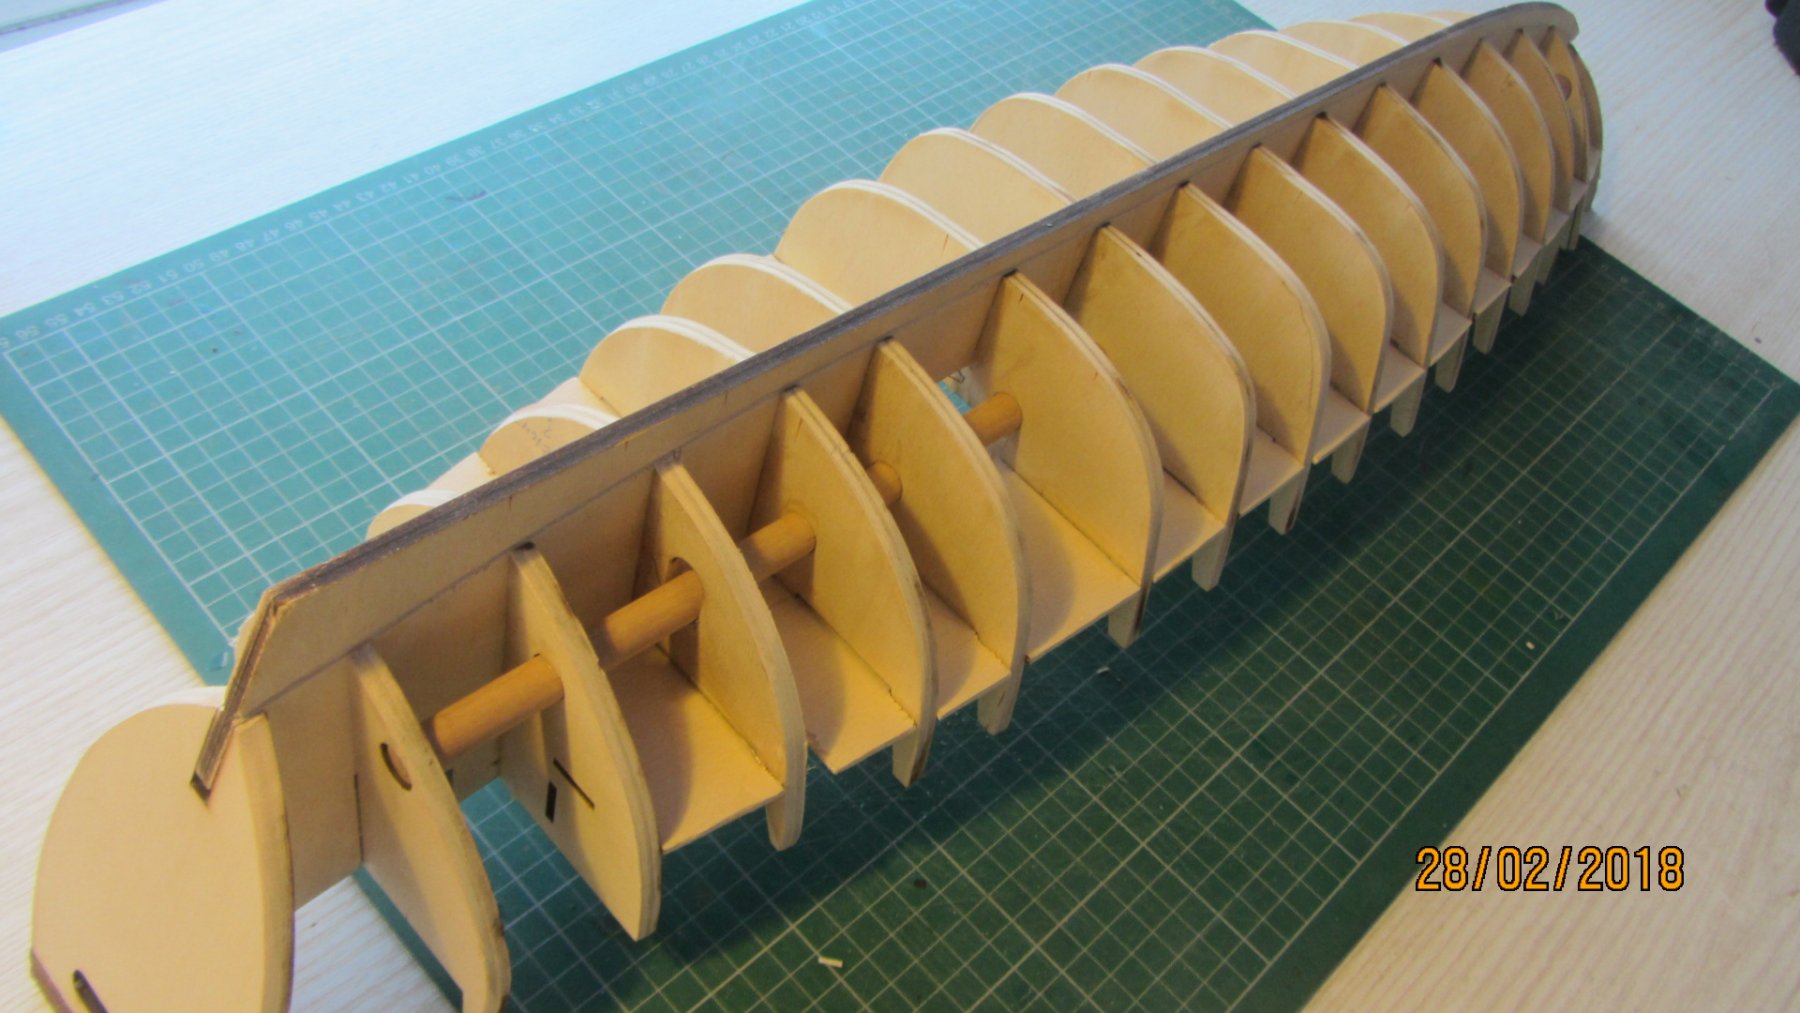
 Hi. Welcome to the Chinese Pirate Junk build. This is based on the Amati model and lines were taken from there plans.(with lots of modifications.) The plans were modified with Adobe Illustrator CS2 which is my chosen software. Extra bulkheads were added and some bulkheads were changed to match the lines that I wanted. Junk Antony.pdf My drawings converted into PDF. The 6mm and 3mm plywood used to the decks and bulkheads were cut by Laser cutting service http://www.pbmodelmaking.co.uk/laser-cutting-service/4588356832 The cost off the Laser cutting plywood and postage UK. was £32.00 + £7.50 postage Always wanted to make a Junk so here it is. It will be a build and modify as I go build as the drawings will need to be redone with each change of part size. 6mm plywood parts shown below. 3mm parts were of the same quality. The laser cutting was excellent and can recommend the supplier. Fitting the bulkheads to the keel needed just a little sanding for a tight fit. Parts assembled but Not glued yet as there are a lot of adjustments to be made. The dowel is not necessary but I like to include in to the design to hold the boat straight. The deck was made oversize for the laser cutting so it could be trimmed then the drawing updated. Will post more later on this a afternoon. Duty calls. Regards Antony.