andyp22
-
Posts
29 -
Joined
-
Last visited
Recent Profile Visitors
433 profile views

-
 GrandpaPhil reacted to a post in a topic:
Virginia 1819 by andyp22 - Artesania Latina
GrandpaPhil reacted to a post in a topic:
Virginia 1819 by andyp22 - Artesania Latina
-
 Thanks Russ!
 -
andyp22 reacted to a post in a topic:
Virginia 1819 by andyp22 - Artesania Latina
-
Planking the hull is taking a little longer than expected but I am now halfway done! Here is my progress: Filling in the Second Section Using the same method for each row I continue up the hull. Starting the Third Section Starting the Fourth Section One strip to go First Side Finished! View from the Bow Very happy with the more uniform look of the planks at the bow. The Curve of the Hull Needs some sanding and some filler in a couple of places but looks good none the less. From the Stern Only needed to use one wedge piece at the stern because of the curve of the ship. I know it's there and I can hardly see it. On to the other side!


-
andyp22 reacted to a post in a topic:
USS Constitution by CaptainSteve - Model Shipways - 1:76.8 scale
-
andyp22 reacted to a post in a topic:
Virginia 1819 by CurtisW - Artesania Latina
-
andyp22 reacted to a post in a topic:
Virginia 1819 by CurtisW - Artesania Latina
-
andyp22 reacted to a post in a topic:
Niagara by greatgalleons - FINISHED - Model Shipways
-
andyp22 reacted to a post in a topic:
Virginia 1819 by andyp22 - Artesania Latina
-
andyp22 reacted to a post in a topic:
Virginia 1819 by andyp22 - Artesania Latina
-
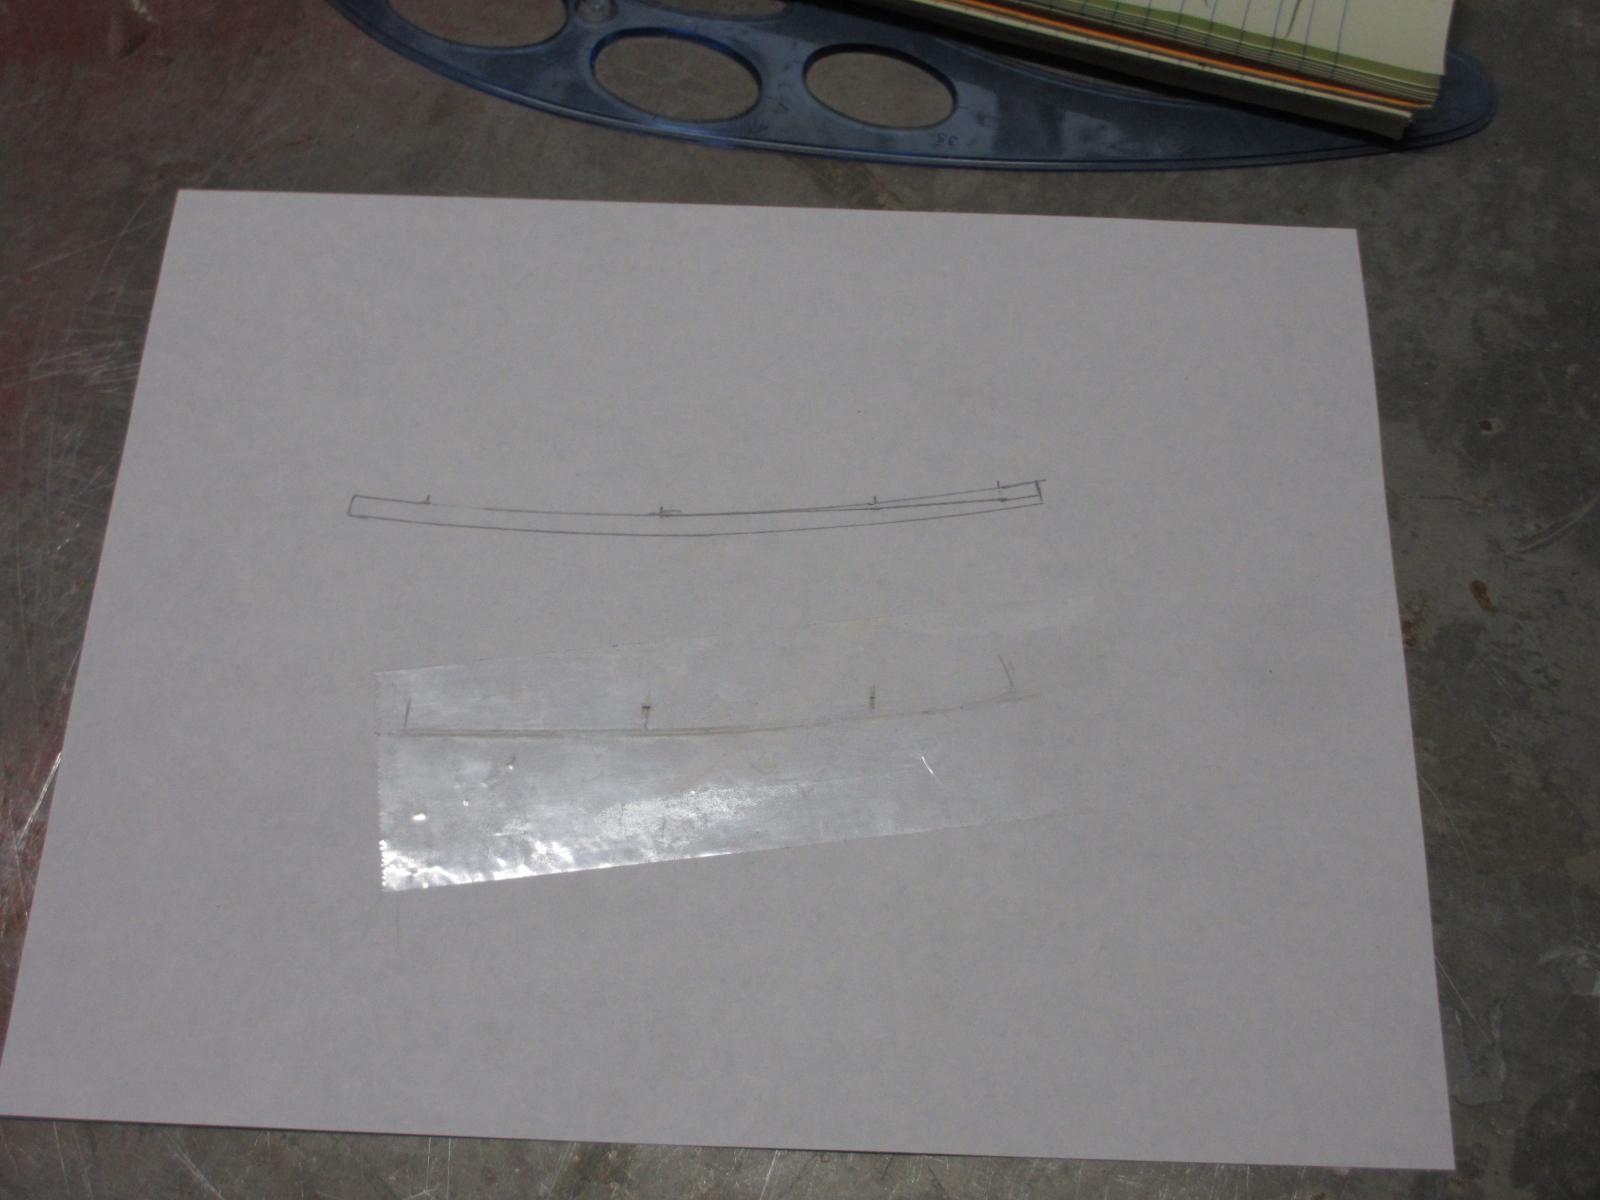
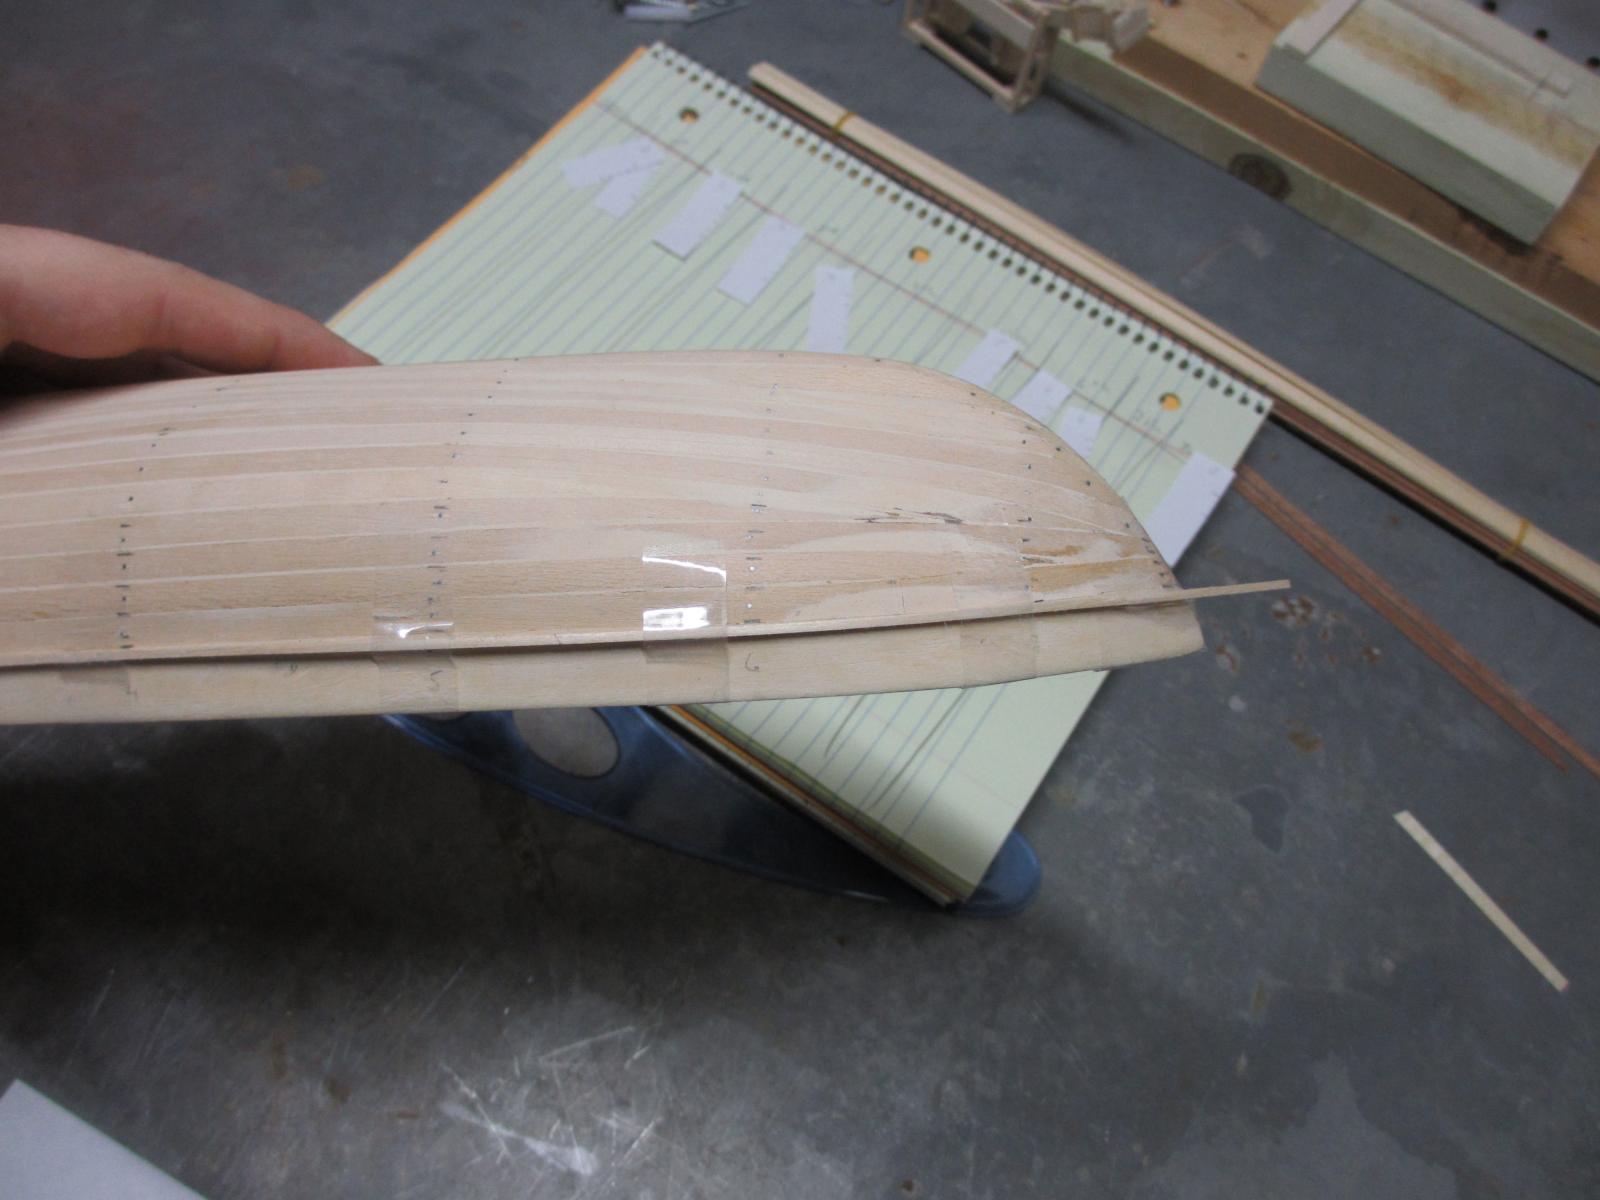
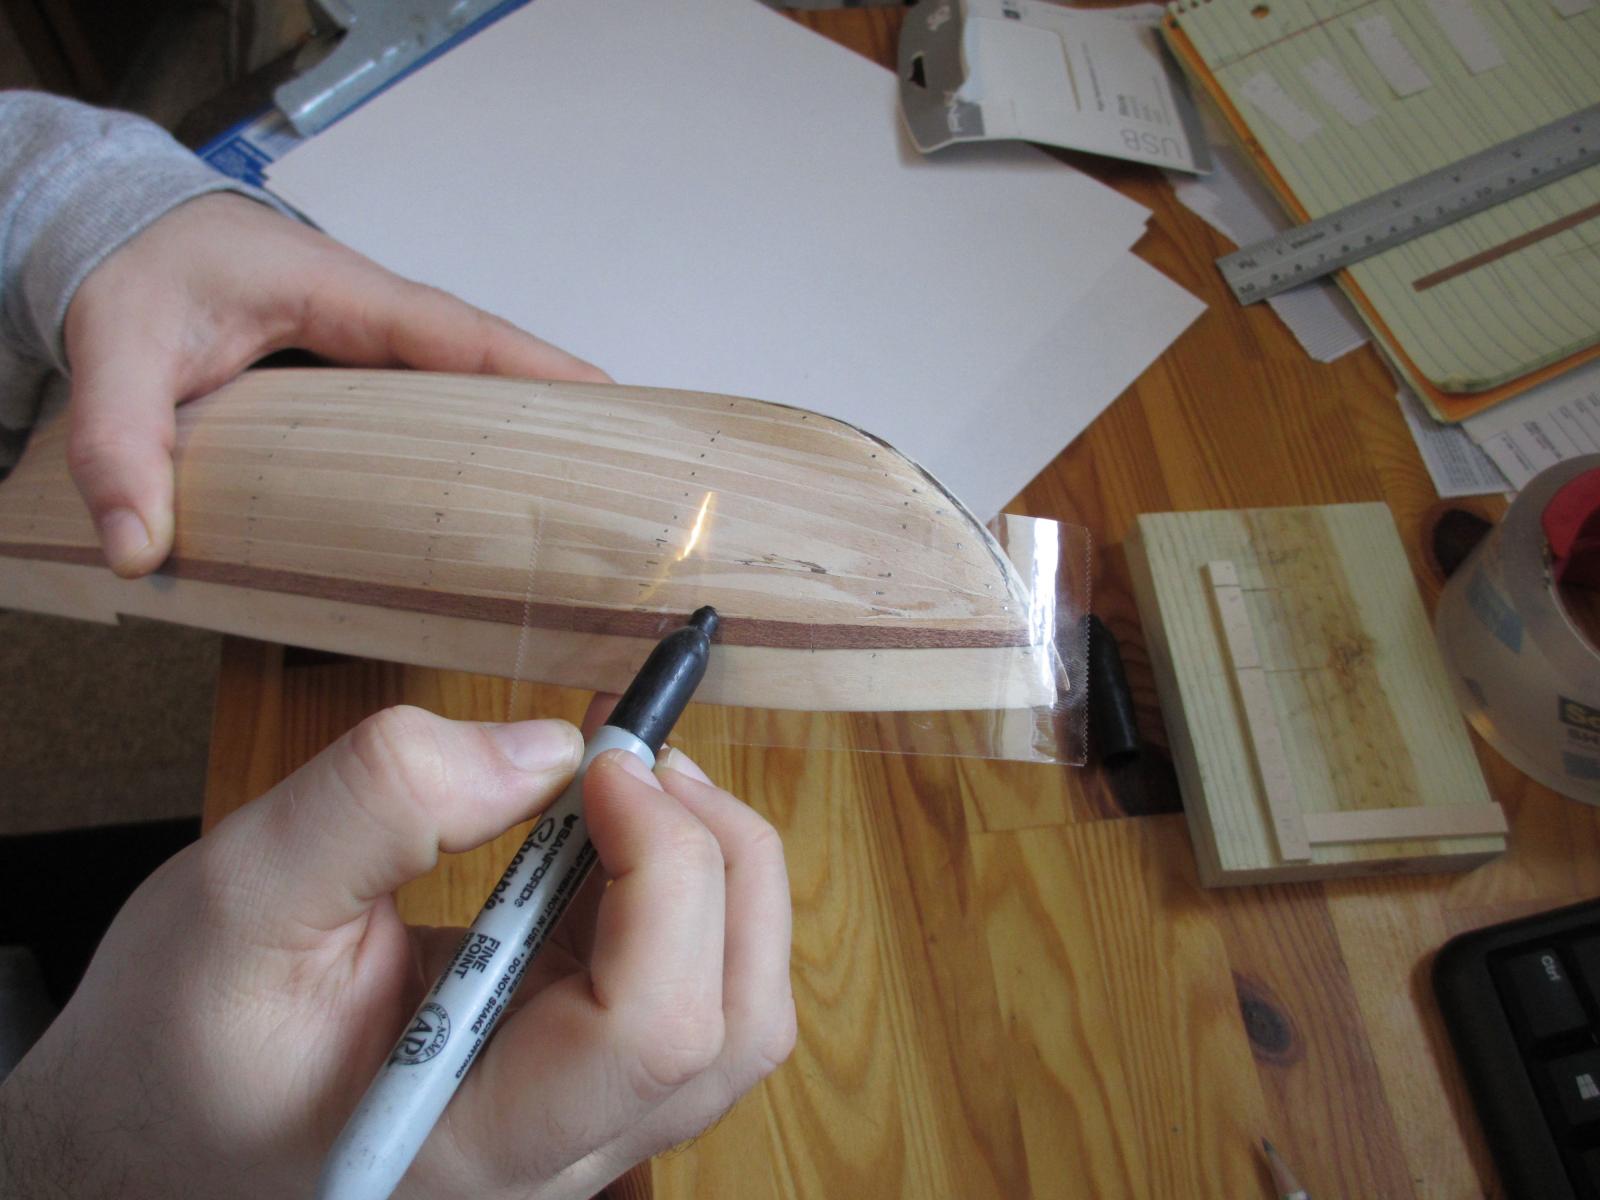
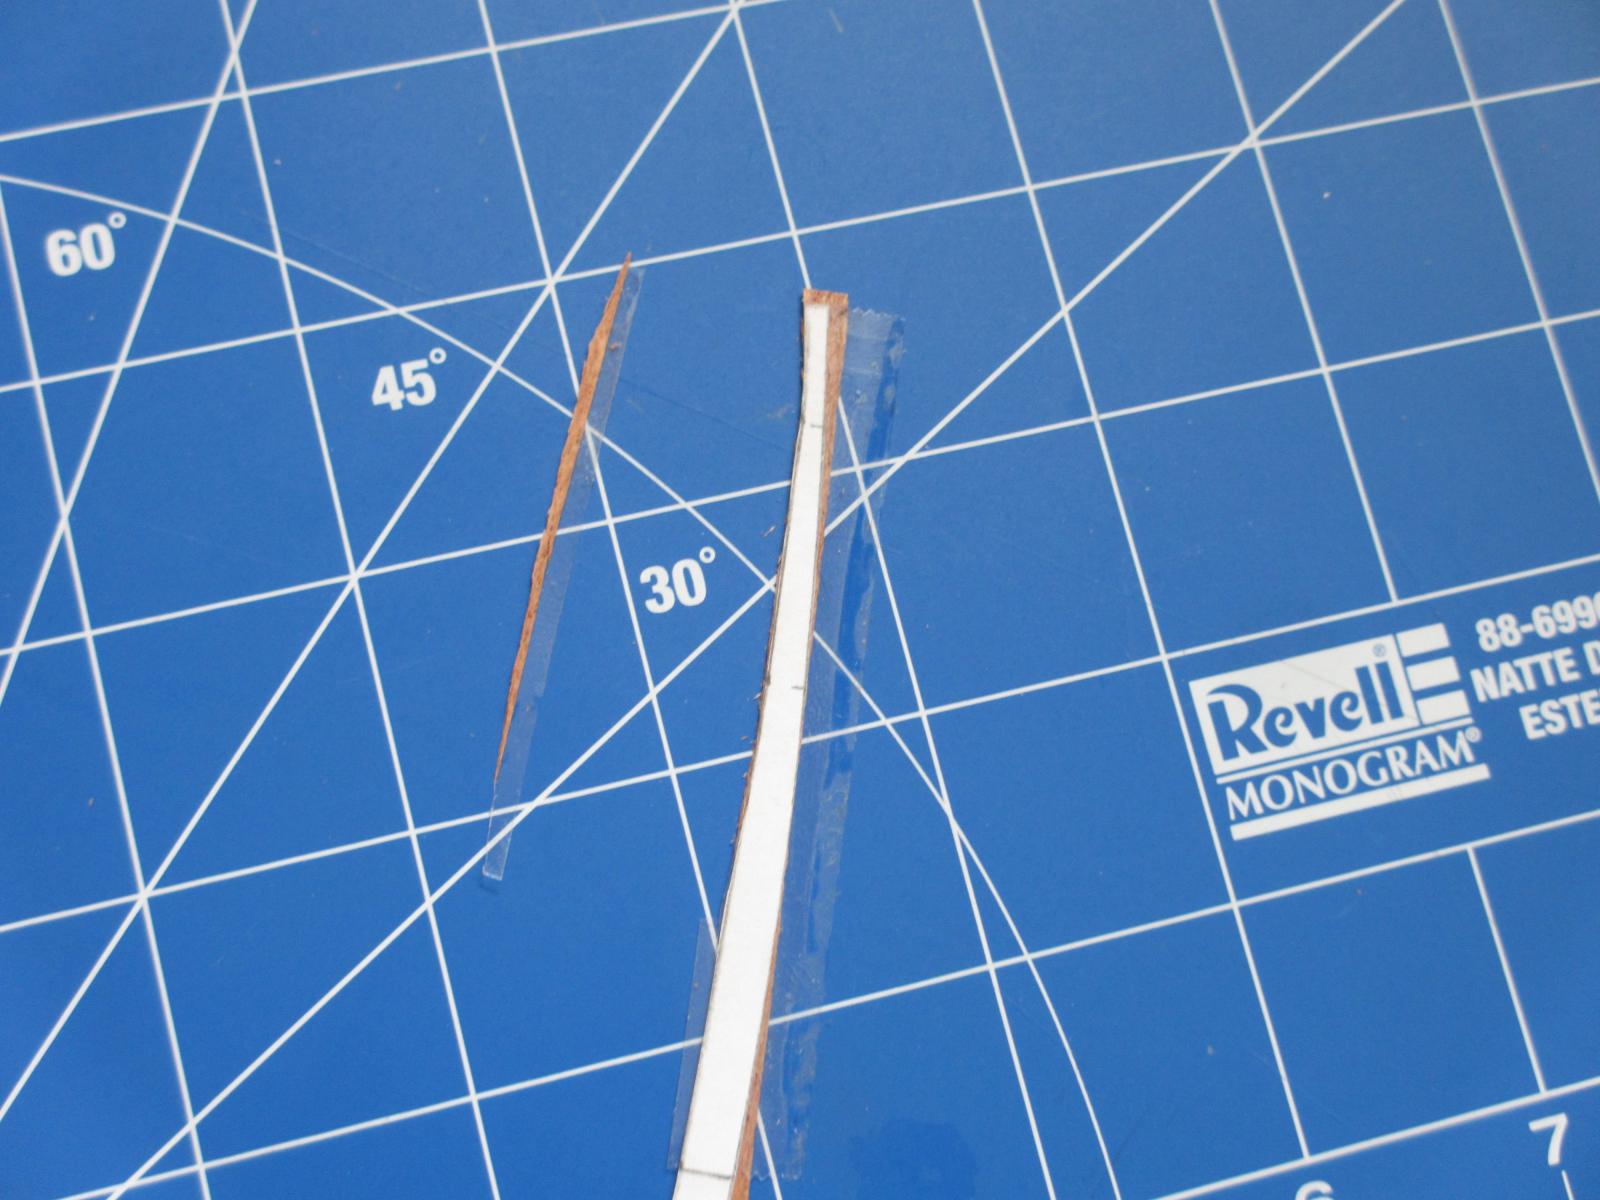
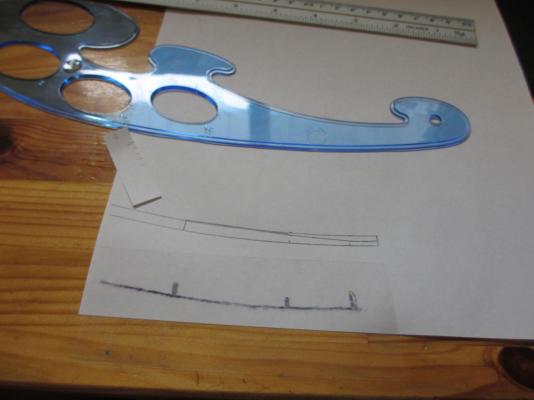
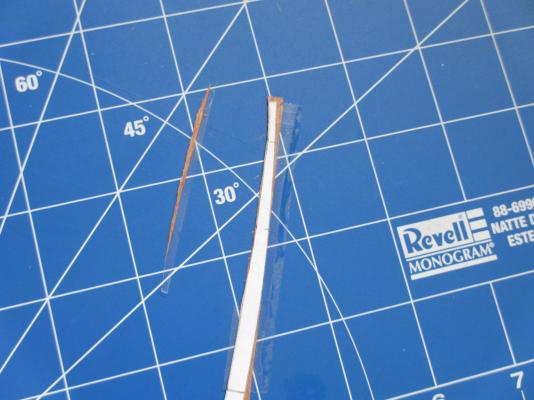
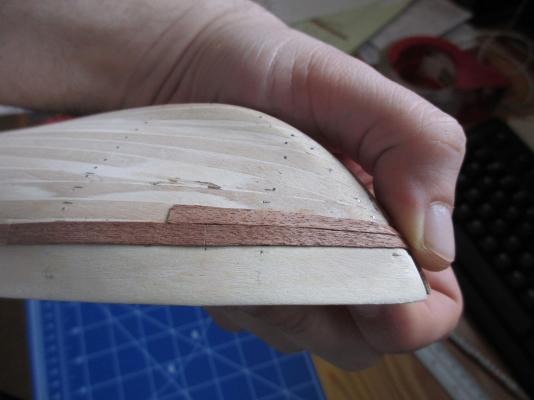
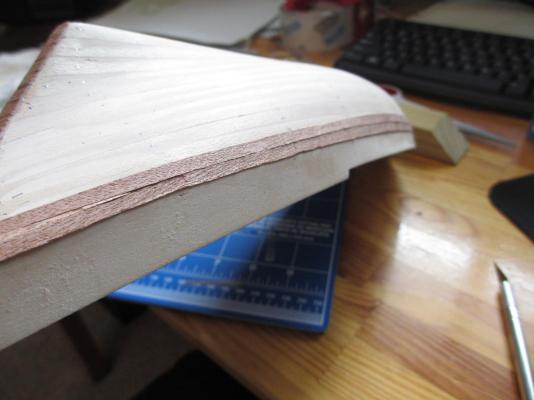
Thanks for the advice russ! I had to go out and find a place that had a French curve set (I'm a bit rural so it was kinda hard to find) but have one now and have the first couple rows of planking done. Temporary Batten I used a scrap piece of wood to simulate what would be a plank so that I can trace the curve of the bow to spile my planks. First Plank I traced the curve of the bow to a piece of packing tape, making sure to mark where the bulkheads were. I then transferred those markings to a piece of paper to make a template. First Row Complete I have completed the first row of hull planking. Bulging at the Bow Fixed Spiling the plank fixed the bulging between the 6th and 7th bulkheads that I was seeing with the first template I made. Not Perfect My knife skills still need a little work but I happy. On to the second row. Tracing the Curve for the 2nd Row Used a sharpie to mark the tape this time as I found it was easier to use and came out better. Transferring the Curve French curve set made transferring the markings a breeze. Transferring Bulkhead Measurements I used my bulkhead measurements to taper the plank template properly. Cutting the Plank I used double-sided tape to hold the template and wood together for cutting. Beginning the 2nd Row First plank of the second row is in place. Second Row Complete Second row is finished. Starting to get the hang of this. No Bulging at the Bow Still no bulging at the bow. Very happy with the results.


-
andyp22 reacted to a post in a topic:
Virginia 1819 by andyp22 - Artesania Latina
-
andyp22 reacted to a post in a topic:
Virginia 1819 by andyp22 - Artesania Latina
-
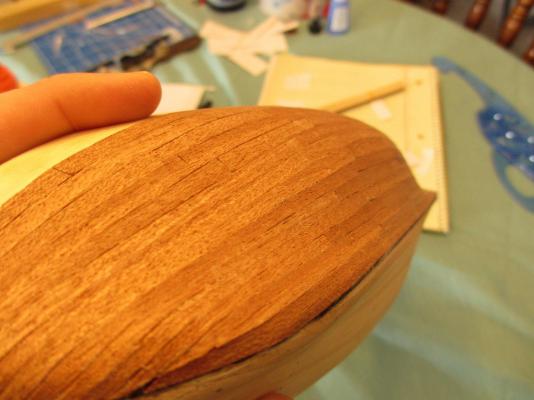
Thanks Russ. Just to be clear, by bottom edge I mean the edge closest to the bottom of the boat, which is at the top of the last photo. Andrew
-
Looking good! Andrew
-
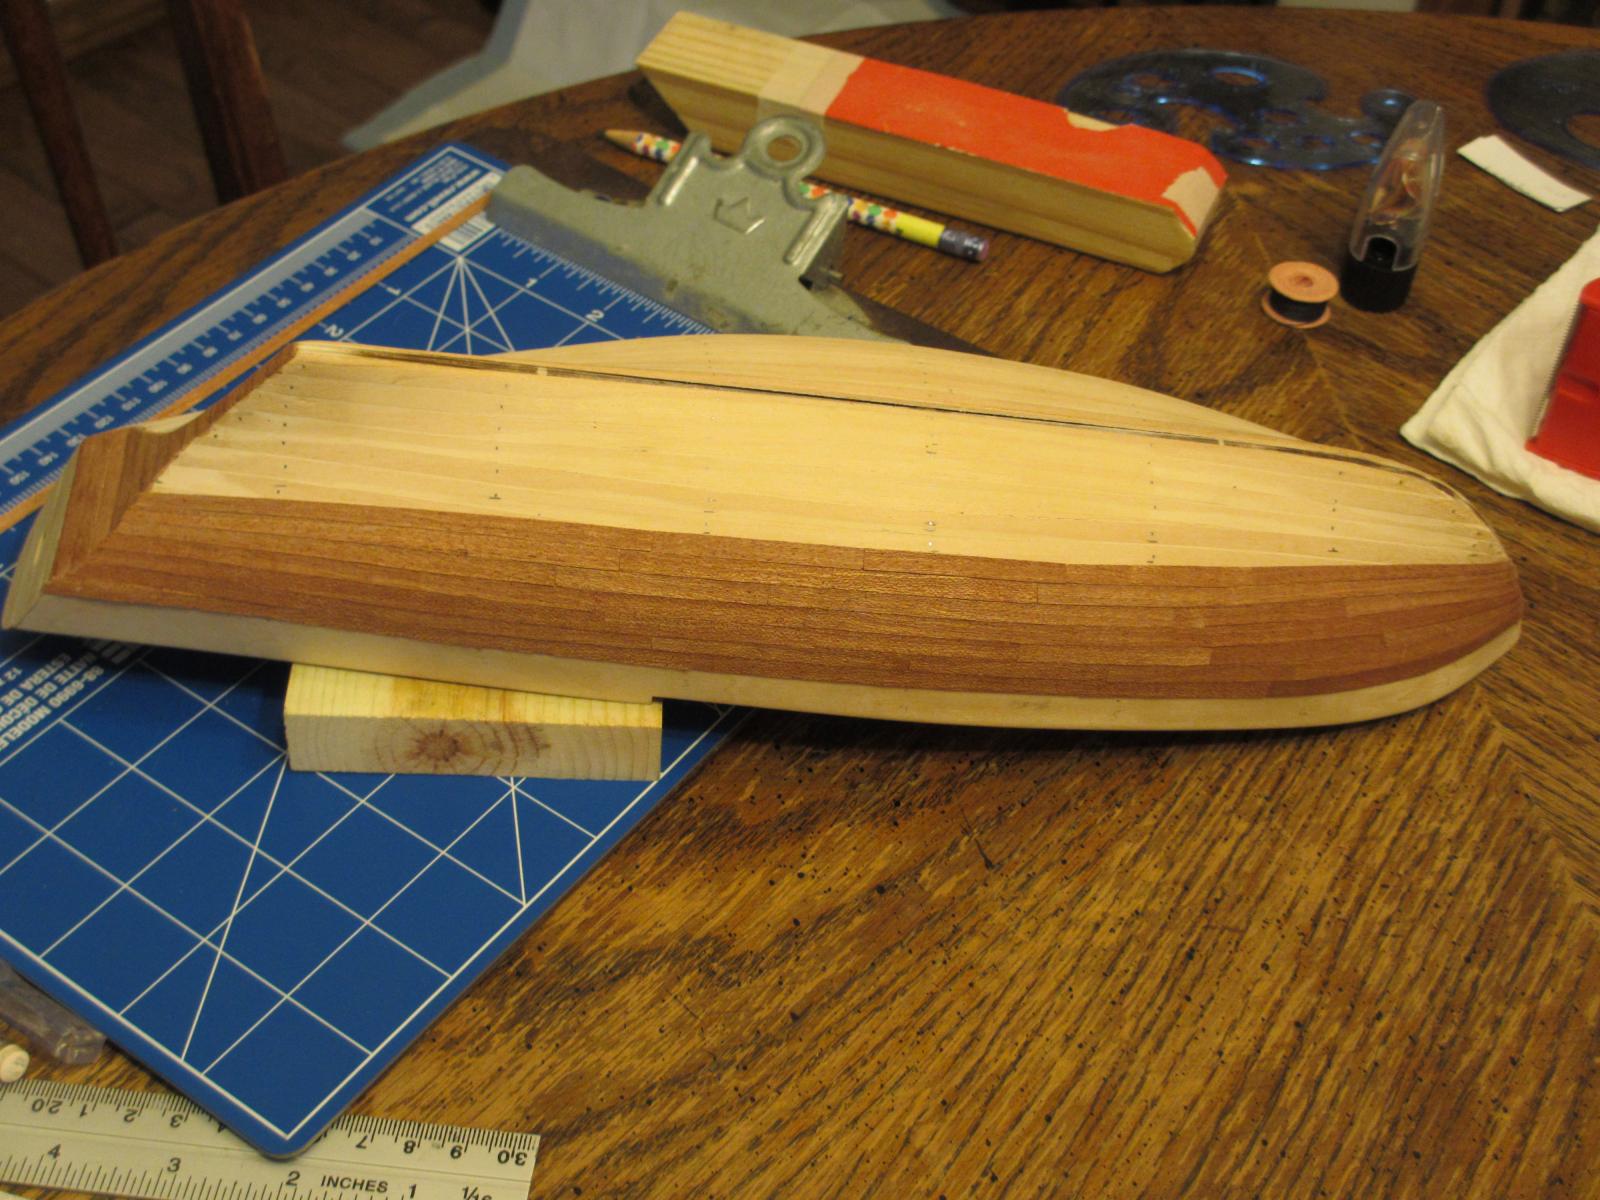
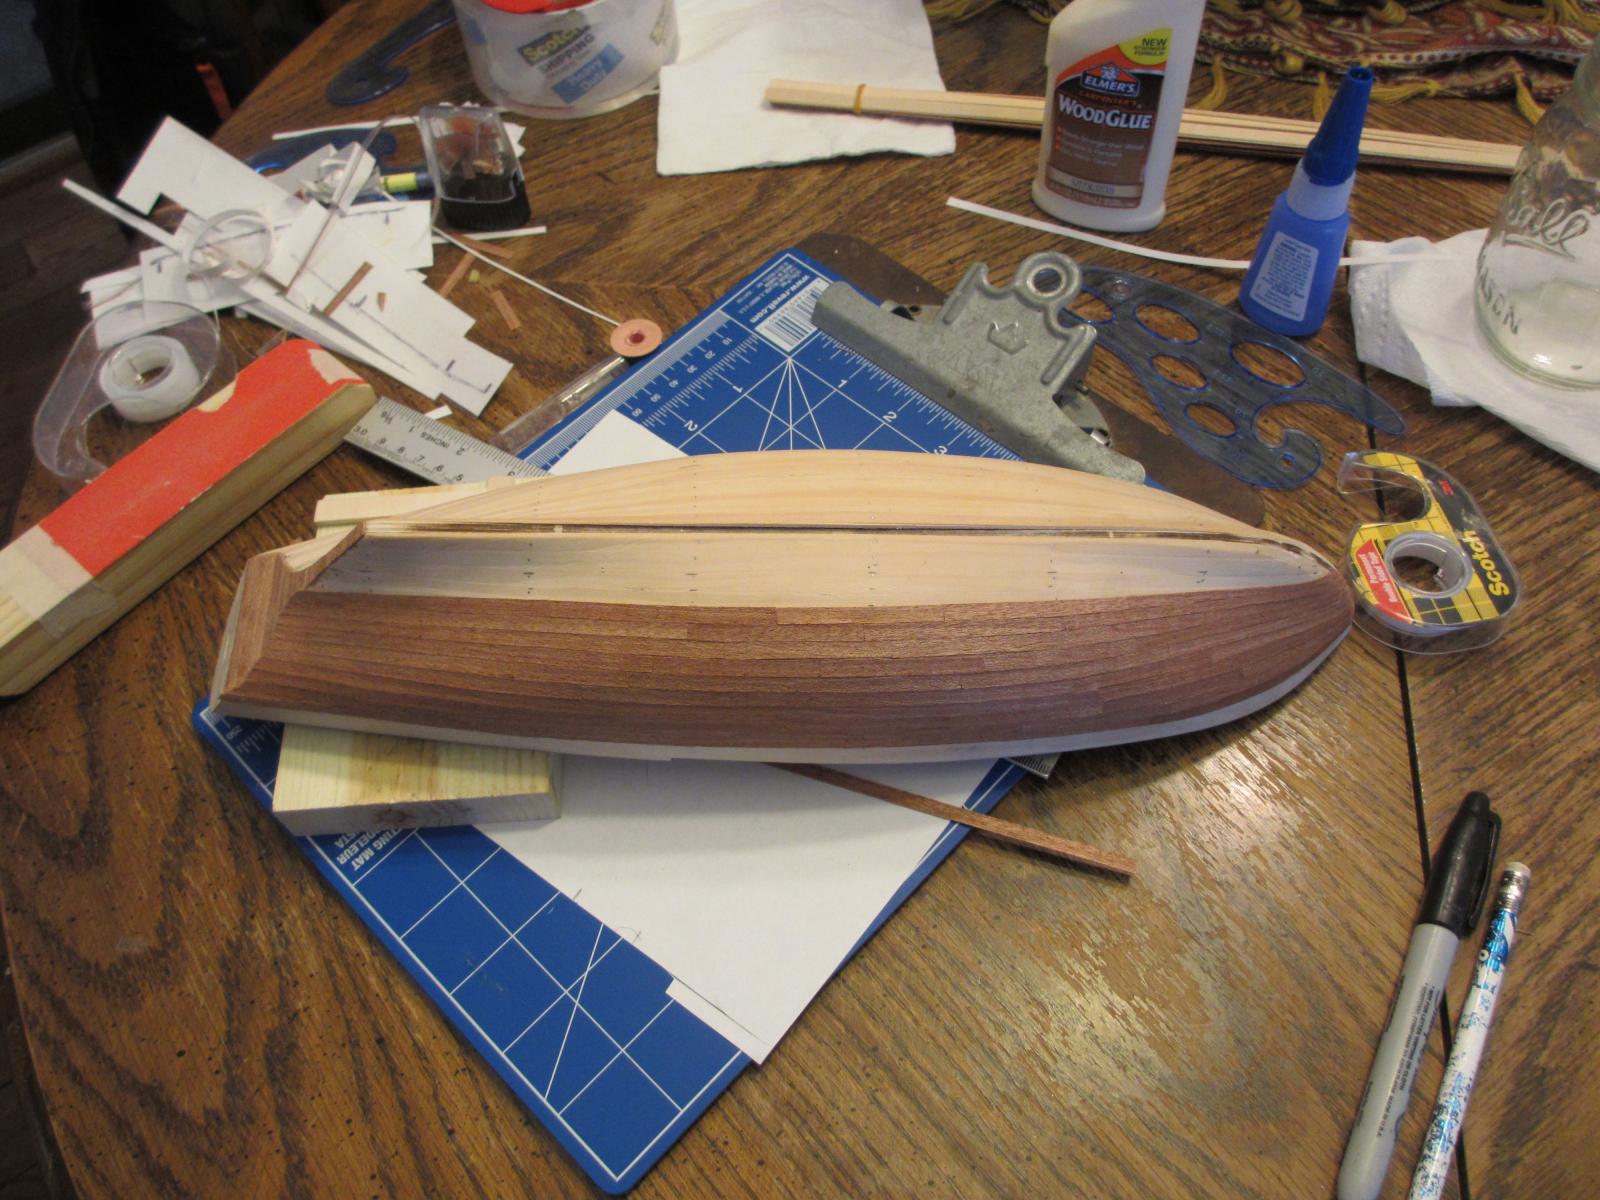
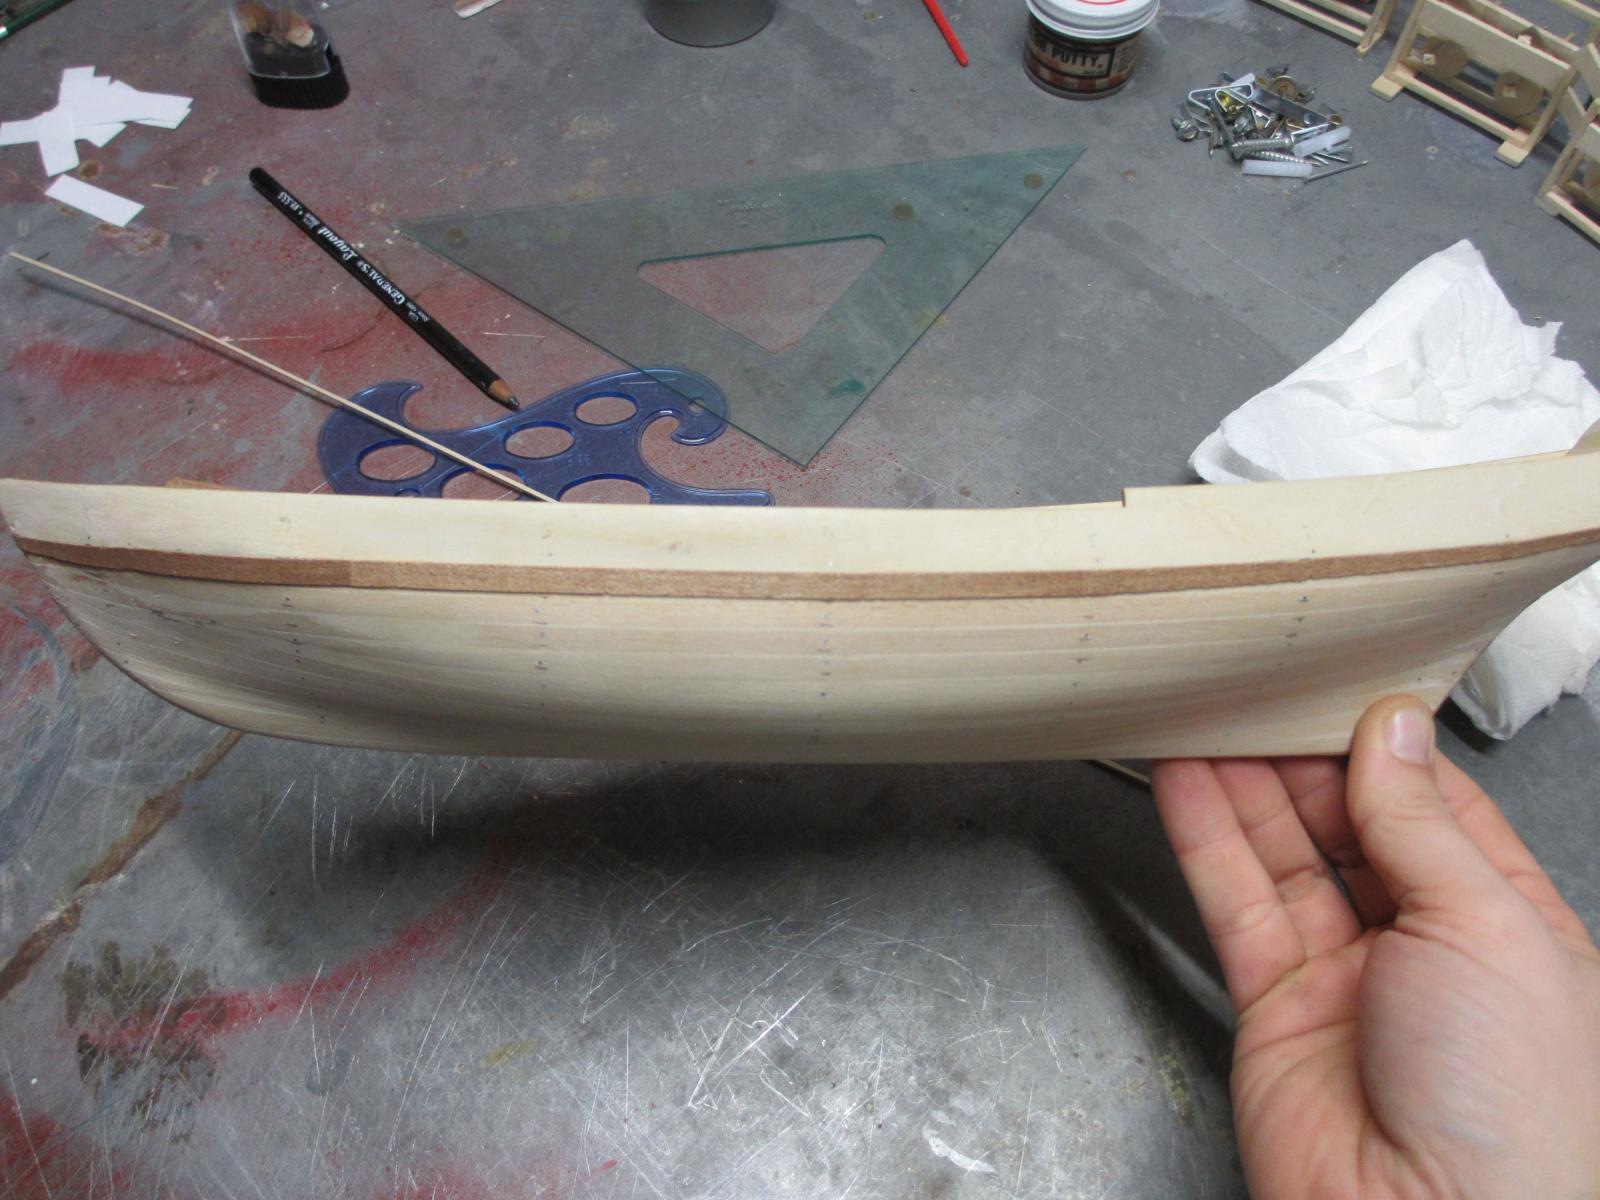
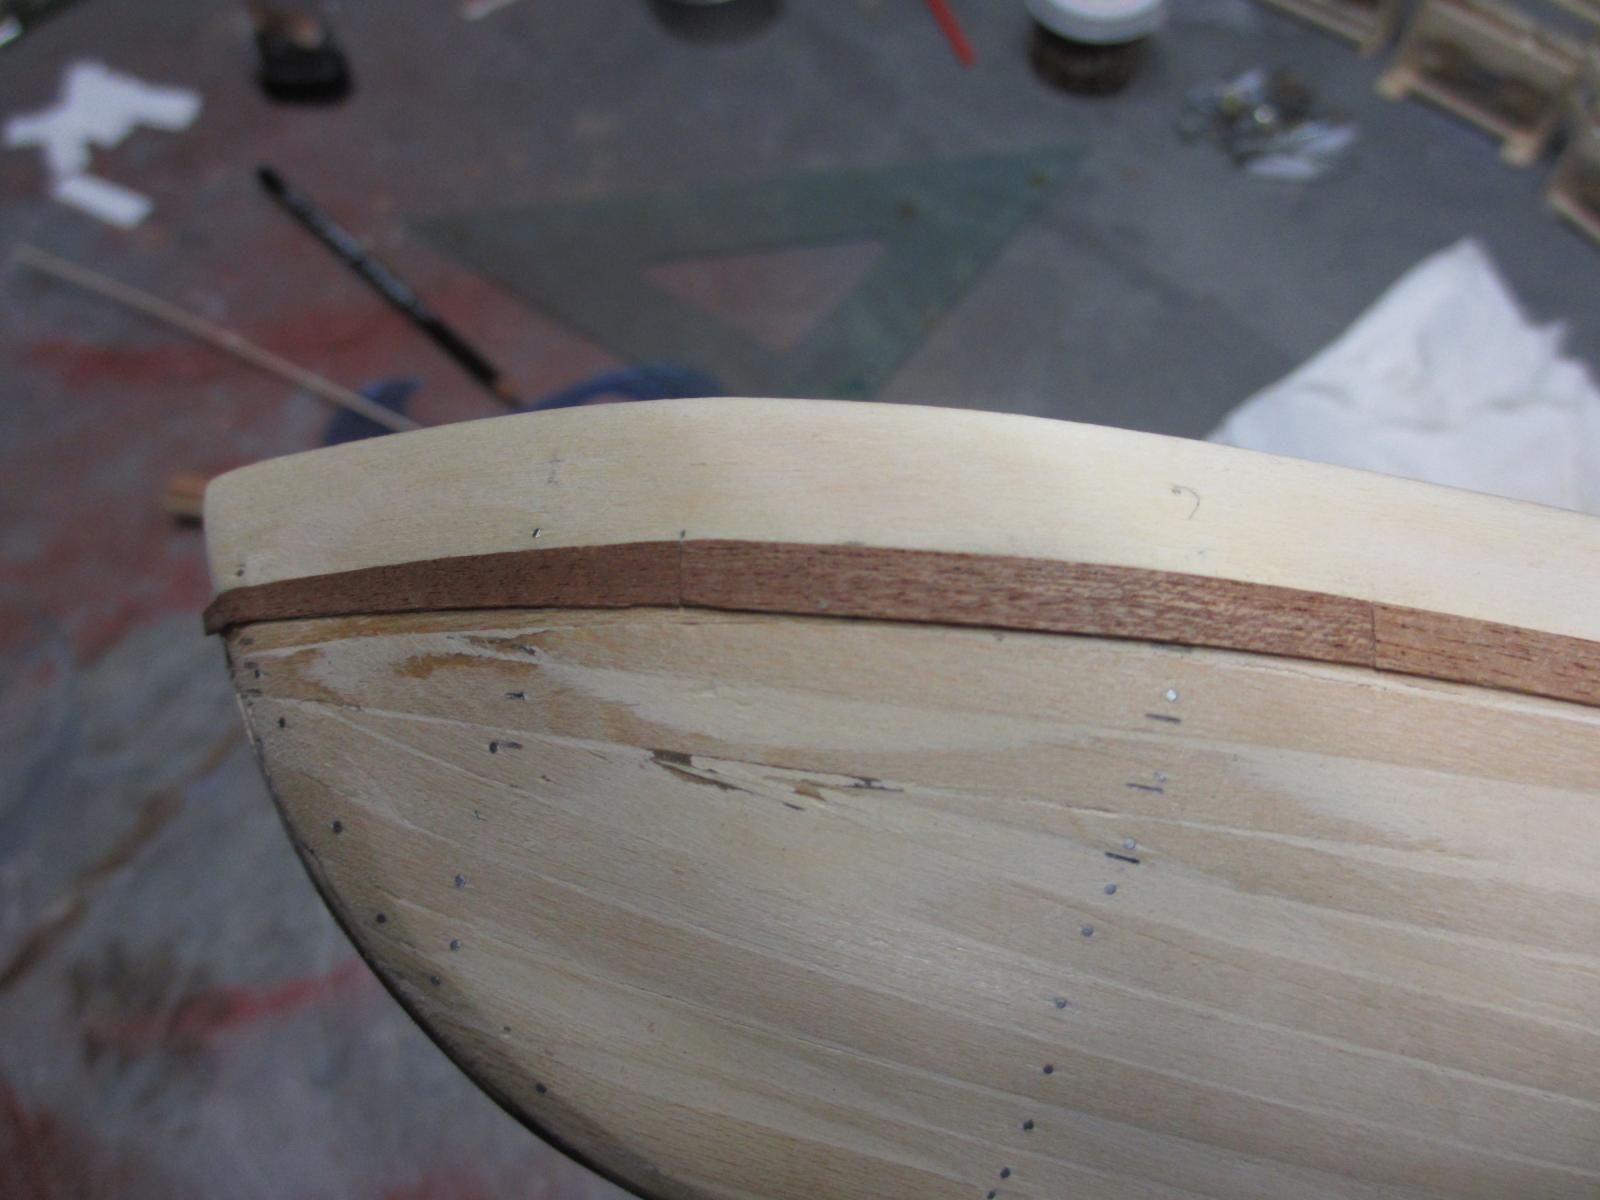
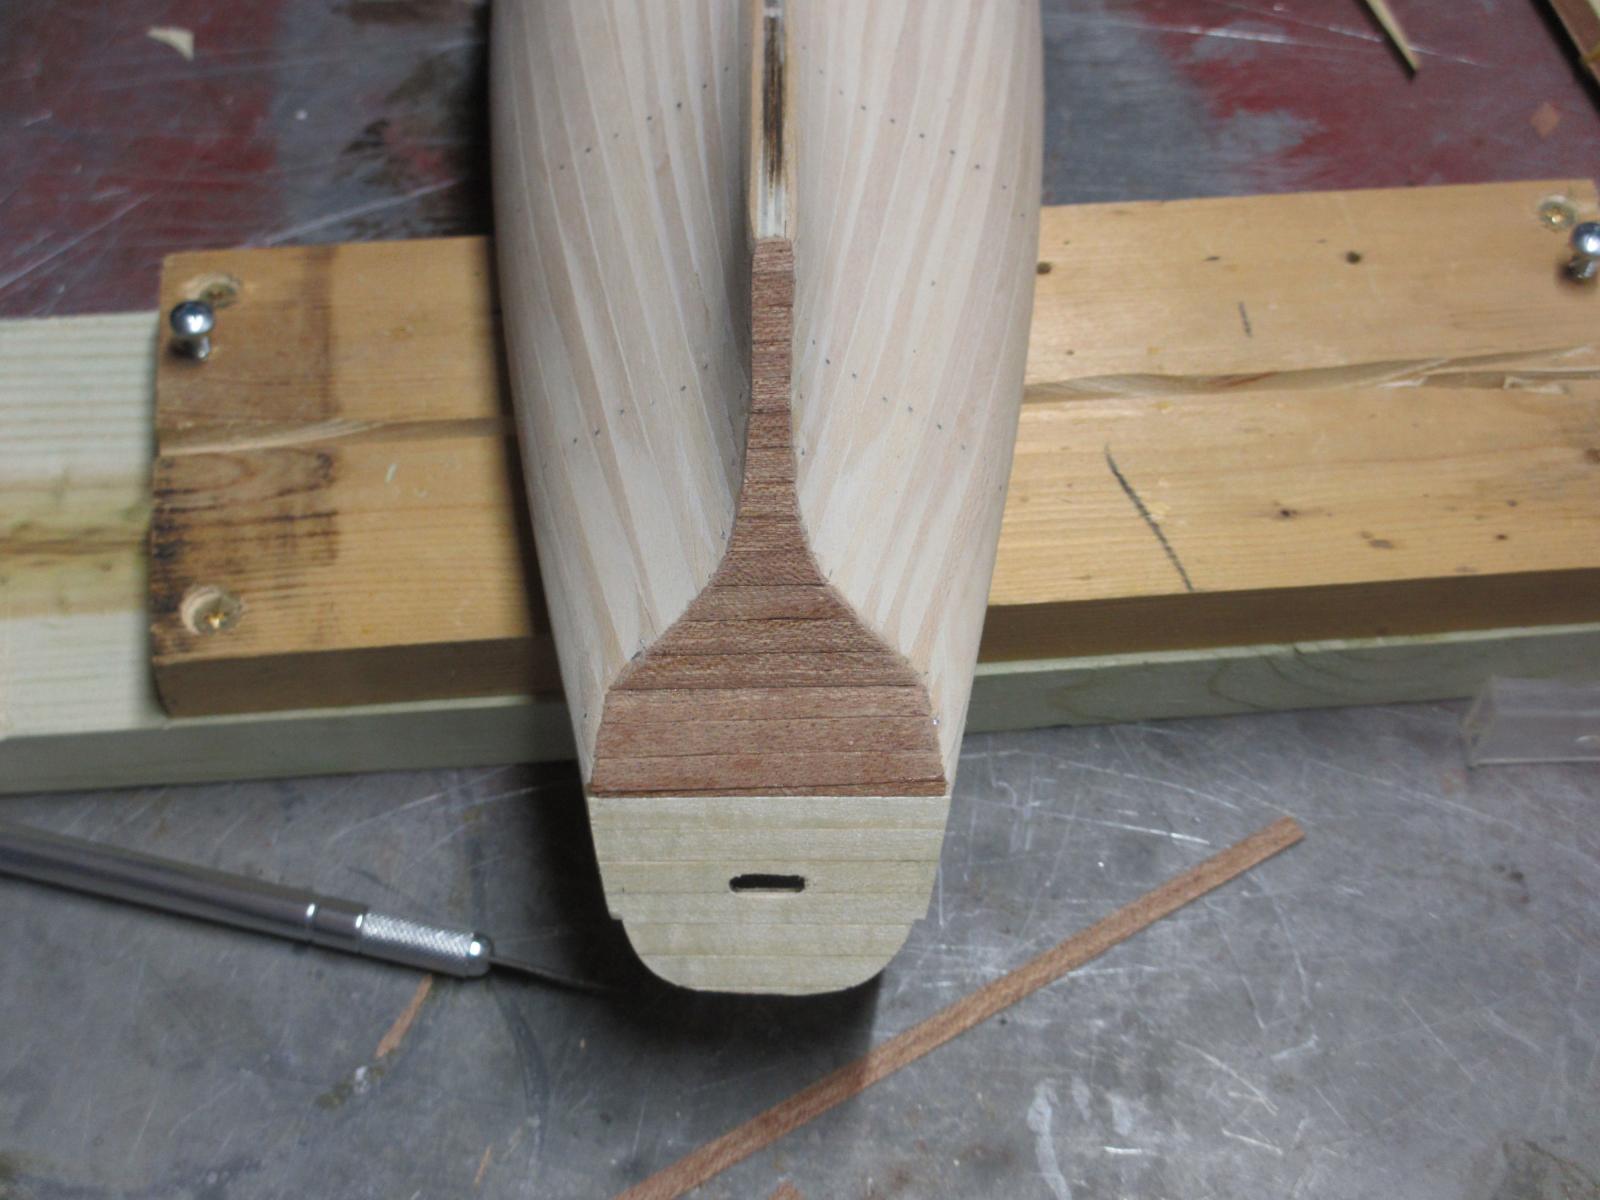
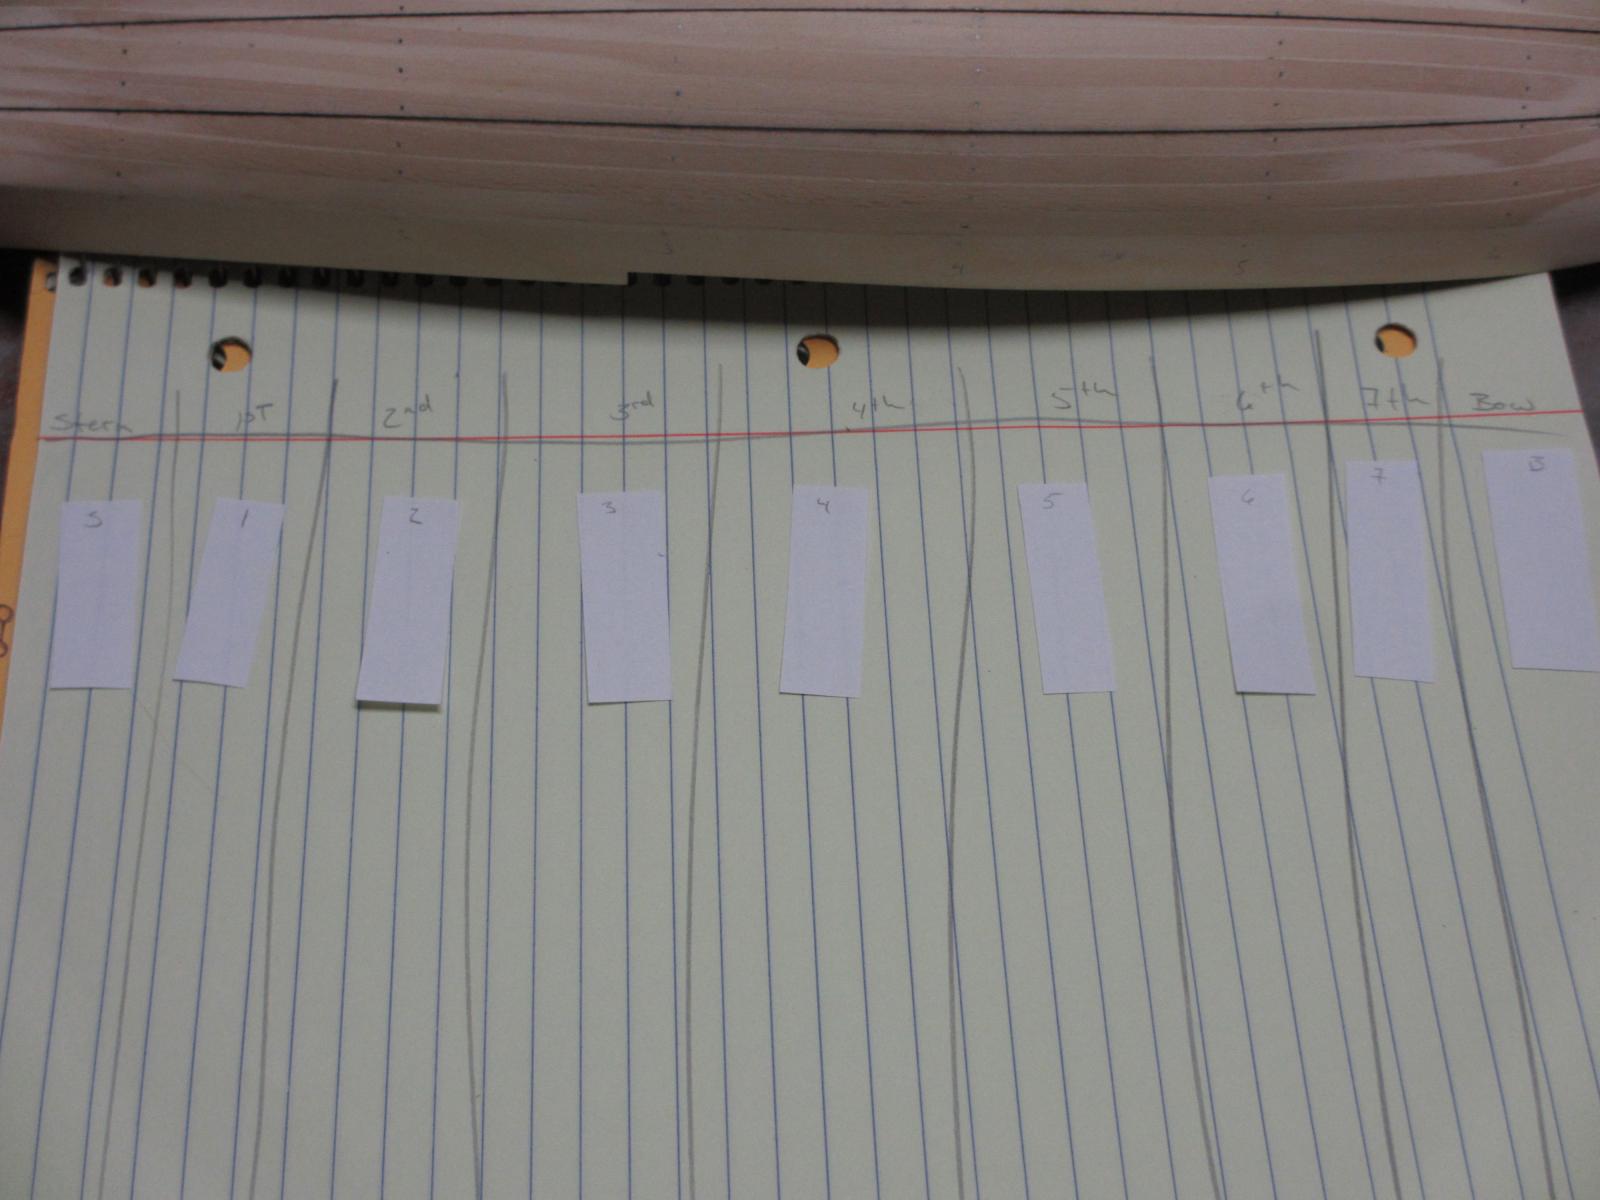
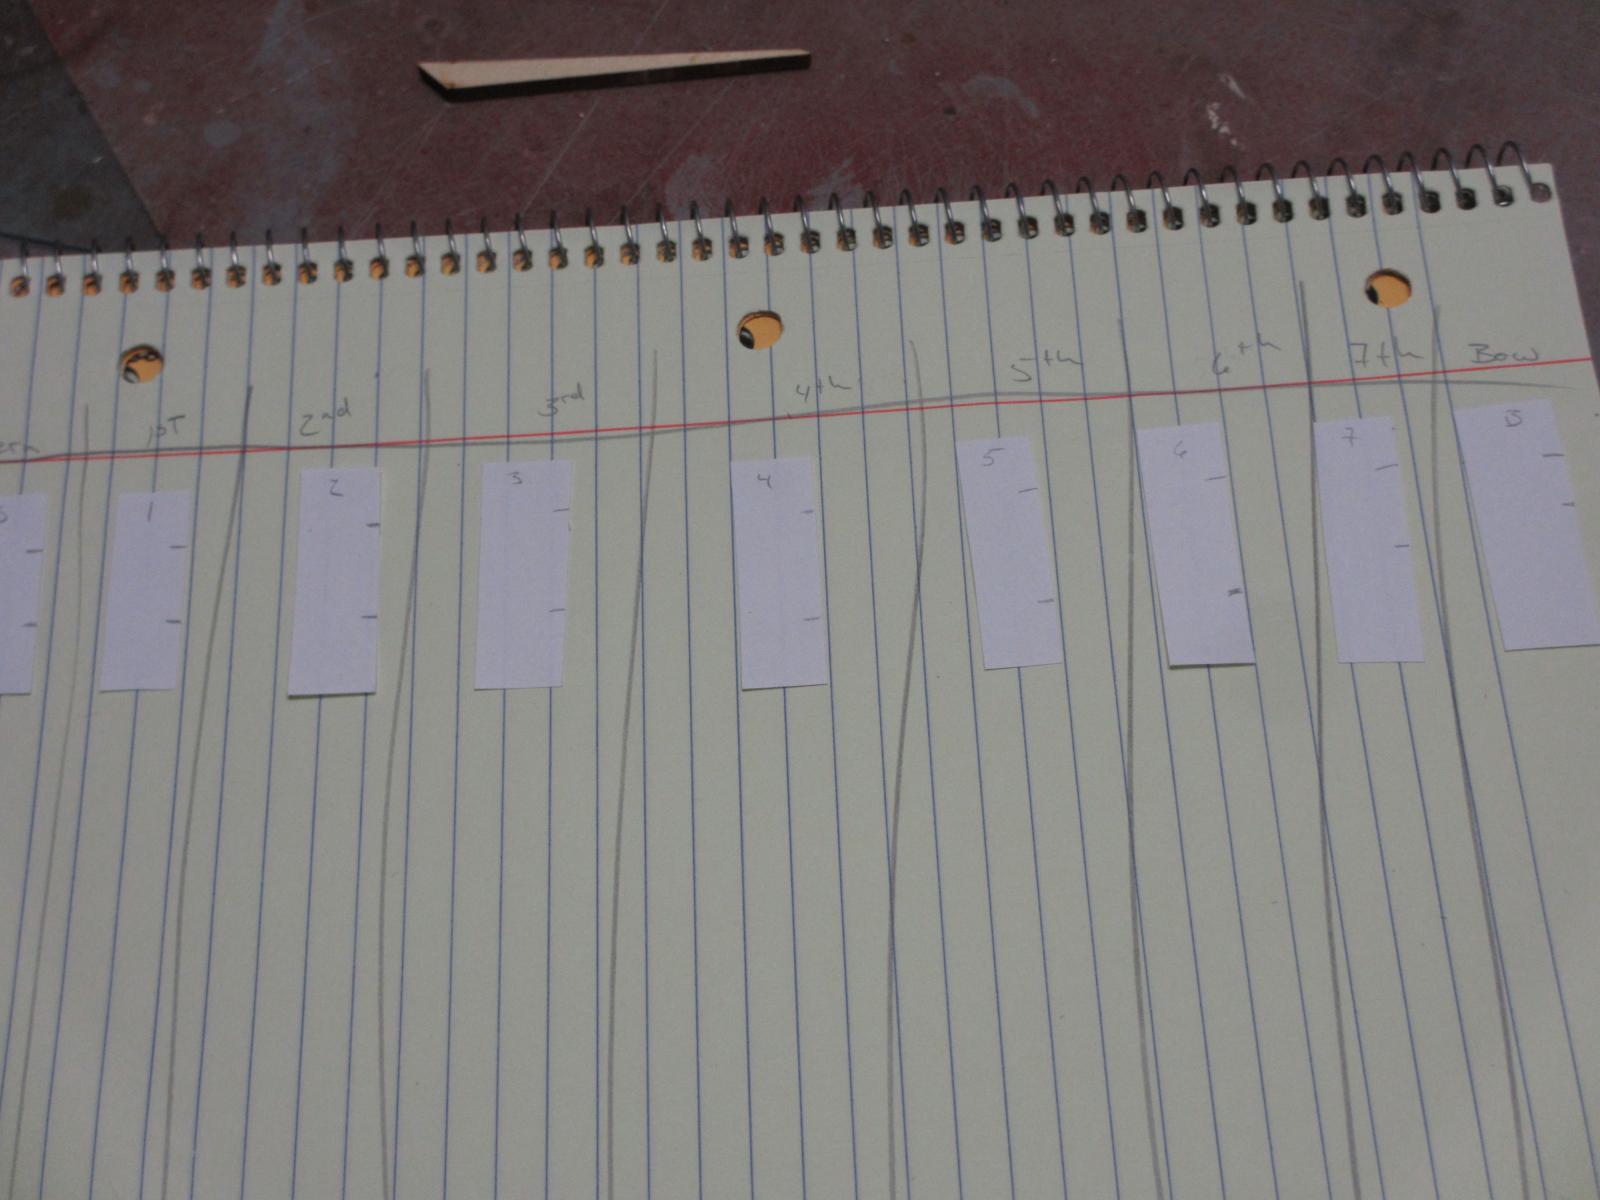
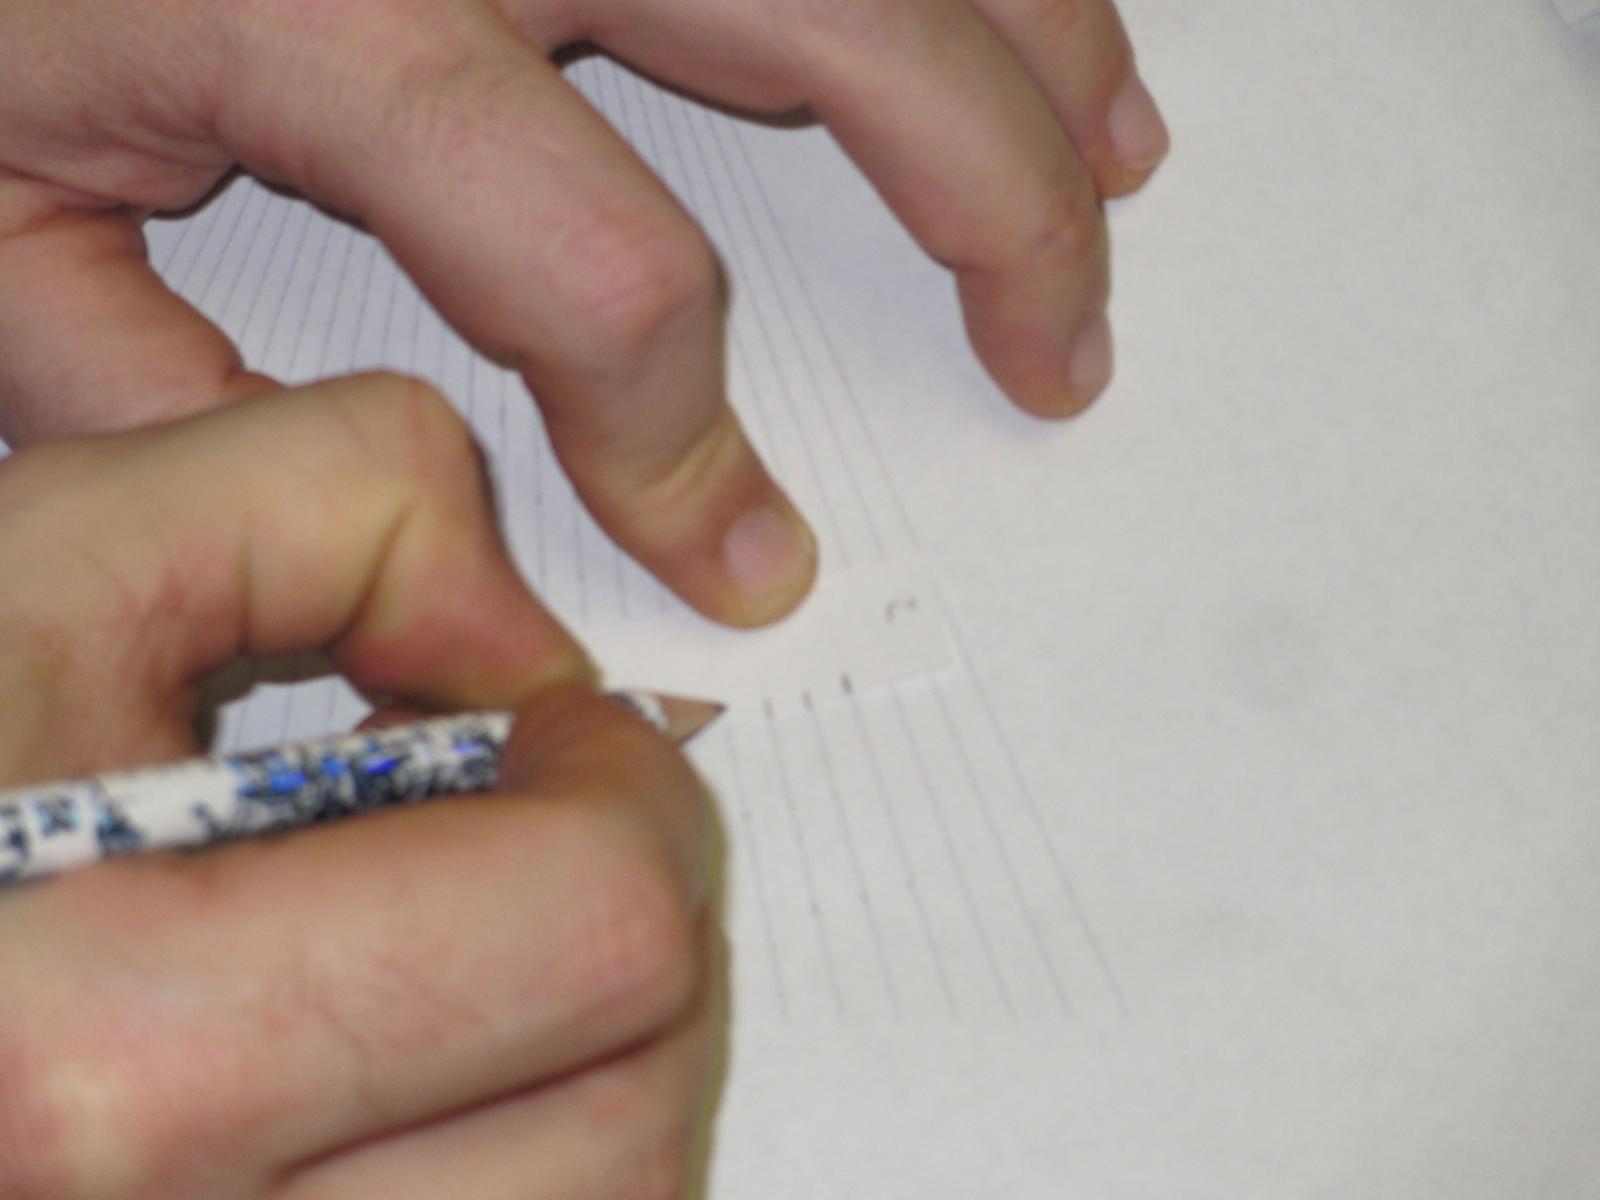
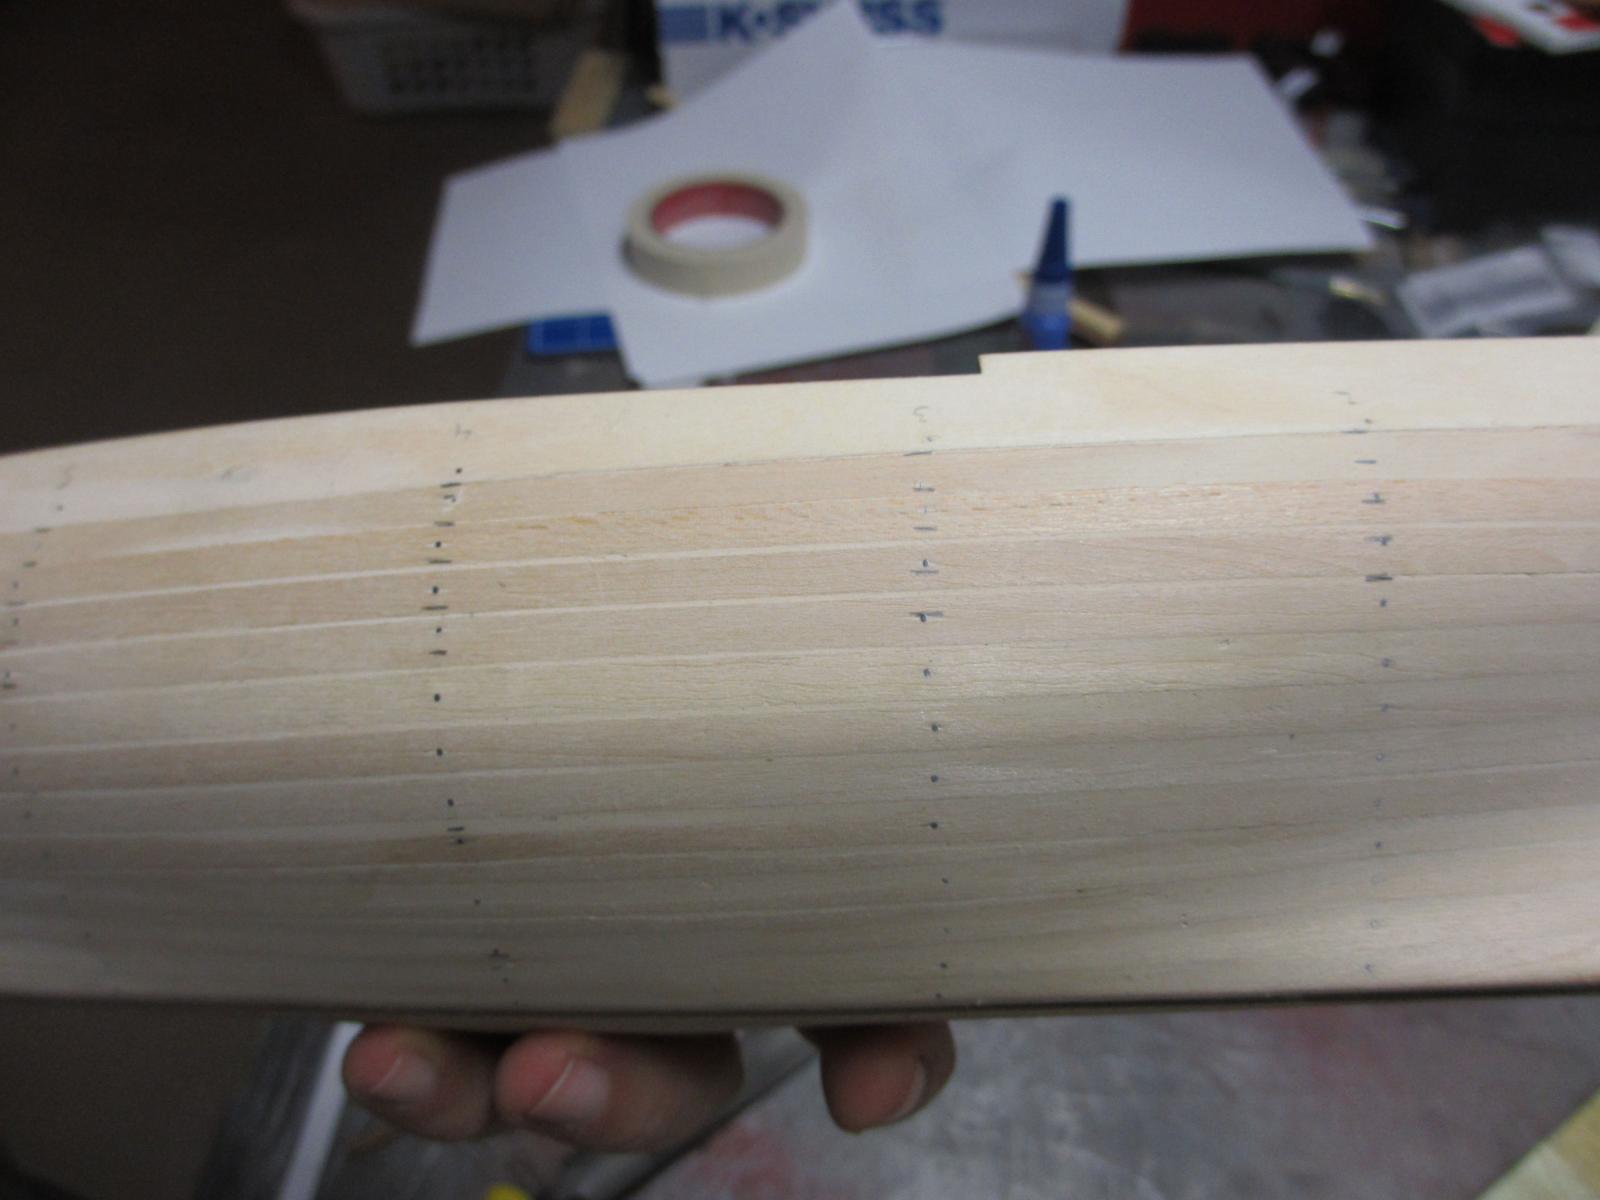
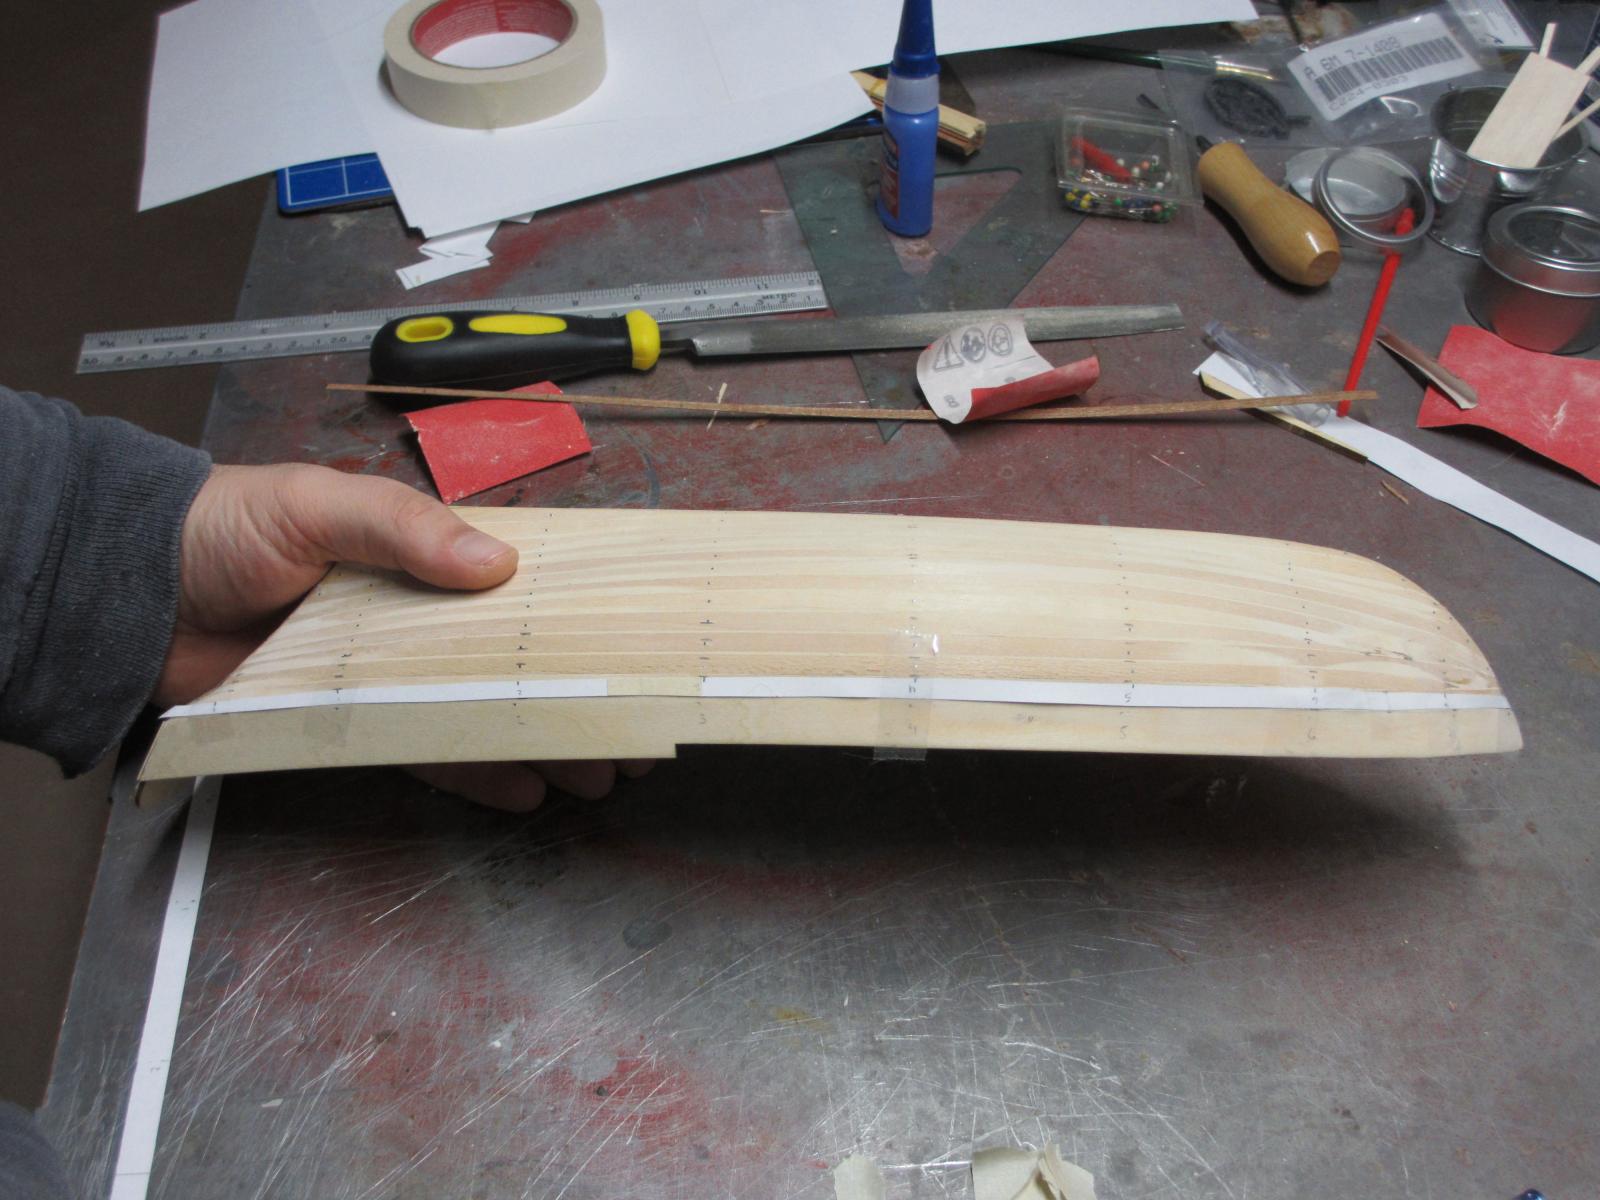
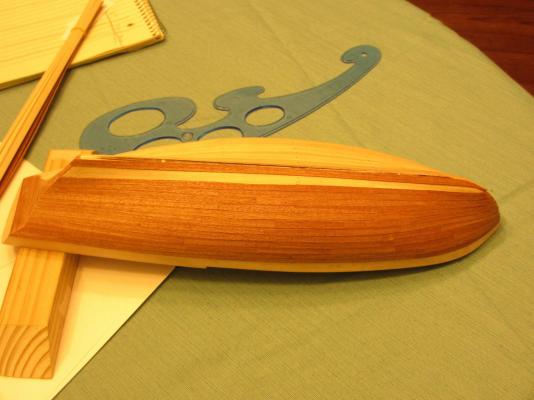
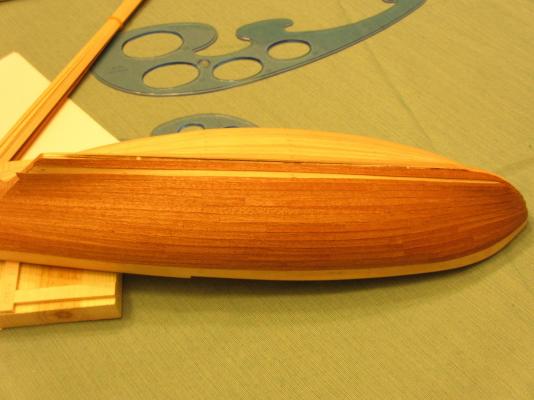
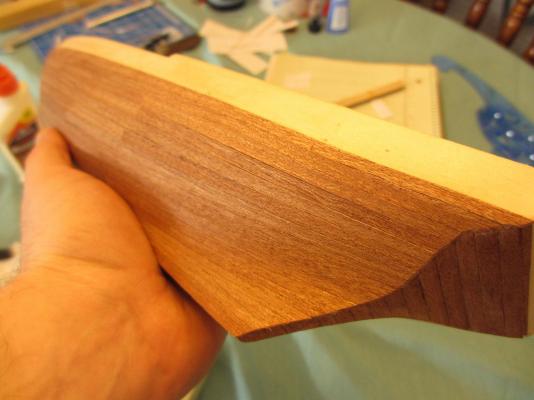
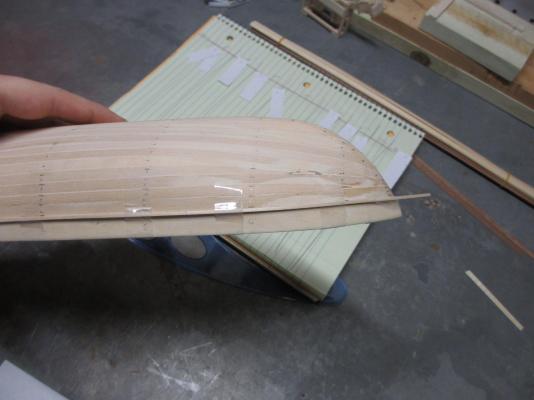
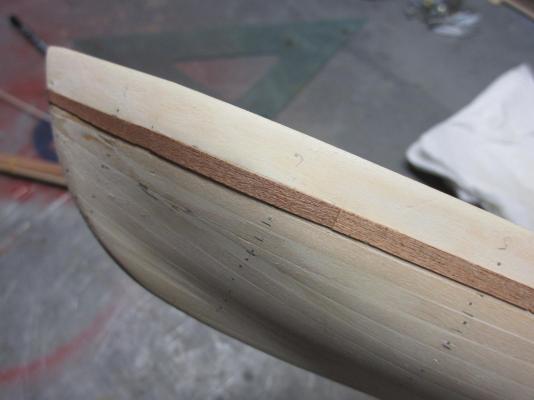
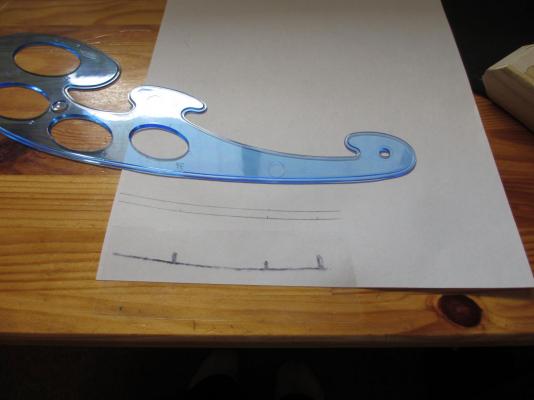
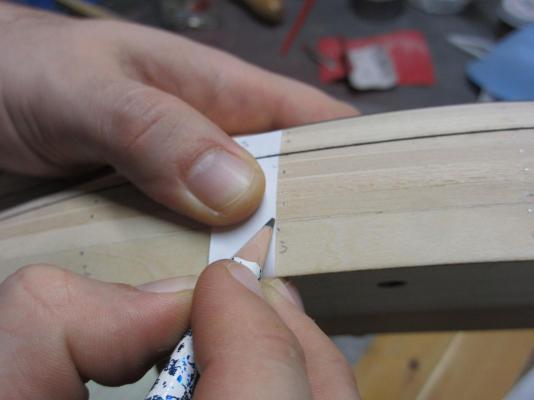
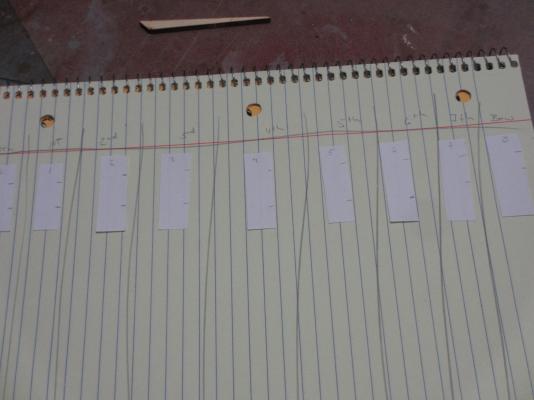
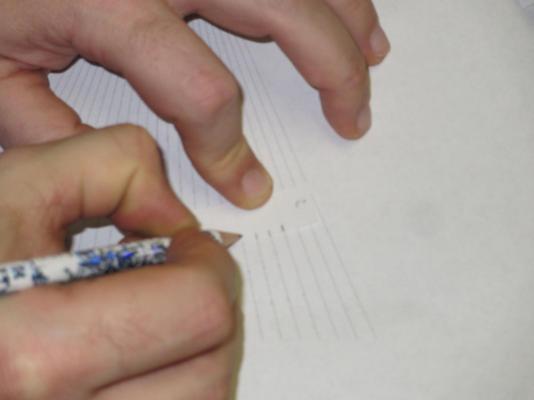
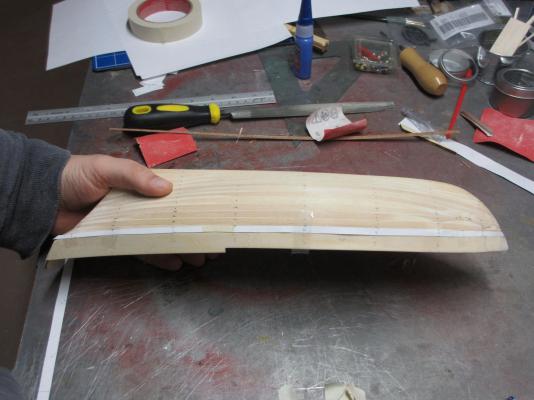
I have started working on the 2nd layer of planking. I have the stern completed and am begining the main part of the hull. Stern Planking Complete My first layer of mahogany was not perfectly level. I straightened it out a bit before planking the upper stern. Restrung the Planking Guides After studying the planking tutorials a bit more I decided to adjust my guide lines a bit before starting. Chart for Plank Measurments Decided on a simple chart to help keep track of measurements as I go. Each column matches a bulkhead. Helper Strips Made some helper strips to make marking the hull a bit easier. Each one is labeled to match a bulkhead so they don't get mixed up when I sneeze. Marking the Strips I went down the hull and marked the width of this planking section at each bulkhead. All Strips Marked All bulkheads have been marked on the corresponding paper strip. Planking Fan Template Using the planking fan template I found in one of the tutorials I marked each strip of paper between the measurements taken. I plan on using 4 planks for each section. Measurements Transferred to Hull All measurements have been transferred from the paper strips to the hull. Paper Template for 1st Plank I made a paper template for the first plank to see how it fits on the hull. Not too bad but at the front of the ship between bulkheads 6 and 7 I get some slight warping on the bottom edge of the plank template. The top edge looks fine. If the paper is doing this I am sure the wood will. Is there a way to correct this? Should I cut the long plank into smaller bits? Force the bulging down with clamps and glue? Not quite sure how to proceed.


-
andyp22 reacted to a post in a topic:
Virginia 1819 by CurtisW - Artesania Latina
-
The strip of paper in the first photo is split into centimeters to help me get a more accurate measurement rather than individual planks. Andrew
-
Wow, these look great! I can't wait to see Constitution being assembled. Andrew
-
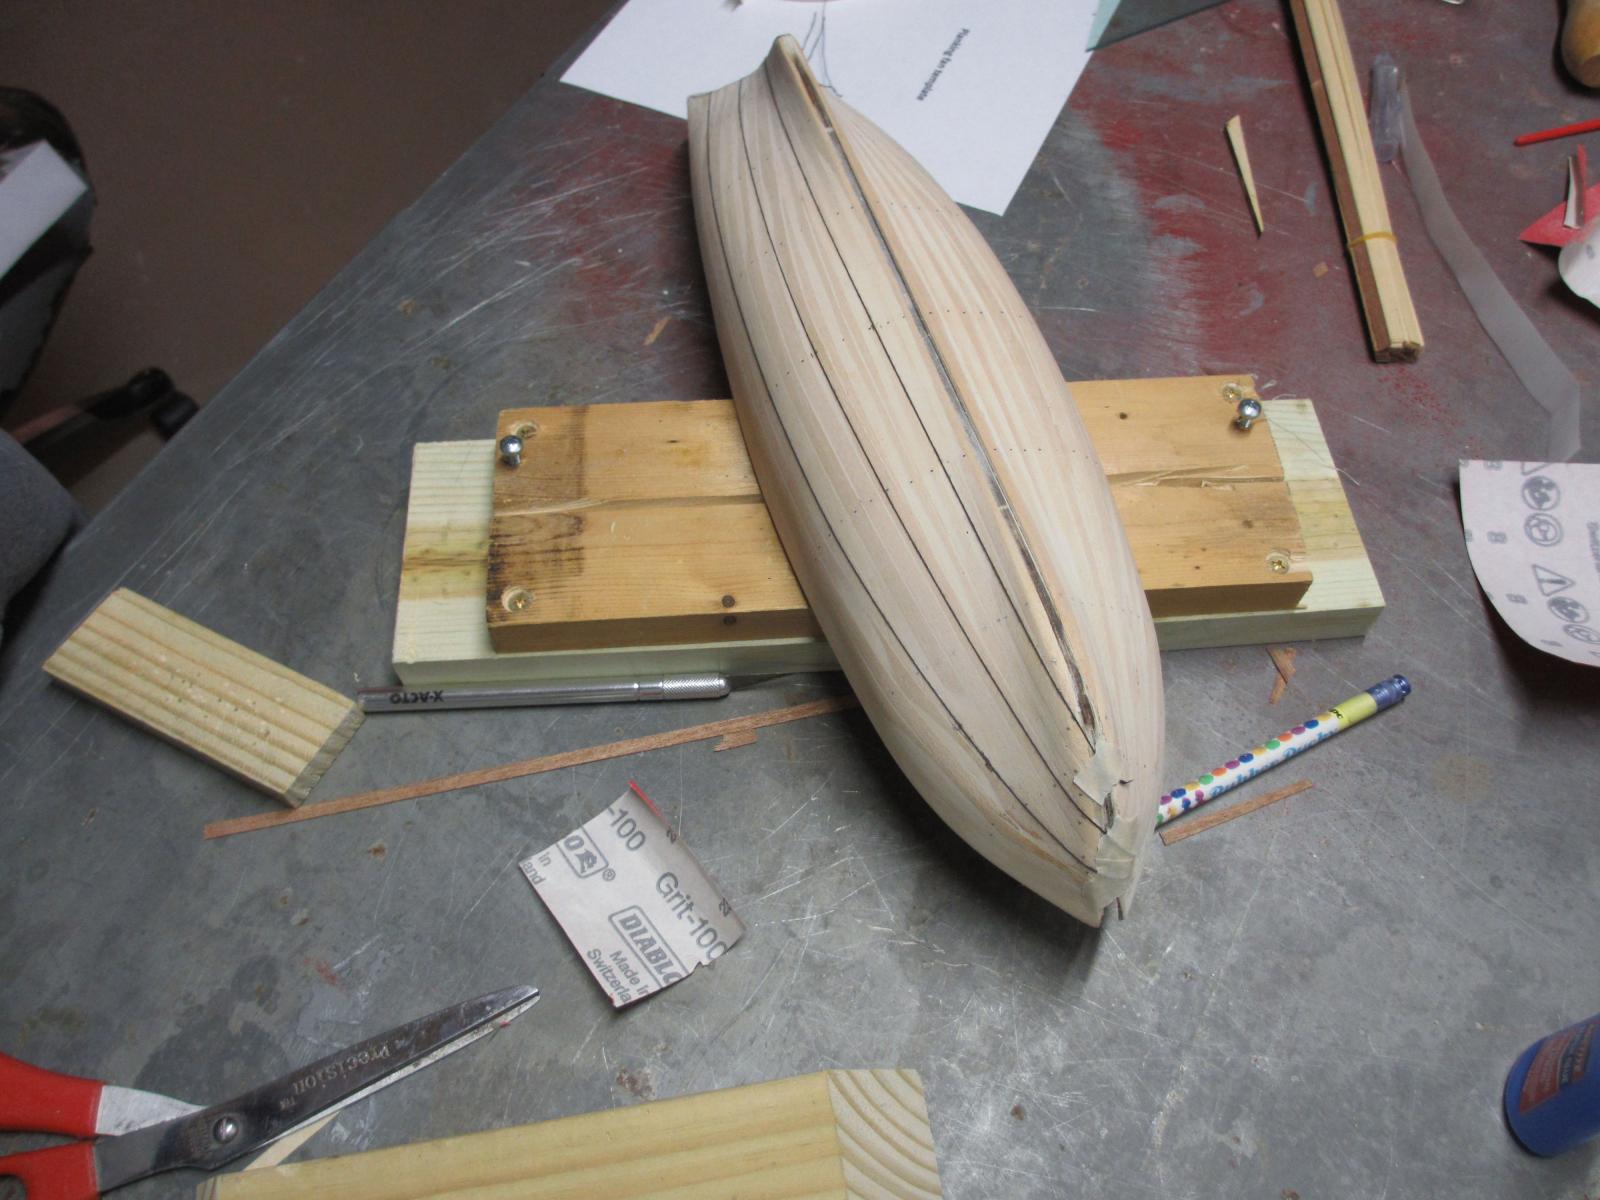
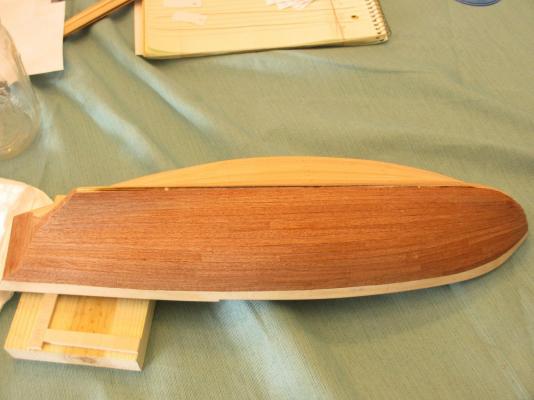
I have done some measuring and marking to determine the sections of my hull for planking. I am using 5mm wide plank strips and the hull is 7.3cm of space needing coverage. I used string to mark off the sections. Since the hull is so small I split it into 3 main sections plus the garboard planking. Some pictures of what I ended up with. I am going to try and match this on th eother side as best I can before starting. My plan is to start with the section that is closest to the deck and move down, doing one side at a time.


-
Thanks CurtisW! I used plain hot tap water. I let the faucet get as hot as it could. I didn't check the temperature with a thermometer but I certainly wouldn't have taken a shower in it. I then let the wood planks soak for at least 20 minutes before using them. Because I soaked all of them at the same time the planks that were used last soaked for 2 or 3 hours. I did change the water a couple times but by the end it was cold. One other thing I did was to make sure that the planks were submerged so all surfaces were in contact with water. Hope that helps! Andrew
-
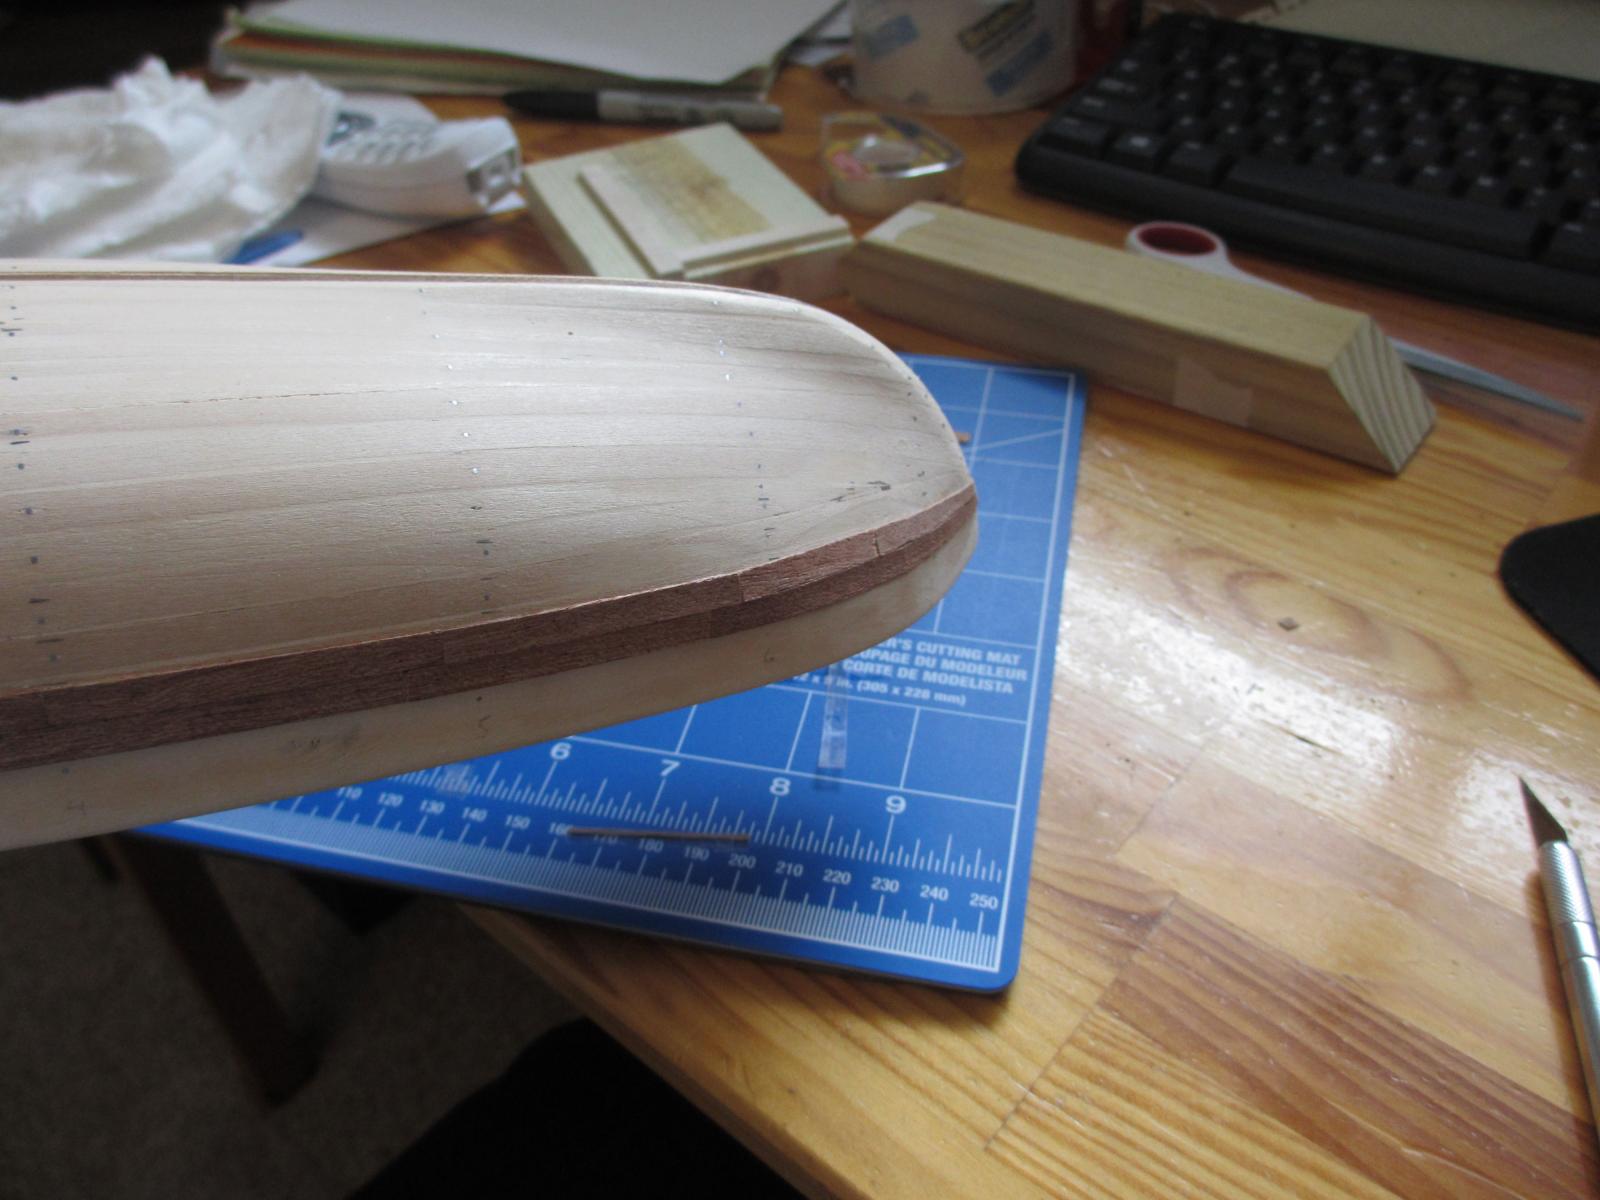
Just finished lining the hull. Trimming the Nail Heads Used a pair of wire snips to take the heads off of the nails used to secure the hull lining. Careful, Sharp Bits The nail heads left a sharp bit protruding from the wood. Filing the Nails I used a half-round file to clean up the nail heads by filing them flush with the hull lining. One Side Done I did one side at a time because snipping that many nails at once was tiring for the hands. Nails Trimmed All nail head have been removed and filed flush with the hull. Cleaning up the Bow Now that the wood is dry I can clean up the bow a little prior to sanding. Cleaning up the Stern Cleaned up the stern area as well. Soaking the Bulwarks The bulwarks needed to soak so that I could attach along the deck where I left the 5mm gap. Bulwarks Attached Both bulwarks have been attached and are drying prior to the next steps. Bulwarks From the Front View of the ship from the front now that the bulwarks are attached. Adding the Upper Stern The instructions sneak in the upper stern piece at this point. Applying Wood Filler I used wood filler for the gaps between the planks. I have just finished applying it to one side. Side by Side Comparison You can really see the gaps between the planks now that the wood has dried. Both Sides Patched Both sides have been patched and the wood filler is drying prior to sanding. Sanding Progress Sanding took quite a while. This is right before I switched to a finer grained sandpaper. Finished up - Side 1 A view of the finished hull lining. Finished up - Side 2 Another view of the finished hull lining. Finished up - Stern A view of the stern. Now for the 2nd layer of planking. I have read the tutorials in the Articles and Downloads section and think I know how to proceed. Makes me feel like I rushed the 1st layer. I will post some pictures of my measurements and markings soon, prior to gluing up anything else. Andrew


-
Thanks CaptainSteve! I will definitely check the tutorials out before starting. I have a question about the type of filler I should use. I was looking through my supplies to find what I thought would be suitable wood filler and found this: Reading the directions on the bottle this stuff does not dry to a sandable hard and does not appear to be what I should use. Is there a product in particular that I should look for or am I just looking for "wood filler" at the hardware store? Andrew

-
Part 2 - Lining the Hull Bulkhead Adjustment After letting the boat dry over night I started looking at the boat and noticed that several of the bulkheads did not match up with the deck. Adding some Wood to the Bulkheads A strip of wood has been cut and glued to the offending bulkhead. Bulkheads faired to Deck After the glue dried some light sanding to the wood strip to match the profile of the deck. Soaking the Hull Planks Soaking the planks used for the first layer of hull planking in hot water. First Hull Plank Applied The first plank has been glued and nailed to the bulkheads 5mm below the deck surface as indicated in the directions. I am using white carpenter's glue as directed in the instructions and the nails/brads supplied with the kit. The directions say that I should not drive the nails all the way in but instead leave about 3mm exposed to be snipped off later. I feel that this is going to be a pain. Matching Plank The matching plank on the opposite side of the ship has been glued/nailed on 5mm below the deck surface. Performing a visual inspection to make sure the planks look even. Checking the Profile Viewing the hull profile from below. More Planking I applied planks one at a time, alternating sides as I went. It was not always easy to match up the opposing planks. Gap below first Plank I think this gap below the first plank on this side is what caused some of the discrepancies. Questionable Technique I can't help but feel that the first couple of planks should have run the whole length of the hull rather than being cut. Admiring the Profile Even with the difficulties I was having admiring the profile was still something to be enjoyed. Admiring the Opposite Side Just making sure both sides look good. Applying Planks along the False Keel The directions were kind of sparse for this step but the pictures indicate that some planking should be applied along the false keel prior to filling in the section between the deck and keel Bending Planks Make sure the wood is soaked really well. When all is said and done a couple of planks are bent almost 90 degrees in places. I was lucky enough not to have any breaks but I did have to be very deliberate and careful so as not to over-bend these pieces along the false keel. Filling In - View from the Nose This was the better side. Filling In - View from the Bloody Nose Some of the cuts on this side were pretty rough. Still getting the hang of cutting wet wood properly. Ended up having to use some CA glue to get certain planks ends to stay in place. Filling In - View from the Back Cutting some of these pieces proved to be more delicate work than expected (as seen from the split ends and scratches in the wood). The profile is looking nice though. Getting to the Hard Part I am now at a spot where every piece requires cutting in order to fit properly on the hull. First Side Complete First side has been finished. Only a couple of pieces were really delicate. First Completed Side - Profile from the Rear Finished profile is not too shabby! Done! Last piece has been glued in place. Now to let the glue dry over-night before moving on to clean-up and sanding. Finished Profile Overall I am pretty happy with how it is turning out so far. Andrew


-
You are correct. This is not my first build but it is my first plank on frame bulkhead model. I tried my hand at a couple super easy boats first: Midwest Products Cheasapeake Bay Flattie and the Muscongous Bay Lobster Smack. I have also been watching plenty of videos, reading some good books, and surfing forums for advice and technique. To be honest, planking the hull is kind of intimidating but everything can be the first time. Just need to take the plung I guess! Andrew
-
Thanks everyone! More to come.