HOLIDAY DONATION DRIVE - SUPPORT MSW - DO YOUR PART TO KEEP THIS GREAT FORUM GOING! (Only 20 donations so far - C'mon guys!)
×


Intasiabox
-
Posts
39 -
Joined
-
Last visited
Content Type
Profiles
Forums
Gallery
Events
Everything posted by Intasiabox
-
I just tried adding a picture again but this time I am using Firefox as the browser. The "Add to post" button works fine now. I guess Internet Explorer is the problem.

-
Thank-you Russ. I saw the thumbnails under the post and they each had the option to "Add to post" which I assumed they wouldn't do so until I clicked on the "Add to post" spot on the picture. It seems that after I post I can then go back into the post and use the Edit key to start moving the photos around correctly. I just can't seem to do this until I go back into the post a second time as there is no Edit button the first time around.
-
Hmm, seems I need to play around with adding pics some more. When I uploaded all the pictures and tried clicking on the "Add to post" nothing happened so I just dragged and dropped them into the text area but it seems all the uploaded pictures also automatically attached themselves to the bottom of the post.
-
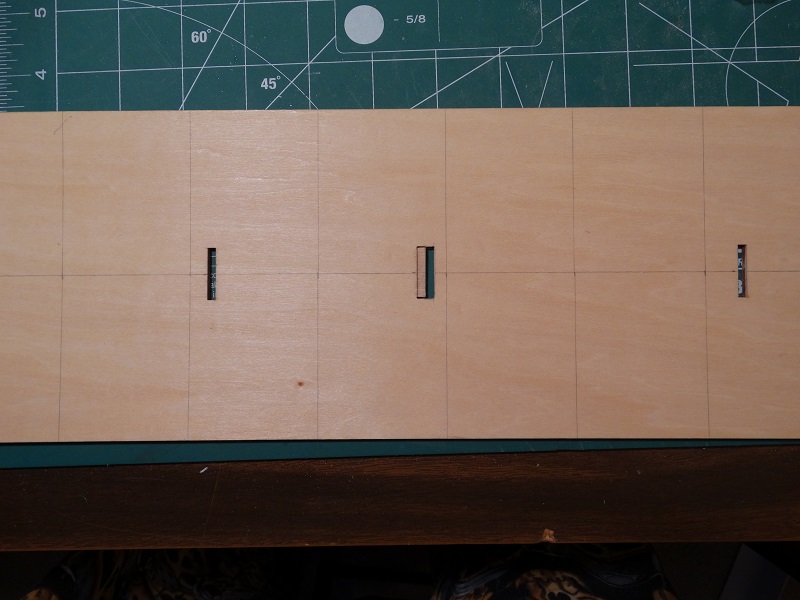
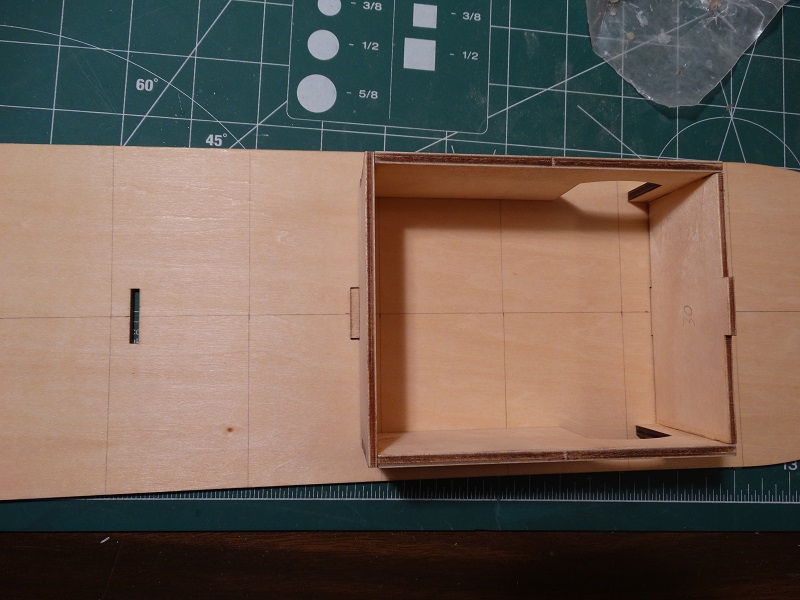
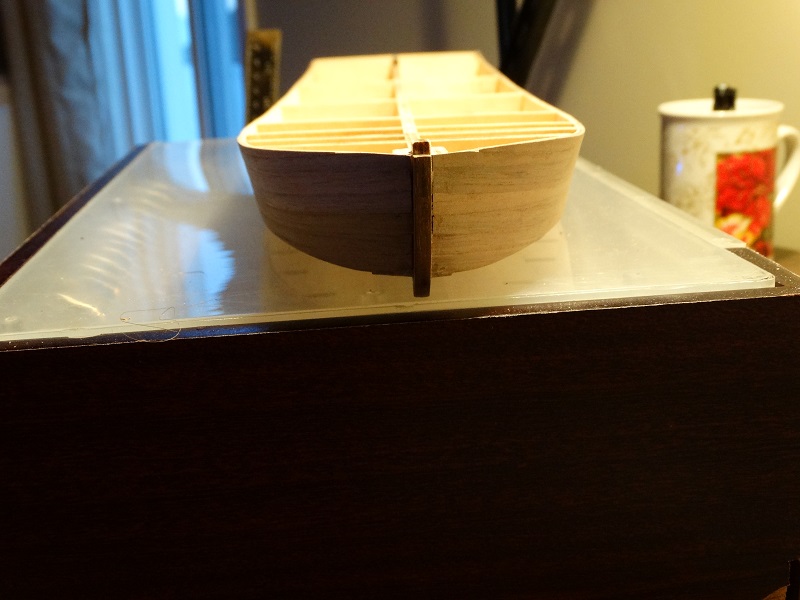
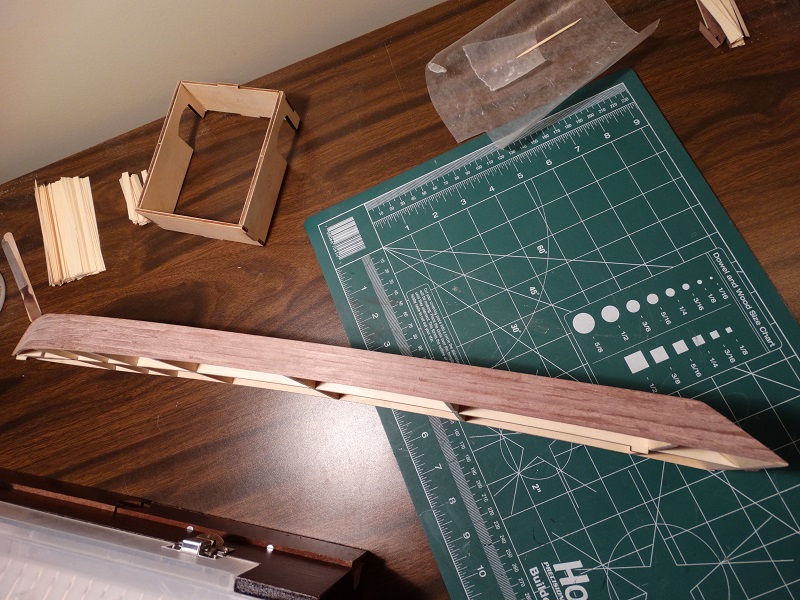
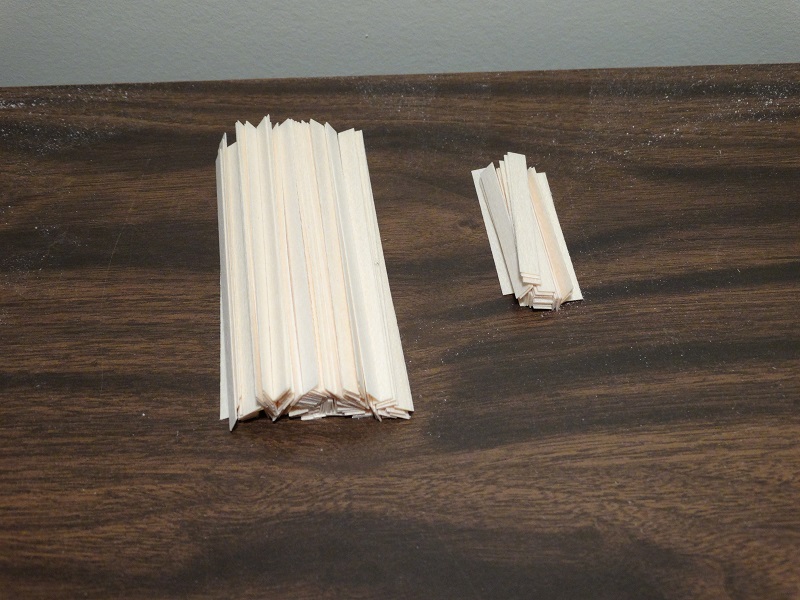
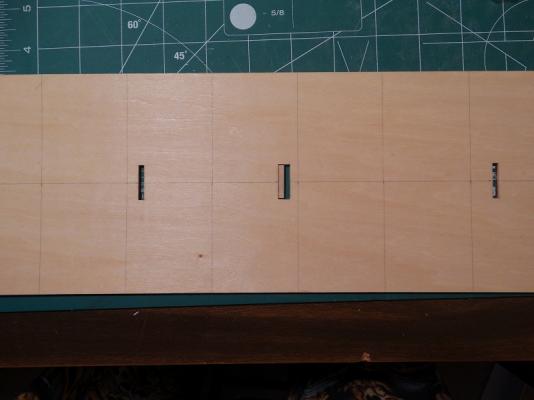
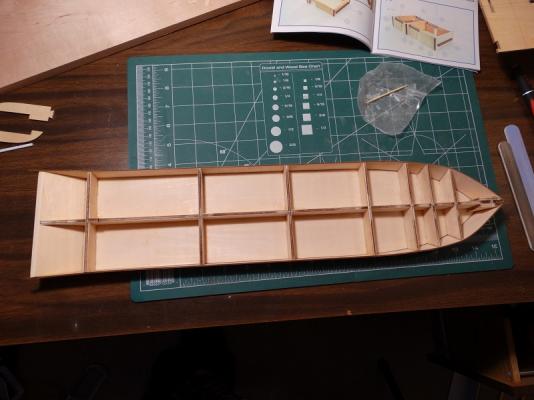
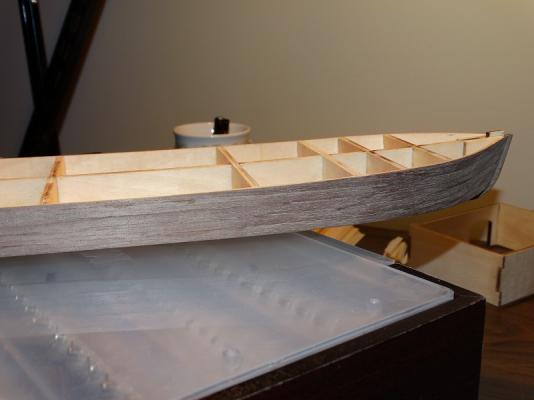
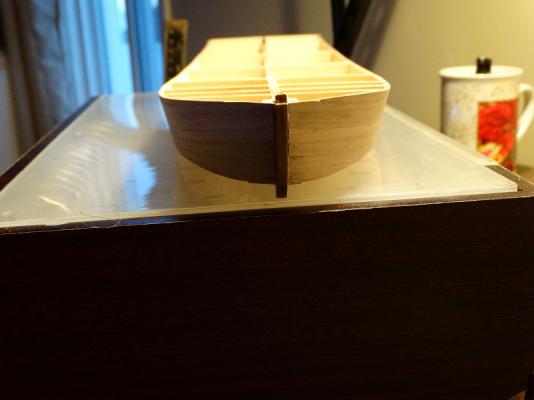
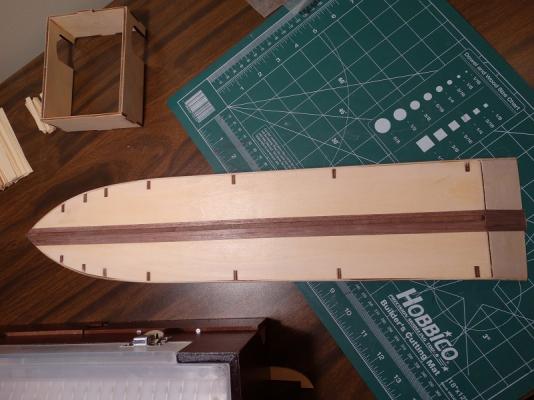
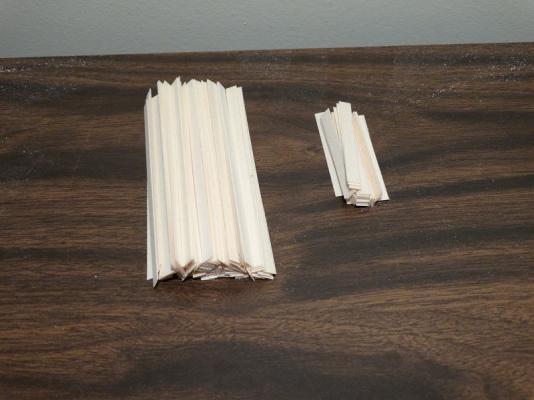
Hello, this is my first wooden ship model. I was going to build the MS Mayflower first but waiting for a replacement keel has already taken a couple weeks so I decided to just go ahead with this model instead. I have a few pictures but nothing step by step as I originally wasn't going to do a build log for my first model. After thinking about it for awhile I changed my mind as I think that if the going gets tough maybe some encouragement or valuable experience from others will keep me going. There is already a number of King builds on the go so I will spare you the pics of the box and it's contents. After reading that the boiler room doesn't fit the first deck properly (already got some good advice from this site) I just cut the section of the deck out were the slot should have been and glued the cut out piece to the far side of the whole. The room now fits the slots and I still have the extra hole filled in for planking. A couple pictures of my progress. I planked the sides first as I am unsure that there is enough walnut planking in the kit to finish the hull. If the sides are complete at least I can still continue on while I source some more strips which don't seem to be easy to come by in Canada. The side planking didn't go too badly, I'm not completely happy about the way the strips meet the keel at the bow. My next step is to start planking the first deck. I have cut out a bunch of 50mm and 100mm strips for this task and drew out the lines on the deck using my vernier calipers. Does anyone know or recommend a drill bit size to simulate the planking nails for this particular model? Well that's all I have for now.


-
A number of people use lego bricks clamped to the keel and then the bulkheads clamped to the bricks to achieve perfectly aligned bulkheads. It's a simple but effective method.
-
I'm looking forward to following your build log. I have the same Mayflower kit sitting on my bench, it will be my first wooden ship model. Unfortunately my keel was made with really poor plywood that was full of voids and the laser etched markings to line up the bulkheads burnt right through one of these voids basically cutting the keel in half in a spot that I couldn't just add some scrap to hold it together. I've been waiting for a couple of weeks now for a replacement keel so in the mean time I decided to start on a AL King of the Mississippi. The directions for the Mayflower are amazing and really give a new builder the confidence to complete a great model. When my keel does show up it will be a tough decision to continue the King or start on the Mayflower. Your model is looking great so far! Jeff
-
I am still waiting for my first wooden ship model to show up in the mail so I have been reading a lot of build threads on this web site to gain some insight. I see that most people when painting the hull and whales use 20-30 thin passes with a paint brush so that the brush marks are not visible. Is there any reason that this preferable over using an airbrush with just a couple passes? I build military models so I already have the gear but I am guessing that the lack of owning an airbrush is not the only reason to not use one.
-
A variable speed dremel is about the only power tool I've ever used on a model (and very rarely) but I've been eying up a mini chop saw with stops to do really quick planks of equal length.
-
We'll I tried my pens on a couple of planks to see the results and Danny was spot on. The brush tip was much easier to control on the side of a thin plank and by doing just one side of two boards butted up to each other a very scale appearance of caulking is produced.
-
Thanks Danny, that is the same pen I found. I wasn't sure about the size to get so I got a couple tip sizes plus the brush tip.
-
Thanks for the info! I found a set of different widths made by Sakura at Michaels tonight. They are pH neutral and bleed free so I'll see how they look.
-
Thank-you for the reply, now I just have to find one of these pens. I have a bunch of left over planks from my first attempt at a model ship that got destroyed in a move to practice with while I wait for my second attempt to show up in the mail. Jeff
-
I've read of a few people that use an archival ink pen to simulate the caulking between planks and it looks really good. My question is do you still color the sides of the planks before you glue them as you would a pencil or do you just fill in the lines after the planking is finished? Thank-you!