Post #1
My name is Darrel Wright and I'm in the process of rekindling an old hobby I put down some 57 years ago. To initiate this effort I've selected to model Model Shipways' Schooner Bluenose (1:64) because of its sleek and simplified hull affording simplified planking, which I look forward to, and an uncomplicated rigging scheme, which I'm somewhat intimidated by. I realize the Bluenose is a rather blasé model, having been modeled and logged perhaps hundreds if not thousands of times. However, I plan to write this log as a beginner for beginners, highlighting all accomplishments and pitfalls in an attempt to aid all who wish to embark upon the hobby.
I'm starting a little late with the log as I'm just about ready to commence the hull planking operation. I will attempt to briefly articulate the steps taken to date that have brought me to the planking effort.
Upon receipt of my kit from Model Expo, as instructed, I inventoried each item in the kit and found that one "open chock" and one bag of 12 "single blocks" were missing. I have contacted Model Expo for replacements, which should be forthcoming.
Next I read virtually the entire instruction manual and reviewed the six sheet plan set. Additionally, I purchased and have reviewed the rather comprehensive practicum from Bob Hunt.
Now to construction. Firstly, I removed the three pieces of the keel from their billet and sanded clean the billet residue. I then dry-fit the keel and noticed a slight imperfection at the bottom line of the assembled pieces. I concluded these minor imperfections could best be taken care of after assembly with a clean-up sanding. Using a very straight piece of partical board as a work surface, covered with waxed paper, I applied white carpenter's glue to all edges to be joined, and then tightly fit the assembly on the board. I then covered the keel again with waxed paper and laid a heavy 2" X 10" board on top to let the assembled keel set over night. Upon retrieving the keel the next morning I began the delineation of the bearding and rabbit lines. I had made full size copies of the plan sheet that contained the keel. I precisely cut out the keel at the top line and the rabbit line. I then placed and taped the template to the keel, and then, with the aid of an architectural French curve, (more about that later) drew in the rabbit line on both sides of the keel. The next step was to cut the template along the bearding line and repeat the same procedure to effect the location of the bearding line on both sides. At this point, as recommended, I glued scrap pieces of wood at the two keel join points for extra strength.
Ah, the rabbit cut! My goal here was to effect a cut along the rabbit line no greater than a 1/16th of an inch deep so as not to cut through the keel when both rabbit lines were installed. Using a tip provided by another member of this blog, I placed a piece of masking tape up 1/16th on an inch from the tip of my exacto knife blade, and at the approximated angle of my cut. Again, using architectural French curves for alignment, I successfully made the rabbits cuts without disaster.
Note: I later learned from someone on this site to use ship's curves as opposed to architectural French curves. Much, much easier! I have subsequently purchased a set of ship's curves on Amazon.com for $22.00 US.
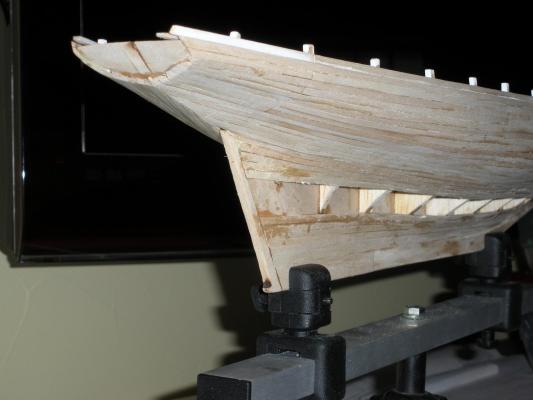
Creating the rabbit via chiseling is a somewhat tedious process, and most definitely a learning experience. The right angle, the right depth while keeping it aligned with the bearding line all come into play. I've noticed in some photos (even the Model Shipways promotional photos) a slight bulging of the planking at the "deadwood" where it dies into the sternpost. I assume this line should be adequately faired so as to render a smooth transition into the stern post. On my model I removed a fair amount of deadwood between the bearding line and rabbit in order to create this smooth look.
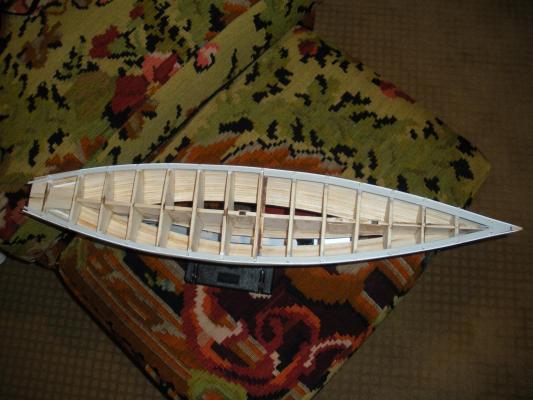
With the keel prepped it was time to fit and install the bulkheads. Again, I cleaned them up, and then placed them on the respective plan to check for correctness. All seemed reasonable well with respect to size and shape, and thus I began to fit them onto the keel. With the exception of three bulkheads all fit quite well, standing at the desired 90 degree angle to the keel. I deftly mended the slots on the three tight fitting bulkheads and proceeded to glue and install them. For this installation I used Zap-medium CA glue, and in retrospect I would suggest using glue with a longer cure time to permit any adjustments prior to setup. (Mistake #1) I got quite lucky as all bulkheads came about as close to 90 degrees as possible thanks to Model Shipways accurate laser cuts.
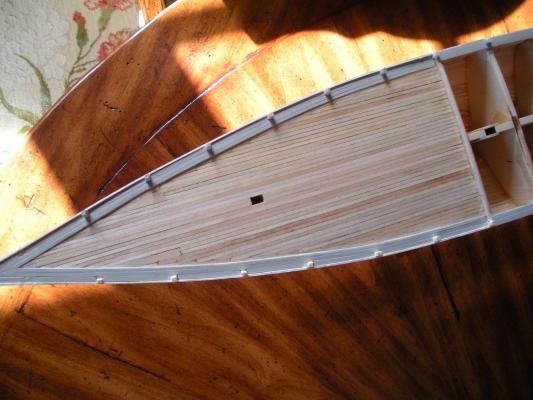
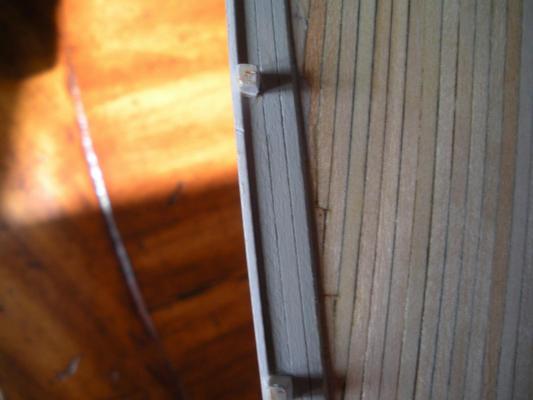
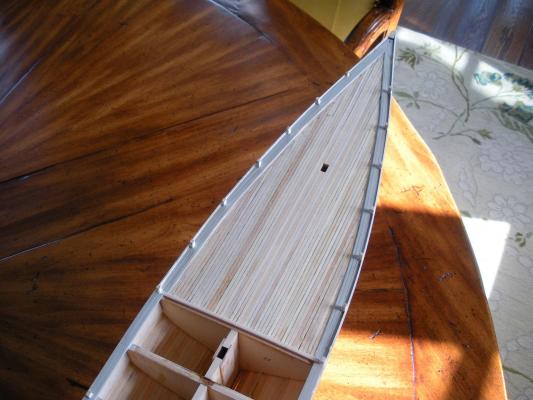
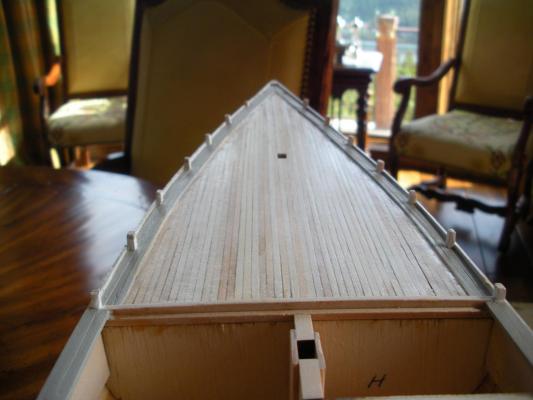
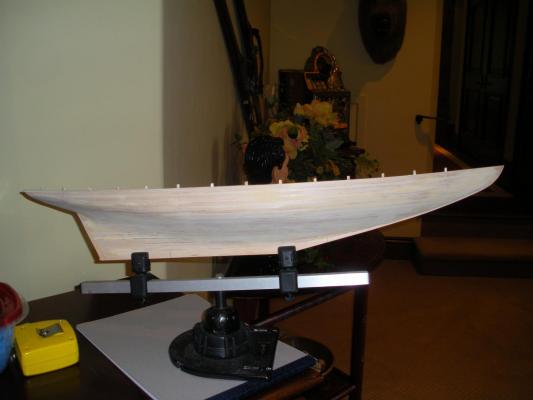
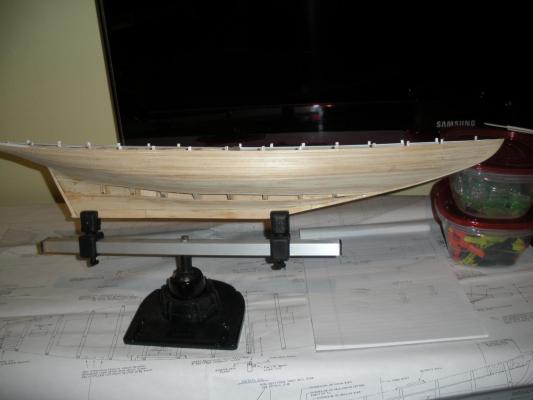
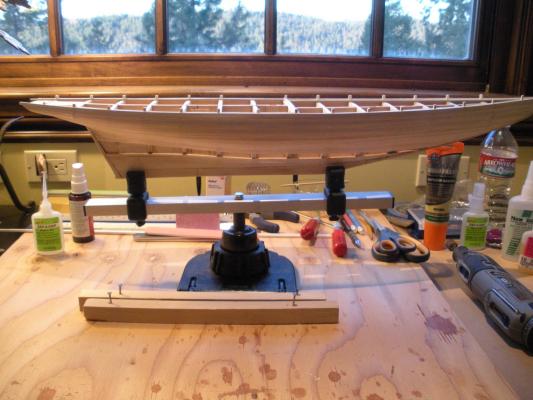
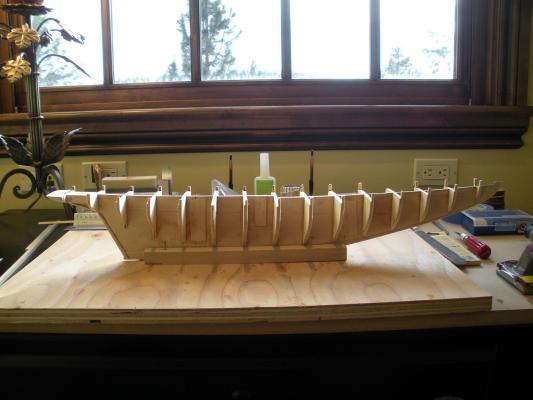
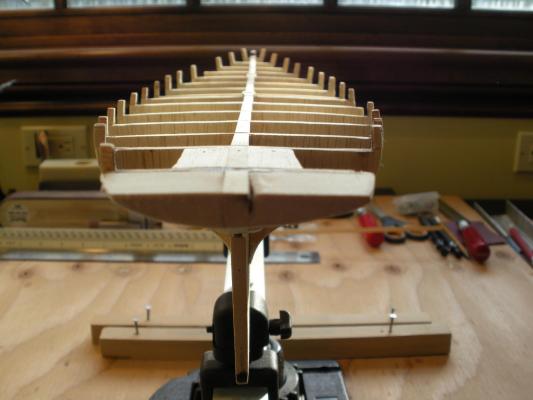
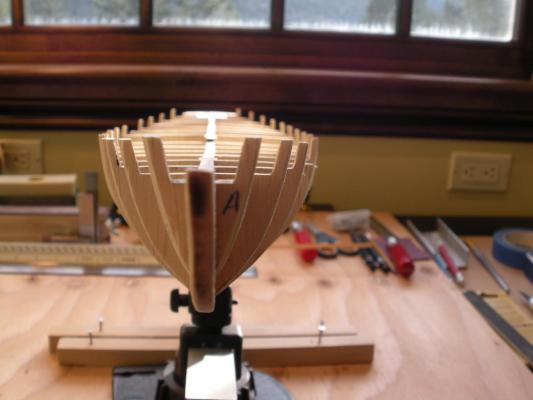
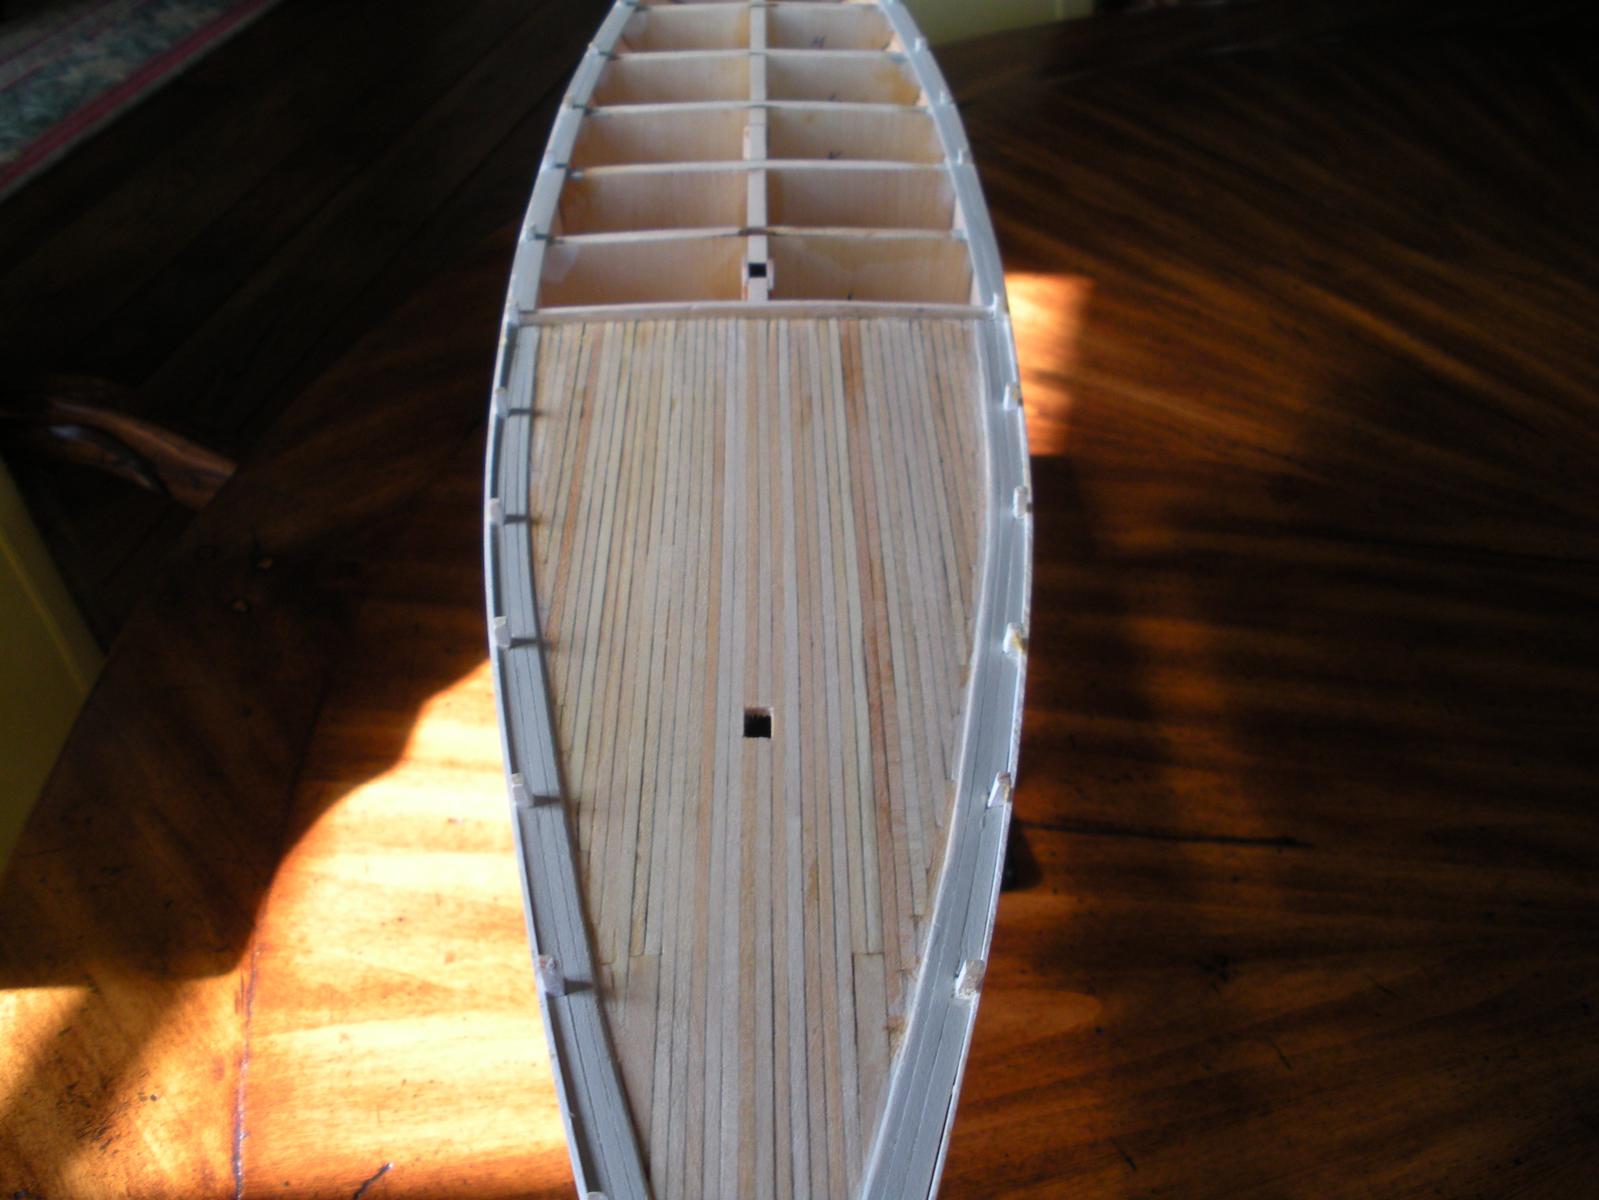
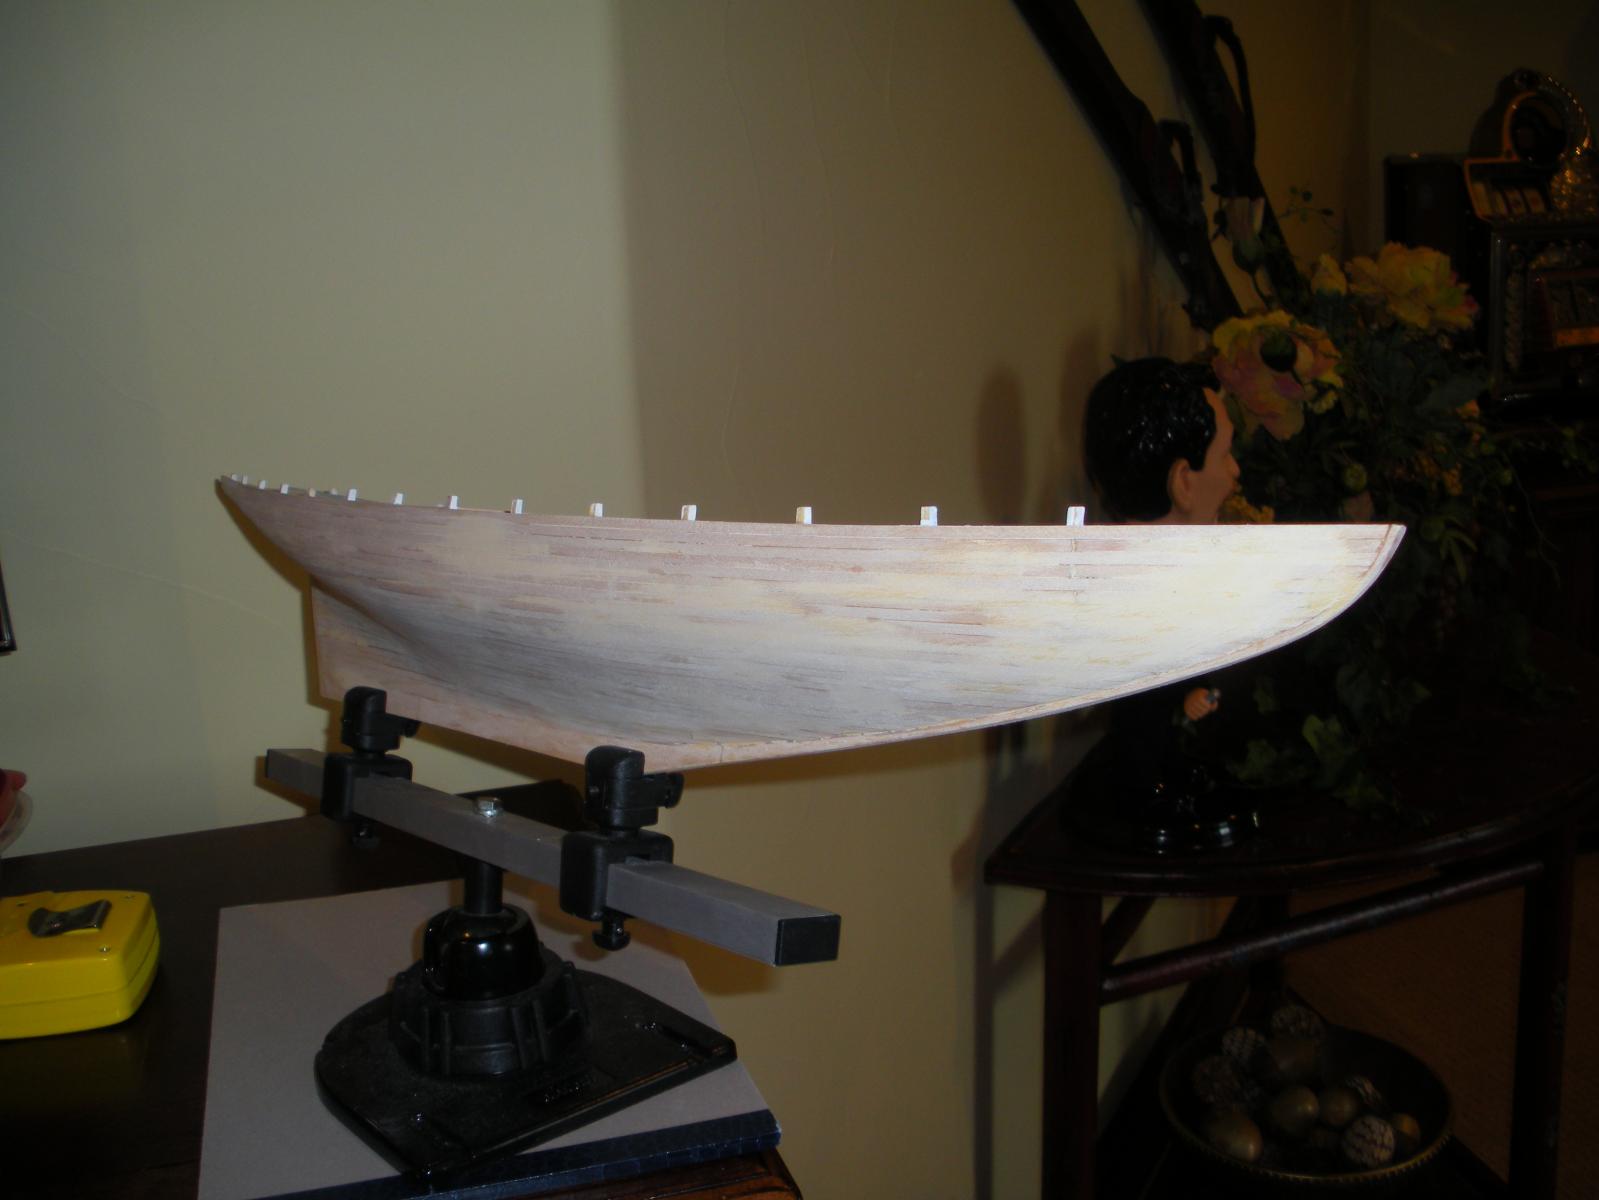
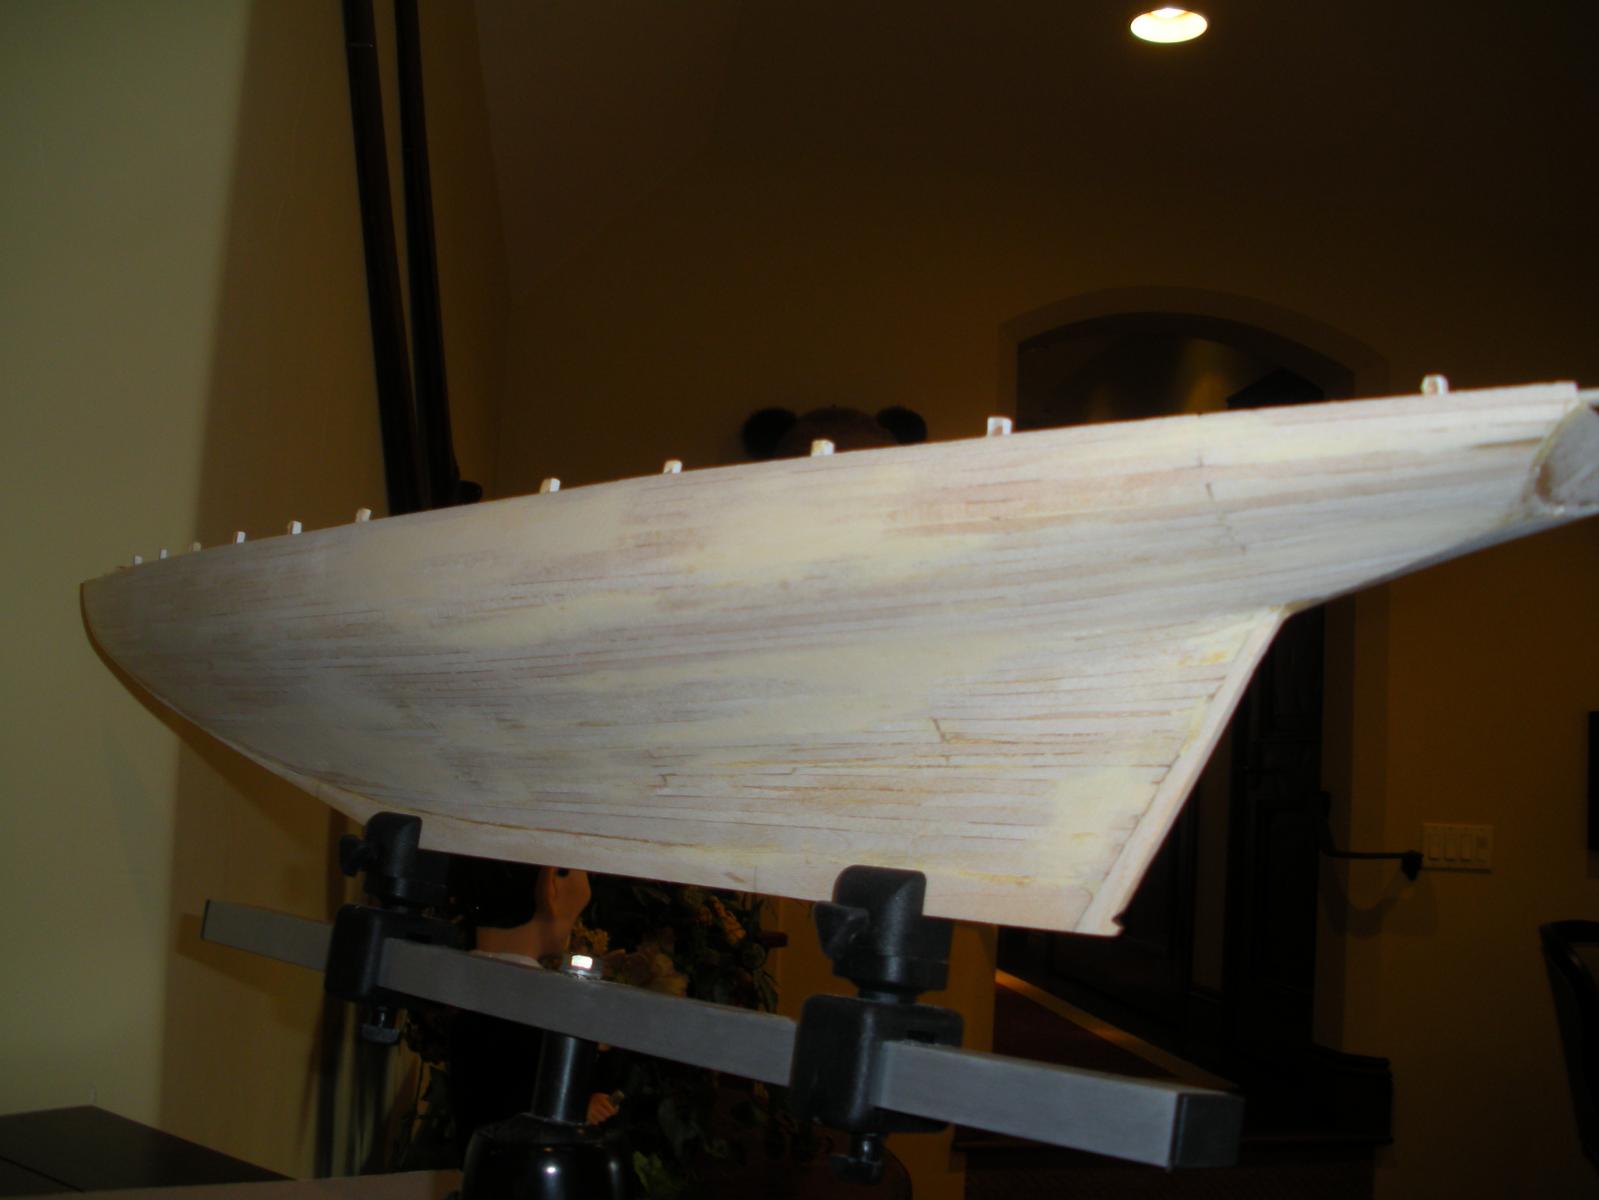
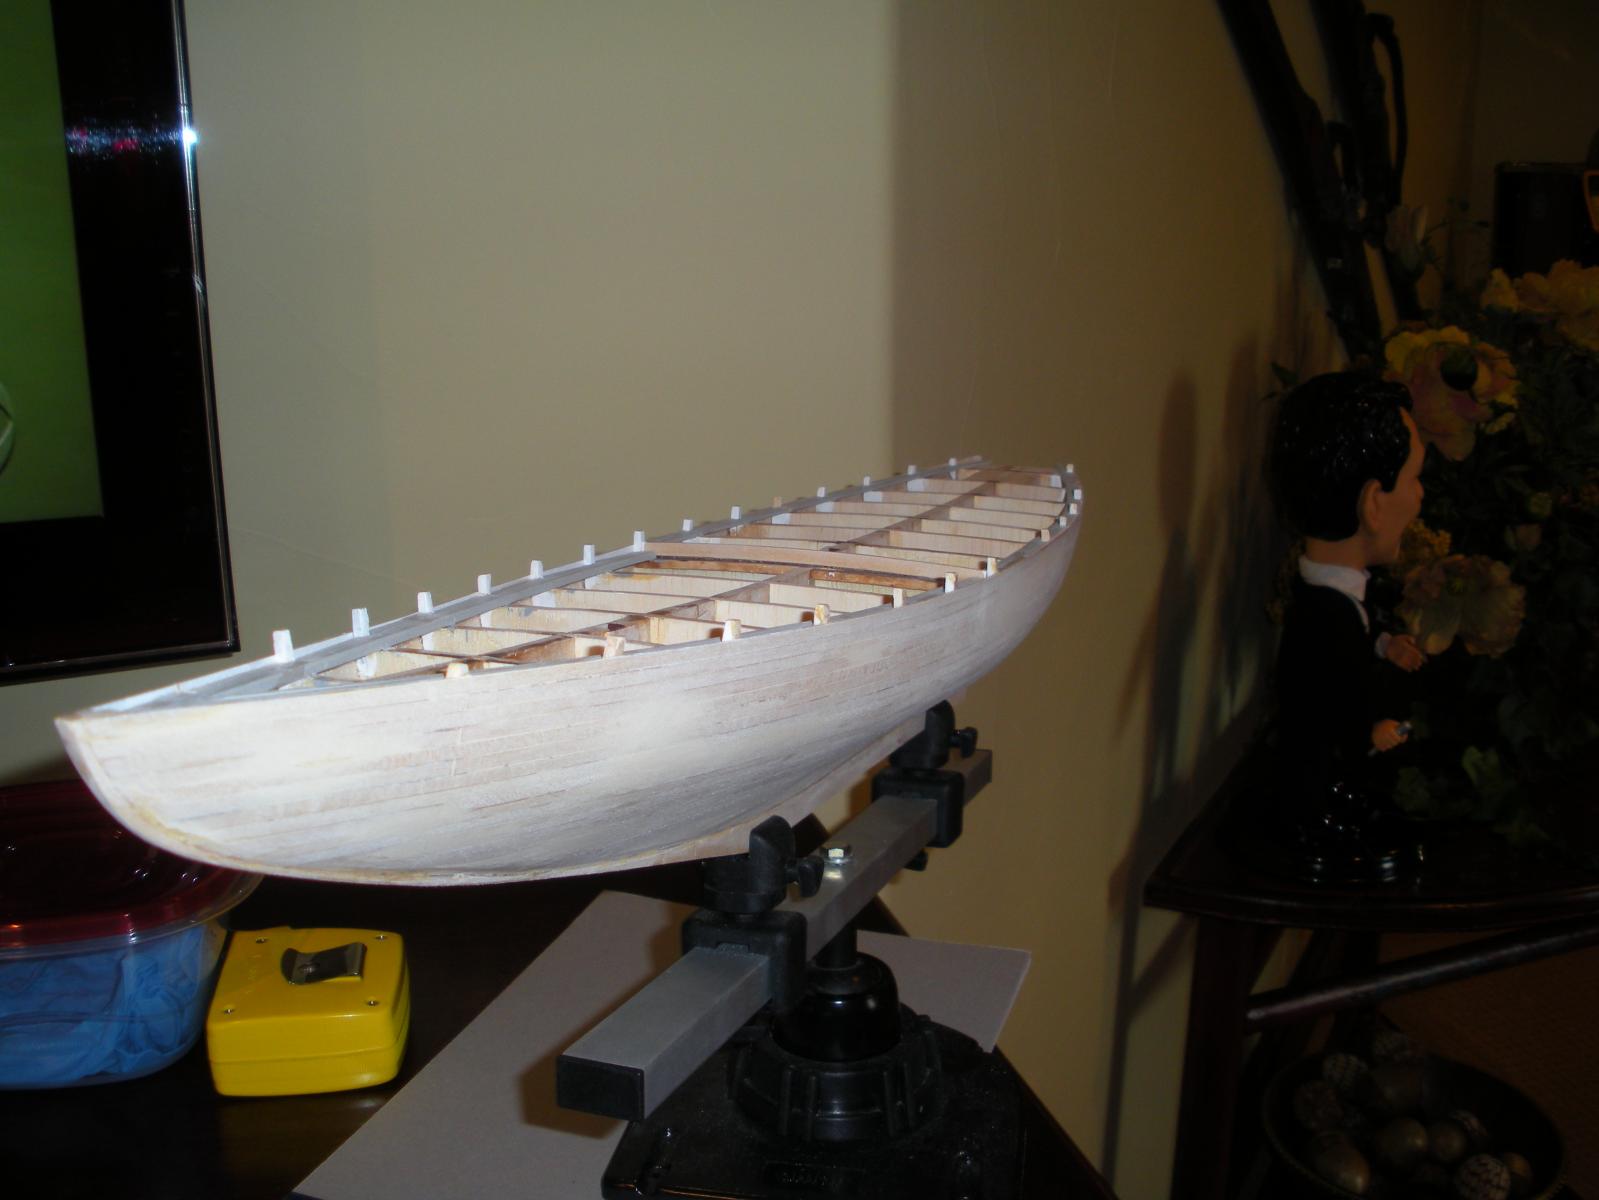
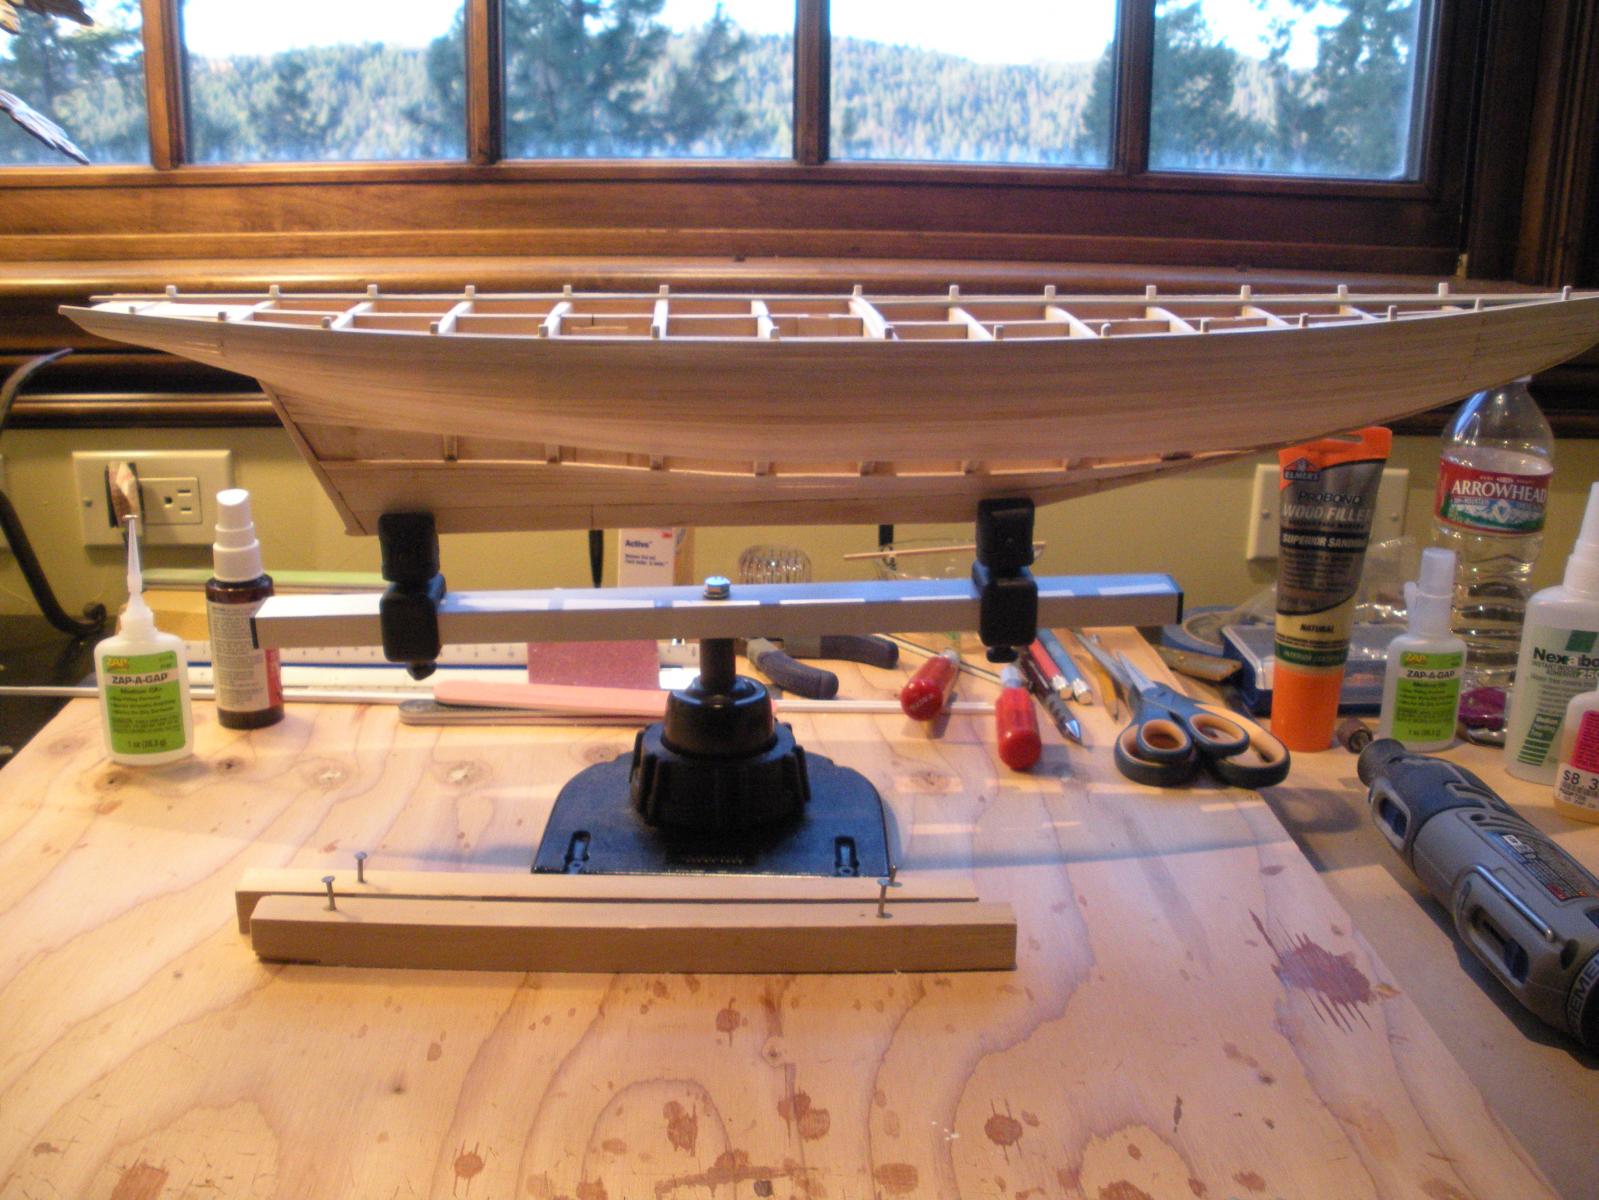
Now to what I, and virtually all experienced modelers, consider one of the most important aspects of ship modeling, the fairing of the ship. I vaguely remember, from my youth, not understanding the importance of this critical operation and thus wound up with lumpy, bumpy hulls. This time, though I may have occasionally "over worked" the wood, I was determined to have every plank sit fully and naturally on each bulkhead in all locations. I suggest using a piece of planking as a batten to constantly run up and down the bulkheads to insure compliance in all locations. In my zeal to properly fair the ship I snapped off the very fragile stern piece at the rudder post. (Mistake #2) After several attempts to just glue it back together (not enough wood surface to do so) I fashioned some support timbers and devised clamping system to reinstall it with the correct alignment both vertically and horizontally. Live and learn. Also note the three missing bulwark stations. (Mistake #3) These were not victims of overzealous fairing, but departed due to the trimming of the stanchions to 1/8th inch as called for. Take note that the bulkhead plywood is very fragile and crumbles when cut. I believe I can span the missing stanchions location with the bulwark planks and replace these stanchions when the false stanchions are installed.
I'm now at the point of installing the waterways and commencing the planking operation. I've elected to do something that may not be proper procedure. Because I desire as crisp a model as I'm able to fashion, I have elected to prepaint the waterways, bulkhead stanchions and the inside of the bulwark planks so that I don't have to 'cut-in" the white and grey paint after completing the installation. I fully realize I will have touch up, but that's preferred to trying to cut-in paint, in a tiny hard to access location with, these aging, aching and shaky old hand.
I've enclosed some pictures for your review.
Darrel


 Thanks Dave! Too kind lad. At the start I was dubious about starting a "build log", but now I know that it has many virtues. It keeps me motivated to do much better, and I get the best advice available. At 72 I was searching for something that was a challenge, other than golf and flyfishing, and landing on an old hobby. I'm so thankful to the folks that started this blog/site as it has been a Godsend. I think I can, with help, get through rigging! DW