Mundie
-
Posts
96 -
Joined
-
Last visited
Content Type
Profiles
Forums
Gallery
Events
Everything posted by Mundie
-
 https://www.google.com/maps/@42.3725156,-71.0565752,3a,75y,133.73h,59.77t/data=!3m4!1e1!3m2!1sC_lucOrNkjgAAAQZN_qReQ!2e0
- 742 replies
-
- 7
-

-
- constitution
- frigate
- (and 1 more)
-
Nice to see the build going well.. You know maybe someone can help w this. I live 10 minutes from Baltimore's Inner Harbor. The "Constellation" is just sitting there waiting for me to take a ton a great photos.(I have a great DSLR Camera) but if I attempt to upload the photos, I will have to reduce the res so low I'm not sure if it's possible or worth it? Any suggestions?
- 742 replies
-
- 4
-
-
- constitution
- frigate
- (and 1 more)
-
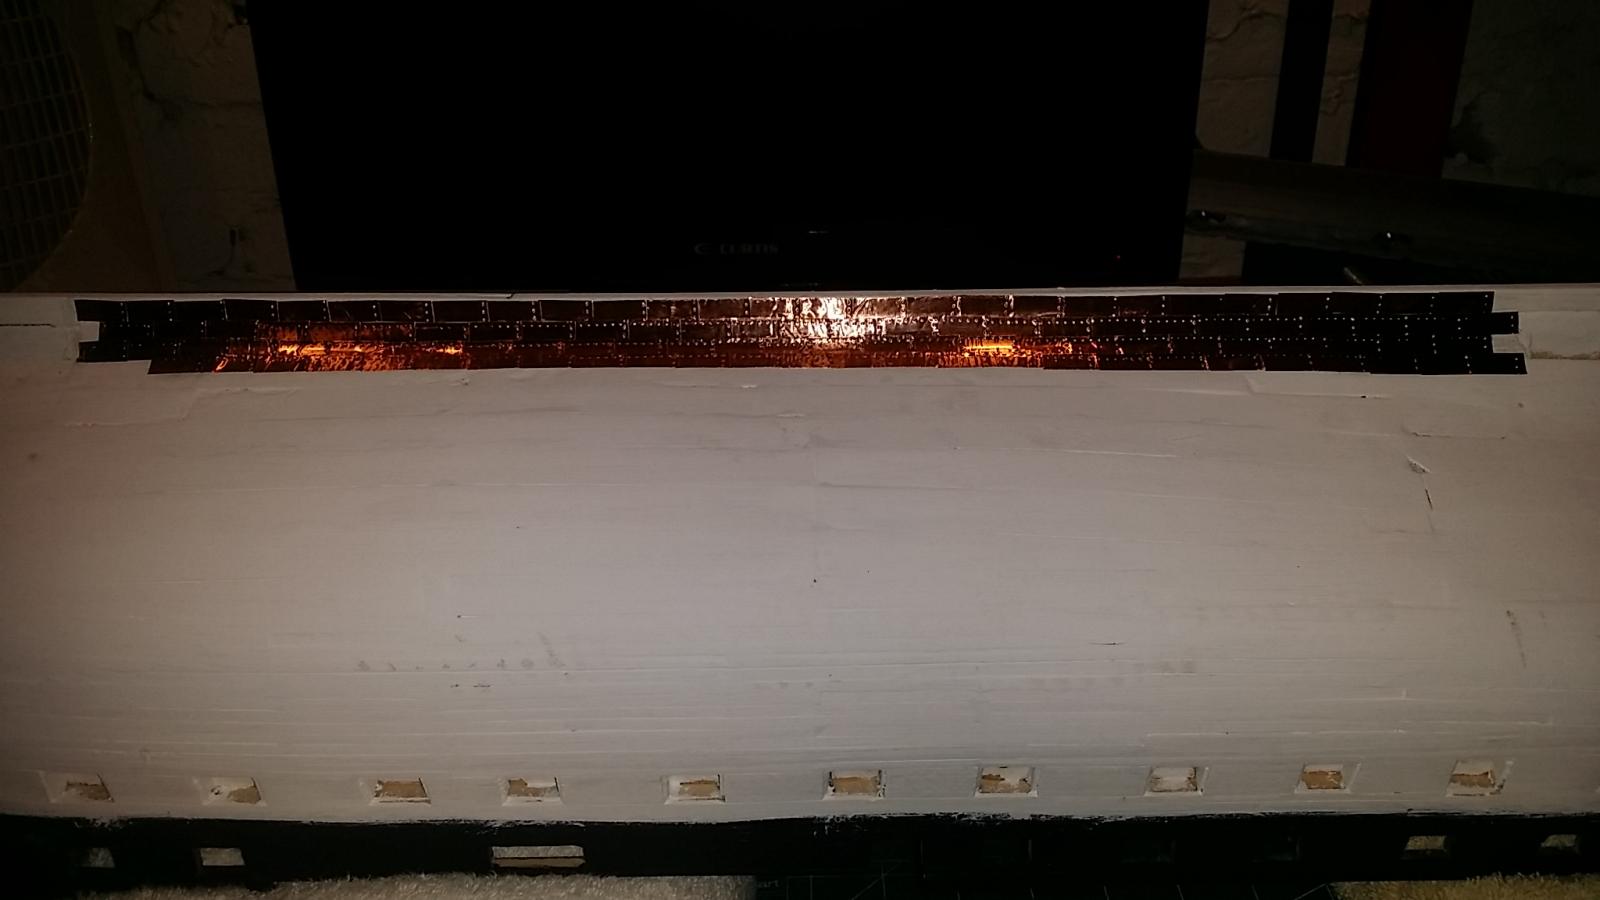
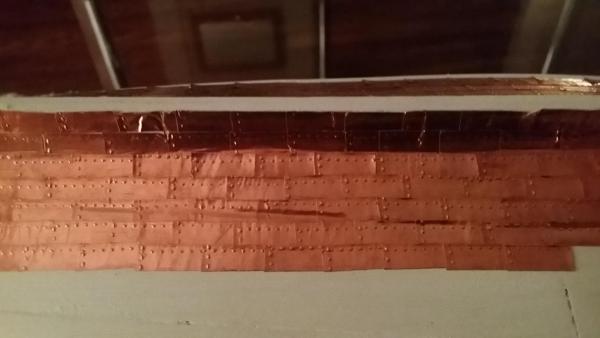
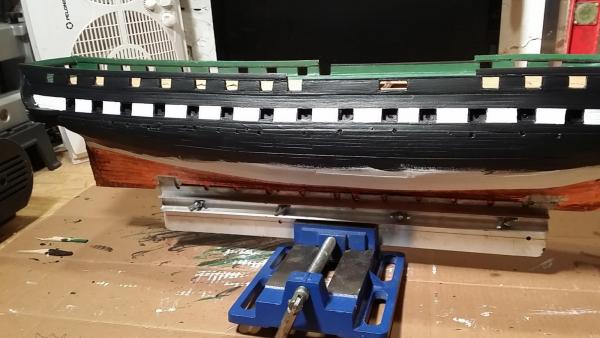
Dave, I started the copper according to Hunt's practicum, although I deviate at times. The two "slots" on the bottom of the hull are for a custom stand I made and I will copper that spot as the very last project. The very bottom of the hull; I plan to just use two plates and have them overlap each other. I'm running out of copper and I will have to buy another roll of tape, and was expecting to, as stated in Hunt's practicum. I've been at a standstill because I'm doing some work around my house, but plan to finish the coppering by April 1st. Thanks for all the help everyone!!
-
Ok, I"m in the middle of coppering the hull and some of the tape does'nt want to stay down, Does anyone know a good "clear drying" glue I can use to secure the loose copper down? I would say it's only about 15% of the plates are "curling."
-
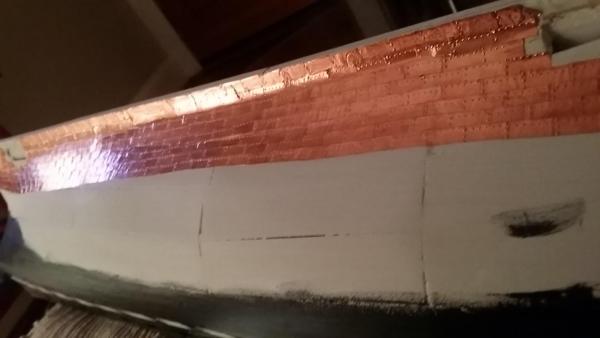
Ok, I'm coppering the haul. Cutting the pieces wasn't to bad. You just got to make sure you pounce the nail marks correctly. And the painting was easy. I touched up around cannon ports w a black sharpie.

-
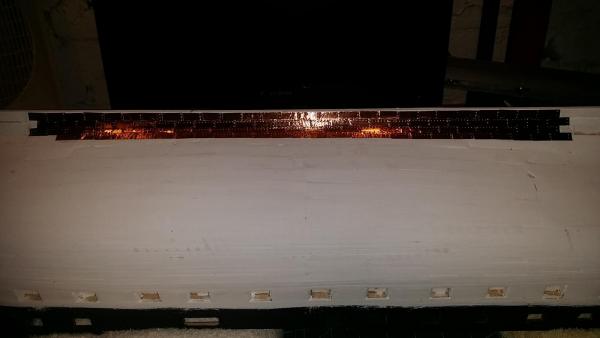
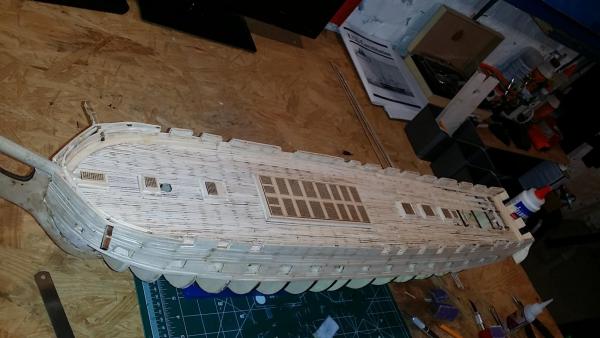
Yea, I followed "usedtosail" and used Gesso as a primer- I took great concern with filling in as many gaps and bumps as possible- and sanded and primed the entire hull. I was aware that the copper tape is somewhat thin and any imperfections would show- the two "gaps" at the bottom of the hull are for my custom made stand so I can complete the model then the very last thing will be to plank and copper the two slots.
-
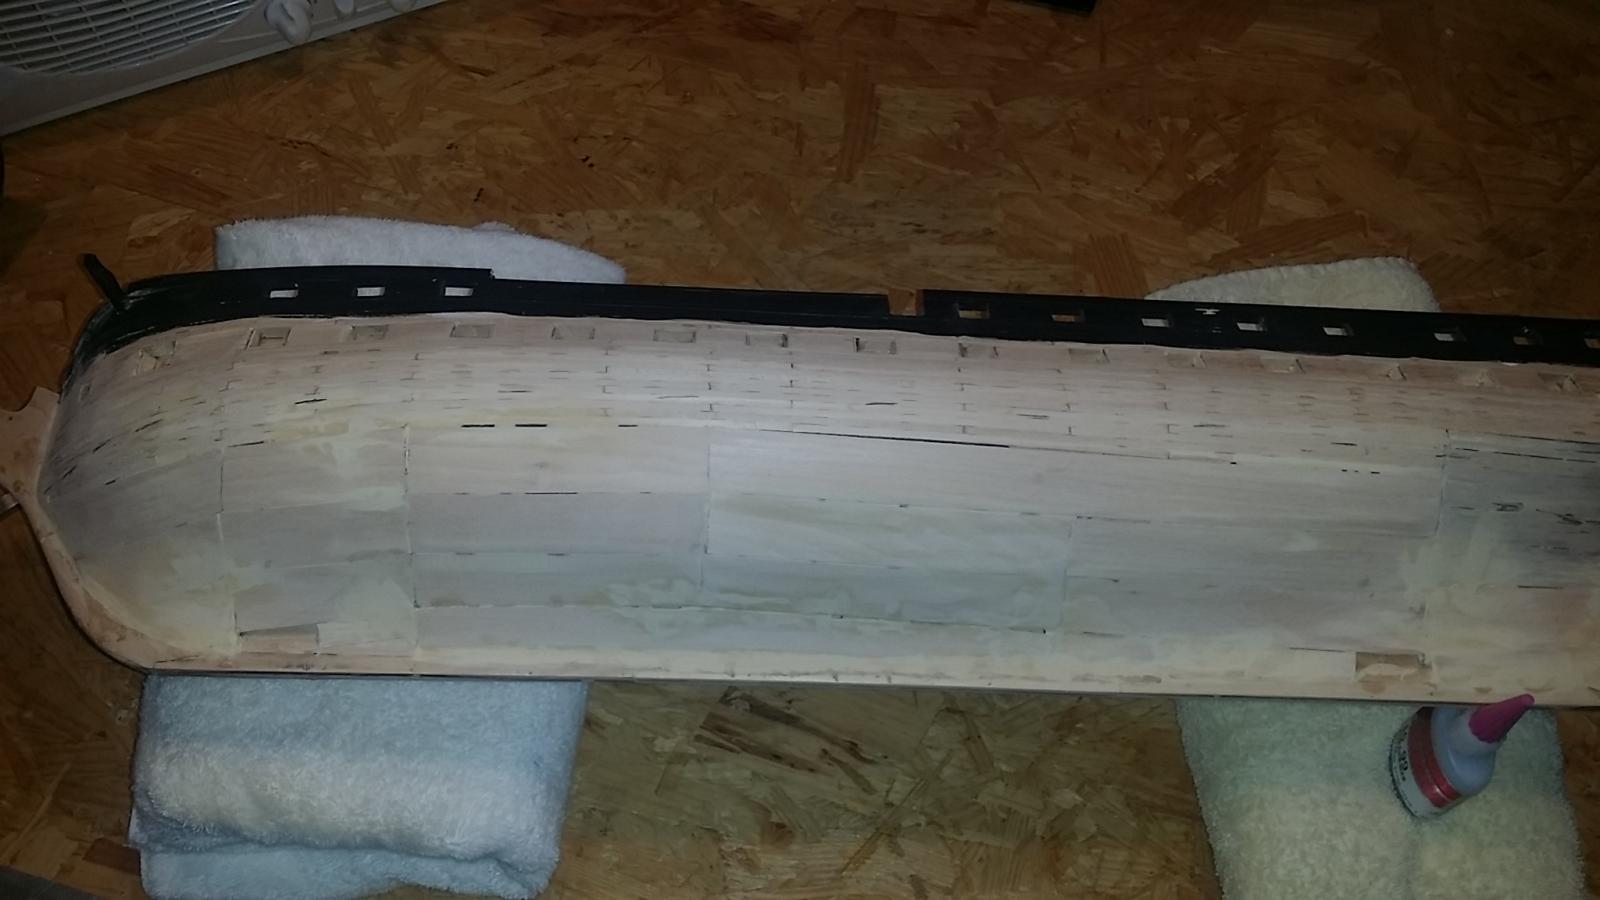
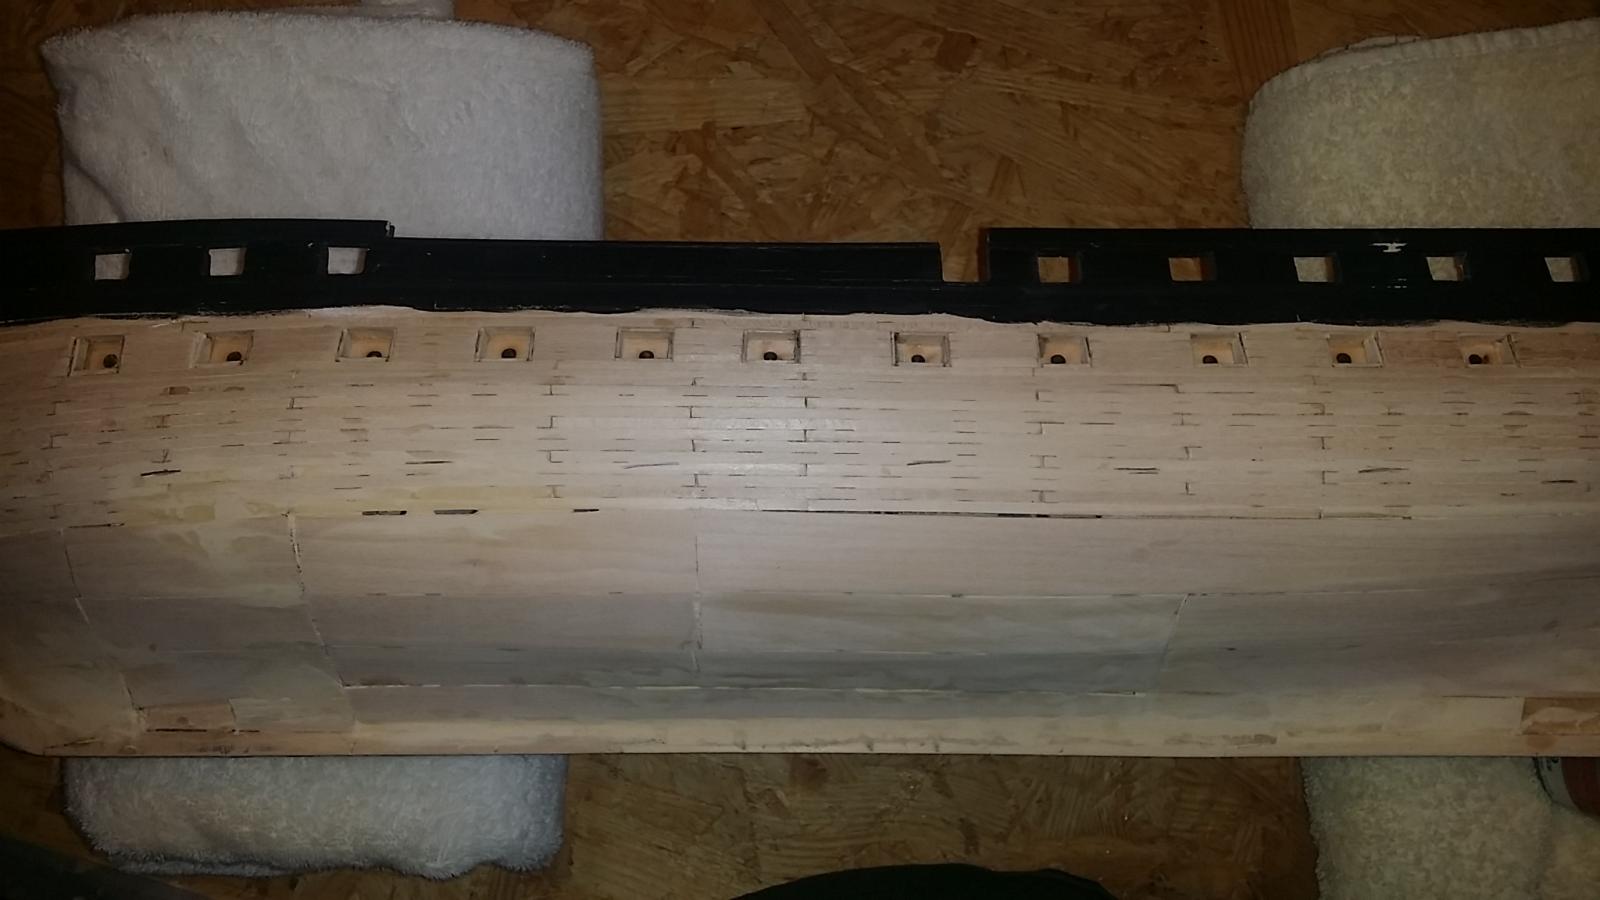
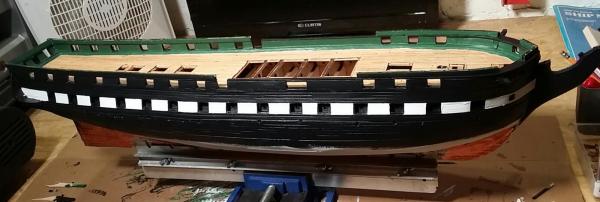
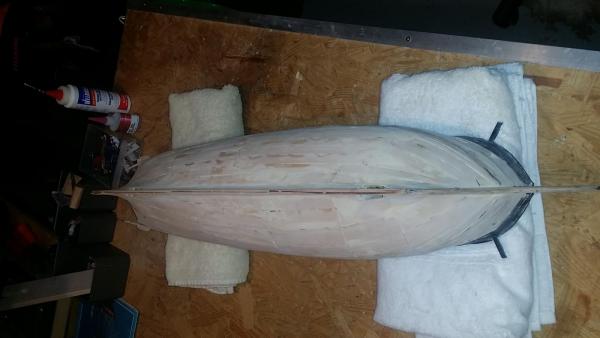
Ok, so I decided to bypass the "authentic" planking and use larger bass wood in order to get the model done before the year 2115! I know to some this would be "high treason" but hey I'm a beginner and it's all good to me for my 1st build.It's going to be a gift for my dad. So I'm about to prime the wood a copper the hull. It took over 3 hrs to cut and pounce the nail marks, I took Hunt's advice and watched a movie while I did it. Any advice on coppering would be appreciated.


-
Yea, I too use http://modelshipworld.com/index.php/topic/5003-uss-constitution-by-usedtosail-model-shipways/page-2 build log, especially for visuals. I seem to work better once I "see" what needs to happen. And w Hunts prac. and the other builds, problems are easily solved.
-
It seems to me that the more experienced the modeler the better and faster they are. Ive given up on perfection and Im just trying to make it acceptable for my level. Its a difficult model, and lots of fun. Your knights head looks great, just make sure not to glue anything until its test fitted, the knights head gets planked over anyway, so a small imperfection is no biggie, at least to me. Many expert modelers on this site settle for nothing less then perfect, I may too one day join these ranks, but for now, good enough is good enough.
-
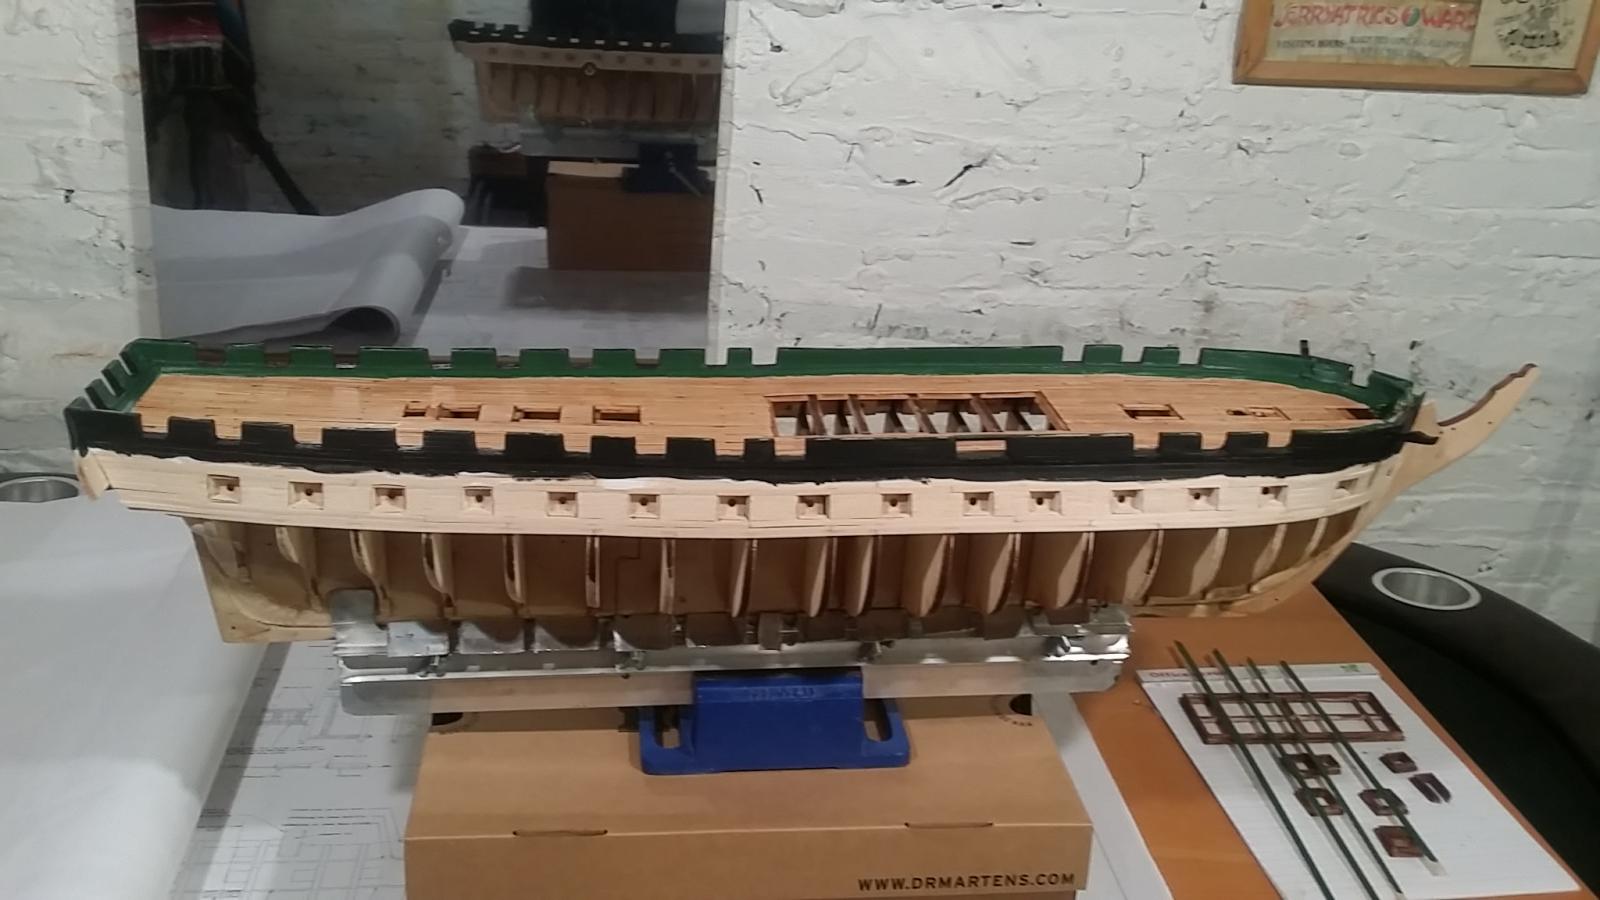
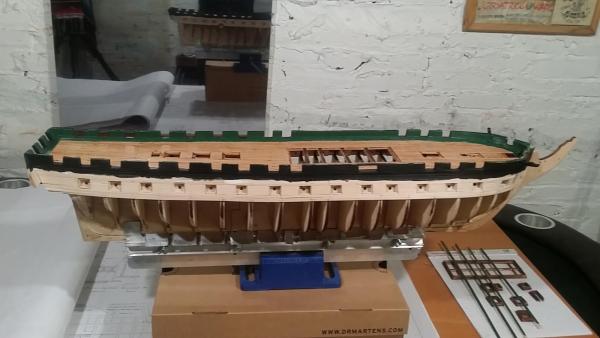
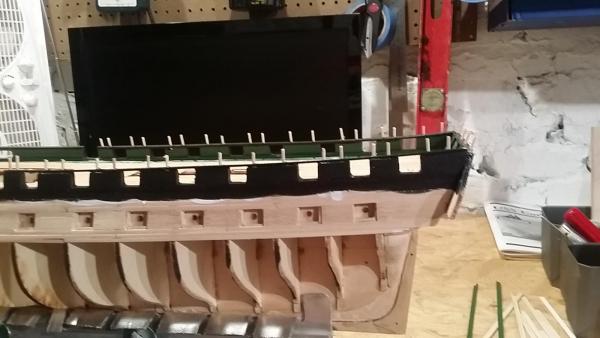
Howdy, I started this model a year or so ago. It's my first build, and would pretty much by lost without Hunt's practicum. I made a few huge mistakes, but was able to fix them. I tend to deviate from the practicum at times because I really want to just have fun and I'm not striving for perfection on this 1st build. I'm about to finish planking the haul and begin coppering. Have Fun. Mundie
-
Ok, I'm about to start planking the haul. I have trouble sometimes following the practicum, it's a bit wordy at times. I hope to do a decent job, but perfection is not something I'm striving for on this-my first build. Any advice would be appreciated. Thanks!!
-
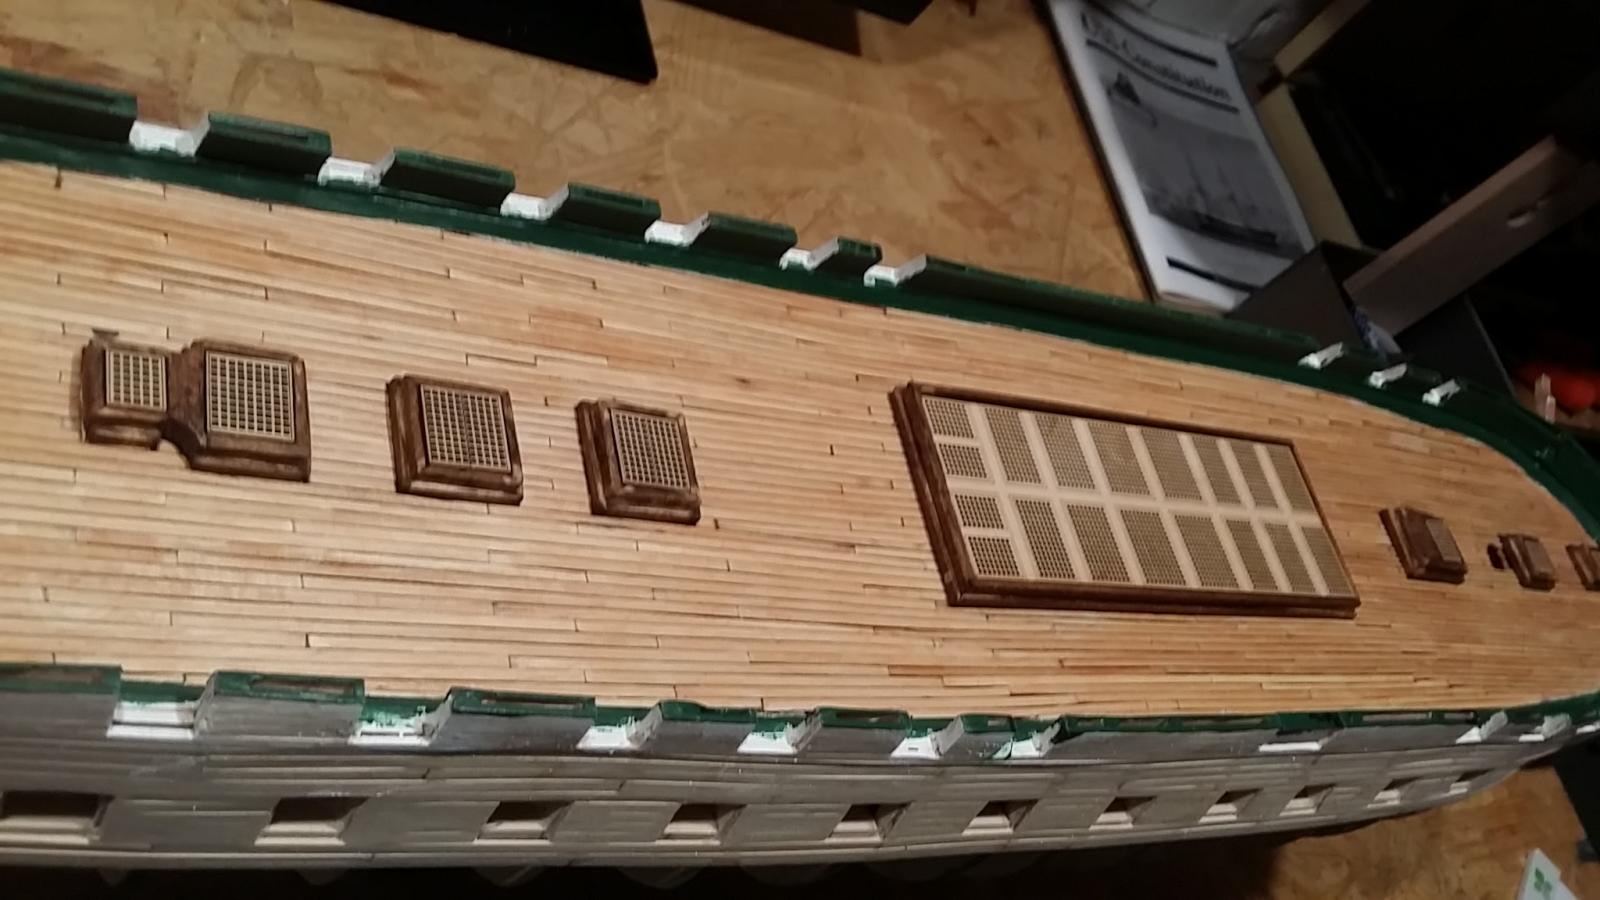
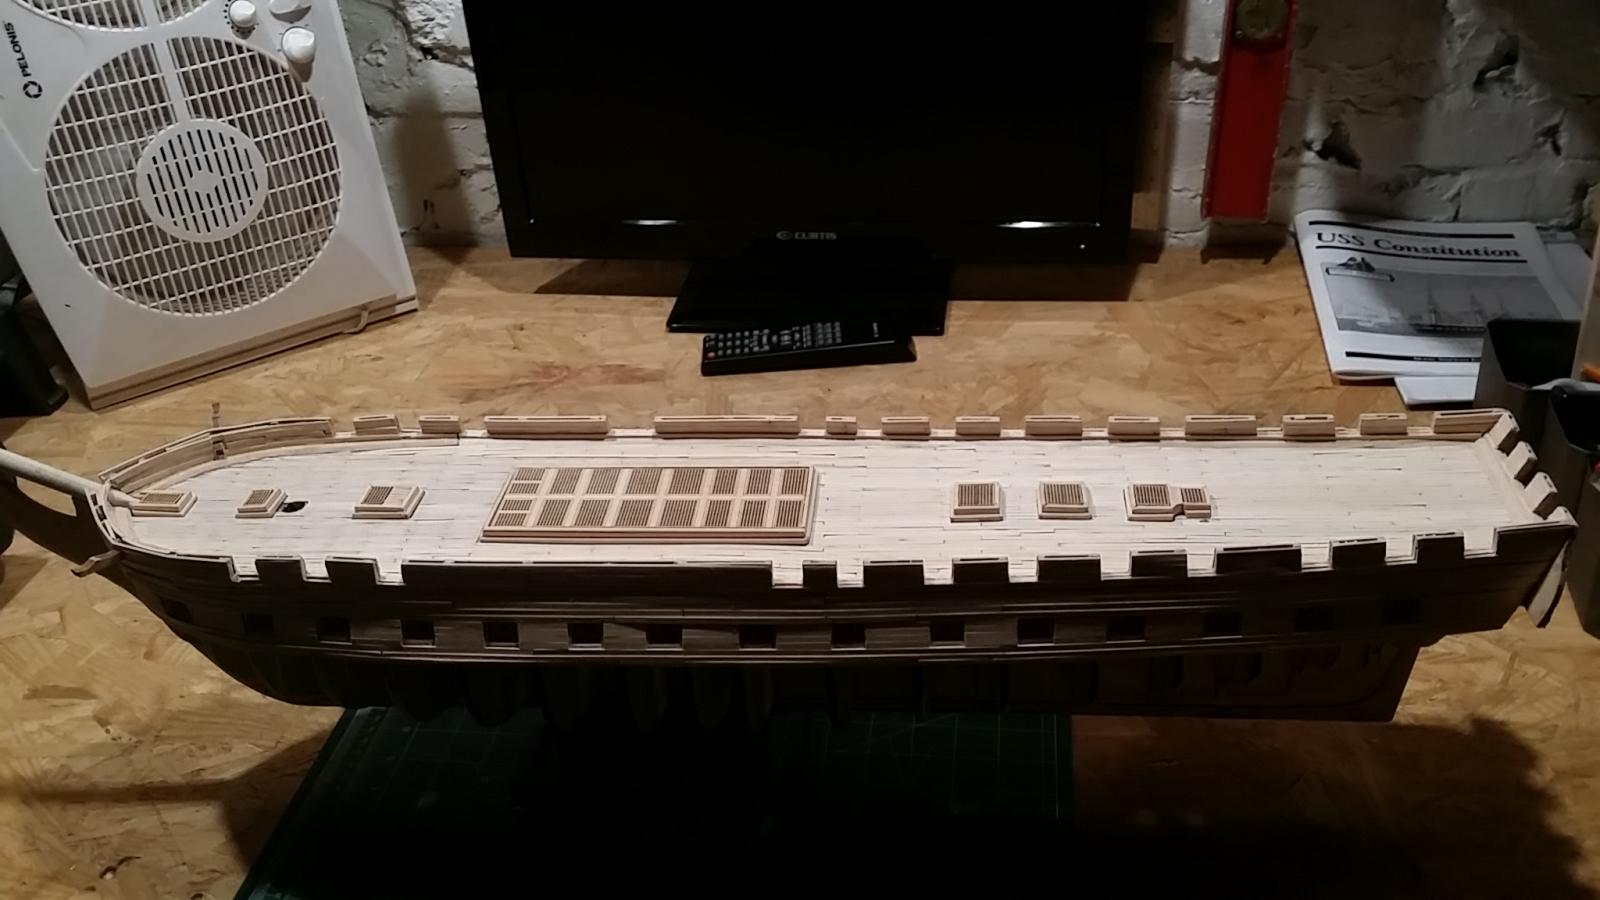
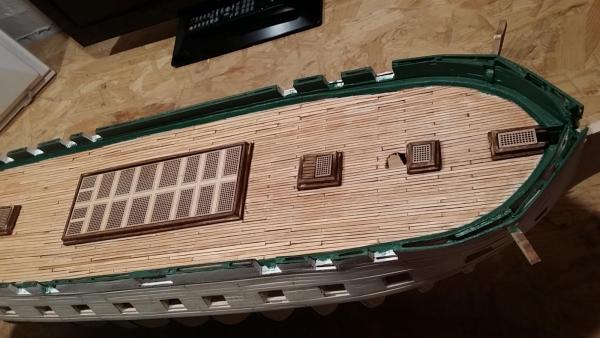
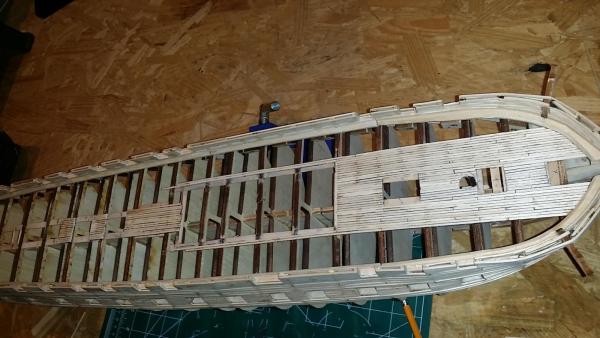
So, I stained the deck (Miniwax-Golden Pecan) and stained the hatches (Miniwax-Early American) and painted the bulwarks and main rail; and I'm in the process of adding the planks above the mainrail. I deviated from the practicum and drilled the holes for the plank supports (toothpicks) after I glued the mainrail down; I thought it would be easier to align the angles on the holes since the bulwarks are slightly angled- and it would not matter if I aligned the empty spaced to accommodate the supports- I would just drill right into the wood- I started w a very small bit and graduated to the correct size to avoid wood splitting. I used ModelExpo paint, I like the color, and have never used any other type, so my opinion is limited.

-
Does anyone have advice/experience on paints for this ship. I'm aware there is a kit available designed specifically for this model.
-
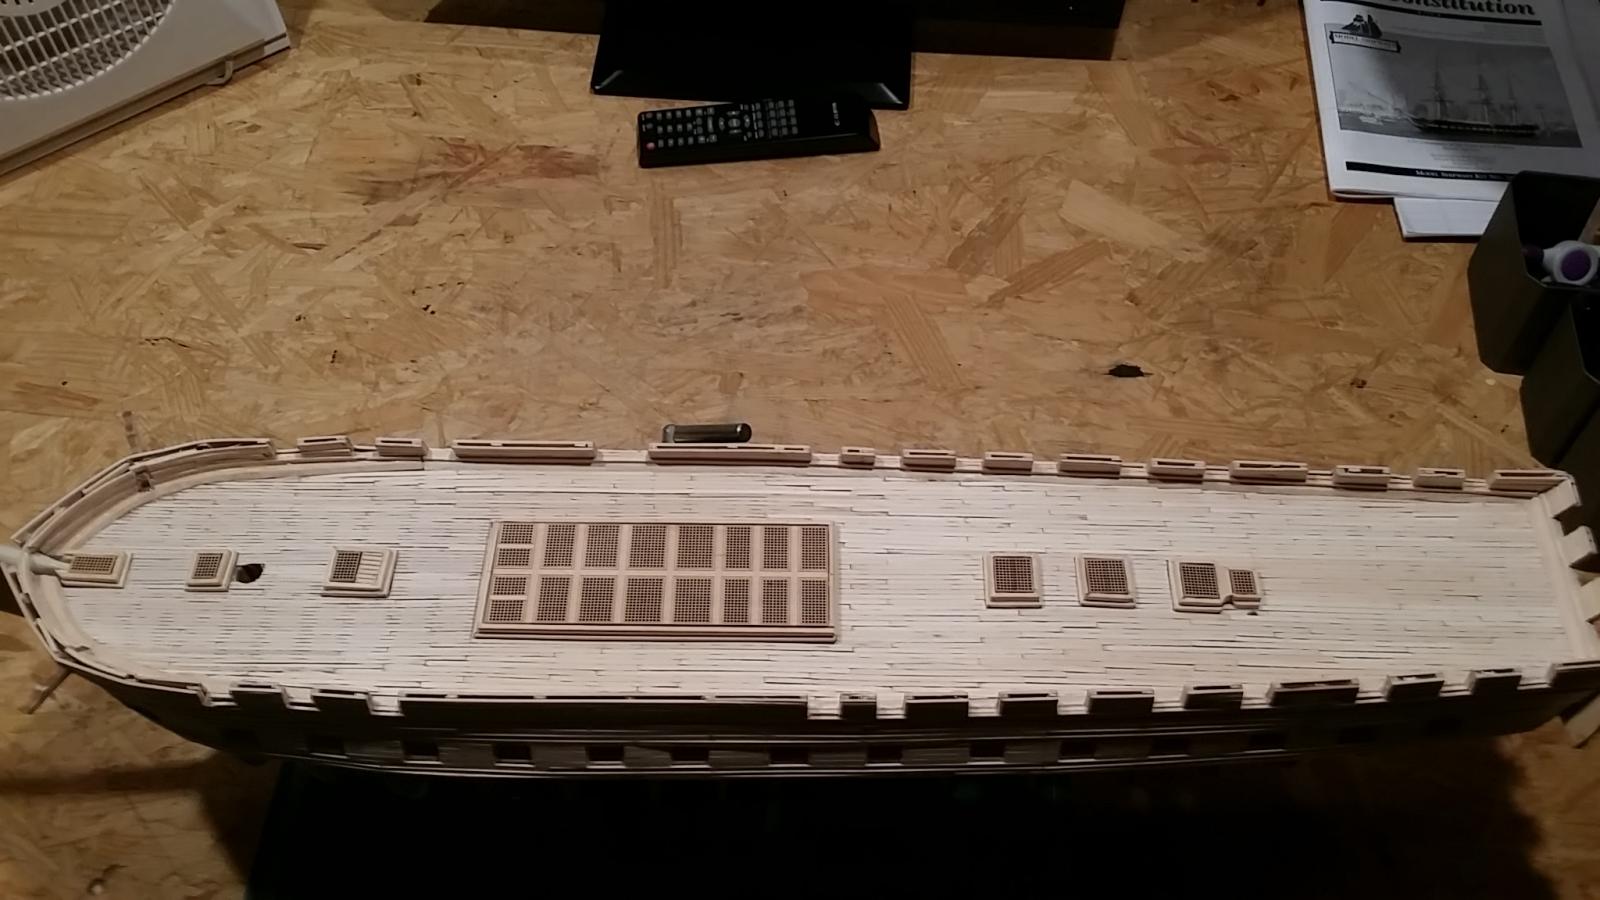
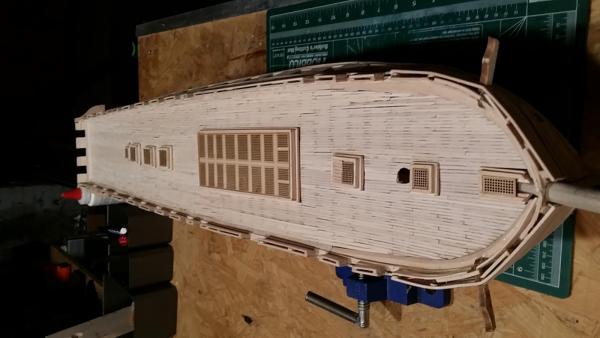
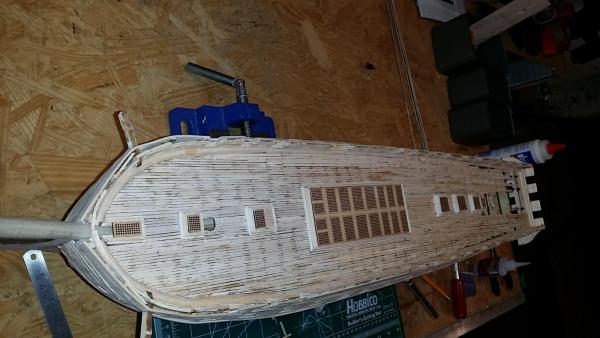
Well, I finished planking the deck. I had a problem, the bass wood supplied by the manufacturer was slightly smaller then the extra strips I bought from Model Expo- I decided not to strive for "perfection" on my first build or it may be 2035 before completing the ship! Ha- it turned out ok, and I'm happy with the way it looks even though I didn't taper the stern end of the planks.


-
Ok, I went ahead and planked the deck. I just did it the easiest way. I did not taper the stern planks and it seems like it will work. Being an inexperienced modeler I just want to get some experience and maybe be more "historically correct" on my next build.

-
I have began planking the deck for my Conny, and I'm a bit confused about "tapering" the planks at the stern? Any help or visuals would be appreciated. I seem to excel once I "see" exactly what needs to happen. Thanks!
-
Started planking the deck. I'm not sure if it's 100% correct; and I again deviated from the practicum- but looks like many others I've examined. Any advice is welcome.


-
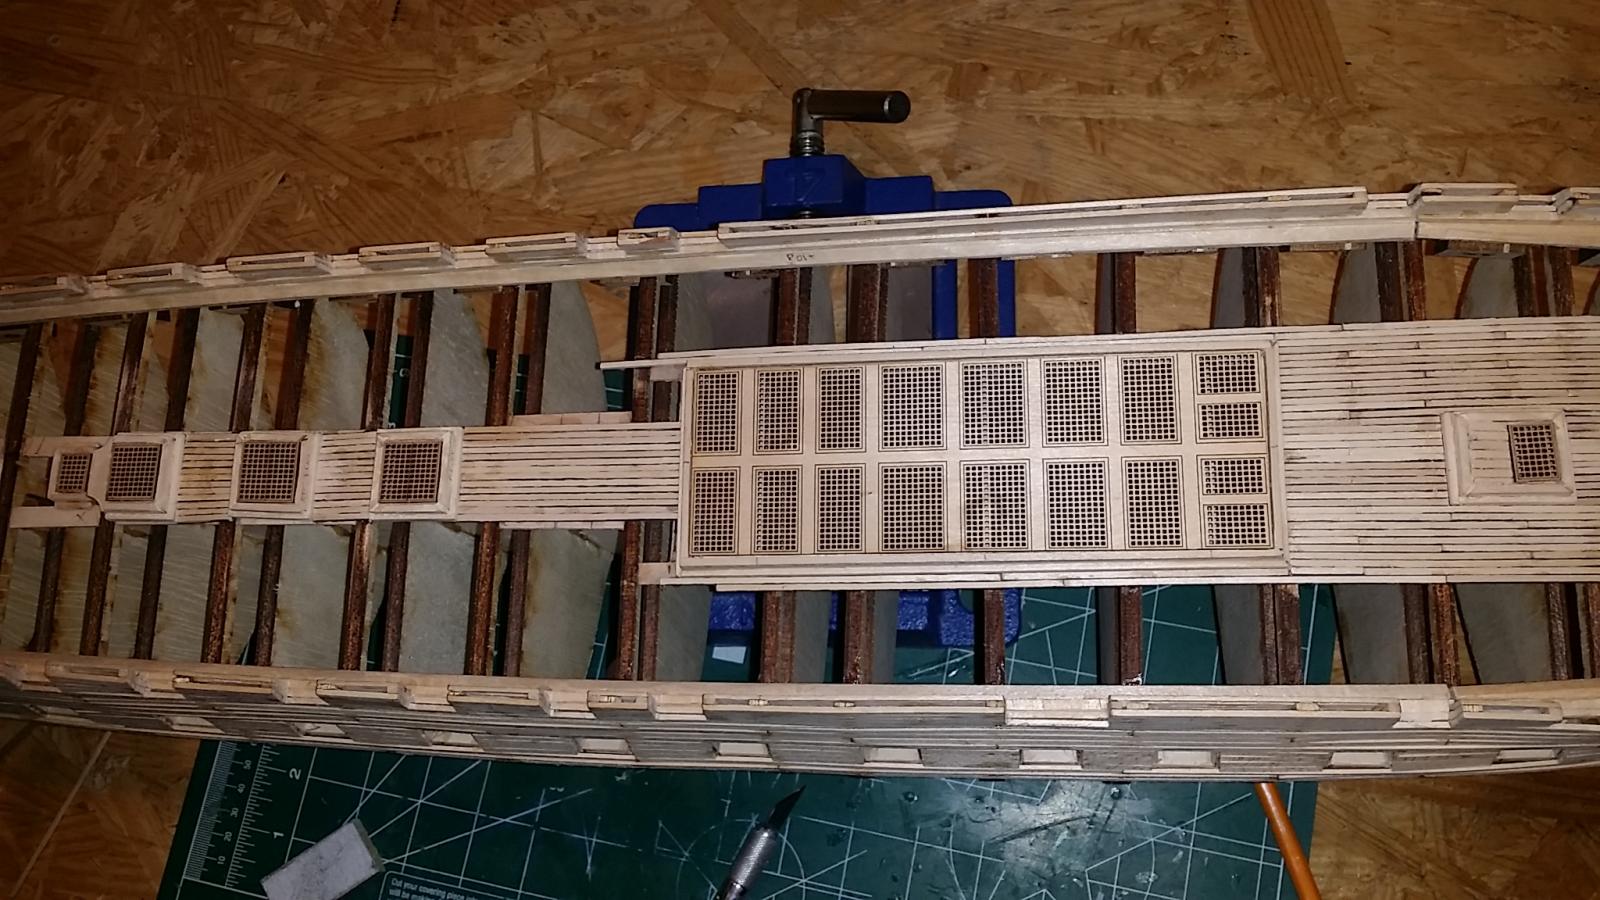
Deviated from the practicum a bit for the hatch coamings; they will work just fine.
-
Greetings, Ok,so I'm hoping someone can guide me in finding a good stain/finish combo for the coaming hatches and deck of the Conny MS 2040- Any advice on color/brand?
-
Yea Fletch, thats the same method as the practicum. I attempted that method and could not get it to work - I dont think my skill level is there yet, so I'm using what works for me.
-
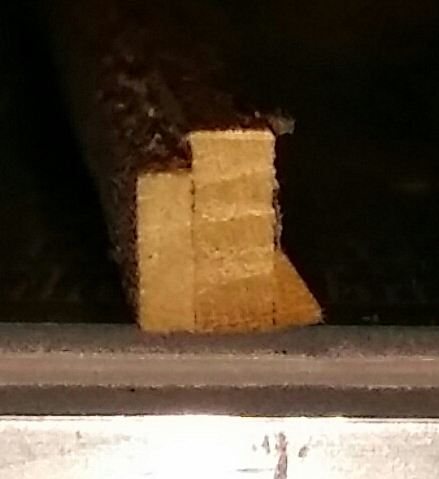
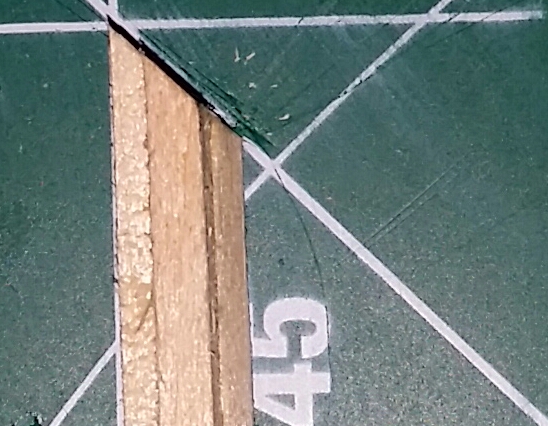
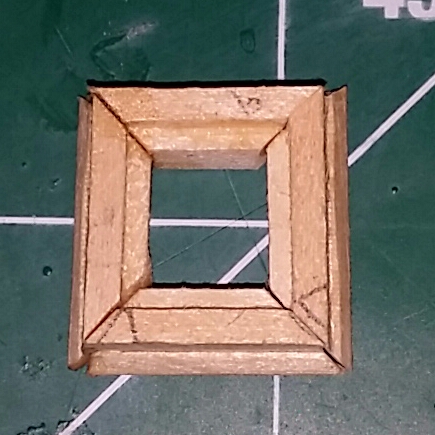
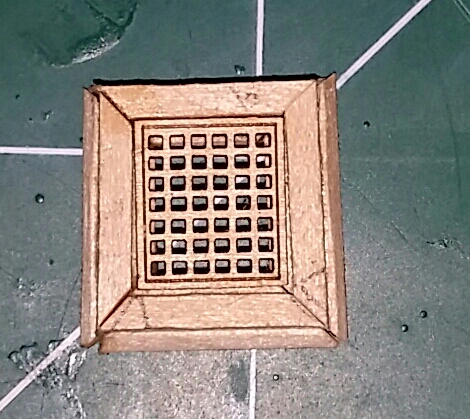
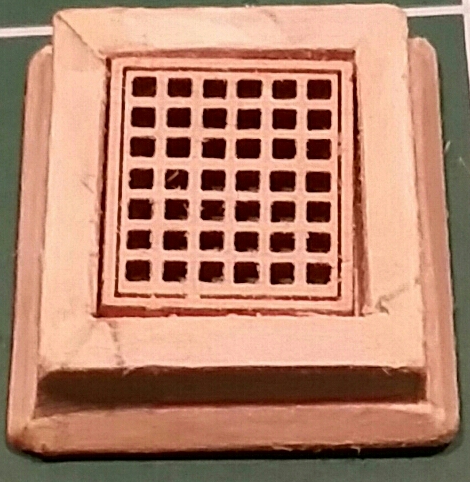
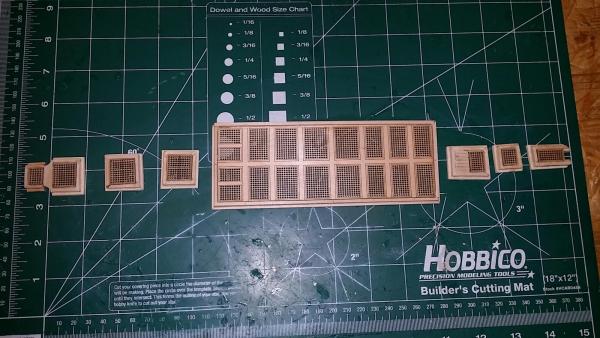
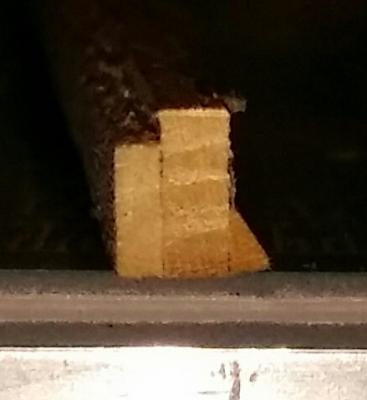
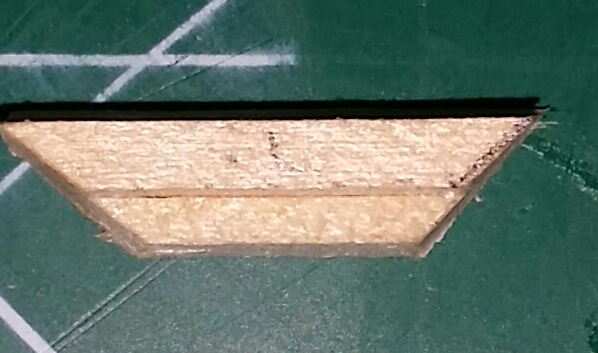
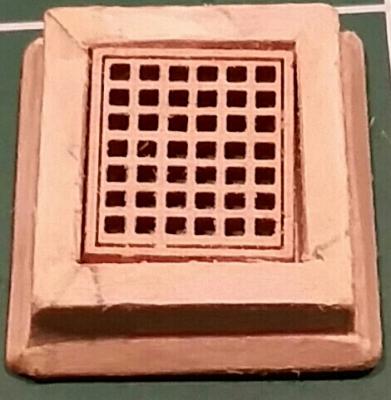
So I deviated from the practicum on this coaming hatch because I could not get the "lock and grove" method to look good. This isn't perfect but it's good enough. The pictures are self explanatory for what I did. I used a sharp X acto blade to get clean cuts and used the line on the cutting mat to get the correct 45° angle; then trimmed here and there for a good fit. A little wood putty helped fine tune a few tiny gaps. I generally would like to stay away from putty- I kinda think it looks a bit more authentic just leaving the wood as is, but a little here and there won't hurt.


-
Hatch coamings.
Mundie replied to Mundie's topic in Building, Framing, Planking and plating a ships hull and deck
I meant the hatch coaming frames/ but I figured it out after studying the plans- I just got a little confused. -
Ok- I figured the coamings out after I studied the plans. I just got a little confused.
-
Im having a bit of trouble building the coaming frames for the deck hatches. the practicum is kinda long winded and I was hoping to build them an easier way for the MS 2040 Conny.