HOLIDAY DONATION DRIVE - SUPPORT MSW - DO YOUR PART TO KEEP THIS GREAT FORUM GOING! (Only 68 donations so far out of 49,000 members - Can we at least get 100? C'mon guys!)
×


GuntherMT
-
Posts
2,213 -
Joined
-
Last visited
Content Type
Profiles
Forums
Gallery
Events
Everything posted by GuntherMT
-
So, it's obviously far too late to use a different 'correct' procedure for planking on this model, but I'm curious about others opinions. Specifically, all of the tutorials I've found on this site talk about lining out the hull and spiling planks, which requires cutting individual planks (or sections) out of wider material than the actual plank width. Is there a planking system that works well that uses the kits supplied planks rather than doing it this way? I have had some success getting the lateral bends on the supplied planks by cutting part way through the planks with a very narrow saw, allowing them to flex more, but I haven't found any reference material yet on a decent way to plank using the provided wood. Thanks for any feedback on this one, which could be quite useful for my next project down the road. - Brian
-
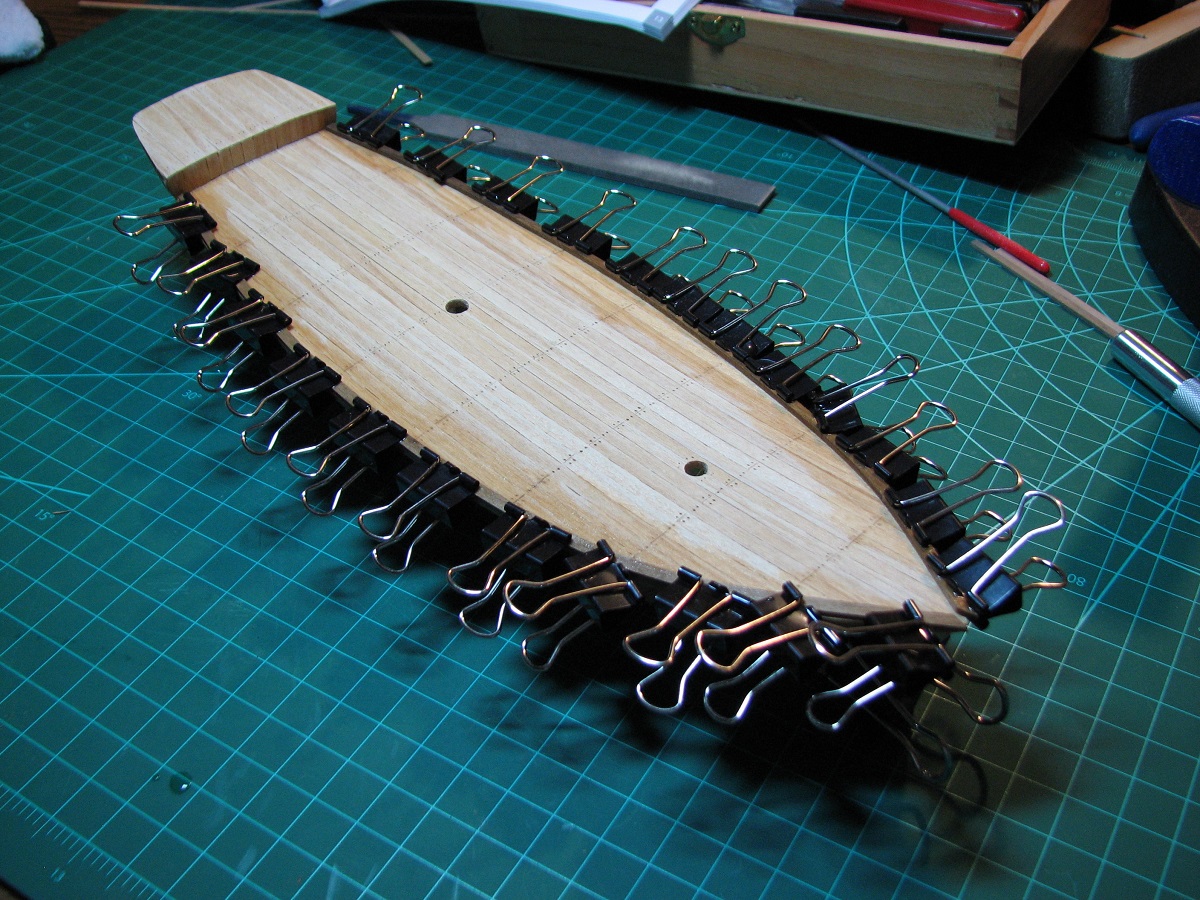
Finished up the port side by setting the last stealer on this side of the hull. Bottom half of the other side still to go. I screwed up how the planks were laid, so ended up having to do a lot of little filler planks in the middle, when that should have been happening at the ends, so it's a little rough, but I think most of it will fill and sand well and look ok when it's done. It's embarrassingly ugly compared to a lot of the 'first builds' posted here, but I'm not too disappointed with it, as I've never done any woodworking before, and I'm definitely learning a lot of lessons as I go. That compound curve in the middle of this hull was quite a challenge for me, some of the bigger ships in the logs actually look like they have a lot simpler curvature, just a lot more of it.

- 119 replies
-
- 3
-

-
- carmen
- constructo
- (and 2 more)
-
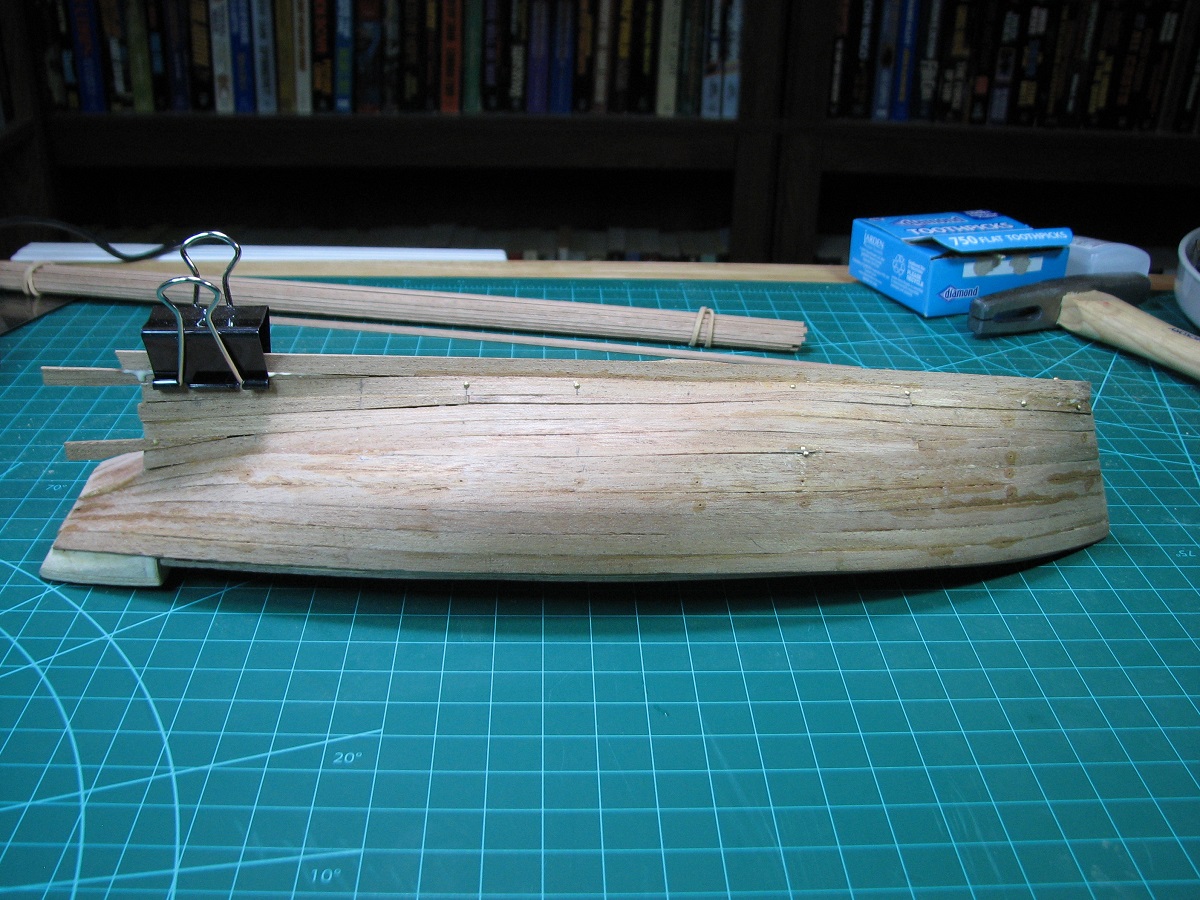
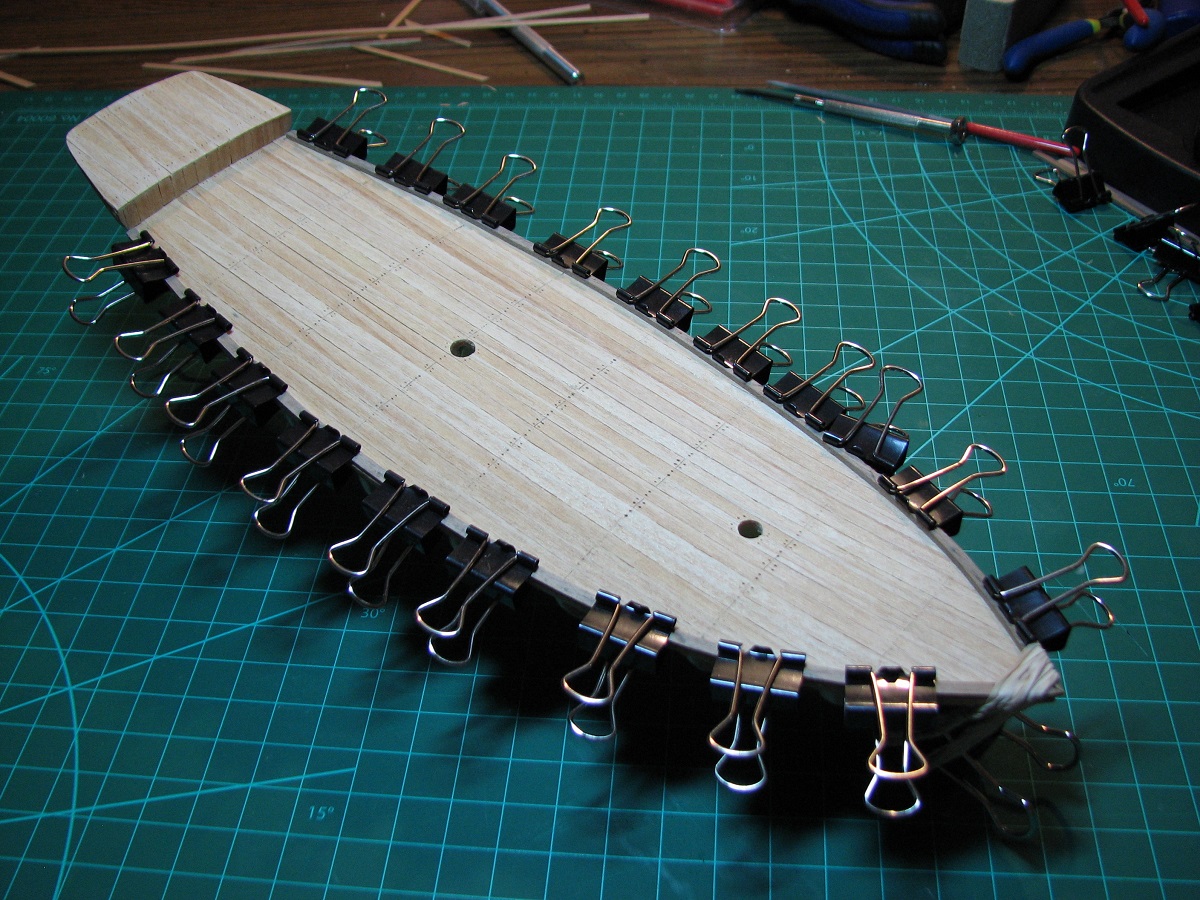
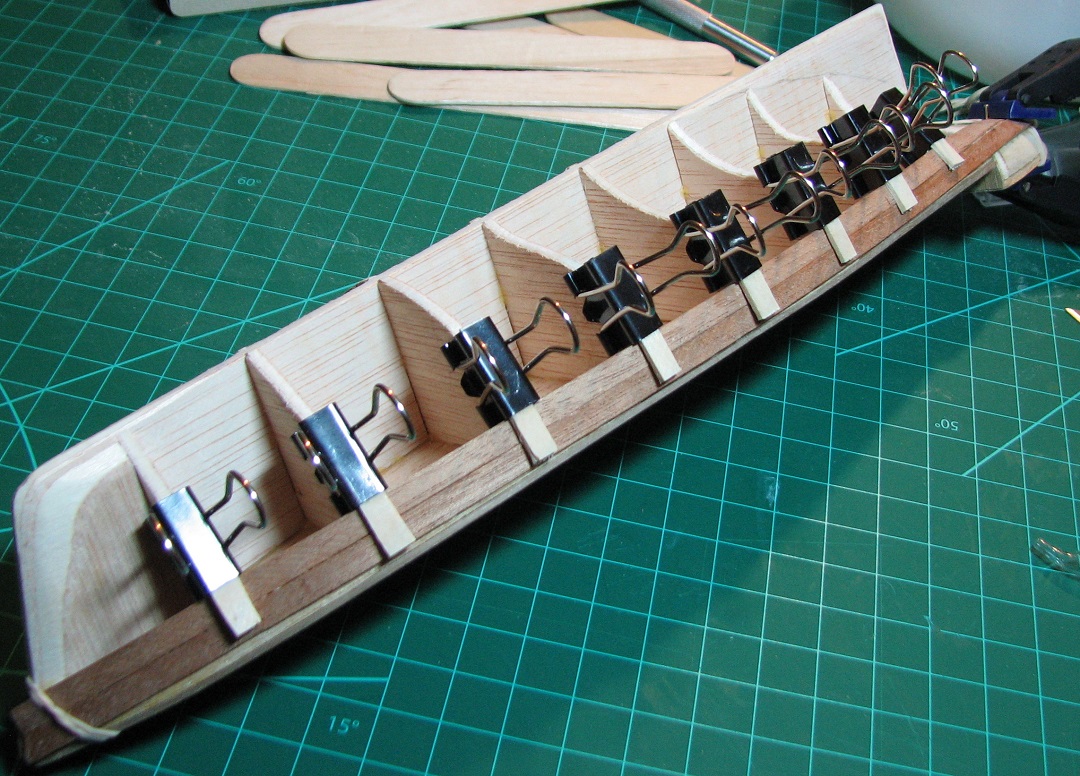
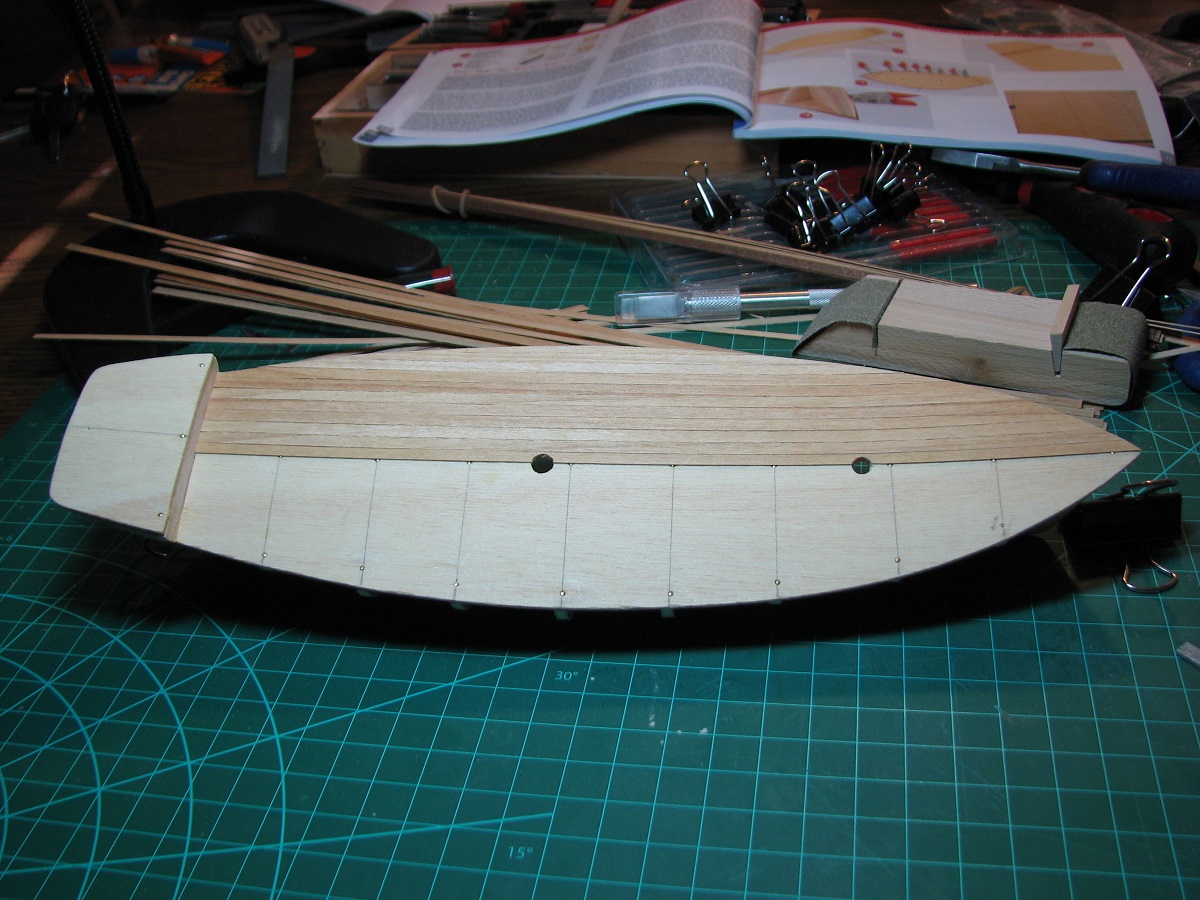
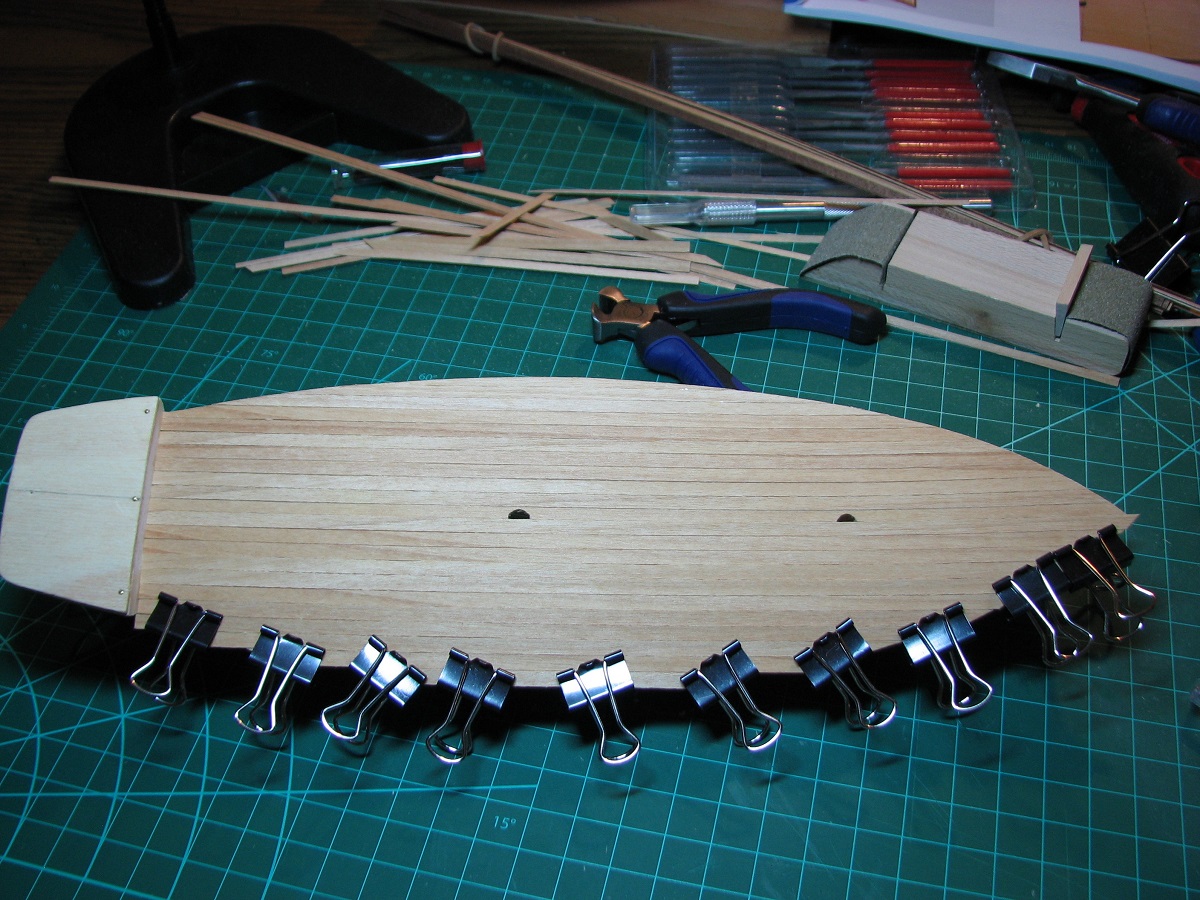
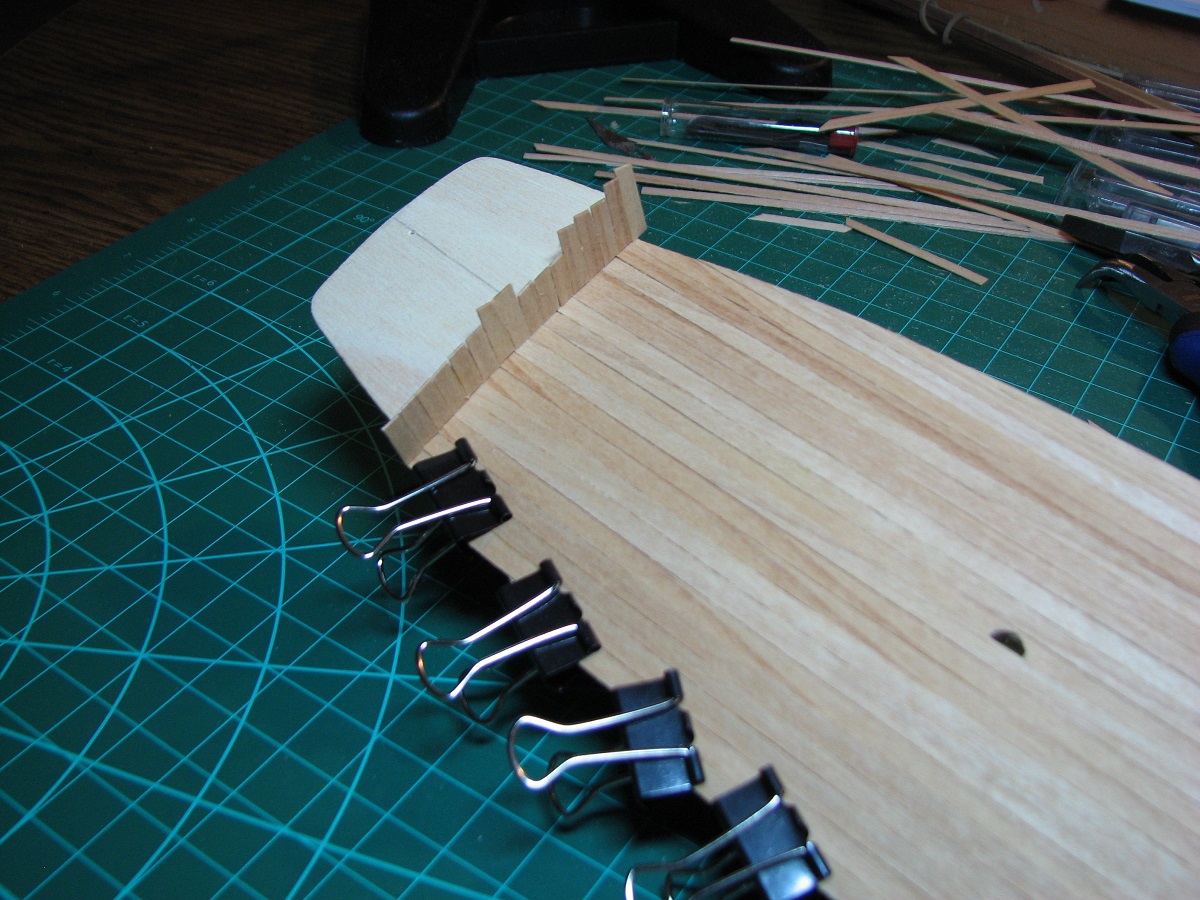
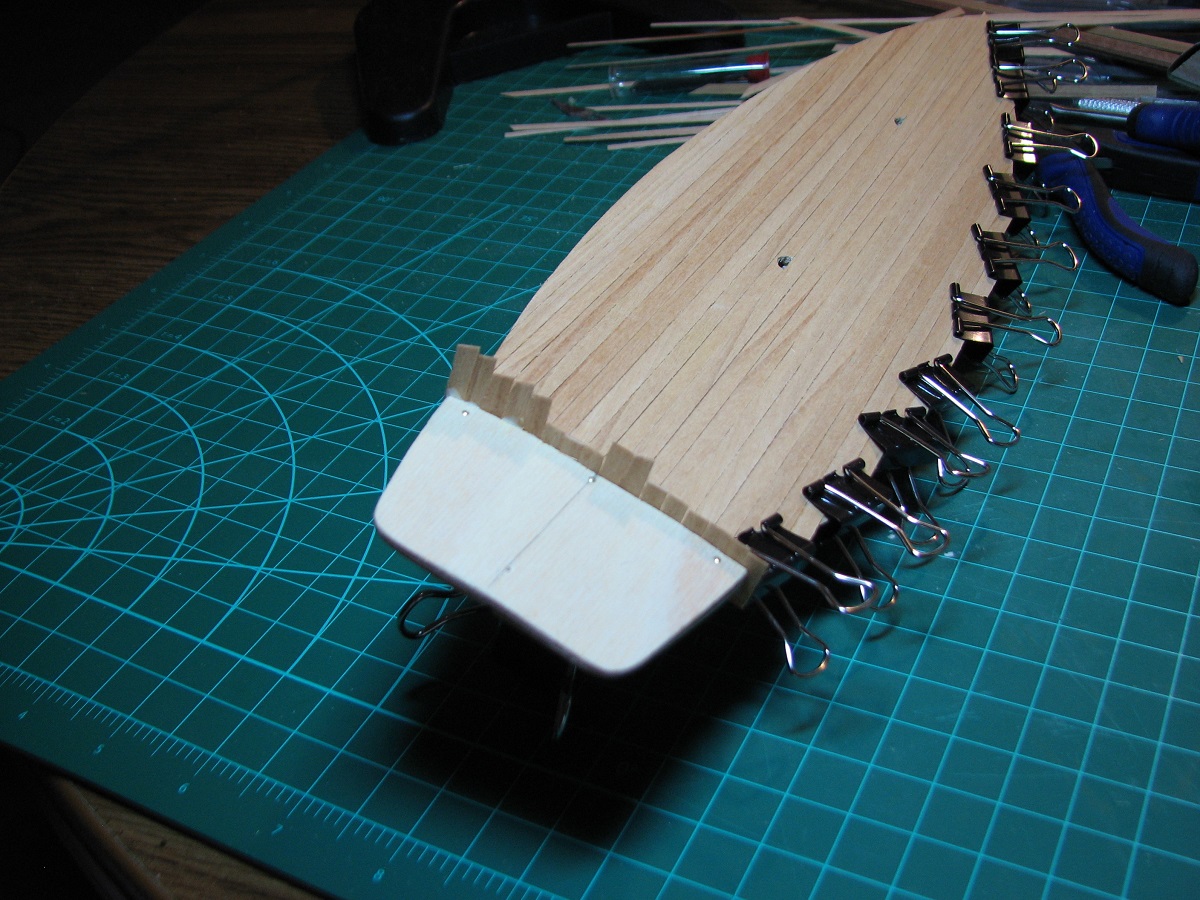
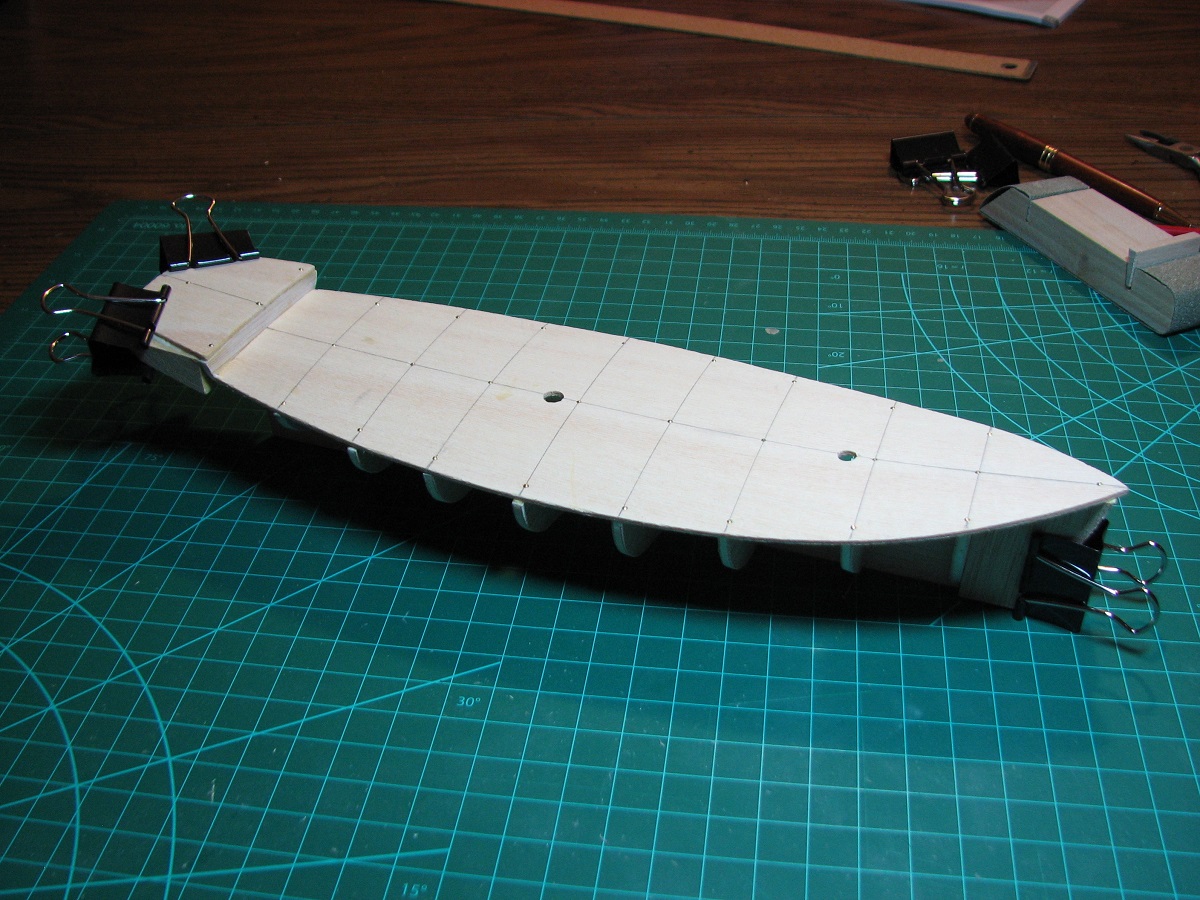
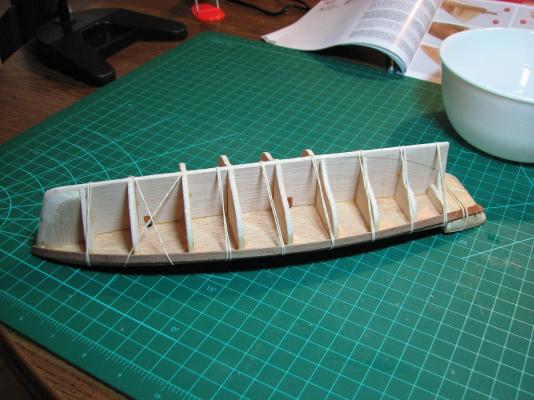
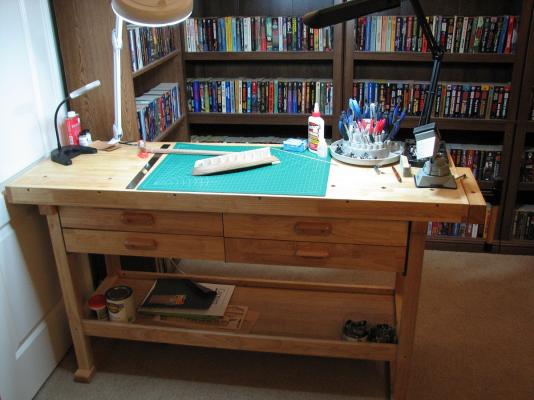
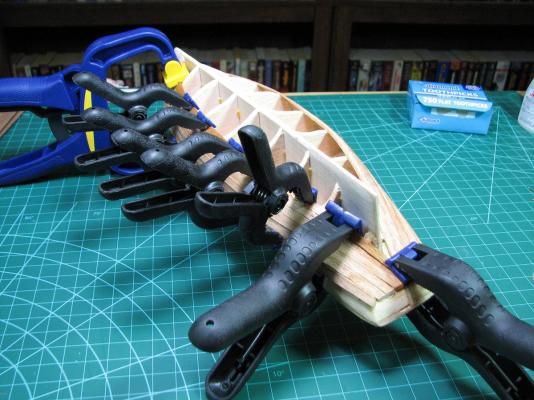
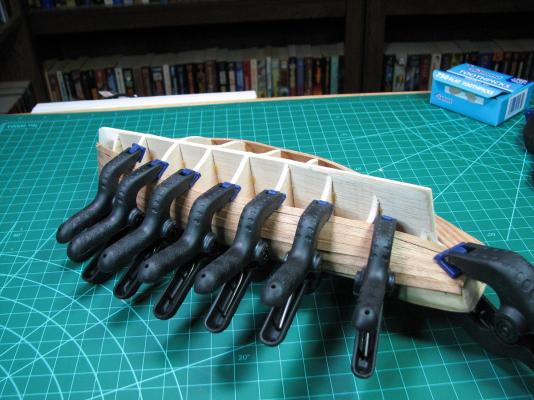
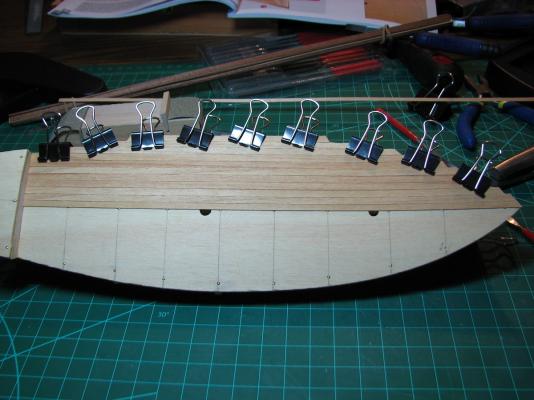
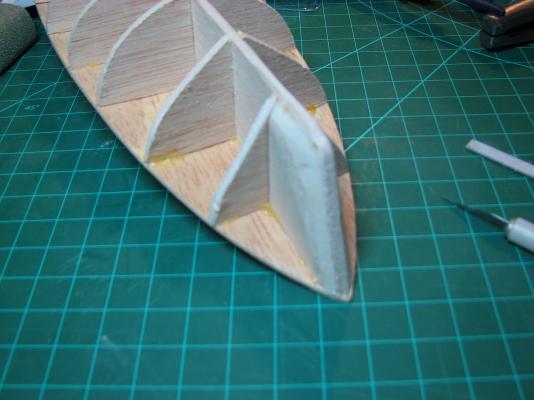
Sunday morning, I removed the clamps, and was amazed by how well the stringers kept their shape. When I removed the final clamps, I discovered that the stringers were actually stuck to the deck, and had to pry them off with a small screwdriver. After they were unstuck, they did spring out a bit and not stay exactly shaped to the deck, but they were very close, and quite easy to hold in place with very little force, so I added glue, and clamped everything to dry. After the stringers, the next item in the instructions is hull planking. The forming method I've been using has been a combination of wetting and then holding over a soldering iron to dry while holding a bend, and sometimes clamping to the bulkheads and repeatedly wetting over time. The first plank on either side went in quite well, but I managed to mess up the alignment against the deck on one-side. I'll have to make a small insert when I'm done to meet up with the bulwarks where I did this. The first plank I was able to do just fine using nothing but a bunch of rubber bands to hold them in place against the bulkheads to dry. For the second plank on each side, I took a bunch of binder clips, and glued a small piece of craft stick cut to size with super glue, and made myself a set of ghetto 'plank clamps'. They worked pretty well for about 3 planks, until I started to run out of room on the bulkheads for the clips to grab onto. I got four planks on each side by Wednesday, but with a meeting on Thursday night, and going out on Friday night, no progress was made on those days. On Friday, my new work bench was delivered (up to this point I'd been occupying the kitchen table), so I stayed up late Friday night assembling it, and then moving everything to the new bench in my library/office (probably not the best choice of rooms, and eventually I'll clean out another room to turn into a work room). Yesterday I continued to work on planking, but now that there isn't much room on the bulkheads for my little binder clips, I'm using all sorts of different clamps depending on what I can make work. Today I've been continuing to work on planking, but now I'm starting to insert extra planks in the middle, and stealers at the stern. And that brings the project up to current as of this morning.


- 119 replies
-
- 4
-
-
- carmen
- constructo
- (and 2 more)
-
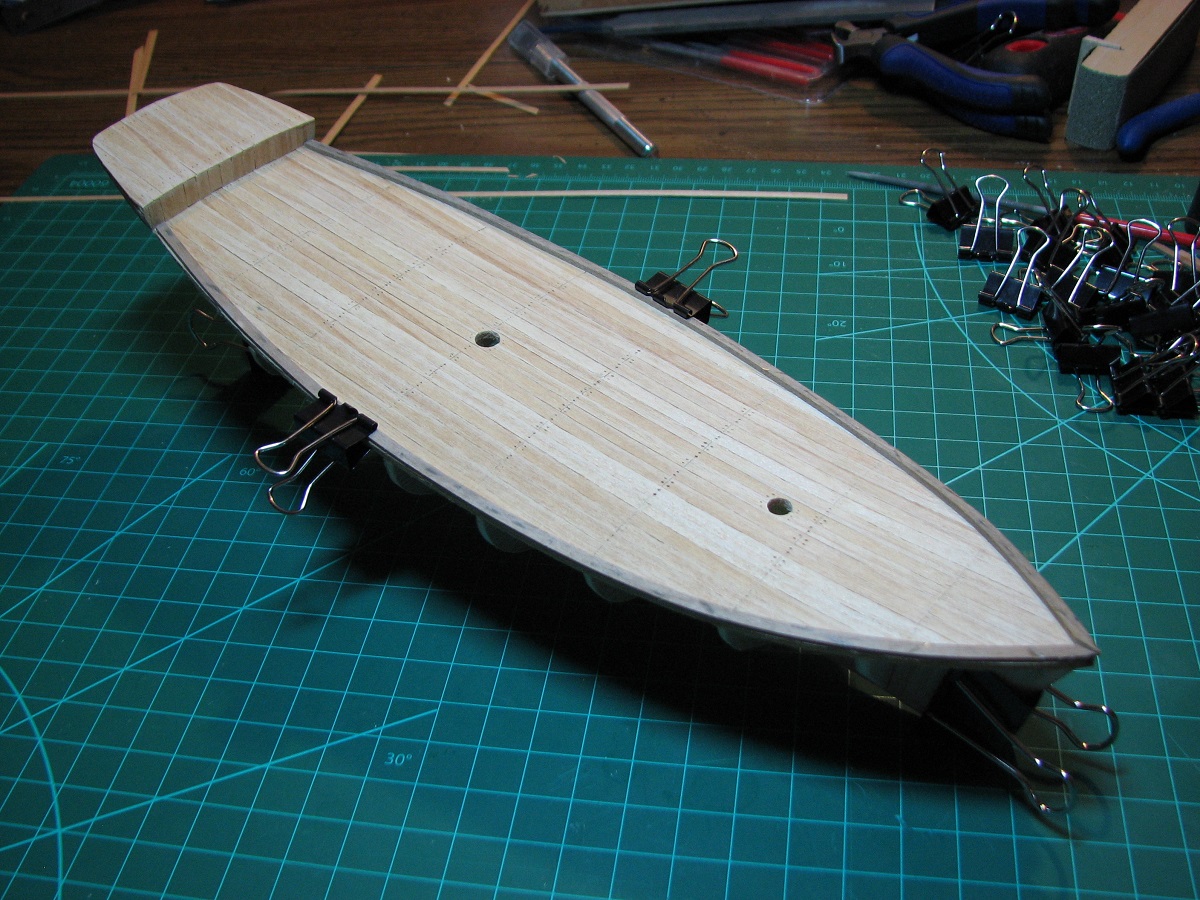
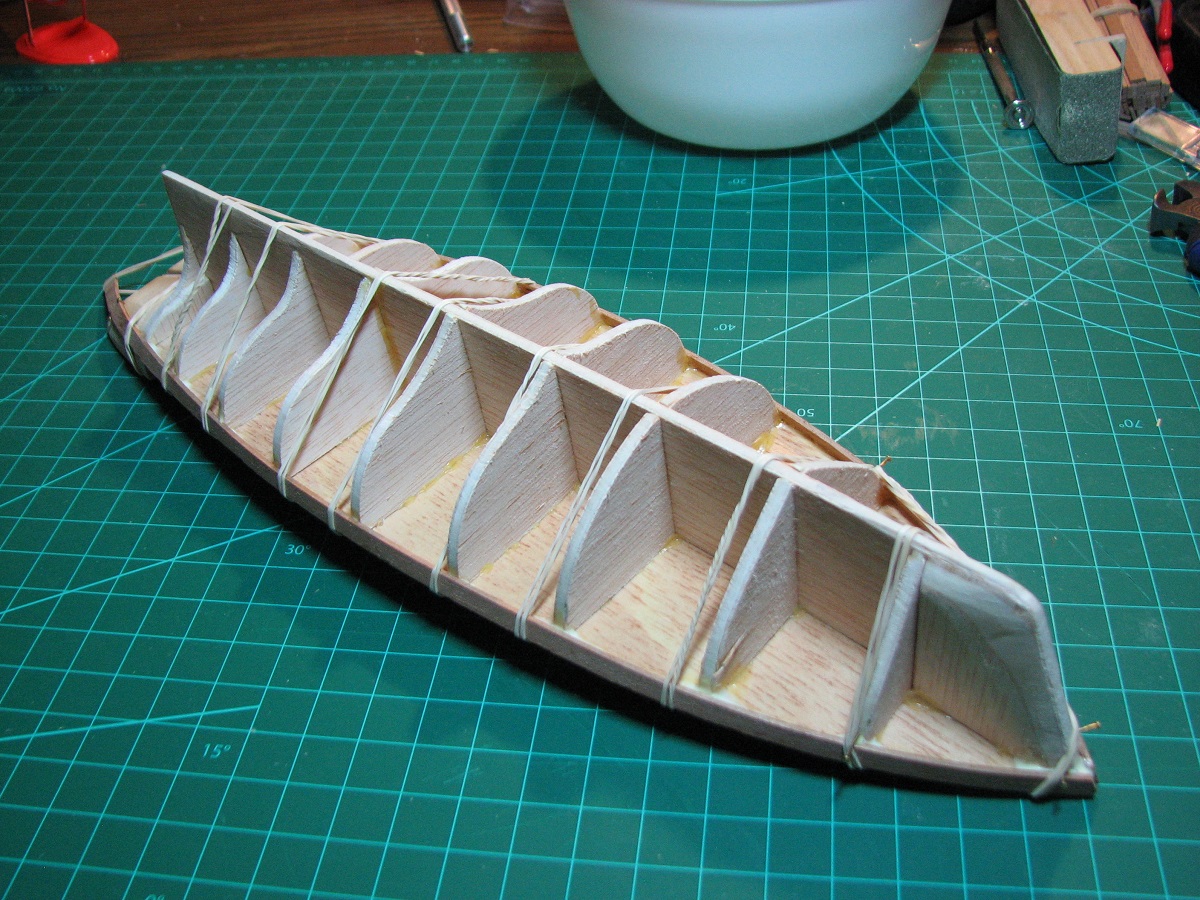
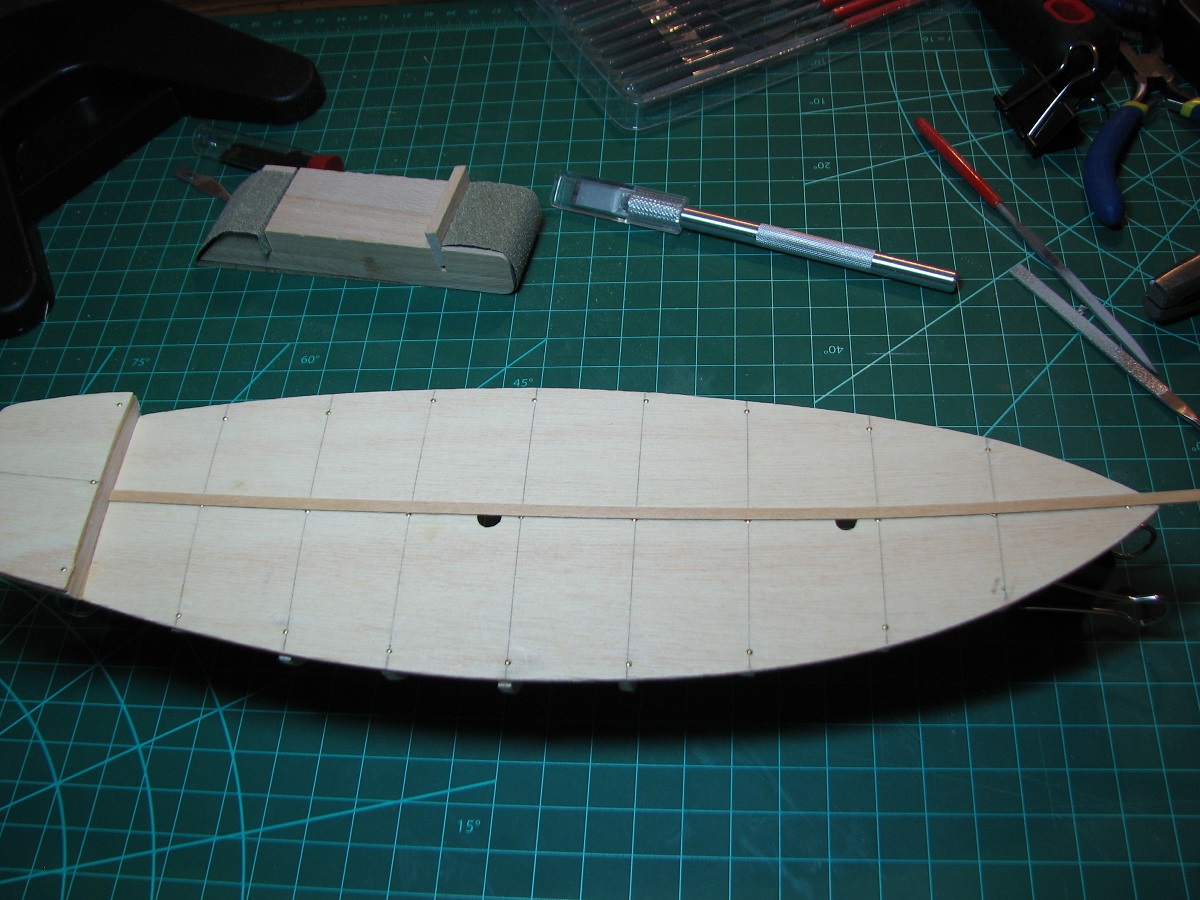
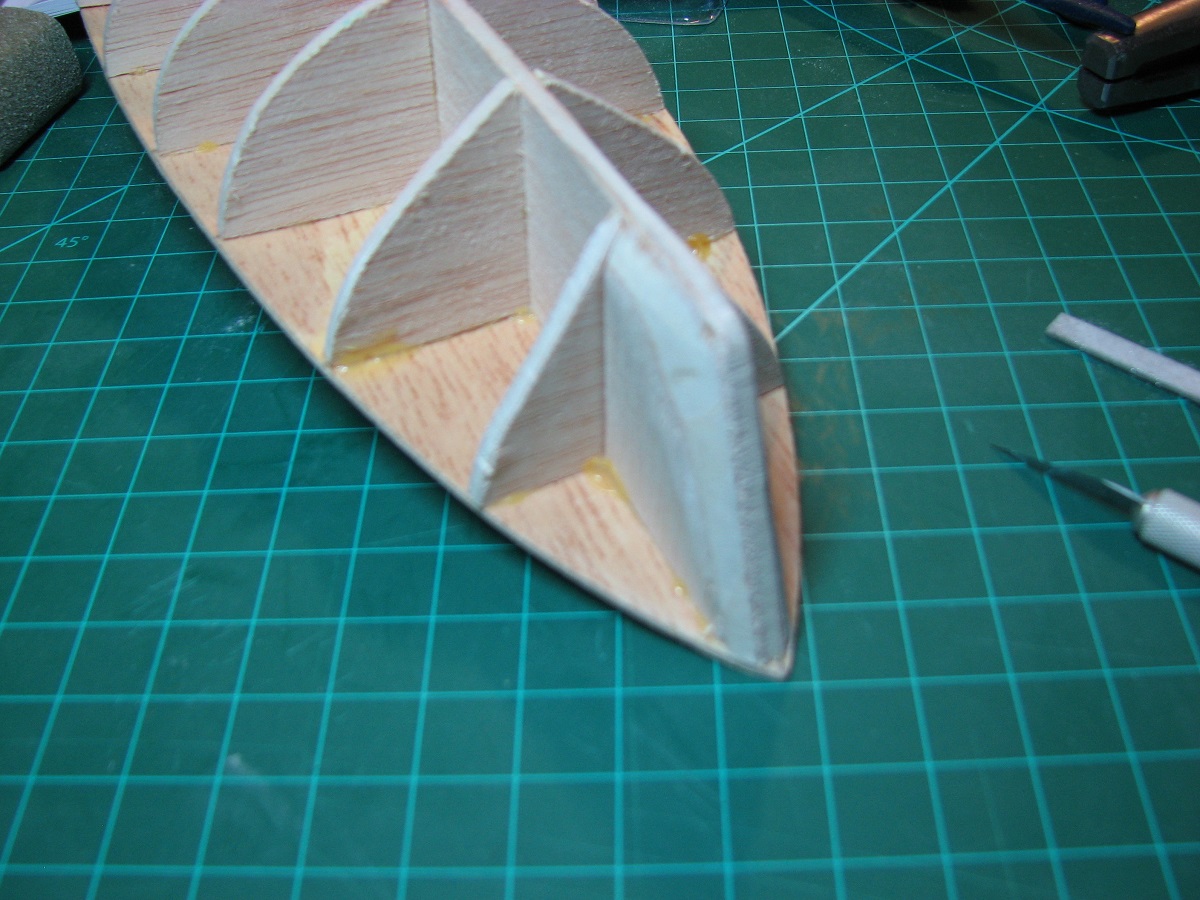
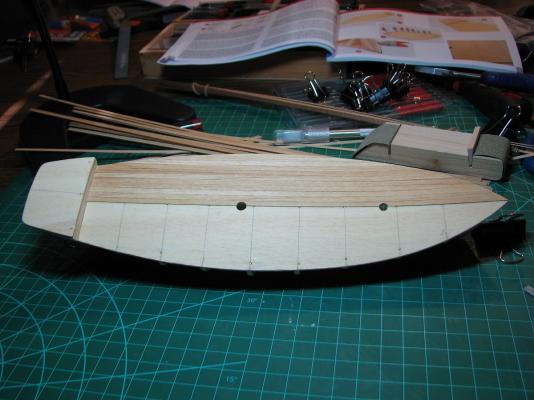
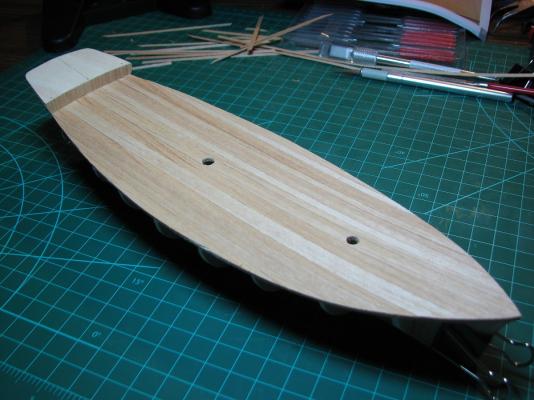
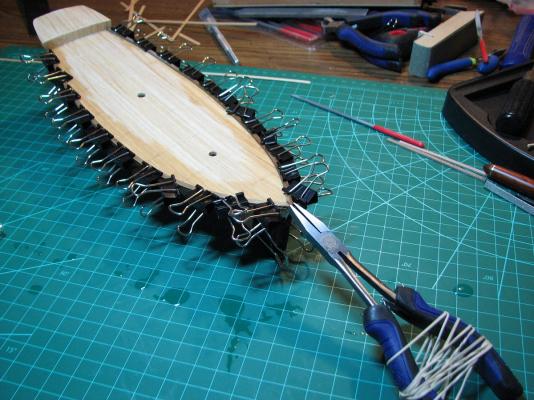
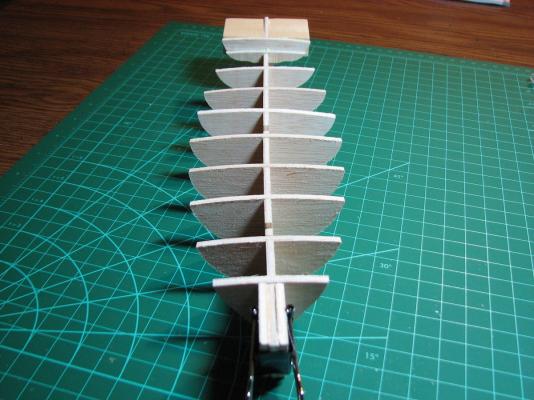
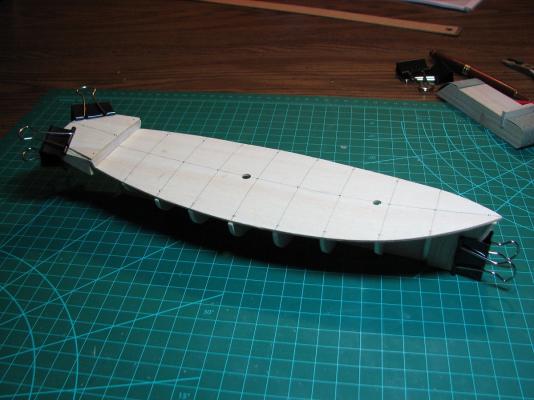
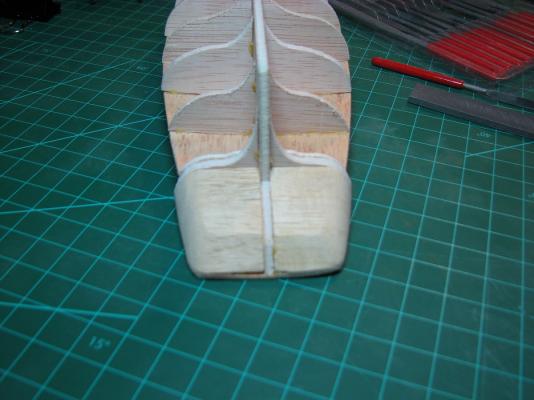
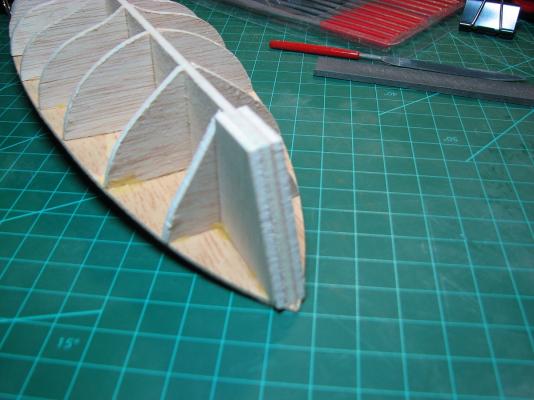
Once I had the basic shaping of the stem and stern complete, I began to work on the deck planking. In this area the combination of it being fairly simple, along with some very good pictures, meant that I really had no difficulty with the plans / instructions. I began by laying down a single plank along the measured center-line of the main deck. Then added planks until I had the entire port side planked. I clamped the edges to dry with the every handy binder clips from Staples that are 4 bucks for 80. After it was dry I removed the clamps and trimmed. I then cut away the planking for the holes for the masts. Next step was just to repeat the process for the starboard side. I then used some scraps to plank the 'step' from the main deck to the poop deck. The instructions say nothing at all about how this should be done, so I just looked at the pictures, and used up a bunch of the scrap from the main deck planking. Seemed to work out just fine, but I did manage to get the vertical planks out of alignment with the main deck planks and had to trim some pieces on the port side to try to get them back into alignment. Again, visually I'll probably be the only one to notice this when it's done. Trimmed the deck and step, and cleared the mast holes. Repeated the main deck planking process for the poop deck and trimmed them, then used the method in the instructions to add the deck planking pattern via scribing the plank ends, and using a very small punch to make nail holes. In this step my complete inability to do free-hand work well shows, as the nail holes are pretty random and misaligned compared to most of the pictures I see here. Next up was the stringers. My first experience with needing to bend wood in the kit. The stringers were quite a challenge fore me, as the wood used is very hard, and has to be bent against the wide section of the plank. I ended up soaking it for a long time, and then using all the worlds binder clips to hold it to the edge of the deck to shape it. I was struggling with how to hold the ends in shape at the stem, when I found that a pair of flat bladed pliers would hold them well, but I really didn't want to spend the night holding pliers. I cheated and let a bunch of rubber bands take my place on the pliers, and it worked quite well! I used an eye-dropper to add water every 10 minutes or so for a few hours, and then went to bed to allow it to dry, and hopefully retain the shape. Next up. Sunday!


- 119 replies
-
- 5
-
-
- carmen
- constructo
- (and 2 more)
-
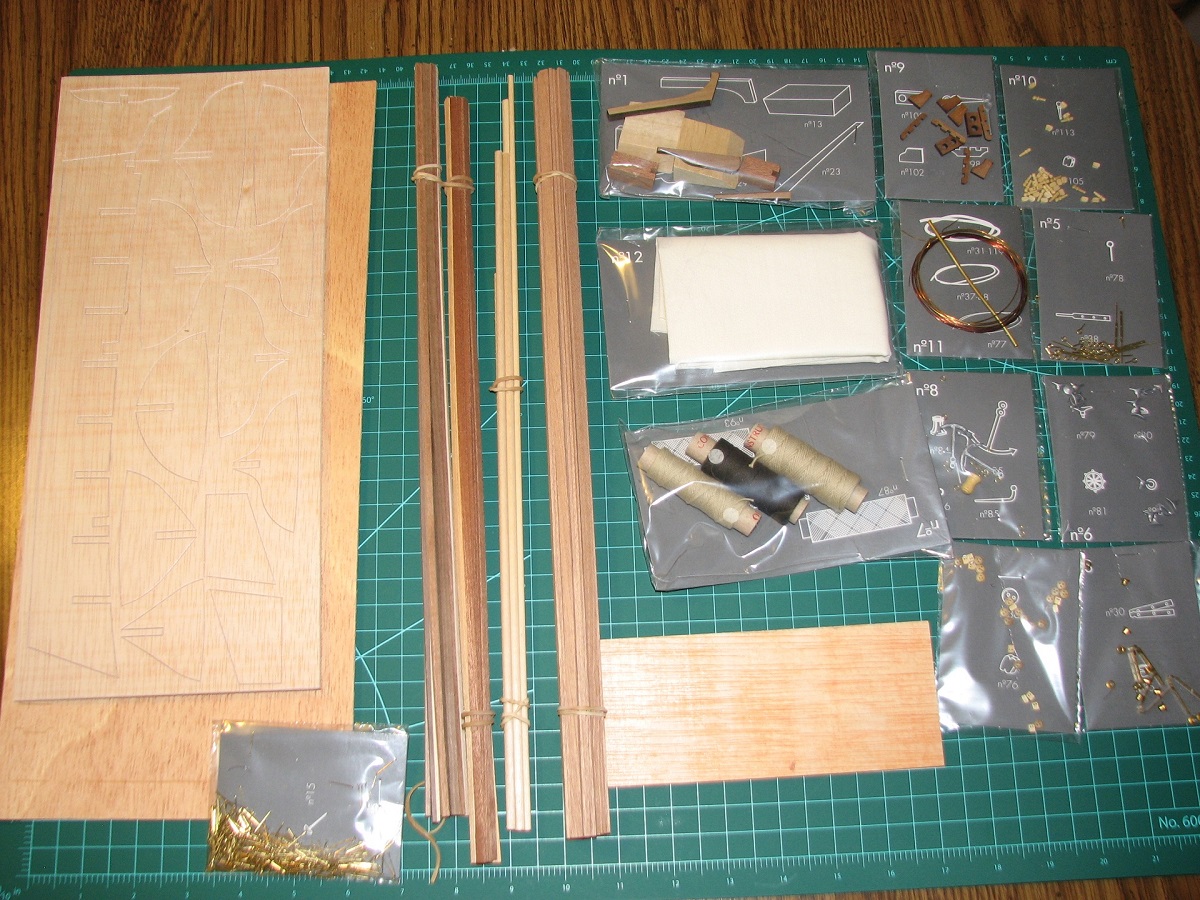
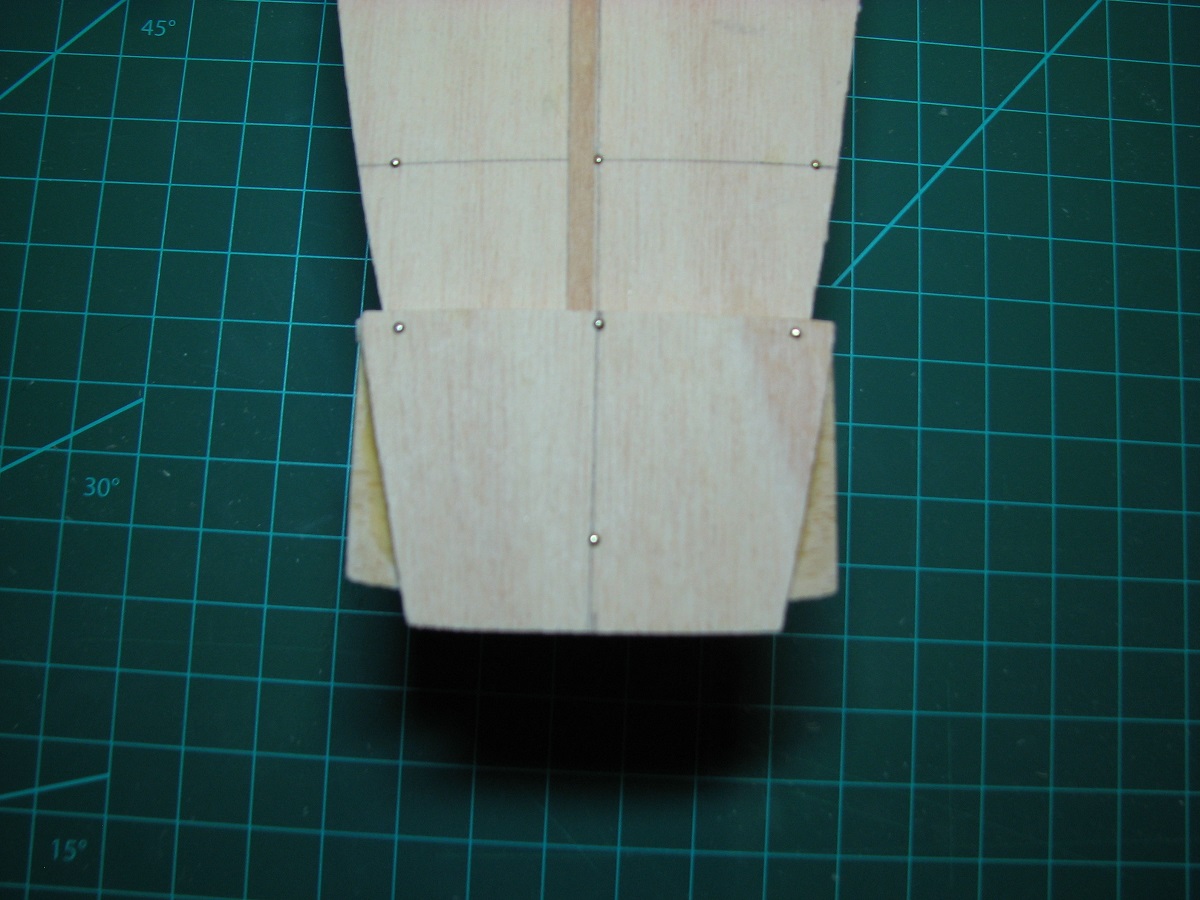
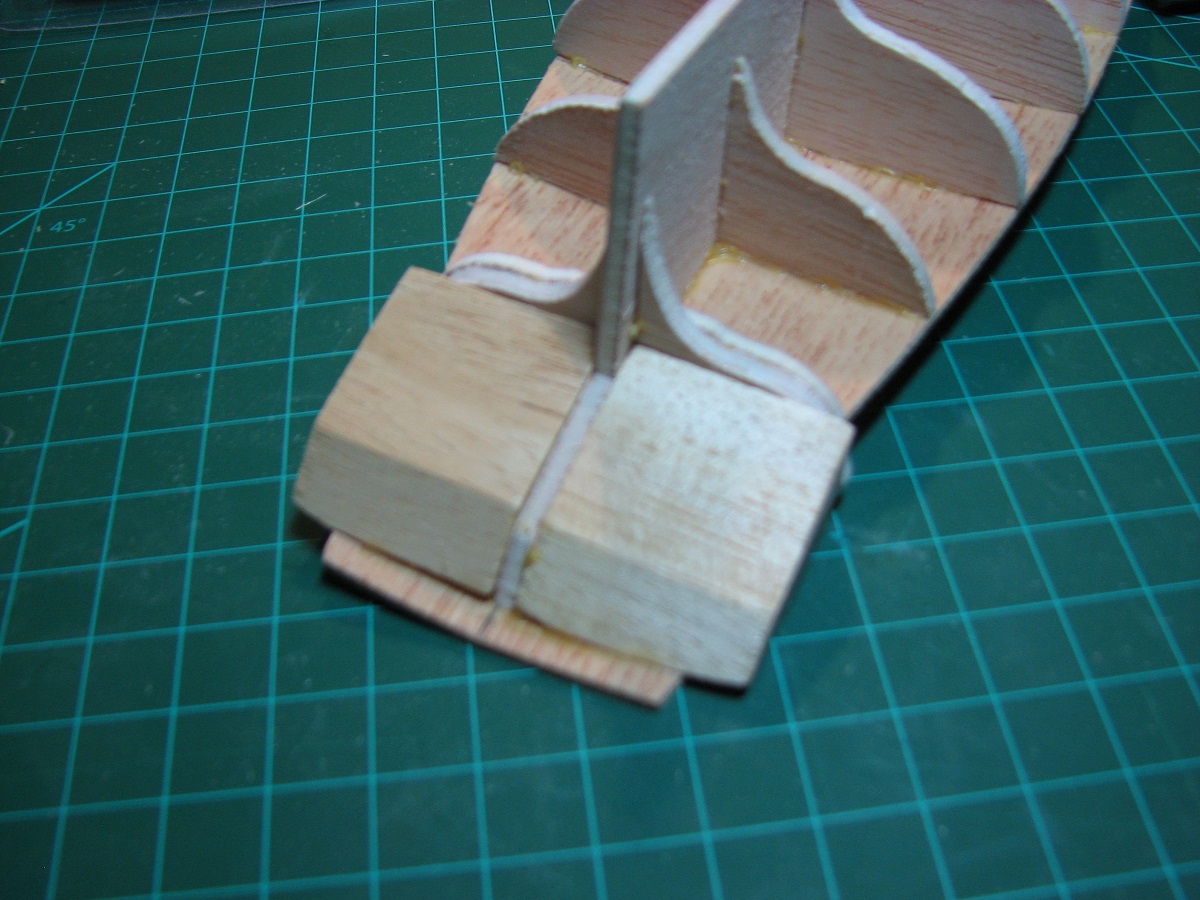
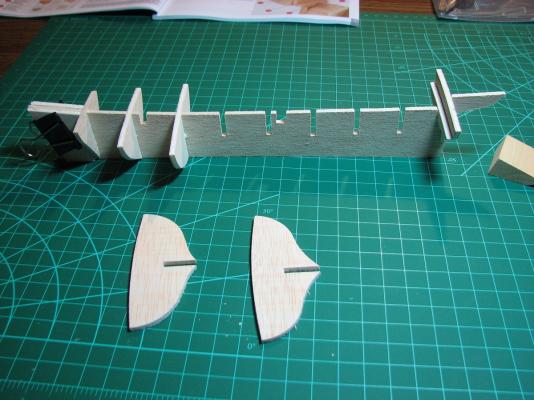
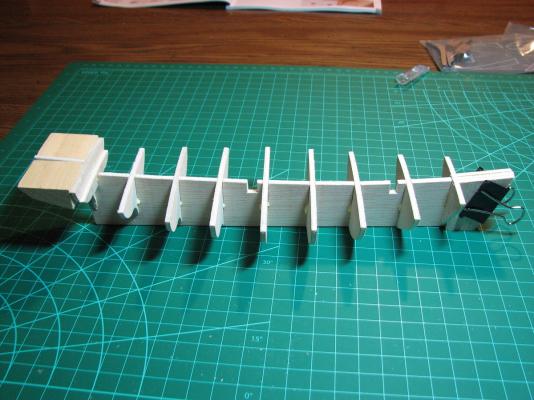
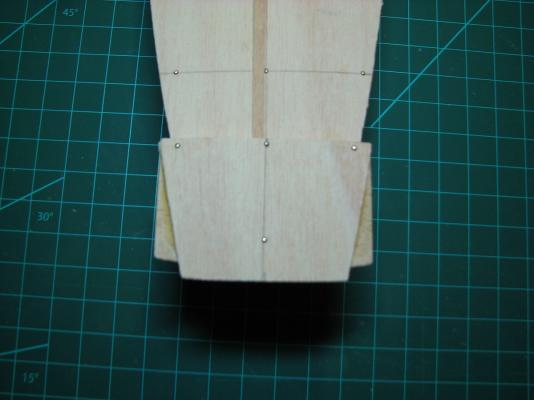
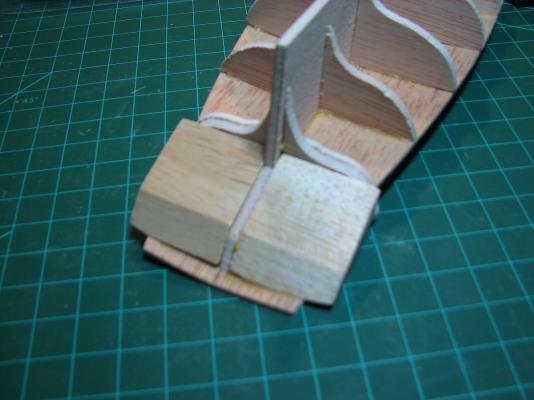
In my introduction thread, numerous folks suggested that I do a build log, so this will not only be my first ever wooden ship, but also my first ever build log. Life is full of new things. I've been getting the itch lately to get back into modeling, which is something I did with gusto when I was much younger. I did the typical plastic type models, everything from 1/35 scale cars, to 1/48 tanks, 1/72 aircraft, all the way to 1/700 scale ships (small!). My last modeling project was a super detailed 1/350 scale model of the German battleship Tirpitz, which was packed away into a box at about 20% completion when I was moving, and was never unpacked, although I still have it. That was about 25 years ago. As I was looking at that model and trying to make a list in my head of all the stuff I would need to start up again, it occurred to me that since I was starting from scratch as far as materials and tools, that I didn't need to go back to plastic. Wooden models have always interested me, so I started looking around without too much seriousness, about what was available. I was astounded at the variety and detail of the kits I found on the web, so on Friday the 15th, after work, I set out to a hobby shop that I had found in the internet that had tons of ship models. The shop was a massive disappointment, with a terrible selection of plastic models and no wood stuff at all. So, my trek began, as I went from one hobby shop location to another (several found online weren't even there anymore). Eventually I decided to visit what was one of the best hobby shops in the valley (Phoenix) when I was younger, but was stupidly far away from both my home and my office. I ended up at Hobby Bench in the far north valley (some 50 miles from my house). Hobby Bench did not disappoint on selection, with 3 full shelves dedicated just to wooden ship models! There were probably 40 or so kits to choose from. Unfortunately nobody in the shop that evening had a clue about wooden ship modeling, so I just randomly picked the Carmen by Constructo as it looked nice, and didn't look super complicated or difficult as compared to the big square riggers, nor was it a simple one-piece hull model. I bought the kit, a bunch of random stuff that I thought would be useful, and headed home, where I opened up the box and saw that there was certainly some assembly required! Now that I had the kit, I was excited to begin, and being somewhat of an impatient person by nature anyway, I dug right in on Friday night at about 8:00 and started assembly. In retrospect, this was probably a bad idea, as I did not do many of the things that I've since read on articles and build logs about squaring up the keel and bulkheads, so my false keel & bulkhead assembly is not true. The other very early mistake I made was with the stern blocks. The plans are fairly muddy for a complete newbie like myself, and I thought the blocks needed to be squared up against the bulkhead as seen here. Unfortunately, the truth is that they should be aligned with the top of the false keel, not the bulkhead. This means that my poop deck will not have the correct angle, but I think that once it's complete, I'll probably be the only one that knows it's wrong, I guess time will tell. This shows that the assembly is not square. I stayed up was too late playing with my new project, and in the wee hours of Saturday morning, just before 4:00am, I had something that was at least shaped somewhat like a ship. After some much needed sleep, I got up, and did some web time, found this site, got on Amazon and ordered some miscellaneous tools and a copy of Historic Ship Models by Wolfram zu Mondfeld. After lunch, I went back to work on the Carmen. I started off with the shaping of the stem and stern, as the blocks were obviously not the correct shape. In this area the Constructo plans are seriously lacking, as there are no plans to layout the correct shaping of these pieces. I did my best guesses from the photographs and what seemed to make sense to me. At this point my plan was to rough shape everything, then move forward and do more/final shaping when I reached a point in the model where other items would give me better reference points. Continued next post, as I begin on the deck planking...

- 119 replies
-
- 5
-
-
- carmen
- constructo
- (and 2 more)
-
Unicorn by ameletters - Corel
GuntherMT replied to ameletters's topic in - Kit build logs for subjects built from 1501 - 1750
I'm brand new to this as well, but until one of the experts chimes in with a better solution, here is what I did for the first few planks (until I ran out of room on the bulkheads to use these). I found these clamps - http://www.modelexpo-online.com/product.asp?ITEMNO=MX104 and I thought they were pretty neat, but between my impatience to progress, and being cheap, I used the concept of those clamps, and made my own ghetto version. I took some small binder clips, and cut small pieces of craft sticks (the tongue depressor looking sticks) and chopped them up and glued them to the inside of the binder clips with super glue. Here is what they look like in action, and they worked really good while the space on the bulkheads allowed them a good grip.