dzerbato
-
Posts
45 -
Joined
-
Last visited
Content Type
Profiles
Forums
Gallery
Events
Everything posted by dzerbato
-
It’s a flat bottom boat. I picked to ease into a number of different skills needed to build these ships. Definitely an interesting boat.
- 39 replies
-
- 1
-

-
- philadelphia
- model shipways
- (and 1 more)
-
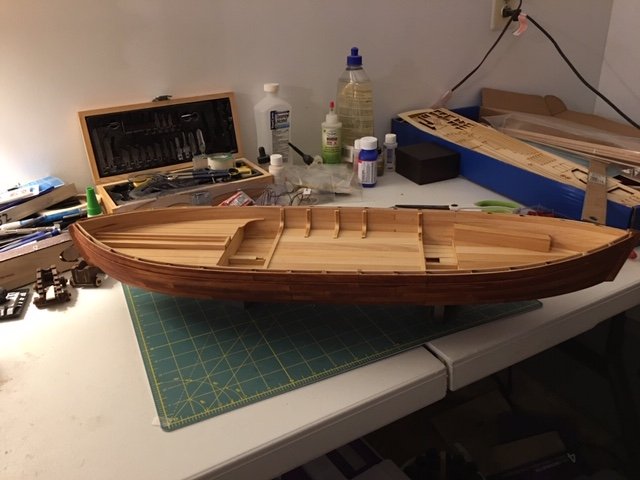
I've now have the hull and deck stained. The deck is just Minwax Natural and the exterior is a 5/2 mixture of Minwax Gunstock to Early American. The exterior color is exactly what I was going for, but I'm still contemplating how well it goes with the natural interior. I've also started to add some details such as bolts on the knees. I did a test batch of using a blackening agent on various brass hardware and they came out very well. Much easier than painting, IMO, and a better finish. Here are some pictures. Here is my attempt at simulating bolts. After reviewing many other's build logs, I decided to blacken some brass nails, drill a hole and insert them. Easy and gives the effect I wanted. I think the bolt heads may be a bit just a tad bit too small for scale, but they are close.
- 39 replies
-
- 9
-
-
- philadelphia
- model shipways
- (and 1 more)
-
Looks good so far. I'm glad to hear about the quality of the design. I'm very excited to start this myself. Yours and Vanes' build logs are certainly helpful.
-
Thanks for the explanation. I may try that on my build. I definitely think it looks to scale and not over the top.
-
The main interior part is completed. I built the 12lb cannon slide and finished the lockers and knees. Next up is staining.
- 39 replies
-
- 8
-
-
- philadelphia
- model shipways
- (and 1 more)
-
I've decided on using Minwax Natural for the interior, and a mix of Gunstock and Early American for the exterior. I am very happy I went with individual planks for the decking, looks much better IMO.
-
Your work is fantastic! Were you able to figure out what happened with the level of the cannons? Also, I assume you did the nail technique after staining. Right?
-
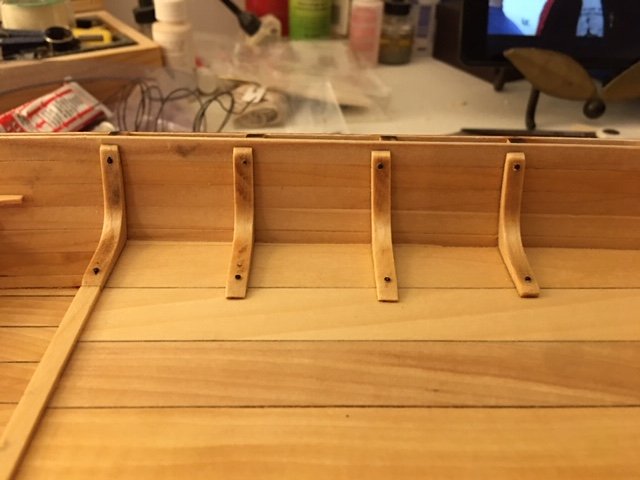
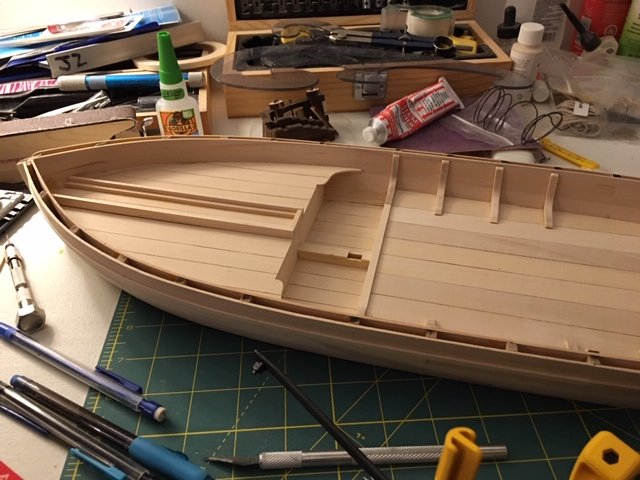
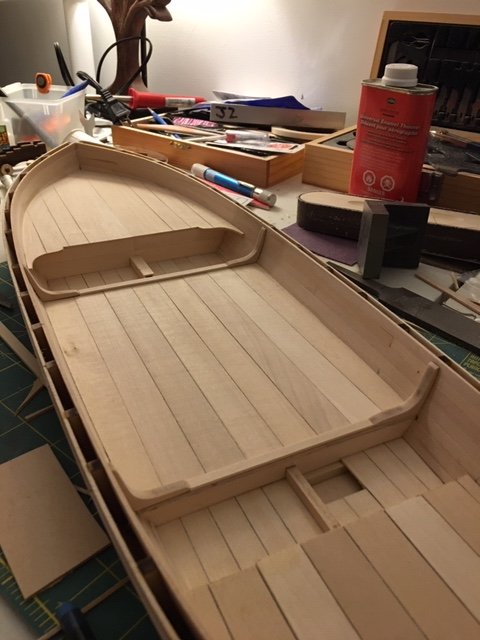
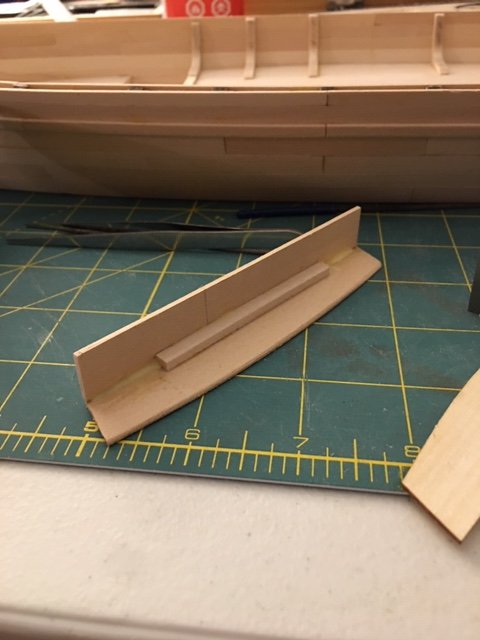
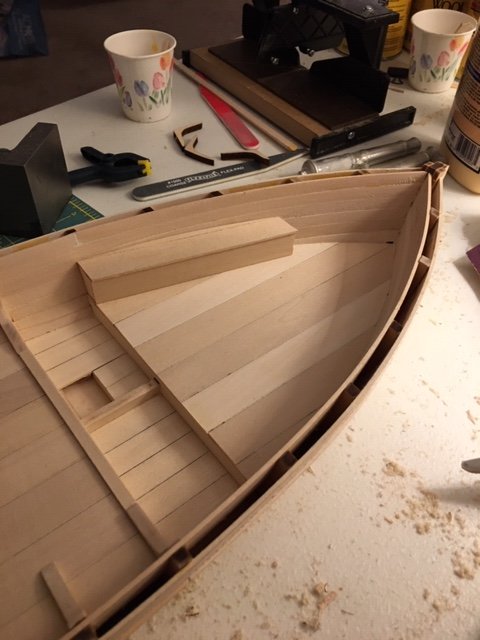
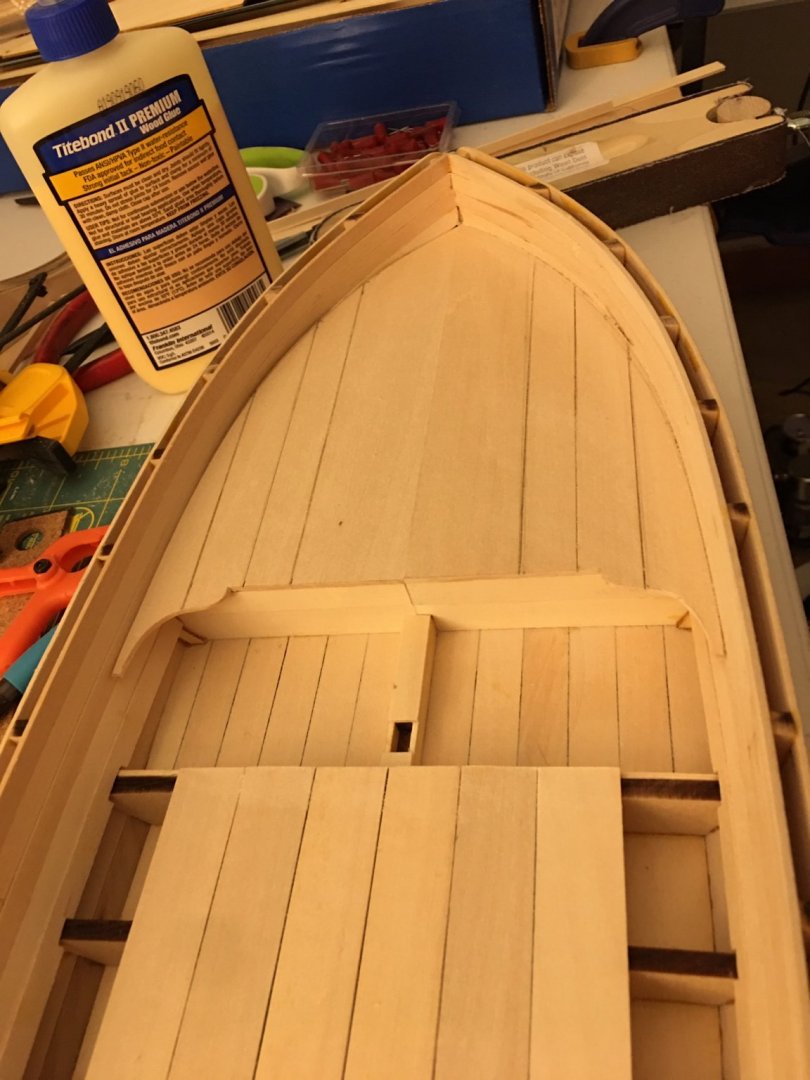
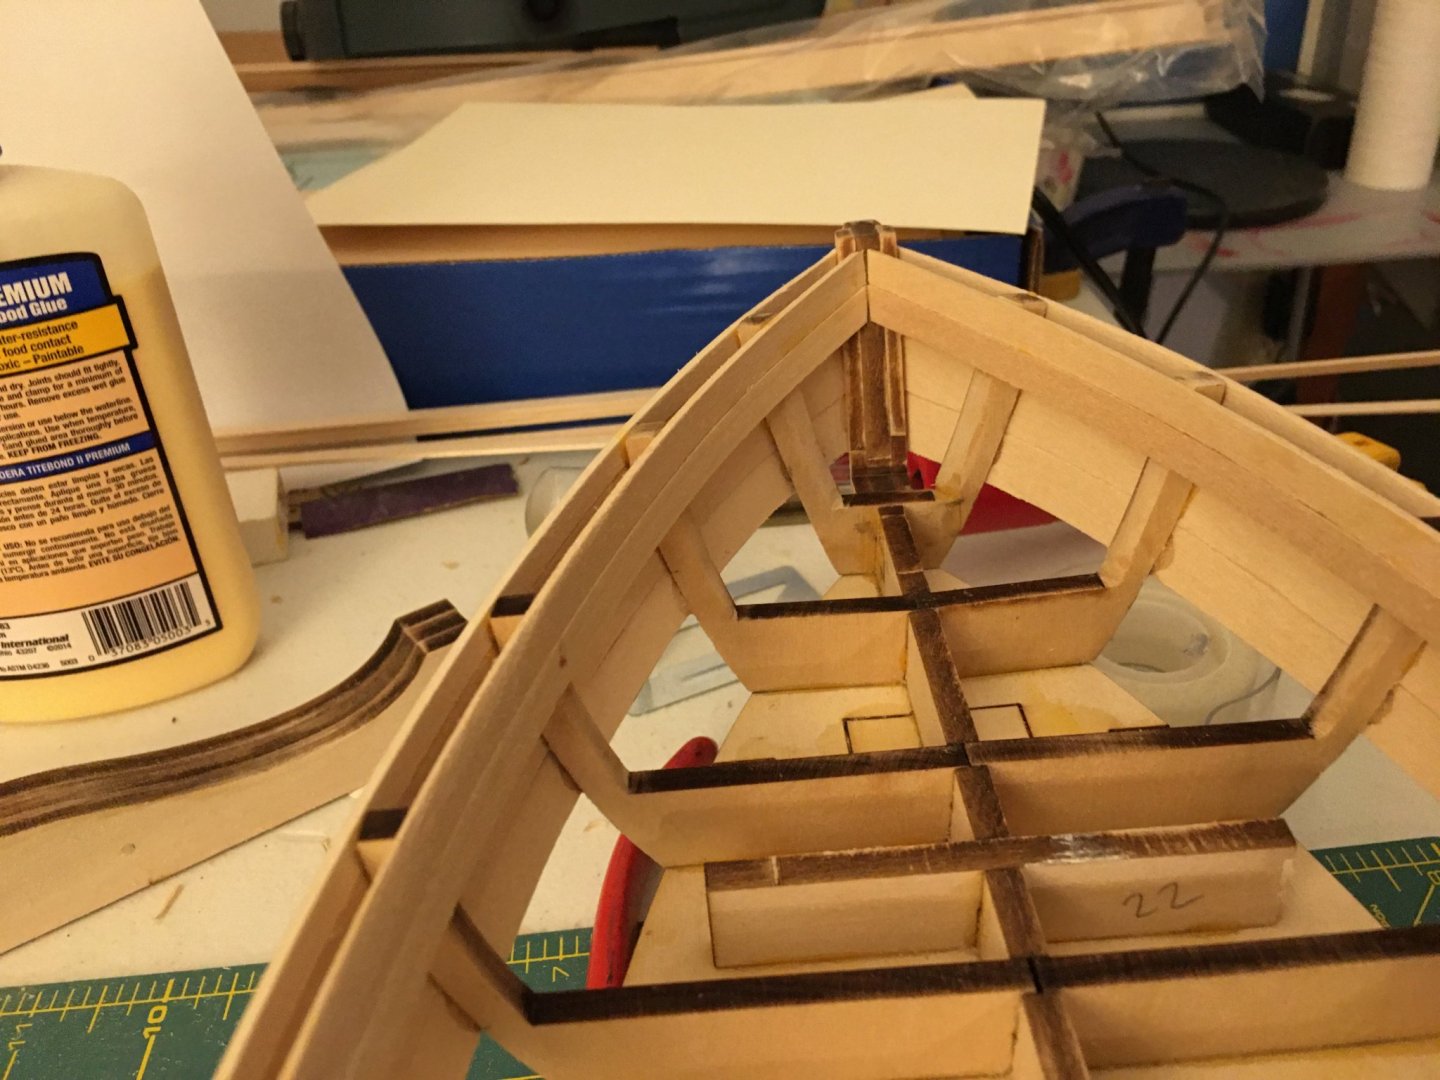
I've made a bit more progress. The decking is now complete. I ended up using individual planks for the stern deck. You can see the color variation basswood has. I've also finished the knees on the starboard side. You'll notice some glue residue in the gap space as despite the template and plans' best efforts, I put a knee in the wrong location and had to move it. I've also started on the stern lockers. As with the provided decking material, I did not like the provided pieces for the lockers, so I made my own out of basswood sheet. I added some scrap wood as a support for the front piece. I'm hoping to have the lockers and knees completed soon, then I'll construct the 12lb cannon slide and then stain the interior. The completed decking. Knees started and comings installed. Knees completed on starboard side. Fabricating the lockers from basswood sheet. I made sure to bevel the edge to get a nice fit against the ceiling planking. Dry fit of completed locker. Much better matches the rest of the interior. I left a slight edge on the front of the locker, about 1/32". This did two things, it made the other laser cut side piece fit better as they seemed to be slightly too short. It also created a "handle" allowing the lid to be raised if this was a working locker. I wasn't able to find any information on whether the lockers had handles, so I figured a little lip would help open it.
- 39 replies
-
- 9
-
-
- philadelphia
- model shipways
- (and 1 more)
-
Better cautious than not. I recently purchased this kit too and it's next up on my build list. Glad to be following these build logs. Your're doing a nice job so far.
-
That's interesting. Yours definitely seems to have a clearance issue. My barrels have a high elevation right now as the carriages aren't finished, but they should have enough clearance to have a lower angle. BTW, you did a nice job with your carriages. Also, that cannon doesn't look like the one that came in the kit. Where did you get it?
- 39 replies
-
- 1
-
-
- philadelphia
- model shipways
- (and 1 more)
-
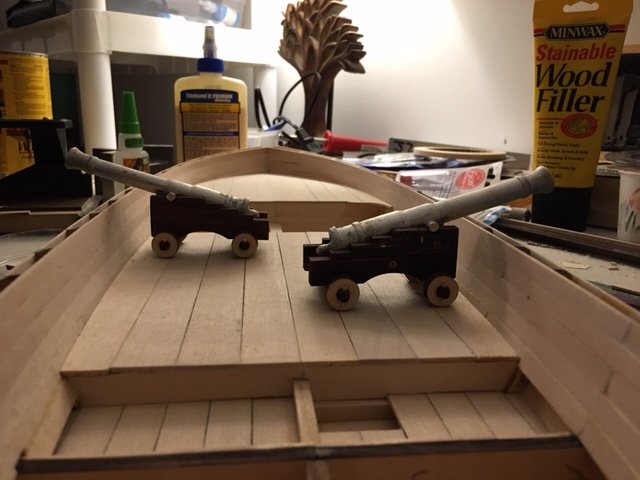
Just a quick update. I finished the middle section planking and the bow planking. Only a few ceiling planks left. I mocked up the cannons to check for clearance, seems fine. The carriage are not quite complete yet but getting there.
- 39 replies
-
- 6
-
-
- philadelphia
- model shipways
- (and 1 more)
-
I’ll need to check the cannons. I just added the wheels to the two 9lb carriages and finished the middle decking so should be ready to go.
- 39 replies
-
- 1
-
-
- philadelphia
- model shipways
- (and 1 more)
-
Still considering the finish, haven't found something I like yet. I had an issue with some clamps denting the wale while it was soaked and clamped to dry. Basswood is certainly soft.
- 39 replies
-
- 1
-
-
- philadelphia
- model shipways
- (and 1 more)
-
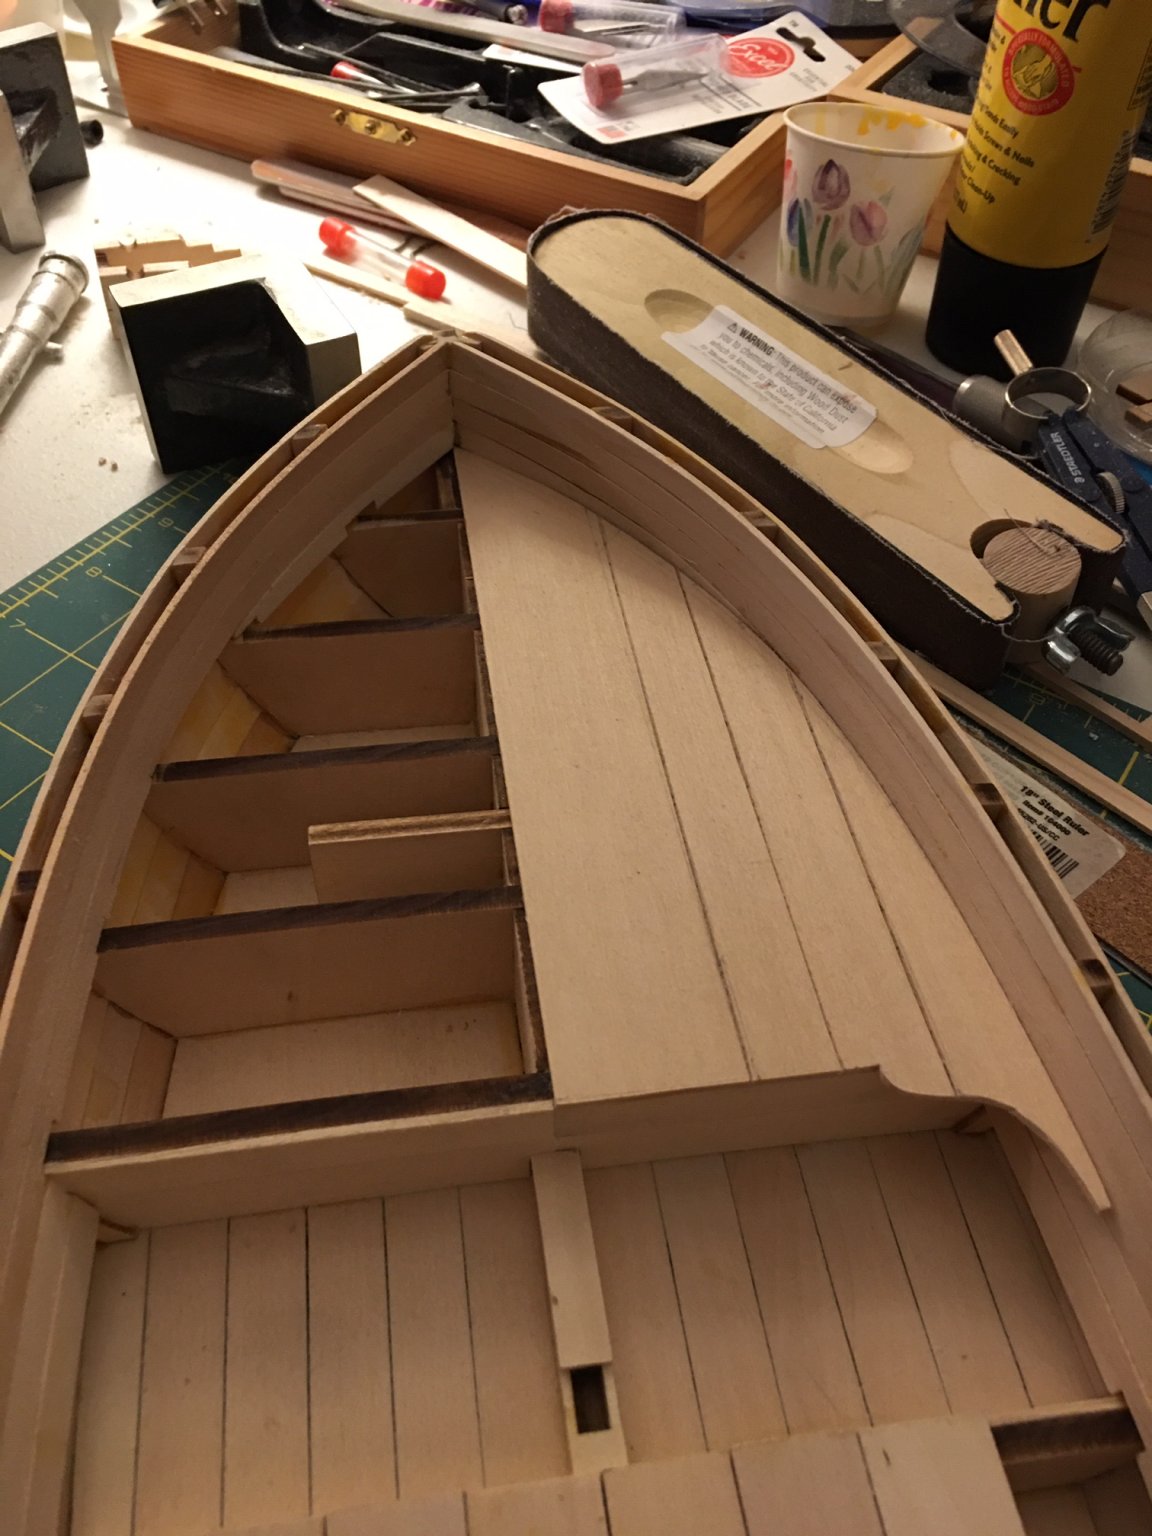
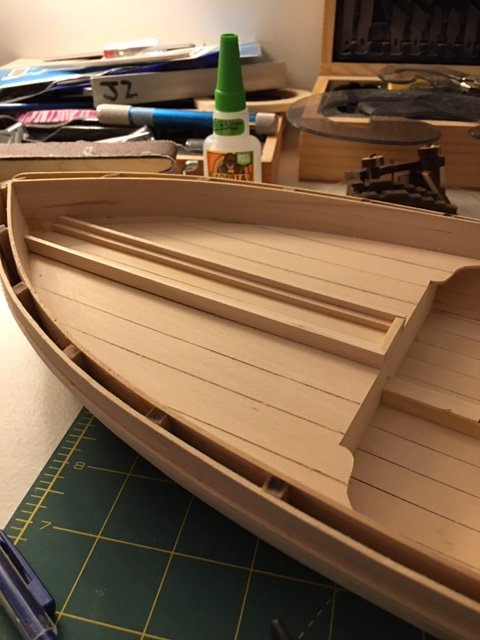
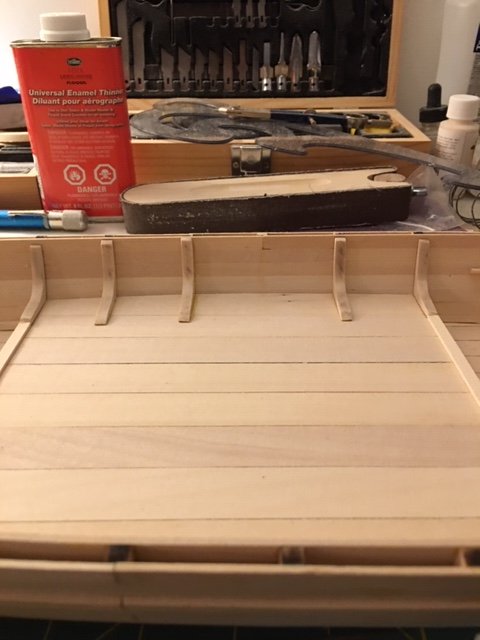
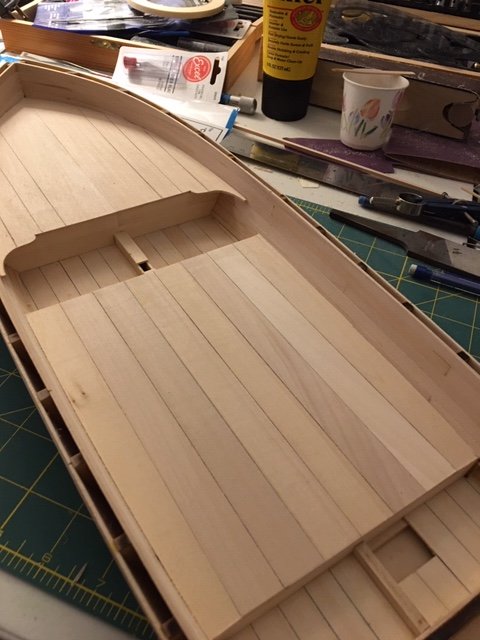
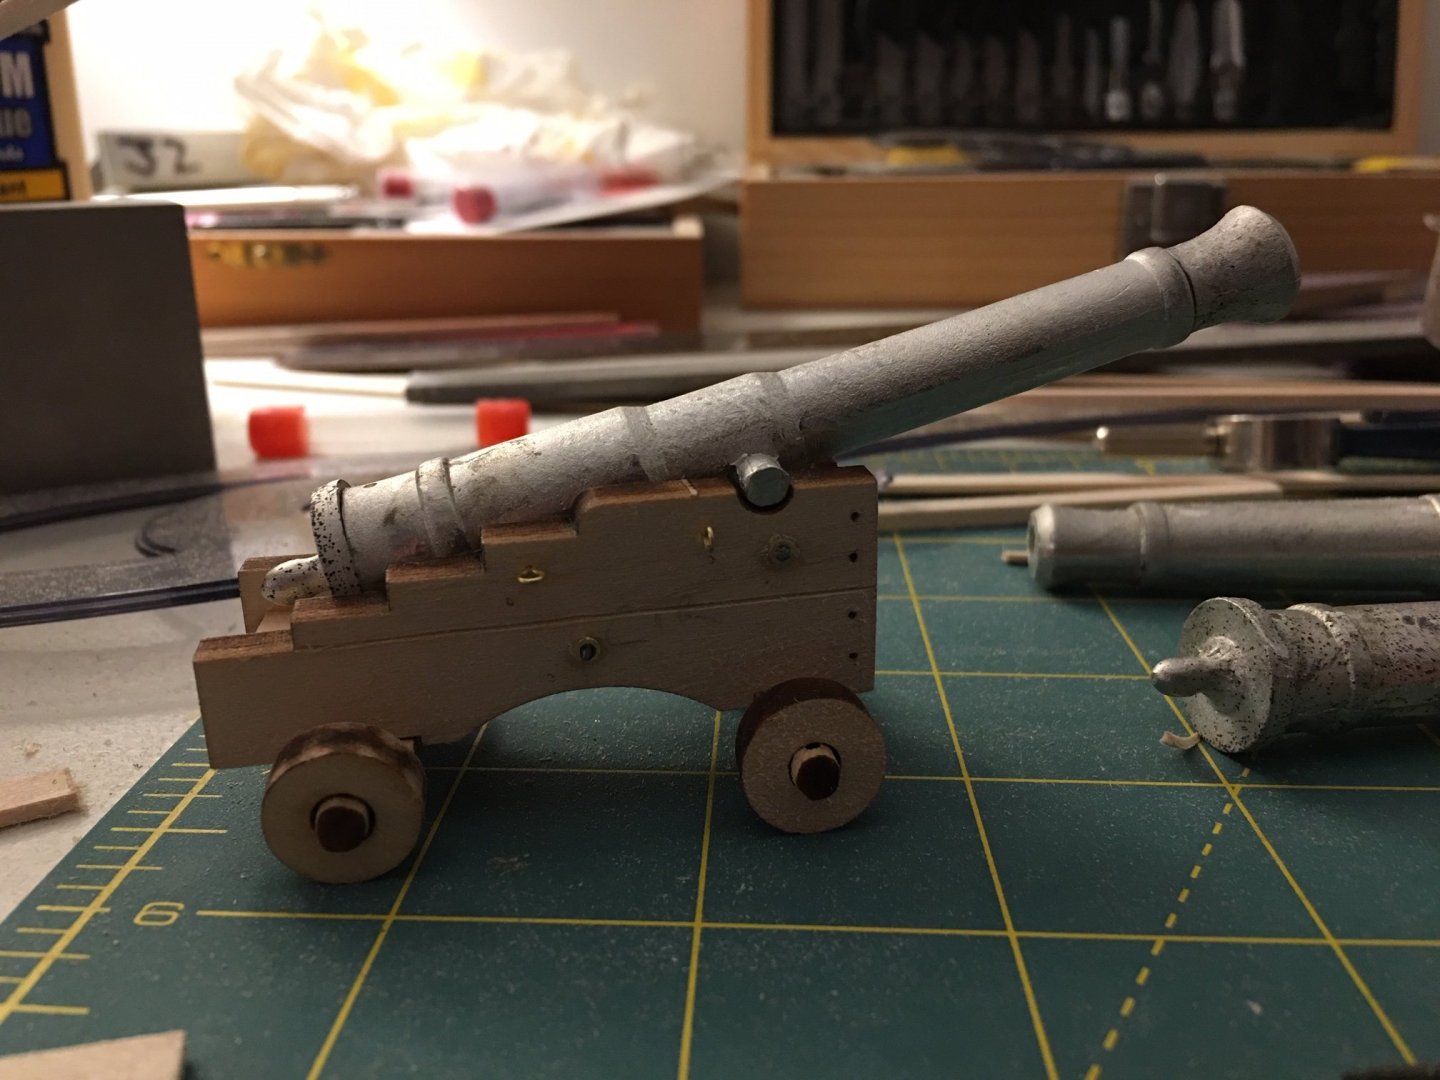
Here's an update on my progress. I was able to nearly finish the ceiling planking and have started on the decking. I didn't like the kit supplied decking, so I made my own from basswood sheets. I also found that the kit decks didn't fit great. I don't know if this just resulted from small errors along the way, or if it's a design flaw. For the bow deck, I decided to make it two pieces, like the kit, and scribed the individual deck joints. For the amidships decking, I used individual planks. I couldn't find 3/4" planks locally, and ran out of the kit supplied ones for the exterior planking, so I bought some 1" planks and cut them down. I slightly sanded the edges and used a standard pencil to simulate caulk. I also started on the cannon carriages and barrels. I did note, as others have for this kit that the britannia metal barrels are not great. Mine had some recesses on the surface that I ended up filling with putty. However, they are terrible and with some work, they come out ok. I also added some details to the carriages including scribing a line in the middle to simulate a two piece side, and simulating bolts on the front. Once I'm finished the middle section, a little sanding will make everything line up nice. Note that the left side below has not been glued down yet. Ceiling planking still needs some sanding, but it's taking shape. The new decking has a much better fit than the kit provided ones. No putty (yet, lol).
.thumb.JPG.f245886fae83ff229c36ba0ee152de9f.JPG)


- 39 replies
-
- 12
-
-
- philadelphia
- model shipways
- (and 1 more)
-
I started using tape, but it didn’t work for me. I did end up using card stock, pinned it and marked it. Then used French curves to connect the dots.
- 39 replies
-
- 1
-
-
- philadelphia
- model shipways
- (and 1 more)
-
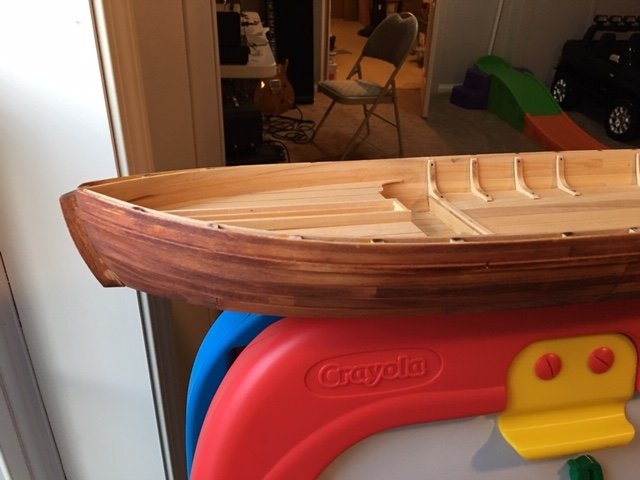
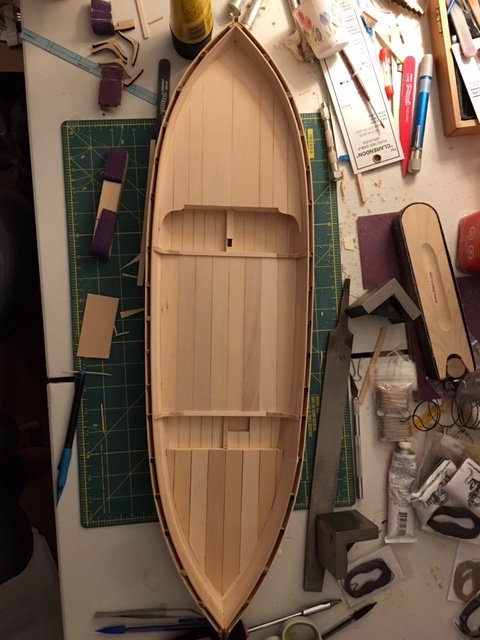
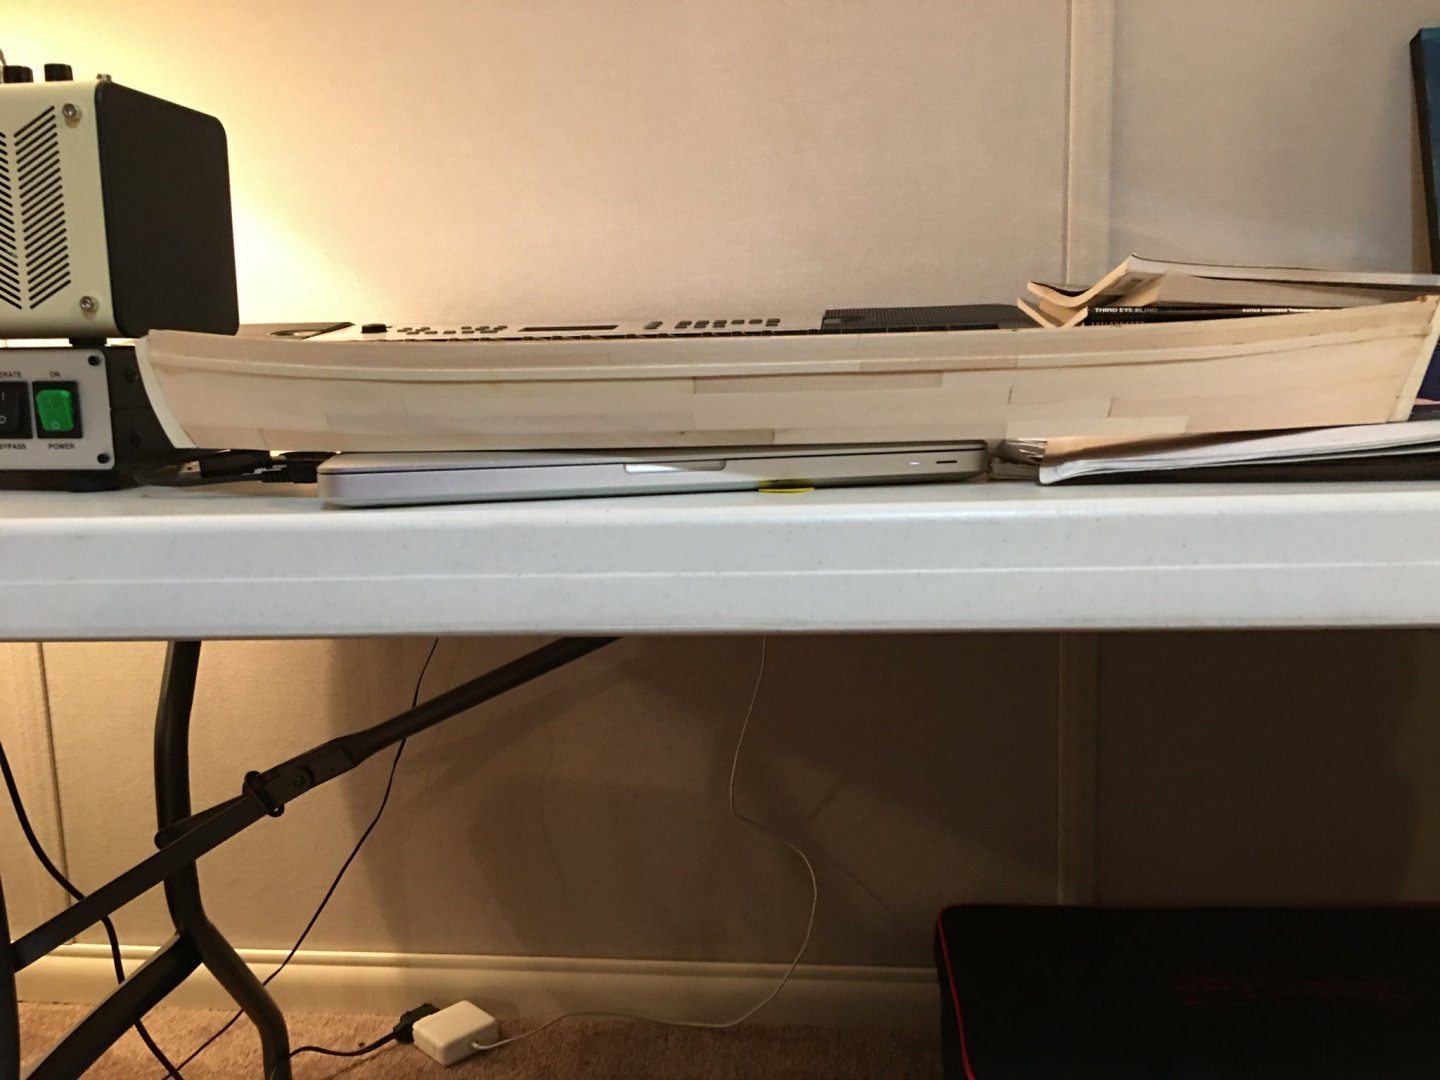
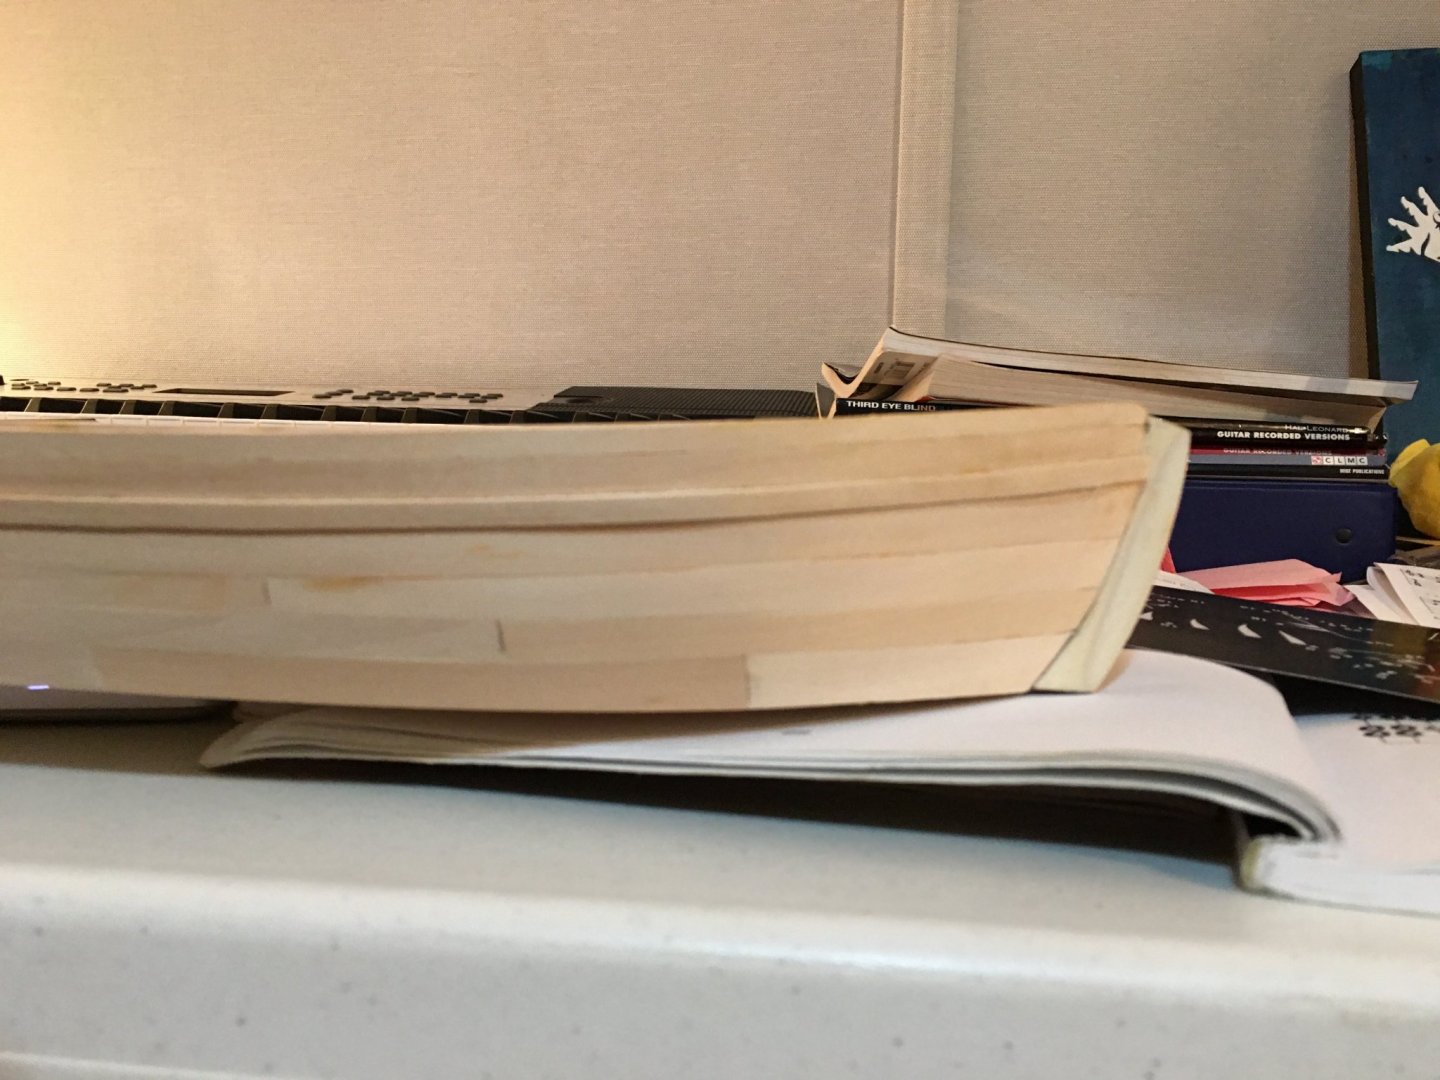
Here are some additional pictures to show where I'm at. Exterior planking finished.

- 39 replies
-
- 7
-
-
- philadelphia
- model shipways
- (and 1 more)
-
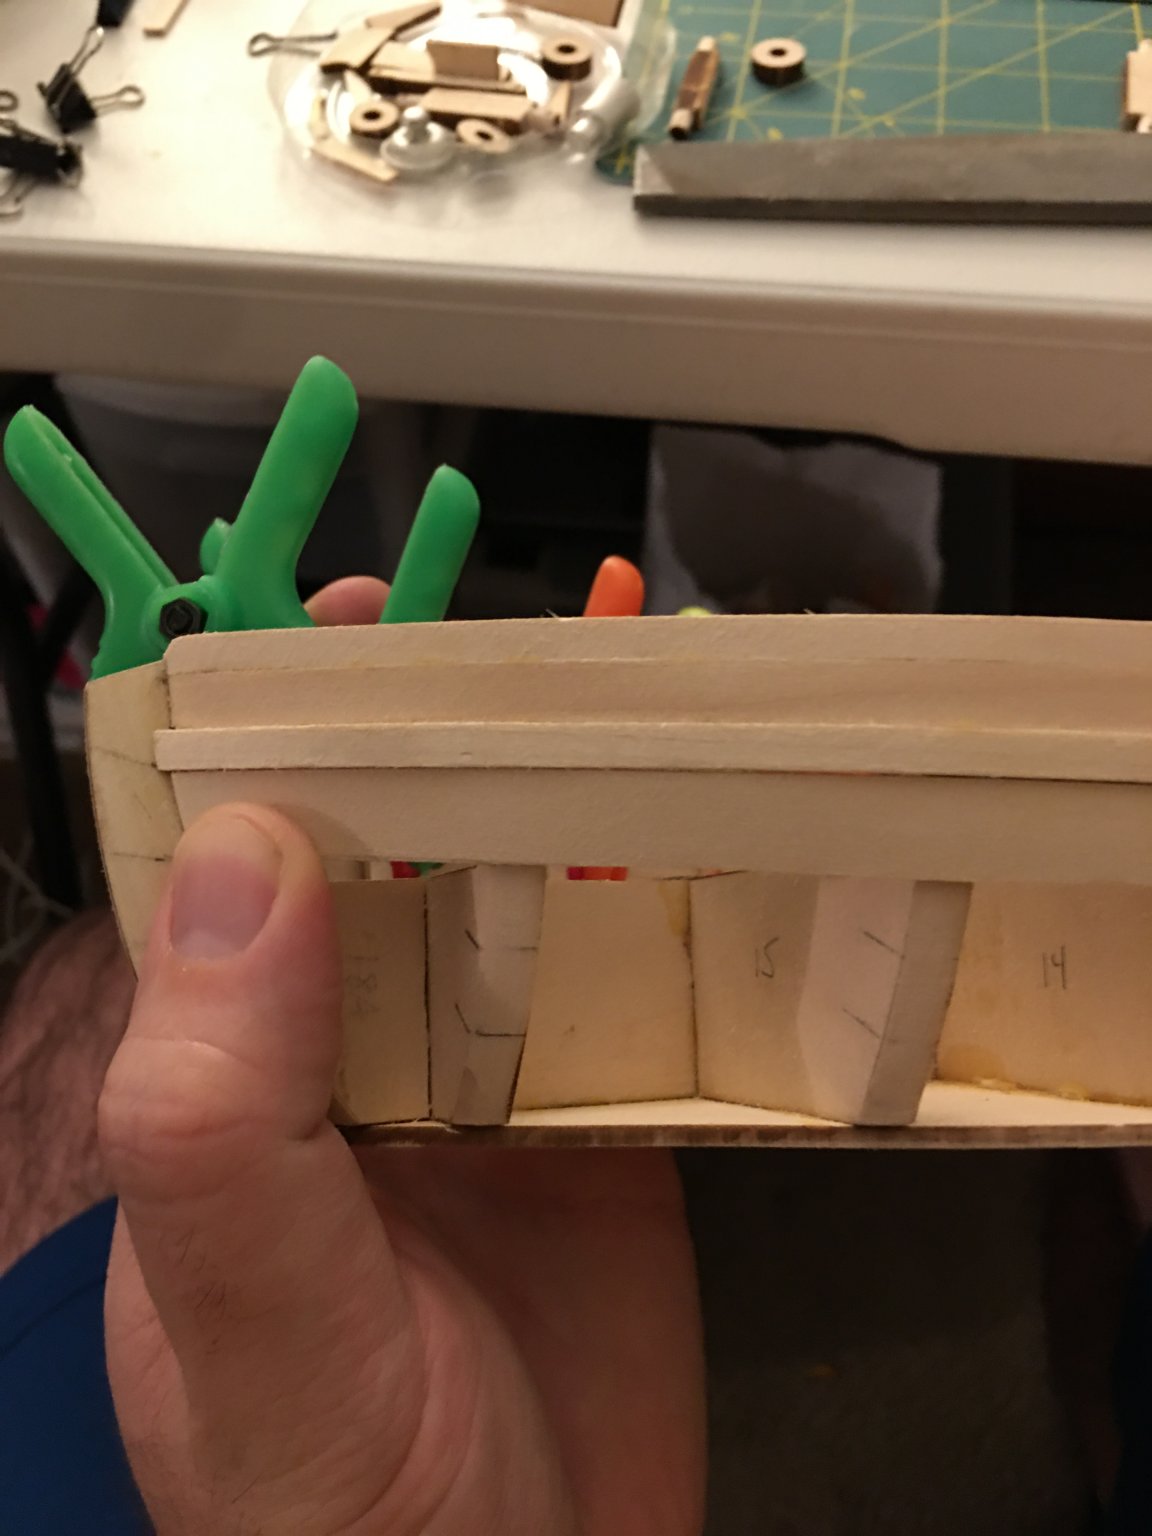
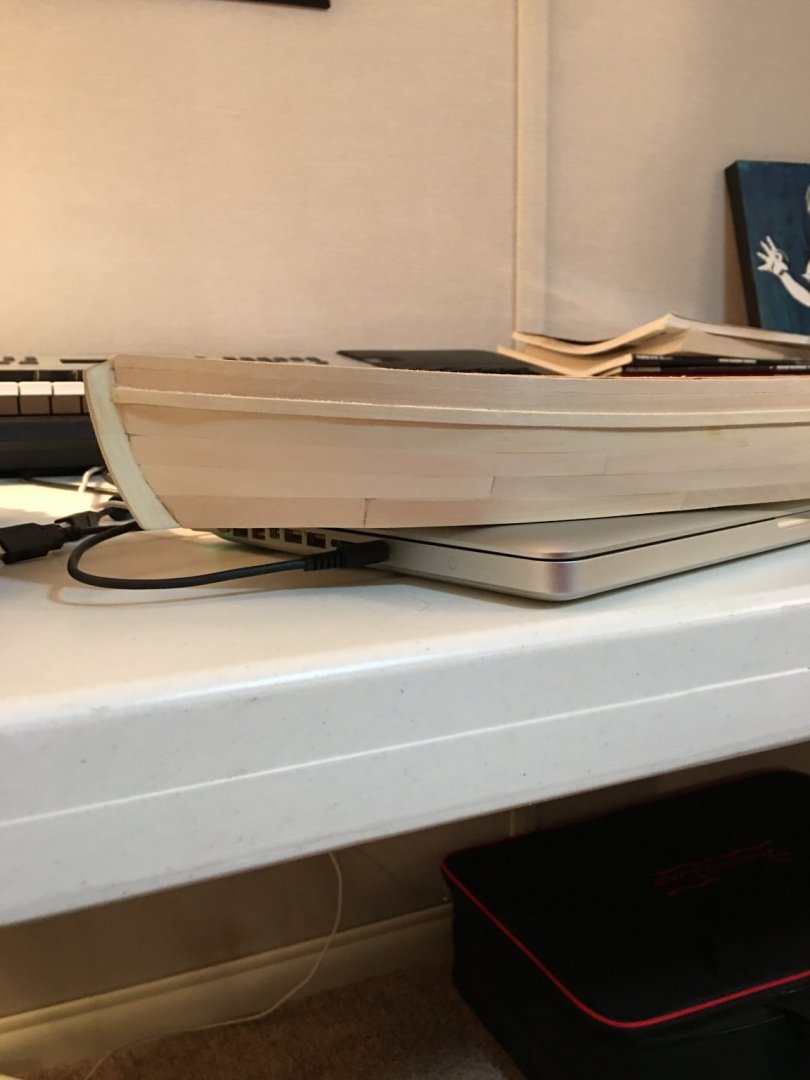
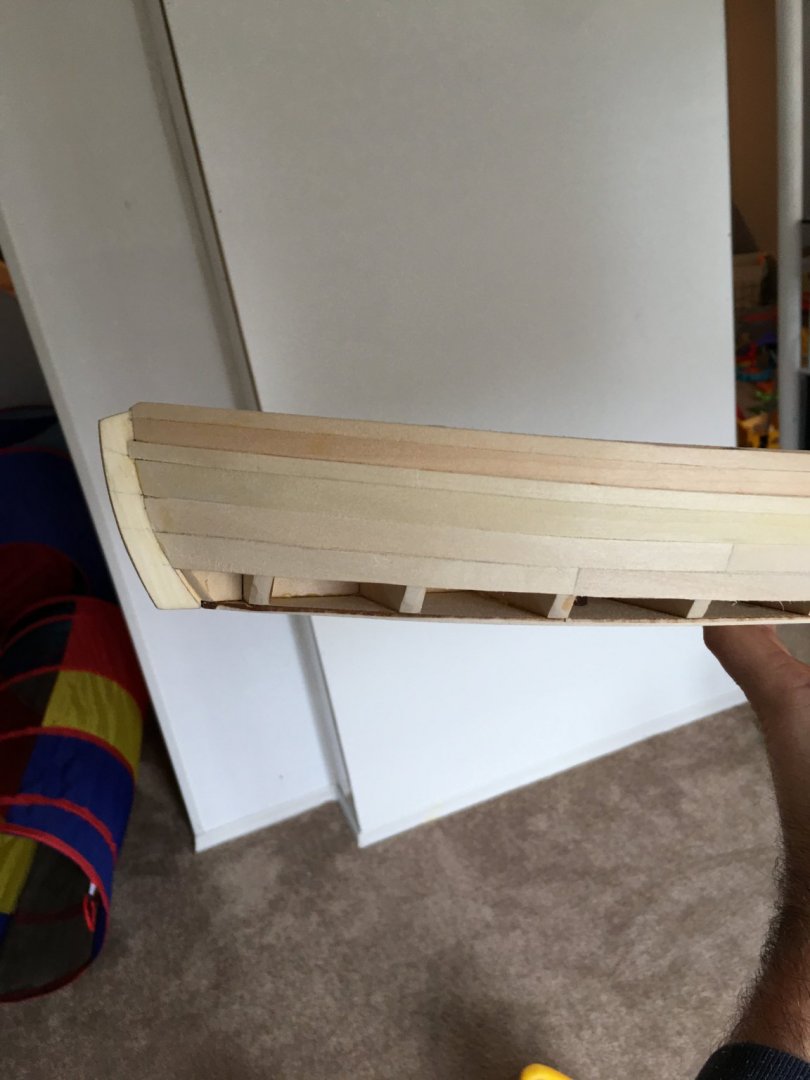
I've started my first wooden ship kit build. I chose the Philadelphia for a number of reasons. Due to it's hull shape, large scale and relatively simple rigging, I thought it would be a good foray into model wooden ship building. (To be candid, I built the Independence by AL when I was an early teenager, but had no real knowledge of what I was doing). As of the creation of this log, I've completed the exterior planking and nearly finished the ceiling planking. The other build logs here have been very helpful and I've taken some pointers in building my kit. I've not encountered any serious issues, although I did note that as I planked the exterior, I encountered an issue where the planks would curve up at a joint to form a heart, particularly near the bow and stern. I largely corrected this as I proceeded and blame my inexperience. I think it is due to me not being as accurate with the widths and following the marked bulkheads as I should have. This kit also is a great one to learn spiling as the planks are large and there are not too many of them. That being said, I spent many hours fitting, cutting, sanding and trimming to get a decent fit, and I certainly got better towards the end. The exterior planking is "ok" in my mind, but I did learn a lot. I also learned that despite the markings on the bulkheads, I wish I would have made the rabbet deeper. Anyways, here are some pictures. My First spiled plank as neither the top two or the wale needed any spiling or tapering. Starting the ceiling planking

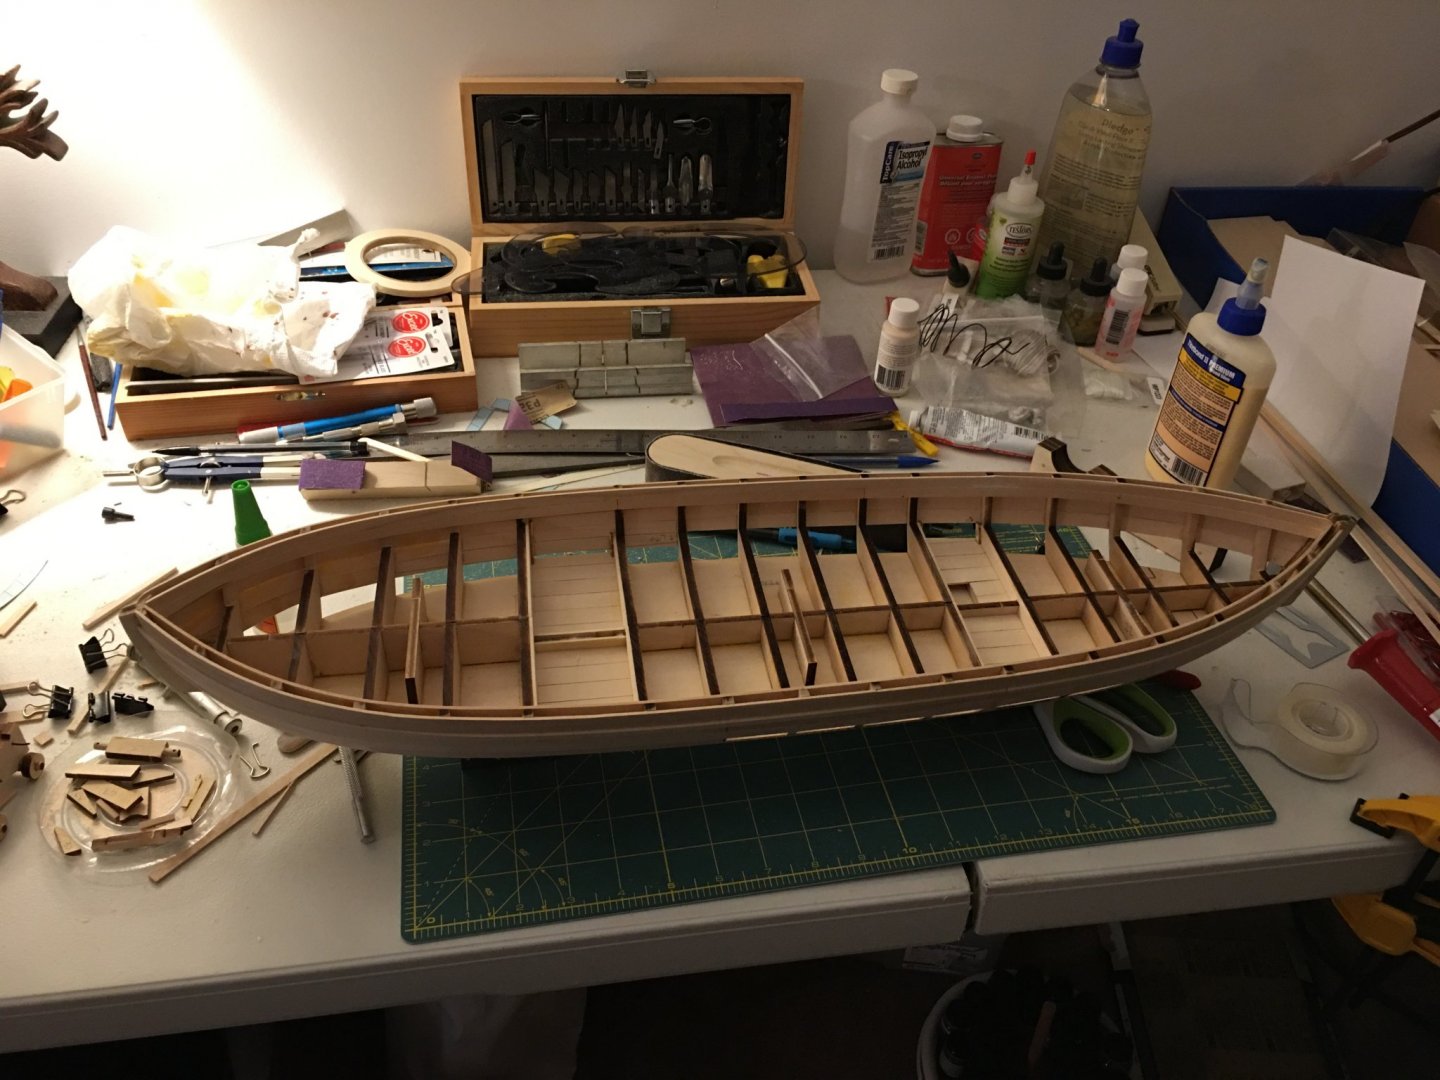
- 39 replies
-
- 6
-
-
- philadelphia
- model shipways
- (and 1 more)
-
Agreed. No harm to see how it turns out.
-
Certainly a good debate. I do agree there is no right or wrong answer hear. While I've only started on my first wooden model ship, I've been built several in plastic and many airplanes, tanks, etc. What I've found interesting with respect to the appearance of the various features, particularly weathering, decking and the attempt to make the model as accurate as possible is that often, the end result, while looking "good" on the model, in no way reflects what the actual subject looks like. For example, pre-shading panel lines on model airplanes is a huge thing right now with the intent to have a darker color on the panel lines and a lighter, "weathered" color in the center of the panel. Some do it subtly and it certainly adds visual interest to a model, and others go more heavy handed. However, if you've seen a real plane in person, IME, it doesn't weather like that and there is no color distinction between the panel edge and center. (perhaps after weeks/months under the Pacific sun, but I can't speak to that). Getting back to the subject at hand, I think the same concept applies. While I think Bob's work is fantastic, and I certainly wish my skills were at that level, the caulking and trenails look out of scale to me. Moreover, often the trenails were capped anyways and nearly impossible to see, even standing on the deck. The laser engraving offers a different, modern solution, and while certainly not perfect, I can see how it would appeal to a new generation of modelers who may want to focus on other aspects of the model. I also agree with Vane in that the masts and rigging are what stand out to most people.
-
I plan to build this model as well and can’t say what I’ll do, although I’m leaning towards the laser engraved. I wouldn’t let time necessarily be the deciding factor. If that were the case no one hear should be in this hobby, lol.

.JPG.892b835d4bf31f2937922bfb2c46d976.JPG)